Barn-wood dining room table
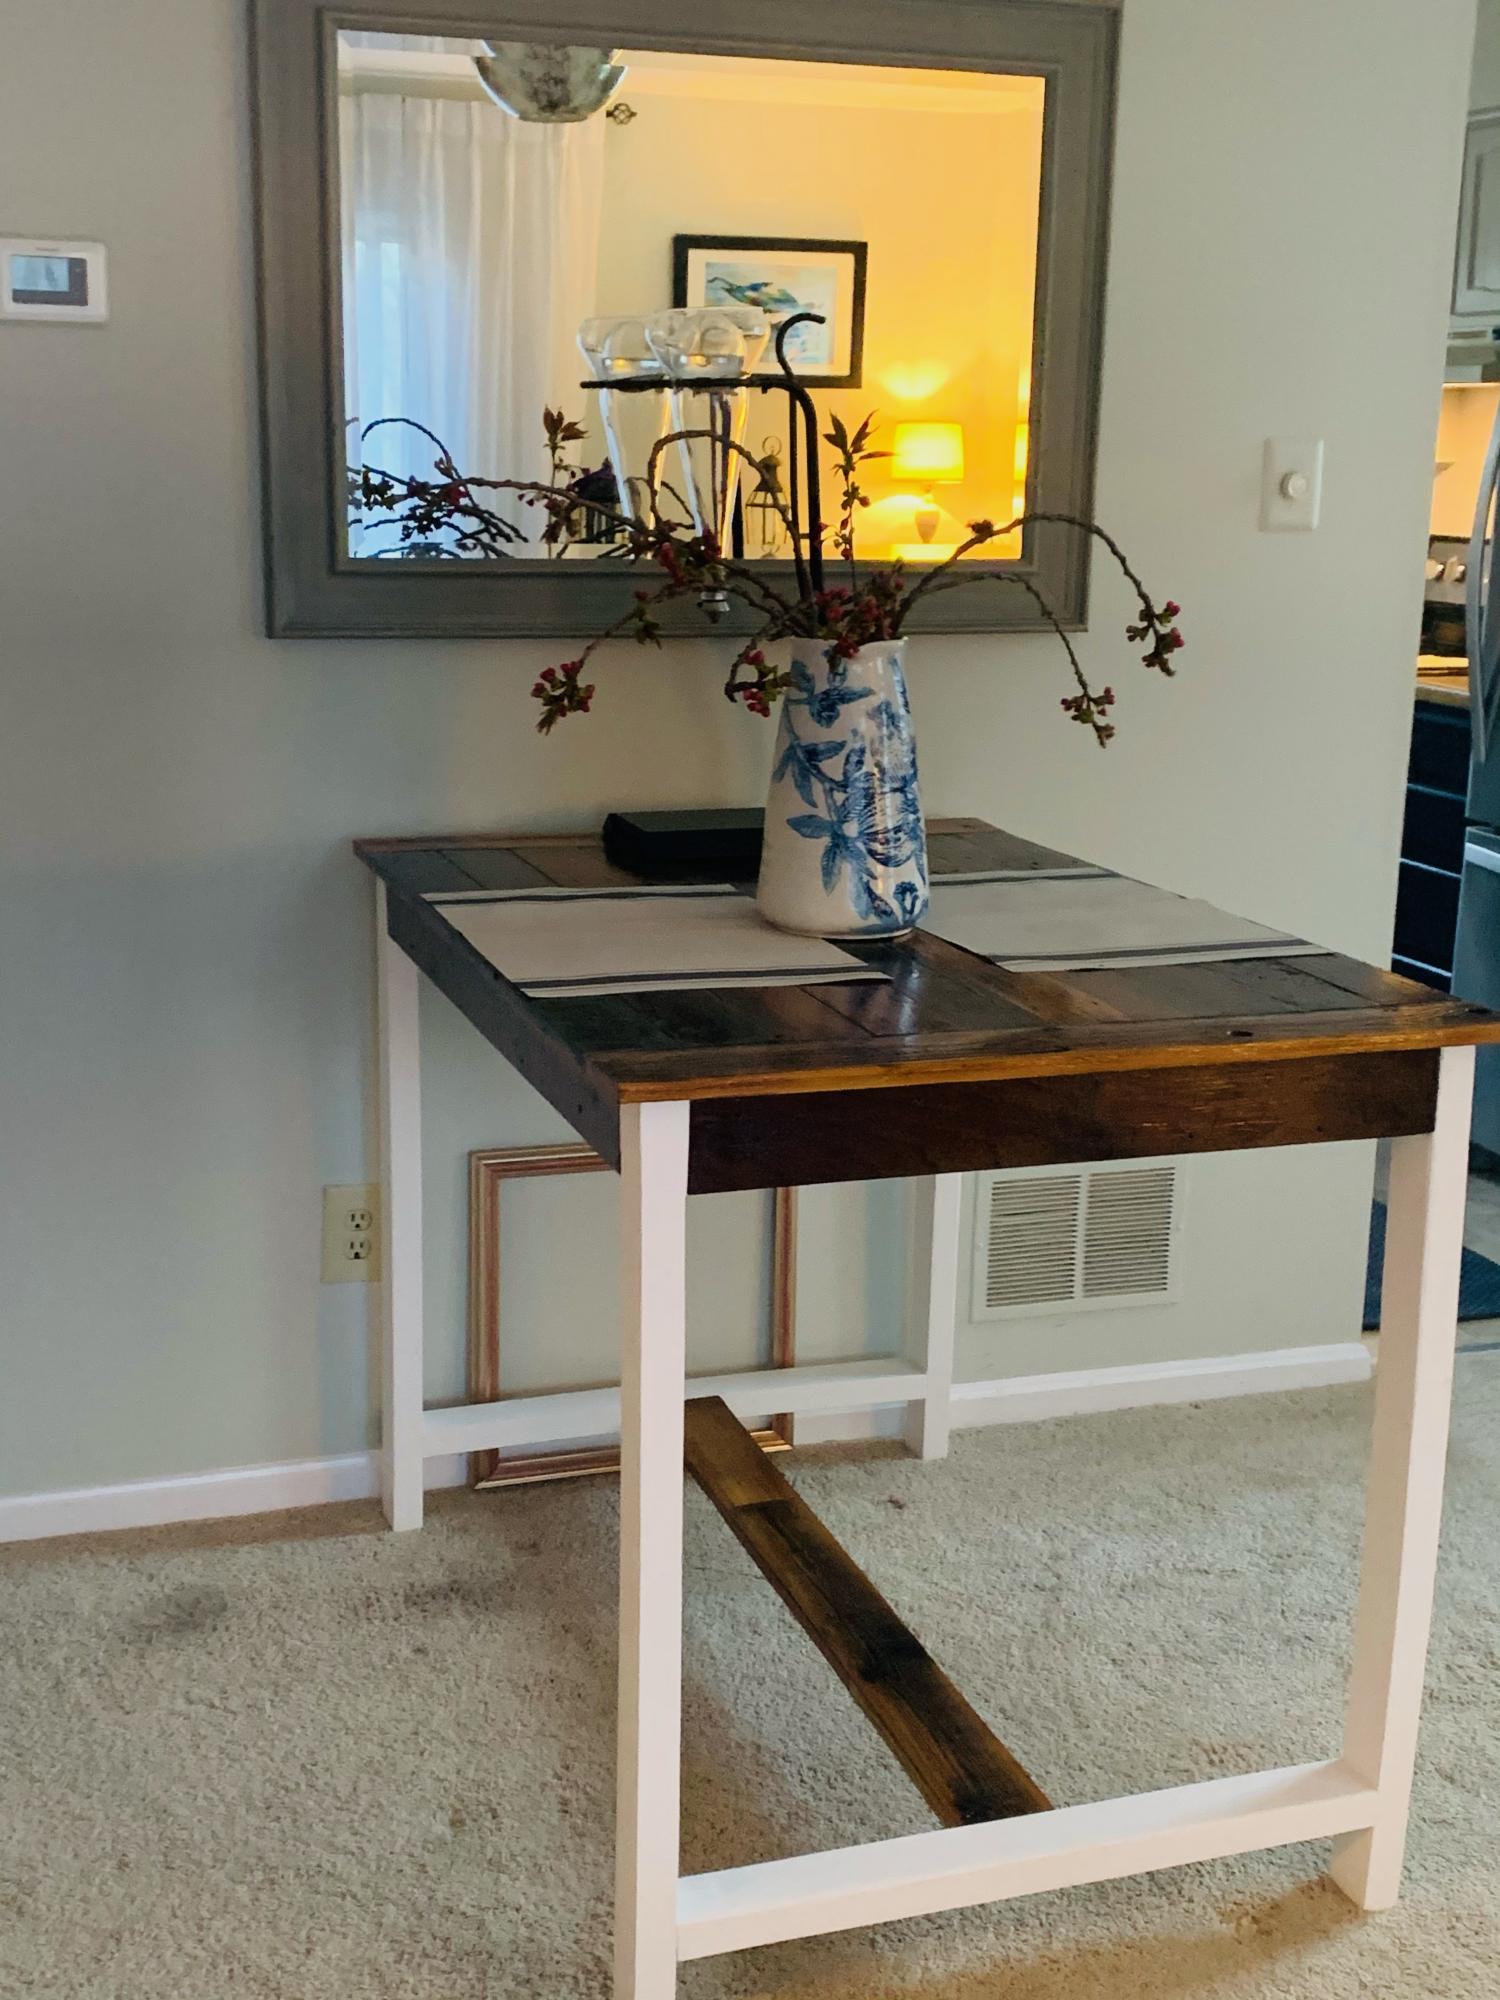
I used the outdoor bar plans to build this table. I have limited space in a living/dining room and had to fit the measurements to the space I have and the size of the pre-existing tabletop.
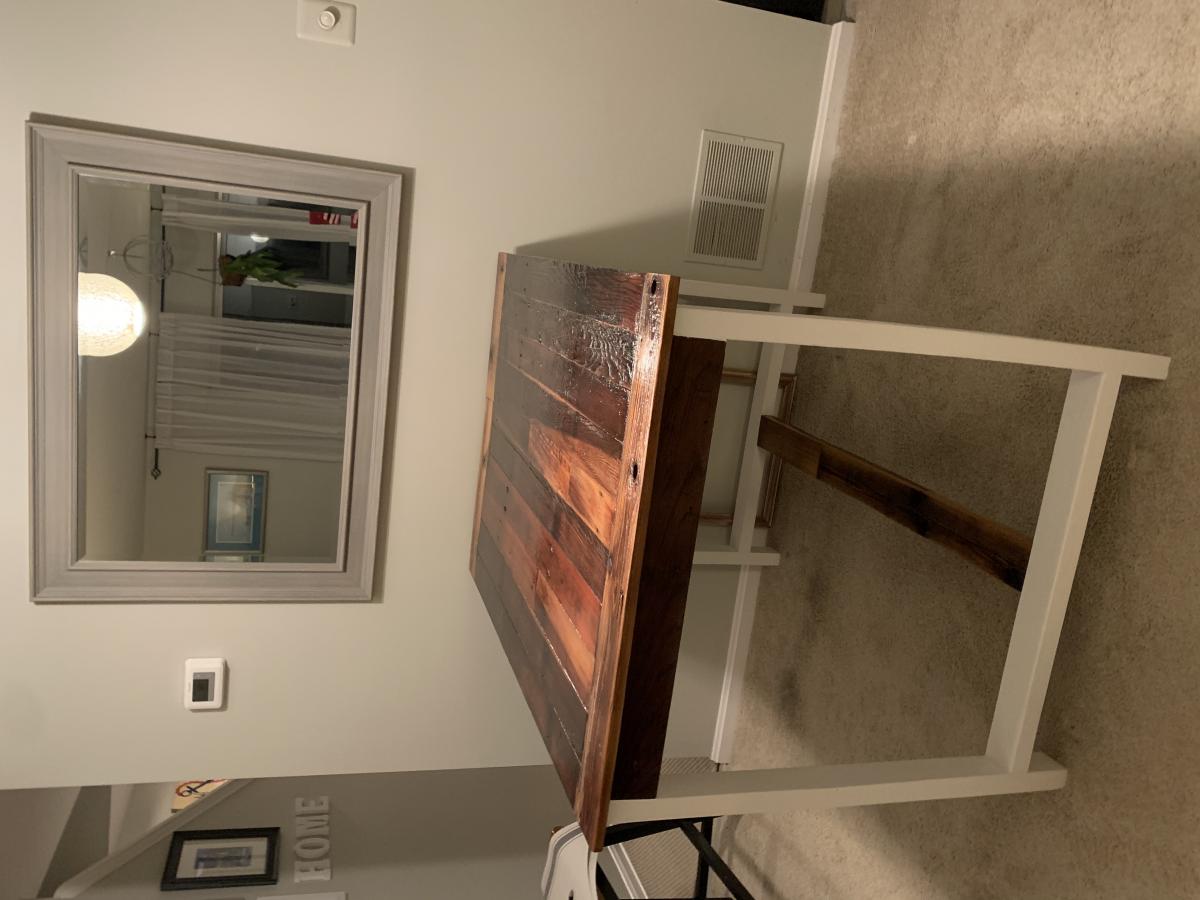

I used the outdoor bar plans to build this table. I have limited space in a living/dining room and had to fit the measurements to the space I have and the size of the pre-existing tabletop.

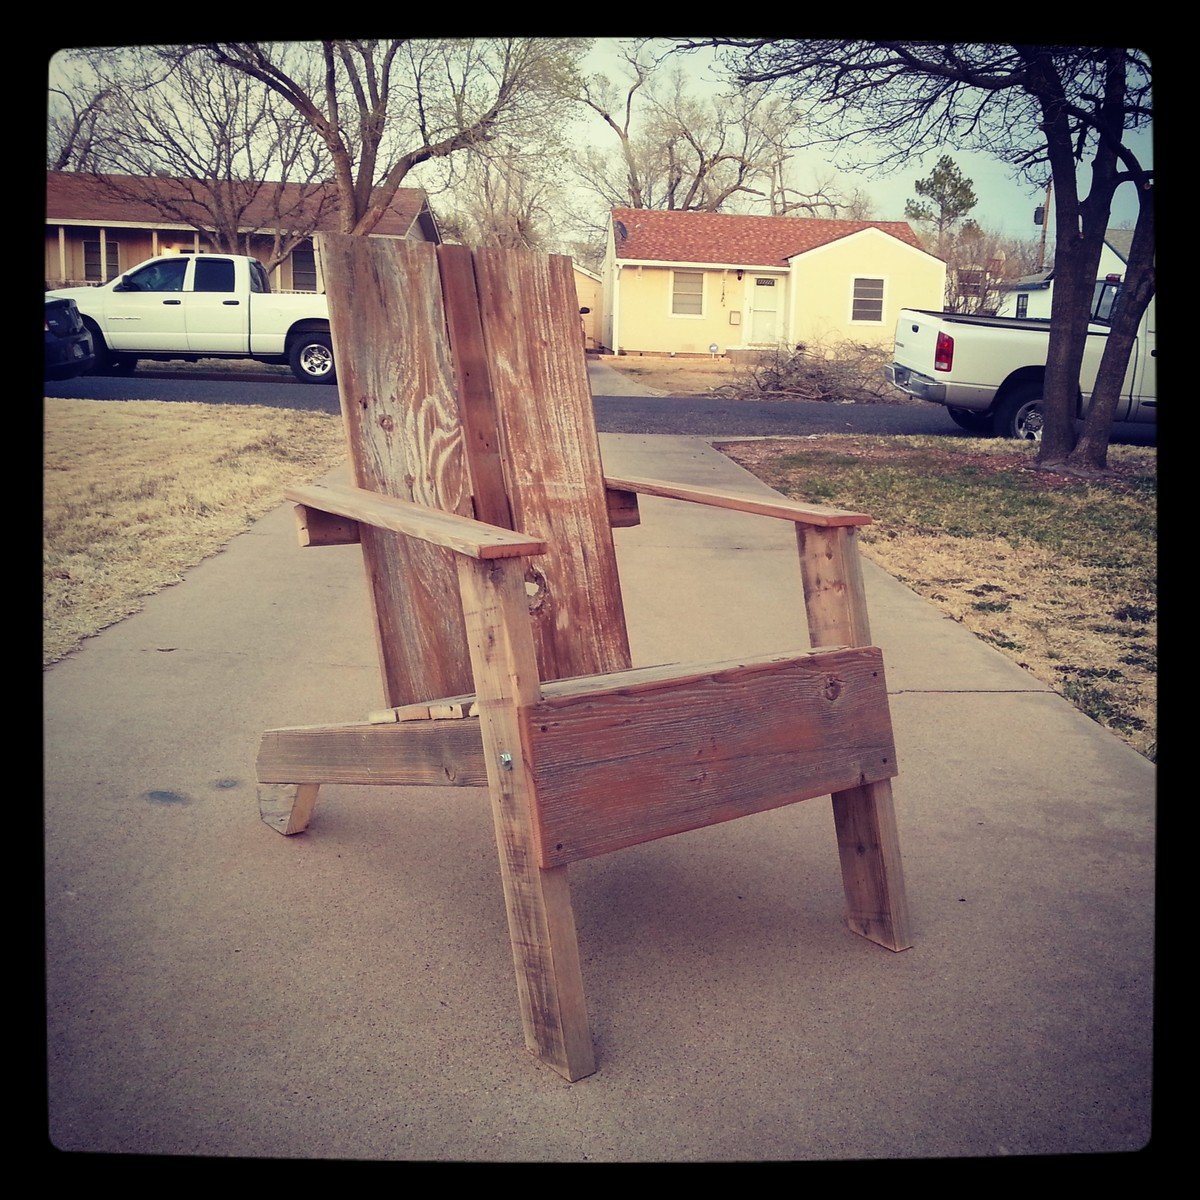
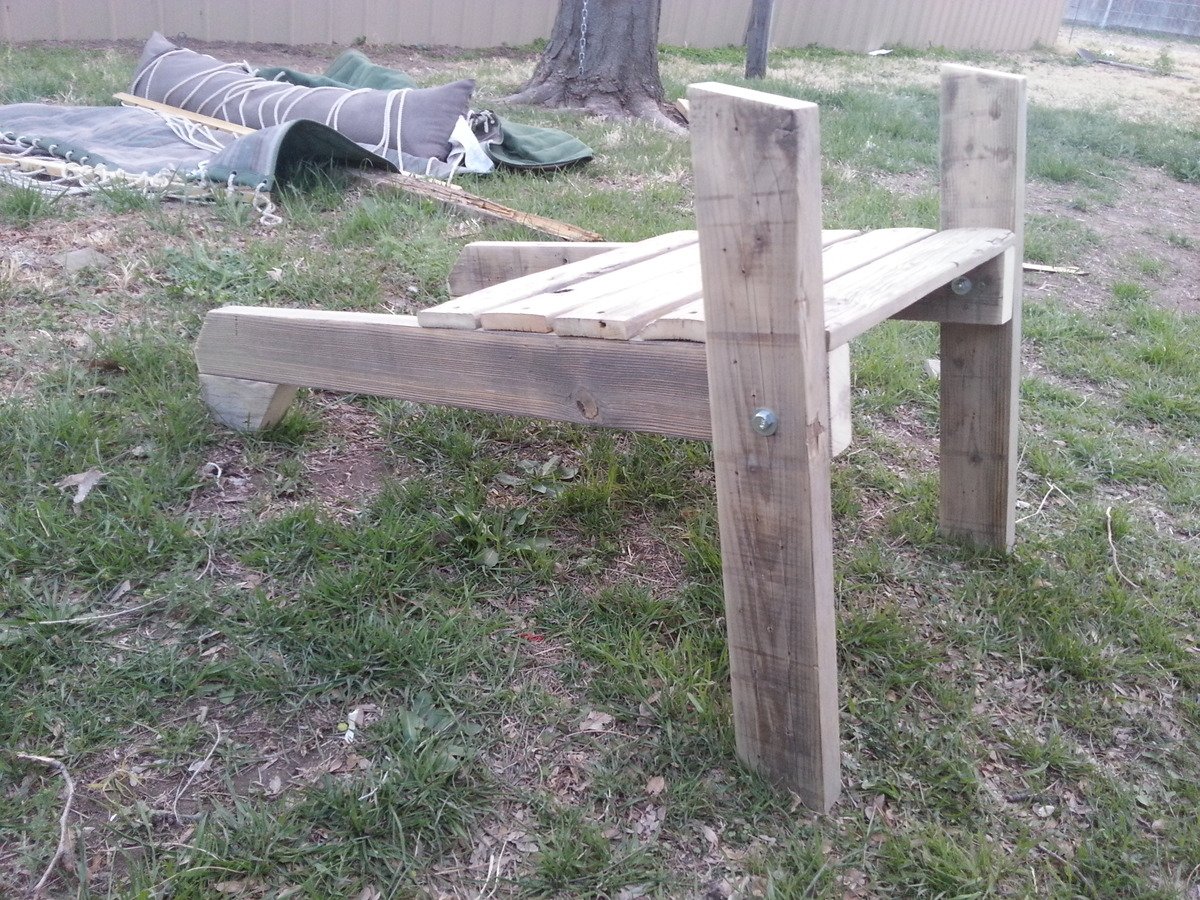
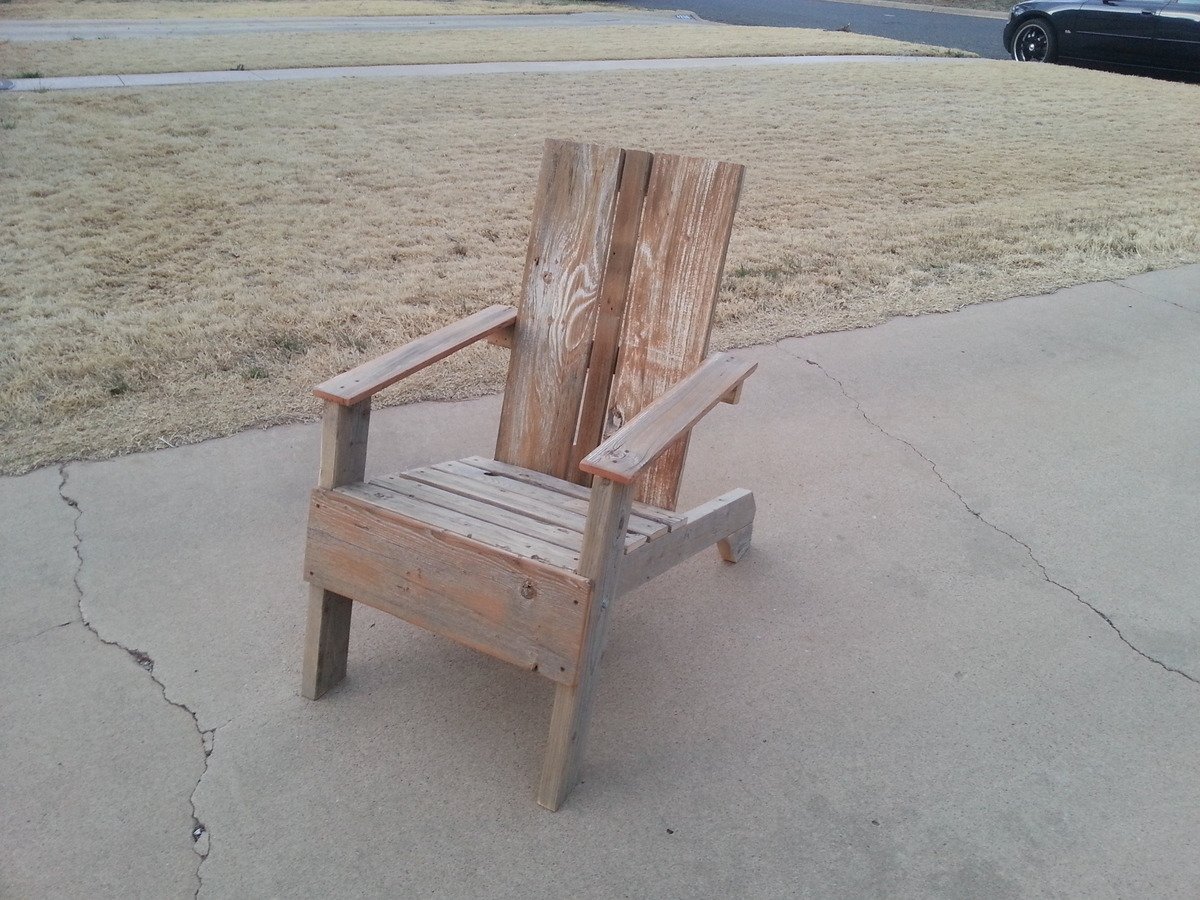
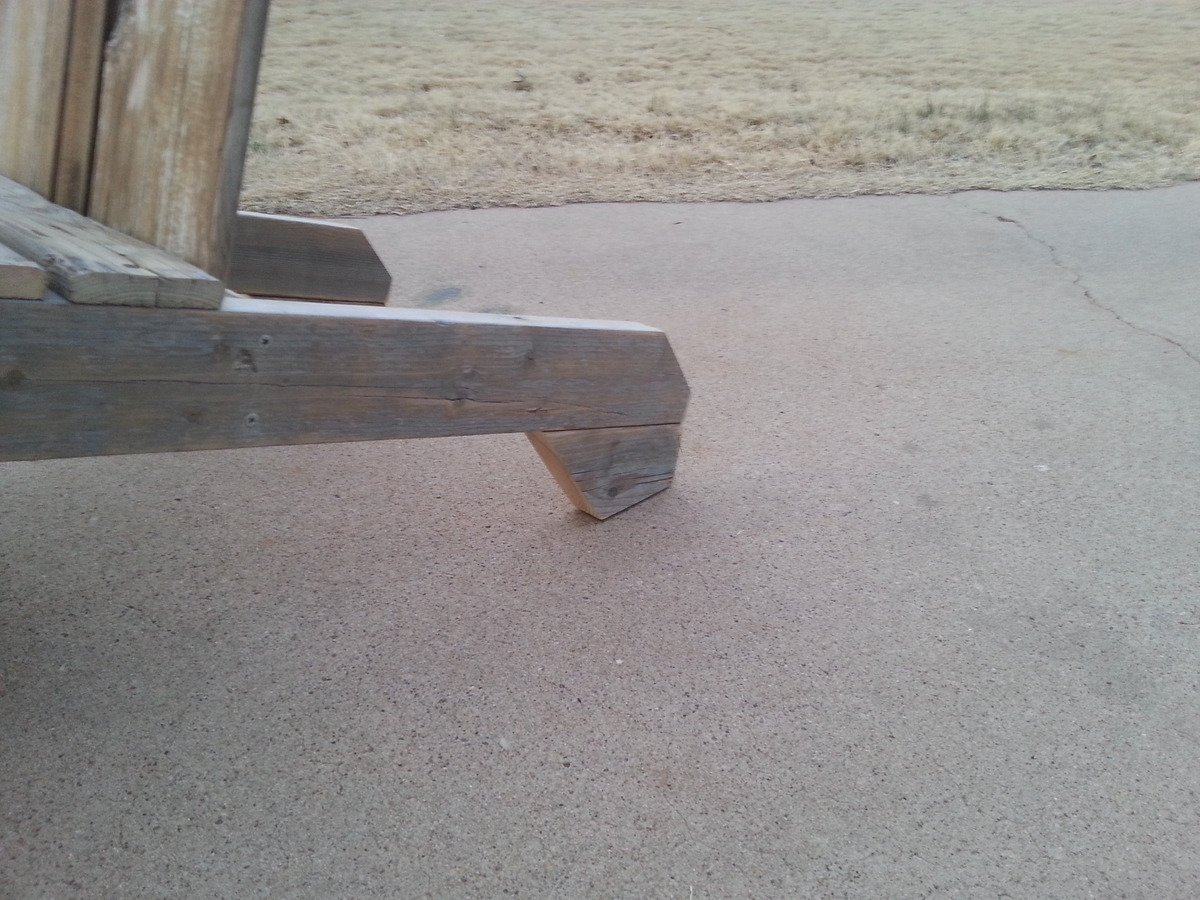
I've always wanted an Adirondack chair so I was excited to find these plans. I wanted a more rustic chair so I used fence pickets and 2 x 4' s that I had. to add some height to the back, I added some little feet to the ends of the legs with my Kreg jig. I love that thing. The markings on the wood are from the natural patina of the 60 year old redwood planks I used. Now I just need to make 3 more and a table for the back yard.
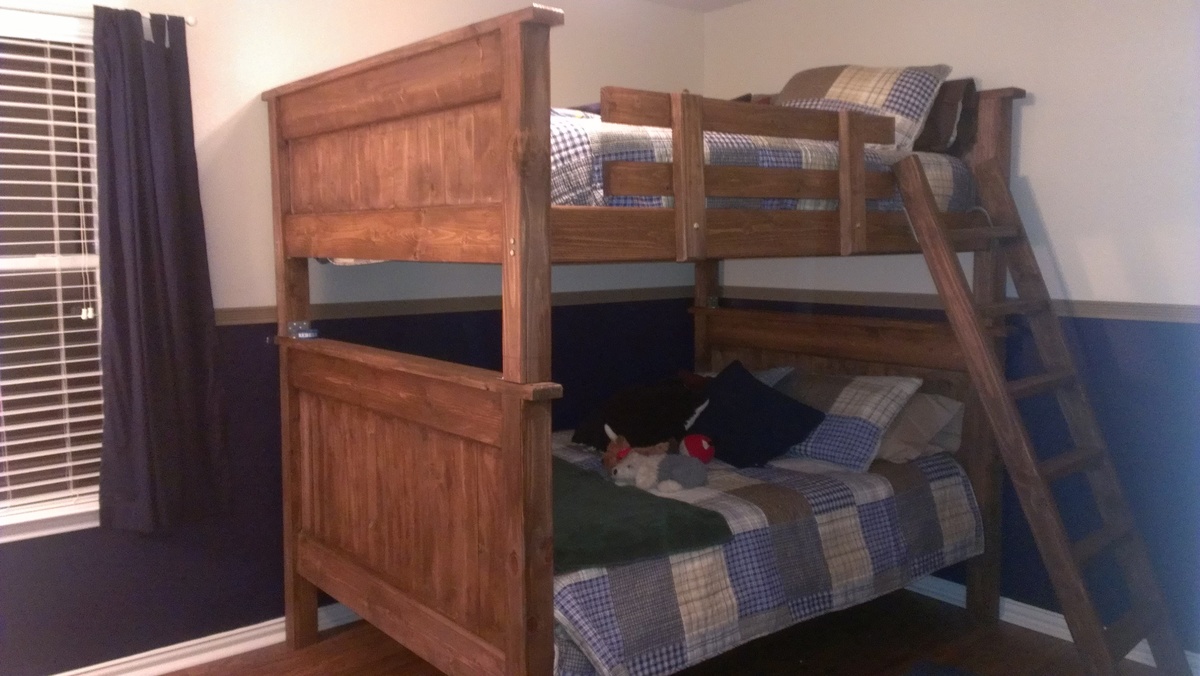
Used the Farmhouse Style bed plan and stacked them, two headboards for the bottom bed, two footboards for the top bunk bed
Wed, 04/13/2016 - 14:30
I would like to build something like this for my boys and was wondering if you still have the plans and cut list for this job.
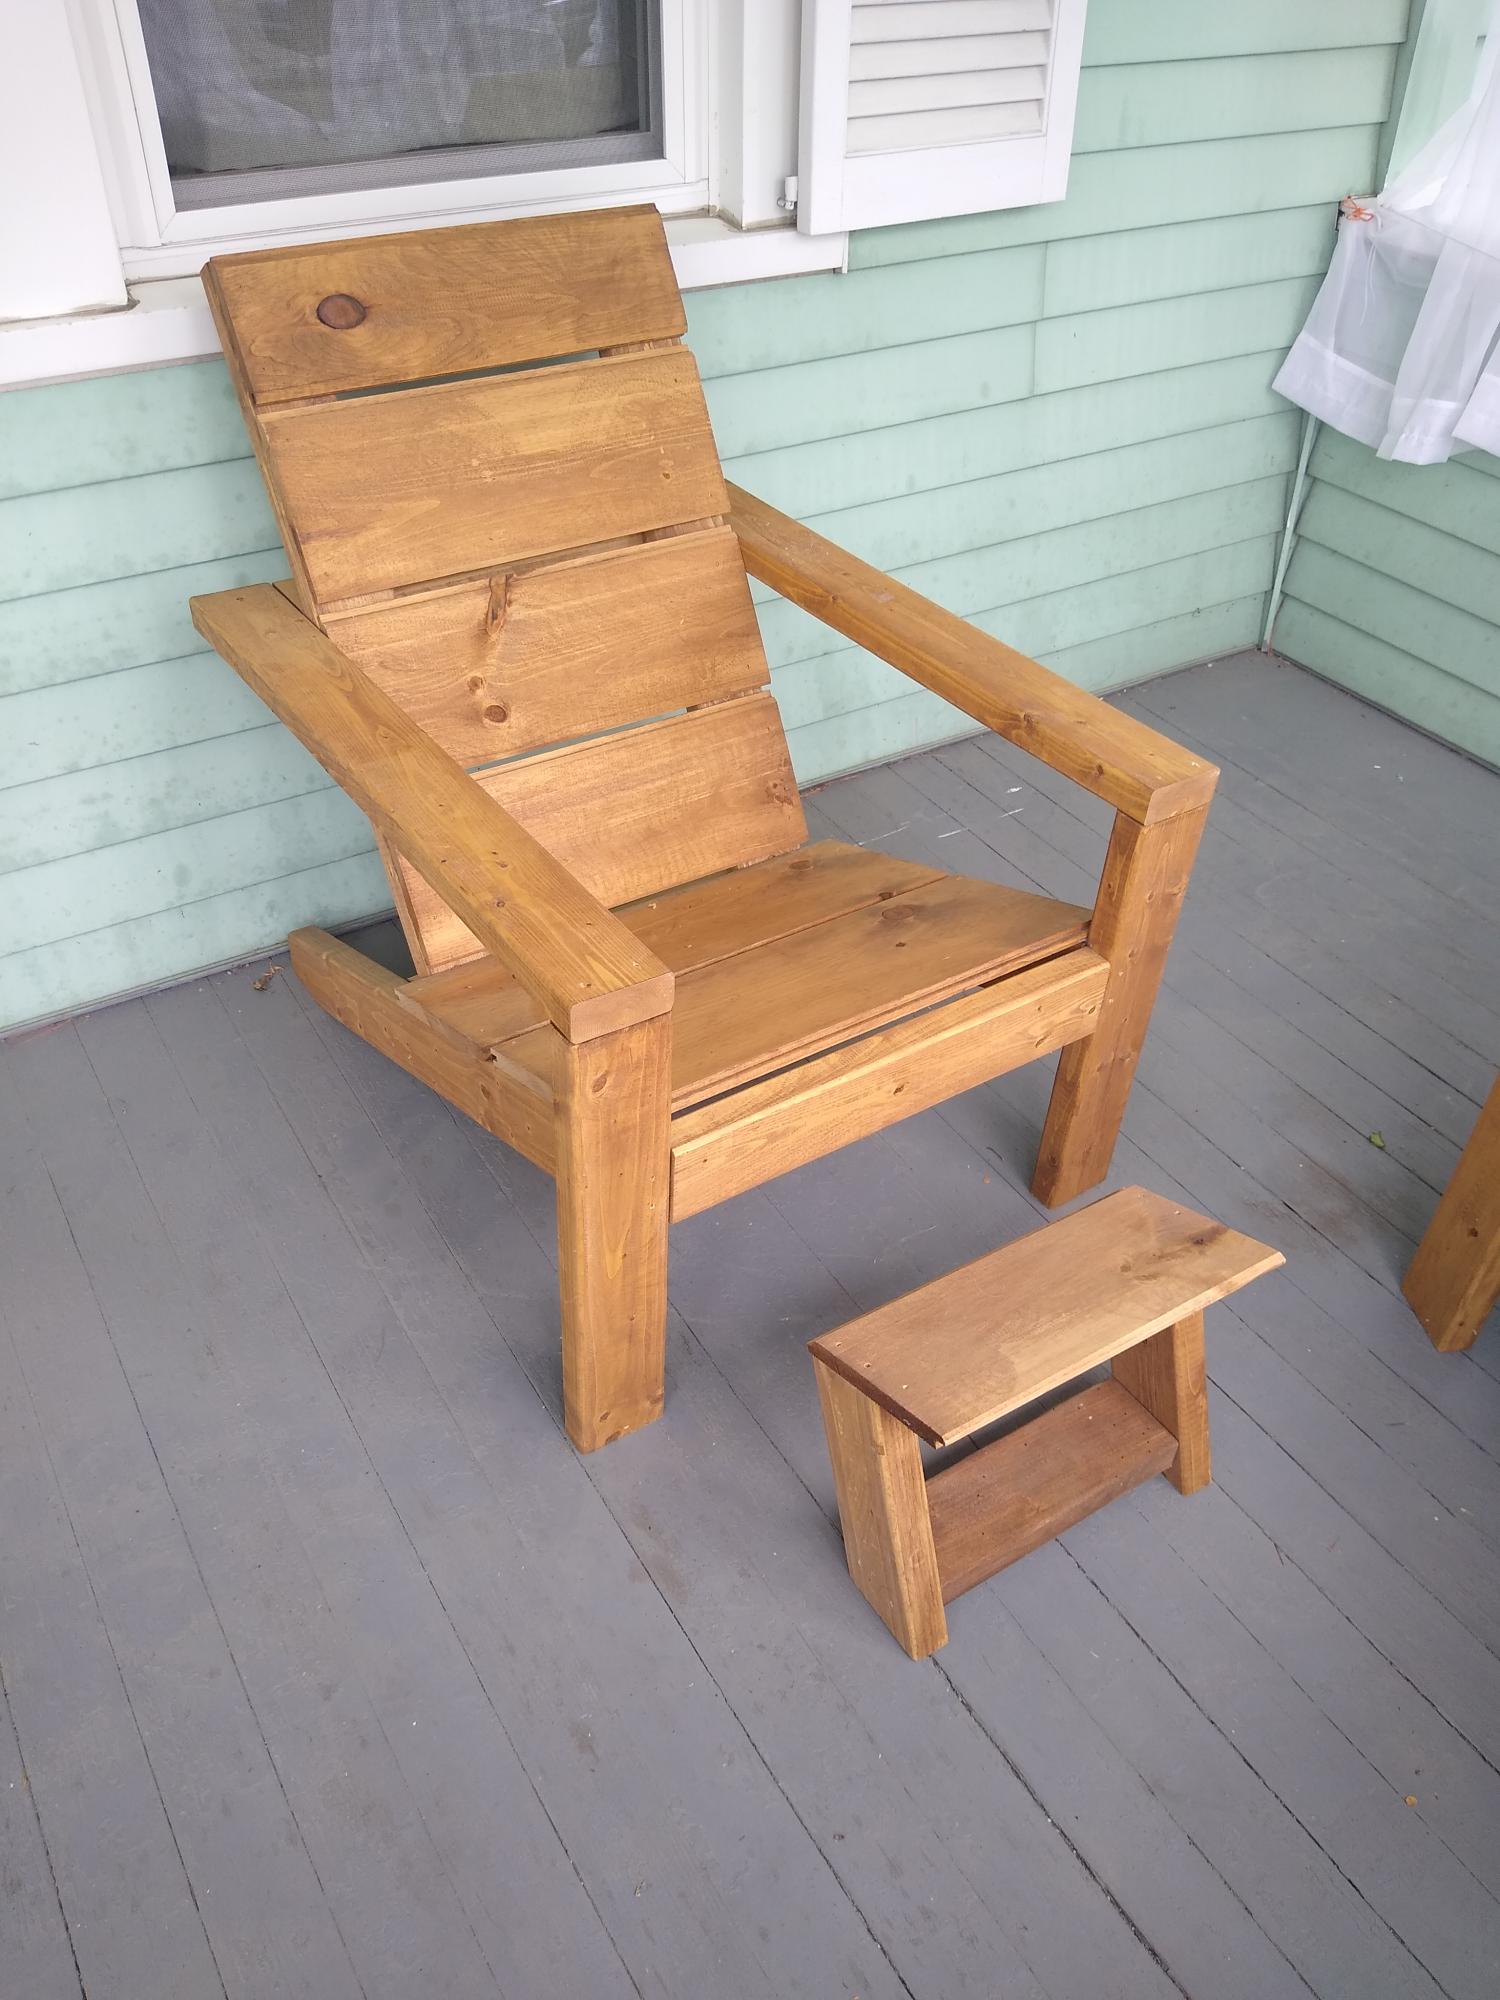
I LOVE the chairs, not only am I making them for me but I am helping my friends make them as well. The plan is so easy to follow (once you figure out how to cut the stringers). I needed a foot rest so I made this one with the scrap. The angle is from the stringer and I just used the scrap that I had left over from making the chairs, no more cutting needed. Thanks!
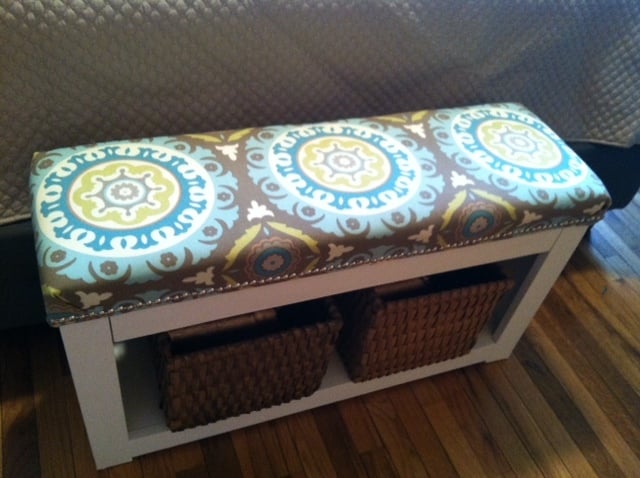
I LOVED creating this bench! It was quick and easy.
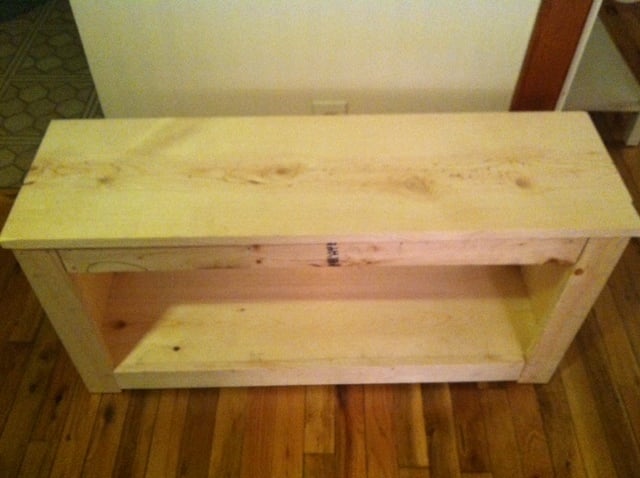
I really wanted an upholstered top with nailhead trim so even though the plans didn't call for it, I did it anyway :) I left off the top piece after building the rest of the bench, and upholstered it with 2" foam and batting. I used outdoor fabric because my dogs may be using the bench to get on/off the bed, and I figured it would be easier to keep clean! Luckily, my local Jo-Ann store just put out a plethora of outdoor fabrics, and they were 50% off (as was the foam!). After the upholstering was finished, I used nailhead trim because I LOVE the look. Then, I attached the top by turning it upside down and setting the bench upside down on top of it, and nailing the two together.
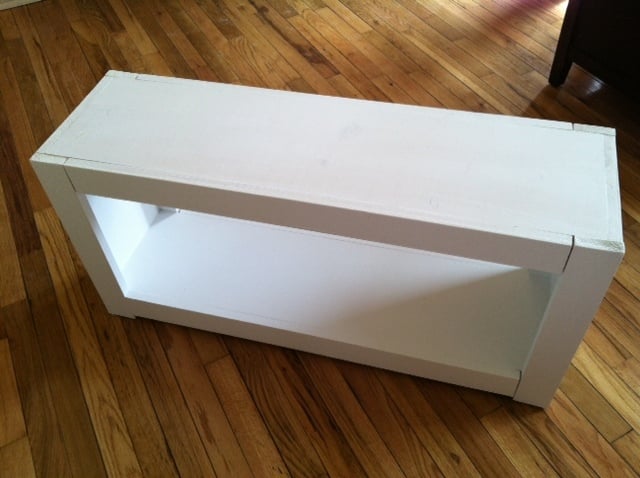
I decided to paint the bench white instead of staining, and I'm so glad I did. I feel that it gives the piece a certain sophistication, and it goes perfectly in the bedroom.
100% happy with this piece!
Mon, 04/01/2013 - 09:03
Thanks so much! I am super happy with how it turned out. Have fun creating!
Mon, 09/16/2013 - 06:58
I am totally obsessed with Ana's plans and was planning on building the Spa Bench - saw yours upholstered and am now going to try that!! Did you still use the 1x12 as the top piece that you upholstered? I think by your other pictures I see the overhang - so I will give it a shot!! You did an amazing job on yours!
Mon, 09/23/2013 - 06:02
Hello lovinit9! Yes, I followed Ana's plans. The only thing I did differently was that I upholstered the top before I attached it to the bench. Then I attached it by nailing it from beneath (the inside of the bench, nails going upwards). After it was all together, I then put on the nailhead trim. I hope that helps and good luck to you!
I was a bit over my head with this one but I am so far very happy with the project. It is not quite finished. The marble was installed last week and we are awating the plumber to come back to hook up the sinks. I will install the second slatted shelf once the plumbing is in. Will post finished pictures soon. The mirror is made from 6x6 posts from the lumber yard. We had a friend cut them to size using a band saw. We made the mirror frame based on a picture I found on Houzz.com. The mirror glass was something I picked up off of craigslist for next to nothing and removed from the original frame. It is HEAVY (~200lbs) and attached to the wall with metal brackets. We purchased the sinks/faucets on ebay.
Mon, 02/16/2015 - 13:14
Wonderful! Love it! Thanks for showing us the steps too!
In reply to Wonderful! Love it! Thanks by Ana White
Tue, 03/31/2015 - 14:18
Thank you Ana! It's finally done, yay!
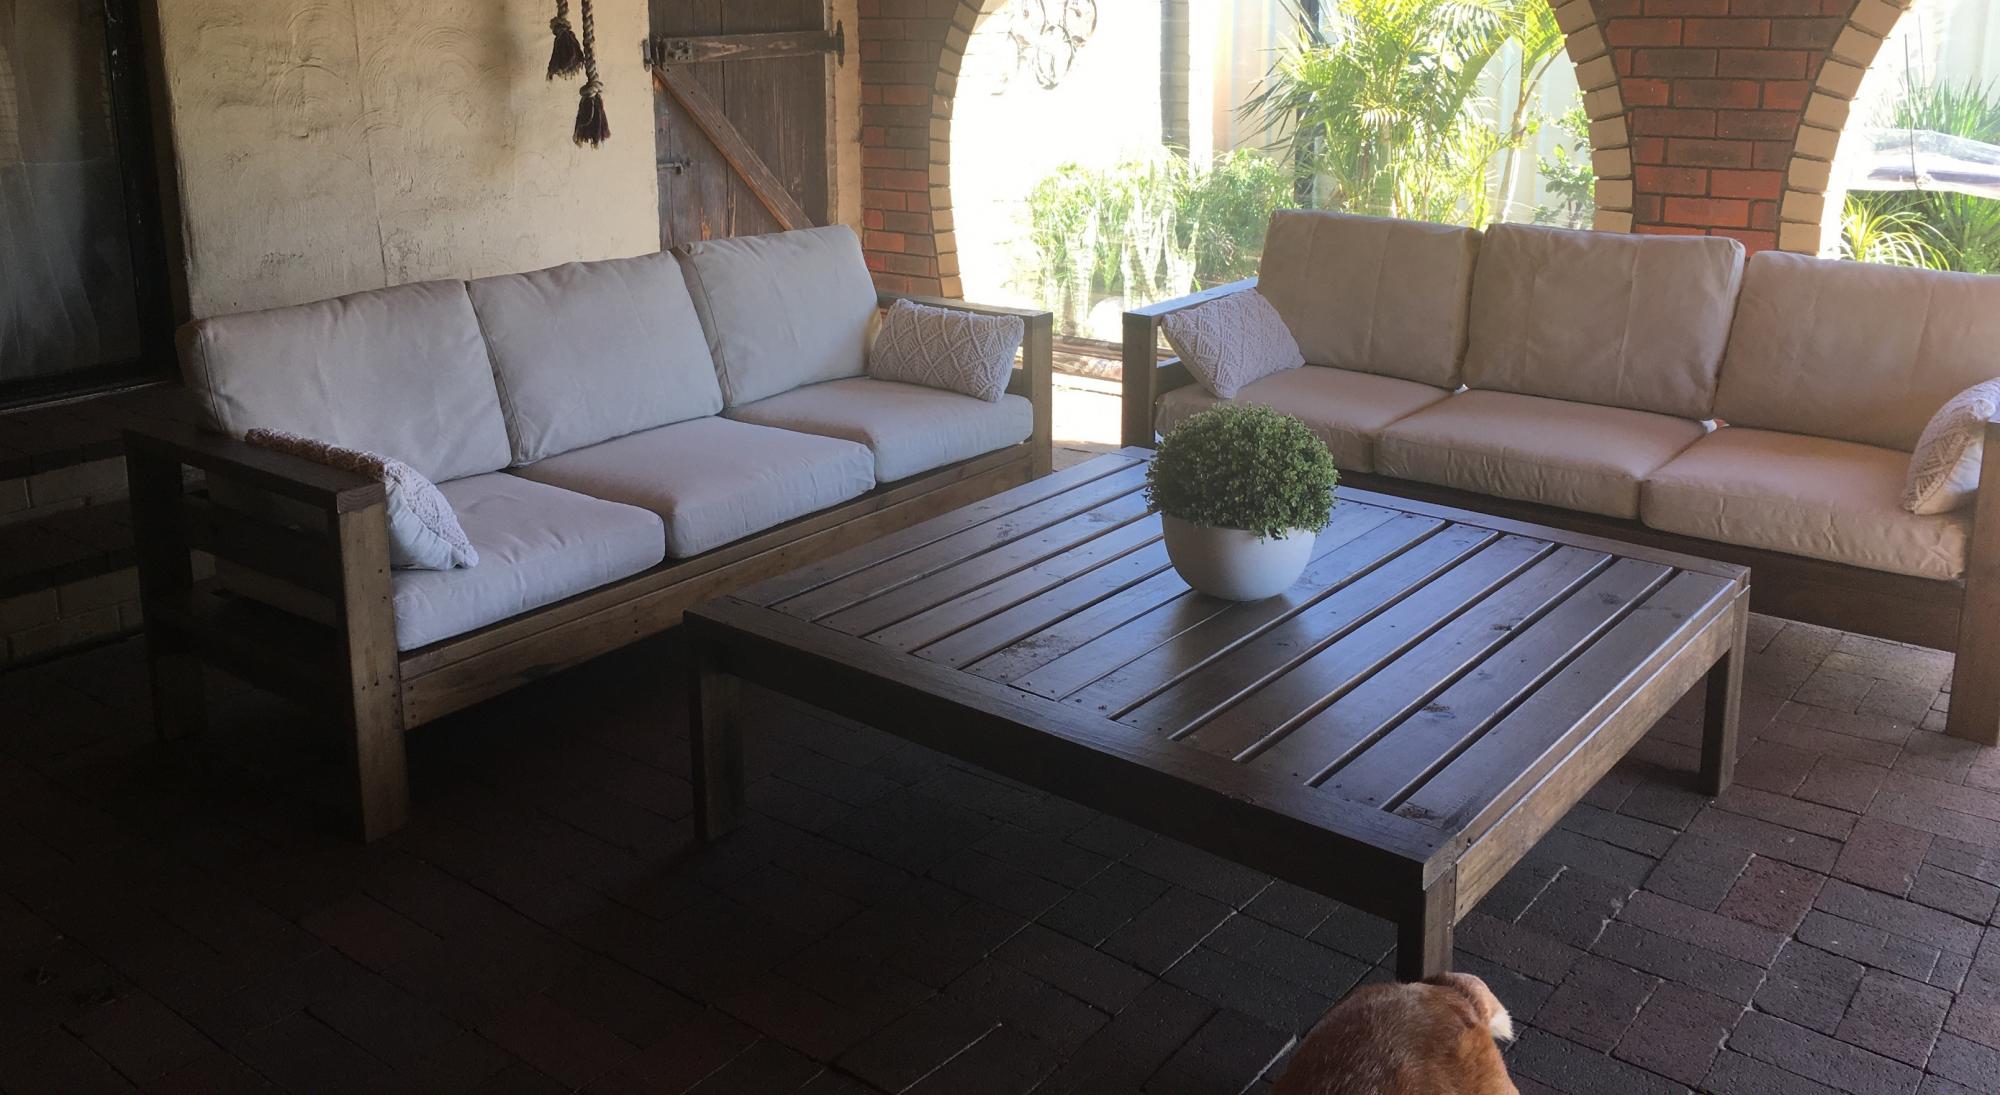
Hi Everyone
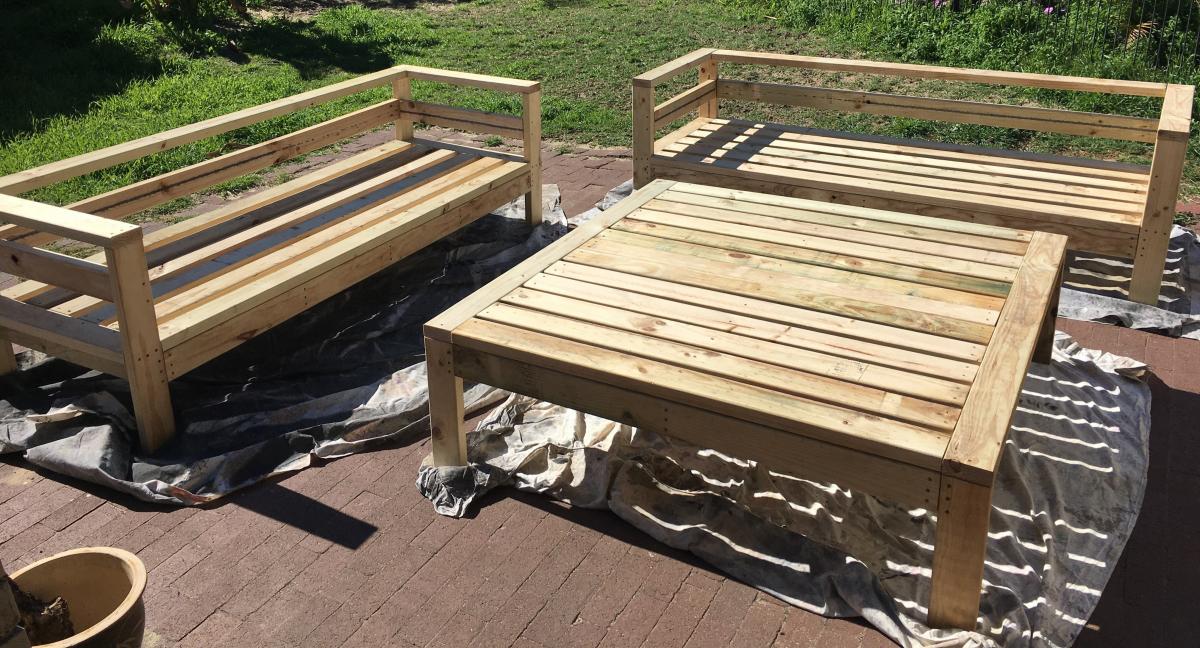
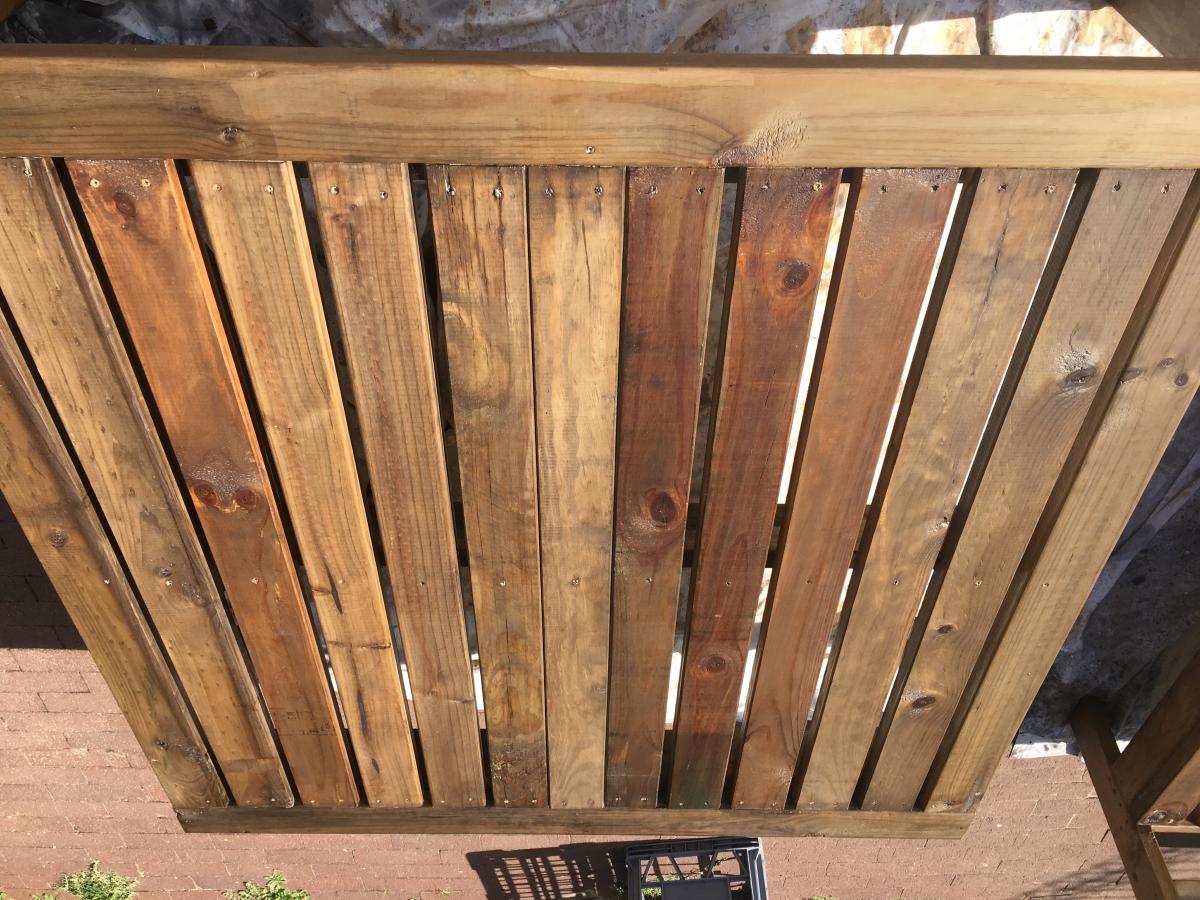
Ana, I love your work, so much, that I used your plans and adapted them to make this outdoor 3 seater setting and table, with cushions bought from Ikea. It's been a year and a half since built and is still holding up strong. I'm sure it will last a lifetime. Longer than the cushions will.
Thanks all
Jo
Fri, 05/14/2021 - 11:17
Thanks for sharing, it looks like a great space to hang out!
We made the providence benches a little bigger to fit our space perfectly and painted them RED for pop. Soooooo many compliments from our neighbors!

Made whith Pine, Changing Table fitting with Kendal wide dresser.

This design was straight forward and easy to modify - made the bench deeper and shorter, and added a shelf.
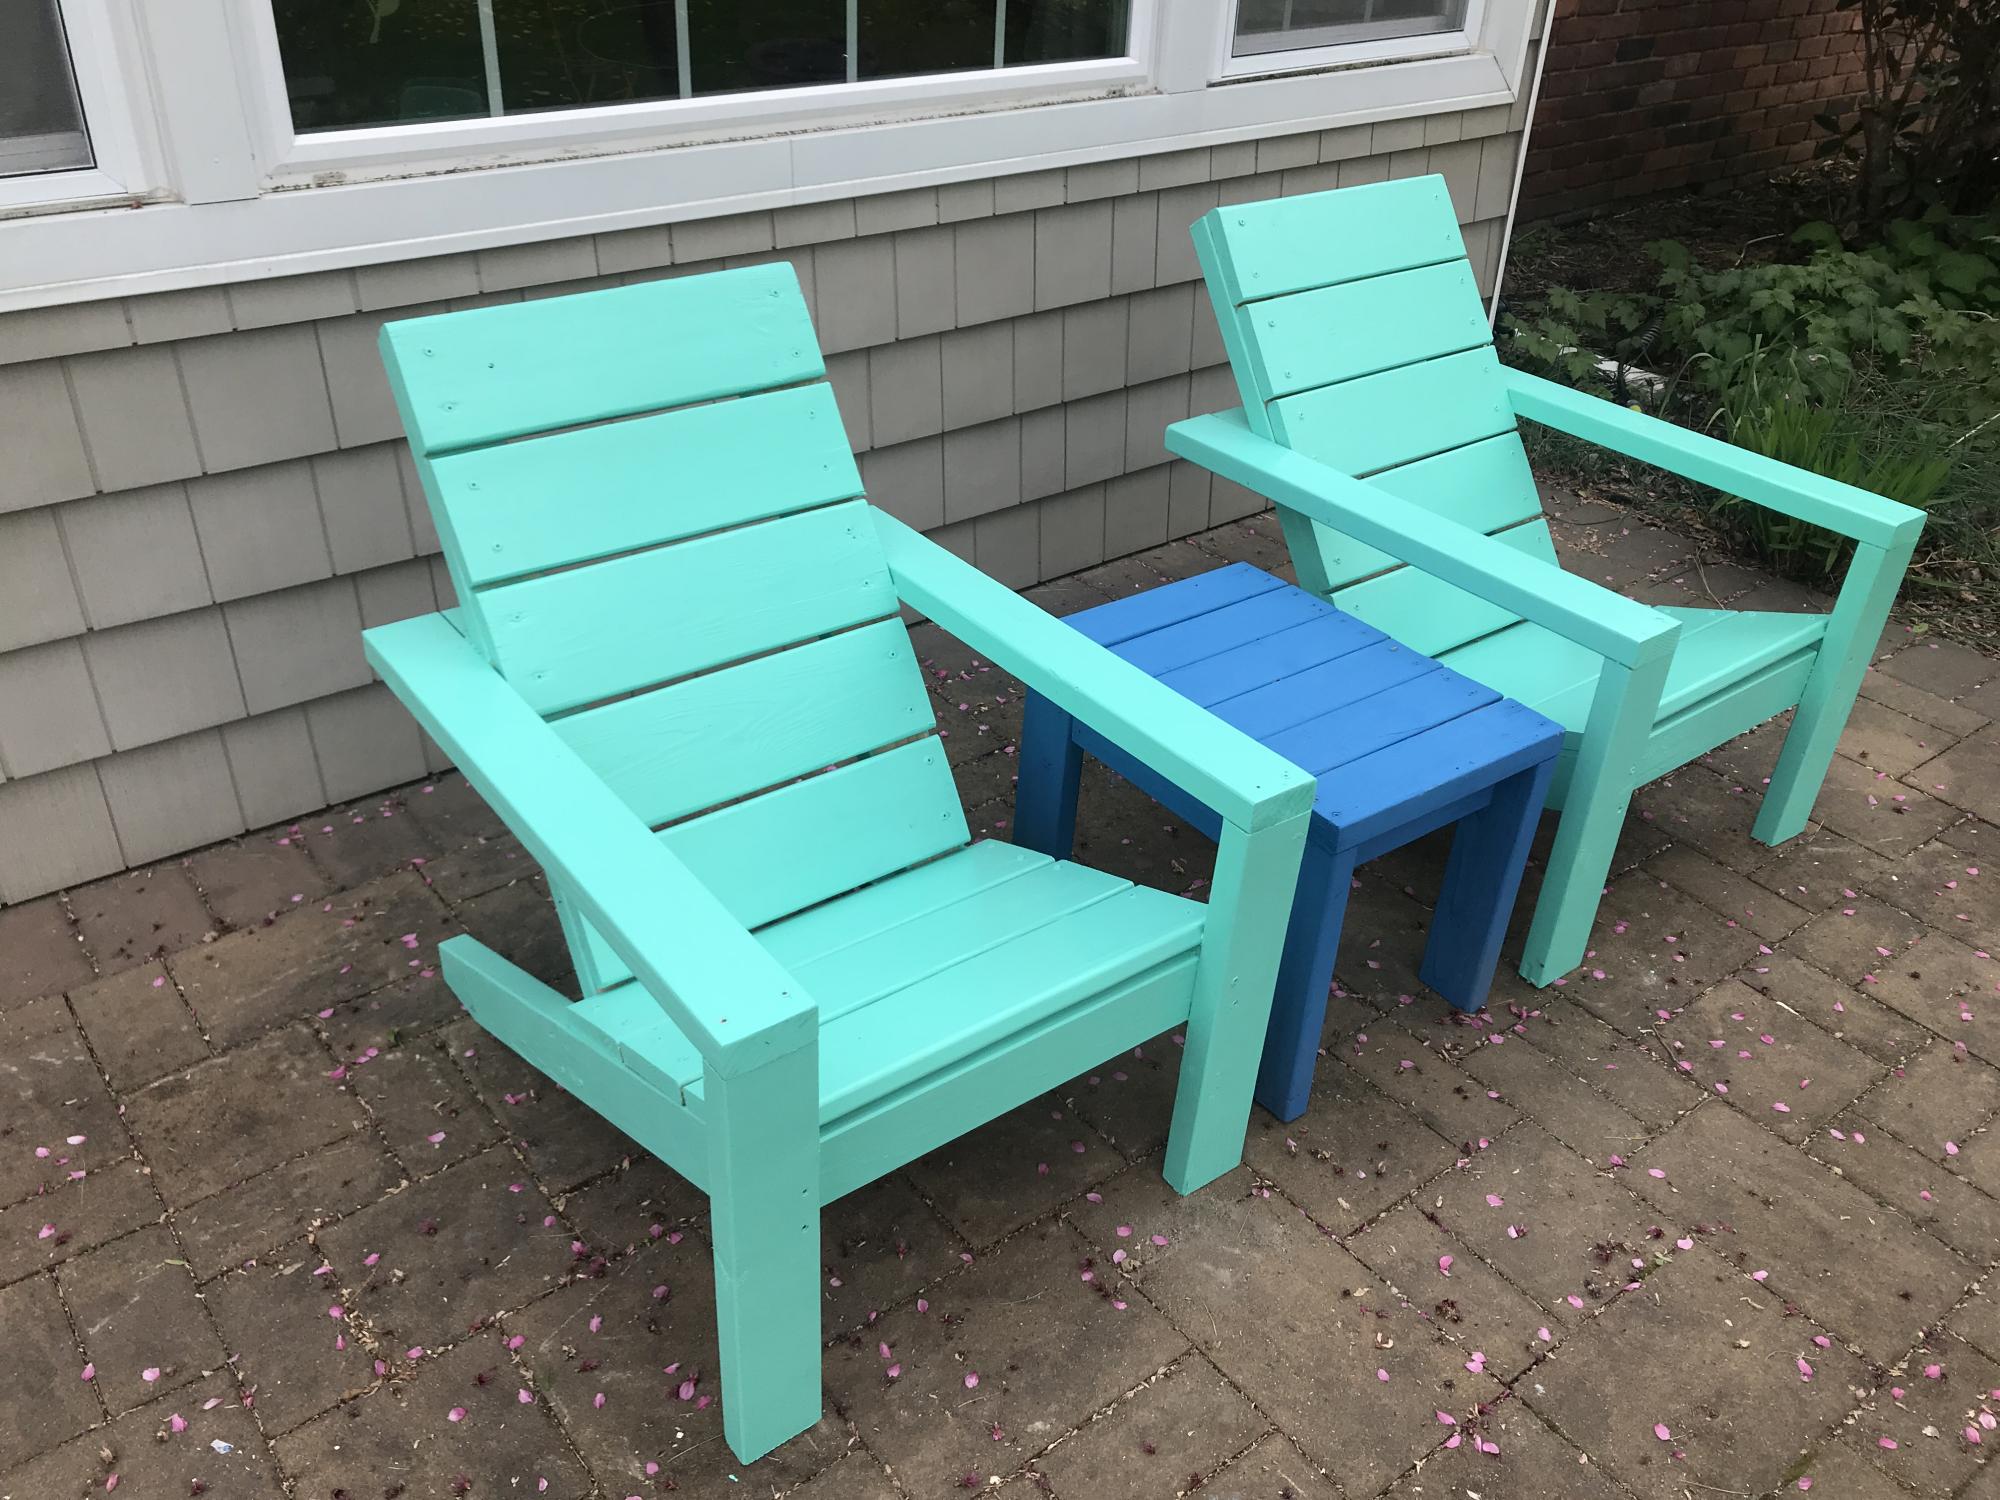
I'm a mom of two kids and new to wood working. The video instruction and the plan were so comprehensive! Thank you Ana, you inspired me to do more wood projects. I feel so accomplished and got so many comments on my new chairs. They are really really comfortable. My husband, who has a stiff back, loves the chair as it is also comfortable for him.
Mon, 05/24/2021 - 09:25
I am so happy you built them, and love the color choice! Happy building:)
Wed, 03/16/2022 - 11:54
Love it! Can you tell me what you used for the finish? Stain or paint and what brand? How is the finish holding up?
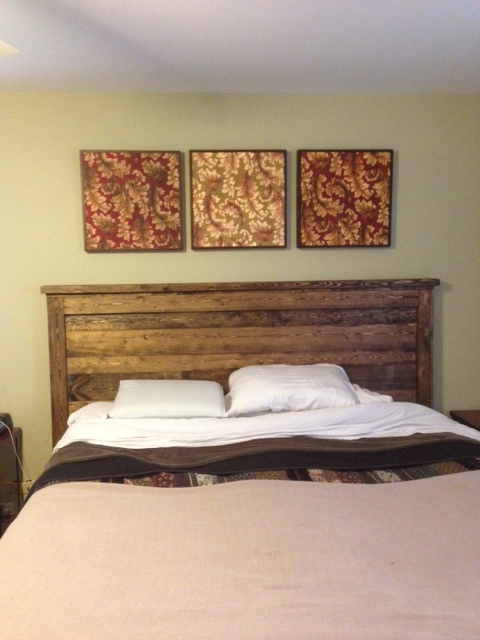
I used pine wood and minwax walnut stain. I did run into a minor issue with a few of the slat boards being warped so I ended up screwing on (3) 1x3's onto the back, perpendicular to the slats, so the boards sat flat and their edges were flush. This also added more stability to the project. One coat of stain did the trick for the color we were going for. For such an easy project, this makes a big difference in the look and feel of our bedroom.
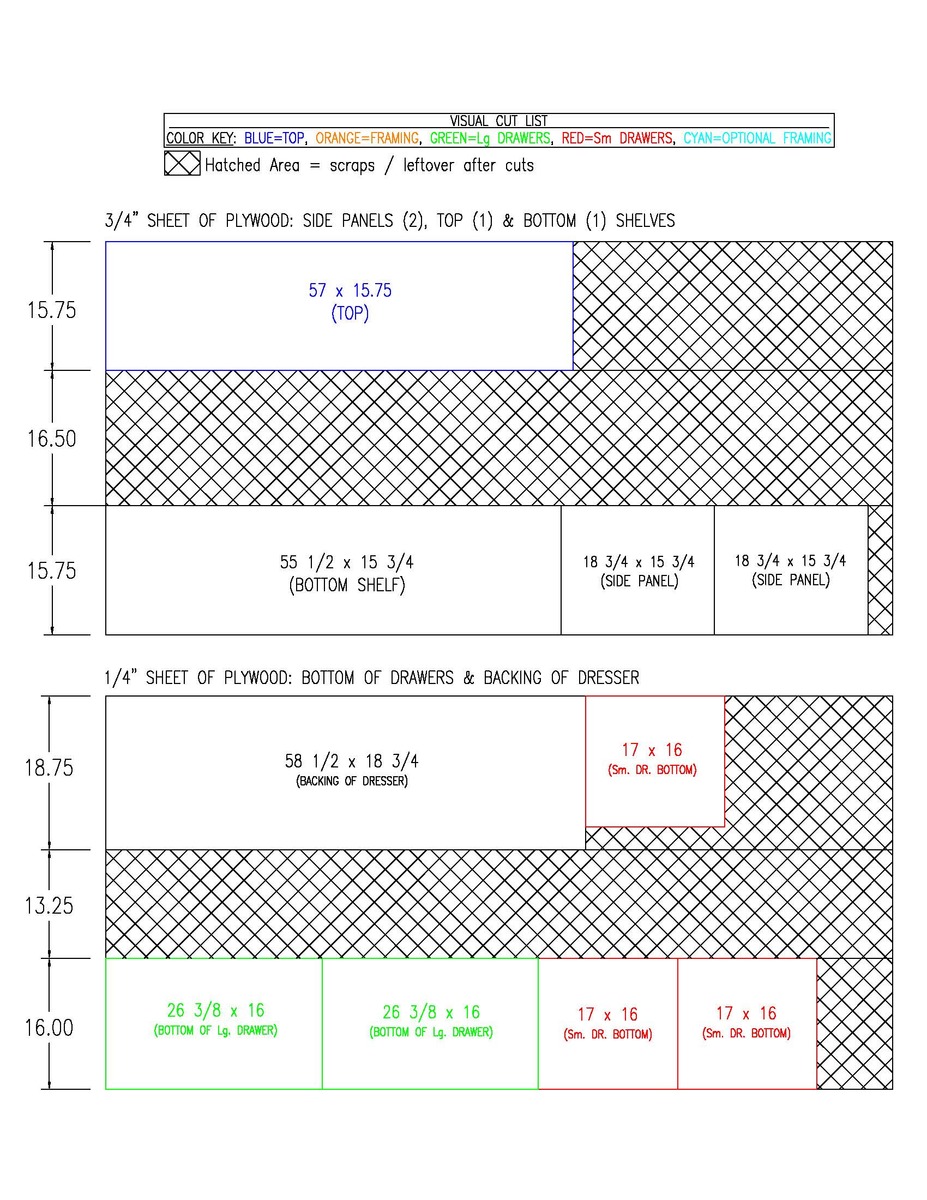
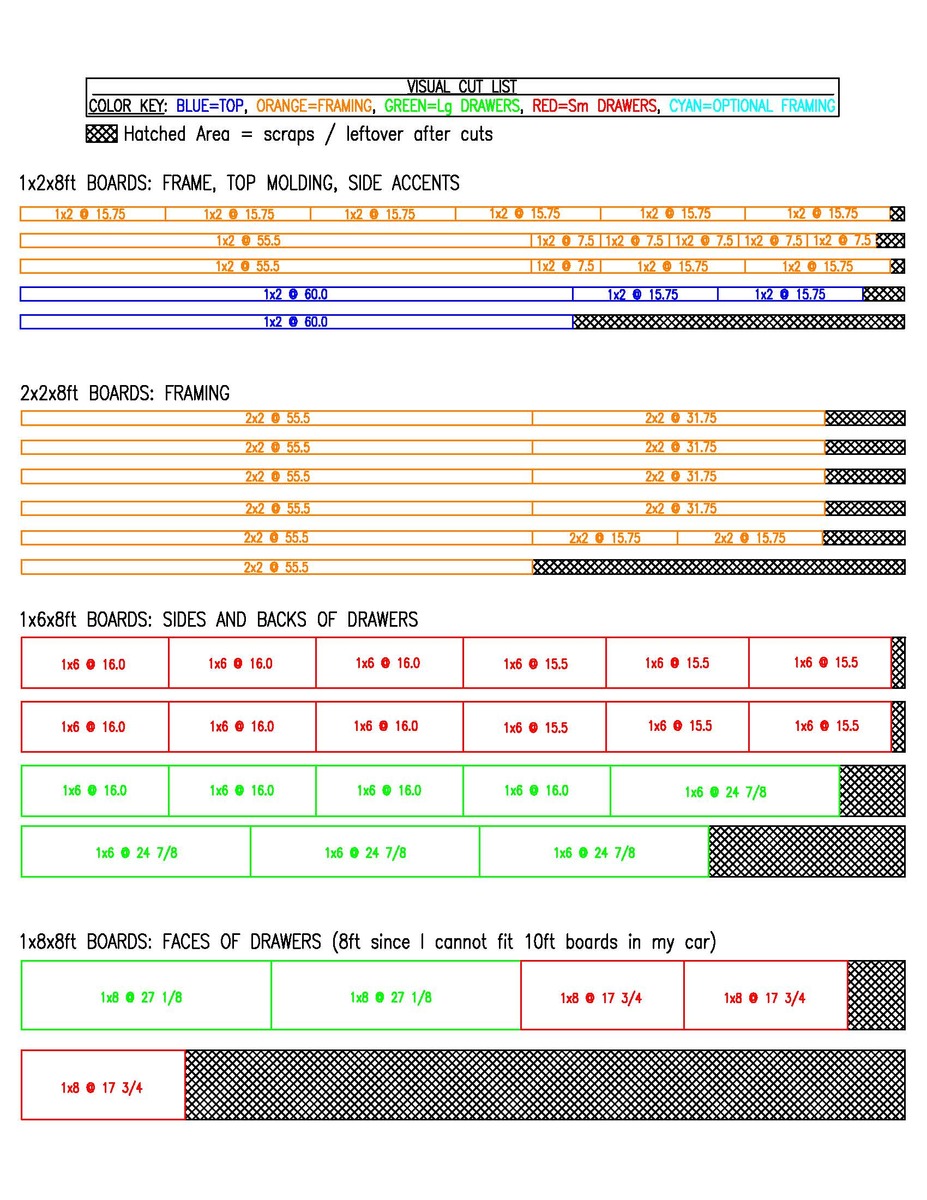
Since I am a very visual person when it comes to drawings and 2D/3D renderings, I have included pictures of the cut list shown on the boards you will need to use. I hope this helps some people! Keep in mind, if you use side mount drawer slides like I did, you need 3 extra 15.75" pieces for the slides to mount to. I just used extra 1x3 boards I had hanging around.
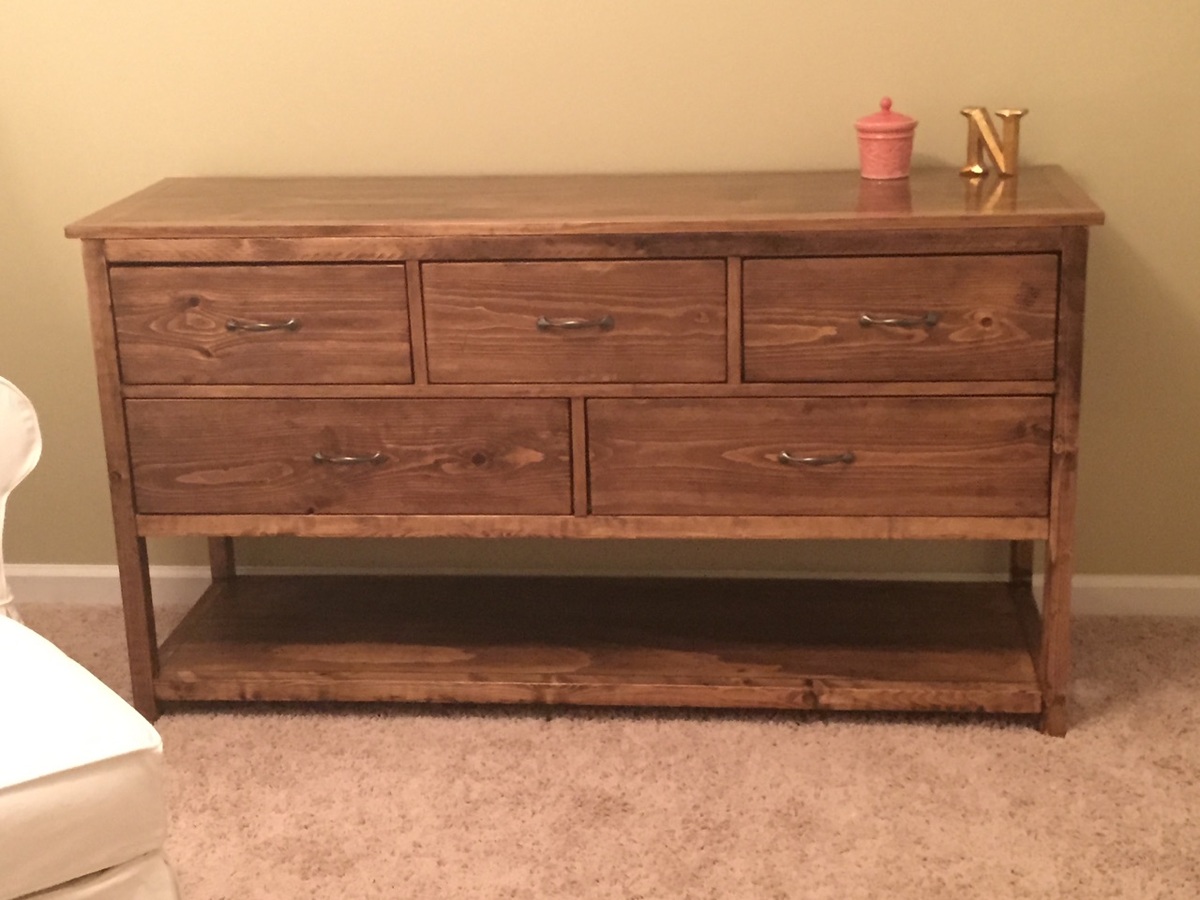
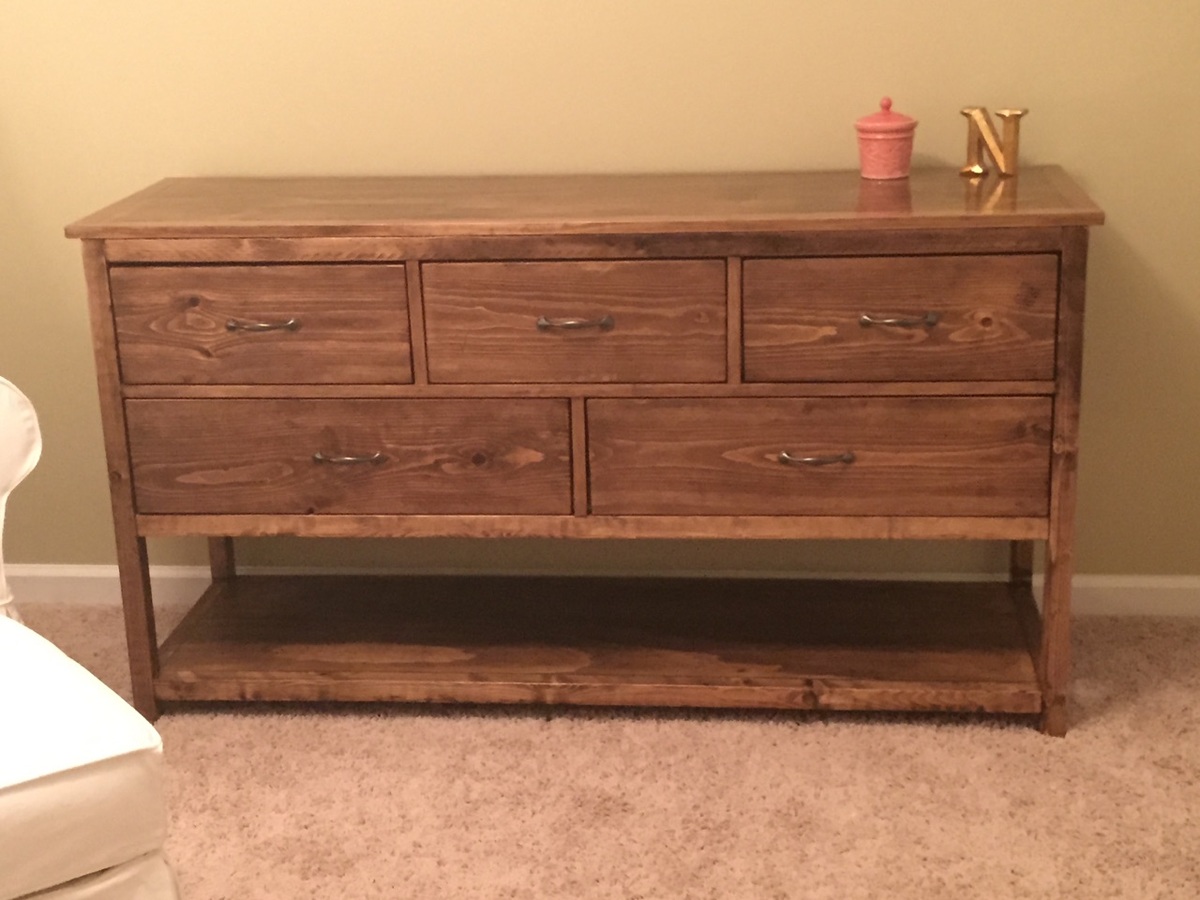
We built this dresser plan to be used as a dresser / change table combo. The guy at the home improvement store said to use oil based polyurethane so that it was more resistant to change table spills and traffic/wear over the years. The oil based poly also added a nice amber color to the stained wood which I really liked.
This is the most complicated project I've made so far (because I've never made a plan with drawers), but after a couple tables and a desk from Ana's site (and referencing Shanty-2-chic also) I was confident that it would turn out well.
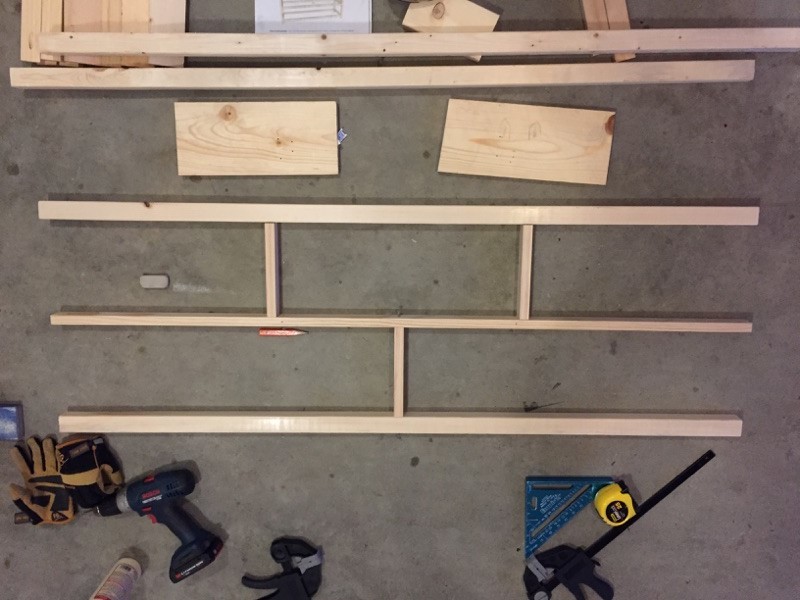
Change from the original plans --> We used 16in ball bearing "soft close" side-mount drawer slides instead of the euro style bottom corner mount ones mentioned in the plans. This requires adding the supports shaded in blue on the plans near step #7 pictures. Getting the exact spacing width for those slides was a bit tricky and the drawer boxes had to be within 1/16" for them to work, so if you want simple you might want to stick to the euro style ones. They allow for more "play" in the operation.
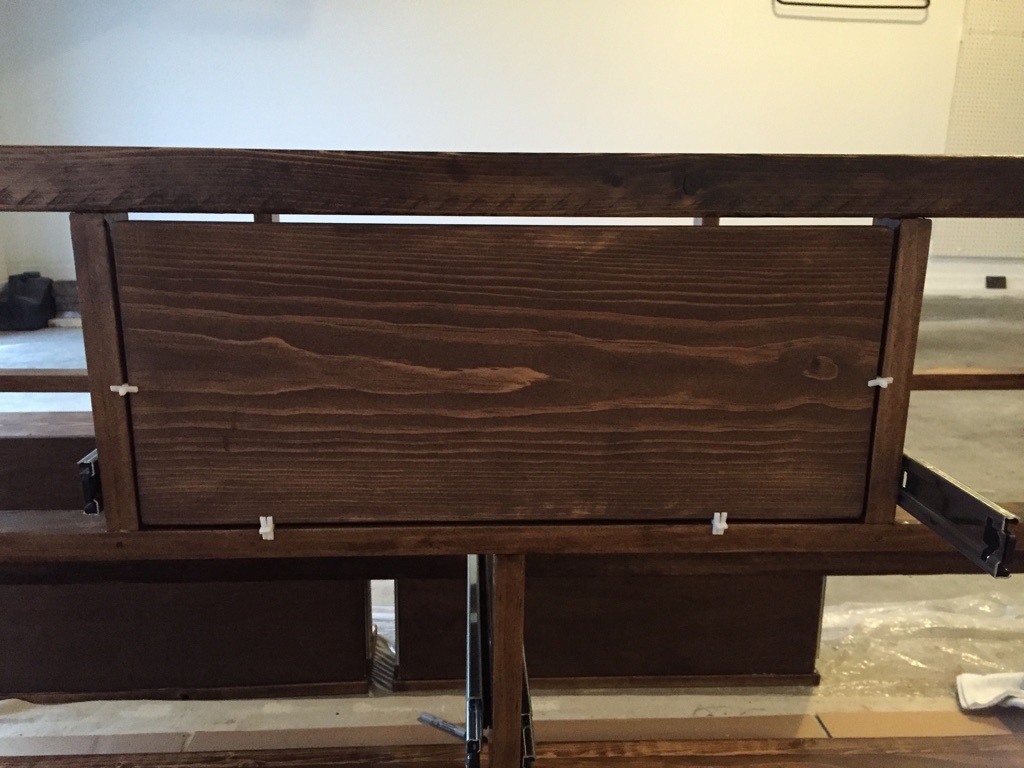
Tip for attaching drawer faces: For one thing, make the attahcment of the top and back of the dresser the LAST two steps you do on the whole project since it makes installing drawer slides and drawer faces a breeze. That said, when it cam time for attached the front of the drawers I used 1/8" tile spacers all around the sides to make sure that gap was uniform and correct (see pic #4). It was the simplest way I thought about of going about it. Mounting the drawer boxes to the slides needed to be done before attaching the face boards for me. And instead of nailing the faces on from the front and then screwing from behind; I put glue on the drawer box, put the face board in place using the tile spacers, and then added screws from the inside of the frame side. It was a breeze.
As the plans stated, I attached the top with PH screws through the side panels and six countersunk screws in the 2x2s along the width of the top using 2" screws. It would have been a lot simpler to install the countersunk ones if I had a right angle drill or short handles screw driver, but I did not, so I made a normal one work.
If you have any more specific questions about my version of this project please let me know. I was hoping to get to share more than 5 pictures, but that seems to be all the posts let you put up so I tried to included the most helpful ones.
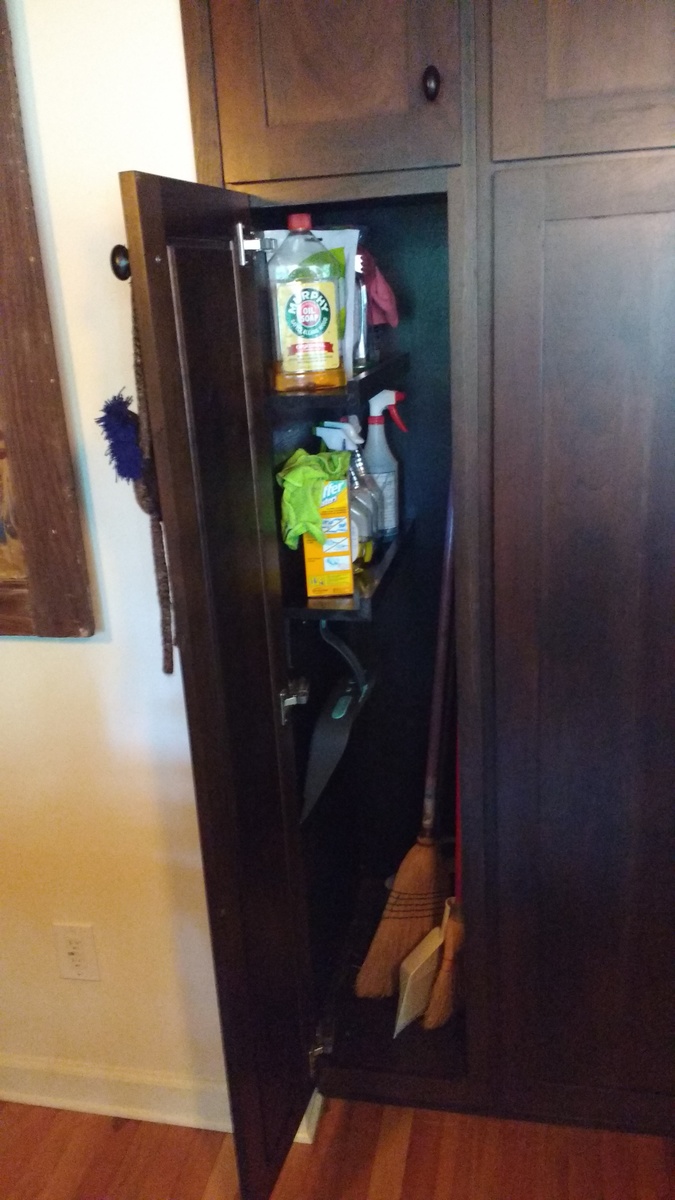
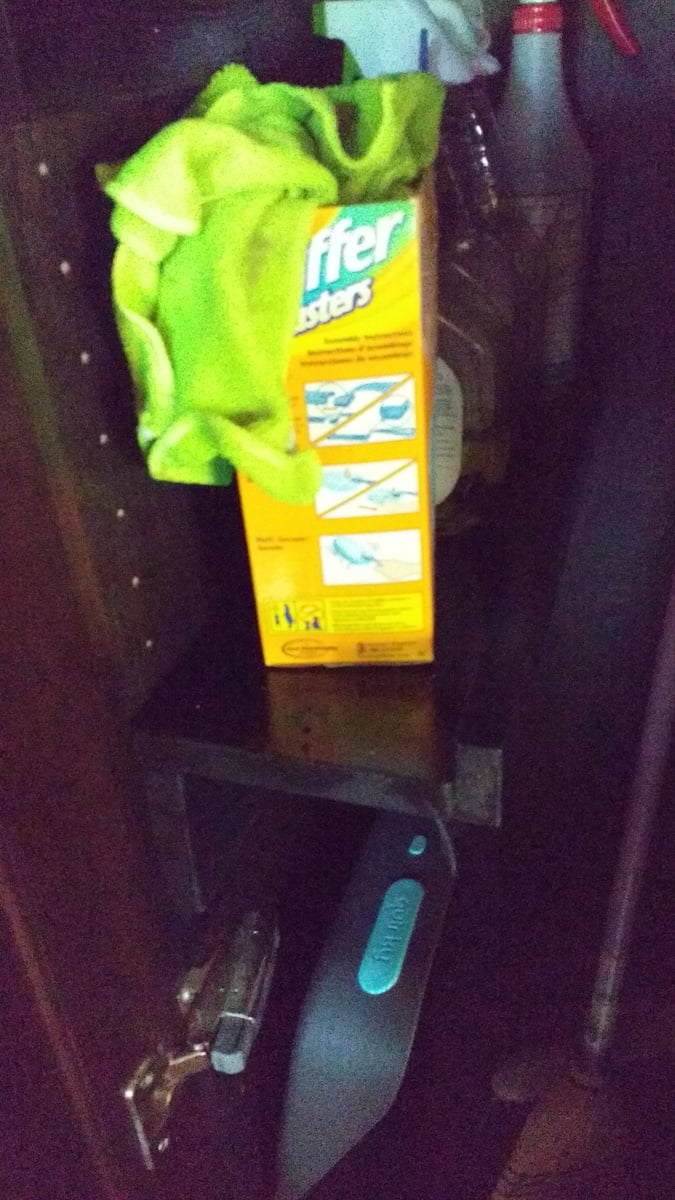
got a kreg jig for mother's day and tried it out on that dead space in my broom closet. I made $10 shelves, but in a "Z" shape instead of a "U" shape so I could attach from below and have more room on the shelf for cleaning supply storage.
I used a 1x6 for the shelf and spray painted them black with some paint I already had. So easy! I used a 1x4 with a block of wood to hold up one end of the shelf so I could screw it into the cabinet. Then leveled it and added second screw. Awesome first project! I learned a lot and got a place to put my spray bottles.
Sorry for the dark photo, my cabinets are black cherry.
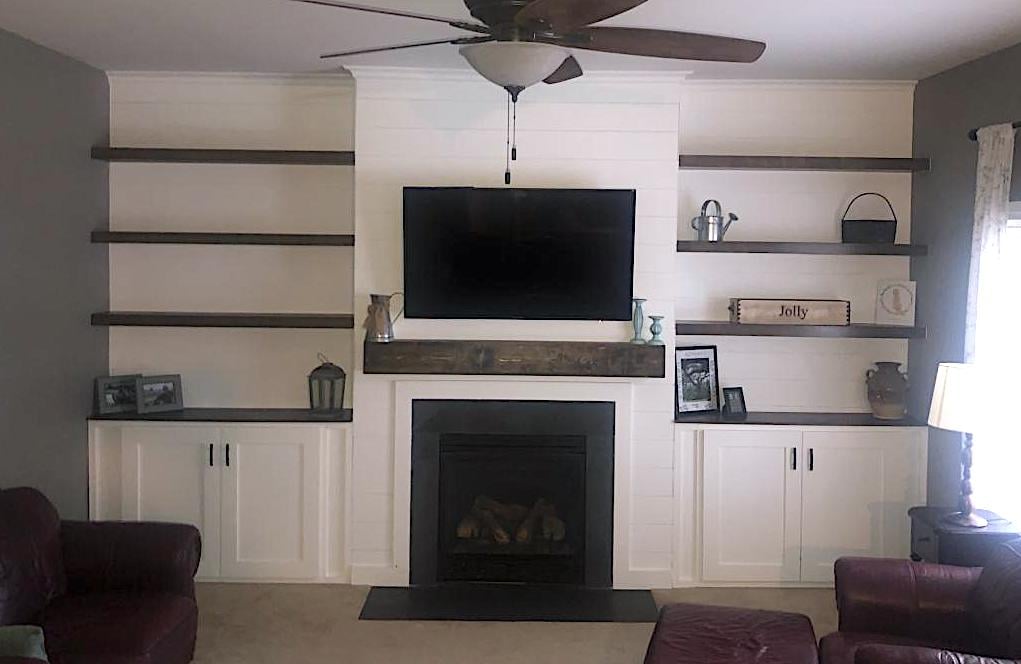
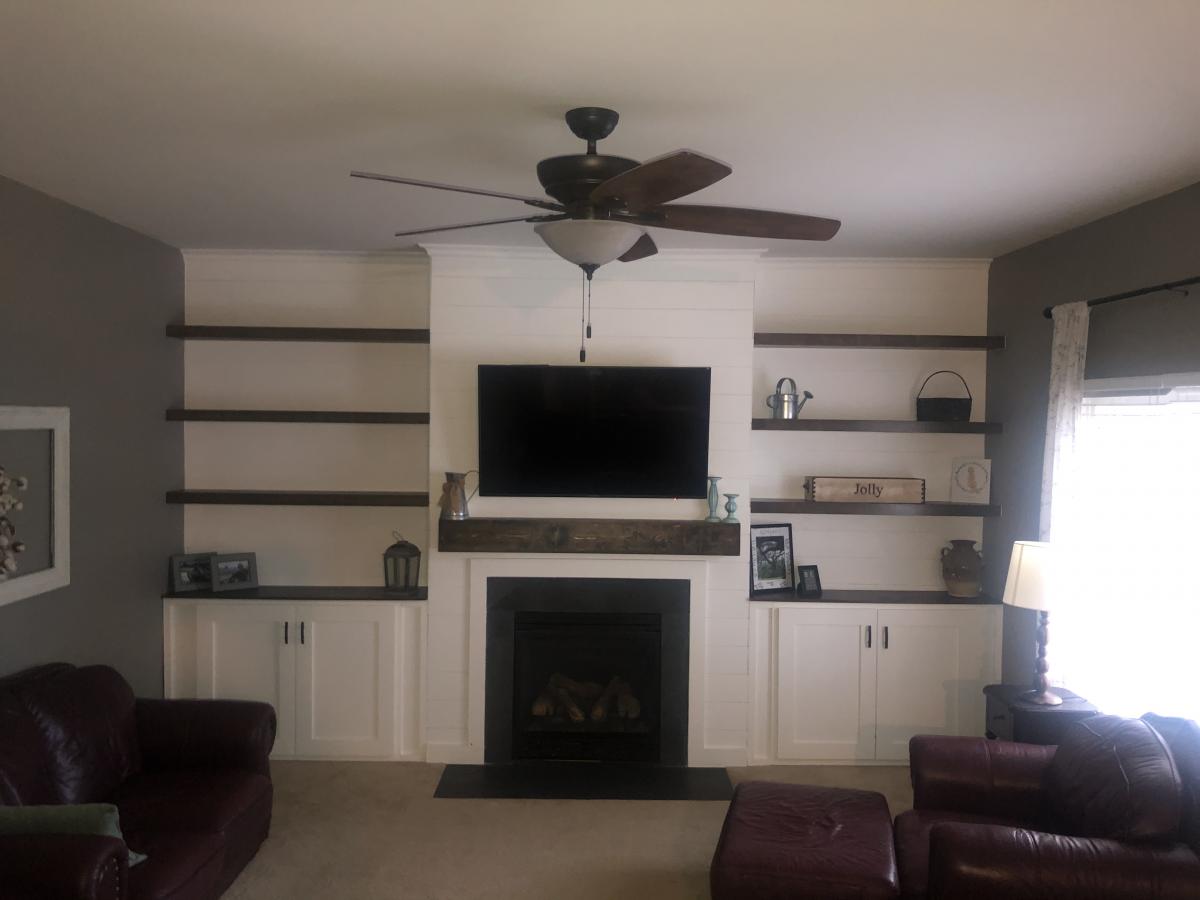
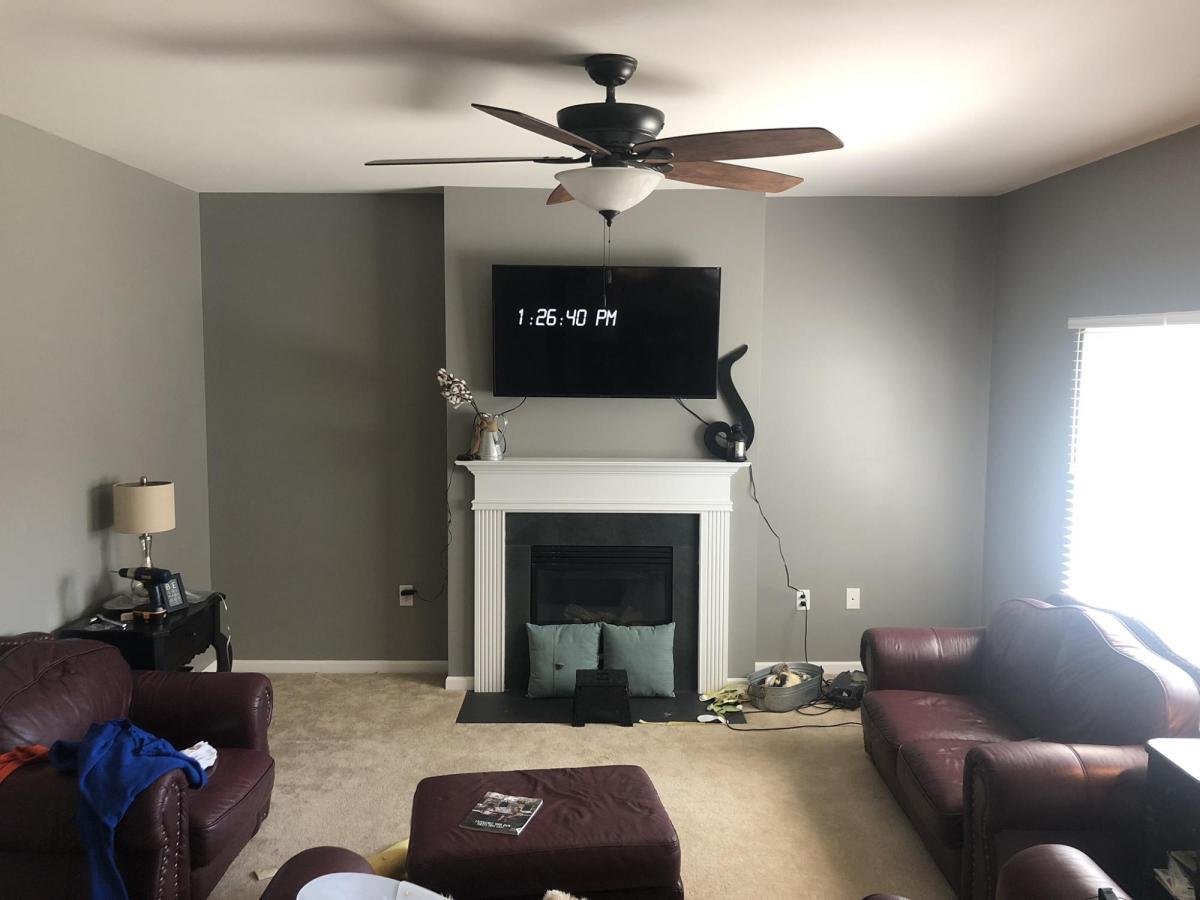
We have lived in our home for 2 yrs now and have been trying to figure out what we wanted to do with the plain boring wall with cords handing from out behind the tv due to no power outlet on that wall. We finally decided to do the whole wall in shiplap but the the cost of lumber going through the roof I went with 1/4 underlayment that I had ripped down to 6in strips at my local hardware store. I cut them down to size with my miter saw the painted them white before I attached them to the wall with 1 1/4 brad nails and used nickels for my space in between each row. The cabinets are 36 in tall. The carcass is made fro 3/4 in MDF and the face frames are made from 1x3 pine and attached with wood glue and brad nails. Cabinet doors are made from 1x4 pine for the frame and 1/4 underlayment for the center. I used my hand router to route out a 1/4 deep groove for the center to drop into the frame I used wood glue and brad nails to attach it to the frame and filled in any gaps with paintable caulk. They are attached to the studs in the wall with 3 in wood screws. The mantle is made from 1x6 pine boards and attached to a wall bracket made from 1x6 that are attached to the wall in each stud with 3 in wood screws. The mantle is attached with wood glue and 1 1/4 brad nails. The shelves were made out of 1/2 Poplar 4x8 plywood sheet ripped down to size. The wall brackets are made from 1x2 pine attached to studs with 3 in wood screws. And the shelves are attached with wood glue and 1 1/4 brad nails. I added 3 1x2 spacers to each shelf between the top and bottom board to prevent them from sagging before attaching the face of the shelves with wood glue and 1 1/4 in brad nails. This project took about a month to complete because I worked on it during free time. Also this was the first major build I have ever done so I was also learning along the way. Some parts were frustrating but most of it was fun and a great learning experience. Also this project evolved as I was building it. My wife loves the finished product. Now it’s time to find my next project.
Sun, 05/30/2021 - 11:05
What a beautiful space you created, thank you for sharing!
Tue, 12/05/2023 - 11:47
Surprisingly makes your living room appear so much larger compared to the before picture! Thank you for sharing your photos with us and congrats on a great result!
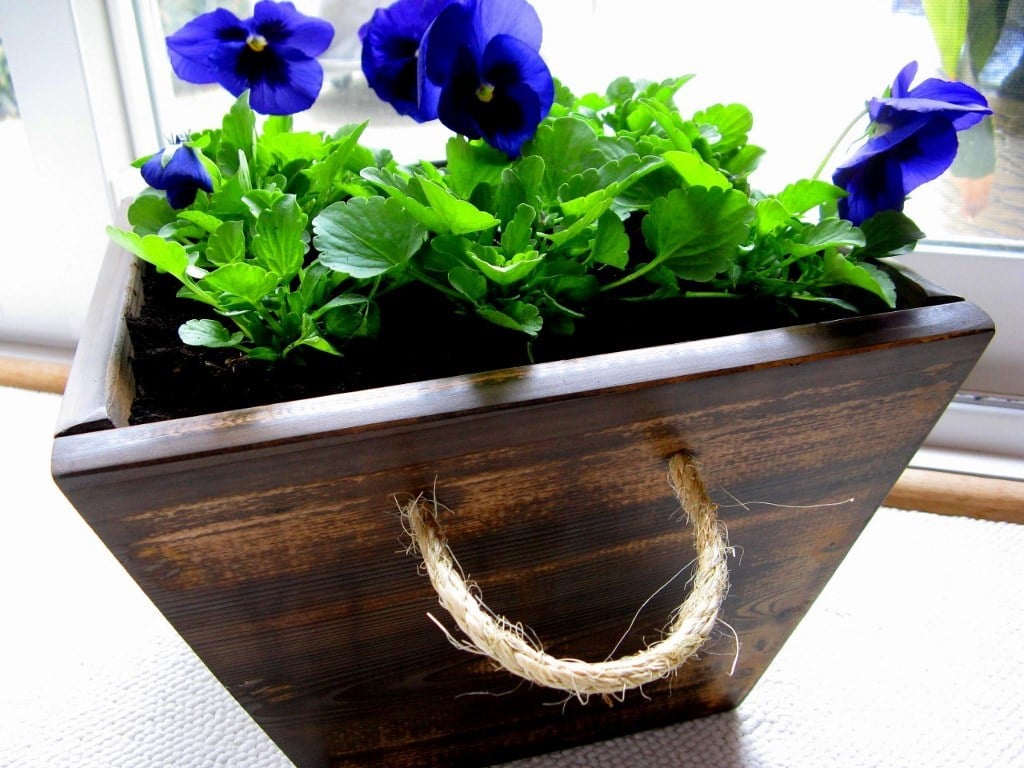
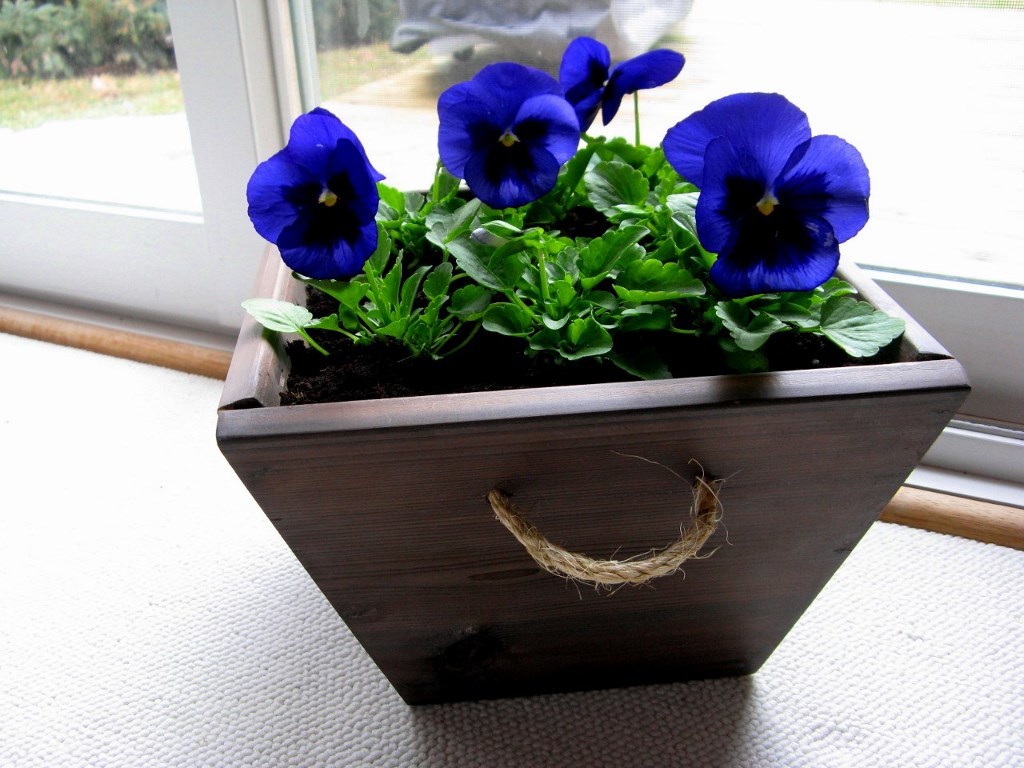
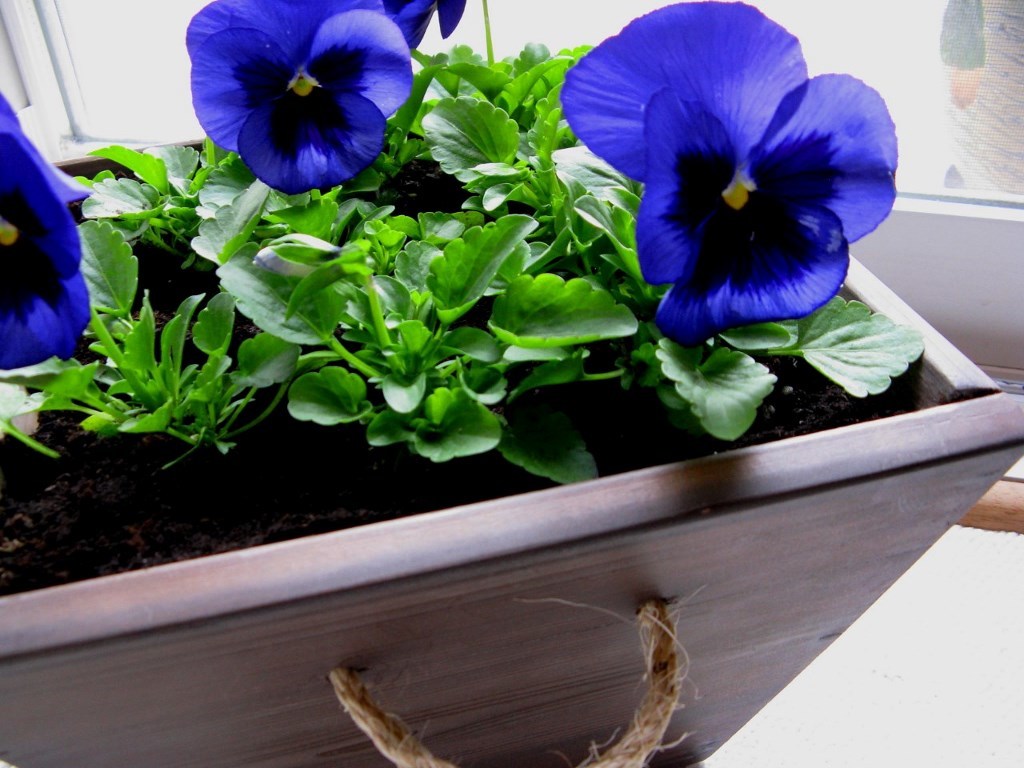
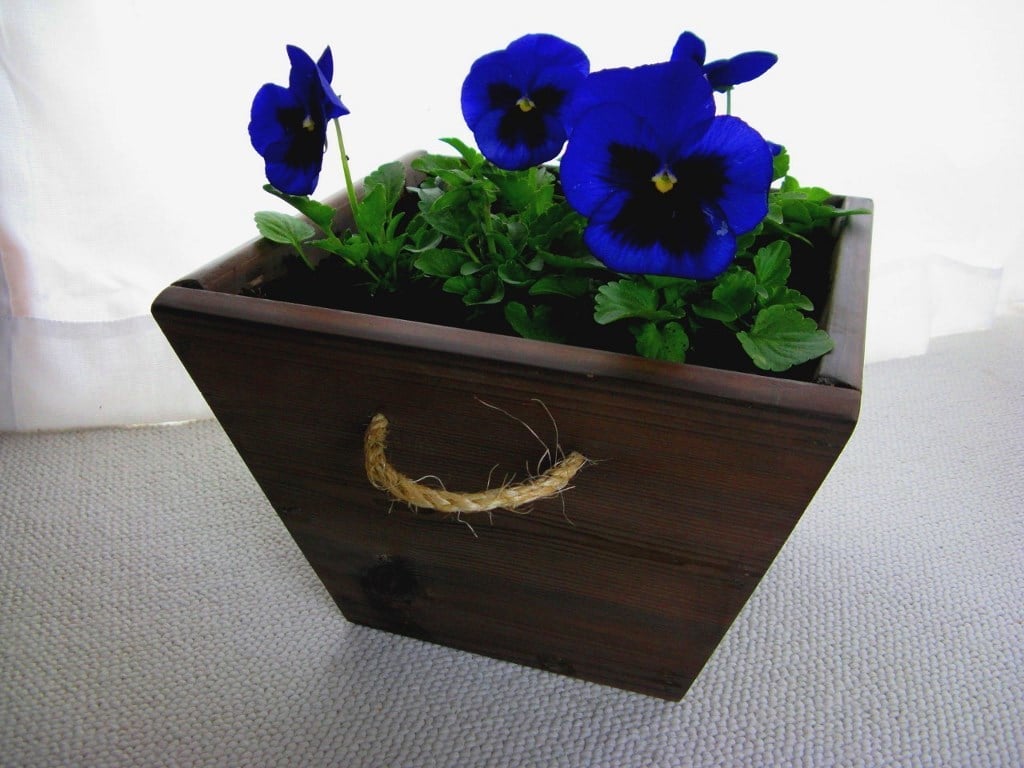
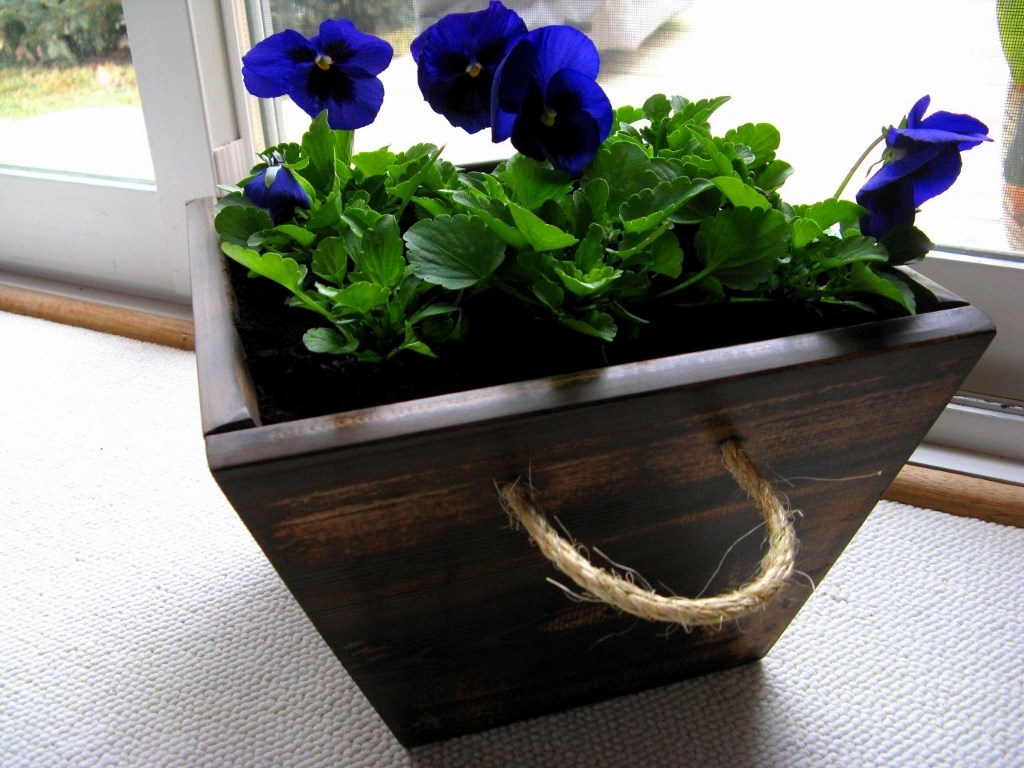
The cedar planters are ready and waiting for spring to arrive. I made three of these planters and absolutely love them. Thanks Ana for inspiring me to build. I love the third one but have to admit that it was a mistake. I made it for my father-in-law's 76th birthday. He loves gardening and shiny wood. So I used a polyurathane on it but it didn't look nice (my nail holes were very visible). So I sanded it with 220 grit sand paper and then used the steel wool/vinegar solution that I used on the first two. It turned out so different so I sanded again, then tried the solution again. I love it! It looks so old. I will be keeping that one and giving him one of the other two.
Mon, 04/08/2013 - 12:01
I love the way the finish ended up on this one! No wonder you want to keep it for yourself!
Mon, 04/08/2013 - 12:01
I love the way the finish ended up on this one! No wonder you want to keep it for yourself!

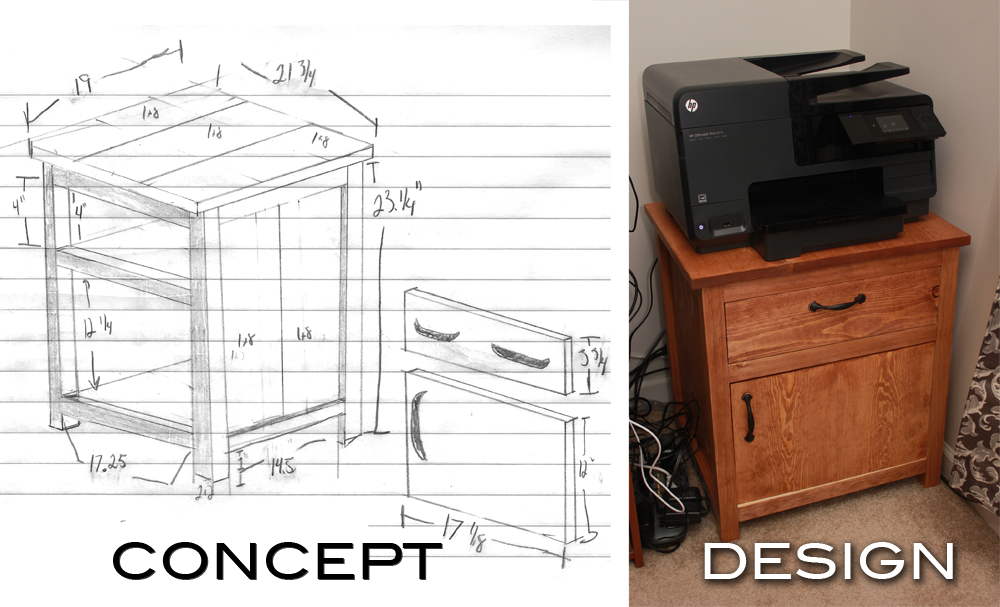
I needed a custom built printer table for the massive printer I just bought. I figured if I was going to custom build it, I might as well add a couple storage areas. Then I thought, I'm tired of having this VCR sitting on a TV tray to dub home movies to digital. So, I turned the top drawer area into a fold down face droor for easy access (and hiding) of the VCR. Turned out great.
I made this for my outside patio but since completing the project, it's been raining. So, it's inside the screen porch for the time being.
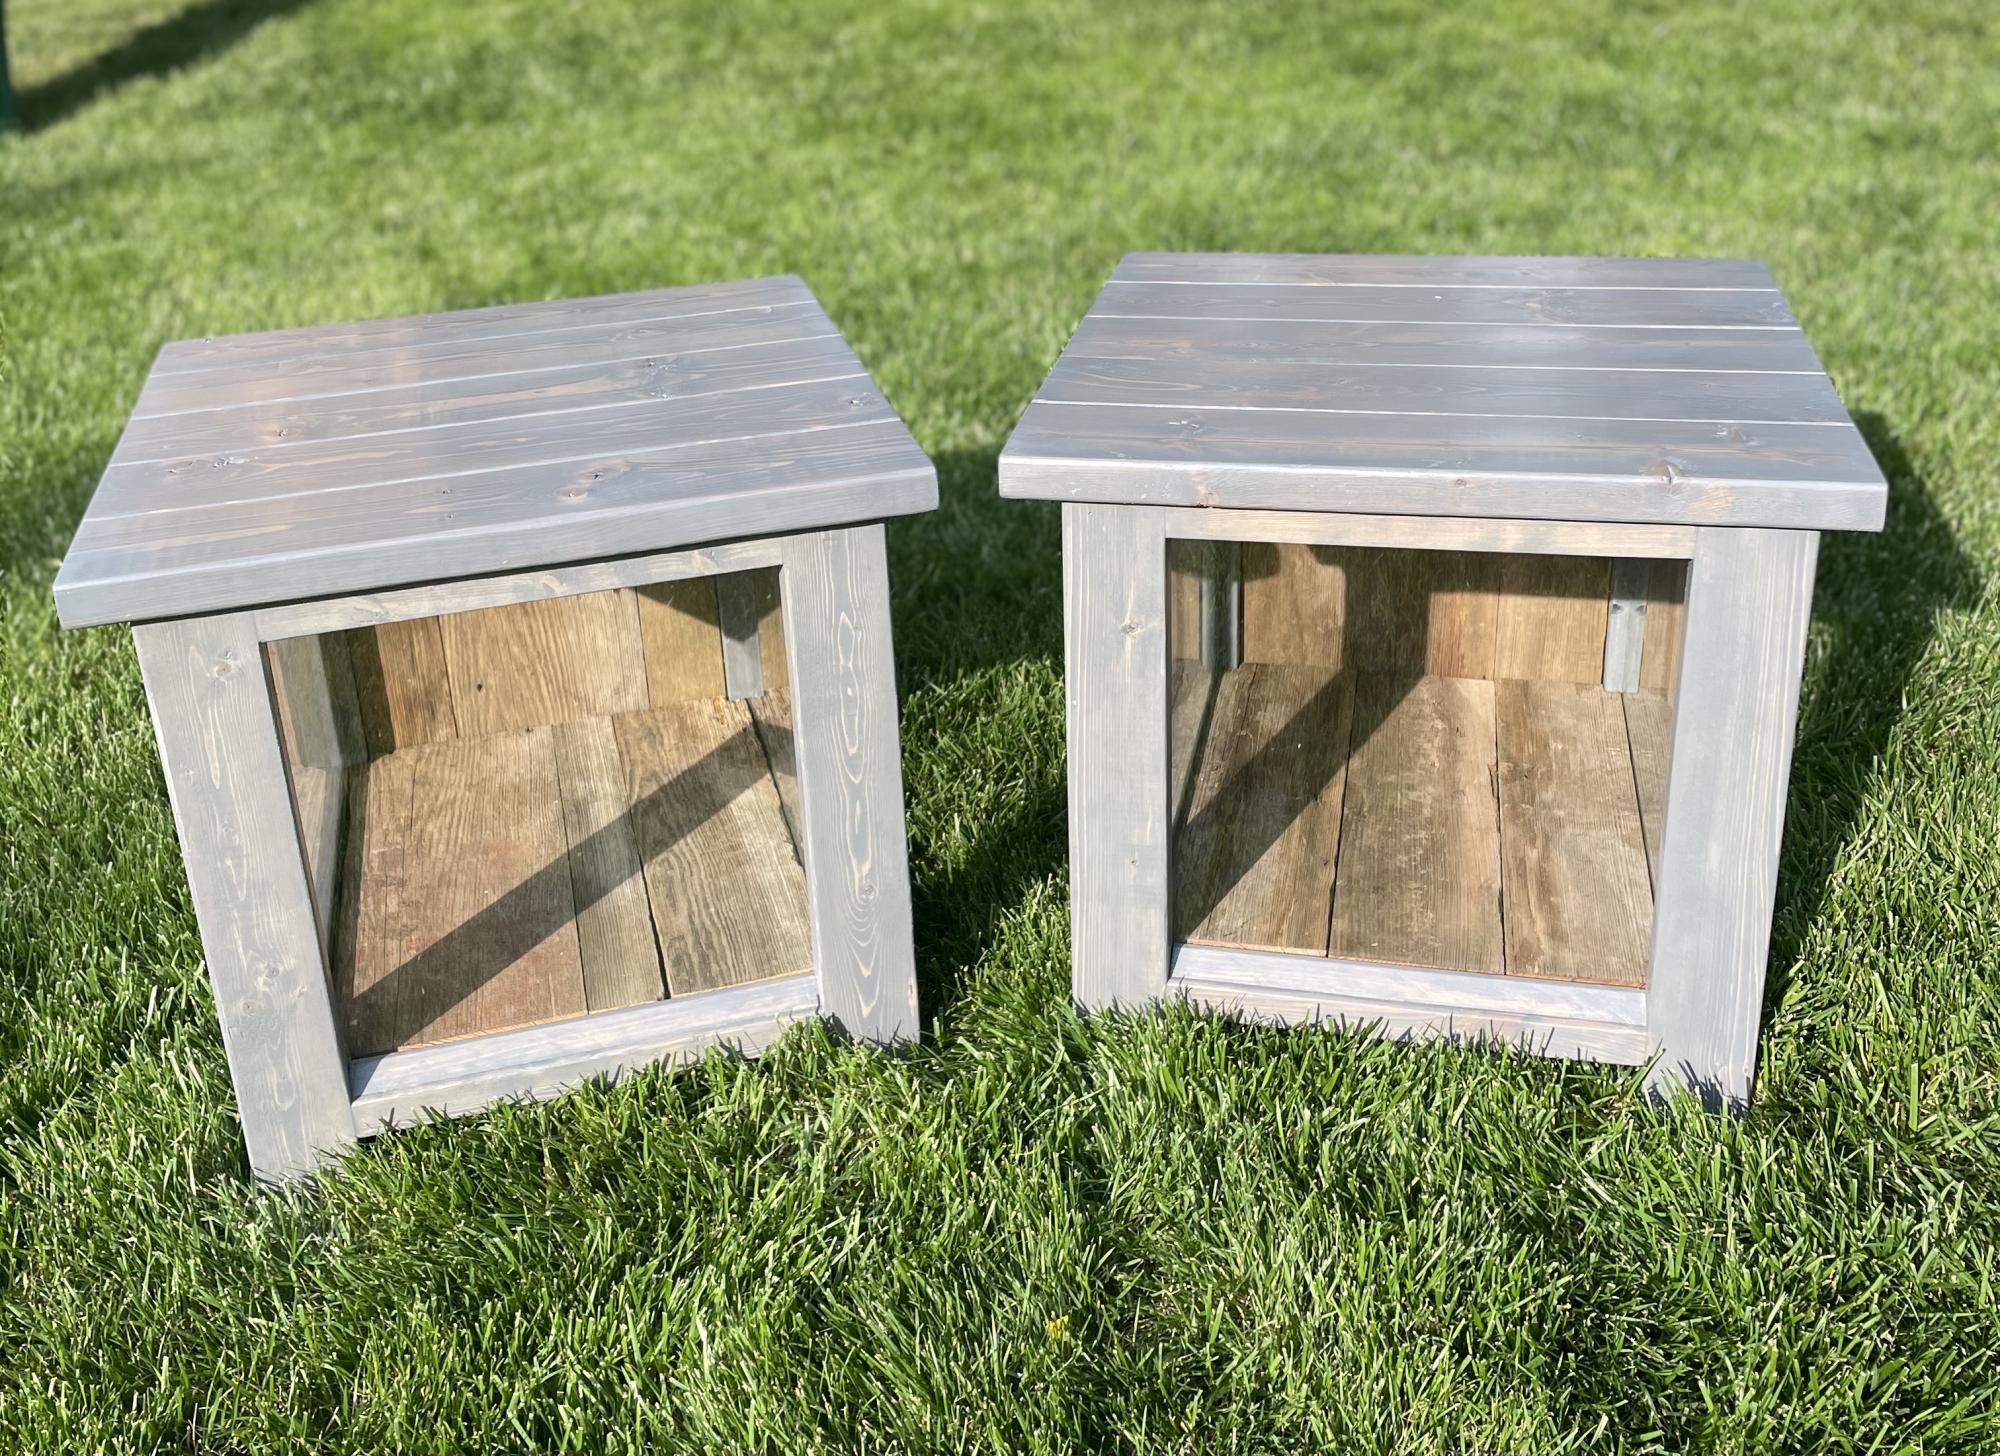
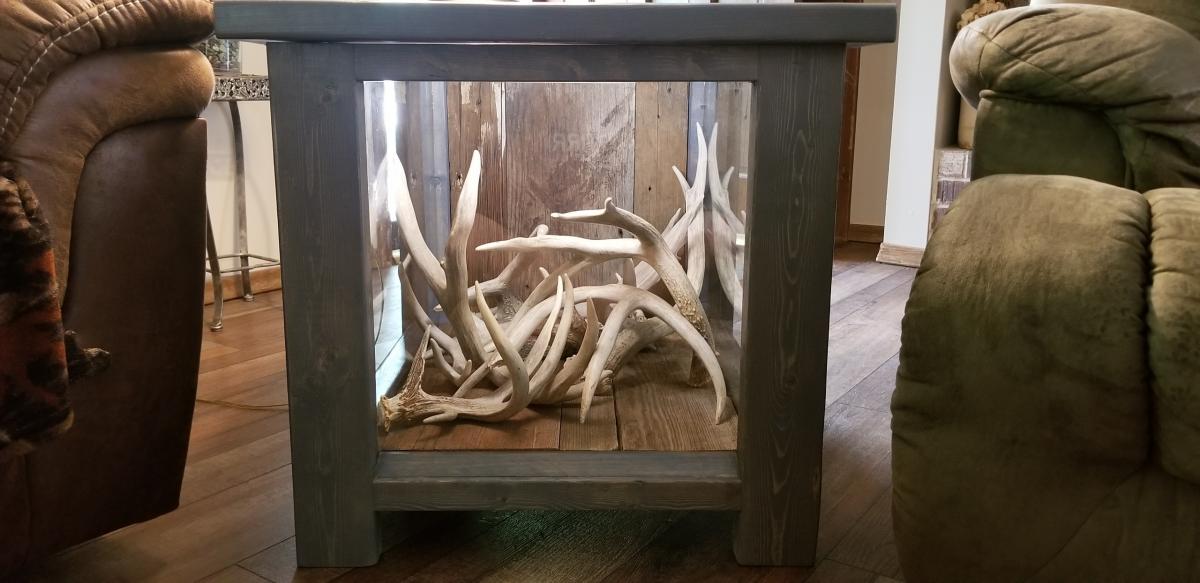
These rustic display end tables were built using the “Rustic X End Table” plan, with an added twist! The fronts and two sides are all glass enclosed with barn wood backdrop and bottom.
Comments
Ana White Admin
Tue, 04/27/2021 - 08:32
Love the two tone finish!
Beautiful build, thanks for sharing!