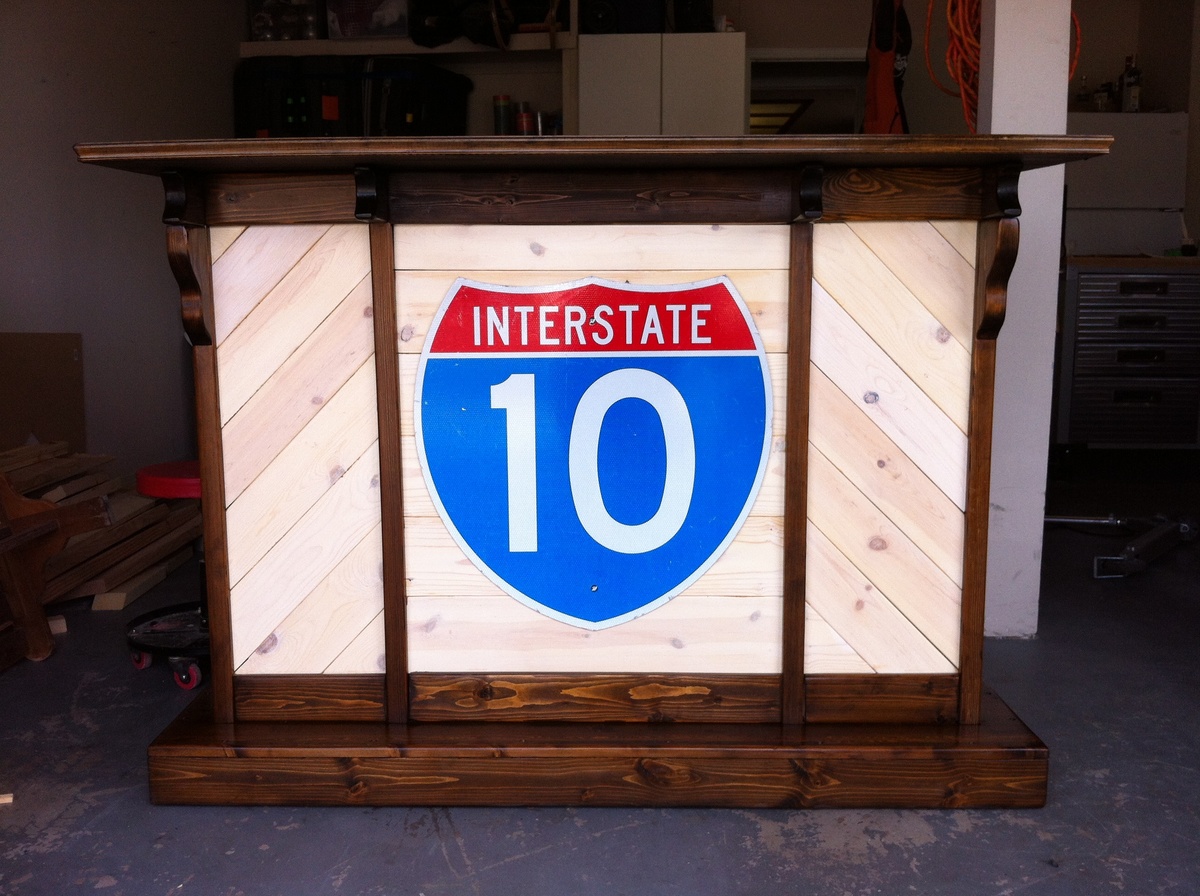
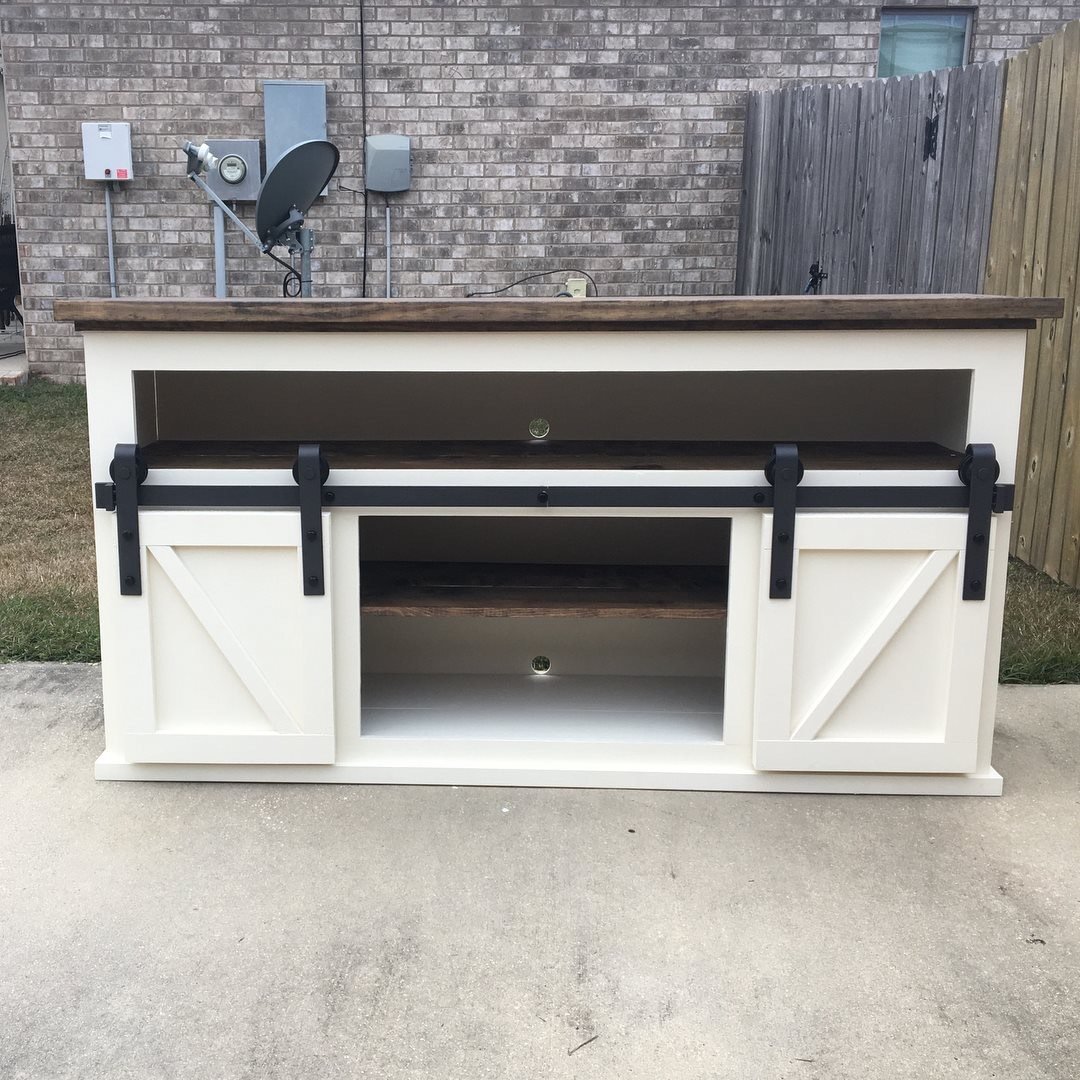
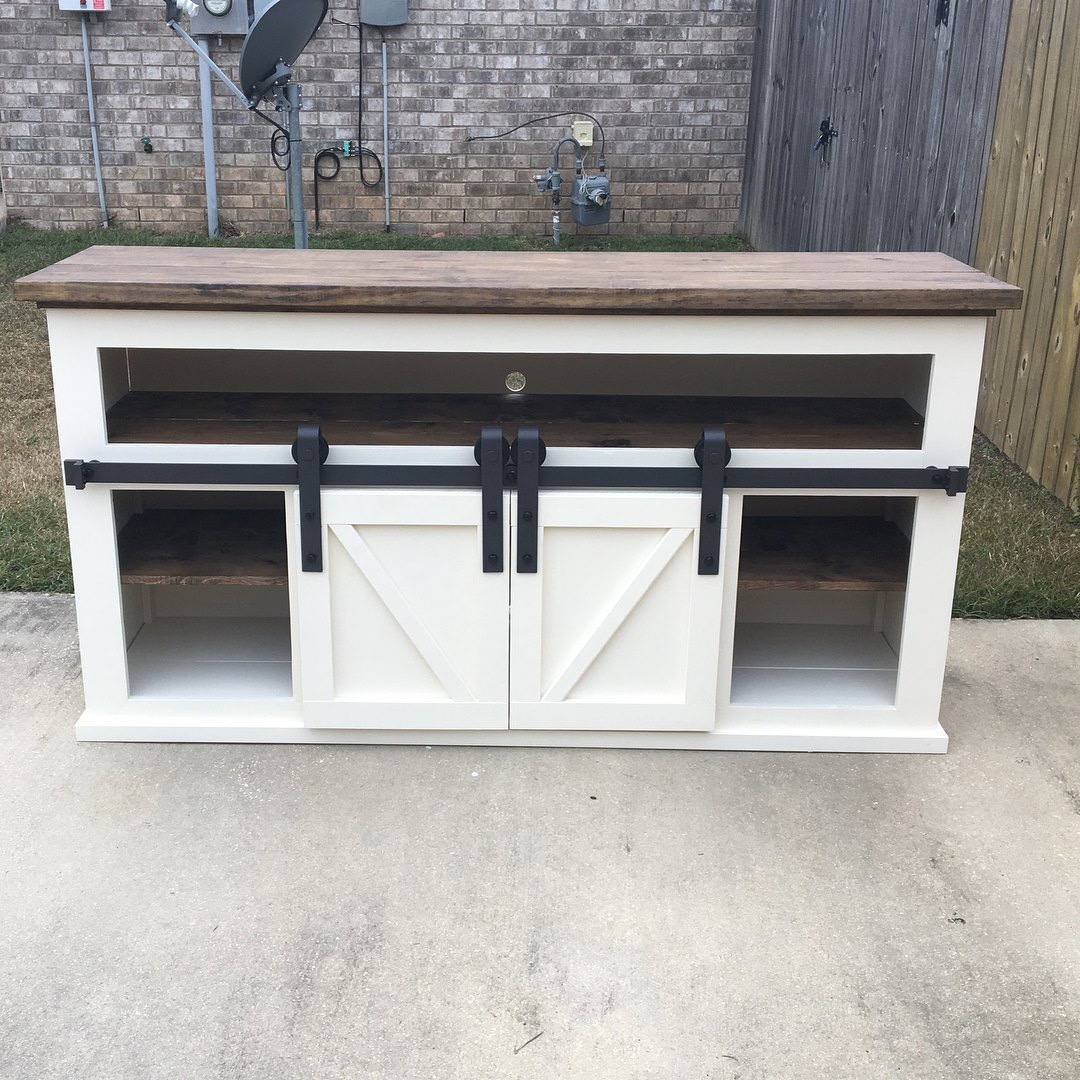
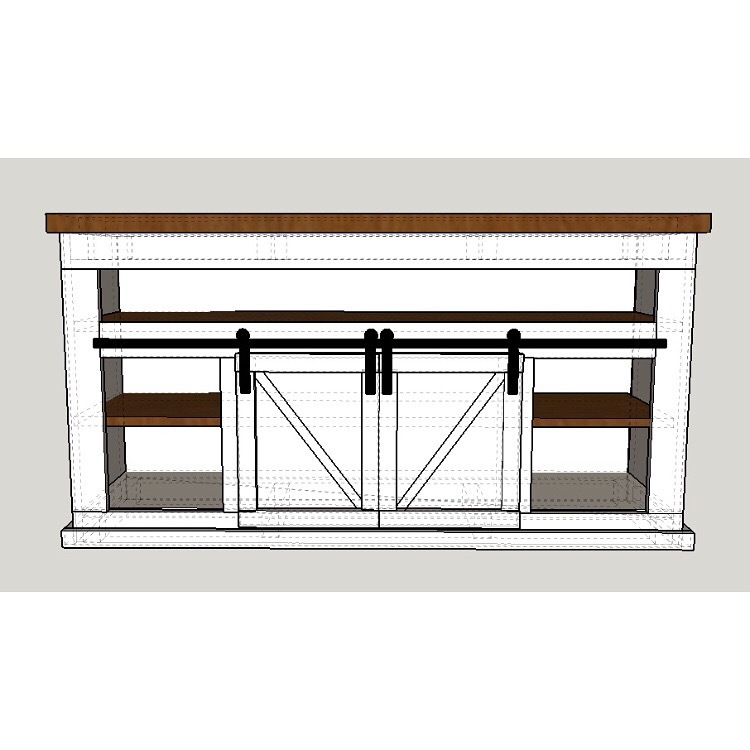
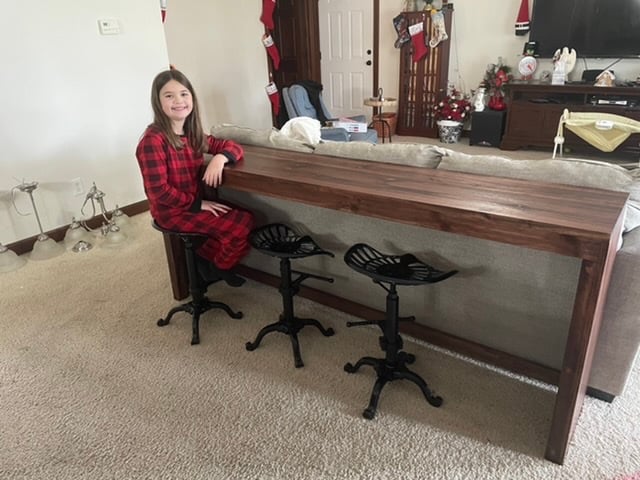
Texas Style Home Bar

This is our Texas Style Home Bar.
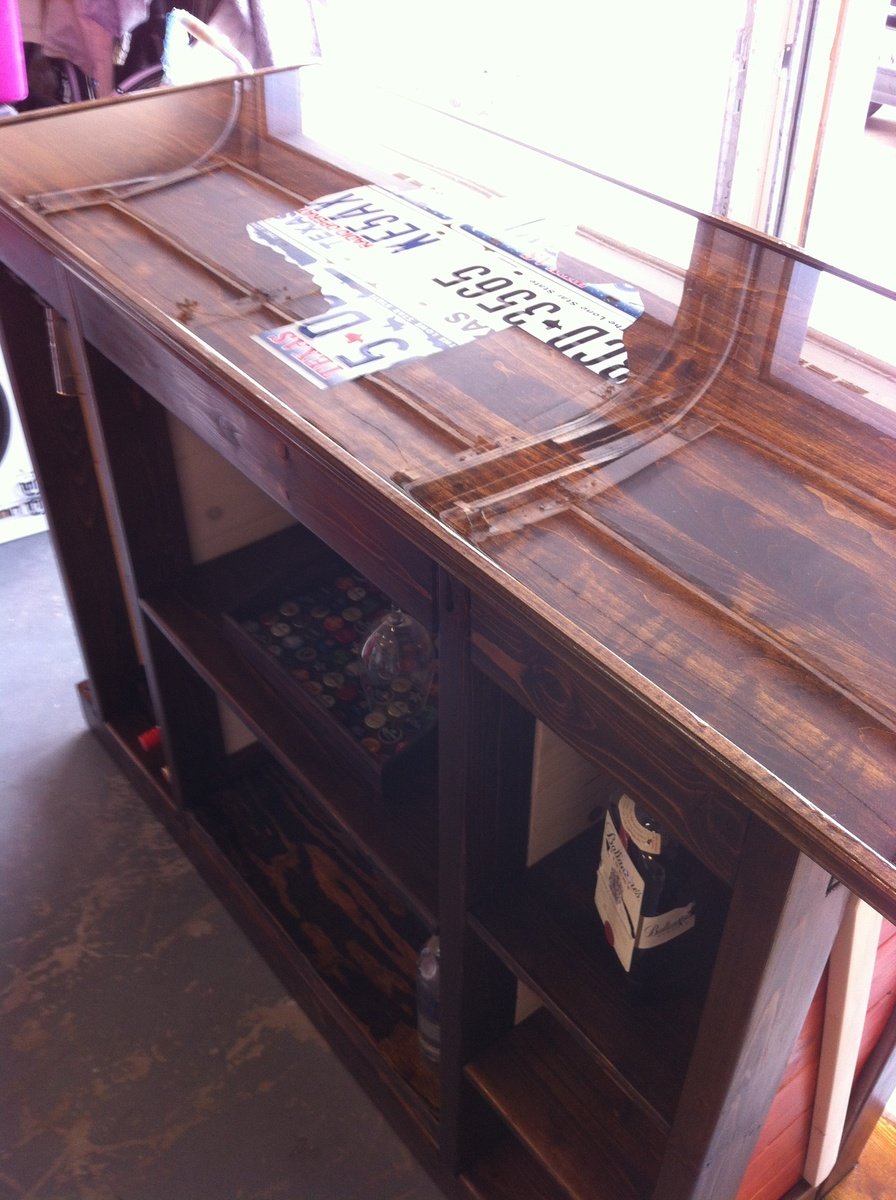
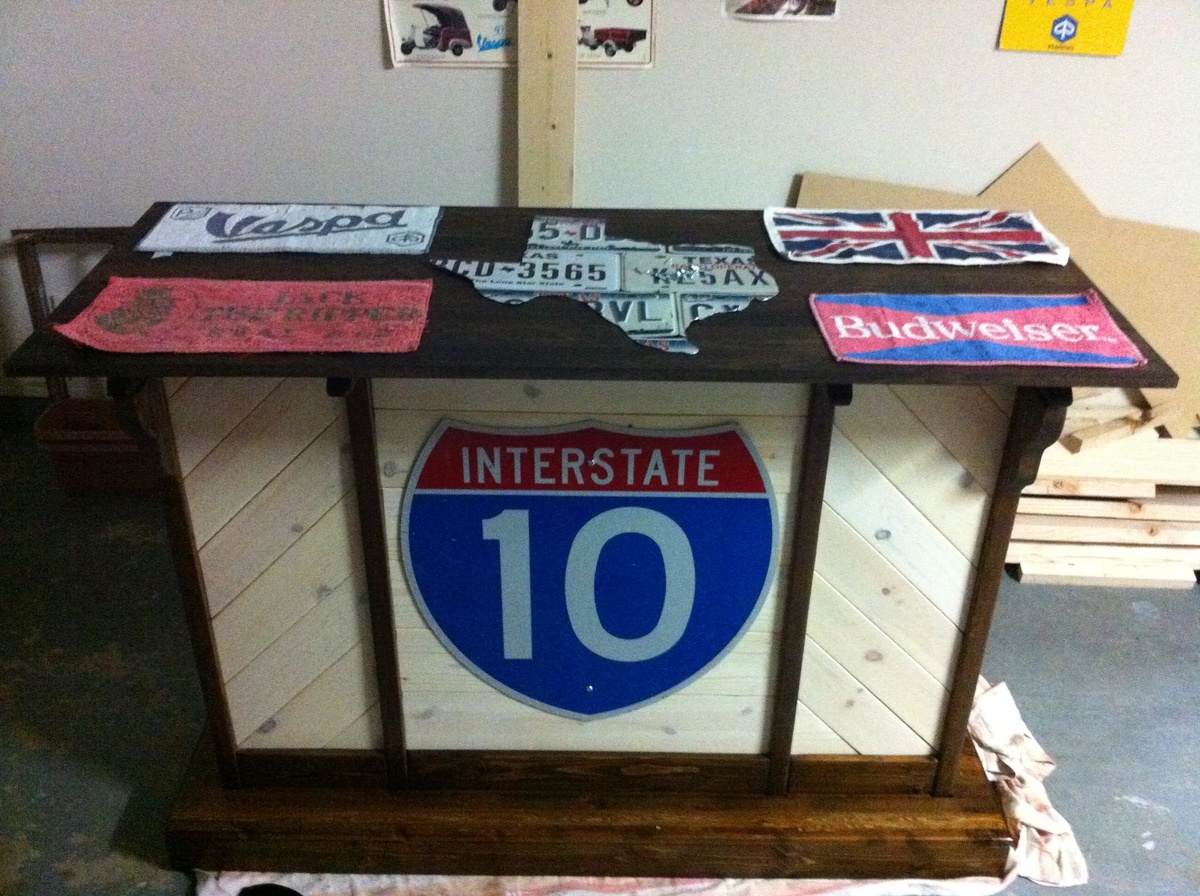
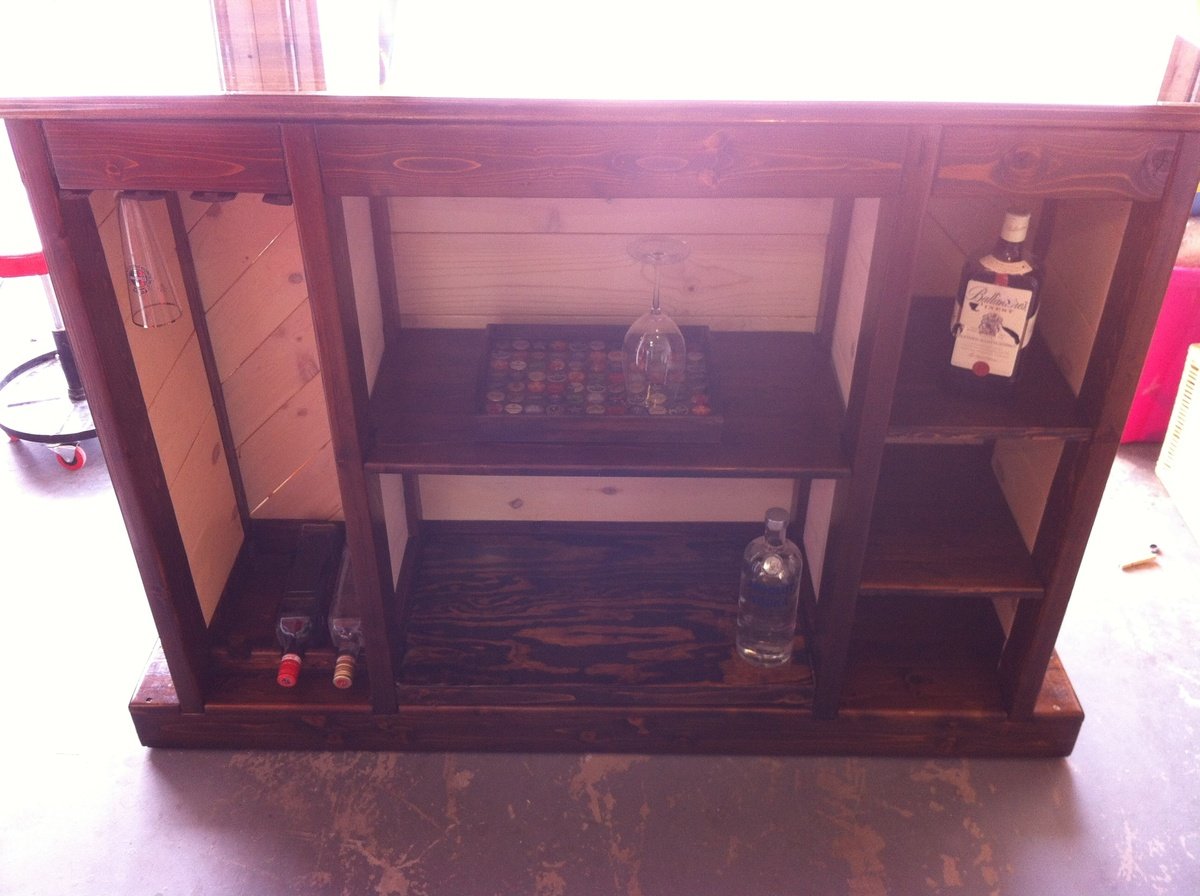
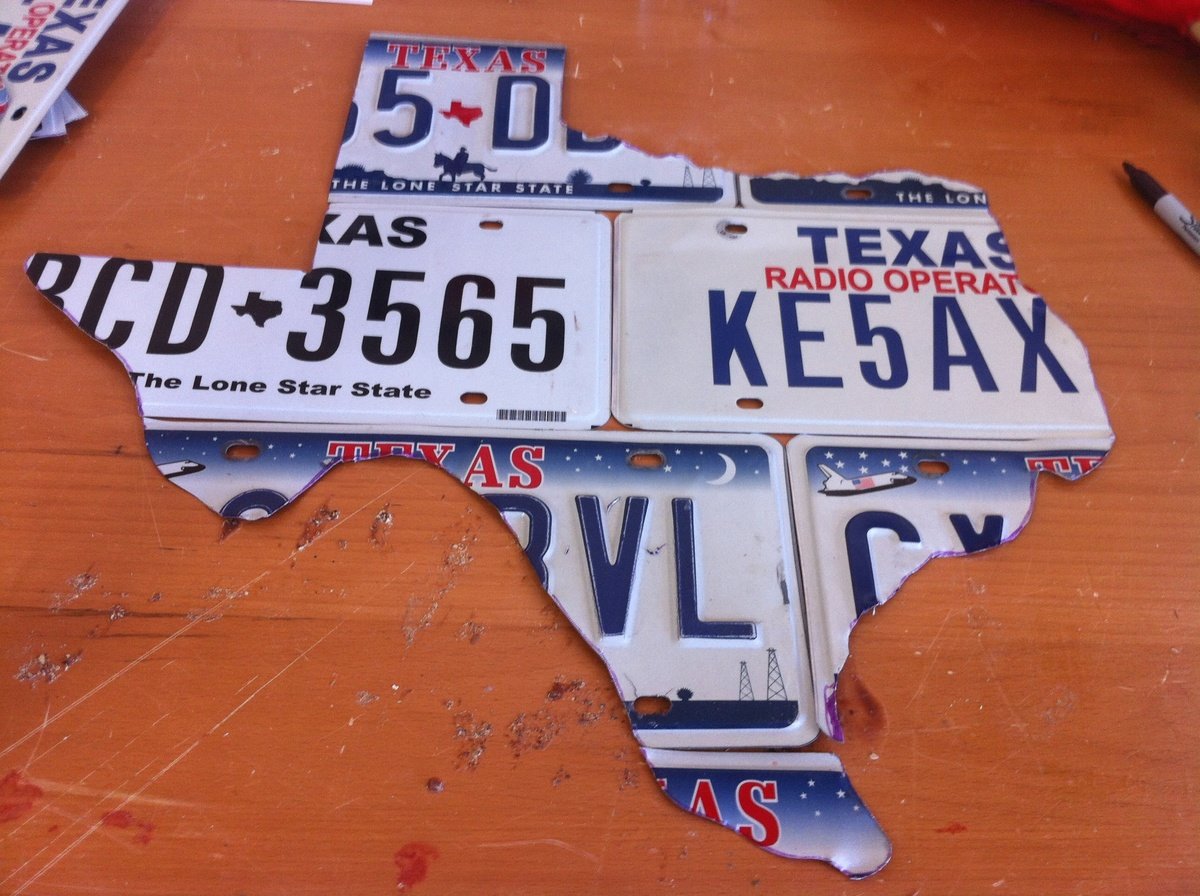
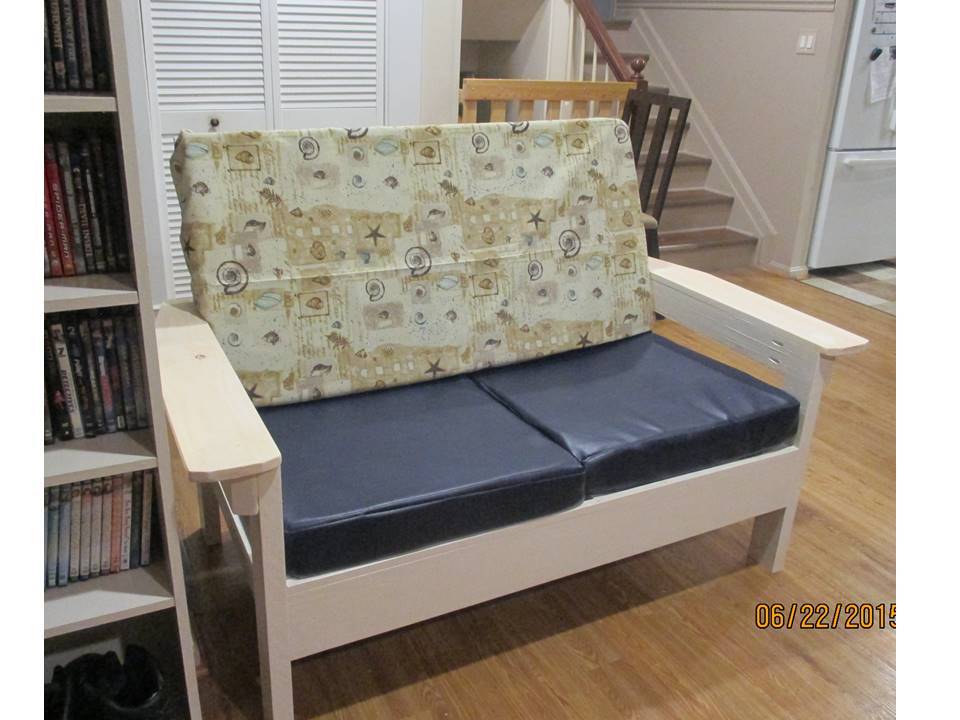
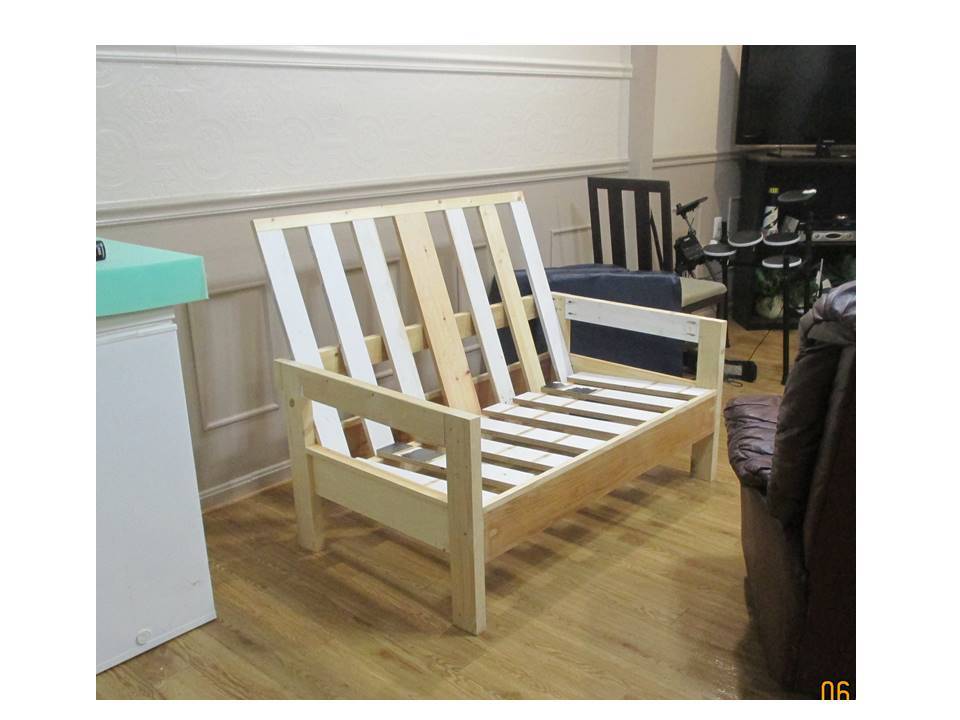
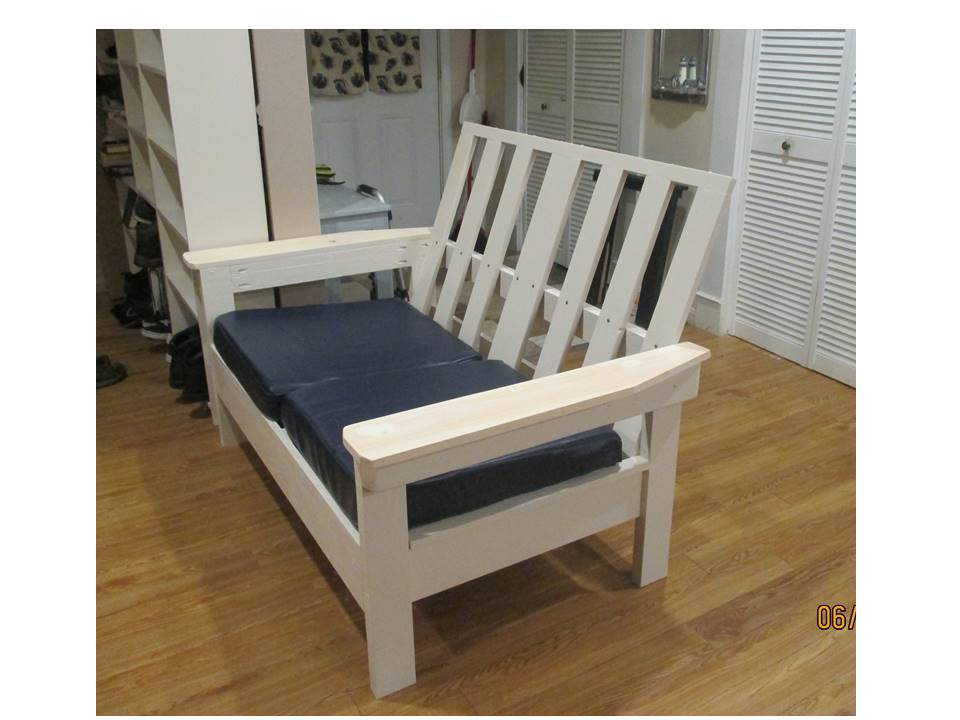
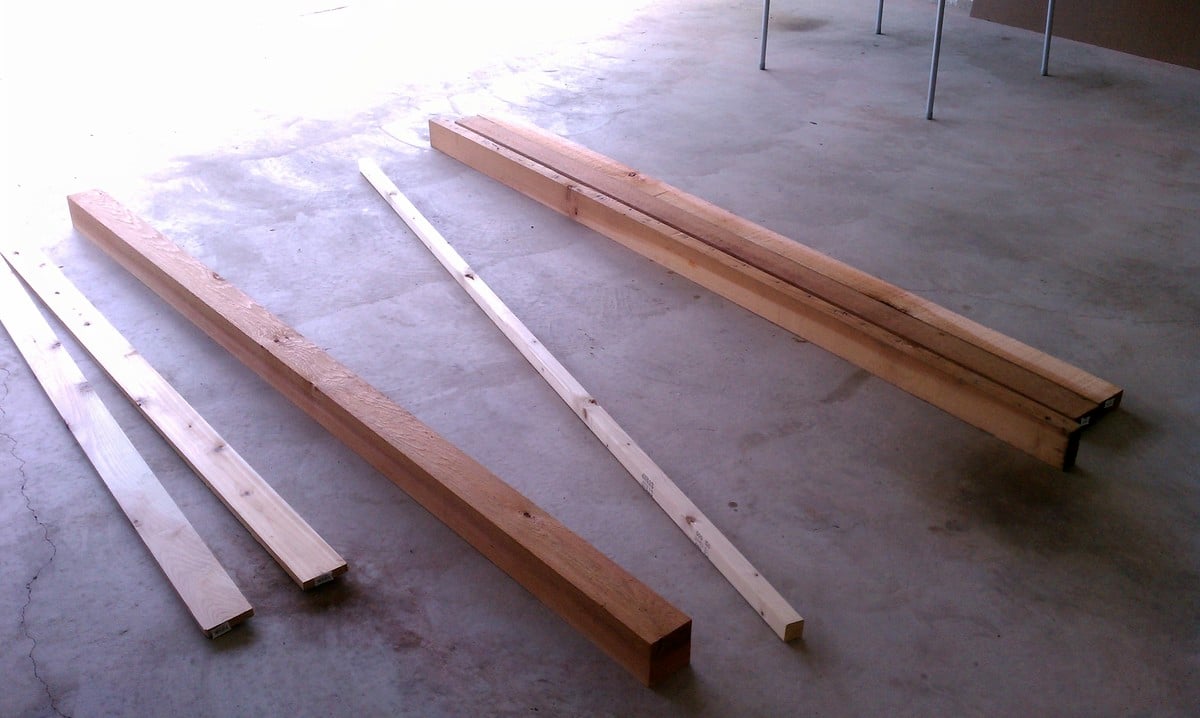
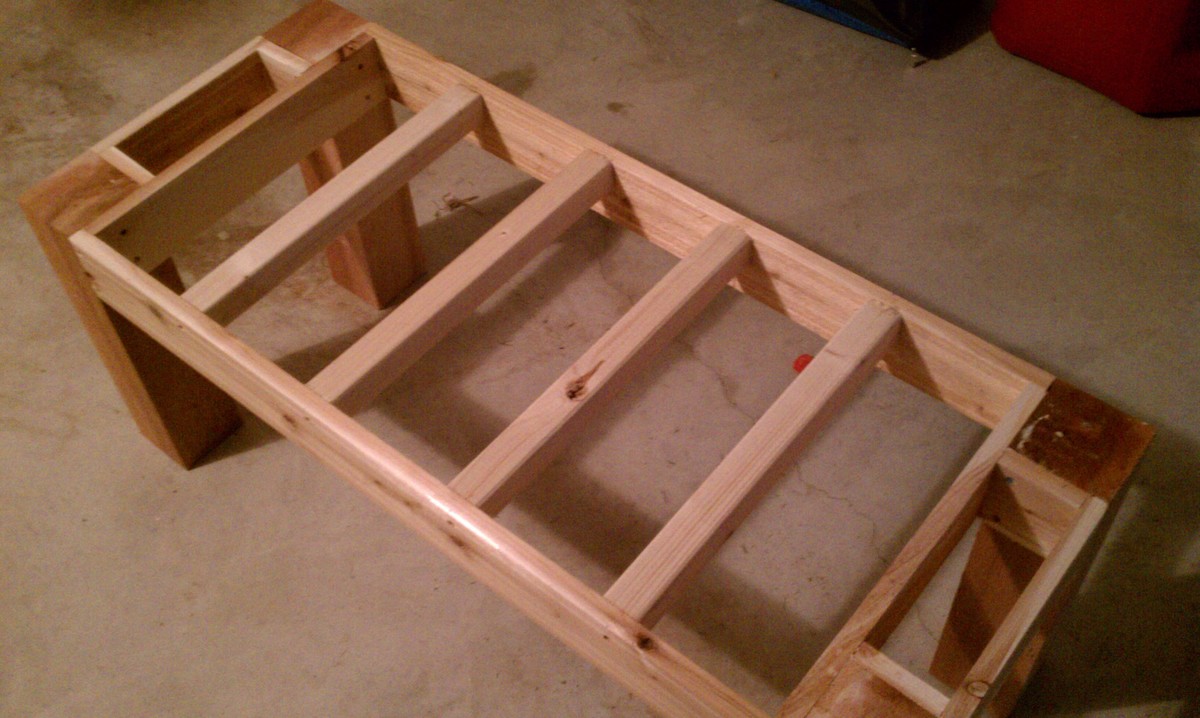
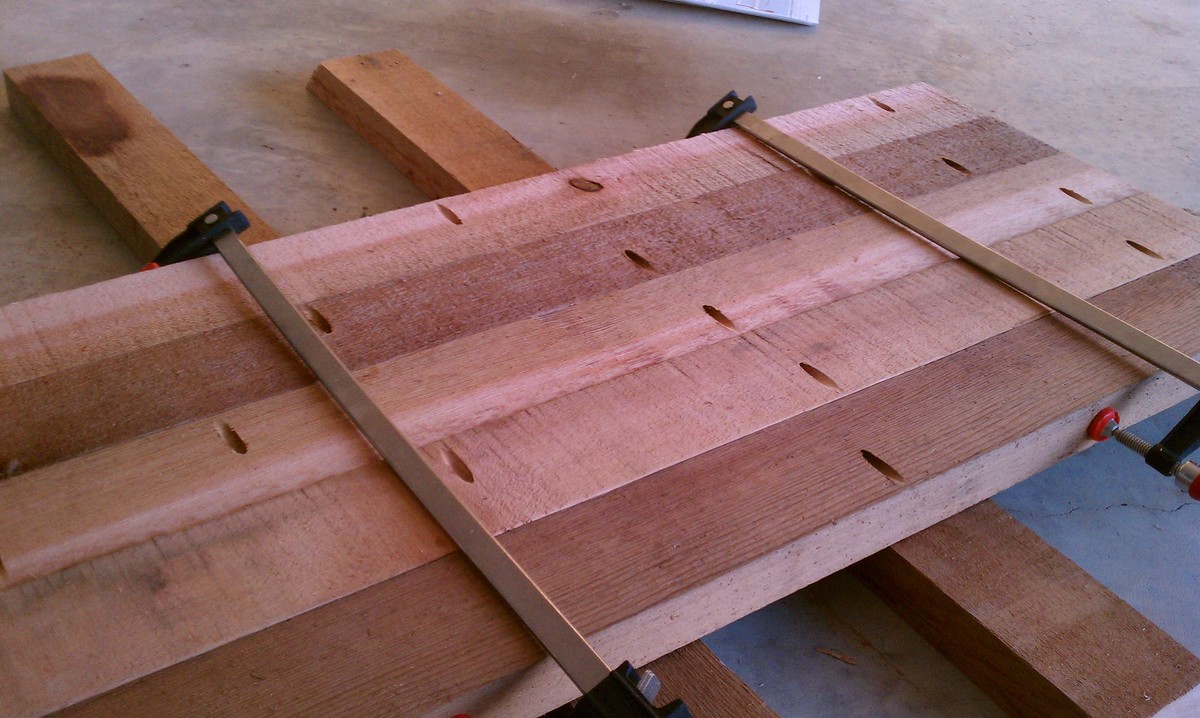
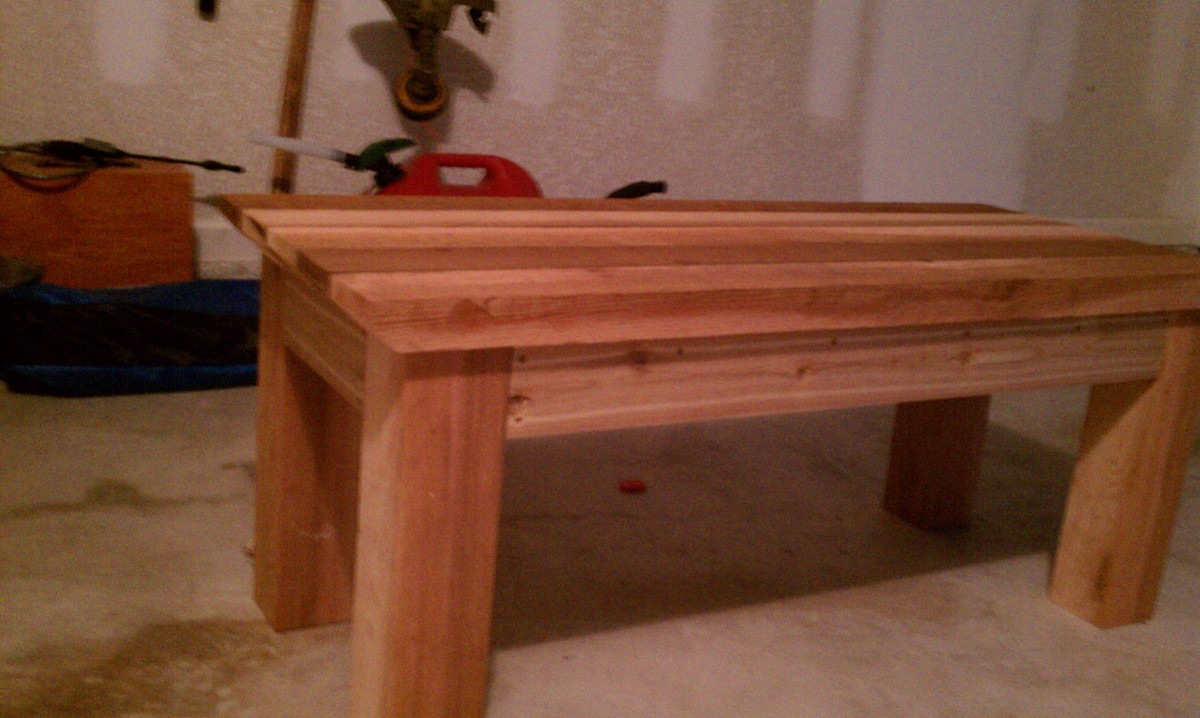
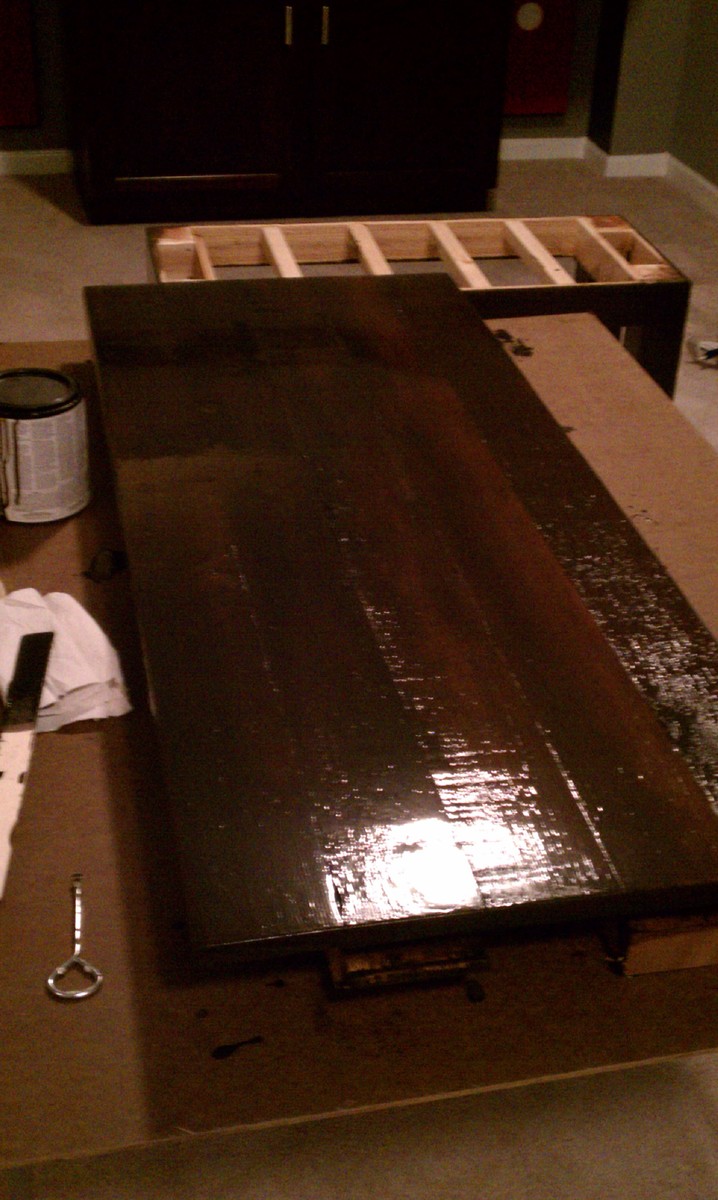
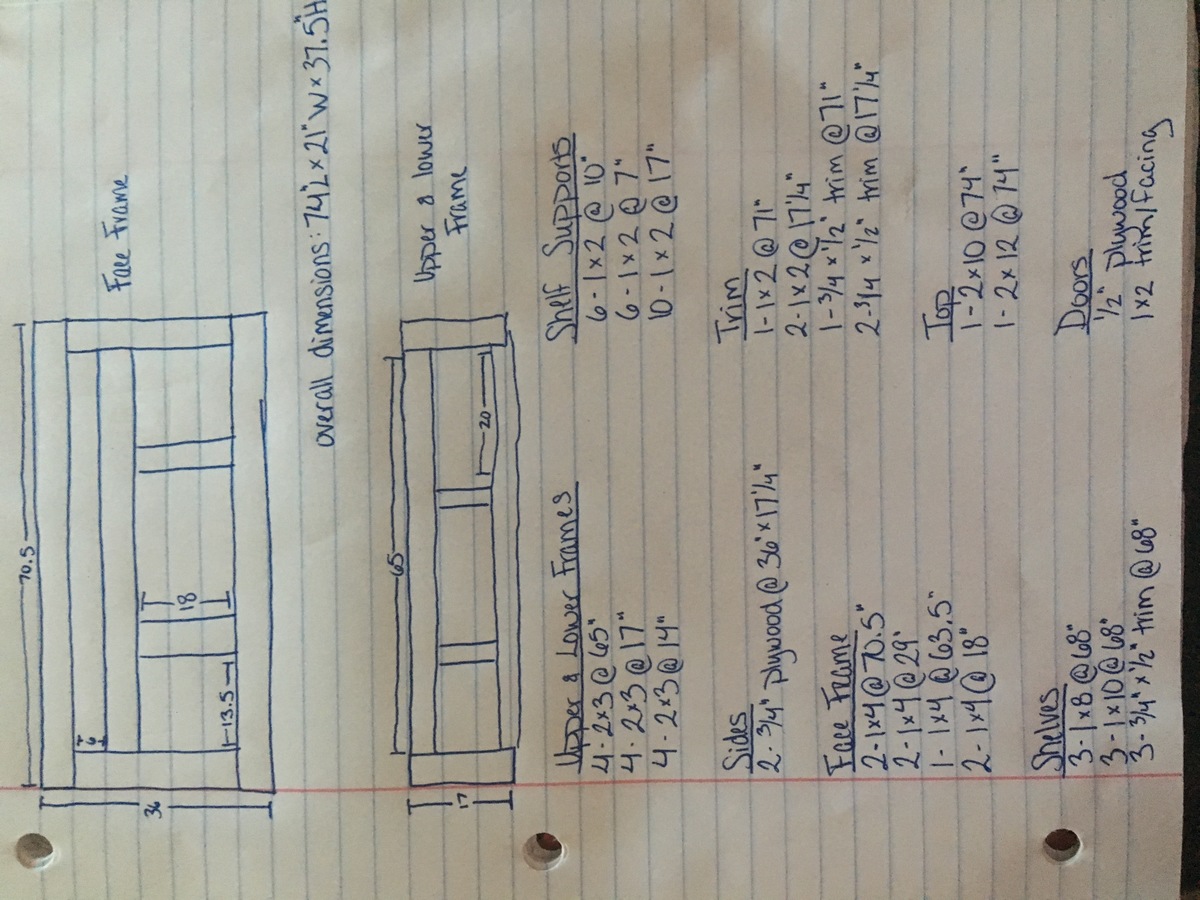
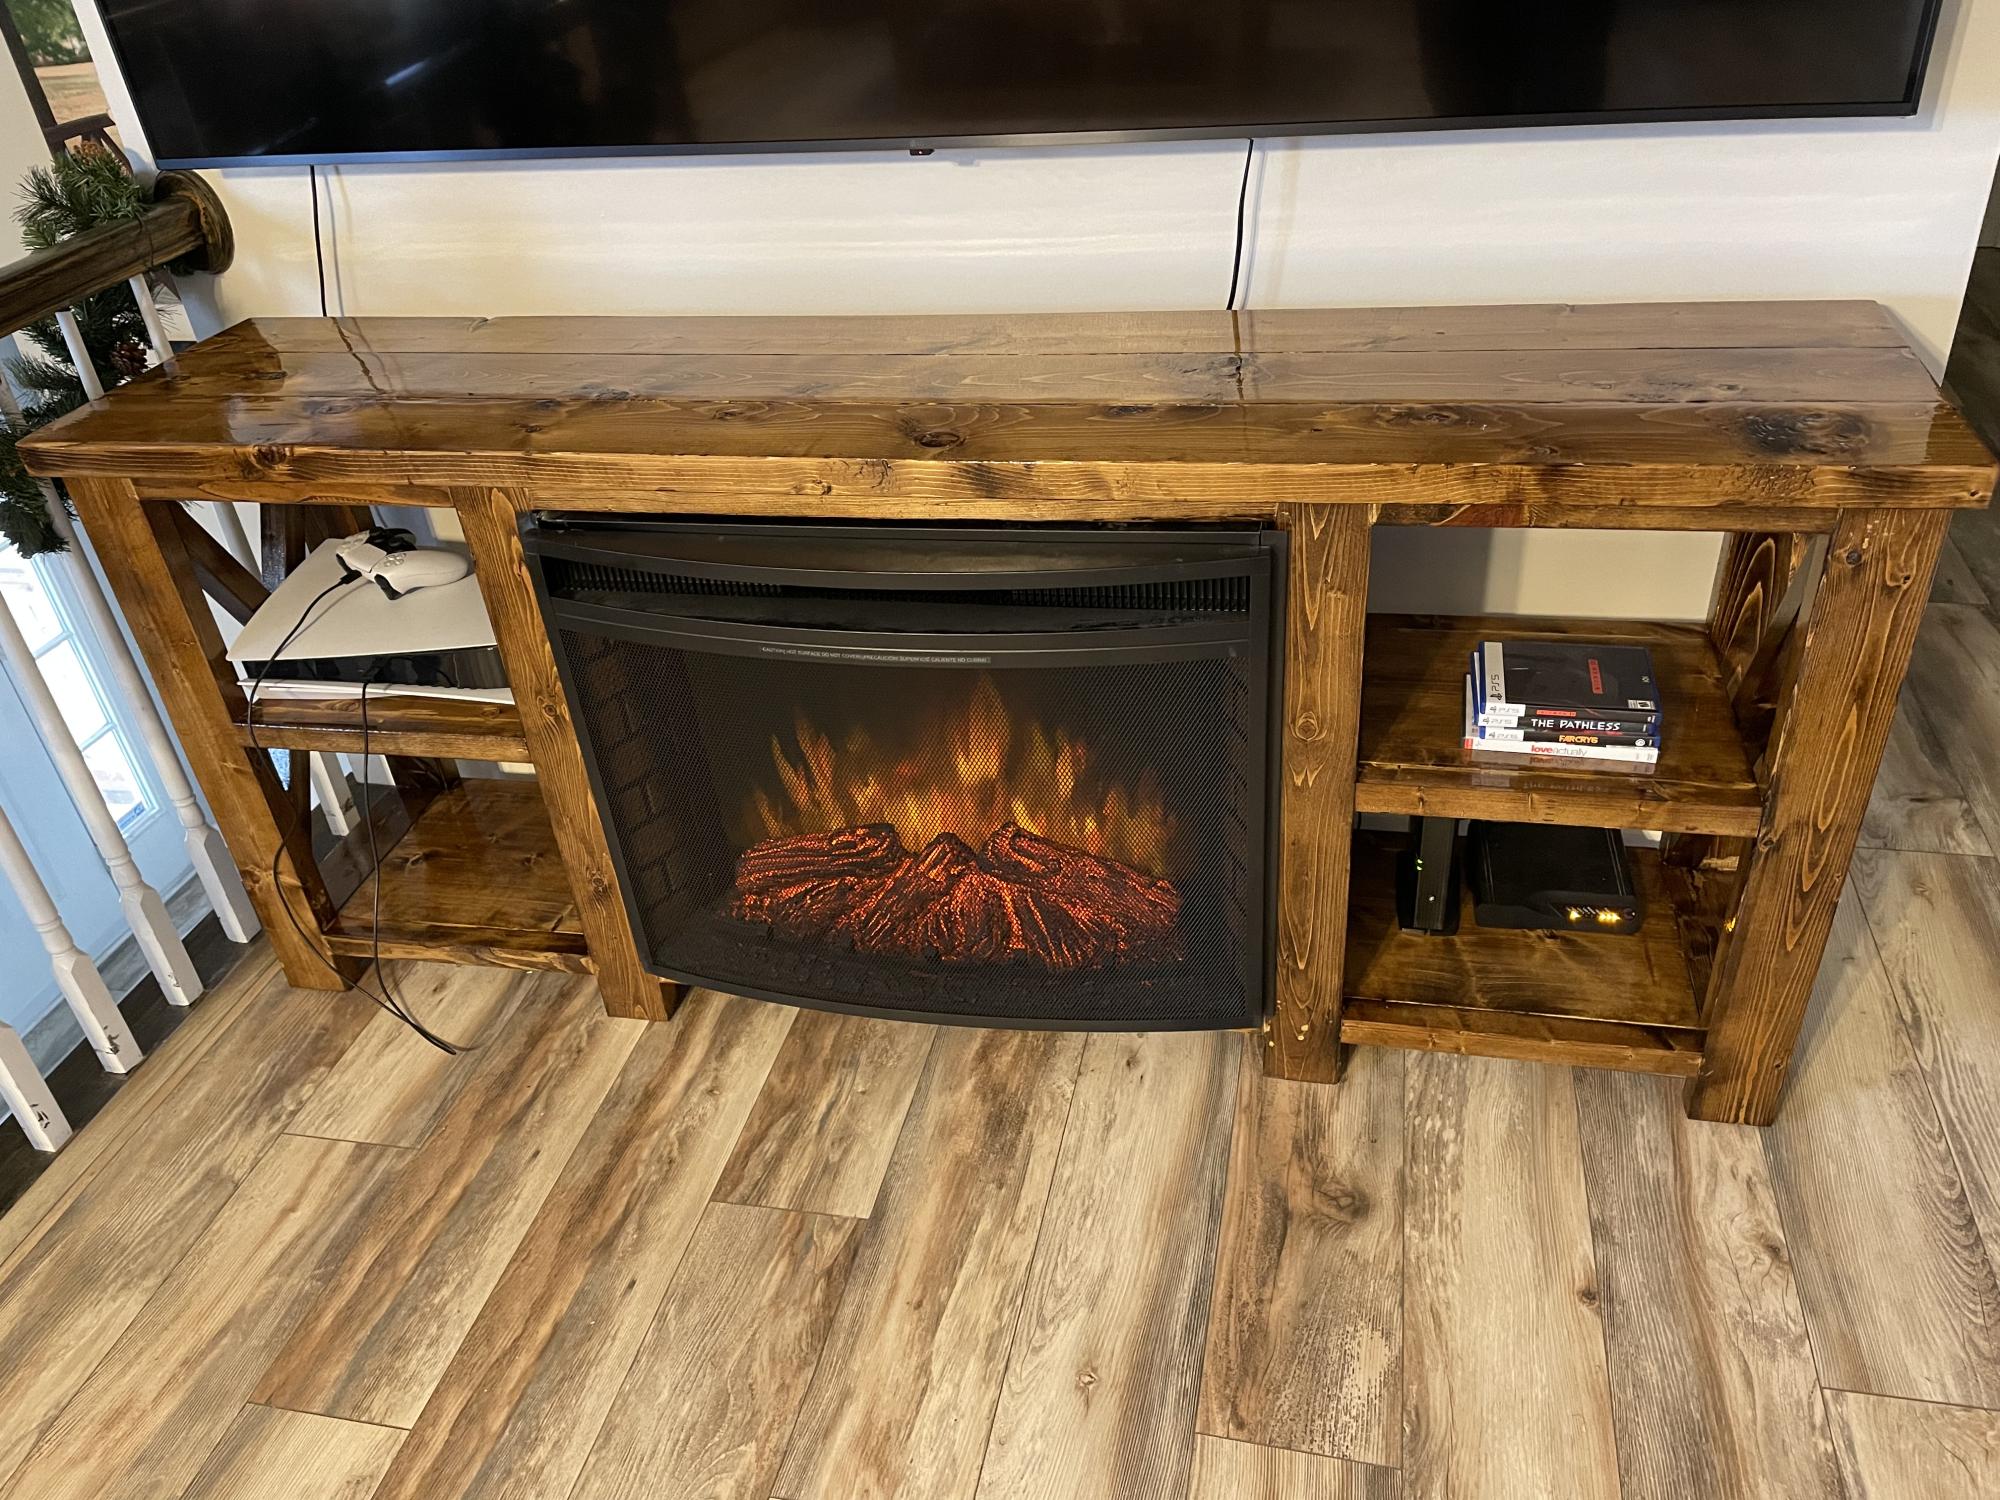
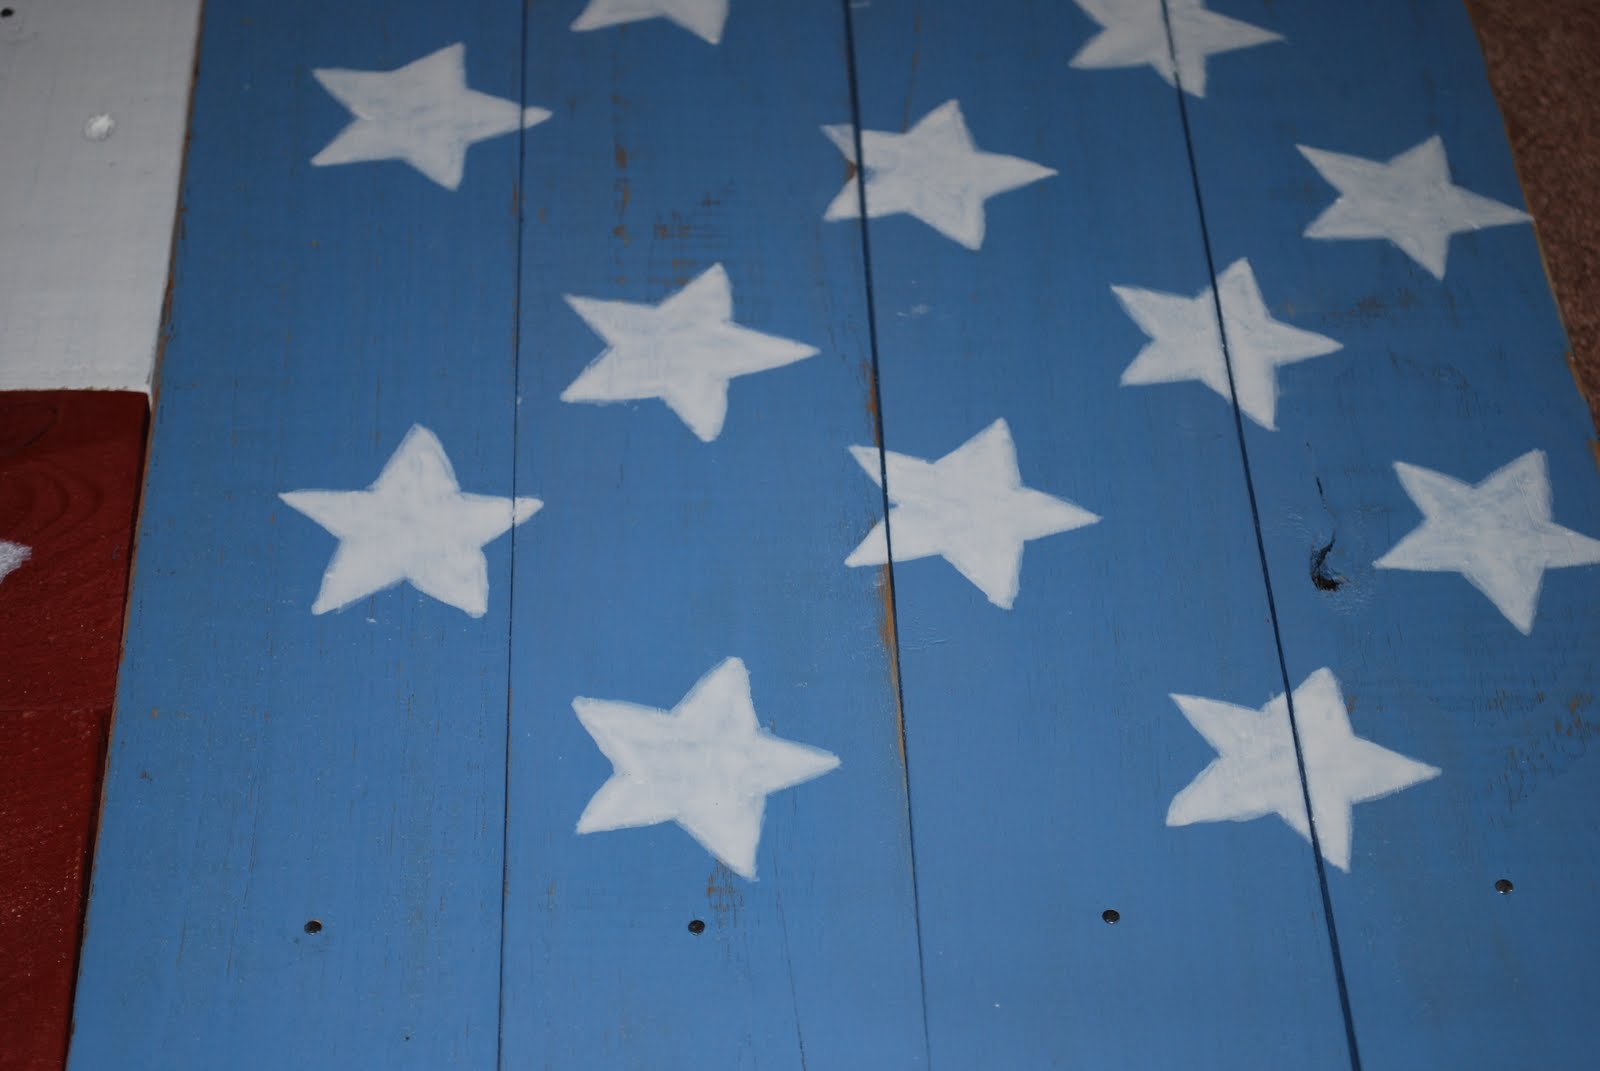
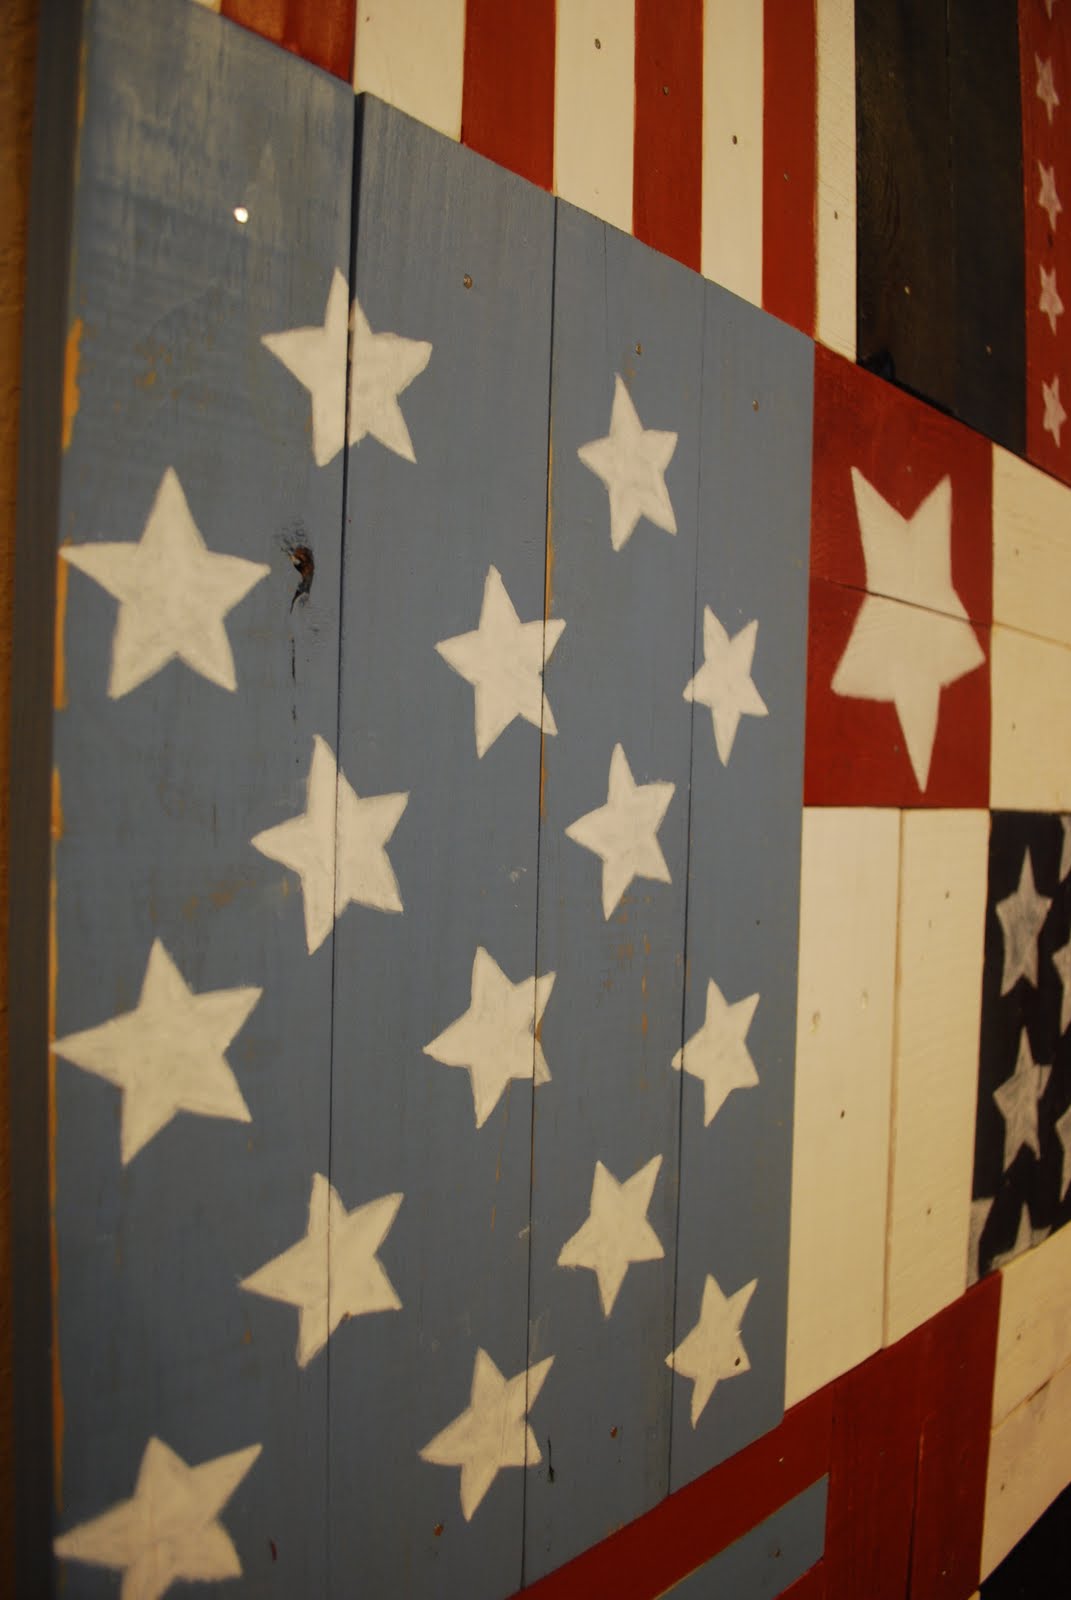
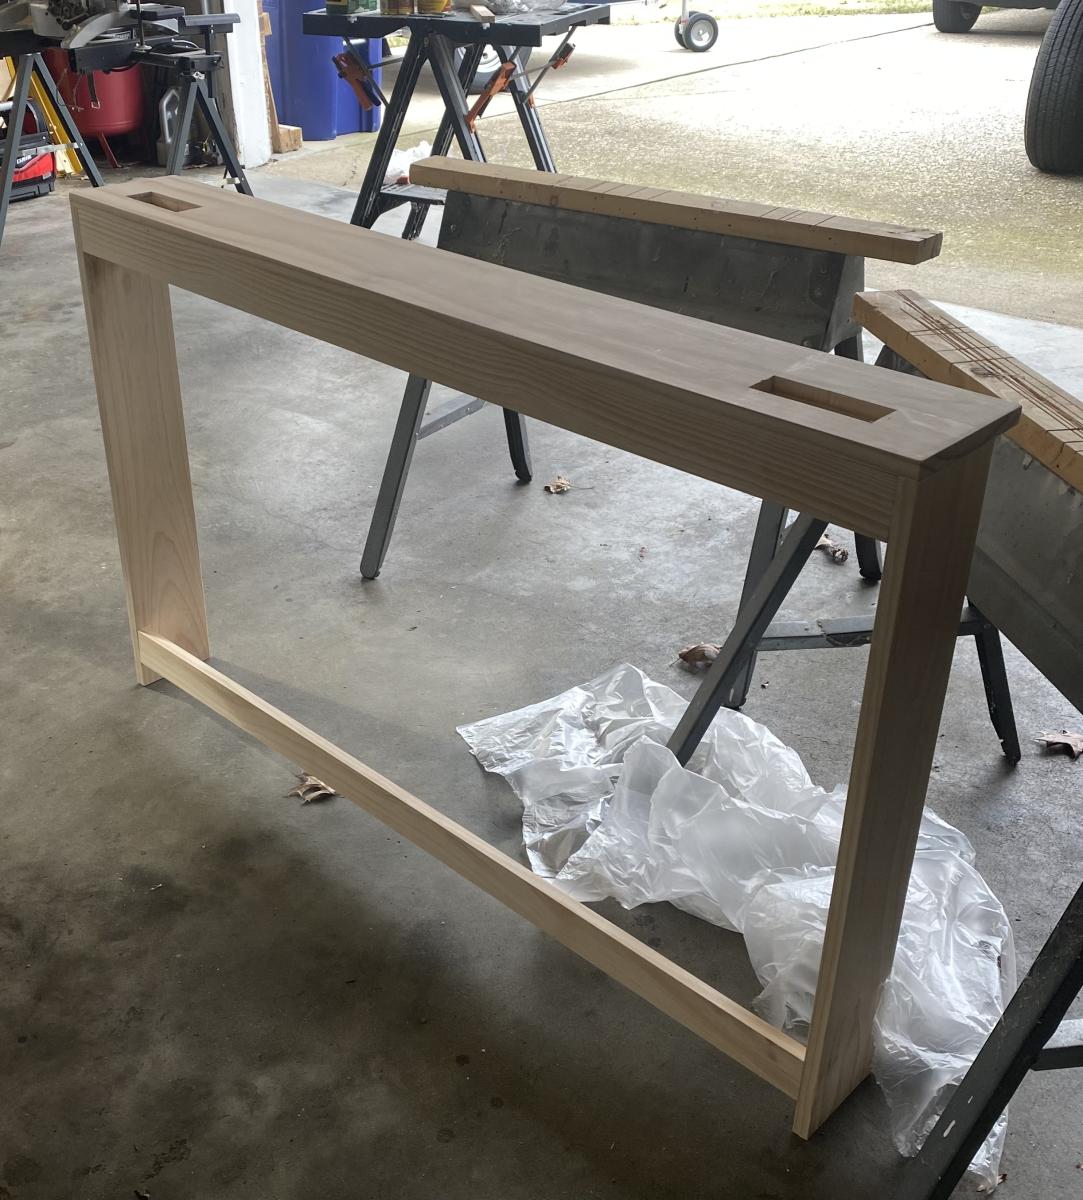
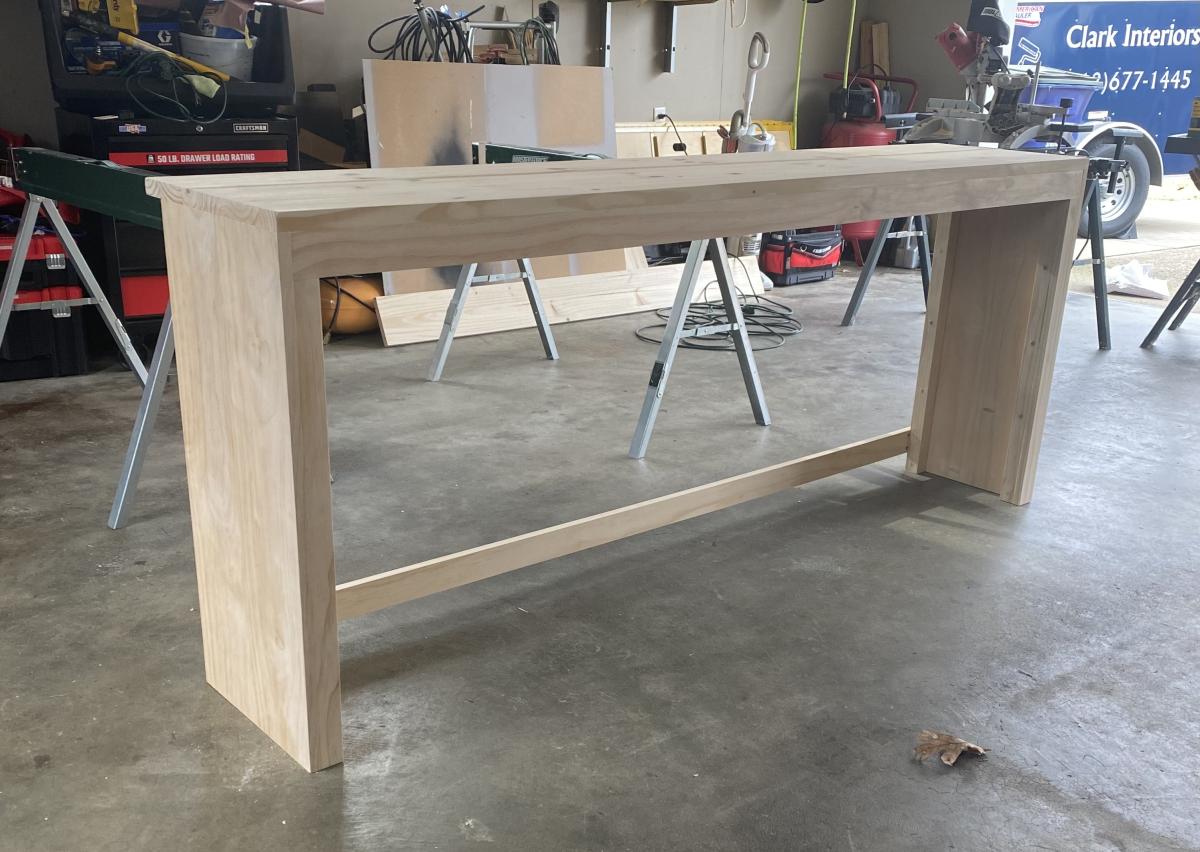
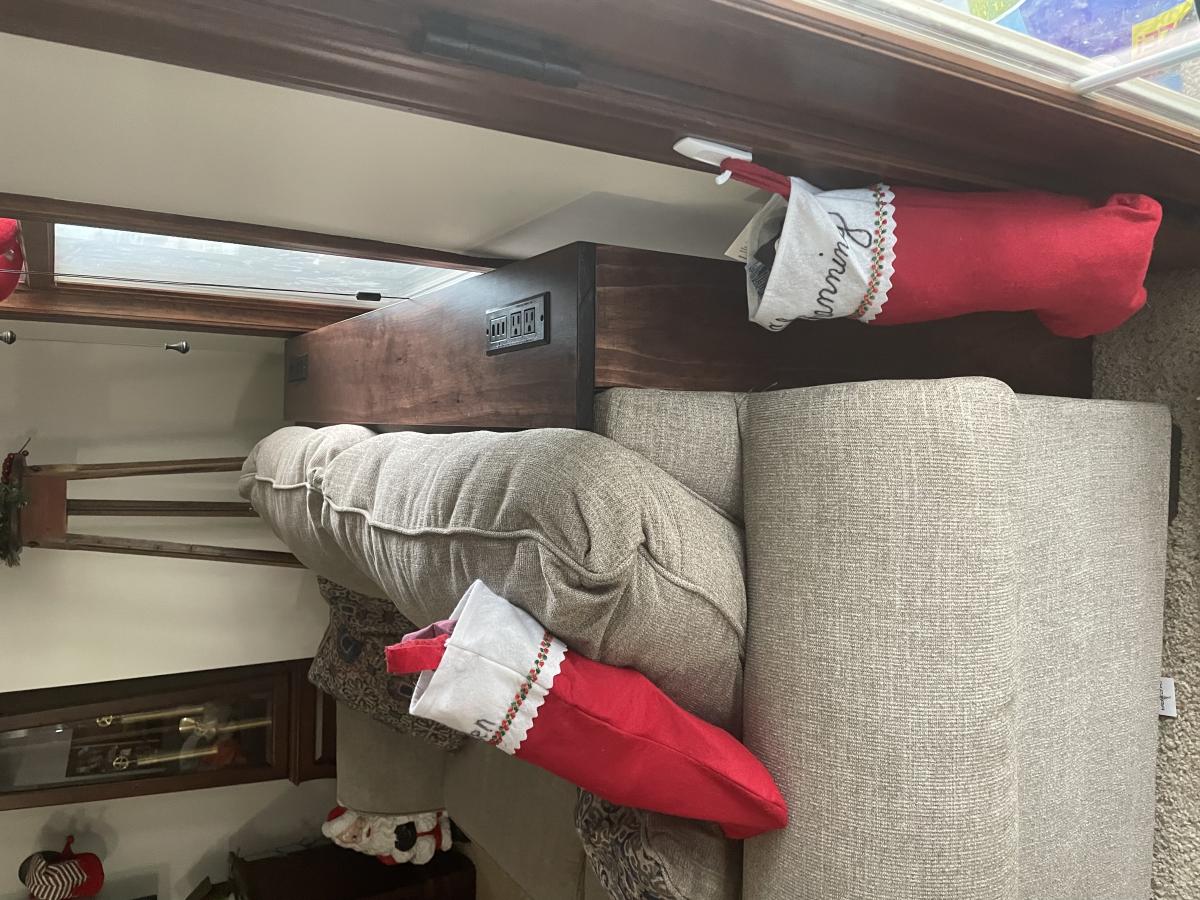
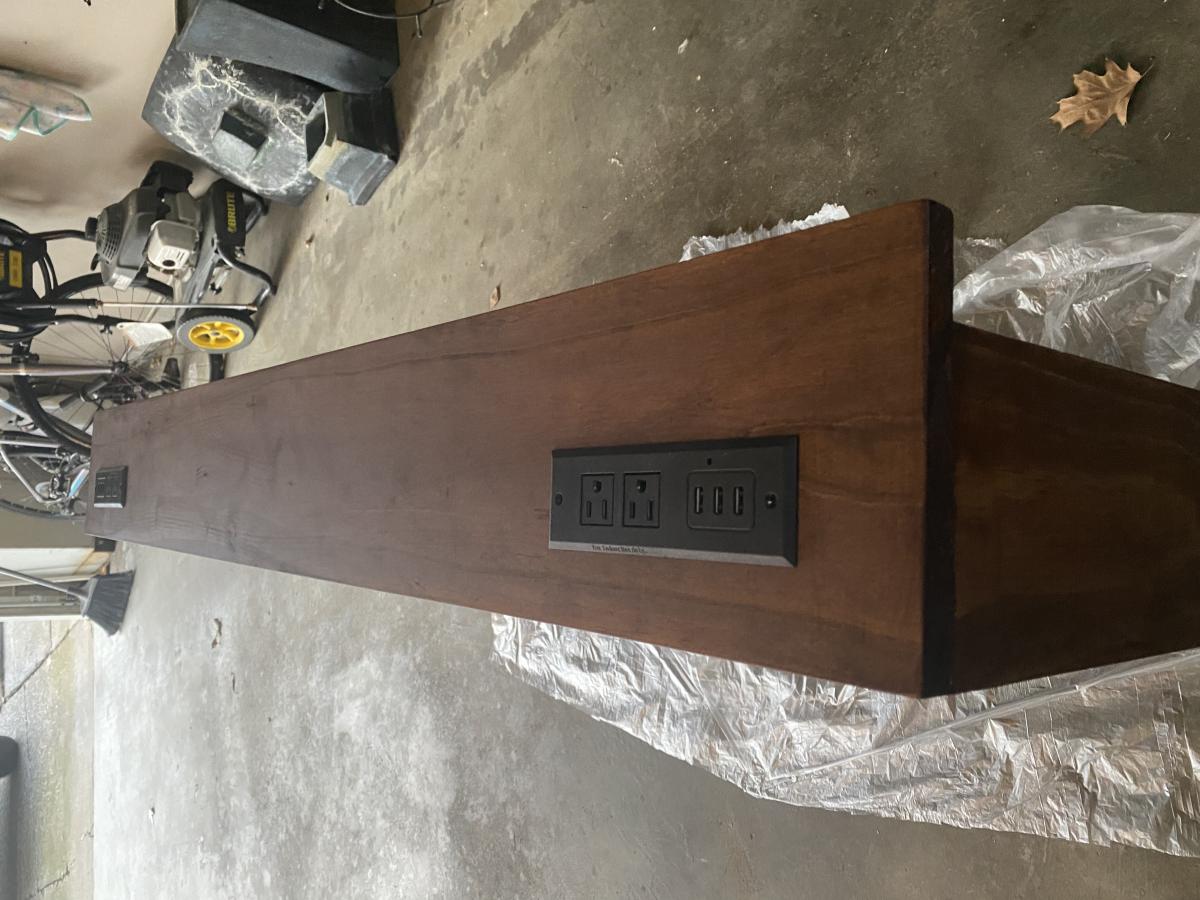
It is build out of 2x4s, 1x6s. The Base is 1,50m x 0,50m. The Top is 1,50m x 0,60m. It was build as a Tribute to the State of Texas where we lived the last 3.5 Years. The Base is made of 2x4s and some Edge Glued Boards. The Posts are also 2x4 and i routed a notch in there to fit the Boards. Problem was to rip the 45 Degree Boards so they fit the middel part. The Sides a Red with a White Stripe to look like a Barn Door. Top is made of Edge Glued Board. I made "Texas" Out of old License Plates and filled the Top with Epoxy Ressin Glaze Table Top. Was quite some work. I used Espresso Stain for the Dark Parts and White Wash for the other Parts. I also used China Red Stain for the Sides. The Dark and Red Parts are covert with shellack. All other with Polyurethane. The Top looks fantastc, and i had some old Beer Towels accomondate it. Most Problem where to made it with no plan. I sketched up what we wanted and start building from that. Difficult and Nerv wrecking. Had good help from my Family. I put casters to made it move better. The Glas Holder are made from T Molds. Bottle Holder are from scratch Material. Some decorate items are still missing but for now the Beer tastes Perfect from this Bar.
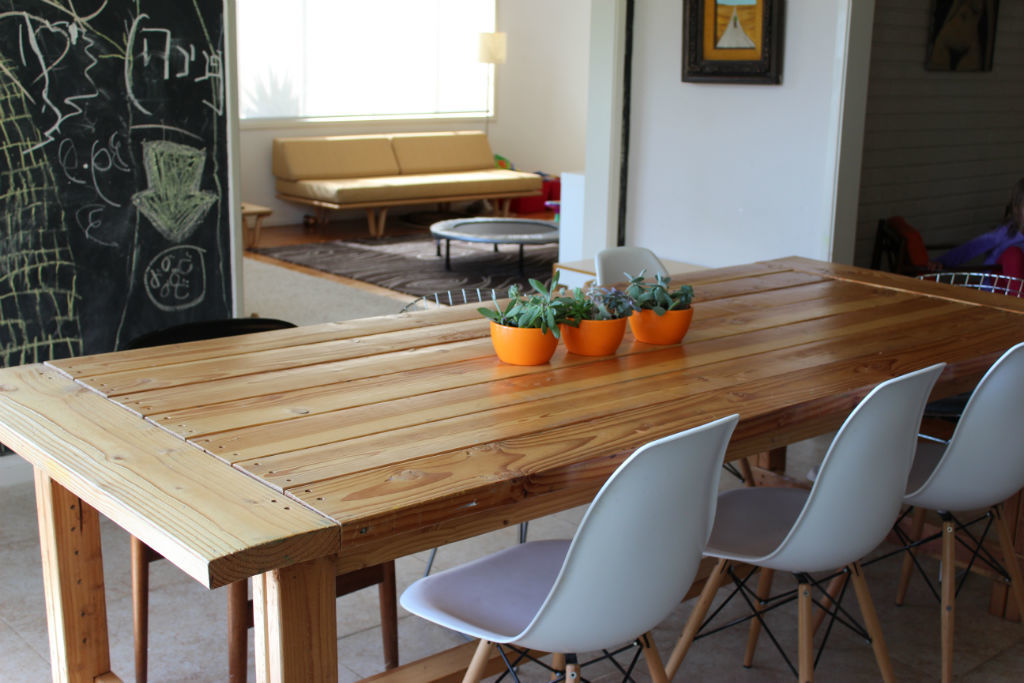
To be honest - this was my Second Big Project after the Farmhouse Table..
Thanks for commends!
Jann


Comments
sgilly
Tue, 07/02/2013 - 09:52
Looks great!
Love the detail.