Deluxe Kids Play Kitchen
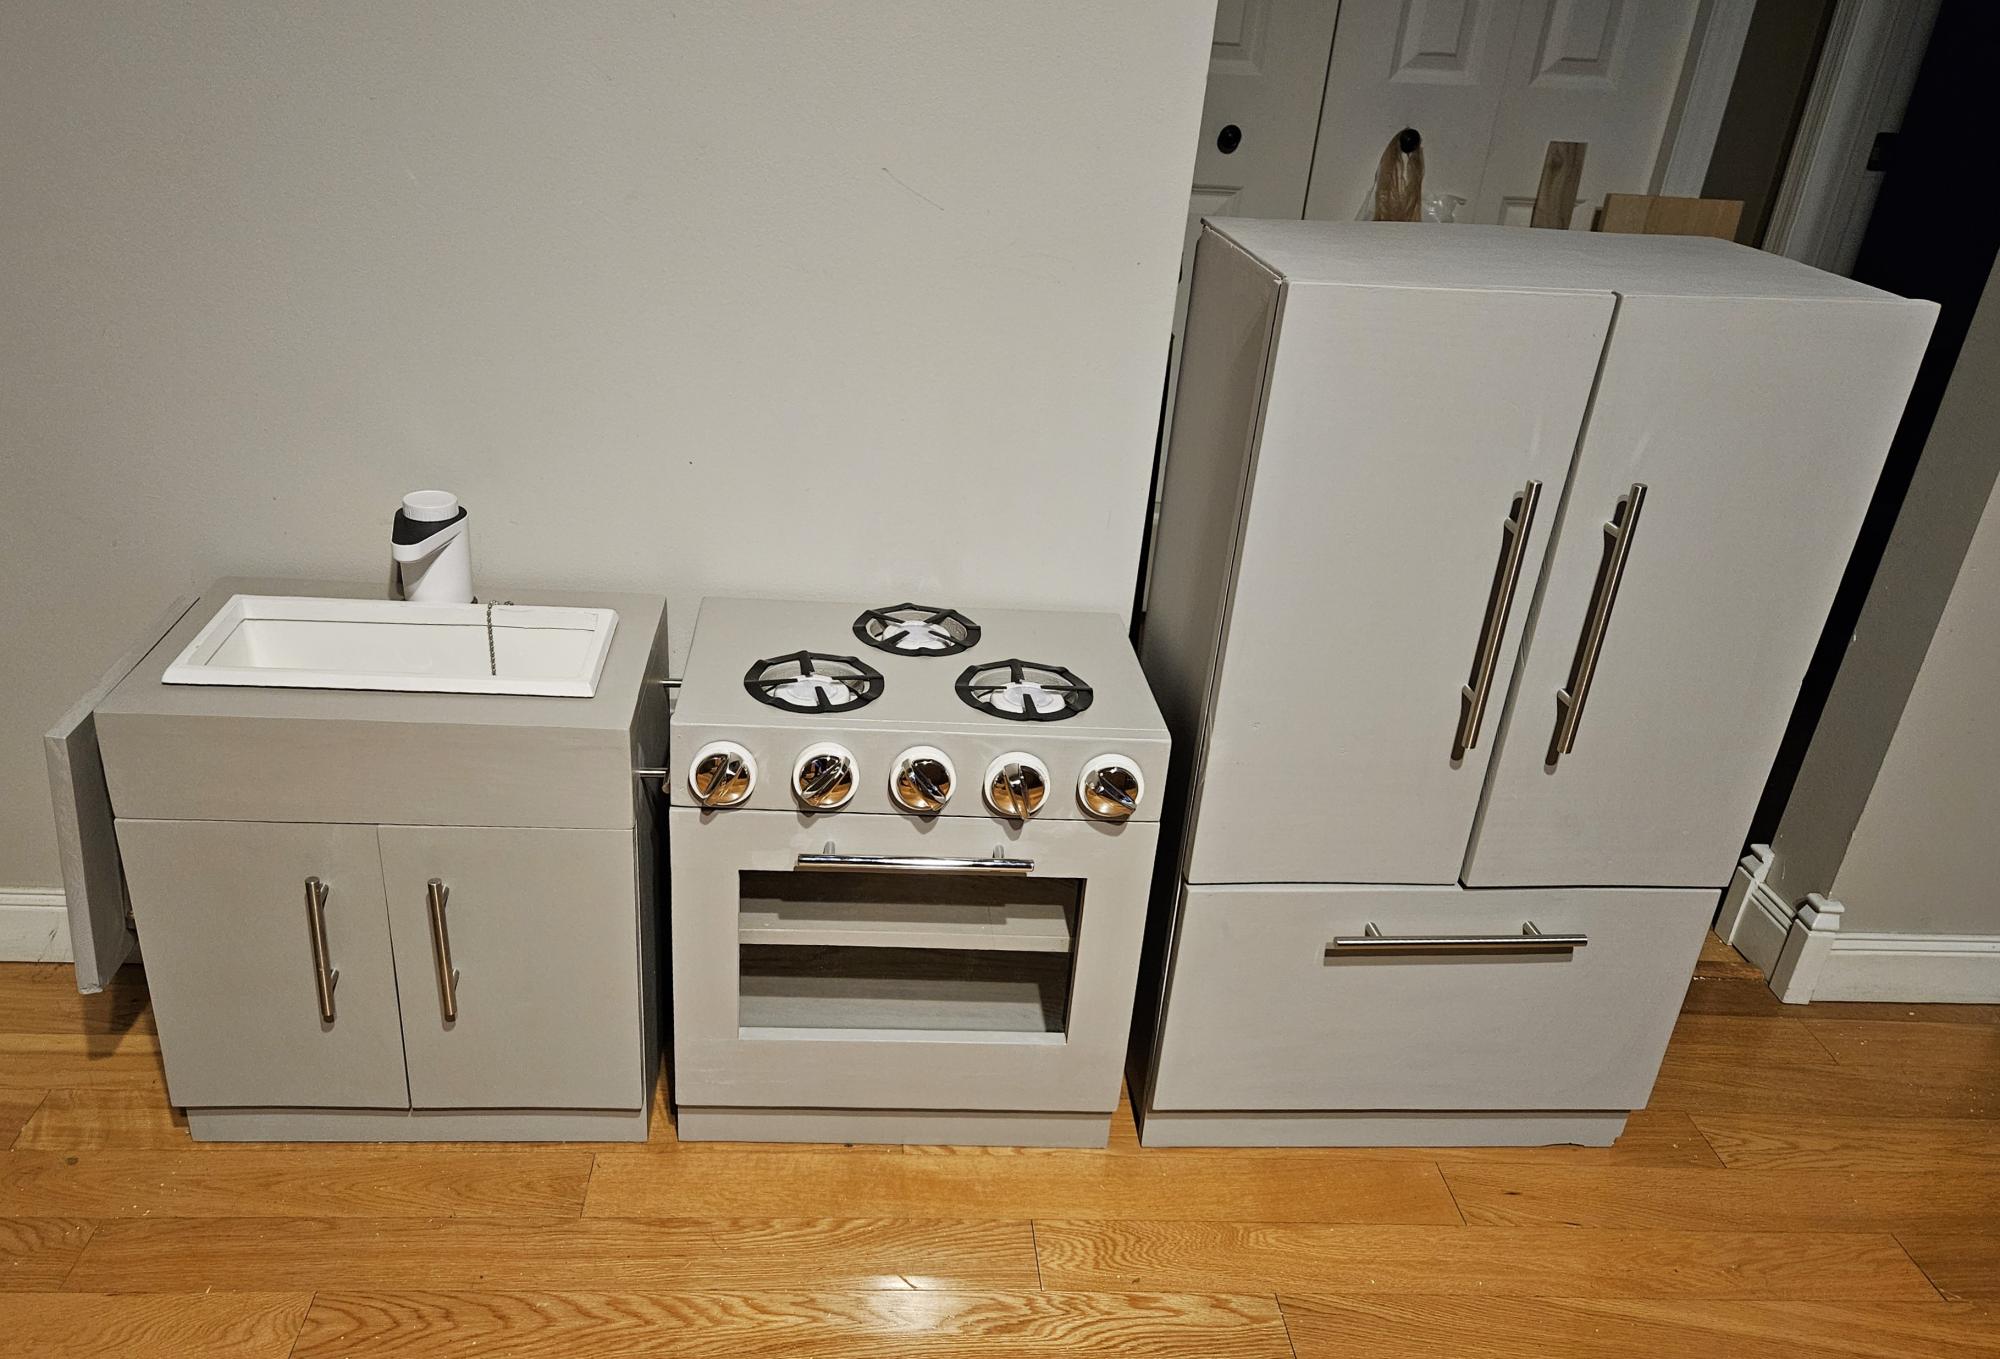
Christmas kitchen for my granddaughter using Ana's kids kitchen plans.
Raelyn's Gramma
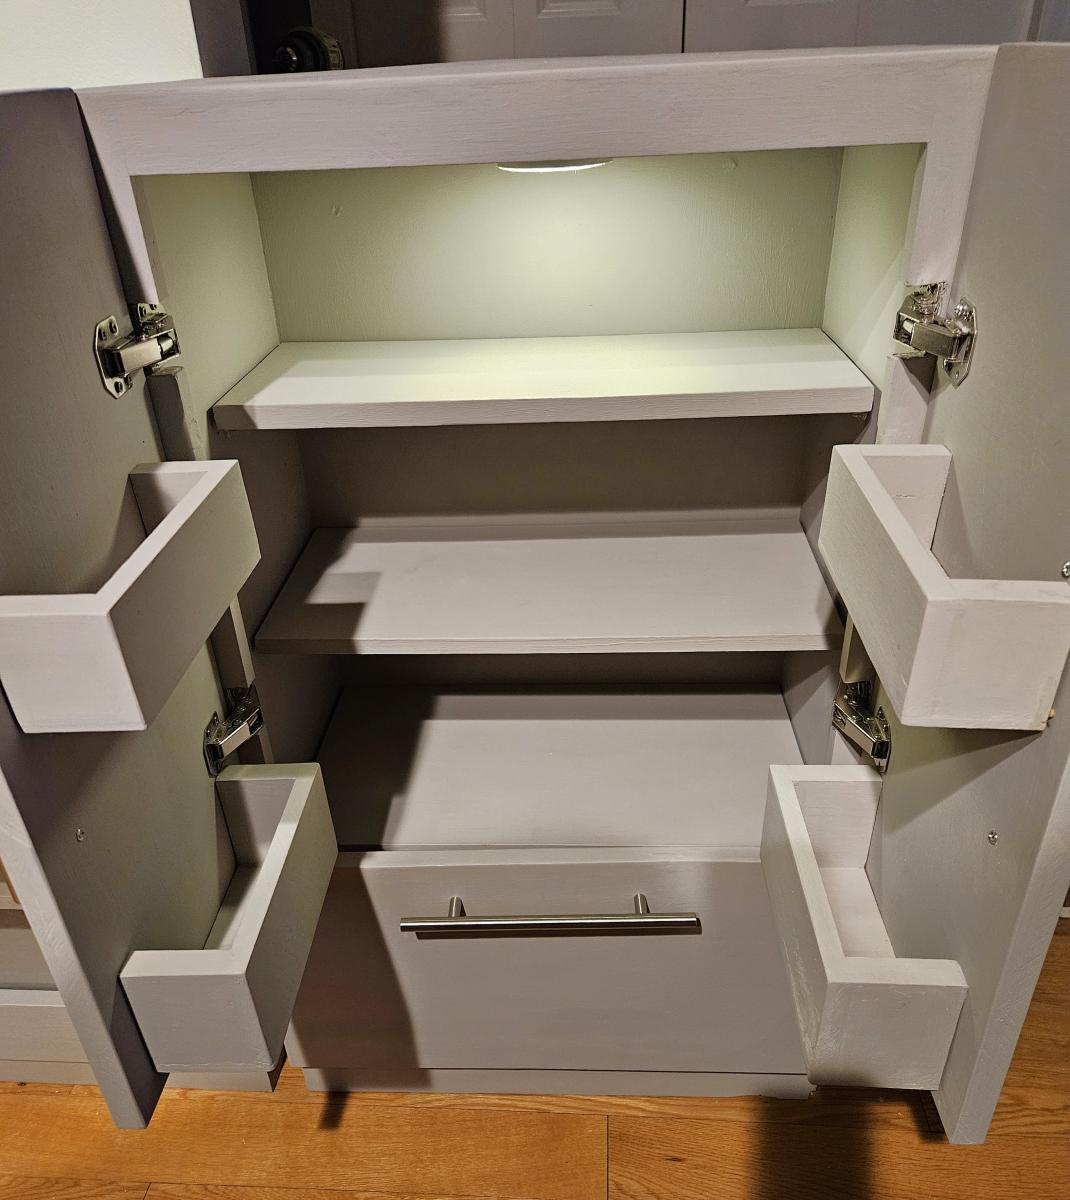
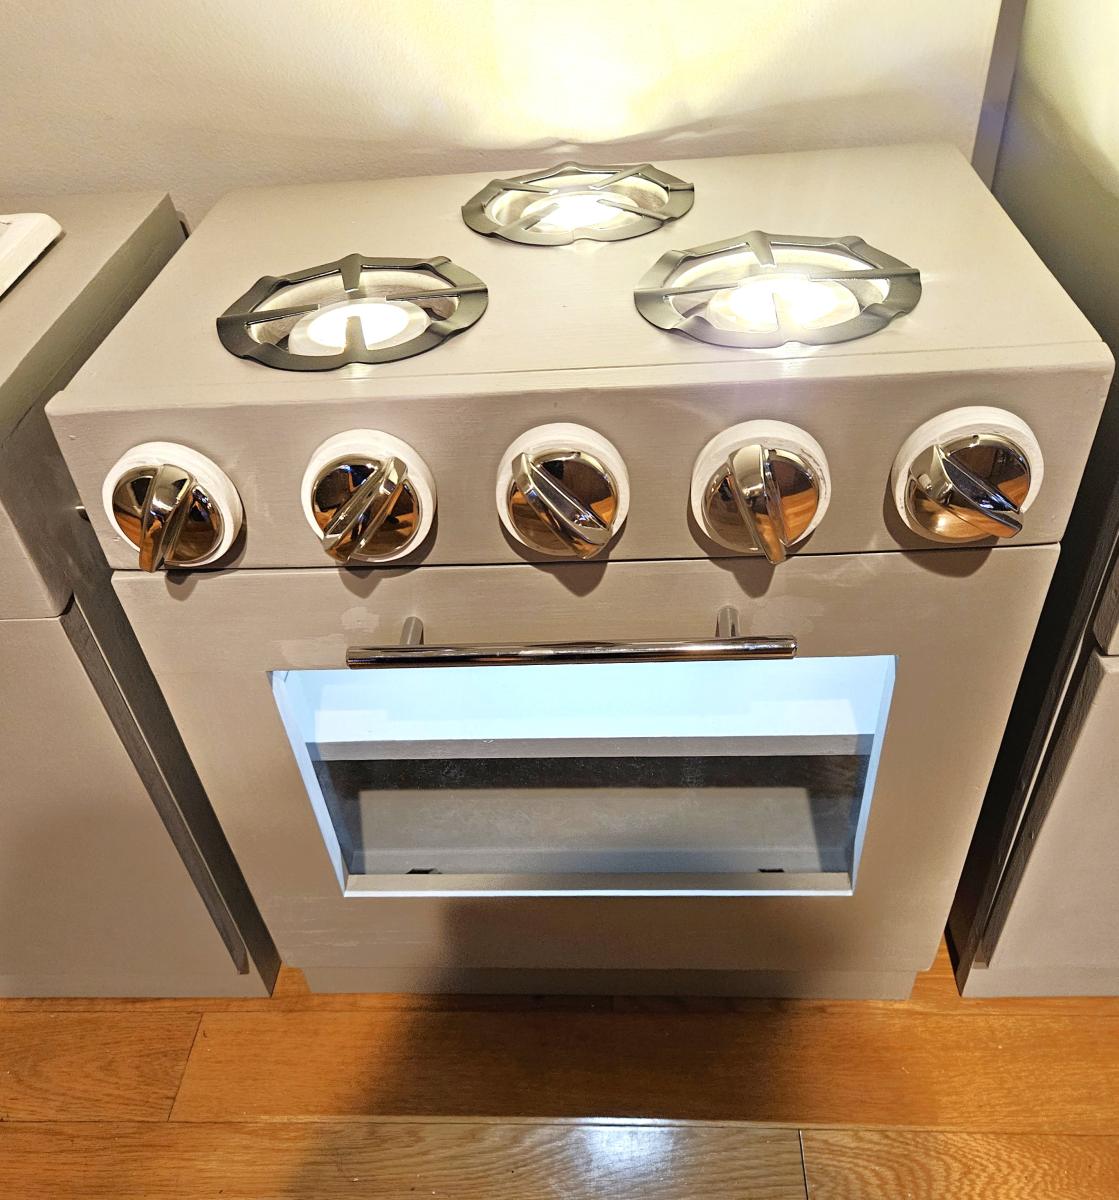
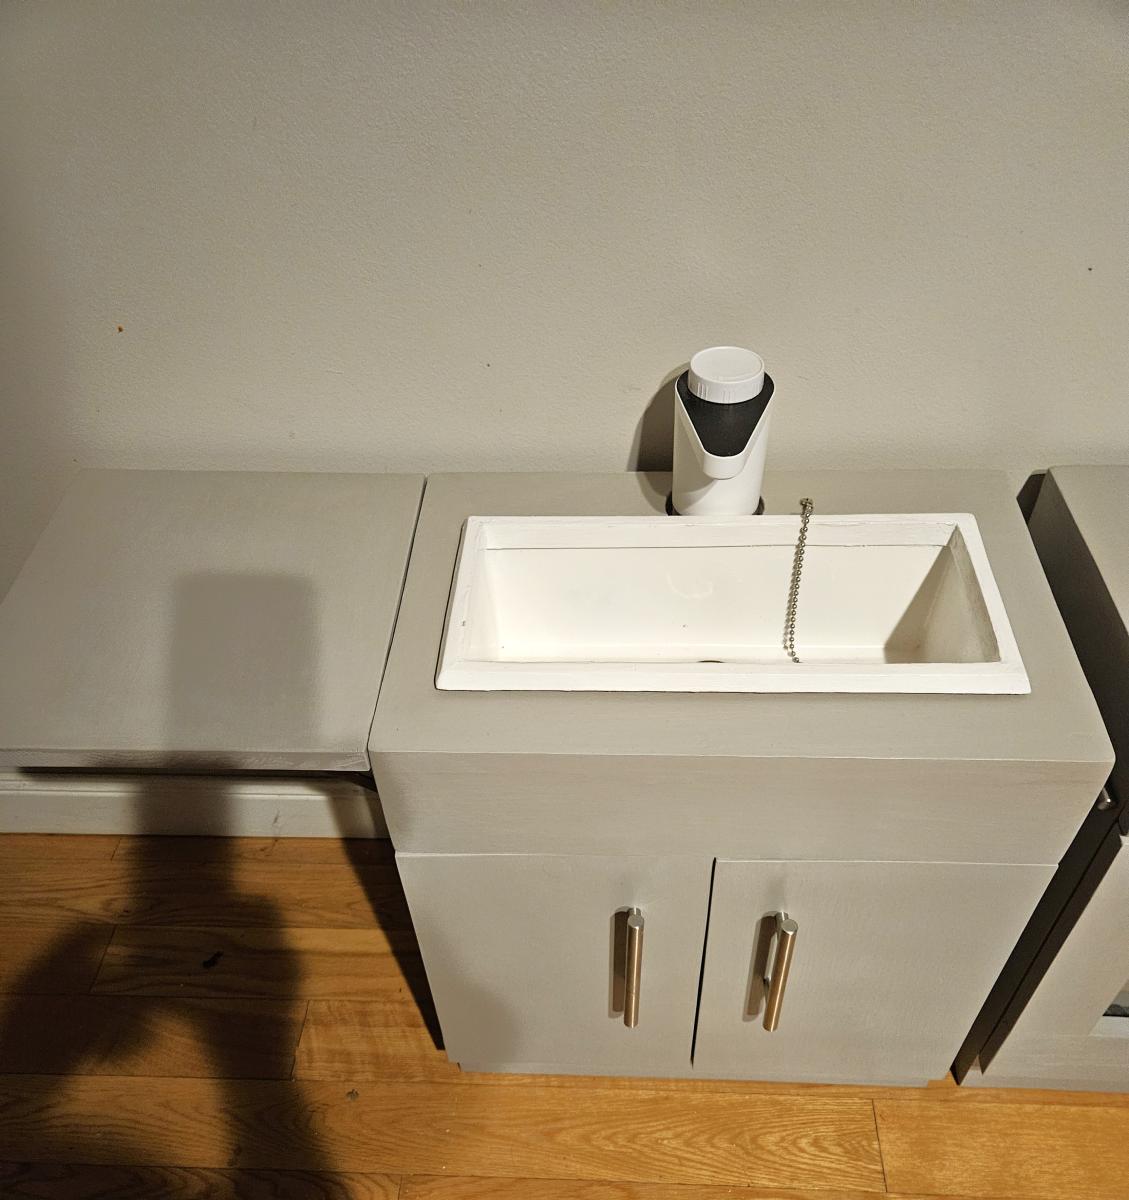

Christmas kitchen for my granddaughter using Ana's kids kitchen plans.
Raelyn's Gramma


This bar is constructed from blue true dimensional 2x and 4x blue pine. The top of the bar was put together with biscuits. Bottom portion was joined with lag screws. Stained with mini wax.


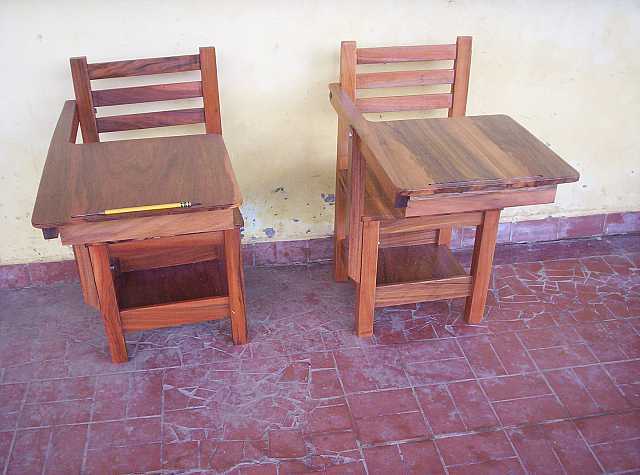
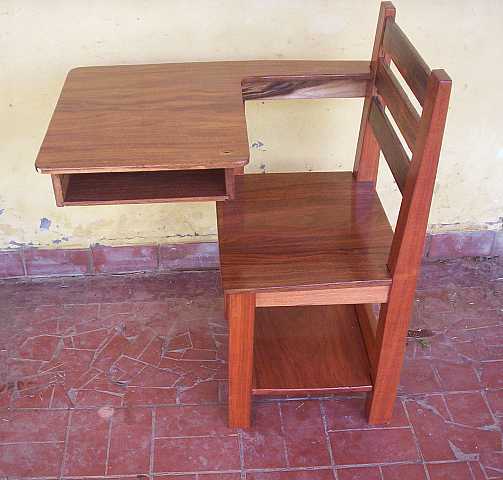
I found your plans for the child storage chair while searching for chair designs to build a student desk for a customer. With the addition of the table to the chair it works well. The wood is from a local sawmill where I work so I can cut it to my specifications right from the log. The wood is Curupay or Bolivian Rose Wood and changes color from brown to red from the sun light. The finish is shellac and varnish. While taking the first one to the customer another person ask for 2 so it looks like I may be making chairs for a while.....
I followed the plans to build the counch. My wife liked it so much she requested the love seat and chairs. The chair plans were not up on the site yet. That said, the plans were so easy to follow, I was able to adjust the loveseat plans to make the chairs with ease. Thank you very much!
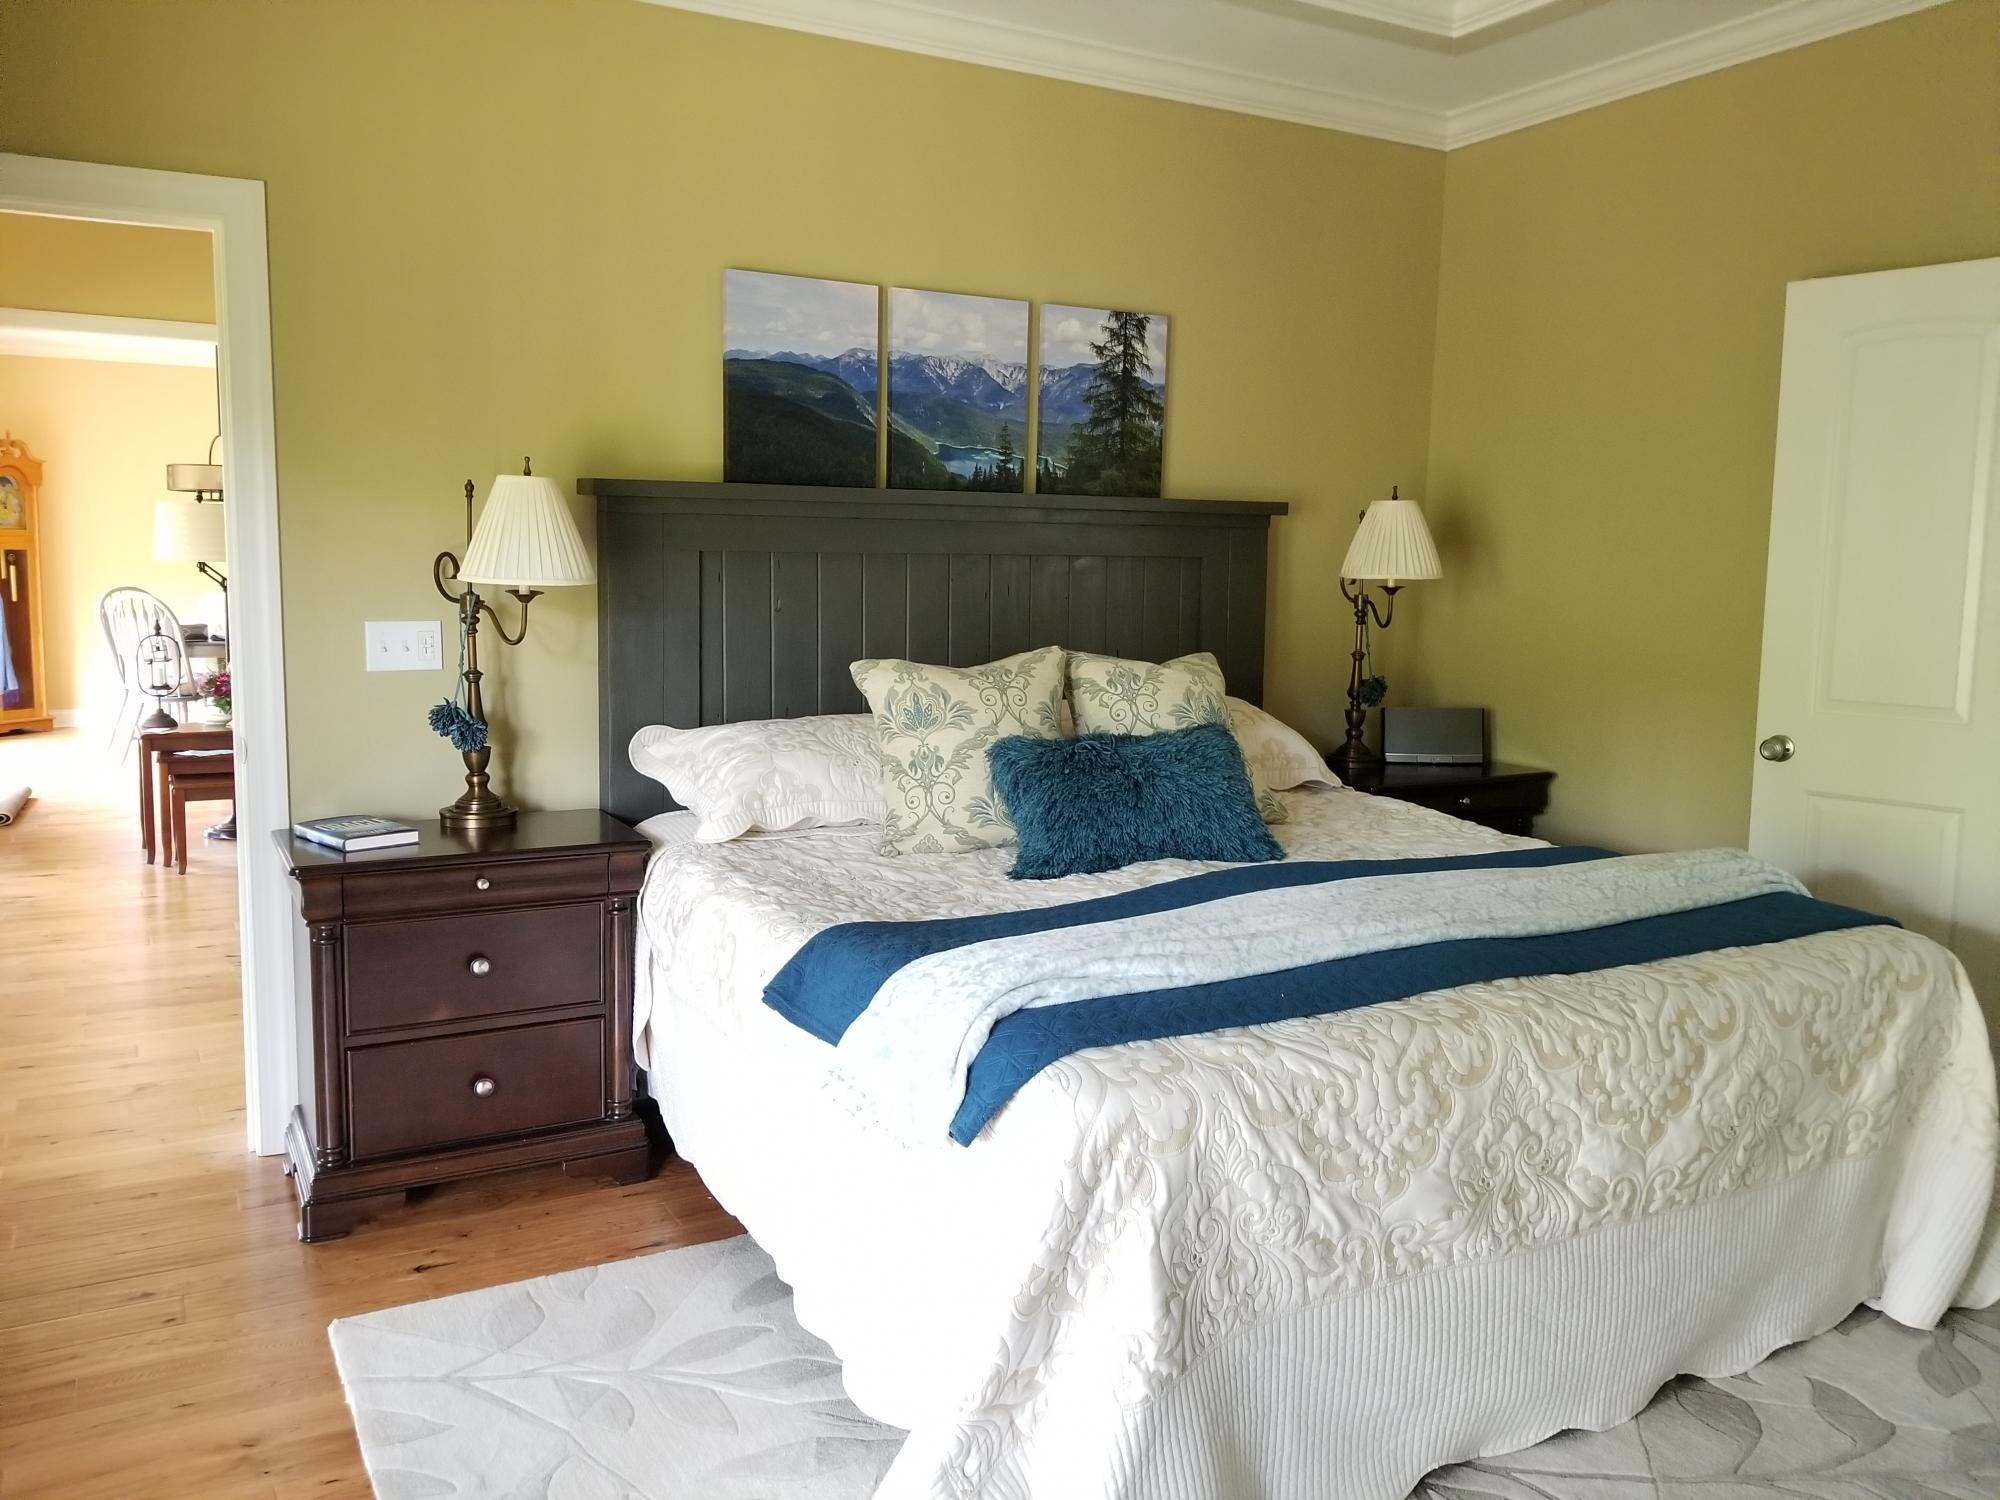
I used discarded lumber from when they built our house a few years ago for the support structure. I only needed the headboard for our new split king adjustable bed. There posts are 2 2x6s sistered together. The top shelf is a 2x6 and the insert is 1x6 tongue and groove (got the idea from the fancy farmhouse bed and loved it!) blue spruce flooring with worm holes. I love it, now to do a mashup of the two nightstands with a drawer and a door 😁Thanks Ana!!!
Ps, my hubby also bought me the Kreg electric pocket hole machine for mother's day for upcoming projects. I didn't even know that was a thing until i saw your video... It's awesome!!
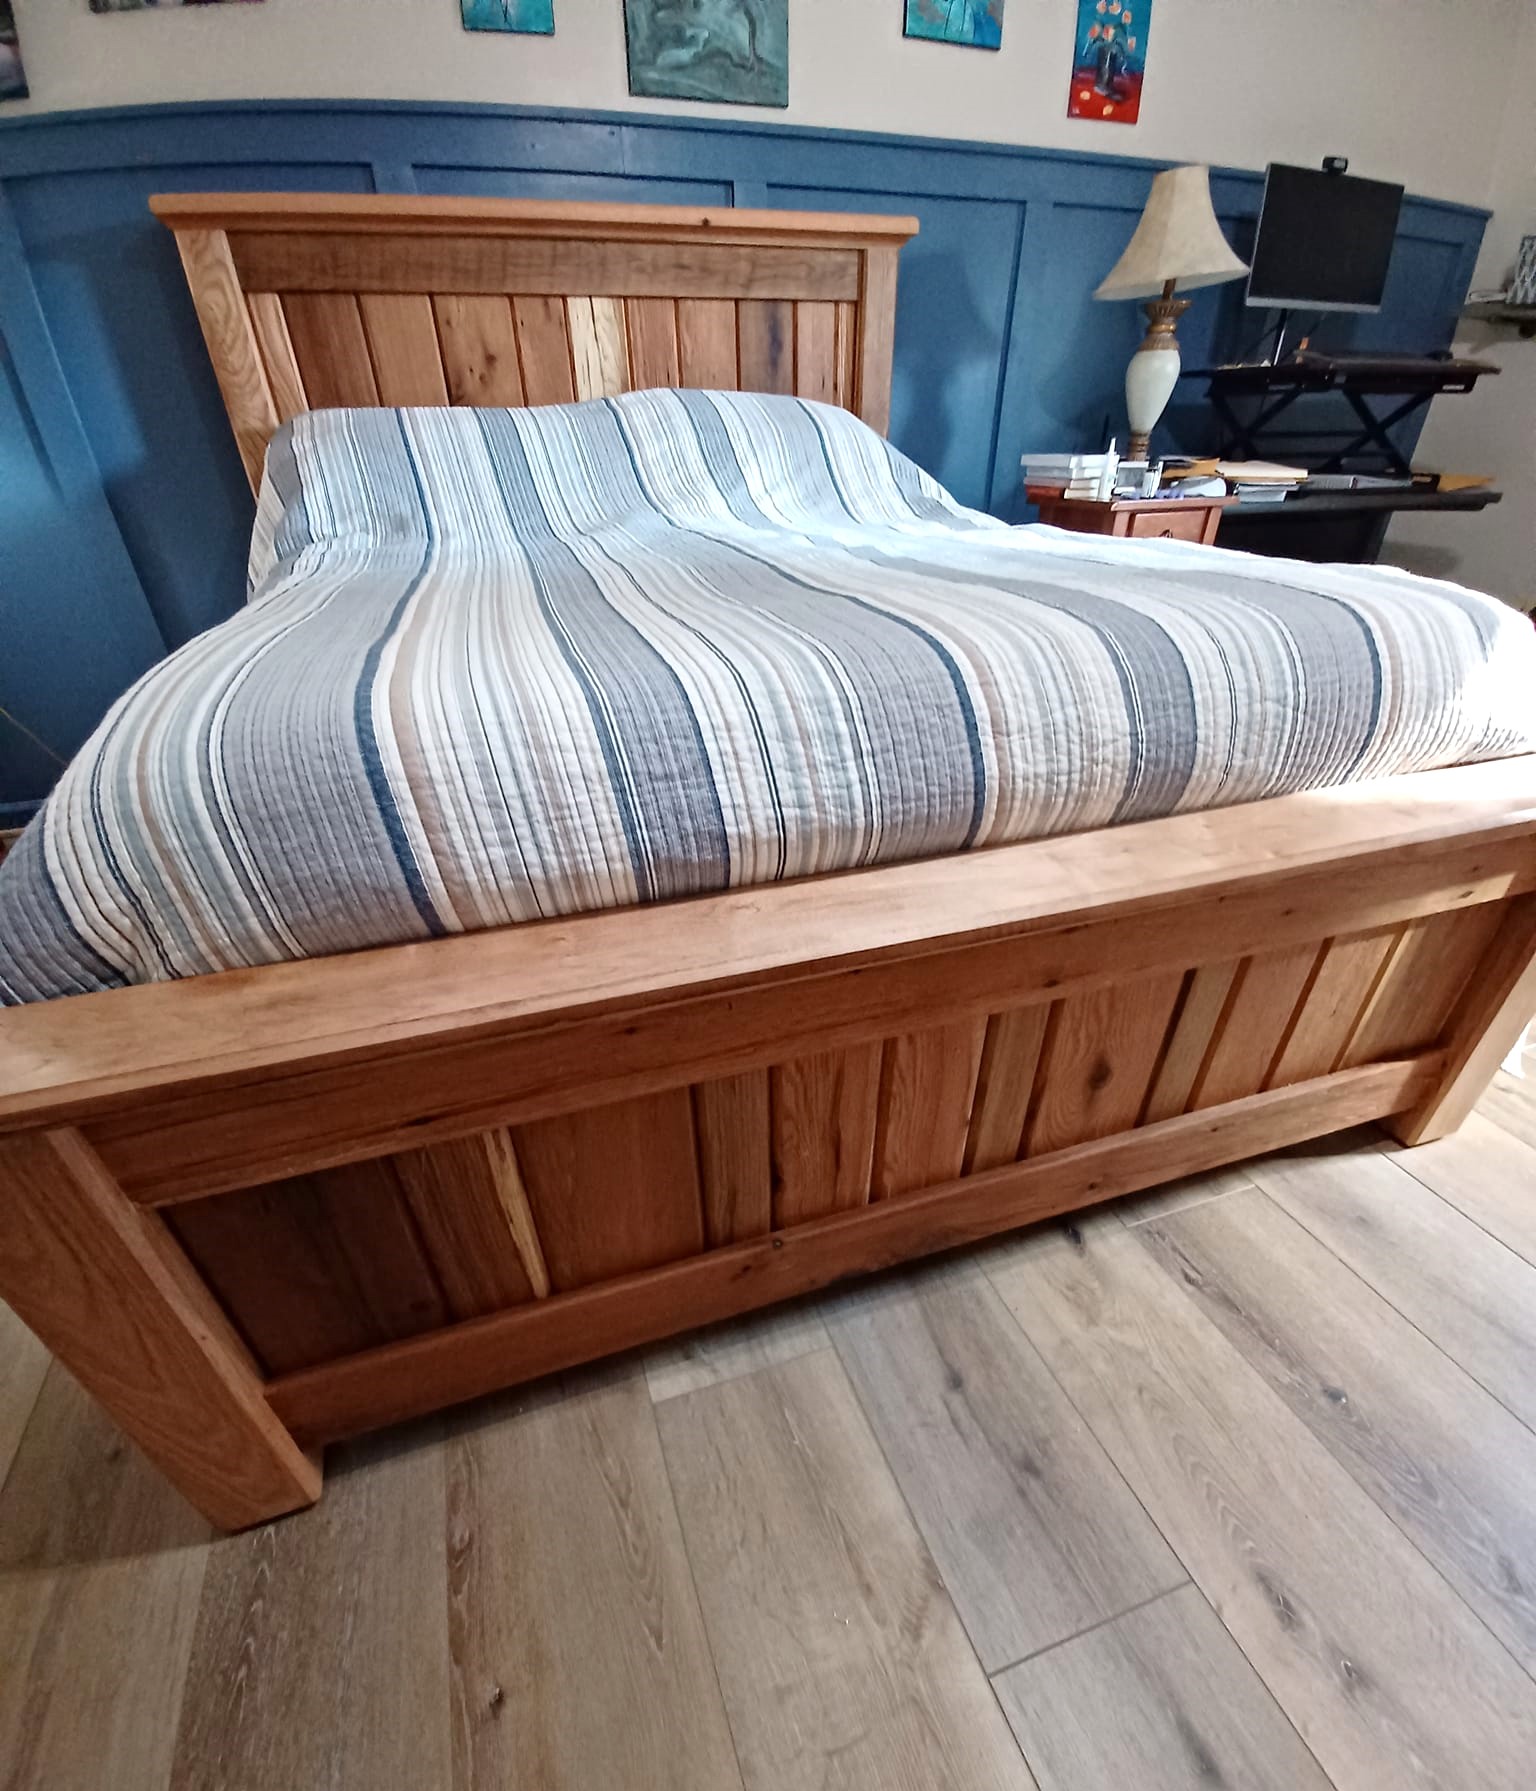
We used Ana’s Farmhouse queen bed plans to build a replacement for our master suite. We did change a few things such as instead of construction grade lumber I used red and white oak and went with dowels and tenons rather than pocket hole screws. I also lowered the height significantly due to us having a really thing mattress with pillow tops. The result has been wel received by 'management' as well as her friends. Thank You Ana!
Back Patio Woodworks
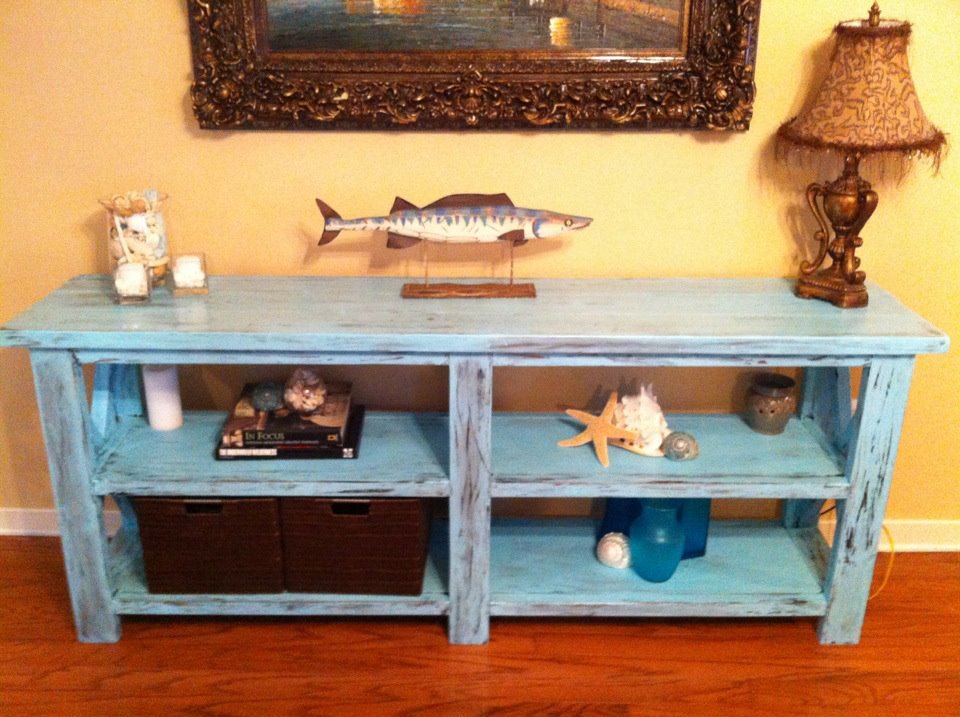
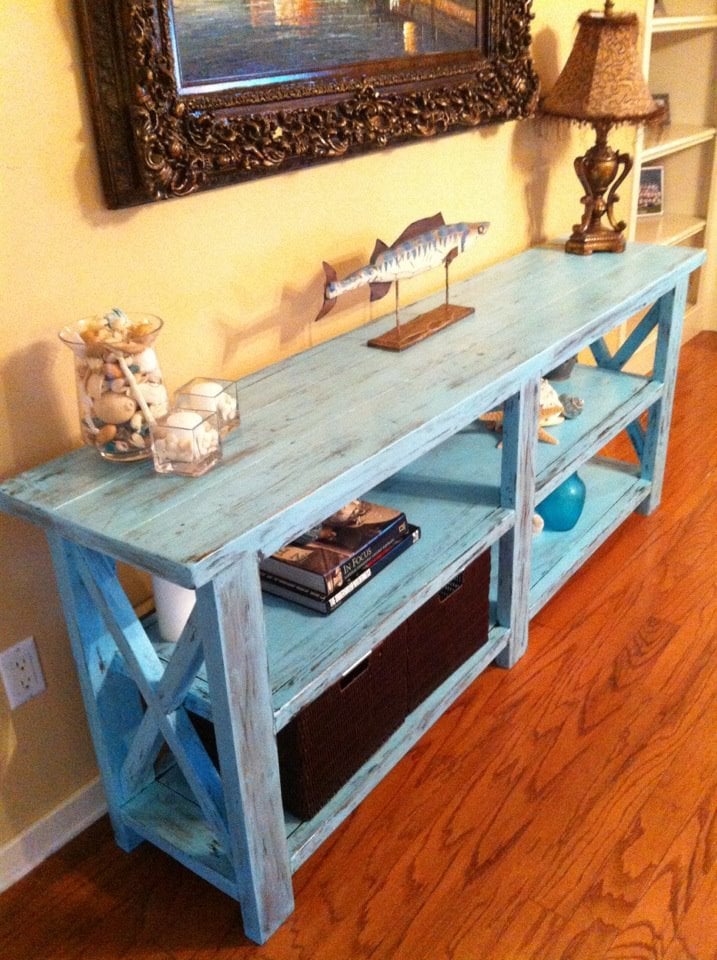
Rustic X Console, built as directed. After building we sanded the whole thing pretty well, and did one coat of walnut stain. After the stain dried, I went back and painted over with a bright beachy blue, and while the paint was still wet, wiped it with rags. You have to work in small sections so the paint doesn't dry too quickly. I also went over some areas (where the paint was too thick and on the shelves) with a wet rag, then back over with a dry one. Two coats of satin polyurethane (spray) on top and all done! I want to get rid of the lamp and do 3 different sizes of white lanterns instead!
Tue, 07/10/2012 - 19:21
I love that finish - the stain and the paint color go perfectly together.
In reply to I love that finish - the by mycreativeescapes
Wed, 07/11/2012 - 17:45
Thank you so much! It's Minwax walnut stain and Valspar (you can get at Lowe's) Beach Sparkle (semi-gloss) paint over it. Followed with 2 coats of spray poly and you're good to go! :)
Second project. I built this bench for my front porch. This was a practice project to get comfortable with pocket screws before I attempt a large table for my back patio.
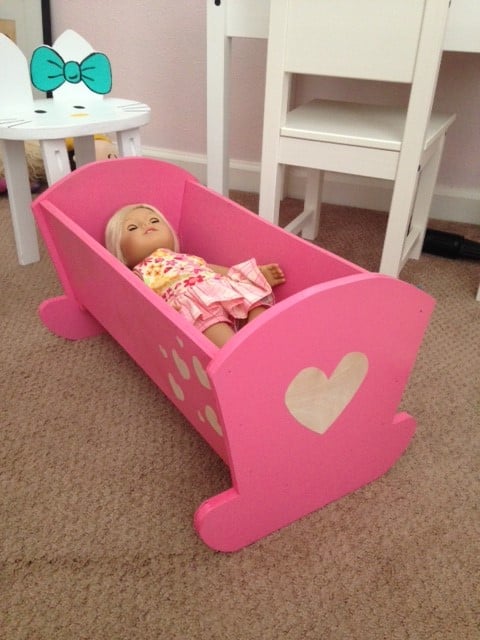
I used leftover plywood (1/4 inch) instead, but would only recommend it, if you plan to paint the cradle (due to splintering when you make your cuts). I also used my nail gun instead of screws, which worked fine since the wood is a lot thinner and lighter. The cradle is very sturdy and my 4-year-old loves it. Thanks for the awesome plans!!
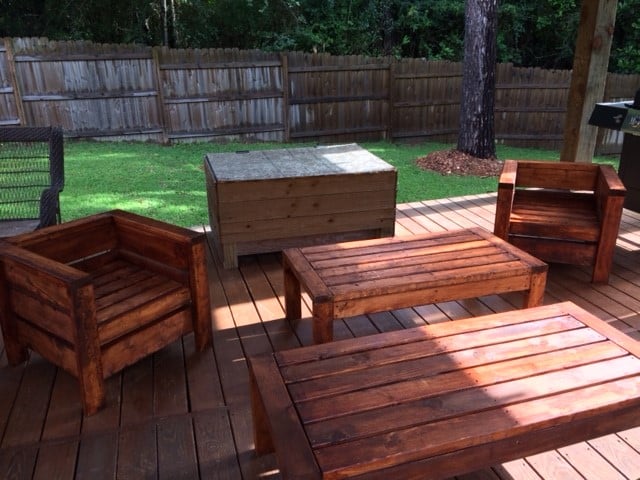
started with outdoor sofa, and ending making 4 chairs, loveseat, and 2 coffee tables
Mon, 05/18/2020 - 20:29
Love the look, posted on Facebook and had requests to build for others. Made my Mother - in-law 2 chairs and a coffee table for her birthday.
Mon, 05/18/2020 - 20:29
Loved the ease, price, and quality of this furniture.
We had pool toys and nerf guns all over our porch! I decided to build a locker system for all of it! I already had the bench, so I modified the plans a bit to fit around it. I also added extra hooks for wet towels and goggles to be hung up to dry. Some of the hooks are large bolts that we had laying around the tool shed. They actually hold wet towels in place better than store bought hooks ;)
This was my first project. It was really easy to execute. I thought that I would have a hard time with the strips, but it was not what I imagined at all. It turned out very well.
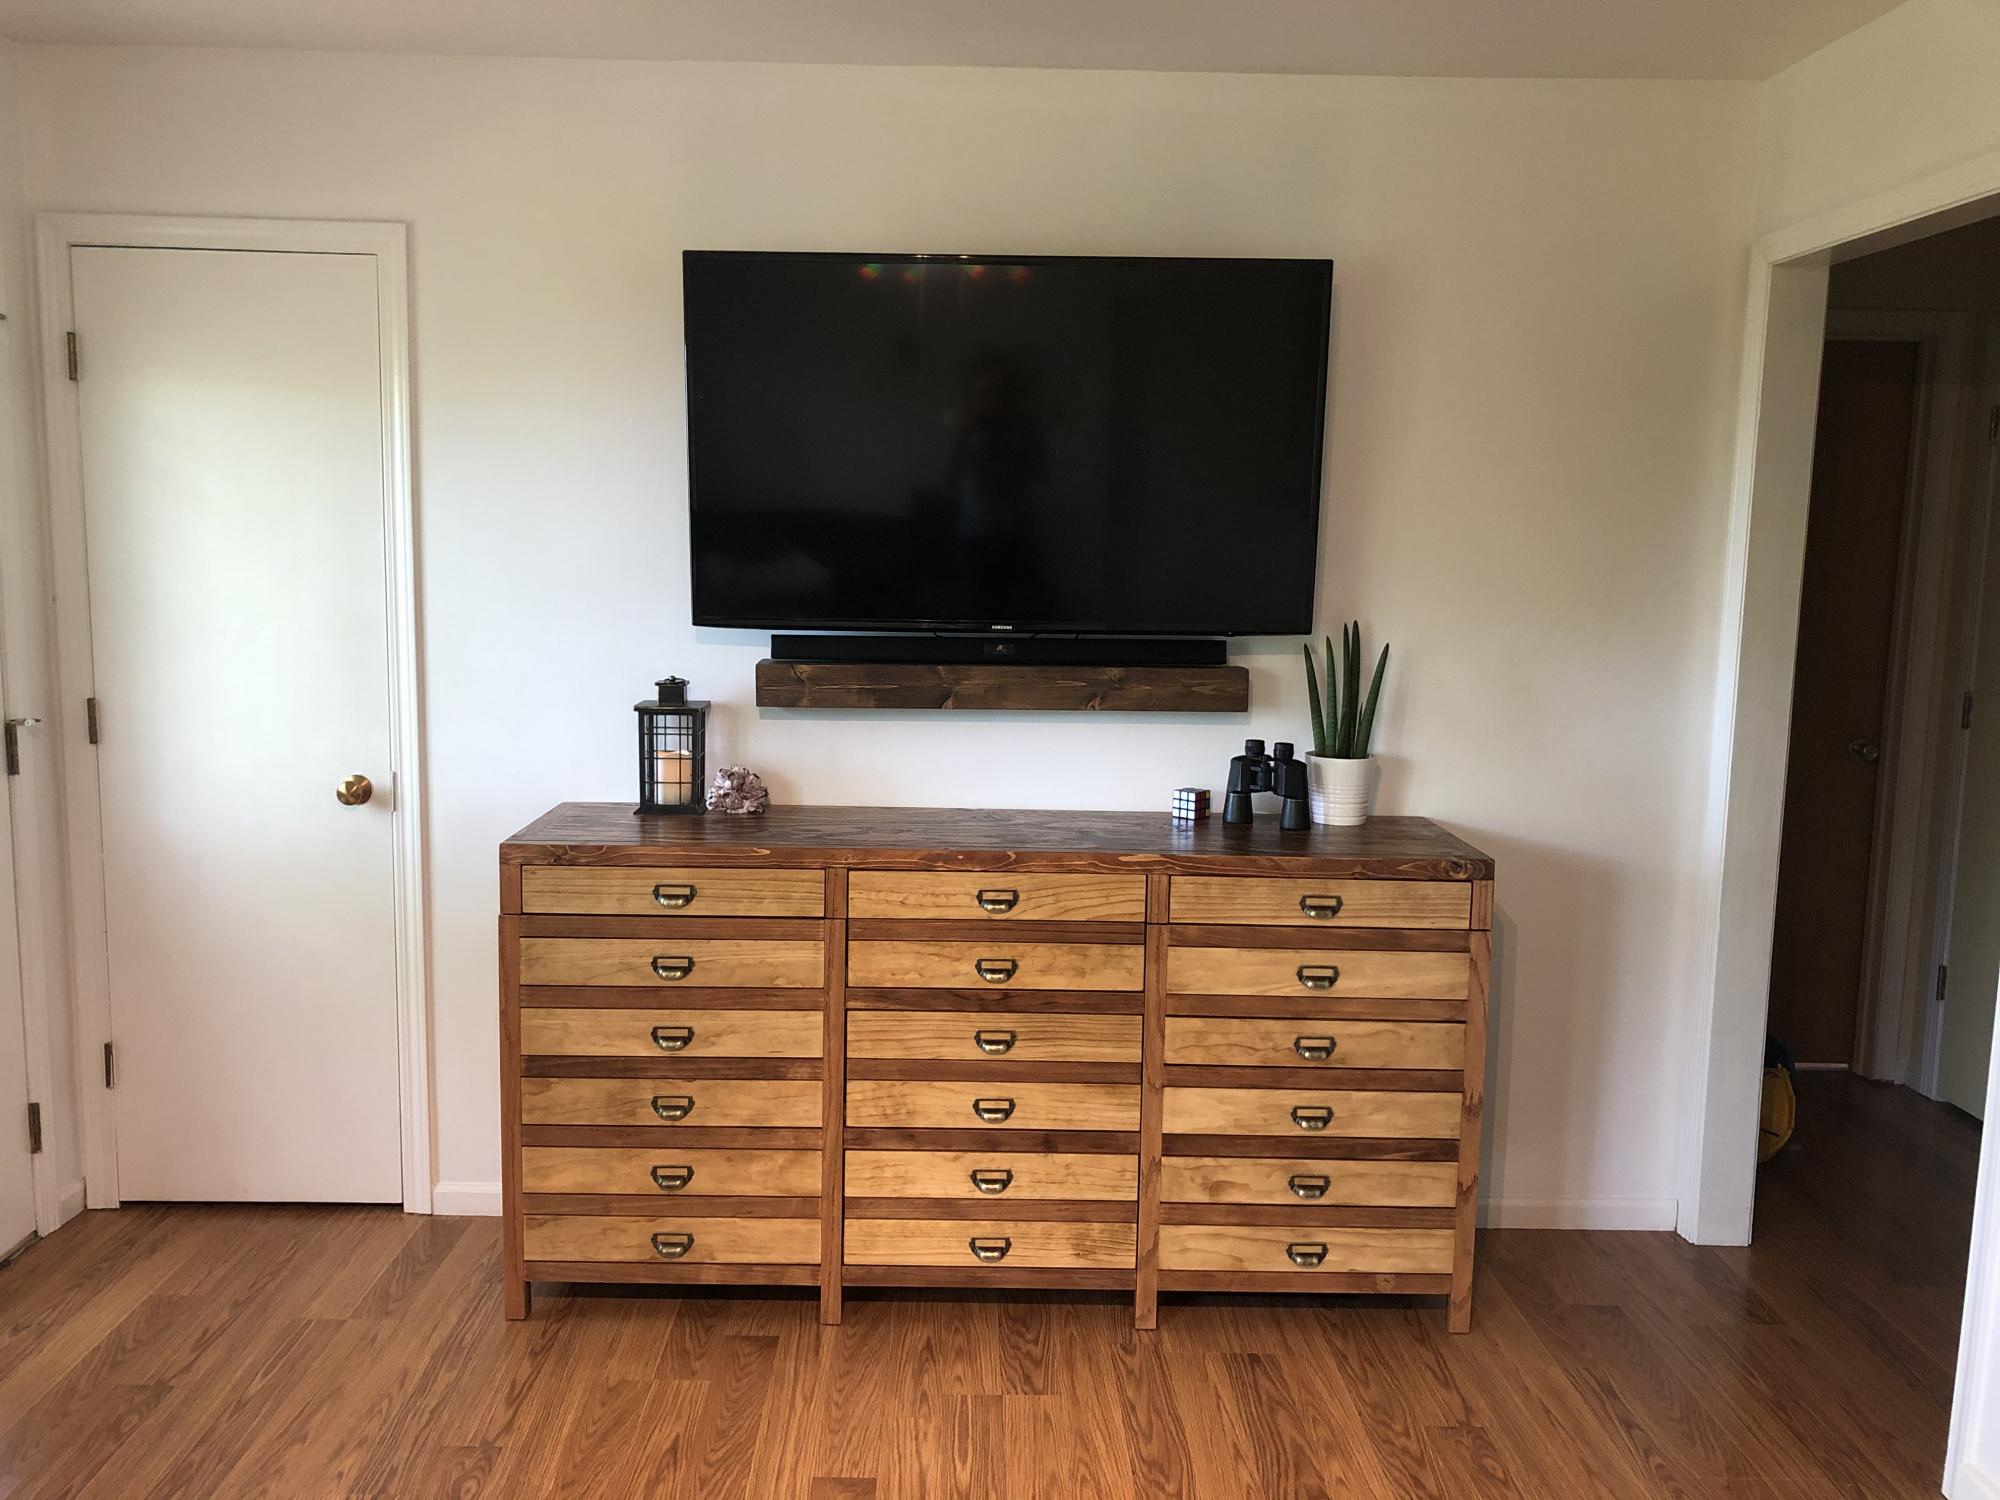
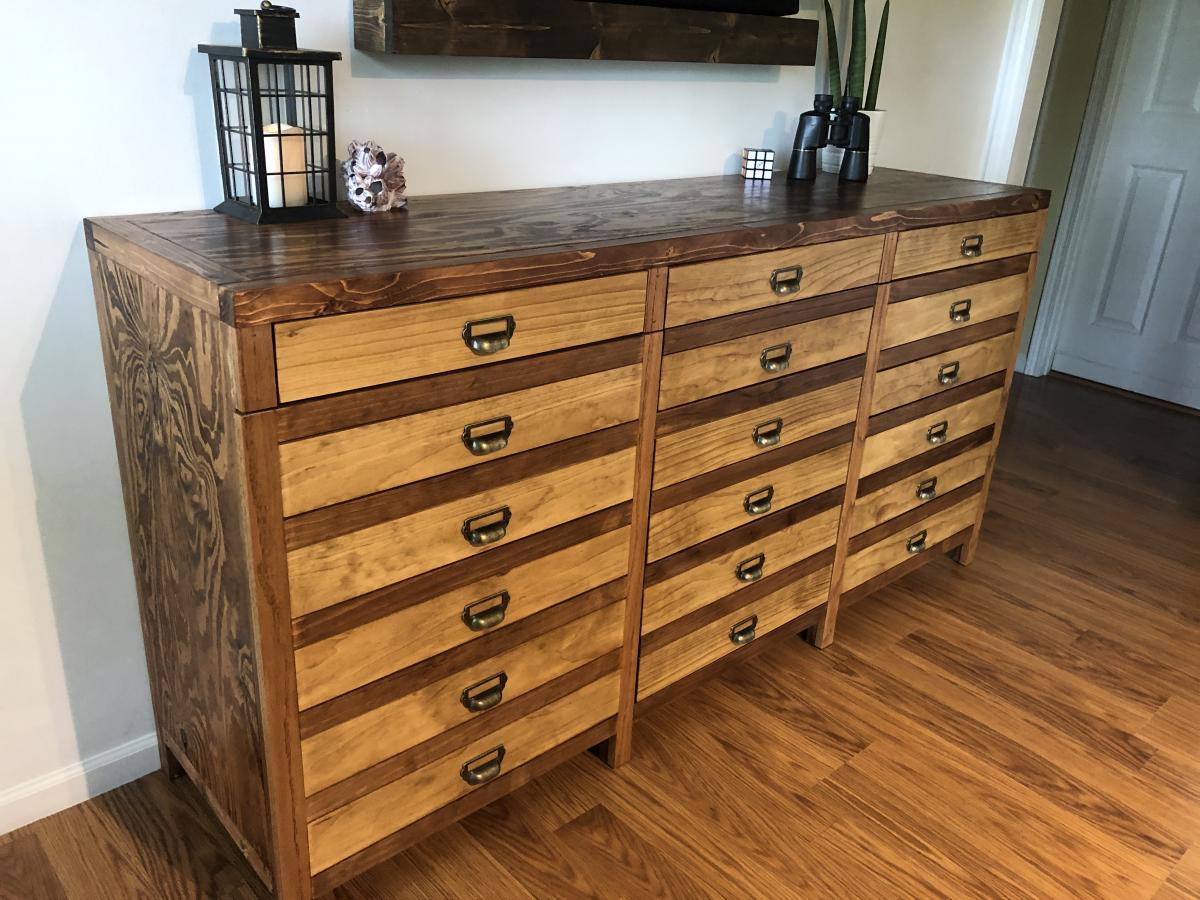
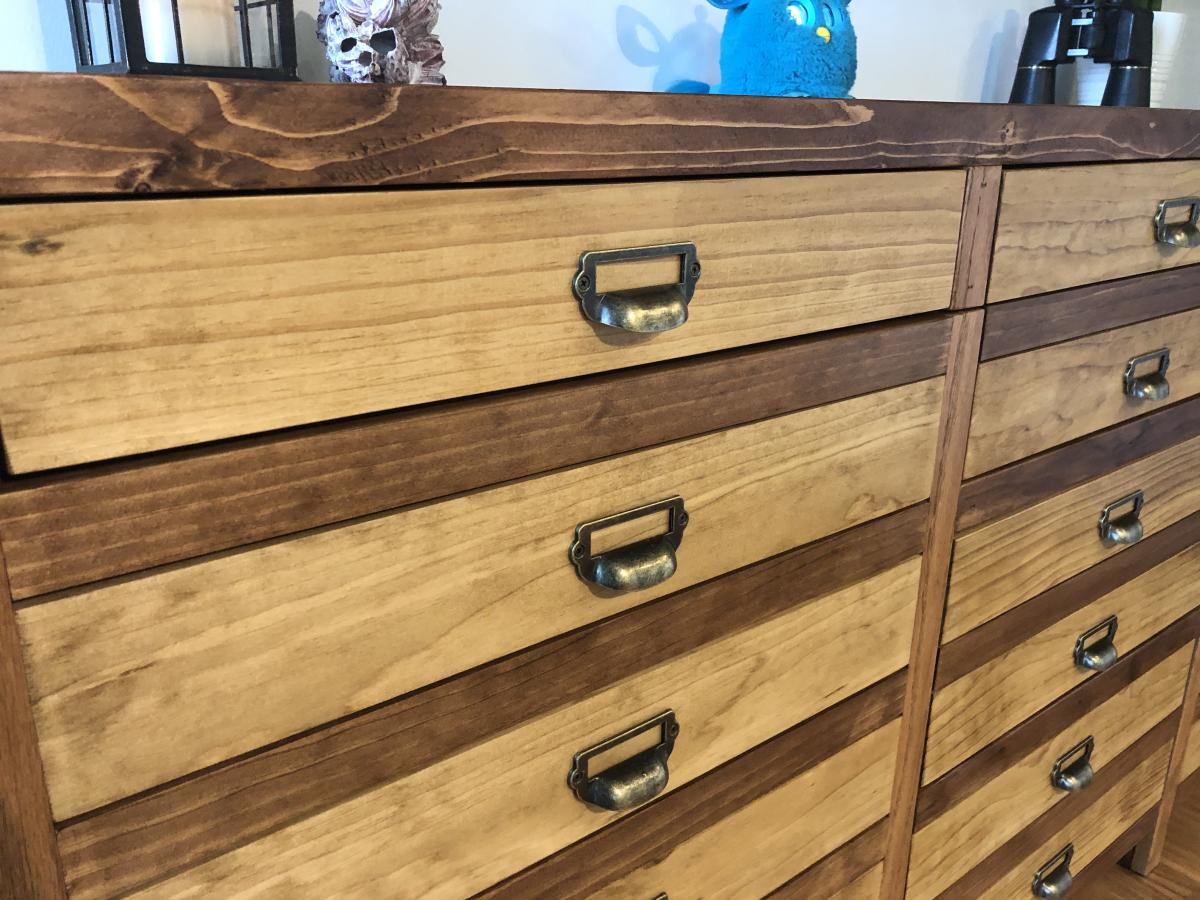
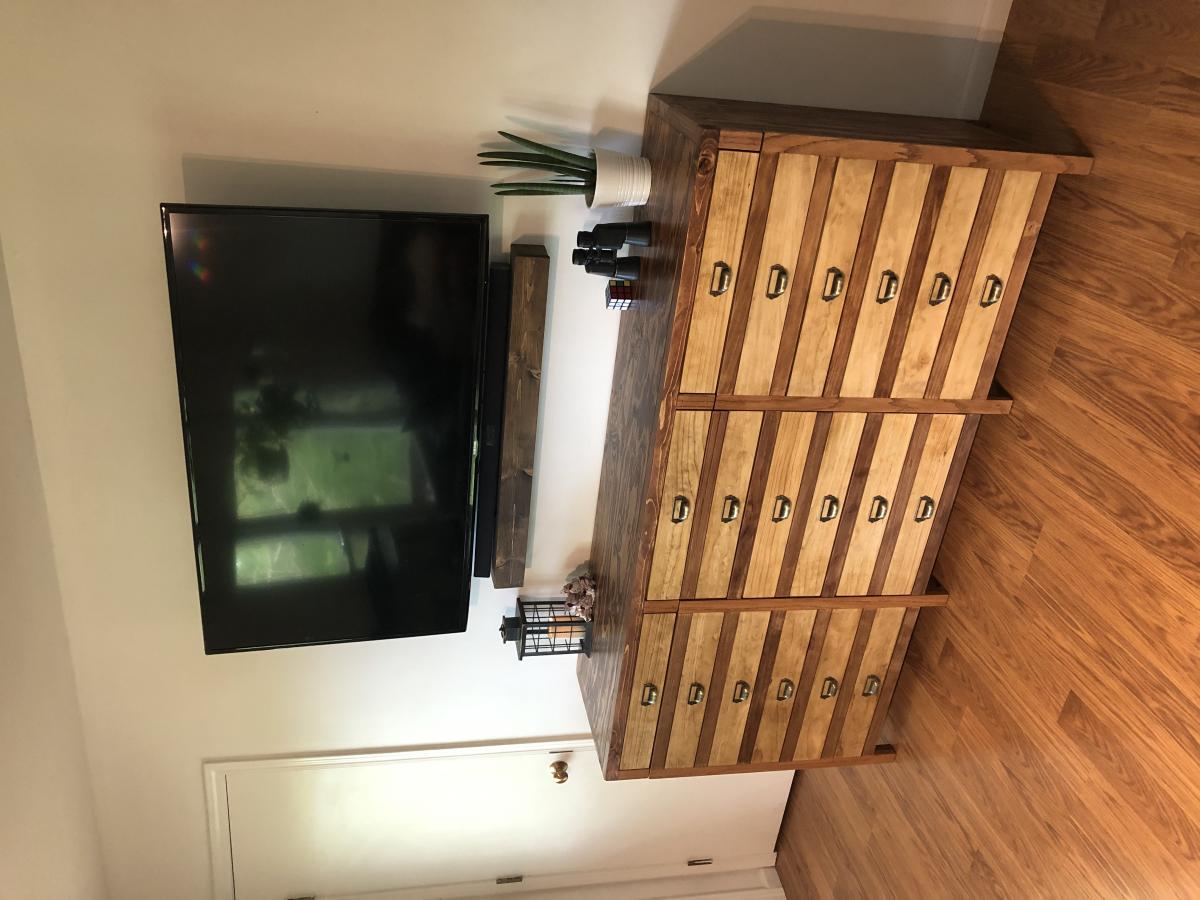
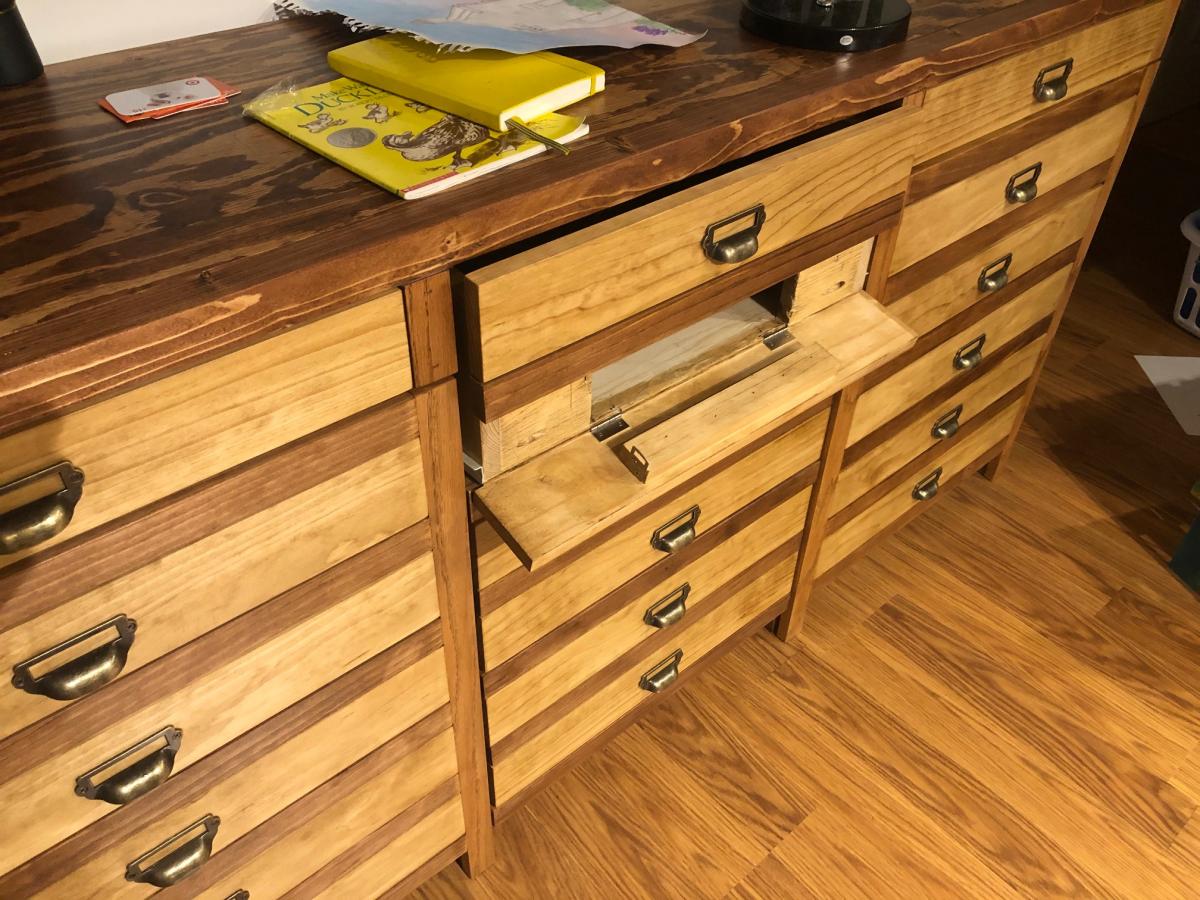
Loved this project, it has been on my wish list forever. It was my first time building drawers. We used red-oak wood for the hardwood legs and also for the little trim piece right above the leg. I stained the entire piece with golden oak stain and used red oak stain on top of that for everything except the faux drawer fronts and hardwood. This brought the pine 1x2s to a matching shade with the real red oak. If I did it over again, I would stain the drawer front and chair back pieces prior to assembly because I taped them all off when I applied the different colors, which was a pain. I bought the apothecary drawer pulls on amazon. I am beyond happy at the way it turned out. I even modified the top center drawer so I could put my printer in it. I cut a hole in the drawer box and put the bottom drawer front piece on a hinge so my printer paper could come out. I added a latch to the inside of the drawer to keep that flap shut when not in use. Thanks so much, Ana, for another amazing plan!
There were a few errors to the plan, as follows:
Plan calls for 7 -2x2 @ 8' but you actually need 9.
As for additional cuts, you will need:
4- 2x2 @ 20-1/4, not 2.
4-2x2 @ 23-1/4, not 2.
8 -2x2 @ 14-1/2, not 2.
8- 2x2 @12-3/4, not 2.
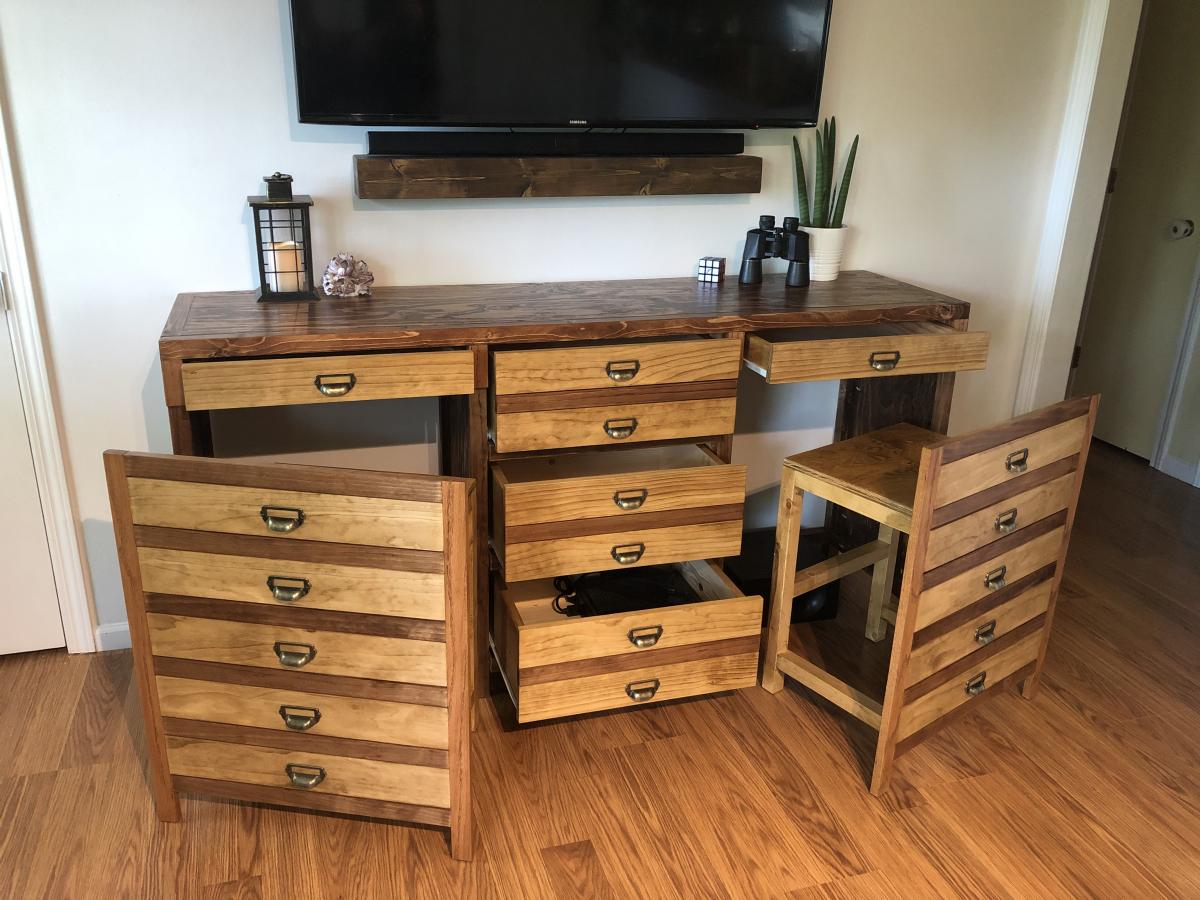
Thu, 06/11/2020 - 14:56
I love this, especially your printer modification. That's some ingenuity. Nicely done!
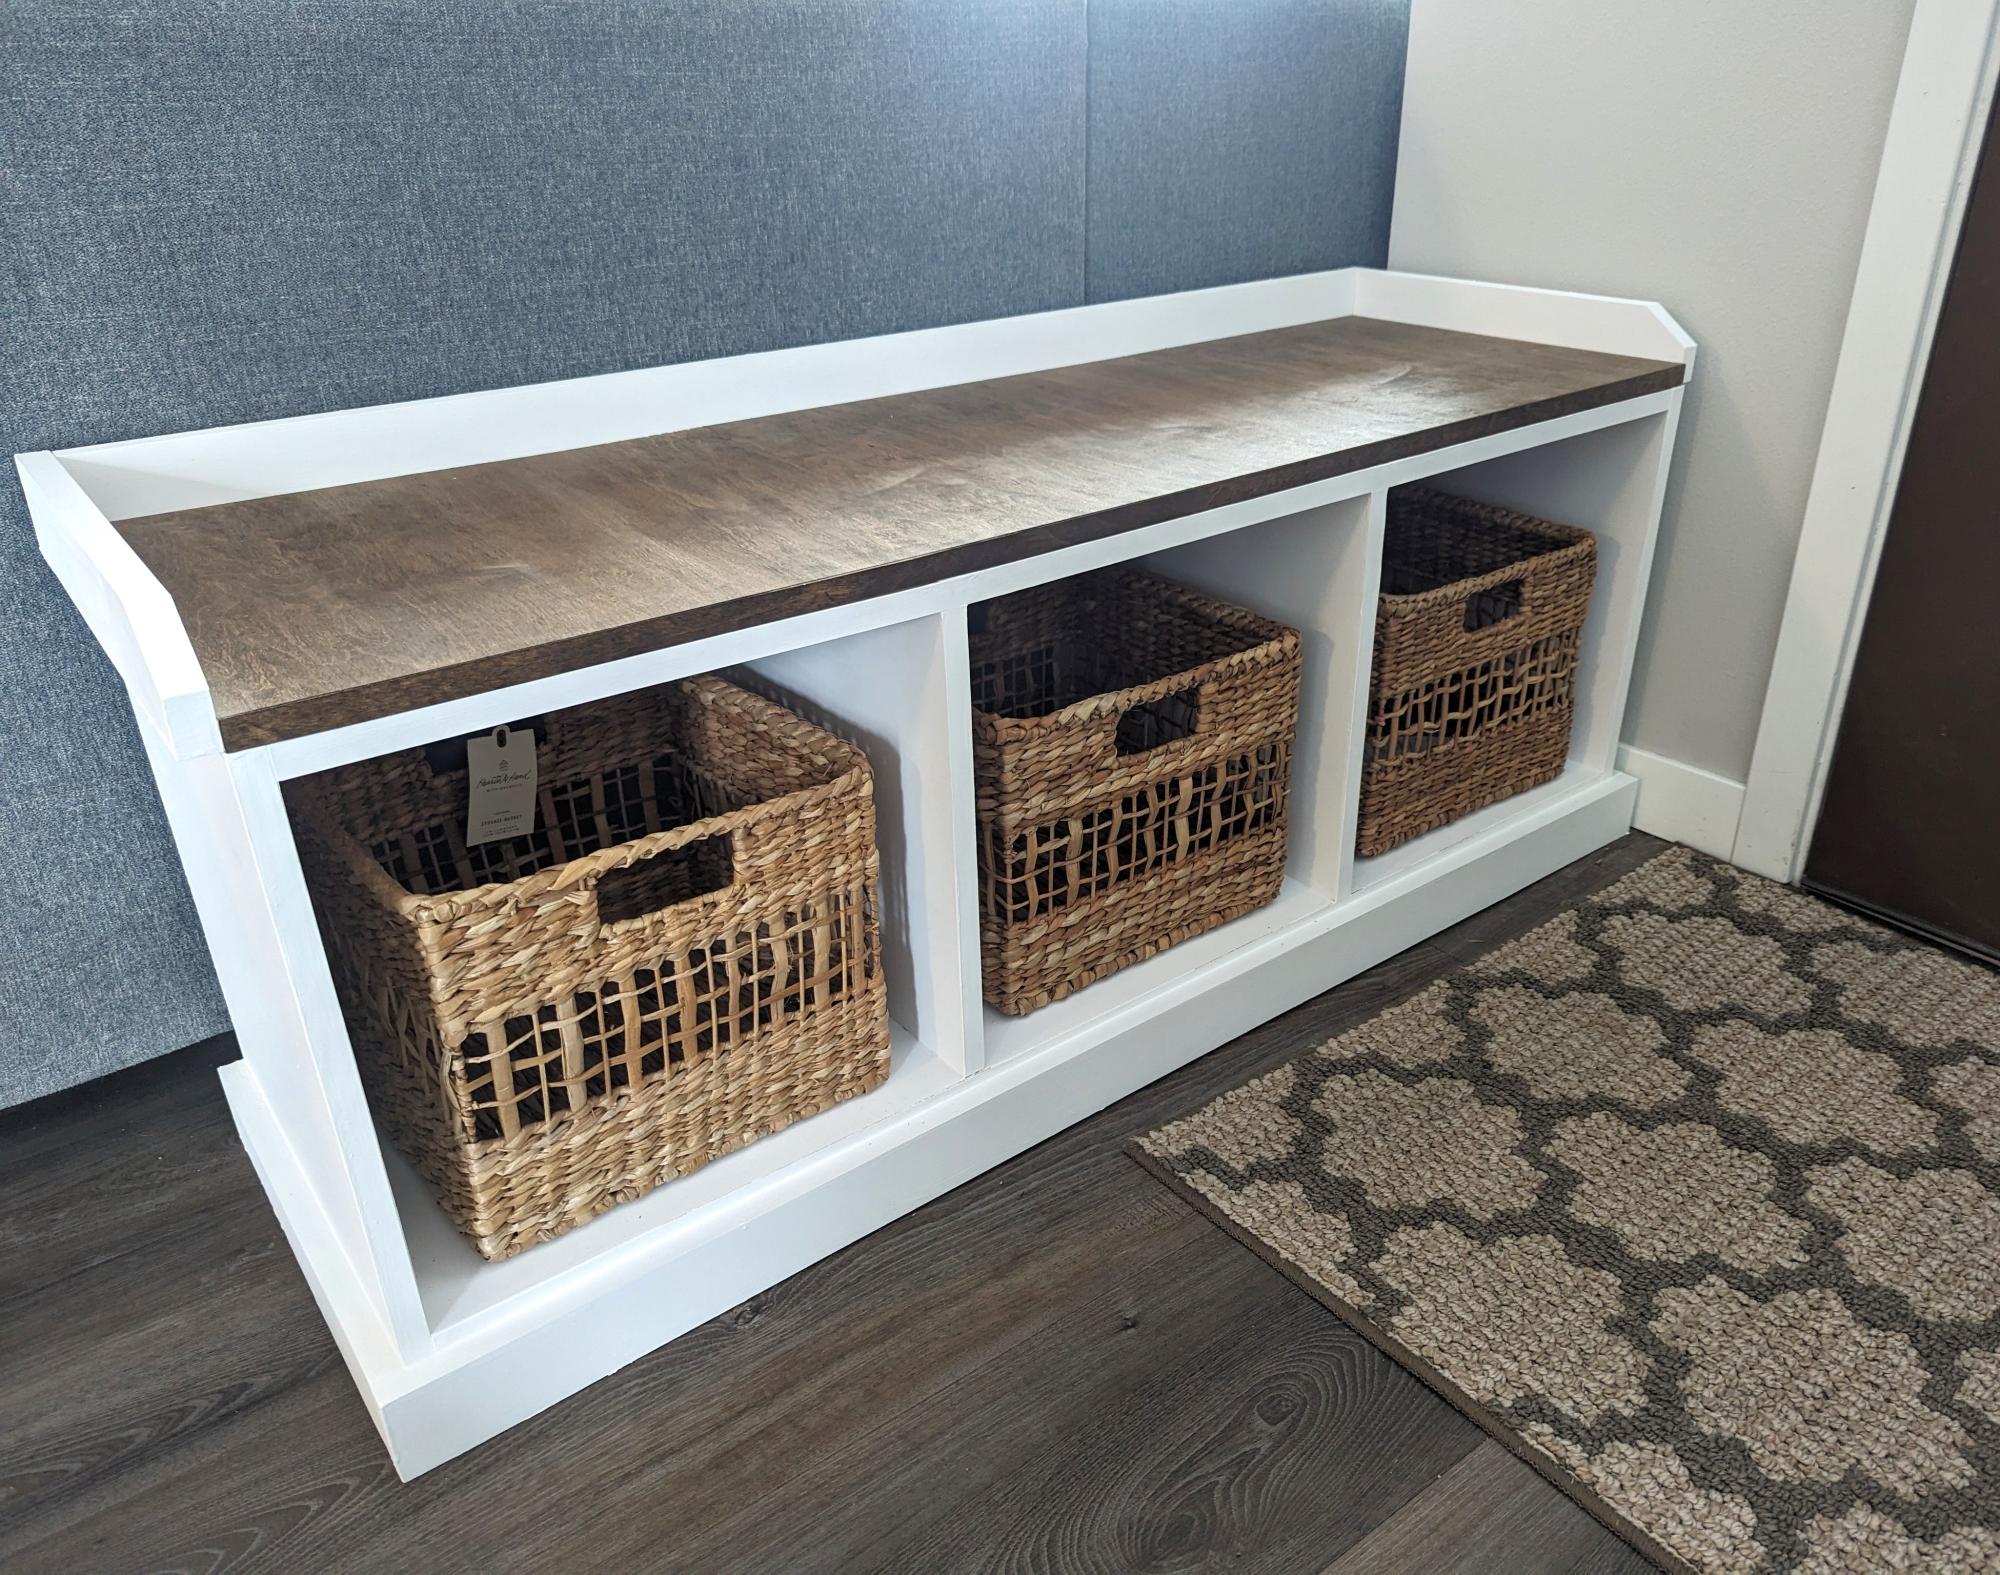
We followed the Essential Entryway Bench plan and modified it slightly to fit our home. We used a 35 degree miter cut at the corners of the trim, and finished the top with a dark walnut wood stain. The accent between the two colors is our favorite part!
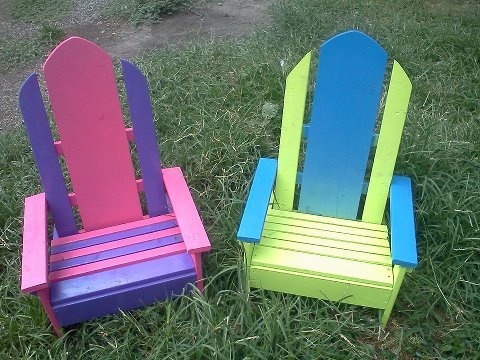
Just finished these for my 3 yr old twins, and they love them! Took me about 5-6 hours of work, including painting/drying time. I definitely recommend spray painting the parts before assembling to get all edges sealed.
This was my second project and I ran into some difficulties because the wood I was working with was not perfectly straight. I was in a hurry to finish it and did not apply polyurethane, but I really wish that I had after seeing how great it is on another project.
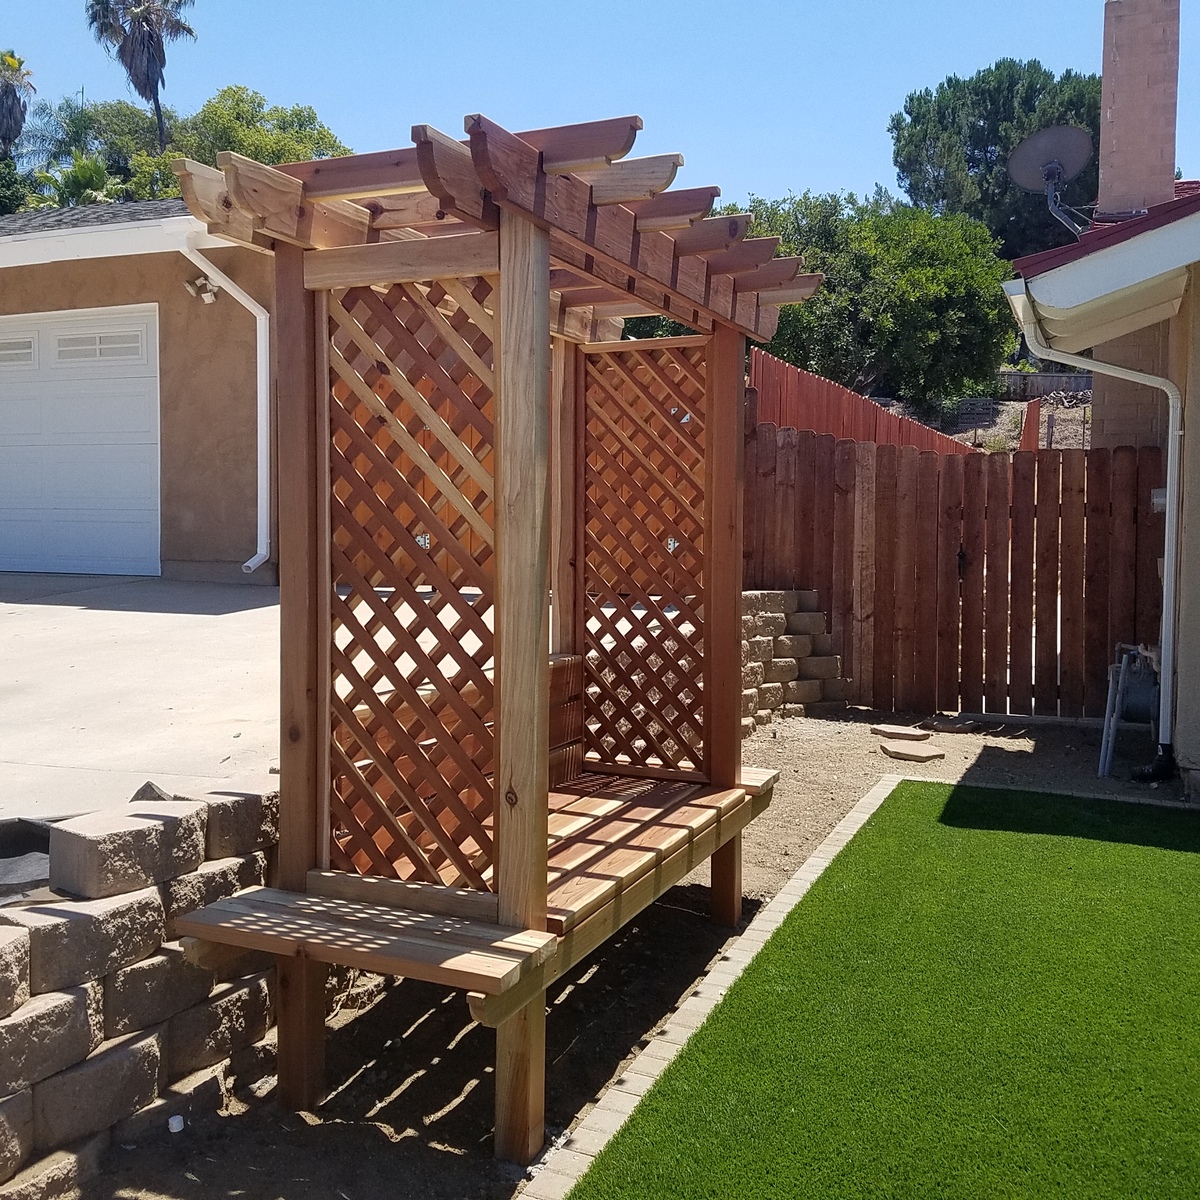
I built this arbor using the plans you provided (http://www.ana-white.com/2014/06/plans/outdoor-bench-arbor). Finish it just in time for my wifes birthday. She absolutely loved it. Thank you!
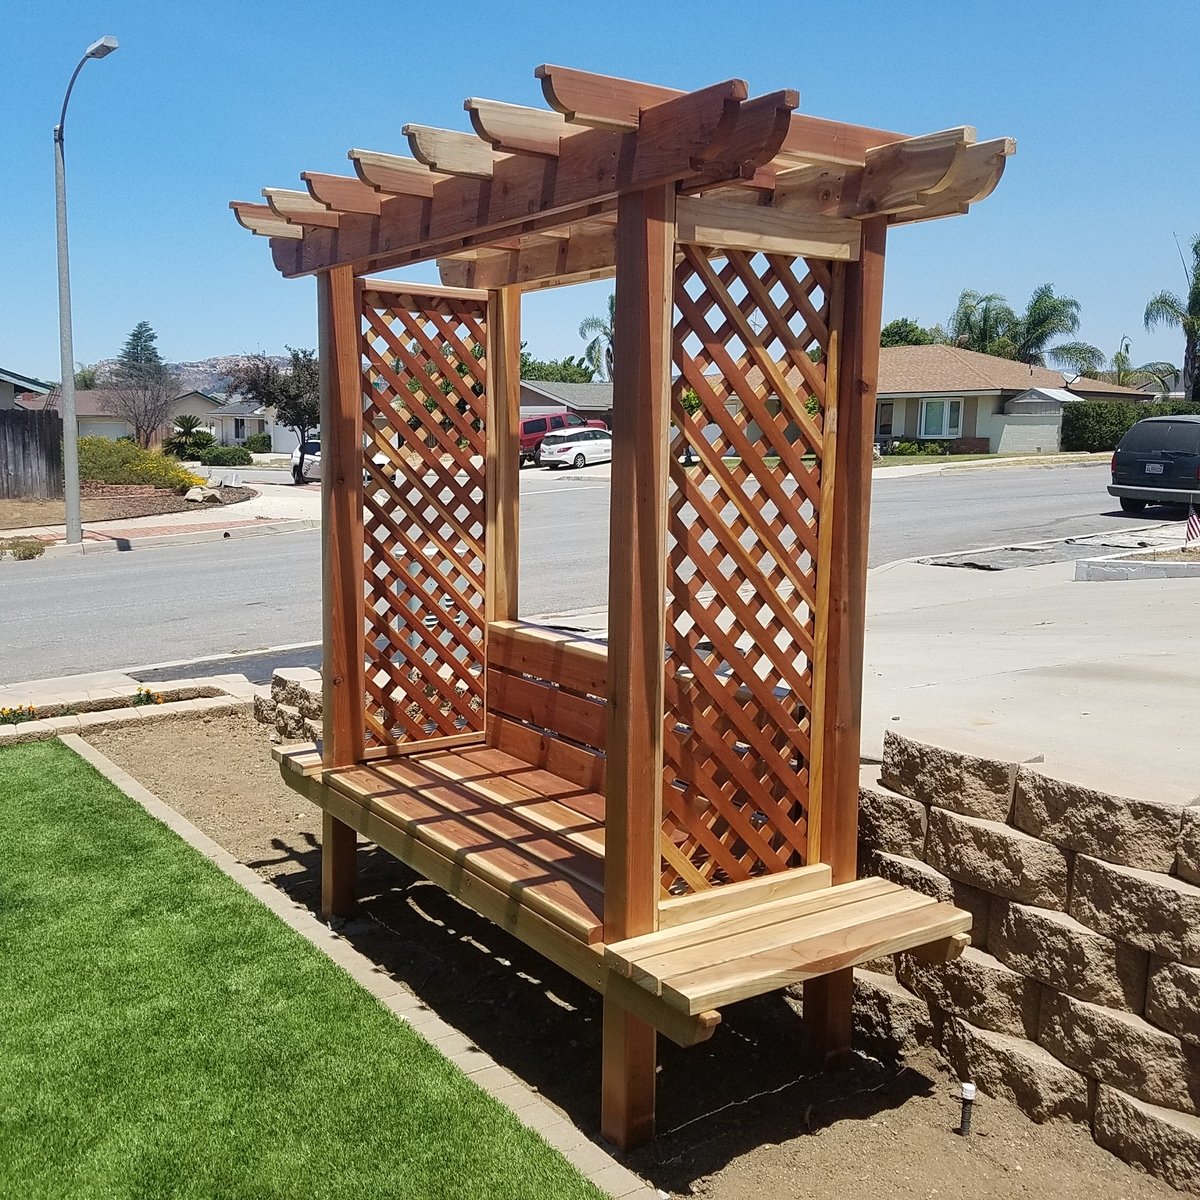
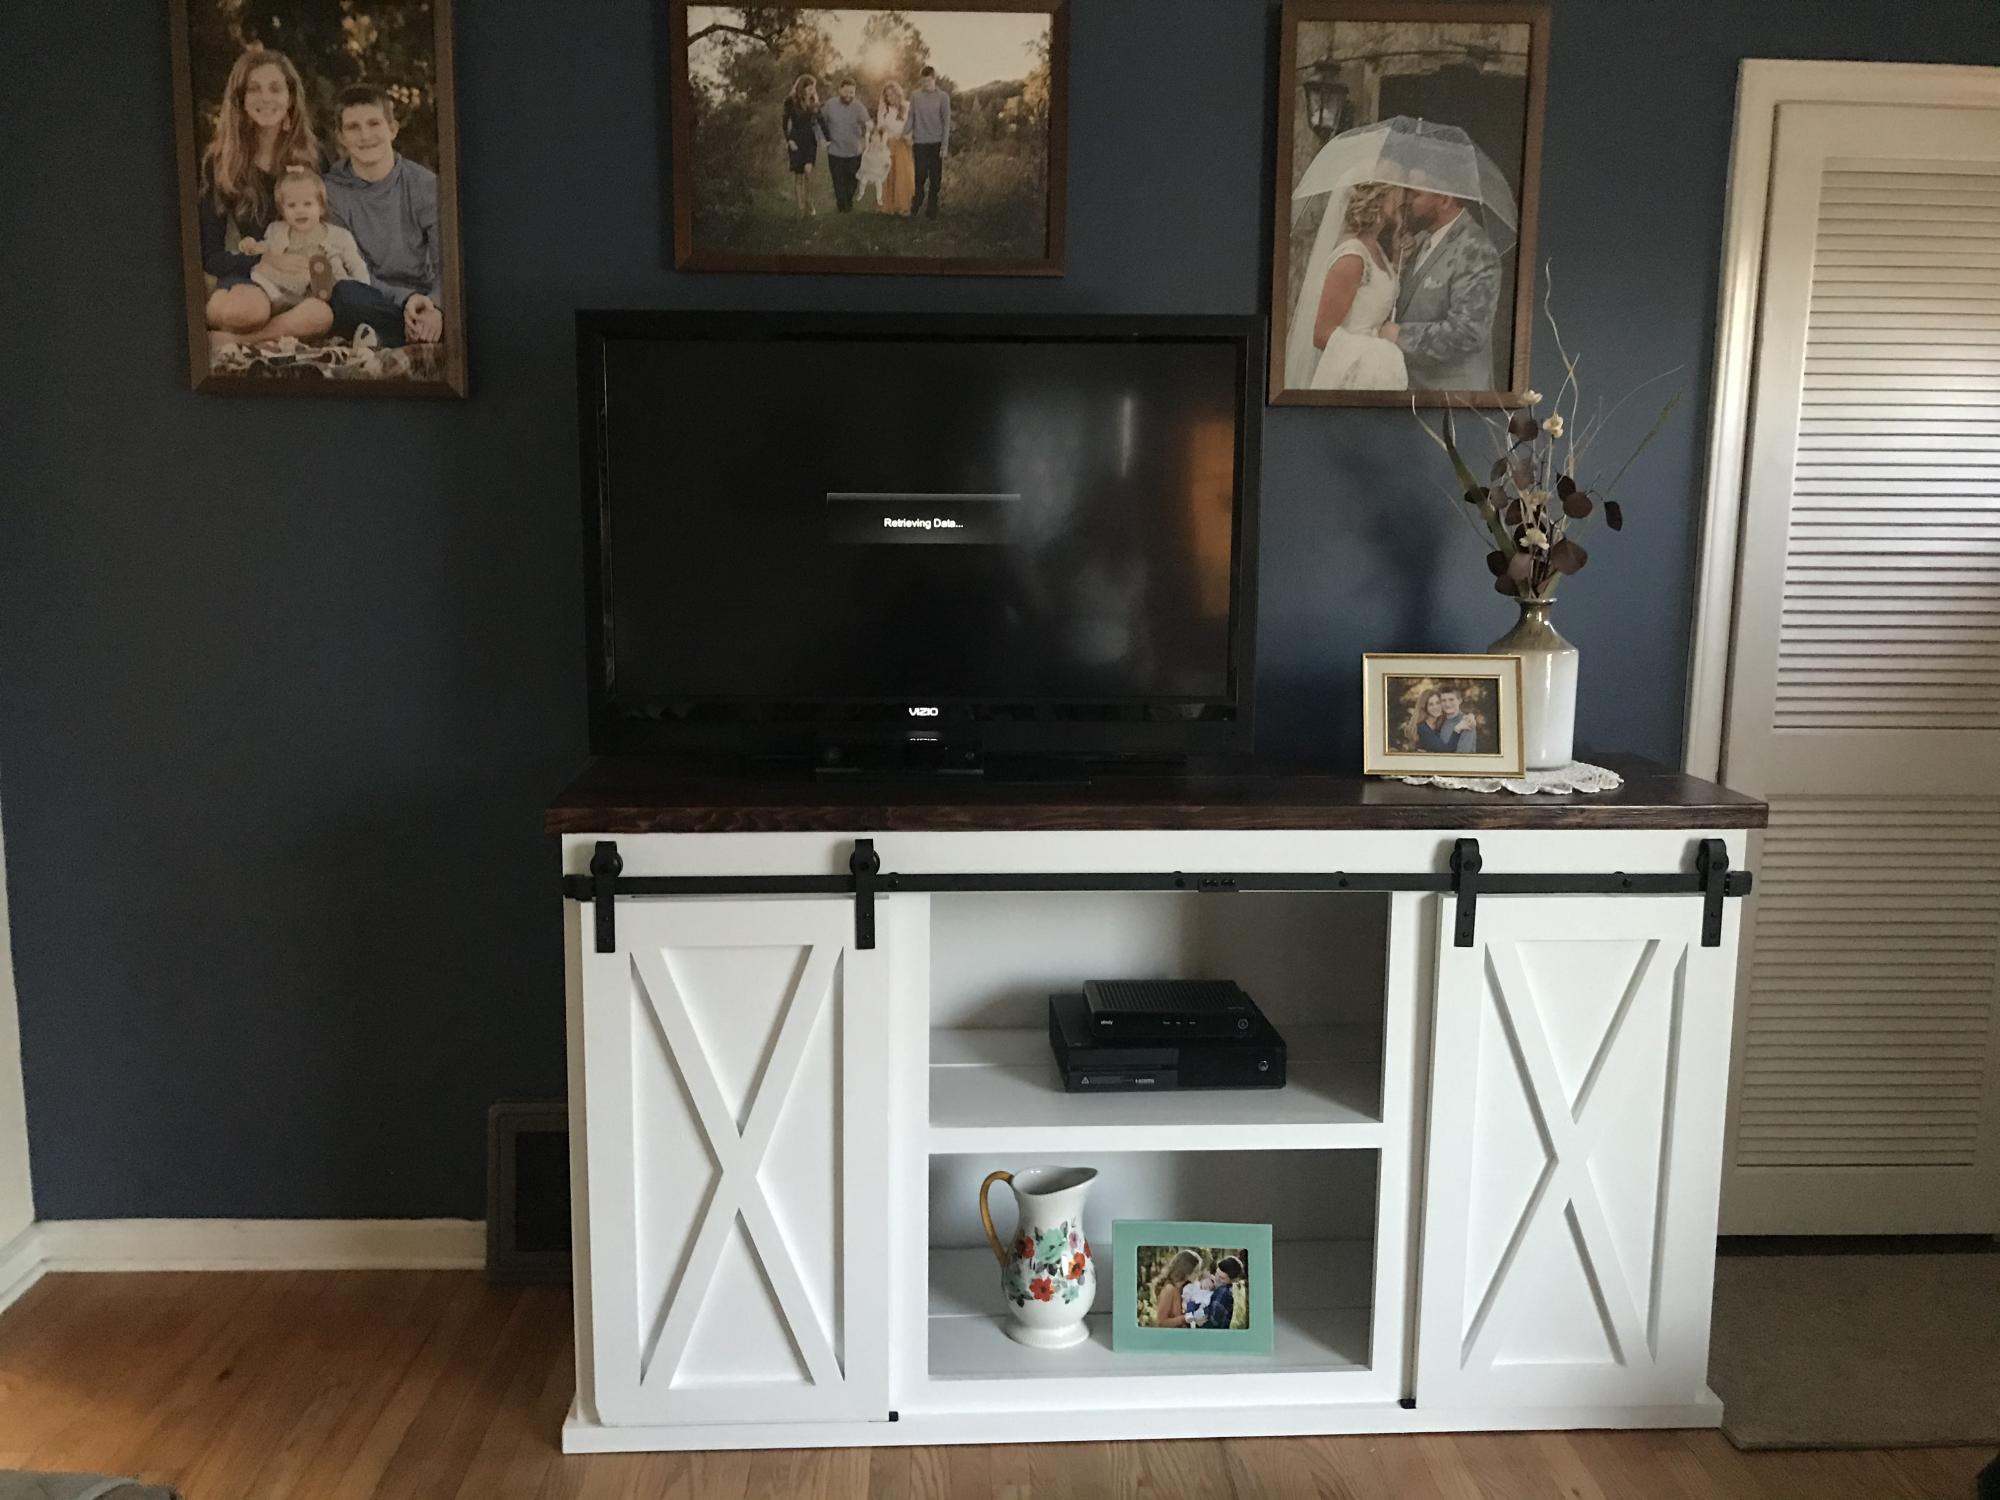
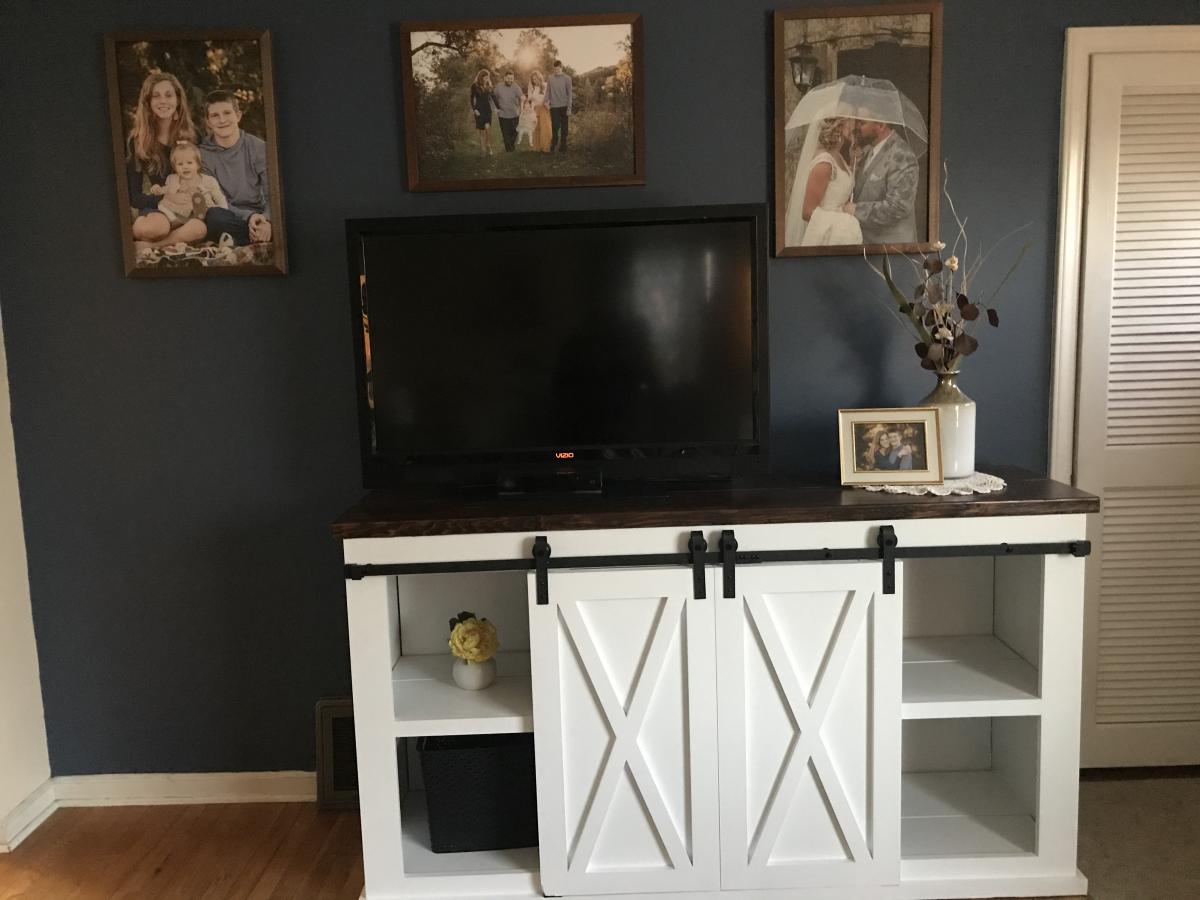
I built this unit based on the Grandy Barn Door Console plans. I adjusted it down to 66”. The top is Dark Walnut with Satin Poly. All lumber was purchased at Menards.
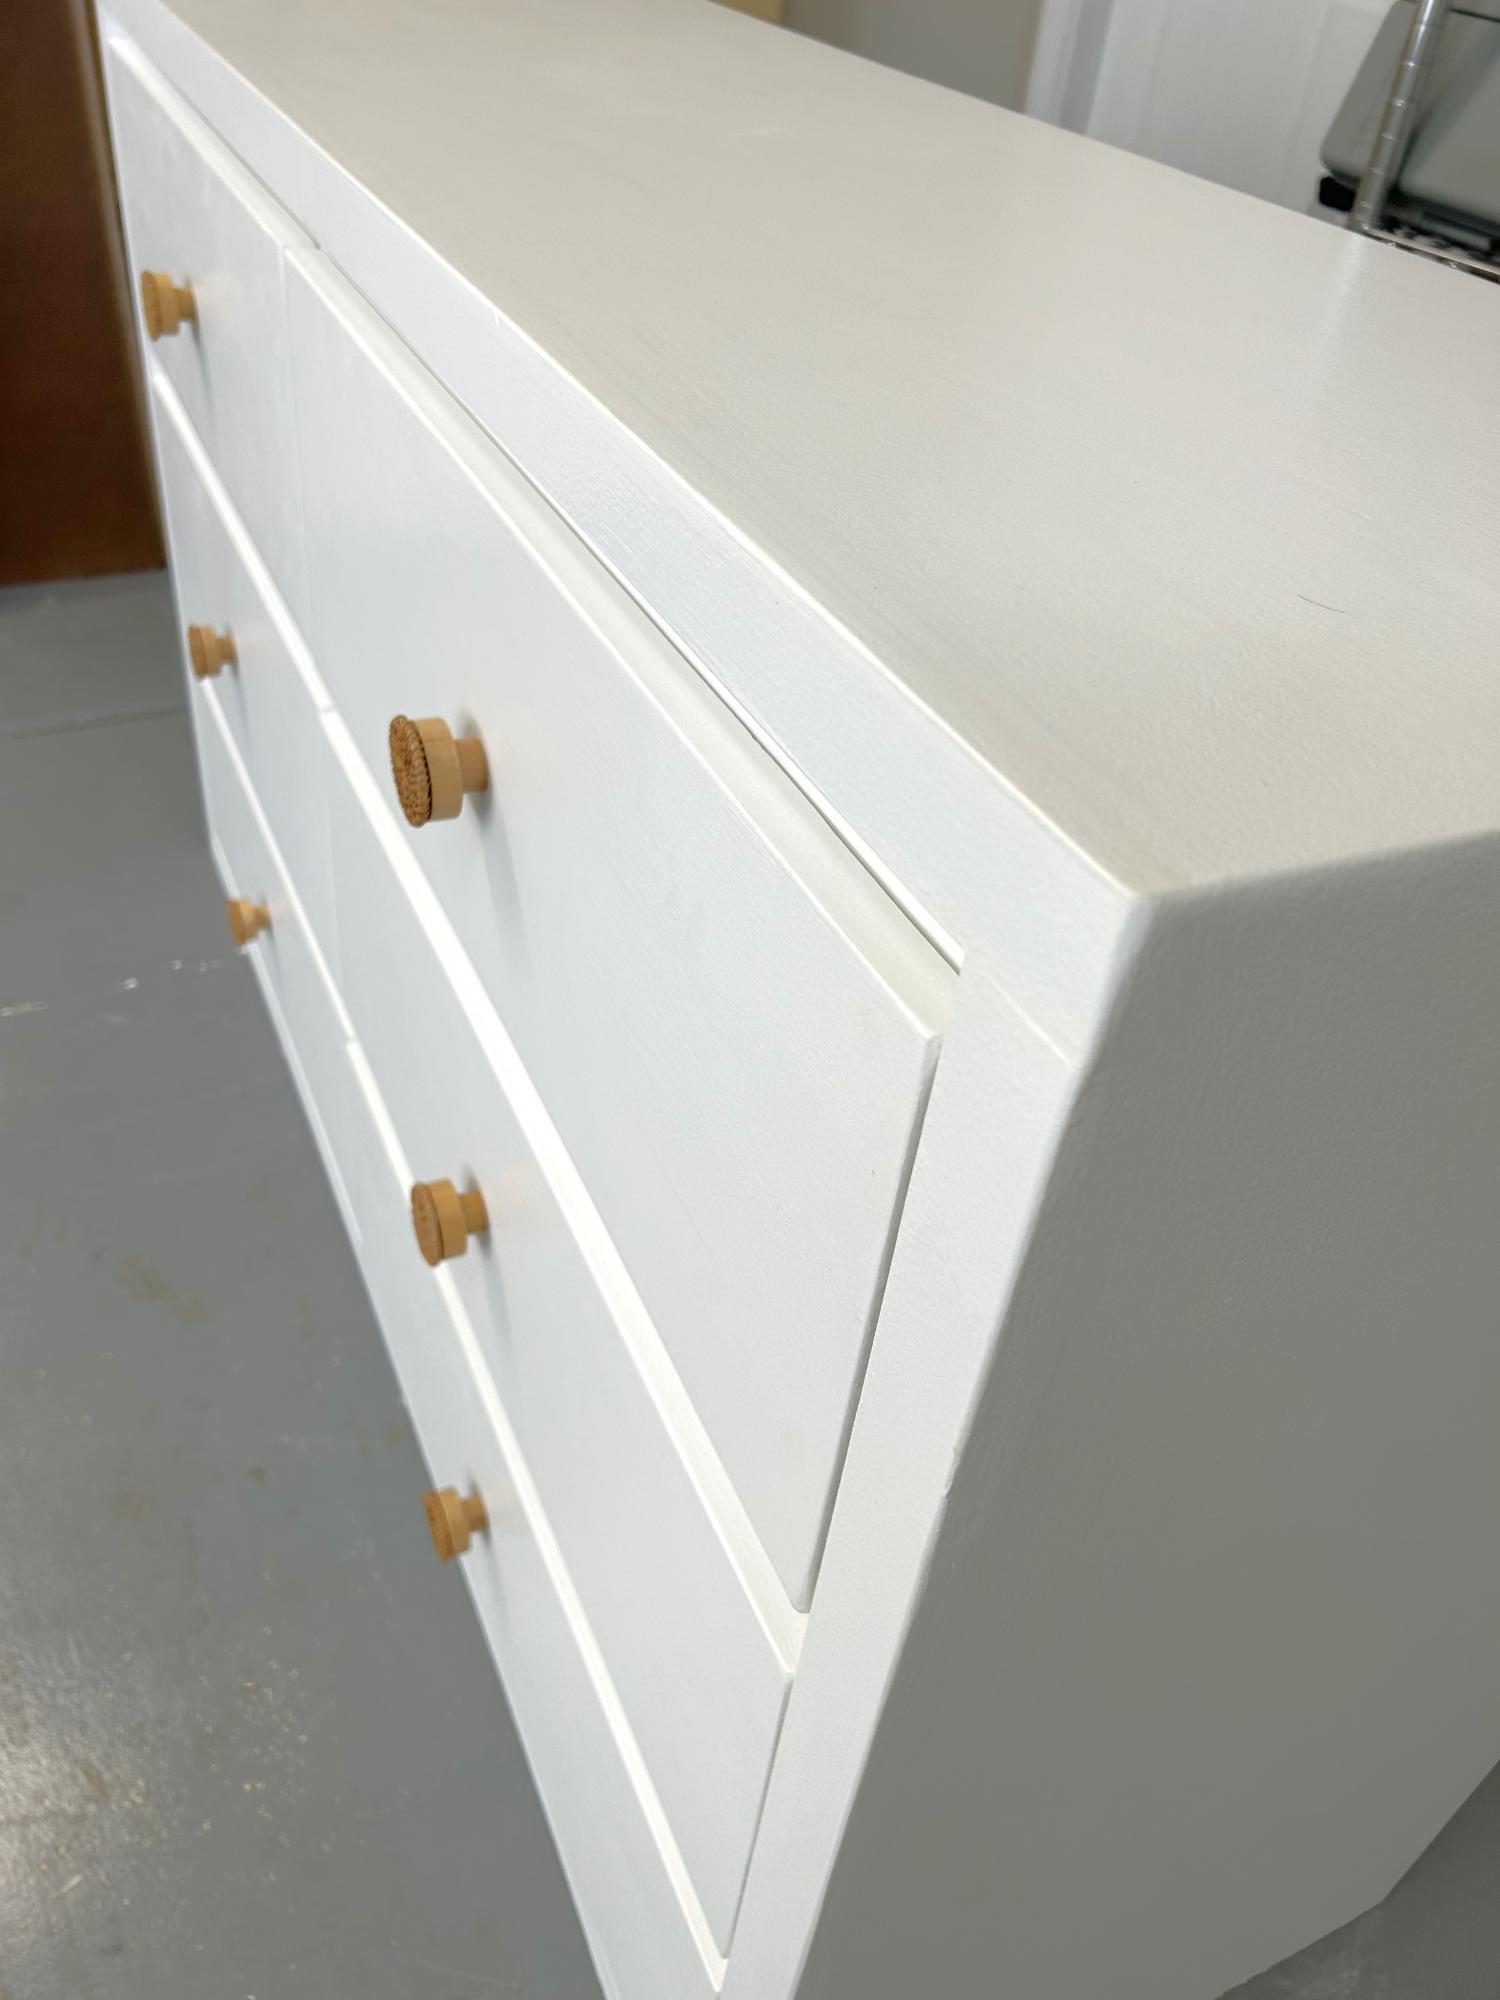
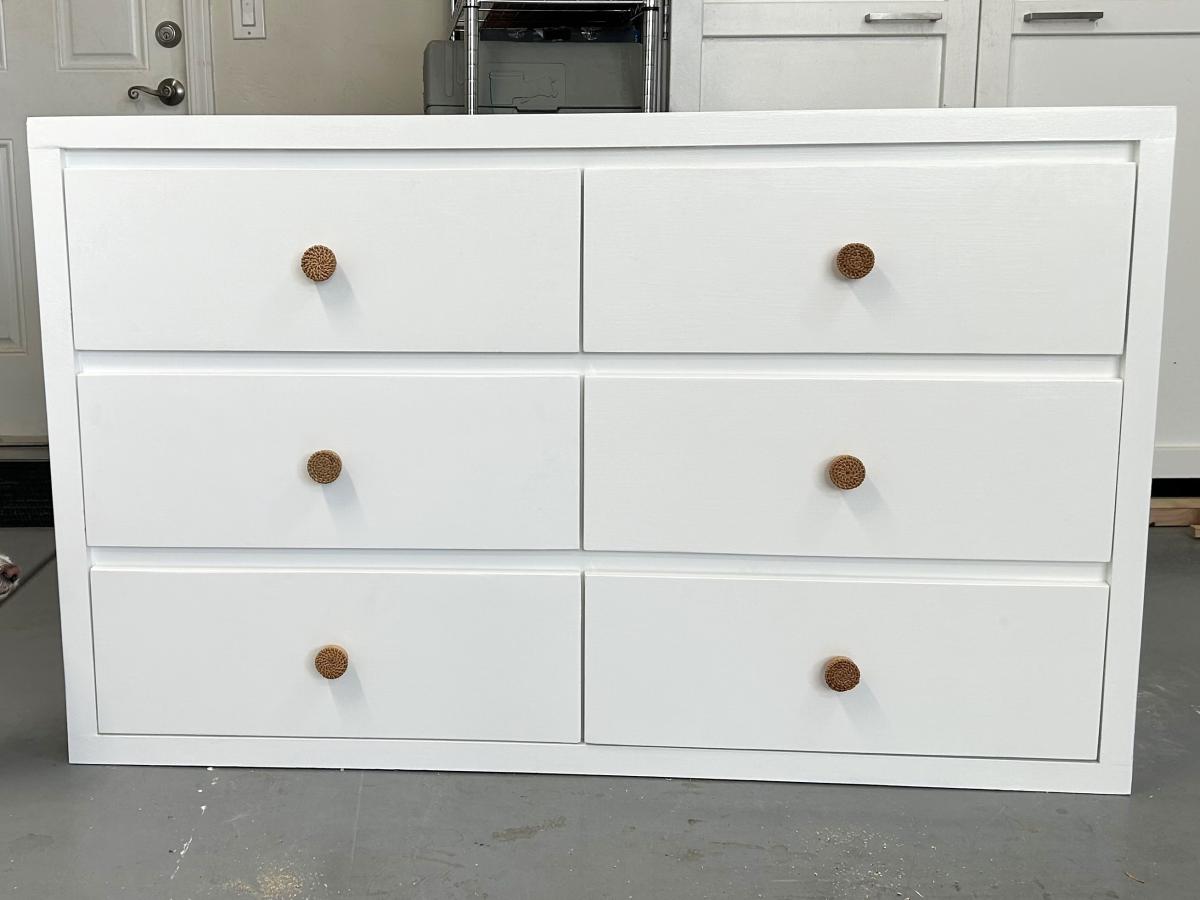
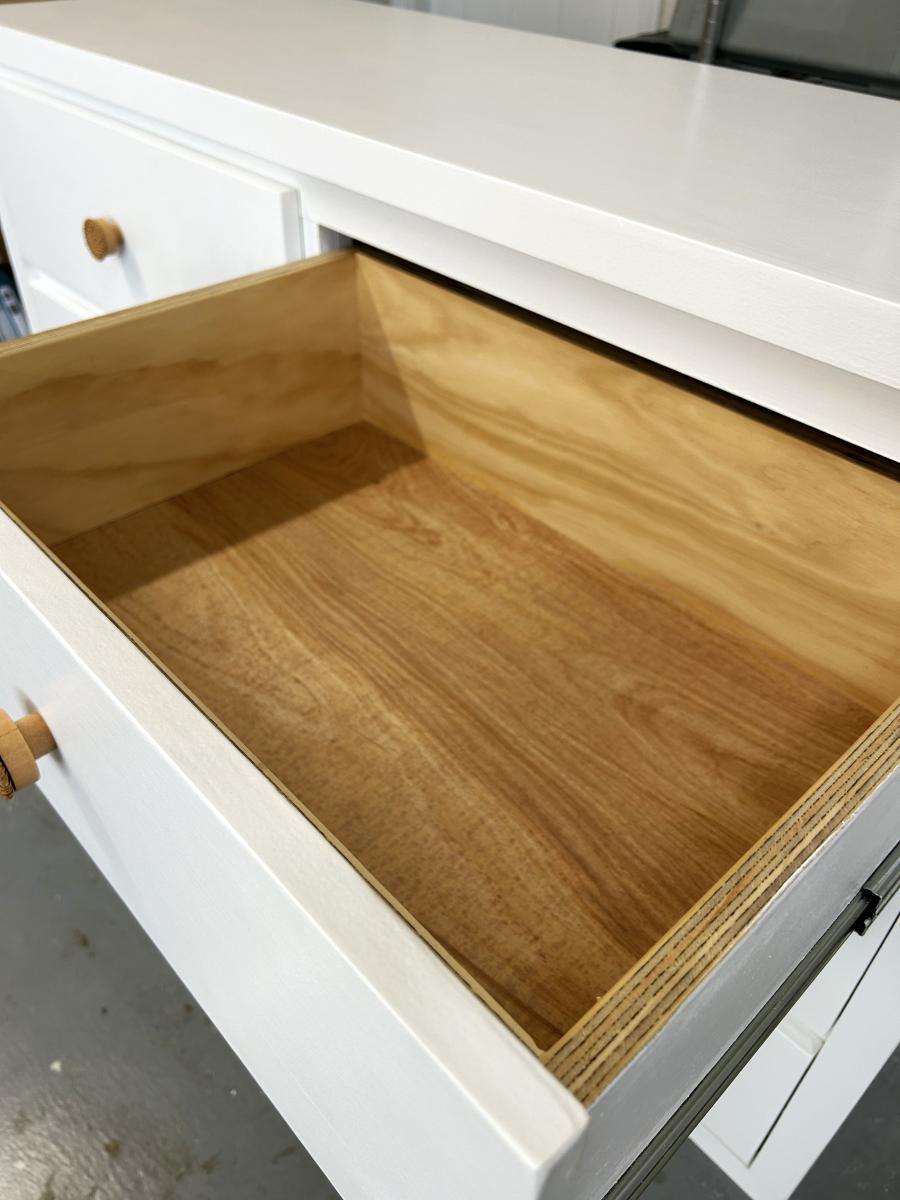
My son kept telling me he didn’t need anything for his birthday, so I asked him what would make him happy!!!! He said a new dresser for my granddaughter because he wanted to burn the one they bought her!!😄
So, I had just seen your post of this new design and it is perfect!!!! My son and granddaughter LOVE it.
Arlene Sherer
