Patio table
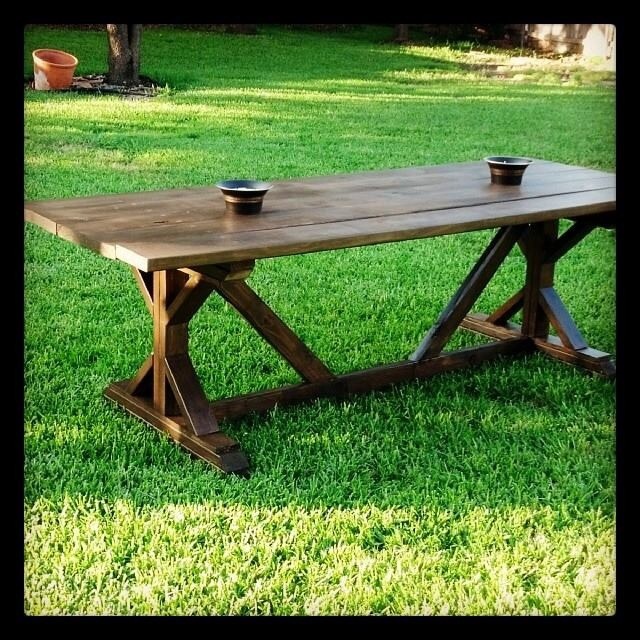
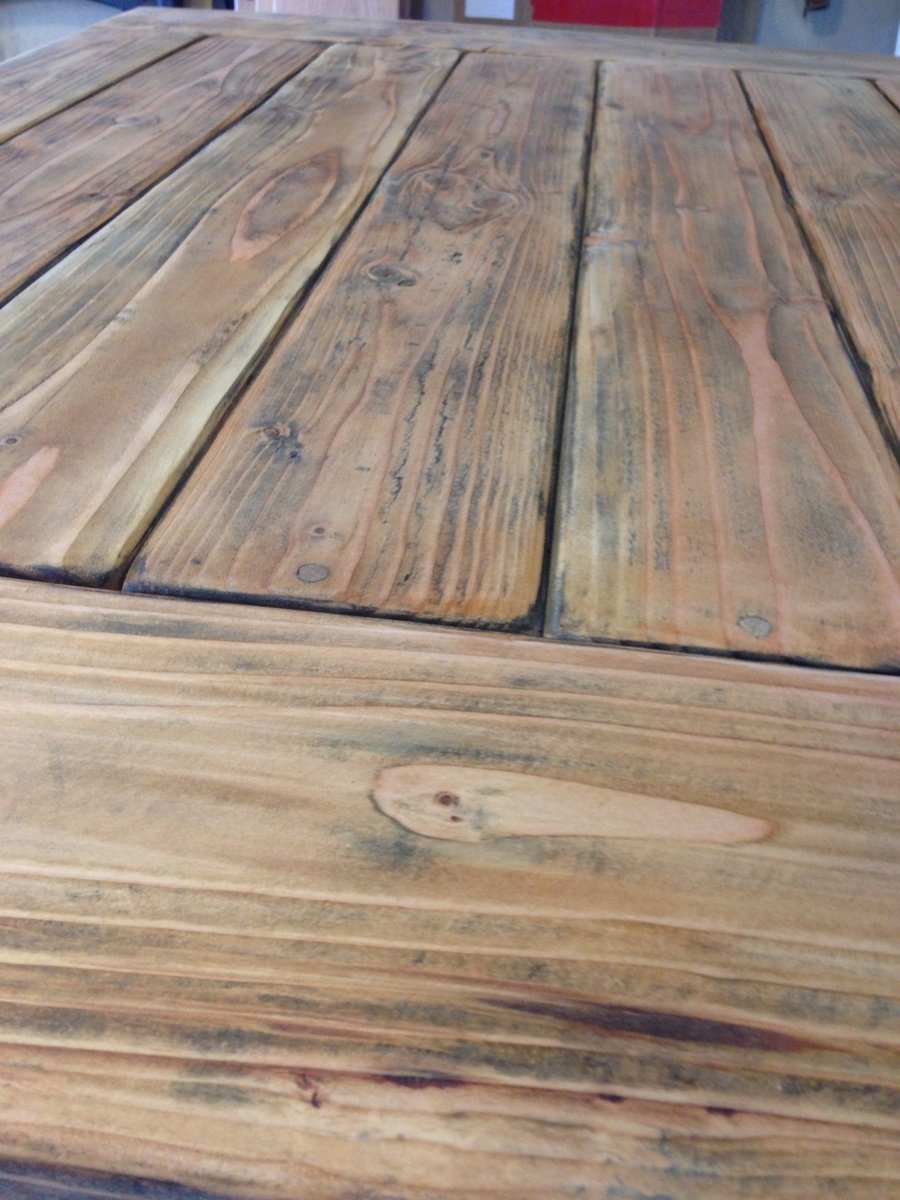
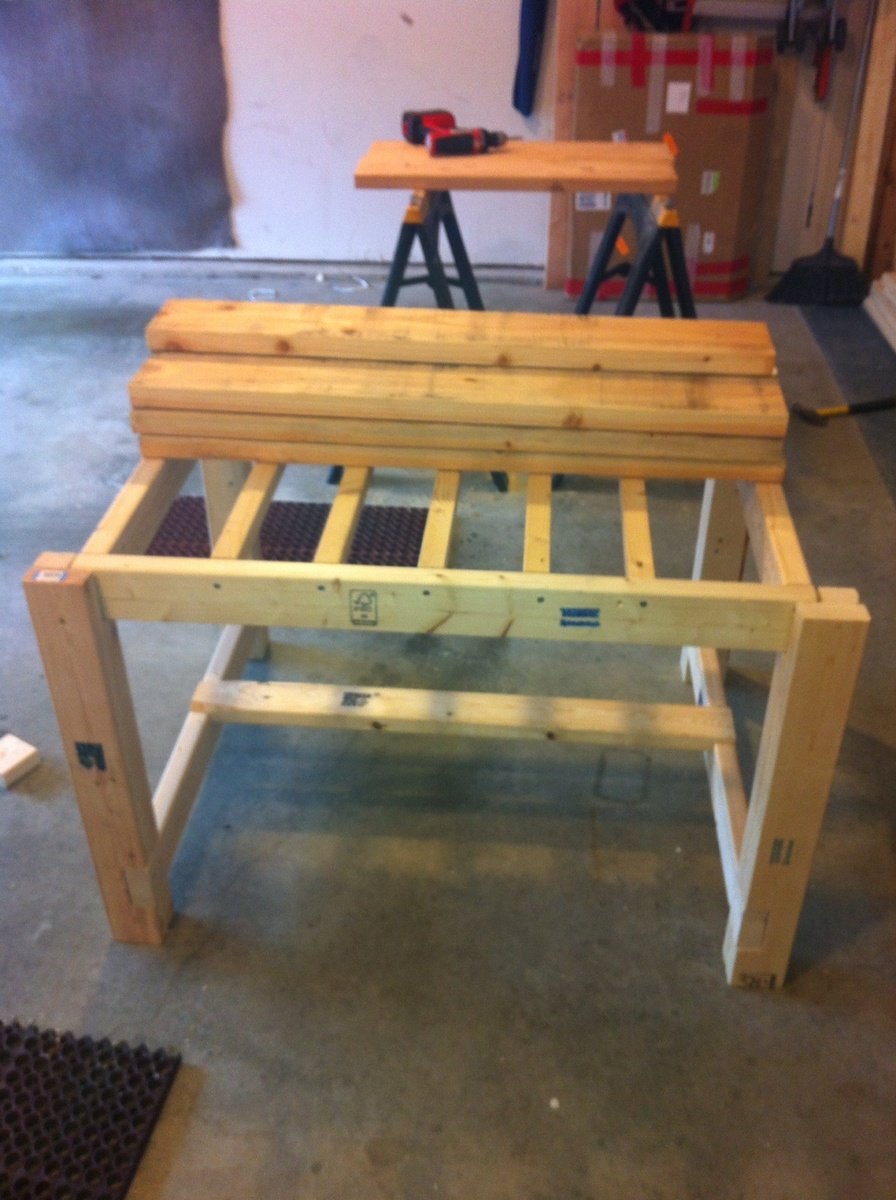
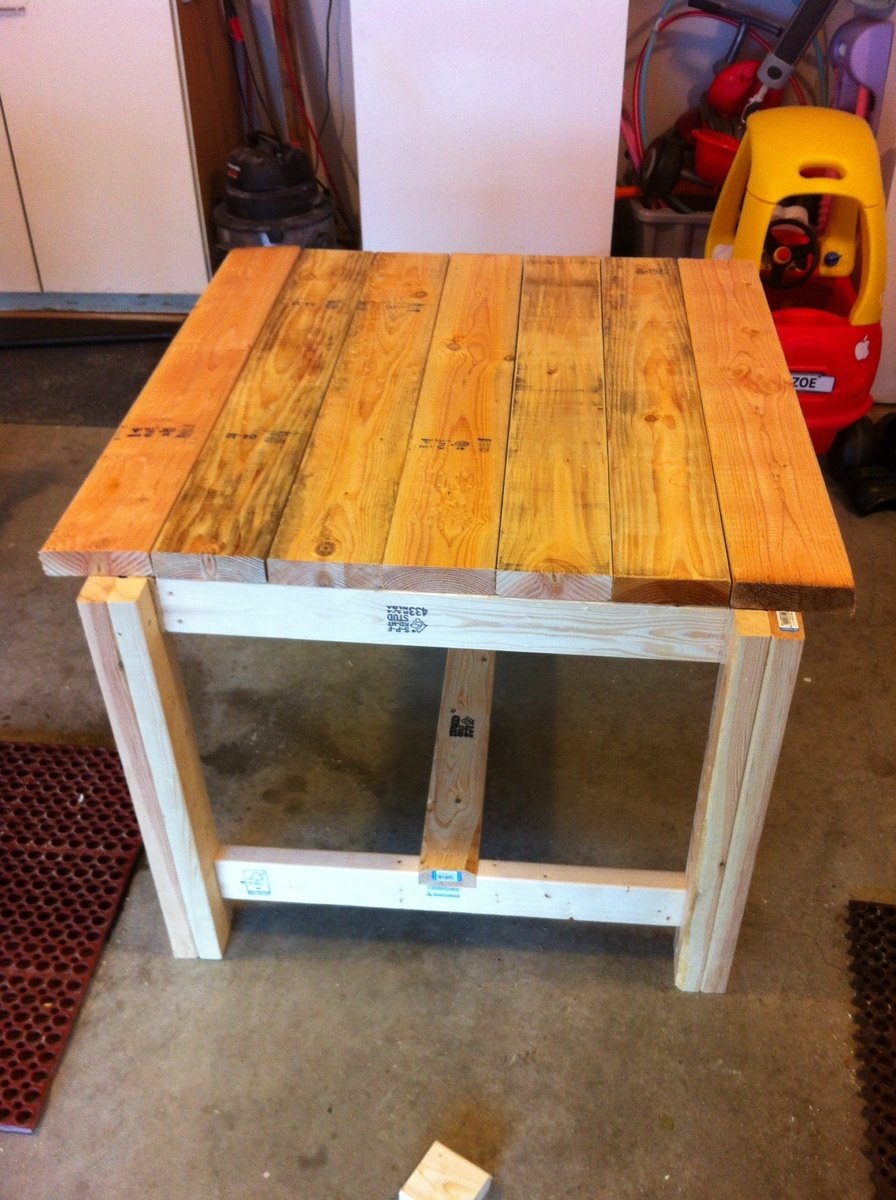
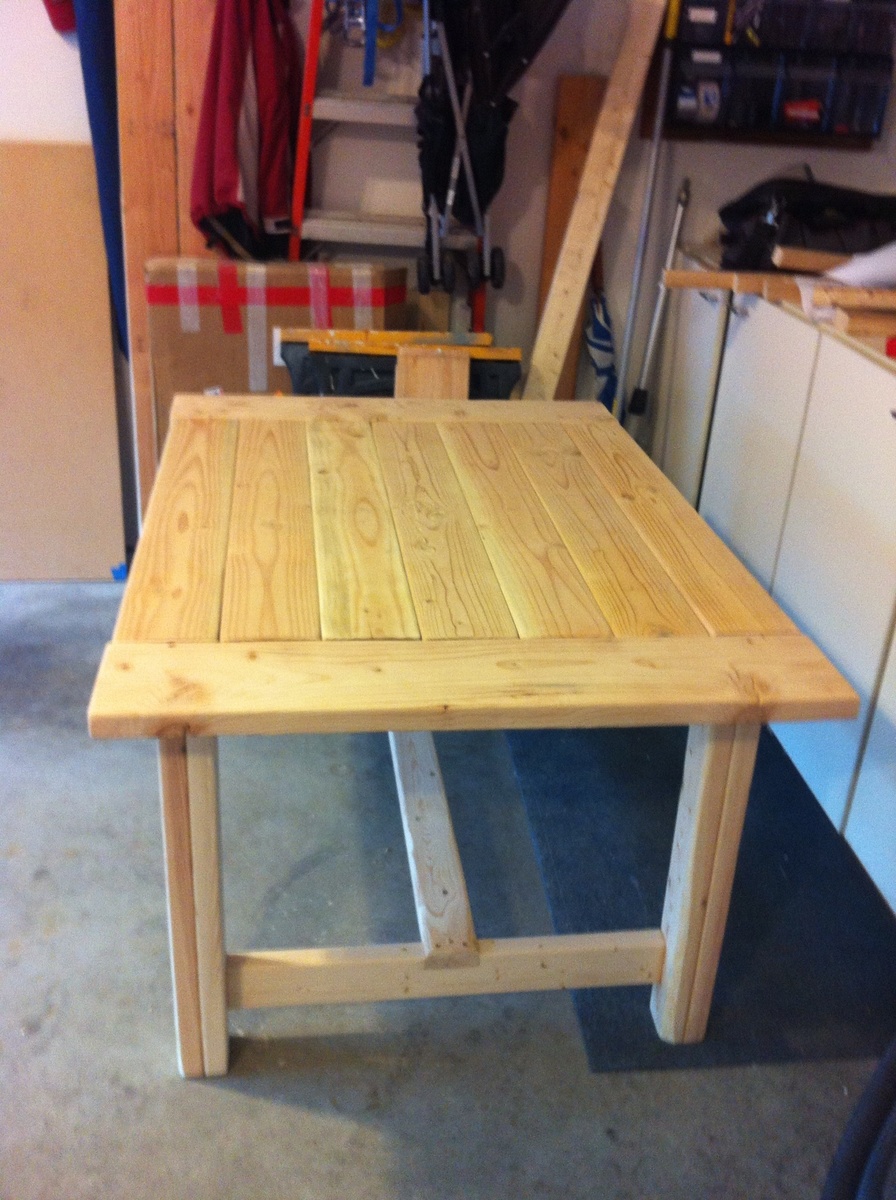
Needed a patio table for this space and decided on this plan. After the build portion, the stain finish really made it complete. Now time for some summer get togethers.
Color-Coffee (ST-103)
2 coats

Needed a patio table for this space and decided on this plan. After the build portion, the stain finish really made it complete. Now time for some summer get togethers.
My husband used the plans from this website to make a single Murphy bed. He didn't make any changes, save for building the frame out of solid poplar and using birch plywood for the flat surface the mattress sits on when it's unfolded. We trimmed it to mimic the the lines of a built-in in the same room, and stained it Jacobean to make it look dark. It's a solid piece of furniture and is saving us tons of space.
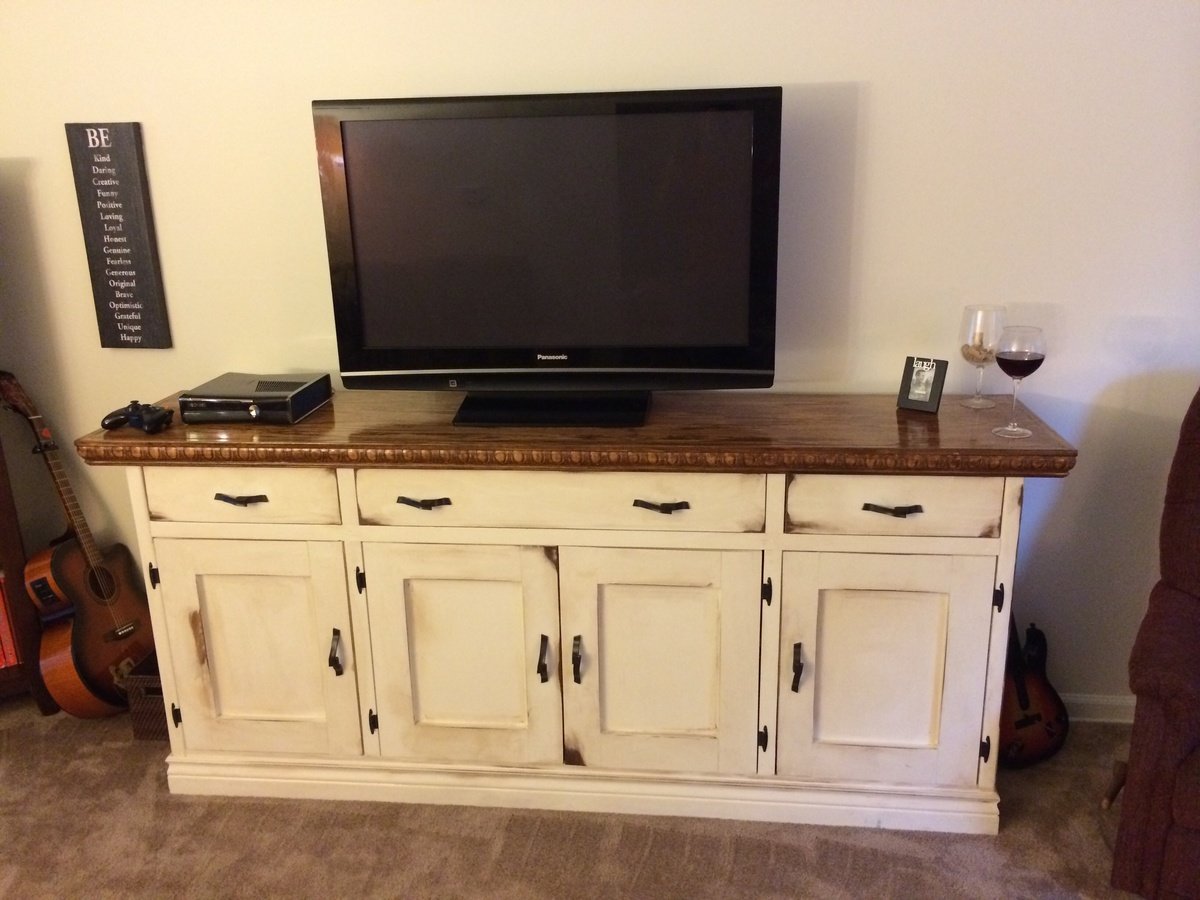
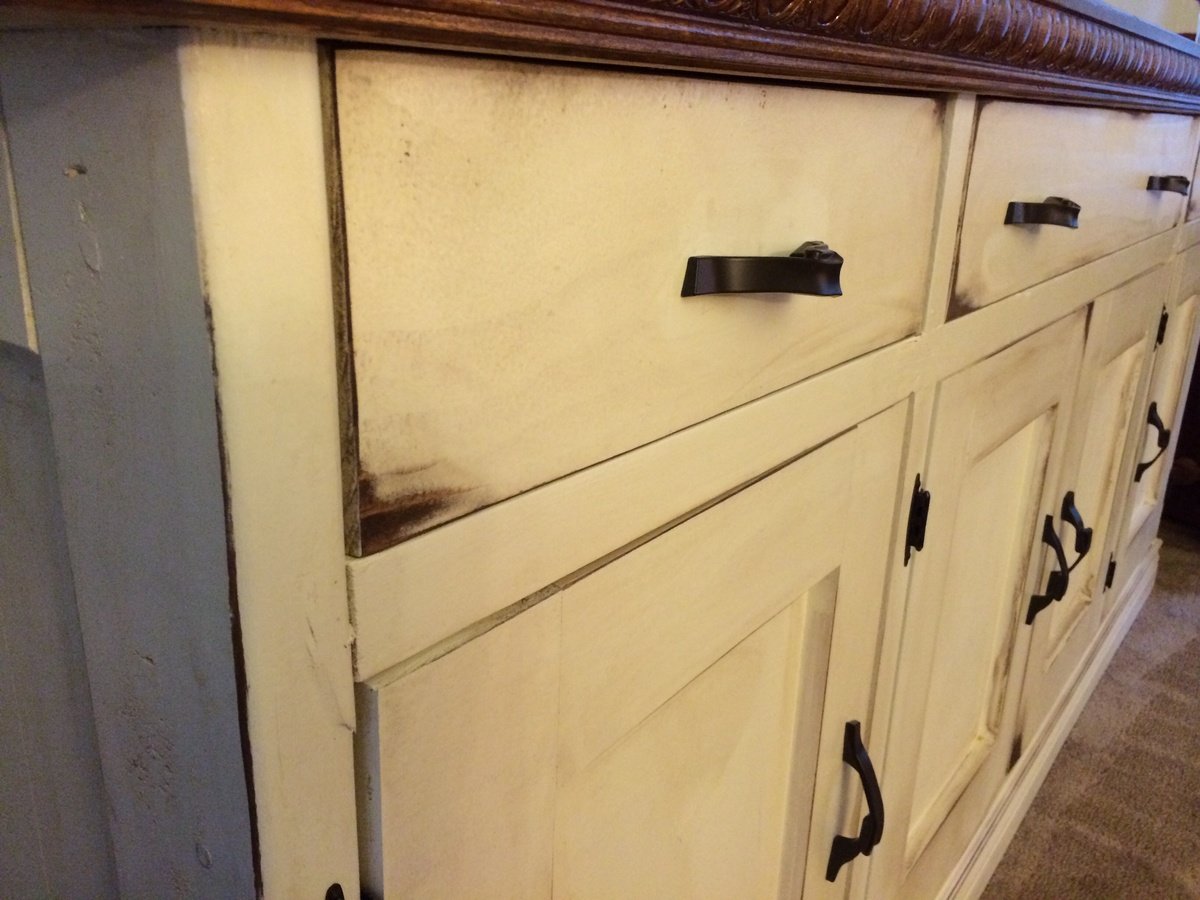
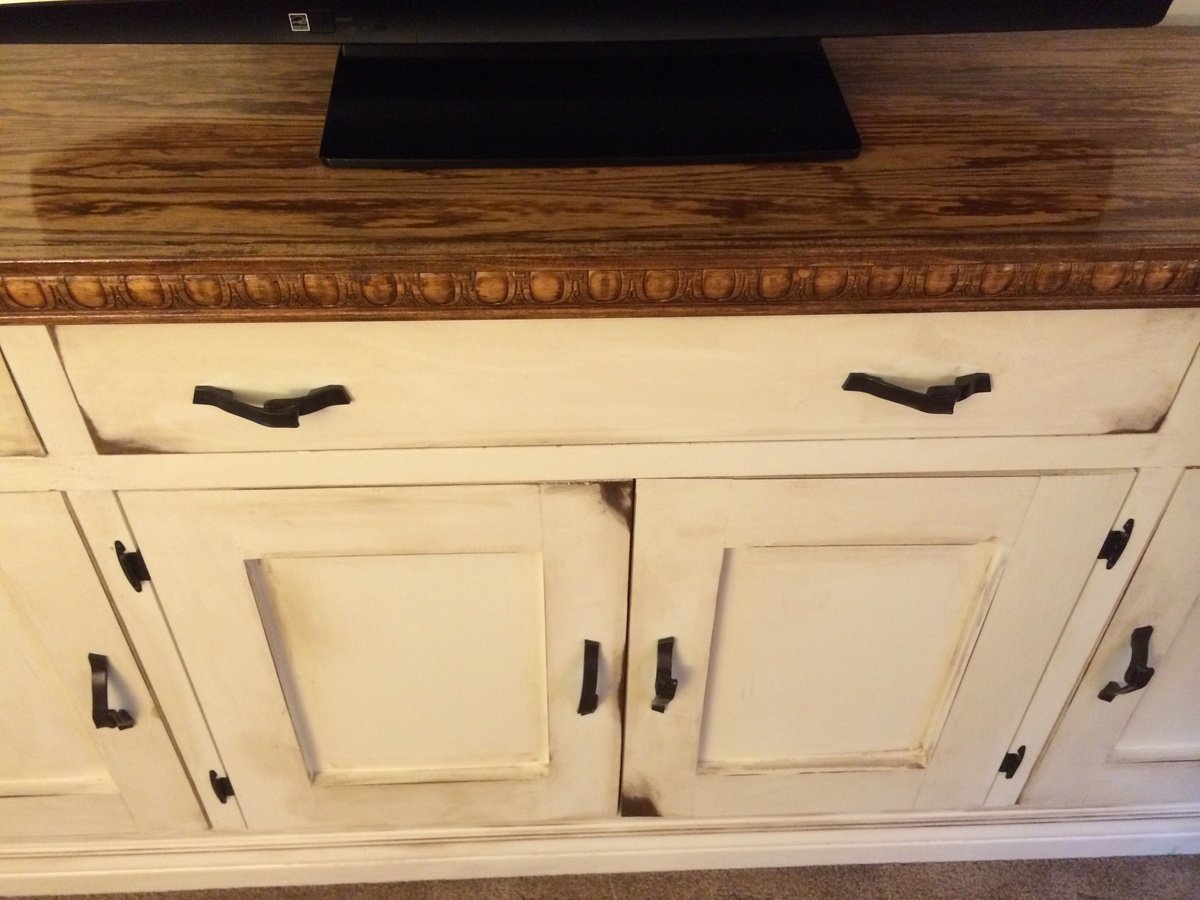
This project was nearly the emotional equivalent of pure hell. I began this as a buffet for someone who decided midway that they no longer wanted it. Secretly I was happy because I fell in love with it. The problem was it was started in late fall and this winter in ohio was more Ana's norm than ours. My I heated garage created a warped piece and an untenable workspace for a few months. I'm pretty happy all and all.
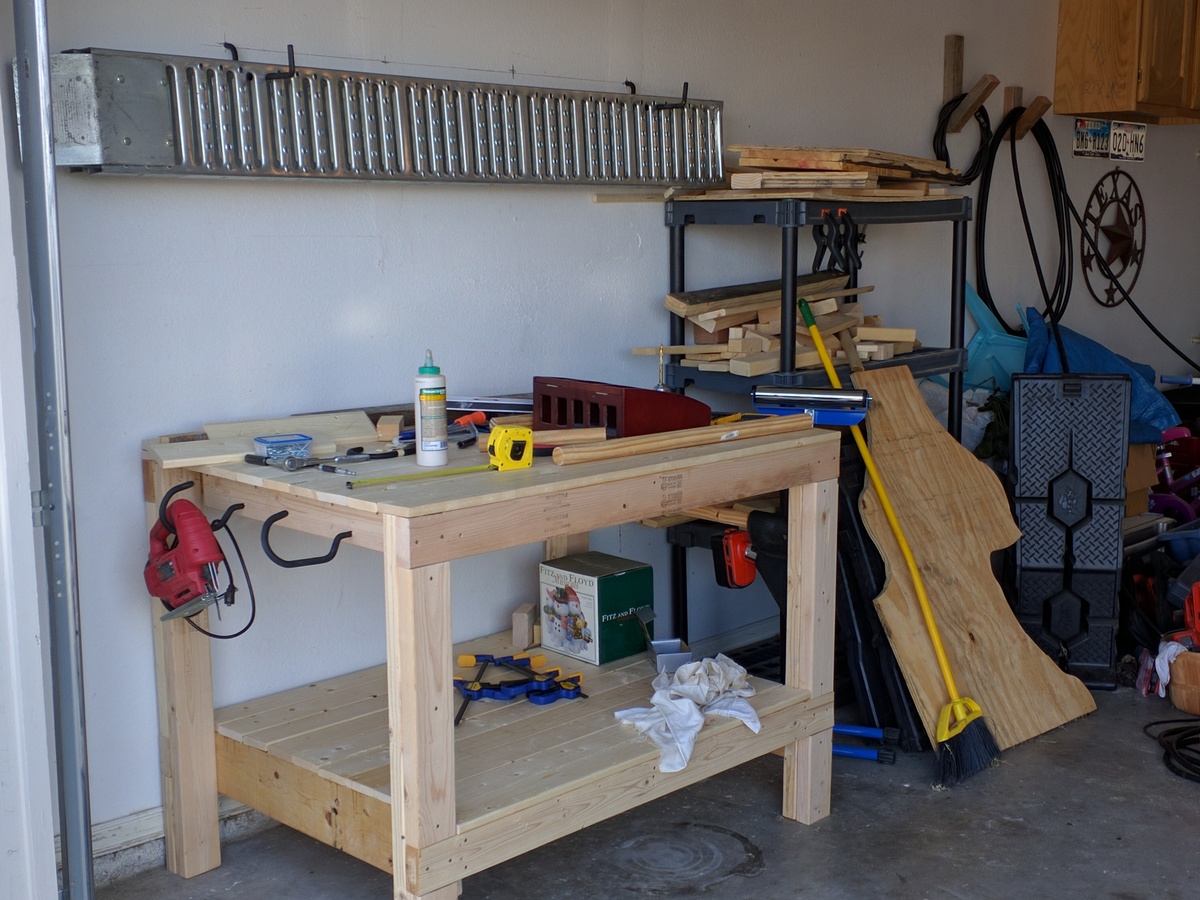
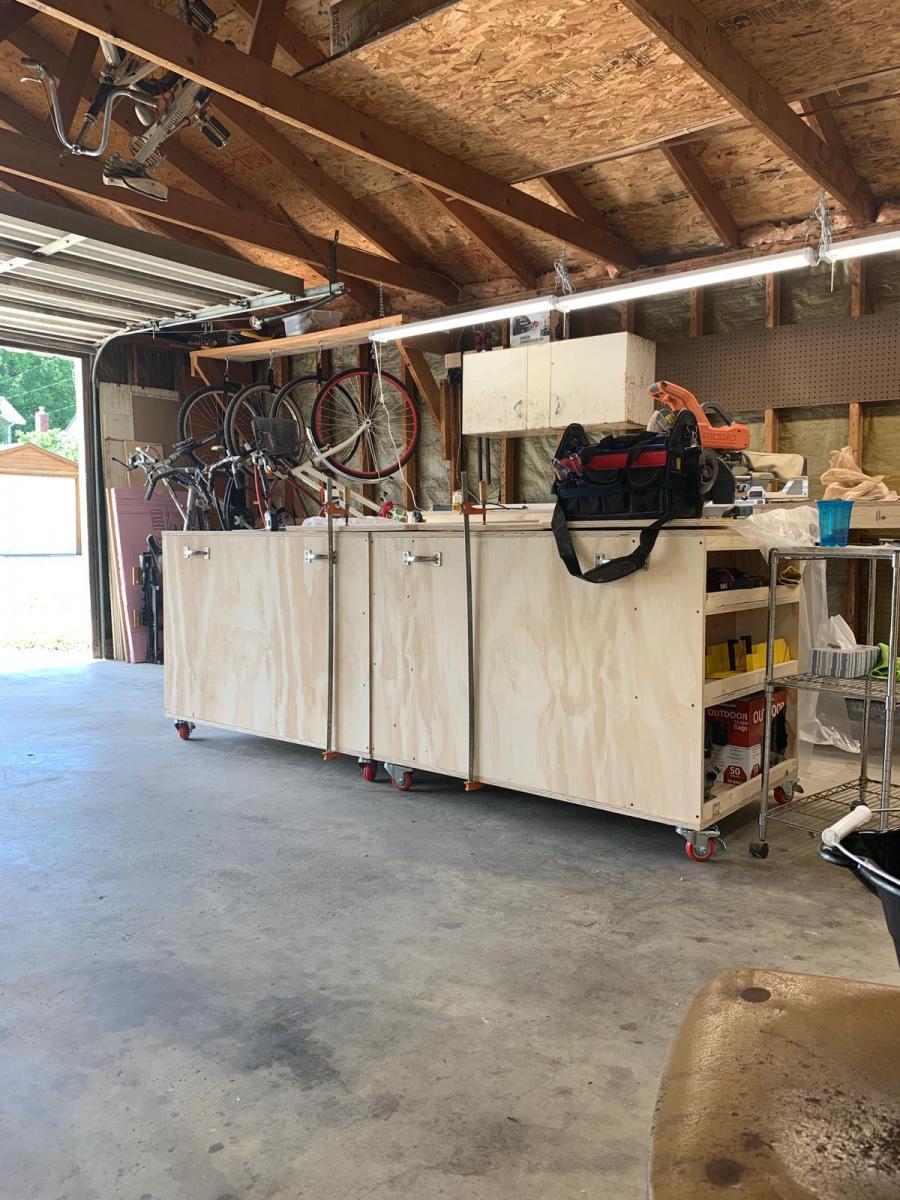
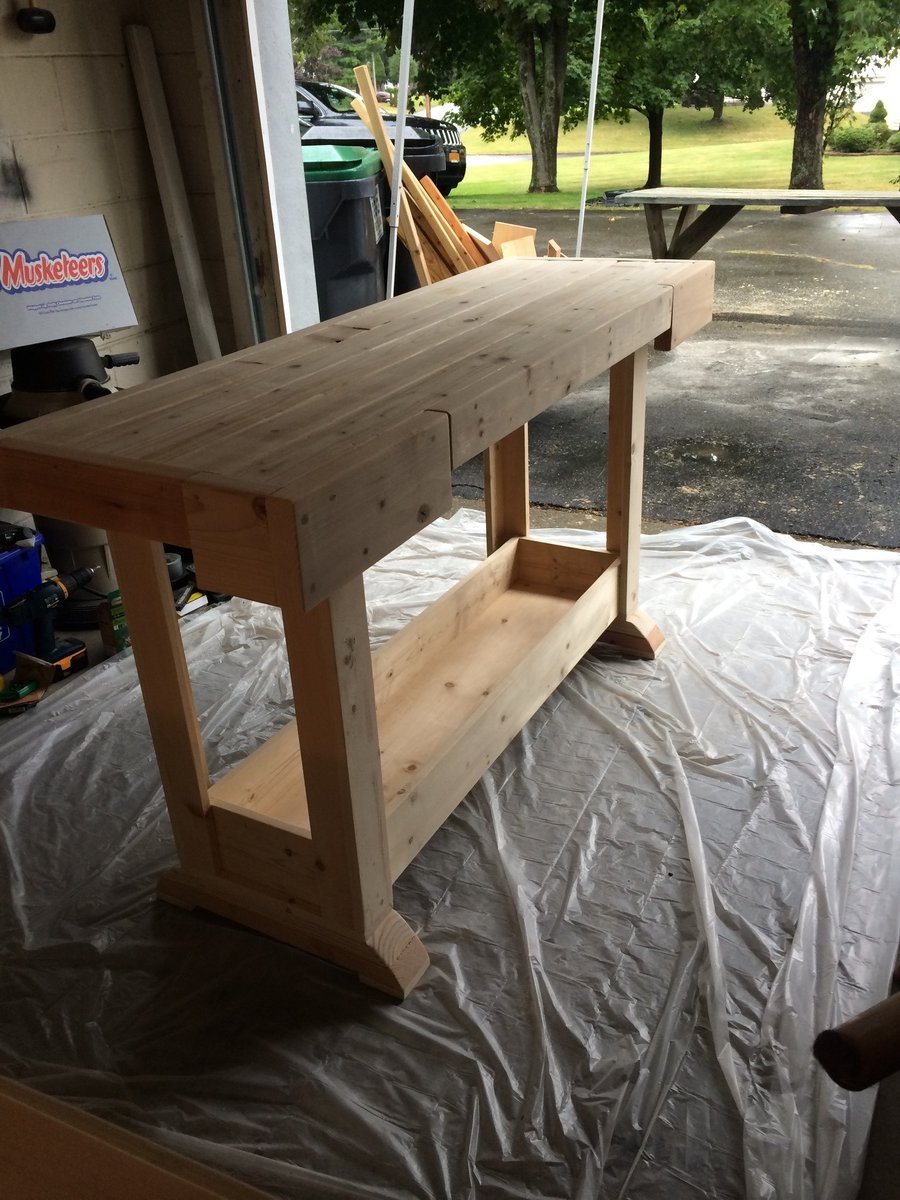
Altered the original plan only enough to accommodate the materials I had lying around without going to buy more lumber. The workbench I built is not as wide being only 48" instead of the 55" noted in the plans. For the top of the workbench and the lower shelf I used 1x4 furring boards again, because it is what I had for material at the time of building.
Once I made the basic frame, I squared it and then installed the supports for the table top and the lower shelf. Once the supports were in I cut the 1x4's to the appropriate length. As I laid each respective board, I also laid a good dose of wood glue down and then clamped them in place. I let those boards set with glue for about 5 minutes before going back and using a 2" brad nailer to finish them off. Once the nailing was done, I removed the clamps and moved to the next series of boards. Because I had several clamps I was able to lay about three boards at a time and let the glue set for another 10-15 minutes. Working slowly and methodically got the whole job done in a couple of days of a few hours a piece before completion.
Easy project and something that will last a long time when done correctly.
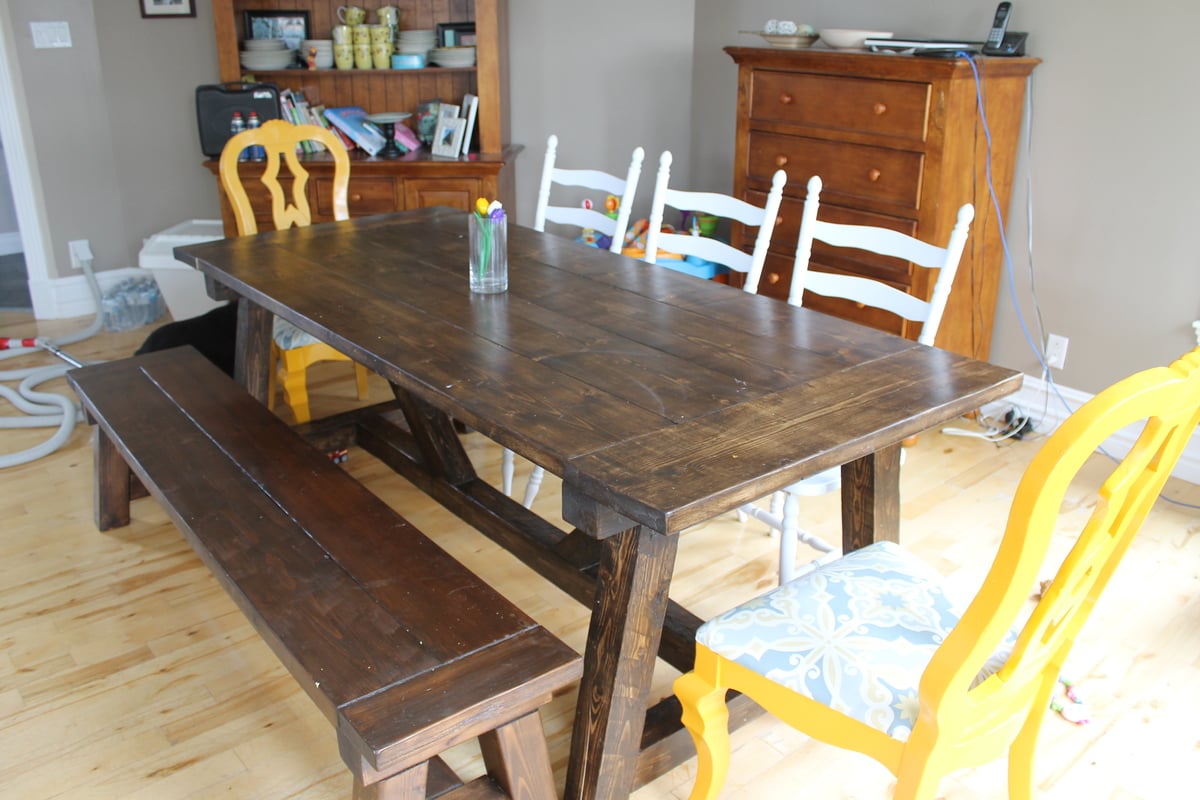
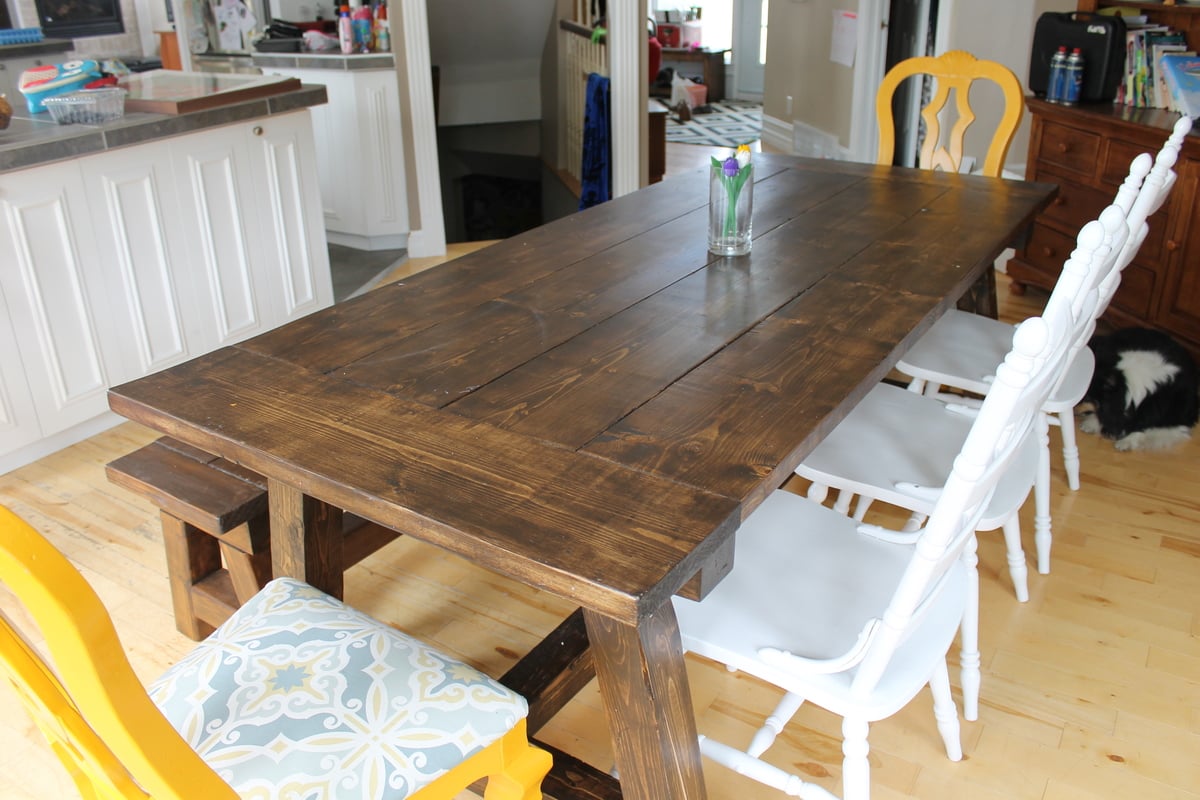
We needed a big sturdy table for 8-12 persons for our big dinning room but didn't want to pay 3000$ for it. Then i found Ana-white's site and thought "why not!". It's my first project, i started whit the bench and then made the table. All buy myself, my husby doesn't even know how to use a saw. He help me carry it inside thought ;) The plans were realy easy to follow. Somebody stop me, i'm refurnishing my hole house, i can't stop! In 2 months i'v made 2 dinning tables, 2 patio tables, 1 coffe table, 5 benches. So if i can do it, you can too!

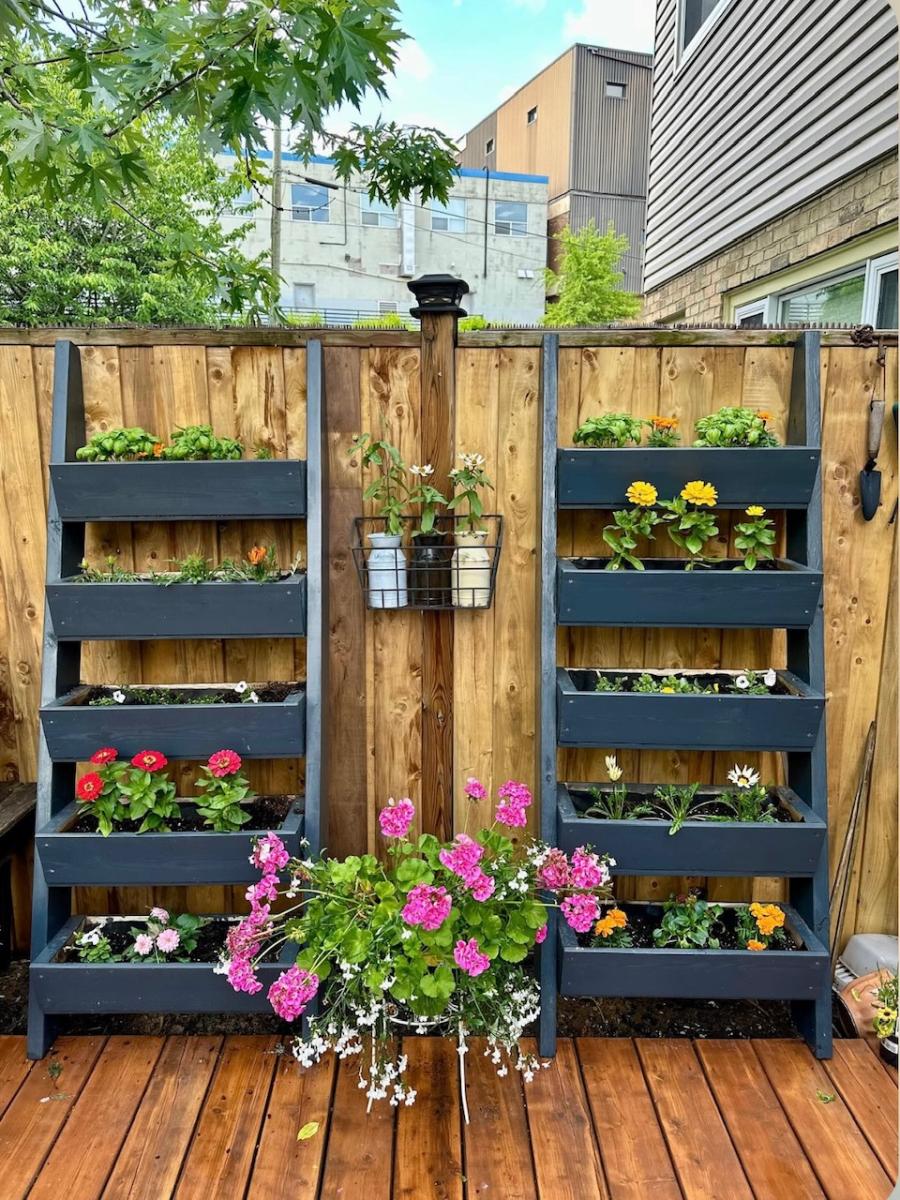
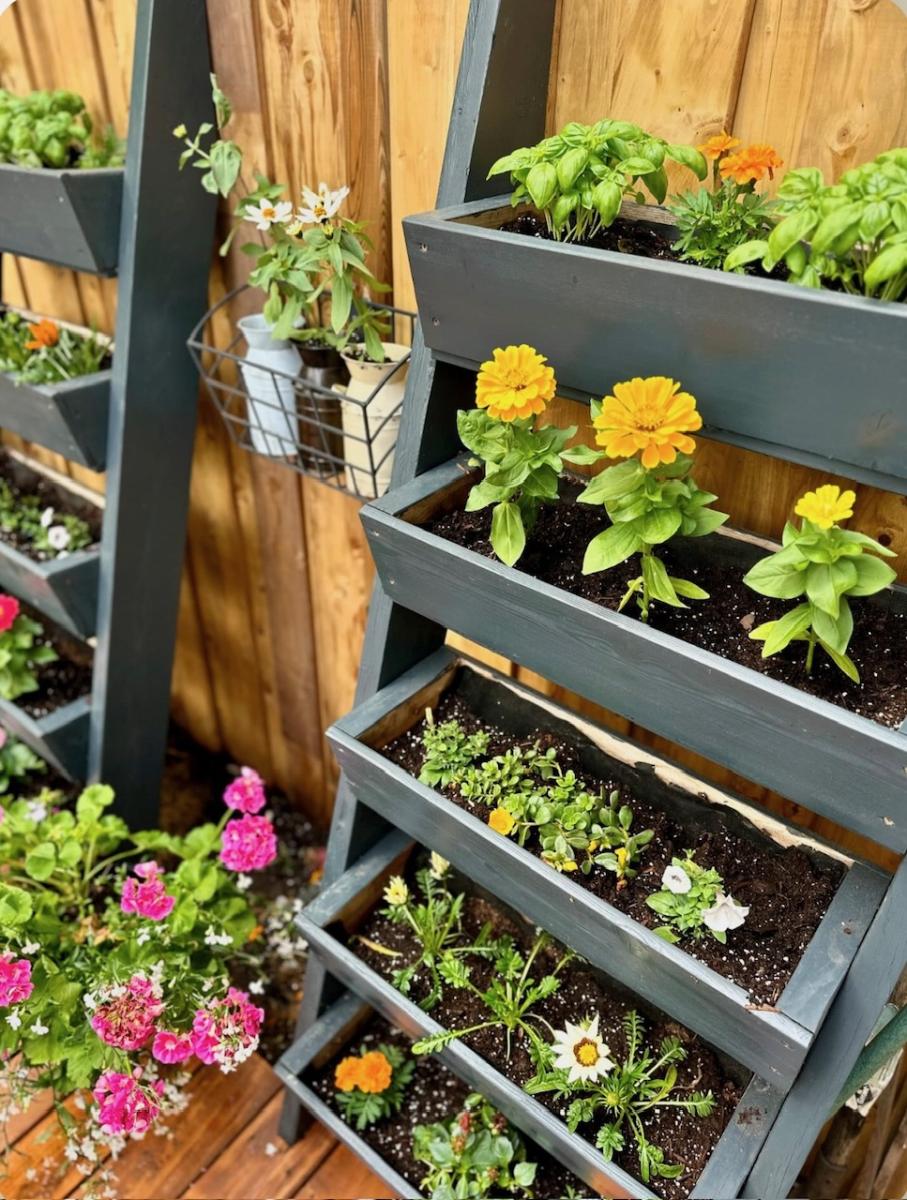
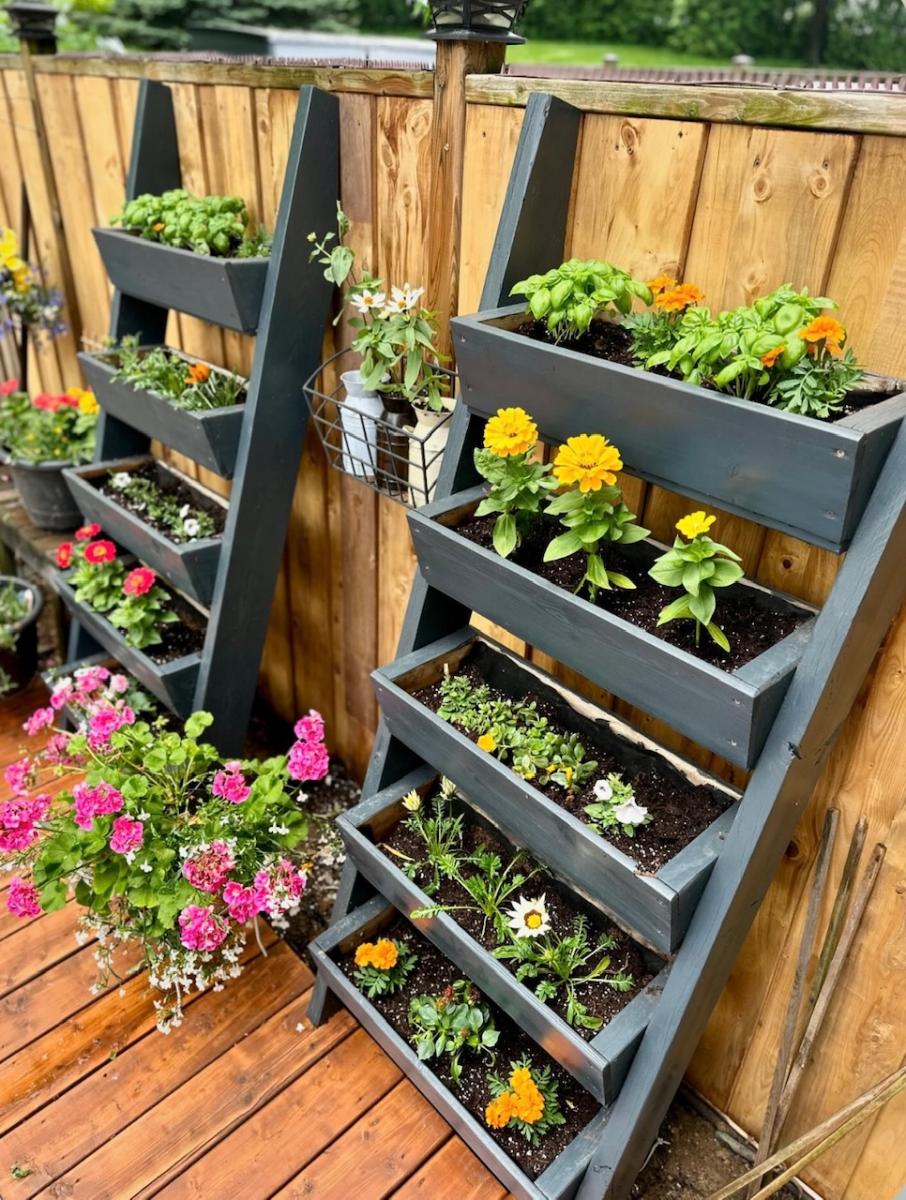
Awesome Ladder Planters with Refresh! See finishing details @kristinliarestoration
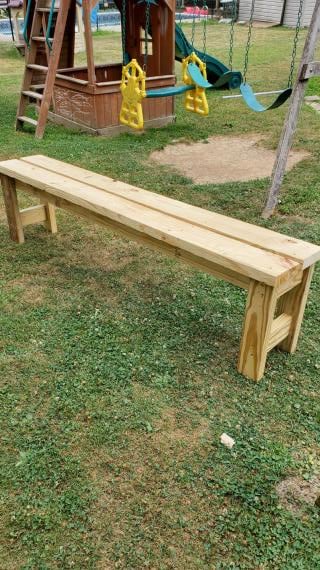
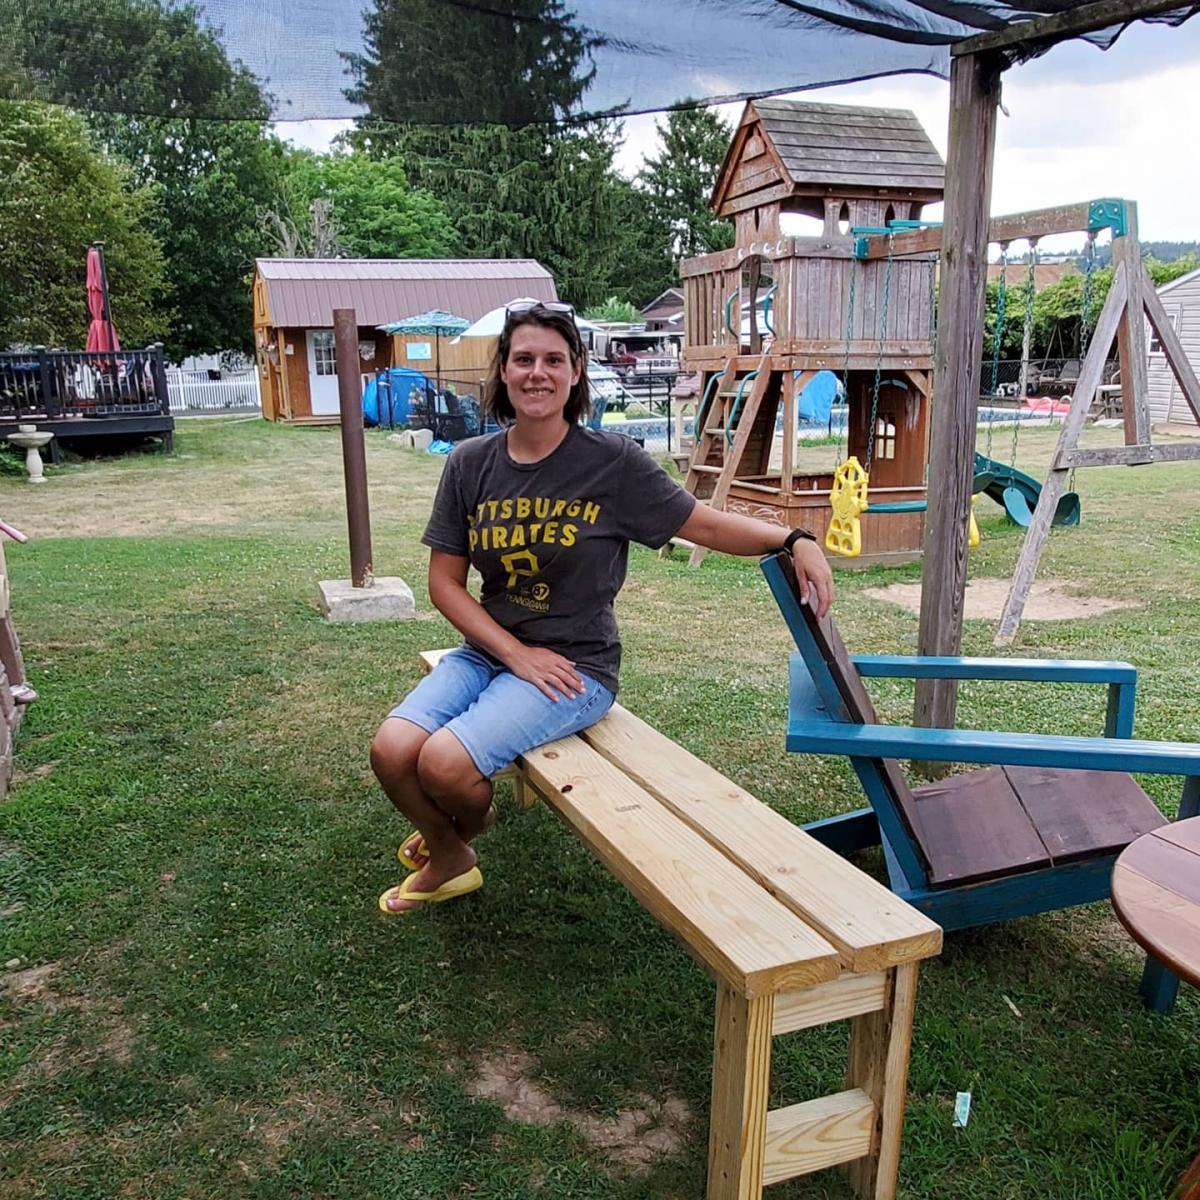
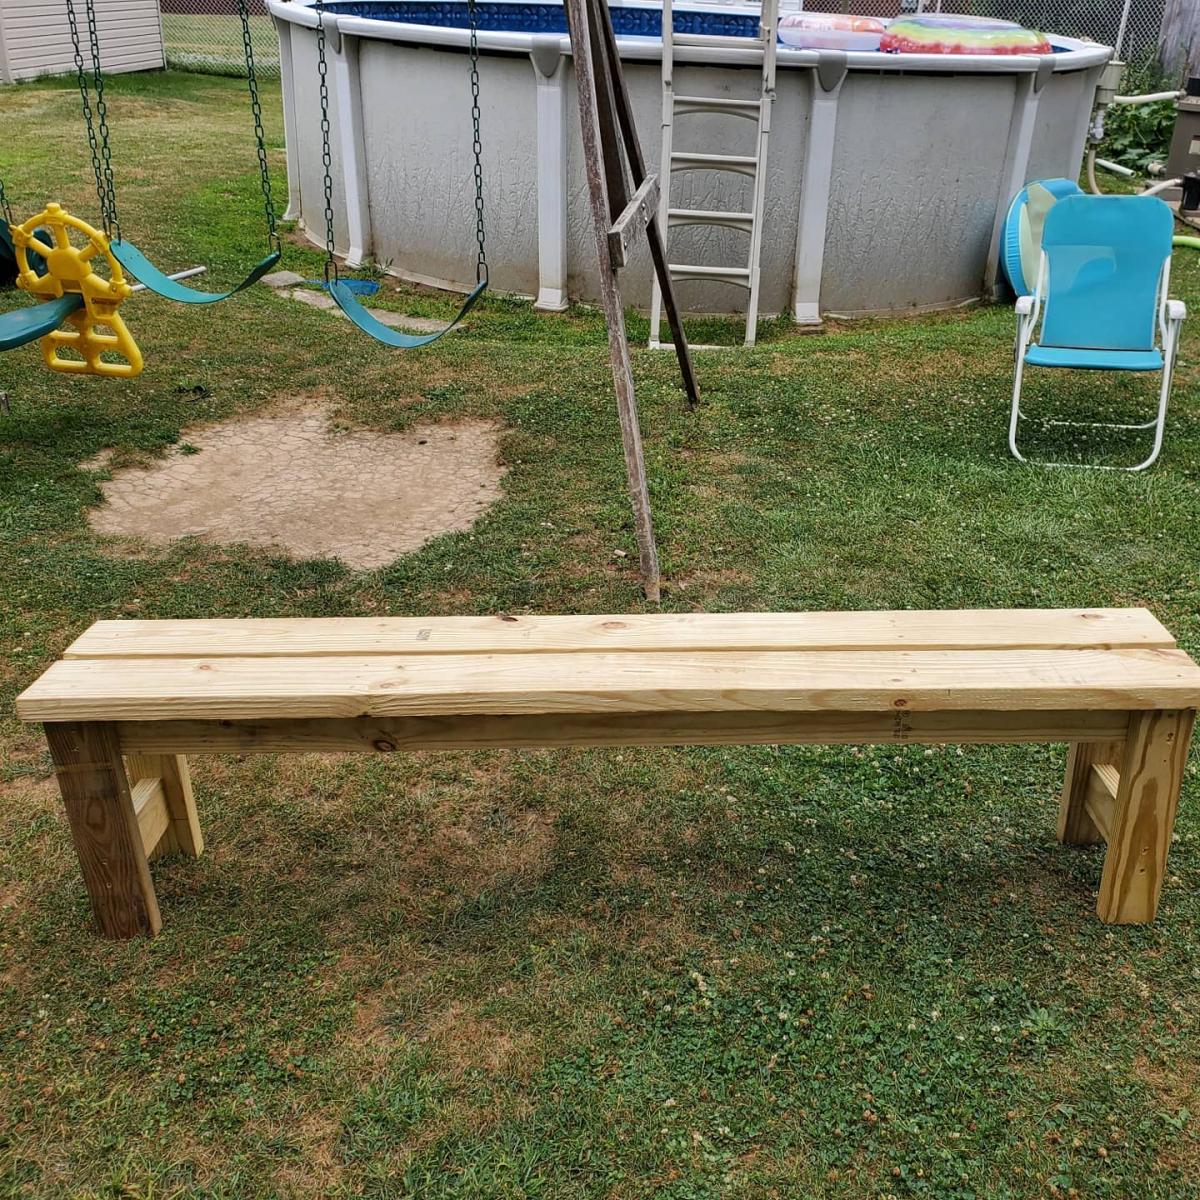
Great, sturdy, easy build!!! Looks amazing and will be my new picnic outdoor seating. I cannot wait to build the next bench and table to go along with it. Thank you for the plans!!!!
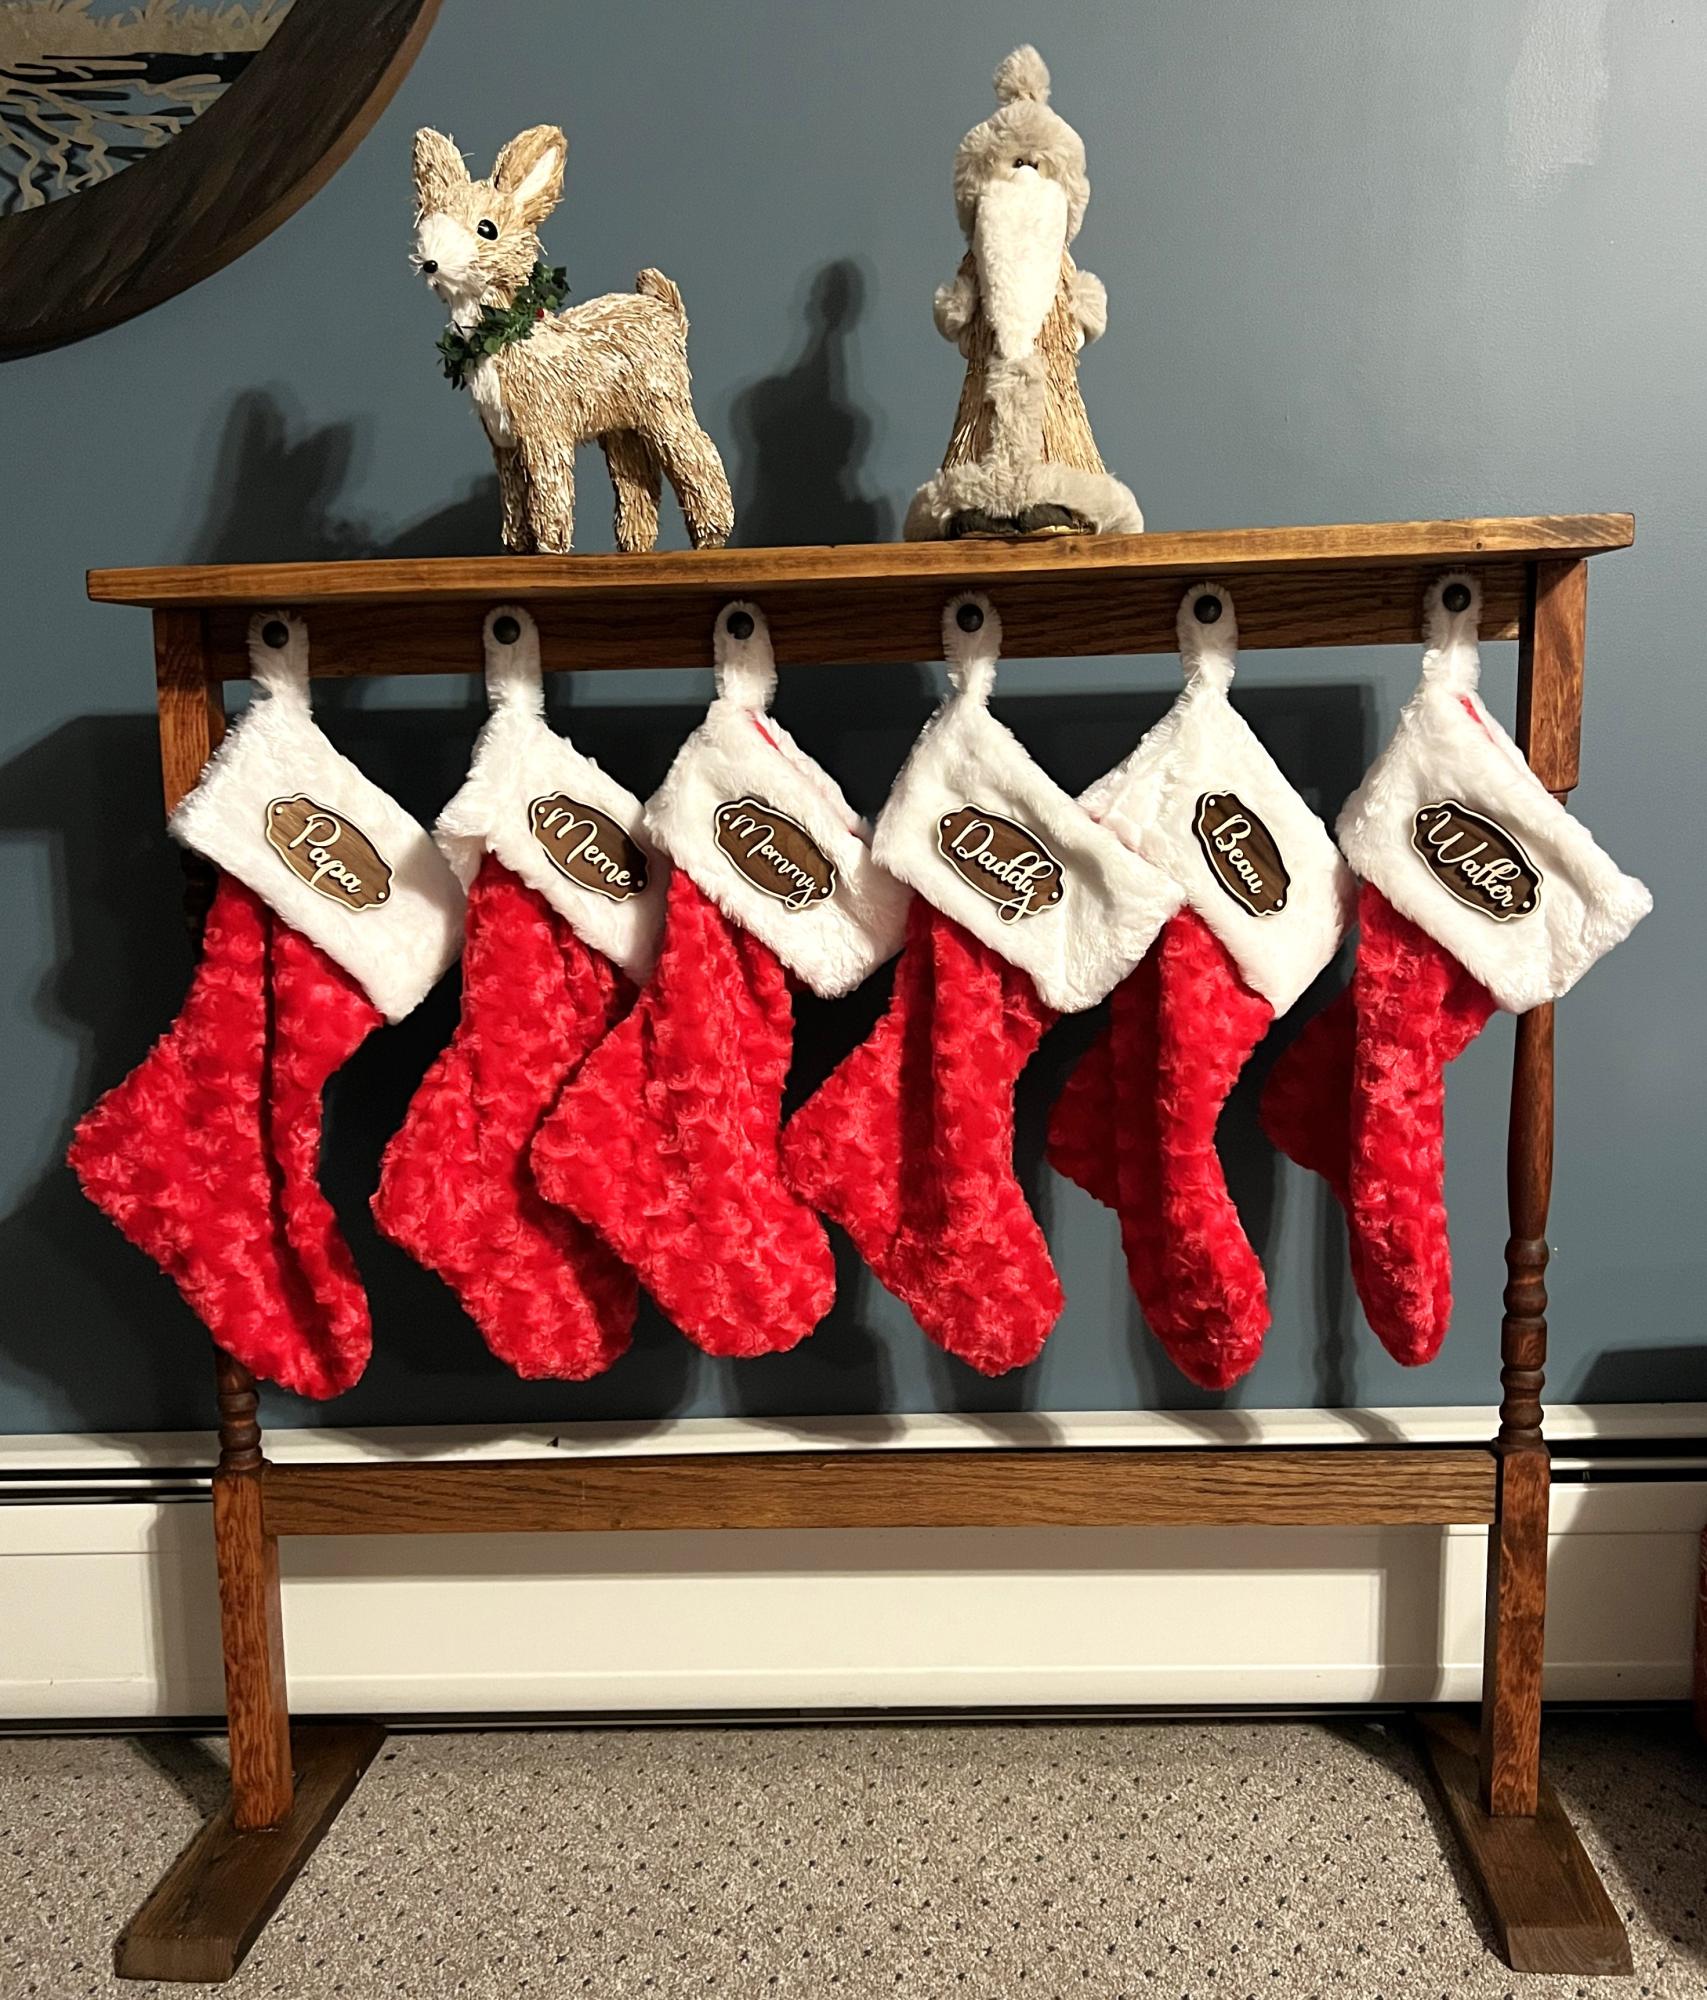
I was inspired by the Christmas stocking holders, so built my own from all scrap wood.
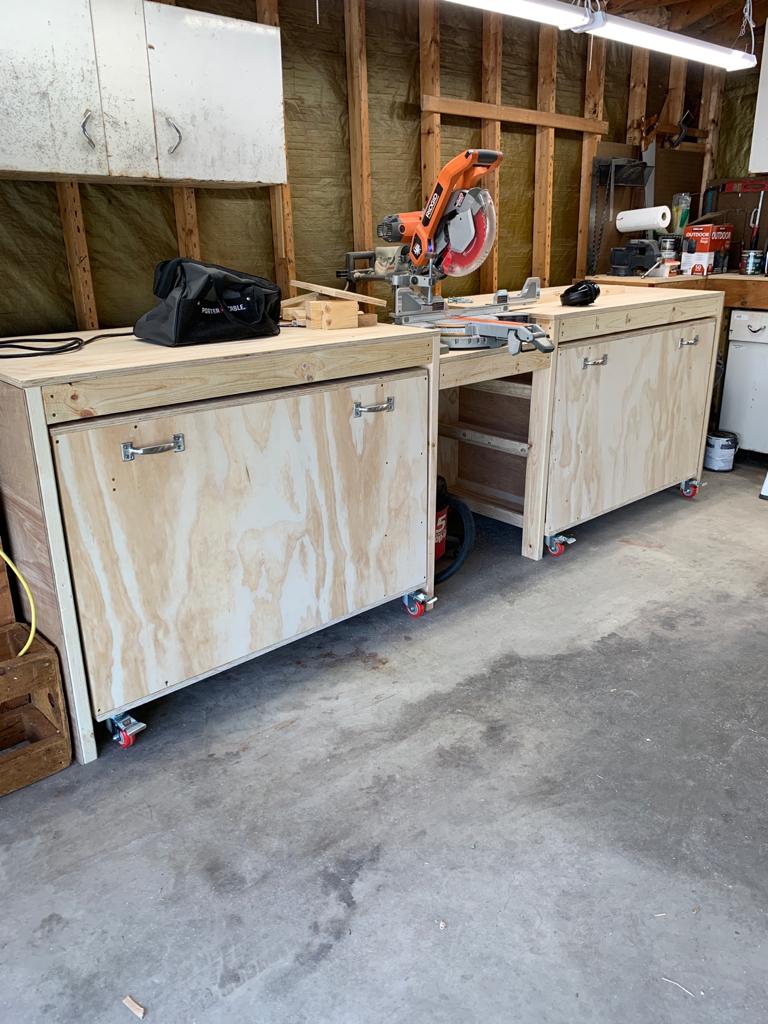
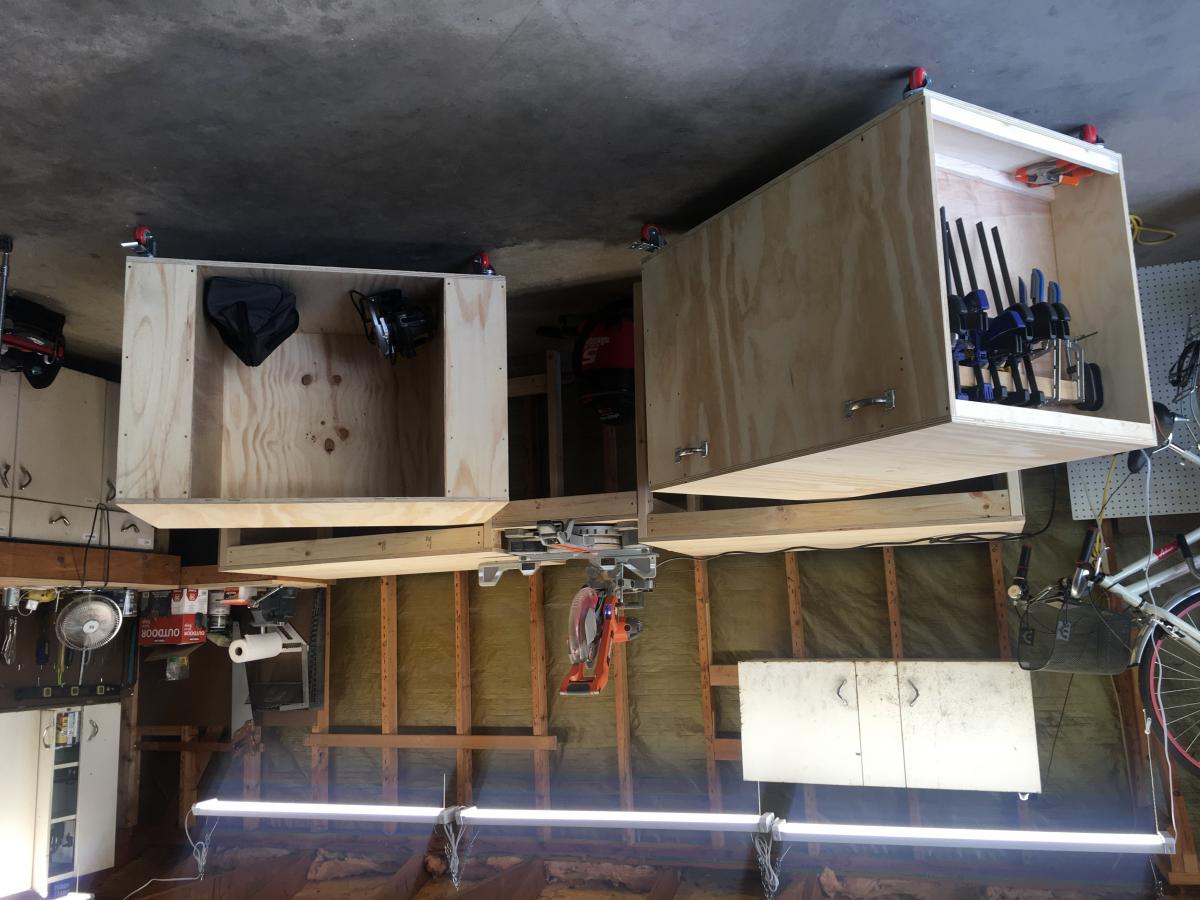
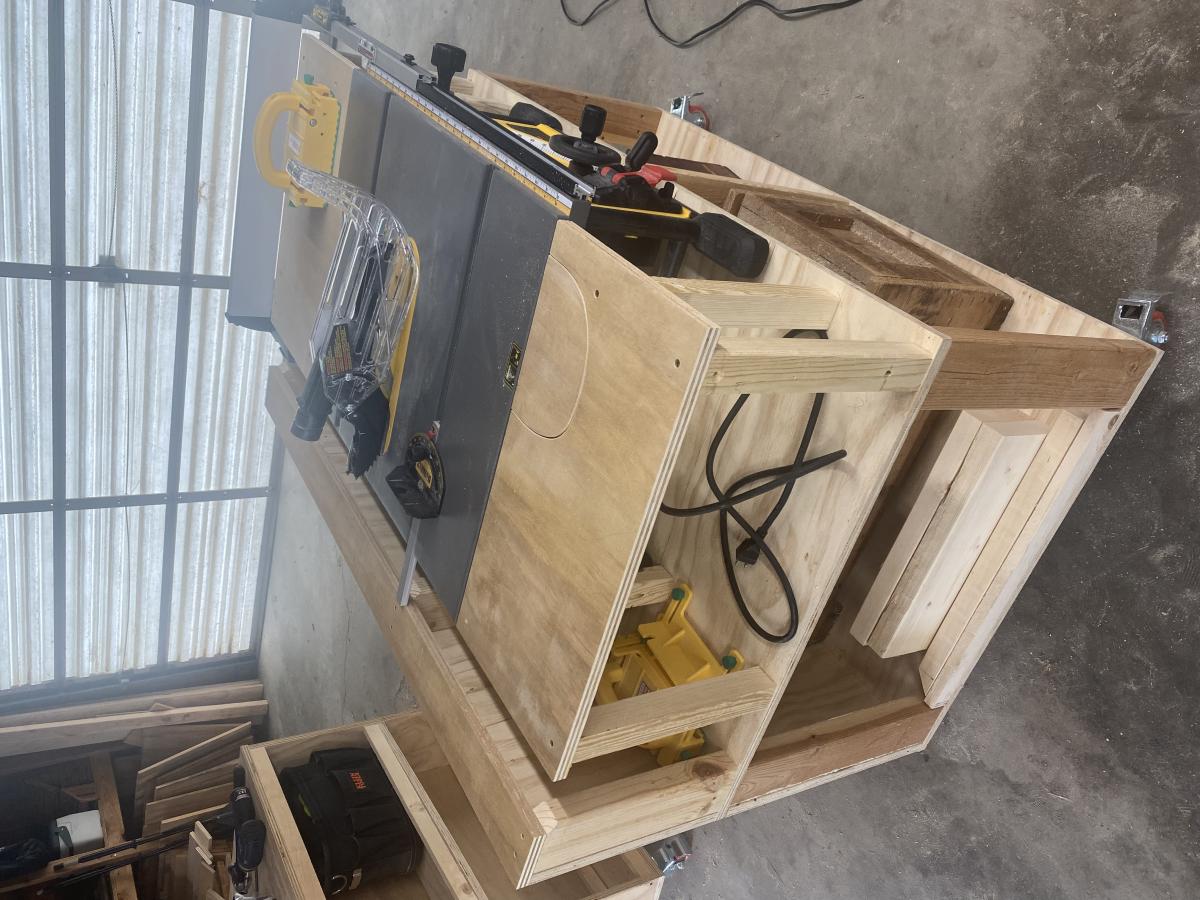
NINE MONTH UPDATE: After using the bench for almost nine months, we’ve made some changes. The first is that our table saw, a Dewalt 7491 didn’t fit in the way the plans called for because of the fence. We ended up cutting down and rebuilding the table to make a platform for the saw, then we built three “tables” around it to leave a gap for the fence operation. We also added a curved piece that can be removed to access the riving knife lever.
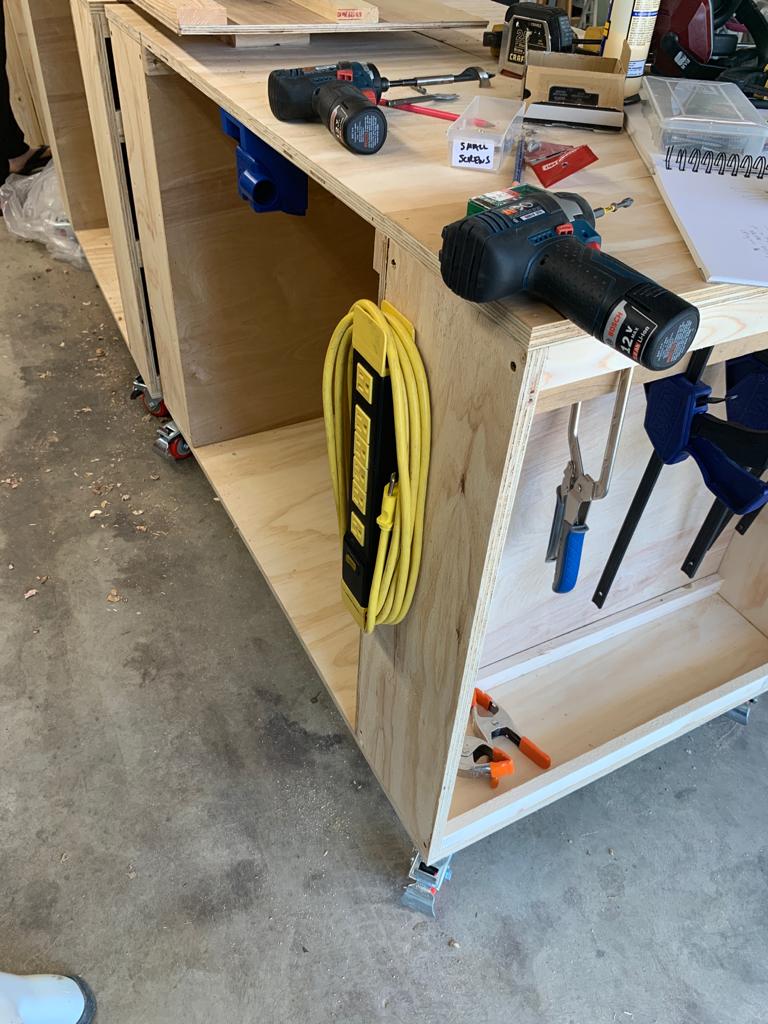
The other change we made was to take out the clamp storage that was in one of the cart ends. When we rolled the cart in and out, the clamps would catch and fall off. We put in another shelf instead.
Otherwise, we love the bench. Having the two rolling carts that we can reposition based on where we need a table extension is great. The miter saw stand works perfectly, and our dust collection setup rolls right underneath. We’re also in the process of building a router table that fits in the removable bench room area.
ALSO, sorry for the upside down/sideways pics. It won’t let me remove or fix them.
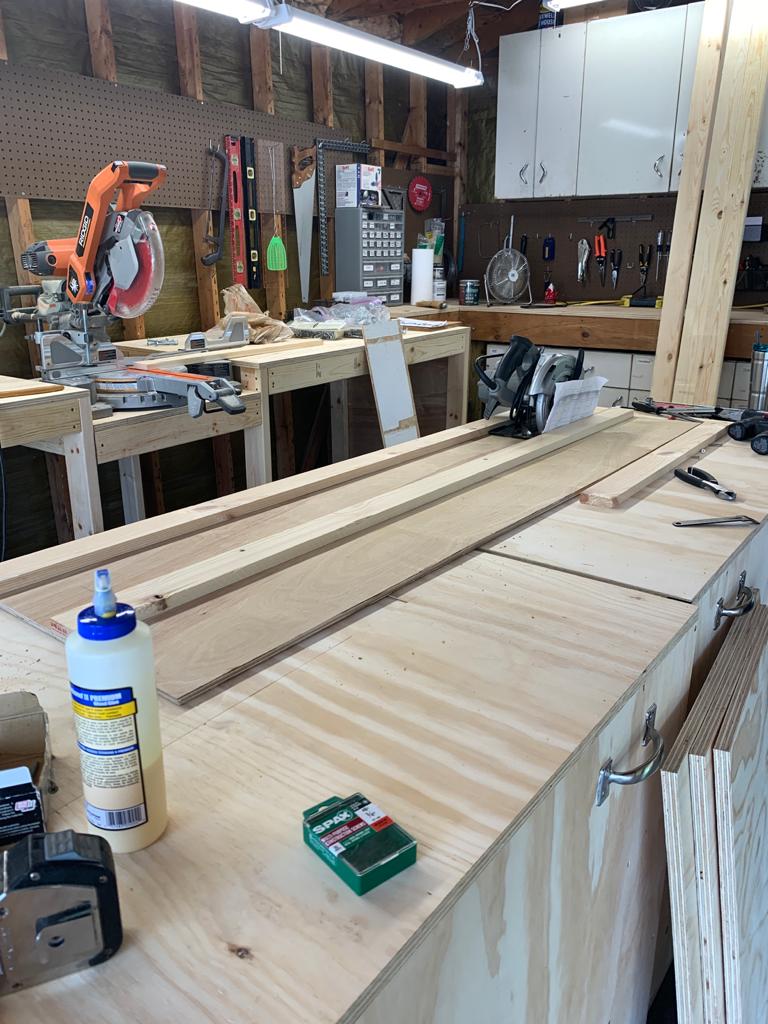
We made the ultimate roll away workbench with very few changes. Added the clamp hanger on one end as pictured. We didn’t add the shelf under the miter saw, as well be putting a dust collection cart.
We absolutely love the cart.M, now to save up for a table saw. The only change I would like is that I wish the side shelves were a little deeper, more like 10” instead of 8”, so more tools would fit.
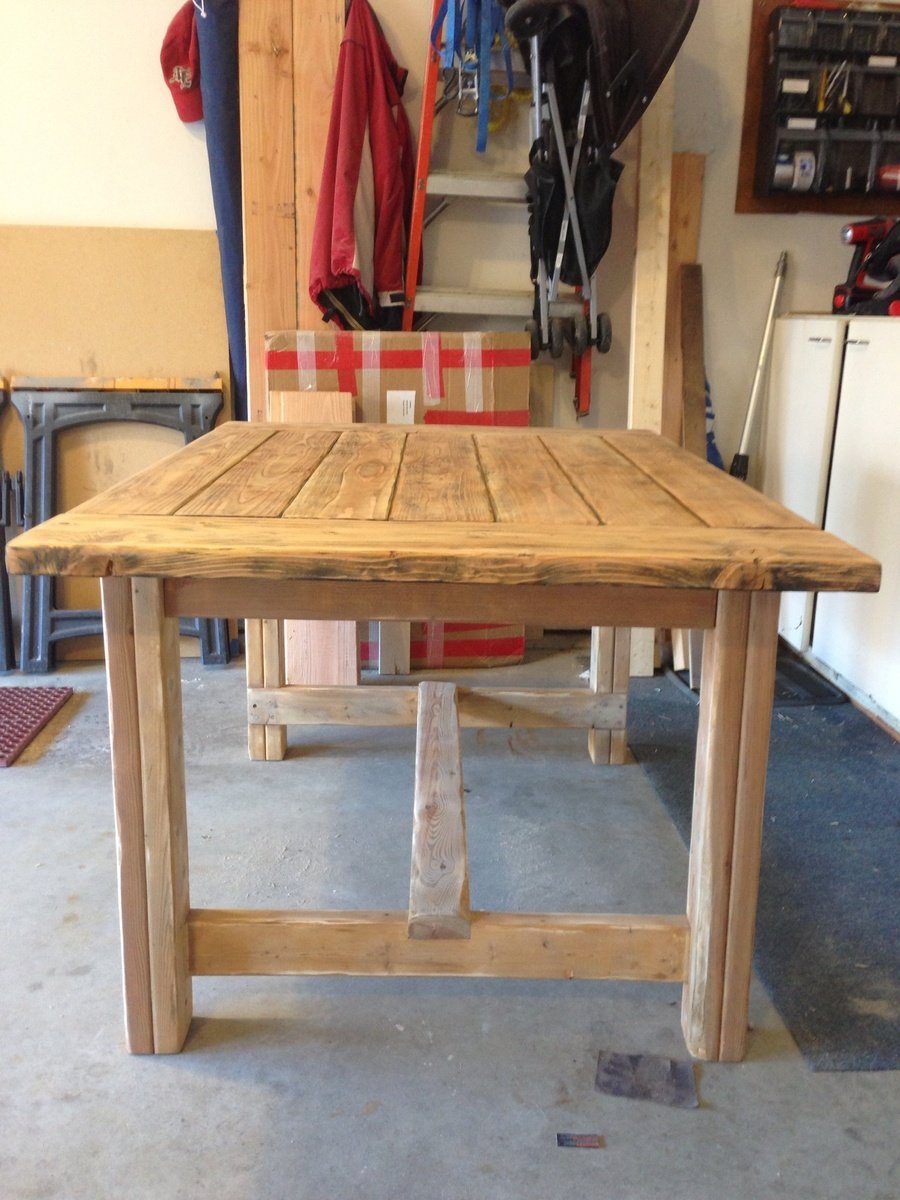
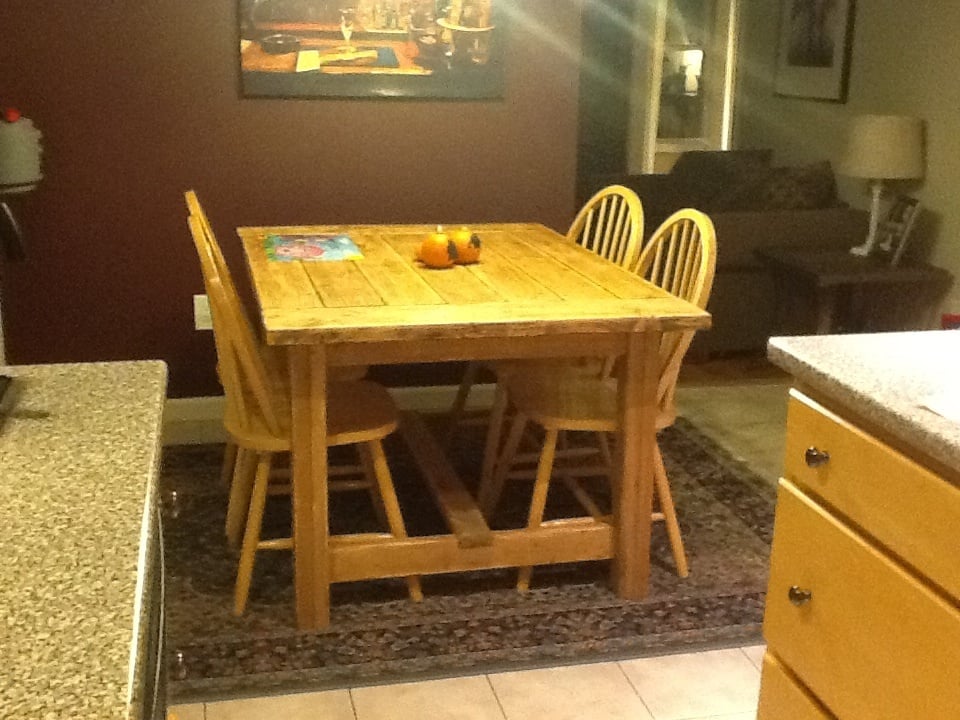
I loved the look of the farmhouse table, but it was a little long for what I needed as our kitchen table. The original plan made a longer dining room type table. I decided to shorten it up a bit, it has a bit more of a stocky look to it but we love it! It is such a solid design, and we get such great compliments on it. I used wooden dowels to fill the screw holes which gave it a bit more country look to it because the vinegar stain turned them a slightly different color than the tabletop.

Our daughter has been asking us to build her a bed for months now. When eLearning became a reality for our household, we knew it was time to get to work. We usually do two to three big DIY projects a year, and have built from many of Ana White's plans. We often refer our the time together DIYing as "couples therapy".
We used Ana's plans for the Loft Bed and included the tall bookcase and desk system, with a few of our own modifiations and personal touches, such as:
- elimated the plywood backing on the bottom shelves of the tall bookcase
- only used one (1) bookshelf for desk system
- used toungue and groove paneling for back of small bookshelf, adding it to the sides as well
- made the desktop 19" wide
- added a framed magnet board
- added a sliding keyboard tray


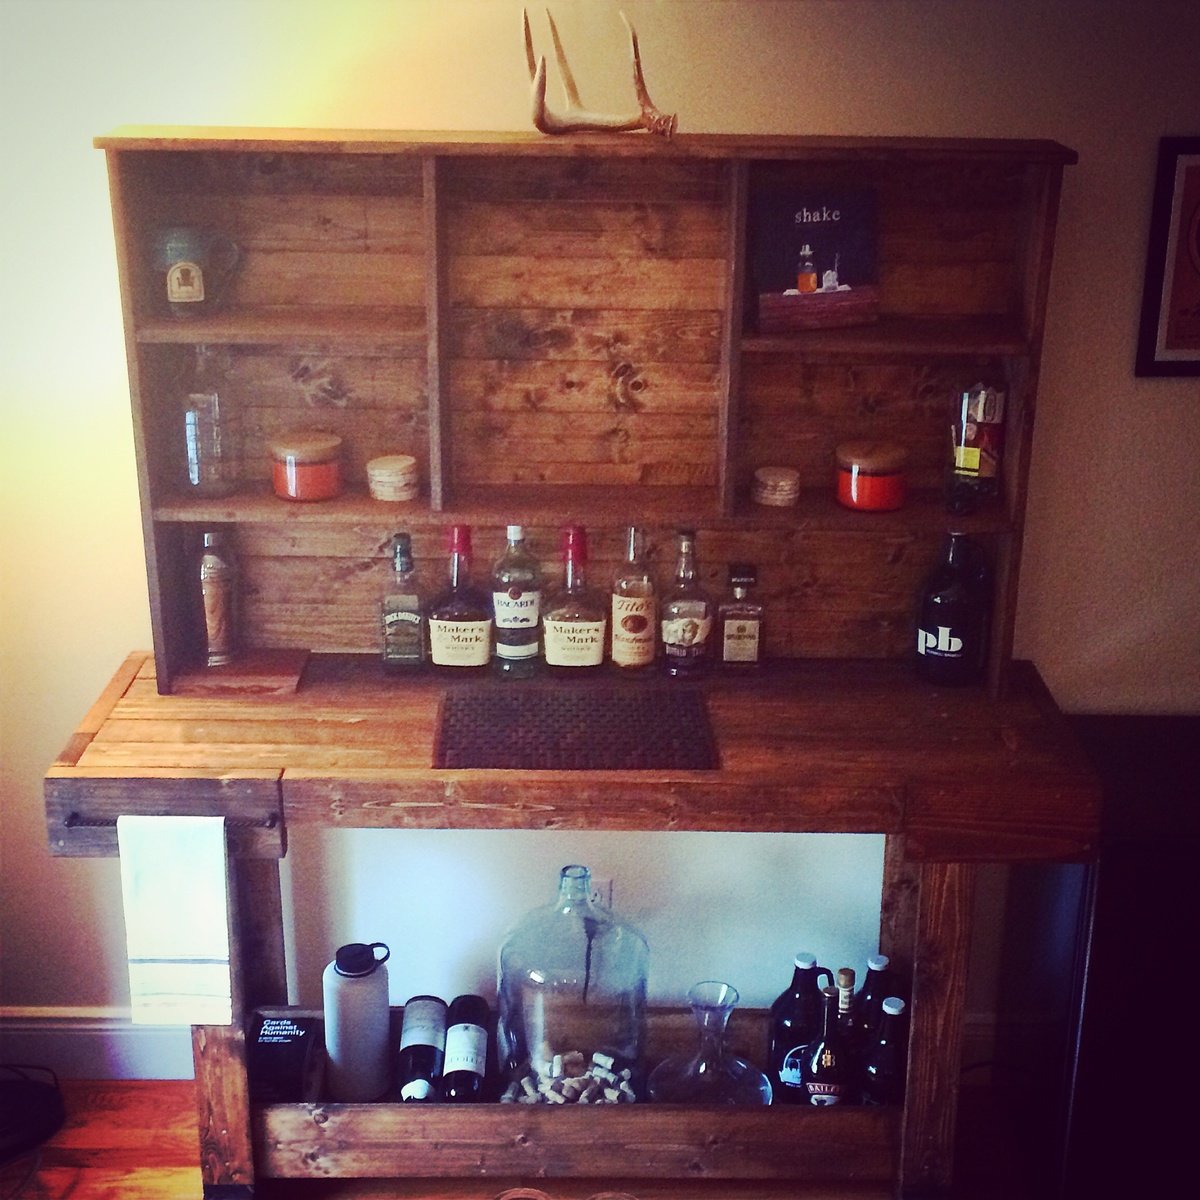
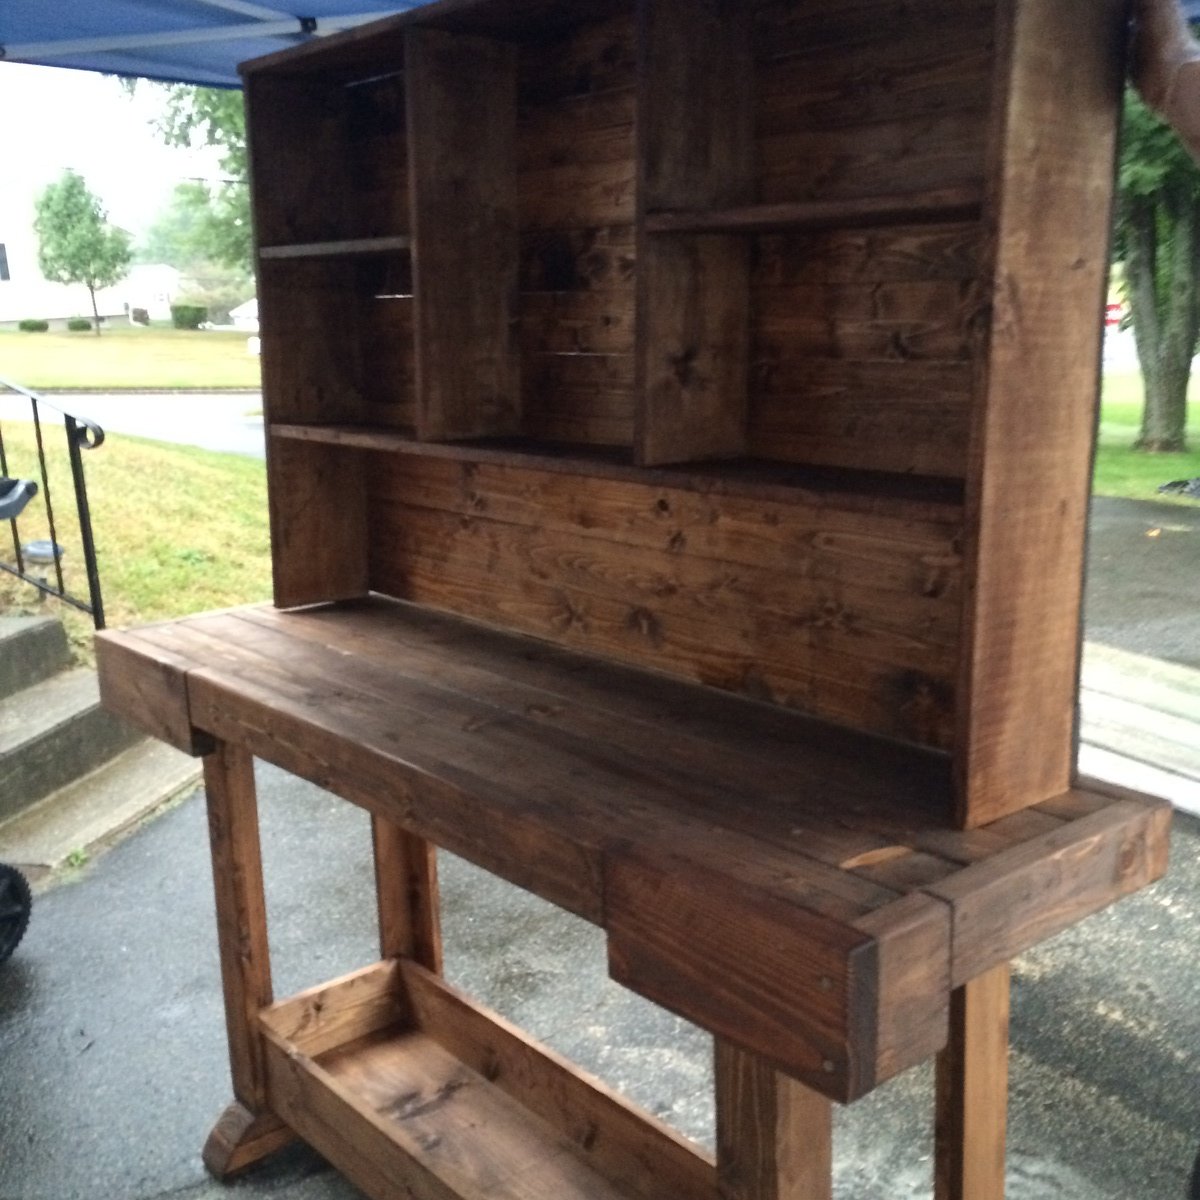
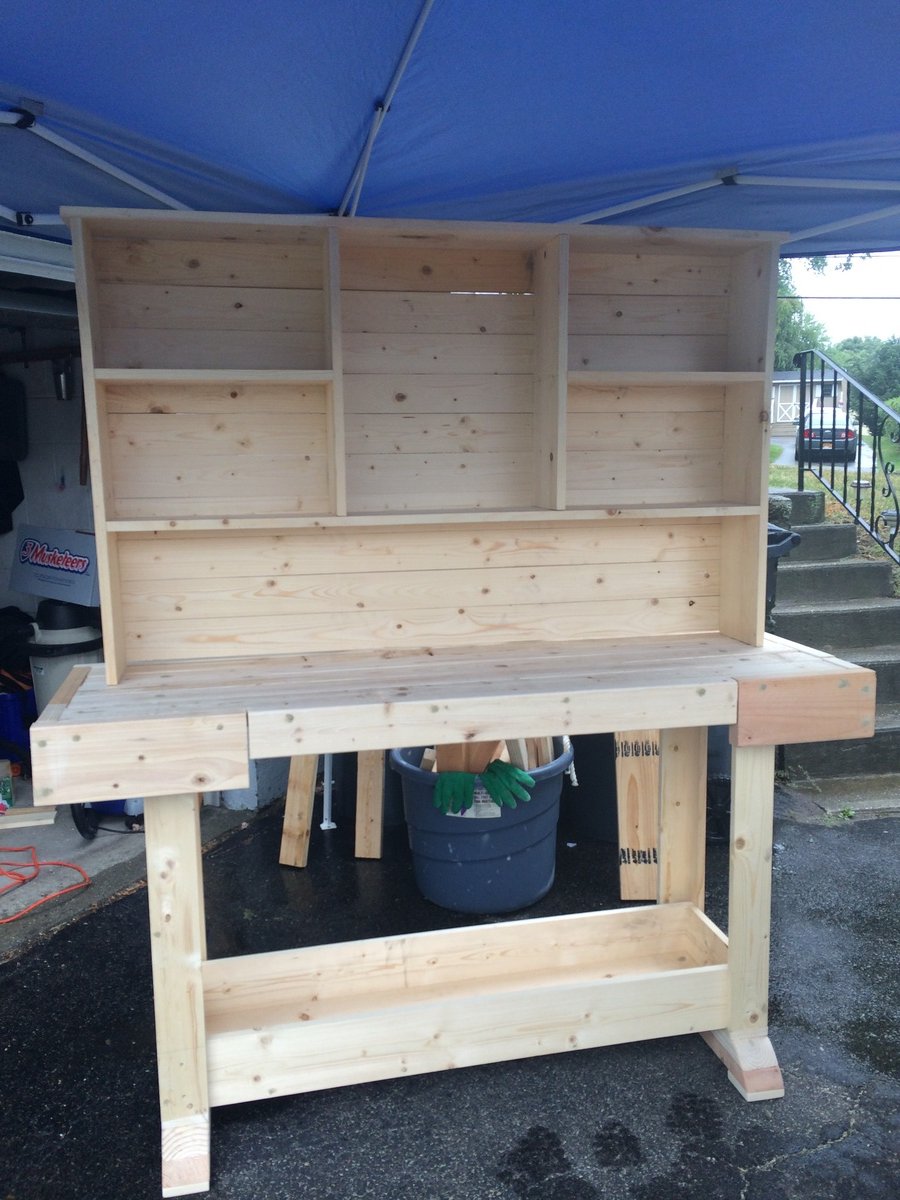
We've built a headboard, two nightstands a farmhouse table and bench all off of knockoff wood and this workbench console table and hutch was the Easiest build yet !
We didn't use pocket holes so instead of doing the middle center shelf of the hutch we chose to keep it open. I actually love the way this looks better than the original plan!
Waiting on our black bear mount bottle opener that will be attached later this week and then we can't wait to stock up our new bar. It looks great next to our farmhouse table and bench!!! Thanks for the deer antler inspiration - this gave the perfect finishing touch!
This is my scaled down version of the preschool picnic table, made for an 18 inch doll. I used scrapwood that someone was throwing away and supplies left over from other projects, so it didn't cost anything but time. My girls have really enjoyed it. Here are the measurements:
Cut List:
4 – 1×3 @ 17-3/4″ (Tabletop pieces)
1- 1×4 @ 9-3/4″, then cut in half using a table saw to equal 2 pieces (Supports directly beneath tabletop pieces) The longest measurement is 9 ¾”, with the ends cut at a 30 degree angle back to 7 3/4″.
2-1×4 @ 12-7/8”, then cut in half using a table saw to equal 4 pieces (Legs) (angle each end to 30 degrees as shown in preschool table plans)
1 – 1×4 @ 19″, then cut in half using a table saw to equal 2 pieces (Supports directly beneath seat boards) (angle ends to 30 degrees as shown in preschool table plans)
4 – 1×3 @ 17 3/4″ (Seat boards) I ran these 1 x 3’s through my table saw to make them 2” wide.
*When attaching the legs, secure them to the supports below the tabletop pieces so that the bottom of the legs will measure 19 5/8” from lateral edge to lateral edge when resting on the ground. In the preschool picnic table plans, this measurement is shown as 33”.
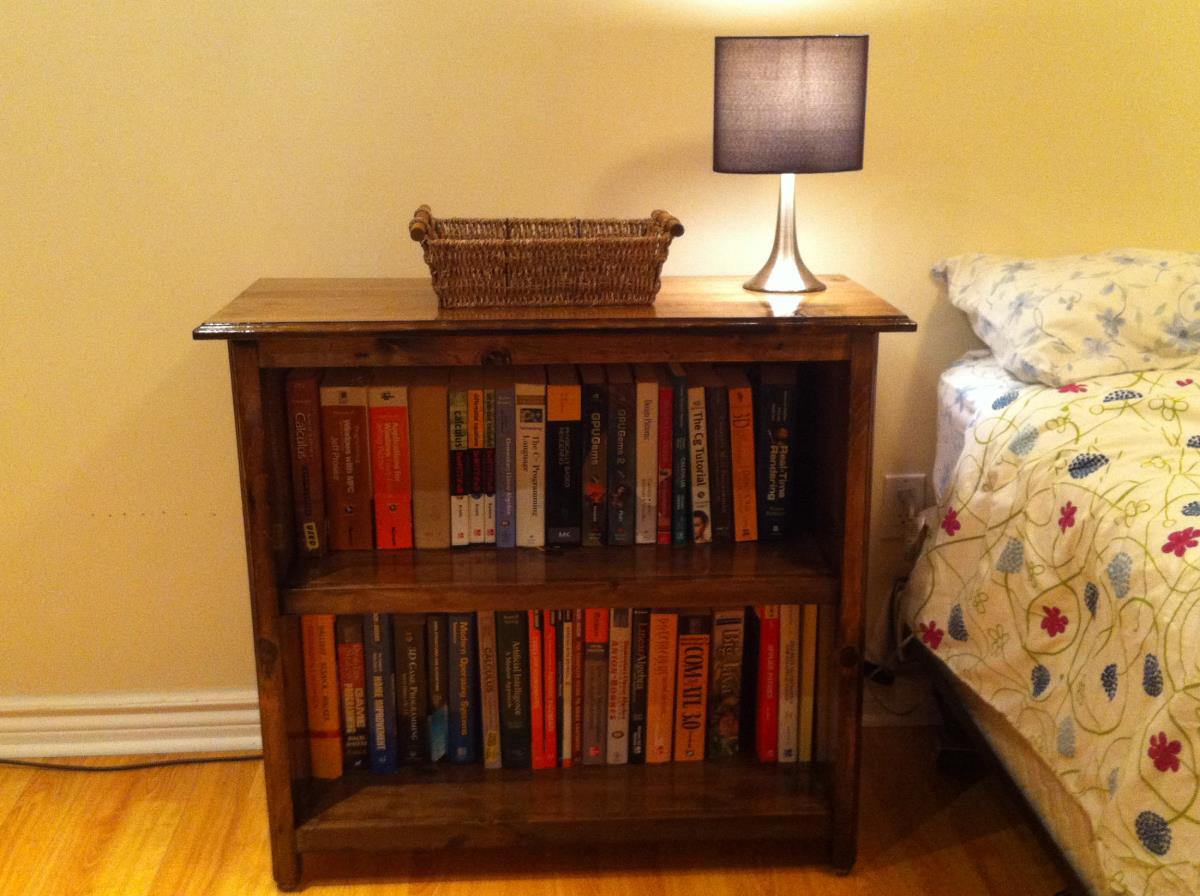
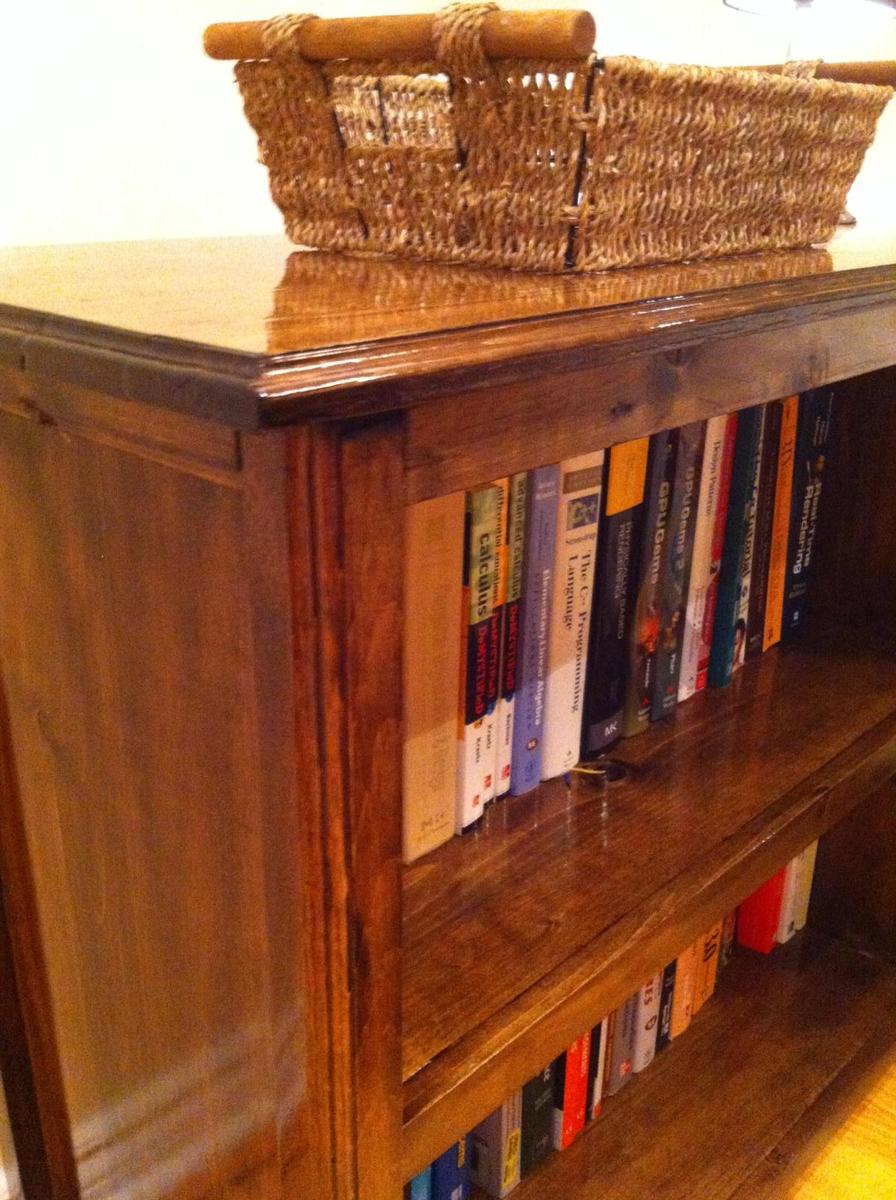
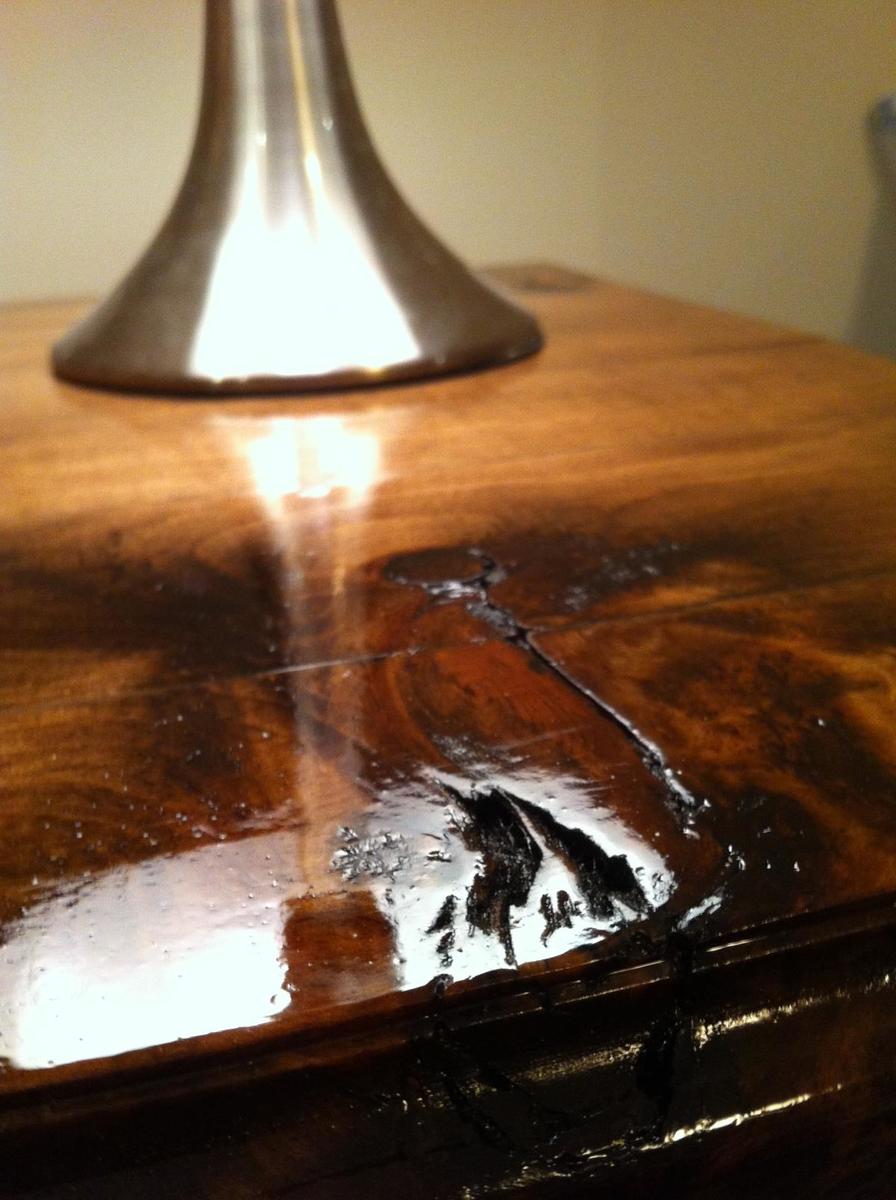
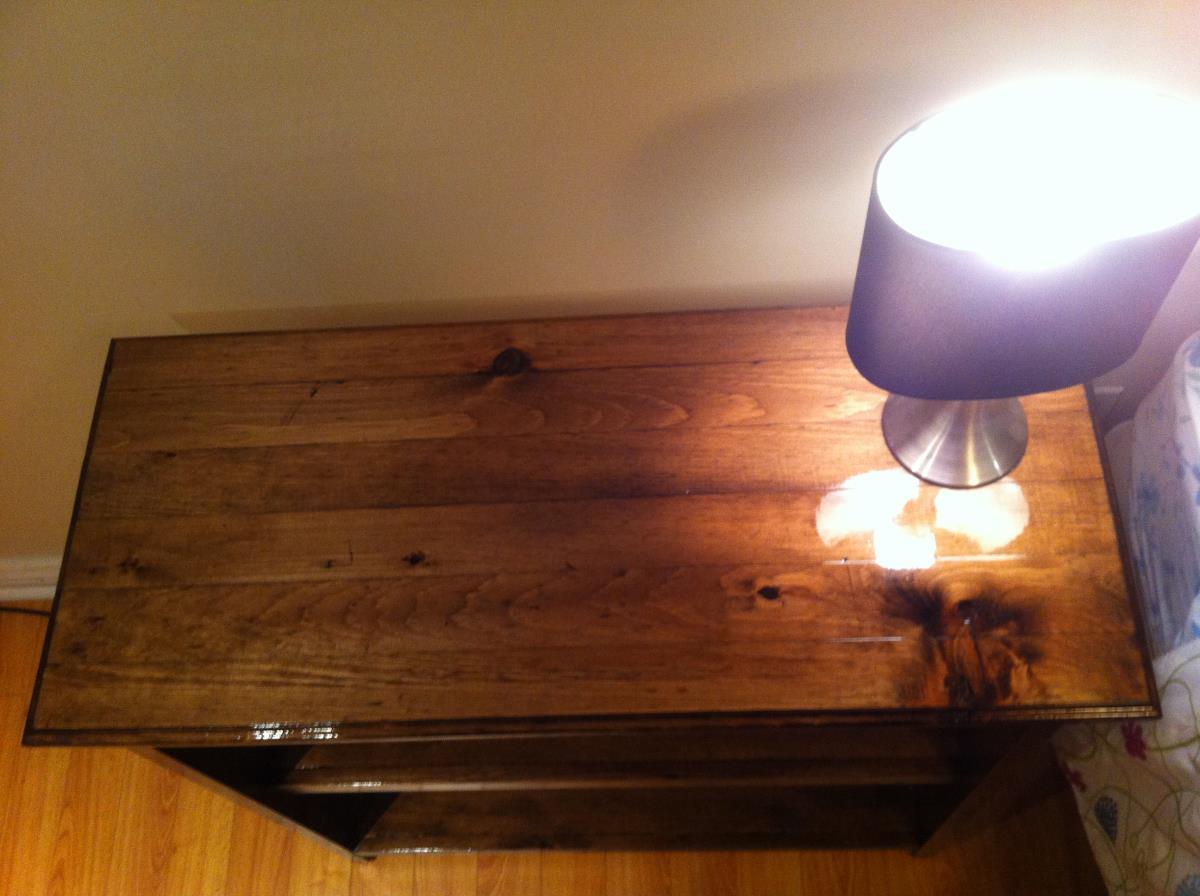
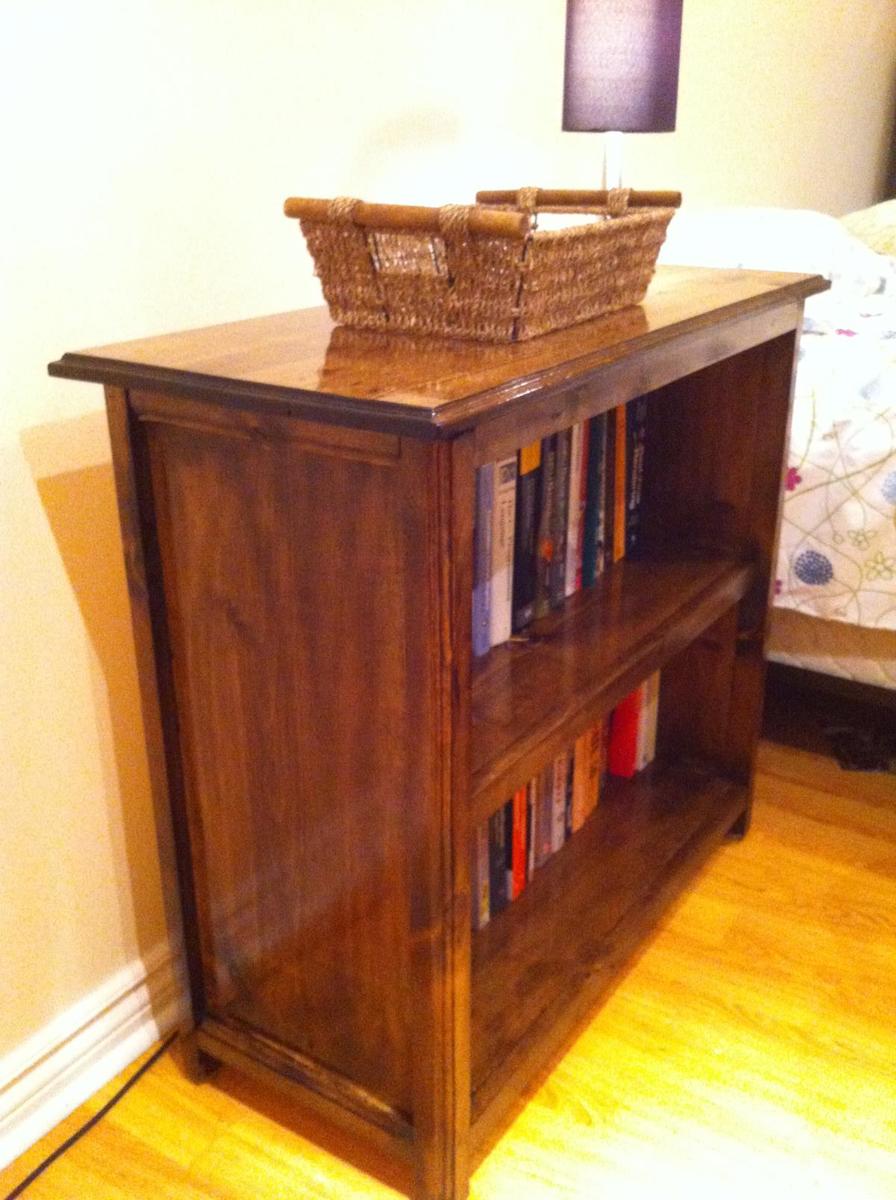
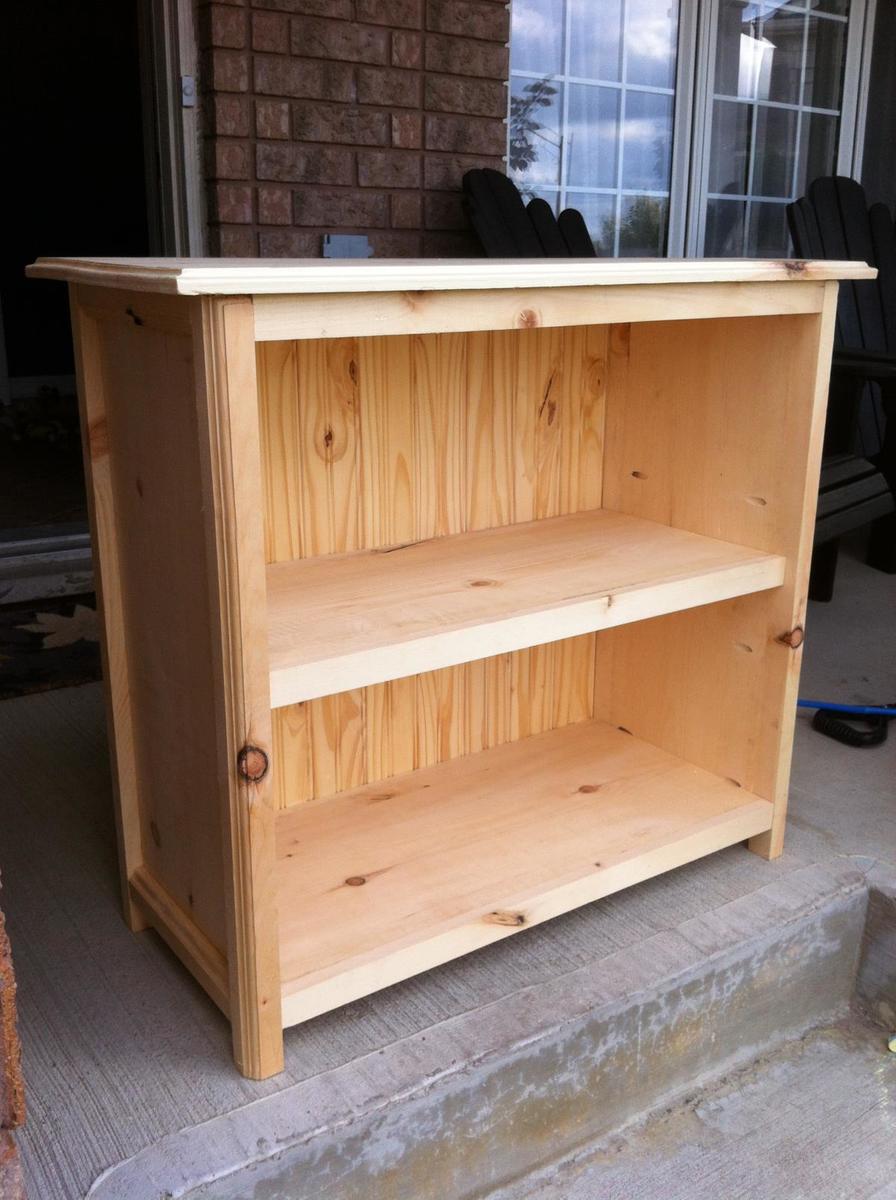
This is a modified version of the Kentwood Bookcase to be shorter and wider to fit my space. I used my router for the first time on this project giving the legs and top a little bit of flair. I also wanted it super glossy, so I applied three coats of Minwax high gloss polyurethane.
One lesson I learned for my next project is that "stainable" wood filler isn't actually stainable. I'm quite disappointed with how visible my Kreg pocket holes are on the front - I'll be sure to make sure they're all hidden next time.
Mon, 10/13/2014 - 13:32
This is beautiful! You did a good job, and I love the finish. I can't see the pocket holes in your finished pictures even after you pointed it out.
I used wood filler that was tinted the same color as the stain last time, and it was great.
Mon, 03/30/2015 - 20:23
Wow!!! This is so beautiful, and the stain job on pine...just wow!! You did such a great job with the router and I can't even find the kreg jig holes even though you said it. The plugs made for those work out perfectly though and are pretty cheap for a huge bag to have around.
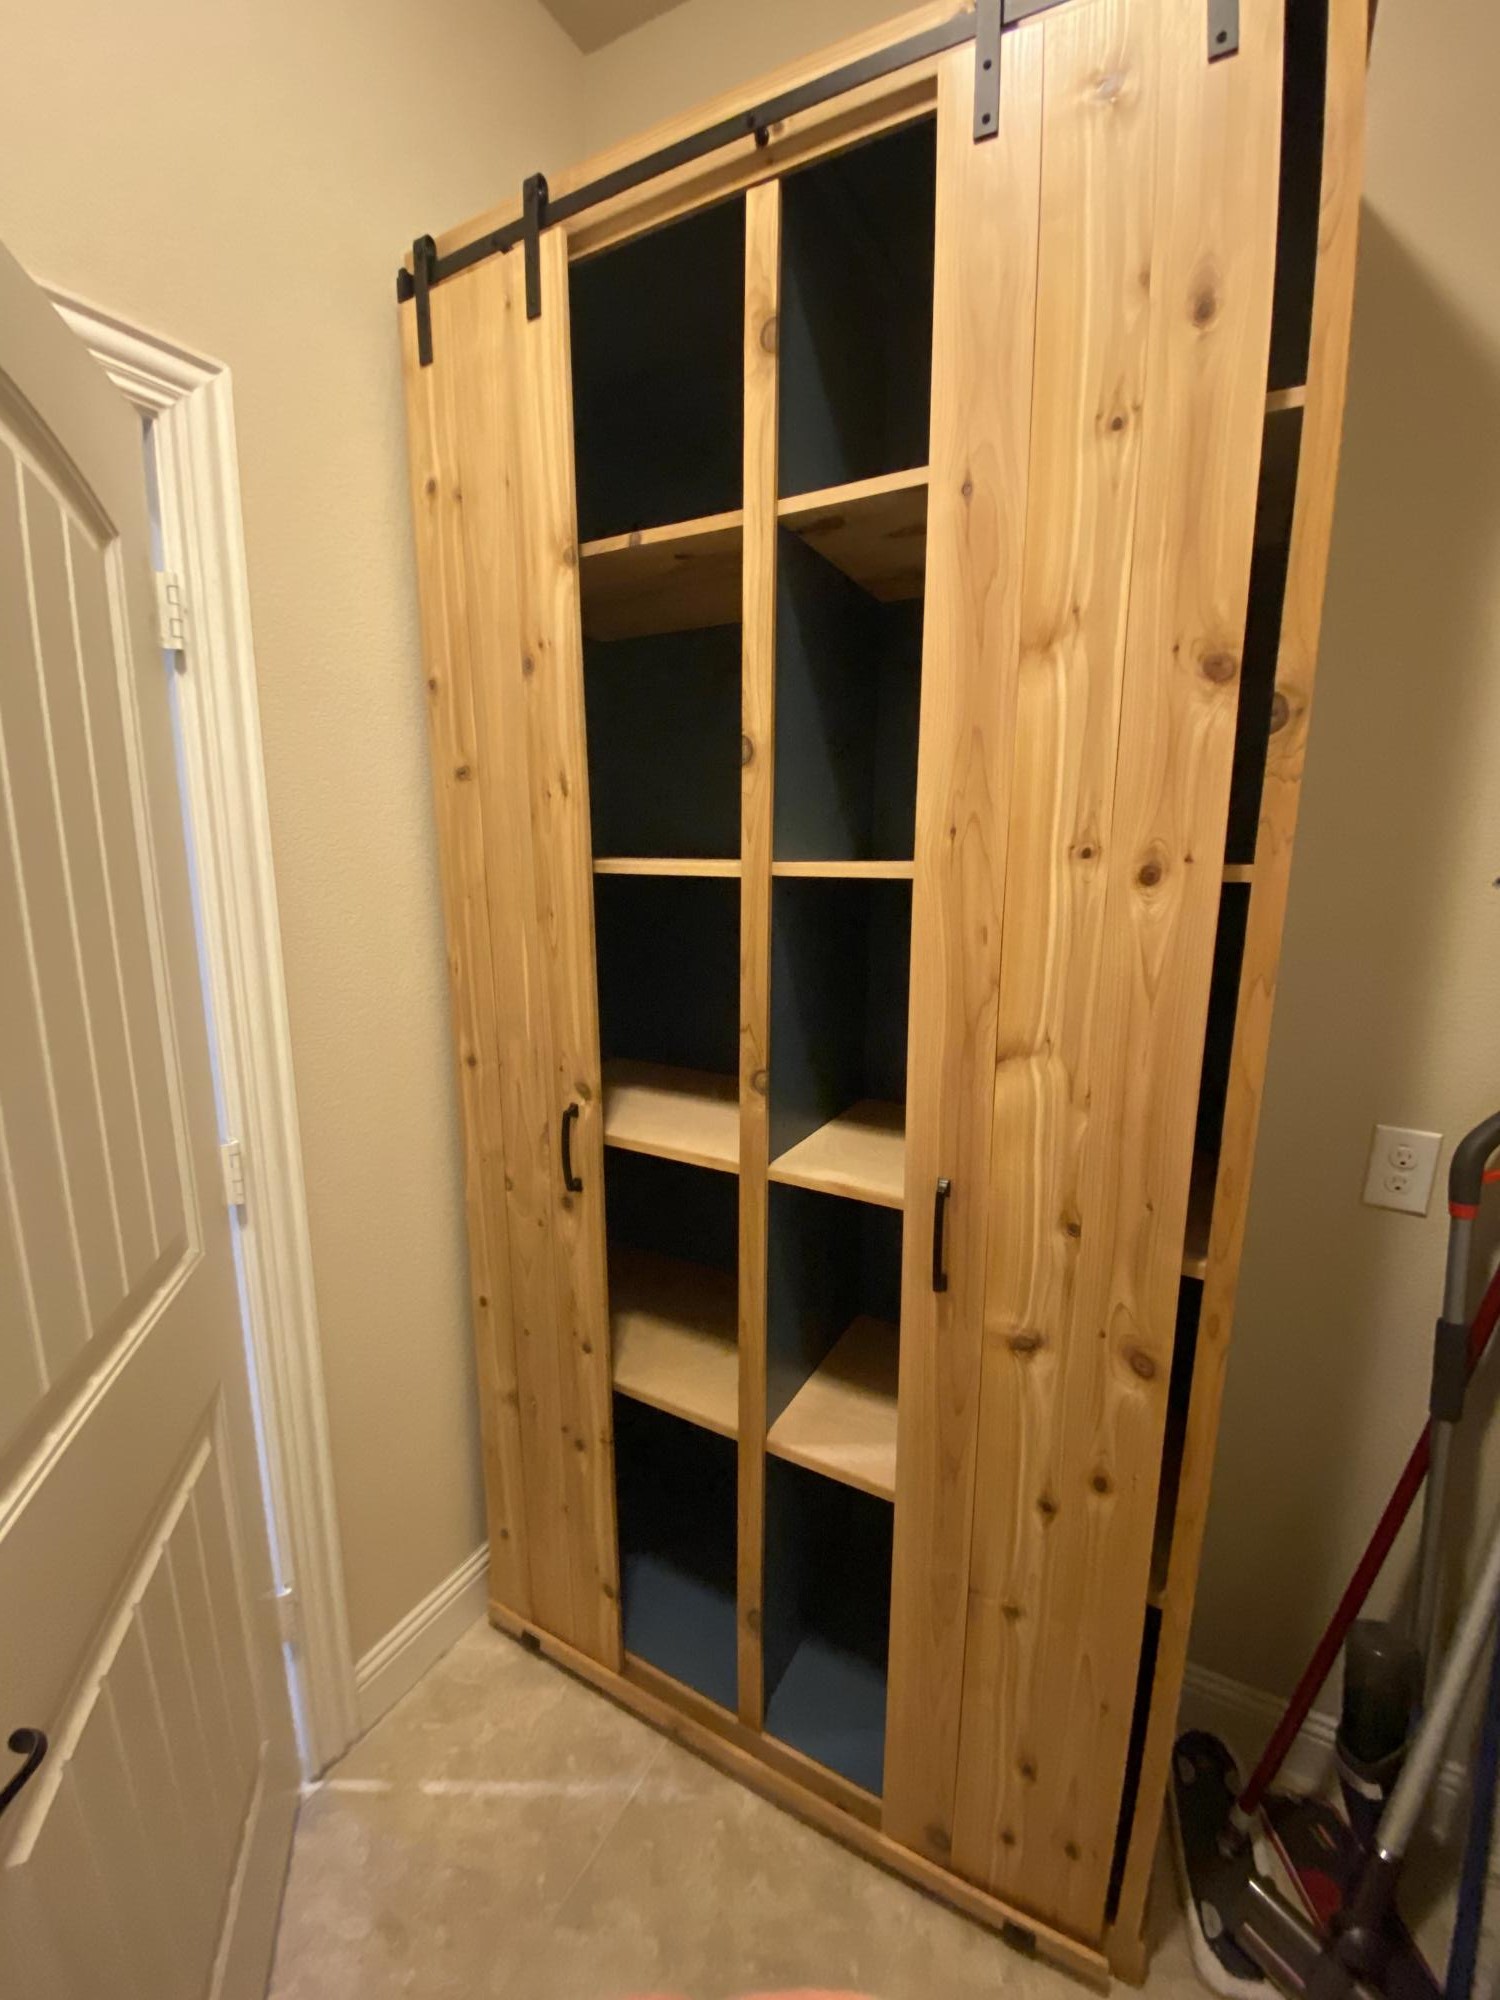
Had to re-size from the plans to fit my space, but my wife loves the extra storage we now have in the laundry room. Put in adjustable shelves.
Hey Ana -
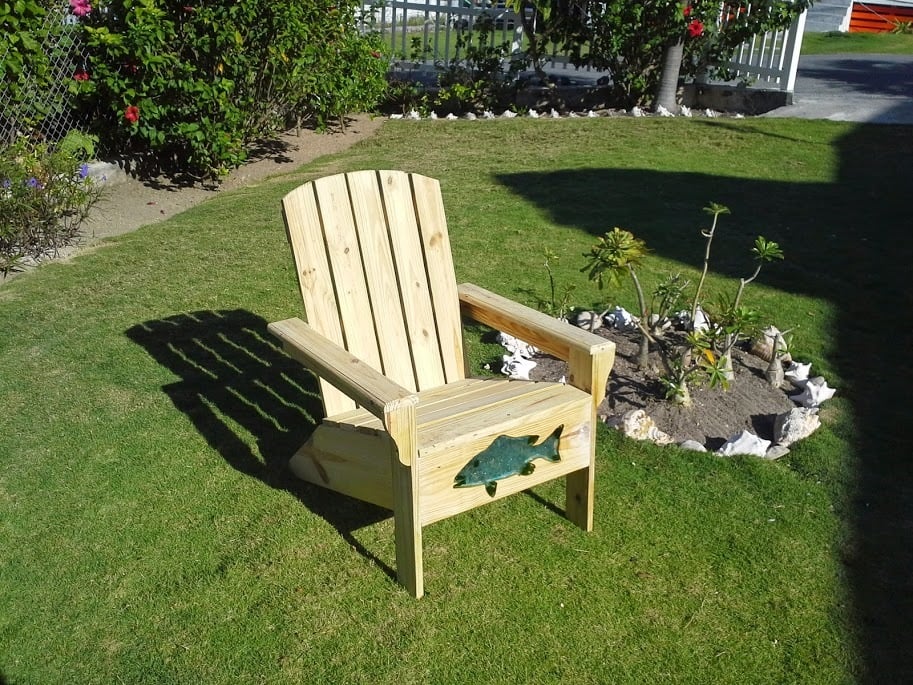
You're plans have been such a great help to me here in the Bahamas. You've saved us thousands of dollars. Really! Here's one of my many adirondack chairs under construction. I added a Bahamian accent.
I built this based on the idea of the mimi storage bench and hutch. We will use this in our garage next to or shoe rack. I built this primarily from 1x6 cedar fence pickets, a few cedar 1x2's and a couple cedar 2x4's.
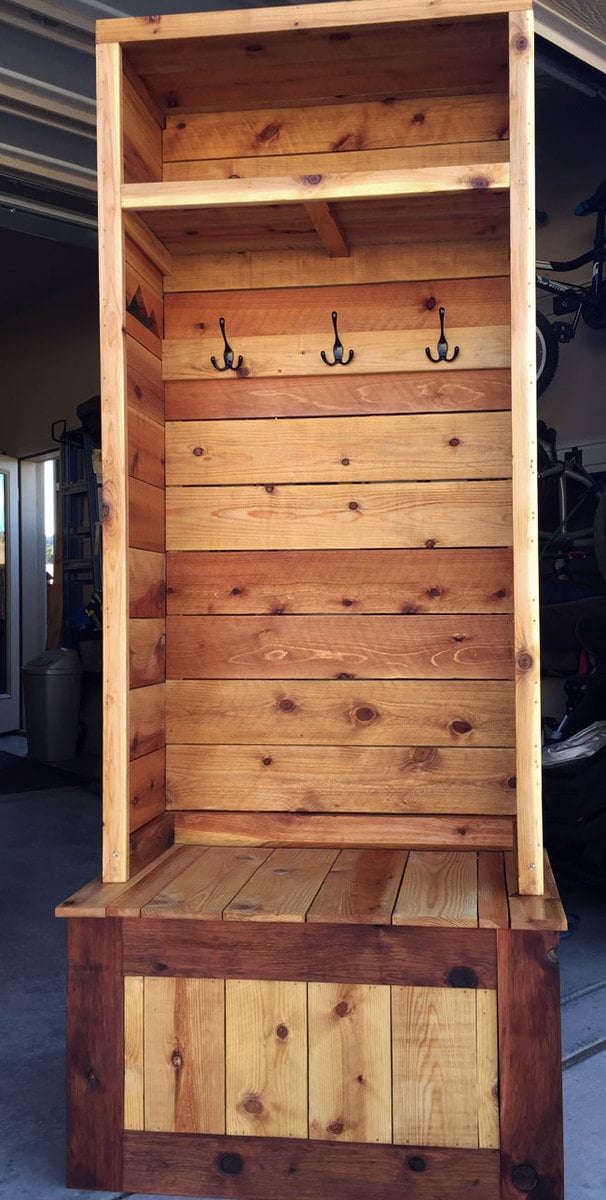
The lid lifts for off season shoe storage. All bench joinery is with pocket holes and the cedars pickets are attached with pneumatic 1 or 2-1/2" nails.
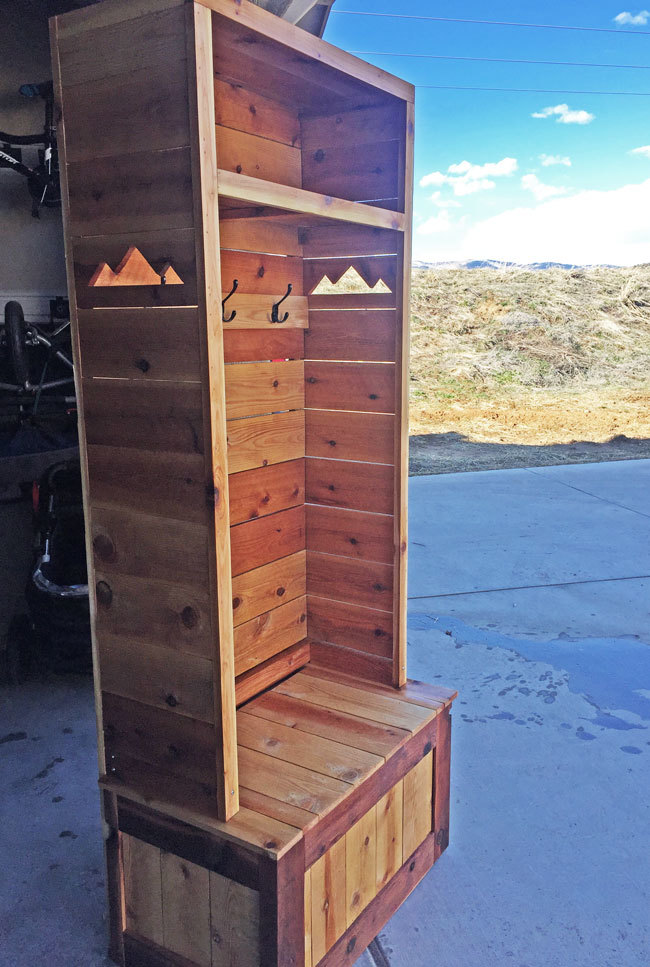
I used my speedy square's 45 degree angles to trace out the mountain silloutes and then cut them out with my jigsaw. I paced myself on the project and my four year old helped quite a bit with measuring and handing me the next board. We're excited to have a little spot to change shoes and grab the jackets. Feel free to check out my Instagram for other random projects or are family fun instagram.com/fotosnapper


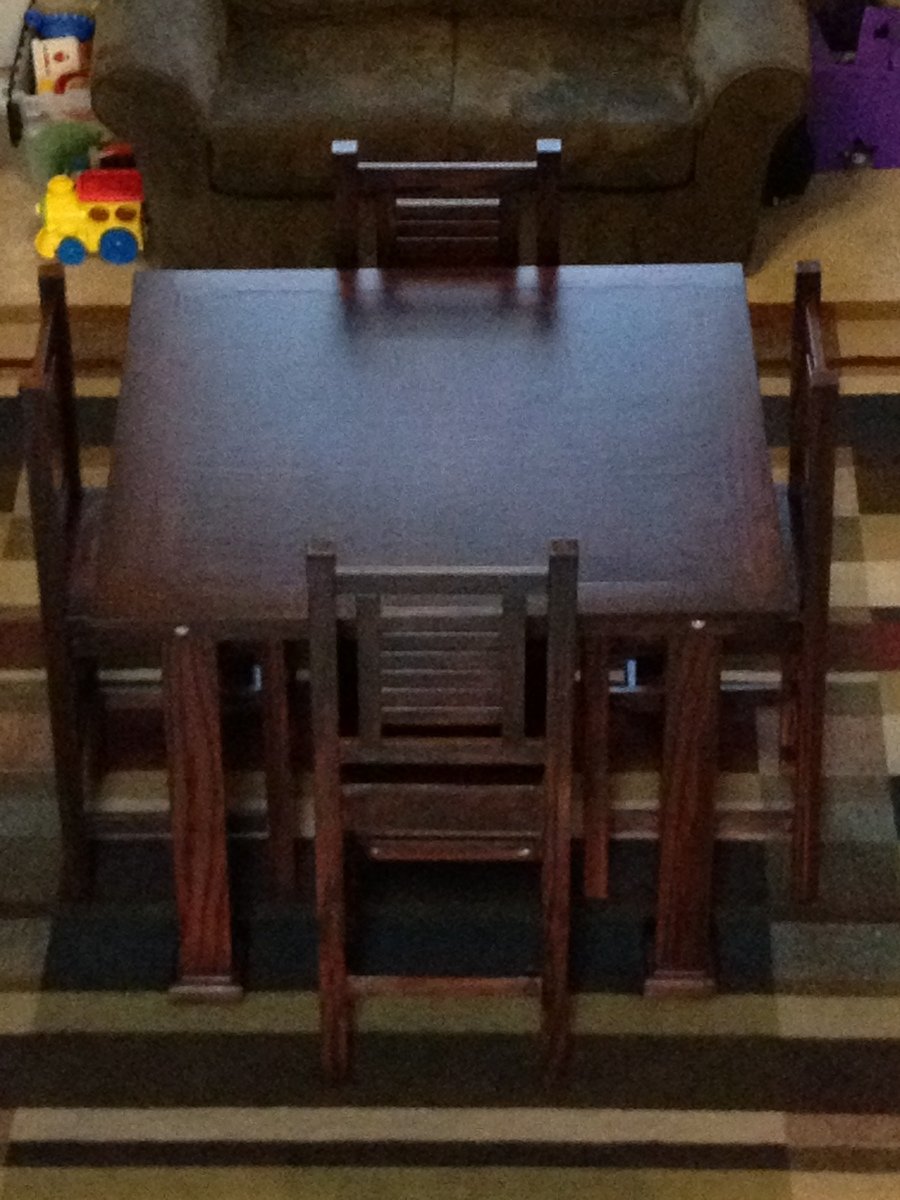
We used carraige bolts to make the legs removable. Very happy with the results!
Thu, 02/07/2013 - 04:36
You did an amazing job on this. I love it! Which plans did you follow for the chairs?
Thu, 02/07/2013 - 05:12
I used Ana White's plans for Vintage Bar Chairs. I think I modified the chair backs a little to make sure little arms wouldn't get stuck.
Thu, 02/07/2013 - 05:05
Your work deserves a lot of kudos. Really great work and the stain is professional.
Thu, 02/07/2013 - 05:16
Jake,
Thanks so much! I spent about two months working evenings and weekends as weather permitted, to complete this project. My daughter chose two stain colors and we mixed them together. I'm happy with the way the color came out.
Thu, 11/21/2013 - 18:27
I made the same 30" tall bar stools. I love the whole look of your set. Did you adjust the height of the table for the chairs? Or is the table high enough for these chairs? Also, did you make the table top smaller?
You did a great job!
Sat, 11/23/2013 - 18:13
Debbie,
Thanks so much for the compliments! My daughter didn't like the "plank" version of the table top so I used oak plywood and framed it with oak 1X4s. I believe the measurements of the table are 48" by 48". I don't think I adjusted the chair height but I did add a foot at the bottom of the table legs. That may have added an inch or so to the overall height of the table.
Tue, 02/10/2015 - 13:22
I really like how you added the foot and removable legs to this table! I would like to make mine with removable legs as well. How did you modify the table to use the bolts?
Tue, 07/14/2015 - 06:31
Hello! This plan is EXACTLY what I am looking for except there is a huge difference.......it will be the ritual platform for a traditional Tibetan Sand Painting. I am seeking a plan just like this for a square table that is 6' square and 3 1/2' high......is it possible to purchase a plan of that dimension or does anyone have a recommendation where I can find that. THIS would be truly lovely in this design. THANKS for any help!!!
Thu, 07/16/2015 - 12:08
I really just followed the Ana White plans for the Pub Table but used one solid piece of plywood instead of the 1x4s for the top. Since plywood comes in 4x8 foot sheets, you might need to get creative to get it to 6 feet. Good luck, and don't forget to post pictures when you finish!

We built this bed for my three and a half year old son and gave it to him for Christmas. He and also my almost two year old daughter LOVE it! We did modify the plans a little: we added a handle for getting into the bed from the stairs and also added more slats for support.


Fri, 12/26/2014 - 18:19
This is amazing! Great job on the details. I would have loved that as a kid. :)