Community Brag Posts

Wood Push Car & Truck

Submitted by Sue Hill on Wed, 01/26/2022 - 07:15

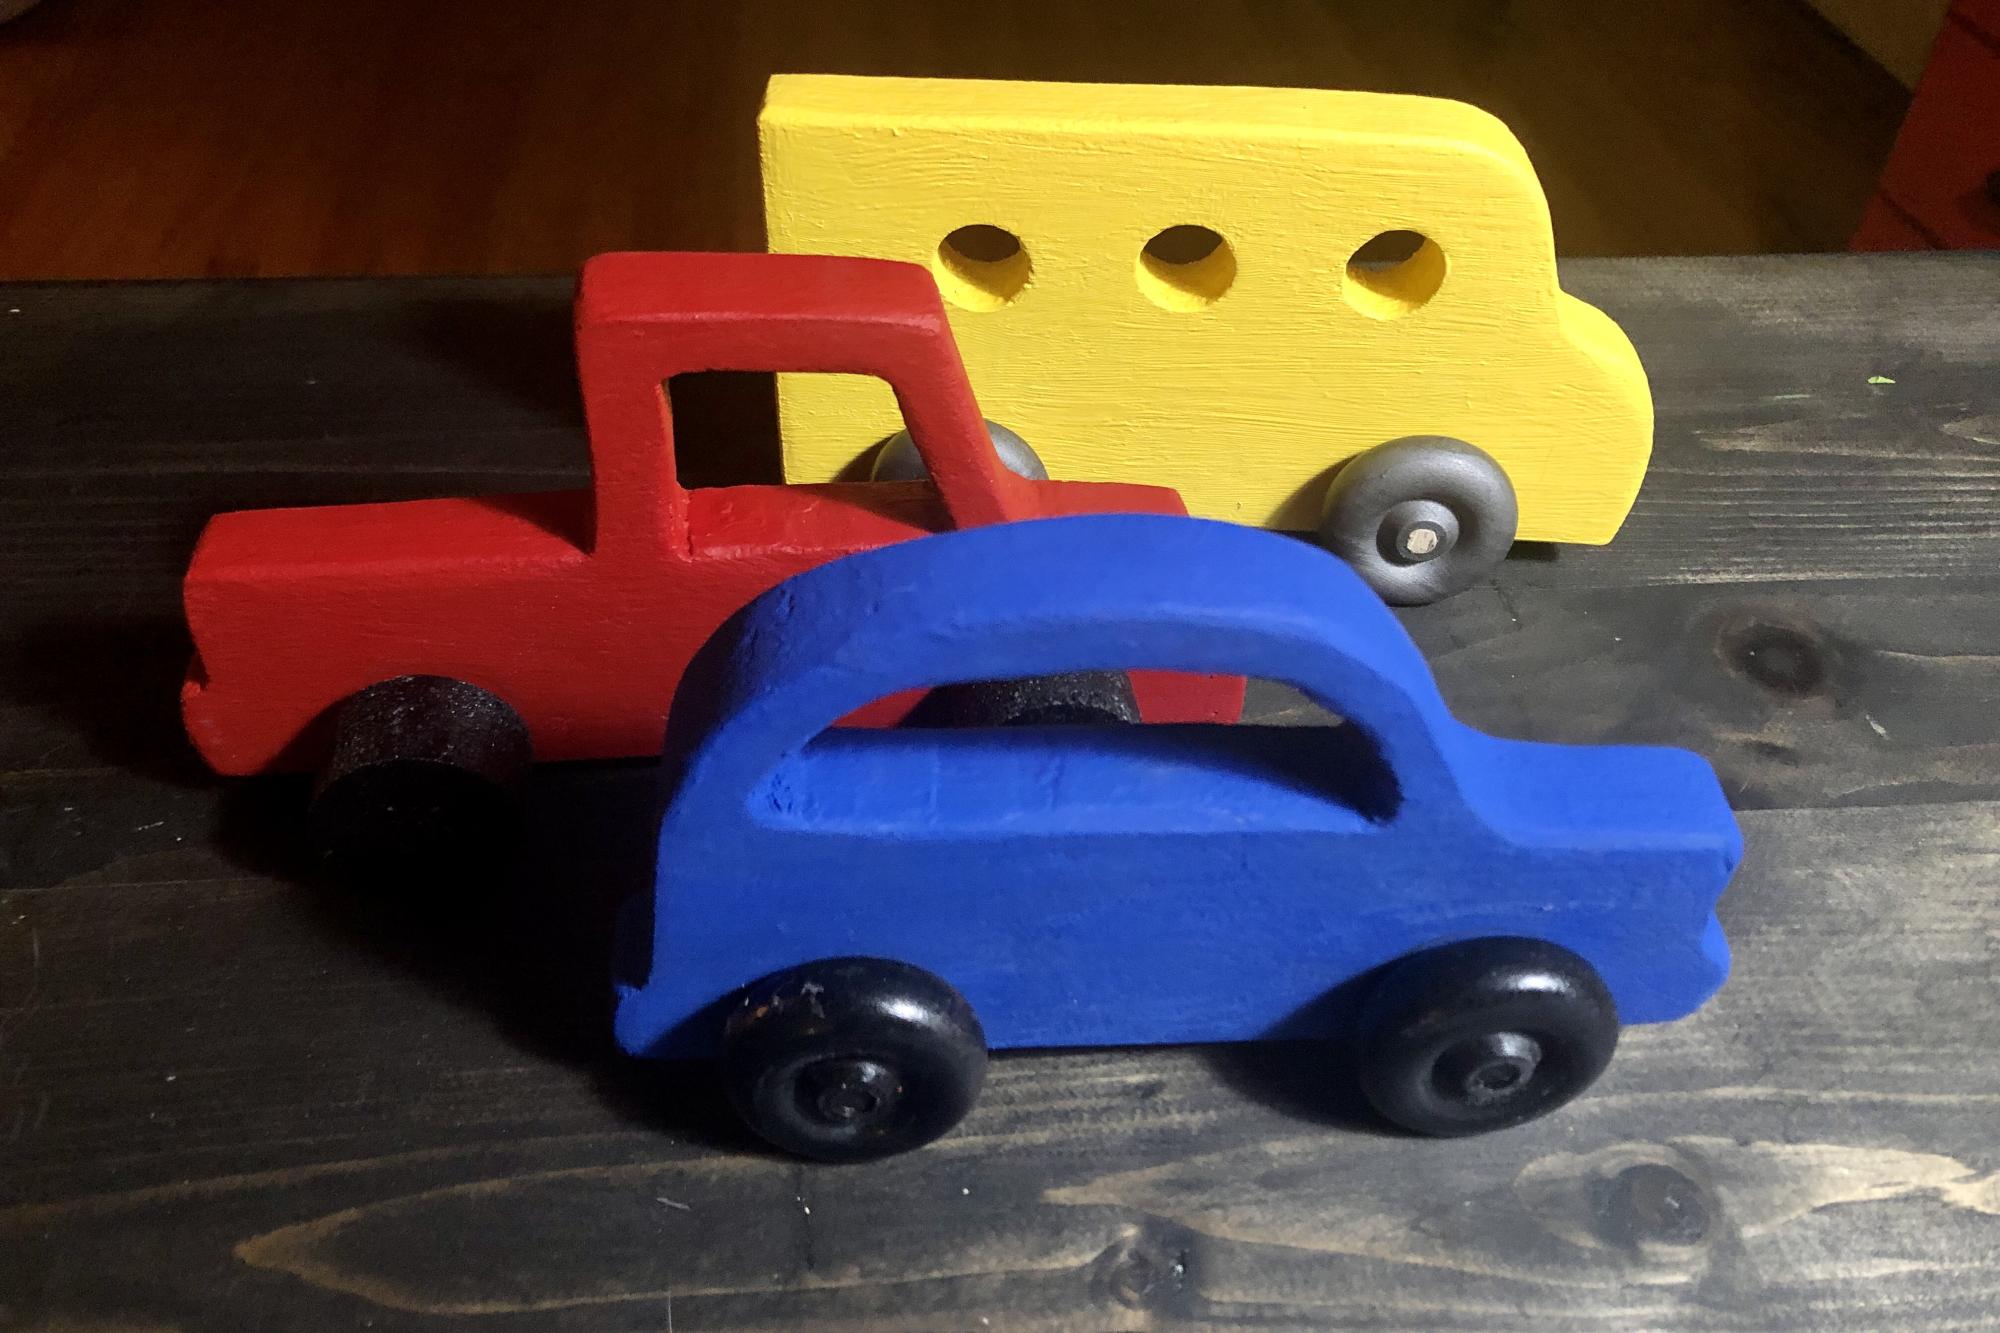
These are fabulous little vehicles that I made for my 18 month grandson when he visits. After making the car and truck, I decided to add a simple bus with round windows.
I used scrap wood, cut out the truck wheels with a hole saw but purchased a package of wheels for the others. My little cars aren't perfect but that adds to the charm.

Comments

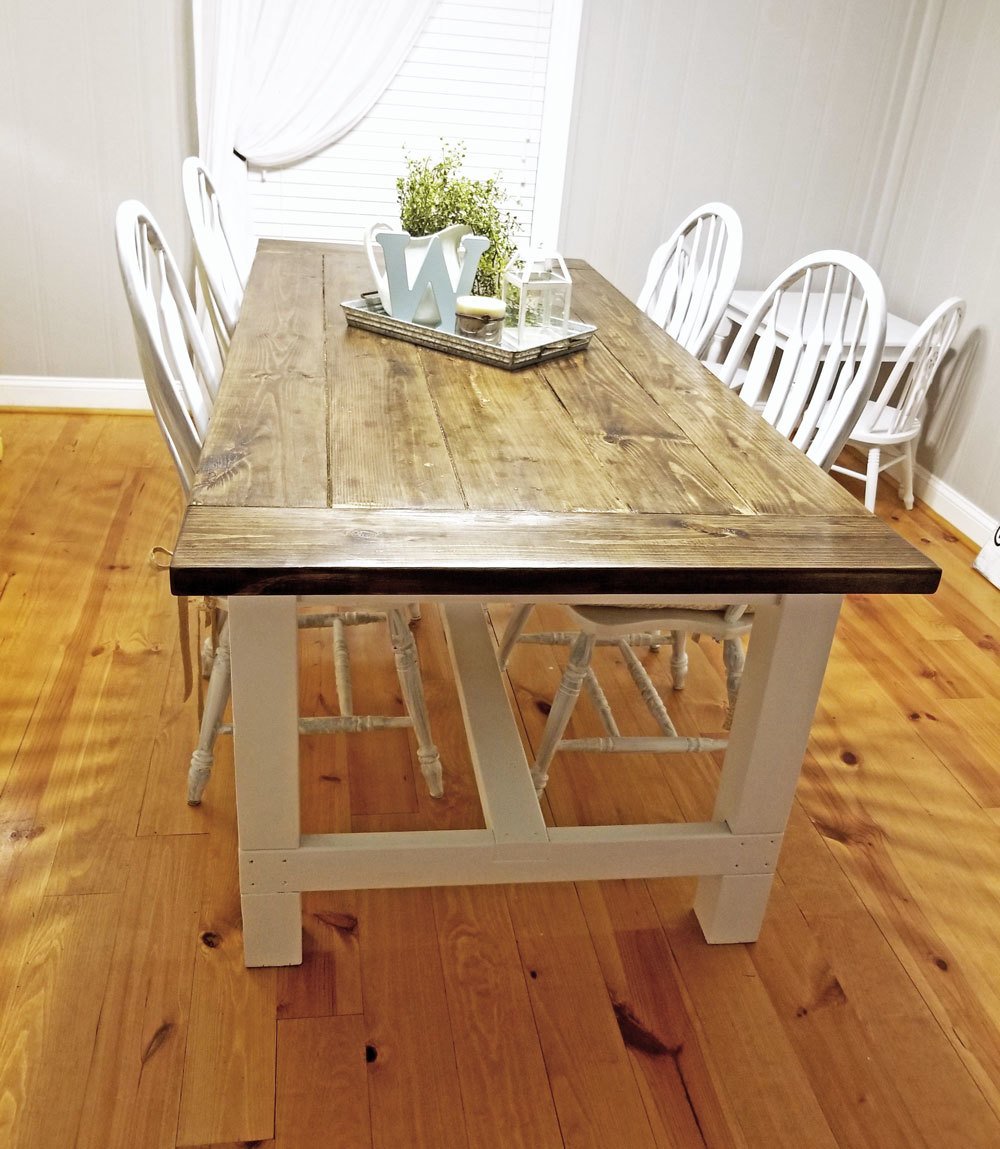
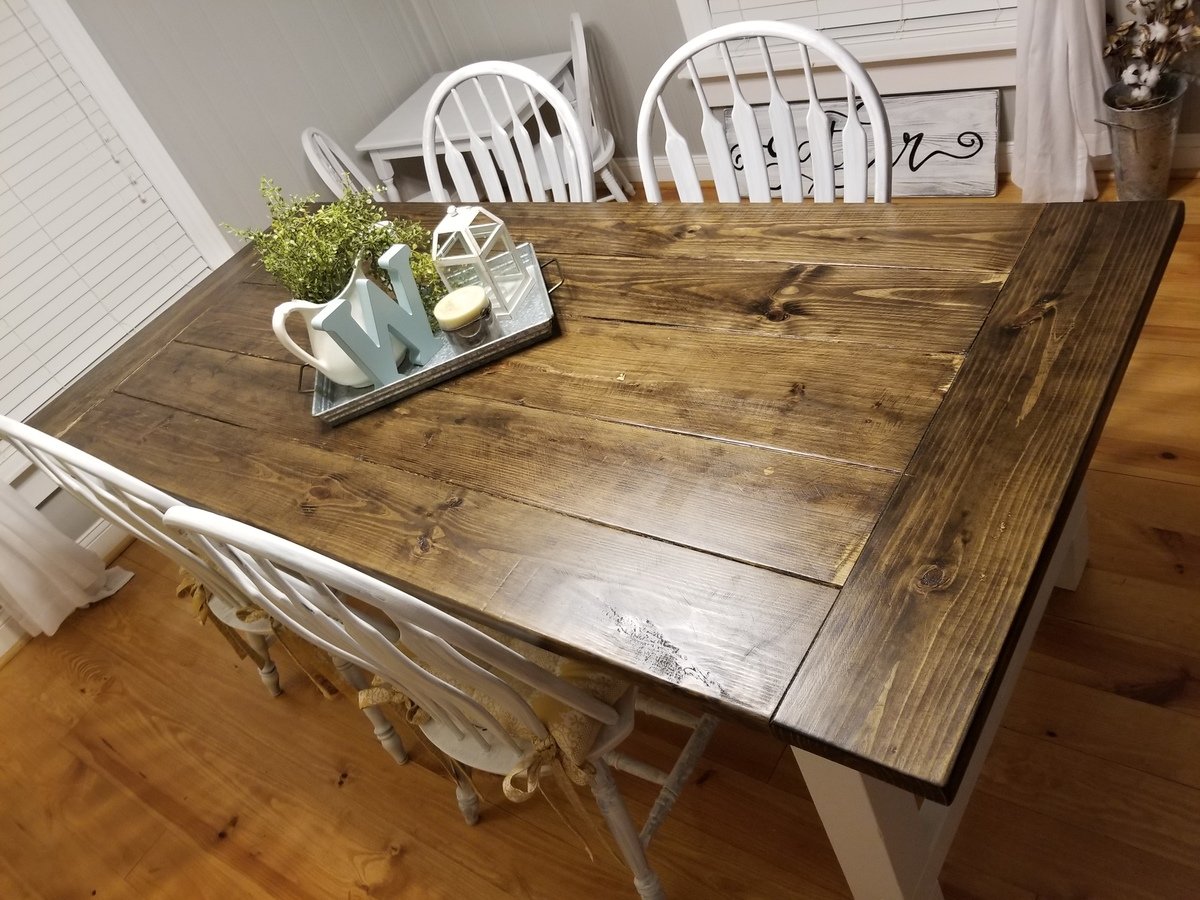
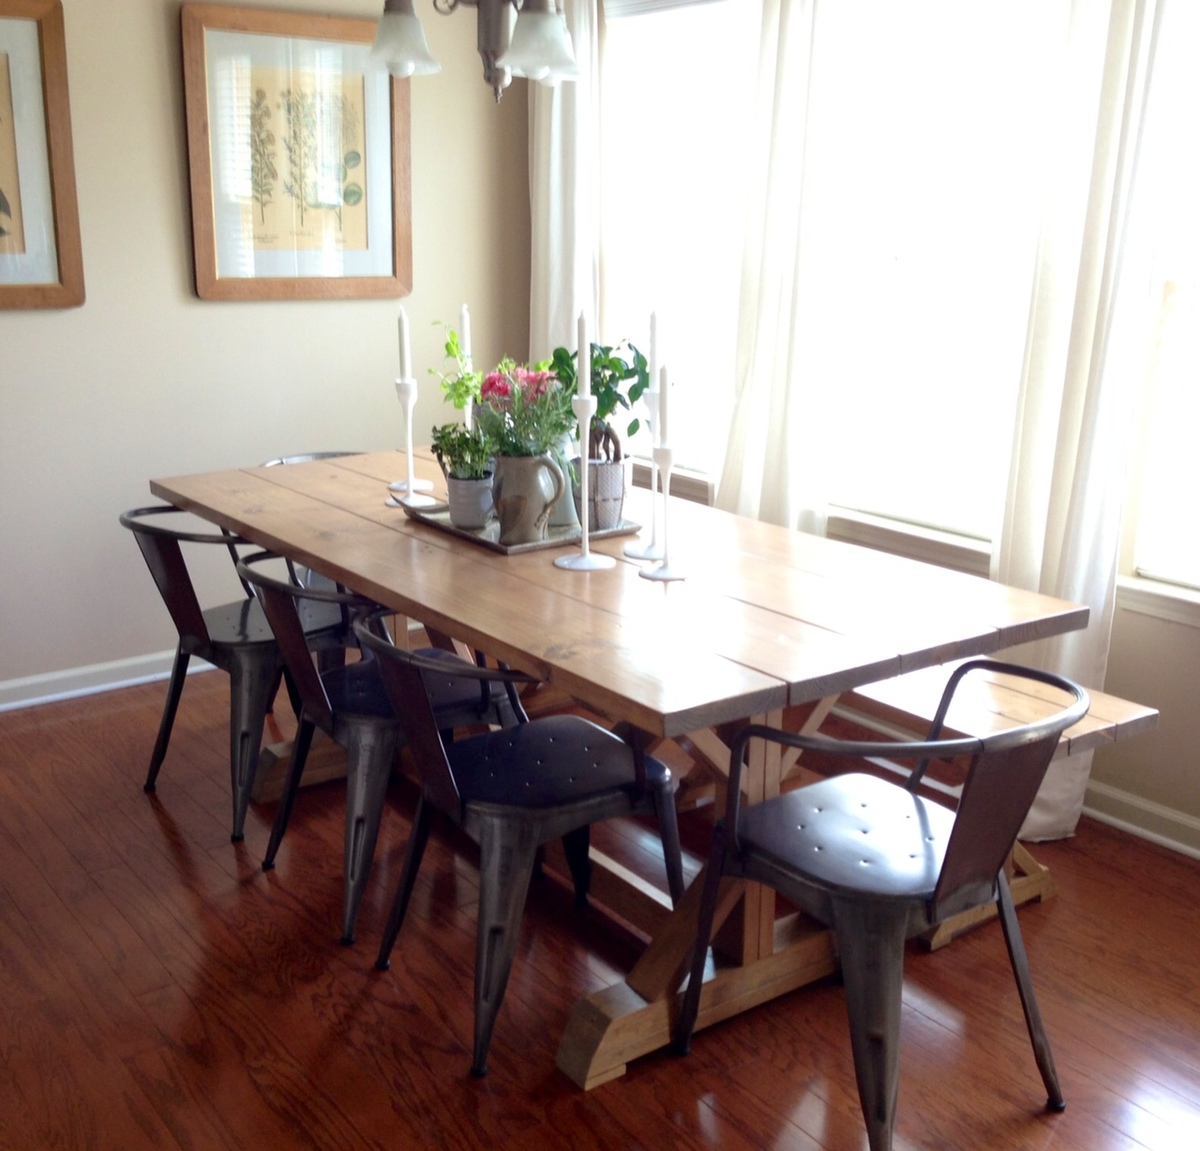
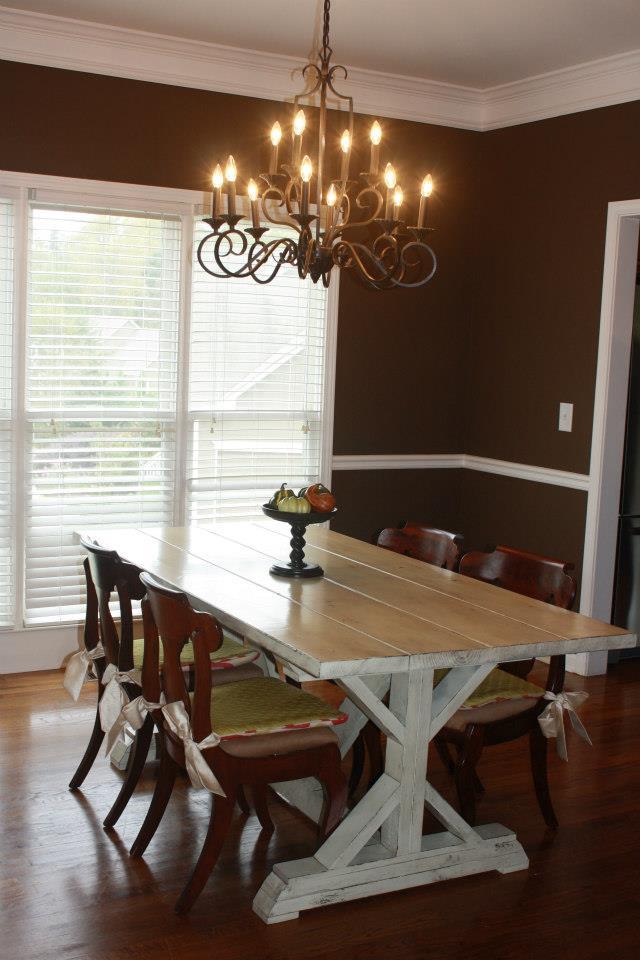
My Ana white farmhouse table

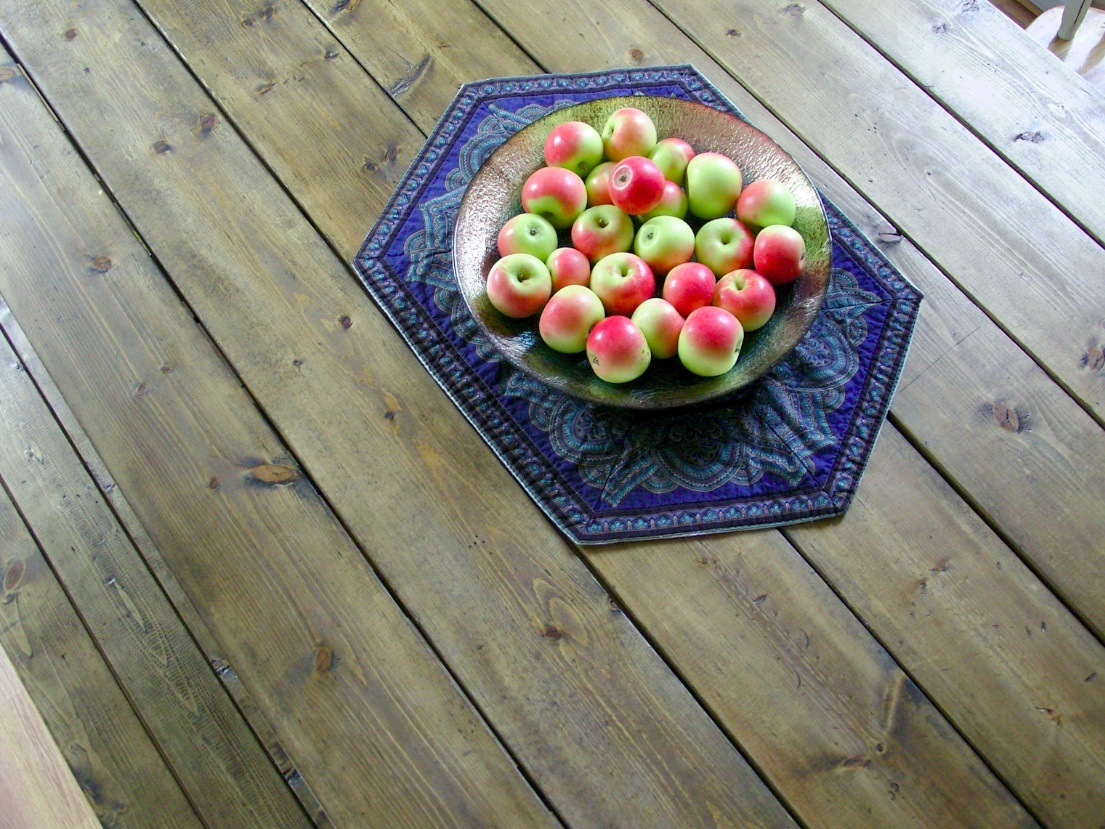
After buying our first home we decided we wanted to build our own kitchen table so we stumbled across Ana's plans and I'm so glad that we did!

Estimated Cost
$90 bucks give or take.
Estimated Time Investment
Day Project (6-9 Hours)
Finish Used
Minwax
Polyurethane
Sanding sealer
Dark walnut stain

Sherwin williams
Satin white
Recommended Skill Level
Beginner

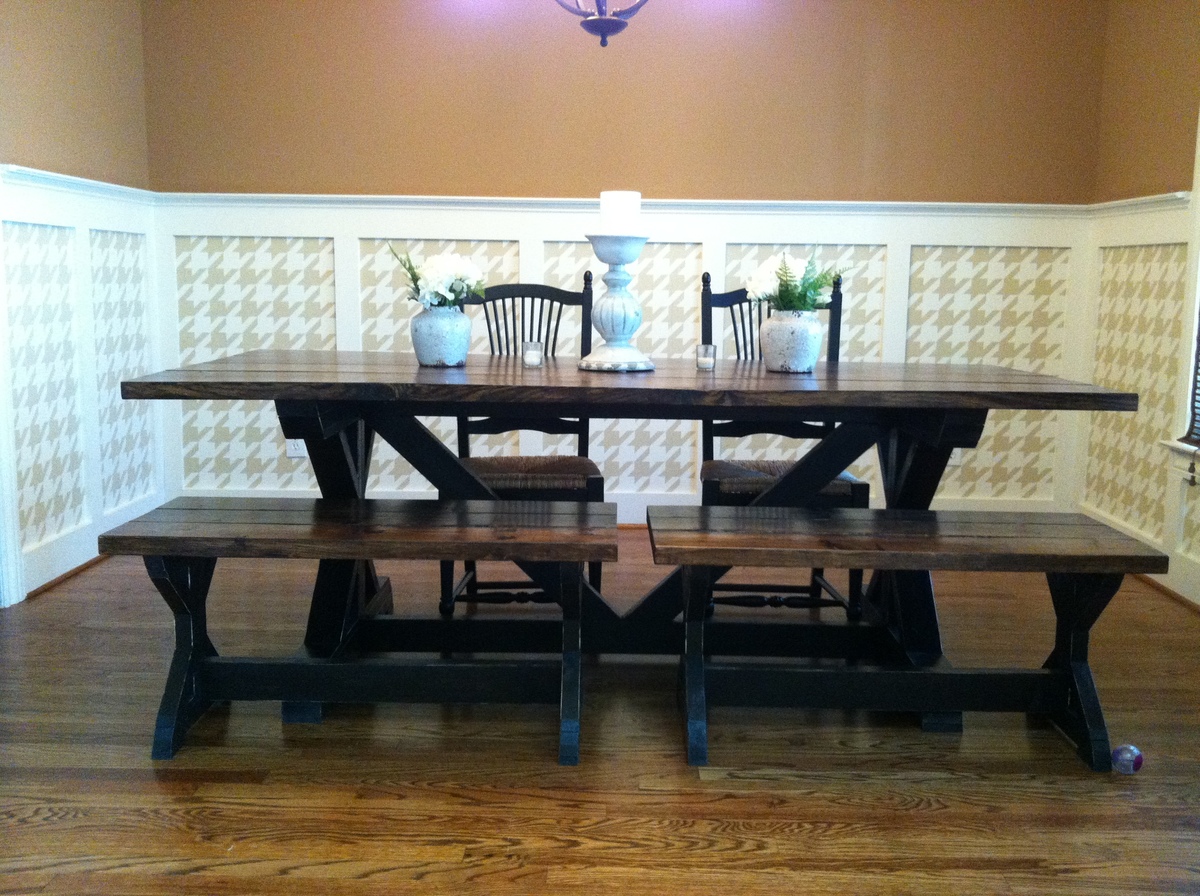
Whitney's Farmhouse Bench

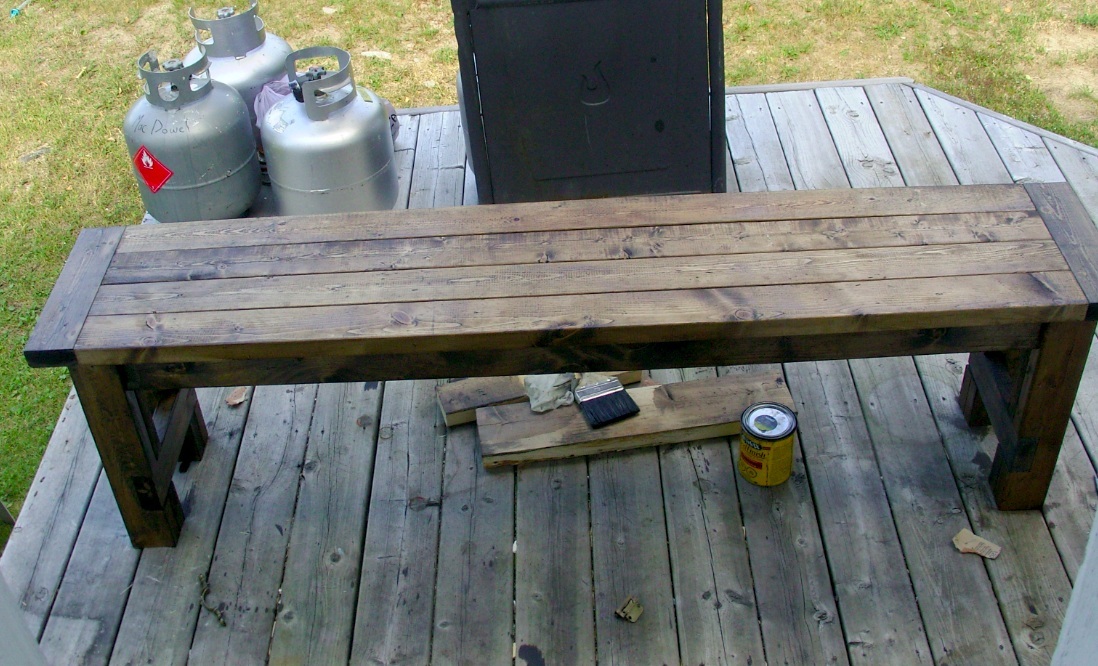
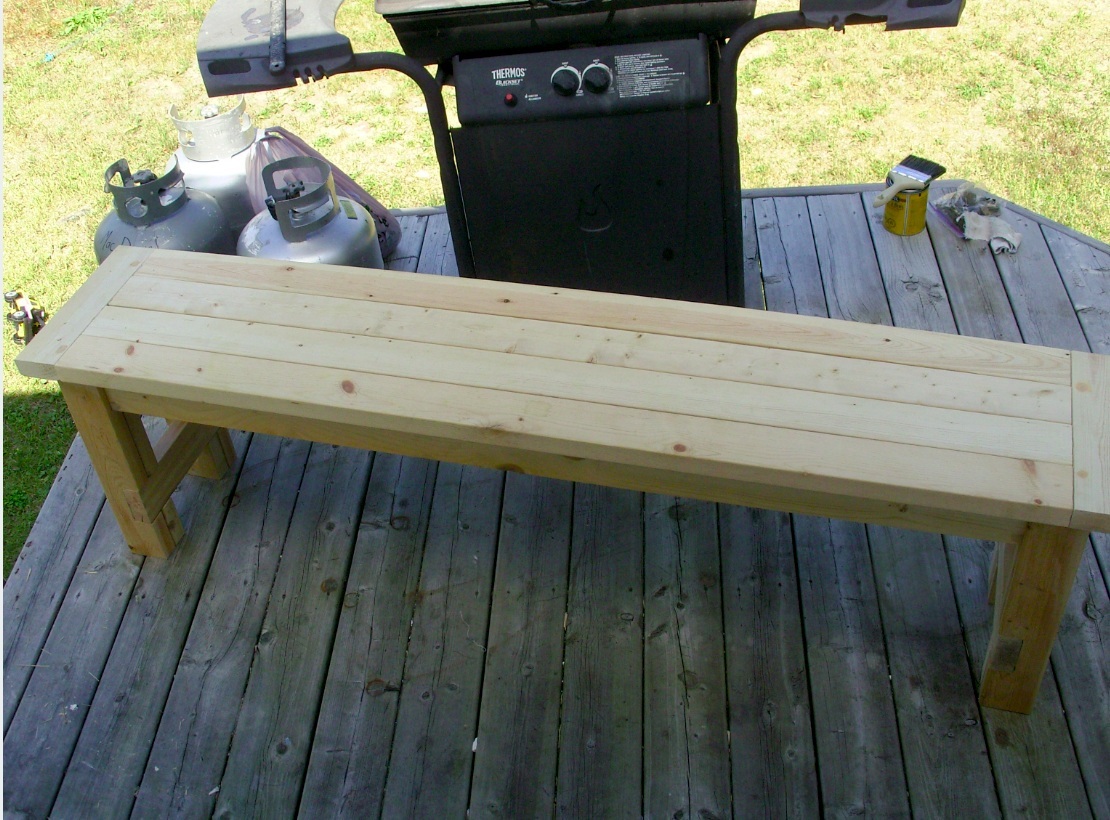
I built this bench way back in the winter (which really has barely ended) and finally today got it outside for a photo shoot! Notching out the legs was a new thing for me but turned out wonderfully. I look forward to making some for my mother for her gaggle of grandchildren.

Oh and best of all, mine was free to make since I had nasty ol' 2x4's on hand! PERFECT!

Estimated Cost
Mine was FREE!
Estimated Time Investment
Afternoon Project (3-6 Hours)
Finish Used
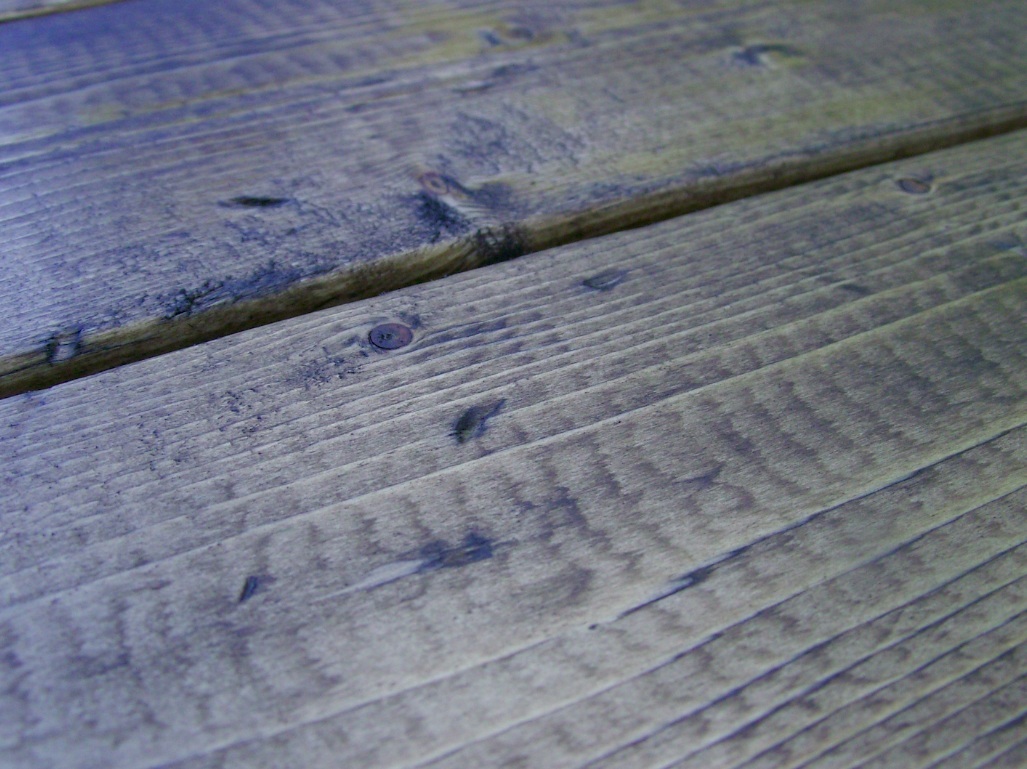
Sand all, distress top, lightly sand again.
Black on bottom, Dark Walnut stain on top (two coats each)
Recommended Skill Level
Beginner

Comments

Guest (not verified)

Fri, 02/03/2012 - 15:45

cool i love is great work

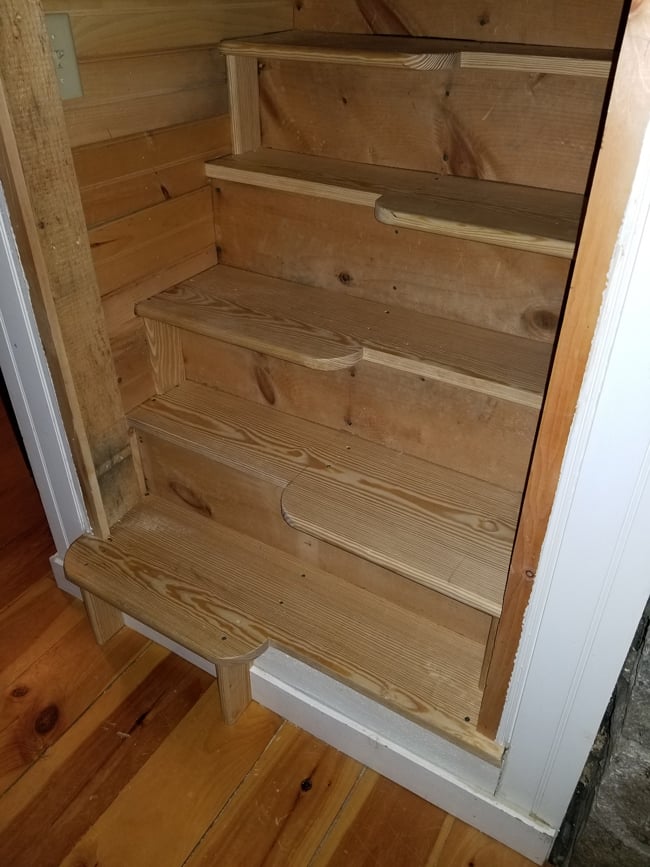
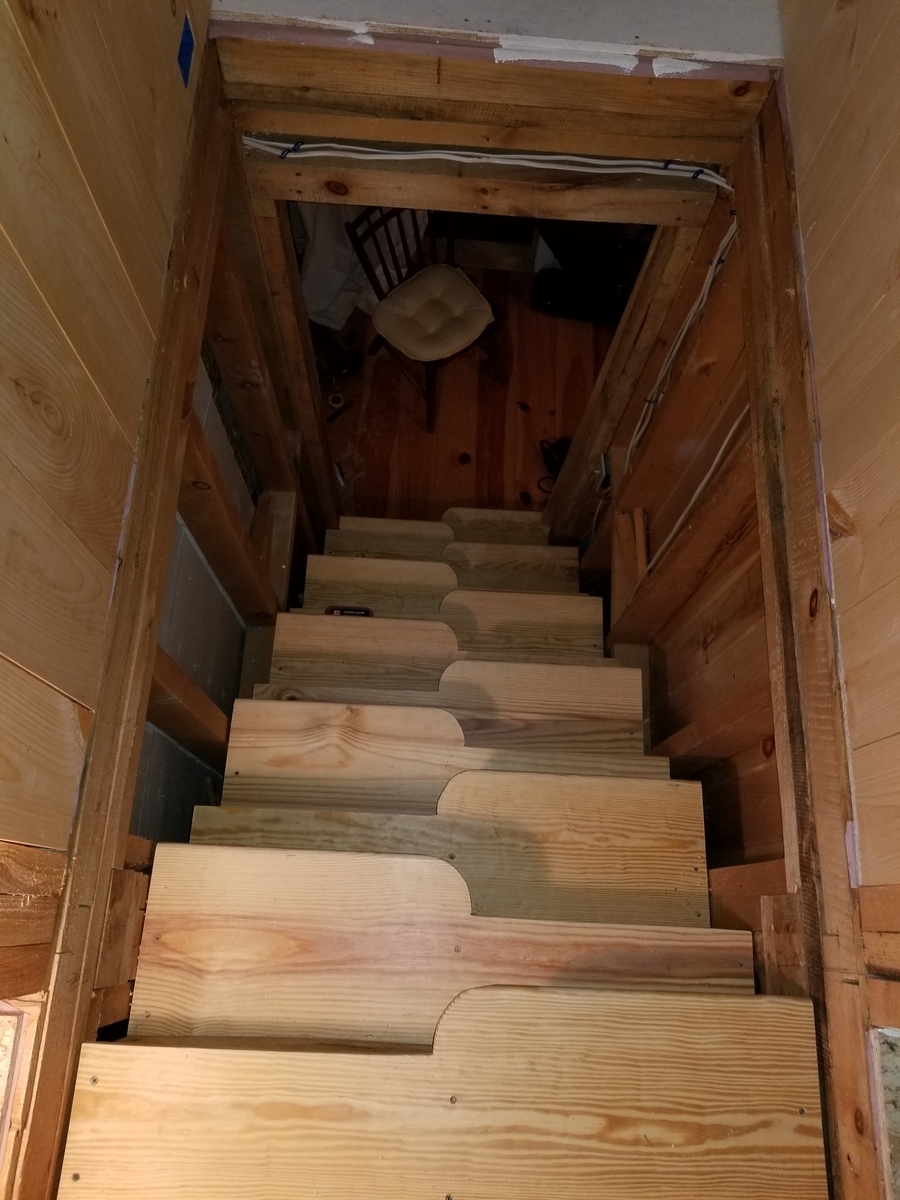
Alternating stairs

Thanks for the great idea to make our steep attic stairs safer so we could finish our attic!!!

Estimated Time Investment
Week Long Project (20 Hours or More)
Finish Used
Southern yellow pine
Recommended Skill Level
Intermediate

Mini farmhouse bedside tables

Submitted by AmberT on Thu, 03/22/2018 - 09:54

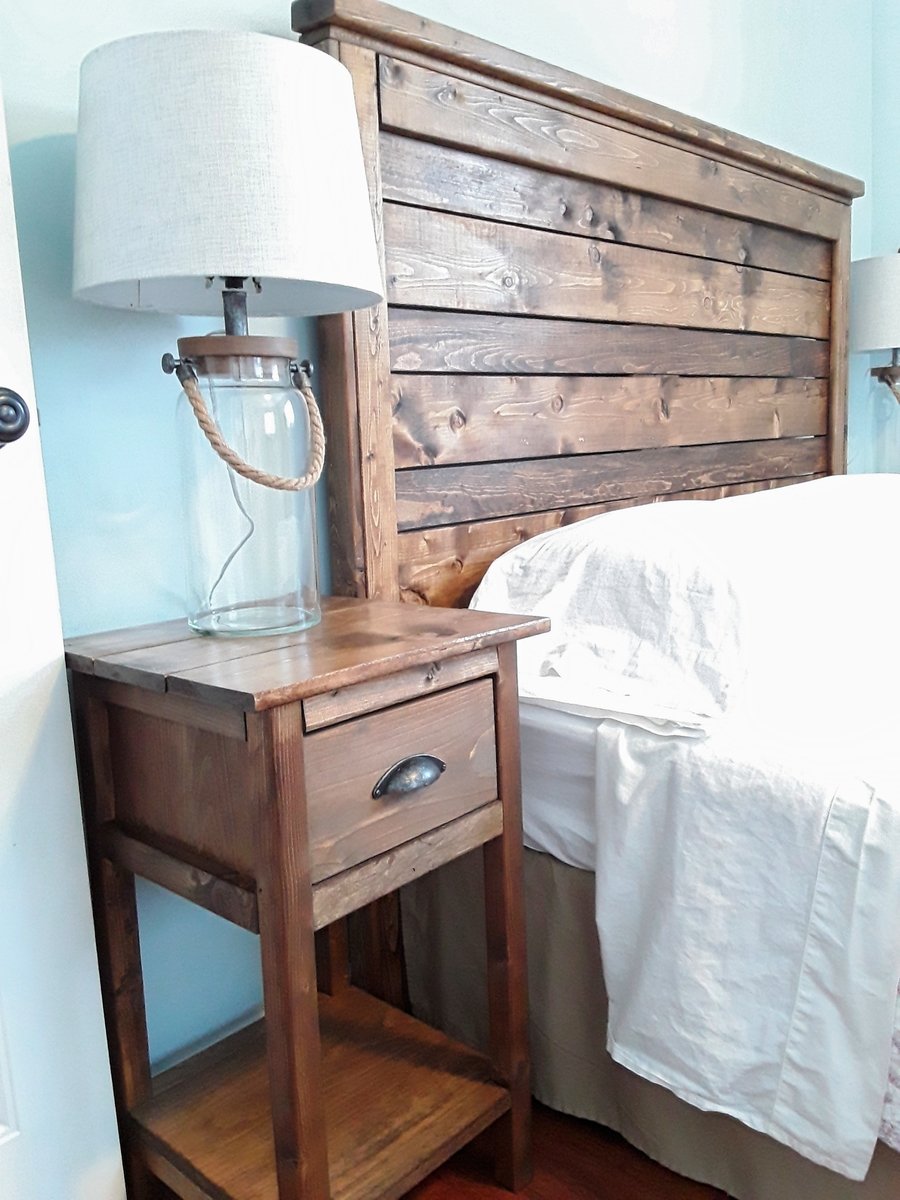
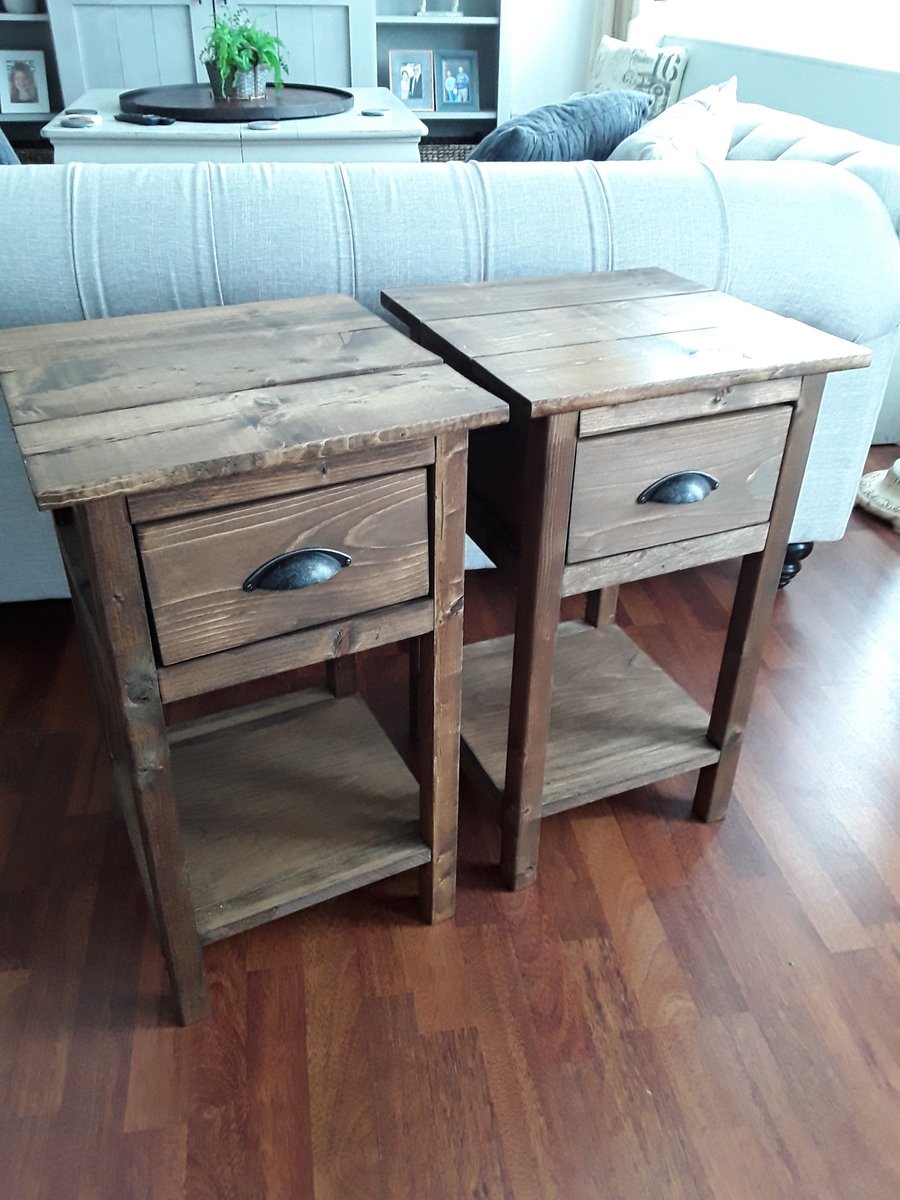
Side tables made from leftover pine and spruce, using Ana White's Mini farmhouse bedside table plans to match the headboard. Took about a day to do two.

Built from Plan(s)
Estimated Time Investment
Day Project (6-9 Hours)
Finish Used
Minwax Provincial Stain
Recommended Skill Level
Beginner

Modified outdoor truss beam table

Submitted by Billyjwest on Tue, 04/03/2018 - 18:43

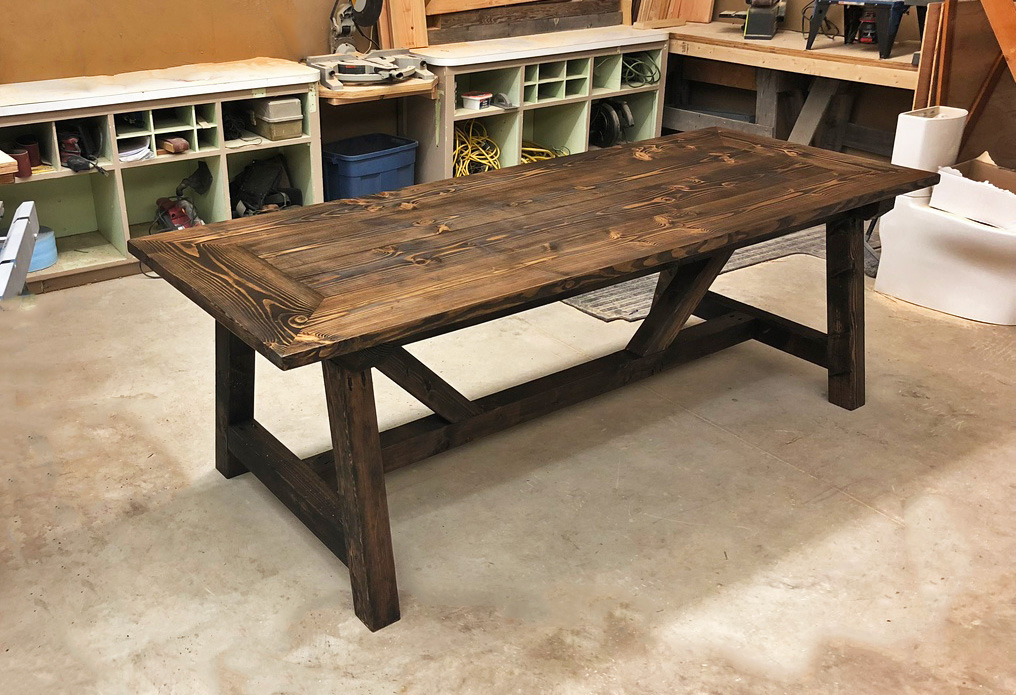
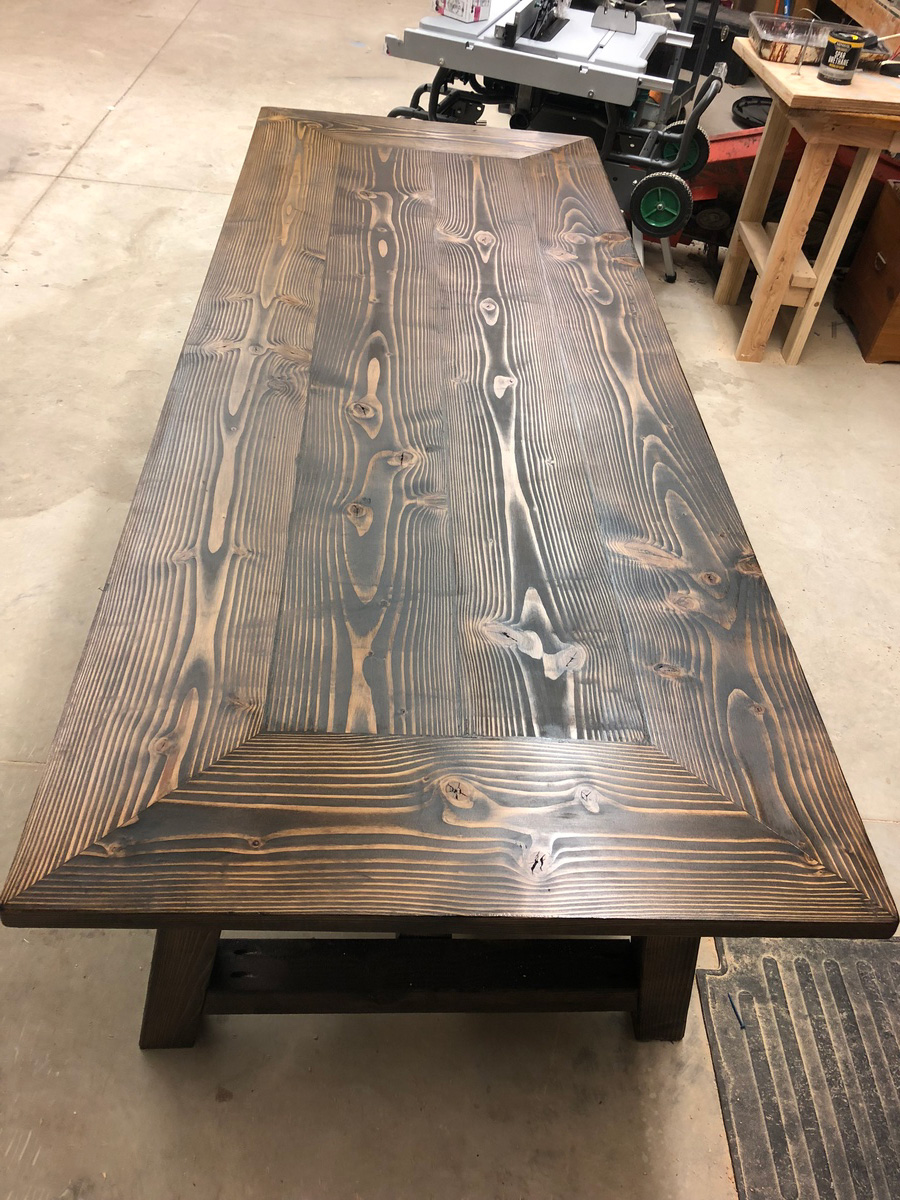
I made this one three inches taller and two feet longer and decided to miter the top. I also used a LOT of glue and blue Craig screws.

Built from Plan(s)
Estimated Cost
120
Estimated Time Investment
Afternoon Project (3-6 Hours)
Finish Used
Minwax Jacobean for 5 minutes and gloss spar. I filled the plank so It doesn’t hold water.
Recommended Skill Level
Beginner

Super Easy Bench (modified)

Submitted by spiceylg on Mon, 08/05/2013 - 16:44

We built this bench for the same women's shelter for whom we built the storage table and benches at their request. They wanted a place for the children to come in and remove their shoes. Since it was for children, we modified the height to be the same as the other small benches, 14". Leftover gray primer was used and they requested the same color scheme as the previous build. Therefore the leftover paint from the other project was used plus three coats of semi-gloss Polycrylic. I think the paint brand is Olympic. It was a joint effort between a friend, my husband and I. It was built in an evening, but I put a week long project because of the coats of primer, paint, and top coat with all of the drying time.

Estimated Time Investment
Week Long Project (20 Hours or More)
Recommended Skill Level
Beginner

Comments

yurra-bazain

Fri, 08/30/2013 - 09:06

This is great! I love that you are still building things for the shelter! Your bench looks well-built and I am sure it will last them a lifetime.

Reclaimed lumber Adirondack chair

Submitted by rkyount on Thu, 08/08/2013 - 13:23

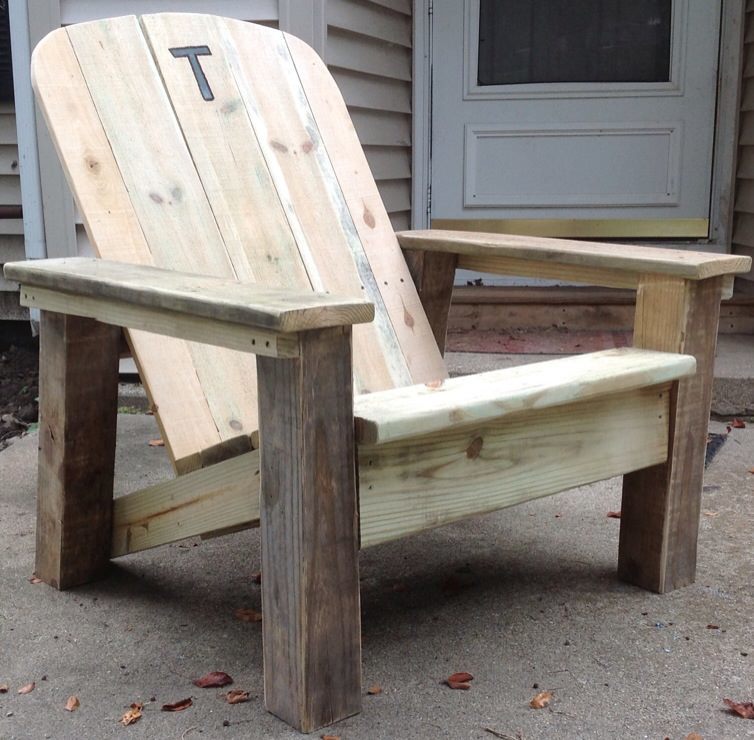
For my brother's 35th birthday, I helped him build a fence and side deck on his house. Using the leftover lumber scraps and screws, I adapted the DIH Adirondack chair plans to build this for him. He wanted a big, sturdy chair with a wide arm rest that looks "rustic". I used 4x4 and 2x4 post scraps, deck boards, and fence pickets. I also widened the seat just a bit for comfort. This is definitely the perfect chair for him!

Estimated Time Investment
Afternoon Project (3-6 Hours)
Finish Used
Since it's all treated lumber, we'll just seal it whenever we do the deck with Thompson's Water Seal.
Recommended Skill Level
Beginner

Comments

rkyount

Fri, 08/09/2013 - 14:38

Thanks! I always enjoy building with your plans, and it was a bonus that I didn't have to buy anything to build this, since I used leftover materials.

Our Flare!

Submitted by bfinnemore on Mon, 09/28/2015 - 11:56

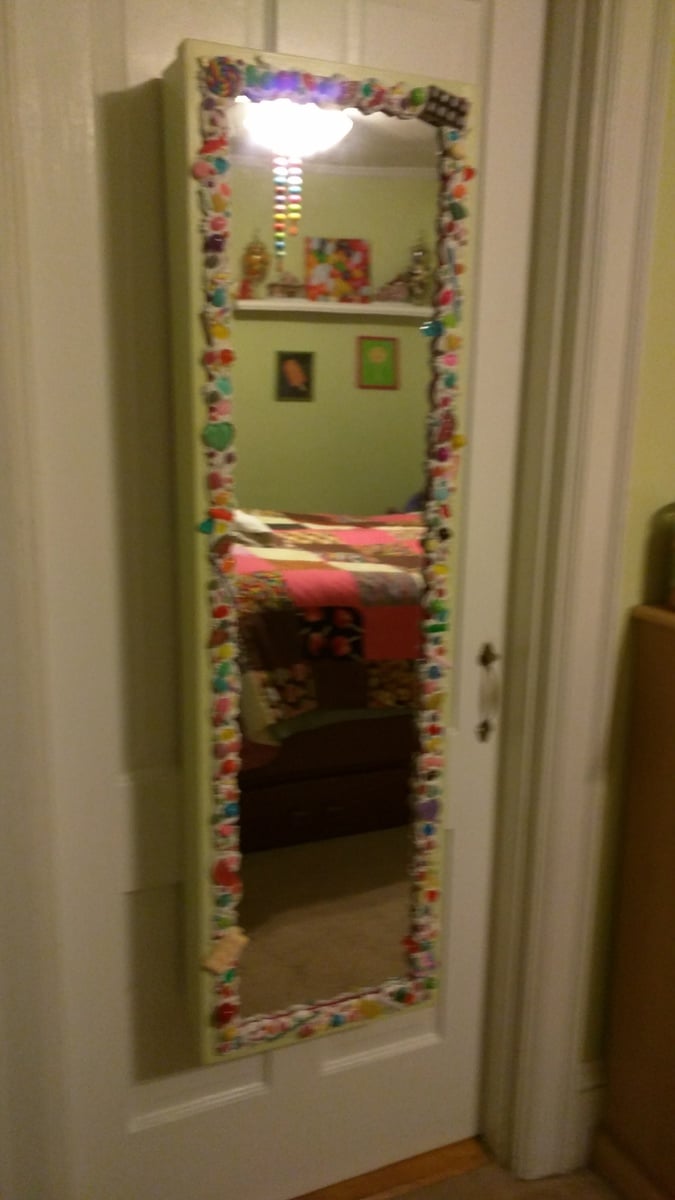
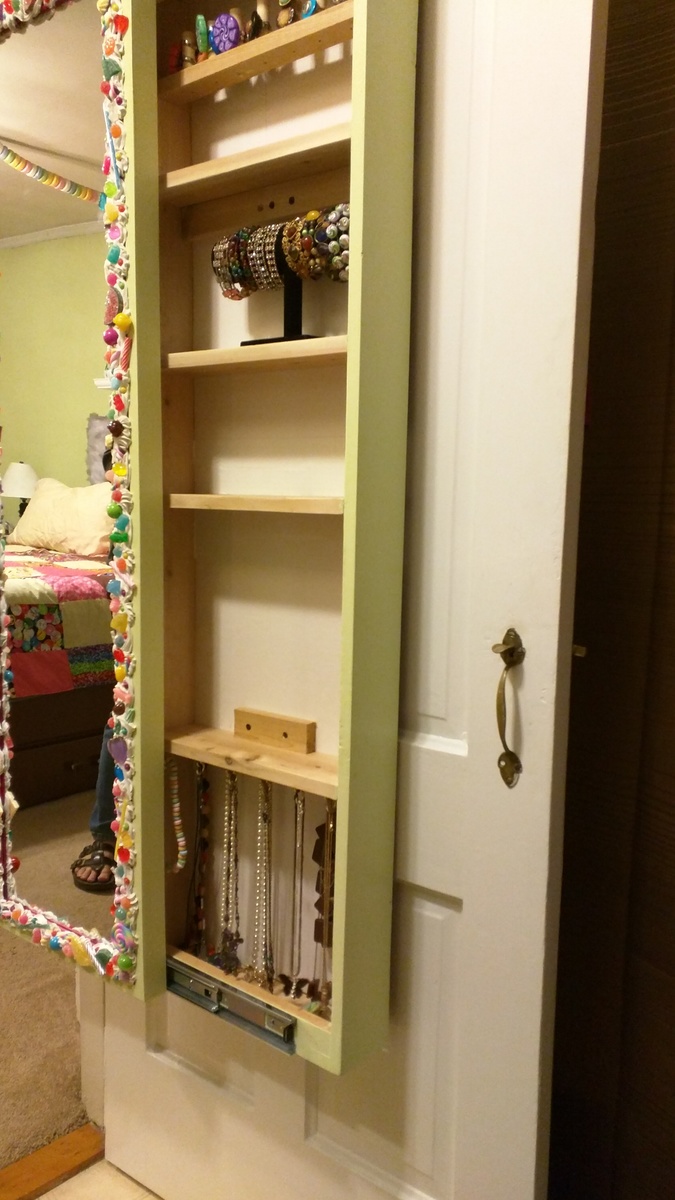
Hi Anna, I really had fun making our version of your sliding mirror project! Thought you might enjoy the photos!  I made it into a jewelry cabinet.

Recommended Skill Level
Intermediate

Comments

Farmhouse Bed (King) Modified

Submitted by camcginty on Thu, 07/28/2011 - 09:00

I used the Farmhouse Bed Plans and a picture posted on the FB page to get the look I wanted. We have a split king adjustable bed and needed the bed to allow the mattresses to adjust up and down at the headboard and footboard. The actual opening for the bed is 82X82. I used birch plywood for the main panel on the headboard and footboard and trimmed it with 1X4's, 1X2's, cove & chair rail trim. The headers are 2X4's and 2X6's. I tapered the untreated 4X4 posts which I found at our local store. For the sides I used 2X12's and raised them to allow extra room under the bed for storage. I used lots of wood filler, sanded for a whole day, applied wood conditioner and used a gel stain. I made the mistake of not wiping off the first coat of stain because it looked so good. After I applied the second coat it was too dark and showed brush marks. When it isn't so humid outside, I plan to sand it down and re-stain. I'll also apply a protective top coat at that point. I did purchase bed rail brackets online and they provide a nice tight fit.

Estimated Cost
$300
Estimated Time Investment
Weekend Project (10-20 Hours)
Finish Used
Wood conditioner, Varathane Gel Stain (Cabernet)
Recommended Skill Level
Intermediate

Comments

StacieM

Mon, 08/01/2011 - 07:37

This is amazing! This is exactly the look I want when I make my King Bed. I love the geometric look with the trim on the headboard and footboard but the traditional look that the trim around the top gives. It makes the bed a little more modern versus rustic. I Love It!

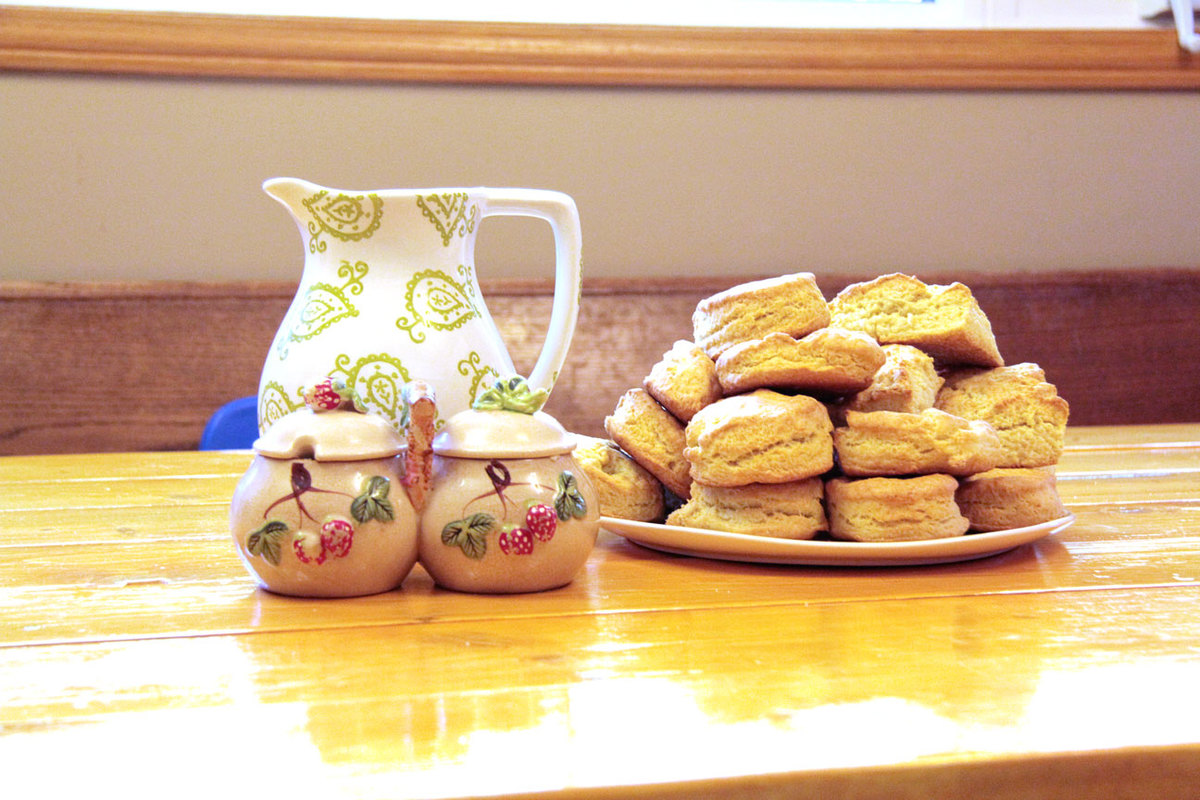
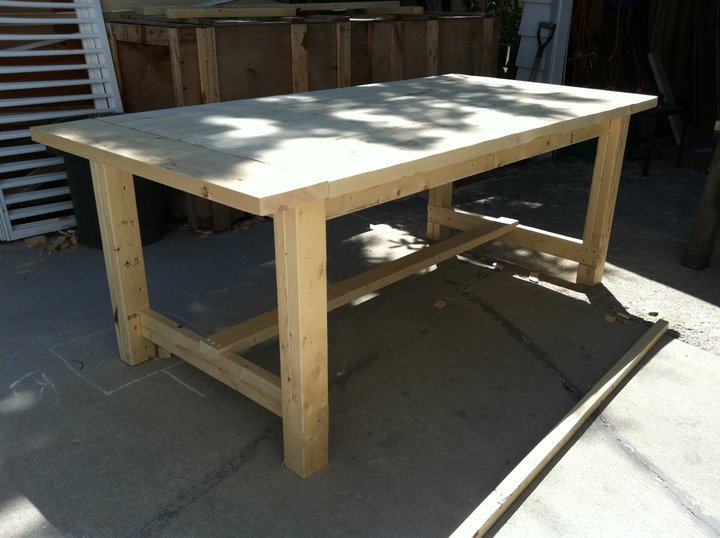
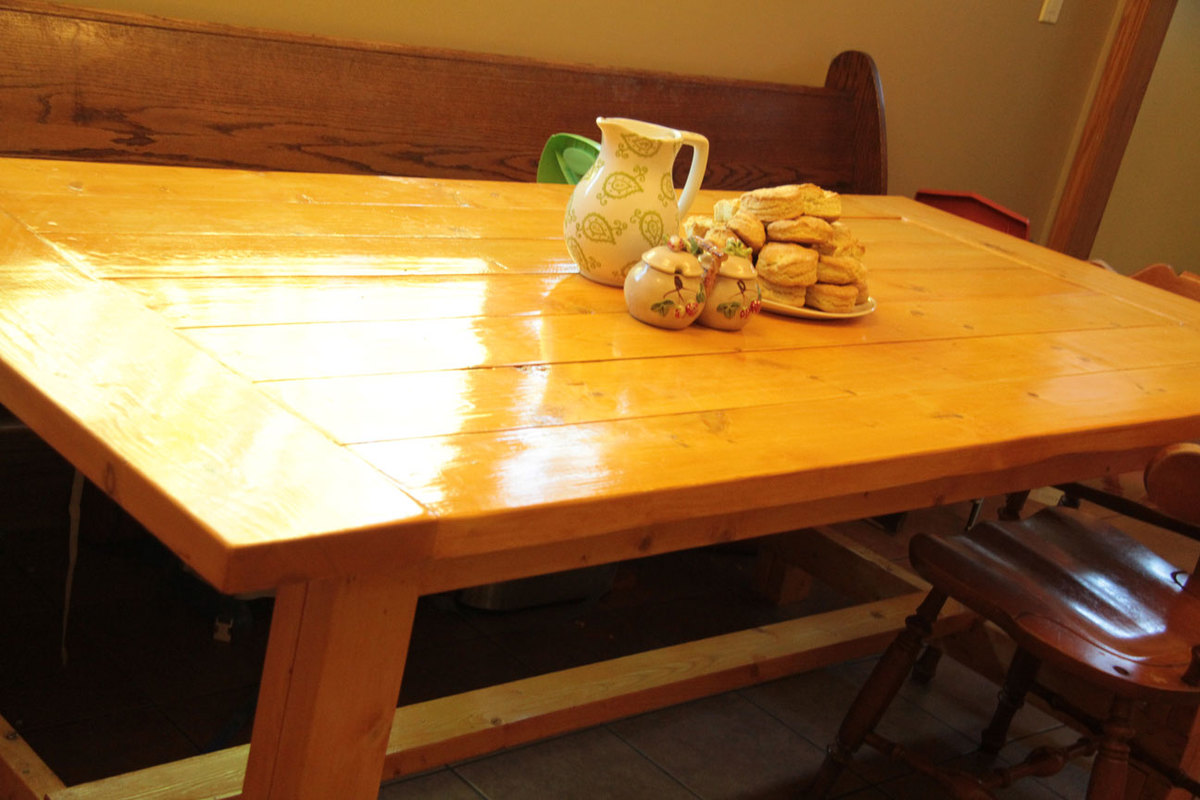
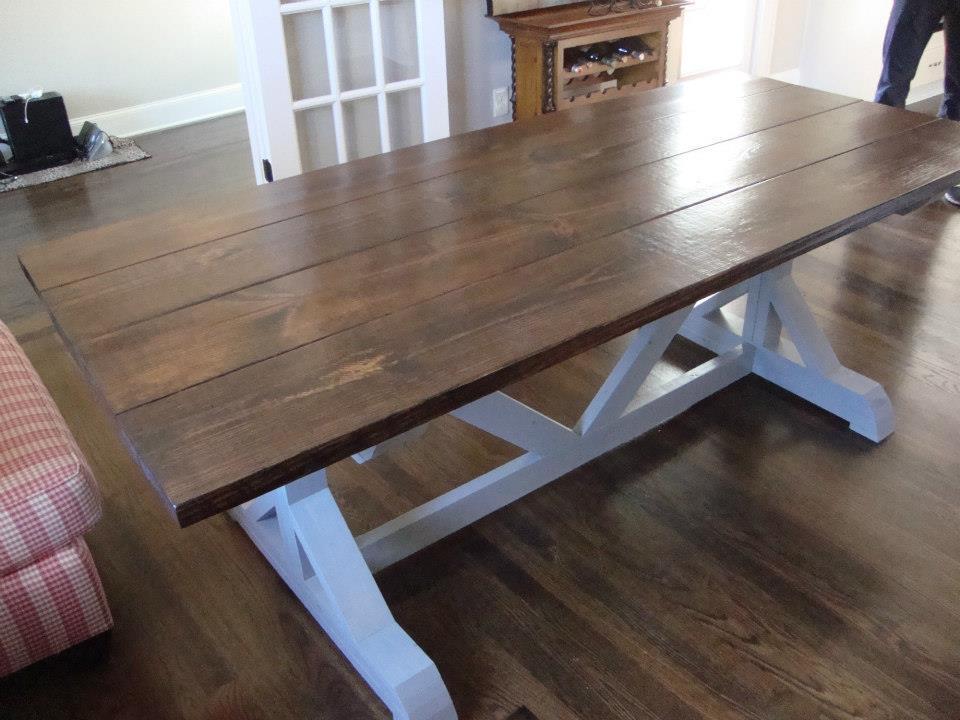
Farmhouse Table

I asked my husband to build me Ana White's farmhouse table a few months ago...but he never found the time. Finally I announced I was doing it myself, expecting to get halfway through and then need my husband to finish it. I found out later he expected the same thing.

We were both surprised that I did manage to finish it myself, in about a week from the first trip to the store until it was finished and waiting to set before it came in the house.

I found notching the boards to be difficult at first, but my second try went great and everything fit as it was supposed to. We love our new table, and using the tools made me feel so empowered. I think I've found a new hobby!

Estimated Cost
$120 (after a second trip to the store when I messed up the first set of cuts)
Estimated Time Investment
Week Long Project (20 Hours or More)
Finish Used
Gel stain in honey oak, water based varathane coating on top.
Recommended Skill Level
Starter Project

Adirondack Chairs for our Fire pit

Submitted by Robert4588 on Fri, 11/06/2015 - 10:08

We had recenty been to Jasper National Park in the Canadian Rockies and saw beautiful red adirondack chairs out on many of the trails, so we built these to remind us of a great family vacation.

Built from Plan(s)
Estimated Cost
$100 Each
Estimated Time Investment
Afternoon Project (3-6 Hours)
Finish Used
Behr Outdoor paint
Recommended Skill Level
Intermediate

Wood Crate Keurig K Cup Holder with Mini Drawer

As Ana mentioned in her video, this project could be made with scraps. That’s just what I used.  I used a lot of scraps and cut offs for this project.

I needed to make a K cup holder but also space to hold tea in addition to other coffee "toppings" if you well. In the pictures you can see mini creamers.

This modification was made by adding a small drawer in addition to the holes that would hold the K cups. The small drawer was made with 1/2” plywood (even more scraps) ripped just shy of 1-1/2”. I did this to make sure we did not see the plys of the drawer as I planned to add 1/4” plywood to the top all around. I wanted this to make it all uniform with the K cup area. 

I added little rubber feet’s to the bottom as this will be on a granite countertop which could results in slipping and sliding. 

Estimated Cost
$15 perhaps. But as I mentioned it was mostly scraps
Finish Used
minwax provencial and wipe on poly
Recommended Skill Level
Beginner

Comments

lolalove77

Thu, 06/25/2020 - 06:53

Made this for my mother in law. She loves it, thank you for the plans. I cant figure out how to add the pics of the one I did for her hit it was awesome and my very first wooden build EVER

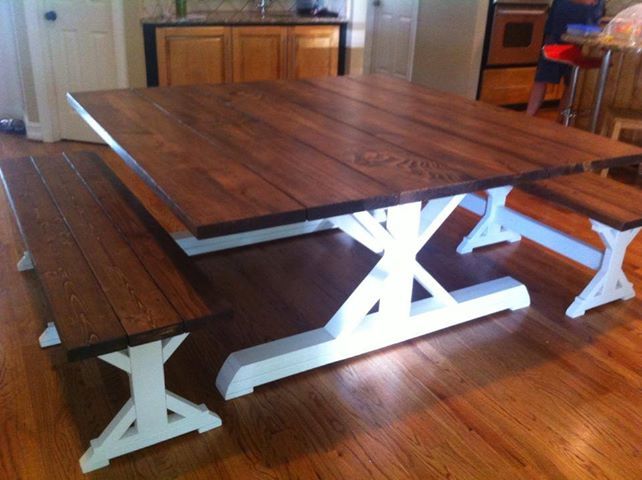
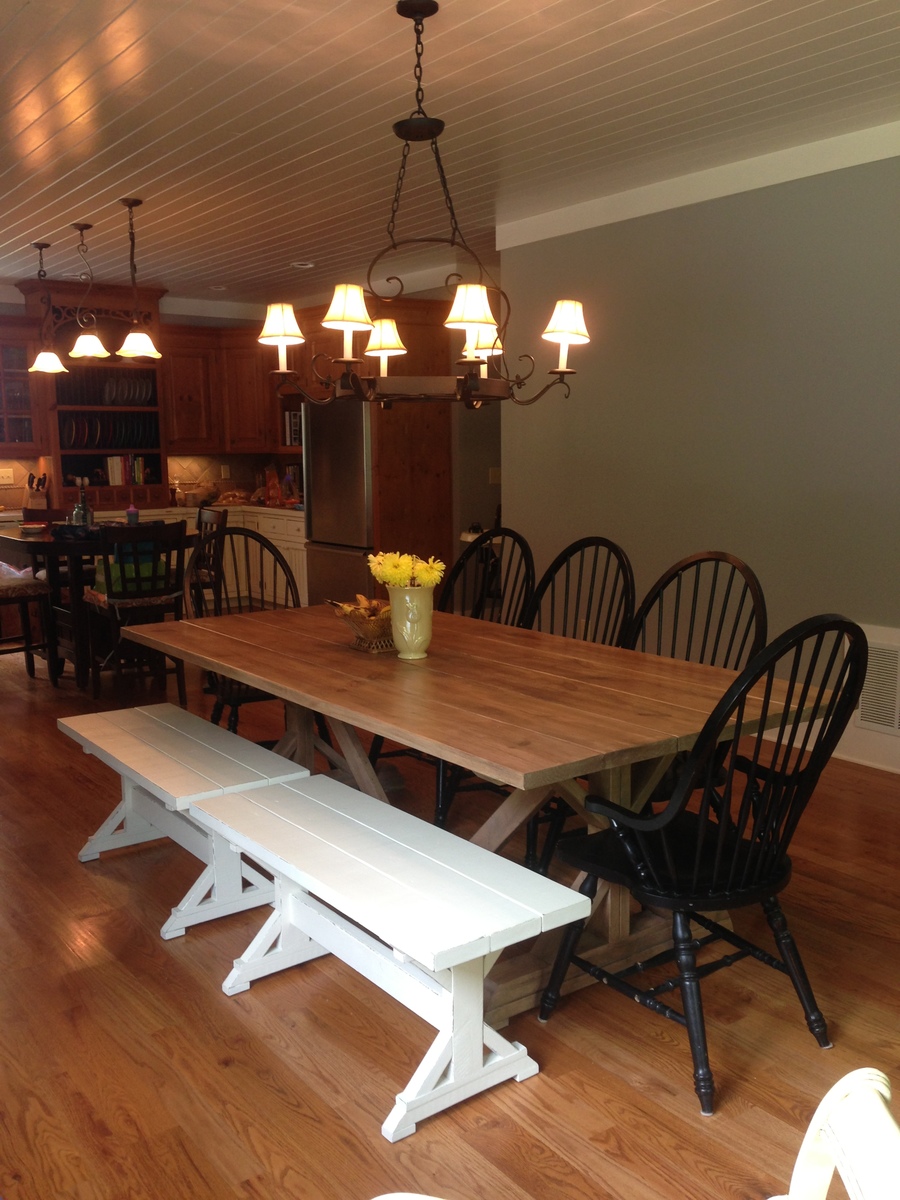
Our 67.5 square trestle table and matching benches

The square table project obviously modified the original plans a bit. We always use 4" brackets to further stabilize and level our tops. This table we used L brackets on the insides at the top of the trestles. The final finish was Minwax Special Walnut for the tops and an antique white that we color matched for our client. Oh and SEVERAL coats of poly to seal her and make her pretty!

This table was table number 22 that we have built from the plans provided here. We have modified widths, lengths and heights many times over! Come find us on Facebook book or follow us on Pinterest. Just put a /youreunique after and you are there. I would be happy to give tips on our finishes if you email me or send me a PM. Thanks for looking and have a blessed day!

Estimated Time Investment
Afternoon Project (3-6 Hours)
Finish Used
The final finish was Minwax Special Walnut for the tops and an antique white that we color matched for our client. Oh and SEVERAL coats of poly to seal her and make her pretty!
Recommended Skill Level
Advanced

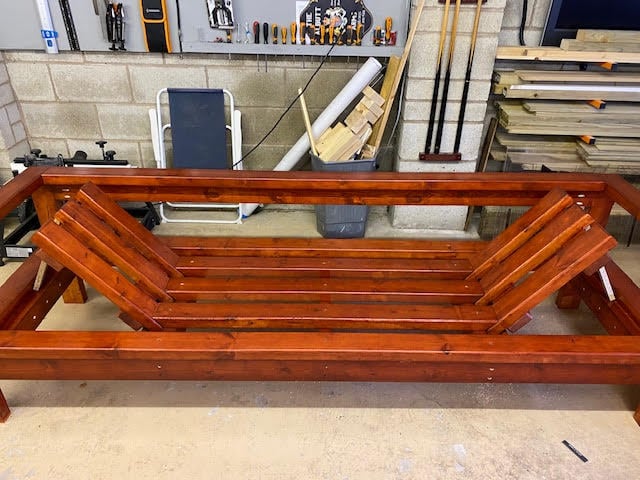
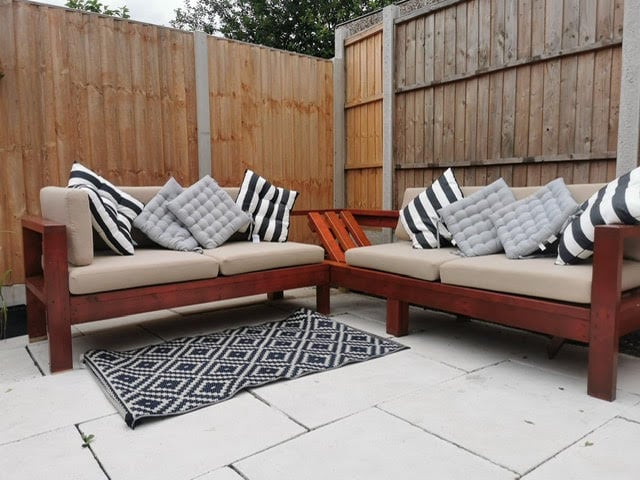
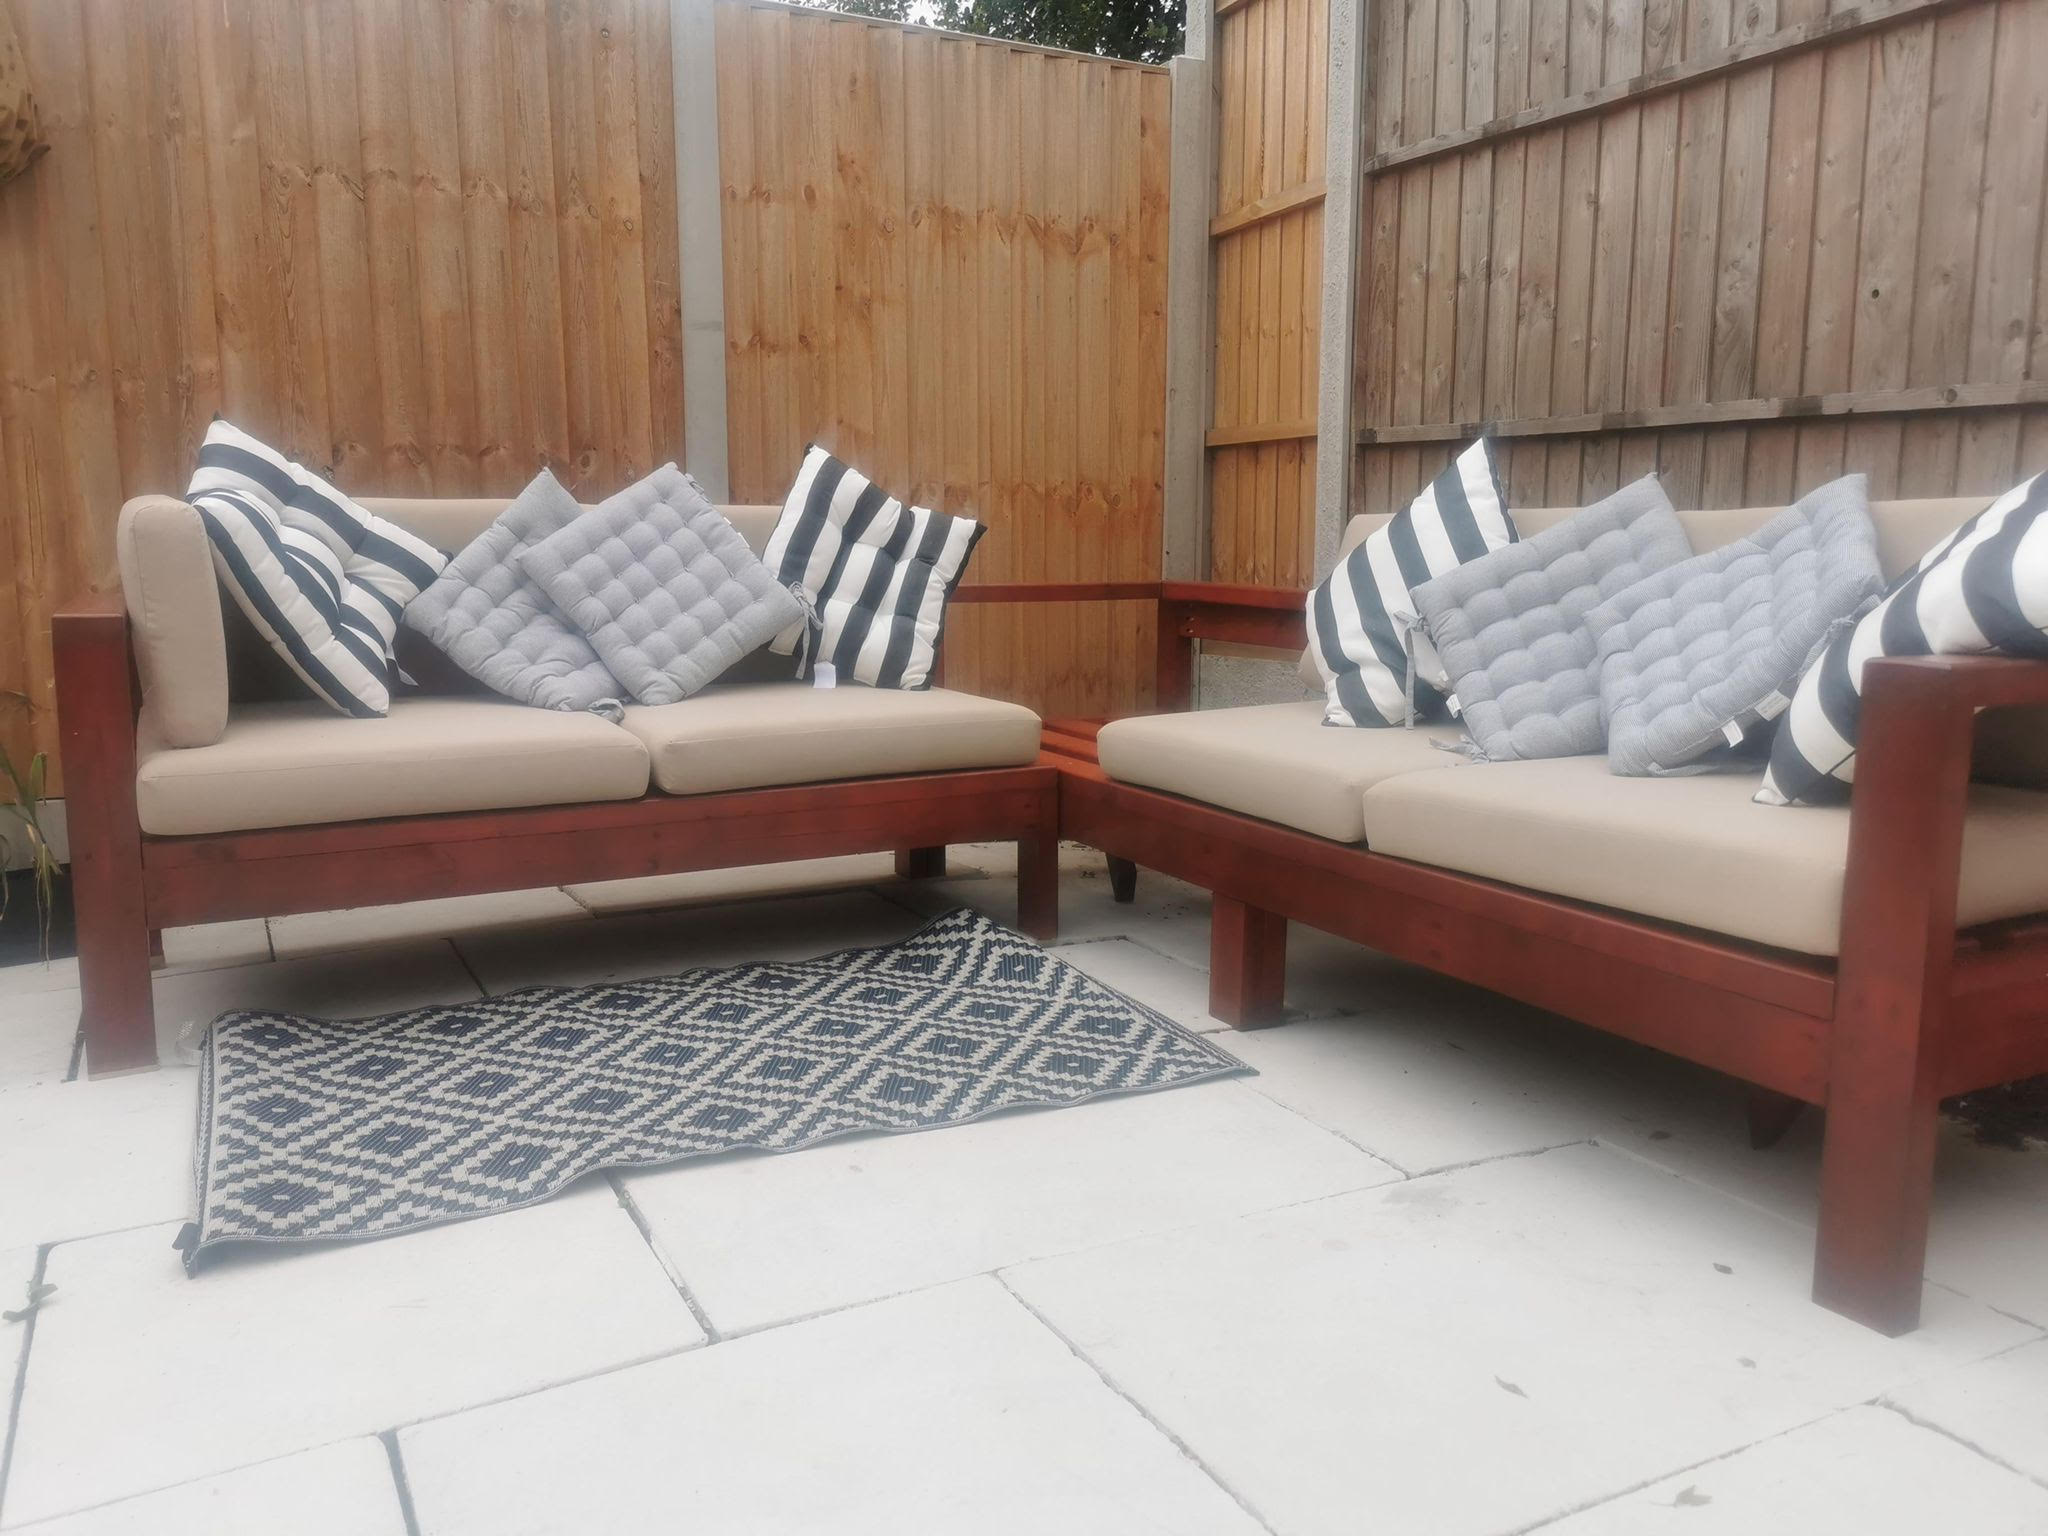
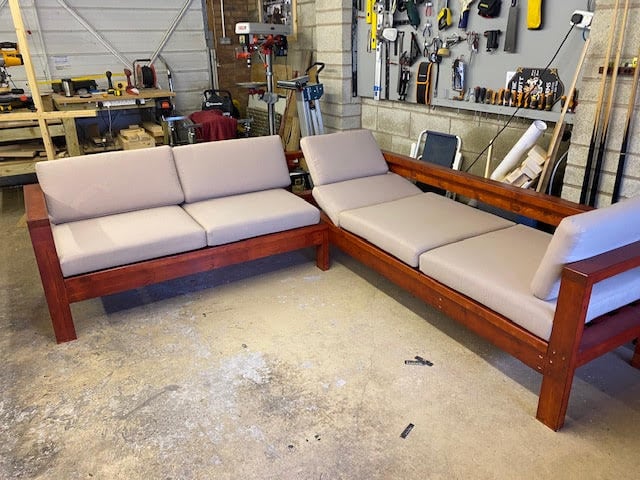
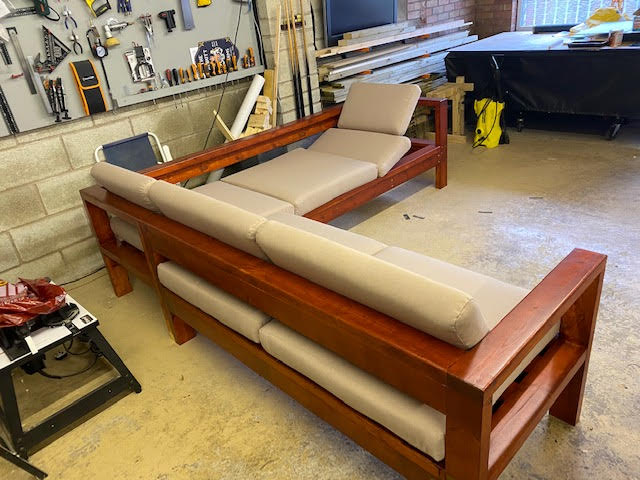
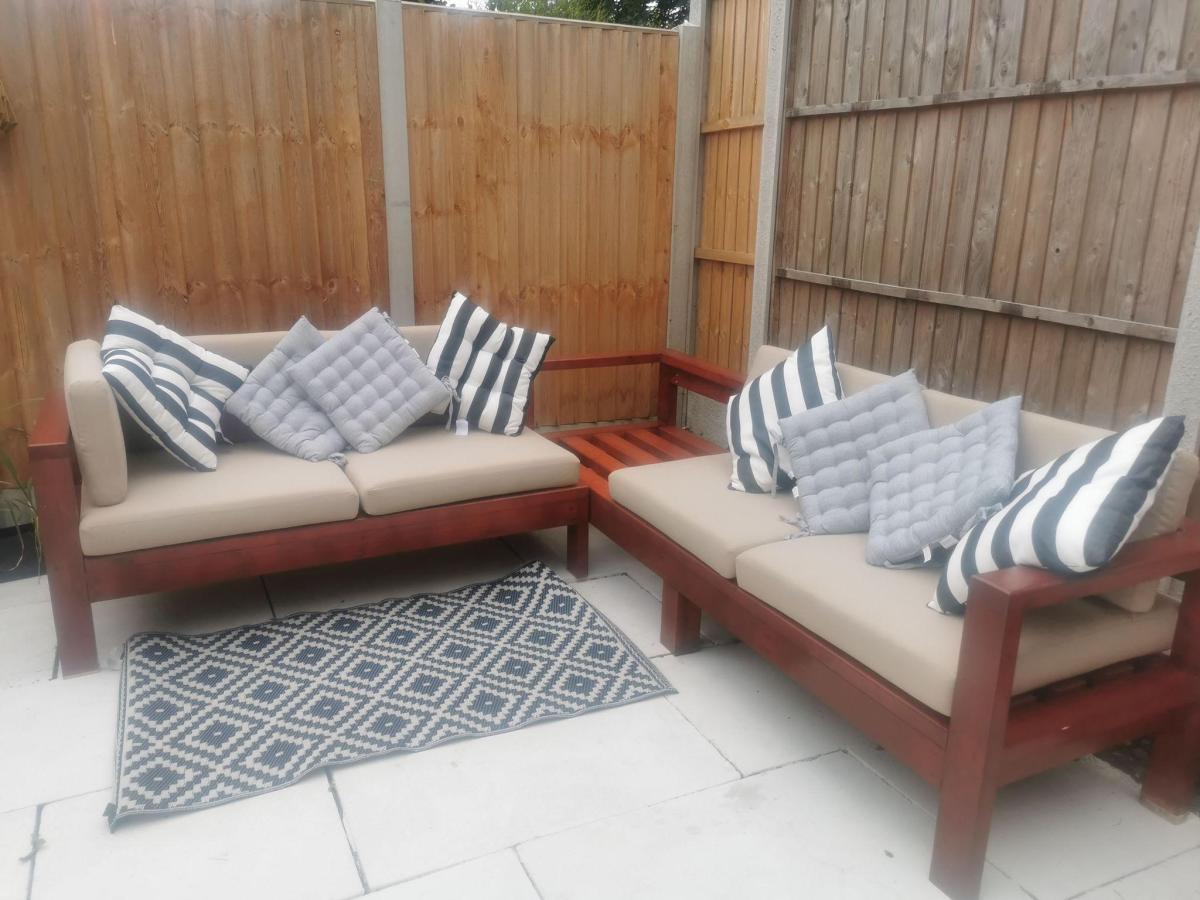
Lounger Sofa by Mark

Submitted by Anonymous (not verified) on Fri, 10/07/2022 - 09:11

Just wanted to share the results of the sectional I built with your plans. 

I’m new to woodwork, newly retired, built these for my daughters, with a twist, she wanted a lounger sofa, hope you like. 

lounge sofa

outdoor lounge sofa

Comments

Custom Farmhouse Bench

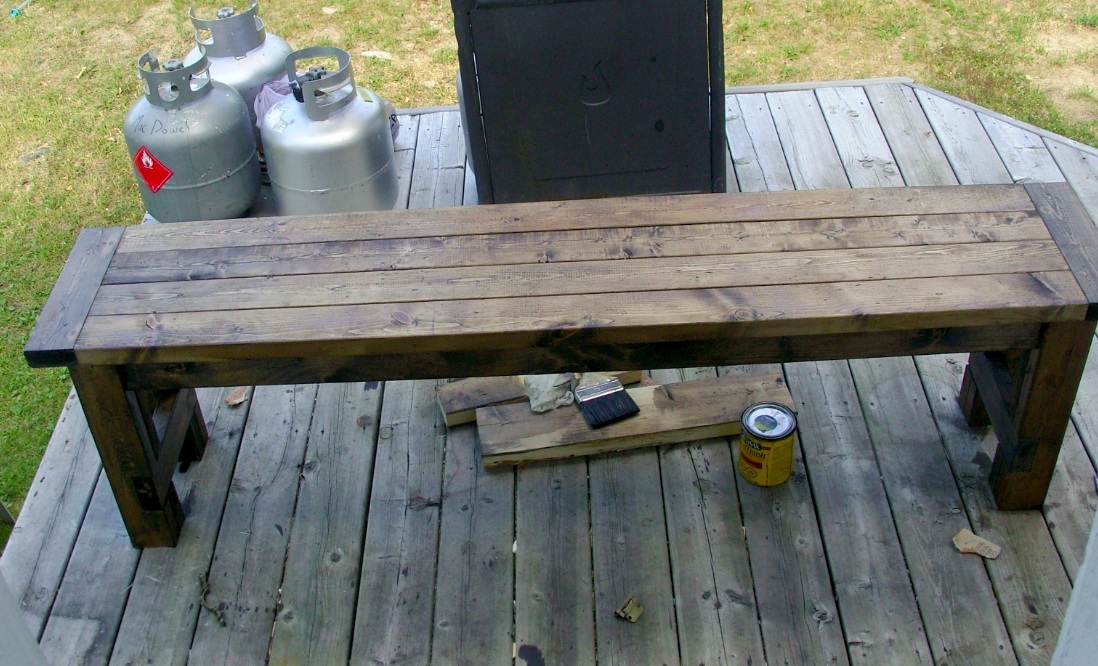
After building a custom sized farmhouse table by combining and tweaking the two plans here, we knew we wanted another piece of dining furniture as substantial as the table and in the same style. The farmhouse bench was the logical choice!

After calculating our desired height and length (our table is taller, but not a long as Ana's) we jumped right into building. Other than waiting for the glue to set and the stain to dry the building itself took less than two hours.

Before we stained the table we distressed the wood by tossing a bag of screws, nails & miscellaneous cabinet hardware against the bench top, followed by random scatterings of hammer blows and a few fuax-nail punch holes to make it seem more time-worn and aged (we used the same process on our table before finishing it). The key was to not go over-board and keep it random to make it seem as if the marks had been acquired over many years.

We love how both pieces turned out, from the cost to the look to the peace of mind knowing that it won't break our hearts to see the furniture get a little scratched or banged here & there as well as the substance given by having a solid wood dining set. This is one bench that won't flip over willy nilly. :)

Estimated Cost
$60
Estimated Time Investment
Day Project (6-9 Hours)
Finish Used
Miniwax 'Special Walnut' stain.
Recommended Skill Level
Beginner

Comments

Mar_co (not verified)

Wed, 05/02/2012 - 15:39

Beautiful!
I am debating on using spruce or pine. how was your exeprience with spruce? did it split any?

In reply to by Mar_co (not verified)

AdventuresInBu…

Thu, 05/03/2012 - 05:54

We haven't had any issues with the spruce splitting thus far, but we did pre-drill every screw and nail used as well as check the wood piece by piece at the lumber yard to look for deviances, warping, cracks and excessive knots (rule of thumb: the more knots in the wood, the more likely it will crack or split over time).

Another thing we do to condition the wood (even though it has been stained and poly'd) is to give it a good buff with [wood] oil every 6months or so; we're under the impression that this helps maintain the natural humidity of the wood.

Pine would likely have a better longevity and would probably be less apt to dry as quickly as spruce, but it depends on your price points too.

The greatest thing about the design of this bench is that any board can be replaced at any time (with a little elbow grease), including the legs--though the benchtop itself gets the most abuse. We're not gentle with our bench and so far the only 'damage' is a small chip on one corner from tools being dropped on it.

Hope that helps, happy building!

Modified Henry Desk

Submitted by Laura Kemp on Mon, 11/23/2015 - 15:35

I build this desk from Ana White's  Pottery Barn inspired Henry desk plan. I modified it a little in that I made the top almost 8 feet long to fit my space.

Built from Plan(s)
Estimated Time Investment
Weekend Project (10-20 Hours)
Finish Used
The stain is Minwax Early American
Recommended Skill Level
Beginner

Comments

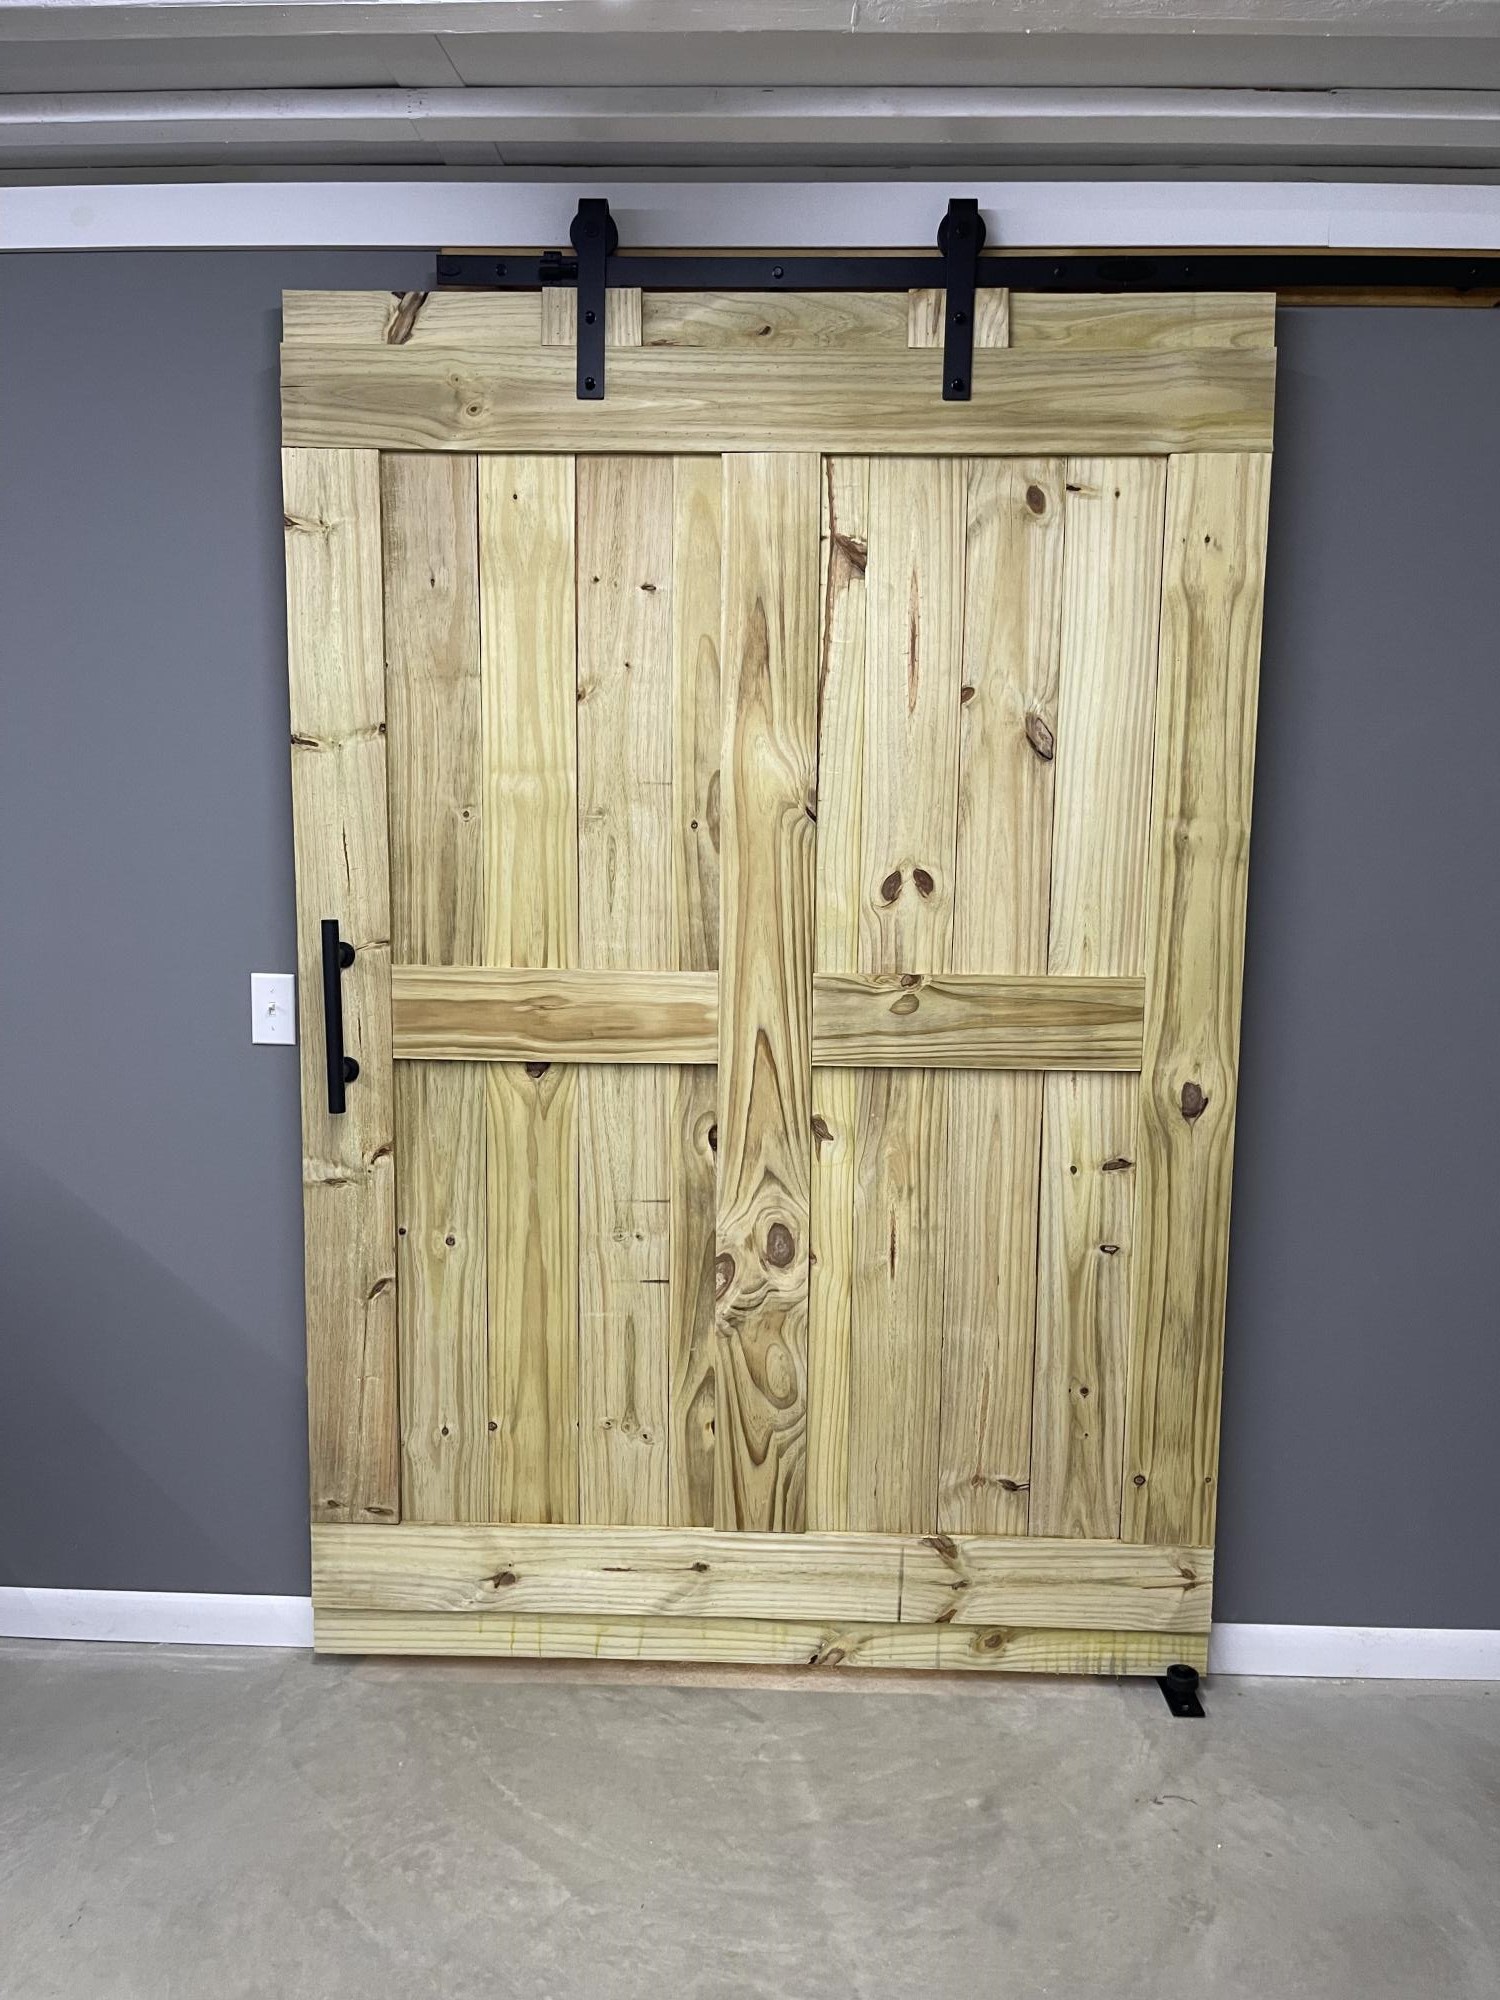
Fence Slat Interior Barn Door

Submitted by Anonymous (not verified) on Thu, 10/27/2022 - 12:09

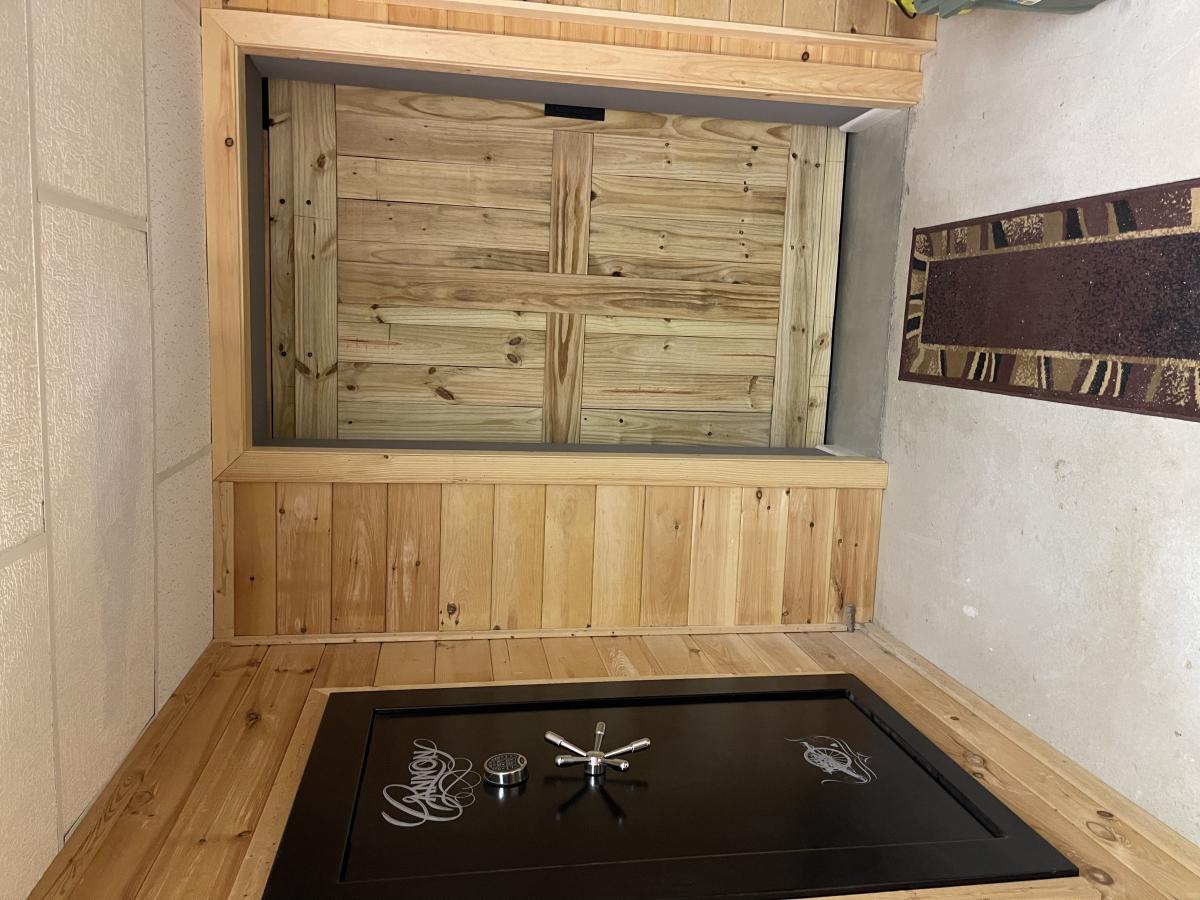
Using 6’ fence slats. Planed until smooth then assembled to fill opening. Finished with beeswax and mineral oil with additional hanging hardware, handle and floor roller.

Comments

Beadboard Cabinet

Submitted by jamie_C on Sun, 08/28/2011 - 20:26

Since we don't have a garage or any really good place to keep our tools, they end up all over the house while we're working on a project. So, we decided to build a cabinet that would look nice in our house, and also house our tools. We chose the armoire plan because it has plenty of space.

This project took us forever, so it's hard to really estimate the actual working time. We began working on it back in June, then we were evacuated because of a forest fire.... By the time we got back into our house and we were organized again it was the end of July.... and now finally the end of August it's finished. It took us a while, but it's a great addition to our house!

We modified this cabinet by using 1/4 inch beadboard backed with 1/4 plywood for the doors. We also modified the size of the armoire to make it deeper.

Built from Plan(s)
Estimated Cost
$125 approximately?
Estimated Time Investment
Weekend Project (10-20 Hours)
Finish Used
Sanded, then painted the outside with a quart of "creamed coffee" oops paint, and painted the inside with a sage green paint from Habitat for Humanity Restore.
Recommended Skill Level
Beginner

Comments

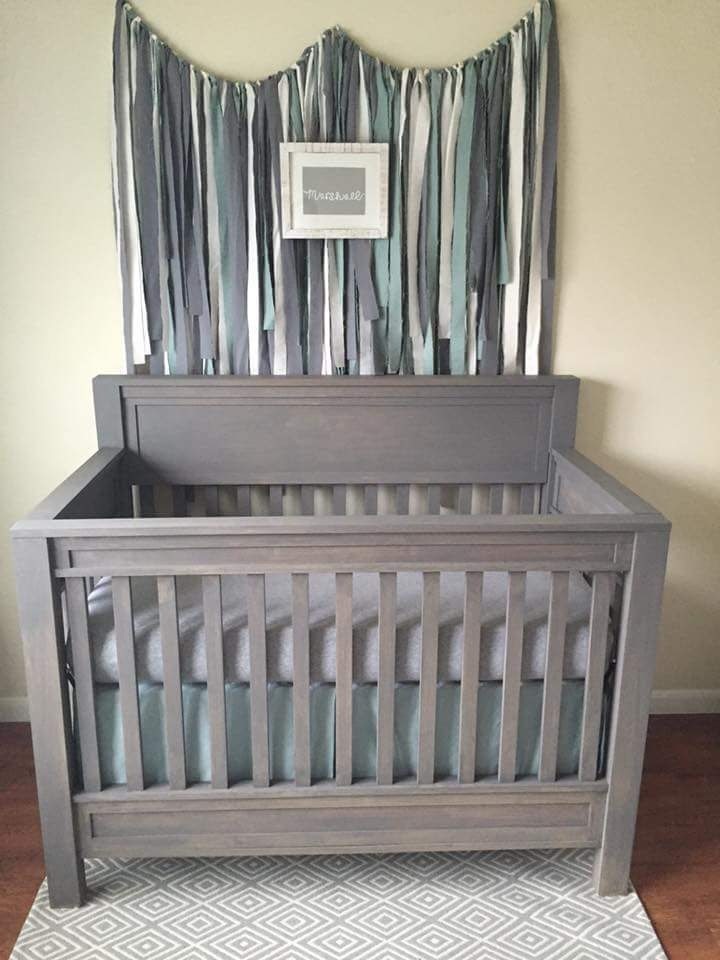
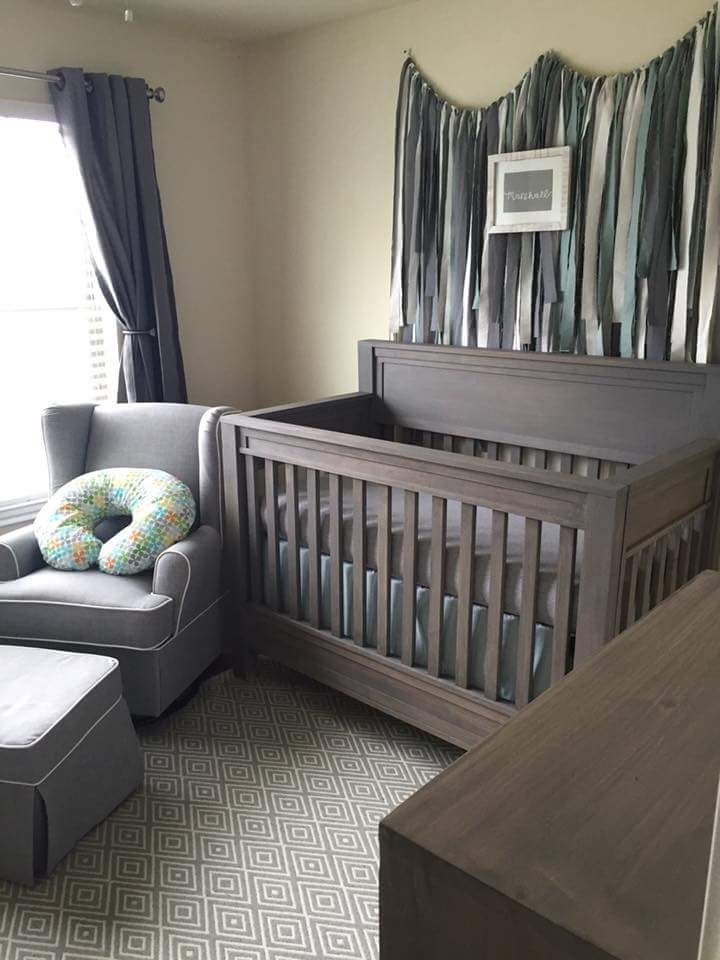
Marshall's Crib Grandad's First

Submitted by pondrider on Thu, 12/03/2015 - 14:57

Delivered the nursury Furniture and have a very satisfied daughter preparing to bring our Grandchild into the world.

From Ariel "My sweet baby boy has the most beautiful nursery I've ever seen! I am so thankful for my father who hand built this furniture. It is definitely made with love and it's everything I dreamed of. I'm also thankful for my husband and brother in law who set up this entire nursery for me this morning. Thank you" 
I started with plans and inspiration and then added some creativity. For the legs on this crib I laminated three 1x4 poplar and used threaded inserts. #anawhite

Estimated Cost
between special hardware, screws and lumber $400. The picture that my daughter gave me a disired end product had a retail of $975.
Estimated Time Investment
Week Long Project (20 Hours or More)
Finish Used
Actually used Sherwin Williams exterior Stain custom
Recommended Skill Level
Intermediate

Comments

light02

Sat, 02/06/2016 - 03:53

Can you tell me the color stain you used its beautiful!! I can't seem to get this color quite right and I've tried many times.

Ckendall

Fri, 03/11/2016 - 09:20

My husband would like to build our son a crib and I love this one! Is there a way to get the plans?? 

daf3000

Mon, 11/07/2016 - 19:14

I like your husband really like and want to build this crib. However pondrider hasn't replied so i was wondering if he/she sent them to you by chance. 

niter

Thu, 06/30/2016 - 16:33

I love this crib and was wondering if there is plans for this.  I would love to build it for my sister!

pondrider

Tue, 10/18/2016 - 18:51

Folks I am going to tell you to suggest you get the frame and hardware at place called products america .They have a link to plans that were on a magazine web site for sale.  I got the plans but the crib you see only used those plans to get started. If you look at each side independently you will notice that you can build this with Free and better written plans for Ana-White farmhouse bed.  yes, you'll do a little modifying for the sides but as we build that is beauty of everything we build in that we build for the size we need.   The plans from build America will help with dimensions. The other key with a crib safety and the fact that it must be assembled and disassembled in the room.   The plans from build america will attempt to show how to install threaded inserts.  I found Youtube and other instructions to be much better. My build has fixed sides meaning the front and the back do not come down. And I did not set it up to be convertable.