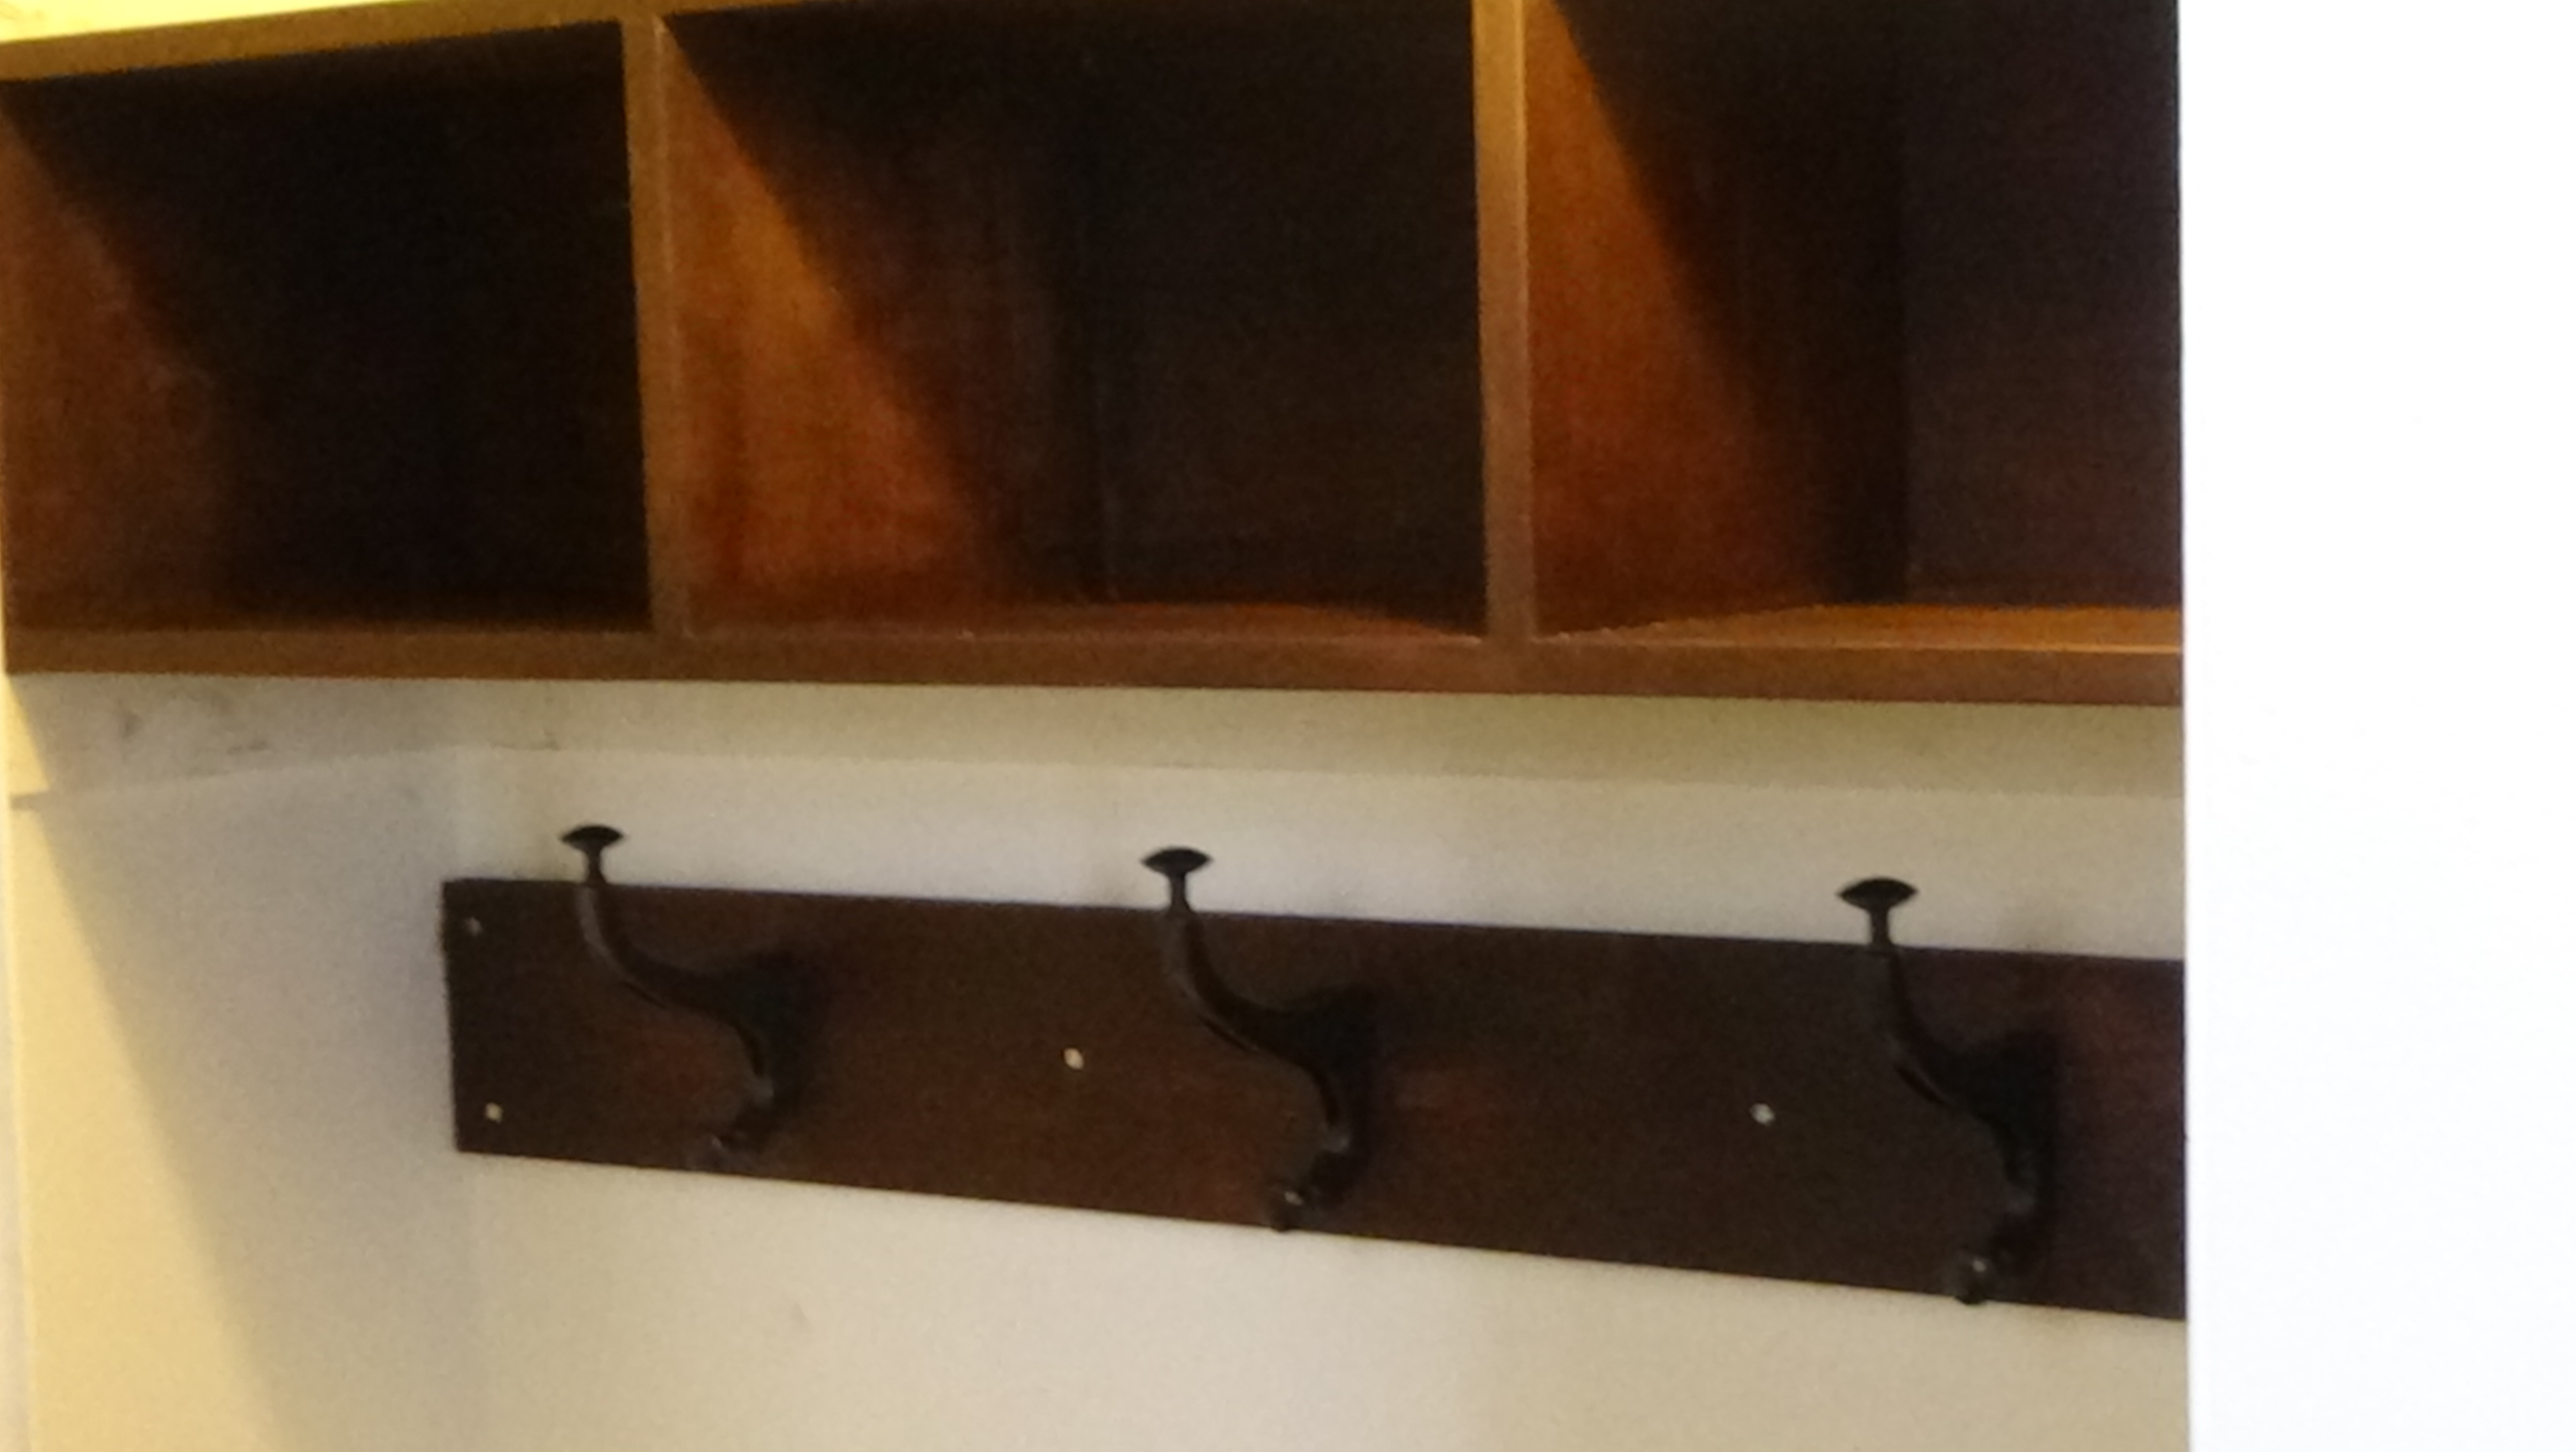
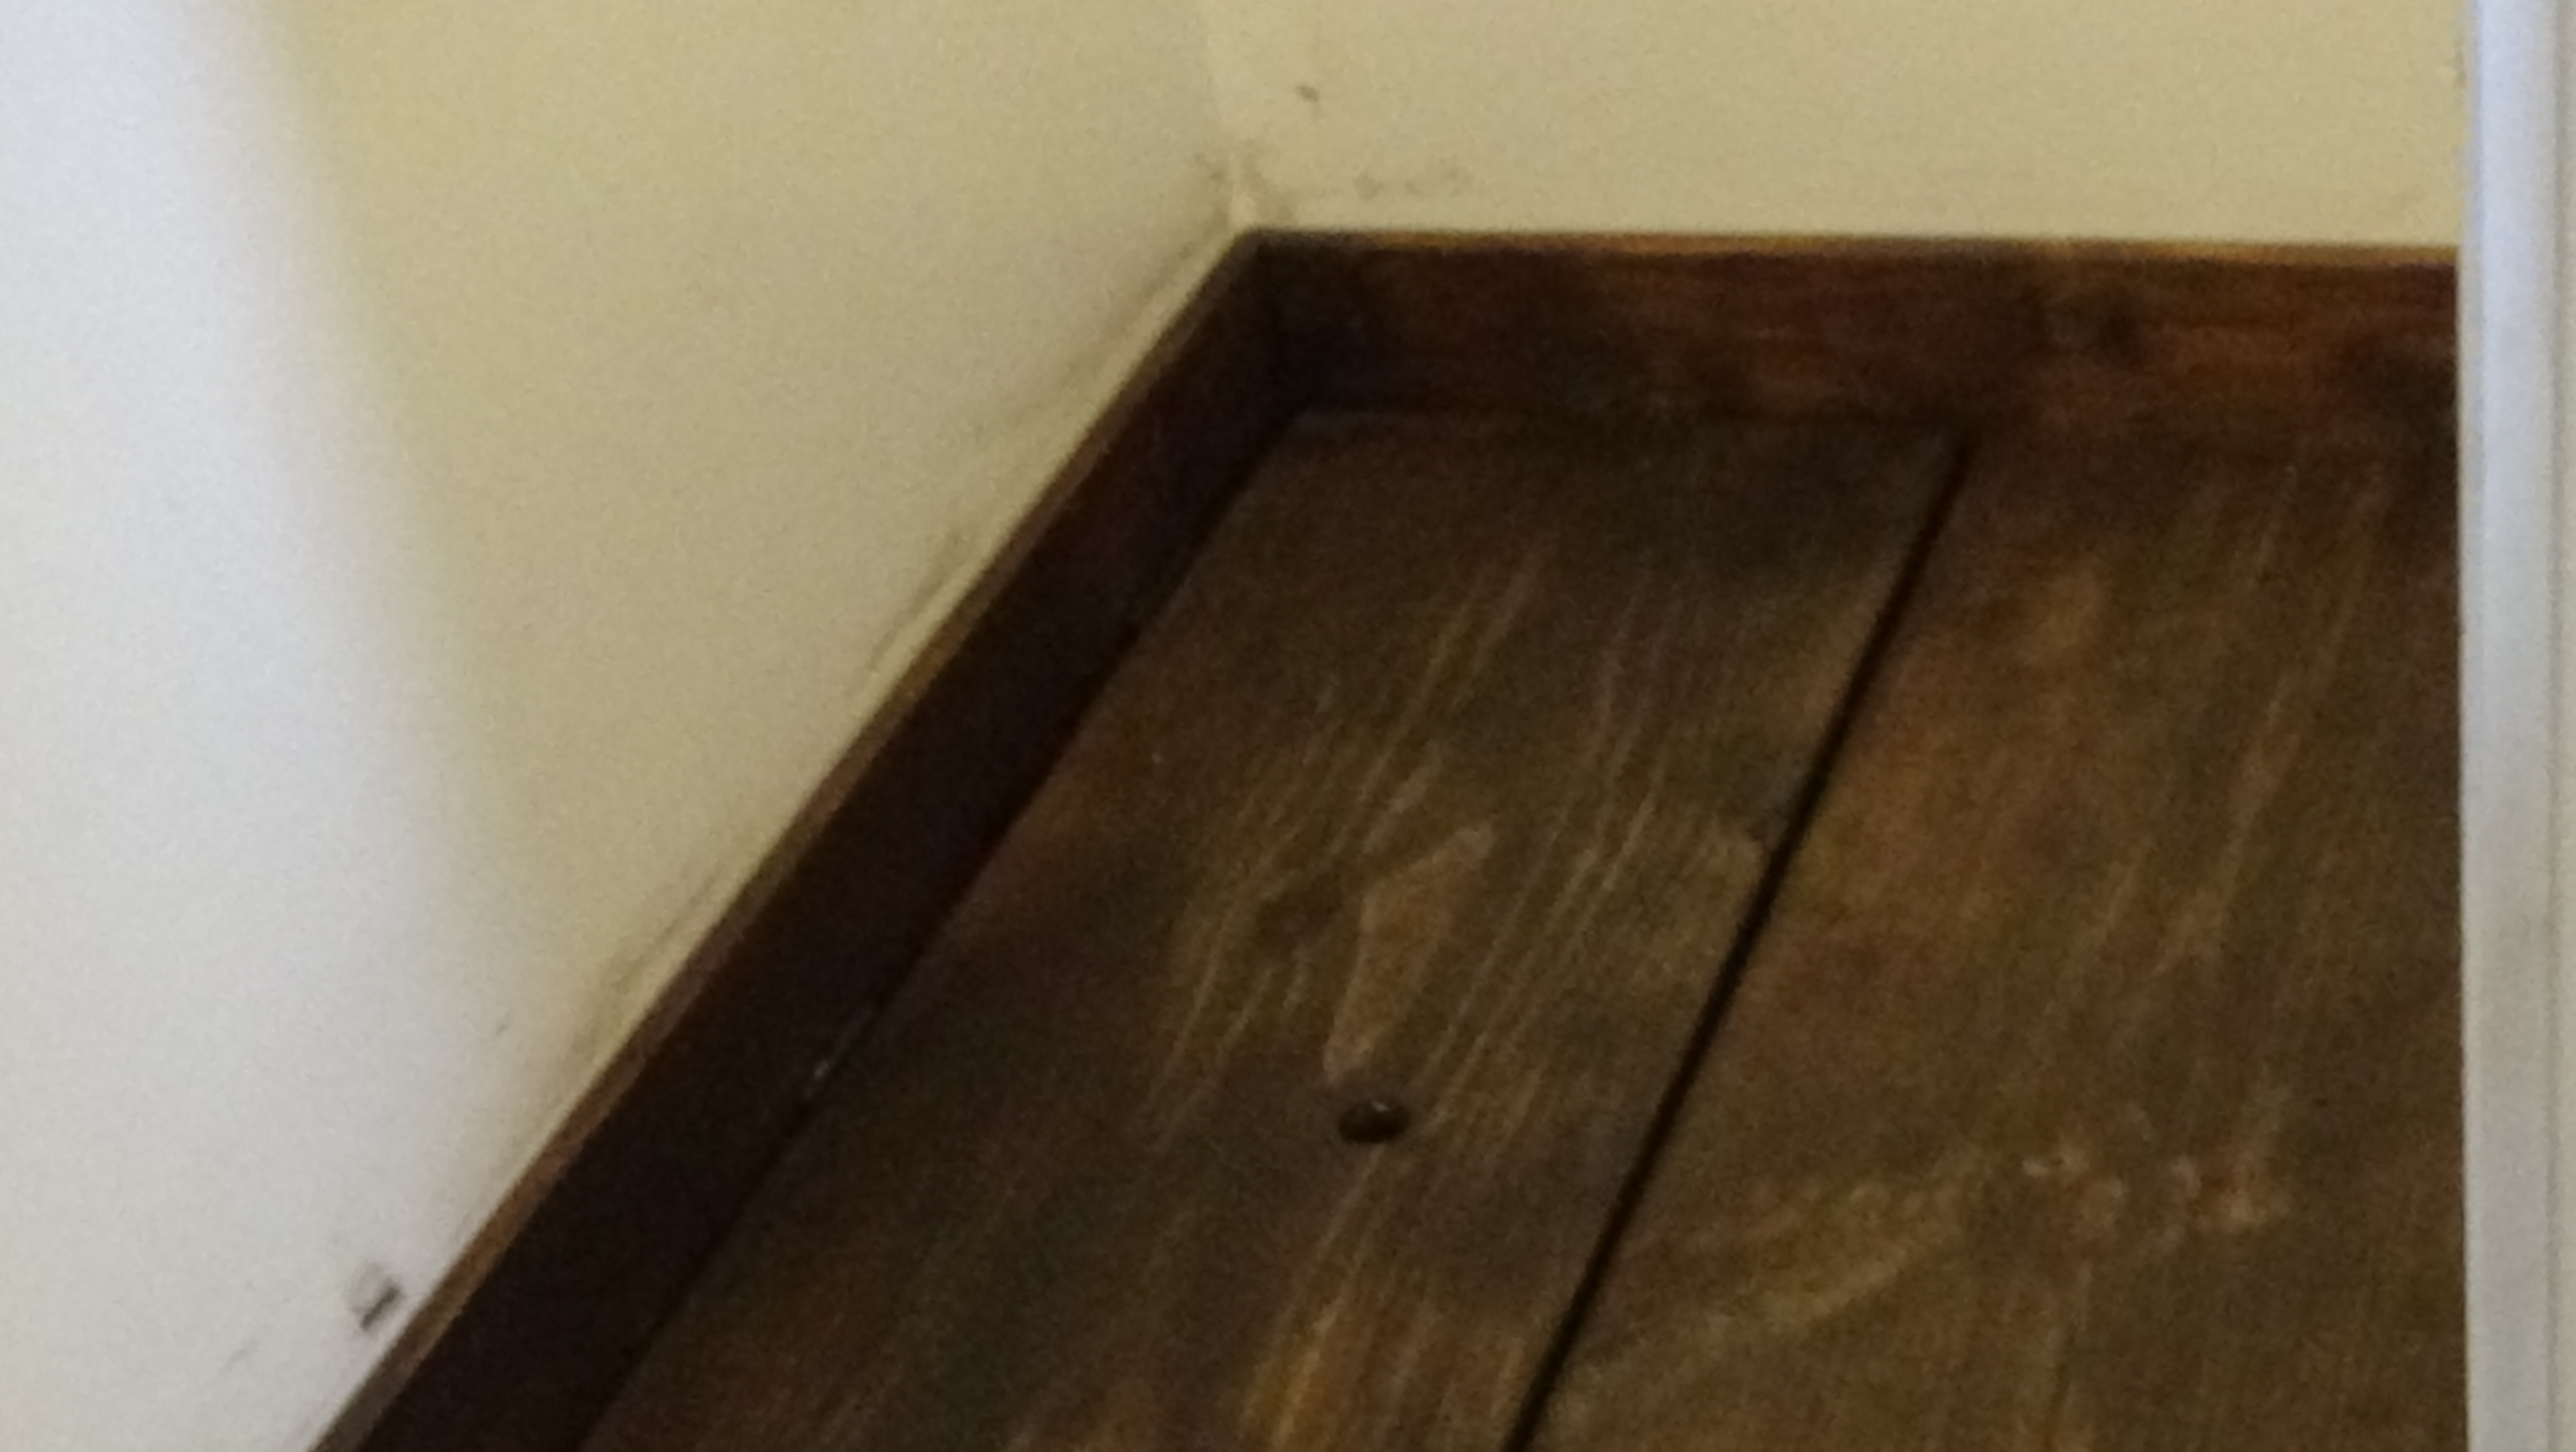
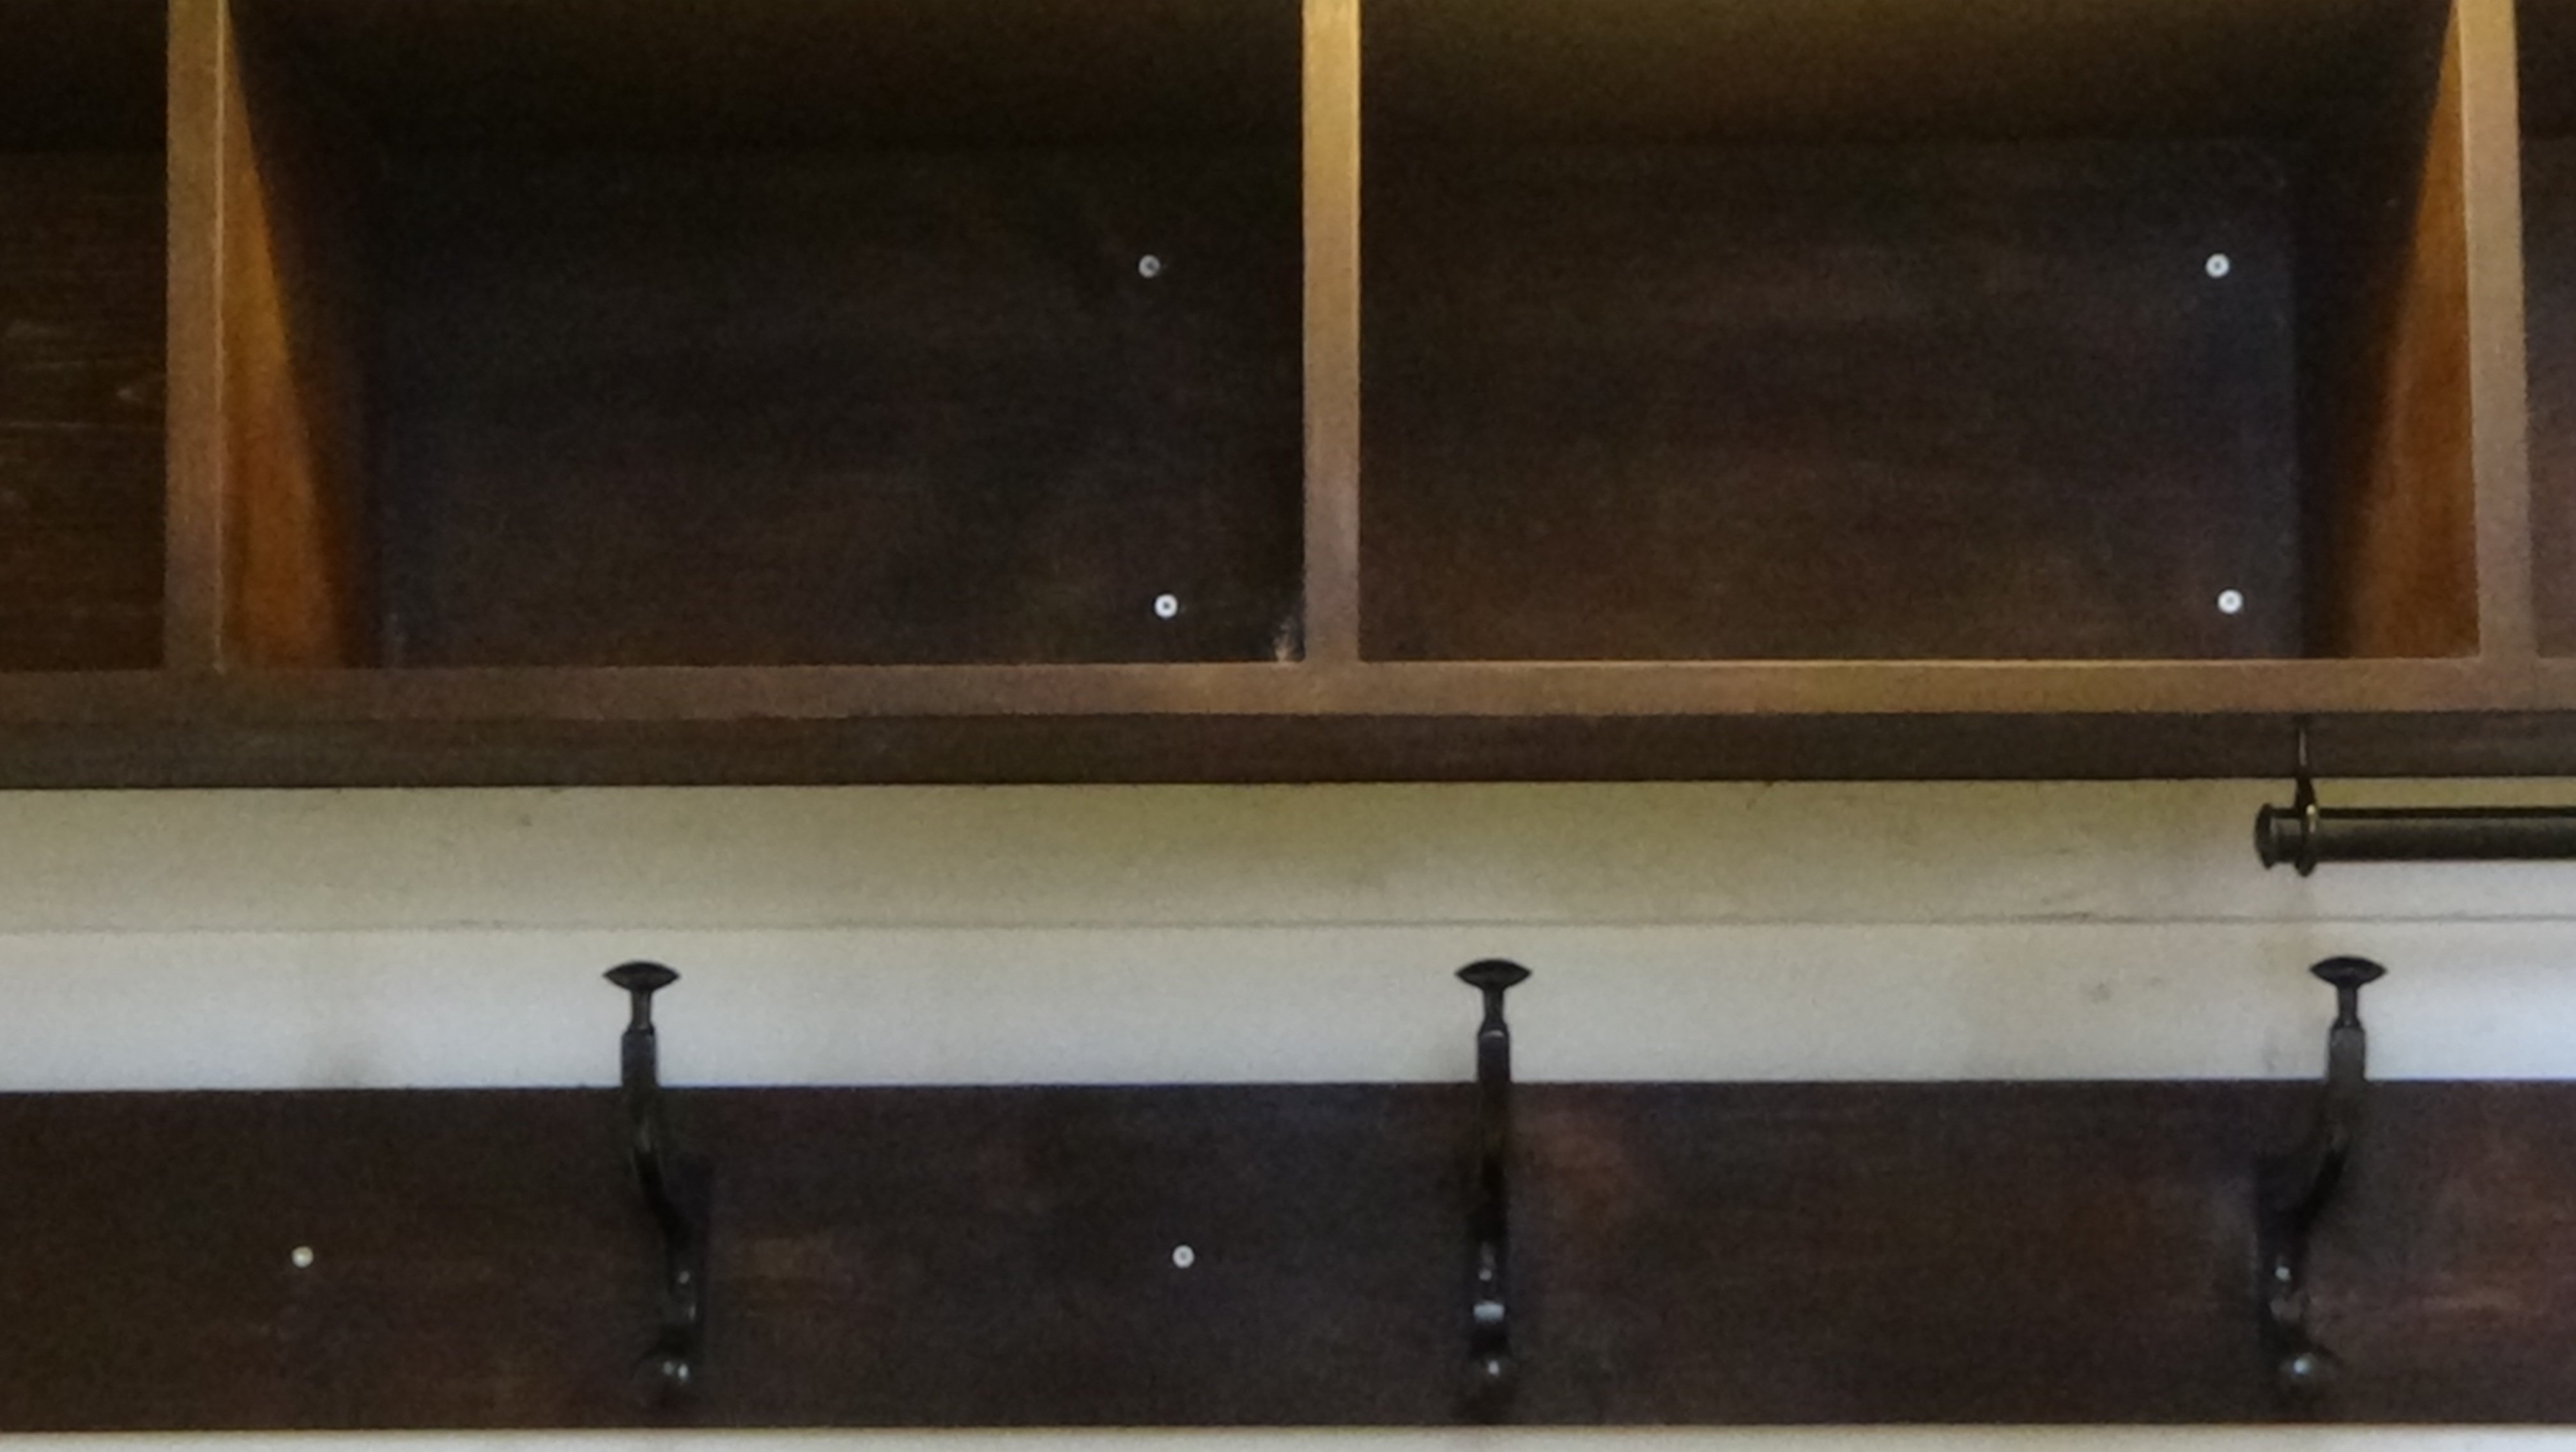
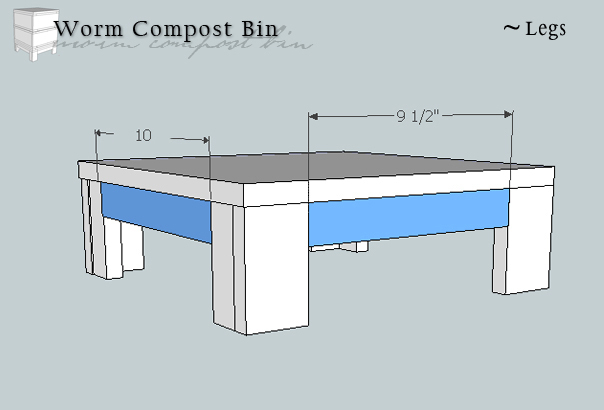
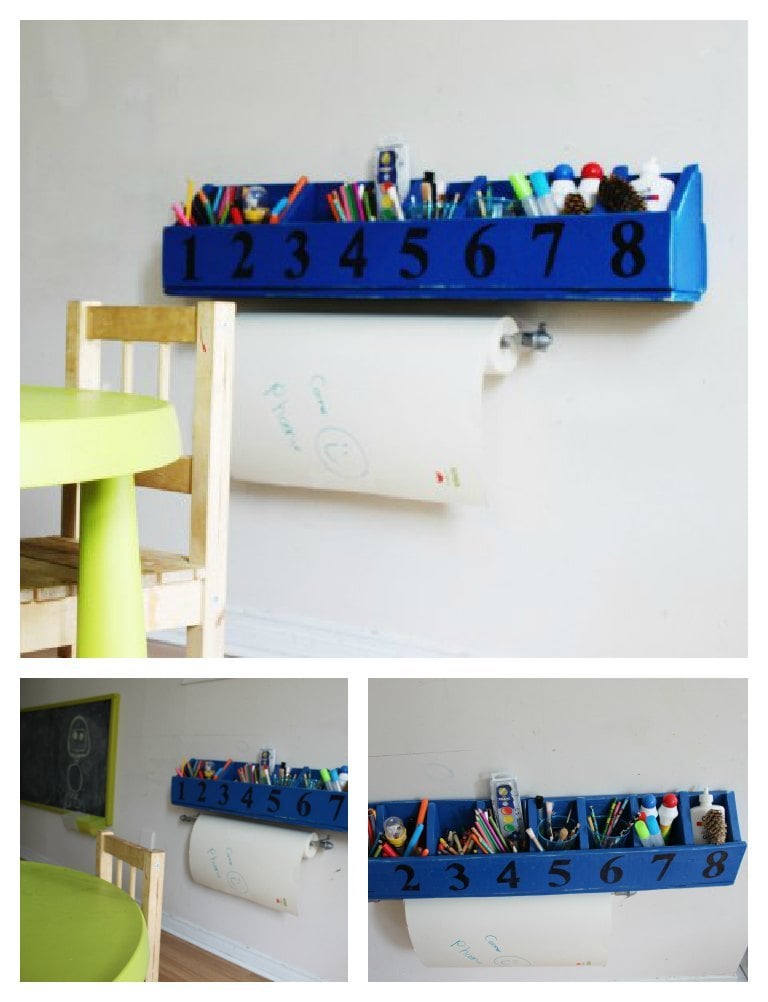
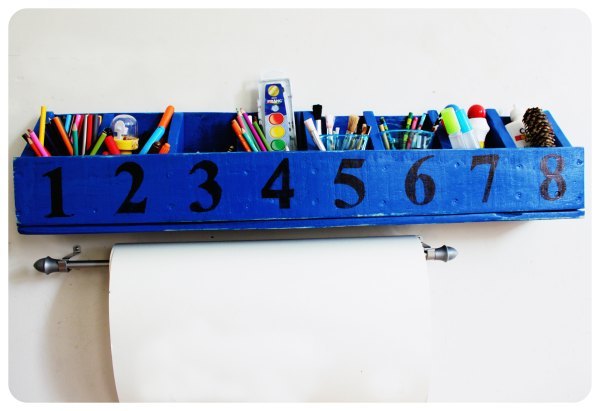
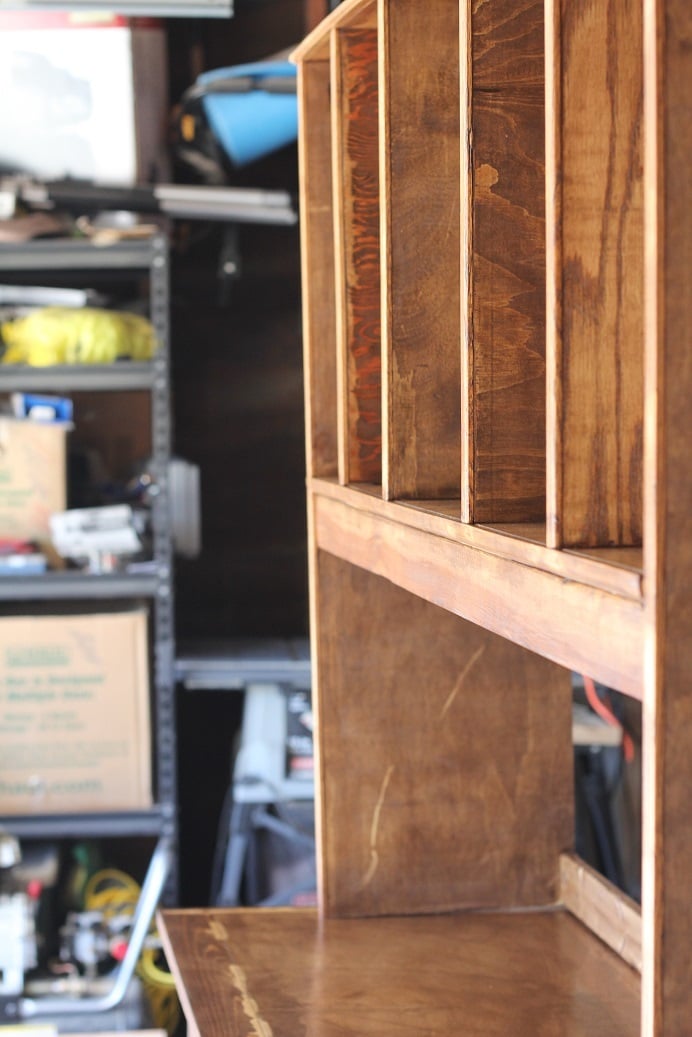
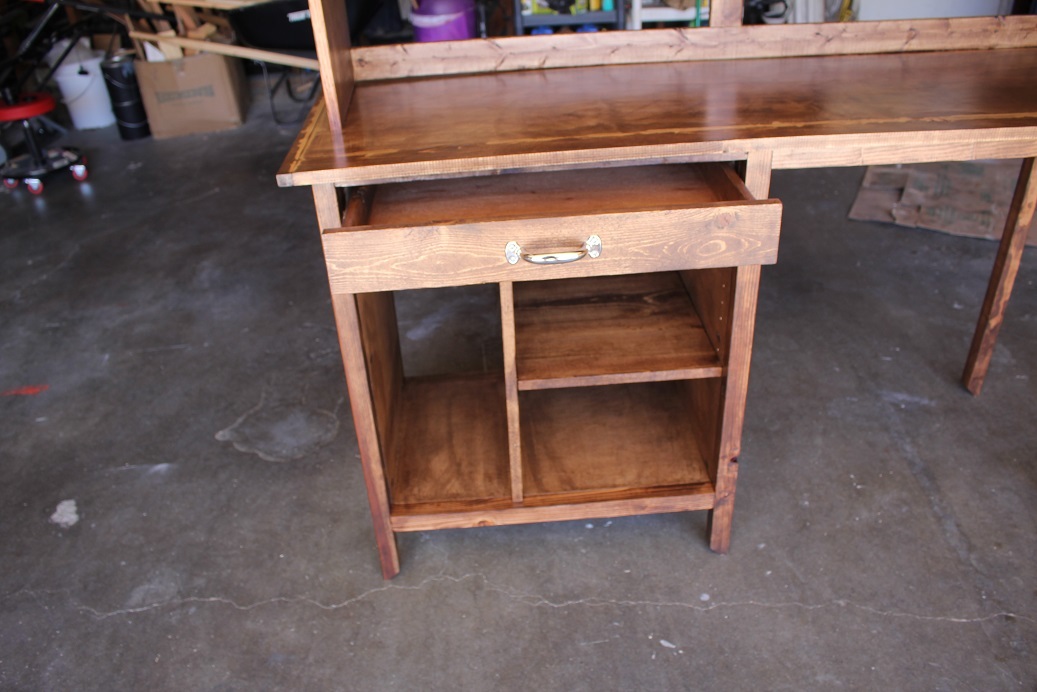
Media console
![](/sites/default/files/1871B424-EE08-4561-85F4-F3F600D123D9.jpeg)
Built this from the exact plans given. Very easy to build and learned a lot. Built whenever I had time after work
![](/sites/default/files/76AFC1FC-88CC-48B2-9A53-619F96D1D862.jpeg)
Built this from the exact plans given. Very easy to build and learned a lot. Built whenever I had time after work
Your outhouse design was modified for a snowmobile club project as the building needs to be towed across a lake to a site next to a warming shelter. An LED light with a timer switch and solar battery charger were installed to provide light in a remote area of Lake of the Woods.
A steel hitch and skids with hyfax were added to the design.
Thank you for providing a design that allowed us to make modifications for winter outdoor recreation accommodations.
My 2 year old daughter played in a playhouse at a farm and was just amazed by the "little house" every time we would see them at the store or driving down the road she would just scream "mom, its a little house, little house!" I knew I wanted to get her one and started to search. Couldn't believe the price of playhouse kits so I figured I could build it. This playhouse took about 2 weeks to finish but I only worked on it a couple of hours at a time just a couple times a week. Total cost for me for just the playhouse not including paint was $343.90. Thanks Ana for posting the plans and showing everyone that anyone can build!
My first project. I refinished my old dinning table legs and made a plank board table top from 2x6s. I gave a good coating of Varathane over the legs and the top to stand up to our daily life and kids.
mY first wood project turned out pretty awesome, thanks to Ana!!
I just started building "stuff" a few years ago and love Ann's plans. I have built several of your dining and coffee tables. This cabinet was a bit challenging and took me a while. I have had built drawers before but they turned out OK. I really like the top I create from some scrap 1 x 4's. Thanks for the great projects.
Simple and great way to get drawers organized, by Hannah
Tue, 01/31/2023 - 05:40
Hi Ana! Your work and dedication to your art are amazing! I had a quick question regarding the channels. I looked up "C channel" to order at my hardware store but there seems to be a curve at the bottom where the wood panel would sit. I also saw a "U channel" that's square and looks more like the one you posted in your video. Could you guide me as to which one would be best? Thanks!
This project was fun and easy to do. I made two of them so my husband and I could each work, watch movies or whatever while sitting in bed. The kids also use them sometimes during the day for playing on the computer or for having a snack. These little lap desks are super sturdy and very useful. They only cost me about $5 each to make.
Easy project and fun to do!
This is my first ana white project and my first woodworking project. I think i like this new hobby i just picked up.
I built a couple of these for the garden area and they are wonderful to sit in. As an experiment I painted these with chalk paint then finished them with several thin coats of spar urethane. After a couple of years in the sun, they seem to be holding up pretty good. I may sand and apply more spar urethane this summer just to keep them looking good.
Fri, 02/03/2023 - 12:45
Looks fantastic, thank you for sharing, so glad you are enjoying them!
When I saw someone post this sand box request on Ana's facebook page, it was like the sand box of my dreams! Our backyard is a work-in-progress, and we're constantly in different areas, so I knew that I would need a much smaller, transportable size. When the back yard is finished, I'll definitely build the full-sized sand box... But until then, I've got this 2' x 2' box, some sand in an IKEA bag, and a happy little toddler, who cries every time I try to close this to get photos. :-)
Wed, 10/19/2011 - 08:45
Awesome sandbox, may have to try this in the spring. I am home on maternity leave (in Canada where we get a year) and luckily managed to score one of those happy, content babies who don't need a lot of my time... so I am bored to tears and looking for projects. I found Ana's site which lead me to your sandbox and the picture of your gorgeous little girl crying when the sand box was closed; that made me laugh so much I had to comment; too cute!!
You and Ana look like the Charlie's Angels of DIY! Thanks for the pictures, inspiring.
In reply to Awesome sandbox, may have to by Andy O (not verified)
Thu, 10/20/2011 - 14:08
Your comment about the Charlie's Angels of DIY TOTALLY cracked me up! I LOVE THAT! Wouldn't really say that I'd make the cut, though... But thanks!!! :-)
I'm SO jealous of a year maternity leave. My baby was also VERY undemanding, and I built my first project when she was 5 weeks old. Yay, go us!!! :-) I'd love to see this if you do build it! What other projects are you planning?
Sorry there aren't more pictures of the building of it. We ended up rushing through it because a storm was moving in. In total it took about 4 hours to build the boxes and headboard. We already had the upholstered portion of the headboard that I made from scrap a few months ago so we made the bed to fit around it. We decided to leave it without a footboard so that we could slide things underneath easier. This has made storing things underneath very easy, we even keep our laundry baskets tucked underneath and we can have easy access. By making the cubbies slightly smaller we were able to make a total of 4 cubbies on each side and we can store all of our clothes and were able to get rid of our dresser.
This is my first attempt at a rustic coffee table build based on Ana's designs. I used redwood (mostly) and pine for the bottom shelf. The solution was created using white vinegar and 00 grade steel wool. The solution was not diluted (should have done 50/50 with water) and sat for about 15 days (only needed 5-7 to dissolve all wool).
Hope you enjoy!
Used the Clubhouse Plans as the base. Added length to the 2x4's for the second bunk. Made upper and lower railings. Used 2x4's between the legs with 2x2's screwed in for the lower bunk. Hobby Lobby for the nautical swag. So now me and the grandkids have a place to hide!
I made one set for my son, the one with the stained top. His friends liked it so much and kept borrowing his set, that he wanted to surprise them with their own and asked me to build them one with the LSU colors. Thought they turned out great! Thank you for the plans!
Thu, 02/09/2023 - 09:40
These look fabulous, ove the paint/stain job! Thanks for sharing.
One of the first projects from my new "workshop". I added a mirror to one end and hooks to the front and other end. My 3 year old was ecstatic about helping build it and I enjoyed every minute of it! What a fantastic way to bond and teach and grow, for both of us! Thanks for the site and the plans Ana!!!
I have made so many of these and love it. Different colors for different people. Making your own chalkboard paint is so easy also. Thanks Ana!
I let my kindergartener choose the color, so we have a pink sandbox! I live that this has a full lid, as the sand generated a lot of interest from our chickens! Plan egg followed as written, with a few minor detail changes, love it! Note, 320 pounds of sand was a just right amount for this sandbox!
We recently built our version of the Salsa console to use as a buffet/sideboard in our dining room. It turned out beautifully and we couldn't be happier with it! Check out our blog for more details :)