Lounger Sofa by Mark
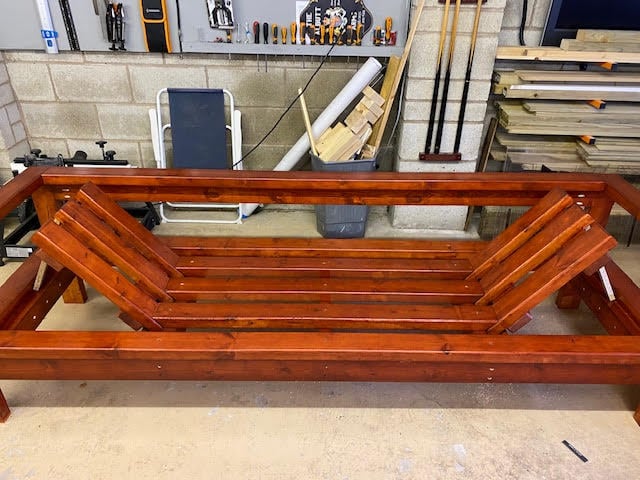
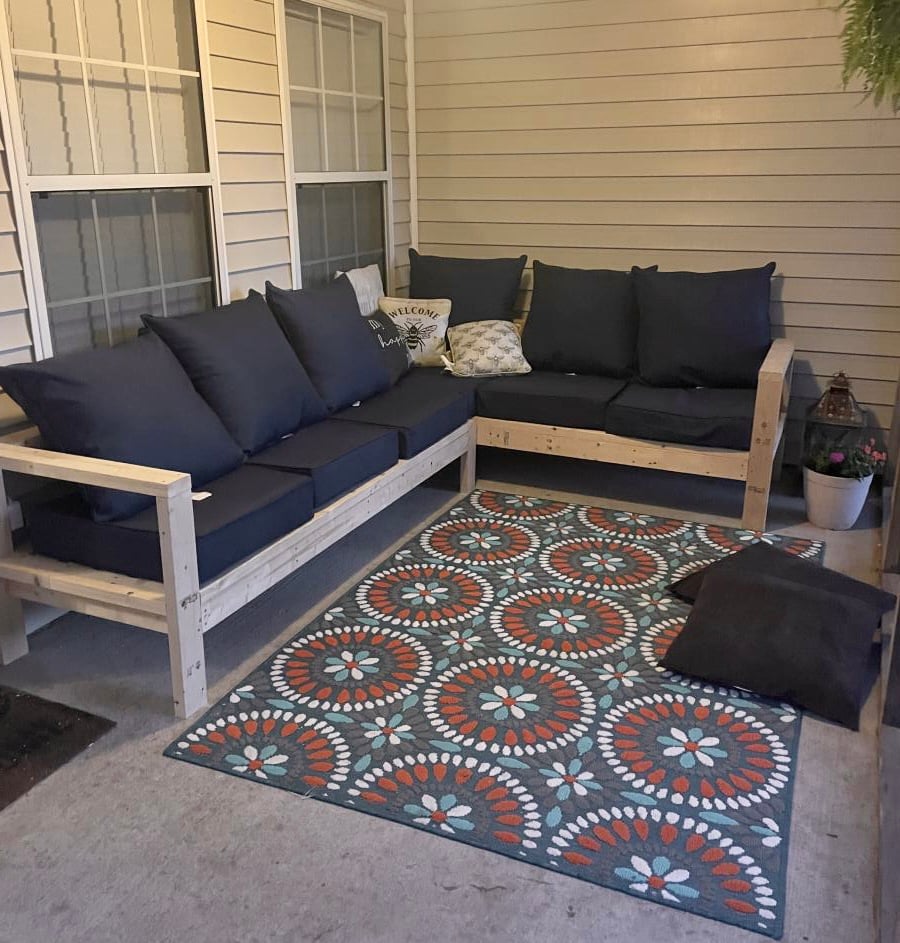
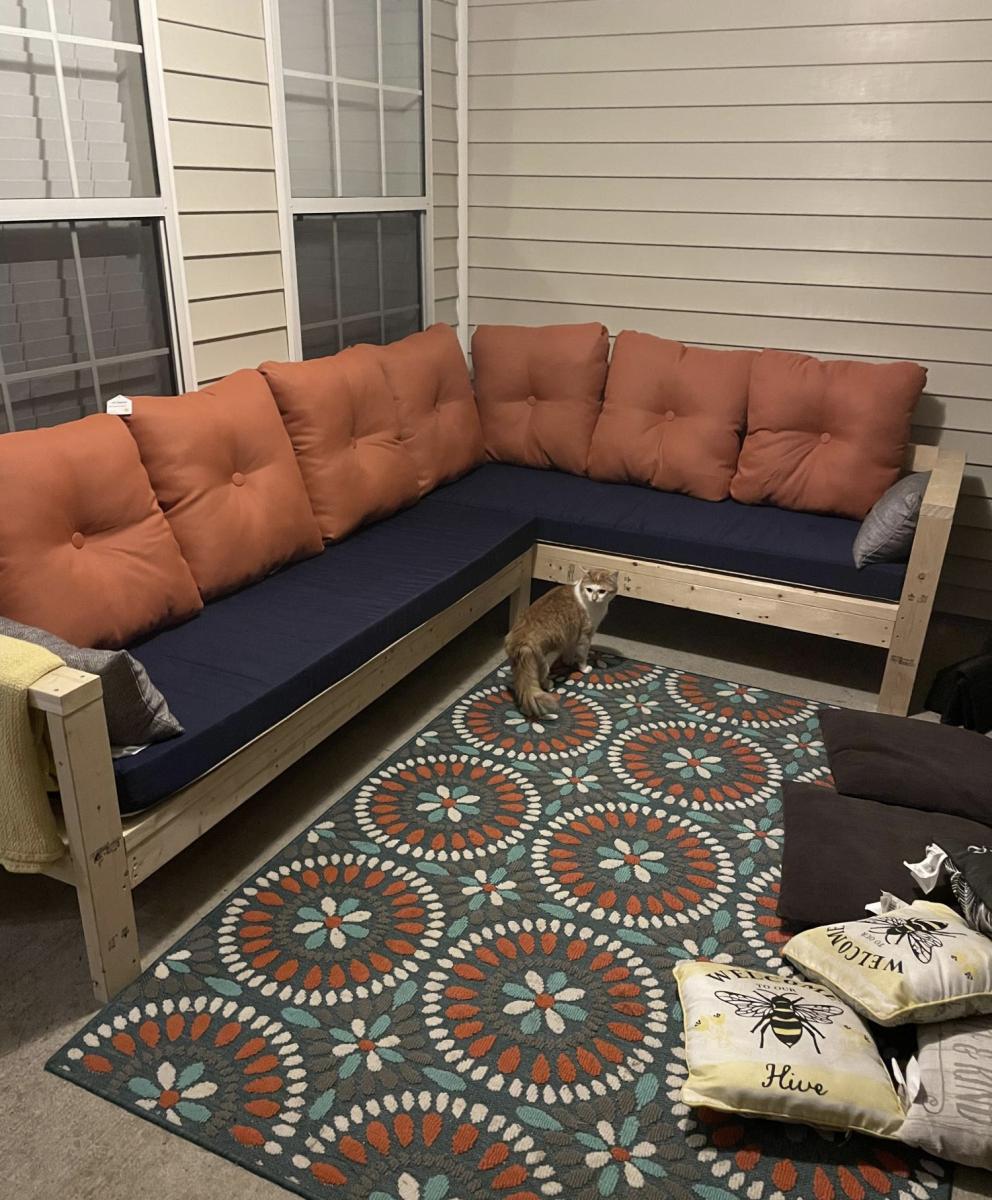
Just wanted to share the results of the sectional I built with your plans.
I’m new to woodwork, newly retired, built these for my daughters, with a twist, she wanted a lounger sofa, hope you like.
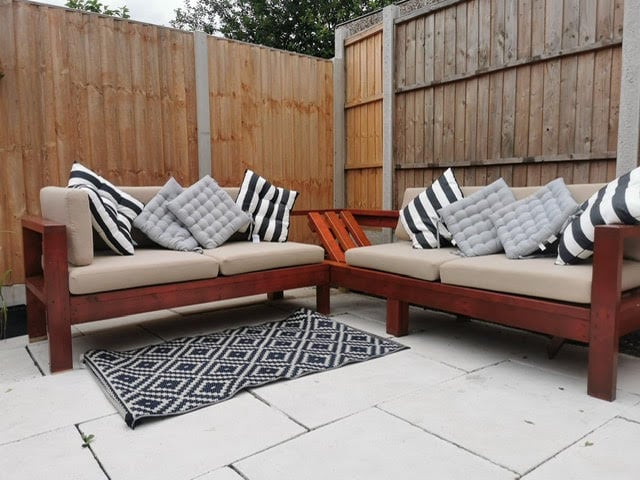
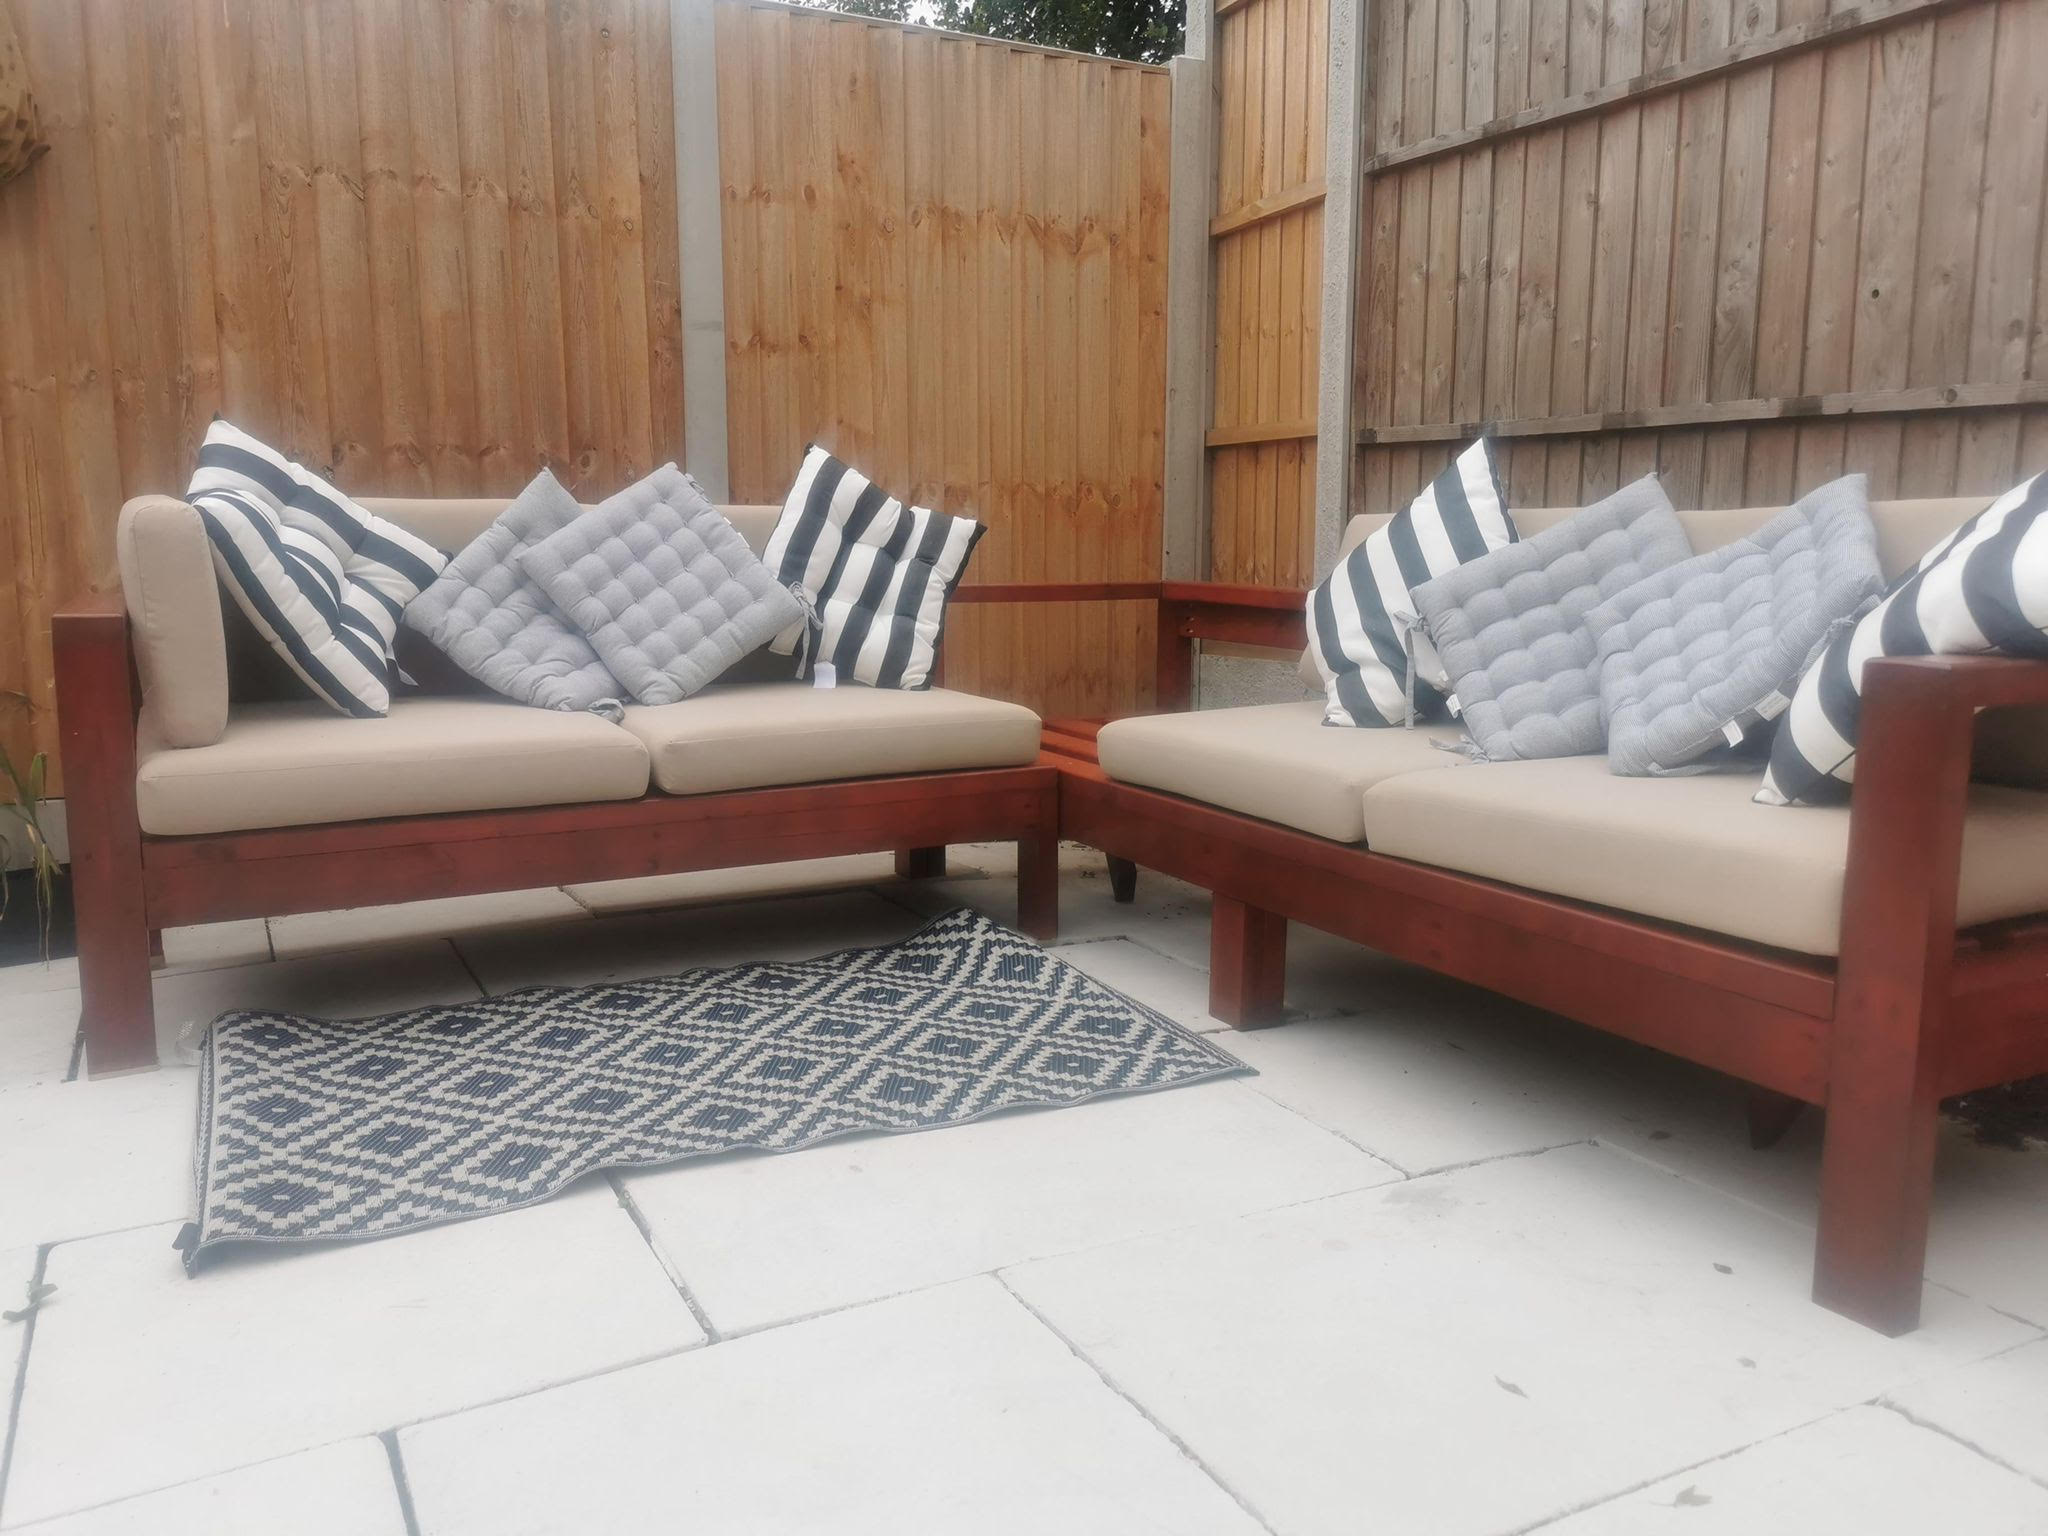
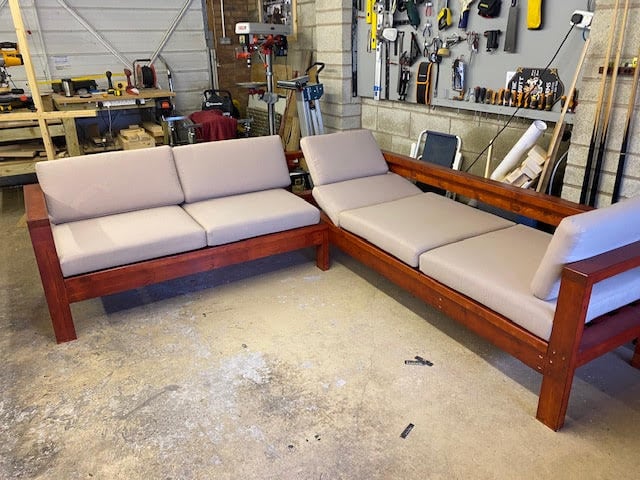
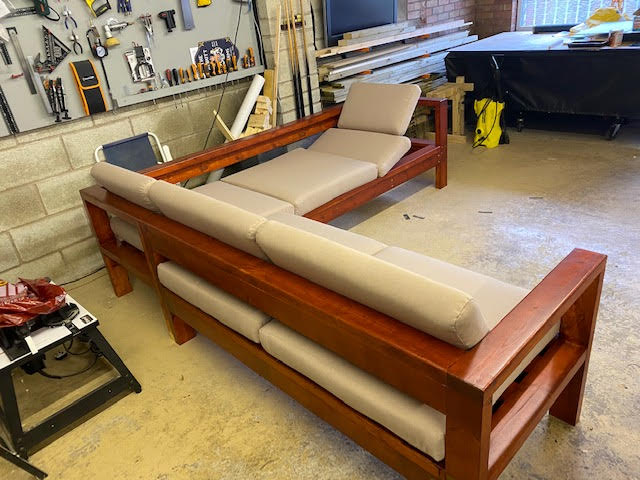

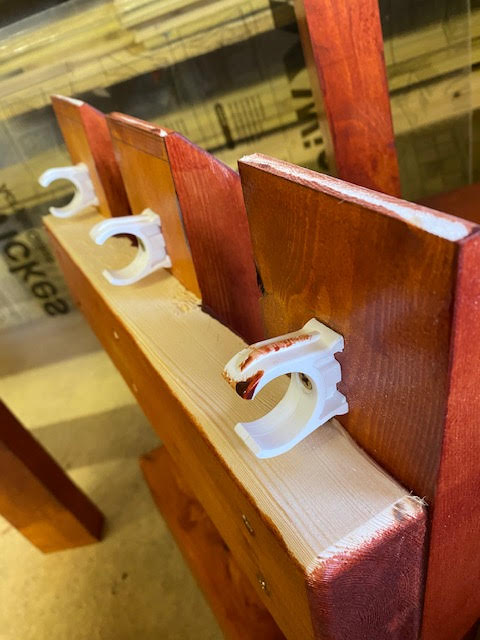
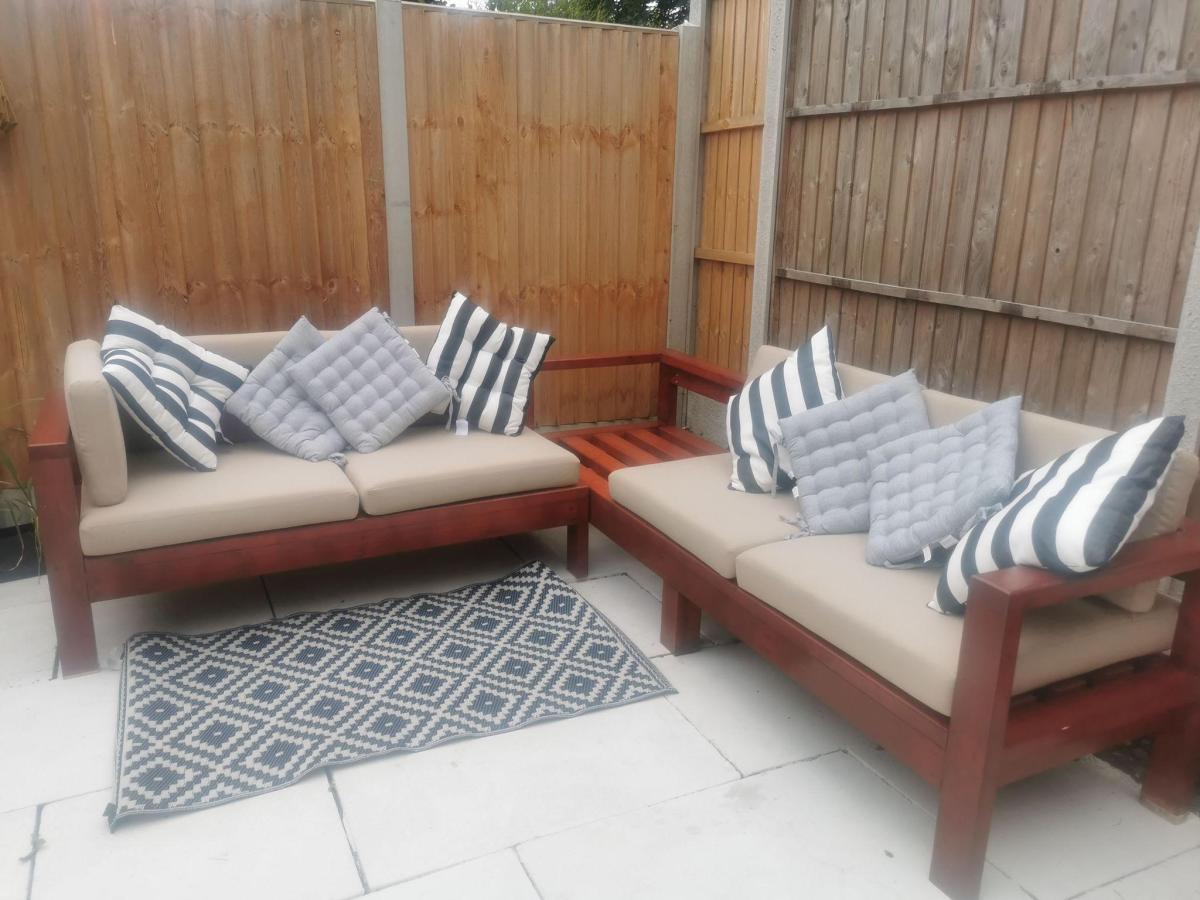

Just wanted to share the results of the sectional I built with your plans.
I’m new to woodwork, newly retired, built these for my daughters, with a twist, she wanted a lounger sofa, hope you like.


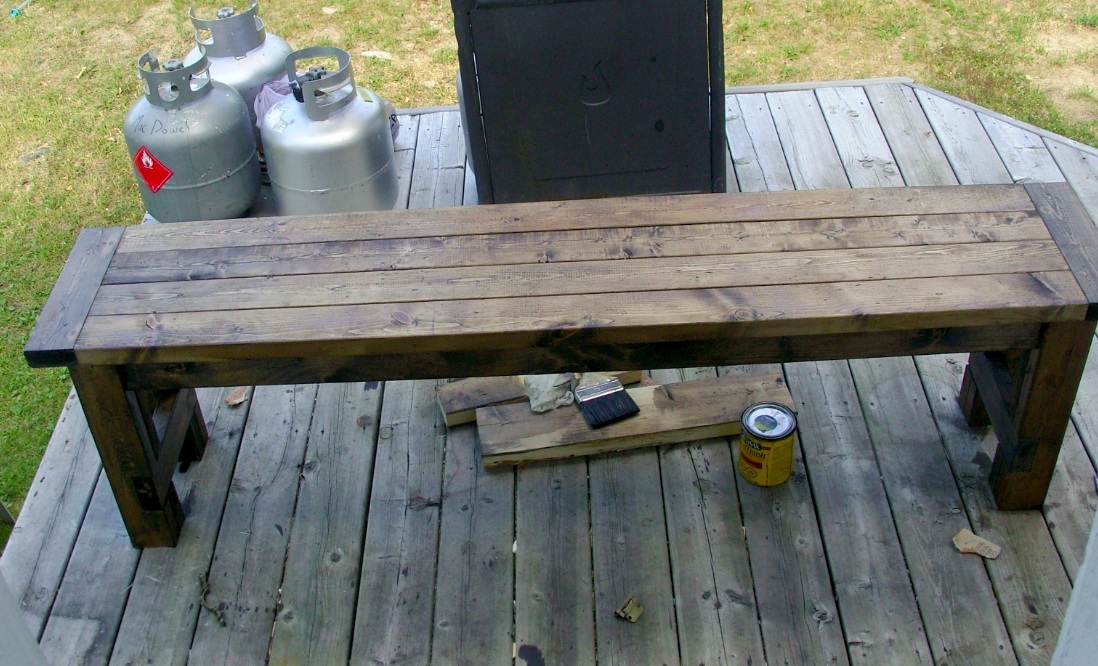
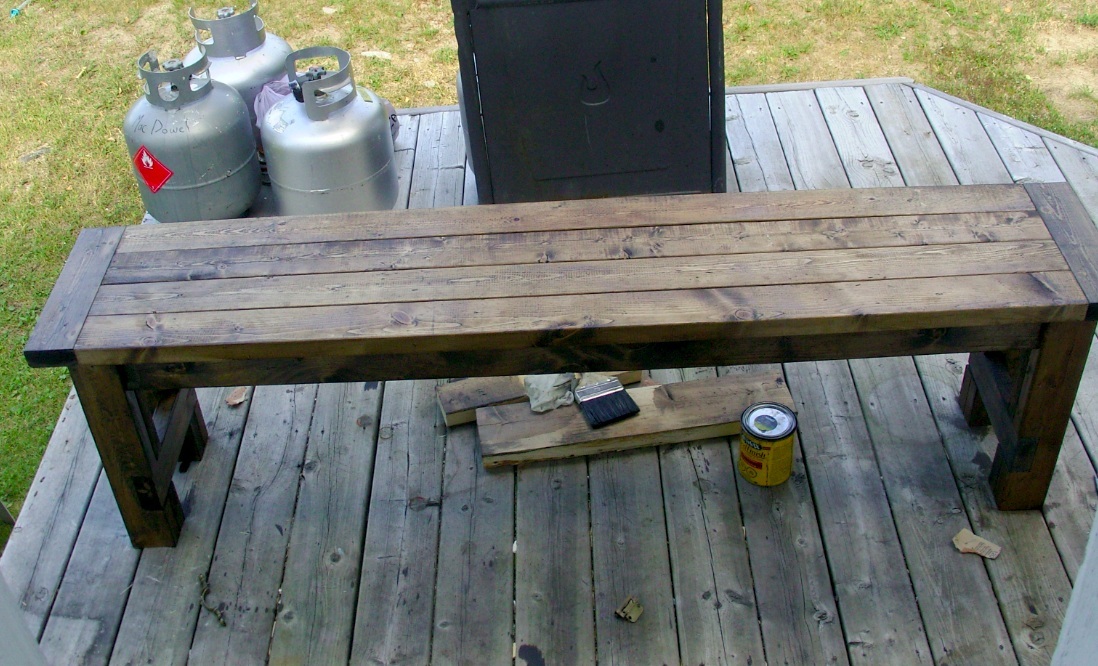
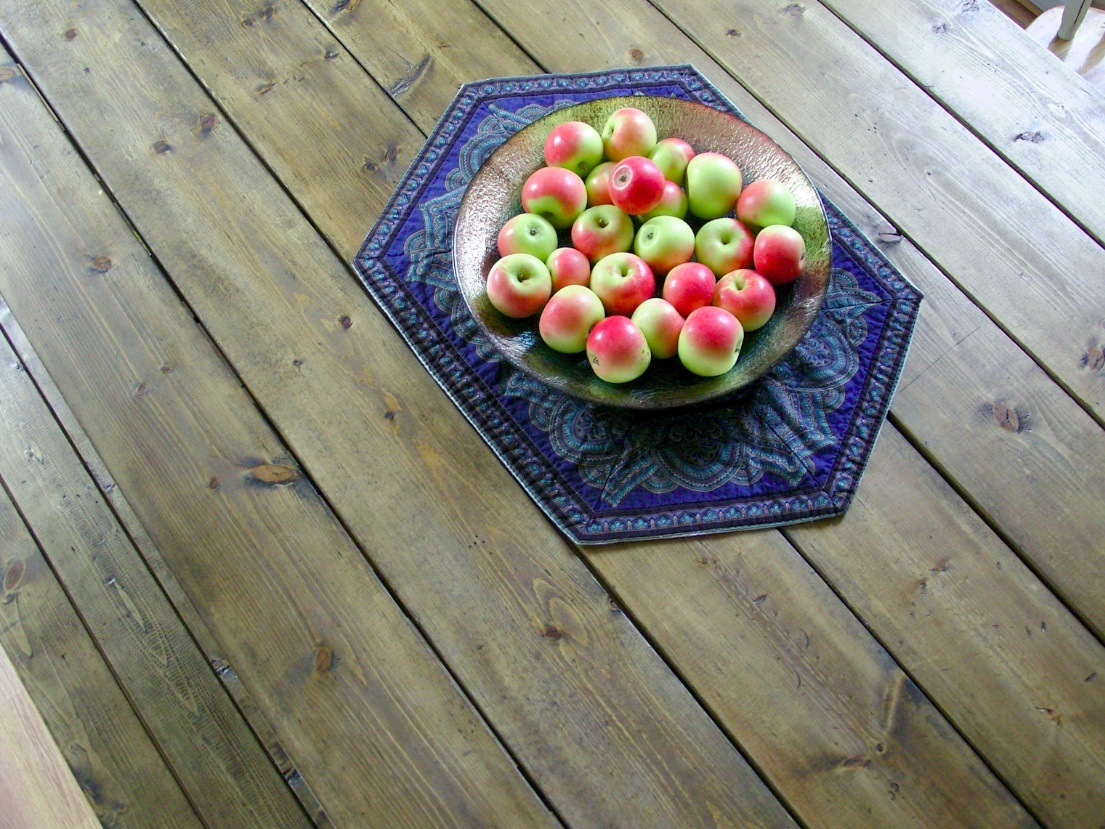
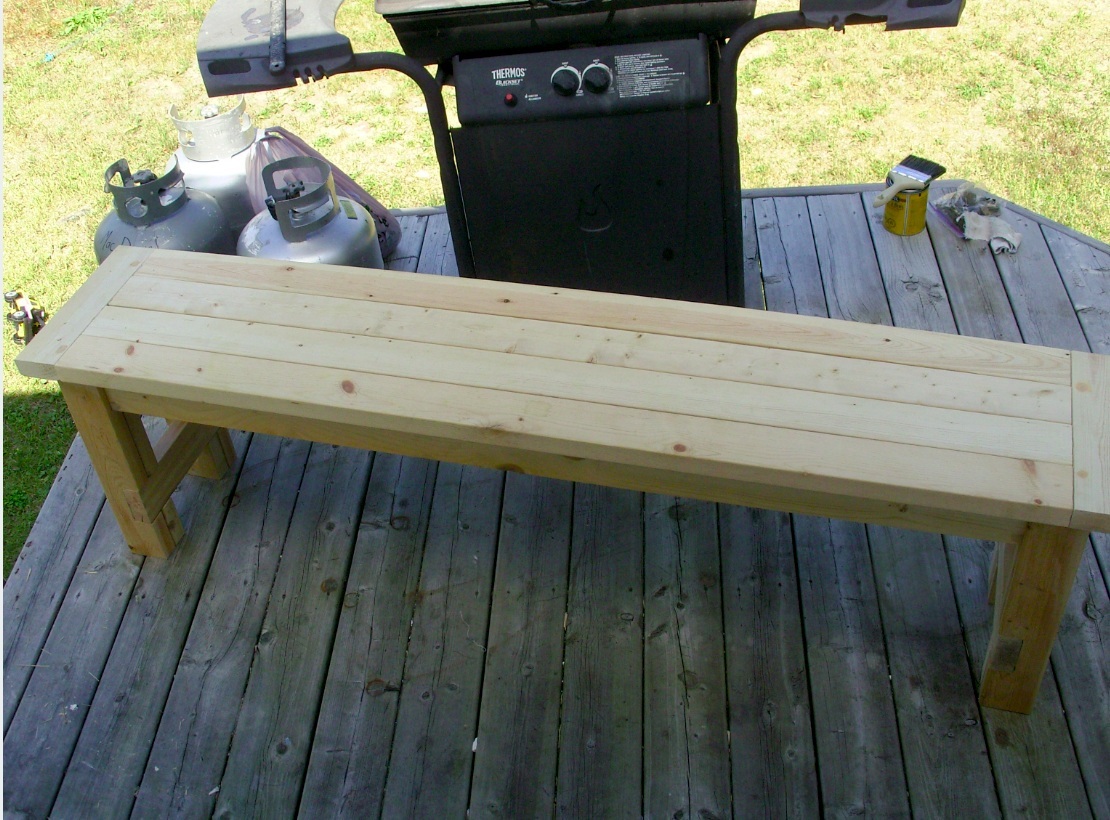
After building a custom sized farmhouse table by combining and tweaking the two plans here, we knew we wanted another piece of dining furniture as substantial as the table and in the same style. The farmhouse bench was the logical choice!
After calculating our desired height and length (our table is taller, but not a long as Ana's) we jumped right into building. Other than waiting for the glue to set and the stain to dry the building itself took less than two hours.
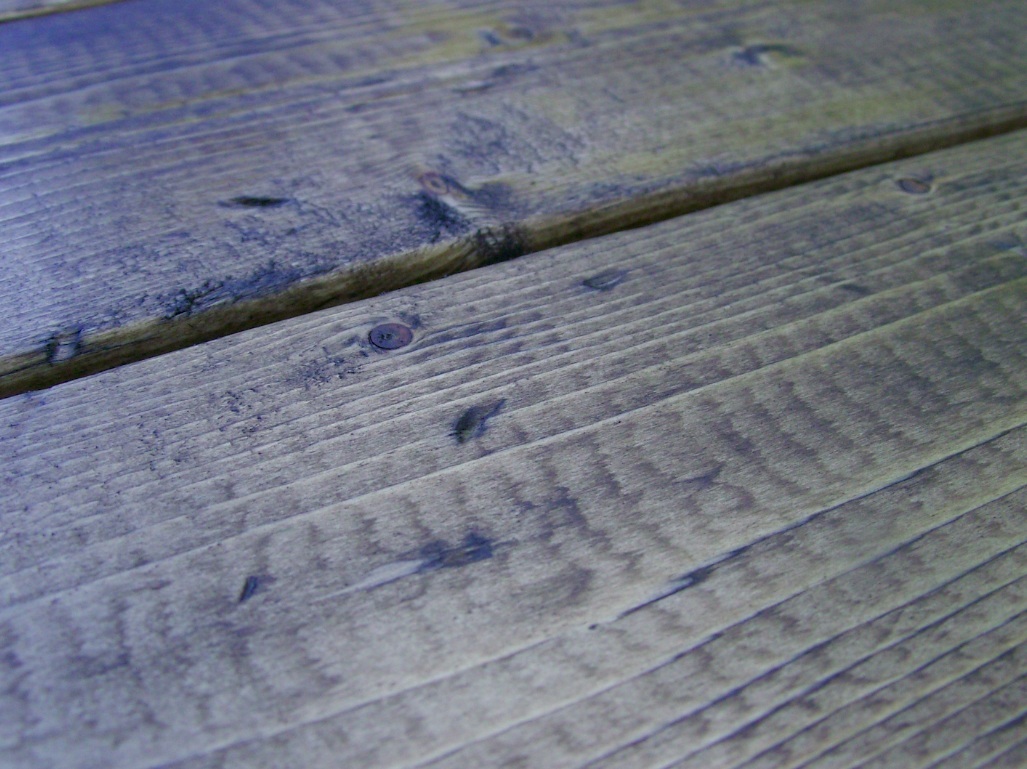
Before we stained the table we distressed the wood by tossing a bag of screws, nails & miscellaneous cabinet hardware against the bench top, followed by random scatterings of hammer blows and a few fuax-nail punch holes to make it seem more time-worn and aged (we used the same process on our table before finishing it). The key was to not go over-board and keep it random to make it seem as if the marks had been acquired over many years.
We love how both pieces turned out, from the cost to the look to the peace of mind knowing that it won't break our hearts to see the furniture get a little scratched or banged here & there as well as the substance given by having a solid wood dining set. This is one bench that won't flip over willy nilly. :)
Wed, 05/02/2012 - 15:39
Beautiful!
I am debating on using spruce or pine. how was your exeprience with spruce? did it split any?
In reply to Beautiful! I am debating on by Mar_co (not verified)
Thu, 05/03/2012 - 05:54
We haven't had any issues with the spruce splitting thus far, but we did pre-drill every screw and nail used as well as check the wood piece by piece at the lumber yard to look for deviances, warping, cracks and excessive knots (rule of thumb: the more knots in the wood, the more likely it will crack or split over time).
Another thing we do to condition the wood (even though it has been stained and poly'd) is to give it a good buff with [wood] oil every 6months or so; we're under the impression that this helps maintain the natural humidity of the wood.
Pine would likely have a better longevity and would probably be less apt to dry as quickly as spruce, but it depends on your price points too.
The greatest thing about the design of this bench is that any board can be replaced at any time (with a little elbow grease), including the legs--though the benchtop itself gets the most abuse. We're not gentle with our bench and so far the only 'damage' is a small chip on one corner from tools being dropped on it.
Hope that helps, happy building!
I build this desk from Ana White's Pottery Barn inspired Henry desk plan. I modified it a little in that I made the top almost 8 feet long to fit my space.
Mon, 11/23/2015 - 19:09
The finish looks gorgeous. I love the look, and beautiful photography!
In reply to The finish looks gorgeous. I by handmadewithash
Wed, 11/25/2015 - 16:25
Thank you, Ashley! ![]()
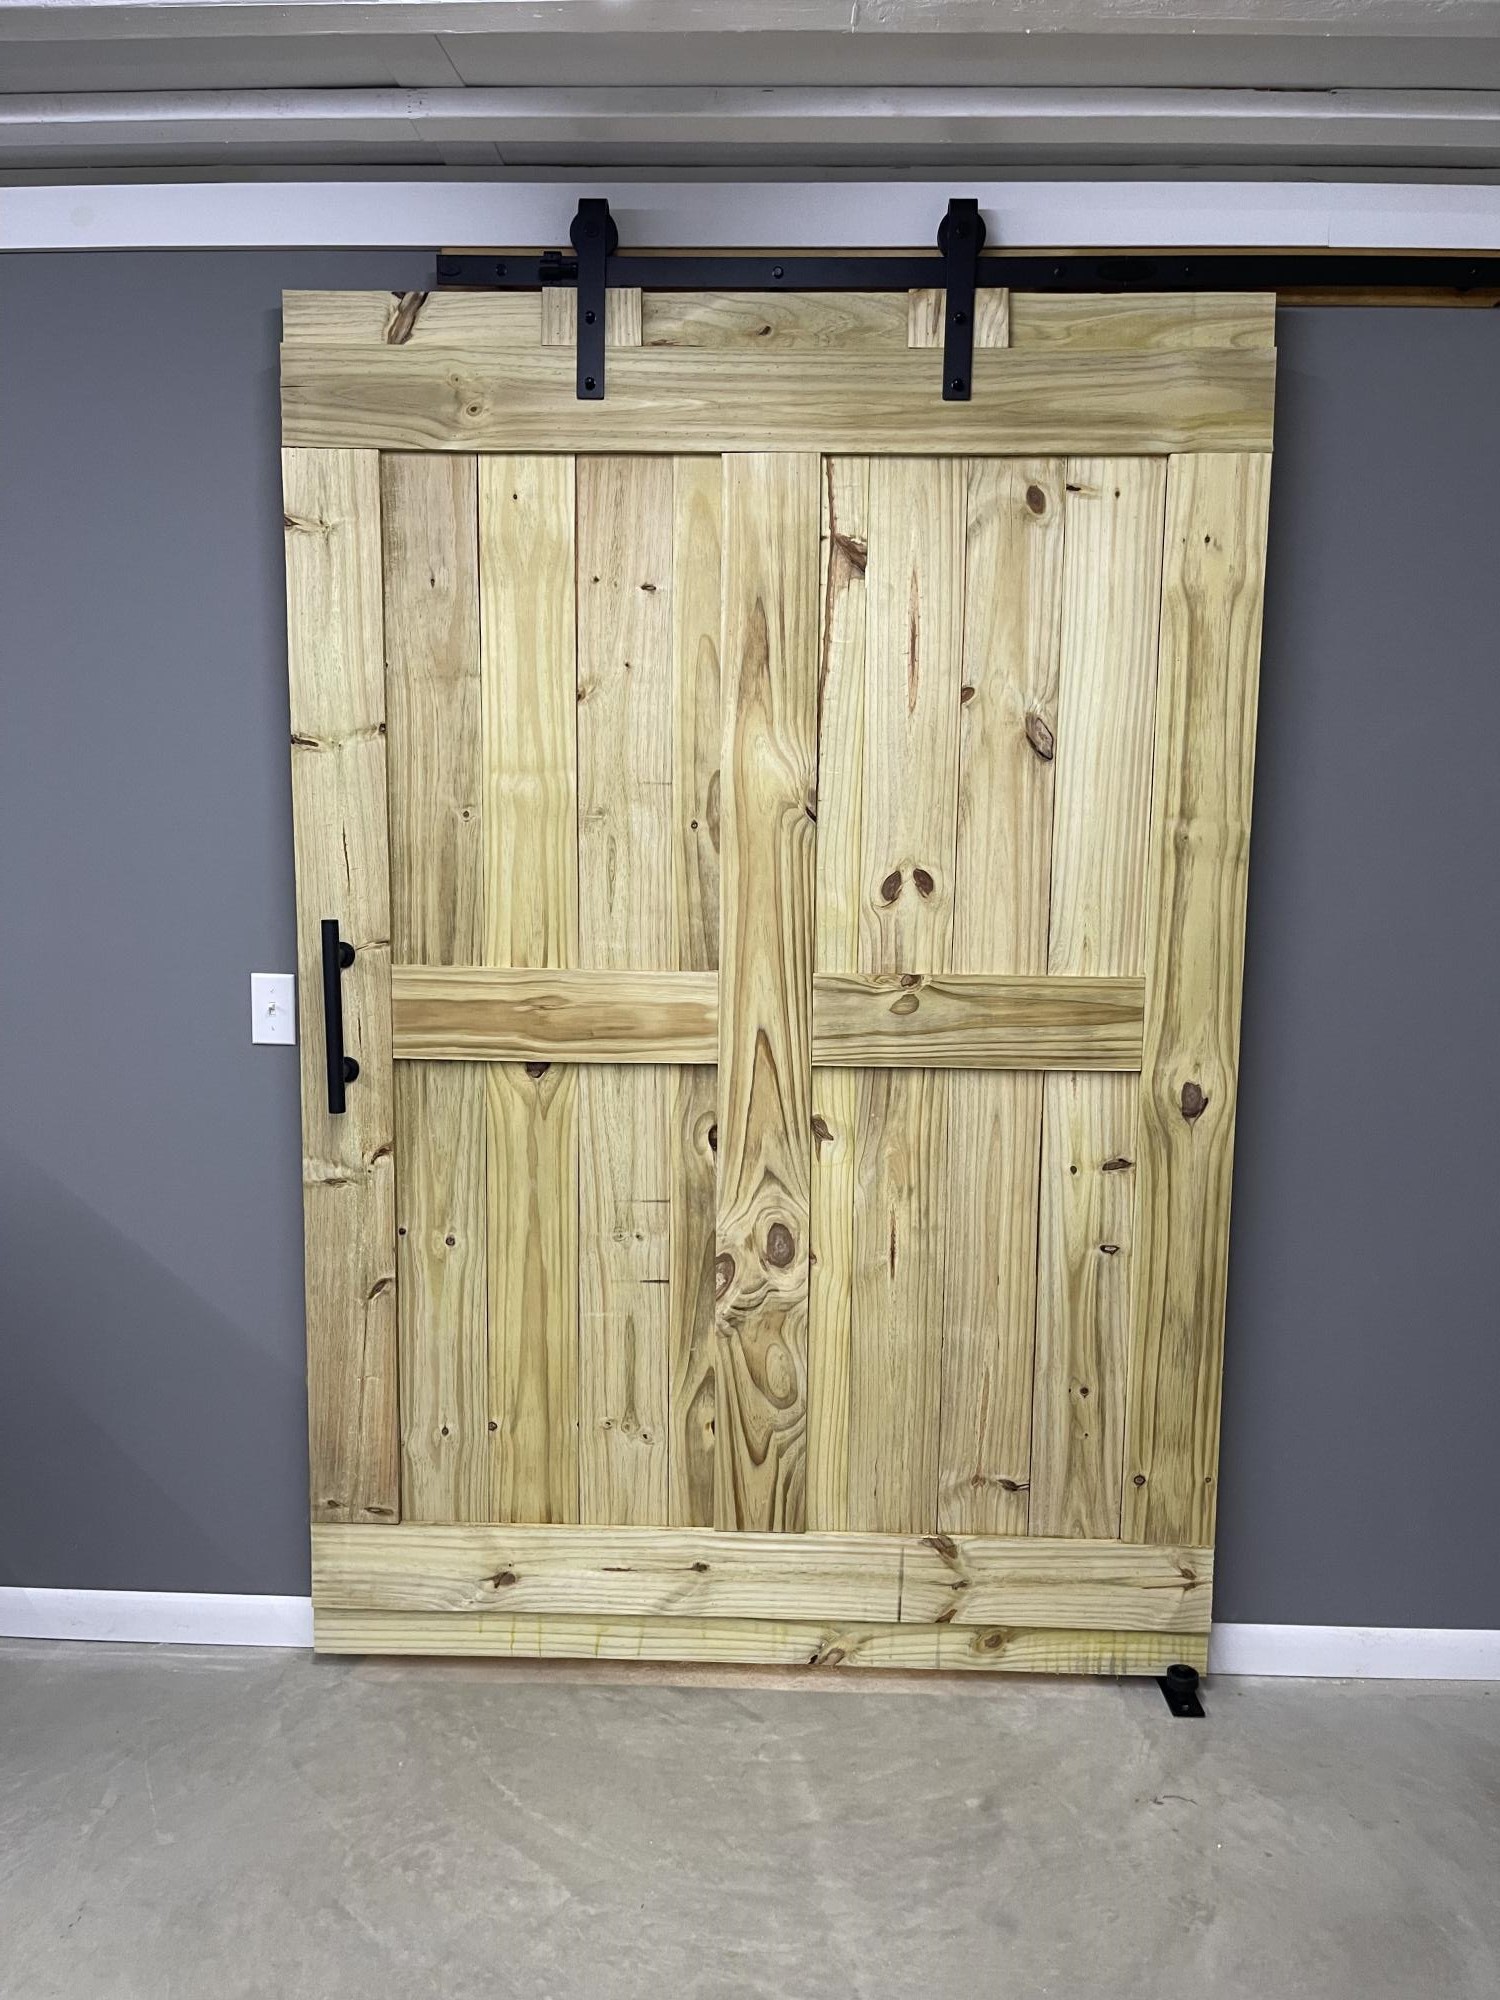
Using 6’ fence slats. Planed until smooth then assembled to fill opening. Finished with beeswax and mineral oil with additional hanging hardware, handle and floor roller.
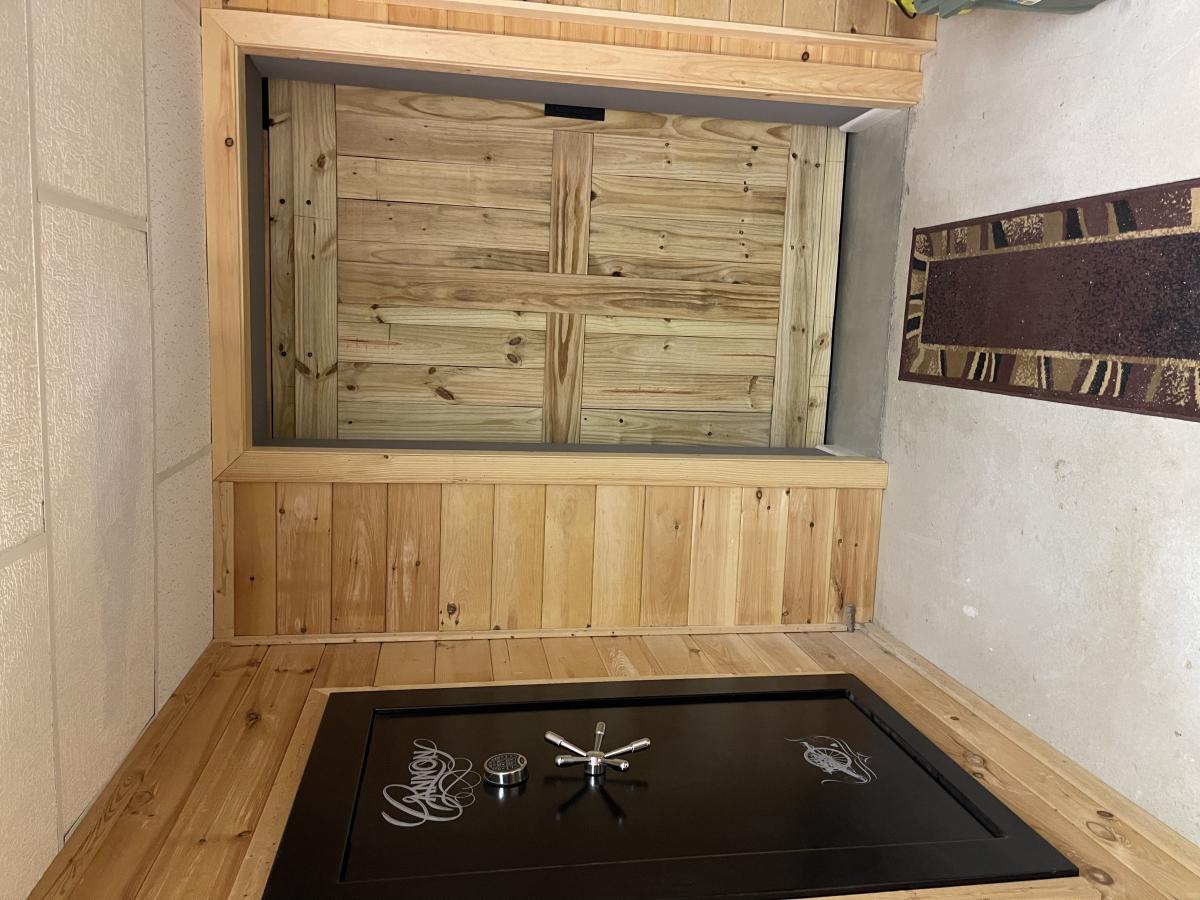
Since we don't have a garage or any really good place to keep our tools, they end up all over the house while we're working on a project. So, we decided to build a cabinet that would look nice in our house, and also house our tools. We chose the armoire plan because it has plenty of space.
This project took us forever, so it's hard to really estimate the actual working time. We began working on it back in June, then we were evacuated because of a forest fire.... By the time we got back into our house and we were organized again it was the end of July.... and now finally the end of August it's finished. It took us a while, but it's a great addition to our house!
We modified this cabinet by using 1/4 inch beadboard backed with 1/4 plywood for the doors. We also modified the size of the armoire to make it deeper.
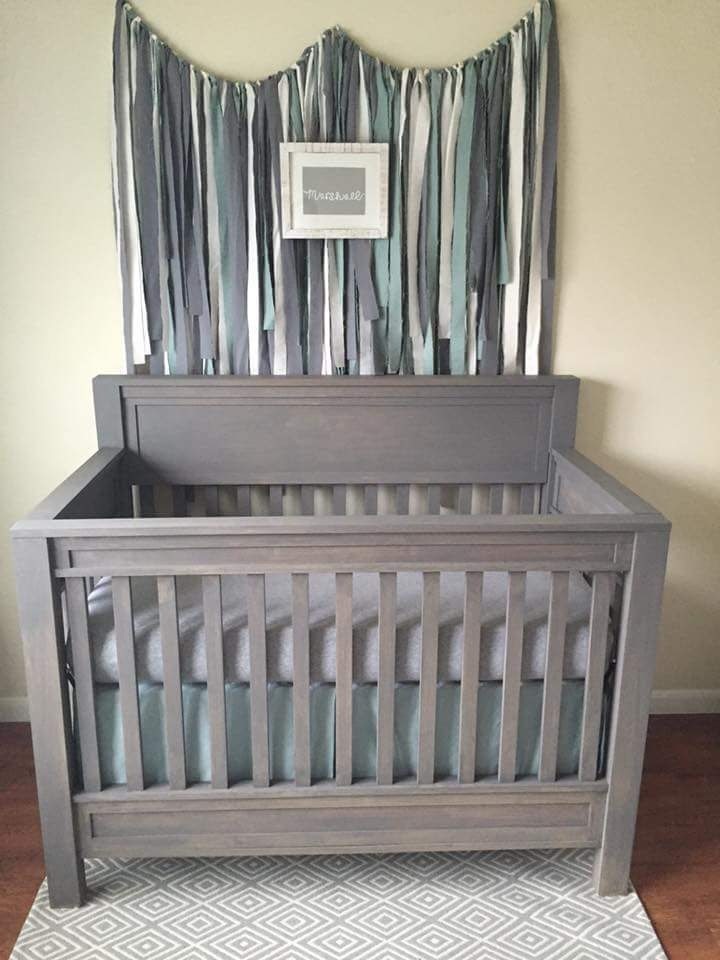
Delivered the nursury Furniture and have a very satisfied daughter preparing to bring our Grandchild into the world.
From Ariel "My sweet baby boy has the most beautiful nursery I've ever seen! I am so thankful for my father who hand built this furniture. It is definitely made with love and it's everything I dreamed of. I'm also thankful for my husband and brother in law who set up this entire nursery for me this morning. Thank you"
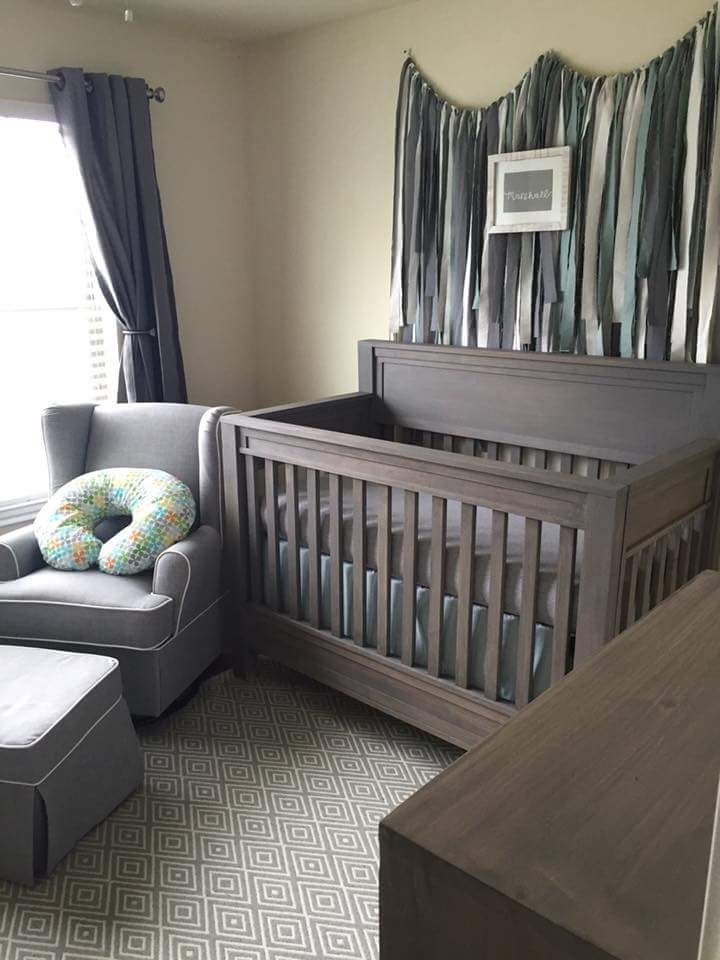
I started with plans and inspiration and then added some creativity. For the legs on this crib I laminated three 1x4 poplar and used threaded inserts. #anawhite
Tue, 10/18/2016 - 18:33
With the help of taking wood sample to Sherwin Williams along with our daughter we picked the stain and the color. Interesting thing is that the exterior stain actually goes on easier than interior and is as safe as interior.
Fri, 03/11/2016 - 09:20
My husband would like to build our son a crib and I love this one! Is there a way to get the plans??
Mon, 11/07/2016 - 19:14
I like your husband really like and want to build this crib. However pondrider hasn't replied so i was wondering if he/she sent them to you by chance.
Thu, 06/30/2016 - 16:33
I love this crib and was wondering if there is plans for this. I would love to build it for my sister!
Tue, 10/18/2016 - 18:51
Folks I am going to tell you to suggest you get the frame and hardware at place called products america .They have a link to plans that were on a magazine web site for sale. I got the plans but the crib you see only used those plans to get started. If you look at each side independently you will notice that you can build this with Free and better written plans for Ana-White farmhouse bed. yes, you'll do a little modifying for the sides but as we build that is beauty of everything we build in that we build for the size we need. The plans from build America will help with dimensions. The other key with a crib safety and the fact that it must be assembled and disassembled in the room. The plans from build america will attempt to show how to install threaded inserts. I found Youtube and other instructions to be much better. My build has fixed sides meaning the front and the back do not come down. And I did not set it up to be convertable.
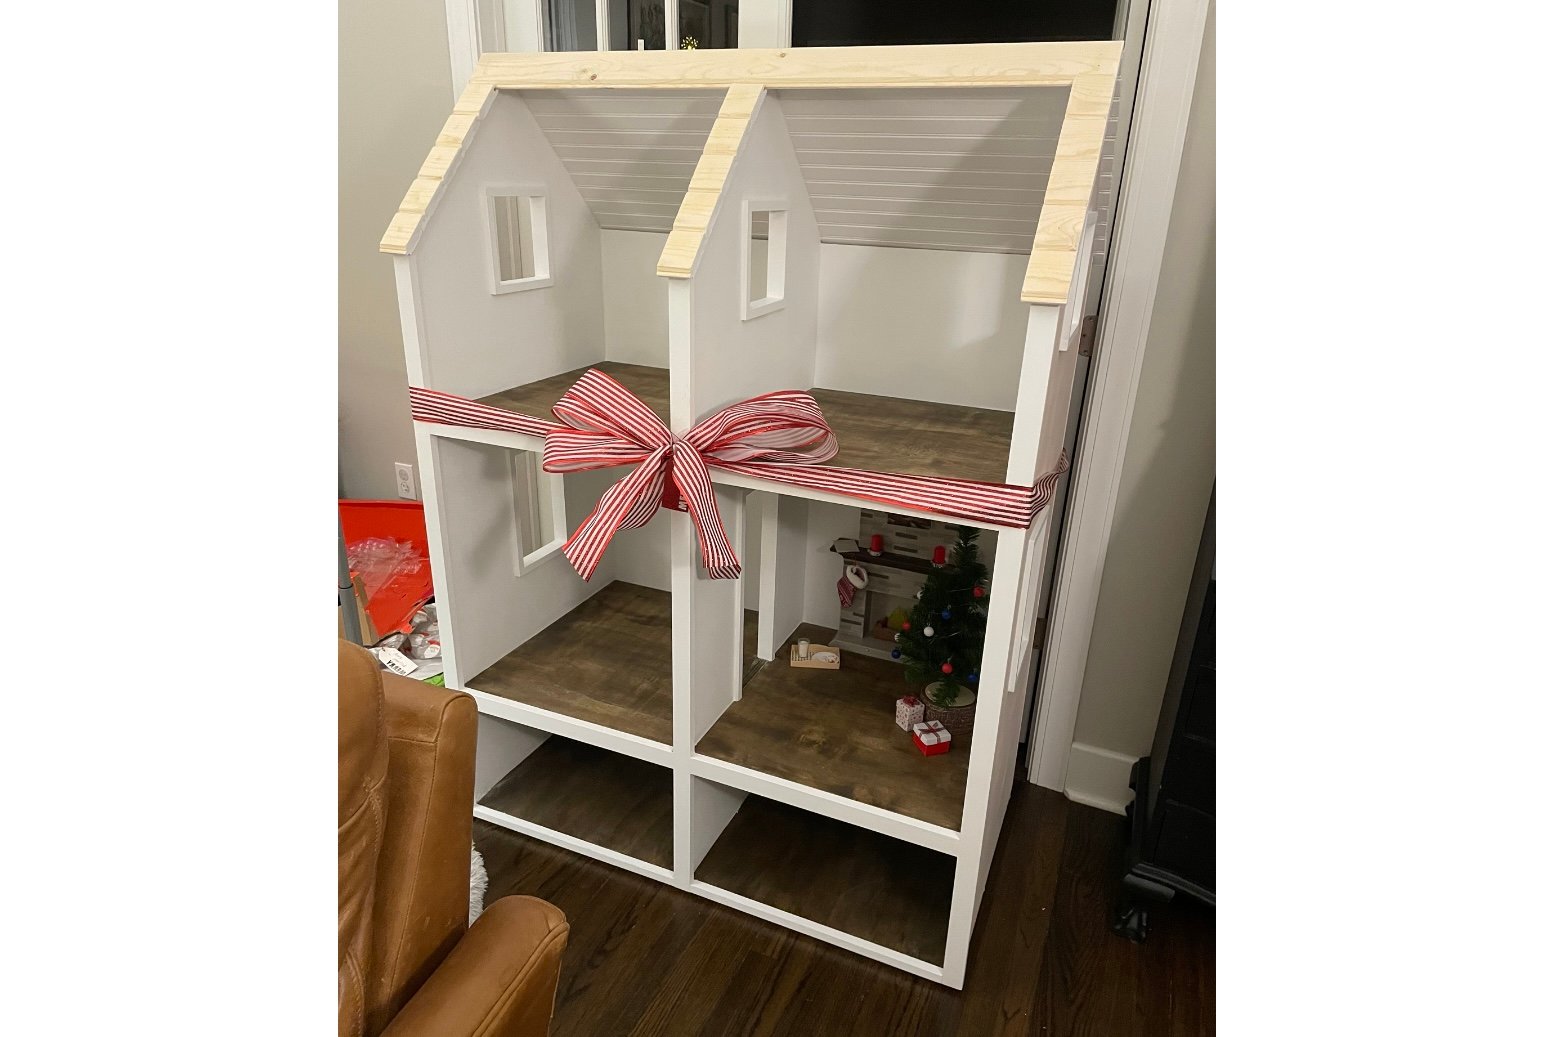
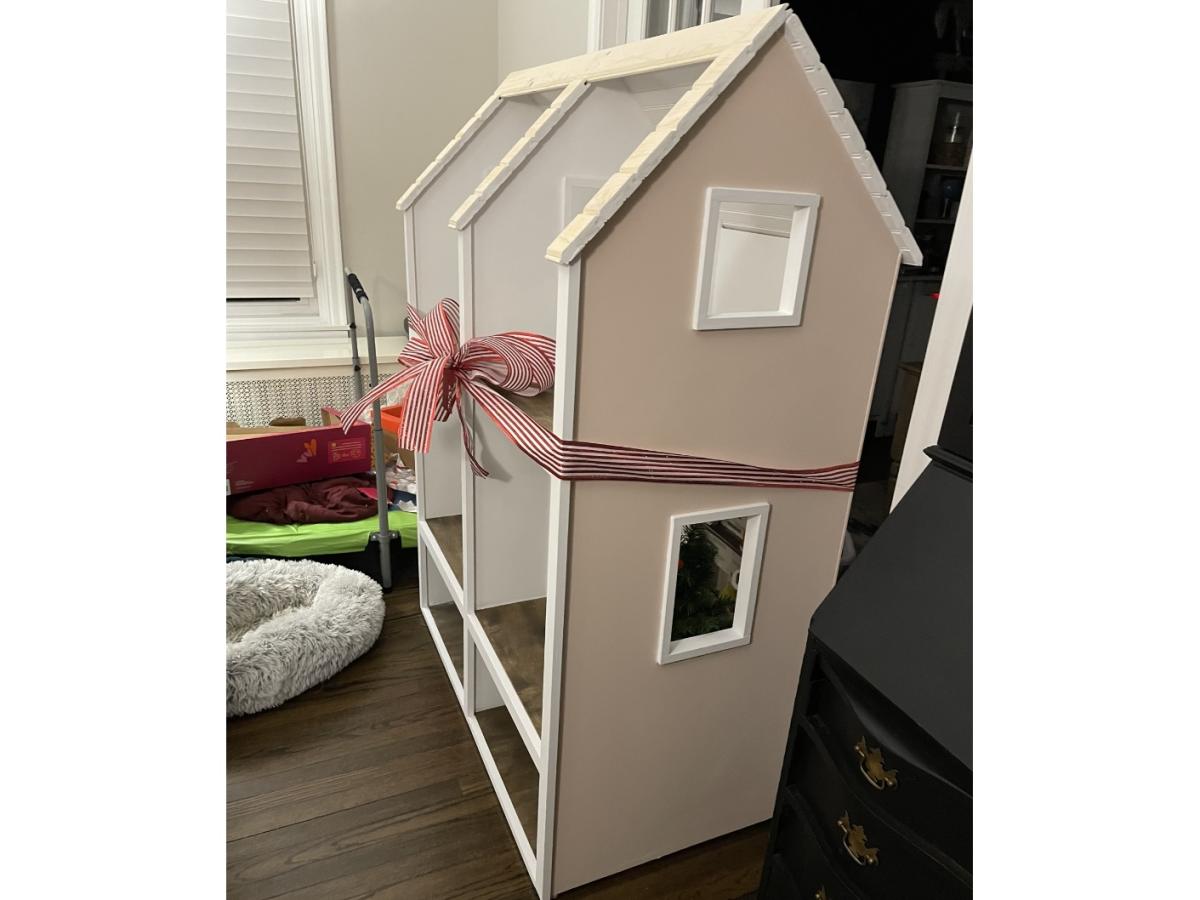
We had a lot of fun building this. We made the bottom floor 1/2 the size so she can use it as a storage (aka crawlspace). I also followed another posts idea of using 4 inch tongue and groove pattern board (beadboard) for the roof.
Wed, 12/28/2022 - 13:47
Thank you for sharing, I'm sure it was a big hit! Merry Christmas:)
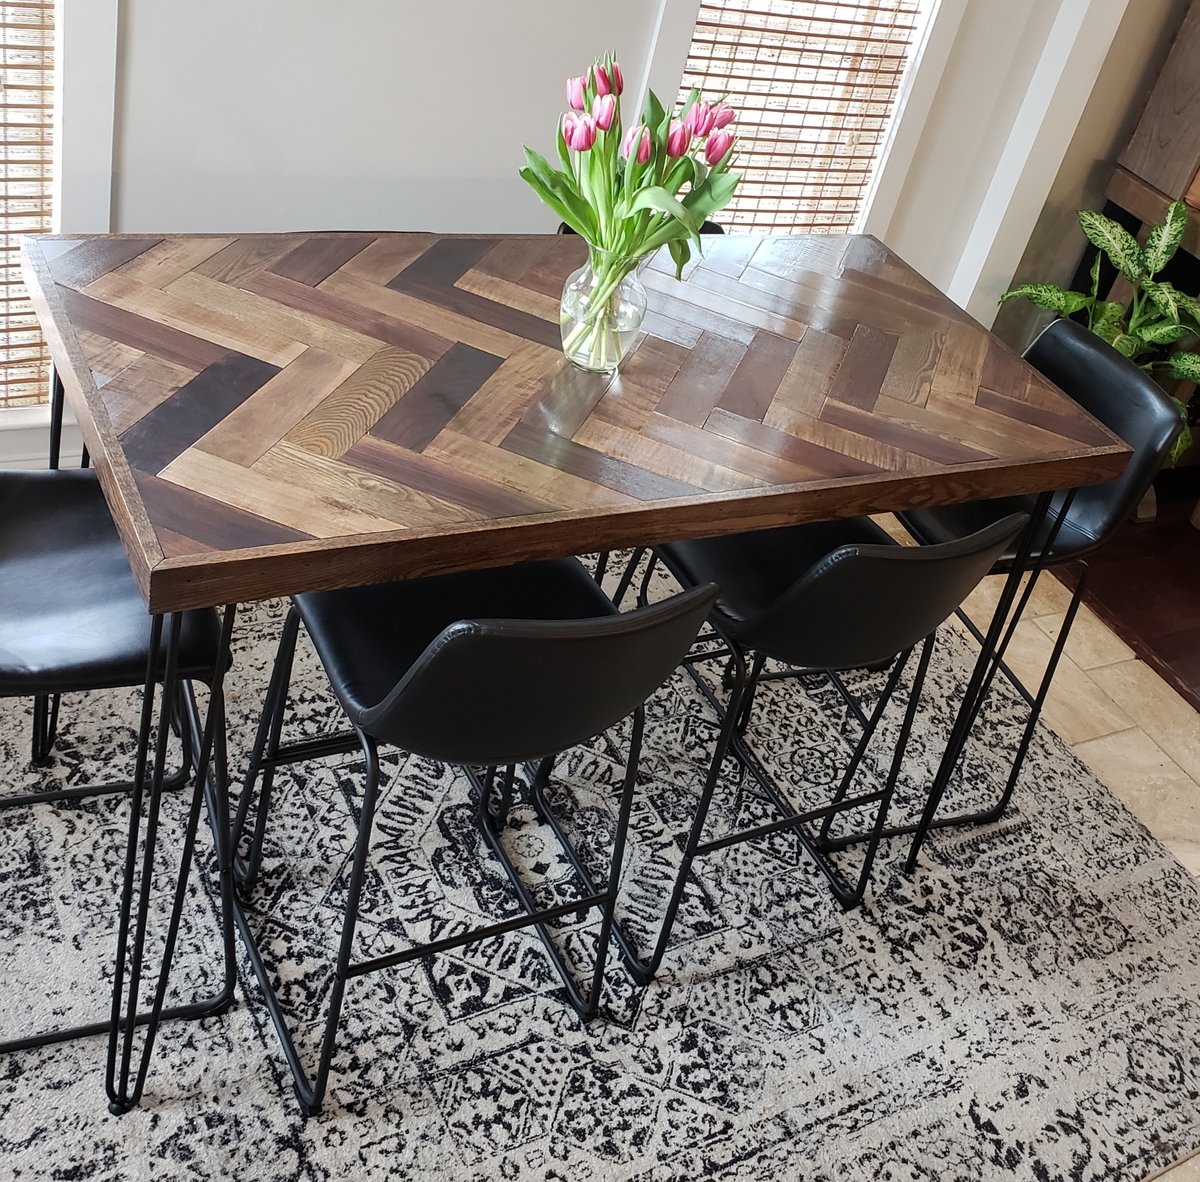
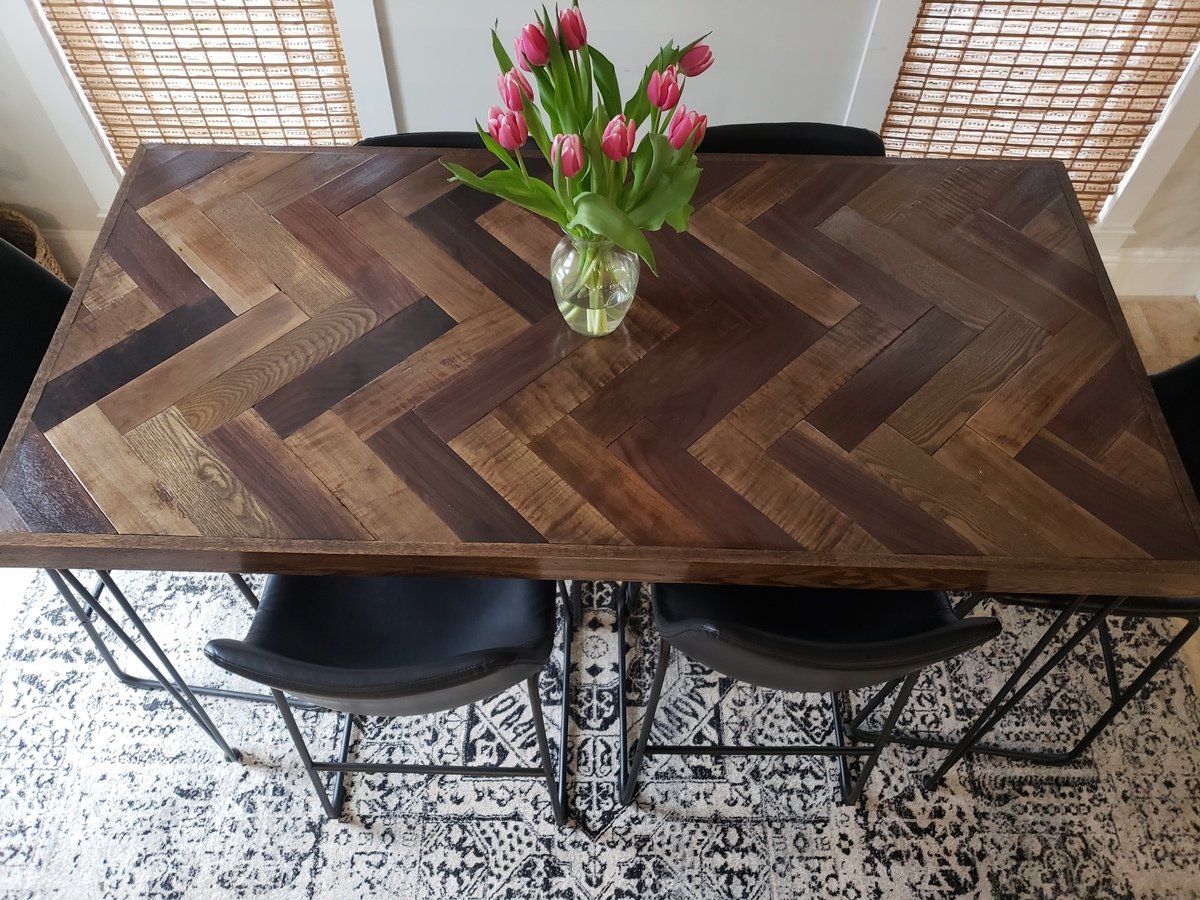
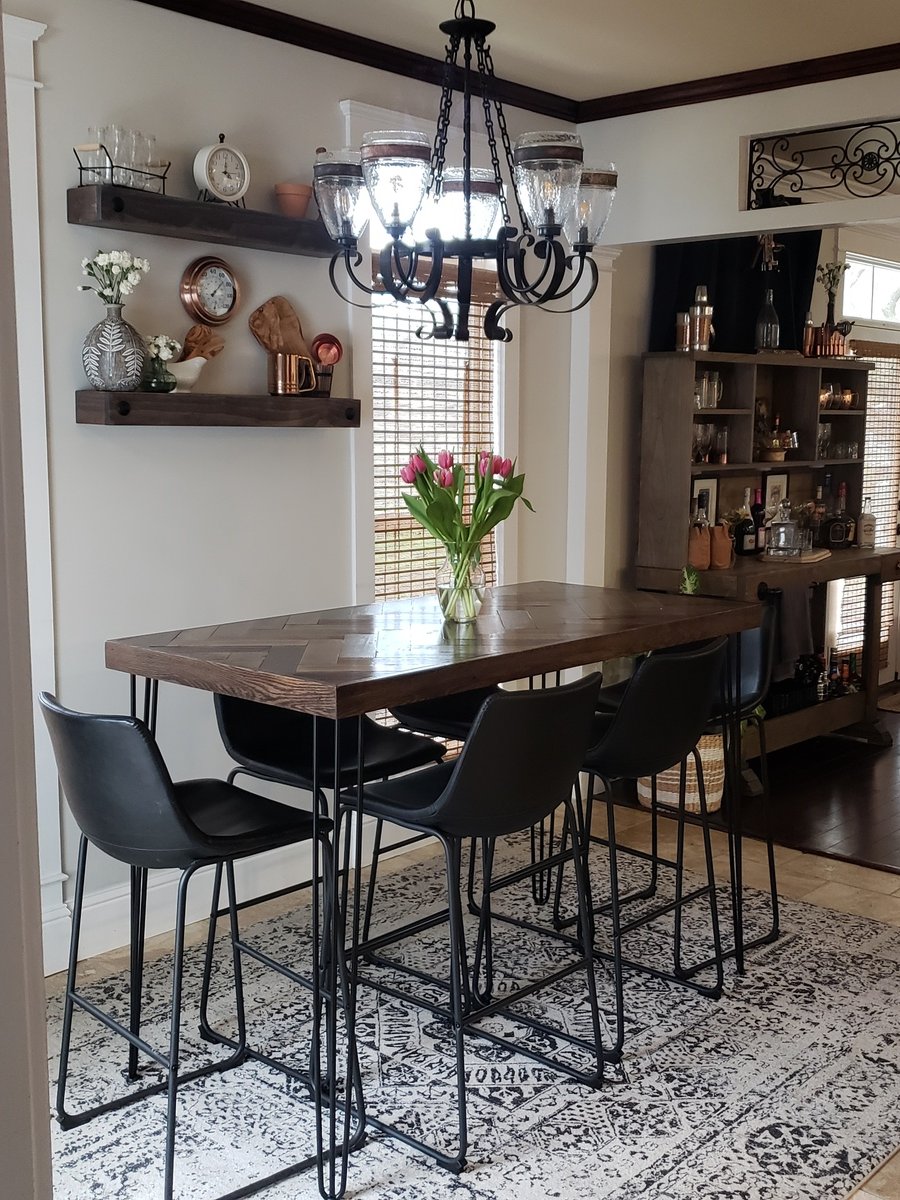
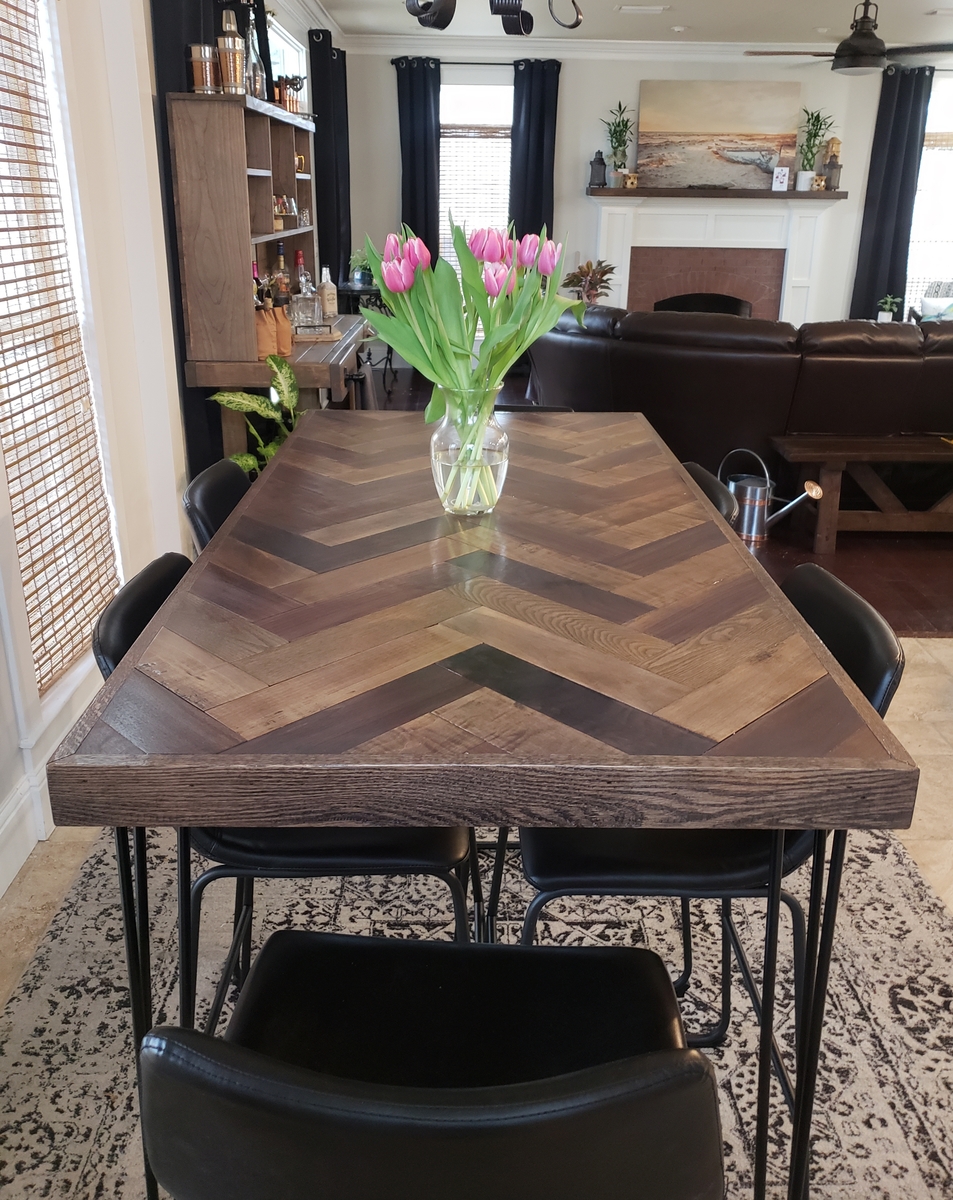
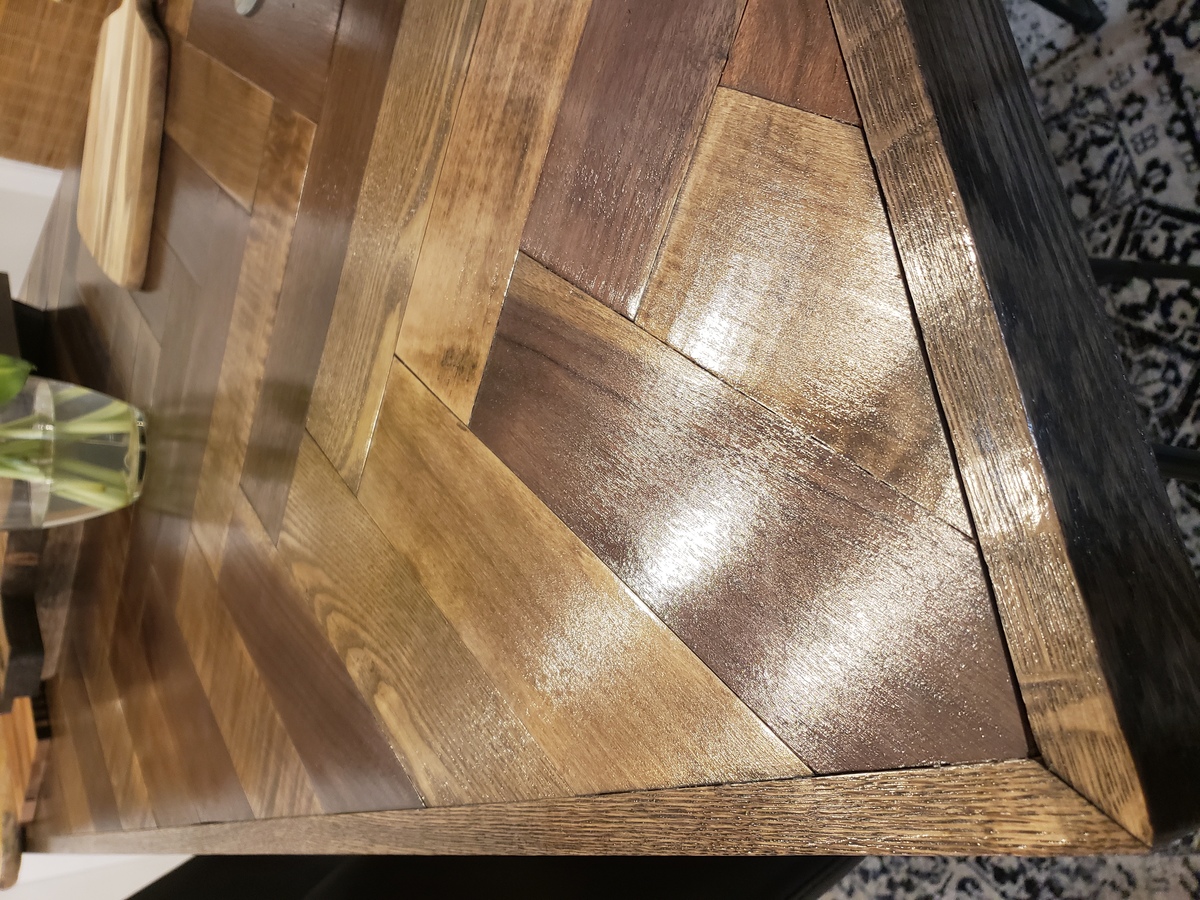
We used 3/4" birch plywood and glued 1/2" thick x 3" wide wood pieces in a herringbone pattern to make the top. We used 1 x 3 oak boards for the trim. The wood is a variety including walnut, maple, cherry, sassafras, etc. We ordered the metal hairpin legs.
We started with a base stain of Danish Oil in Dark Walnut. Once that dried, we went back over that with a very light coat of Minwax gray wash oil based stain. We used 4 coats Laquer for the top coat.
Easy build and we love how it turned out!
Tue, 04/21/2020 - 02:35
Hi. So sorry I just saw your comment. I ordered the craft boards from Ebay. They were 1/2 x 3" boards of various types.
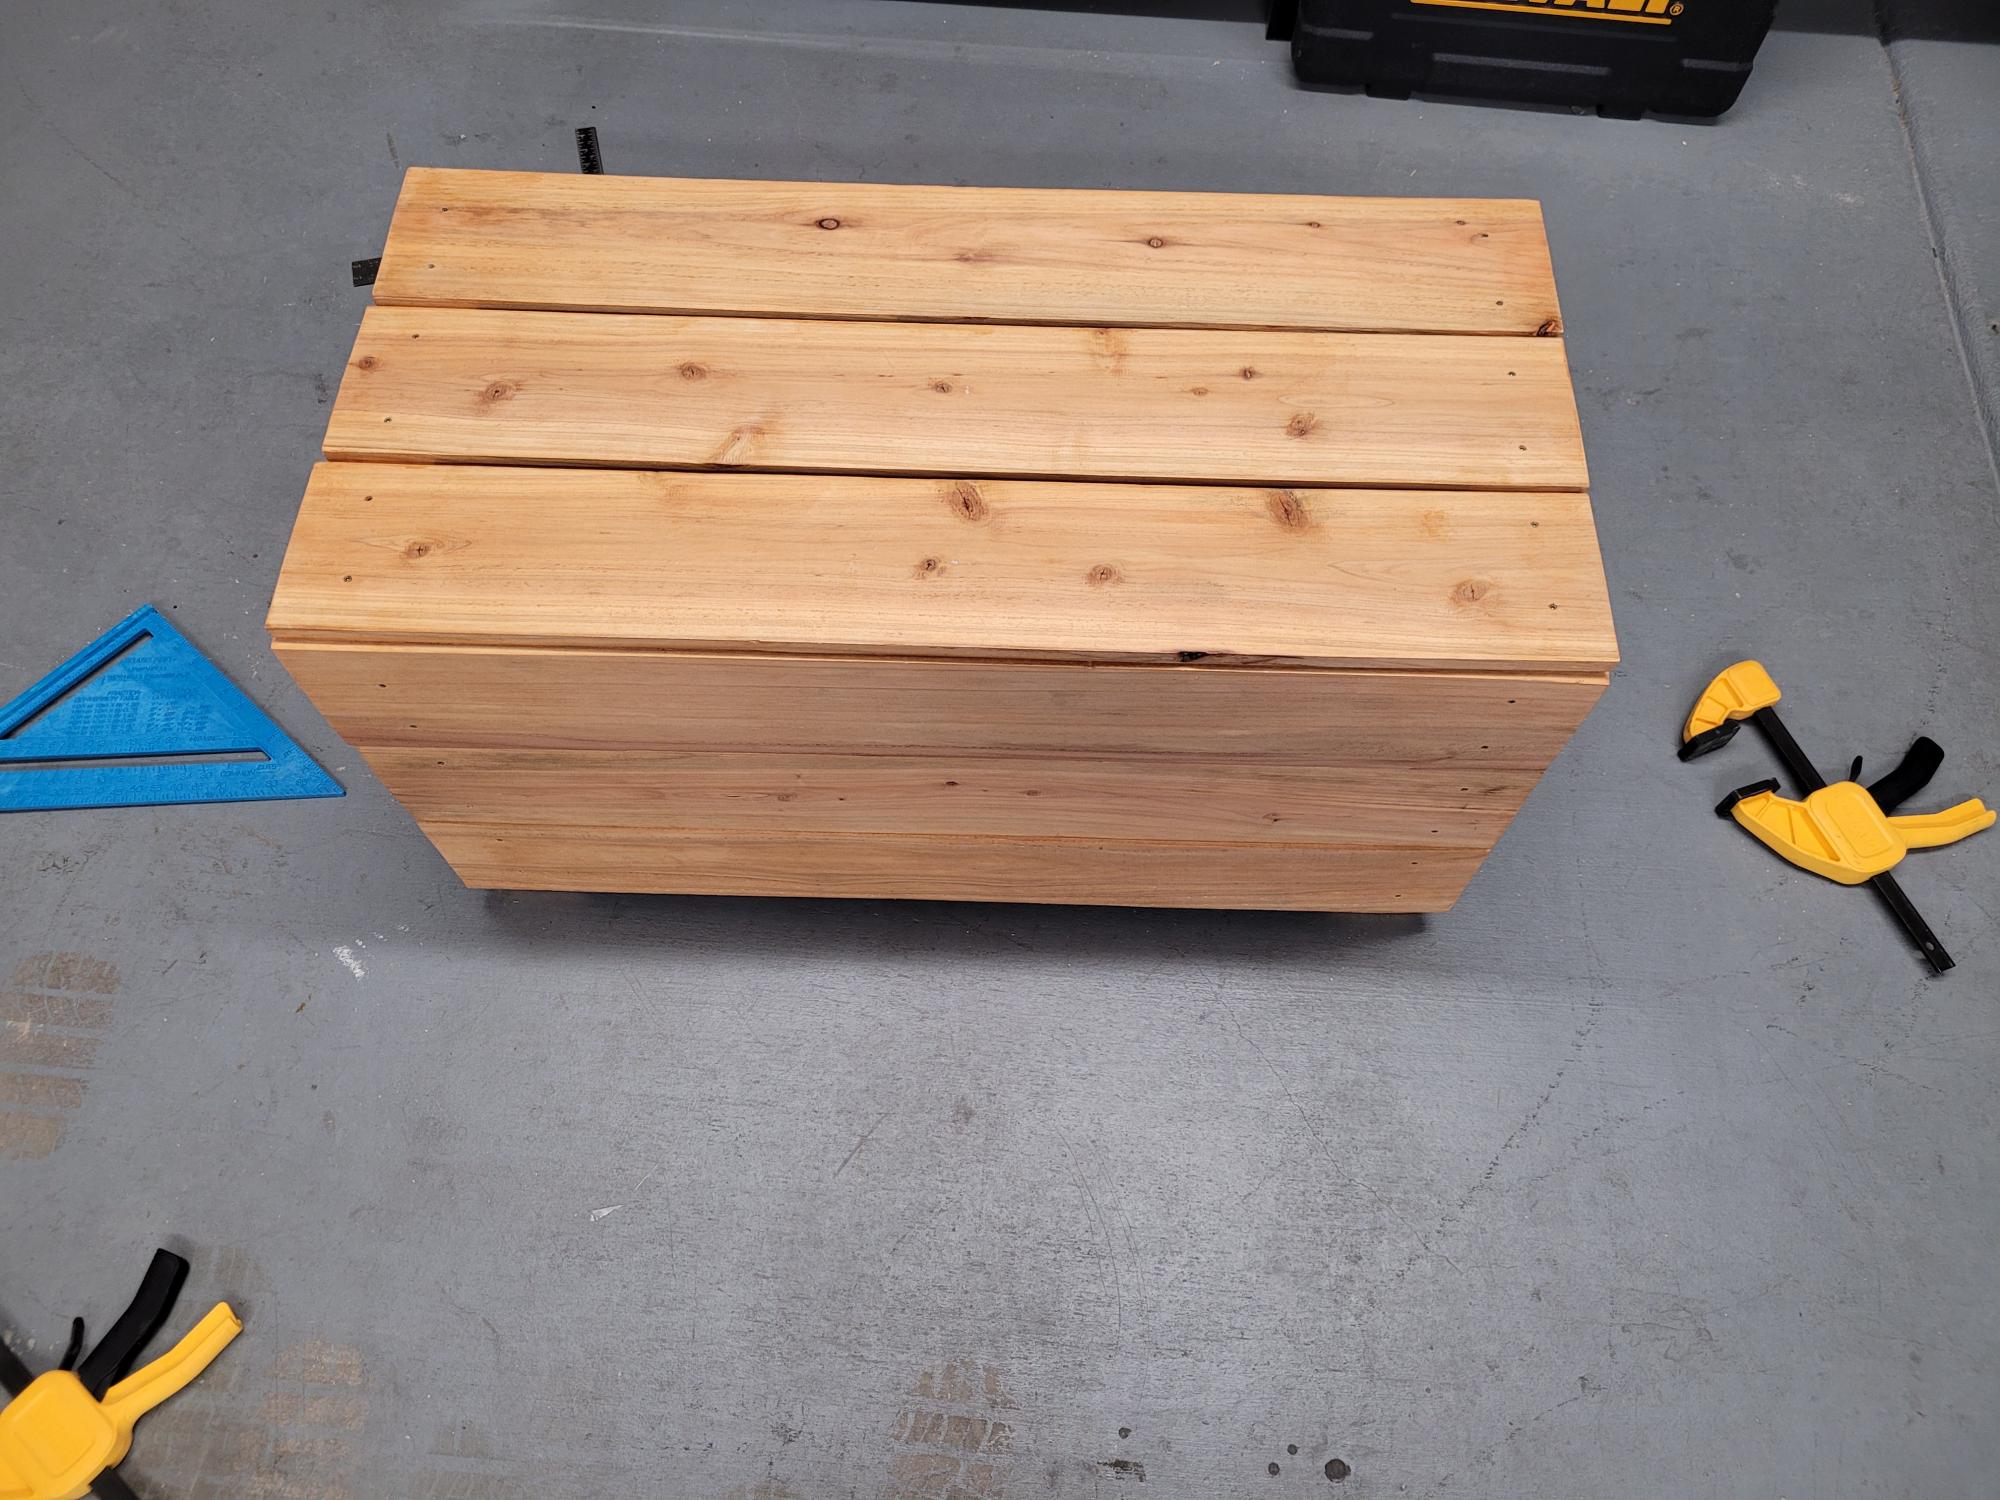
Lessons learned.
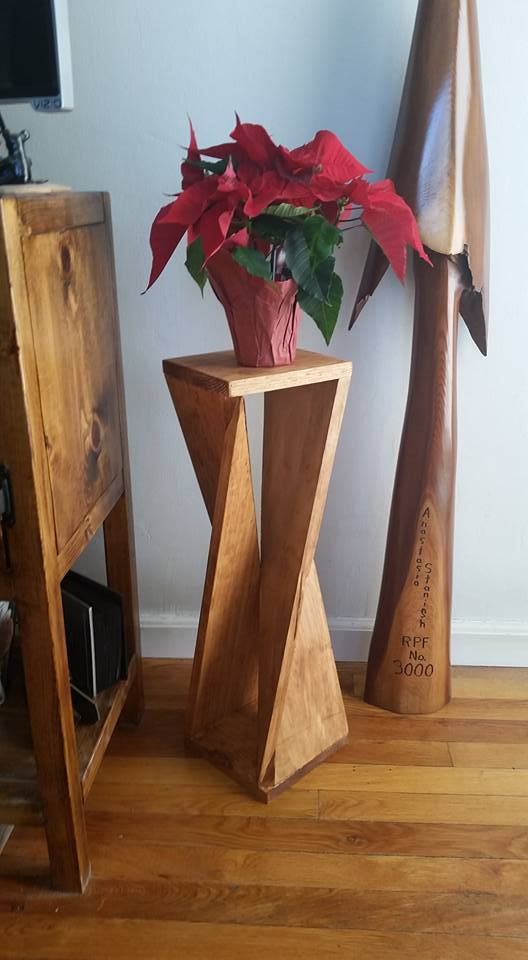
Saw this clever side table on Pinterest. It's made out of 1 1x8x8. I was able to figure out how to build a jig for the table saw to suit the project and then it was easy peasy lemon squeezy from there.
Mon, 12/21/2015 - 09:41
This is so clever and would make an inexpensive yet first-rate gift! I love it...thanks for sharing.
Fri, 10/28/2016 - 08:40
I would love to build this unique table, but can't seem to find some actual plans with dimensions and jigs
Fri, 10/28/2016 - 08:45
Would you please email me the plans for this table. Thanks so much
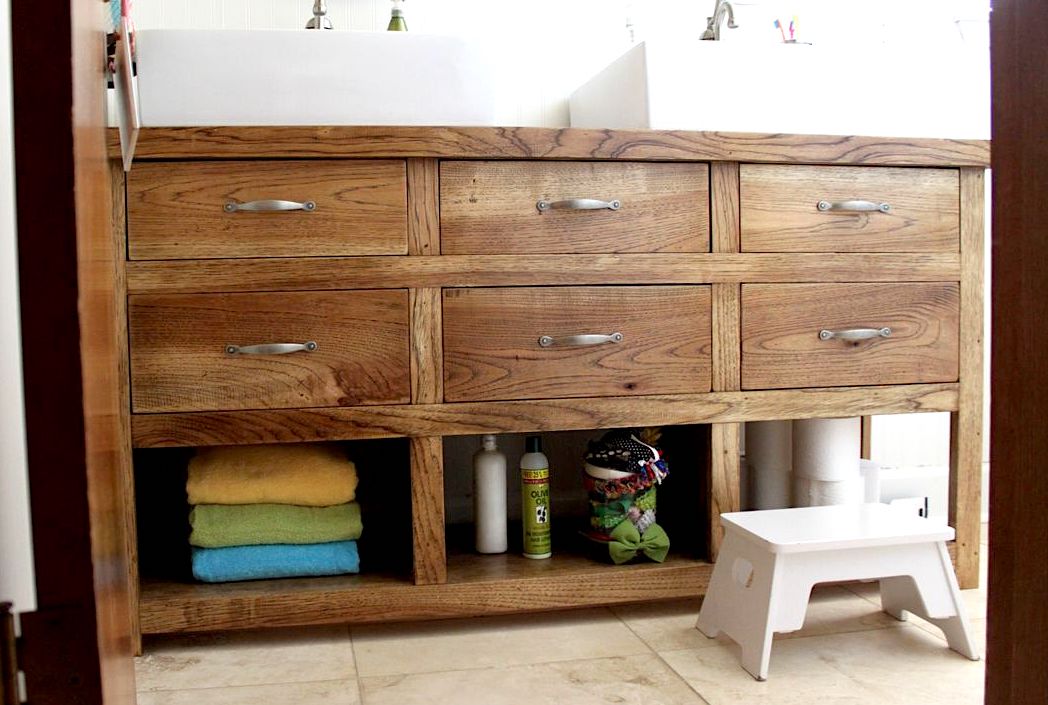
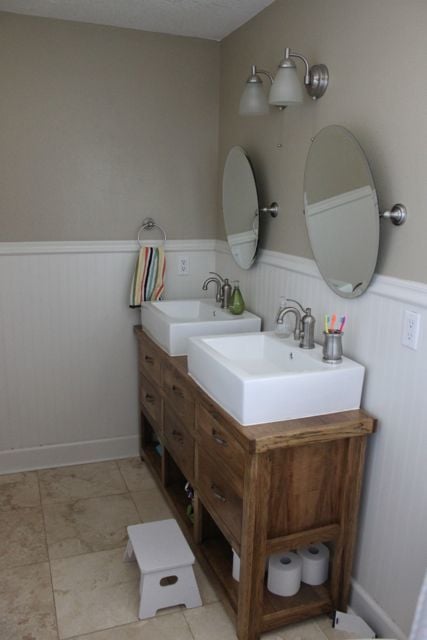
We looked high and low for a sturdy dresser we could convert to a vanity for our kid's bathroom. We could find nothing for under $500 so we decided to make it. We used solid hickory for the top and bottom and hickory vaneer for the rest. Only the middle drawers are useable, the side ones have a faux front to leave room for the sink plumbing behind. My husband also reinforced the bottom compartments by making them three separate compartments instead of one solid one. We ordered the sinks from overstock.com and the faucets are from Lowes.

Fri, 10/07/2011 - 16:14
Love it!!! I have been looking for a design I love and this is it :) Thank you for sharing!
Fri, 10/07/2011 - 16:39
My kids have been bugging for years for double sinks. I LOVE this. I was thinking along the same line but never got past the thinking part. This is GORGEOUS!

Built-ins coming next! Such a great build!
Thu, 02/02/2023 - 15:45
Oh my goodness, this looks amazing! Thank you for sharing, can't wait to see the built-ins included.
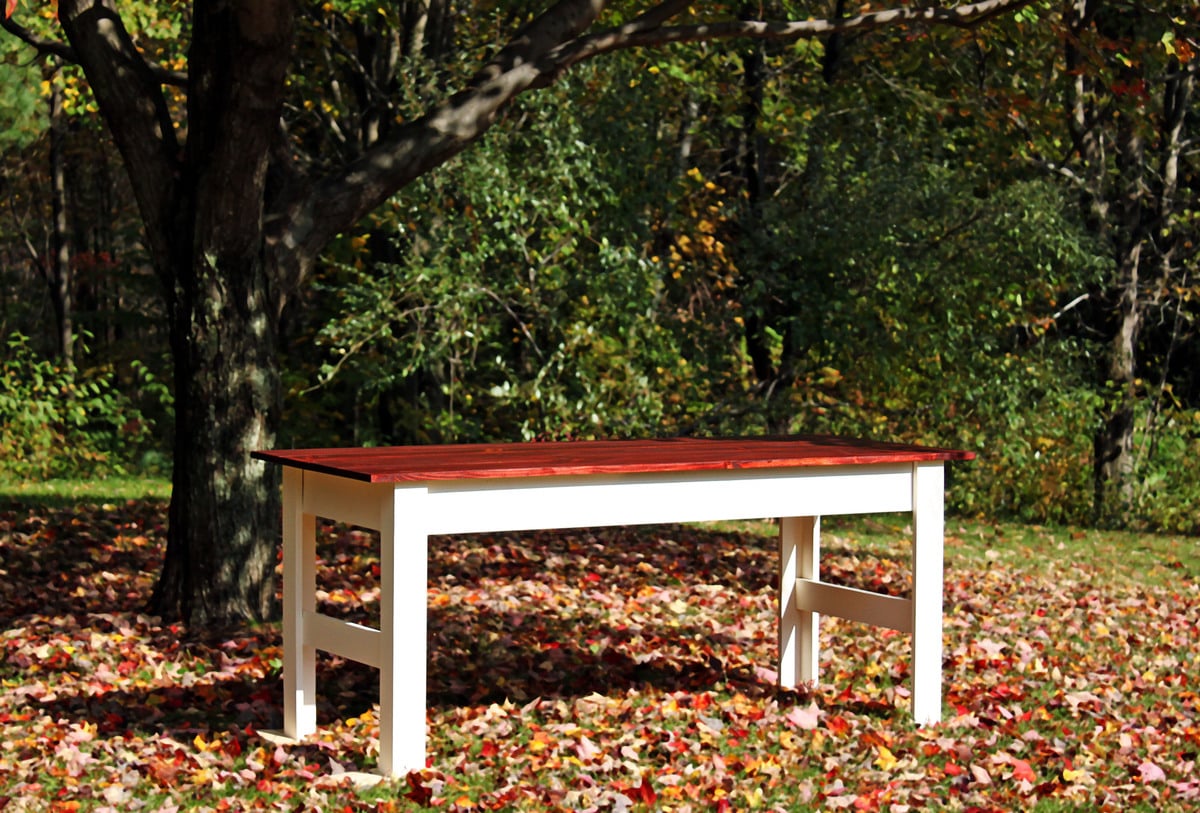
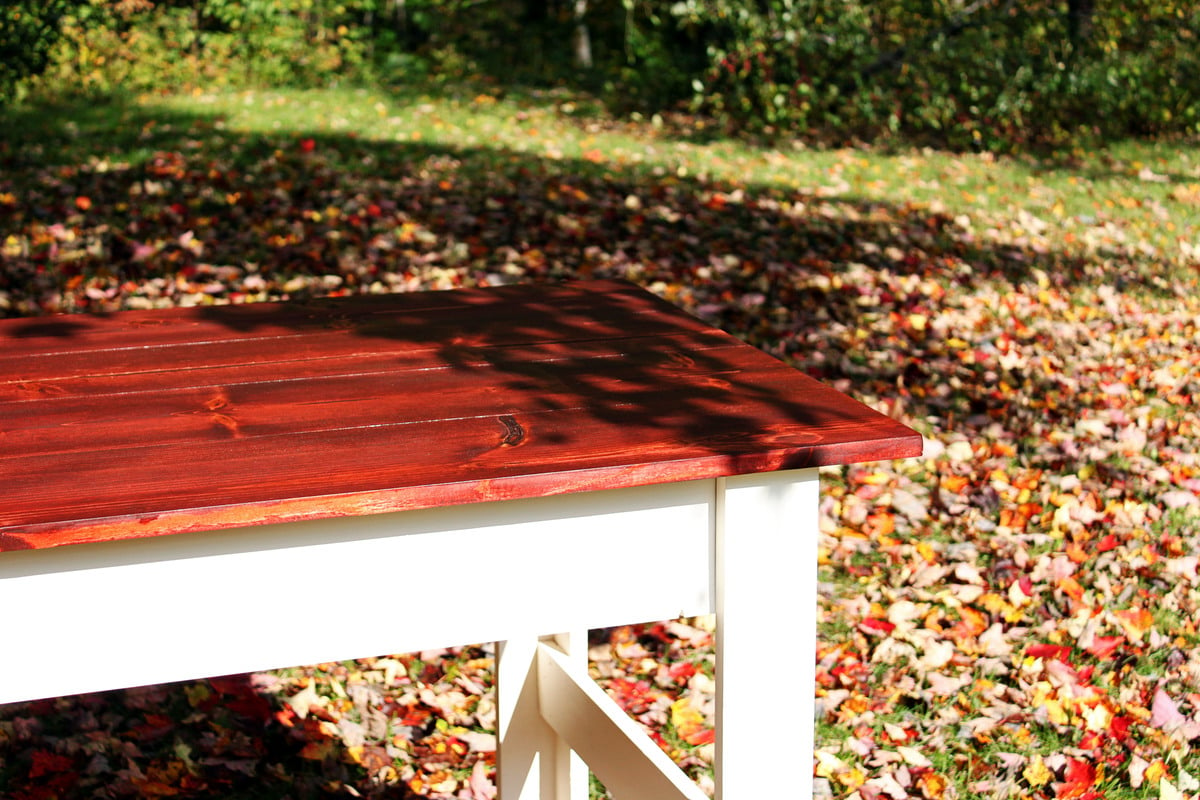
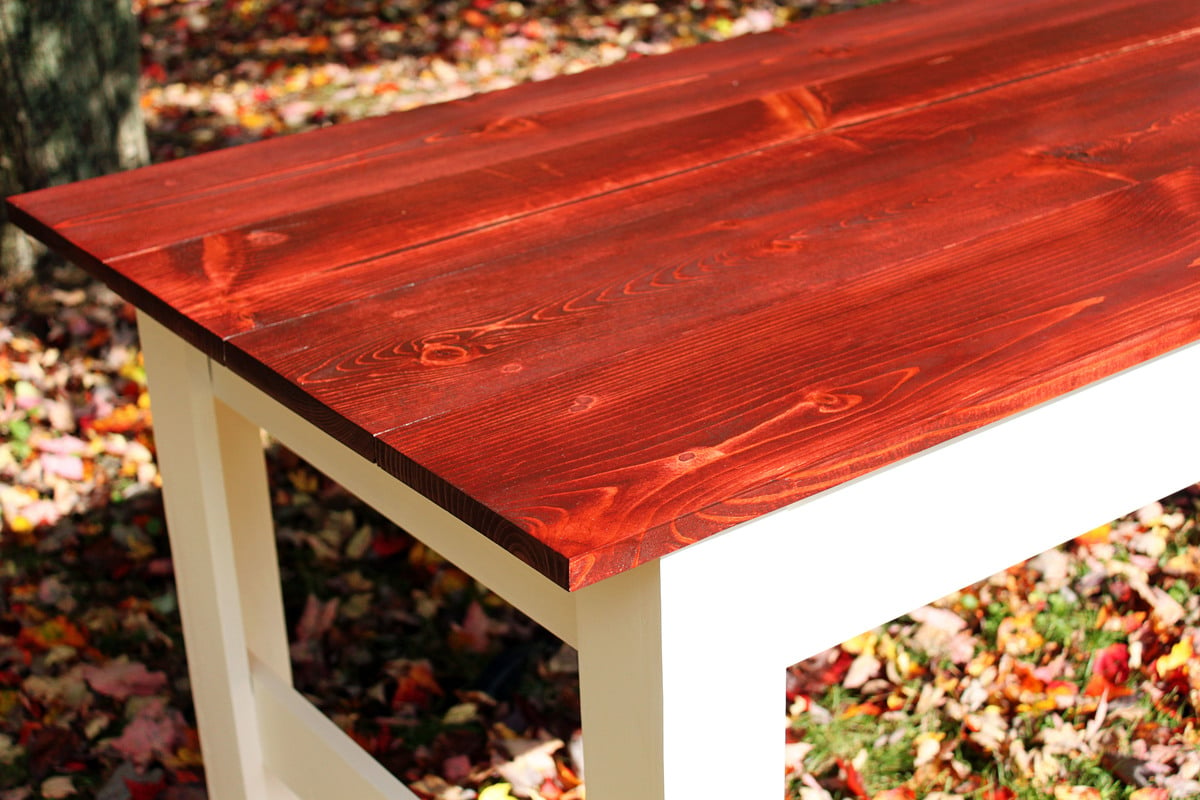
modifications to plans: legs not tapered; shortened table by two feet.
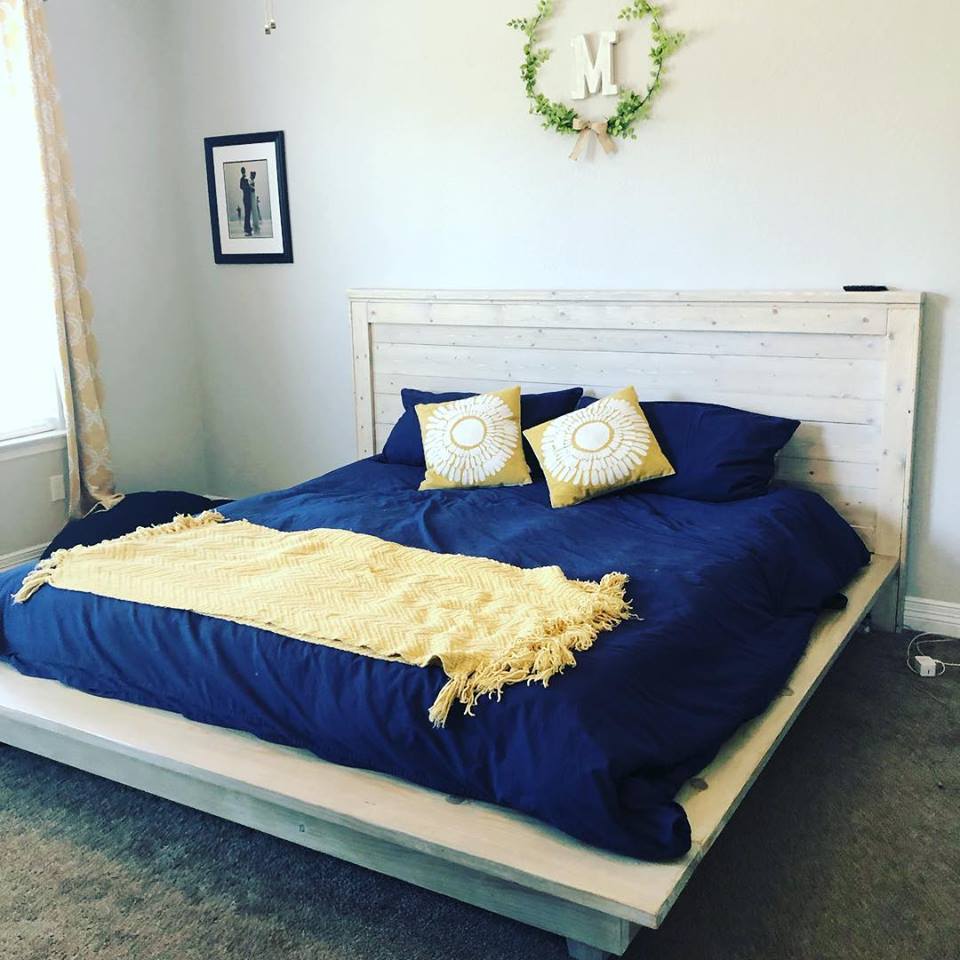
Made wider for a king and modified platform bed. Used a weathered oak stain followed by a 50/50 whitewash.
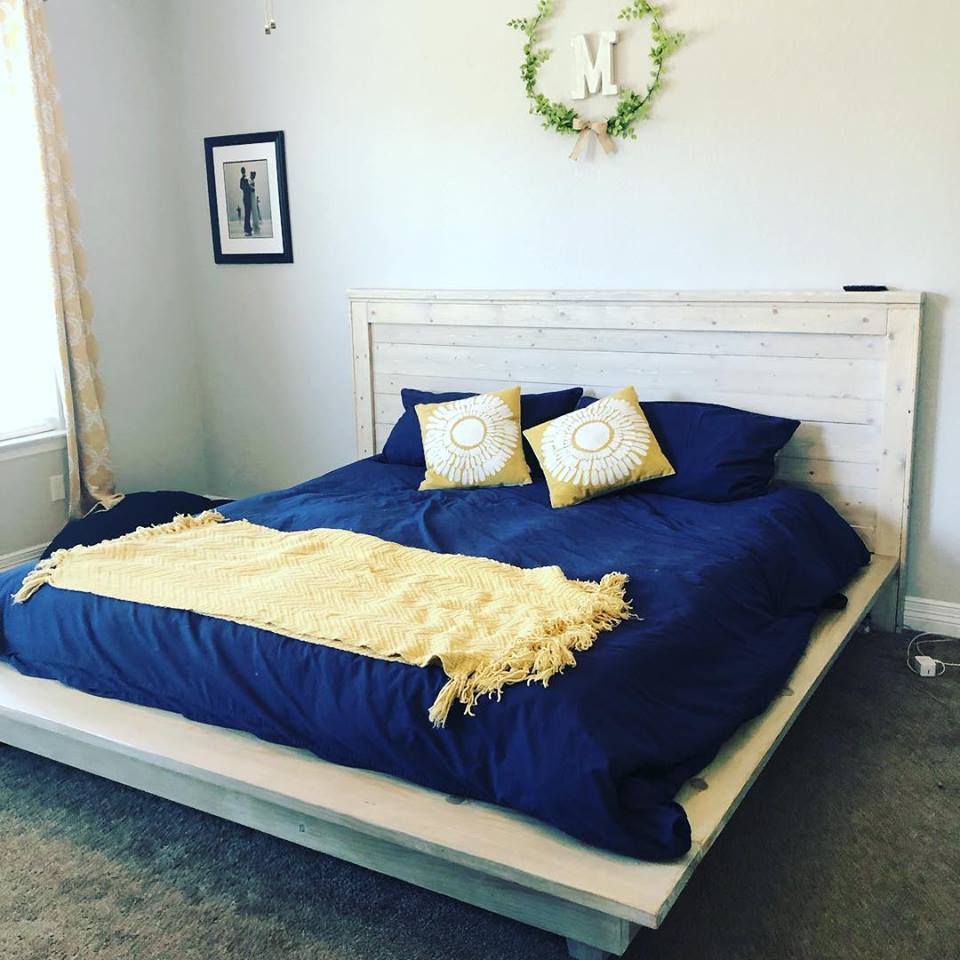
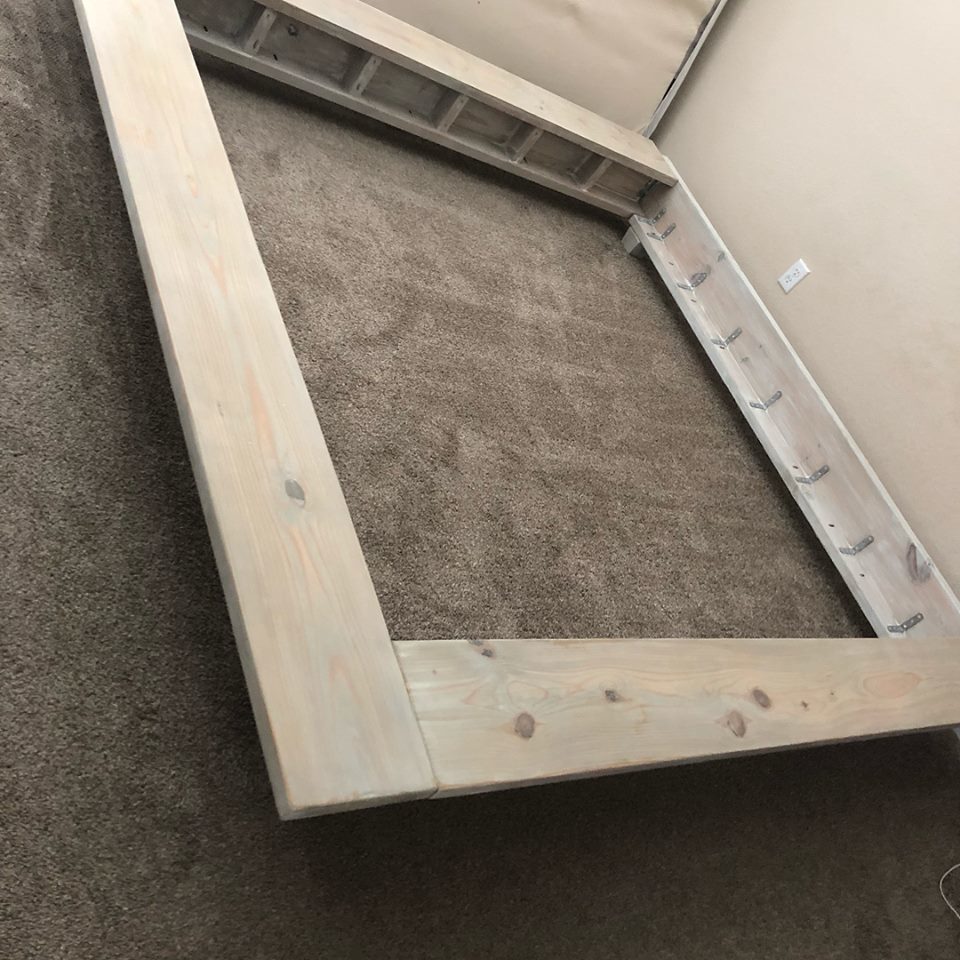
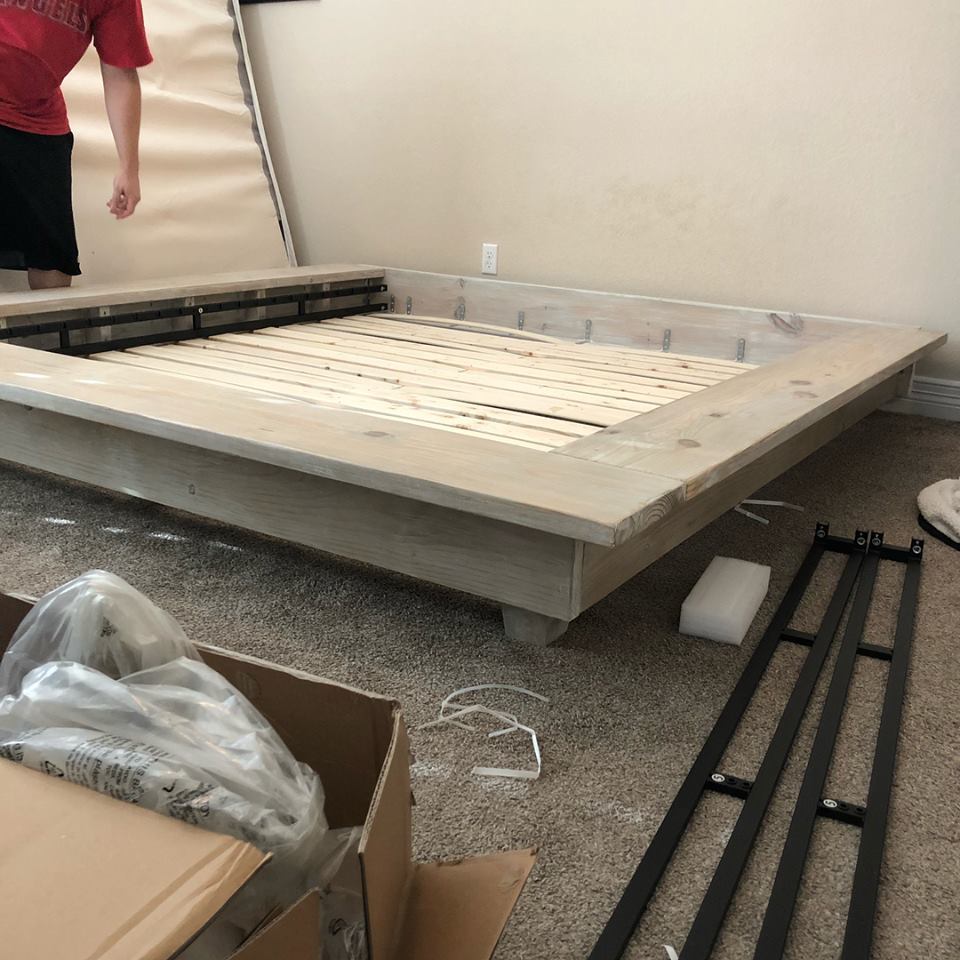
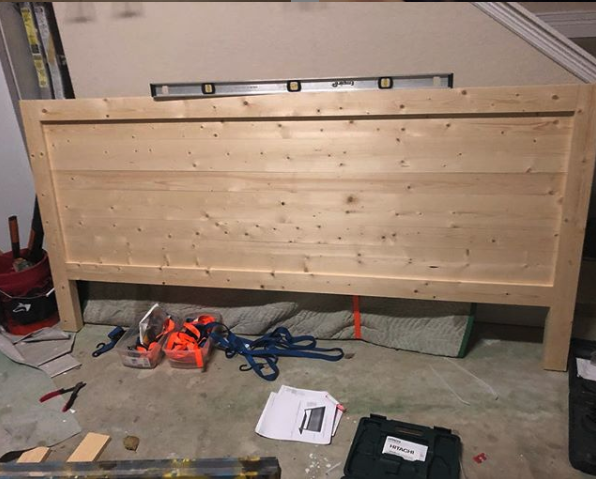
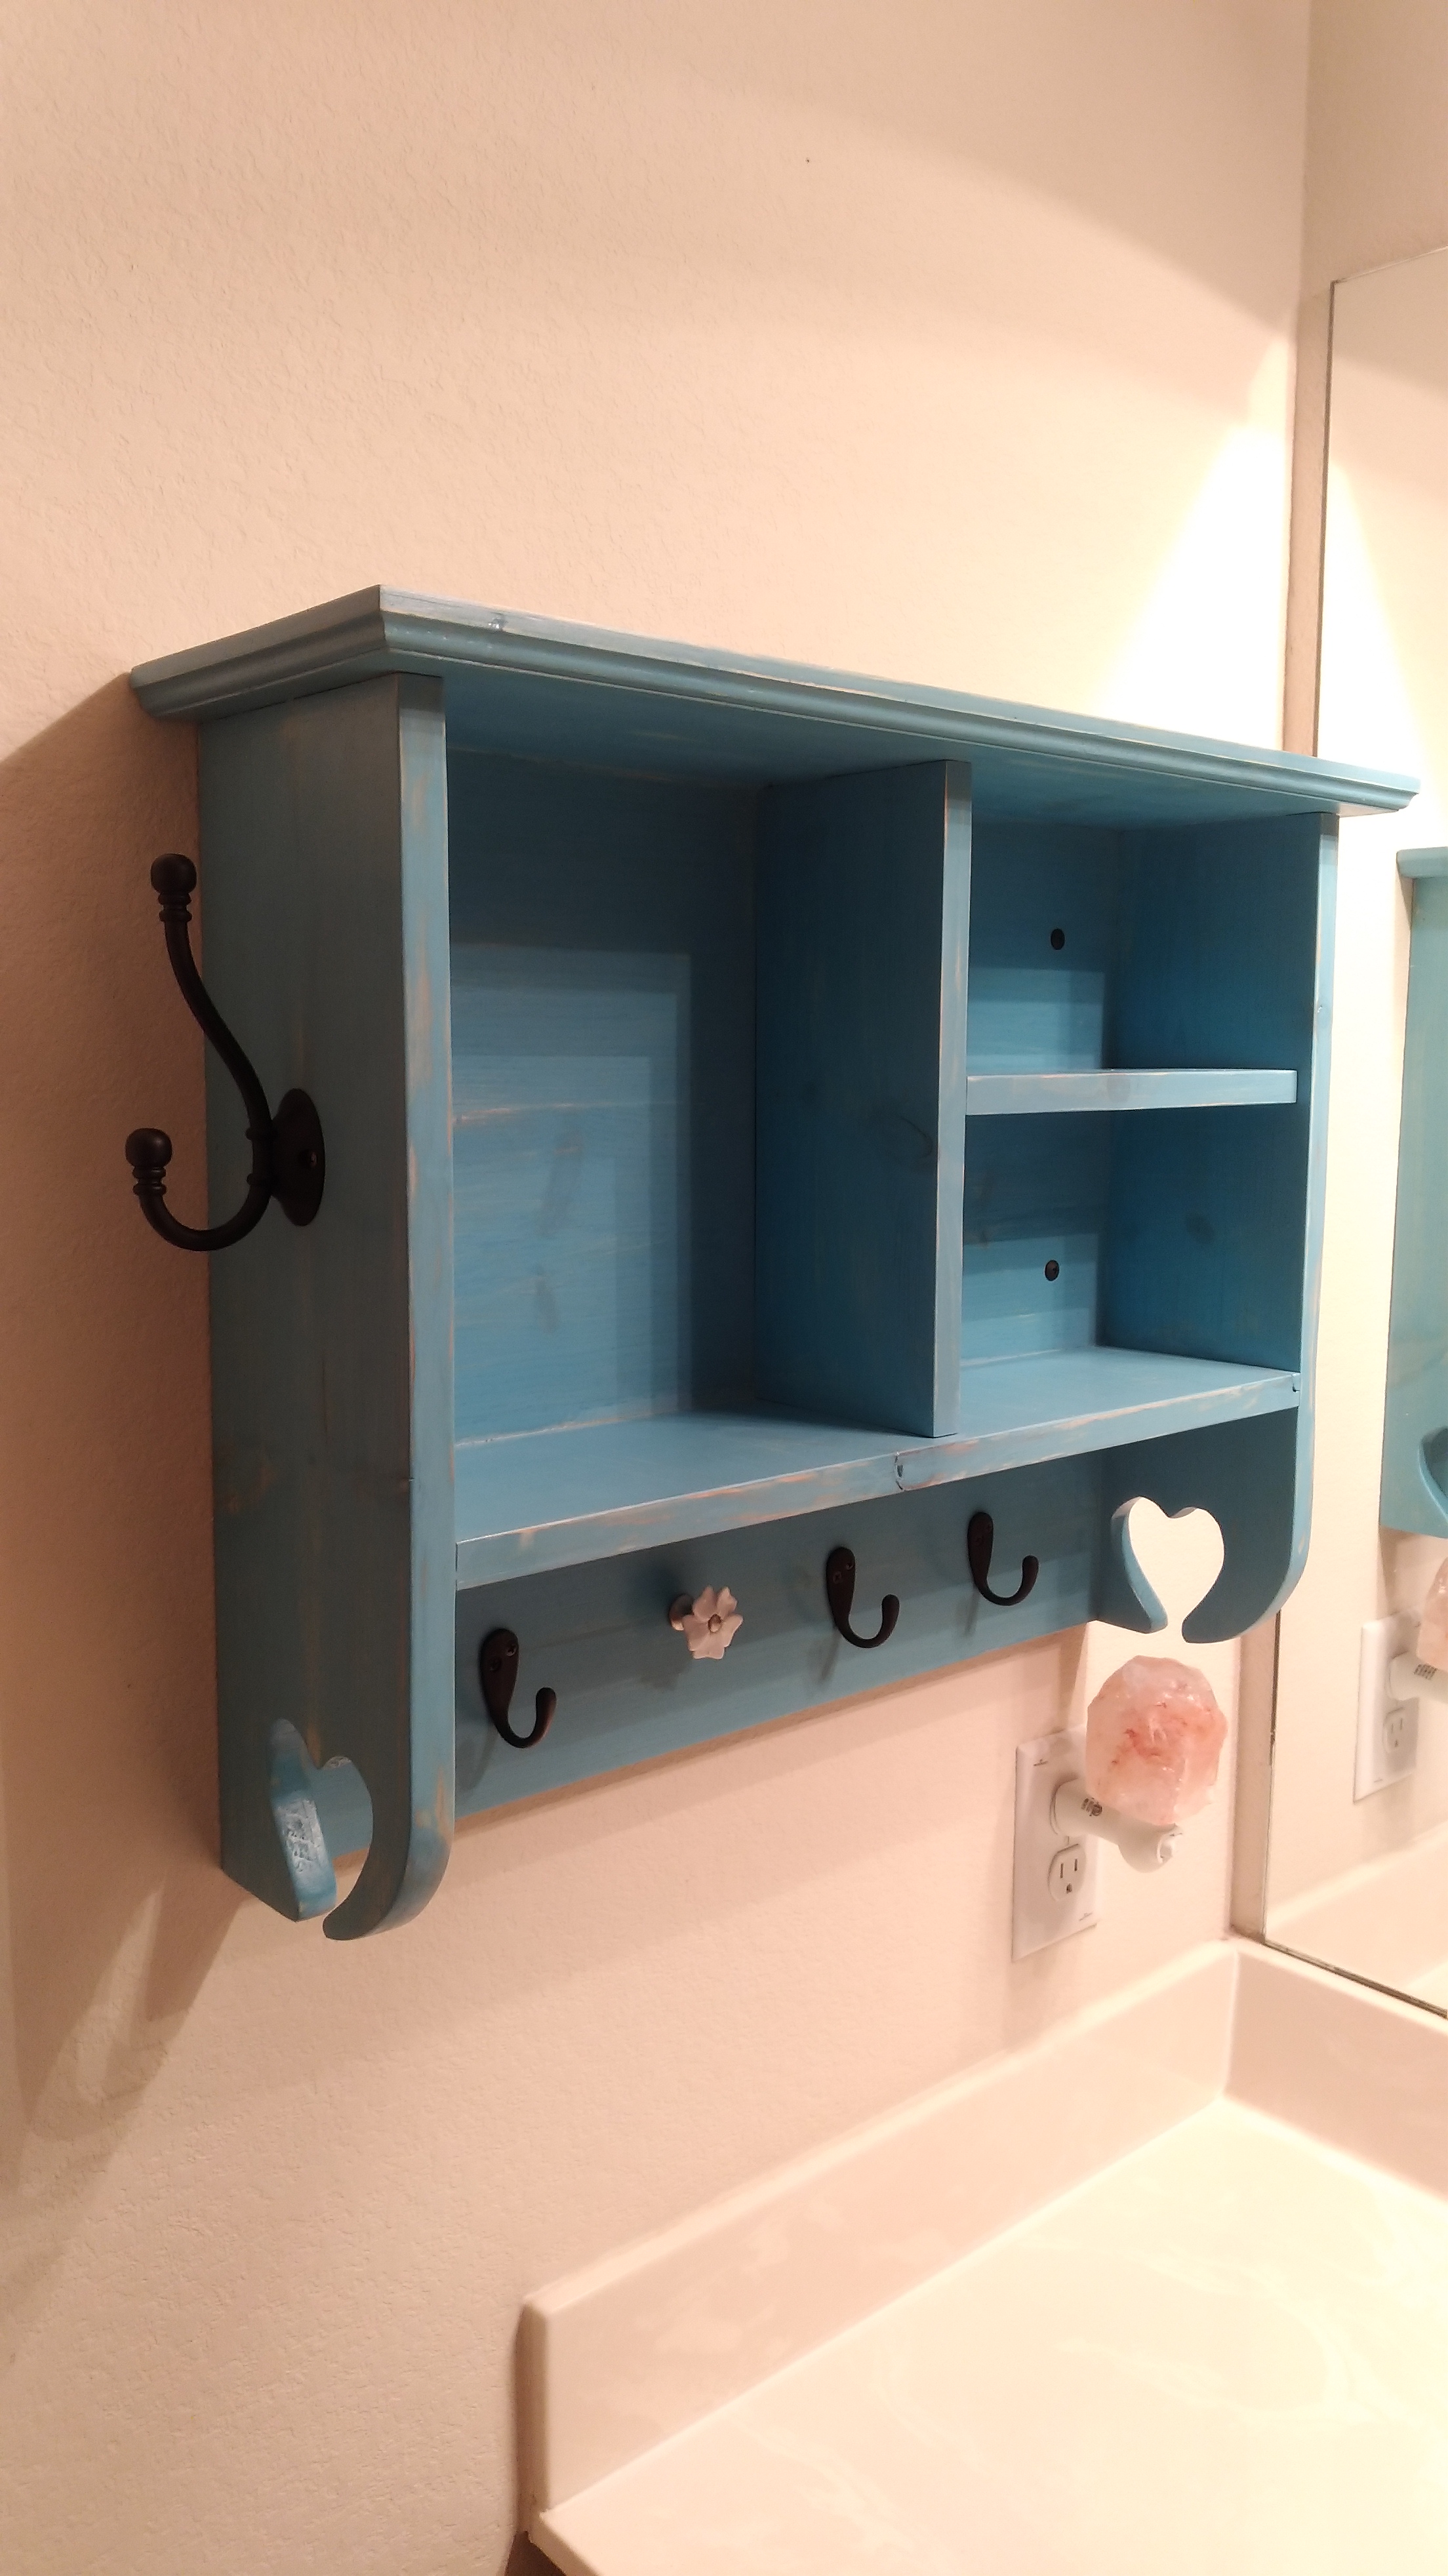
I liked the idea and my wife loved the outcome. Thanks Ana.
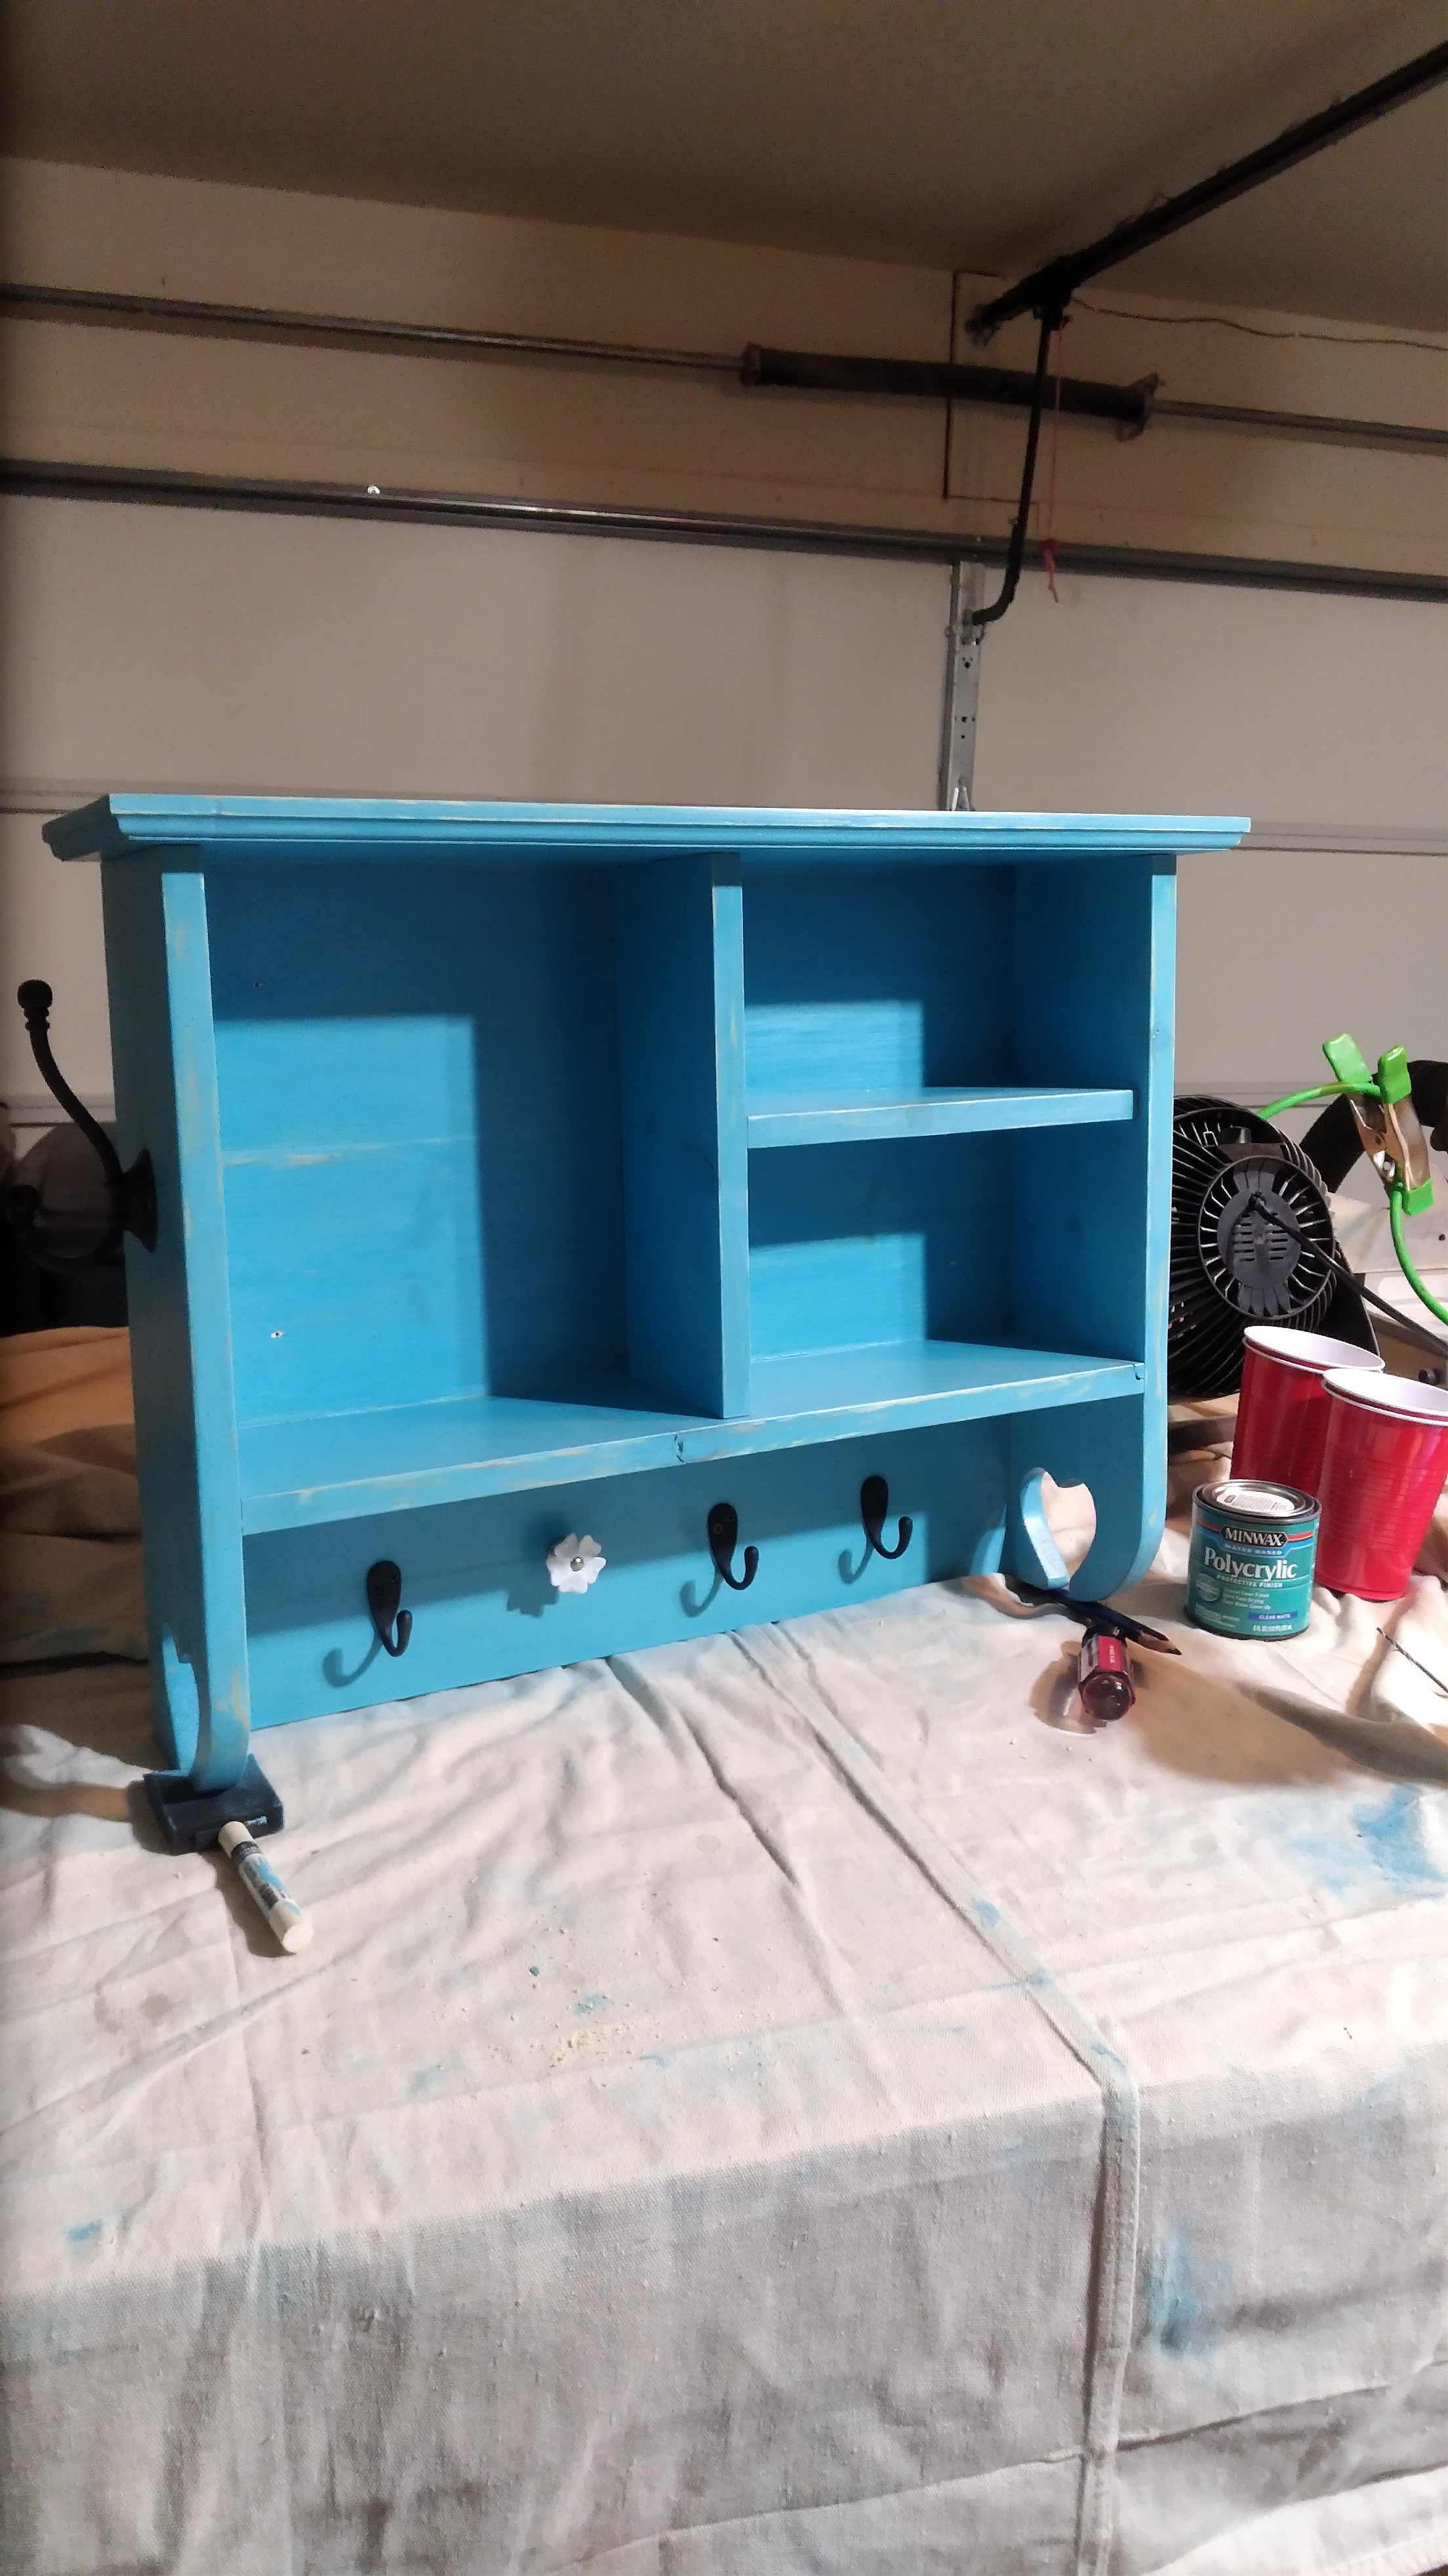
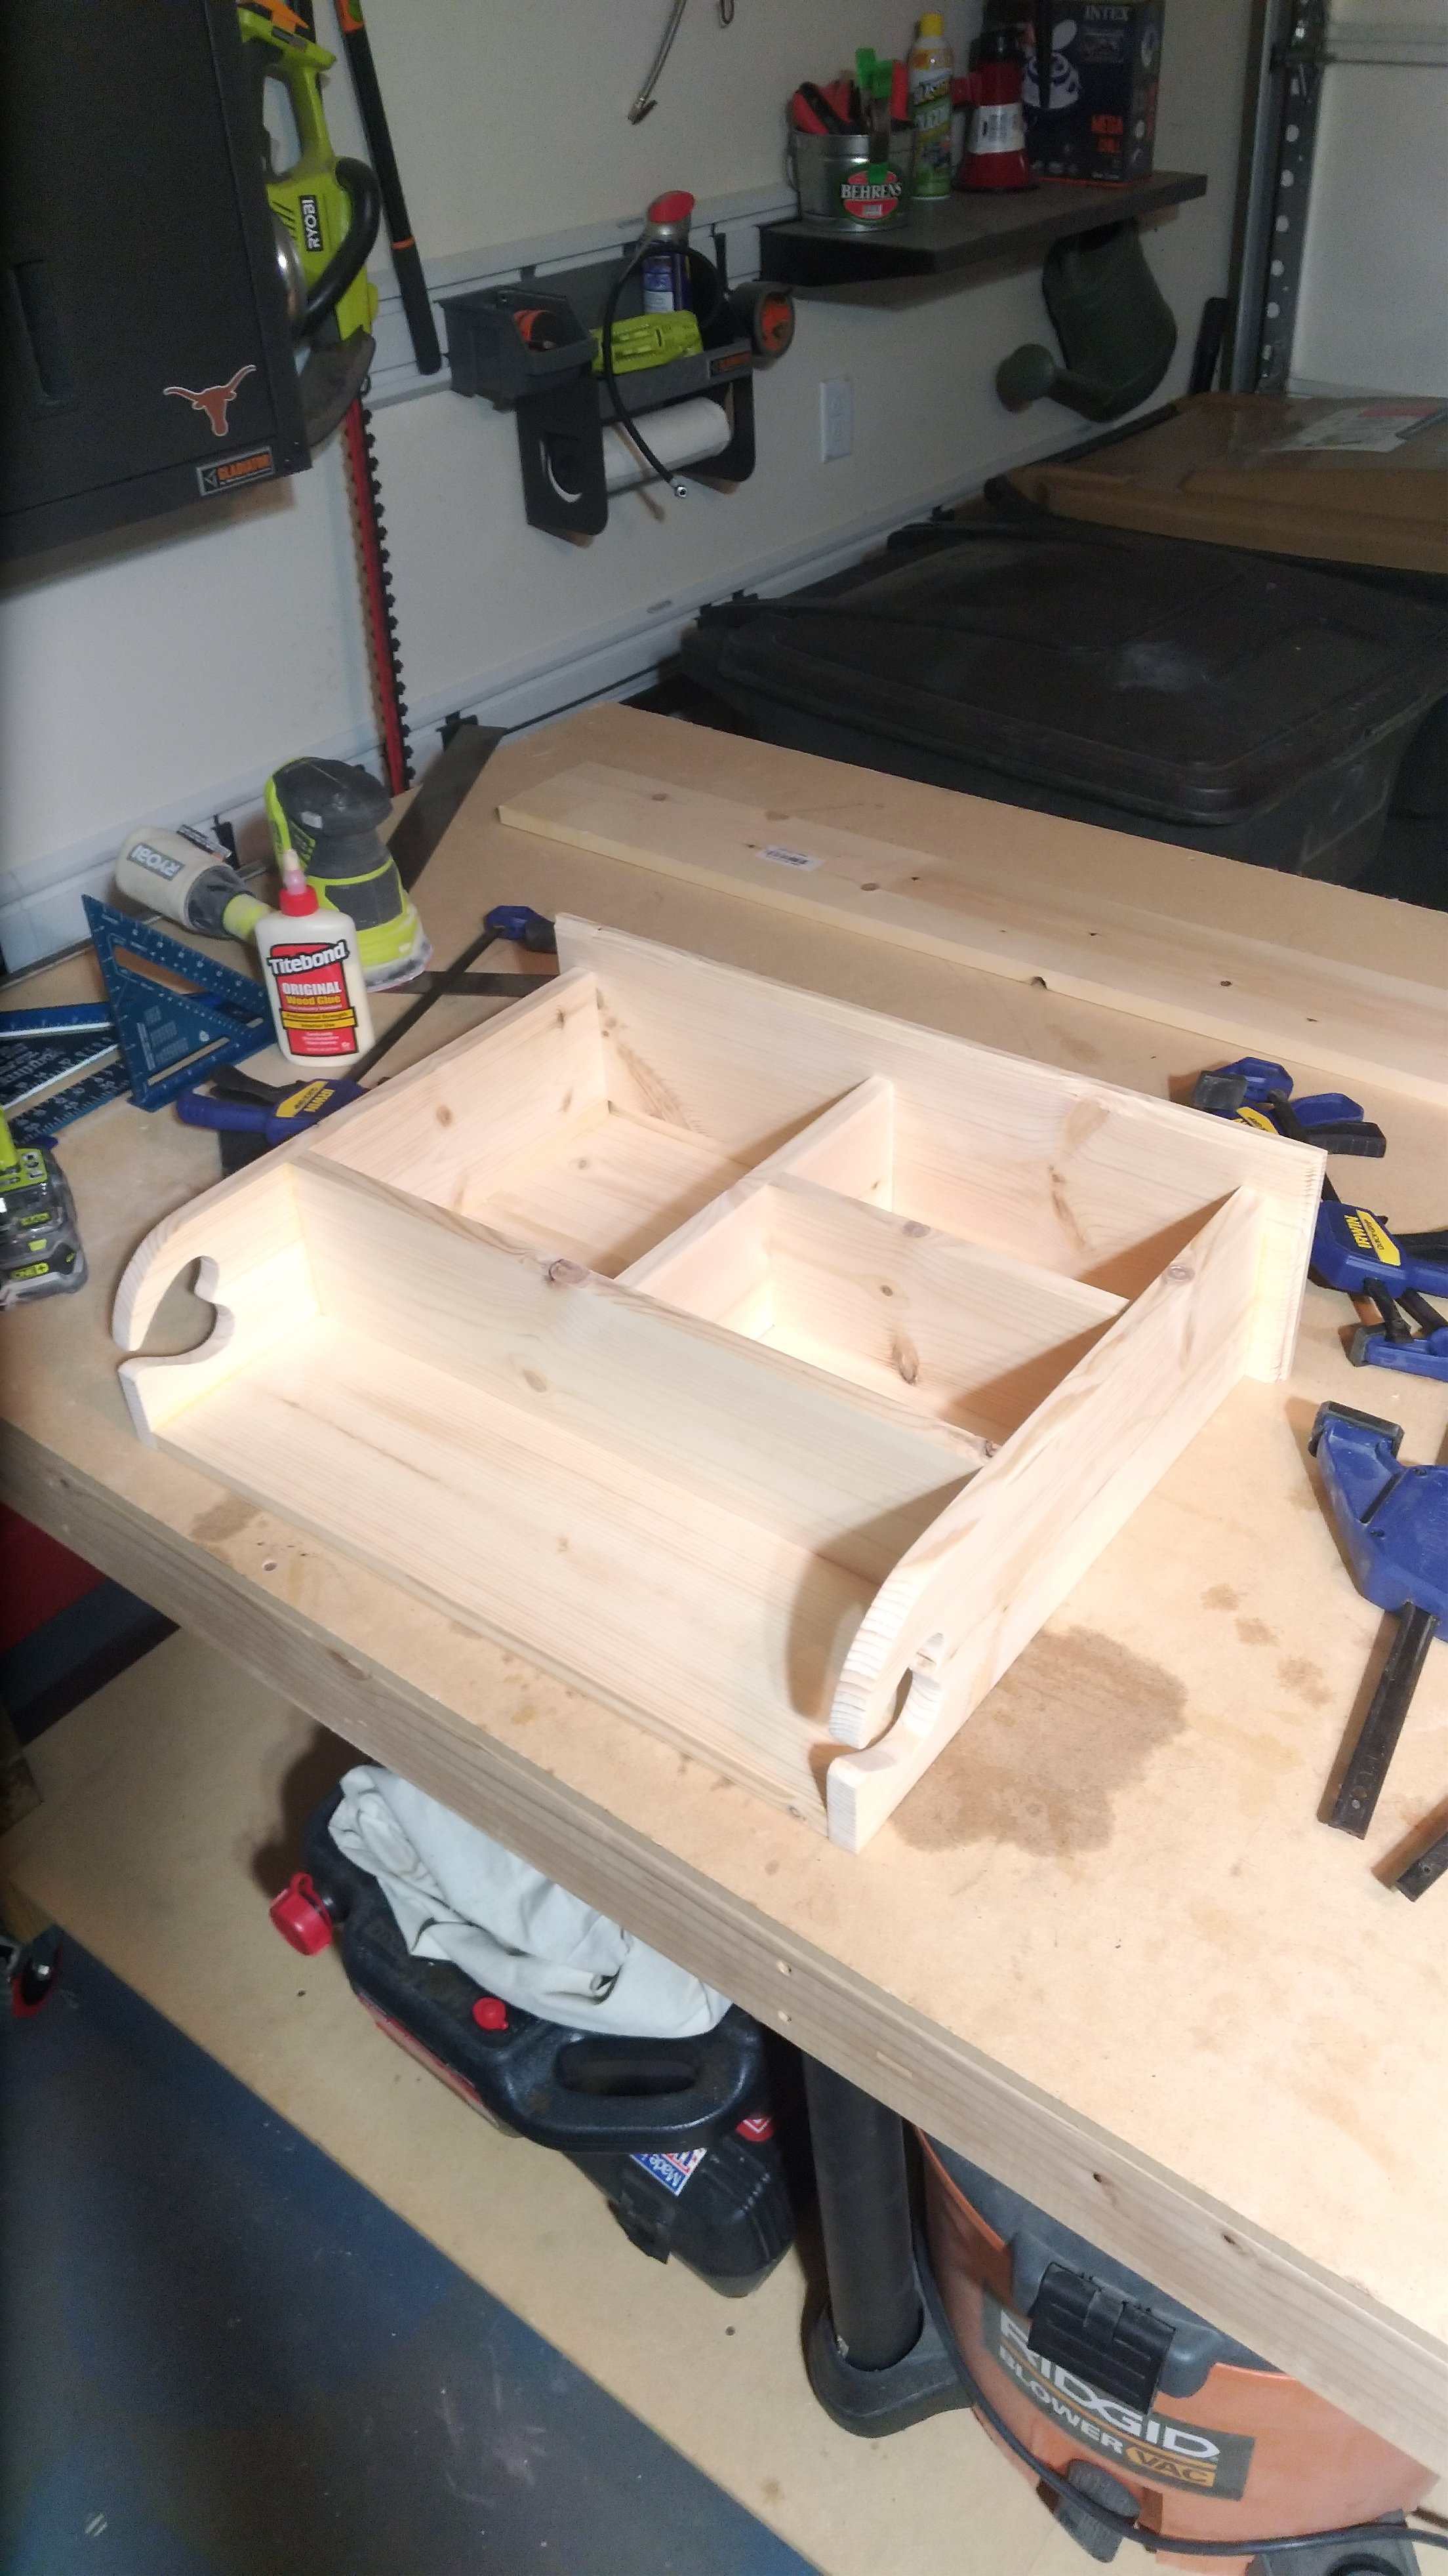

I’m a first year teacher of construction class at Waterloo High School in Illinois. We recently used your Small Cedar shed instructions with some modifications for a class project. It’s a bear getting cedar right now, so we used T1-11 for the outside and 2x4 for the frame.


Sat, 03/25/2023 - 09:14
Very fun and job well done! Thank you for sharing.
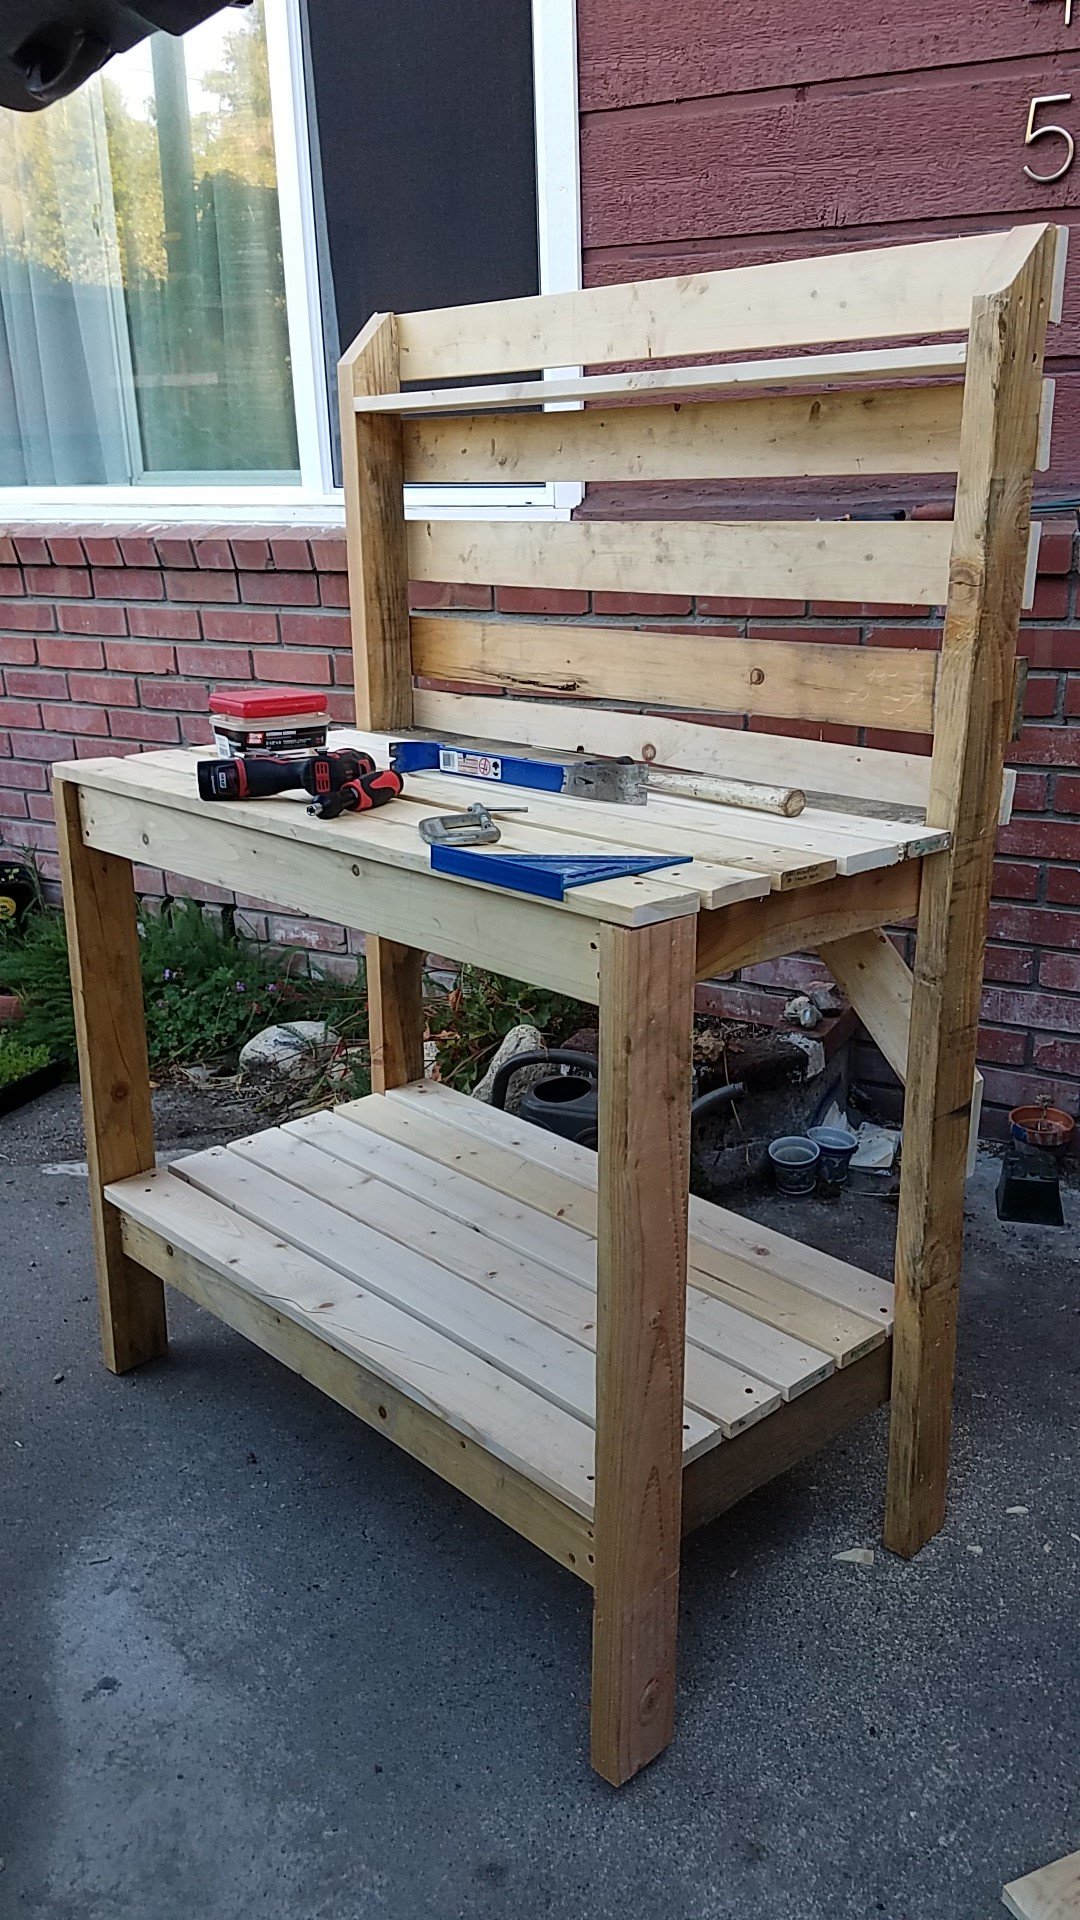
I made this with leftover lumber after my mom helped me make a swingset for my kids. It's the very first project I've ever done by myself and it turned out GREAT!
Tue, 07/02/2019 - 14:07
This looks awesome! Thank you for submitting a brag post, we really appreciate it! Ana
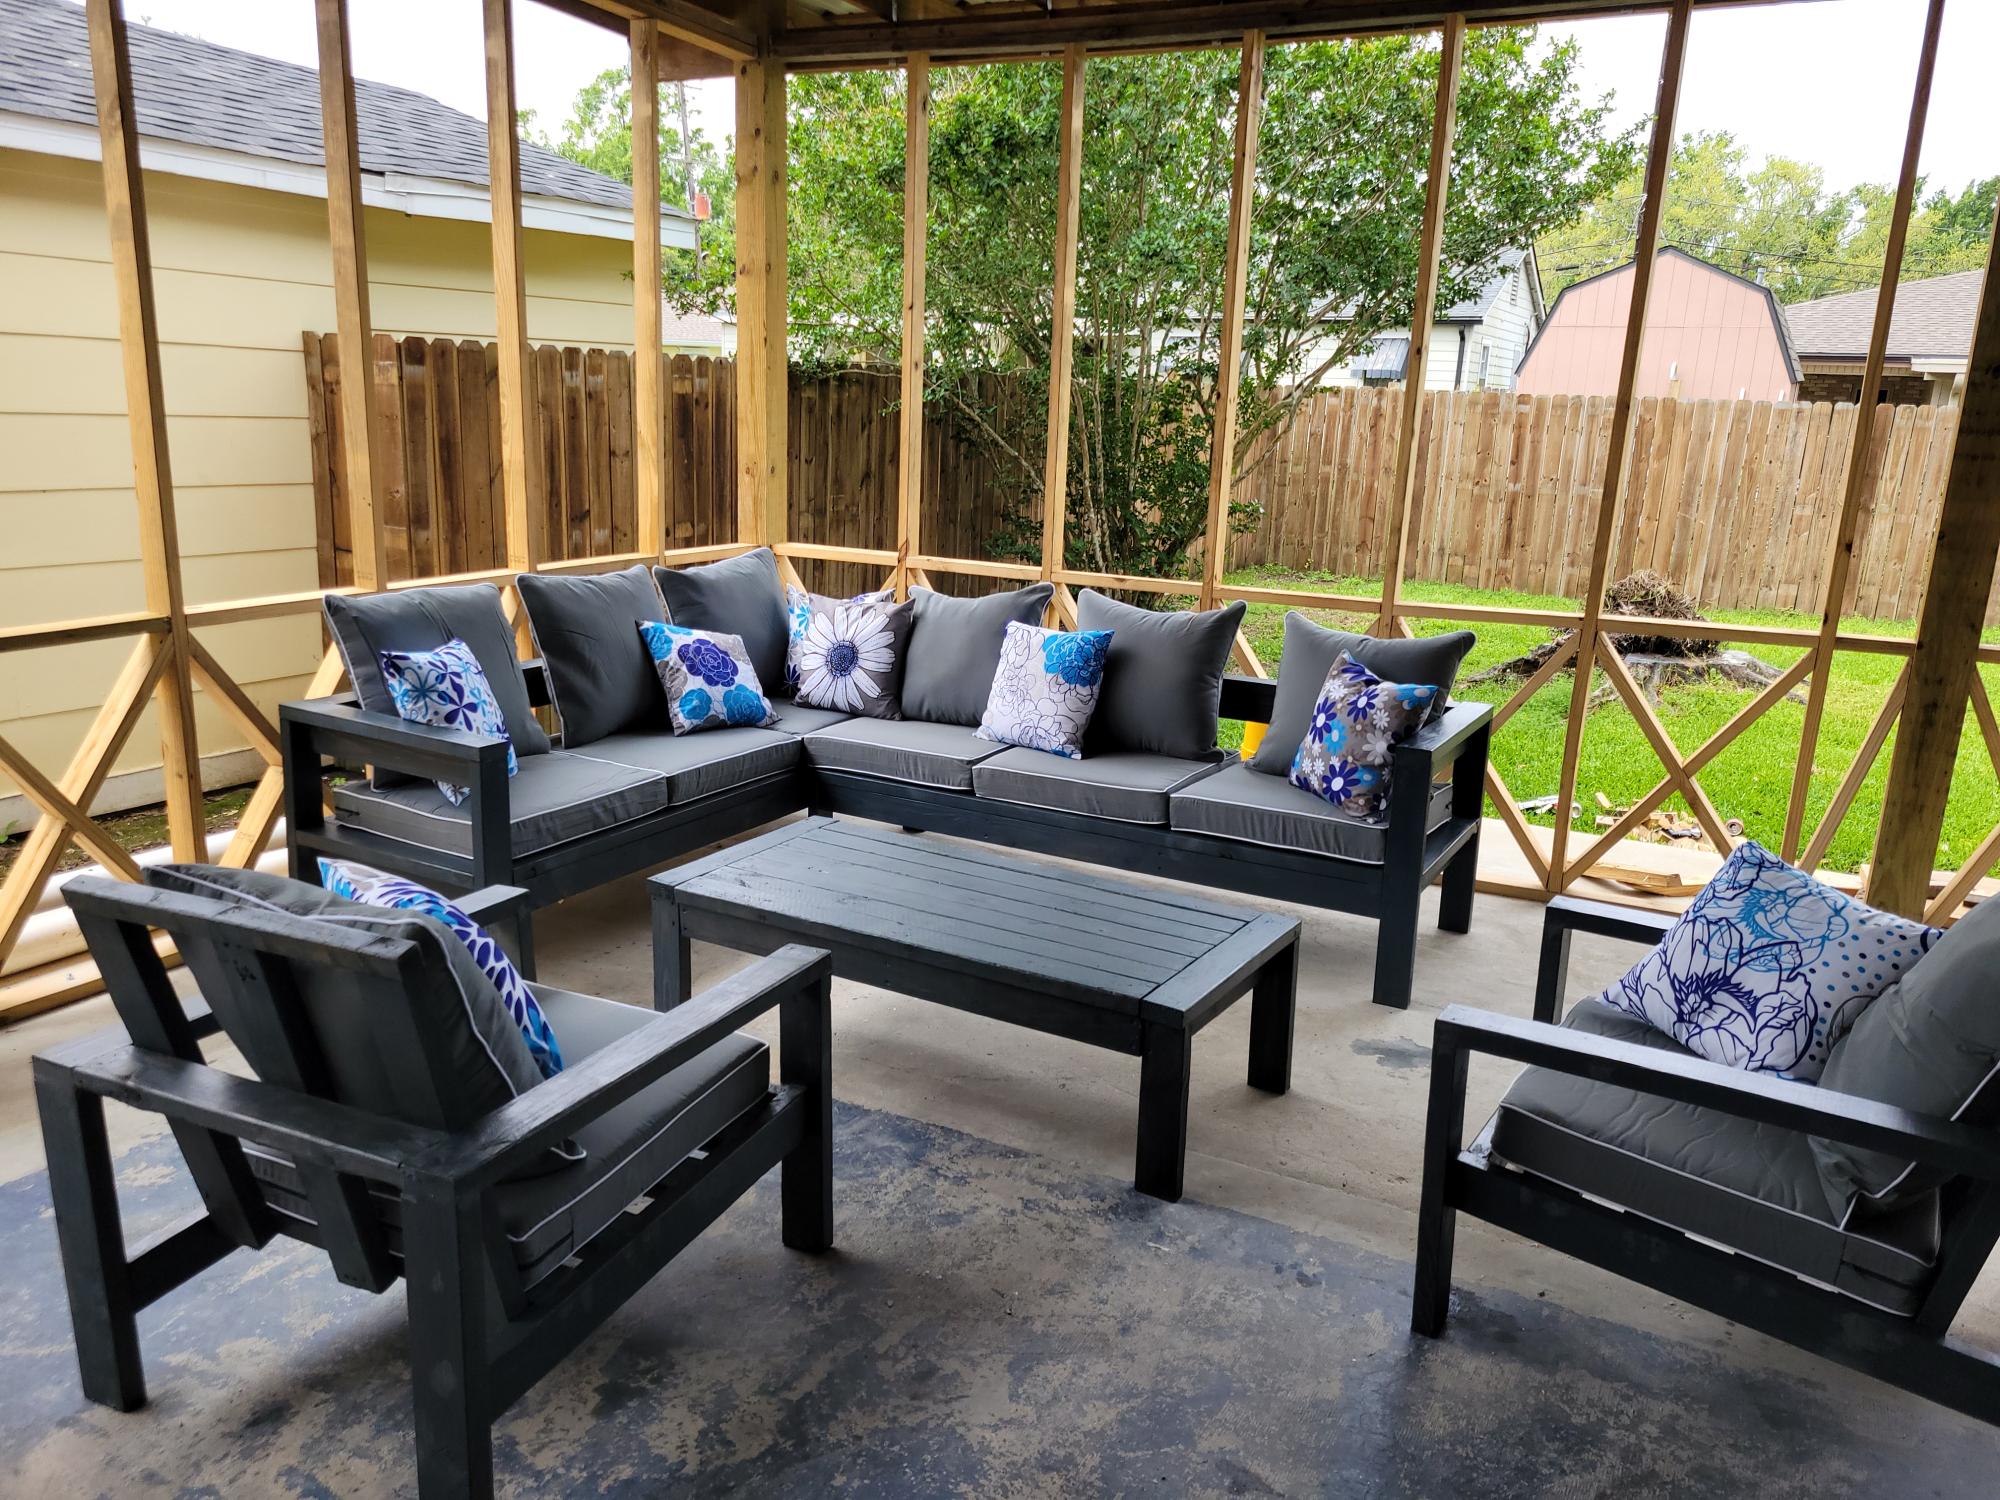
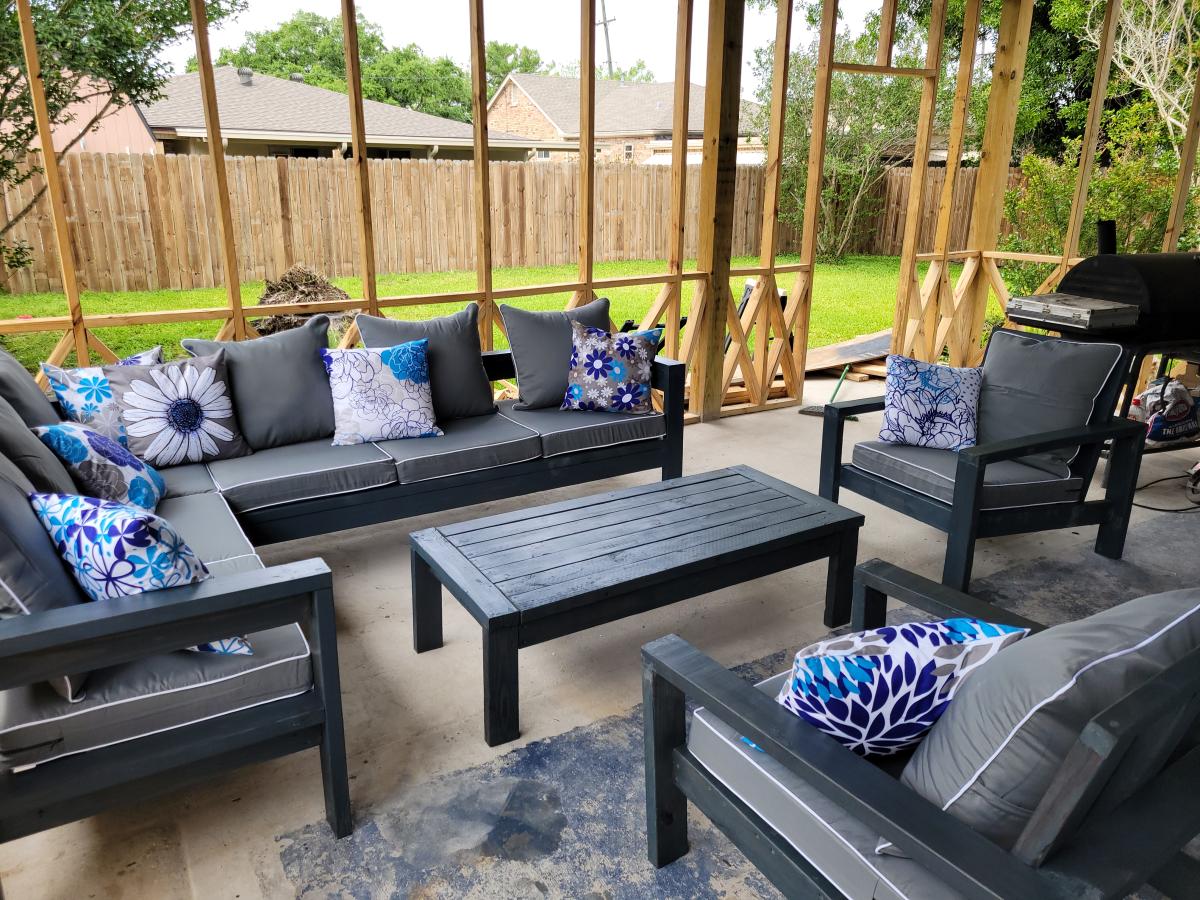
Your easy to follow 2x4 proje ts turned out amazing. My outdoor set is complete. The chairs, also, came from your plans. I built all of it by myself in one weekend. Thank you
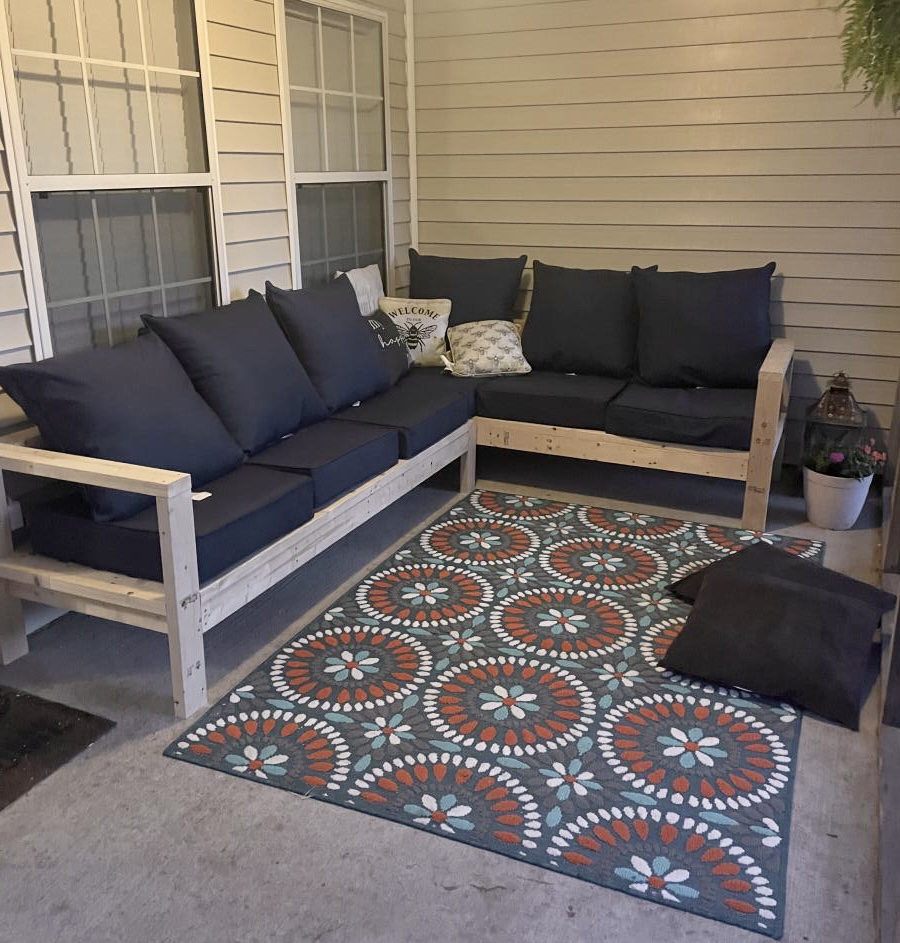
This was so super easy. We are so in love with this. Thank you Ana for making DIY so much fun!
Thu, 05/18/2023 - 09:22
Way to go, so happy you enjoy it! Thanks for sharing.
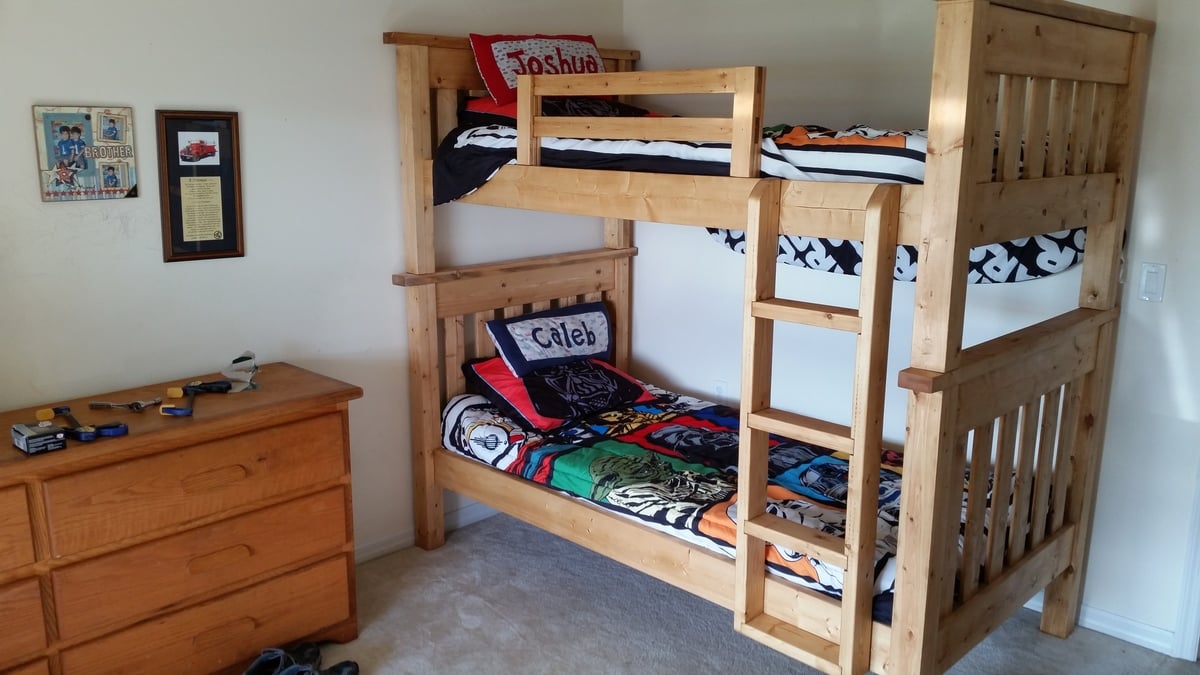
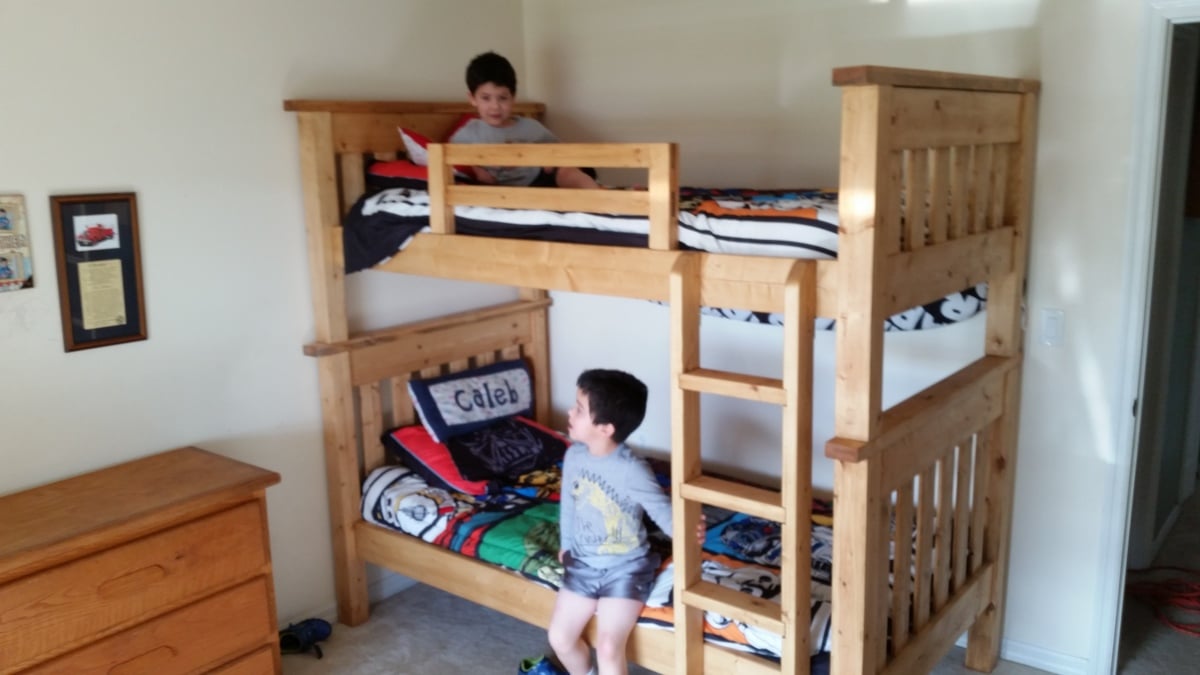
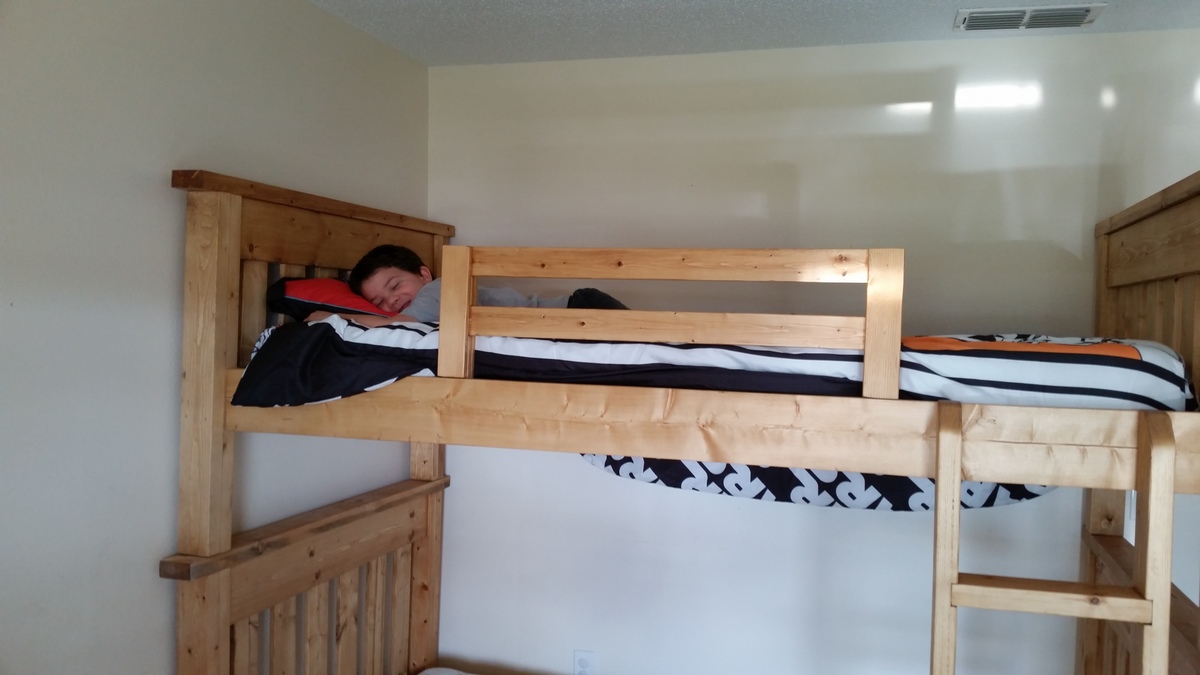
I built the Simple Bed into bunk beds. The plans for this project are pretty straight forward. The only change I made in the plans, was use 2" x 4" angle plates to mount the side rails to the head and foot boards. This made it easy to assemble and disassemble if the beds needed to be separated or moved. I also had to use two 2"x4"'s mated together to make the bed posts since 4"x4"'s are only available pressure treated. The ladder is constructed of 2"x4" with the steps spaced 10" on center.
Mon, 02/15/2016 - 19:40
Can I have a url to the angle plates you used ? I am not certain I know what they are.
The beds look great.

I made the barn wood frame for less than $30 (the plexiglass alone was $23!). It's better than the $80 they were going to charge me at the frame shop for the same style! I used an opaque black stain to both hide my not so accurate miter cuts and give it a modern feel. I'm very satisfied with the results!
Sat, 02/18/2012 - 09:24
I need a large frame for a family photo. I cant spend the money right now. This has been very helpful. Great job
Comments
Ana White Admin
Fri, 10/07/2022 - 09:14
Sweet lounge option!
This looks super cool, thank you so much for sharing!