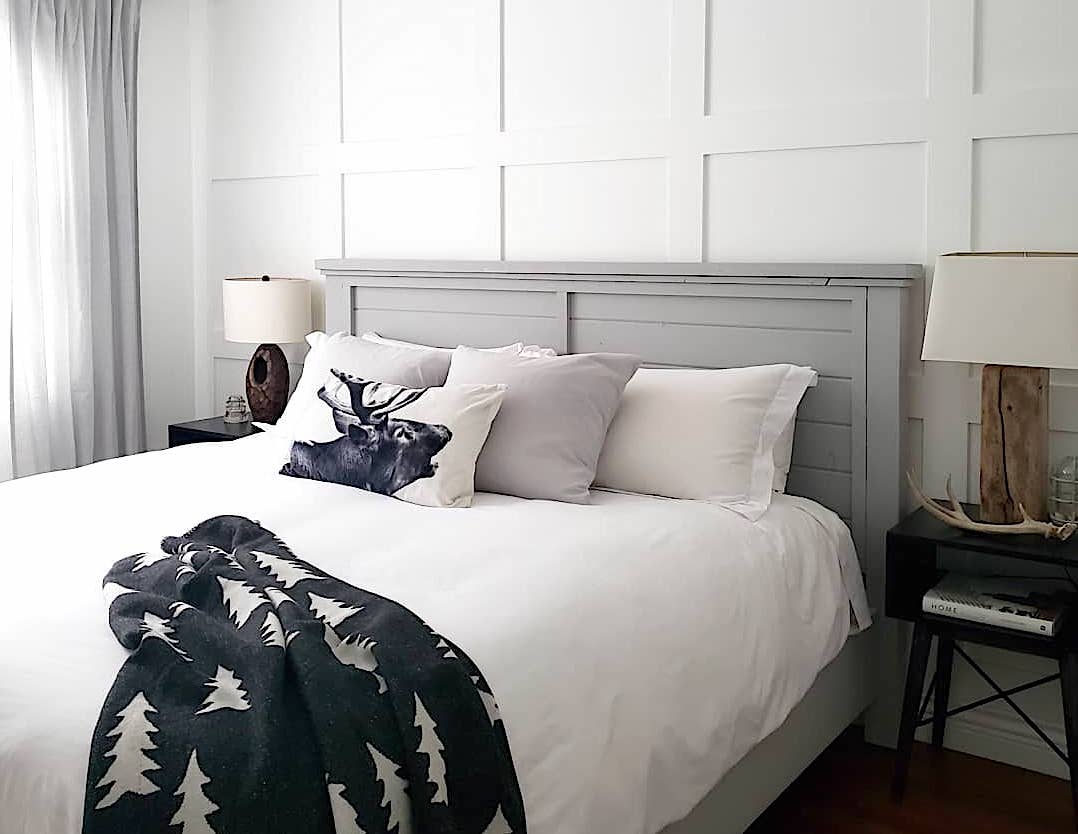
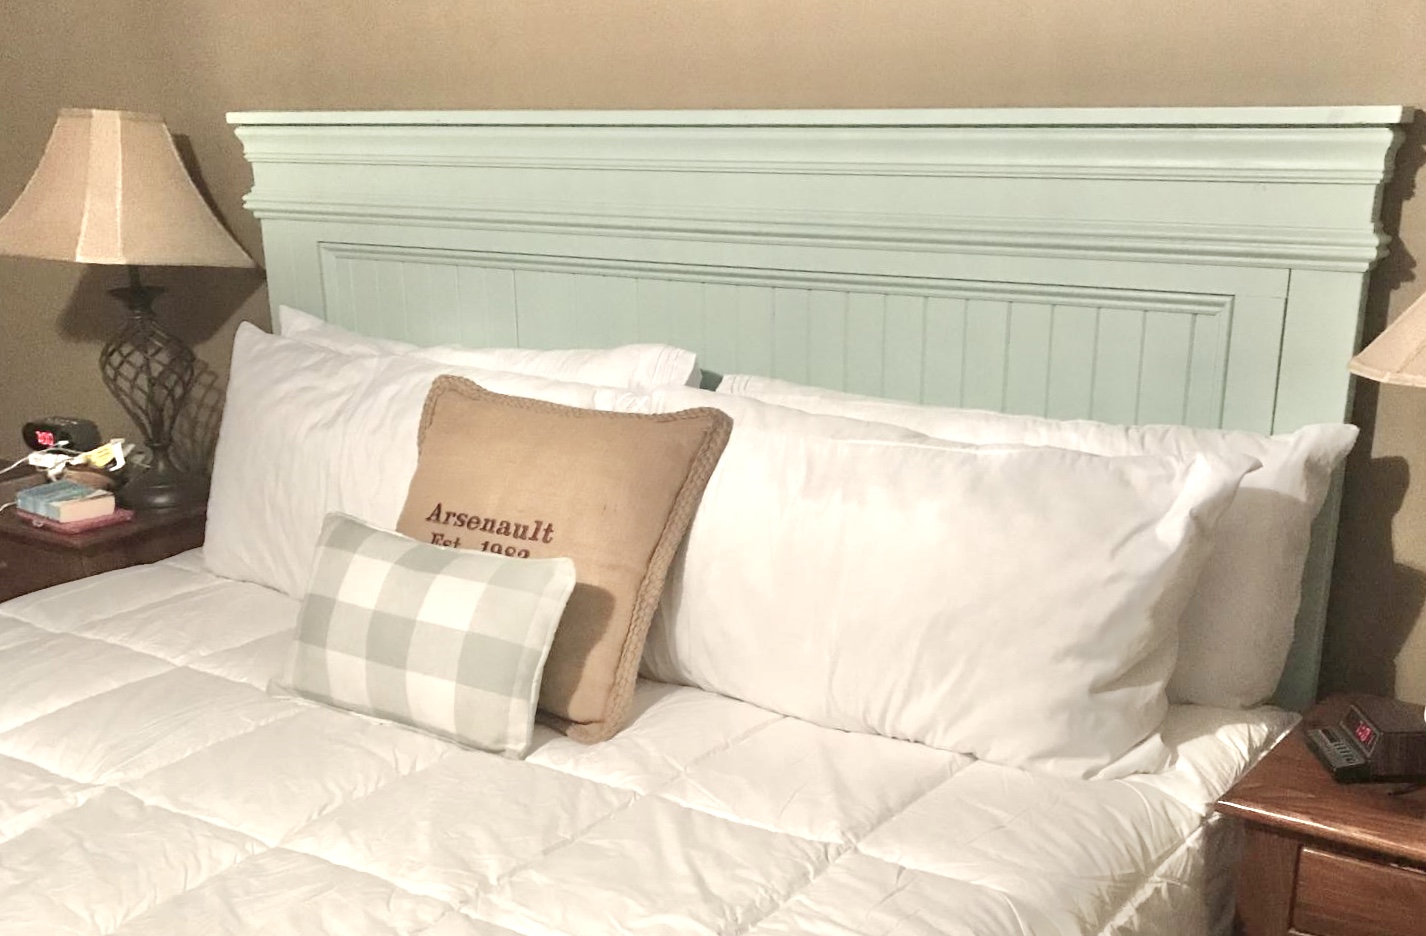
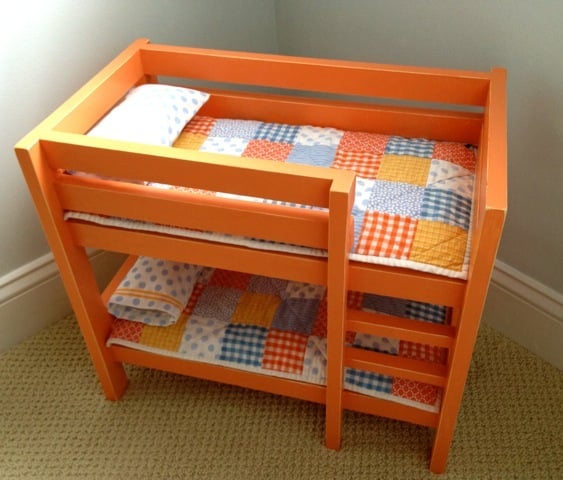
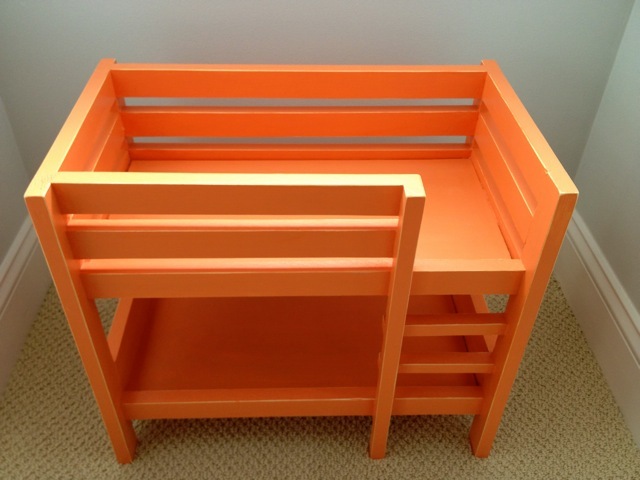
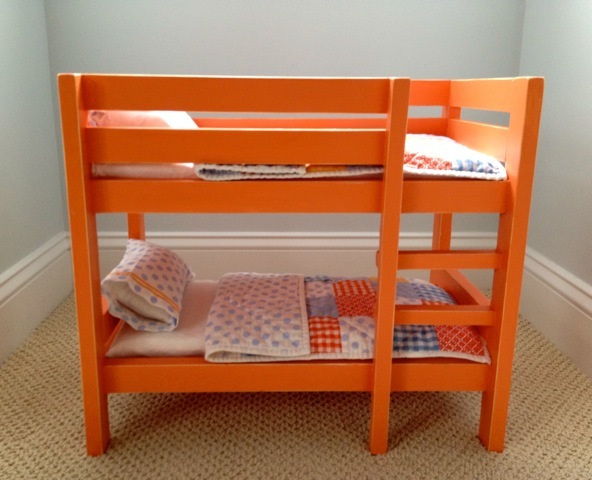
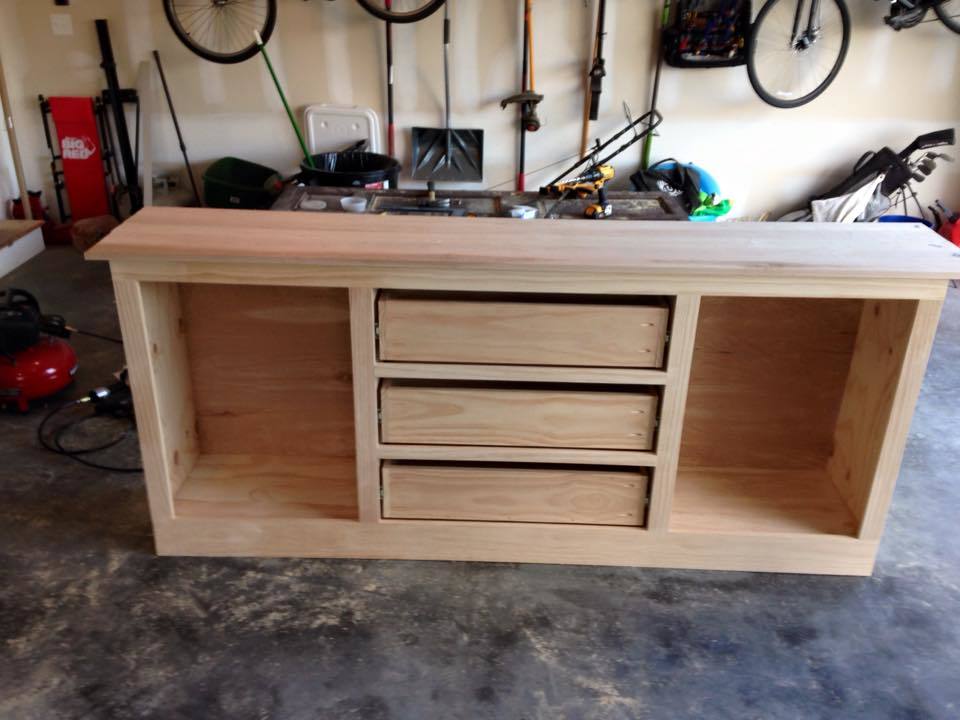
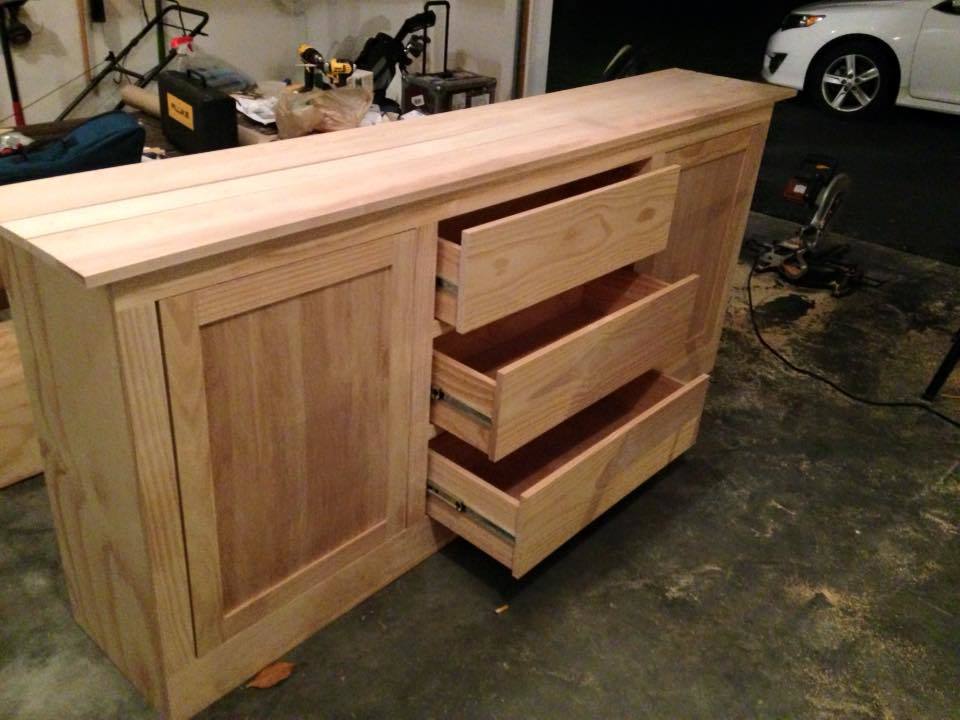
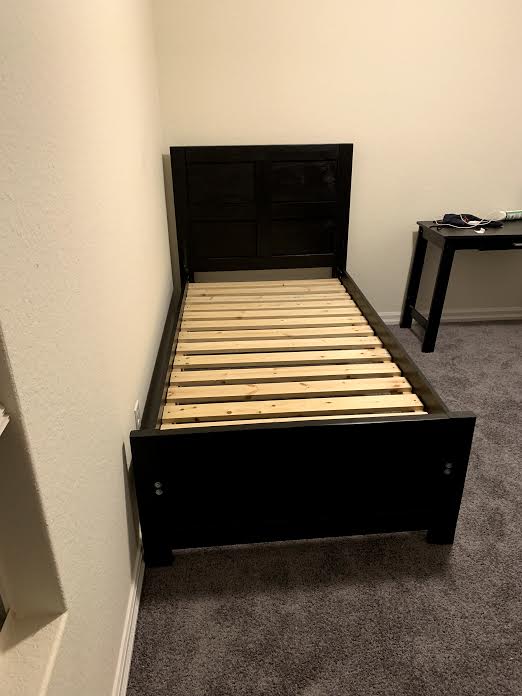
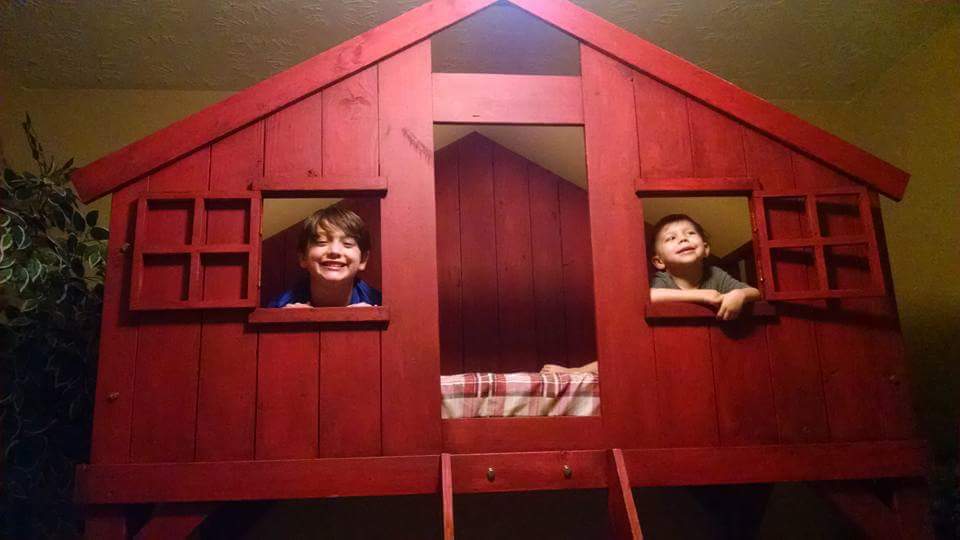
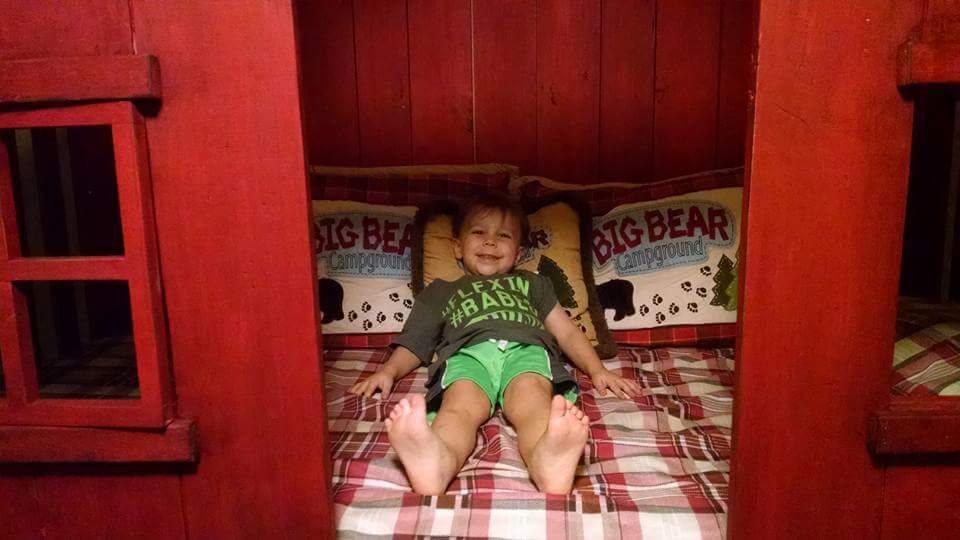
4 year old so LOVES his bed!!

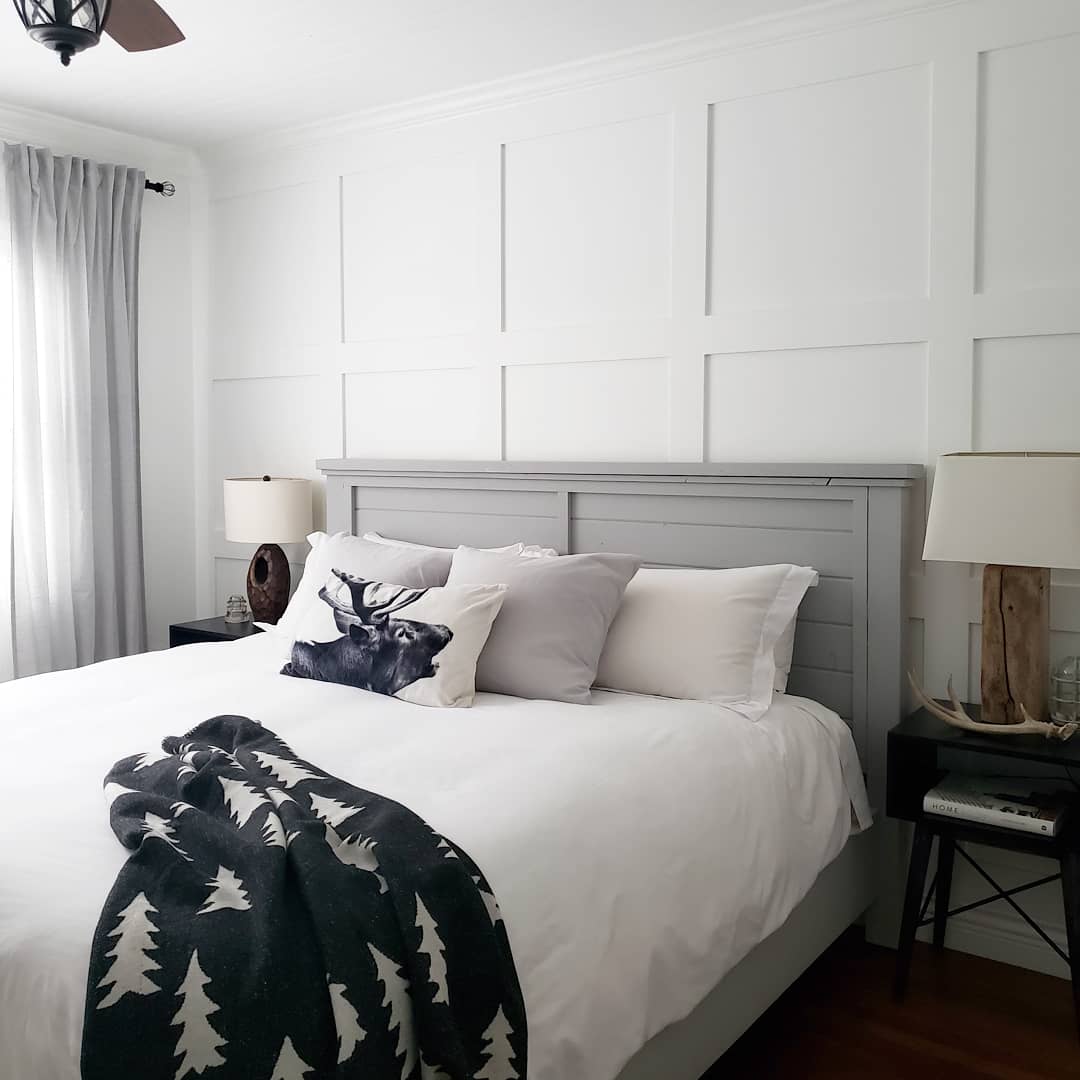
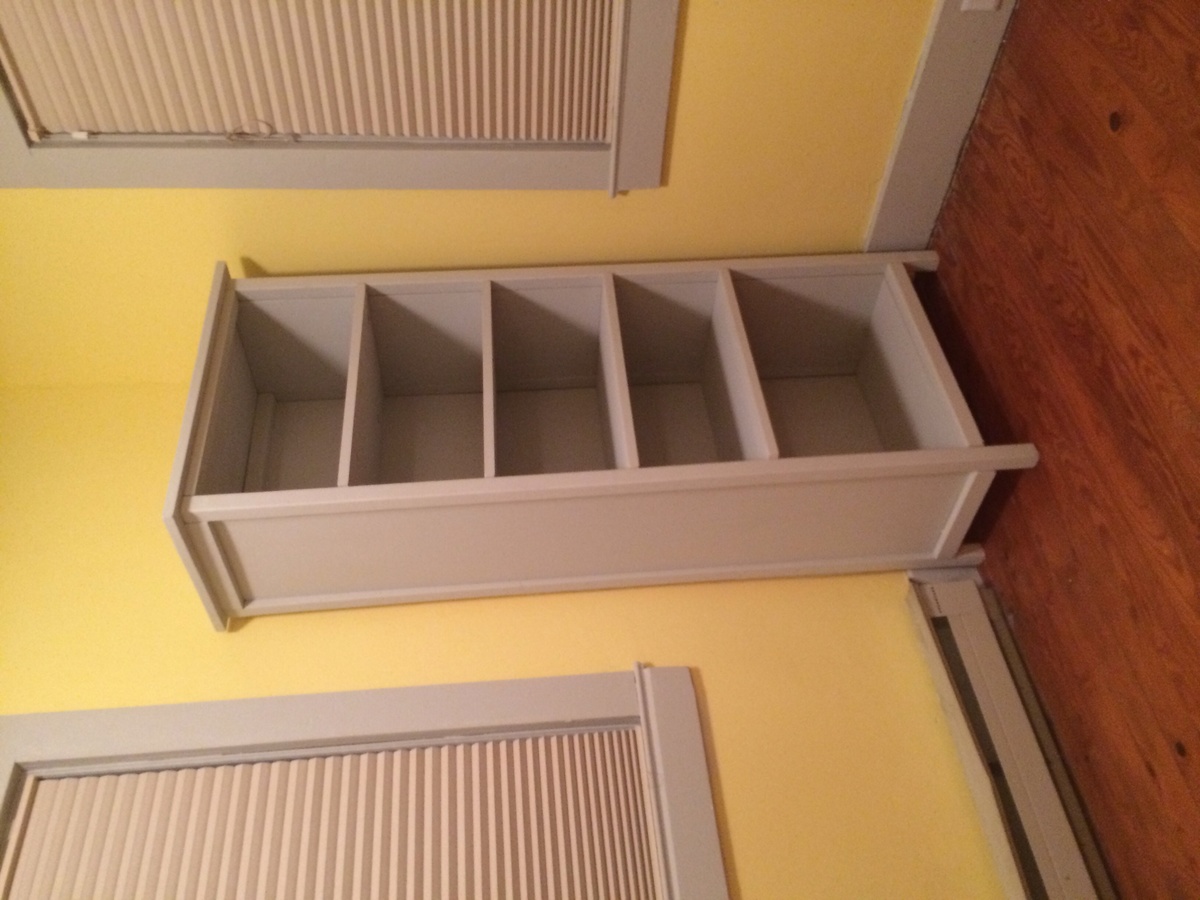
These plans where so easy for my hubby to follow and put together. My son's room is small and even though it's a big bulky bed he has all that floor space to play now!!
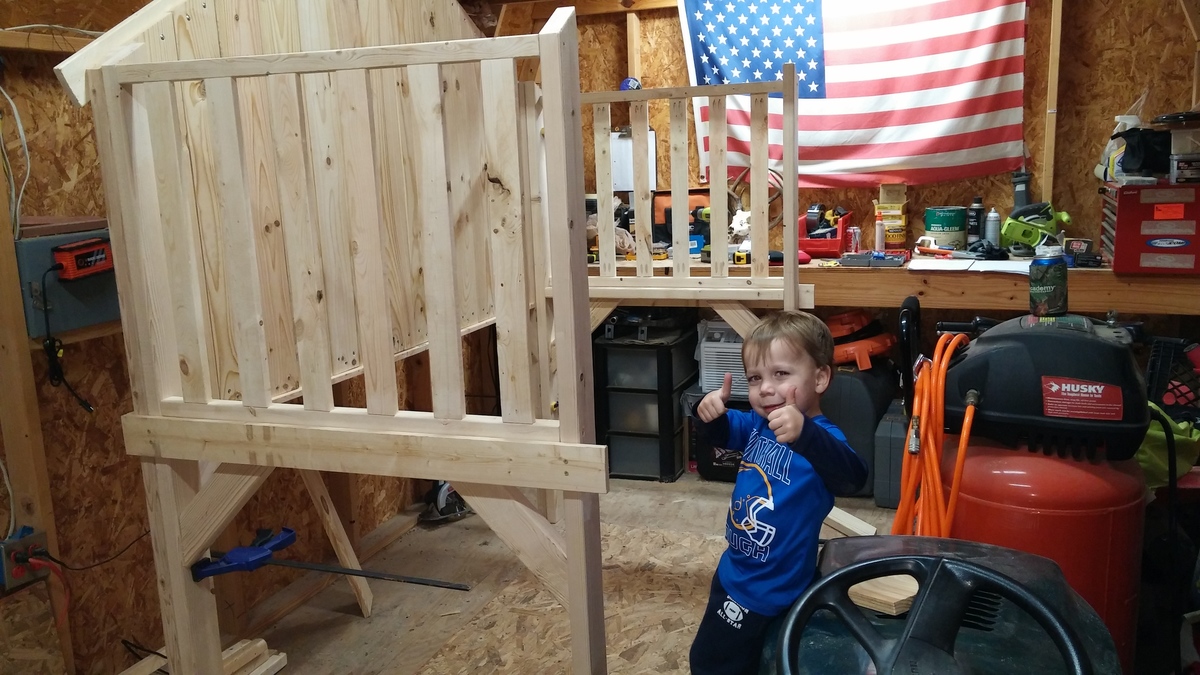
Built from Plan(s)
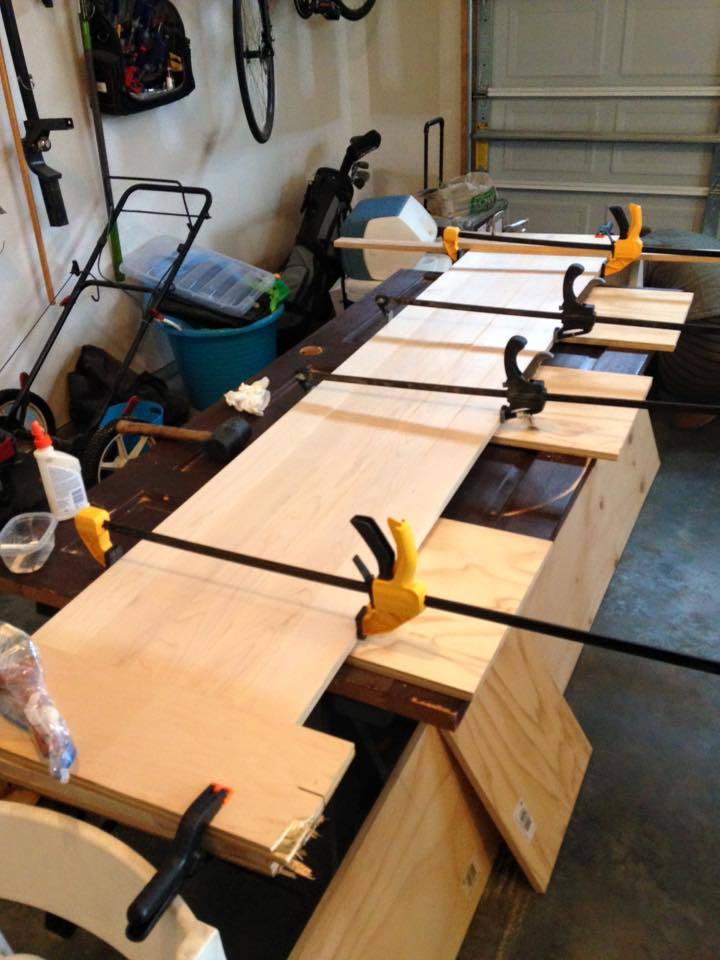
Estimated Time Investment
Afternoon Project (3-6 Hours)
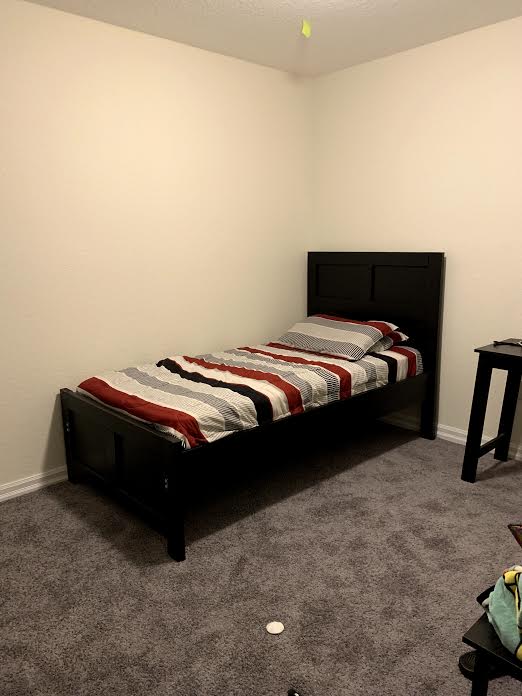
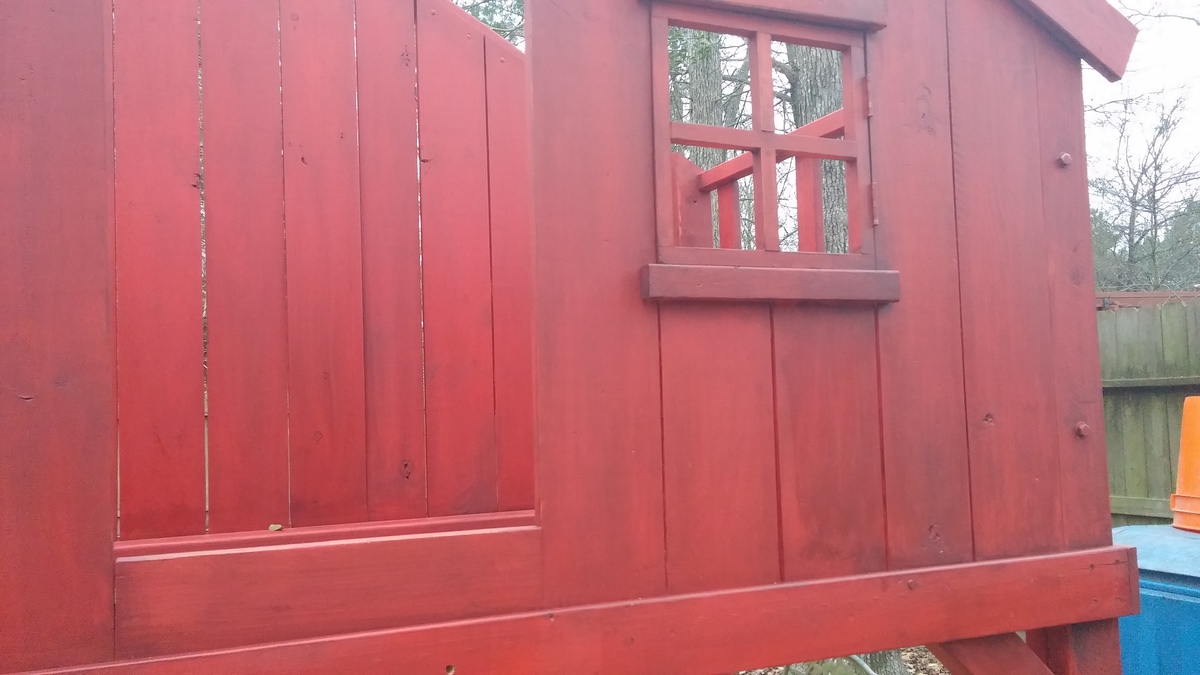
Finish Used
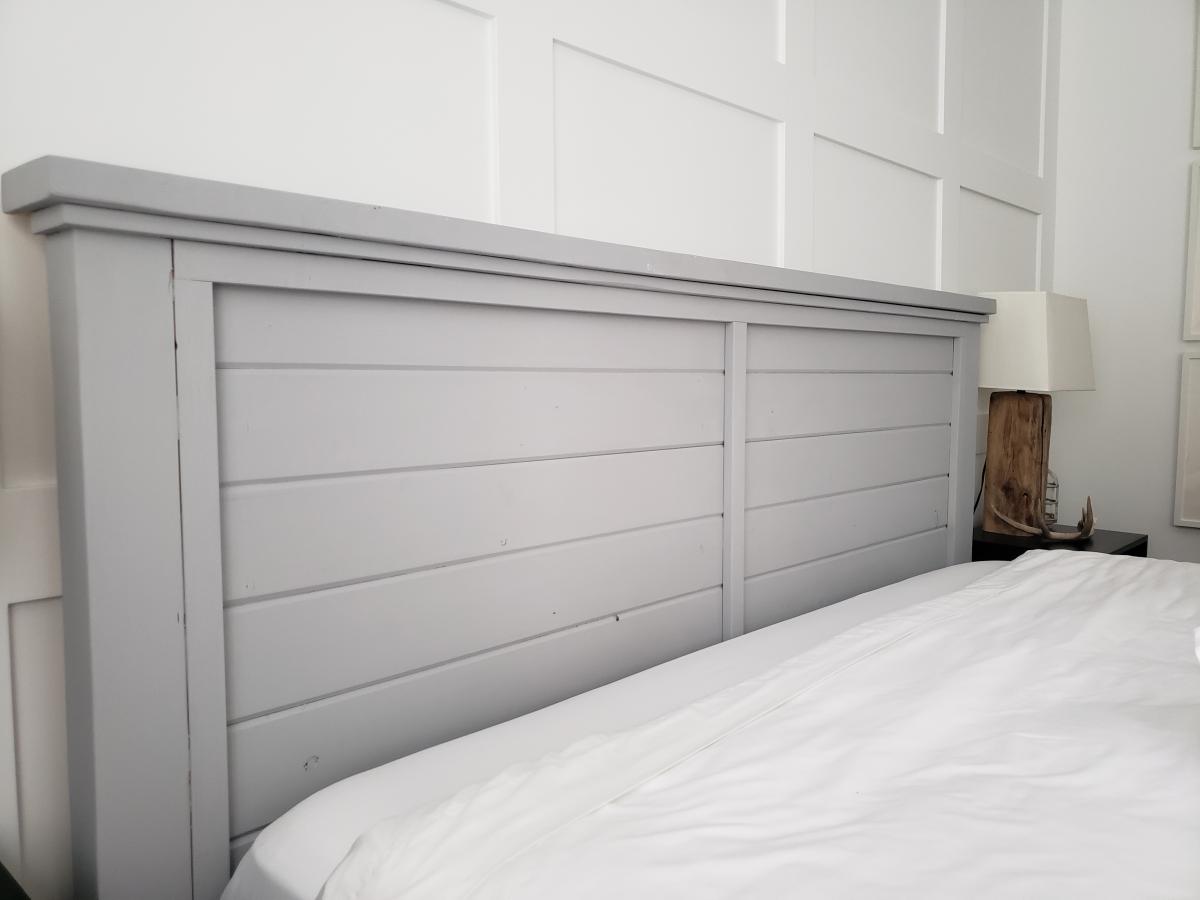
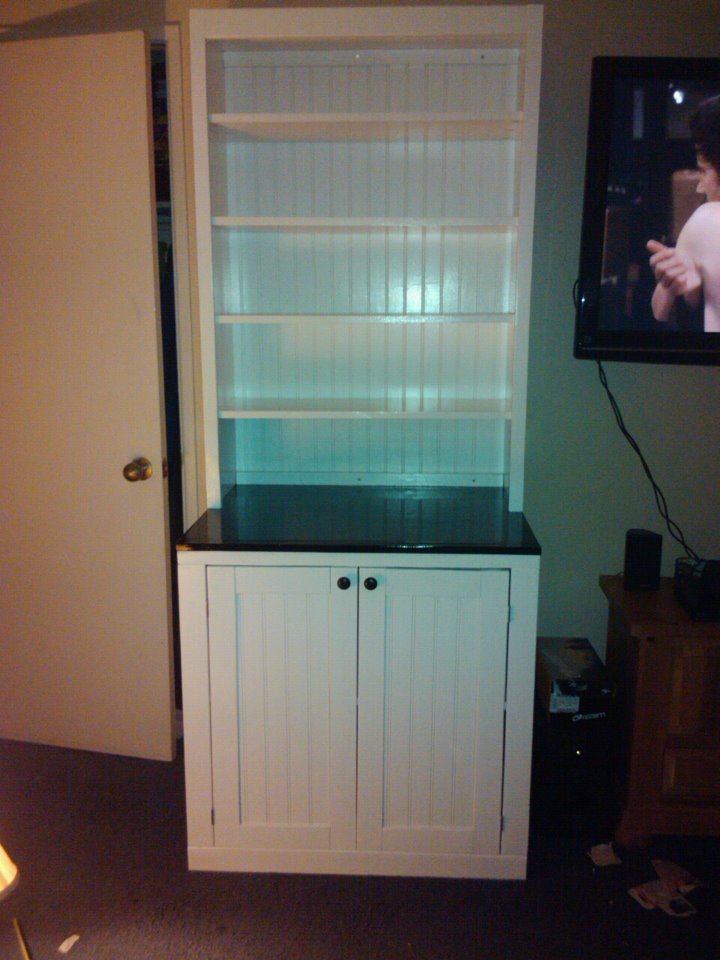
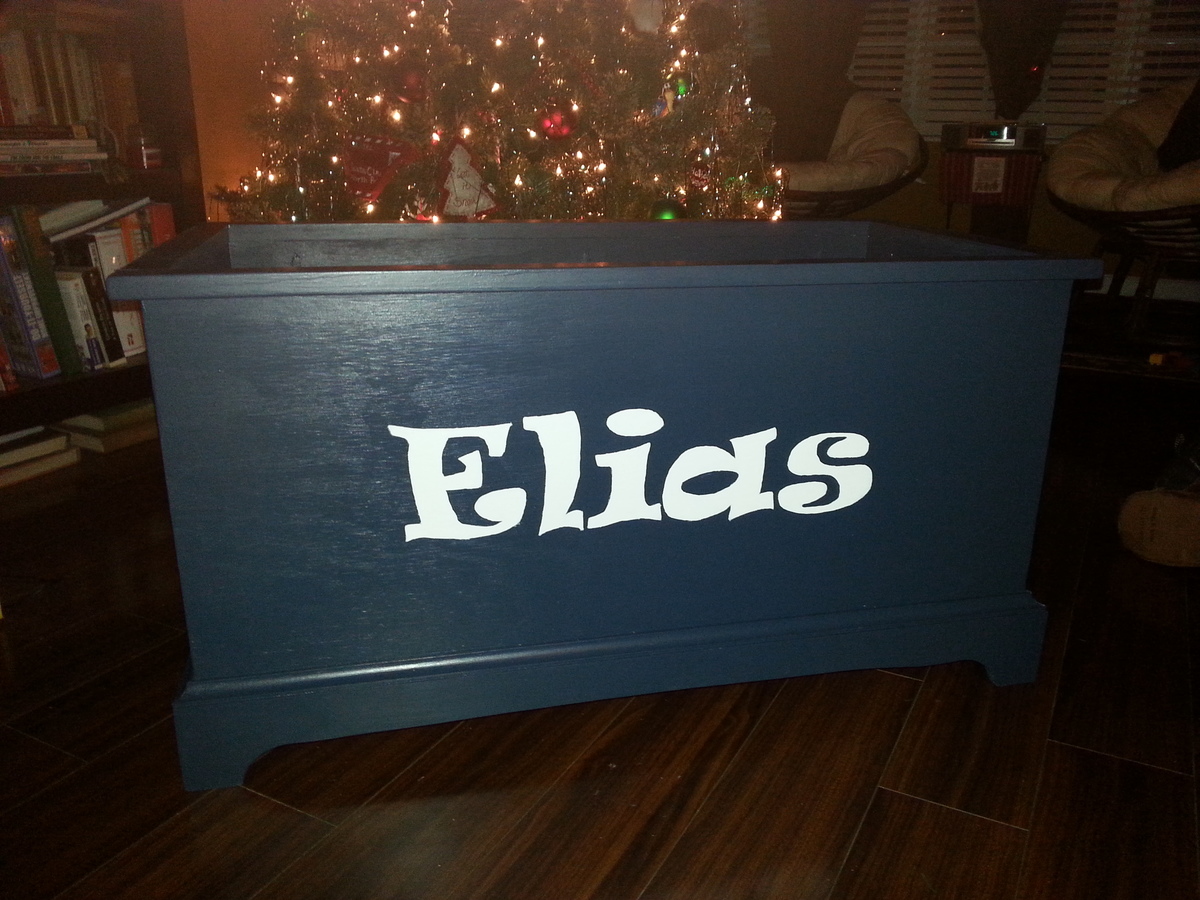
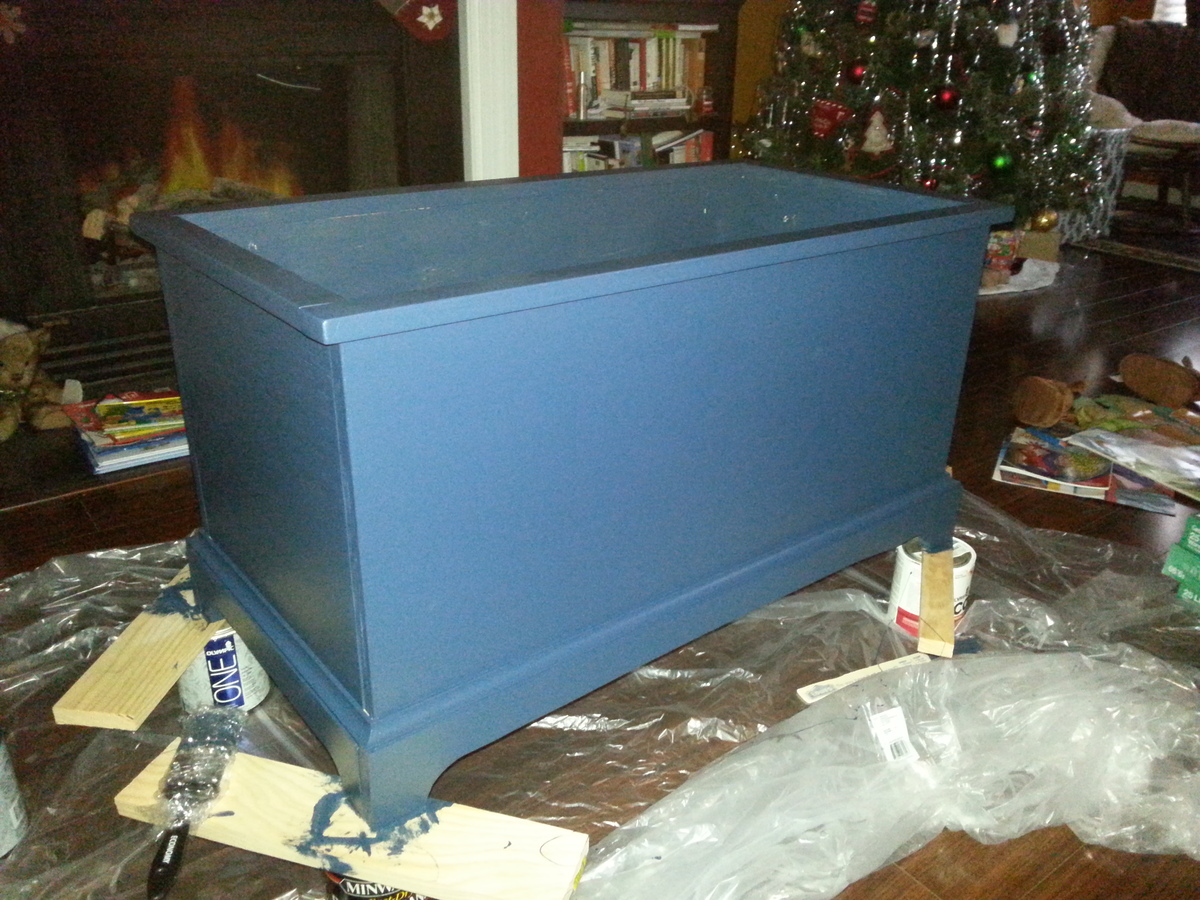
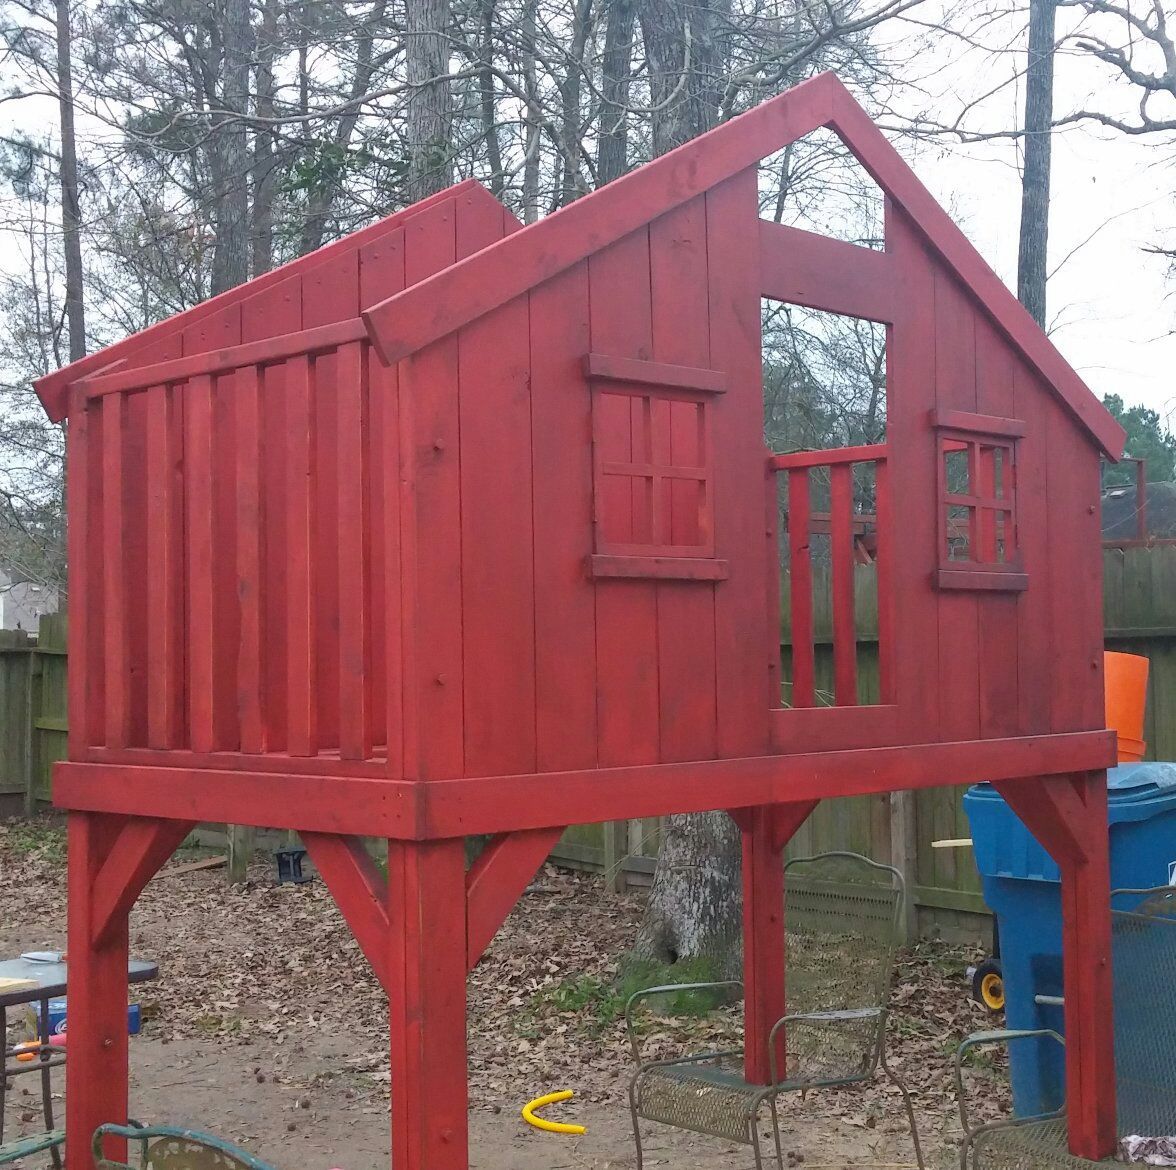
We used a diy chalk paint to finish it off. Mix 1/3 cup plaster of Paris with 1/3 cup of water and 1 cup of acrylic paint.
Recommended Skill Level
Intermediate