outdoor sofa from reclaimed wood
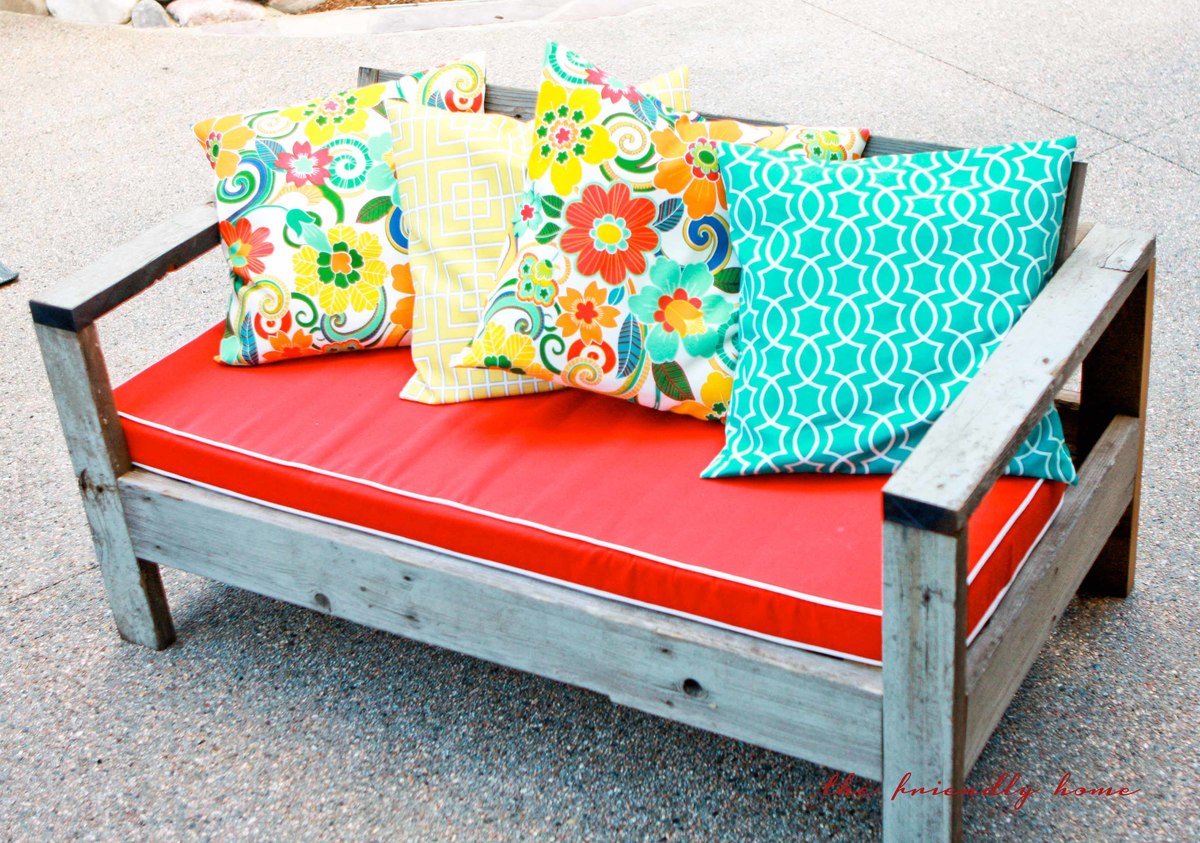
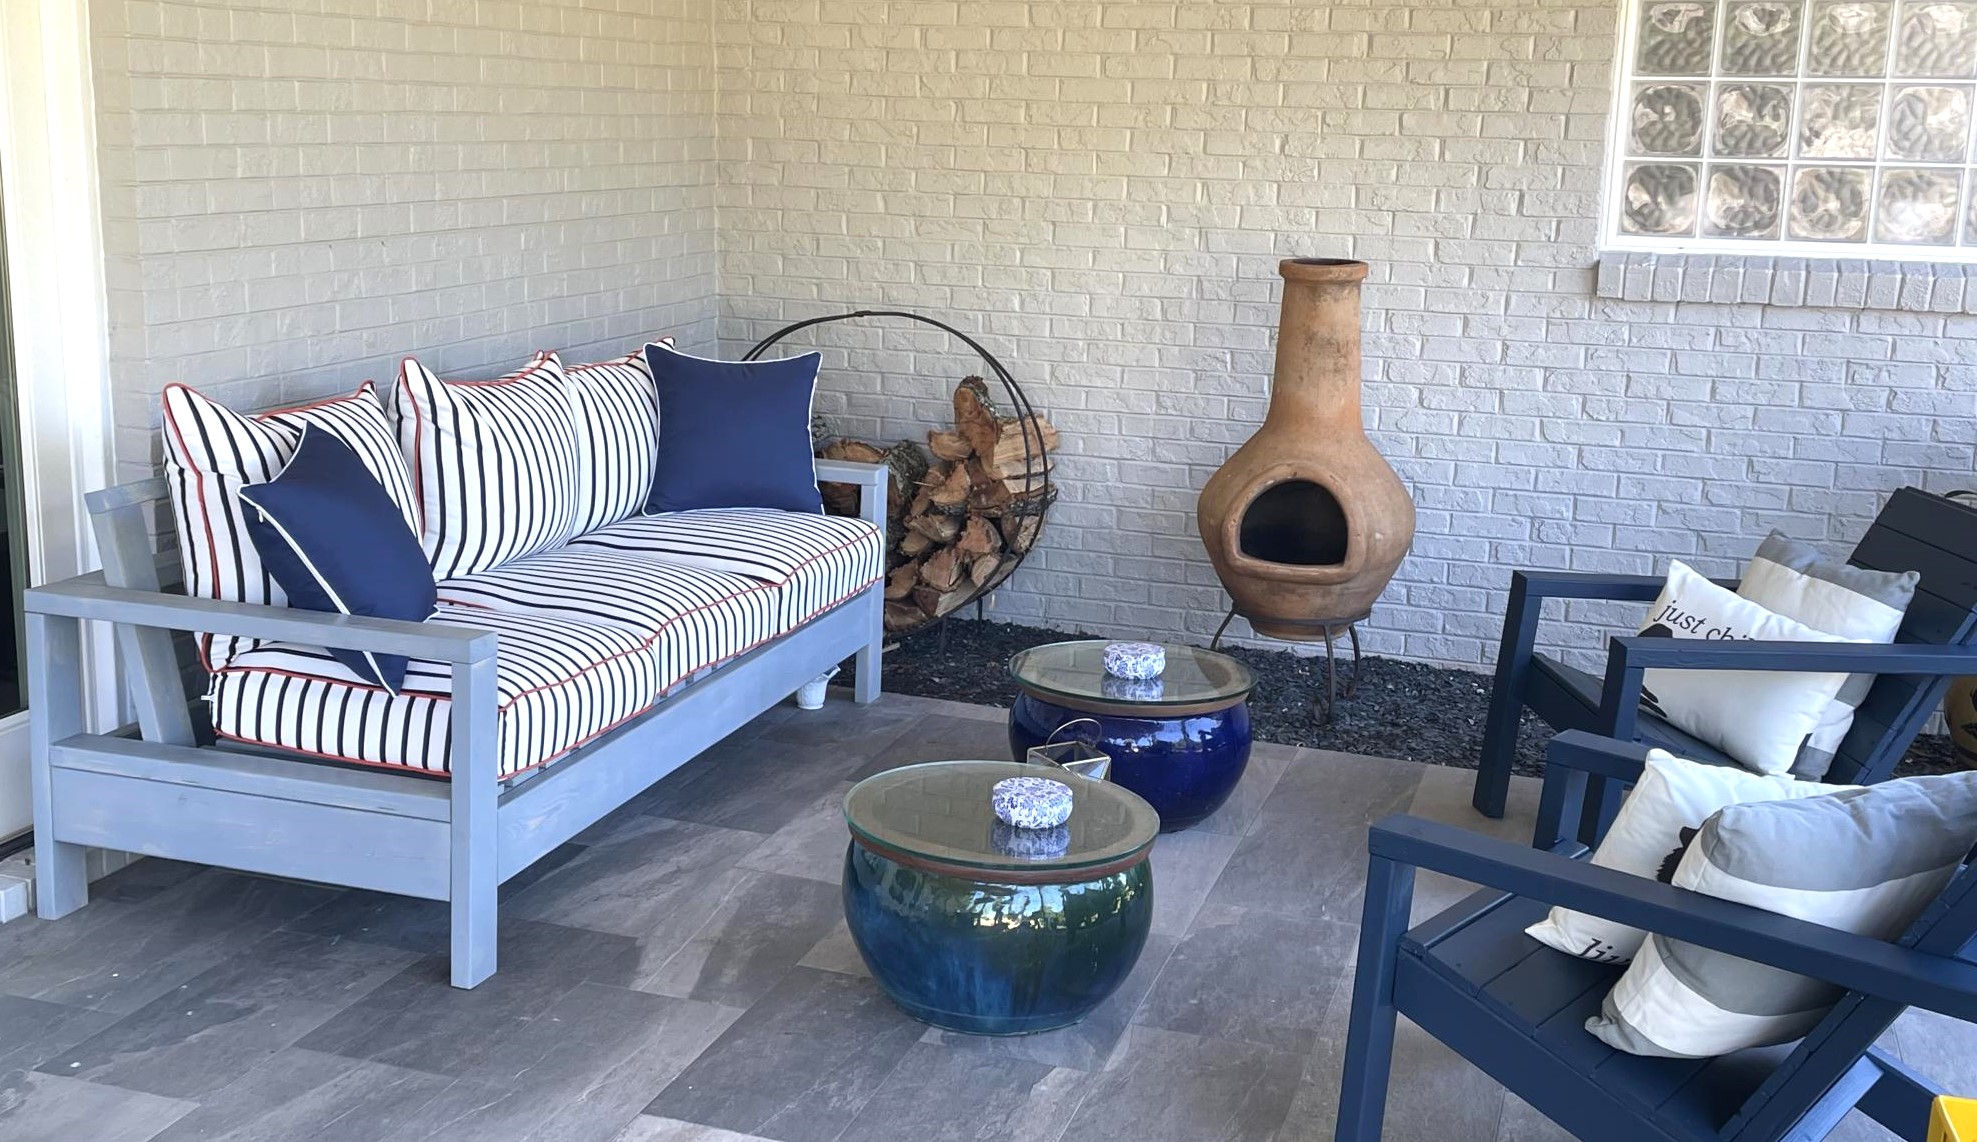
Using Ana's plan as a guide, I built two of these sofas to fit an outdoor cushion I already had. I used wood from our old deck -- a great way to re-use and save money, too!
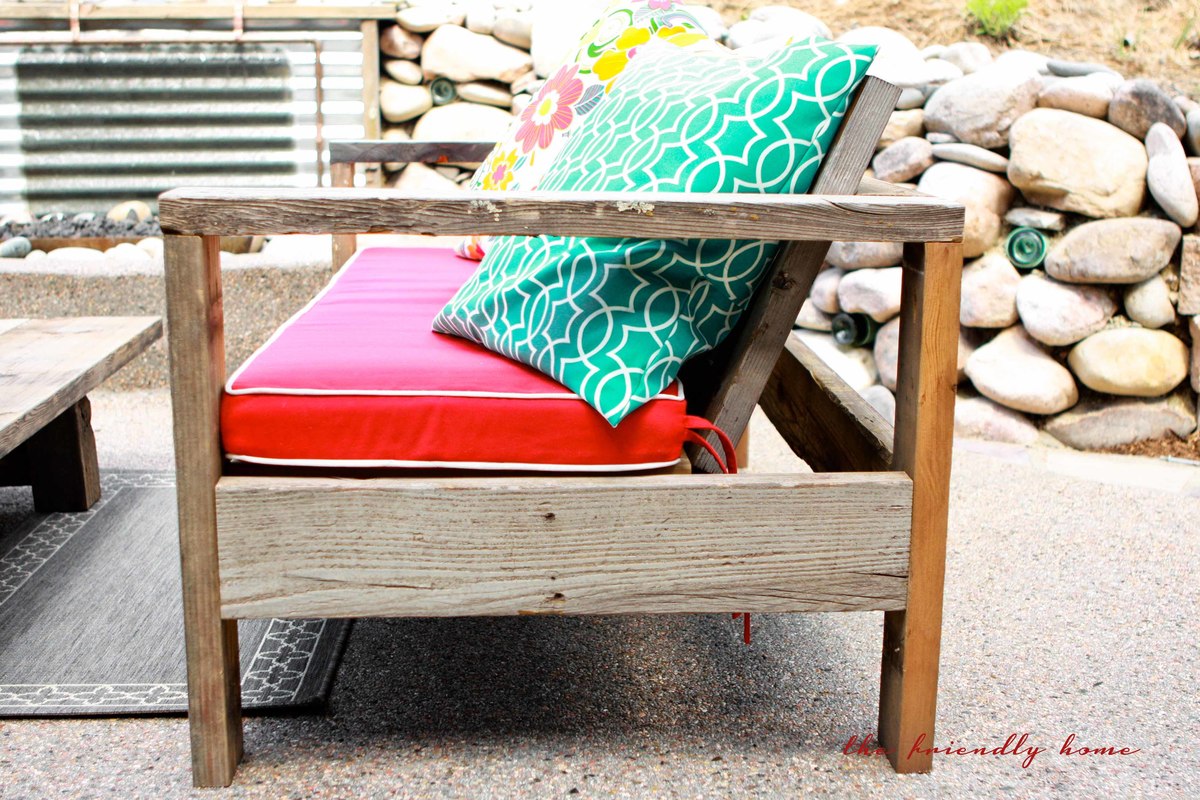
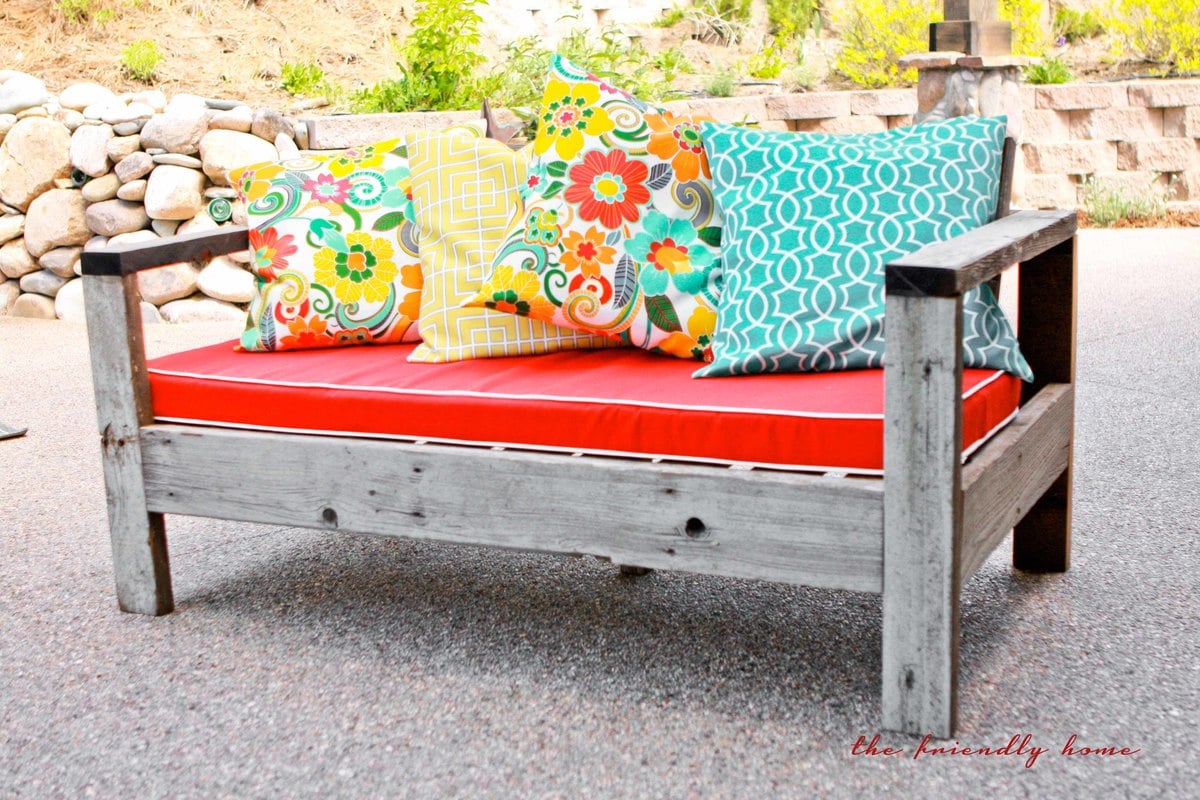
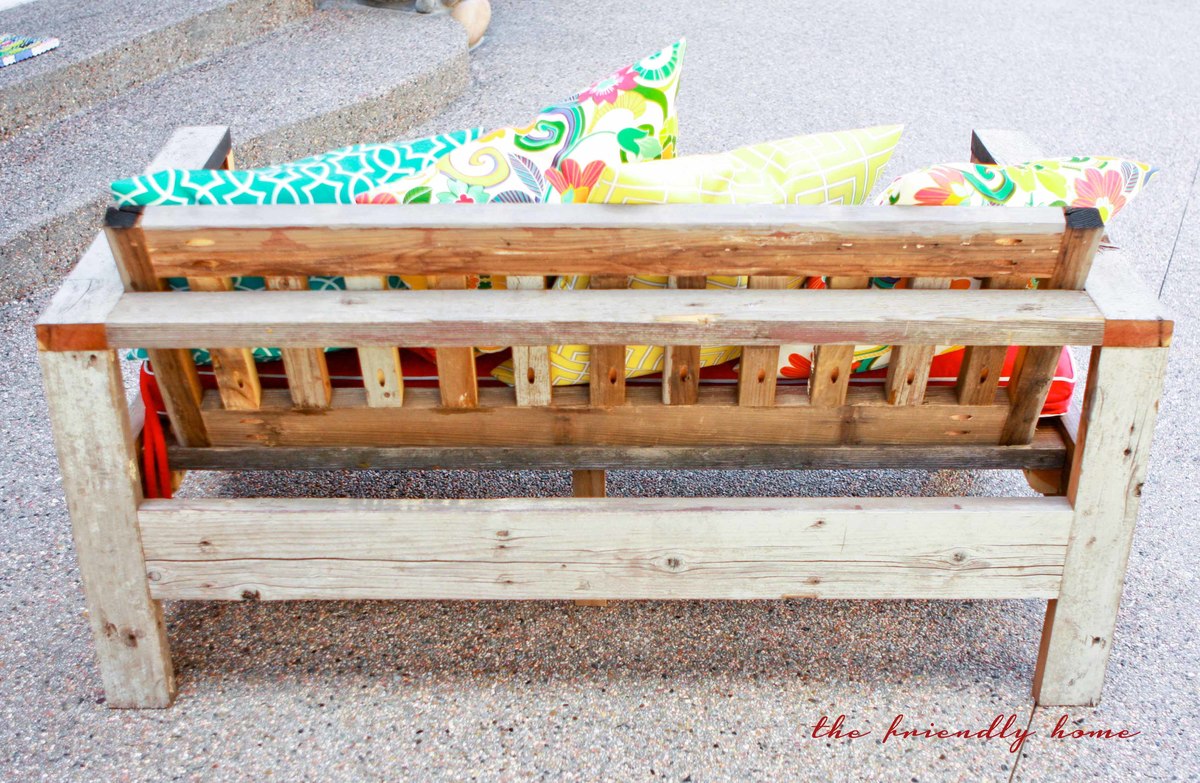
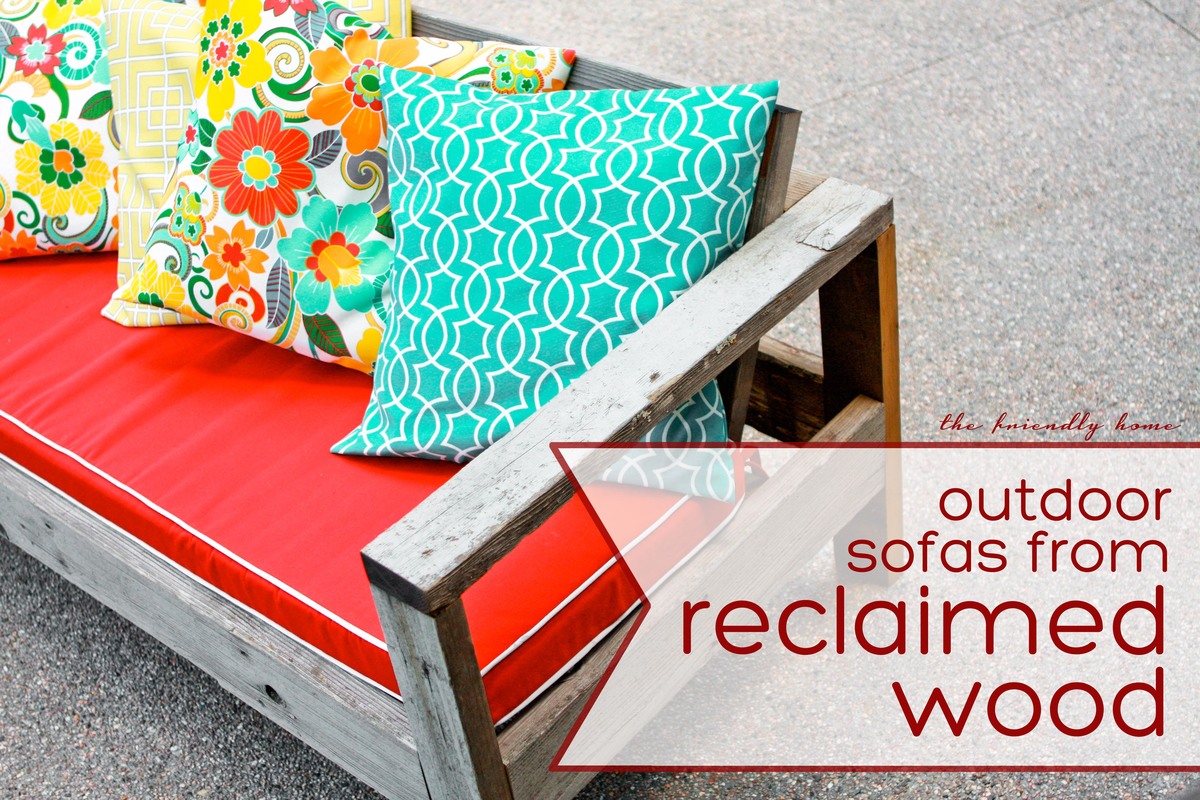

Using Ana's plan as a guide, I built two of these sofas to fit an outdoor cushion I already had. I used wood from our old deck -- a great way to re-use and save money, too!


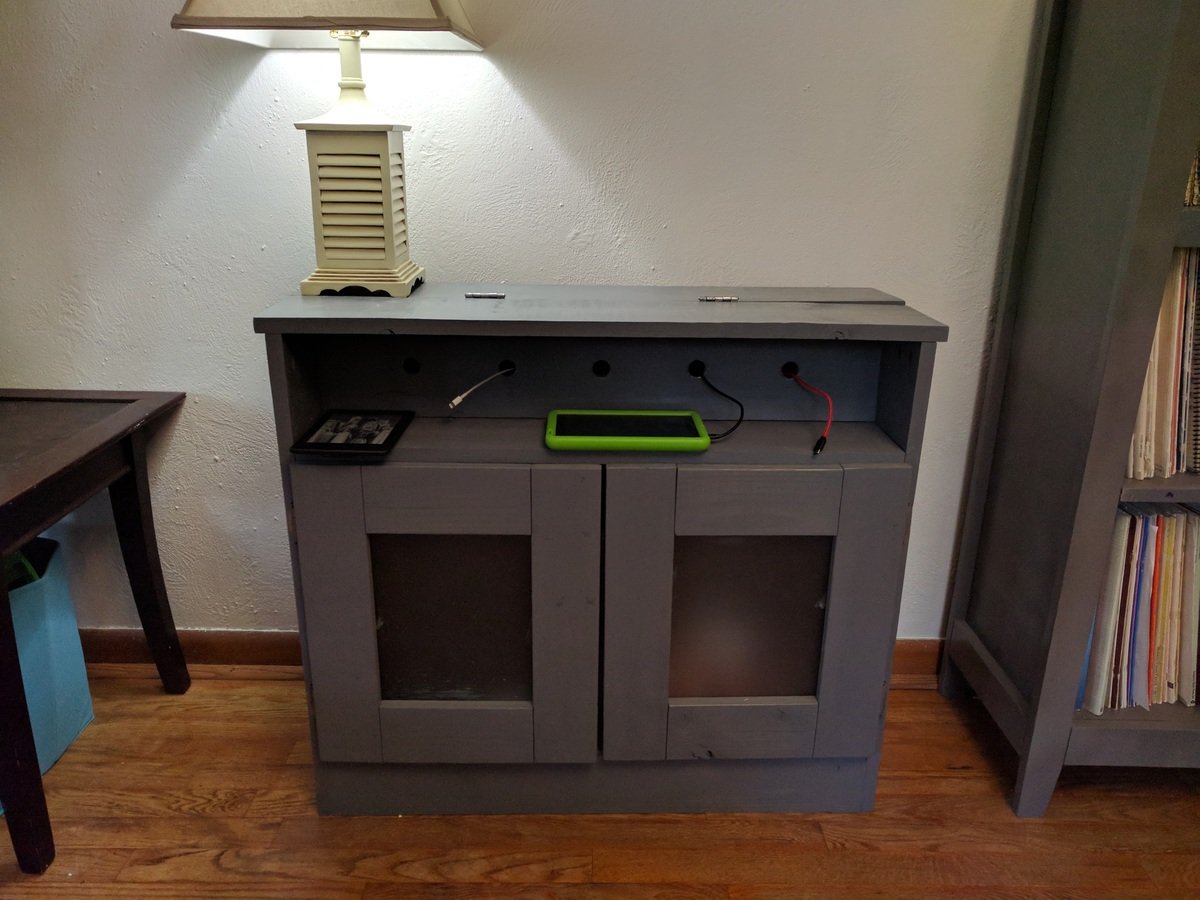
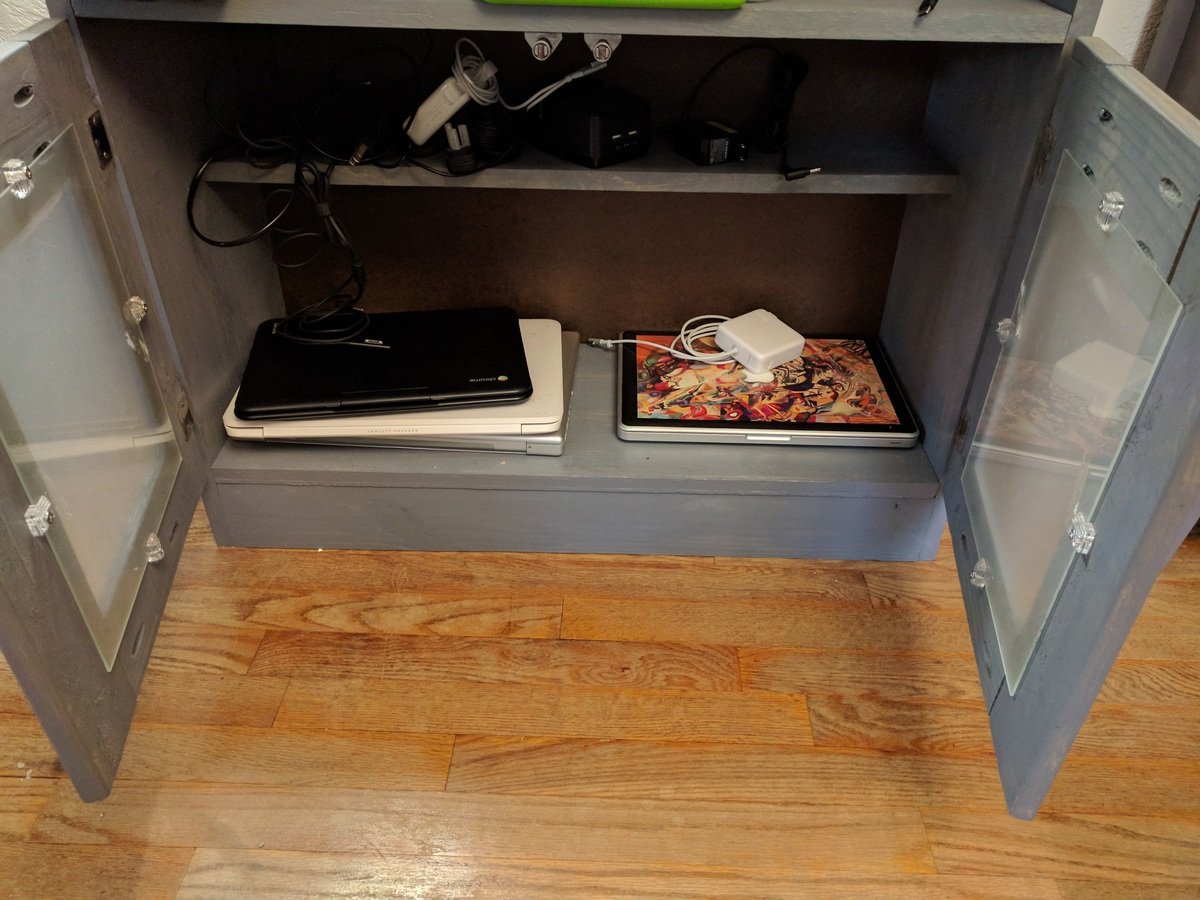
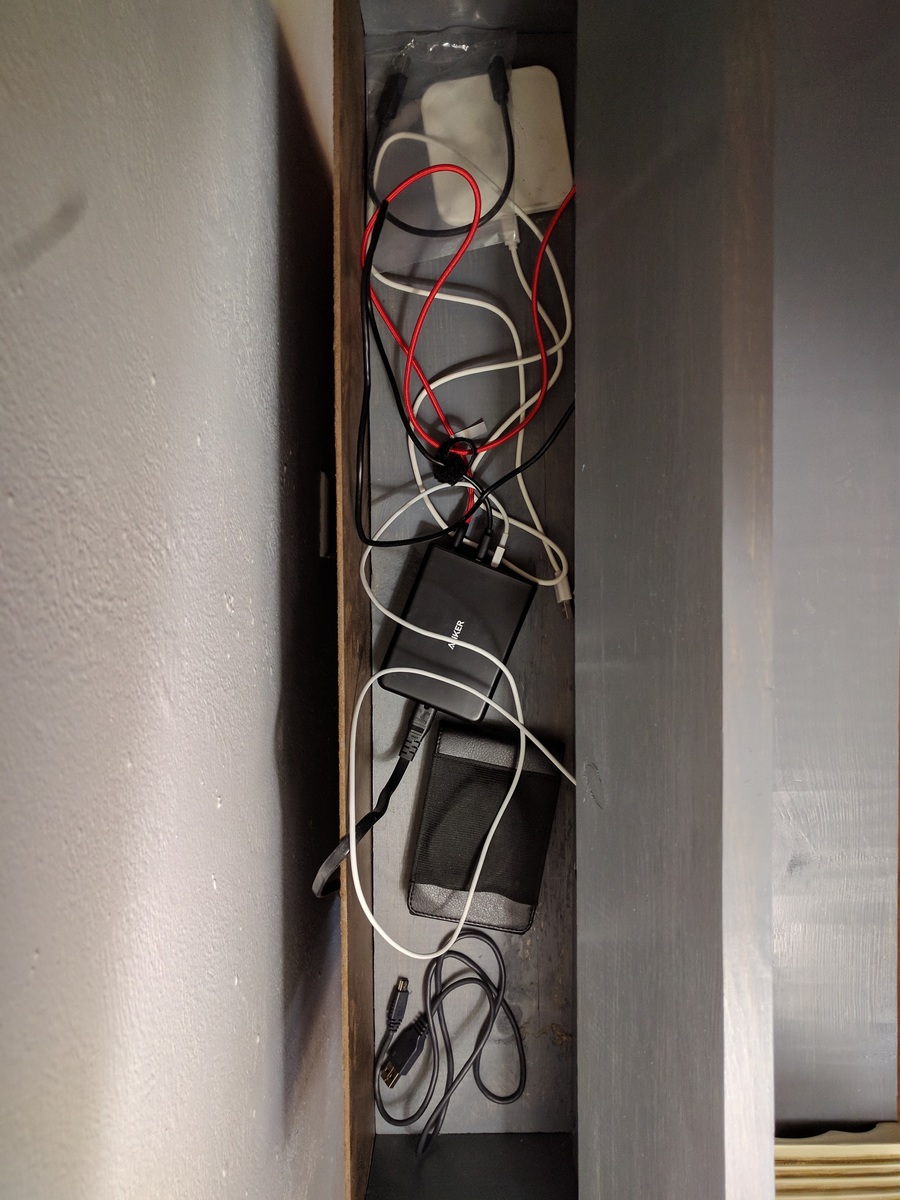
I used the charging station plans as my first attempt at building something using pocket holes, and also my first real attempt at building any piece of furniture from scratch. I stuck pretty much to Ana's plans except for not cutting the front footer (I didn't own a jigsaw at the time) and using panes of frosted glass as the center of the doors.
As a piece of furniture it gets used every day, but it has been most invaluable to me as a learning experience. I've built many pieces of furniture in the time since I made the charging station, growing my skills each time. But this project was where I started, so it always feels a little extra special to me.
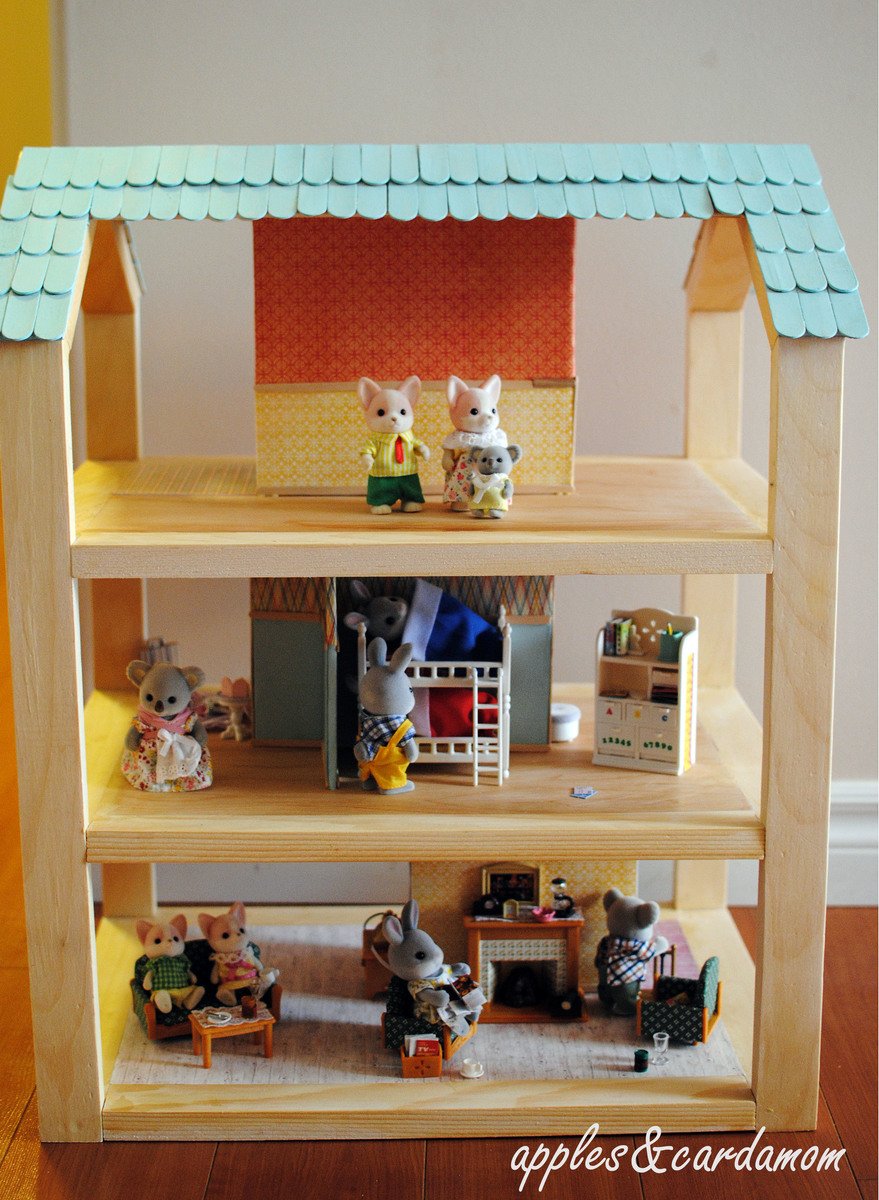
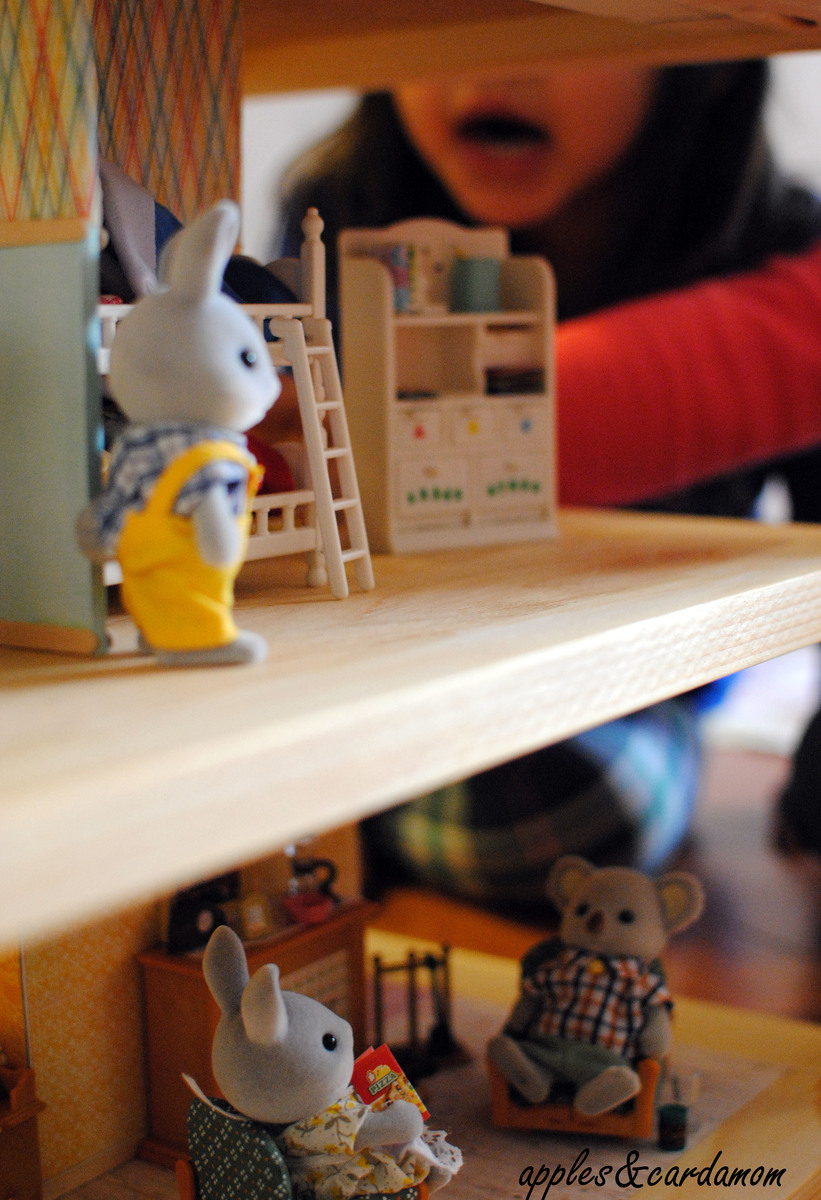
My husband and I made this for our daughters' calico critters, which they received for Christmas. We wanted a house with few walls, so that all 3 girls could play simultaneously. We used Ana's dream dollhouse plan, but scaled it down to half the size. We also modified it slightly to fit what we needed.
This is just the perfect size for smaller toys like Littlest Pet Shop or other 3 to 4" tall toys.
This was our first build together and so it took us a while to do. For someone with a bit more experience, who also has all their materials and tools ready, this could be finished in 1 day or a weekend.


Sun, 05/10/2015 - 13:06
Ana's roof shingles, which are cut scalloped strips, are a better way of doing the roof. I didn't realize how difficult it would be to fix each craft stick 'shingle' to the roof, and manage to keep each line straight. For a beginner, it's not easy. My advice is try Ana's method or you could also just make the roof from 2 solid pieces.
Wed, 10/07/2015 - 14:07
This was the plan I was going to use for the Critter's line at Target. I didn't want to buy the plastic houses that they sale so decided to try and build one. How did you scale the dimension? Just by half all the way around? I am a confident beginner so I am not sure how to scale down dimensions.
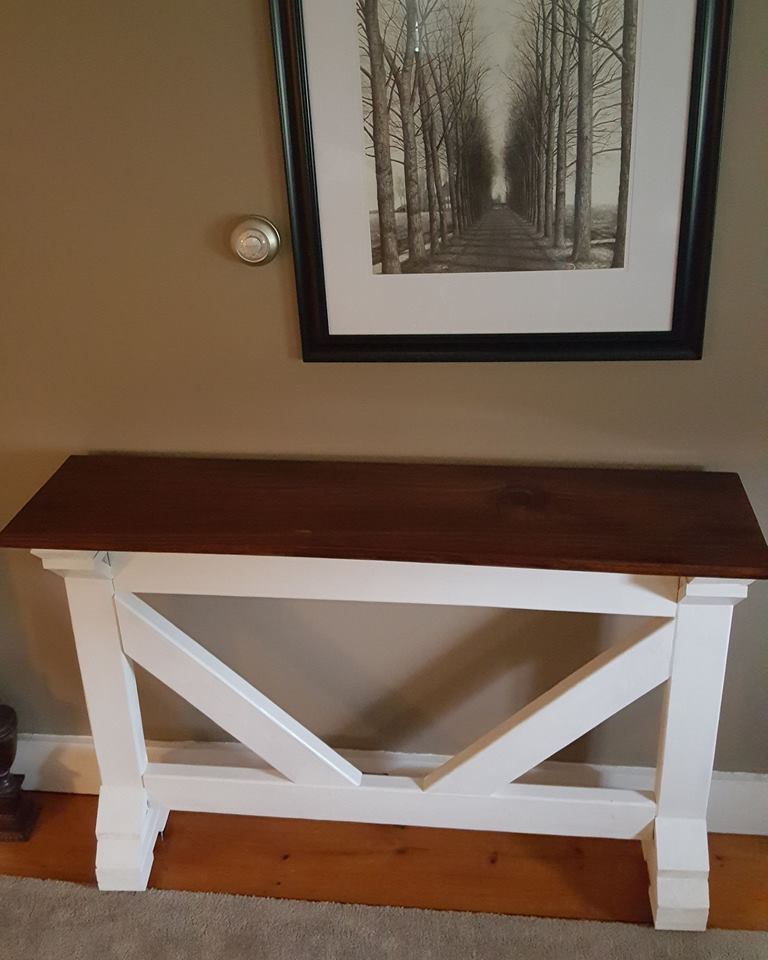
Built by Wndy D Keever-Keefe
"This was my very first build ever. Totally inspired by Ana White, I happened upon her site one day about 4 years ago and have since built lots of her plans."
What a great project! Simple and relatively easy. Very stylish chair!

These cost about 10 bucks a piece as she said. This was my first project. Not too bad.... obviously not perfect. But I learned a lot while doing this...
These took me a weekend to do... probably 6-8 hours.
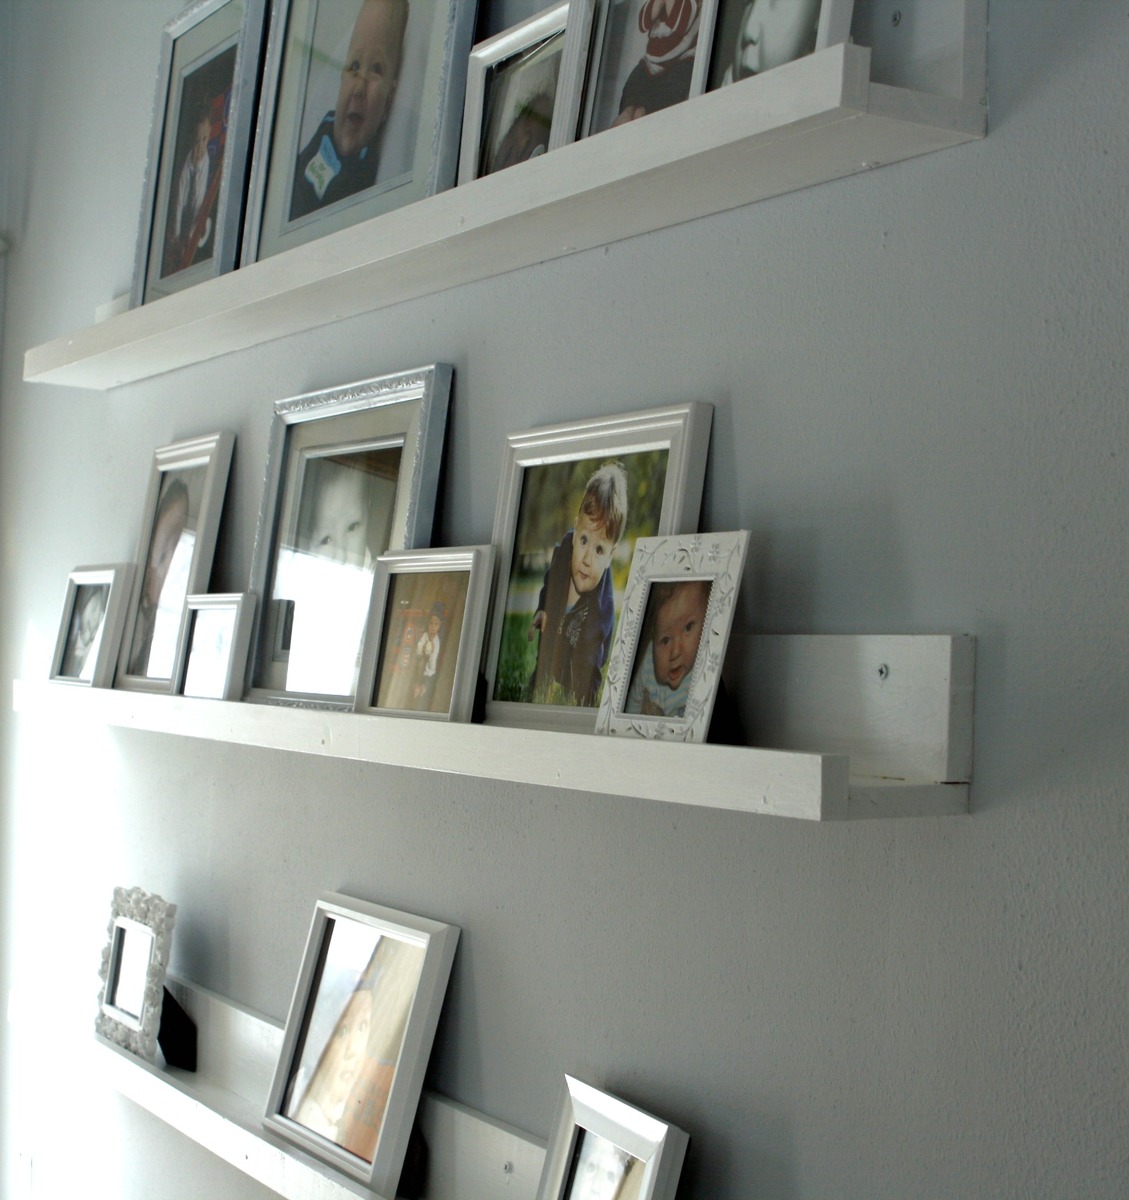
When I took this I was still working on filling the ledges with photos... dont mind the craziness! :)

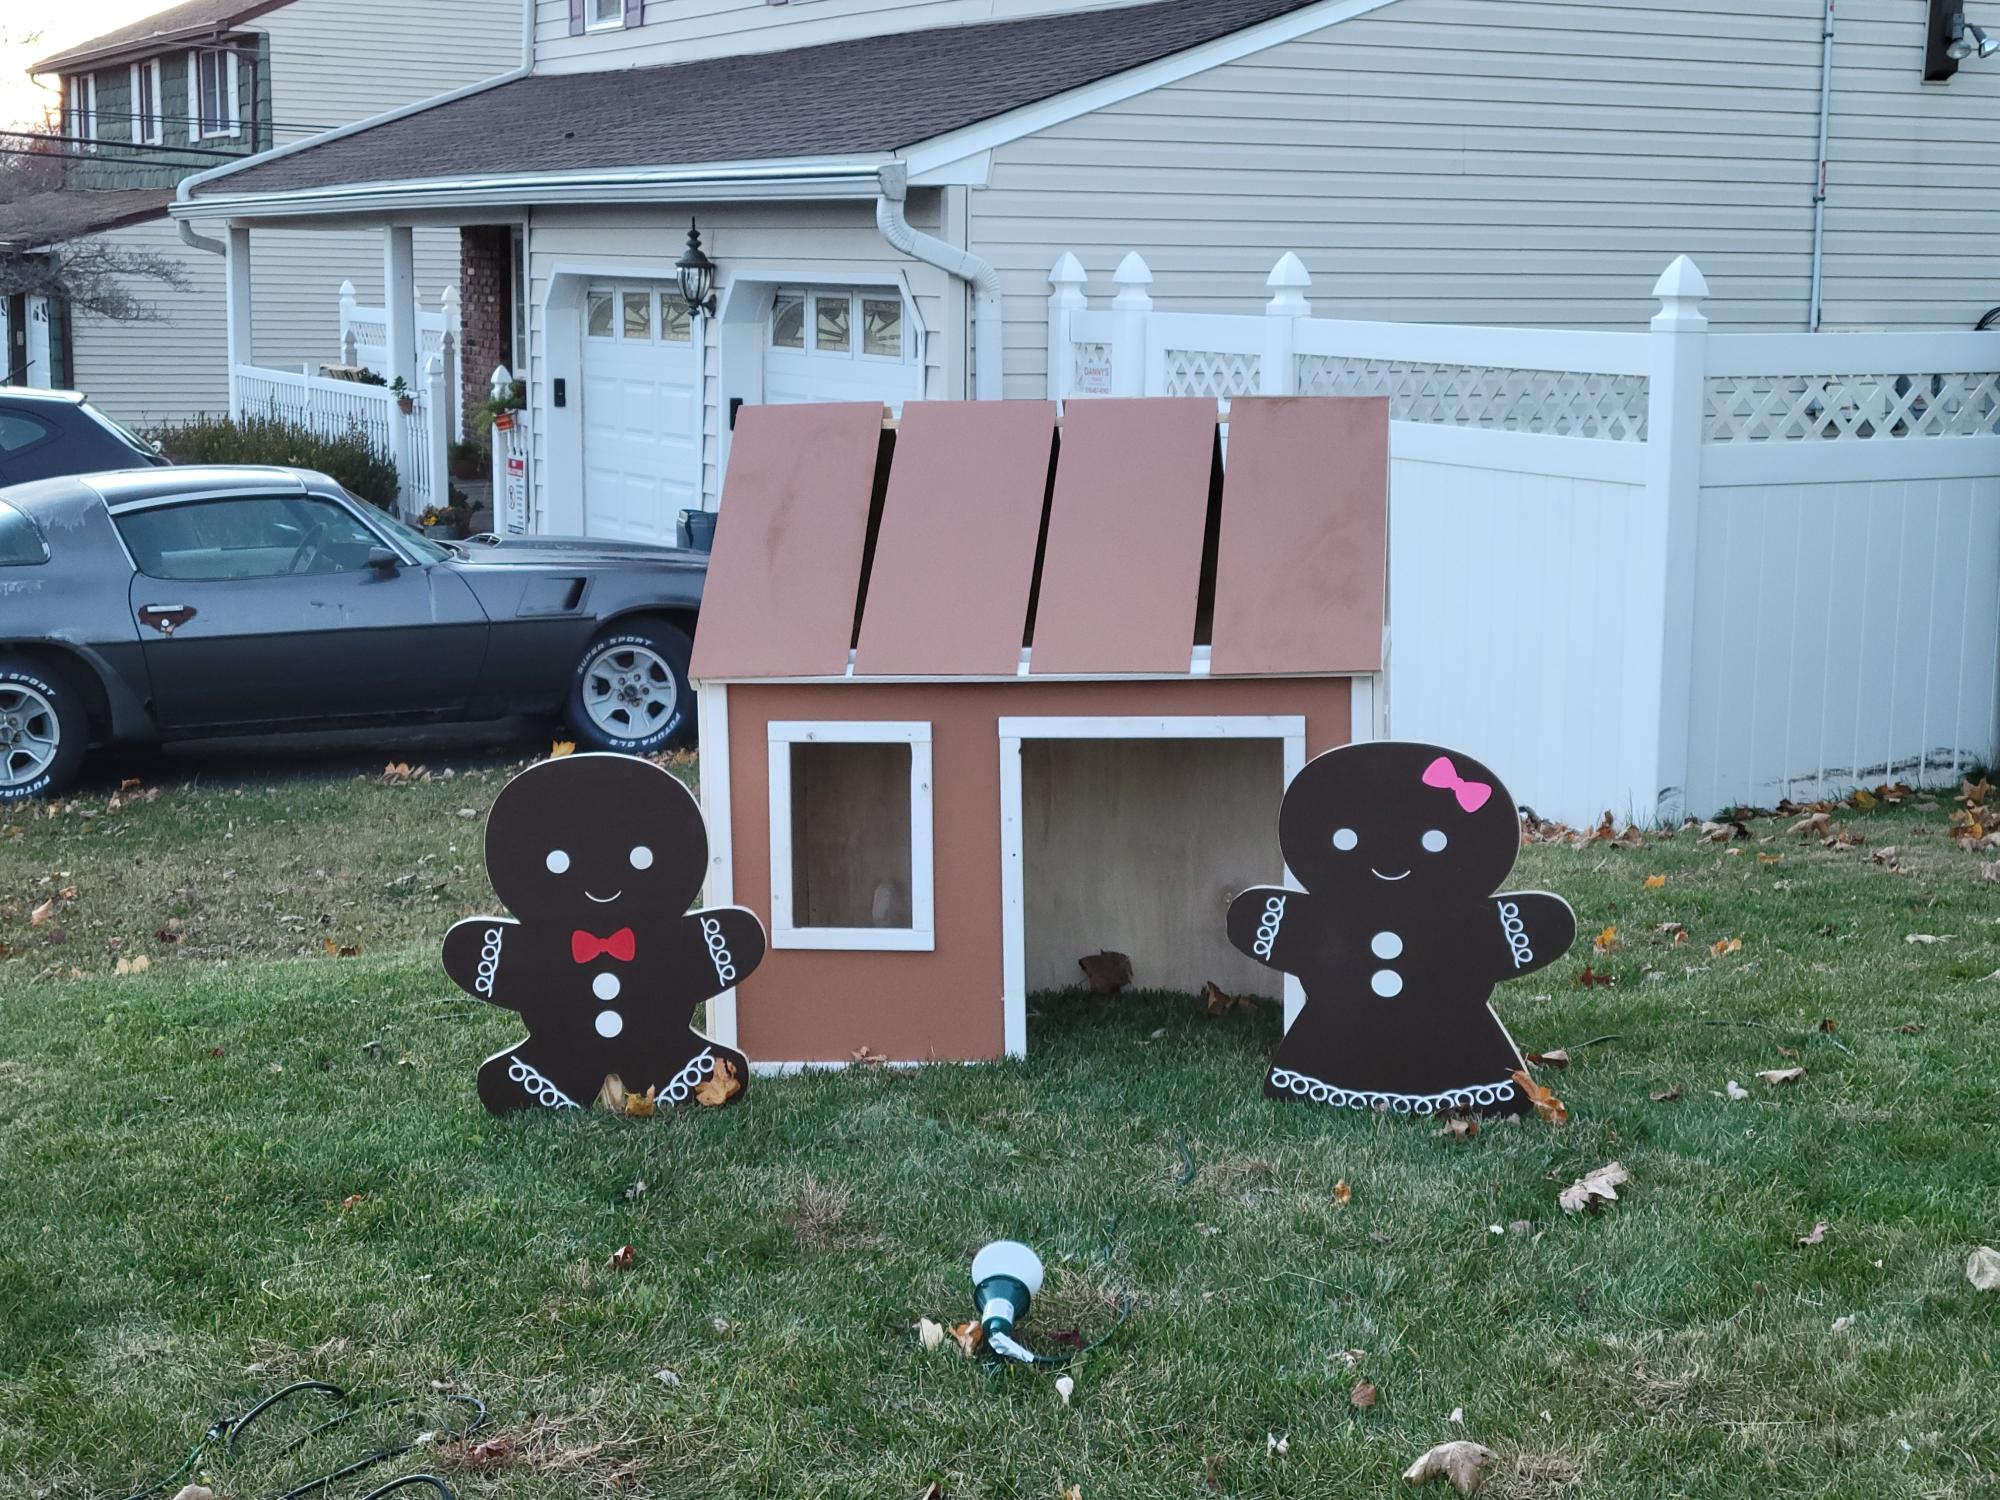
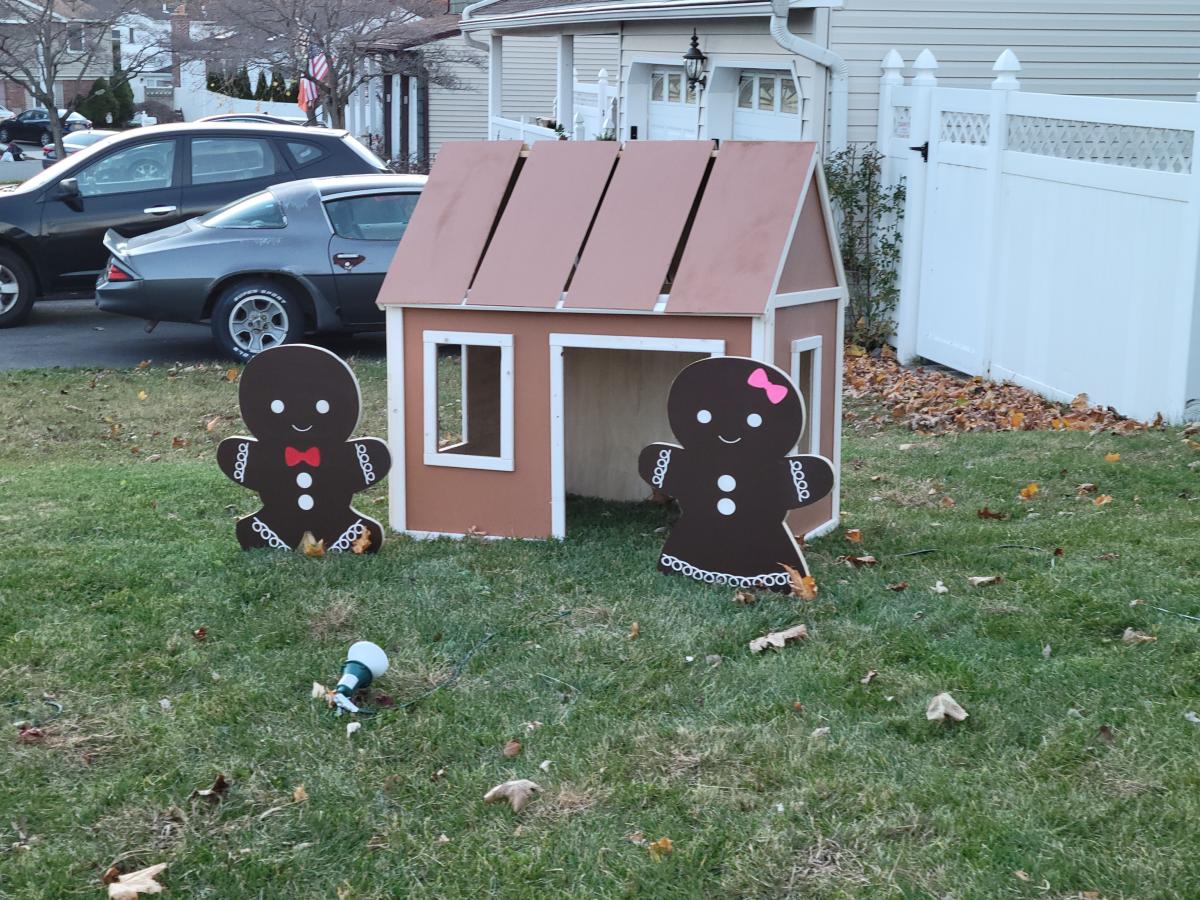
My take on the farmhouse indoor playhouse. Added to my Christmas lawn display. Plan on adding some lights, cutouts for the inside, and candy decorations. Followed the plans as written. No problems. Great plans.

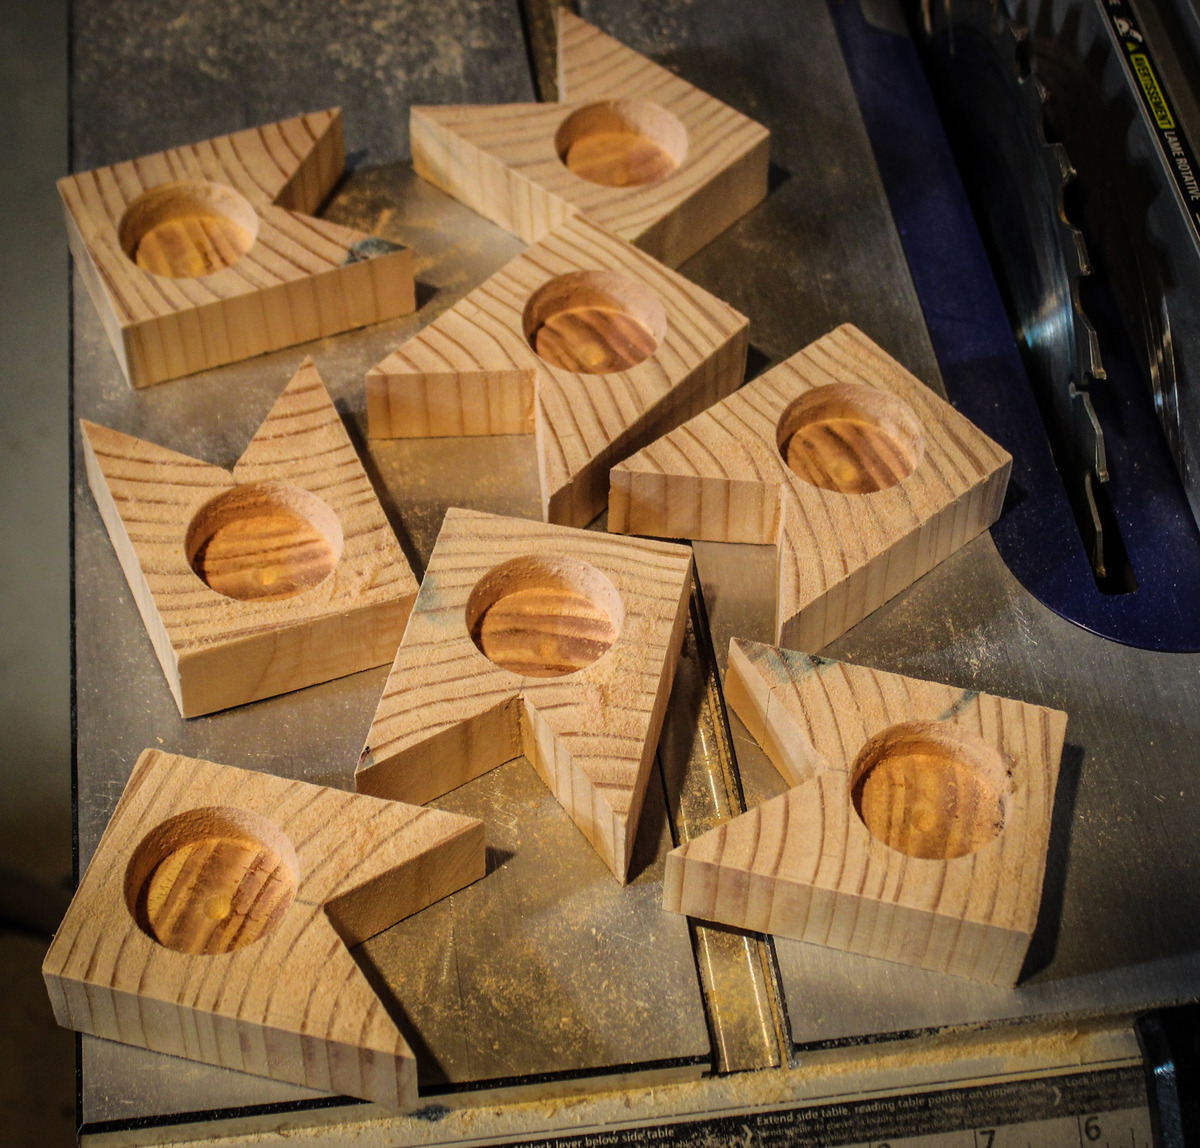
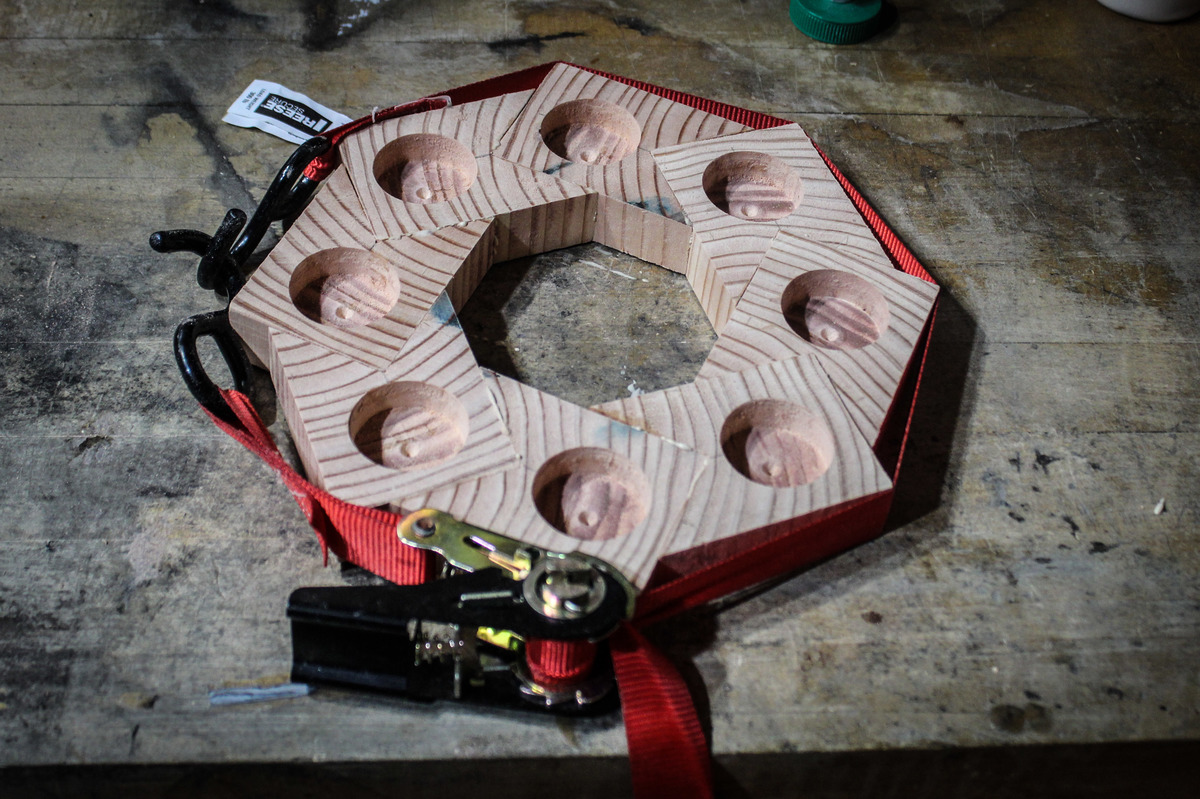
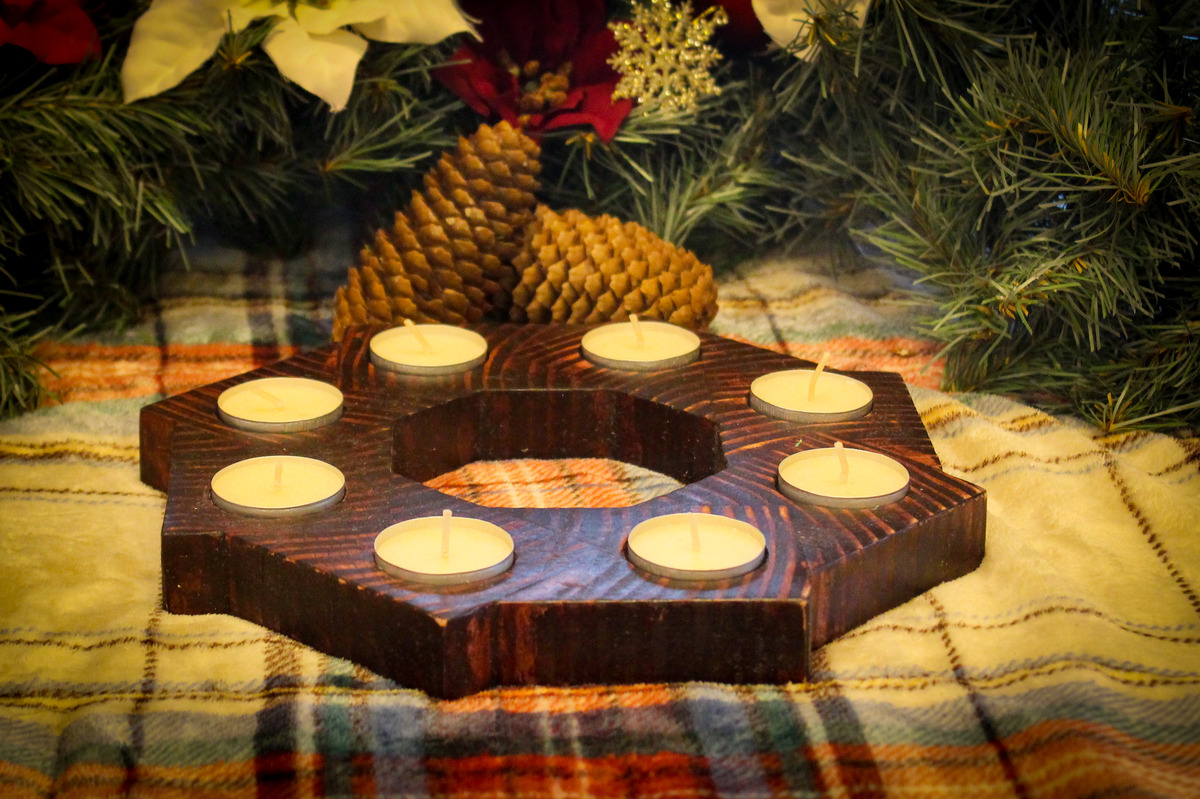
My wife asked for a homemade votive candle holder for the holidays. Searching online, I found that the general design concept is a board with holes in a straight line. Since the desired design is for a holiday centerpiece on a table, I chose an octagon shape. We think it turned out very nice! My kids even gave it a "that's pretty cool" which is an upgrade over their comments on my previous projects :).

I constructed this desk all from birch plywood. It features a pull out keyboard tray, modern drawer finger pulls, and full extension drawer slides. The plywood was finished with a hand-rubbed danish oil for a natural wood appearance.
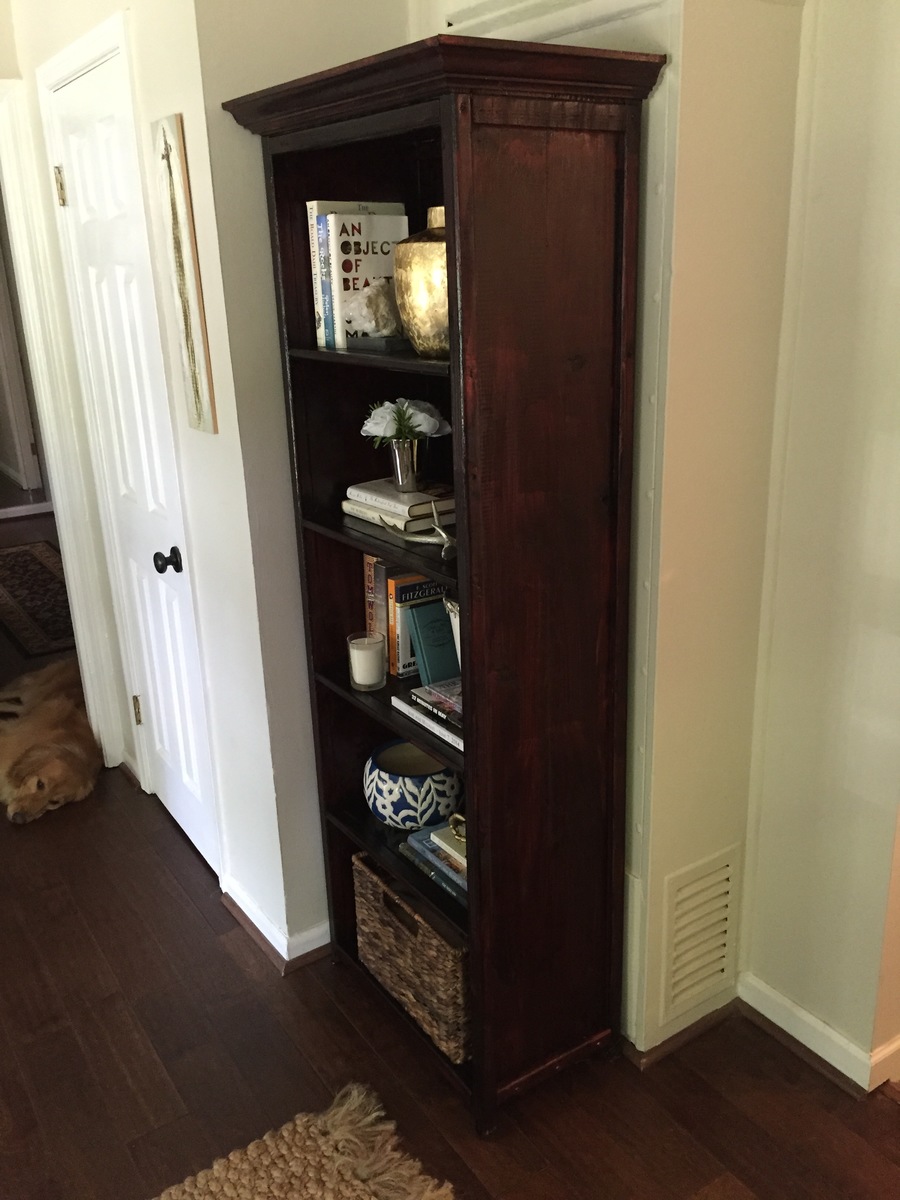
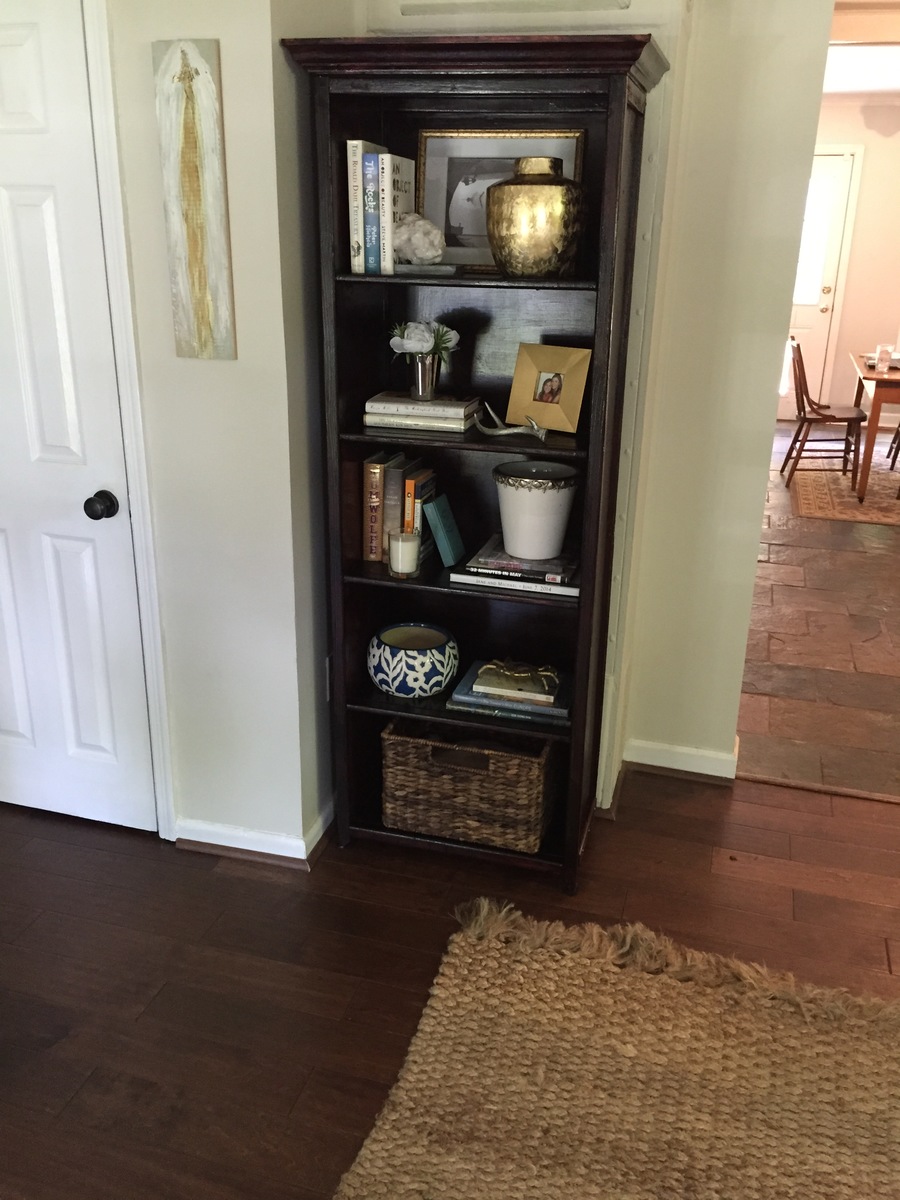
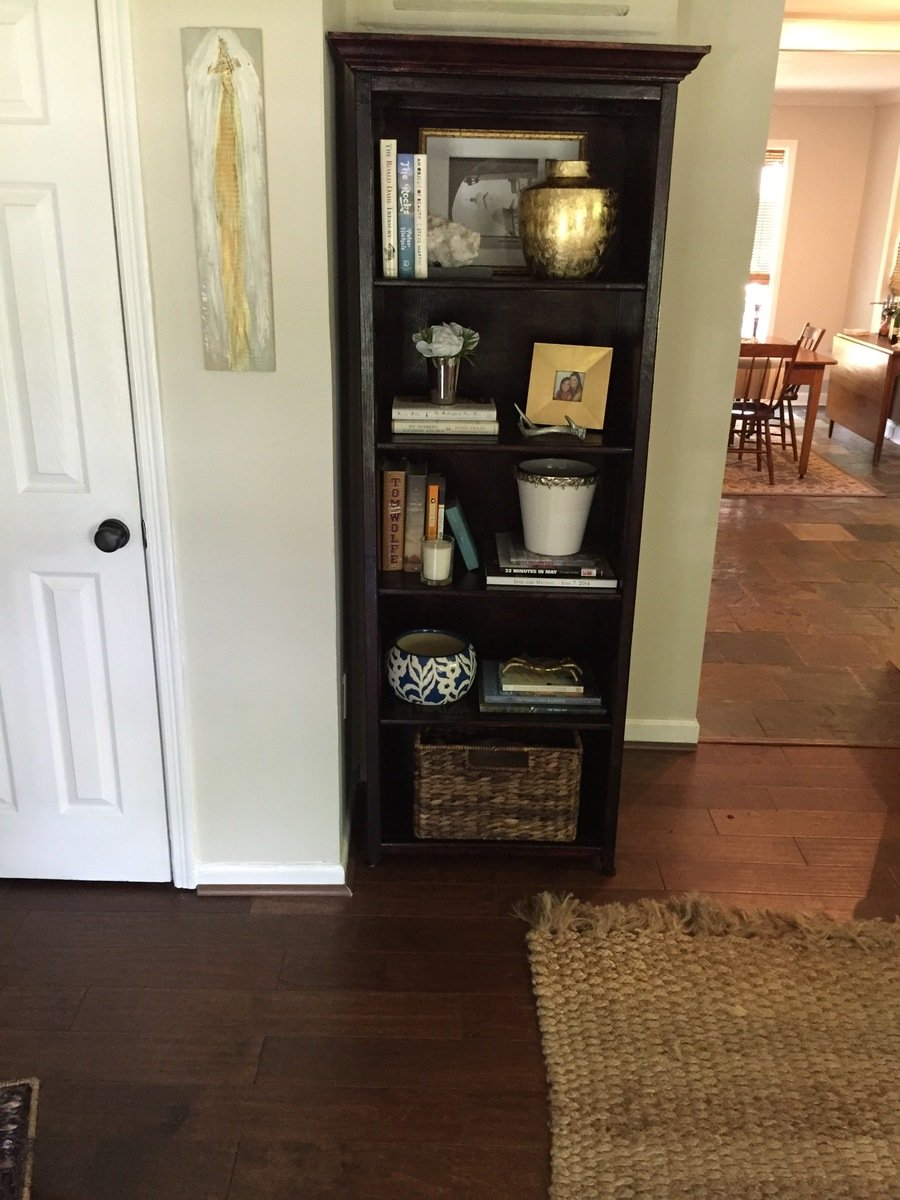
We needed a bookcase to fill a void in our living room and this was it. I altered the dimensions to increase the height to 72.5". I also added crown molding to the top which turned out nice. I used the same Bombay mahogany stain suggested by a previous post.
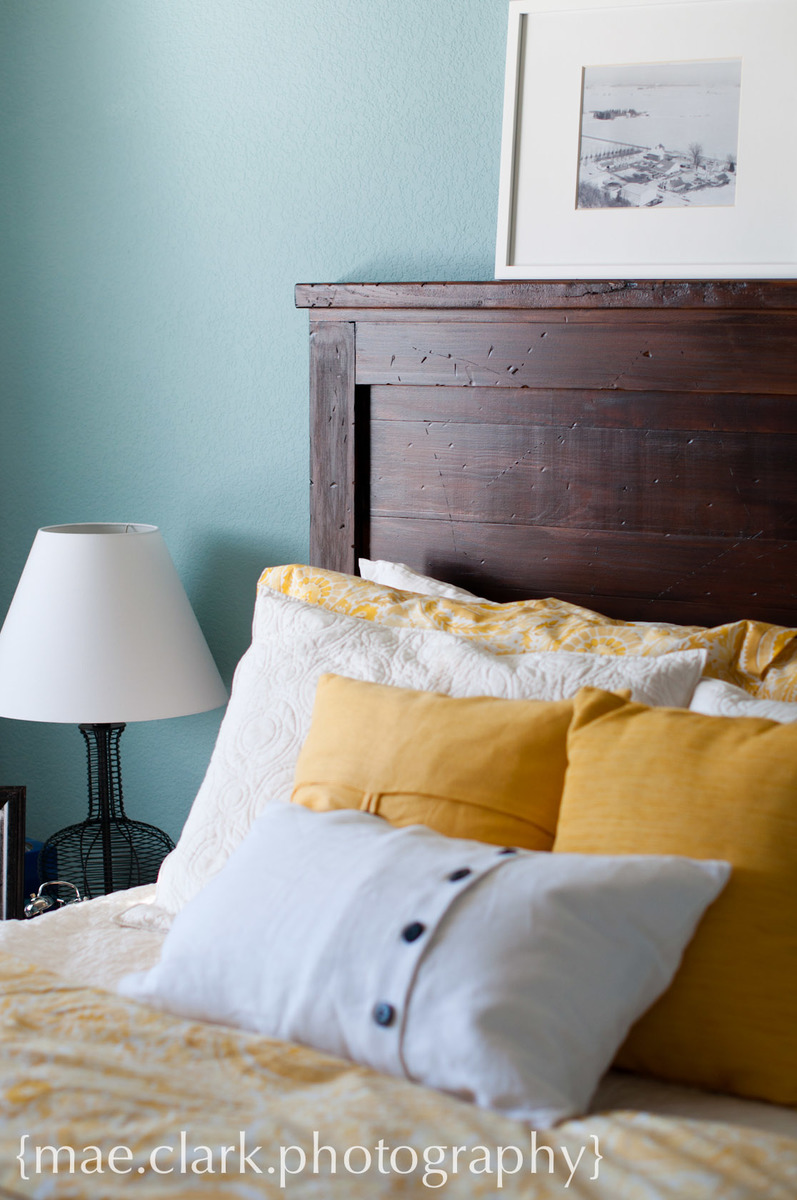
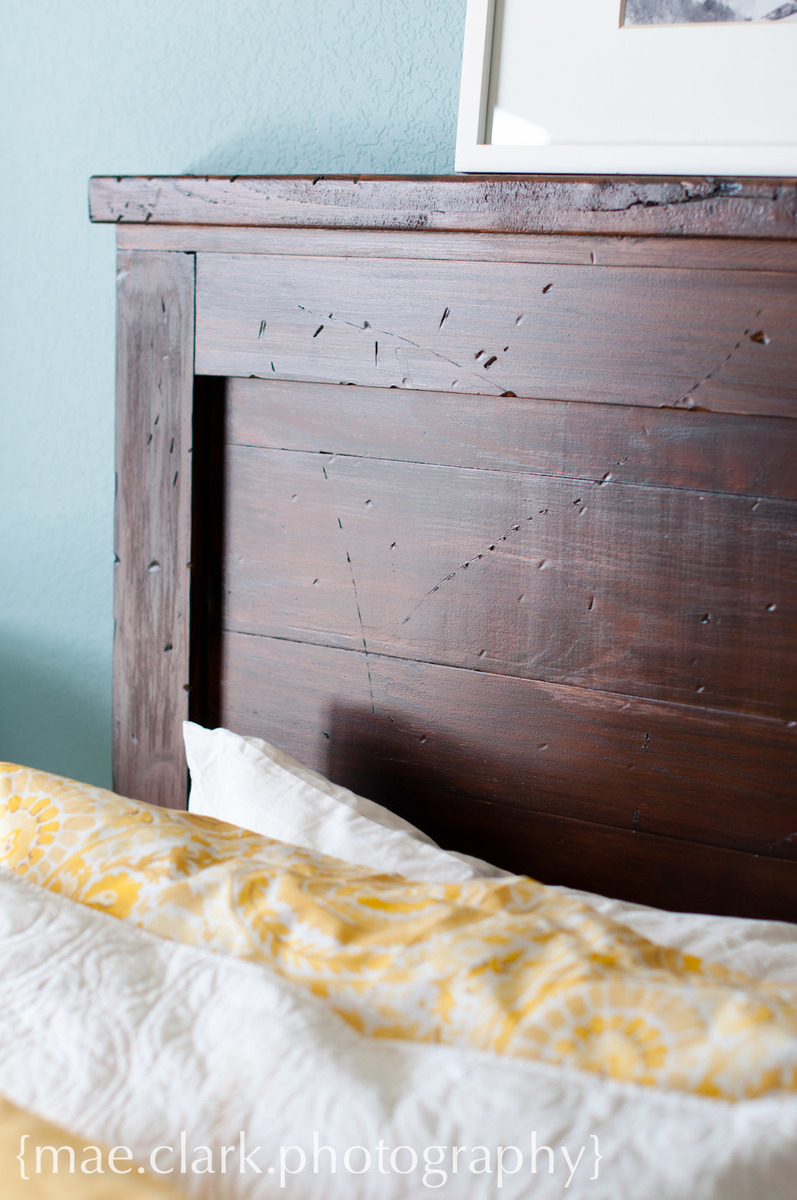
The hubbs helped me build this during a day off from work. We spent an hour after work the following few nights working on the finish. Tons of compliments on this headboard...a few coworkers have even built their own after seeing ours!
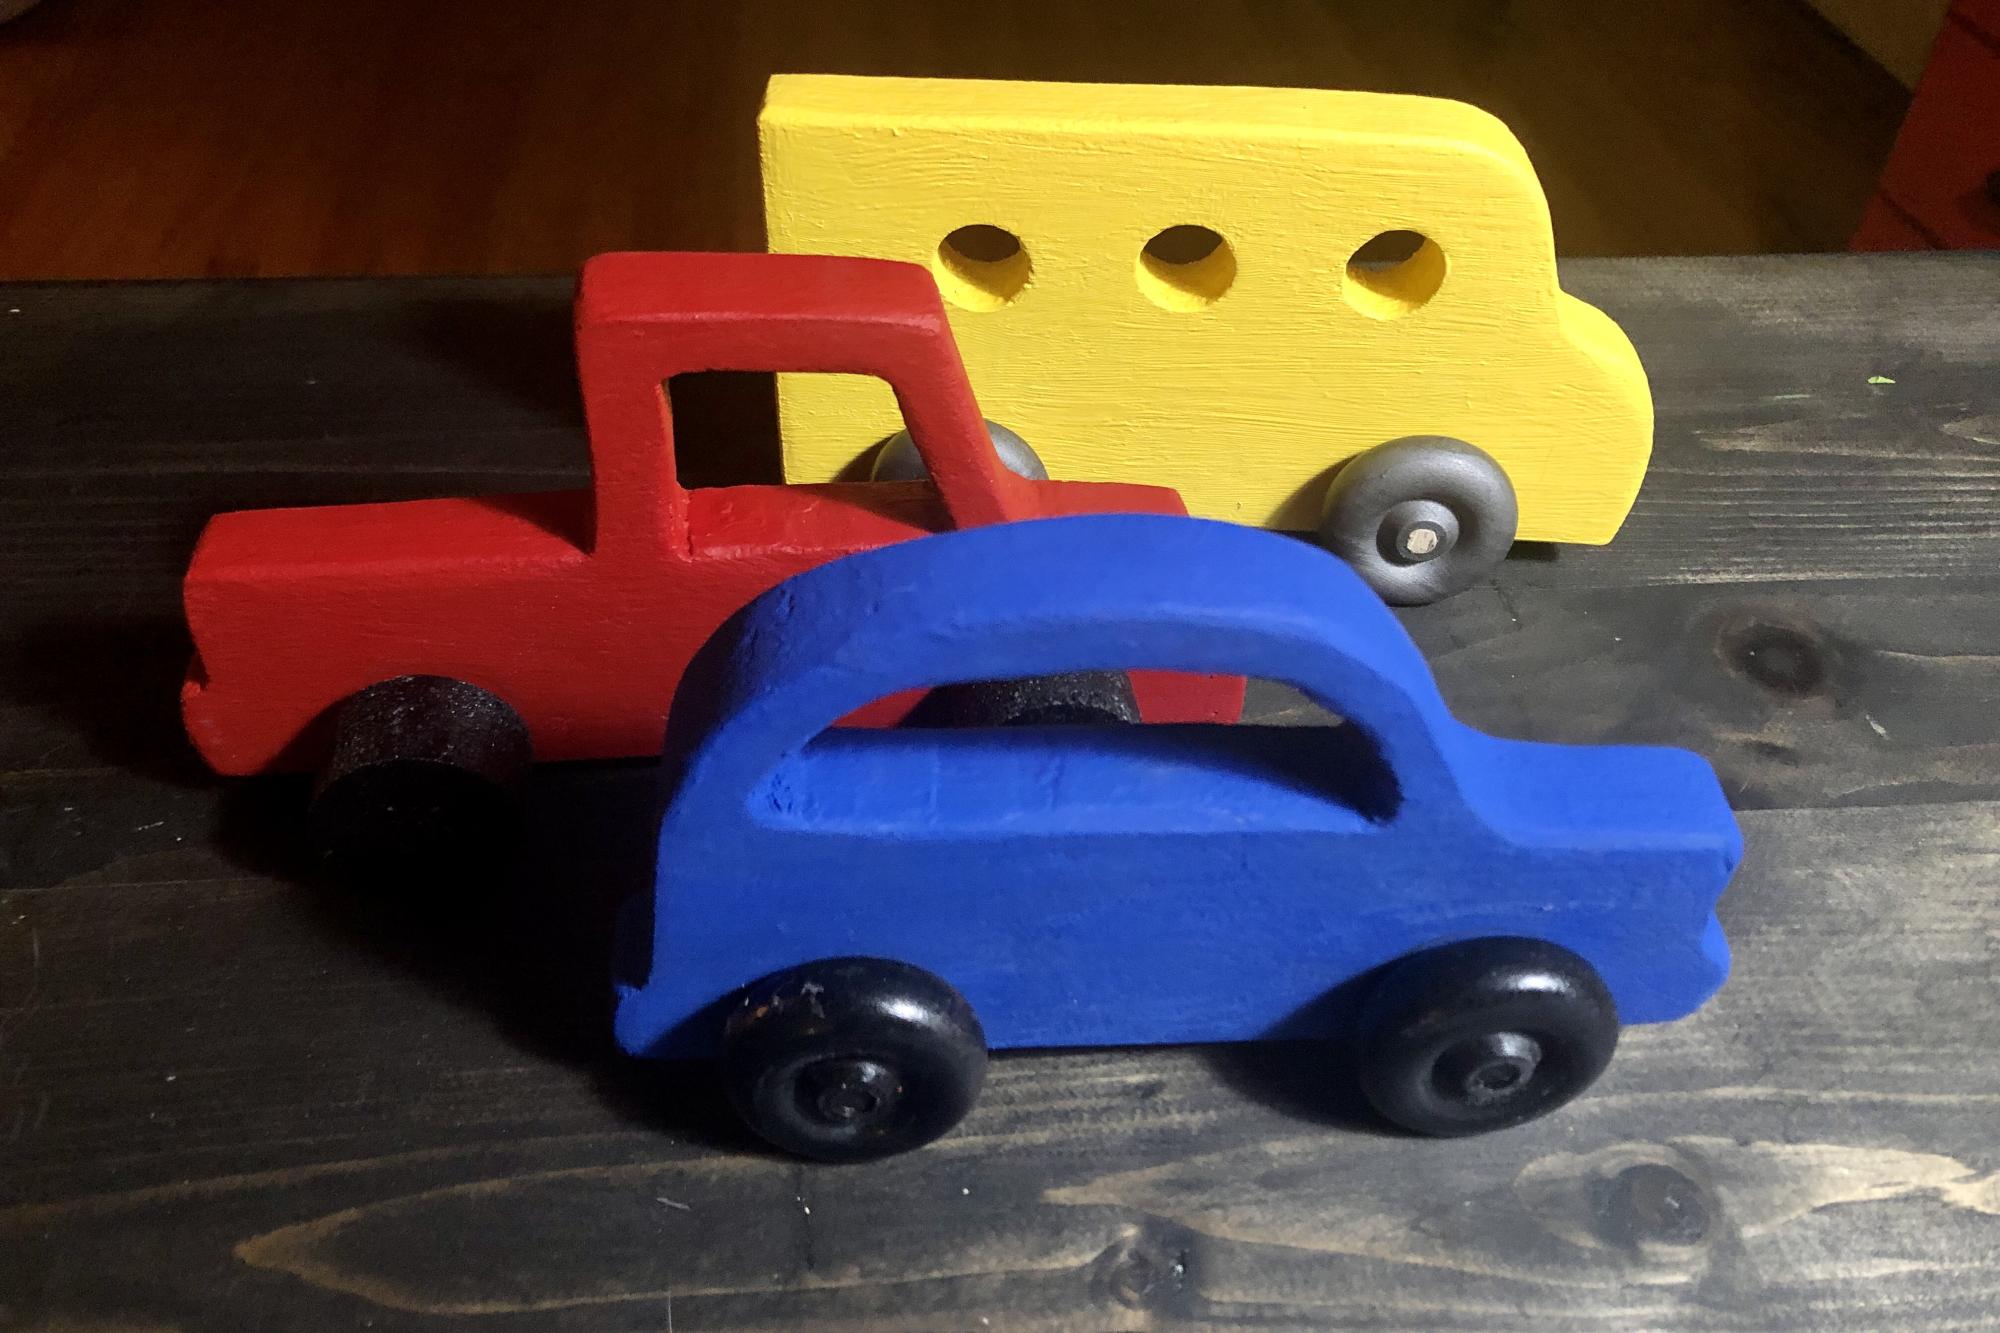
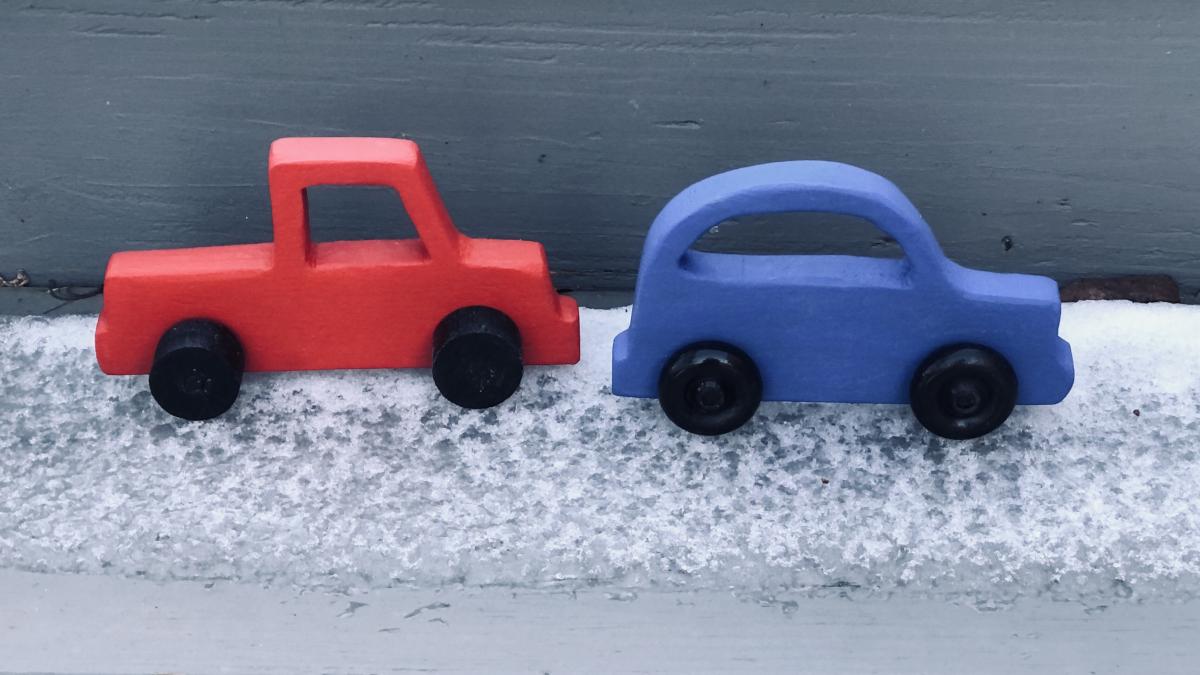
These are fabulous little vehicles that I made for my 18 month grandson when he visits. After making the car and truck, I decided to add a simple bus with round windows.
I used scrap wood, cut out the truck wheels with a hole saw but purchased a package of wheels for the others. My little cars aren't perfect but that adds to the charm.
Wed, 01/26/2022 - 08:34
These are great, thank you for sharing, you're grandson is sure to love and cherish these!
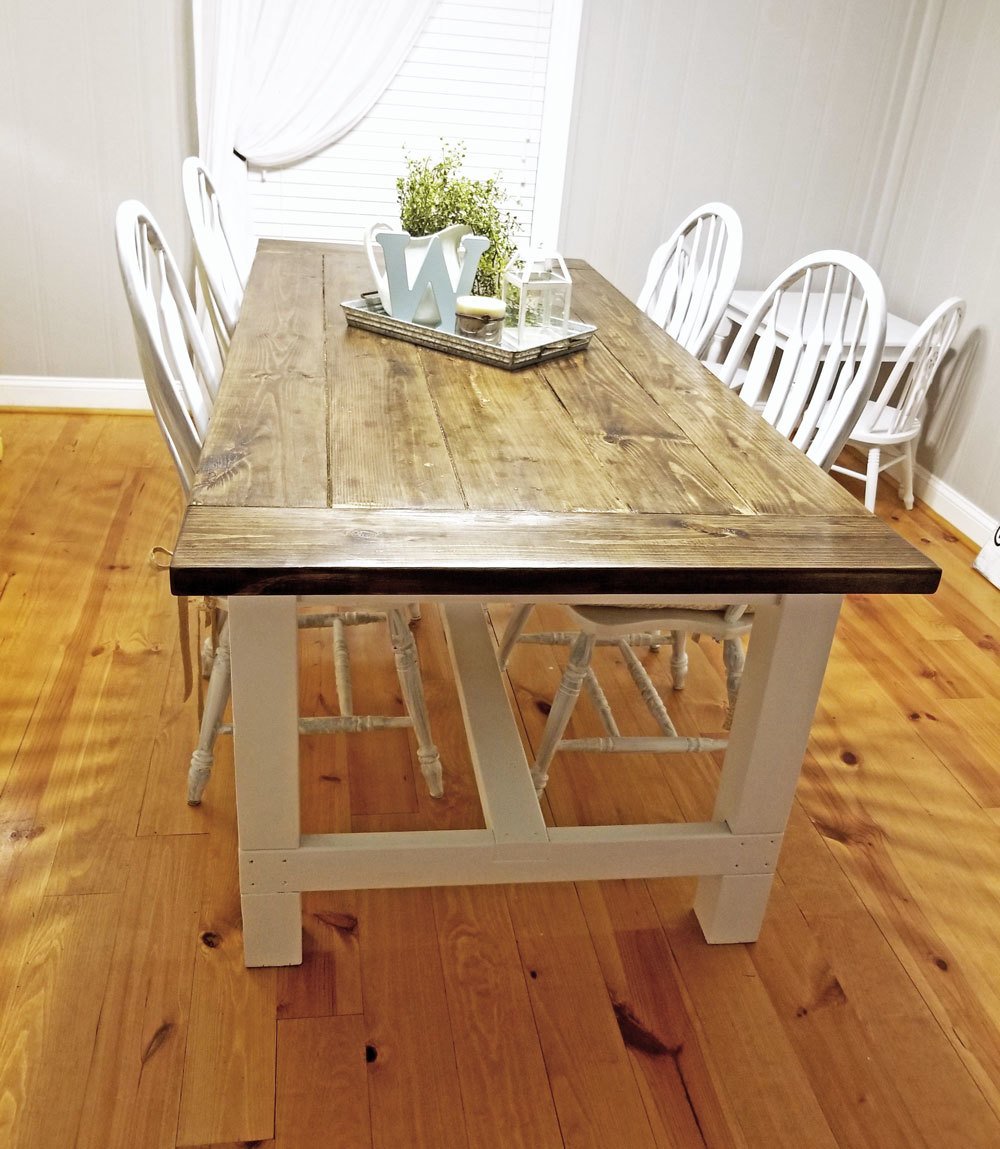
After buying our first home we decided we wanted to build our own kitchen table so we stumbled across Ana's plans and I'm so glad that we did!
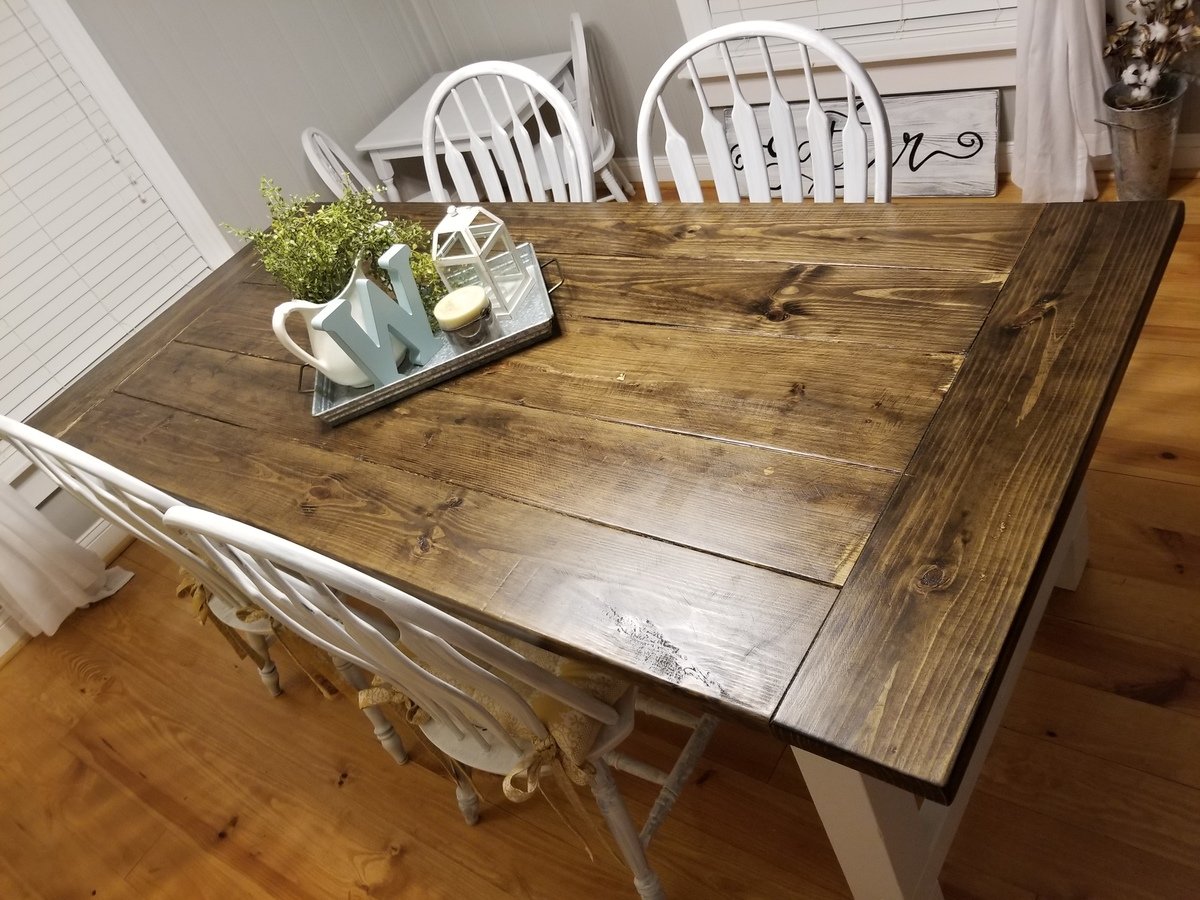
I built this bench way back in the winter (which really has barely ended) and finally today got it outside for a photo shoot! Notching out the legs was a new thing for me but turned out wonderfully. I look forward to making some for my mother for her gaggle of grandchildren.
Oh and best of all, mine was free to make since I had nasty ol' 2x4's on hand! PERFECT!
Mon, 06/20/2011 - 16:40
Beautiful work! I love the finish on it, with the contrast between the top and legs
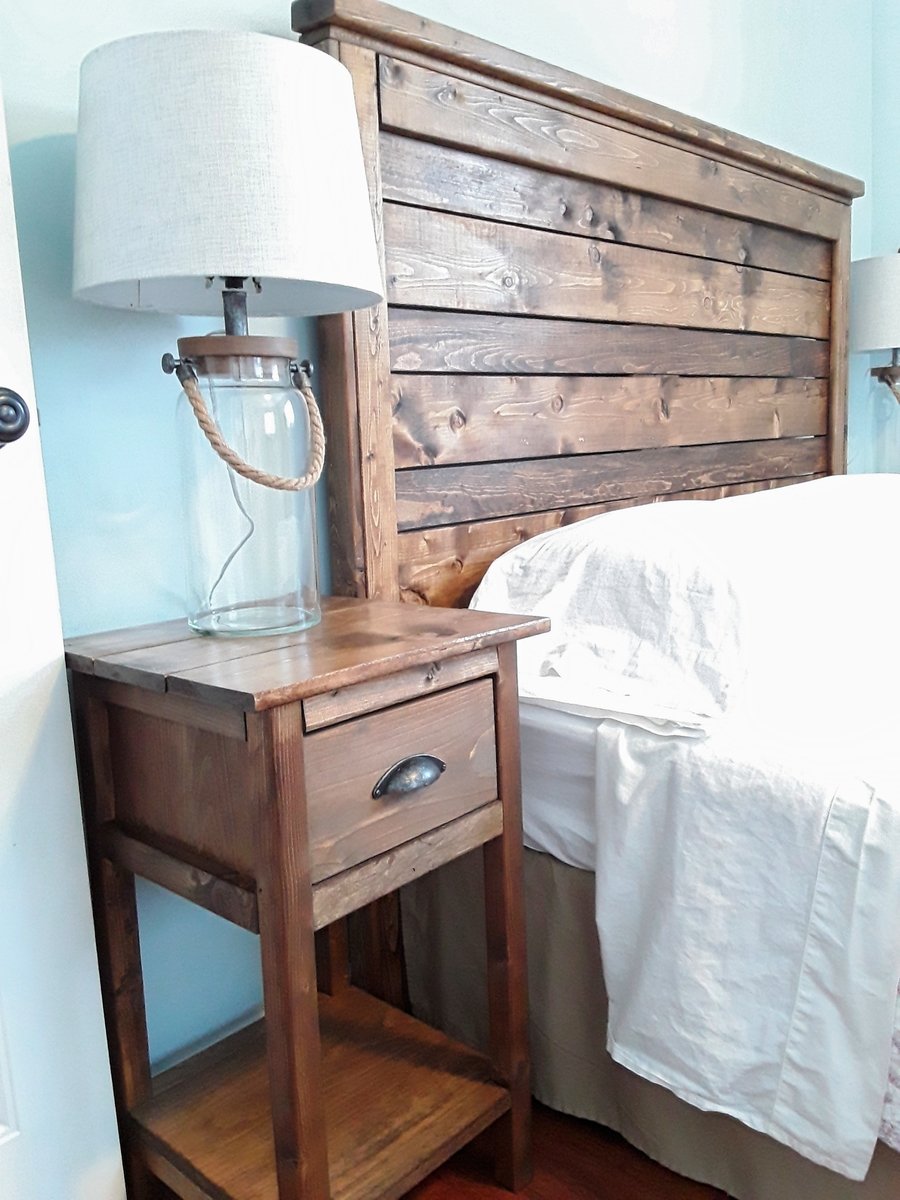
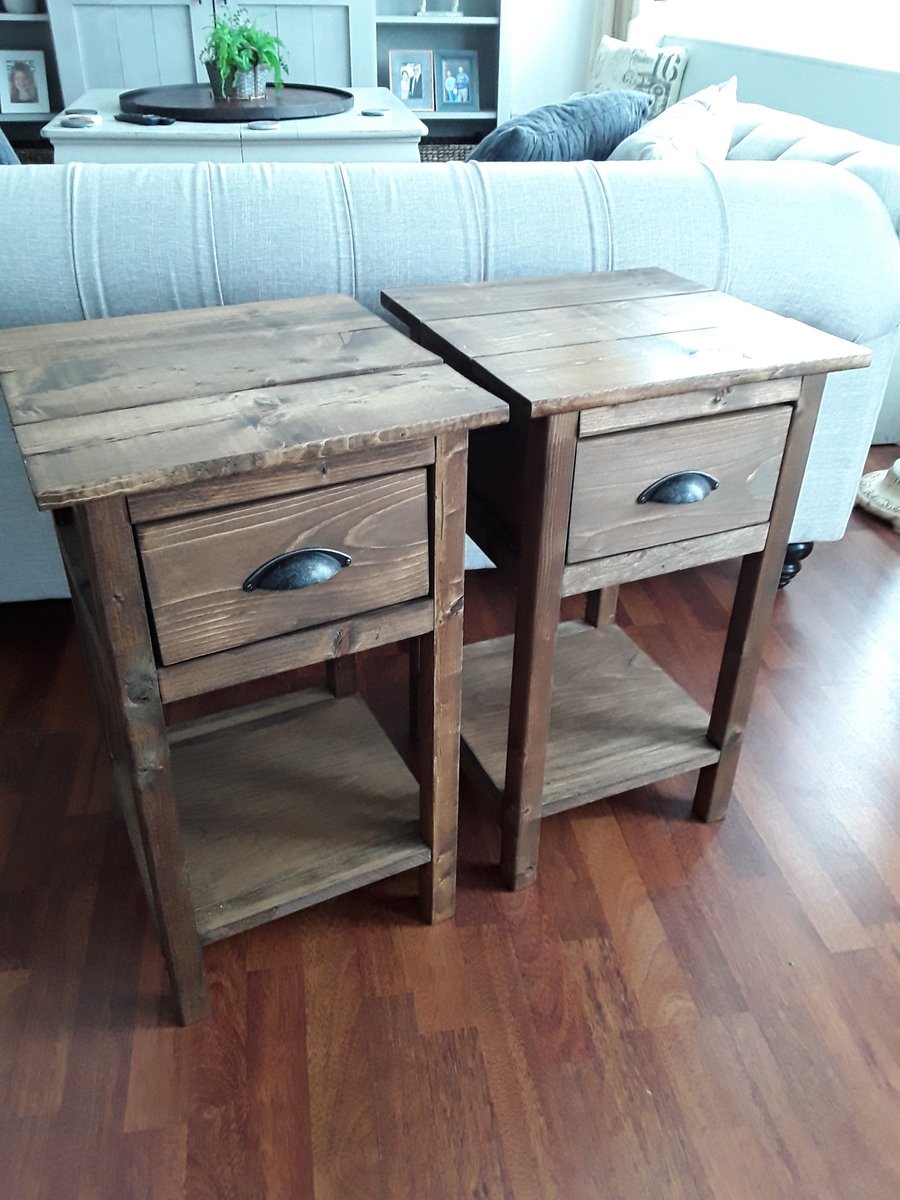
Side tables made from leftover pine and spruce, using Ana White's Mini farmhouse bedside table plans to match the headboard. Took about a day to do two.
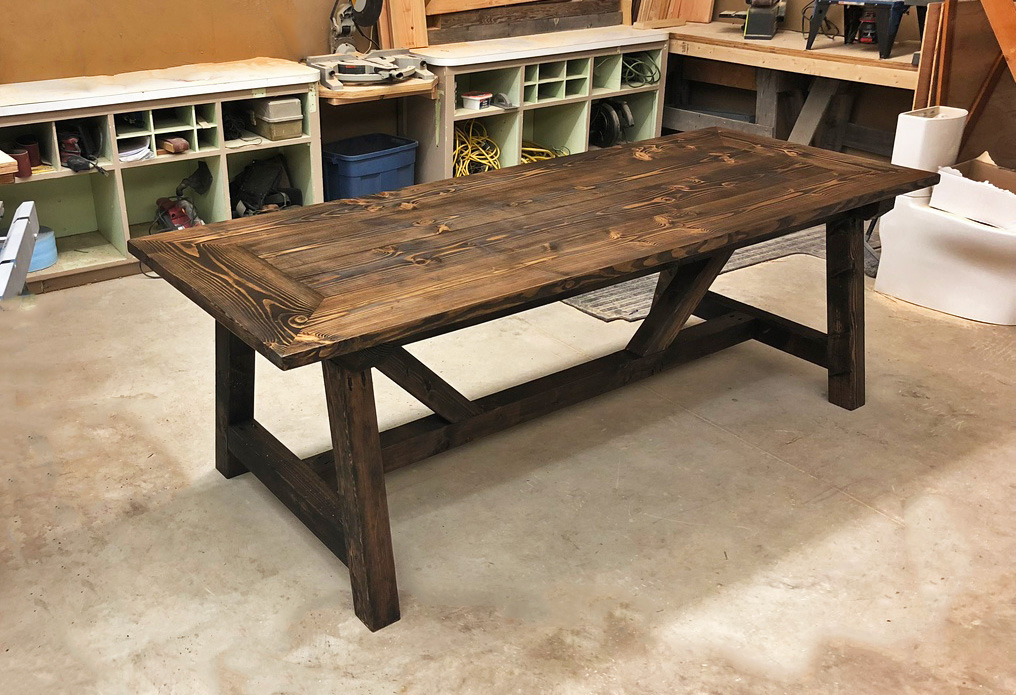
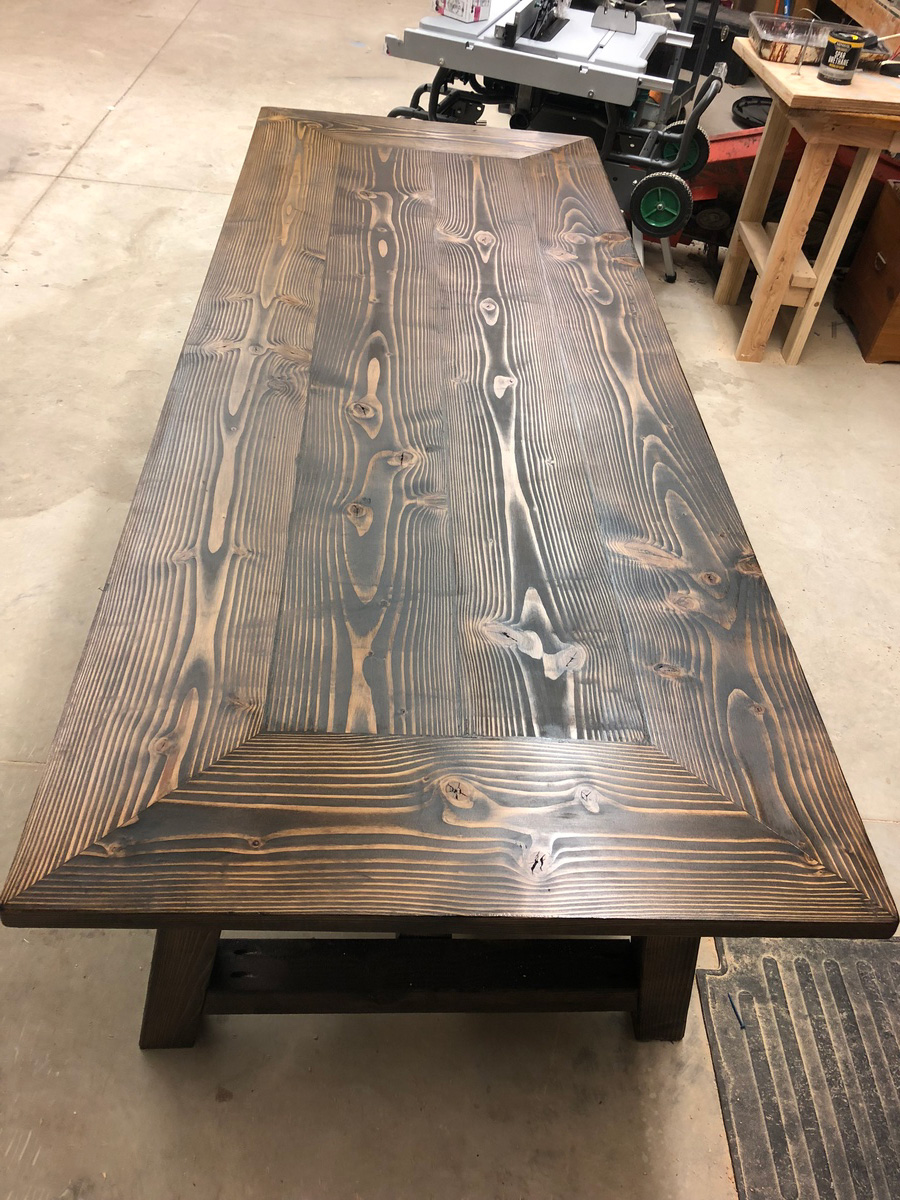
I made this one three inches taller and two feet longer and decided to miter the top. I also used a LOT of glue and blue Craig screws.
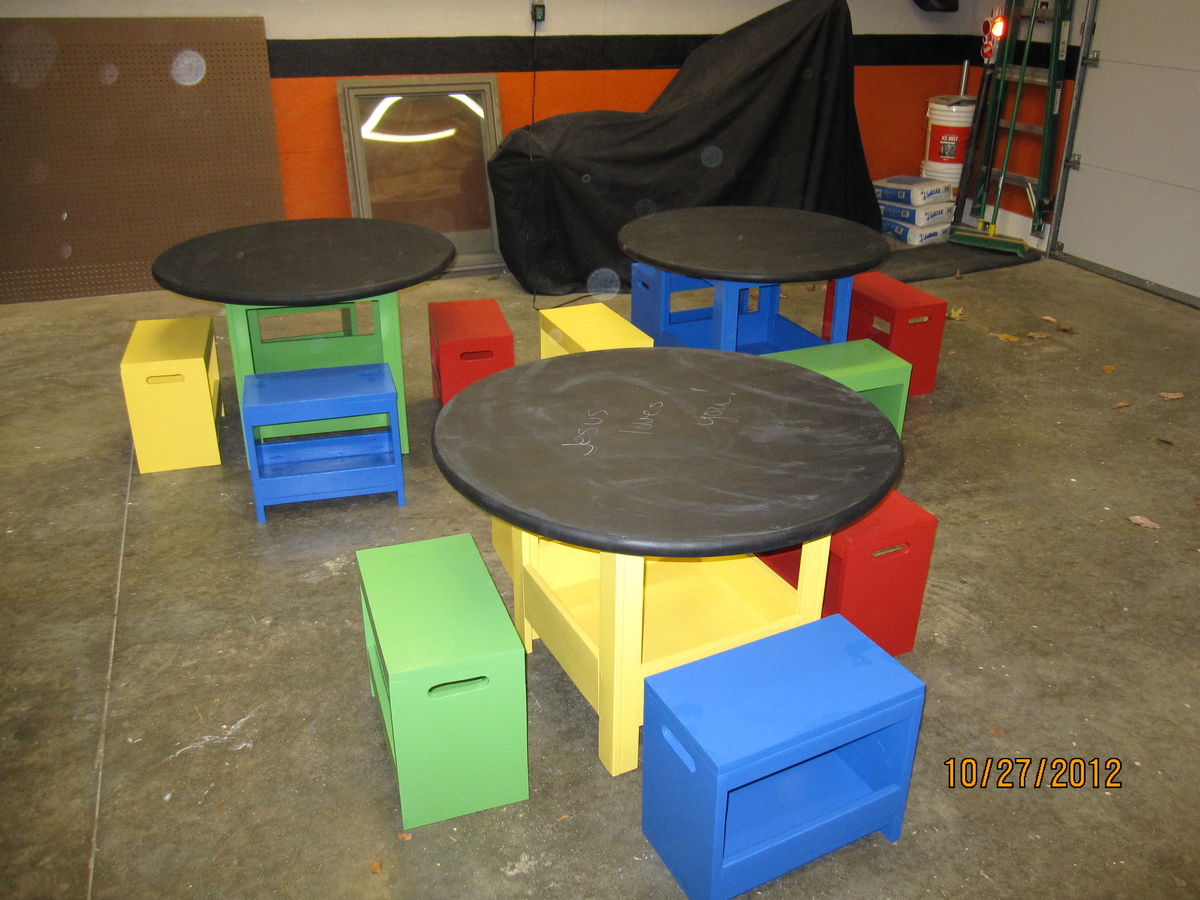
We built this bench for the same women's shelter for whom we built the storage table and benches at their request. They wanted a place for the children to come in and remove their shoes. Since it was for children, we modified the height to be the same as the other small benches, 14". Leftover gray primer was used and they requested the same color scheme as the previous build. Therefore the leftover paint from the other project was used plus three coats of semi-gloss Polycrylic. I think the paint brand is Olympic. It was a joint effort between a friend, my husband and I. It was built in an evening, but I put a week long project because of the coats of primer, paint, and top coat with all of the drying time.
Fri, 08/30/2013 - 09:06
This is great! I love that you are still building things for the shelter! Your bench looks well-built and I am sure it will last them a lifetime.
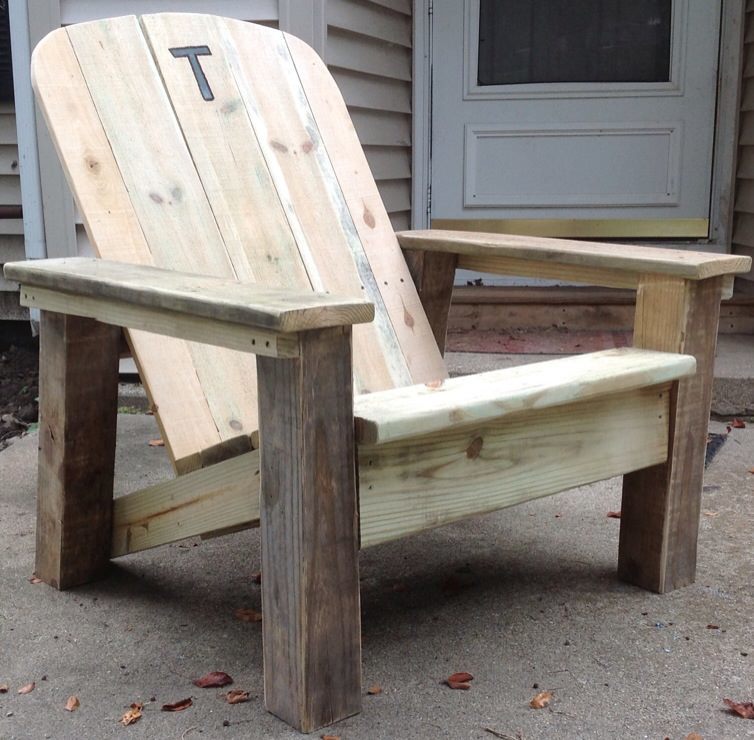
For my brother's 35th birthday, I helped him build a fence and side deck on his house. Using the leftover lumber scraps and screws, I adapted the DIH Adirondack chair plans to build this for him. He wanted a big, sturdy chair with a wide arm rest that looks "rustic". I used 4x4 and 2x4 post scraps, deck boards, and fence pickets. I also widened the seat just a bit for comfort. This is definitely the perfect chair for him!
Thu, 08/08/2013 - 14:47
This chair is wonderful!!! I love the mods - really something special! Thanks for doing this project and sharing! Ana
Fri, 08/09/2013 - 14:38
Thanks! I always enjoy building with your plans, and it was a bonus that I didn't have to buy anything to build this, since I used leftover materials.
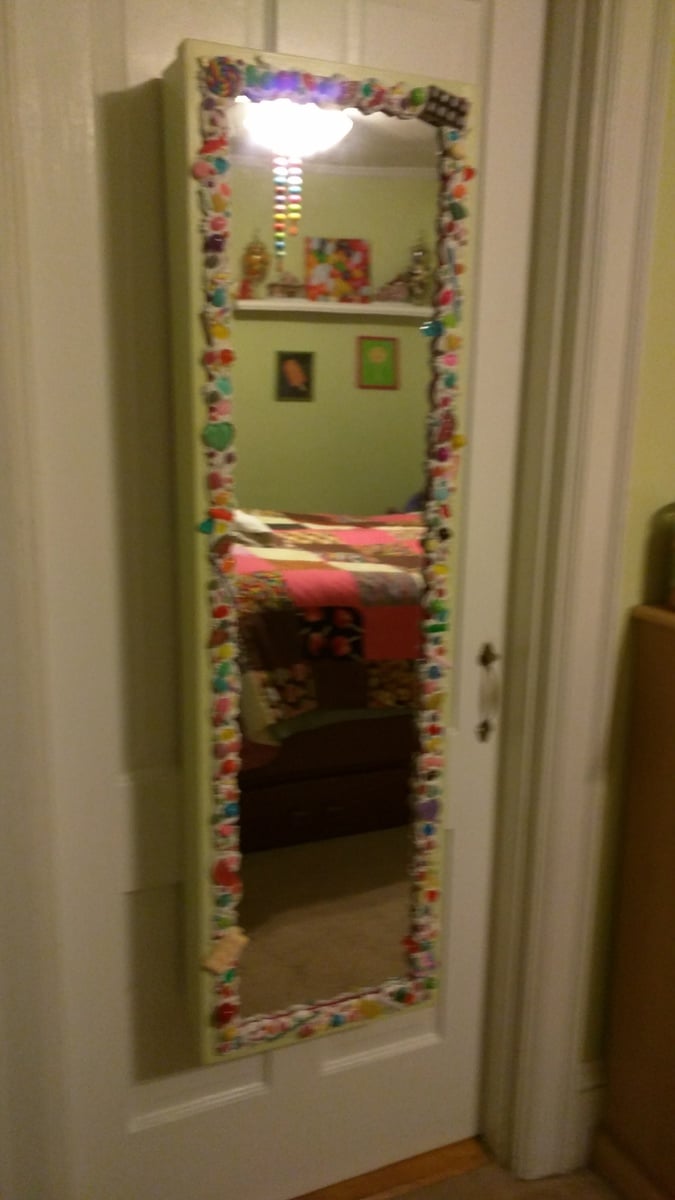
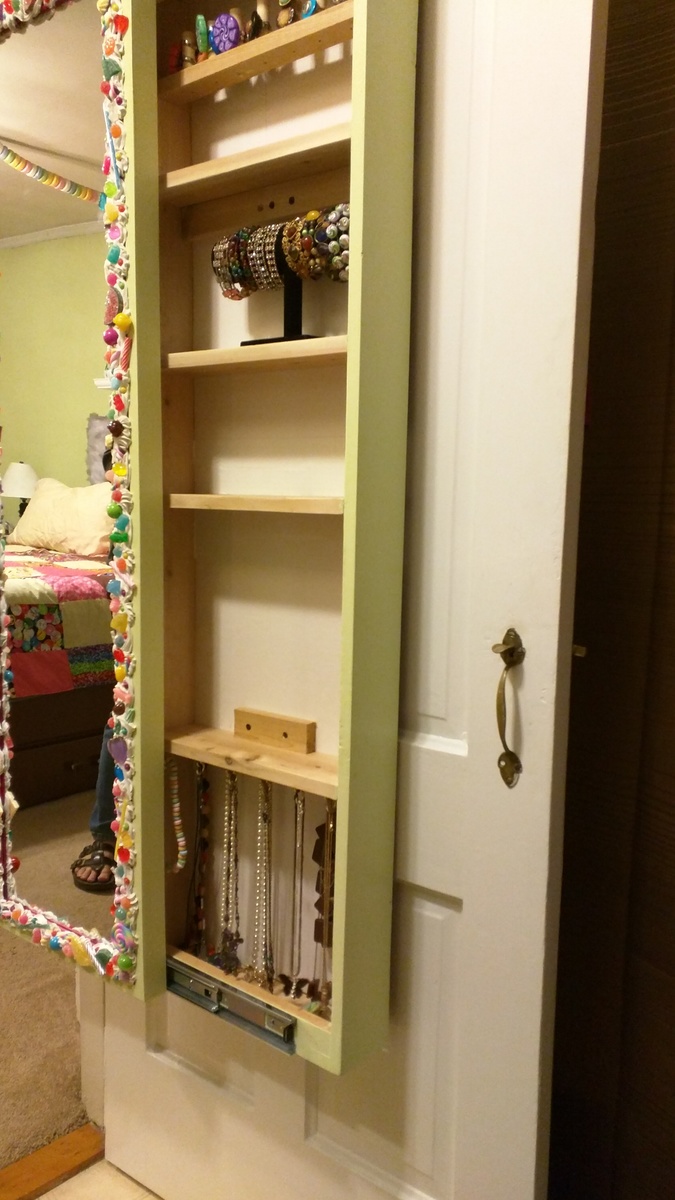
Hi Anna, I really had fun making our version of your sliding mirror project! Thought you might enjoy the photos! I made it into a jewelry cabinet.
Sun, 09/17/2017 - 20:48
How did you attach rails? I still cannot figure out the best way to do it...
I used the Farmhouse Bed Plans and a picture posted on the FB page to get the look I wanted. We have a split king adjustable bed and needed the bed to allow the mattresses to adjust up and down at the headboard and footboard. The actual opening for the bed is 82X82. I used birch plywood for the main panel on the headboard and footboard and trimmed it with 1X4's, 1X2's, cove & chair rail trim. The headers are 2X4's and 2X6's. I tapered the untreated 4X4 posts which I found at our local store. For the sides I used 2X12's and raised them to allow extra room under the bed for storage. I used lots of wood filler, sanded for a whole day, applied wood conditioner and used a gel stain. I made the mistake of not wiping off the first coat of stain because it looked so good. After I applied the second coat it was too dark and showed brush marks. When it isn't so humid outside, I plan to sand it down and re-stain. I'll also apply a protective top coat at that point. I did purchase bed rail brackets online and they provide a nice tight fit.
Mon, 08/01/2011 - 07:37
This is amazing! This is exactly the look I want when I make my King Bed. I love the geometric look with the trim on the headboard and footboard but the traditional look that the trim around the top gives. It makes the bed a little more modern versus rustic. I Love It!