Narrow Farmhouse Sewing Table
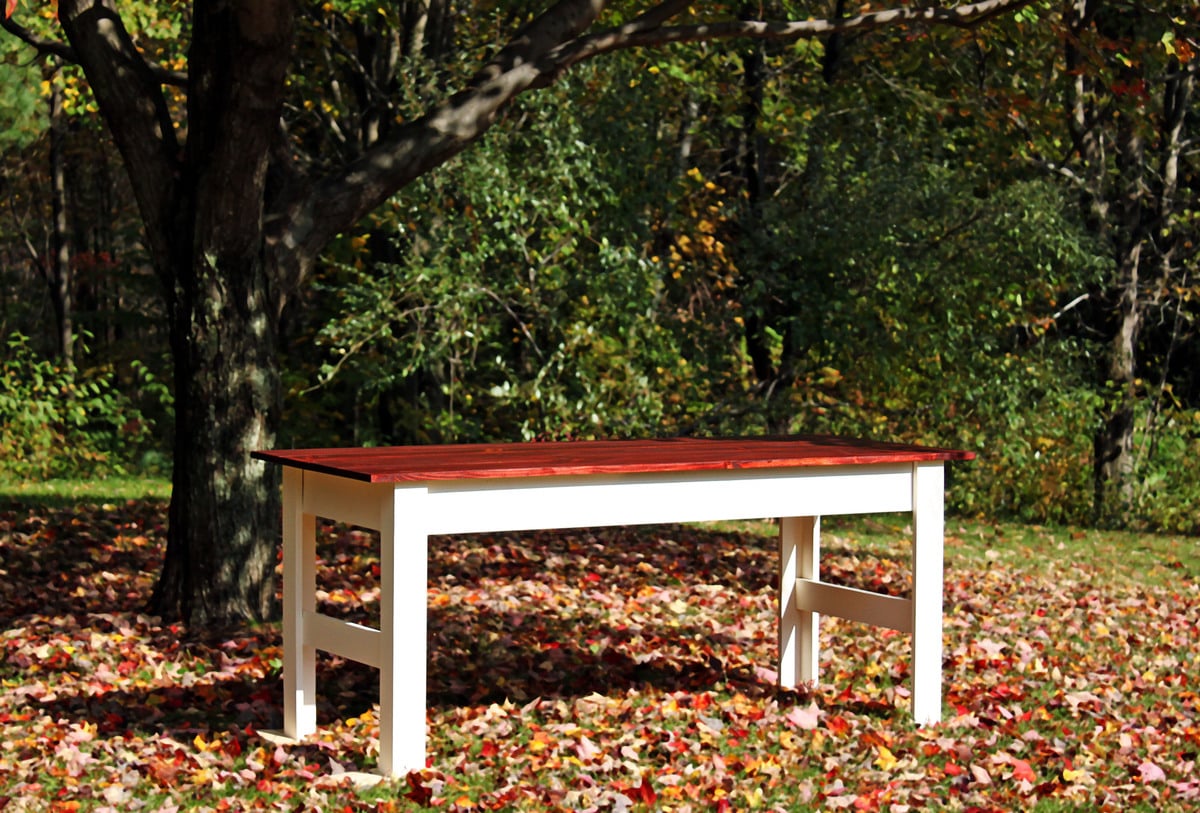
modifications to plans: legs not tapered; shortened table by two feet.
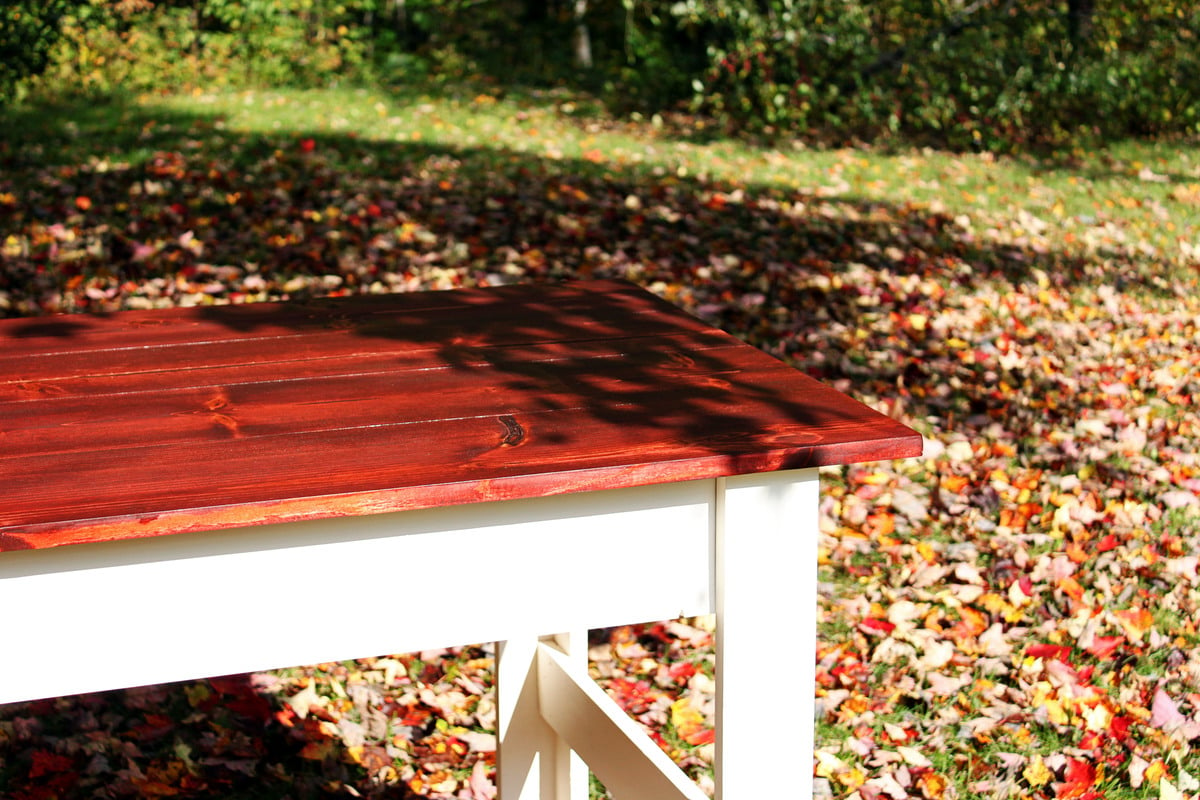
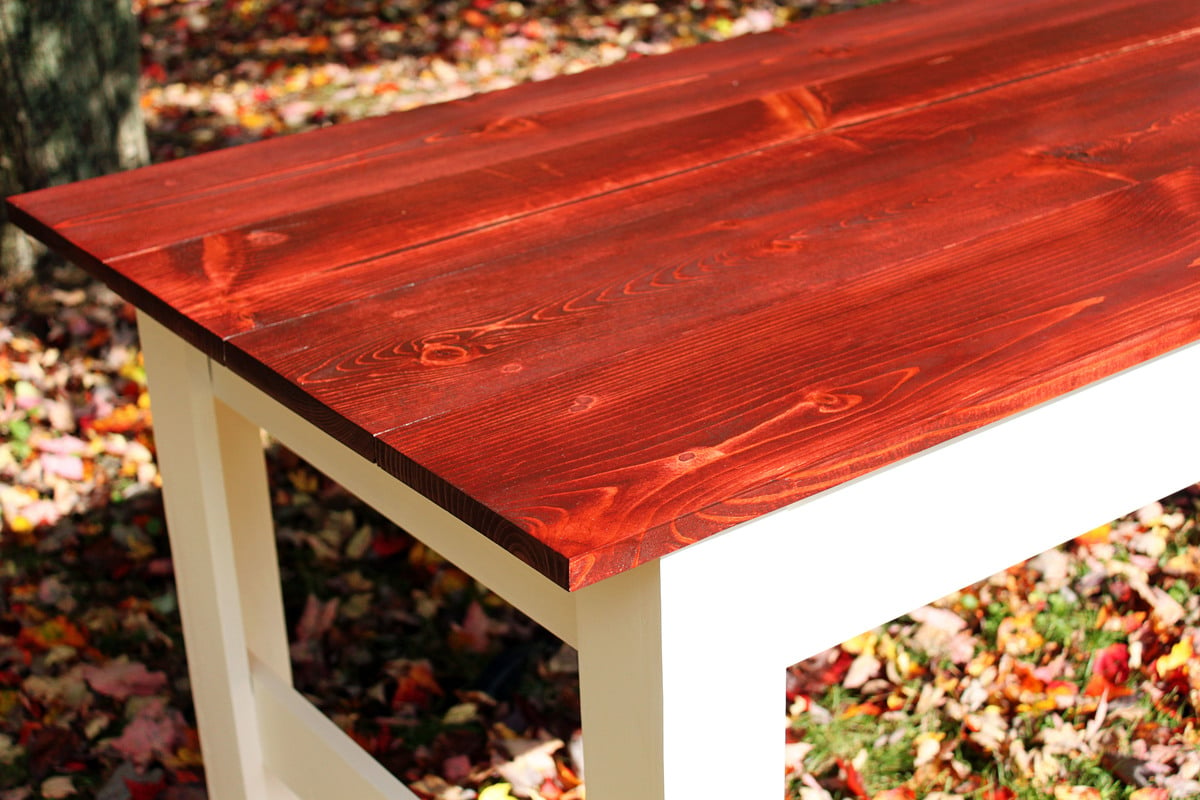
General Finishes Wood Stain in ‘Georgian Cherry’
General Finishes Gel Topcoat

modifications to plans: legs not tapered; shortened table by two feet.


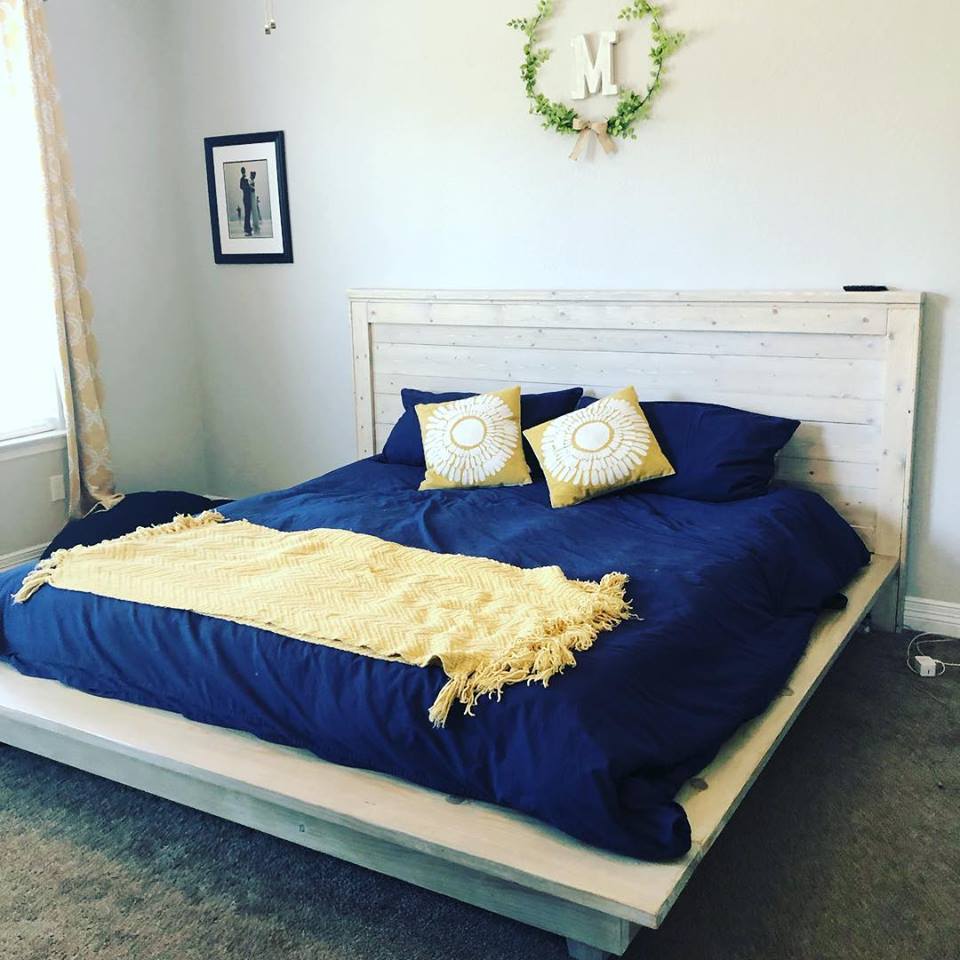
Made wider for a king and modified platform bed. Used a weathered oak stain followed by a 50/50 whitewash.
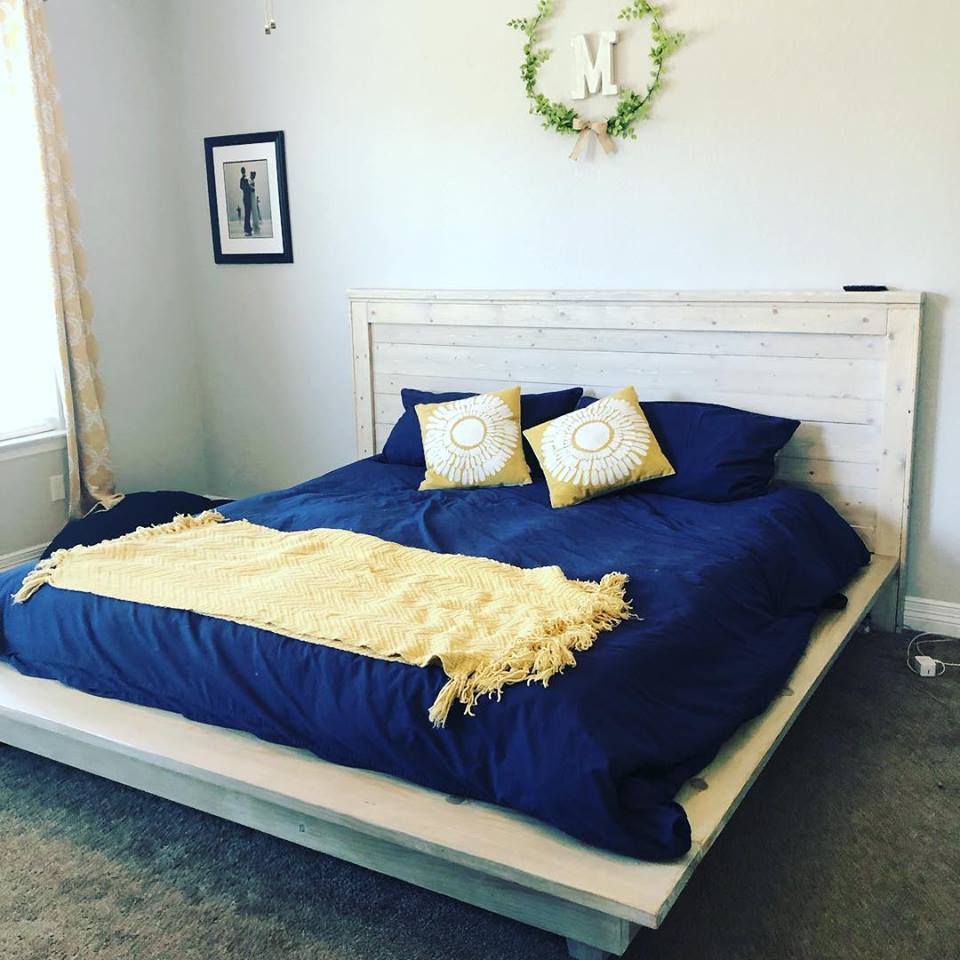
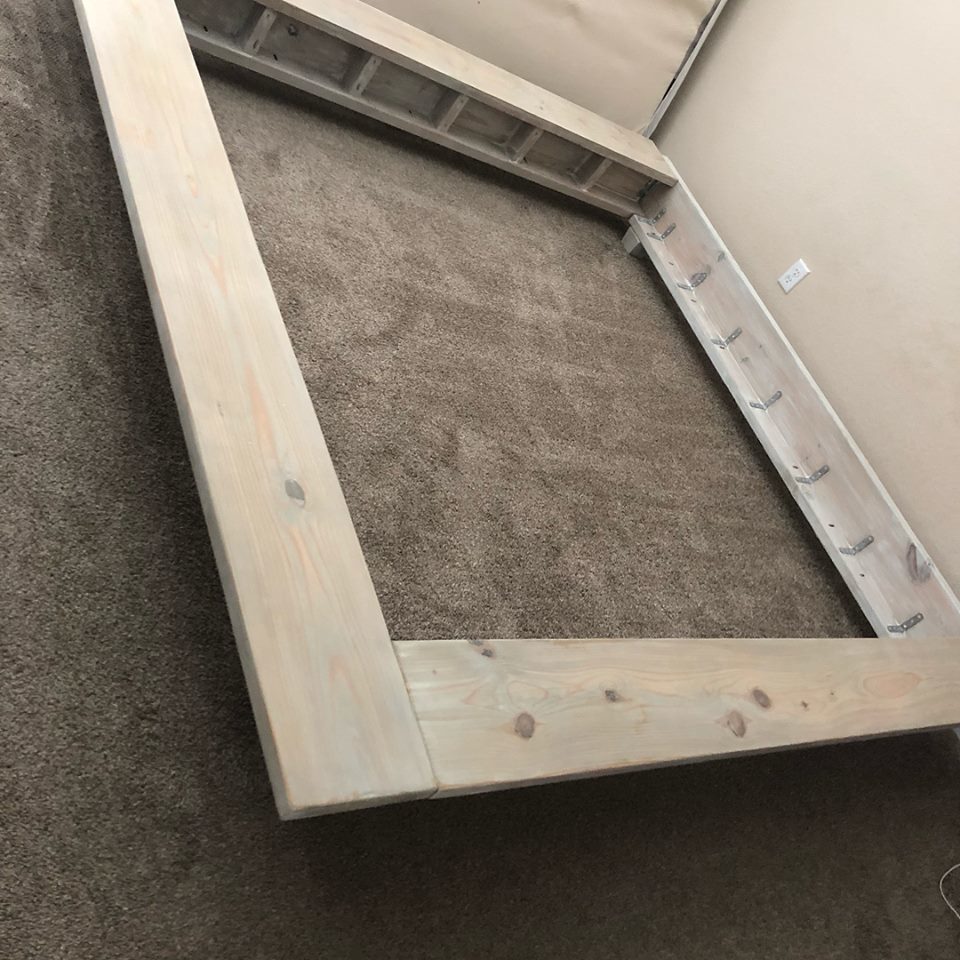
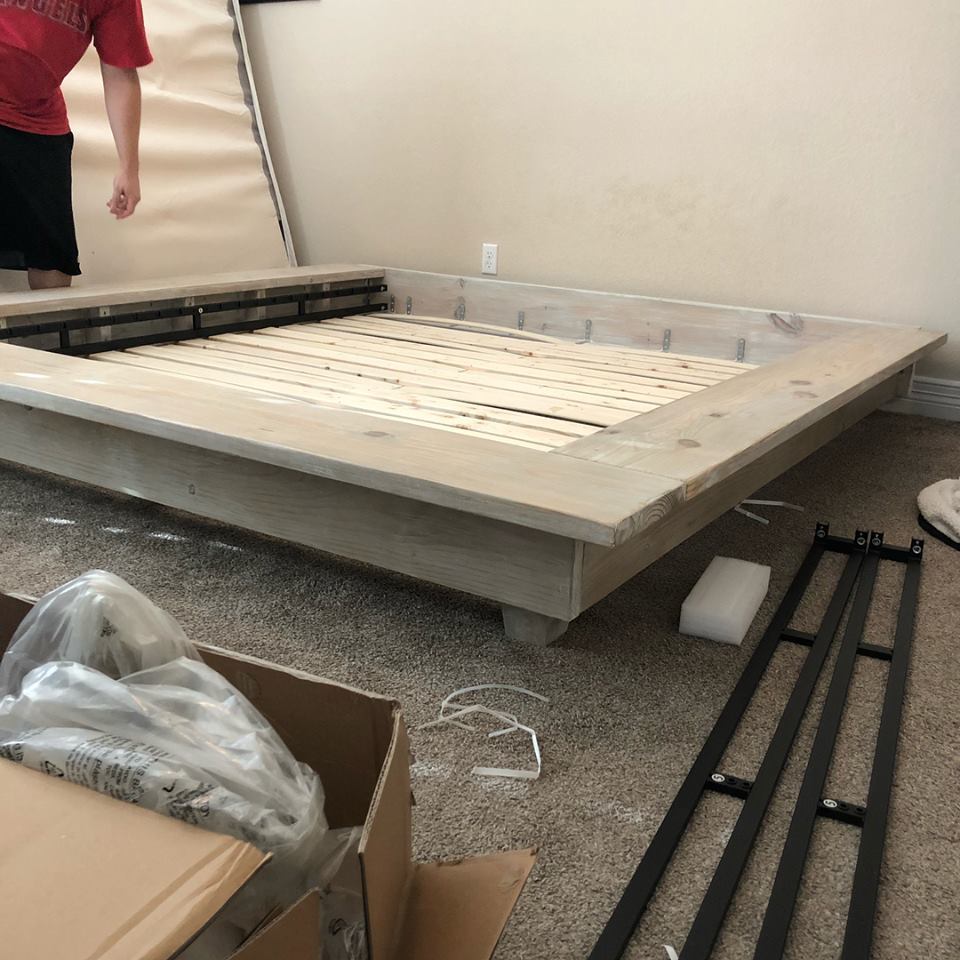
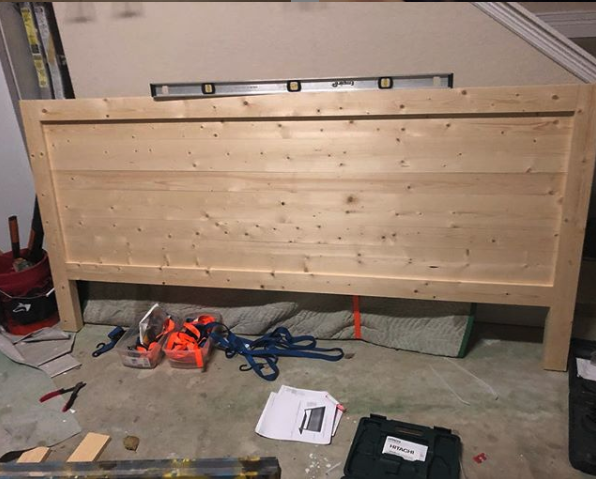
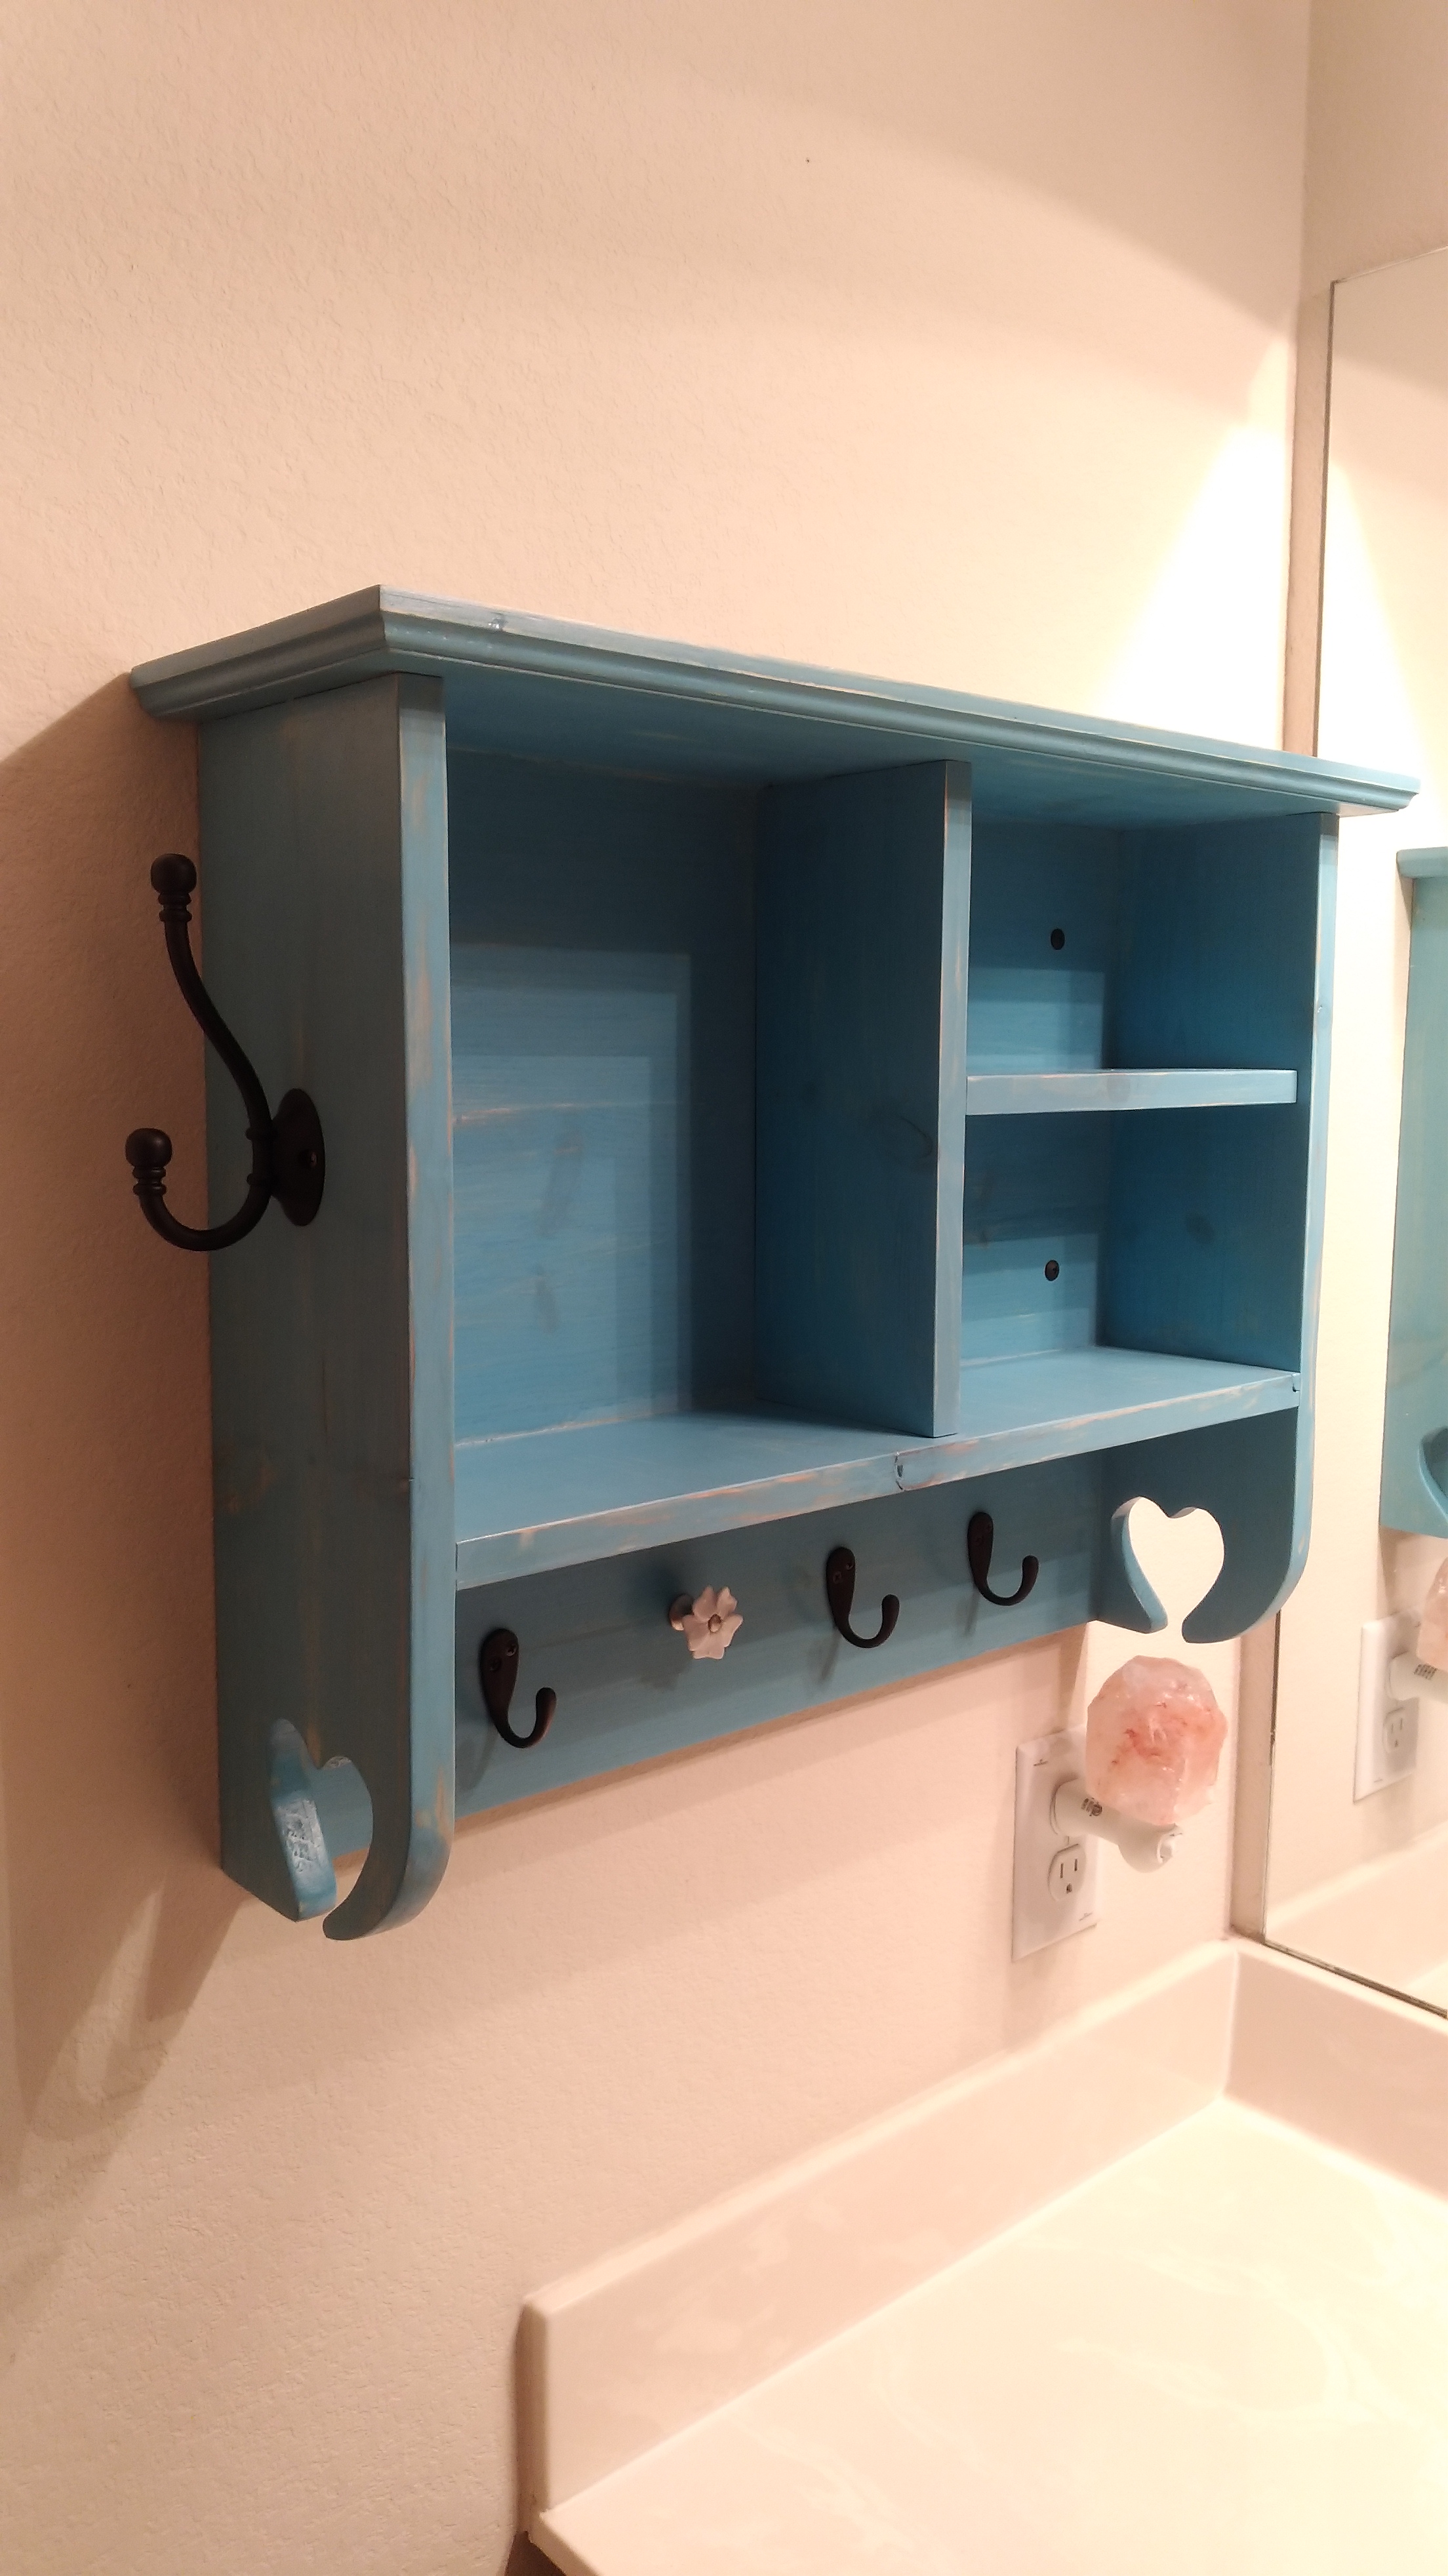
I liked the idea and my wife loved the outcome. Thanks Ana.
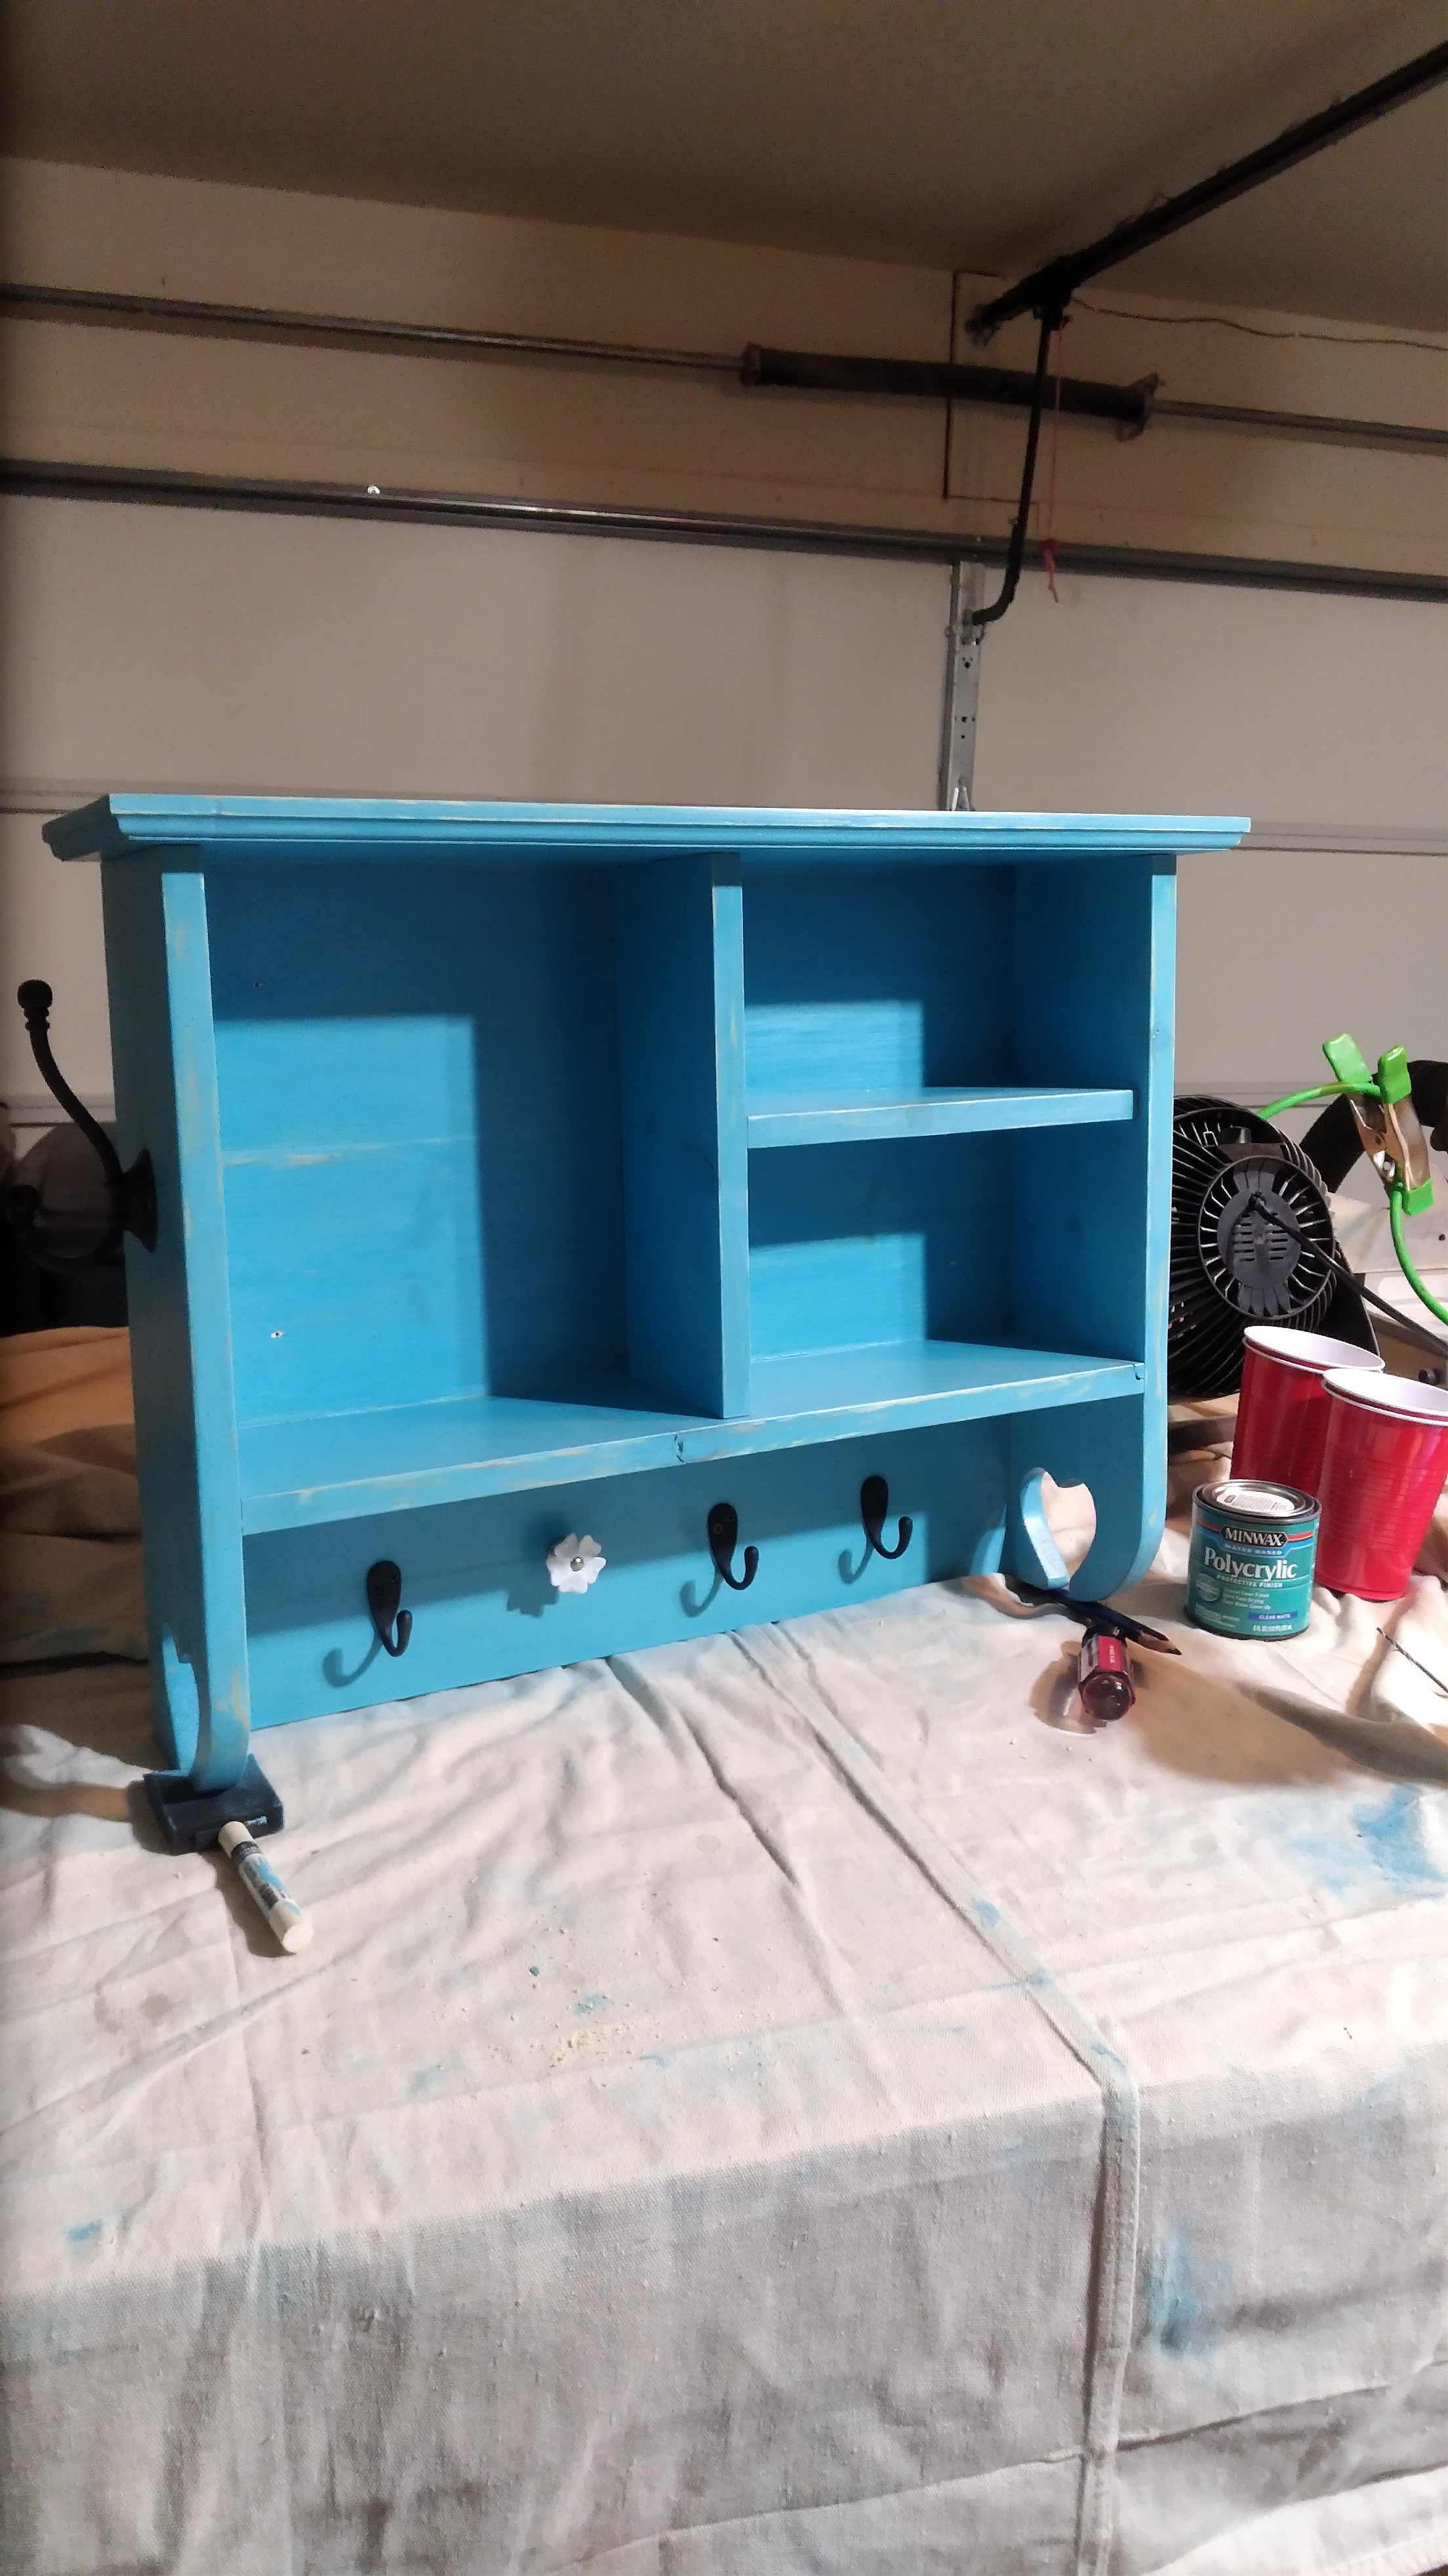
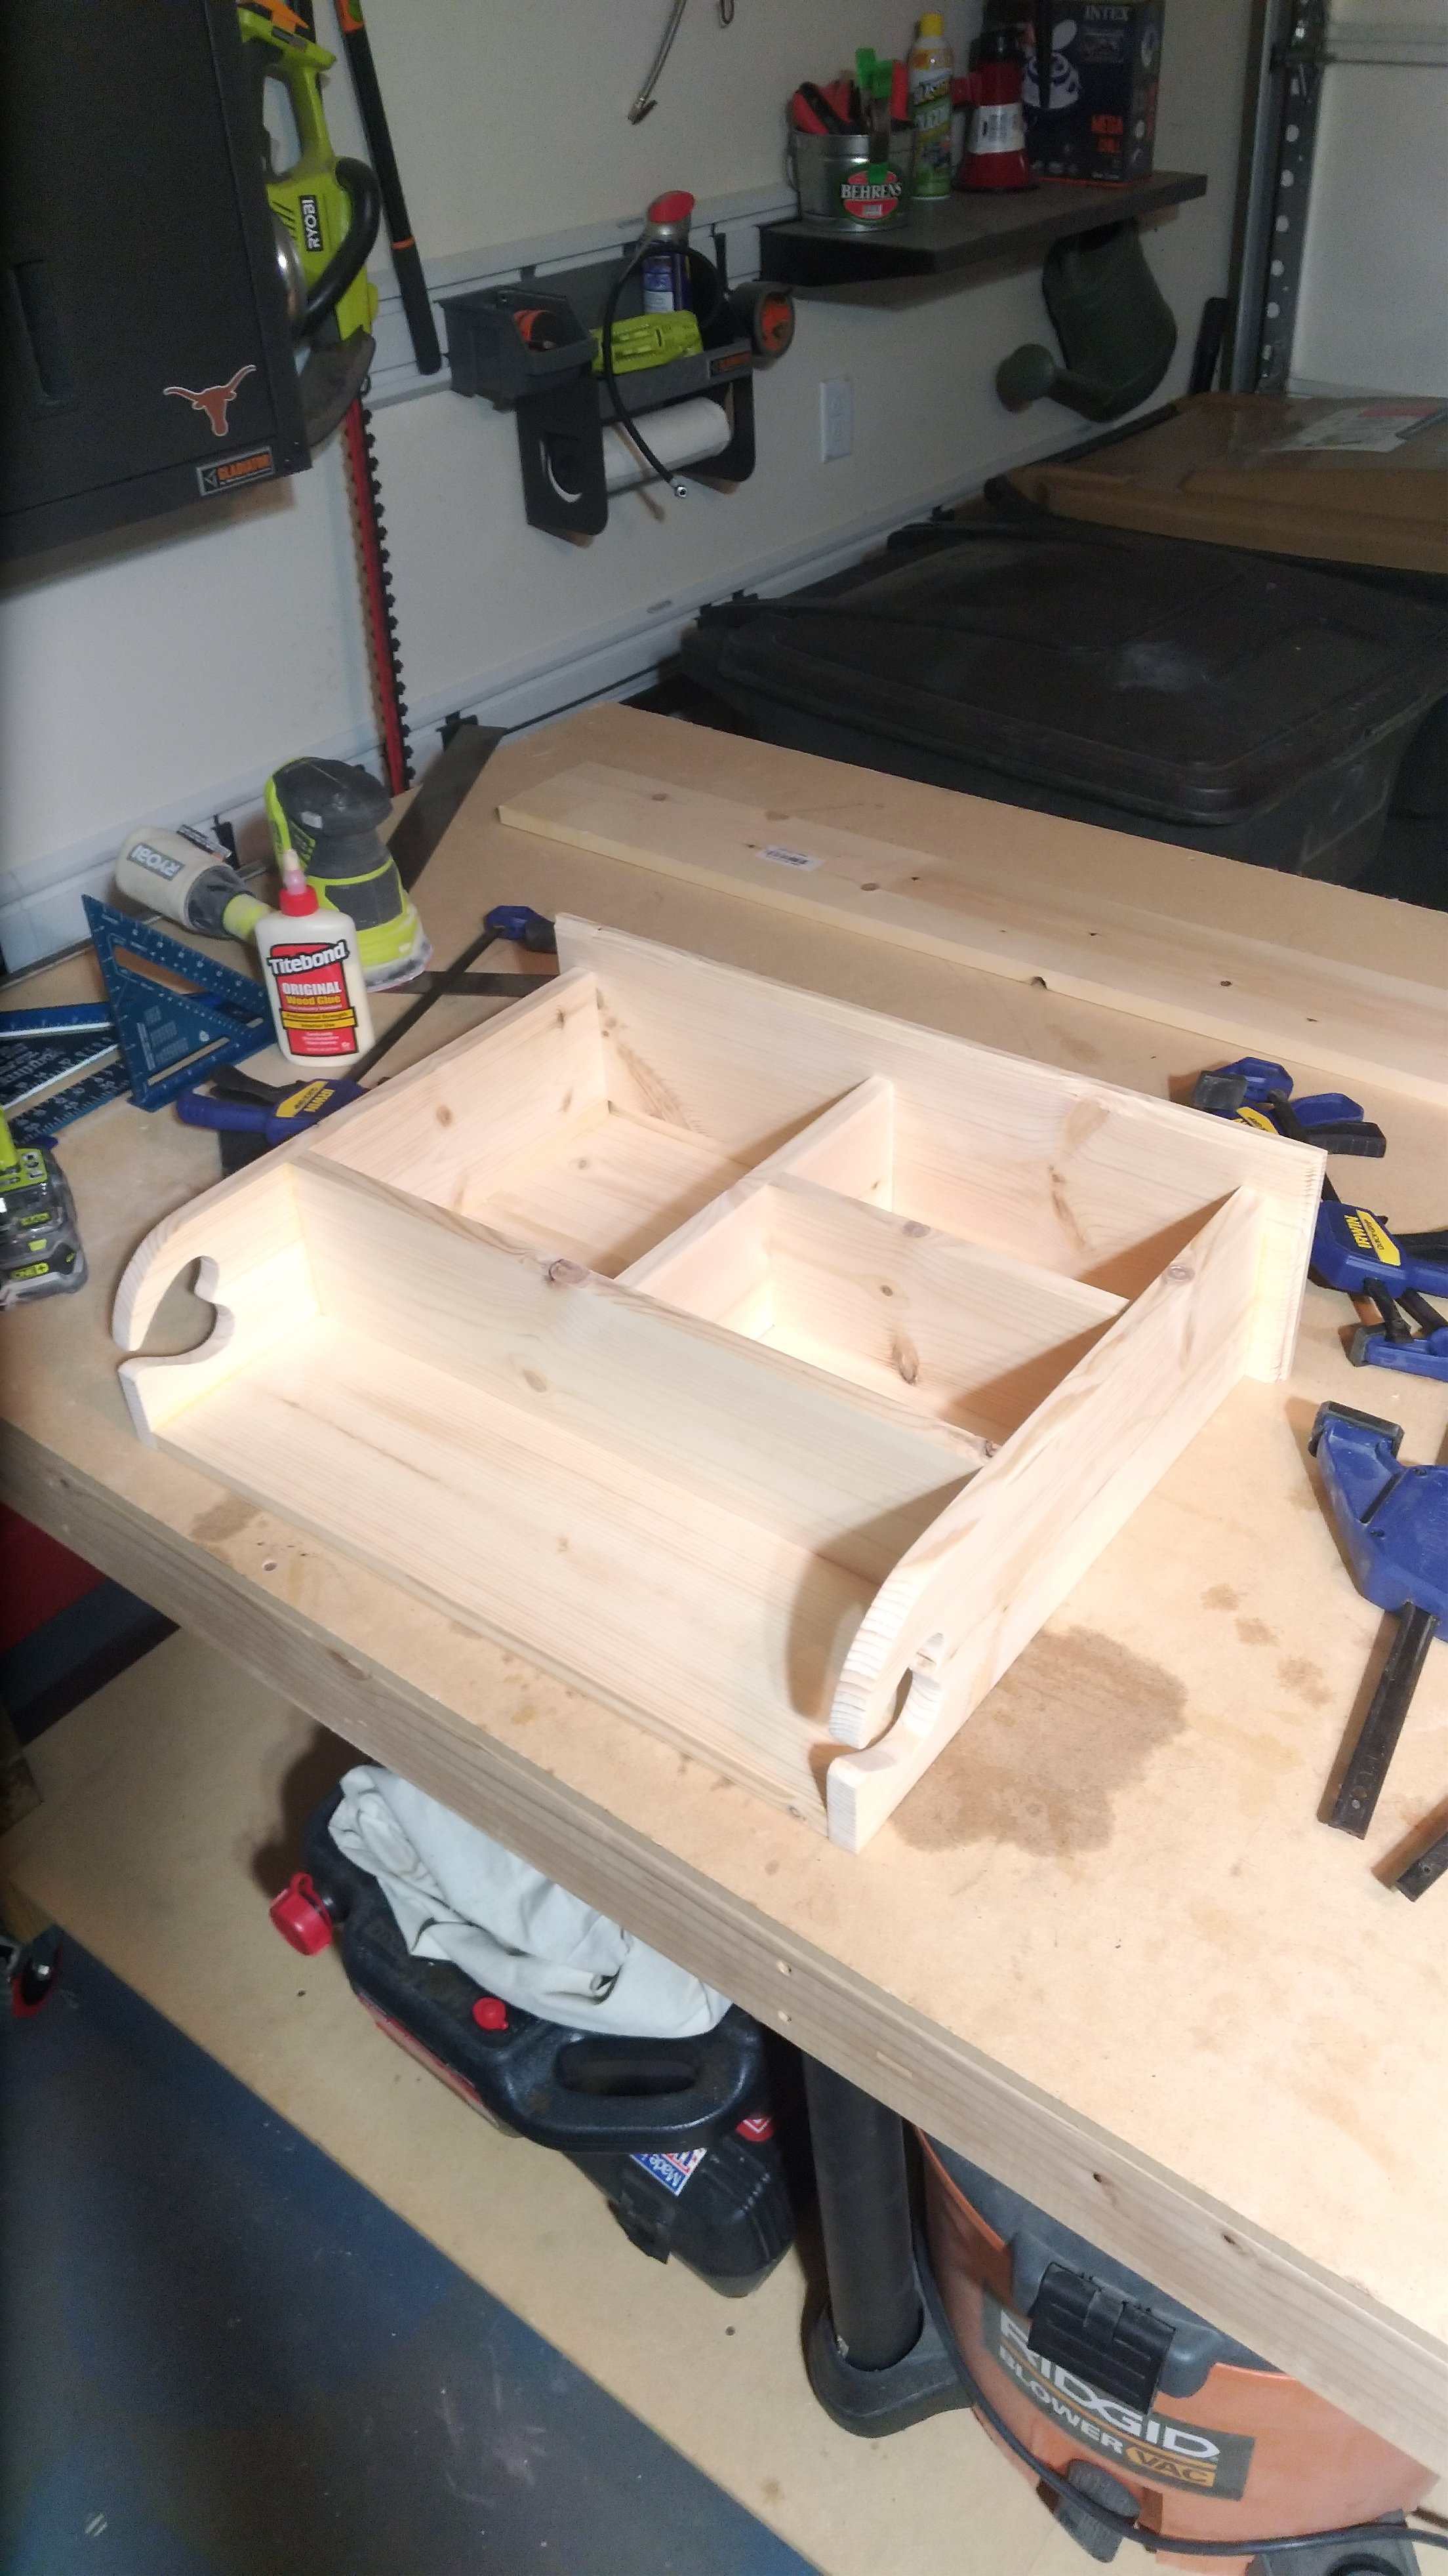

I’m a first year teacher of construction class at Waterloo High School in Illinois. We recently used your Small Cedar shed instructions with some modifications for a class project. It’s a bear getting cedar right now, so we used T1-11 for the outside and 2x4 for the frame.


Sat, 03/25/2023 - 09:14
Very fun and job well done! Thank you for sharing.
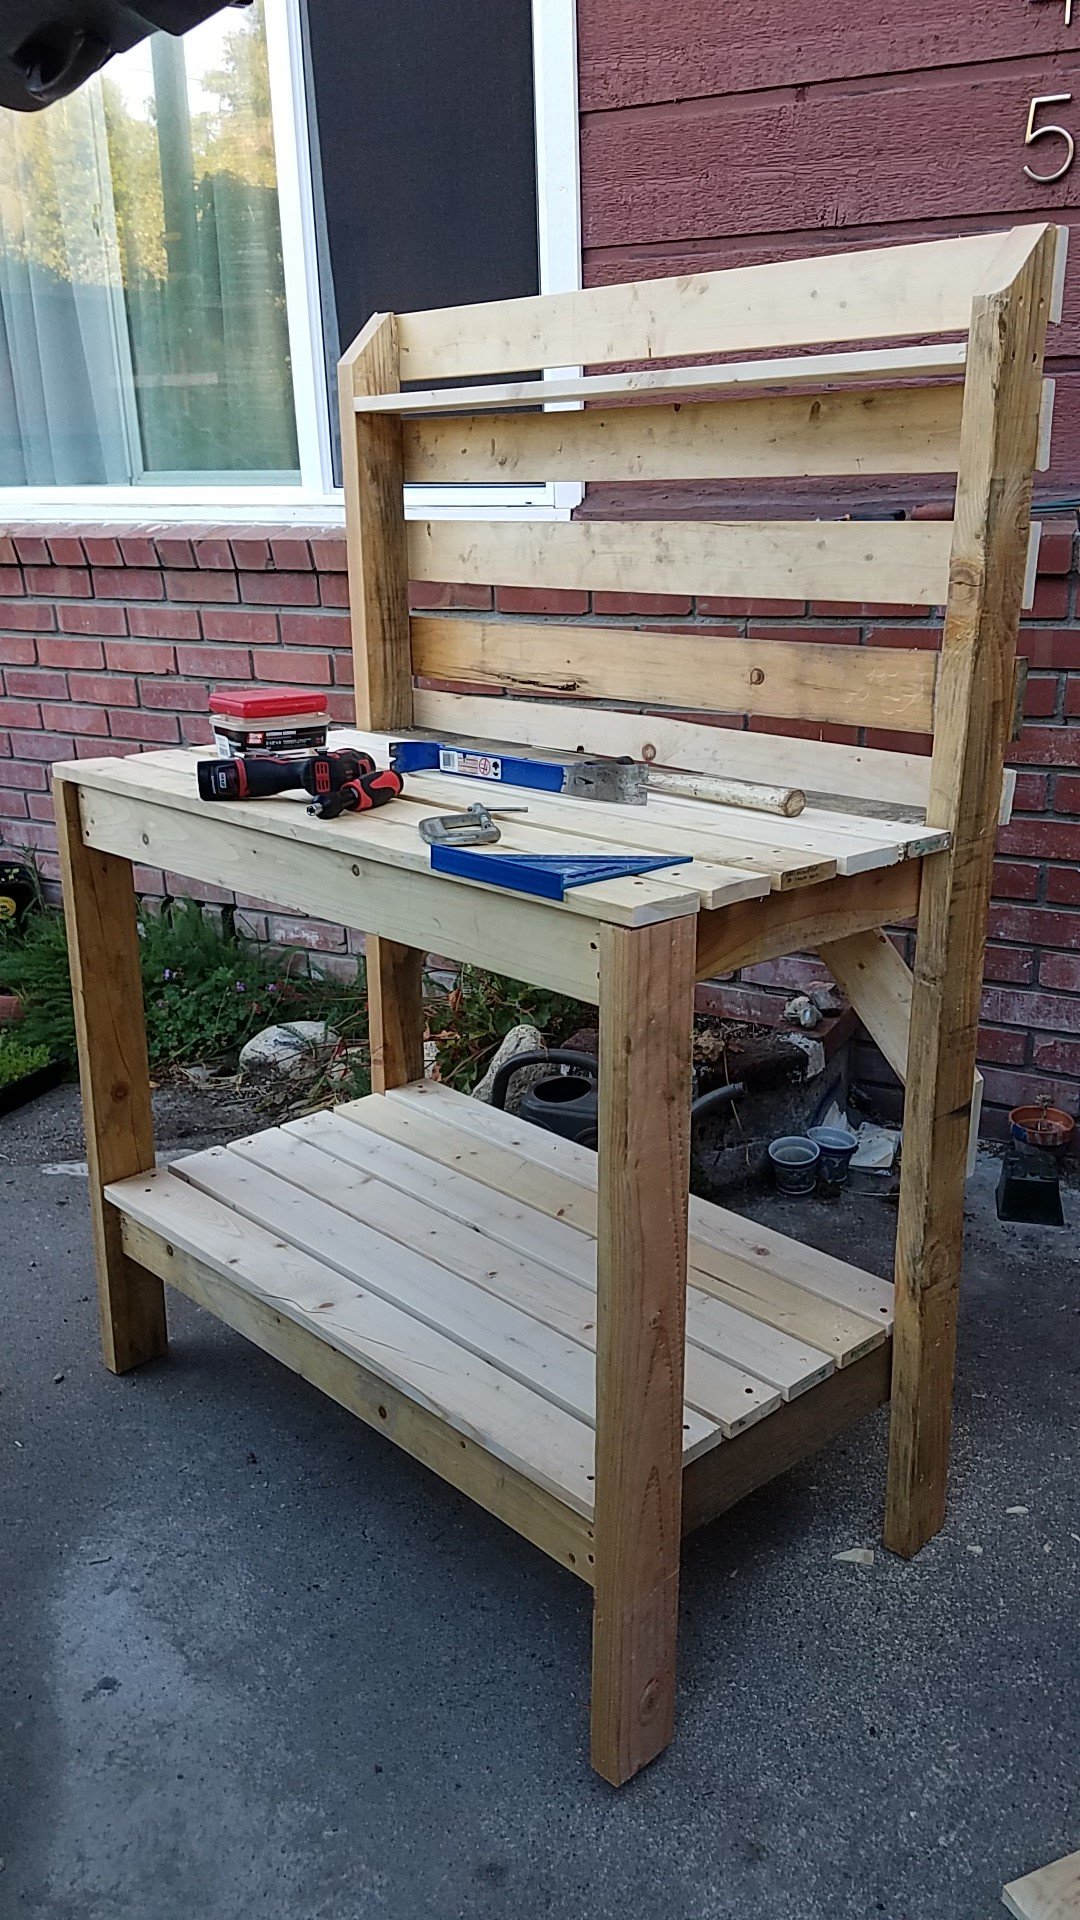
I made this with leftover lumber after my mom helped me make a swingset for my kids. It's the very first project I've ever done by myself and it turned out GREAT!
Tue, 07/02/2019 - 14:07
This looks awesome! Thank you for submitting a brag post, we really appreciate it! Ana
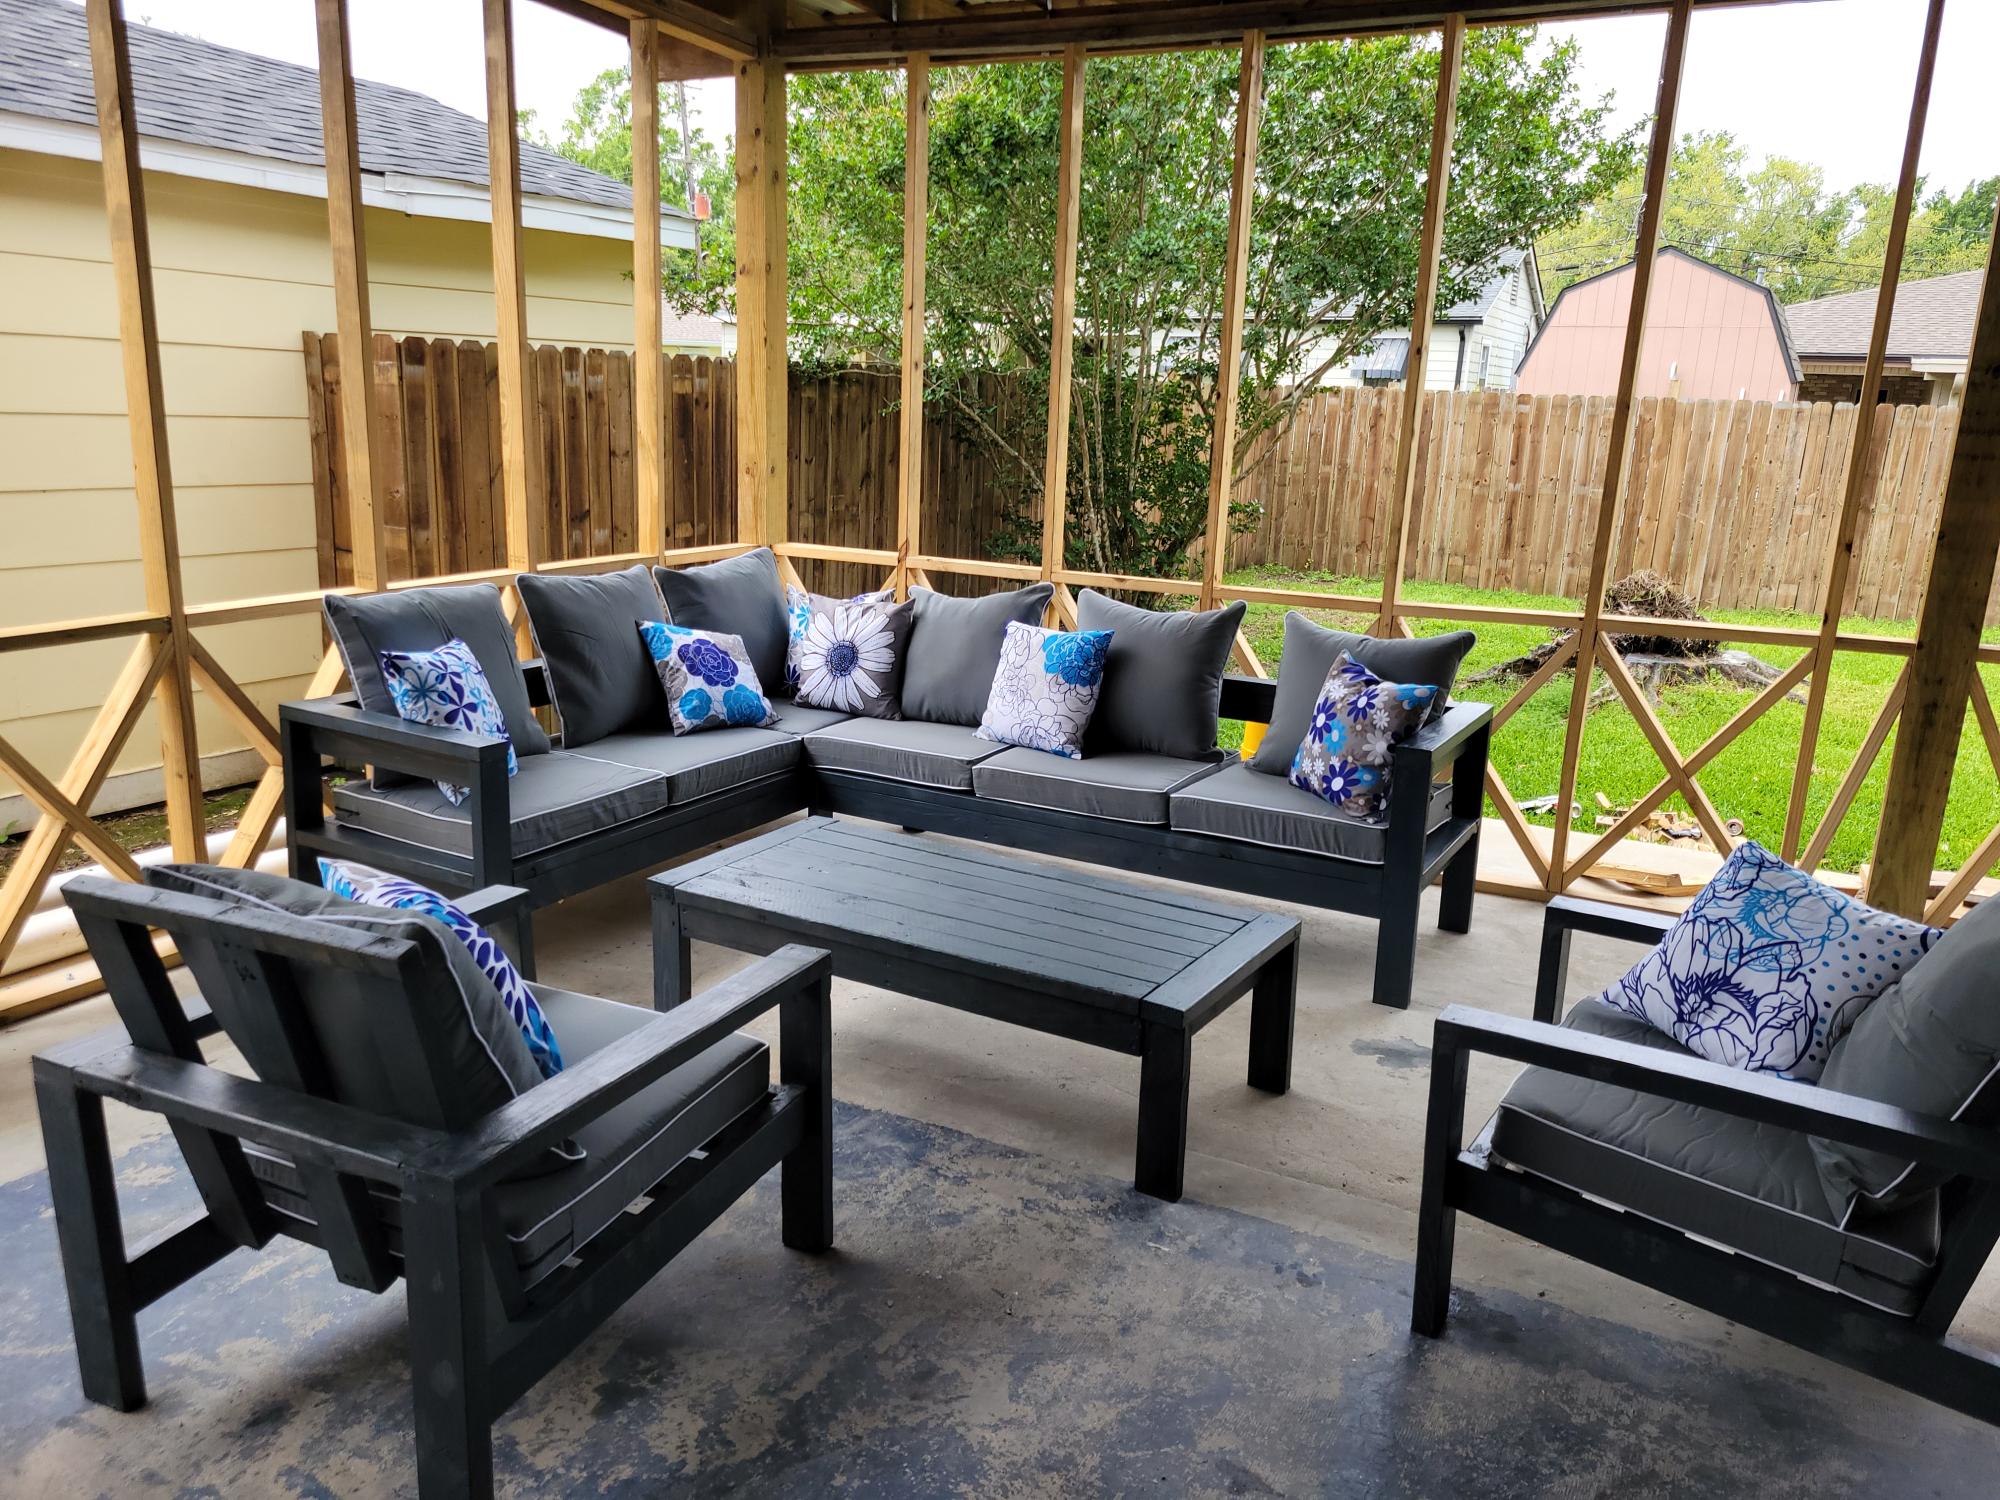
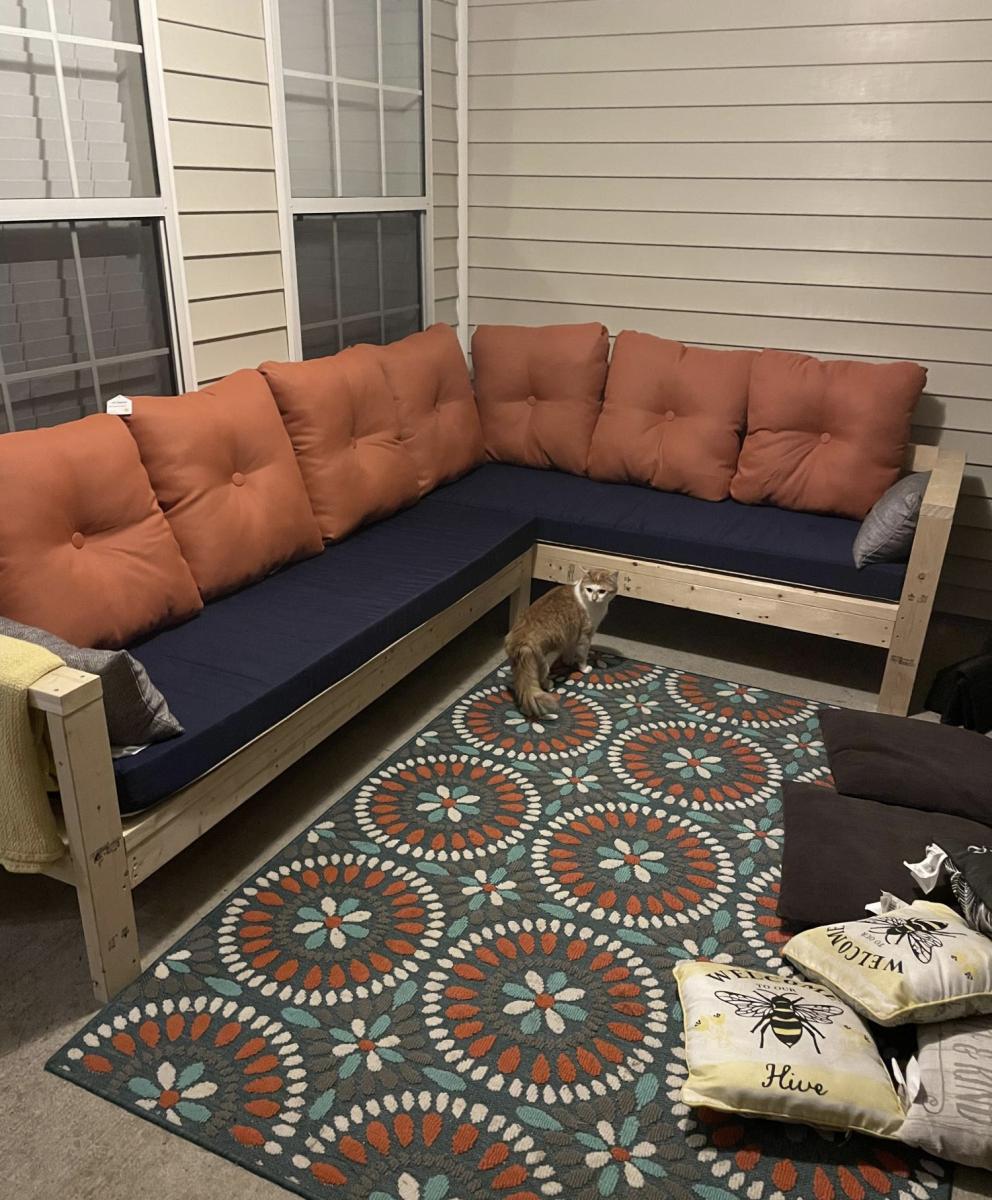
Your easy to follow 2x4 proje ts turned out amazing. My outdoor set is complete. The chairs, also, came from your plans. I built all of it by myself in one weekend. Thank you
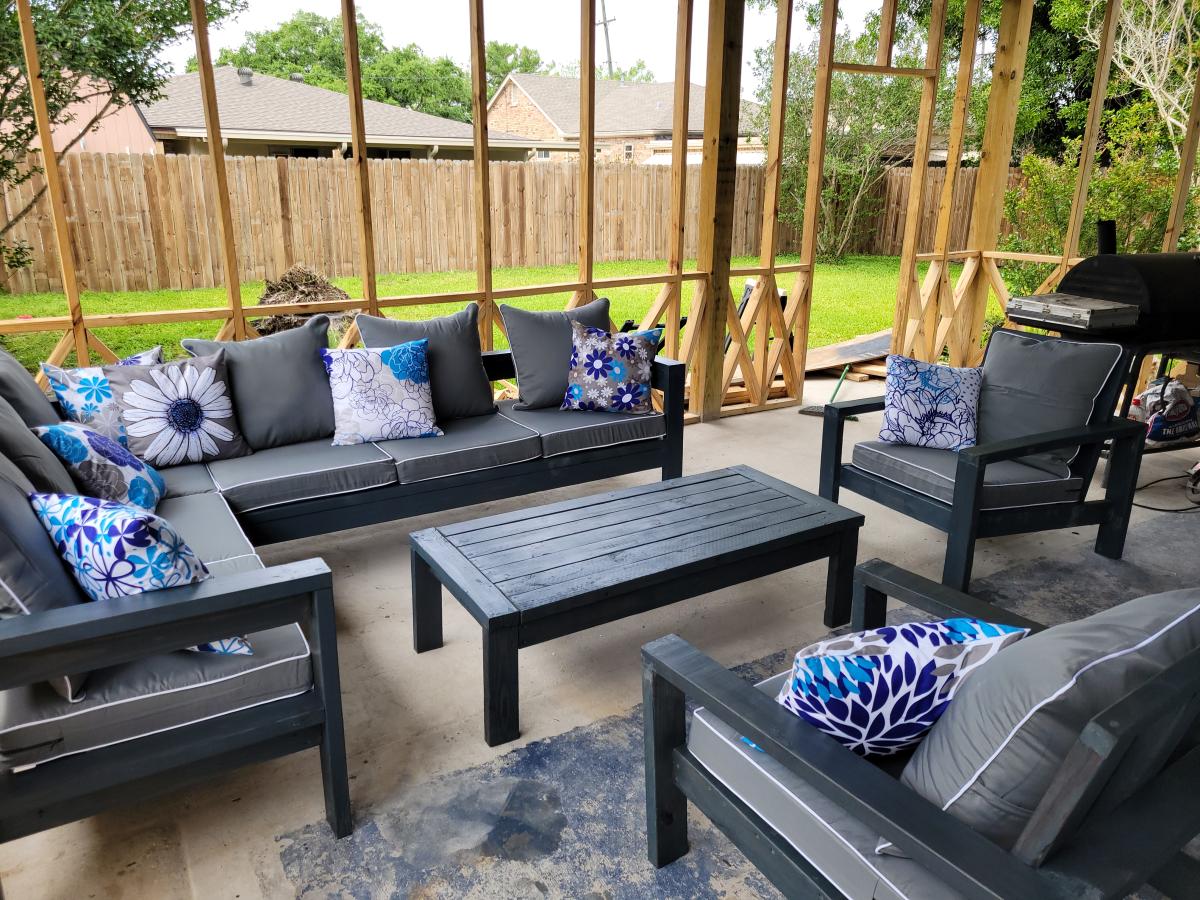
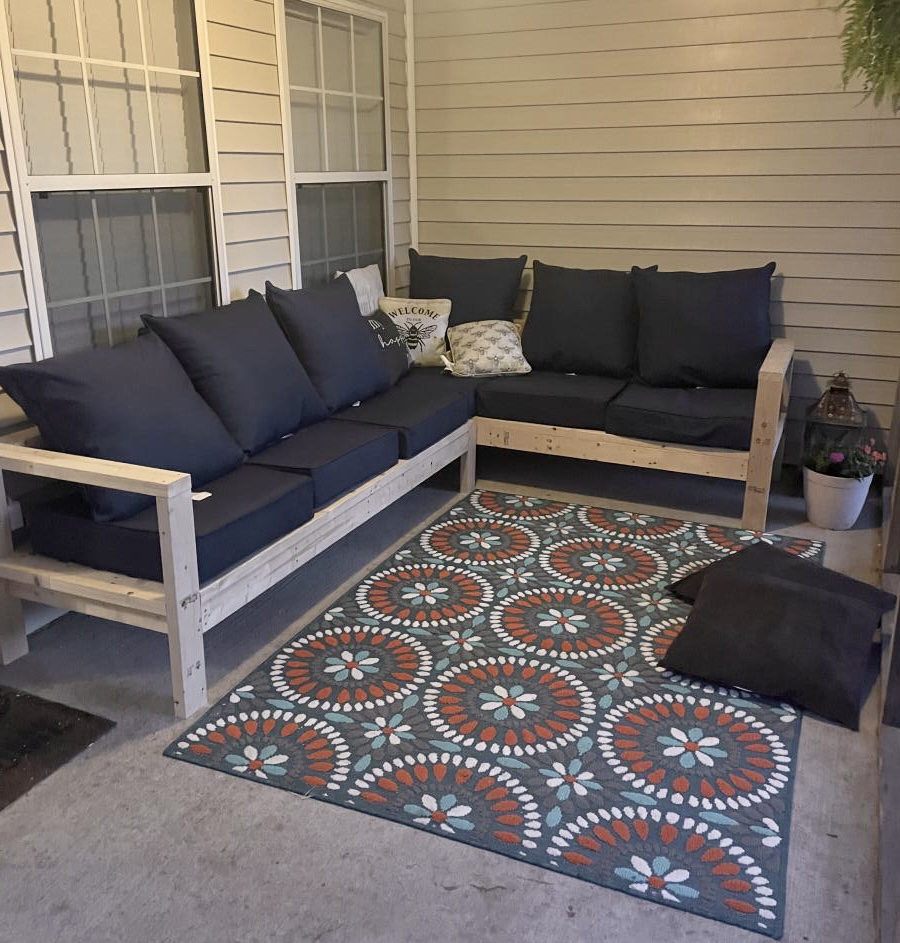
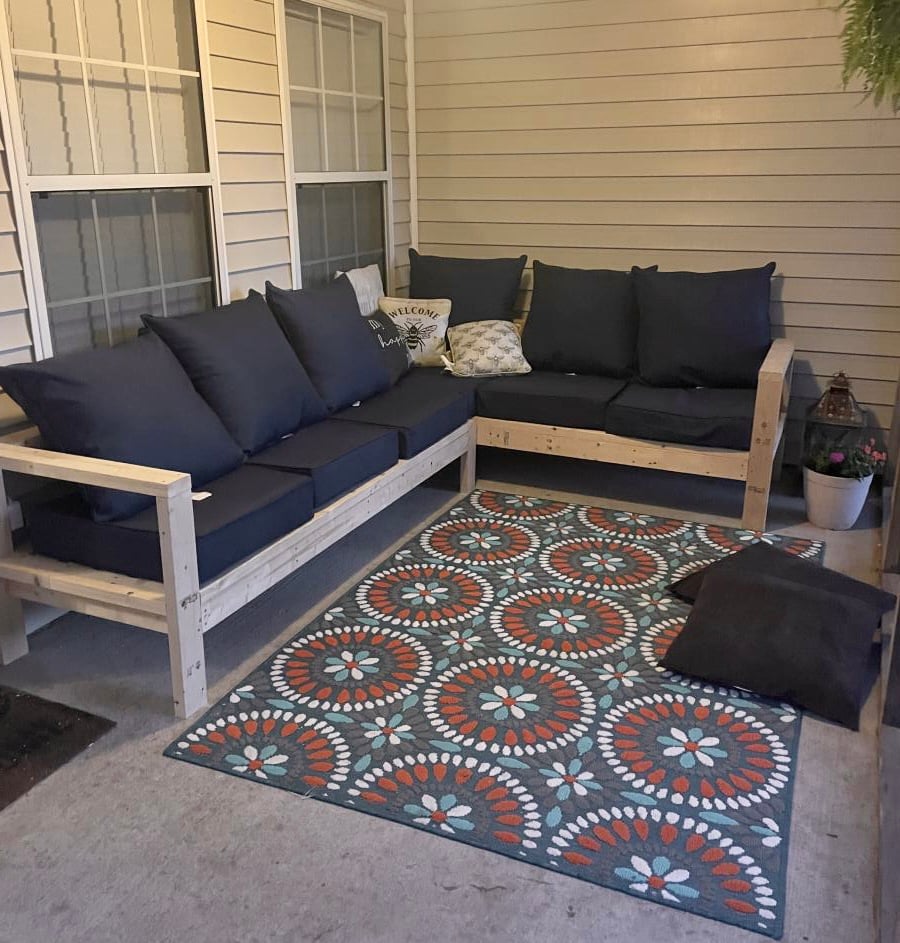
This was so super easy. We are so in love with this. Thank you Ana for making DIY so much fun!
Thu, 05/18/2023 - 09:22
Way to go, so happy you enjoy it! Thanks for sharing.
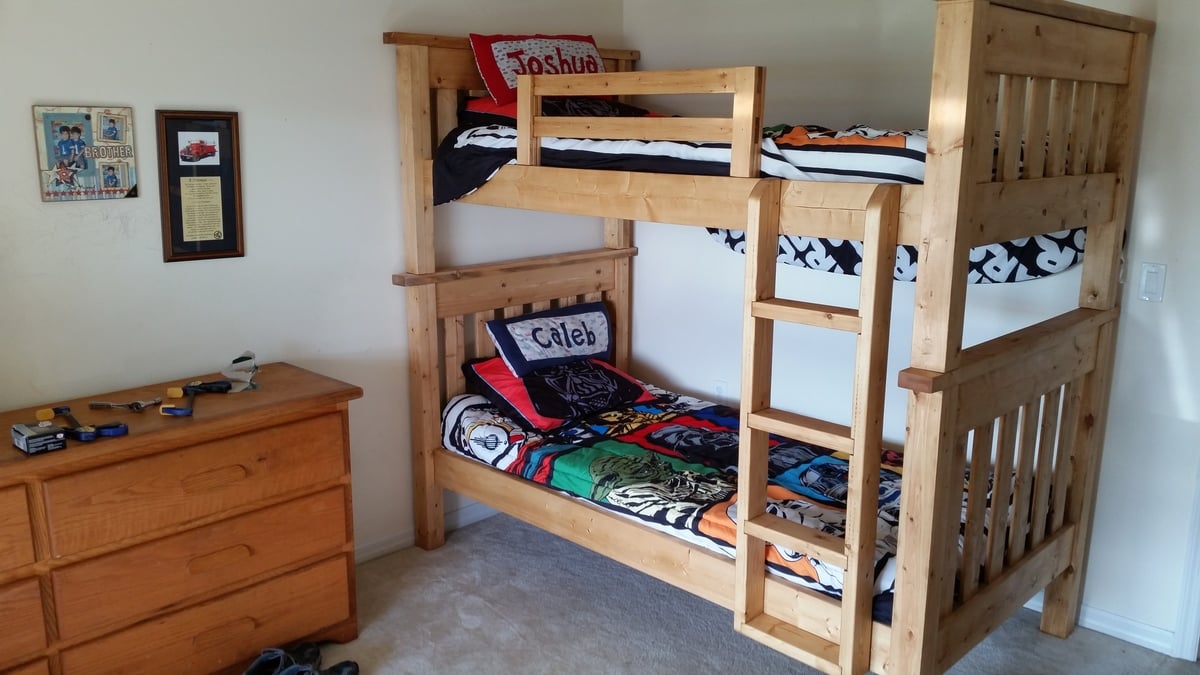
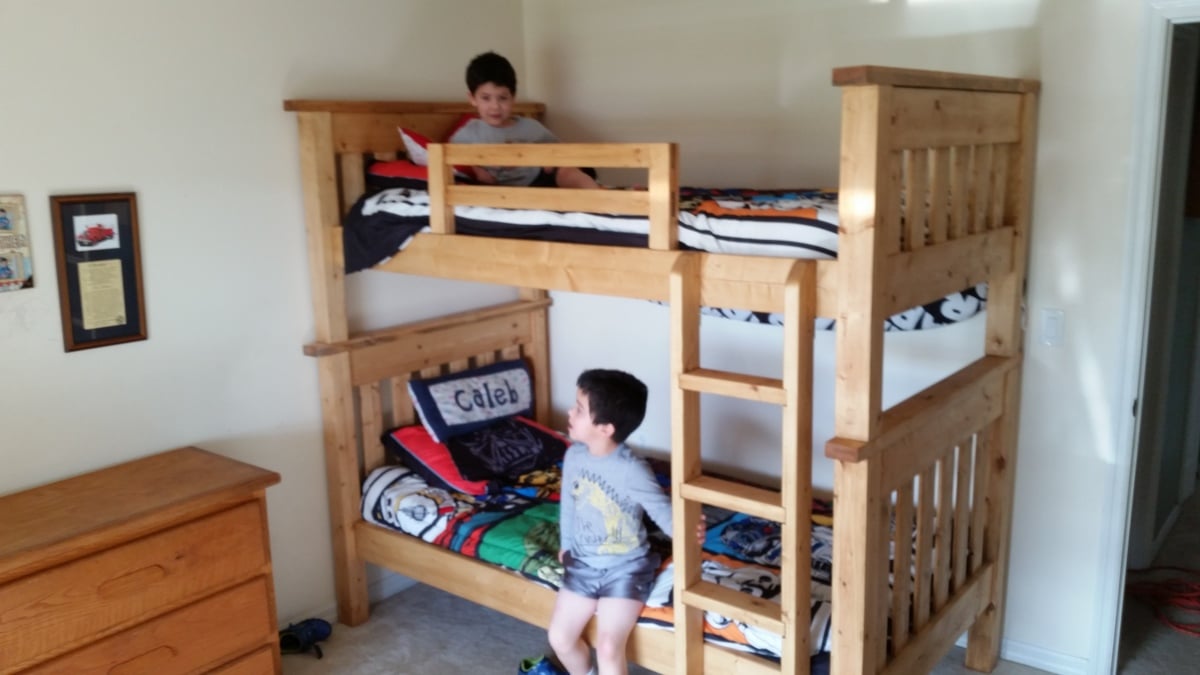
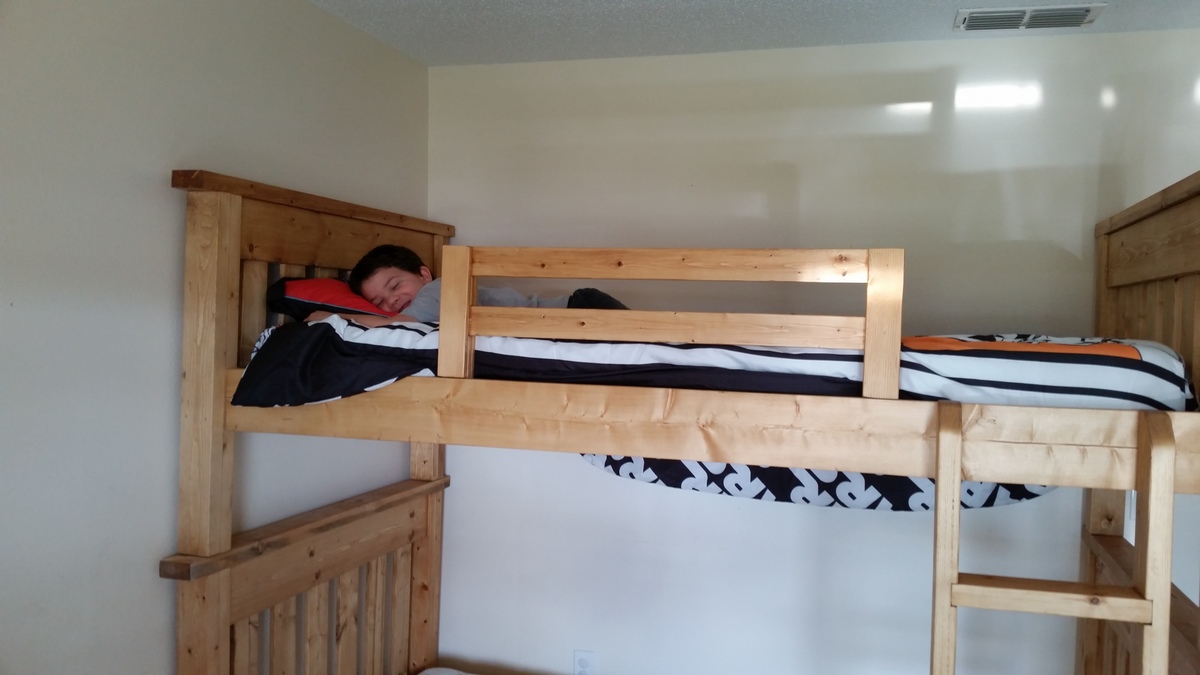
I built the Simple Bed into bunk beds. The plans for this project are pretty straight forward. The only change I made in the plans, was use 2" x 4" angle plates to mount the side rails to the head and foot boards. This made it easy to assemble and disassemble if the beds needed to be separated or moved. I also had to use two 2"x4"'s mated together to make the bed posts since 4"x4"'s are only available pressure treated. The ladder is constructed of 2"x4" with the steps spaced 10" on center.
Mon, 02/15/2016 - 19:40
Can I have a url to the angle plates you used ? I am not certain I know what they are.
The beds look great.

I made the barn wood frame for less than $30 (the plexiglass alone was $23!). It's better than the $80 they were going to charge me at the frame shop for the same style! I used an opaque black stain to both hide my not so accurate miter cuts and give it a modern feel. I'm very satisfied with the results!
Sat, 02/18/2012 - 09:24
I need a large frame for a family photo. I cant spend the money right now. This has been very helpful. Great job
We built this media stand for our home and we had many that followed. We put a backing on ours to hide the cords and such. It makes it feel a lot classier & takes under 5 minutes to add! We used 1/8" particle board and we used our neumatic nail gun.
All in all, this is a super easy beginner project that adds a big bang to the space!
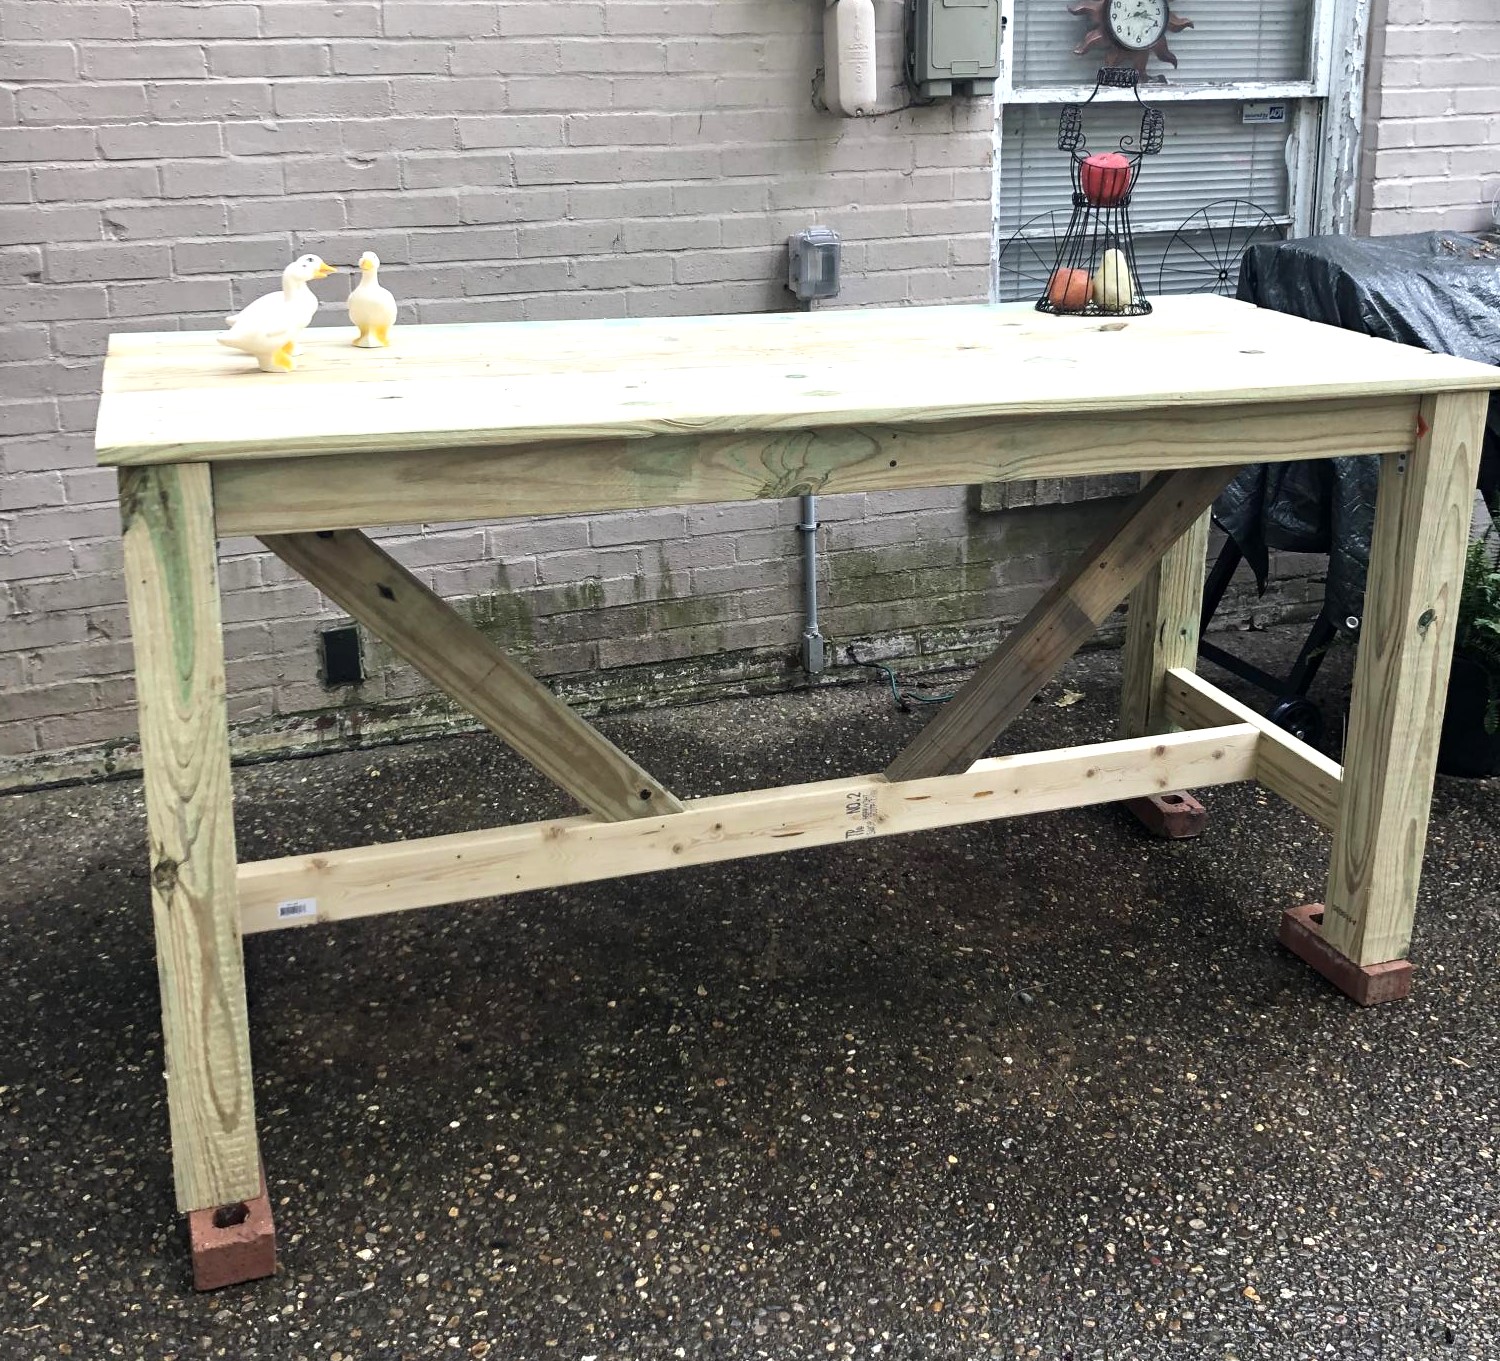
My first project using Ana White plans. Used pressure treated lumber and Kreg pocket hole jig. Cost: $126.
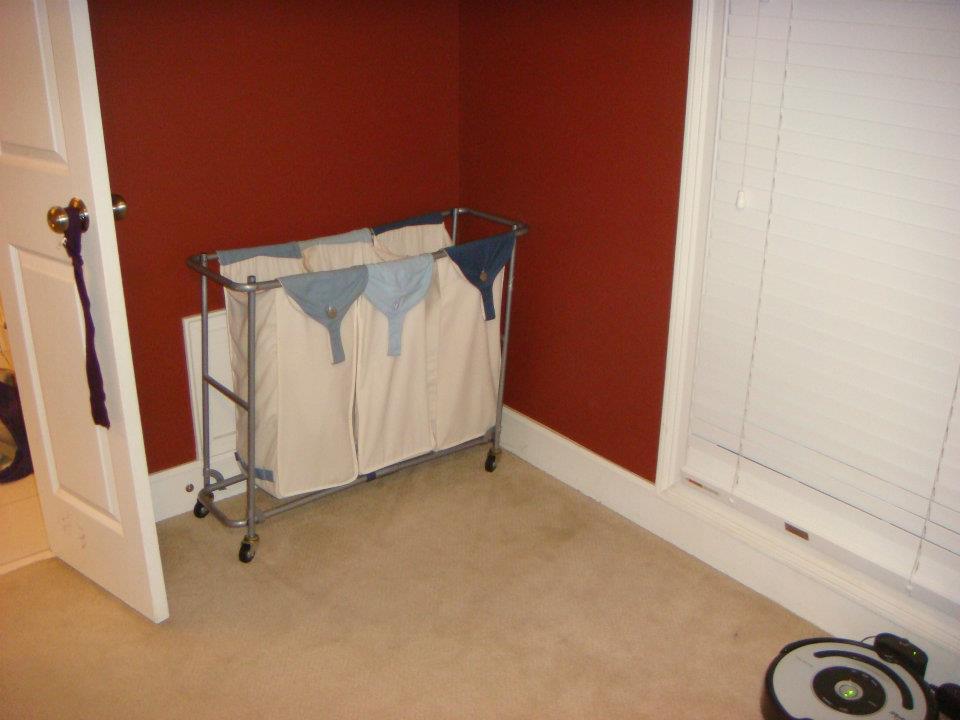
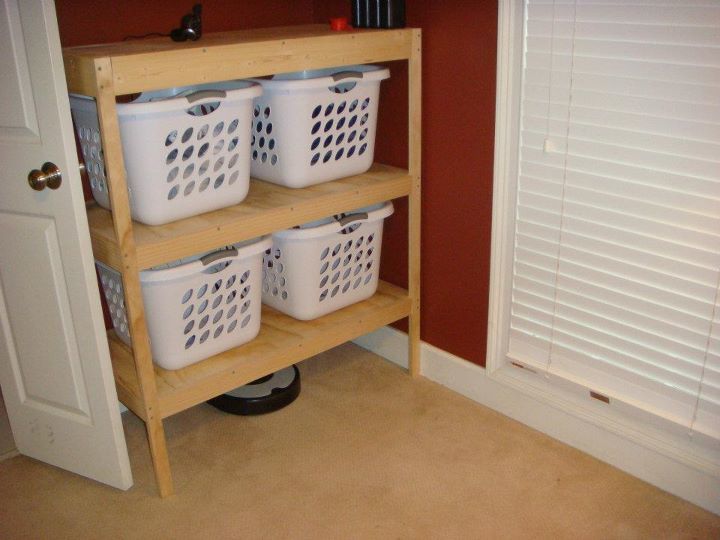
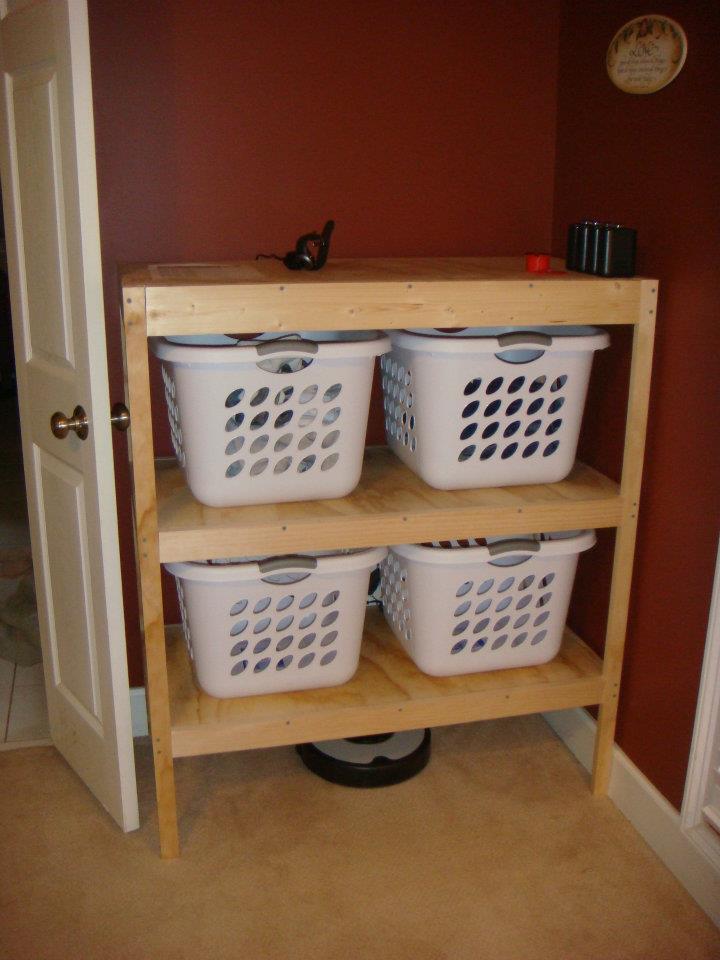
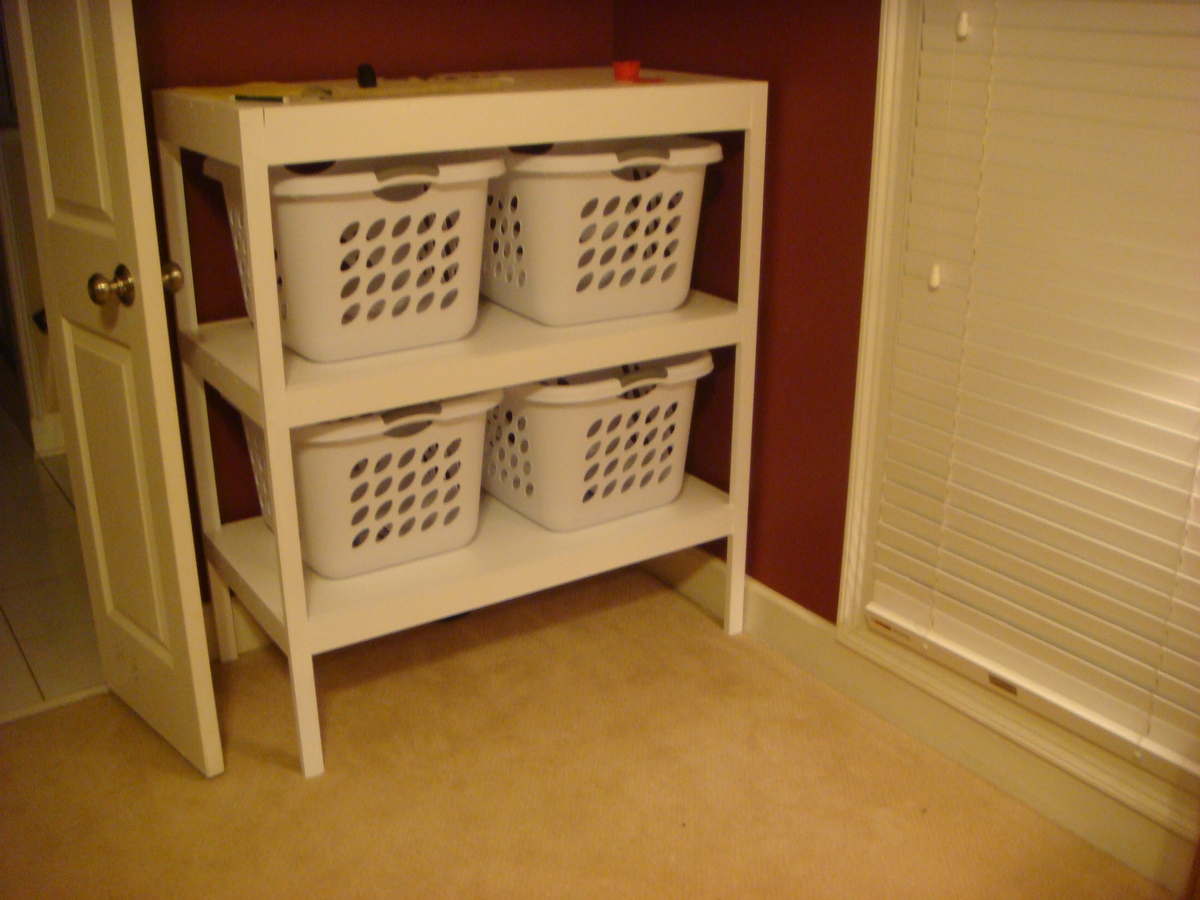
My original plan was for a laundry cart or stand for laundry baskets. I ended up building one that is pretty big for 4 baskets, a shelf on top, and elevated 10" on the bottom for our Roomba vacuum to be stored.
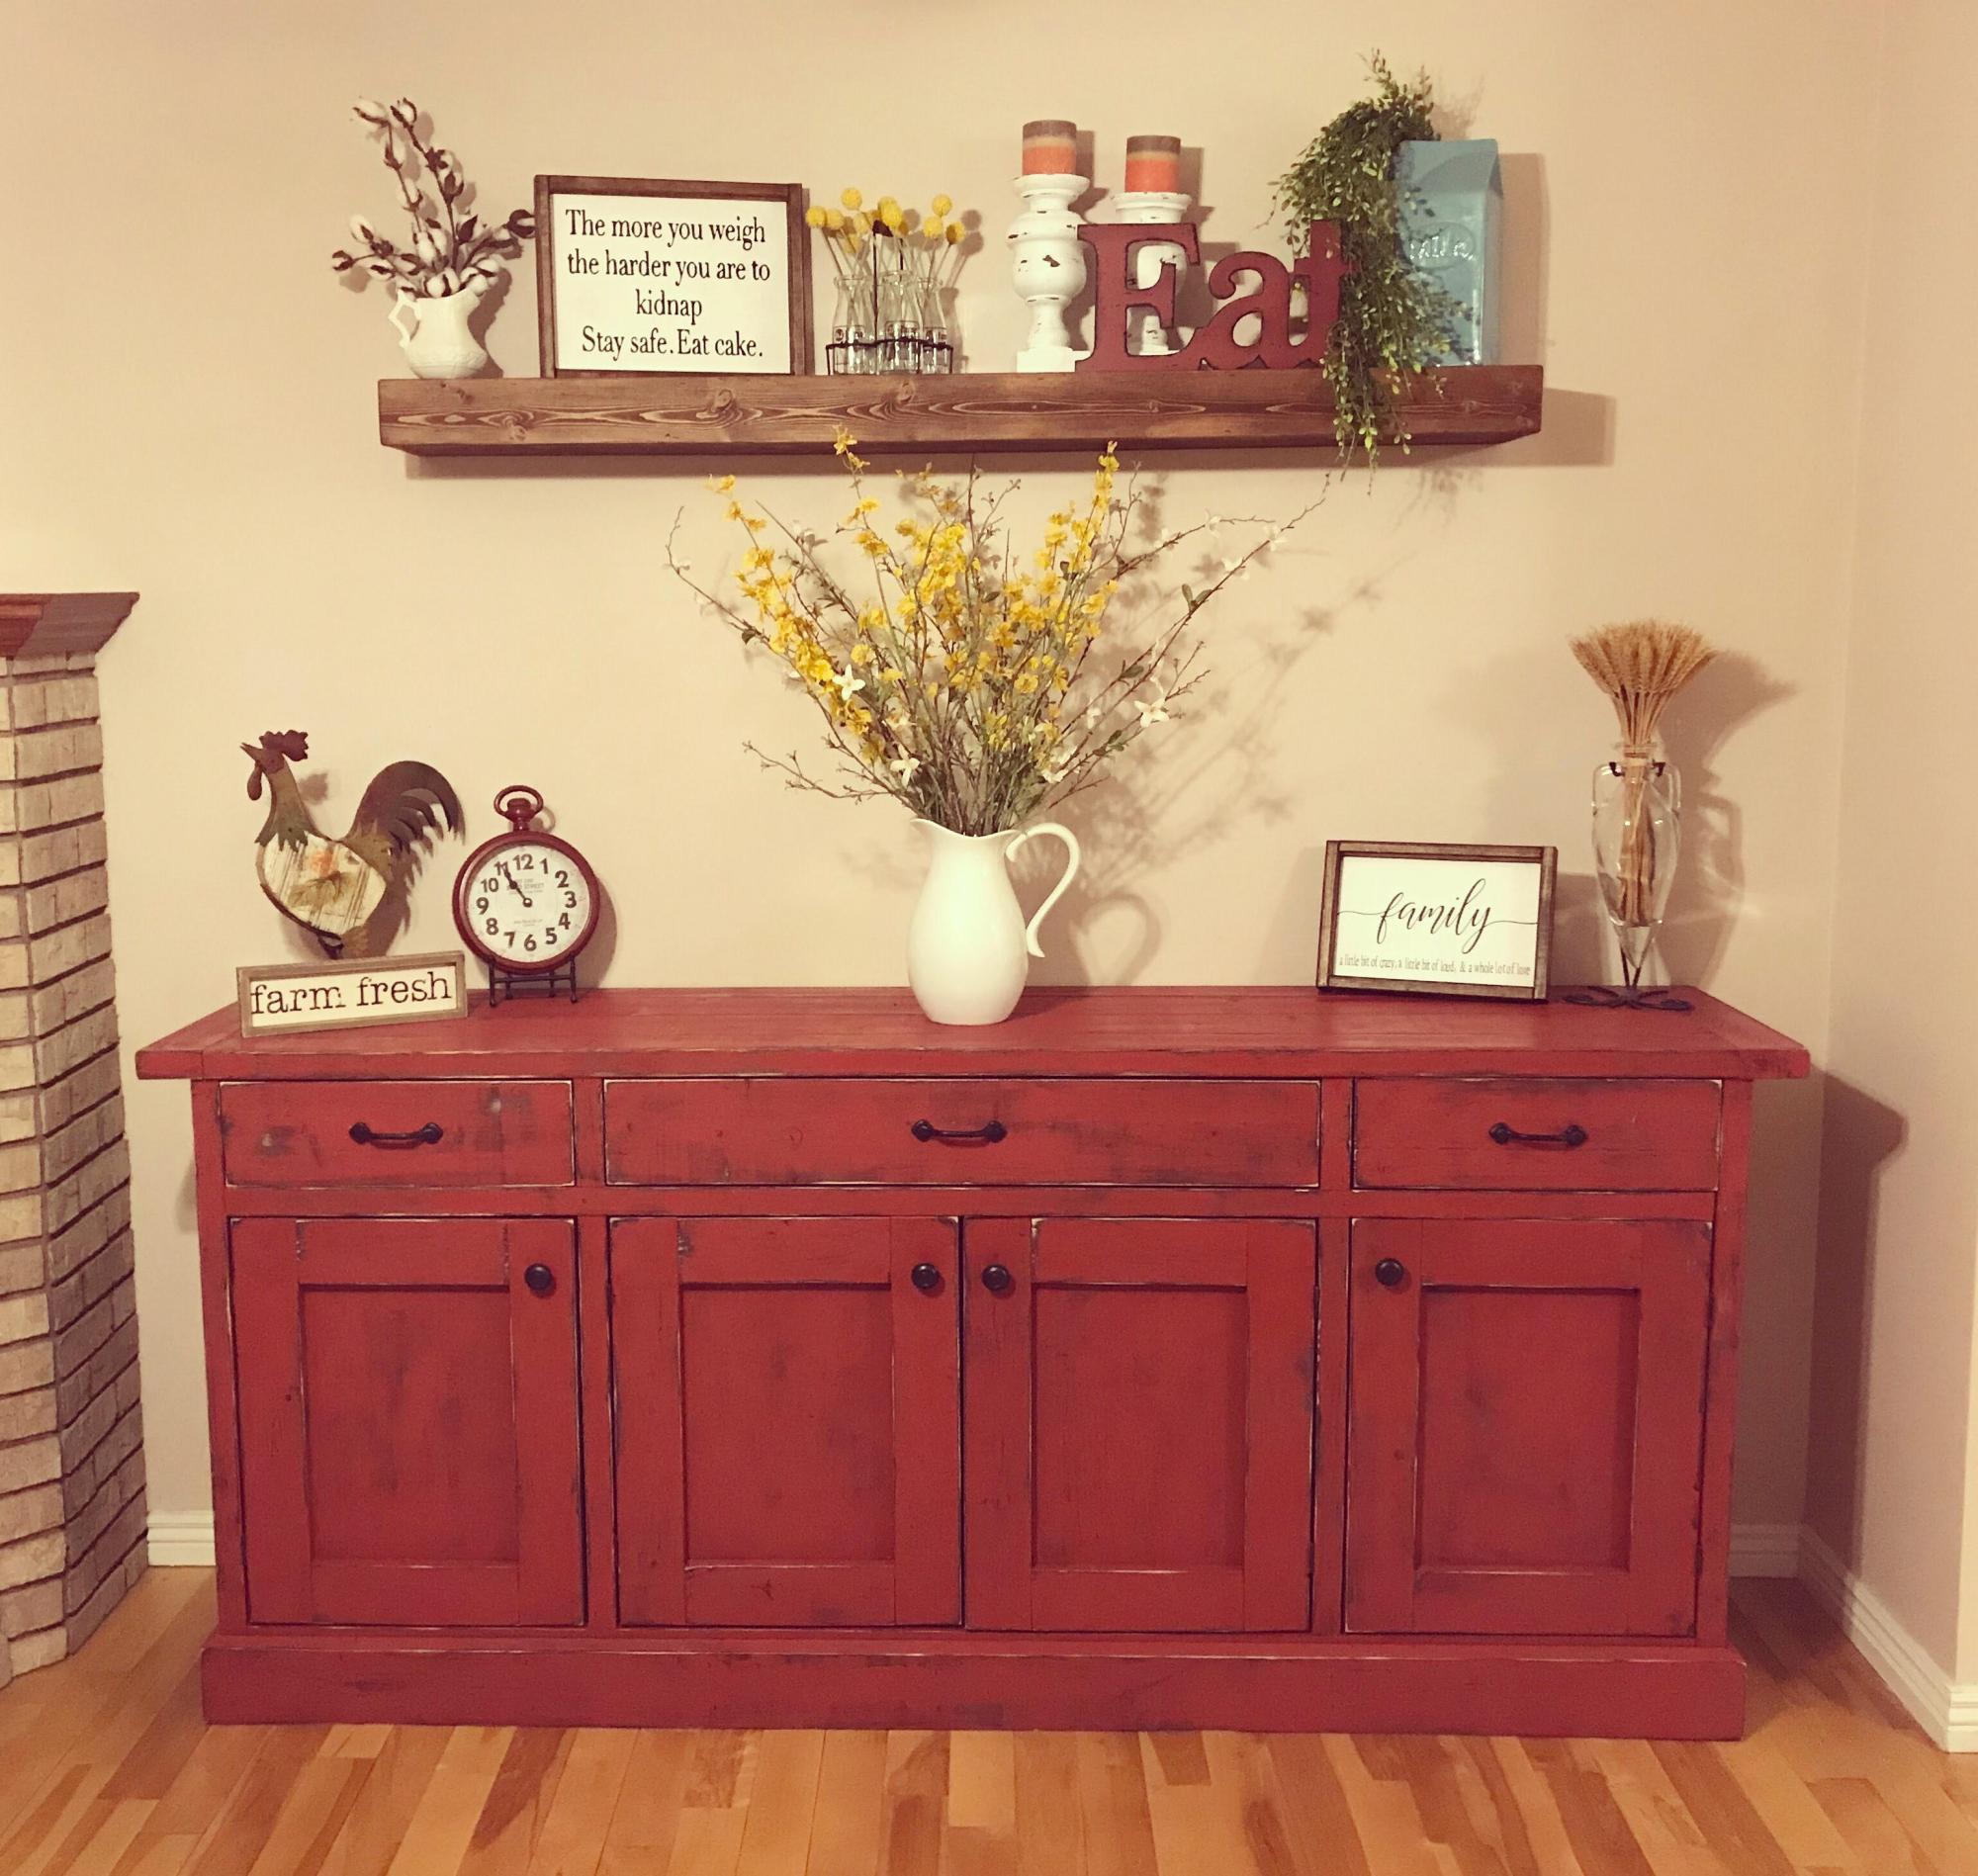
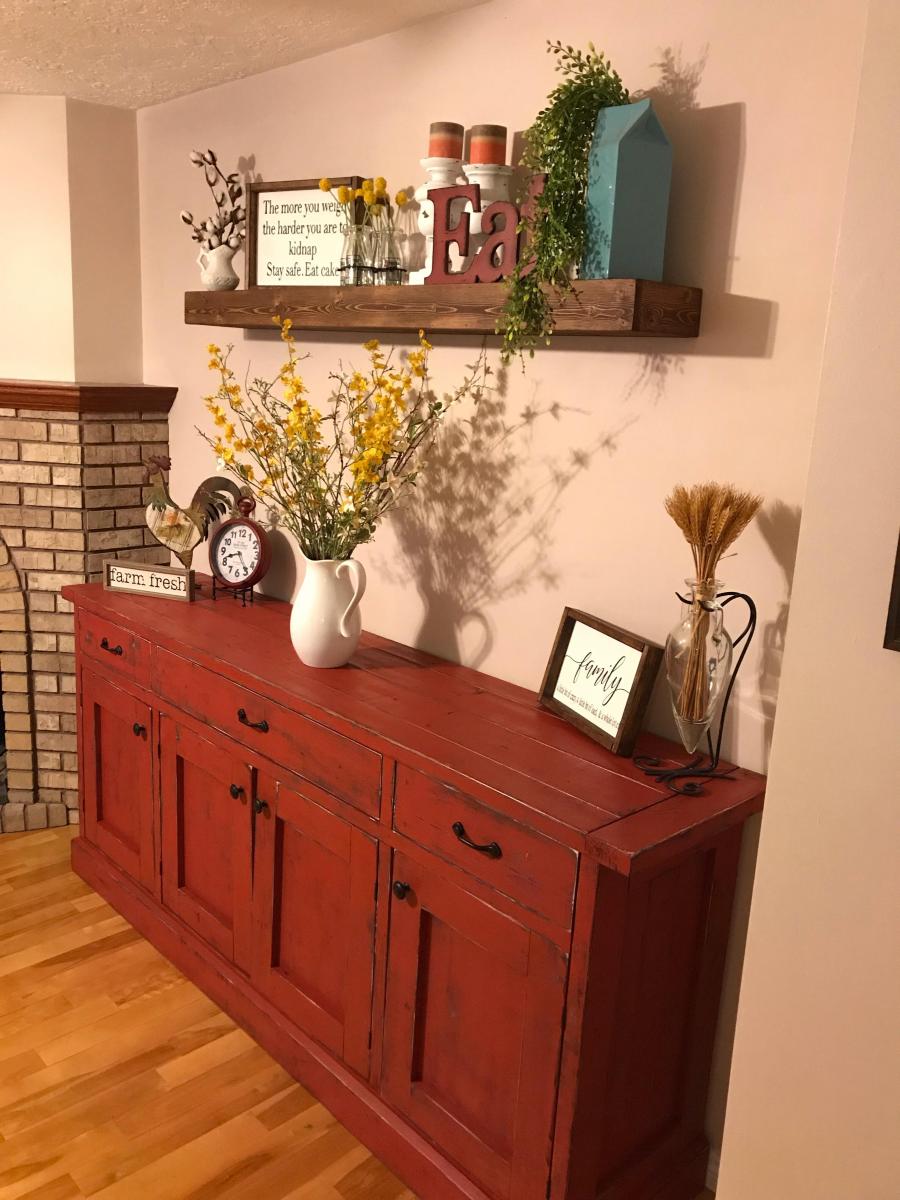
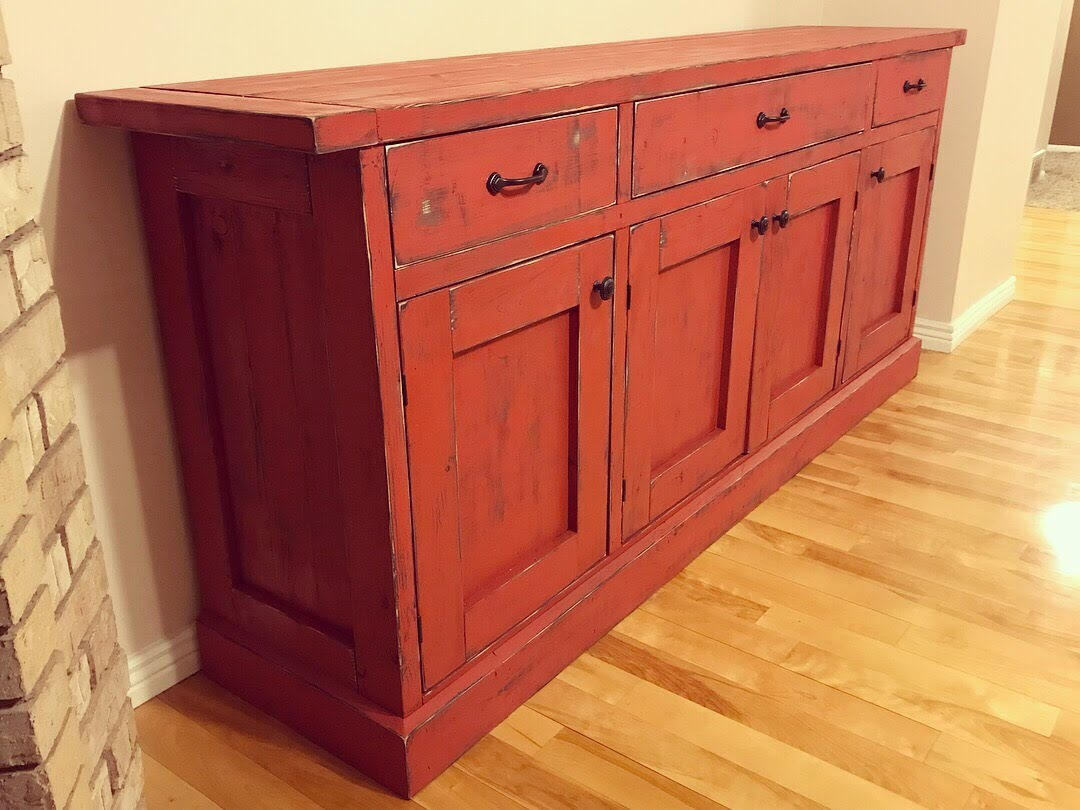
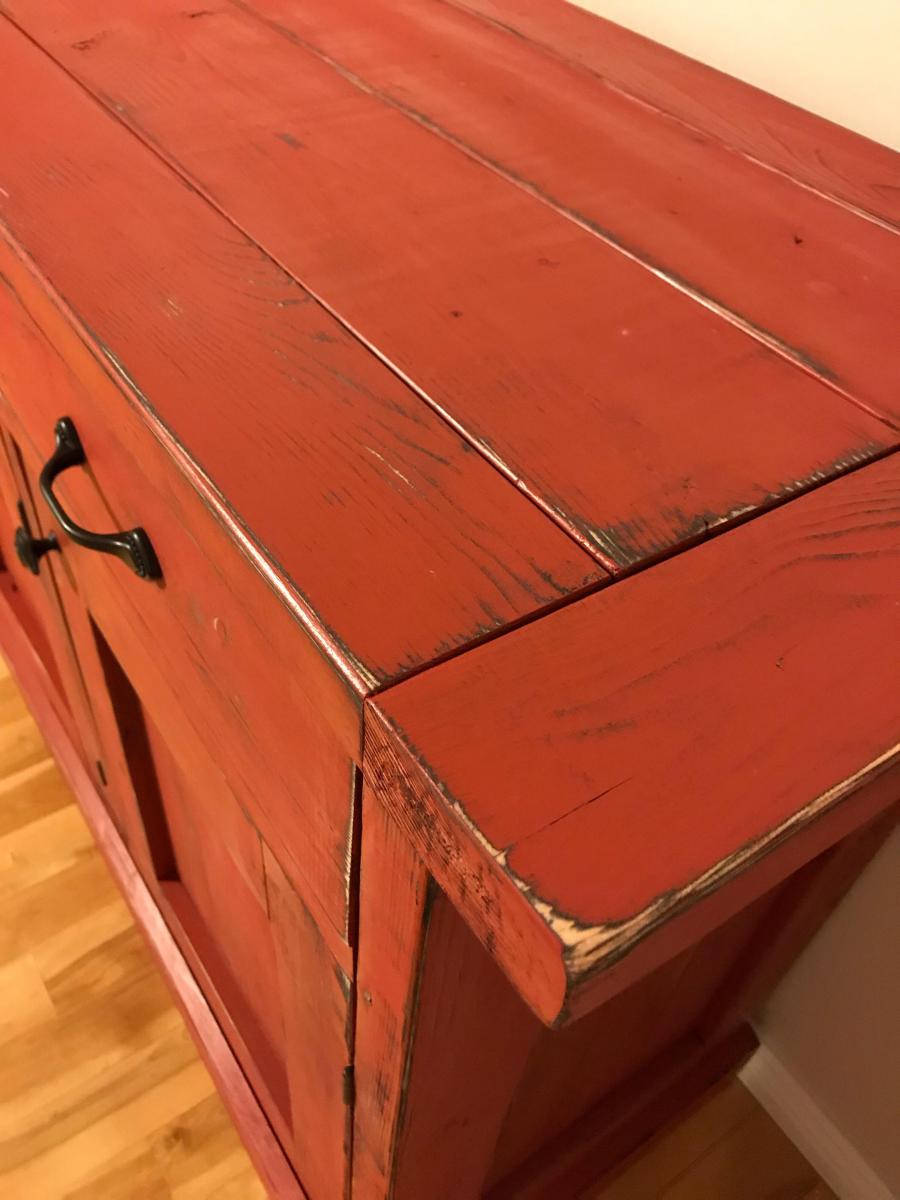
My wife and I originally saw this Ana White planked sideboard and knew it was exactly what our dining room needed! We had the perfect spot for it! The plans were generally easy to follow and it was actually my first time installing drawers! It turned out amazing and we all love it! We love the added storage it provides for dishes and other kitchen accessories.
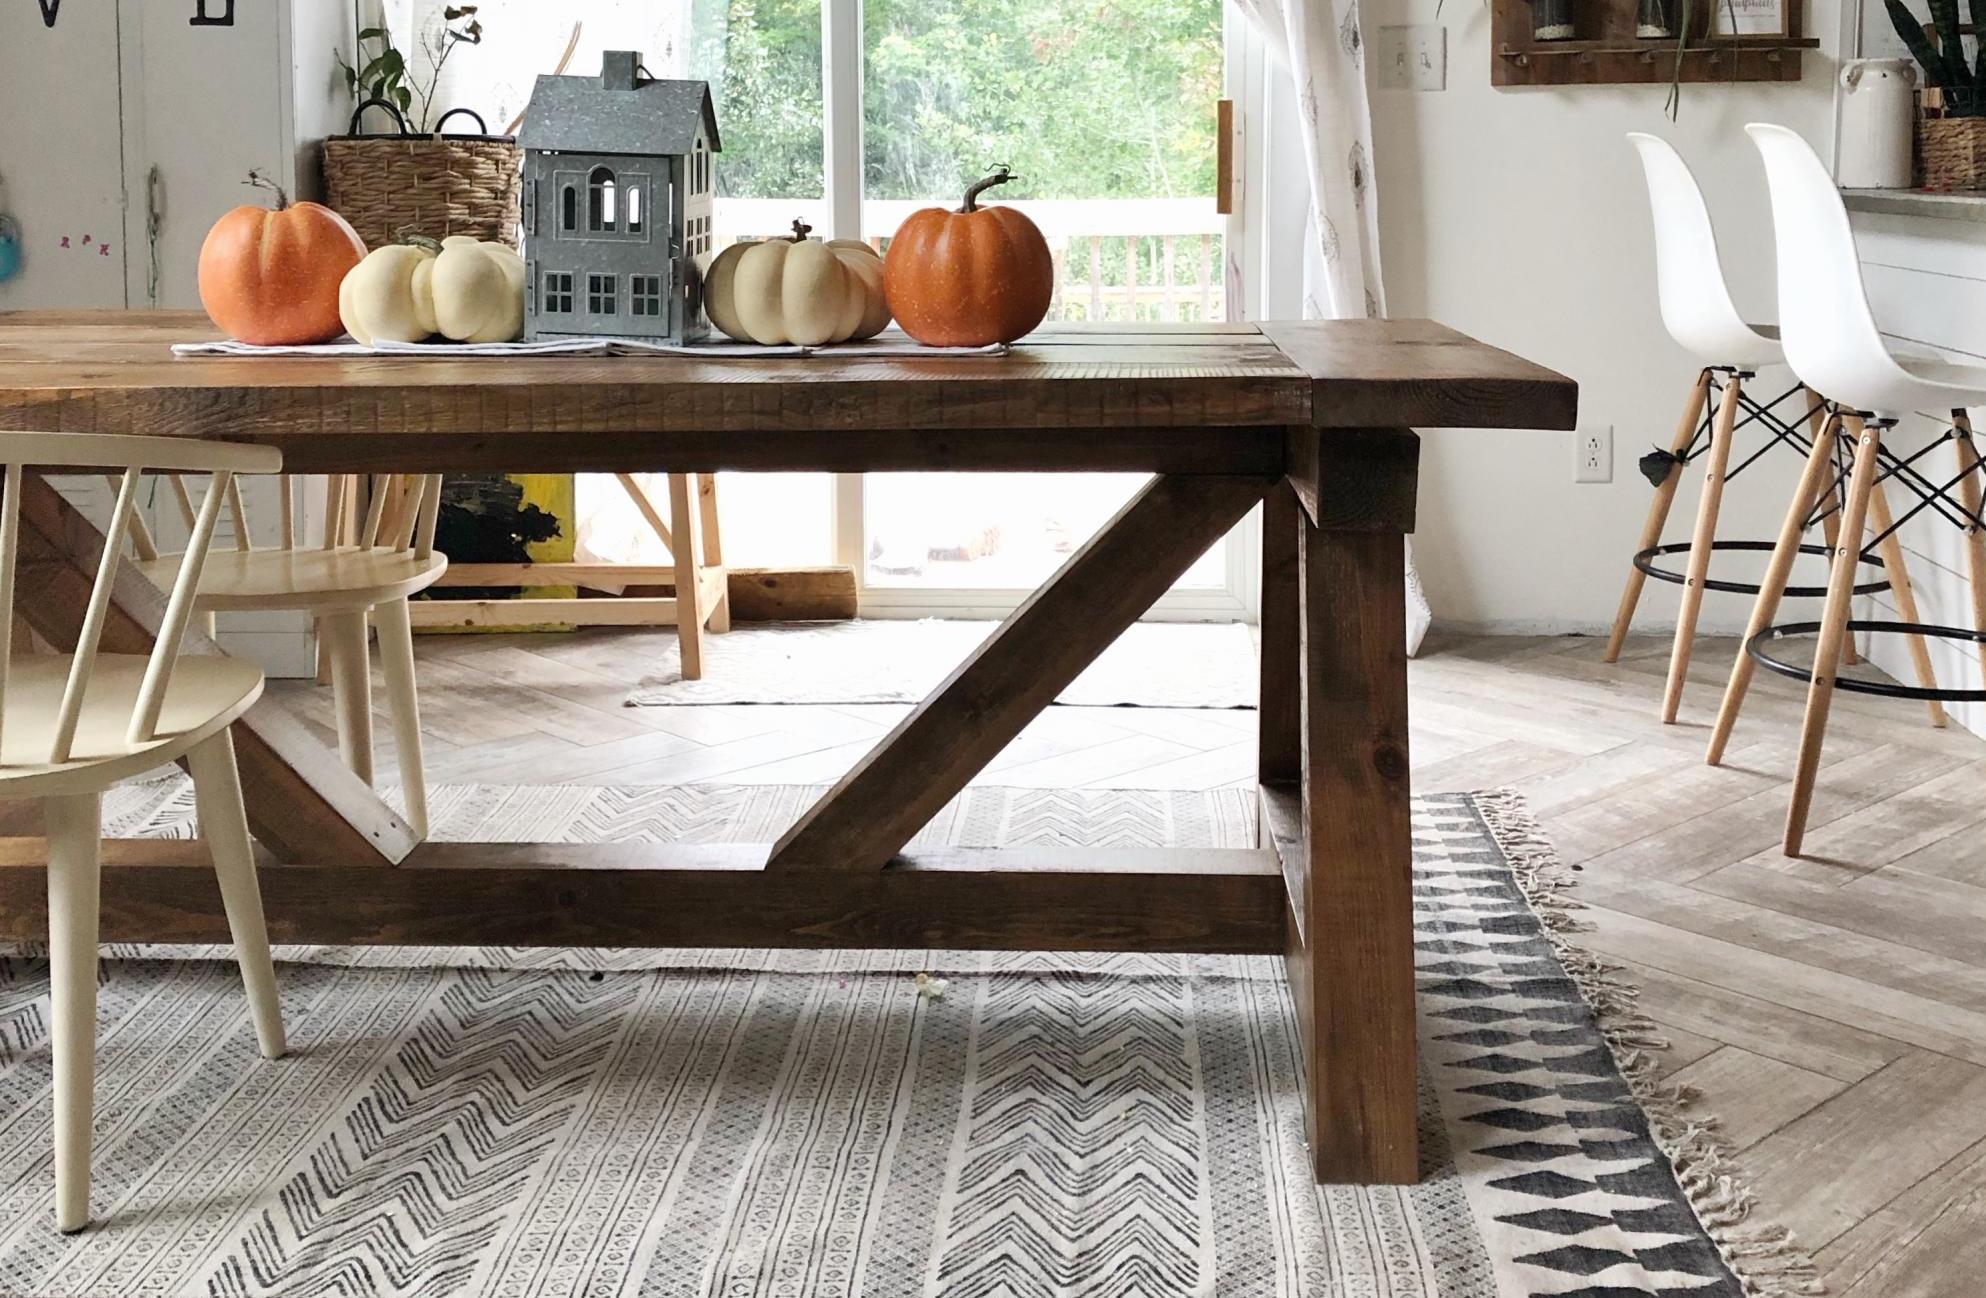
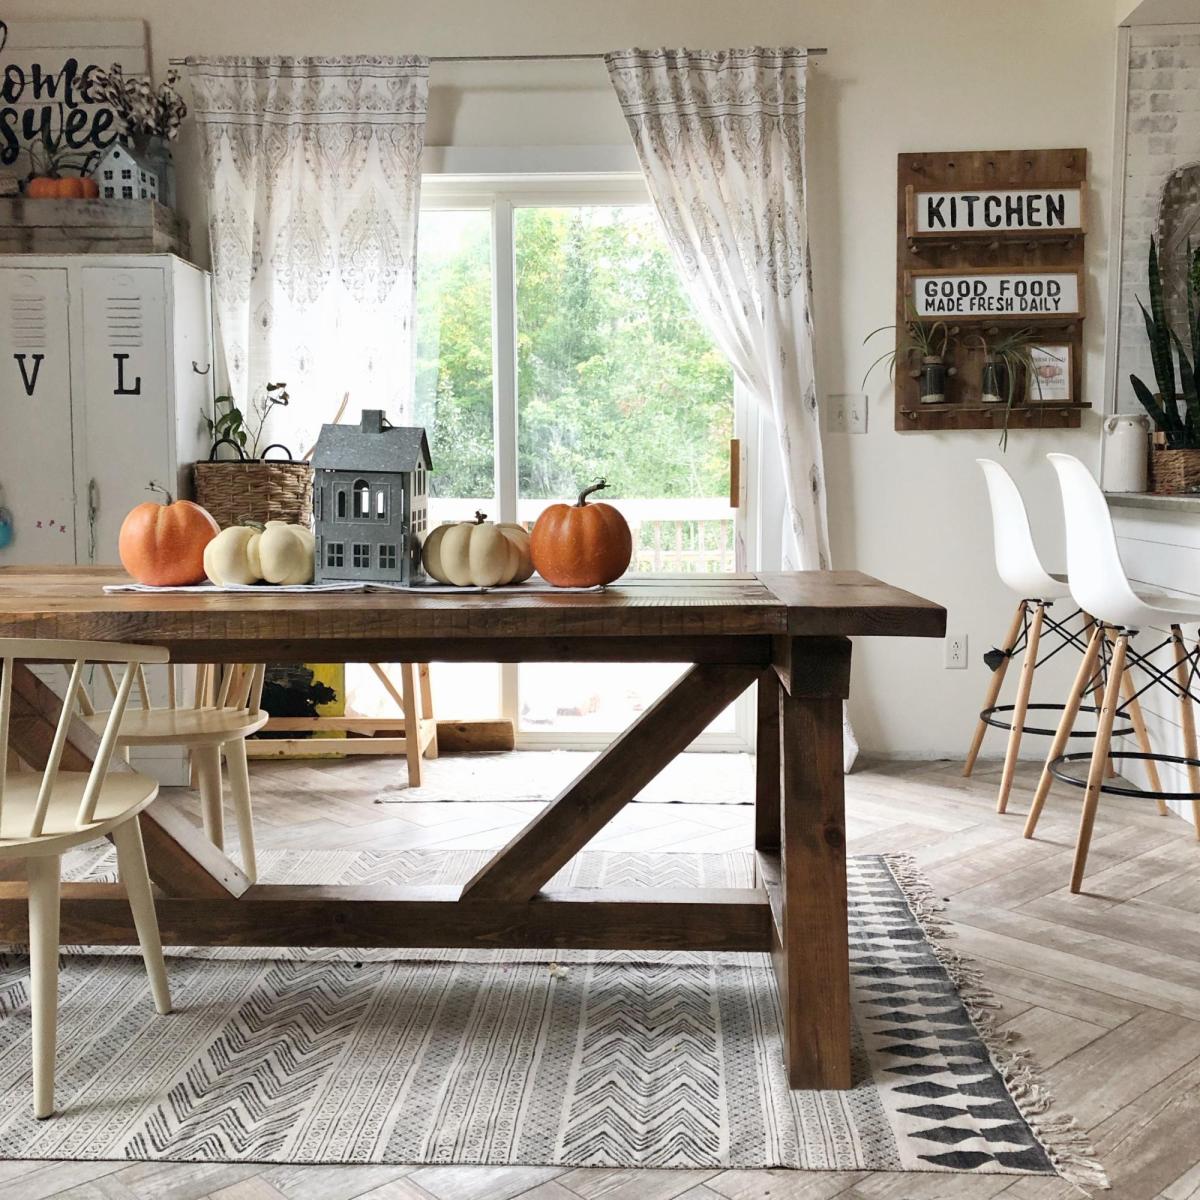
So this DIY Farmhouse Style Table has been on my “make it” list for a while now. And what better time to make it than now, since we just got a saw mill. Check out the blog link below to read all about it.
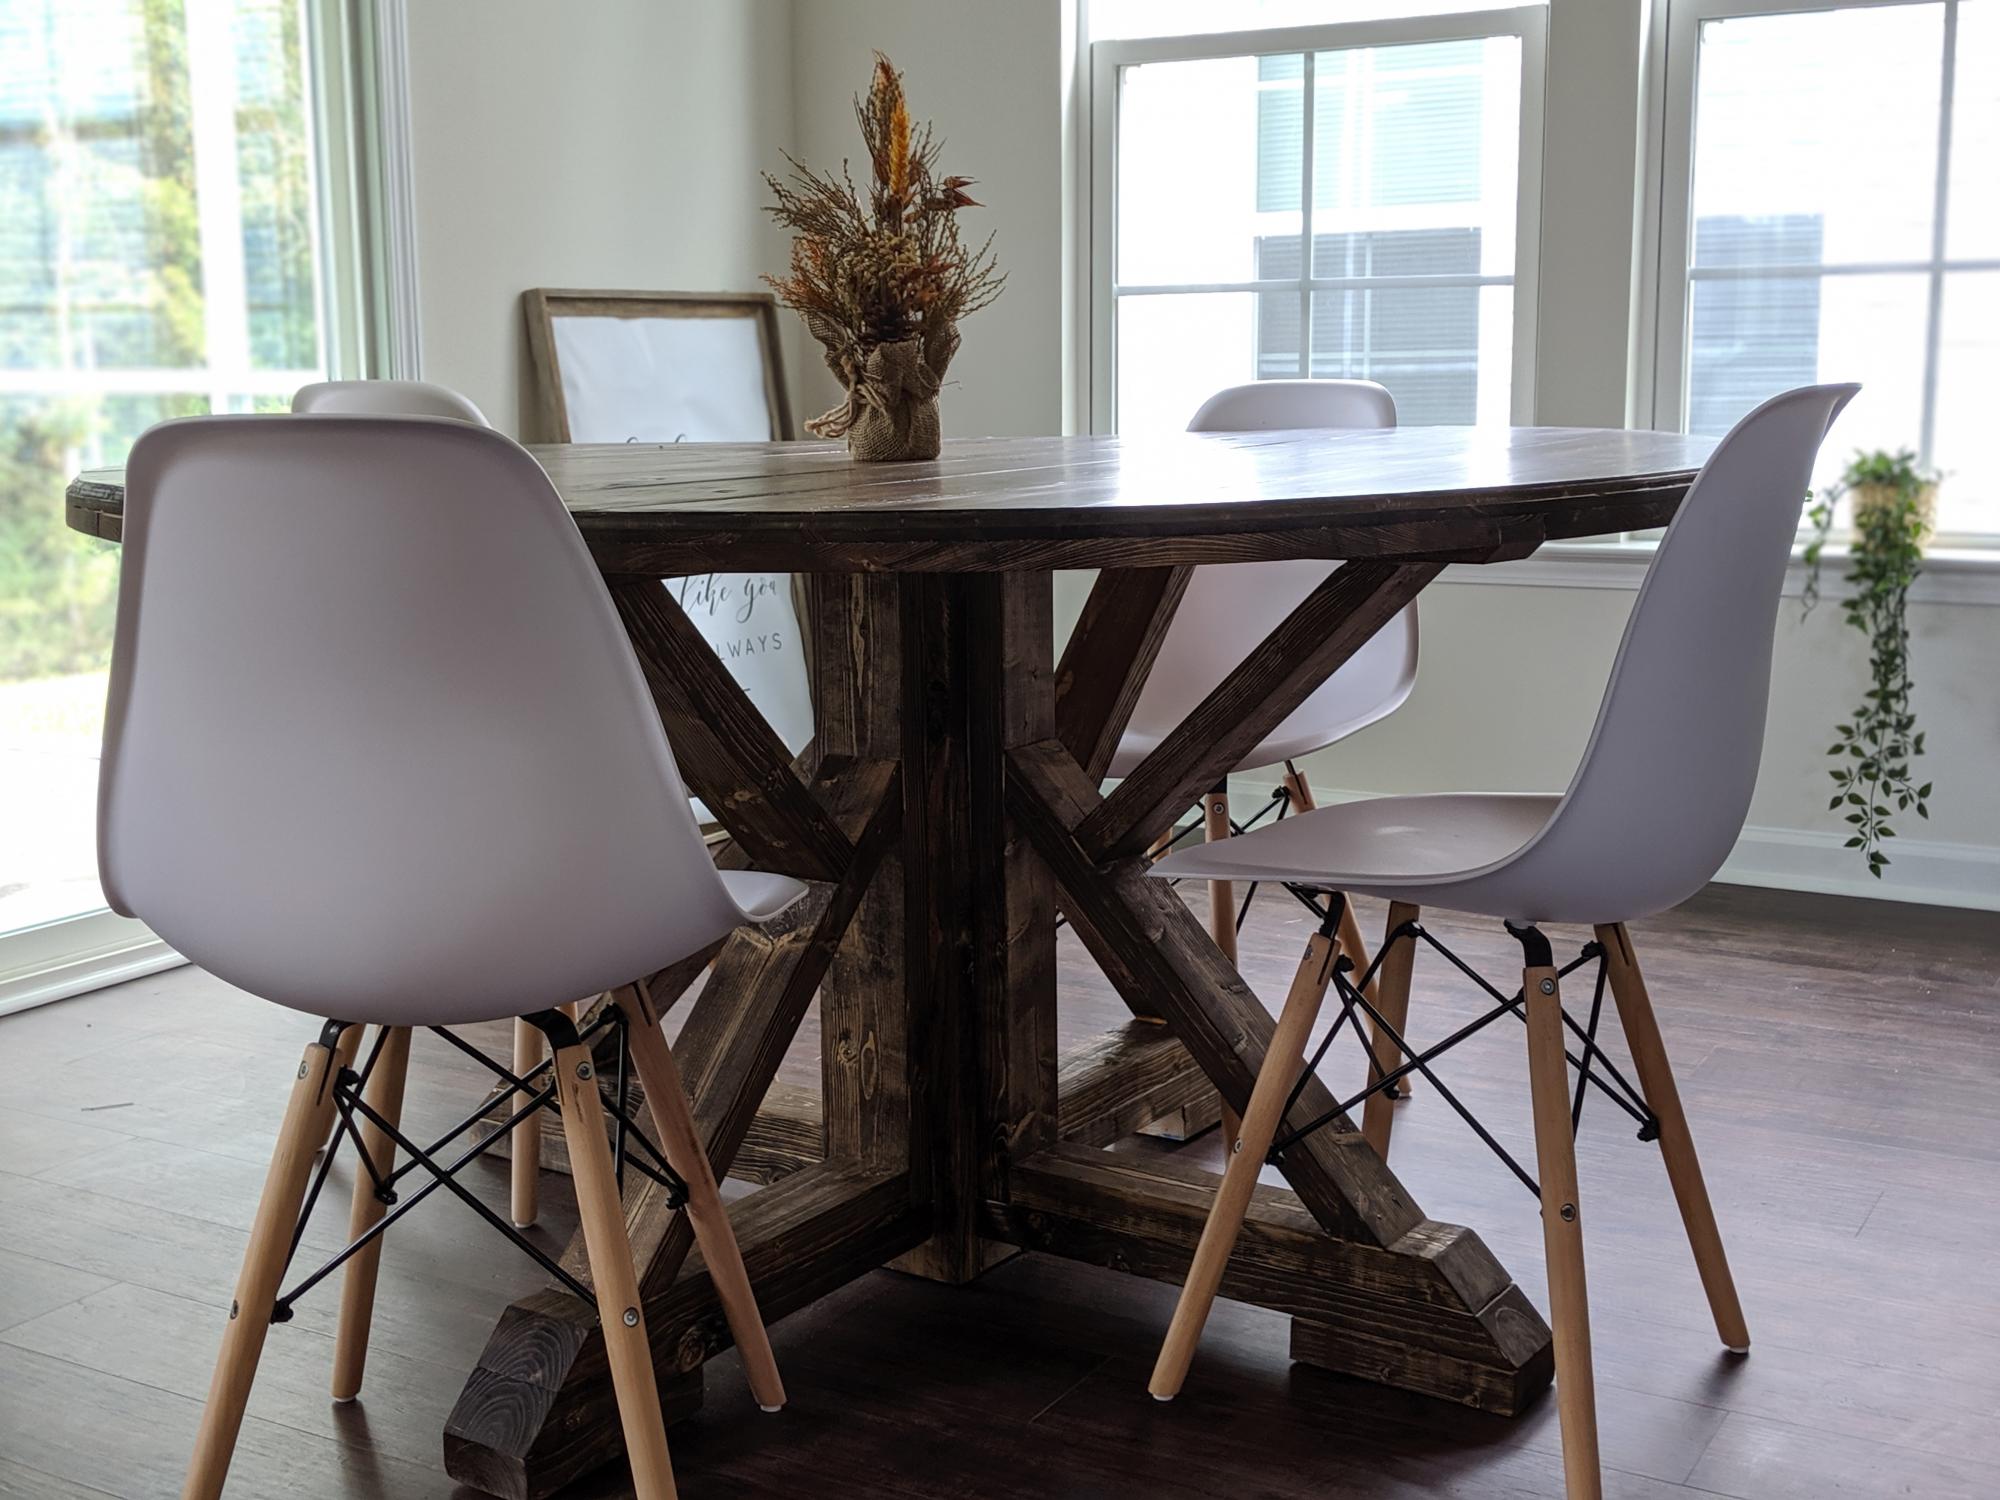
I took on a little bit more than I could chew with this one, but after a little R&I(Resourcefulness, and Ingenuity) I was able to figure it out. I love how it turned out though! Thanks for the inspiration!
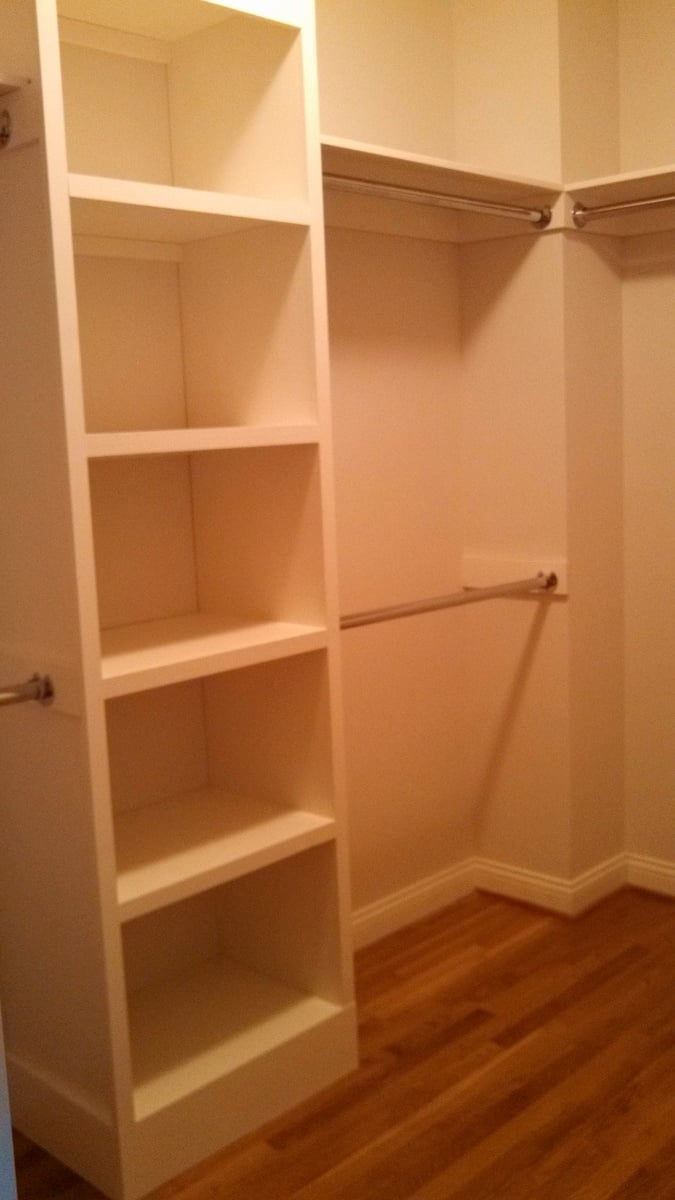
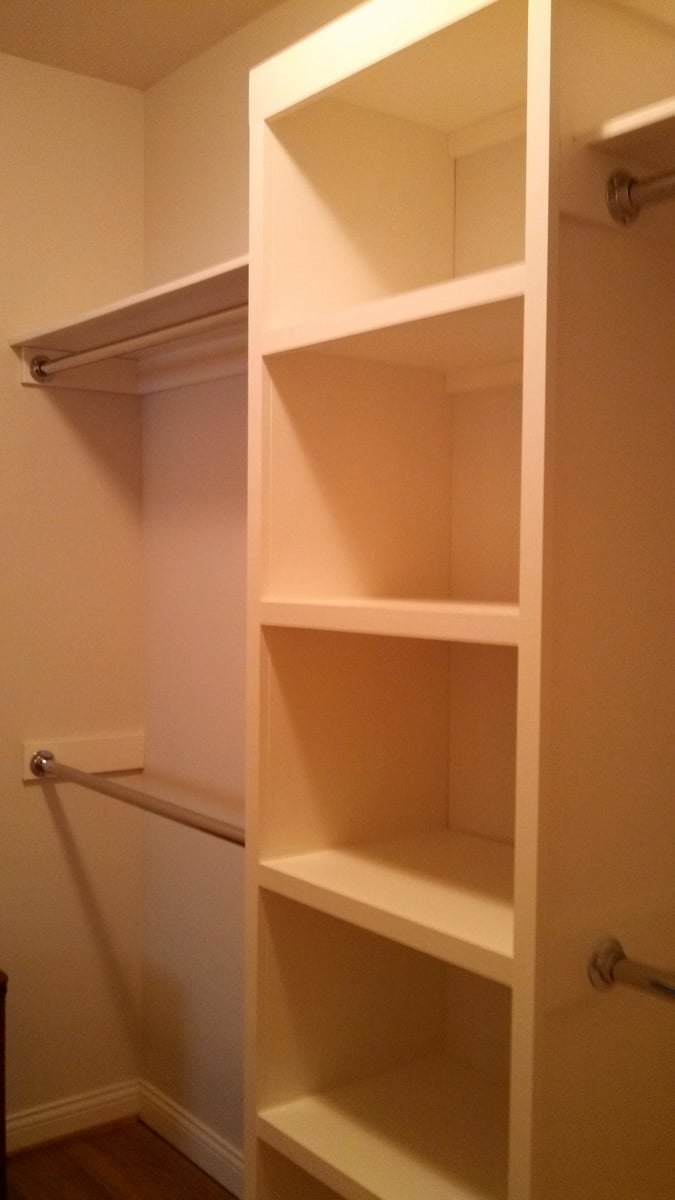
We built this master closet using the simple closet plan. It looks wonderful and wasn't too difficult to do once we determined the measurements we needed to use to fit our closet. My husband does not have much building experience at all, but he was able to do this with Ana's fabulous plans. Thank you so much for saving us hundreds of dollars! We have real wood in our closet and we love it!
We used plywood and painted all surfaces with indoor latex trim paint.
Sun, 01/12/2014 - 19:02
It looks very nice. May I ask what dimension of the plywood you used?
They look more than 3/4'' thick to me, right? My husband and I are planning our very first project!! Any info /advice would be highly appreciated.
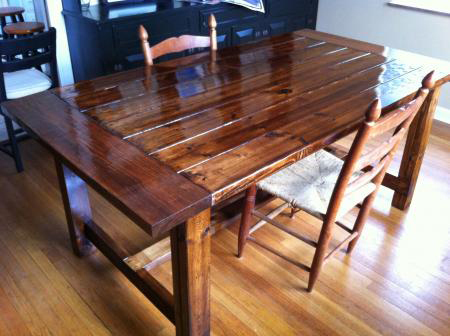
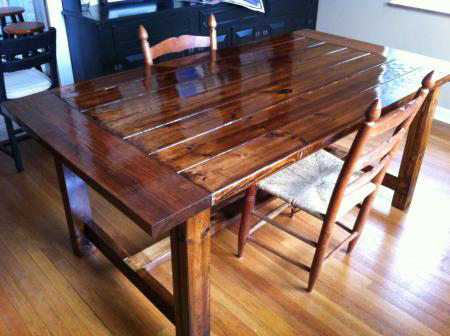
This was our first project; and definitley and inspiration to do more. I am so excited to have this in our dining room. Project took about 8 hrs to build and 4-5 days to stain and poly. We used a Gunstock stain with 2 coats of Walnut over that.
Overall cost was about $150 with wood, stain, materials and poly. We ended up working with 2 types of wood (yellow & white pine) which proved frustrating as we tried to match the stain color. All ended up OK after a couple of trial and error on some scrap wood.
I can't wait to make the matching benches. Thanks Ana!
Fri, 03/30/2012 - 10:01
Gorgeous table!!! I can't believe this is your first project! Yay! Now it'll never end! Ha! My husband thinks I'm nuts - I want to build everything!
I wish I had used Pine instead of Hemlock. I made a table very similar to this, but my HD only carries 2x stock in hemlock. Apparently Lowes carries 2x pine. I like the sharp square edges of pine better. Hemlock has rounded edges. Blah blah blah, your table looks awesome!
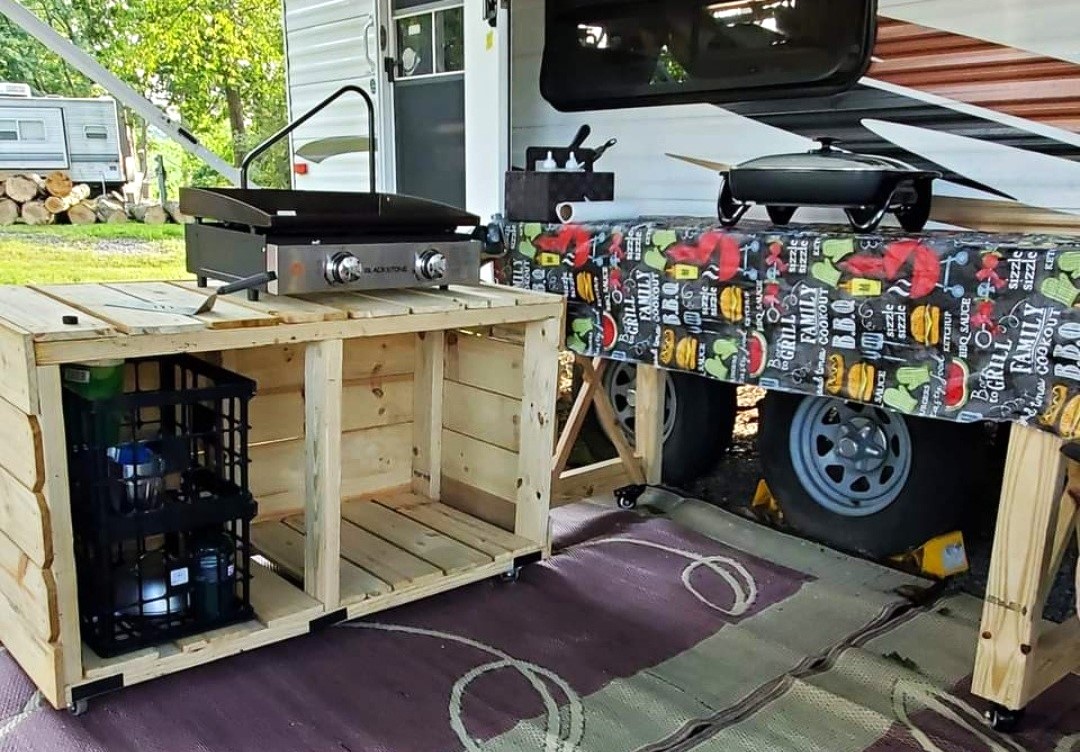
We made the grilling station to keep at our seasonal campsite and it's absolutely fantastic! We have since added some L brackets and 2 shelves, and this is where we store our extra cases of water, soft drinks, outdoor cooking utensils plus an air fryer! Super easy plans, with well written instructions for even the novice (me and hubs) diy builders!
Ali W.
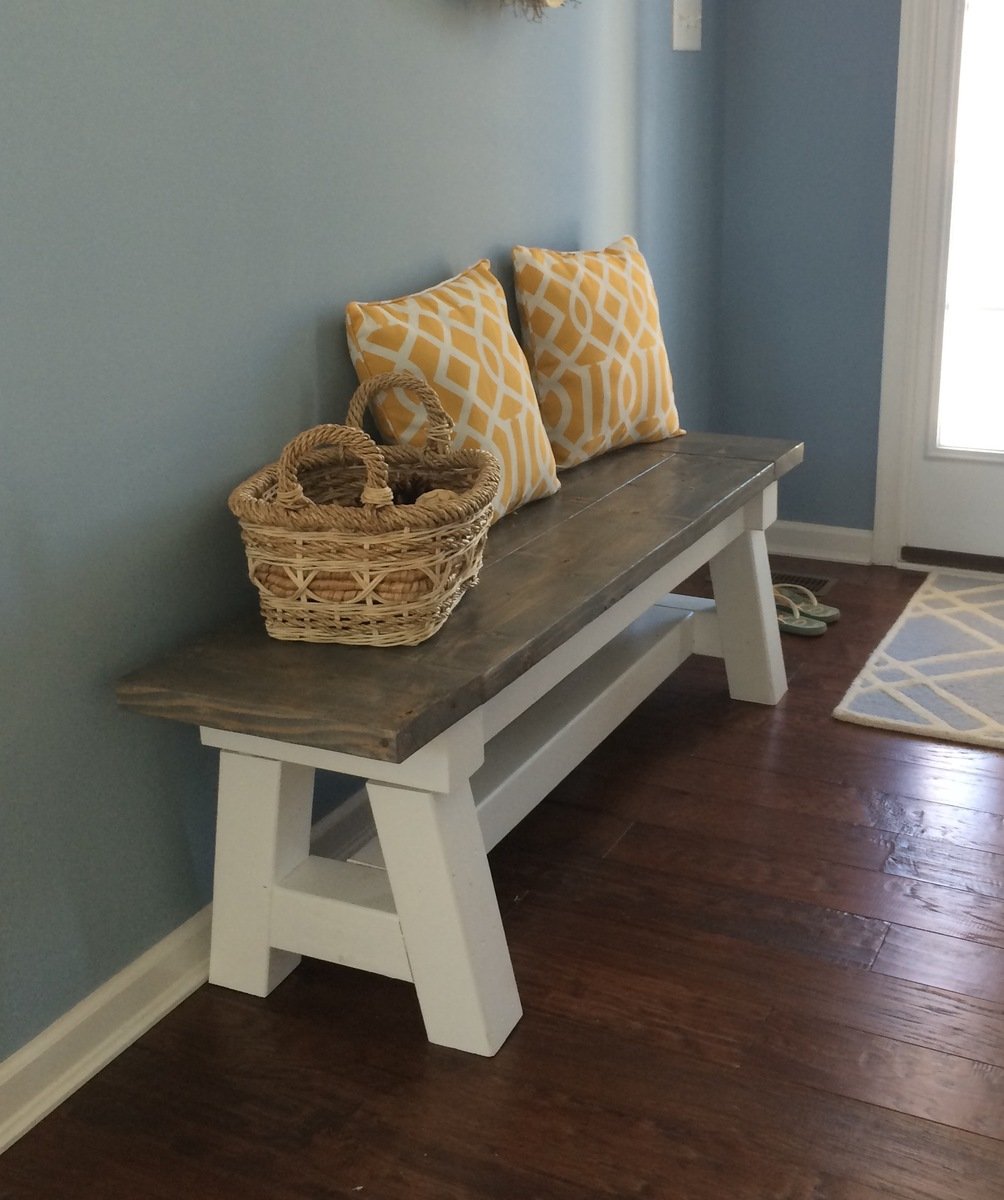
Thanks for the plans, Ana!
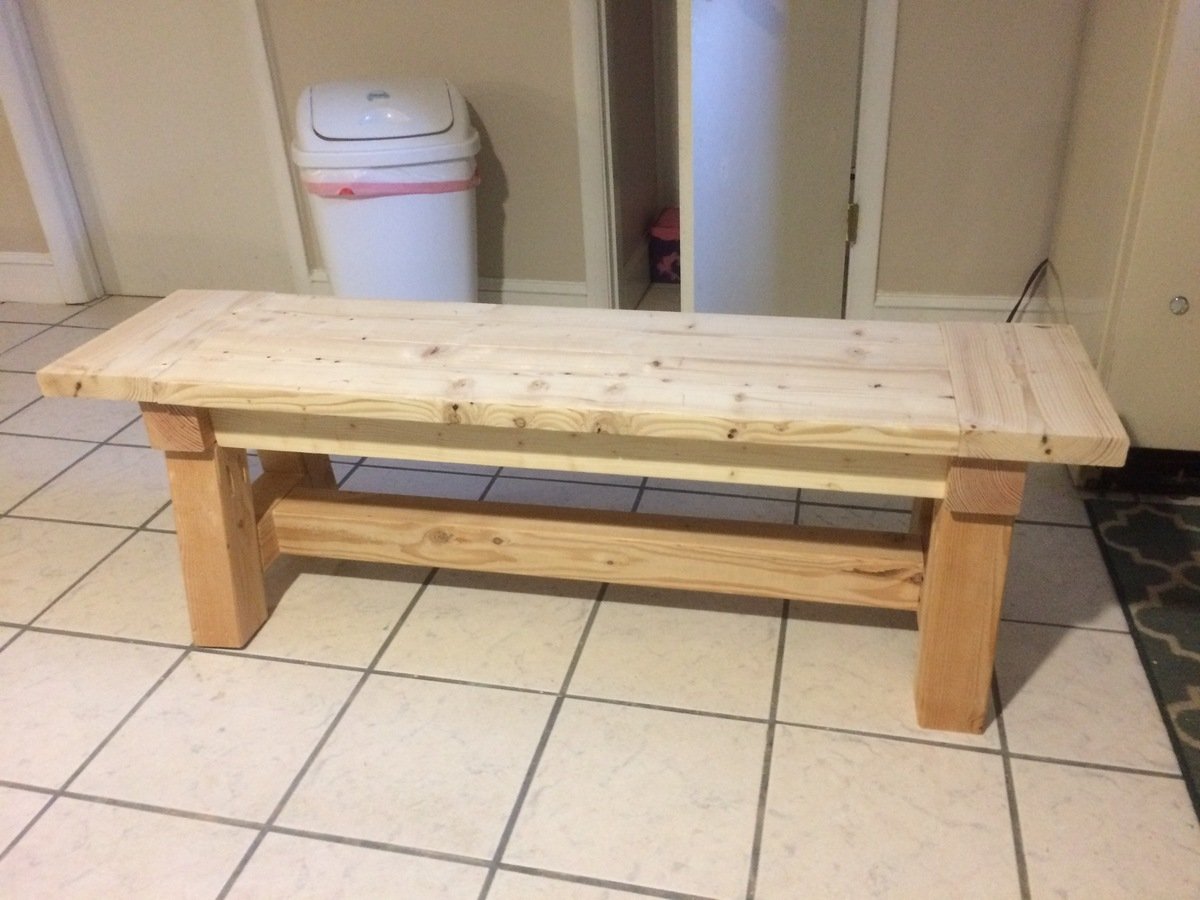
This project was one that I've been planning for about 18 months- I had to wait until we moved back into our home to start the build, so I had plenty of time to think about how to maximize my storage space in this small room with a slanted ceiling. My husband had some time off from work and offered to watch our toddler during the day time- so that was all the motivation I needed to start this big build!
Overall, it took about a week from beginning to end. The cost was between $400-$500 for everything- including hardware, paint, supplies etc. Still a huge savings over what it would have cost us to purchase desk and storage units to work in this room (I priced them out at about $2000-$2500 - WAAAAY out of our price range).
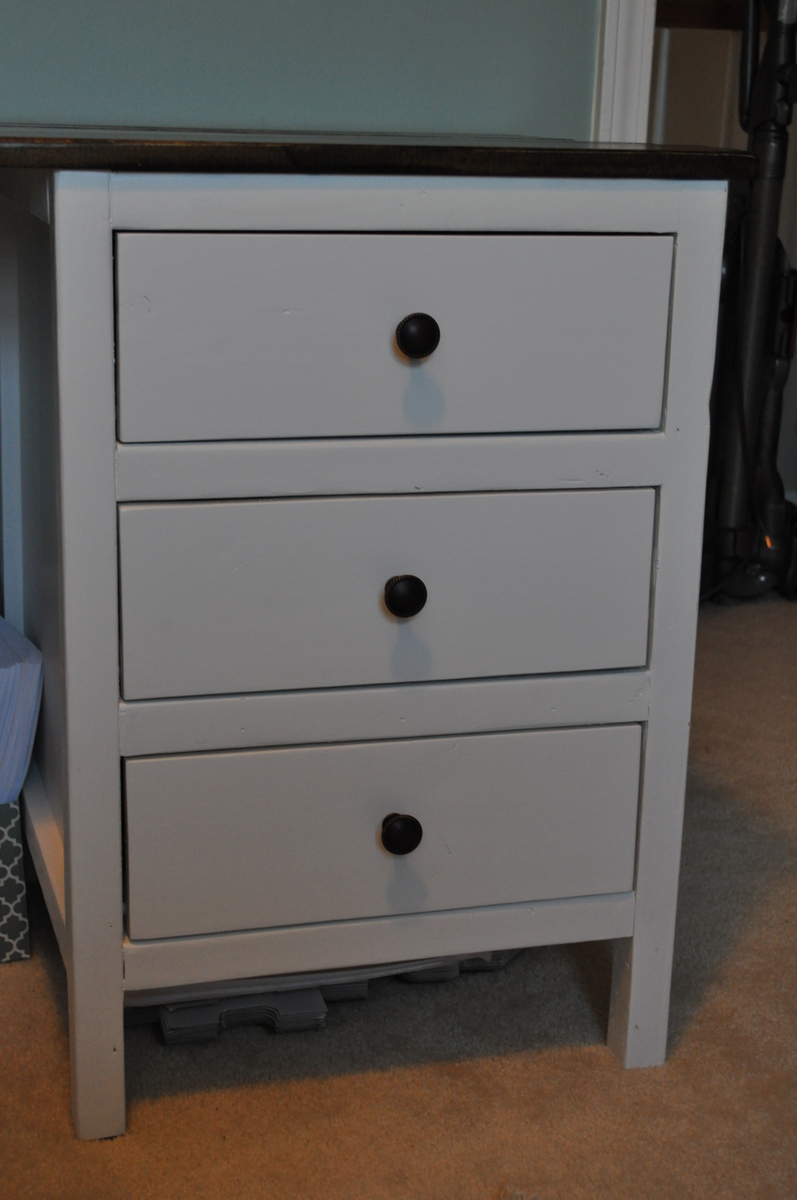
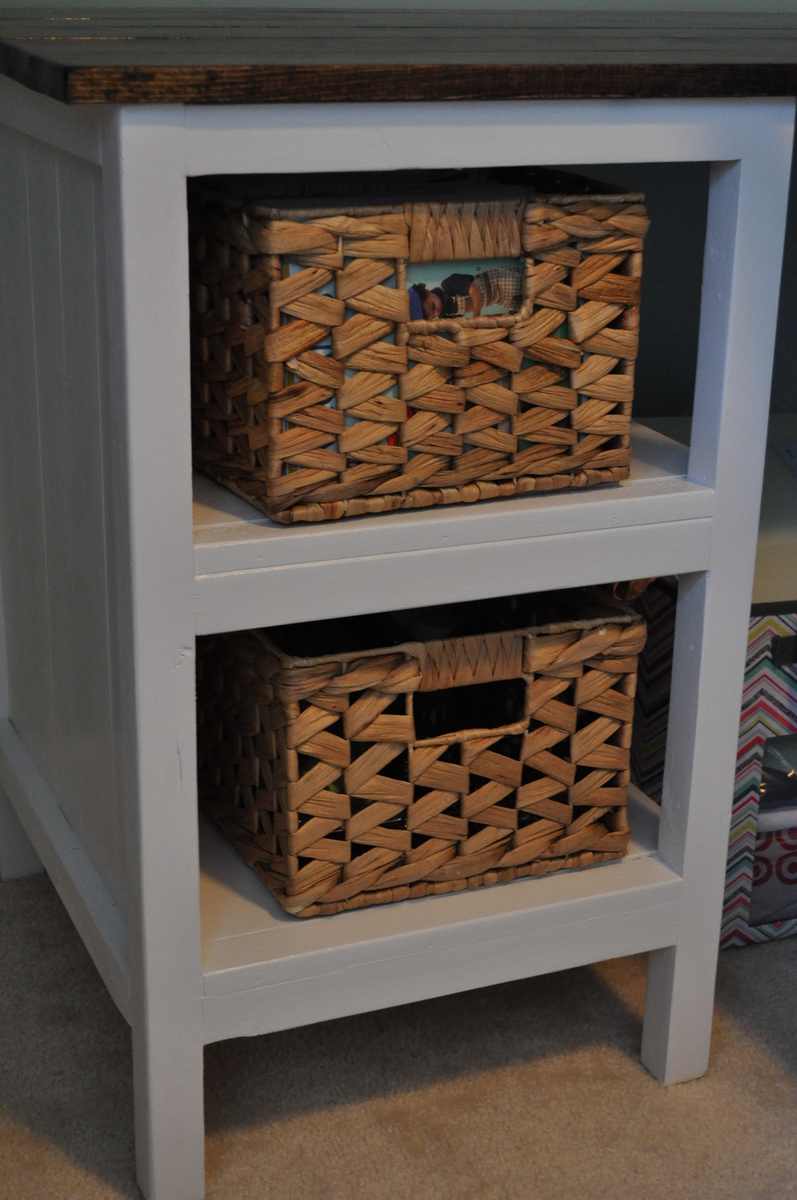
For the main desk unit I used the plans for the reclaimed look wood bedside table. I modified the height of the legs to 28" tall so that the sewing desk height was correct for when I'm sitting at my machine for hours on end. I also modified one of the units to be an open shelving unit, so that I could store my patterns and misc. sewing notions in baskets on the shelves.
The desk top was created by using six 1 x 4 whitewood boards joined with pocket holes. The corner joint is "woven" in a sense to give a unique look to the unit. I used 4 brackets in the corner (secured to the studs) to support the weight of the corner of the desk. I used Dark Walnut stain and then followed up with 3 coats of Poly (sanding in between each coat).
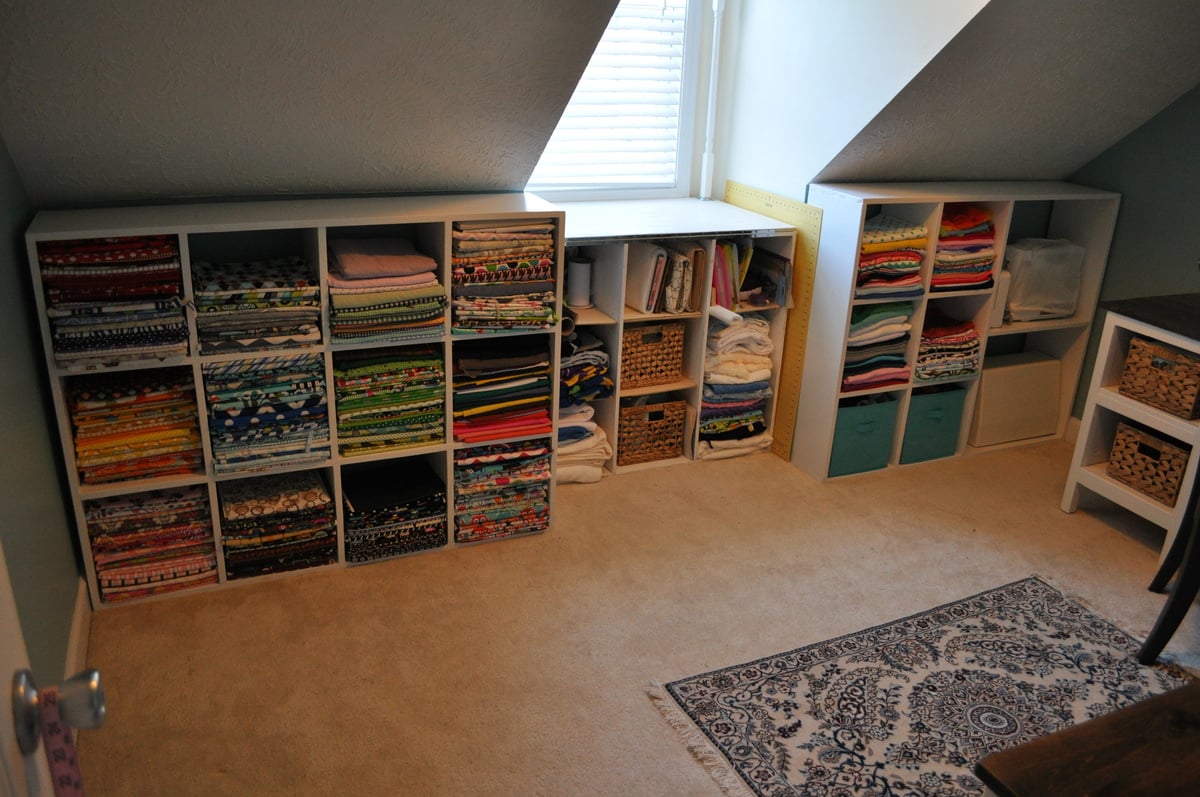
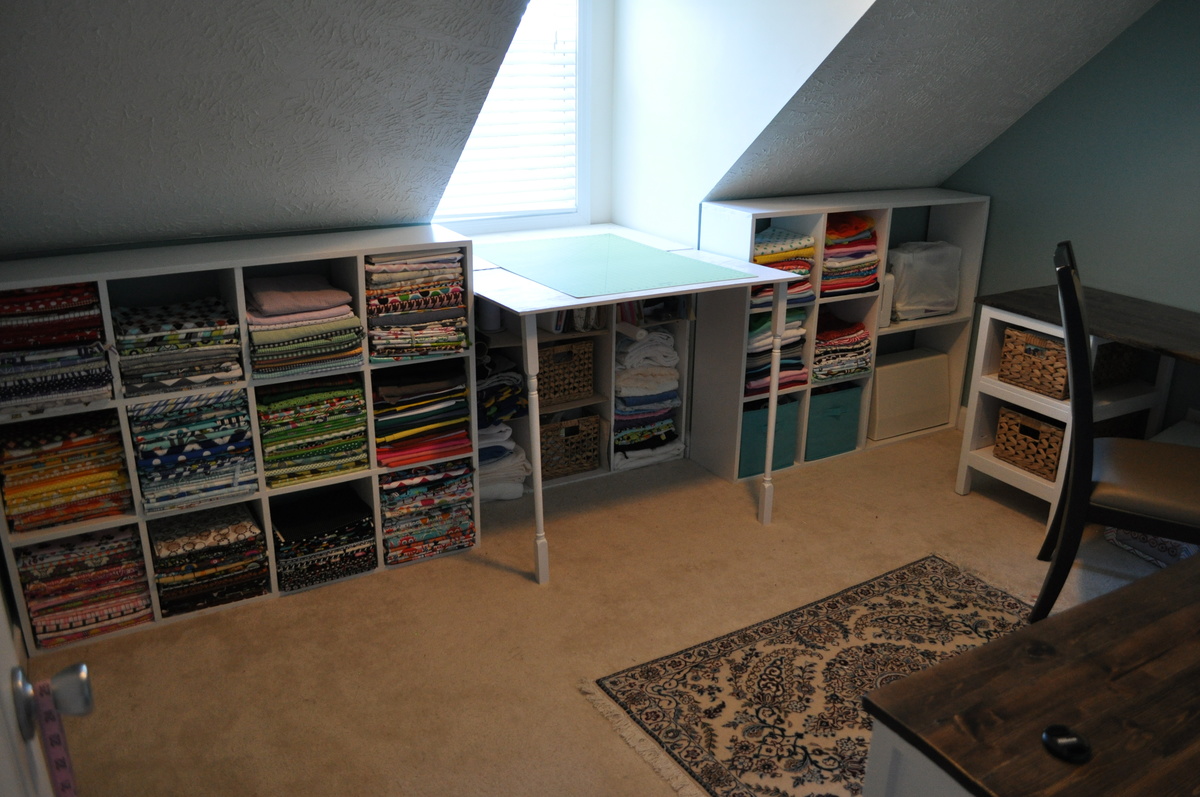
The two fabric/machine storage bins were made using the cubby bookcase plans as a base. Both plans were modified to maximize fabric storage with the small space- hence no face frame on each unit. The middle storage unit is one that was my first build a few years back, before I'd even heard of knock off wood- oh how it would have been so much easier if I'd known about this site back then. I added a plywood top with a piano hinge to fold out for a stand up cutting unit. For the legs, I simply went to the table/baluster aisle at my local hardware store and purchase some hardware to secure two balusters to the plywood top. Screwed them in on the outside of the window frame so I don't have to unscrew the legs every time I fold it up and away, cut the balusters down to the proper height and that was done!
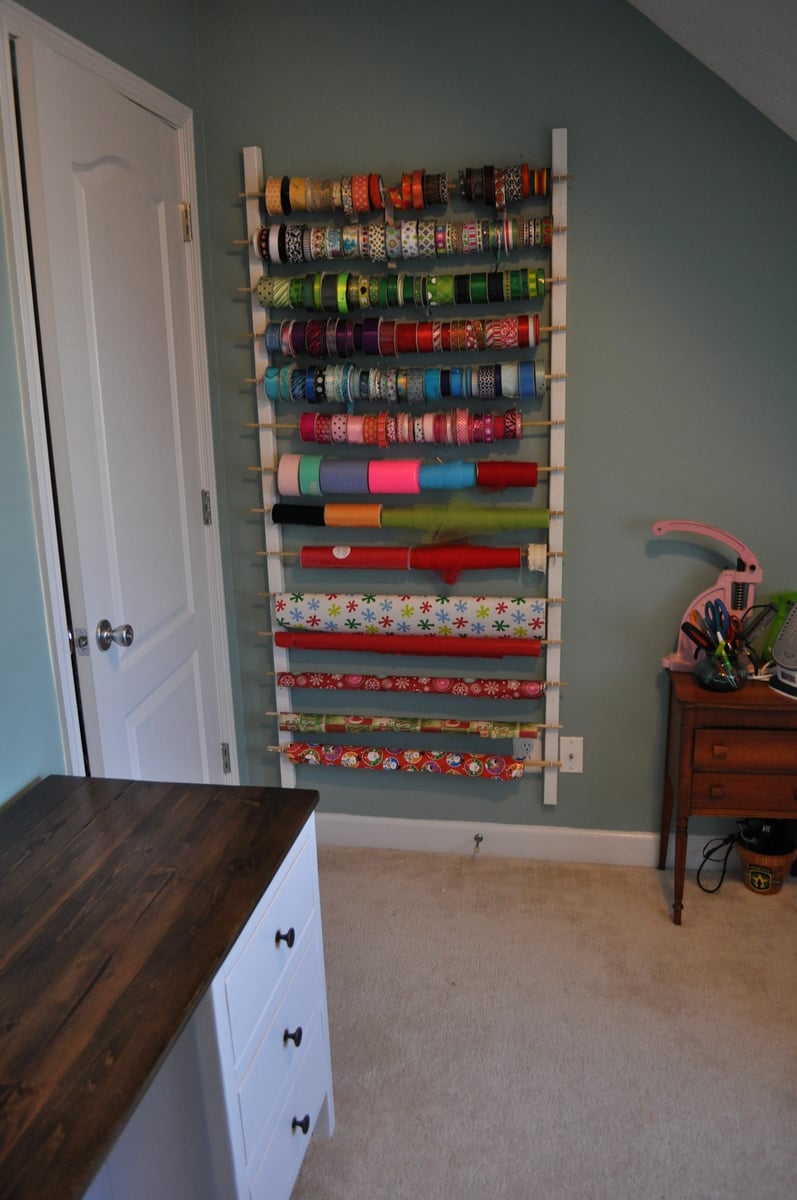
The ribbon/wrapping paper storage was super easy- just used some of my left over 2 x 2 furring strips, along with 14 dowel rods and 1 /14 screw in hooks. I pre-drilled the holes for the screw in hooks as well as the 3" screws I used to mount it to the wall.
The thread holder was a previous build of mine as well- just cut out LOTS of dowels that fit into the peg board and glued them in place. Added a little decorative trim to finish it, and painted it white.
Overall I could not be more excited about how this build turned out...aside from wood working, sewing is my next favorite thing (I have a small Etsy shop and do local craft fairs for fun). Having the stand up cutting station is a HUGE relief, as after 10 or so years in the Army, my knees and back are shot (who would have ever thought that jumping out of airplanes wasn't good for you!) The fabric storage is great and allows me to see all of my different fabrics so I eliminate over-buying (which I obviously have a problem with) and purchasing doubles.
I can't thank Ana enough for her website- I grew up with a dad that builds everything, but was always a bit intimidated when it came to building stuff for myself. Her plans really break everything down to the simplest level of instruction and make the building process stress free. This was my first time building a cabinet unit and I was very worried about the drawers not working, but I just followed along on the instructions and they came out perfect.
Fri, 01/24/2014 - 10:23
Thanks Ana- I could have never done it without your website... I can't thank you enough for this resource!!
Fri, 01/24/2014 - 17:11
You did an amazing job, way to go! I love to sew too, and I think building is a lot like sewing...but with saws and hardware instead of scissors and a sewing machine!
Tue, 02/04/2014 - 09:51
Stephanie Dexter -
Can you give us more insight on the corner weave? Maybe an up close picture? Angles? Board lengths? Thanks!
Tue, 02/04/2014 - 09:51
Stephanie Dexter -
Can you give us more insight on the corner weave? Maybe an up close picture? Angles? Board lengths? Thanks!
Fri, 02/07/2014 - 13:09
I would also like to see your corners up close.
Was your decision to not use a leg(s) for the support (and instead used the brackets) for a reason? Was it just easier?
I love the desk that size, but since we are military we move every couple years...I want to use legs for easier breakdown for transportation instead of something as permanent as the brackets. Not sure how far apart to space the legs for the support...
Comments
isabelle (not verified)
Mon, 10/17/2011 - 13:19
i' love your blog very very
i' love your blog very very very merci