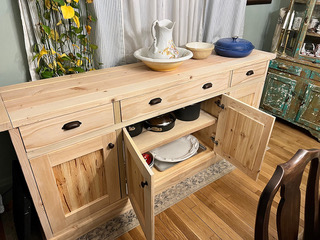
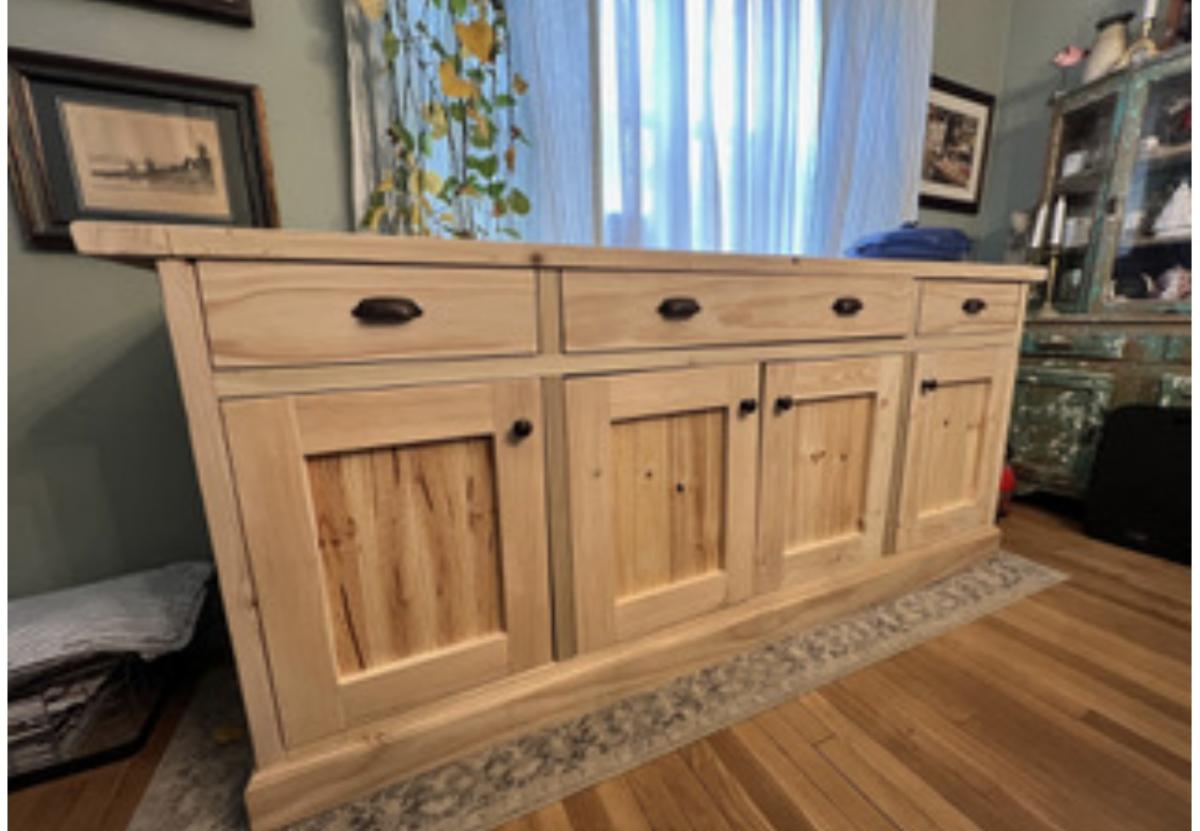
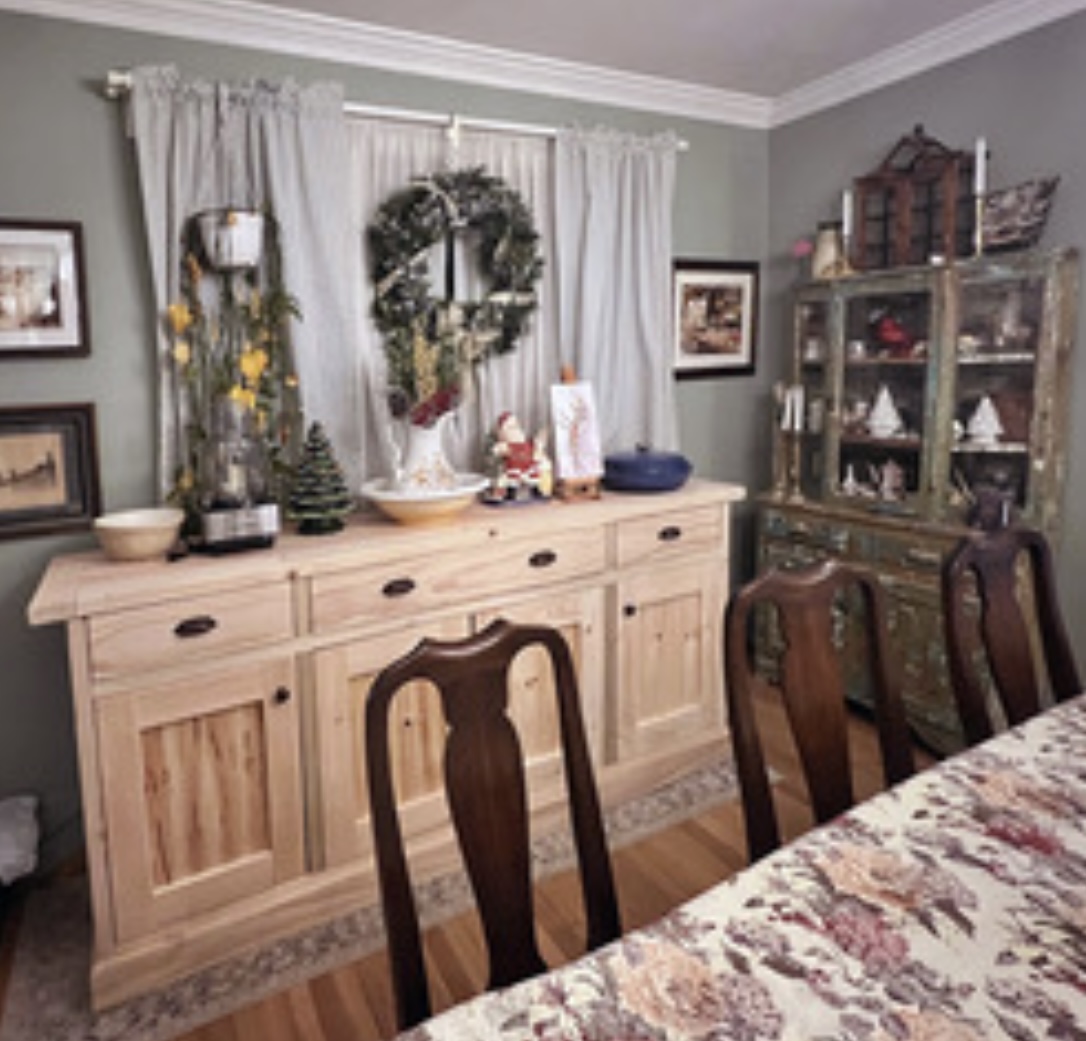
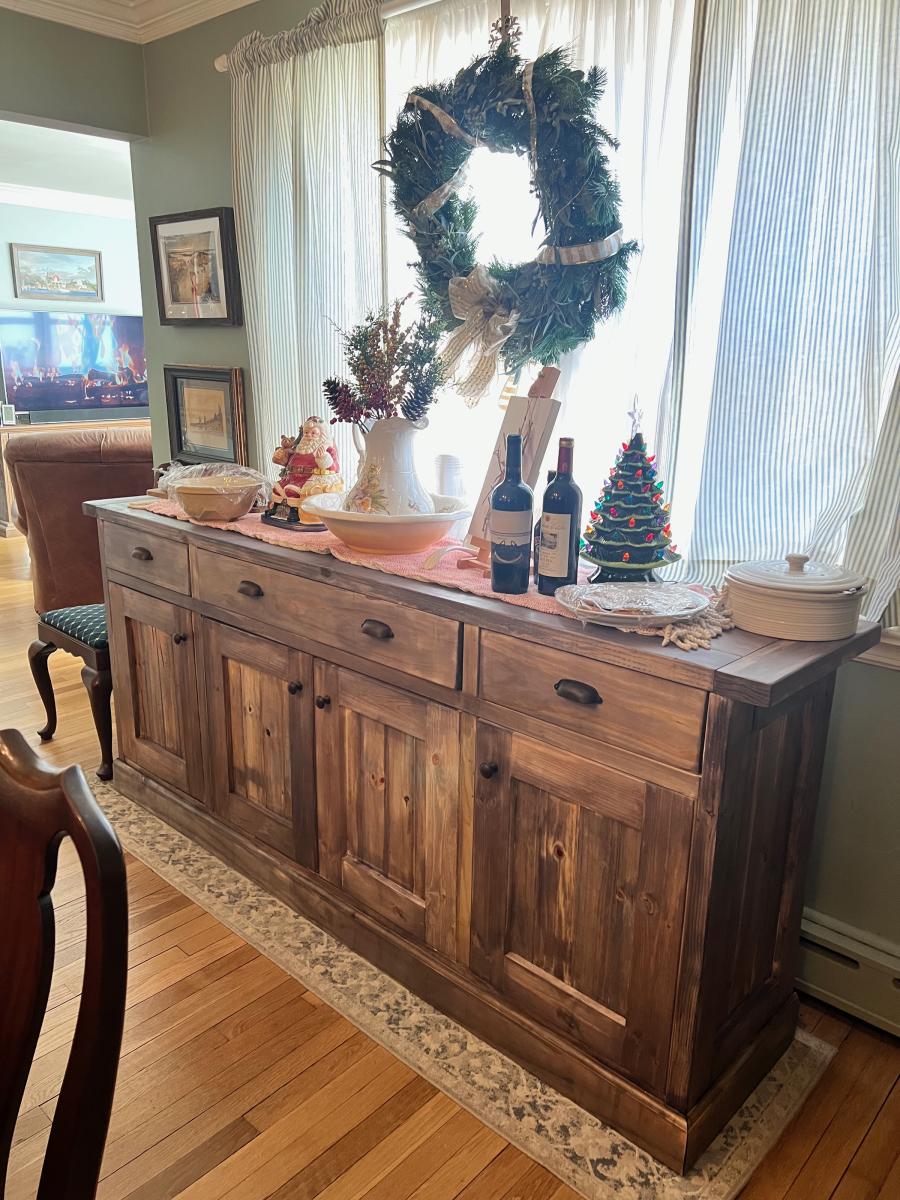
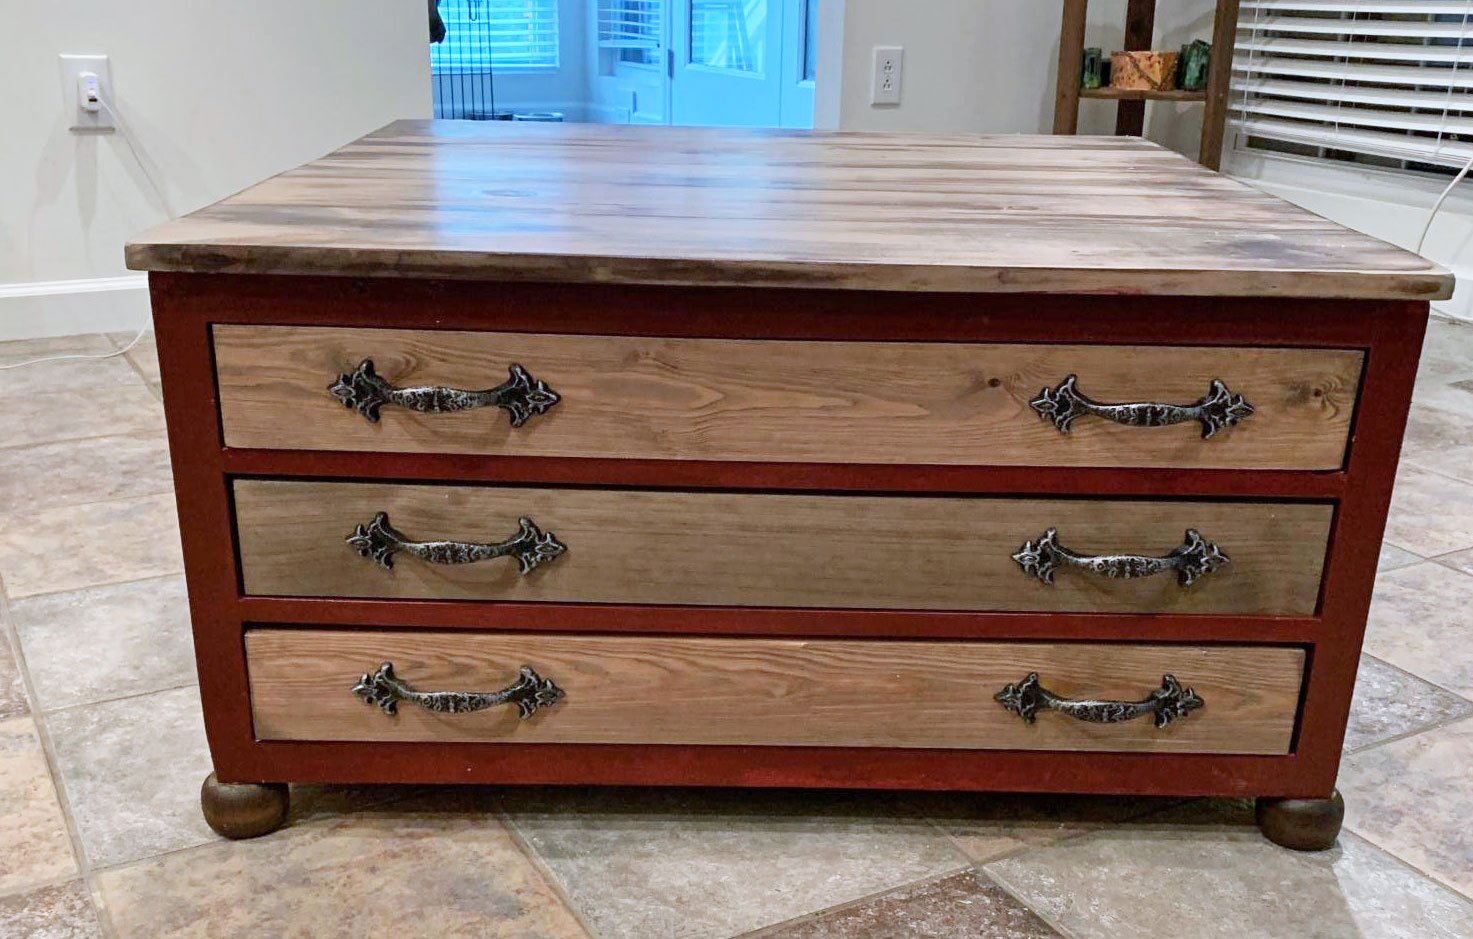
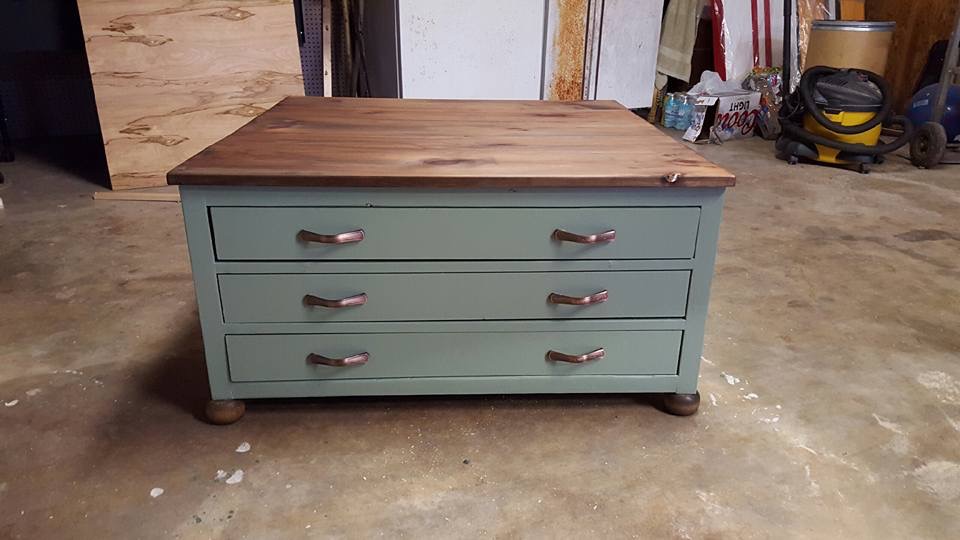
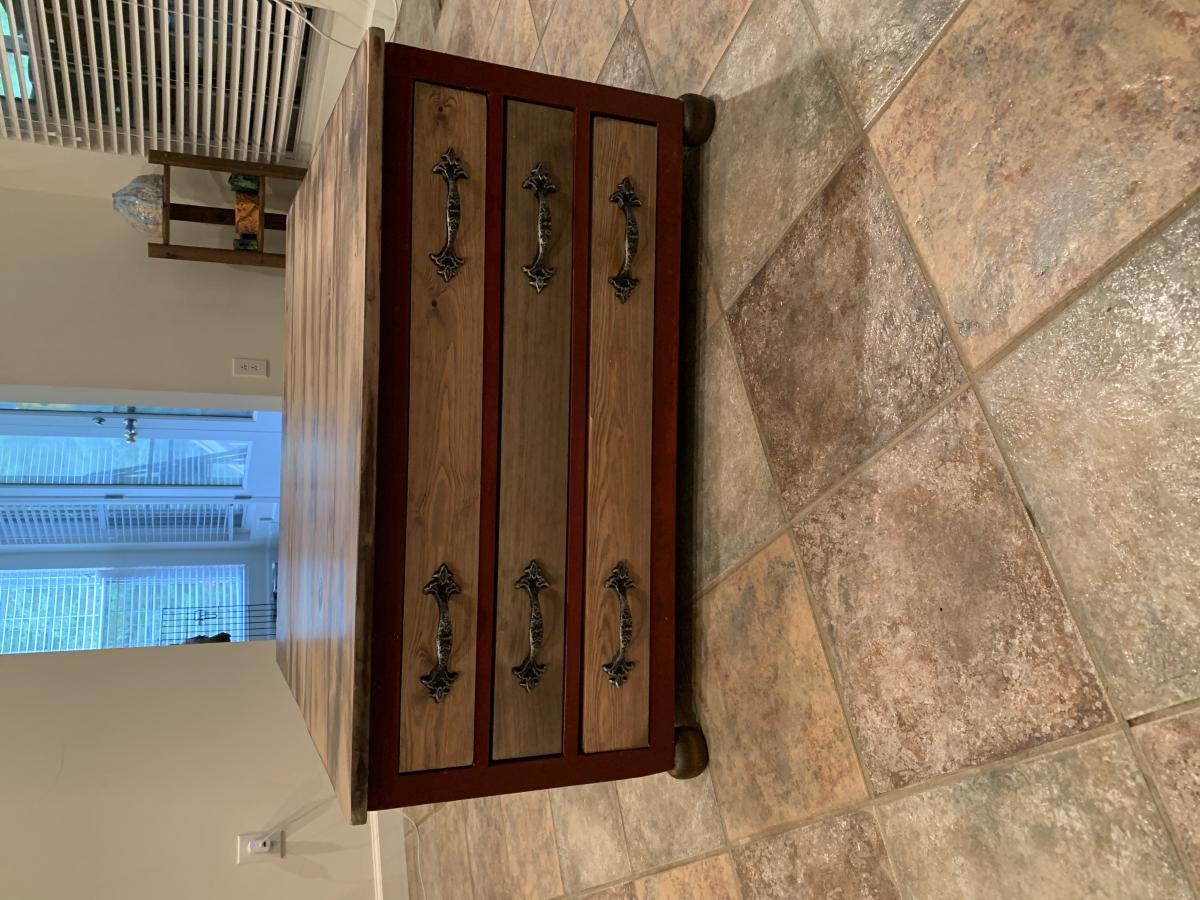
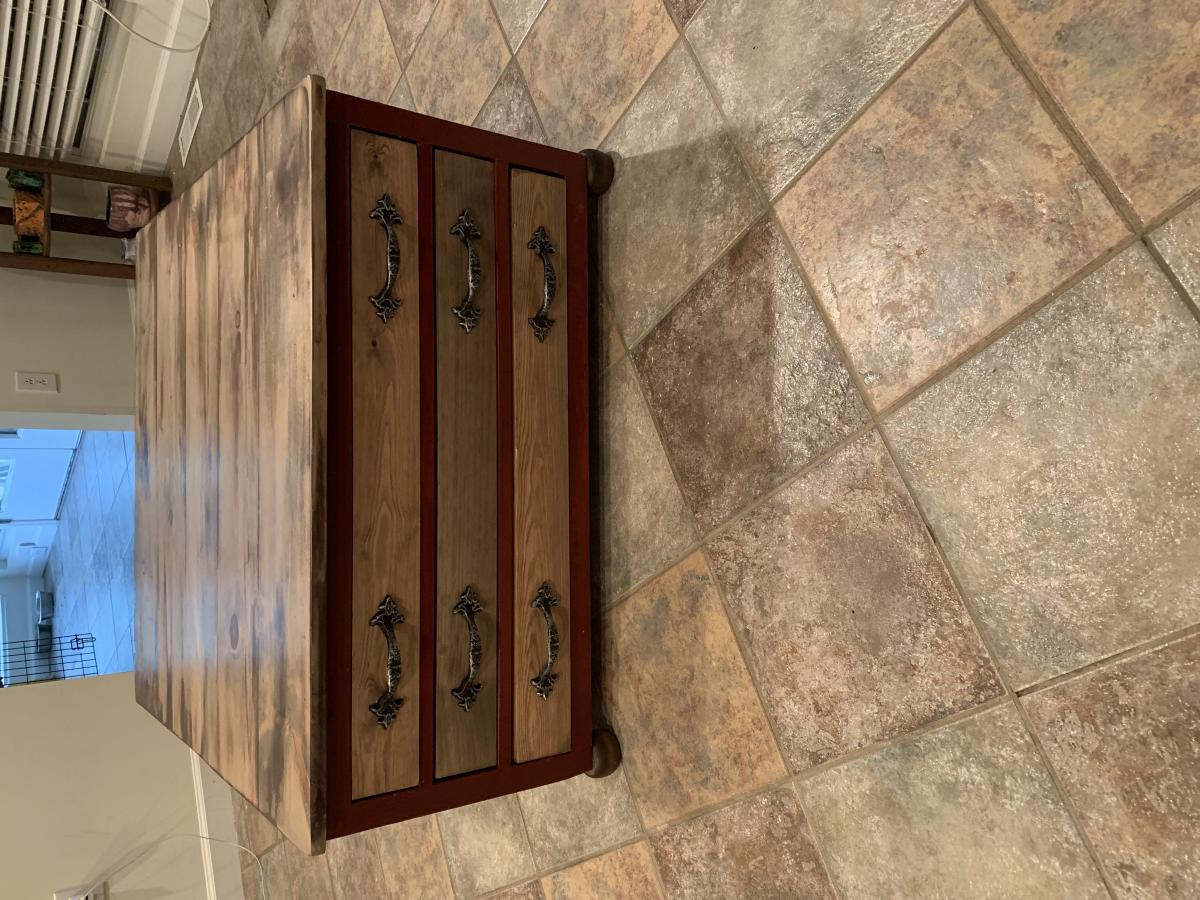
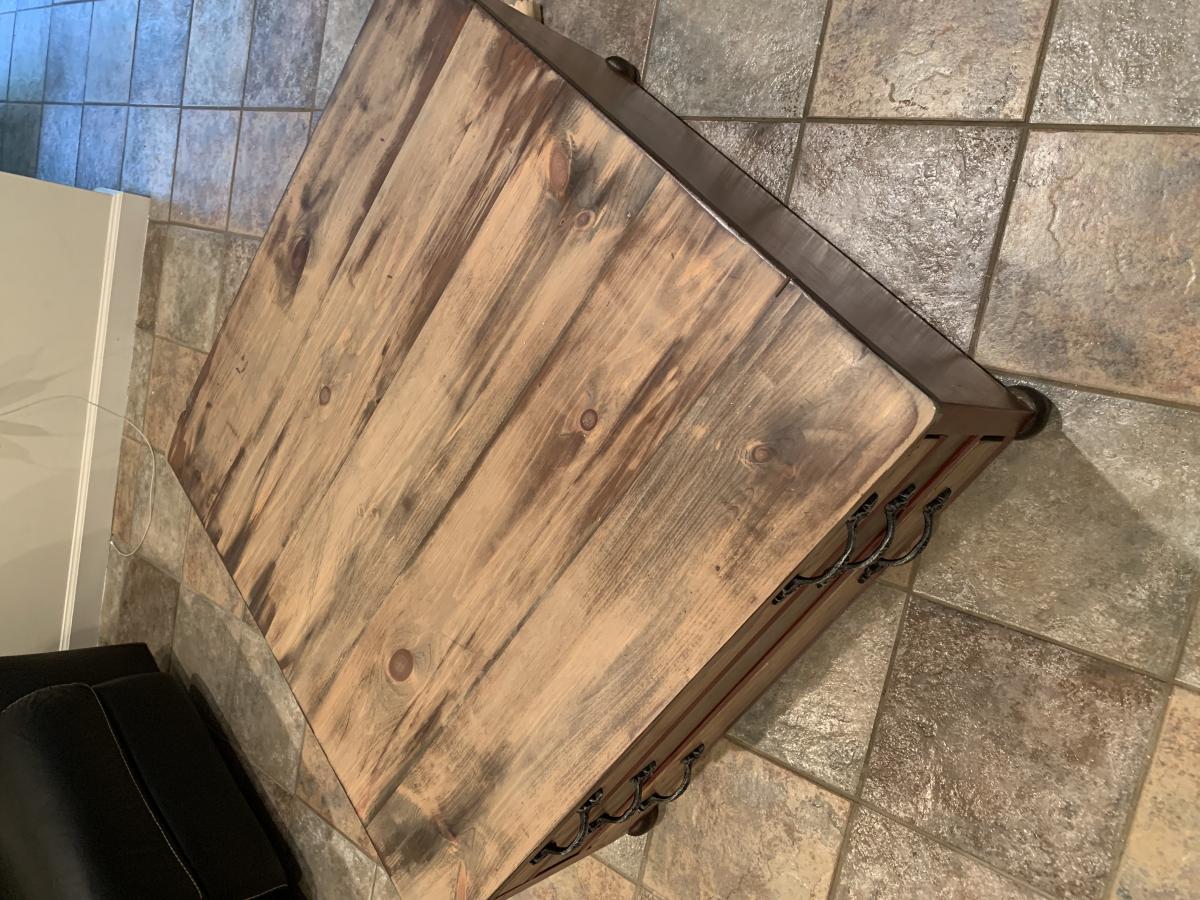
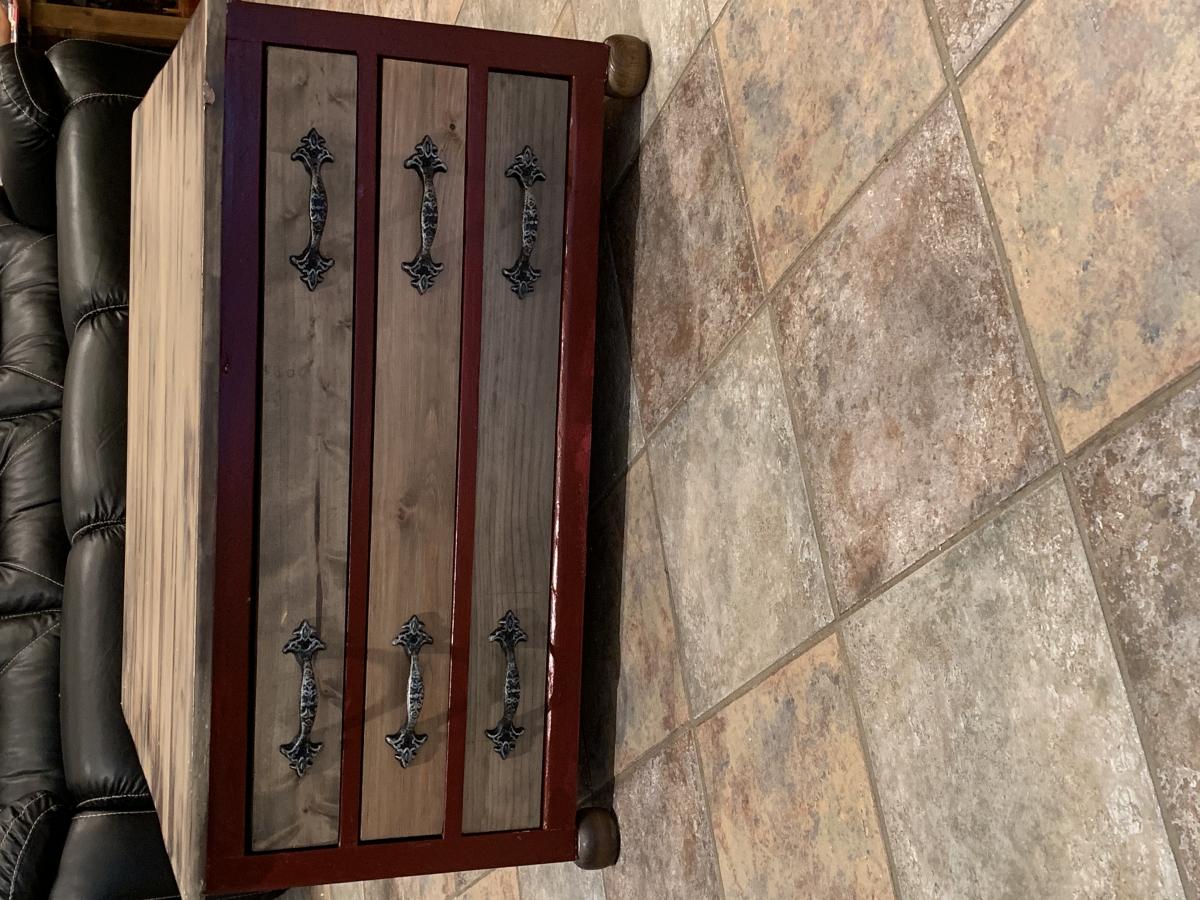
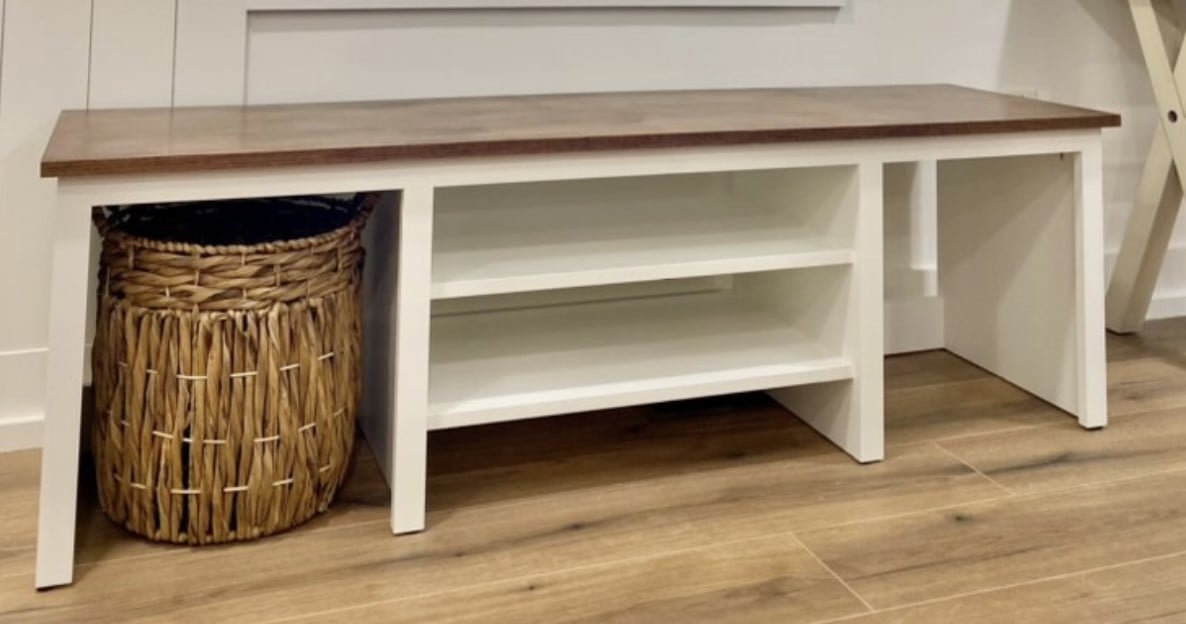
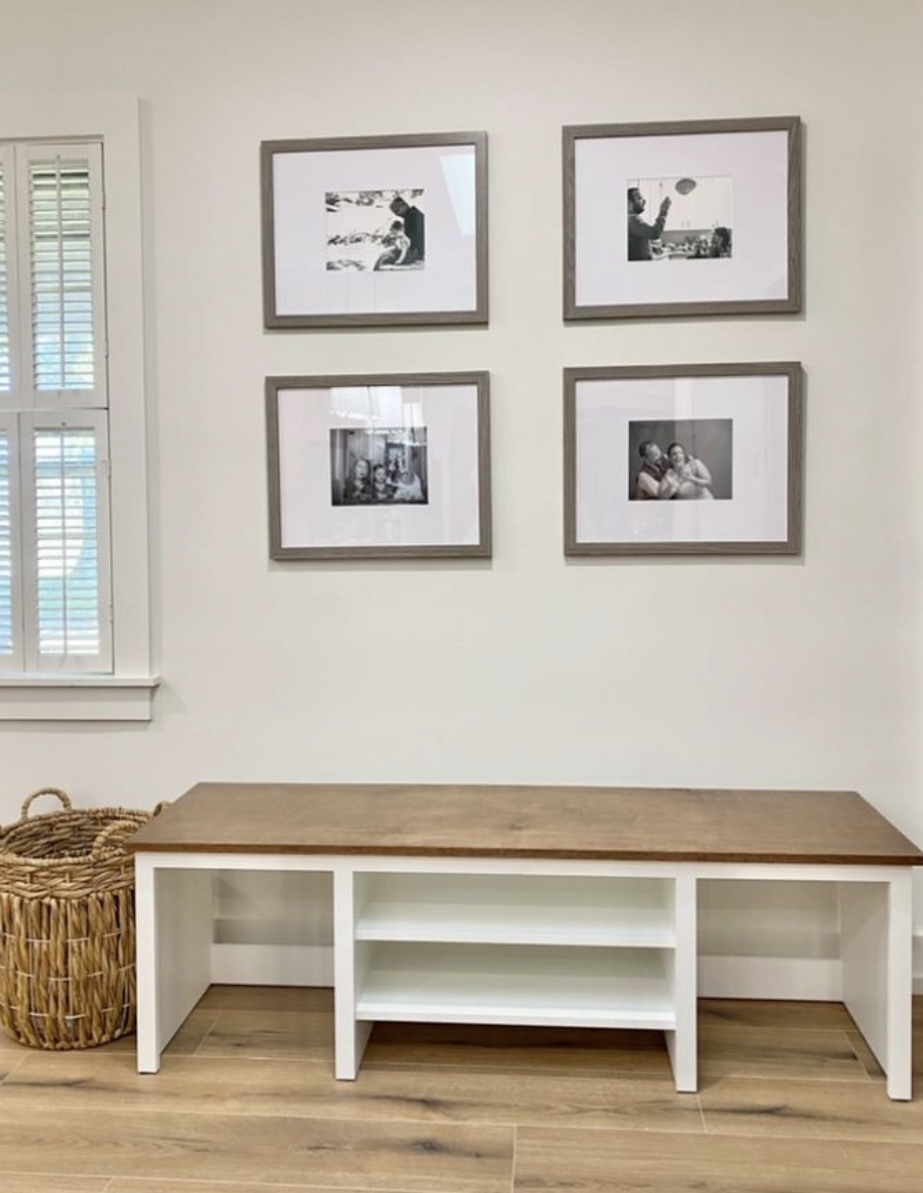
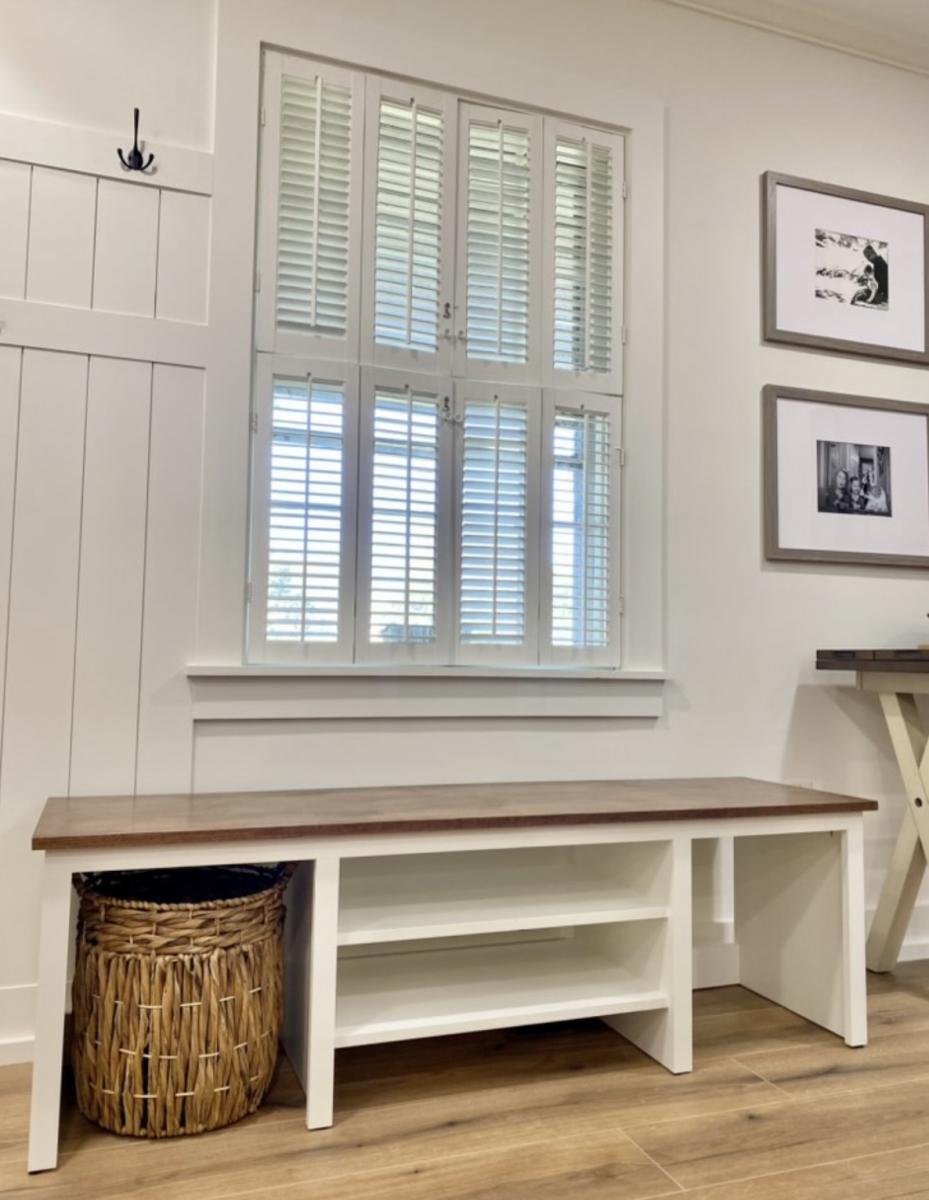
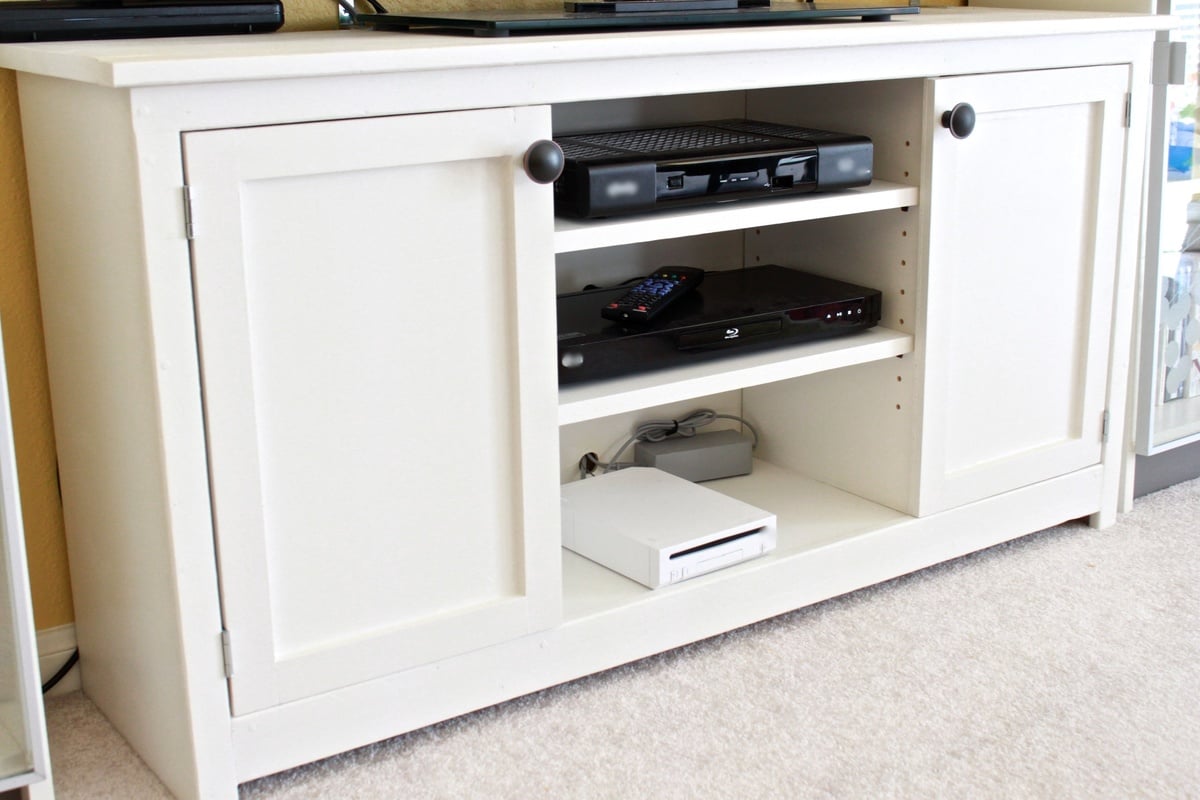
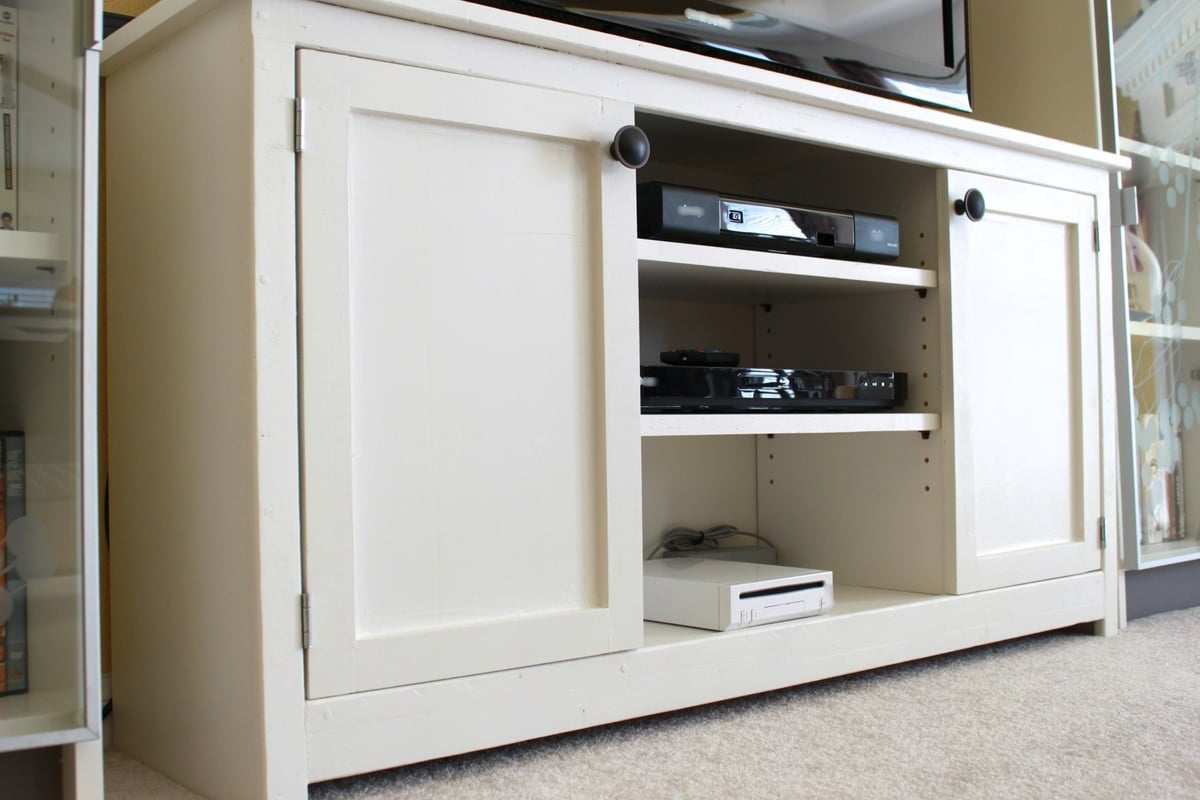
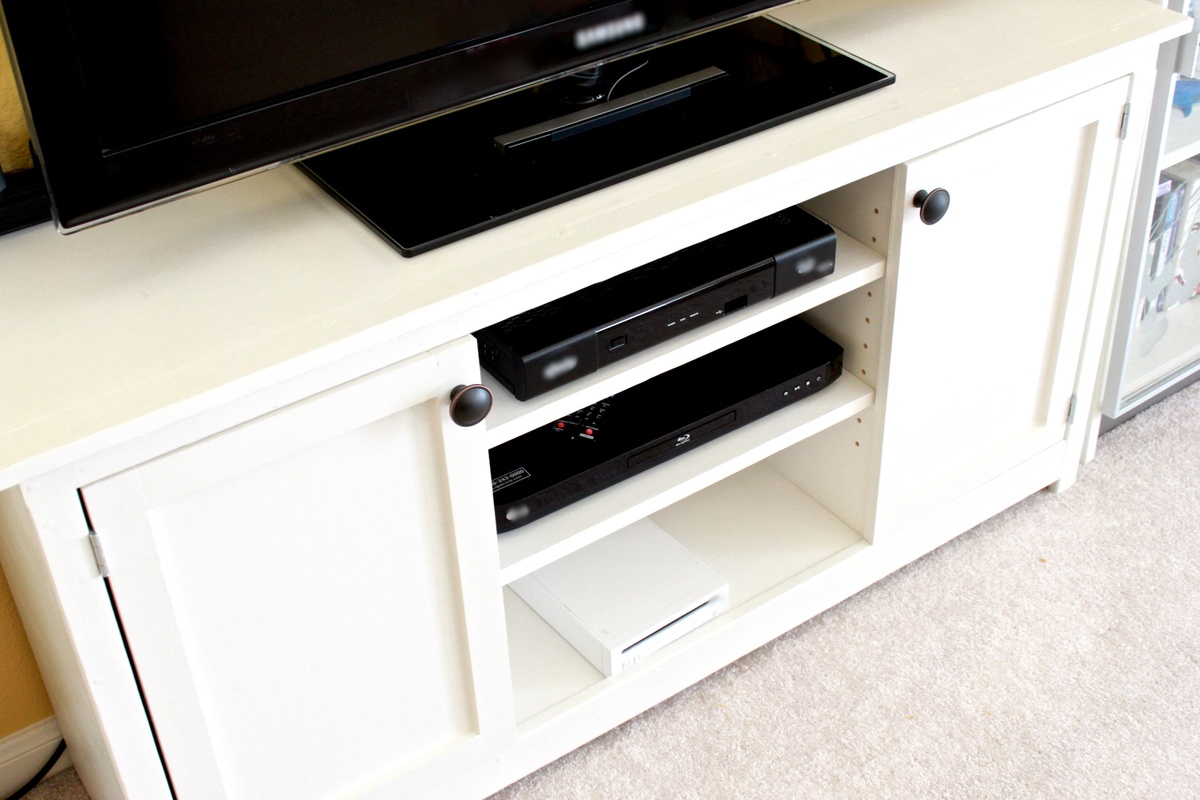
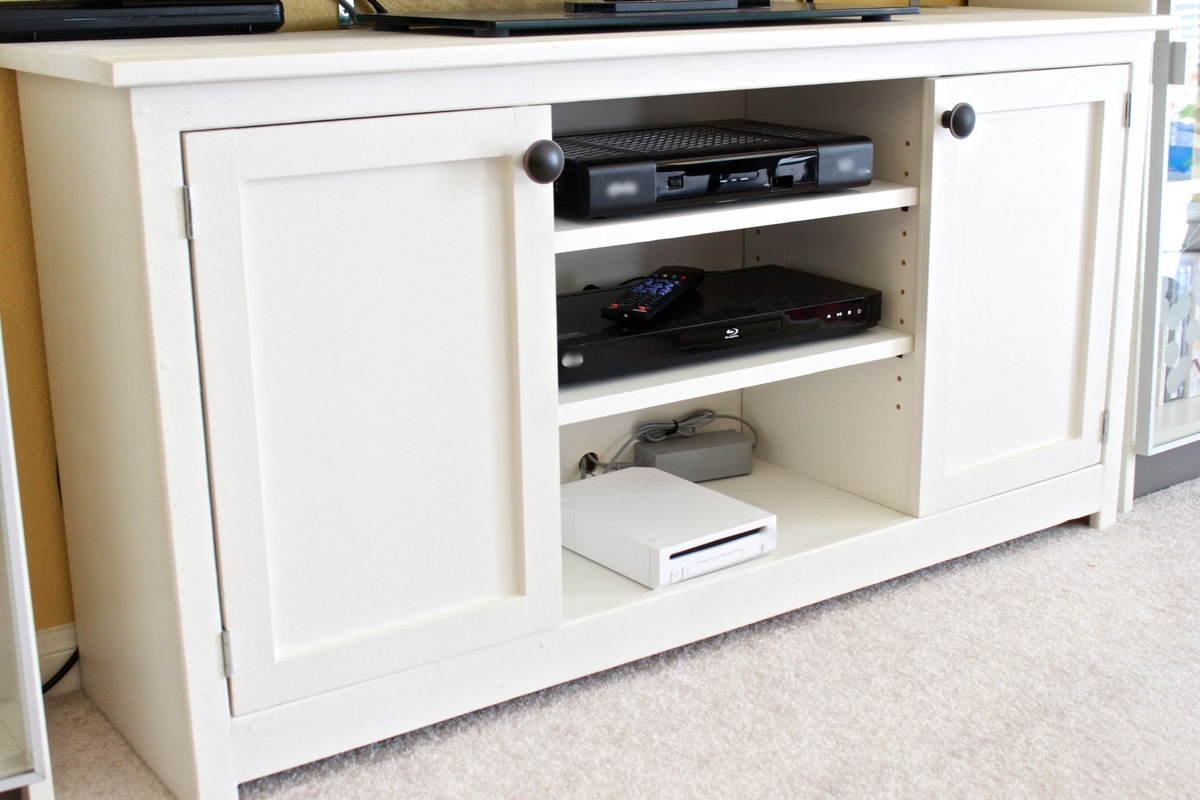
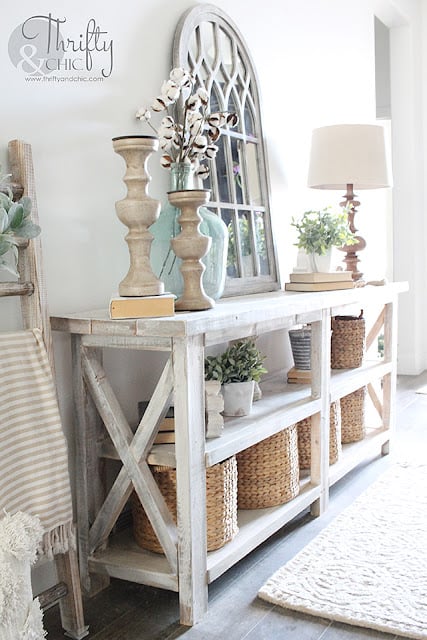
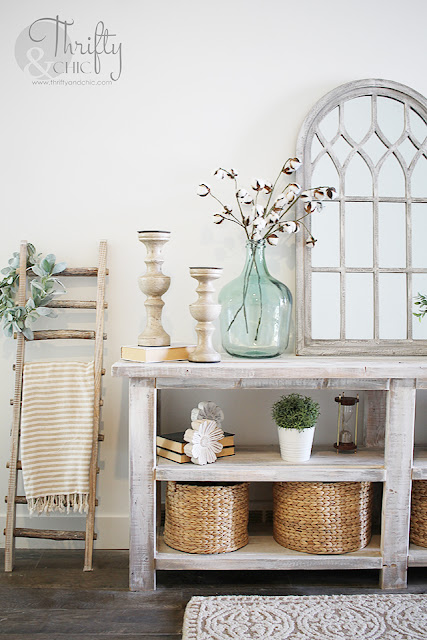
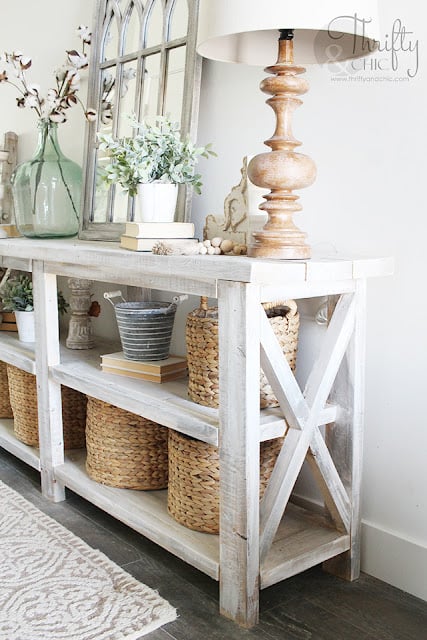
I decided to make this planked sideboard in early Nov. I just finished the build last week, working a few hours here and there in my basement.
The plan is excellent and easy to follow. I’m a fine artist and graphic designer by trade so I am used to precise measuring, I strongly believe in the mantra of “measure three times cut once.” Follow the plan measurements to the 1/8” and your build will be spot on. I never have used pocket screw assembly before (I’m not really an active woodworker... my last build was a rustic farm table 17 years ago)
so I invested in several Kreg jigs and practiced on some scrap pieces and was encouraged by the ease and accuracy!
This sideboard is a beast... so you will have to assemble the unit in its final resting place.
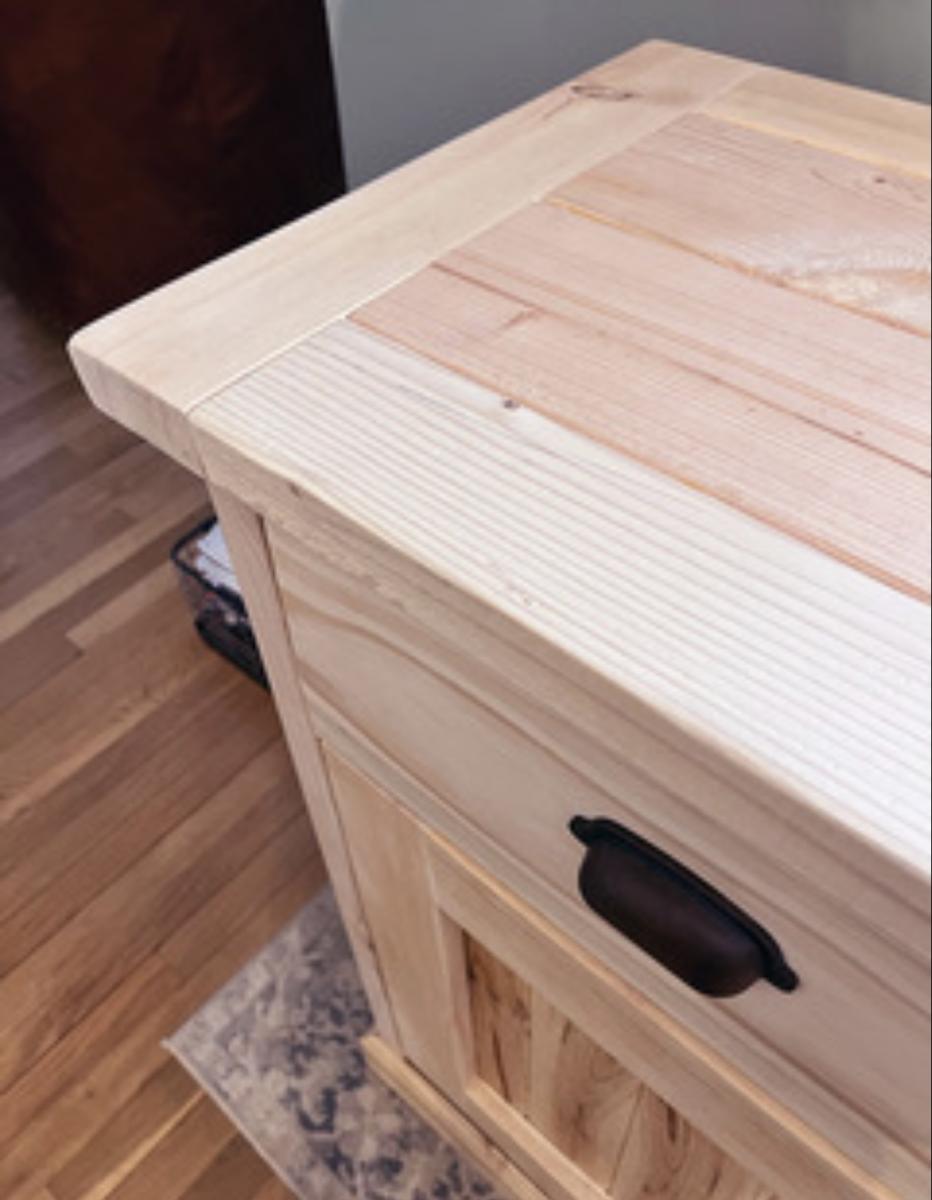
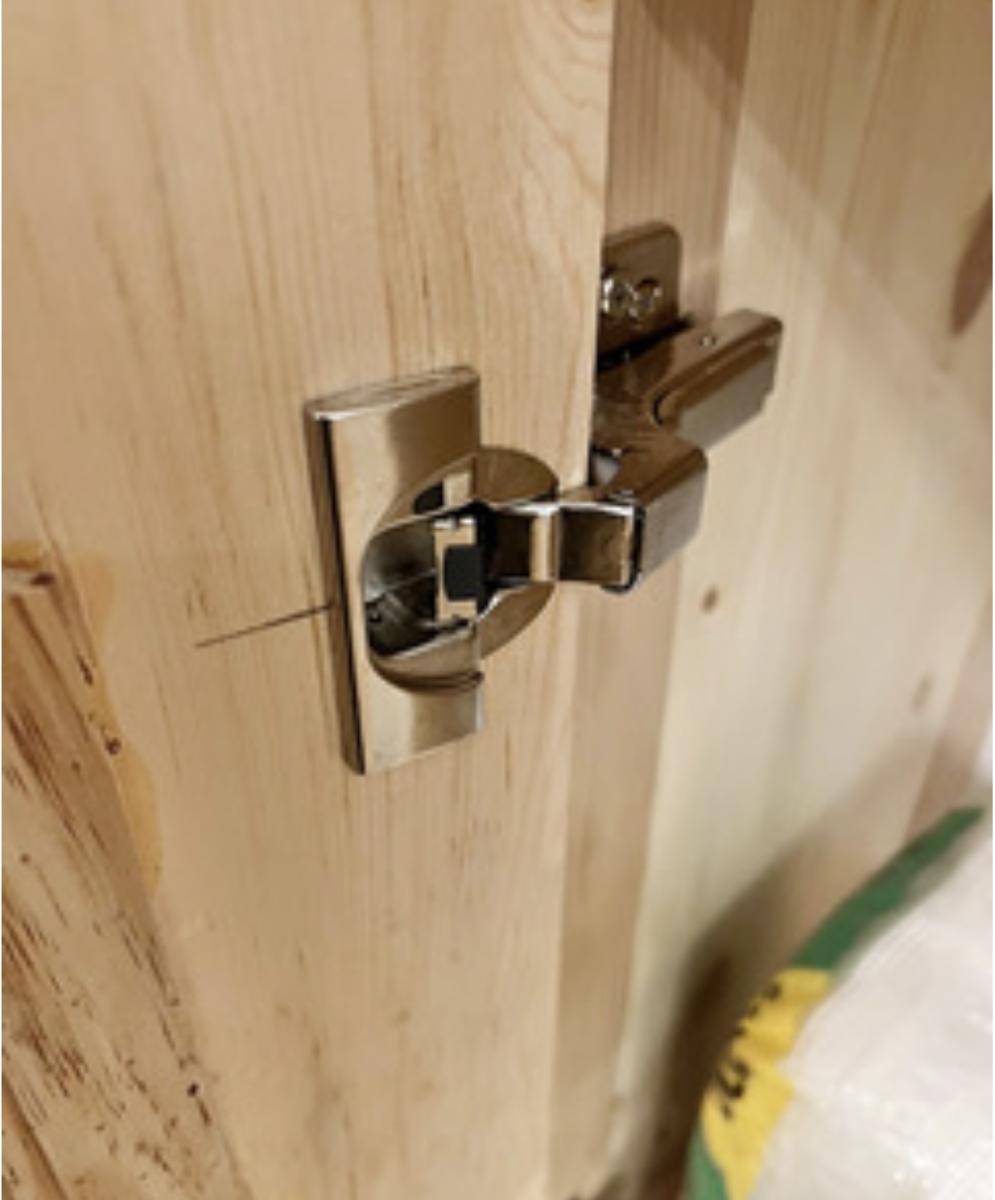
I can’t imagine what this thing actually weighs fully assembled. I opted to use Blum concealed hinges for the doors, Promark full extension soft close drawer slides. The knobs and pulls are from the Top Knobs Dakota Collection in patina rouge finish.
My one remaining task is what color finish to apply... I am pouring through color charts trying to decide. I know it has to be a water based low VOC product since the sideboard is in our living space and we don’t want fumes. Building this piece of furniture was a great experience, and knowing that I saved upwards of $2,500. on a similar store bought version makes it even sweeter.




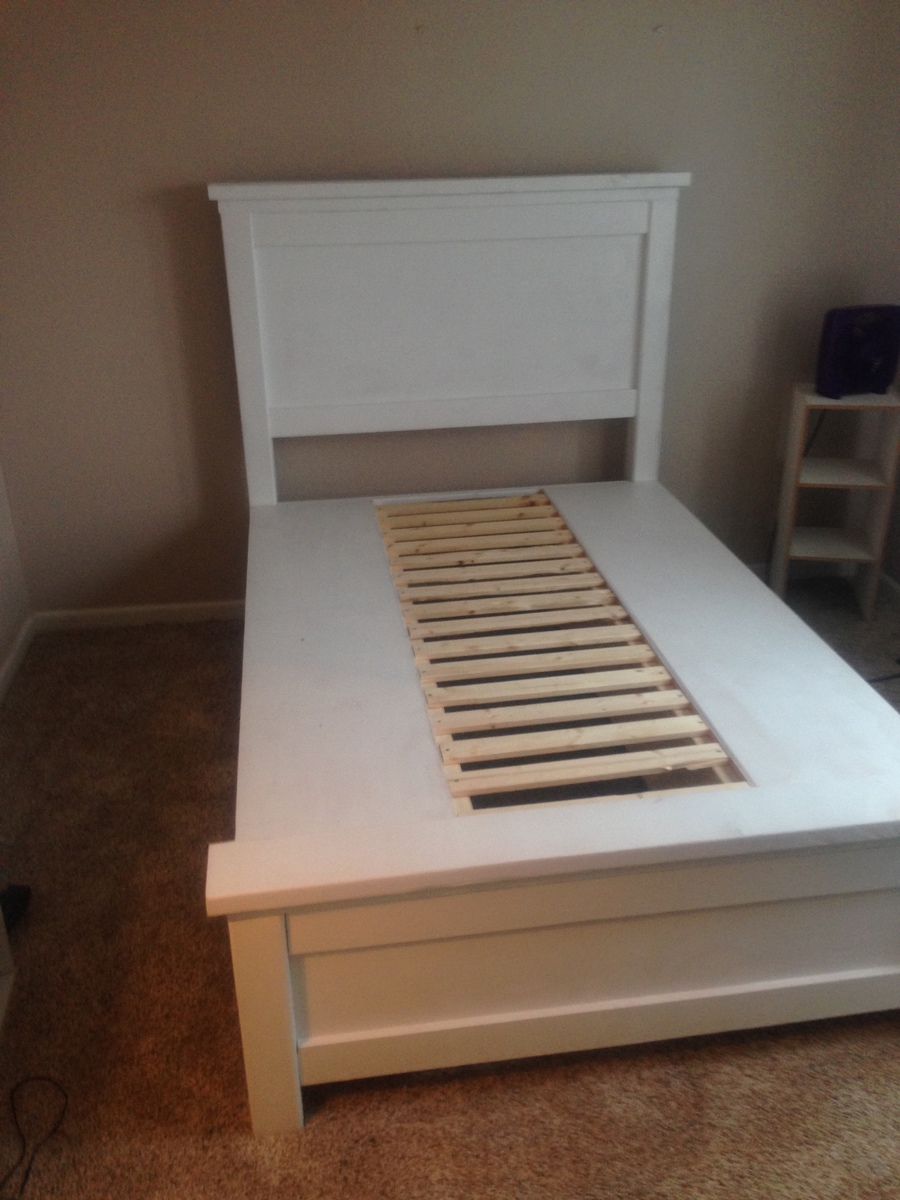


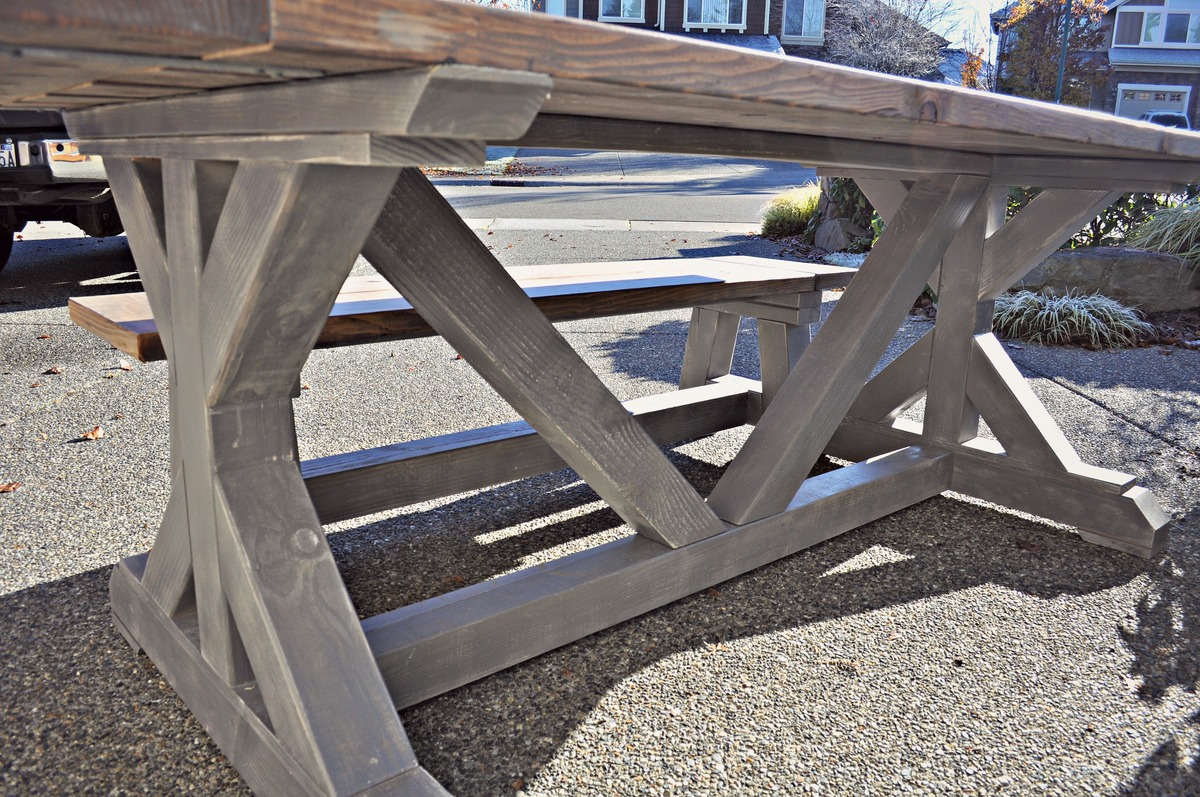

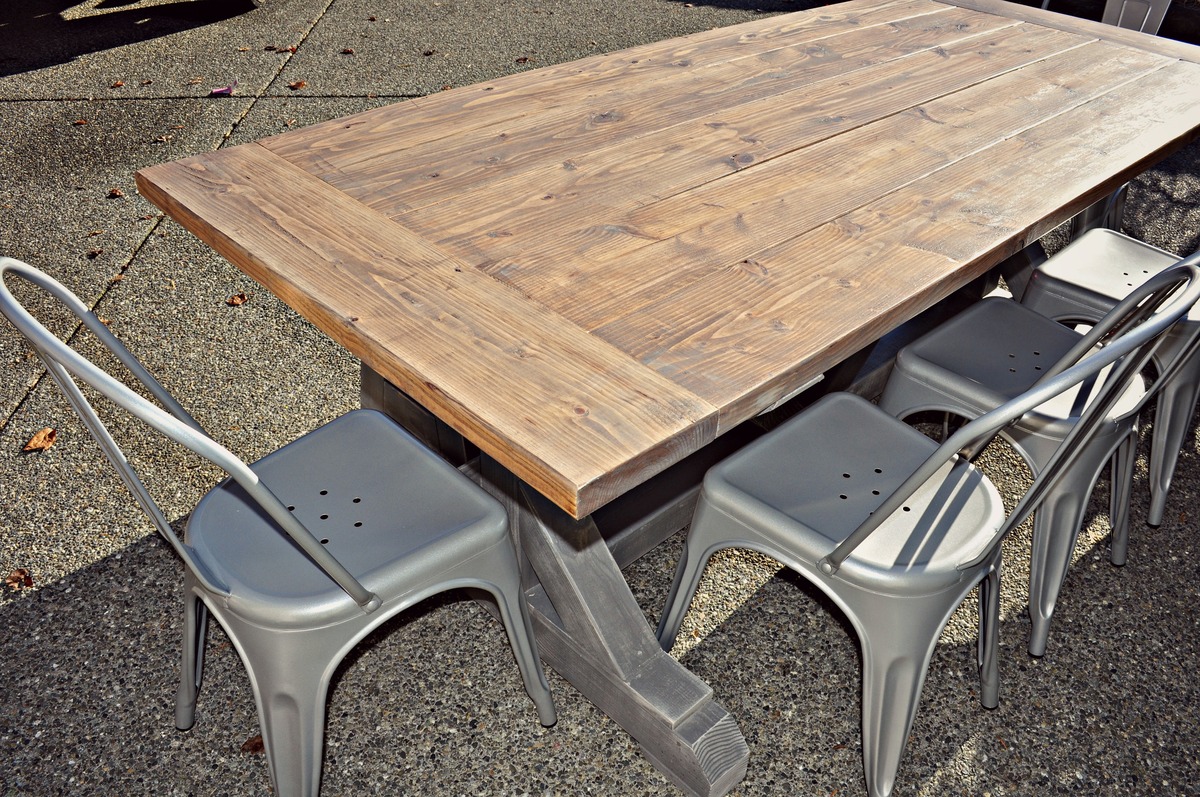
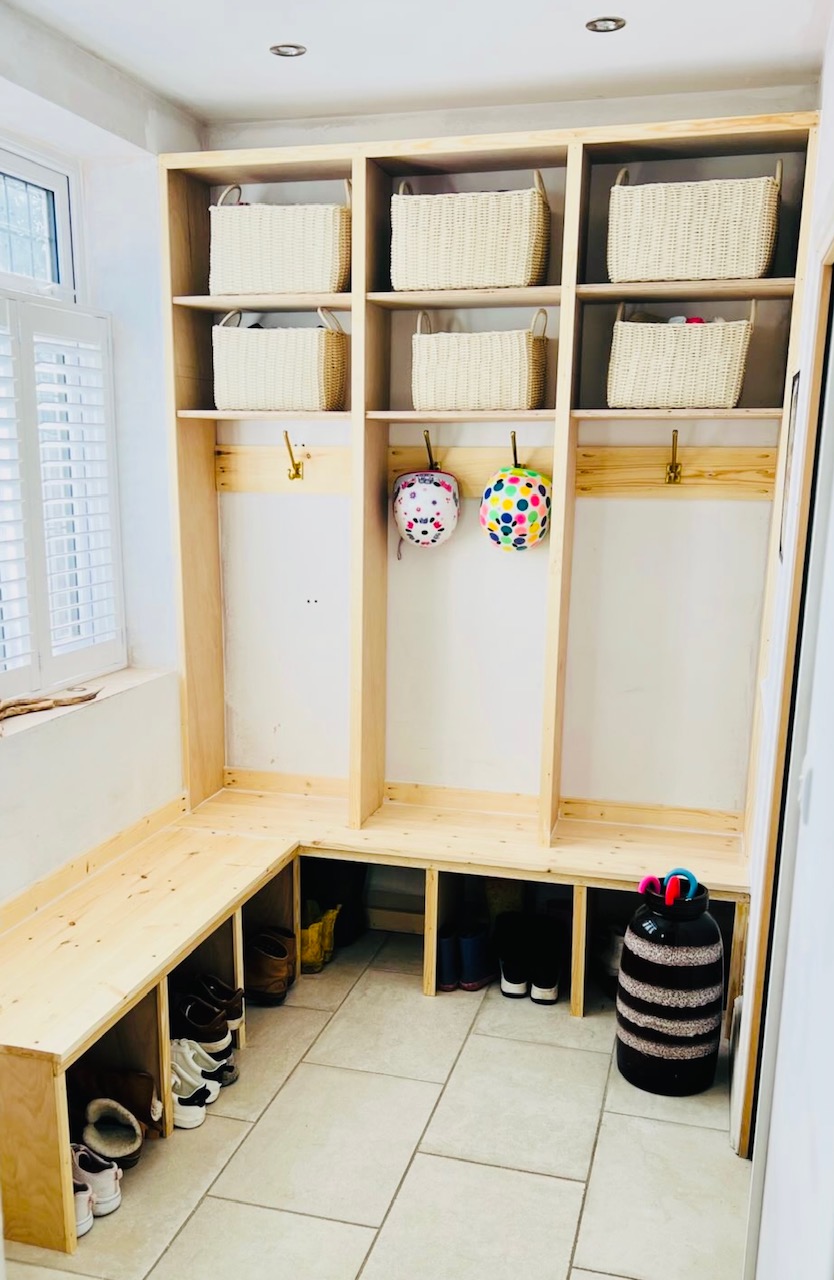

Comments
bhoppy
Tue, 07/26/2011 - 15:28
top question
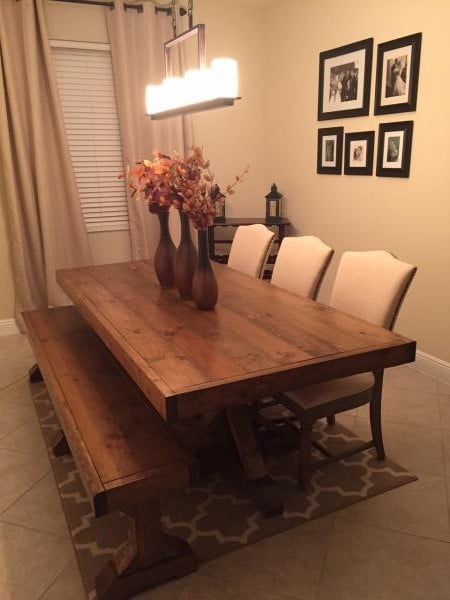
Looks great! Love the two toned wood look. I wondered whether you added an extra support in the middle... sort of seems like there's one at least in the last picture. Also did you build the top completely separate so it was one piece? Sorry for all the questions. I really want to make this bench for a friend and I would like it to look better than the last outdoor table I made with my kreg jig. Thanks
kmatt55
Tue, 07/26/2011 - 16:42
Thanks! The bench had a
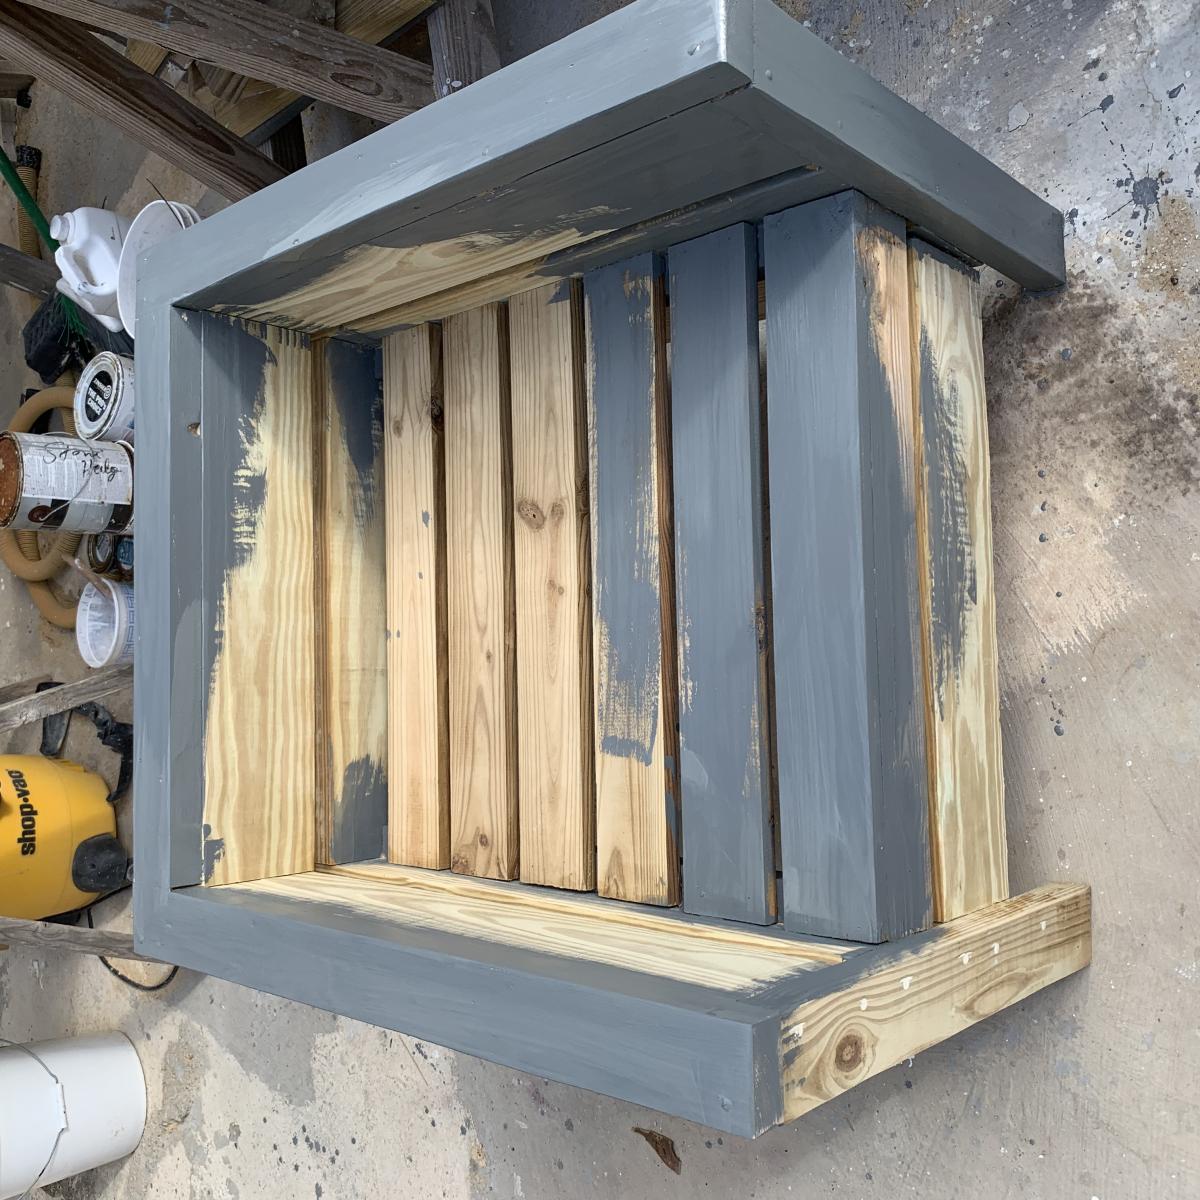
Thanks! The bench had a little flexibility when I sat in the middle of the bench. I added the extra support in the middle which made no difference at all. It turns out that cedar is a naturally light and flexible wood. If I had it to do over again I would use treated pine for the white base and keep the top cedar. The 1x4 cedar from home depot I used is actually .625 x 3.3875 not .75 x 3.5. So as you can imagine, it threw off the whole slat configuration. Best thing to do is use 28 or so .25 inch spacers to place in between the 14 or so slats on level ground. Once you space the slats like you want, then you can maneuver the frame freely until its even on both sides. Once it looks even on both sides start screwing kreg screws at one end and continue until the last one is done. FYI - I highly recommend drilling the pocket holes first before building the frame in Step 1. Hope that helps!!
kmatt55
Tue, 07/26/2011 - 17:05
Almost forgot. I did add
Almost forgot. I did add 2x2's in between the blue and green boards on each side of the frame to add more support. The middle board I added as you can see in the last picture did nothing structurally speaking.
bhoppy
Fri, 08/05/2011 - 10:11
just one more question
Thanks for the tips. I finished cutting all the wood and am going to start putting it together tonight... After reading through the comments I think I'll join the 14 slats together with the side 52 1/4 boards before attaching it to the frame. Did you use an extra 1x3 for the second leg board?
kmatt55
Fri, 08/05/2011 - 10:17
I did use 1x3's for the
I did use 1x3's for the second leg board.