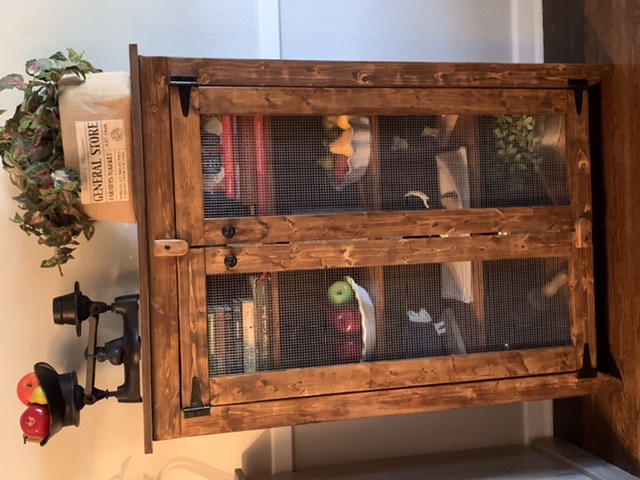
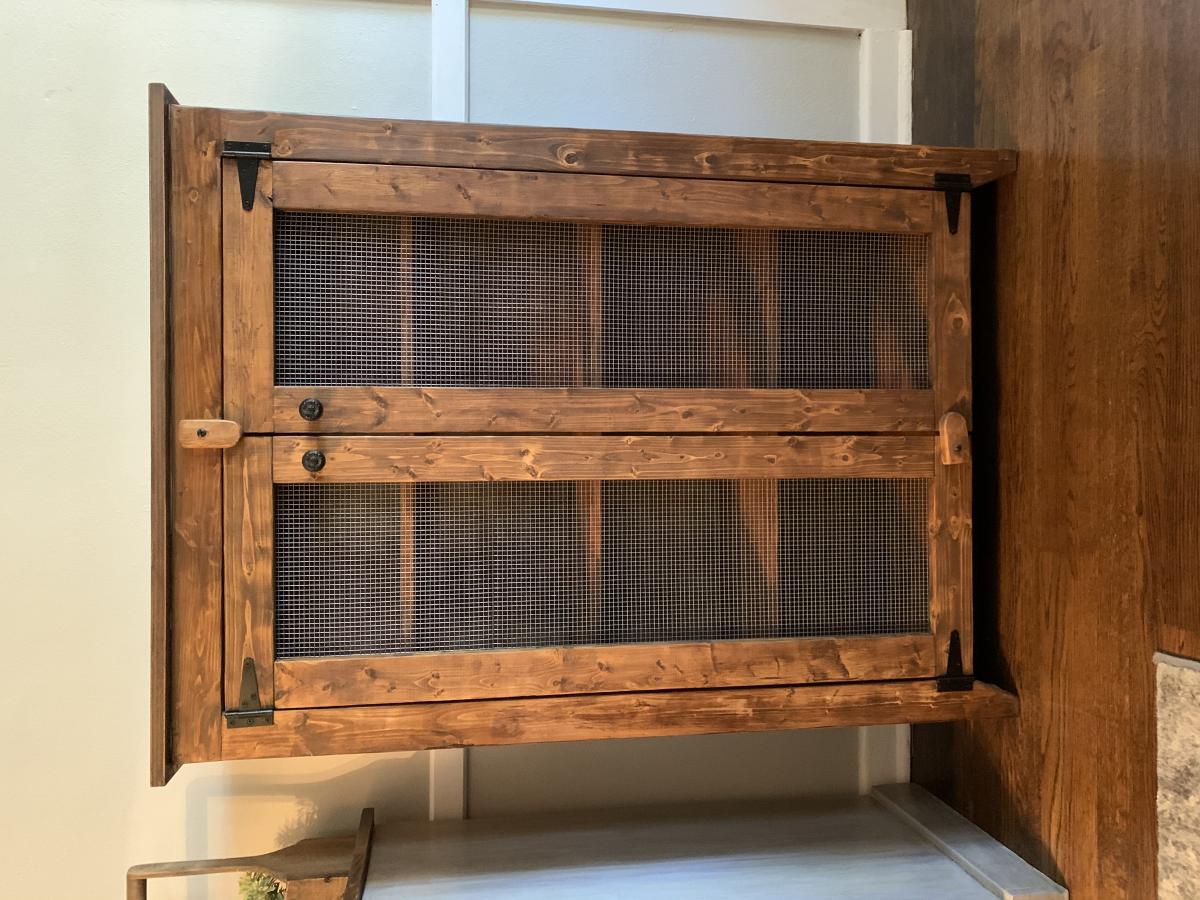
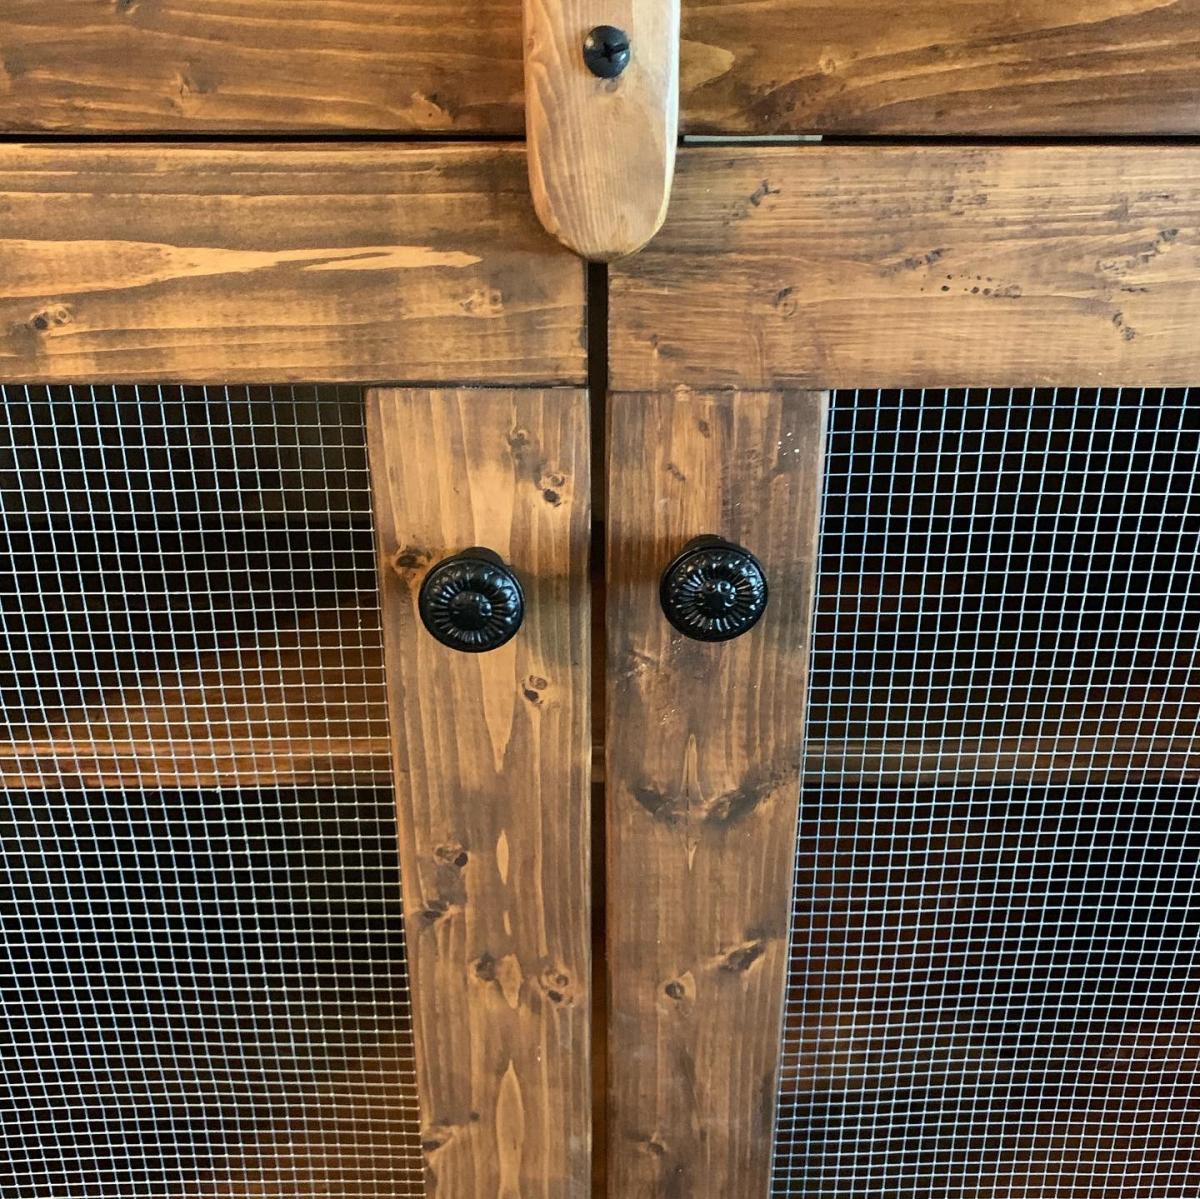
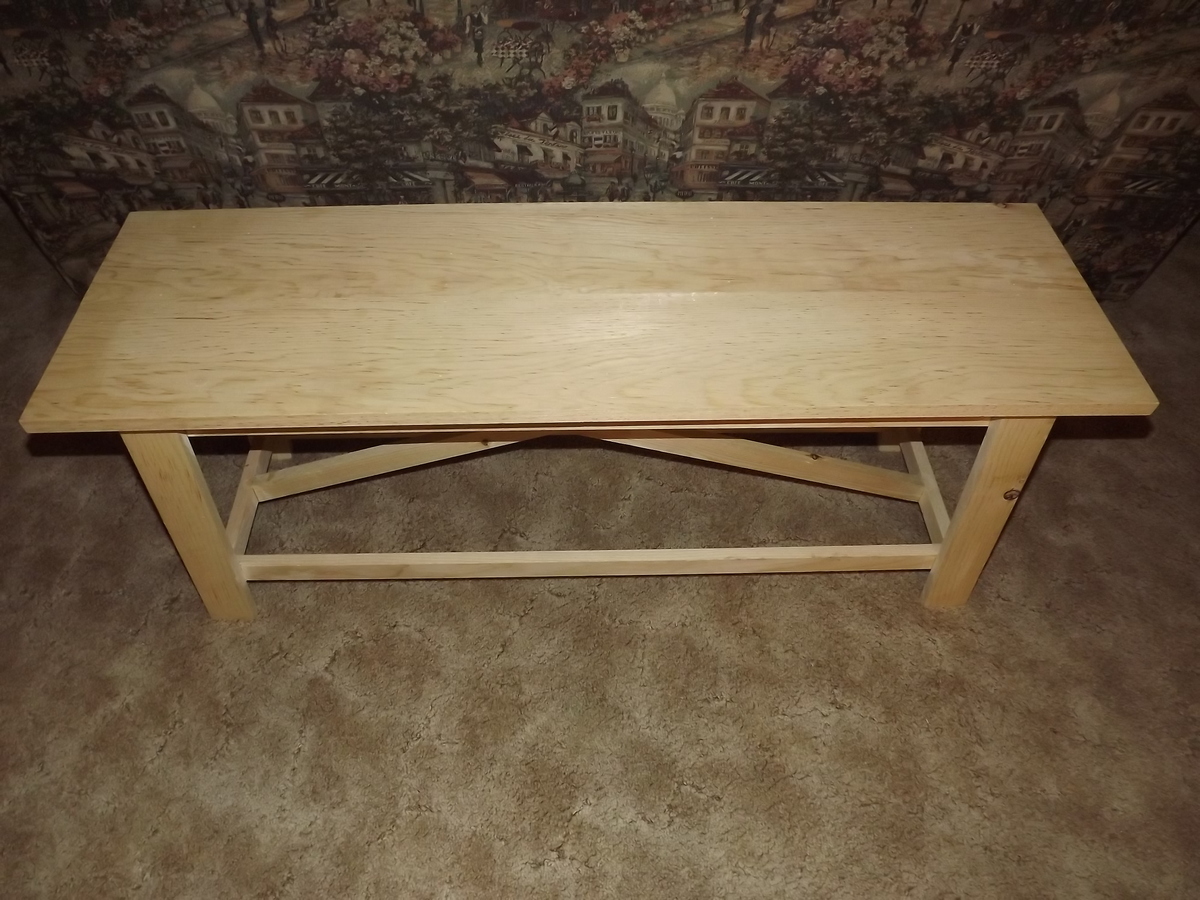
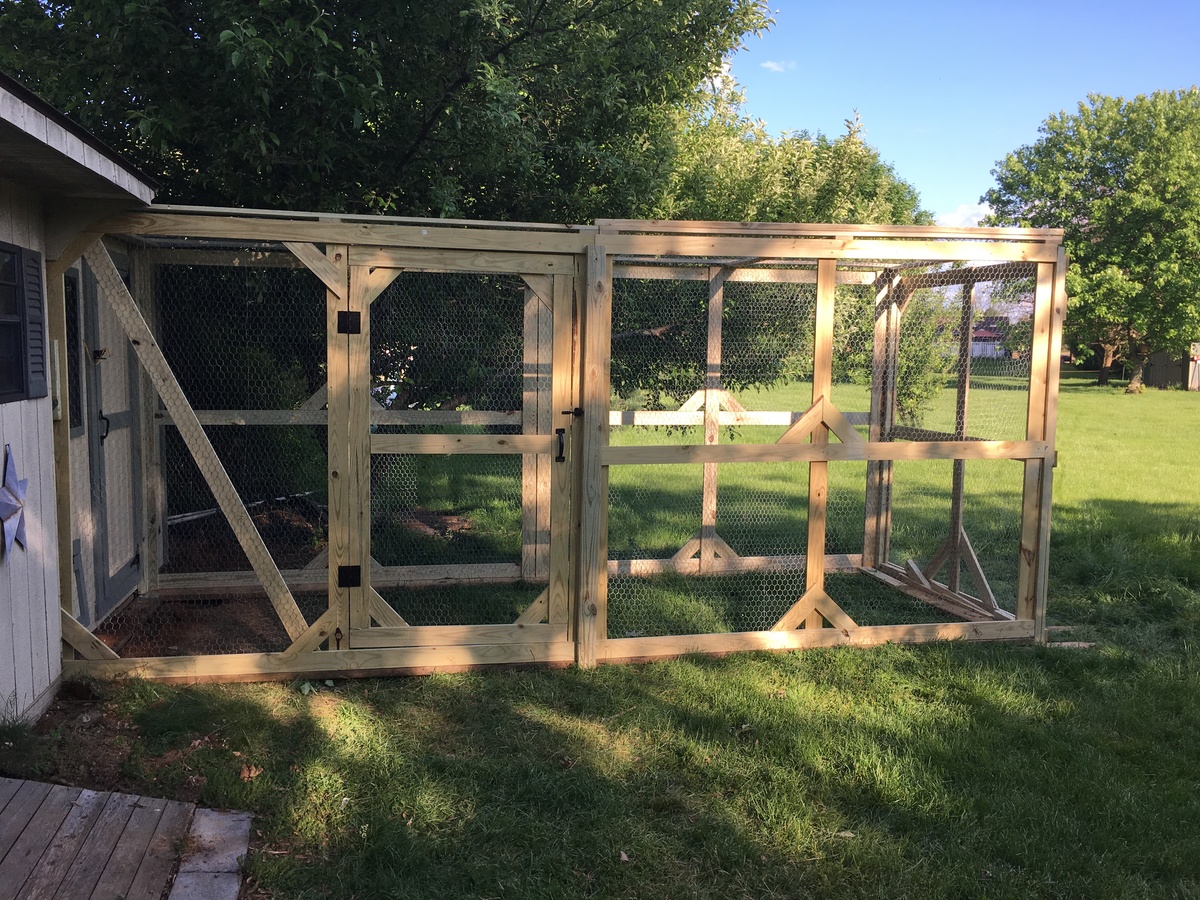
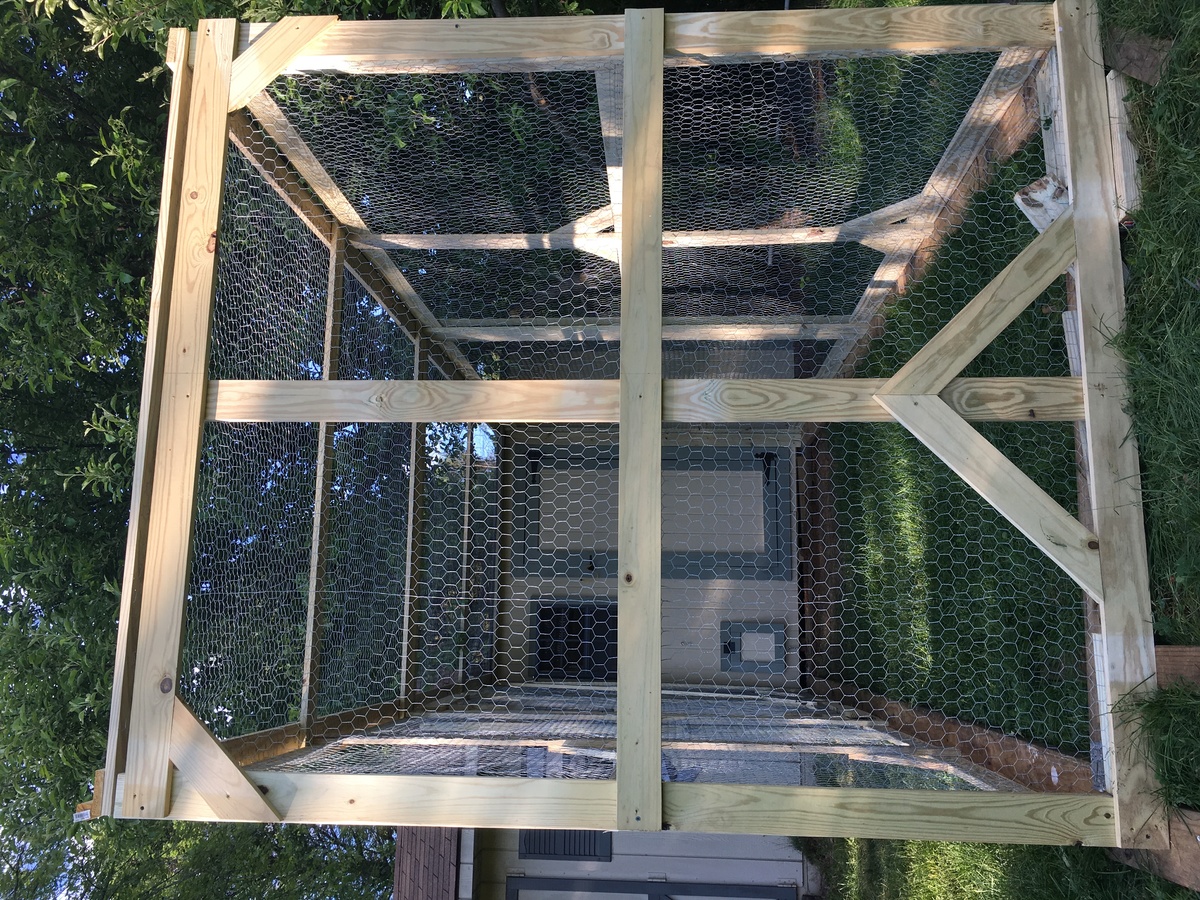
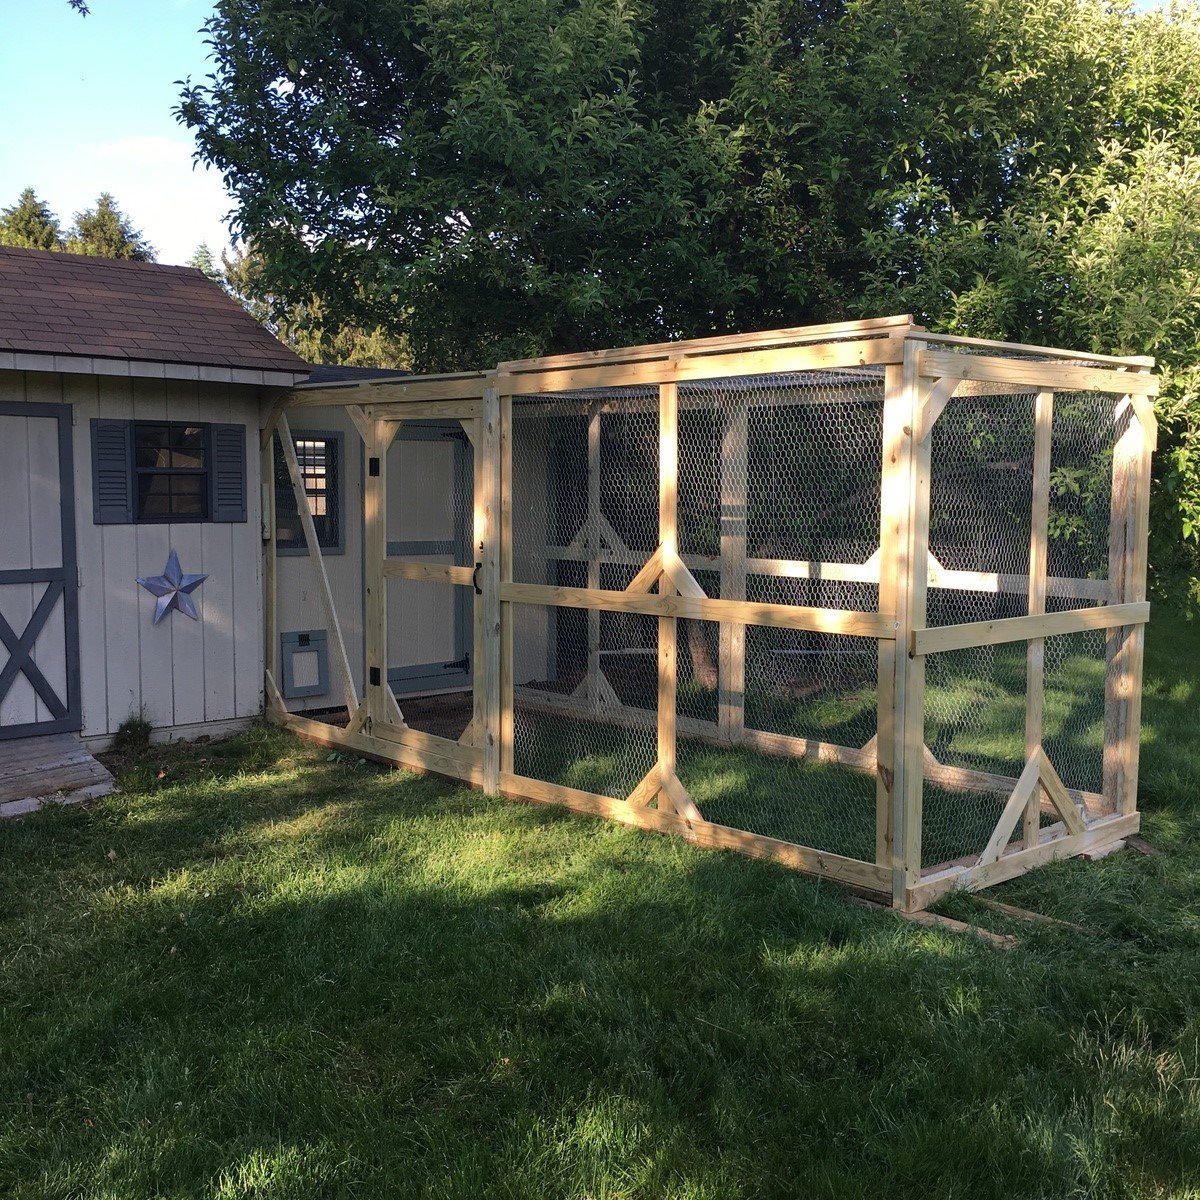
Community Brag Posts

Farmhouse Bed - King Size

Submitted by steezyken on Fri, 05/01/2020 - 10:30

Relatively simple project. Just follow the the directions step-by-step and there will be no issues finishing in a day. Have to start early if planning to stain and complete in the same day.

Estimated Cost
$250
Estimated Time Investment
Day Project (6-9 Hours)
Finish Used
Applied Dark Walnut Miniwax stain for 10-15 minutes followed by an Oil Based Polyurethane.
Recommended Skill Level
Beginner

hailey platform bed - king size

please see the full post here:
http://crabandfish.blogspot.com/2012/05/aaaahhhhi-love-our-bed.html

we built the hailey platform bed, modified for a king size mattress. we included four extra feet under the bed for additional stability.

Built from Plan(s)
Estimated Cost
$100
Estimated Time Investment
Weekend Project (10-20 Hours)
Finish Used
minwax ebony - 2 coats
Recommended Skill Level
Intermediate

4x4 Farmhouse Table

Submitted by Cody_G on Sat, 04/12/2014 - 08:21

This a great project that I built for a friend. She wanted it to be a little distressed, but she gave me creative license to I found a middle ground between rustic and distressed. I hand planed the top to create a great distressed look on the top.
This is a great project, but I would just pass along to make sure that you have enough room and enough help. This table is large and heavy.

Estimated Time Investment
Week Long Project (20 Hours or More)
Finish Used
Custom mix stain and Polyurethane top coats
Recommended Skill Level
Beginner

Full Size Farmhouse Bed with Trundle

Submitted by eshelling on Sat, 07/09/2016 - 16:11

I wanted to make use of the twin size mattress from my son's old bed and I thought it would nice to have an extra place for his cousins and friends to sleep when visiting so I added a trundle.  I had to slightly alter the plans to accommodate this, and made some little happy mistakes along the way.  Because  I wanted to be able to take the bed apart I had purchased some surface mount hardware for the rails.  What I didn't account for was the extra width it would add for the platform.  It ended up making the frame large enough to fit a queen size mattress.  This would have been fine if I hadn't already purchased a new full size mattress!  Ha Ha.  I ended up having enough of the bed slats showing that it bugged me so I ended up taking a 2 x 4 and cutting out a notch so it would sit flush on the rail and cover up the slats.  I stained it using an American Chestnut Satin Polyshades Mix and overall I am pleased with how it came out.  This was a good learning experience and now I'll get started on a nightstand shortly.

Built from Plan(s)
Estimated Time Investment
Week Long Project (20 Hours or More)
Recommended Skill Level
Intermediate

Star Wars twist on modern farmhouse bed

My 8 year old wanted a Star Wars room, and I was in love with the plans for the modern farmhouse bed. My husband and I made a few modulation to help trick it out with LED lights. We added two extra inches two the footboard. We added 7.5 inches to the headboard (allowed for extra 1x6 and two inches for the feet). We also added a little extra trim around. The stain was a ebony stain that we applied in various then sanded. Afterwards, we applied a weathered oak stain. Our neighbors were in awe this weekend as they walked by our house. Fabulous job Ana with the plans - thank you!!

Built from Plan(s)

Square Planter (w/o finials)

As a first-time user of pocket holes, I have to say they're brilliant! I learned from a lot the mistakes I made constructing the planter, but look forward to using variations of the plan for more planter projects. Thanks!

It took about two hours to construct, and then paint time. I used paint I had on hand (a paint store near me occasionally sells mis-mixed paint for $1/container), so I put on a white first coat and finished it with the green. It was a little too green, so I spray painted it with a light coat of bronze spray.

I attached the side slats to the outer 2"x"2 corner rather than the inner corner and subsequently found the 15-3/4" bottom slats a little too short. I had a spare furring strip on hand, so I cut another set a bit longer and they fit more securely. I haven't decided on finials yet; I may leave them off.

Estimated Cost
$20
Estimated Time Investment
Afternoon Project (3-6 Hours)
Finish Used
Green box: acrylic paint
Stained box: oil based stain with clear overcoat
Recommended Skill Level
Beginner

Mini farmhouse nightstand

Submitted by Carmenh on Mon, 04/14/2014 - 12:07

You can do this!
This mini farmhouse nightstand was my first building project. Of course Ana's easy to follow PDF's made it doable but check the tips above for cuts on your 2x2's. One rookie mistake I made was forgetting to double check my pieces. My 1x2's were actually thicker than 1" so they protrude from the side of my piece a bit. A sander could fix that. All in all so proud! Thanks to Ana and to everyone else for your brags.

P.S. A mini keg jig kit is SO worth the investment. I used standard wood-cost of about $20 including $4 for my drawer handle hardware. Kreg jig kit plus pocket hole screws were an additional $30 but I have plenty left for my next project;)

posted by Carmenh | on Mon, 2014-04-14 13:45 EDITREPLY

Estimated Cost
$20
Estimated Time Investment
Day Project (6-9 Hours)
Finish Used
Primer and good quality cabinet paint
Recommended Skill Level
Beginner

Great project!

Great plans! Easy to follow and well written. The final project was bigger than I thought it was going to be but very happy with it. Built exactly as the plans stated and the finish project is very heavy duty. My skill level is average and I am only a weekend wood worker and I found it looked very professional.  

Built from Plan(s)
Estimated Cost
Total with homemade hardware for doors $200. To make the hardware was not hard at all. Great articles online on how to make barn door hardware.
Estimated Time Investment
Day Project (6-9 Hours)
Finish Used
Dark stain, espresso color from Menards.
Recommended Skill Level
Intermediate

Adirondack Chair & End Table-Mother’s Day Gift 2020

Submitted by Anonymous (not verified) on Wed, 05/06/2020 - 15:32

Treated 2x4 Frame that I botched out for the front brace and cut the rear supports on a curve and bevel to allow for a curved back. Cedar 1x4s ripped to 3” edges then rounded for the seat, cedar 1x4s for the back slays and Cedar 1x6 for the arms. Also added UHMW feet to avoid damaging the deck and allowing it to slide easily.

Estimated Cost
100-110
Estimated Time Investment
Week Long Project (20 Hours or More)
Finish Used
Olympic Waterguard
Recommended Skill Level
Advanced

Farmhouse Toddler Bed

I was way overdue on building this toddler bed for my son. He really motivated me when he started repeatedly climbing out of his crib. The bed was very easy to make. The three things I would recommend are:

1. Do not use pocket holes on the footboard, so you don't have to fill all the holes. The nails worked great on the footboard and it is very sturdy.

2. Attach the side rails to the end board on the outside, not the inside. I found this out the hard way and had to take it apart and fix it.

3. Listen to Ana White and measure your mattress first. My son's fits, but I have to squeeze it in a little.

Great plans!

Built from Plan(s)
Estimated Cost
$30
Estimated Time Investment
Day Project (6-9 Hours)
Finish Used
I used Minwax Dark Walnut, #2716; I rubbed it in with a rag. I followed with 2 coats of Minwax Fast Drying Clear Satin Polyurethane. I love how it turned out. It can’t dry fast enough :)
Recommended Skill Level
Beginner

Comments

shortermama (not verified)

Mon, 08/13/2012 - 17:34

Did you use a plan for your bed rail? Do you find that it's large enough? I feel like my little man will roll right out. He's an active sleeper just like I was as a kid. Though miraculously when I rolled out of bed (even when hitting a wood platform floor when camping with girl scouts) I never woke up. This guy will.

Pallet rack modified

I changed it alittle by not having three posts and some I added a top shelf and cut holes for shot glasses. I also added wine glass holders to the bottoms cutting out a circle and slot.....Use t-molding mush easier and faster.

Estimated Time Investment
Afternoon Project (3-6 Hours)
Finish Used
Stains and varnish. Used 220 sand paper on some and rustic ones 80 grit.
Recommended Skill Level
Starter Project

First bird house

Submitted by Snoot357 on Fri, 07/15/2016 - 17:14

First bird house..! 

Built from Plan(s)
Estimated Cost
$3.00 for six foot board.
Estimated Time Investment
An Hour or Two (0-2 Hours)
Finish Used
Boiled linseed oil, on the outside only.
Recommended Skill Level
Beginner

Shop Cabinets with Drawers

Submitted by Anonymous (not verified) on Wed, 01/03/2024 - 08:37

Shop was a mess and needed some organization. Beginner workworker so I decided to make some shop cabinets. Took awhile and they are not perfect but they work. Now I have plenty of storage for my tools.

Jeff DeVries

Medicine Cabinet

Submitted by beansurfin on Mon, 07/02/2012 - 18:12

I found this project on I different site (sorry) but really wanted to make it for our quest bathroom. It was not to difficult and it really helps to finish off our quest bathroom since it was missing a medicine cabinet.

Estimated Time Investment
Day Project (6-9 Hours)
Finish Used
Painted
Recommended Skill Level
Beginner

Comments

Rolling Cubby Bench topped w/fabric

Submitted by dhynd on Fri, 04/18/2014 - 20:26

Super easy to make this cubby bench! Used fabric to cover the the bottom shelf, and cut an extra piece of lumber to make an additional top. Will add 3 inch casters.

Built from Plan(s)
Estimated Time Investment
Afternoon Project (3-6 Hours)
Finish Used
Glidden Mint Paint in EggShell
Recommended Skill Level
Starter Project

Dining room set (with Classic Chairs made Simple)

Submitted by Anonymous (not verified) on Mon, 07/18/2016 - 10:16

This was my first attempt at making furniture...but it turned out GREAT!  My fiance was about to buy a VERY similar dining room set for $1300 before I stopped her and insisted that I could build it myself, finish it to match our kitchen/dining room, and save a TON of money!

Built from Plan(s)
Estimated Cost
$350 total
Estimated Time Investment
Week Long Project (20 Hours or More)
Finish Used
Minwax Expresso Stain plus 2 coats of Minwax Polycrylic on table top and seats
Minwax Classic Black Polyshades on frame
Recommended Skill Level
Beginner

Comments

Kids Farmhouse Picnic Table

Submitted by G Dill on Mon, 05/11/2020 - 11:48

I built a Kids Farmhouse Picnic table patterned from the Farmhouse Dinning Table that I built his mom and dad. For safety purposed, on the little picnic table I fastened the benches to the table. I really like your Farmhouse series. G

Estimated Cost
$20
Estimated Time Investment
Afternoon Project (3-6 Hours)
Finish Used
Minwax Special Walnut stain with Minwax Satin Polyurathane
Recommended Skill Level
Beginner
Back