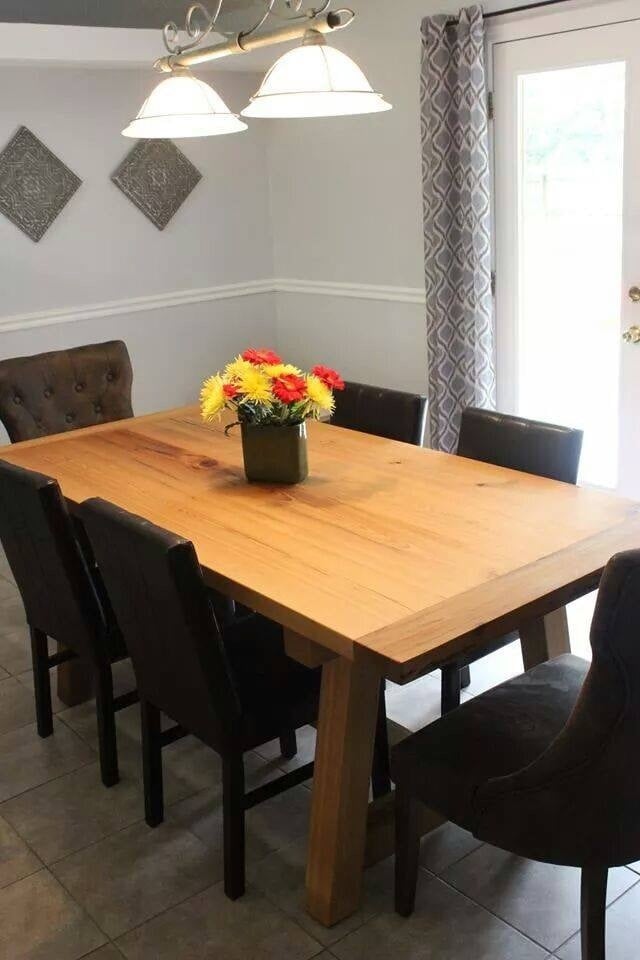
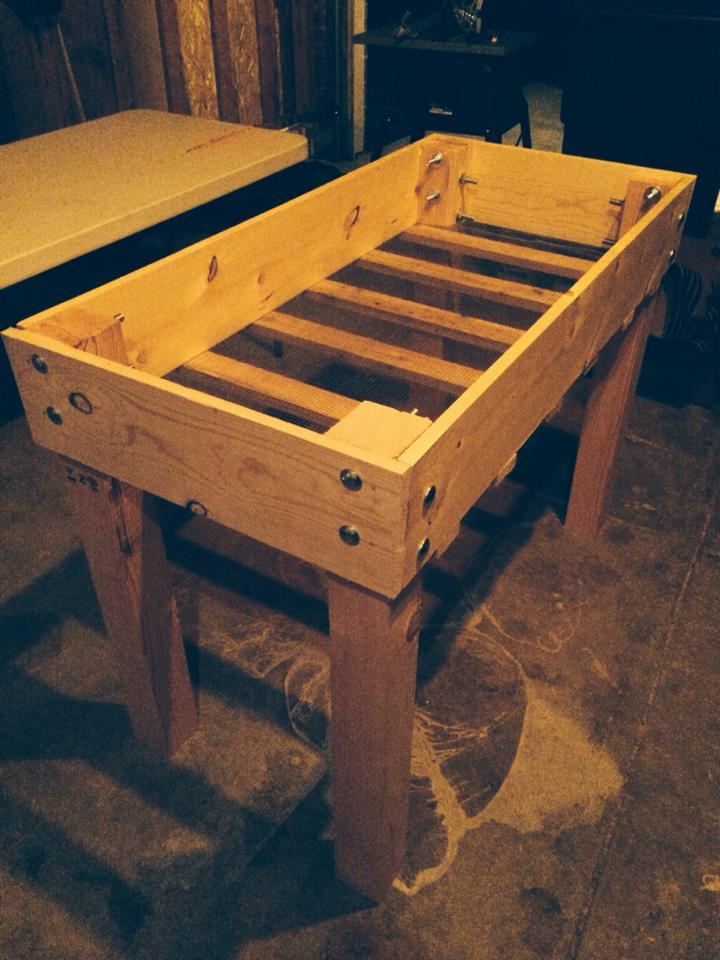
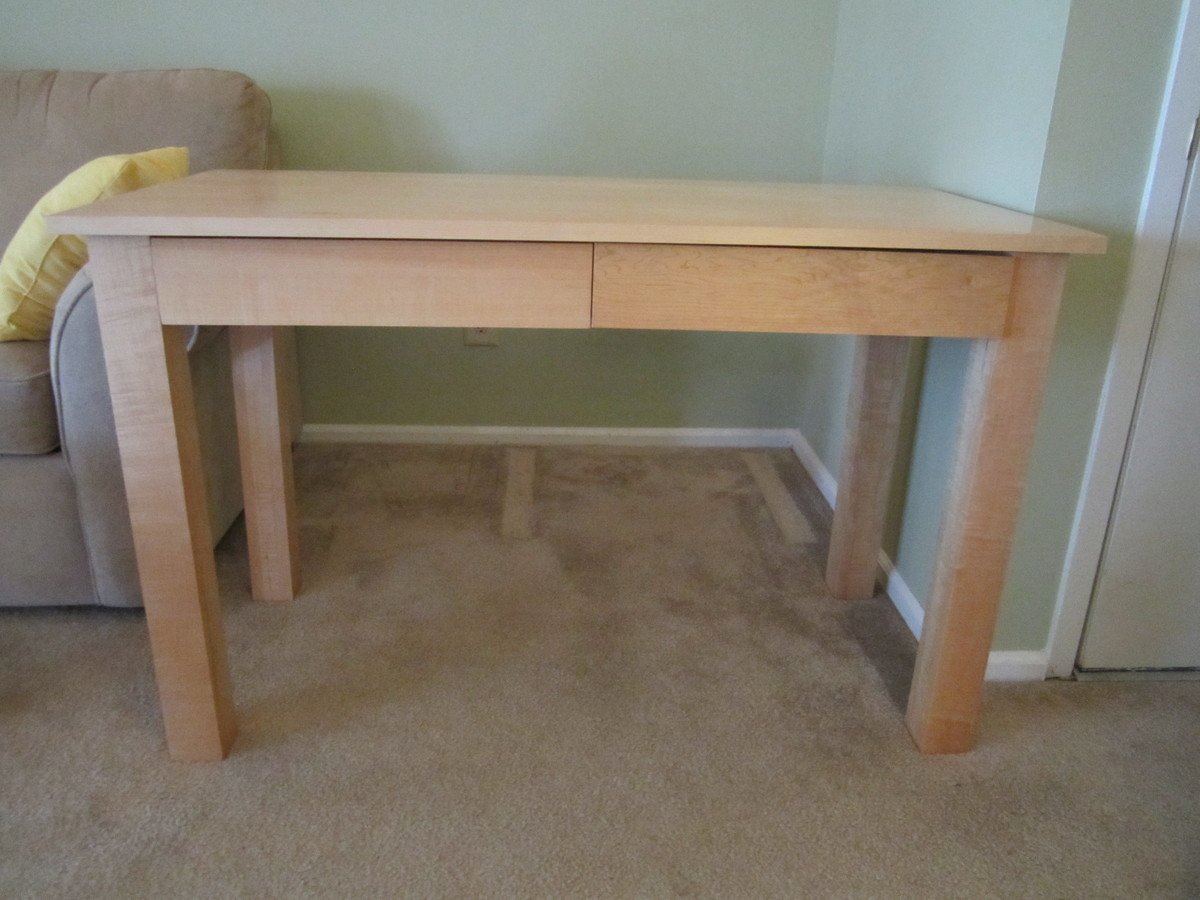
Modified Trestle Table
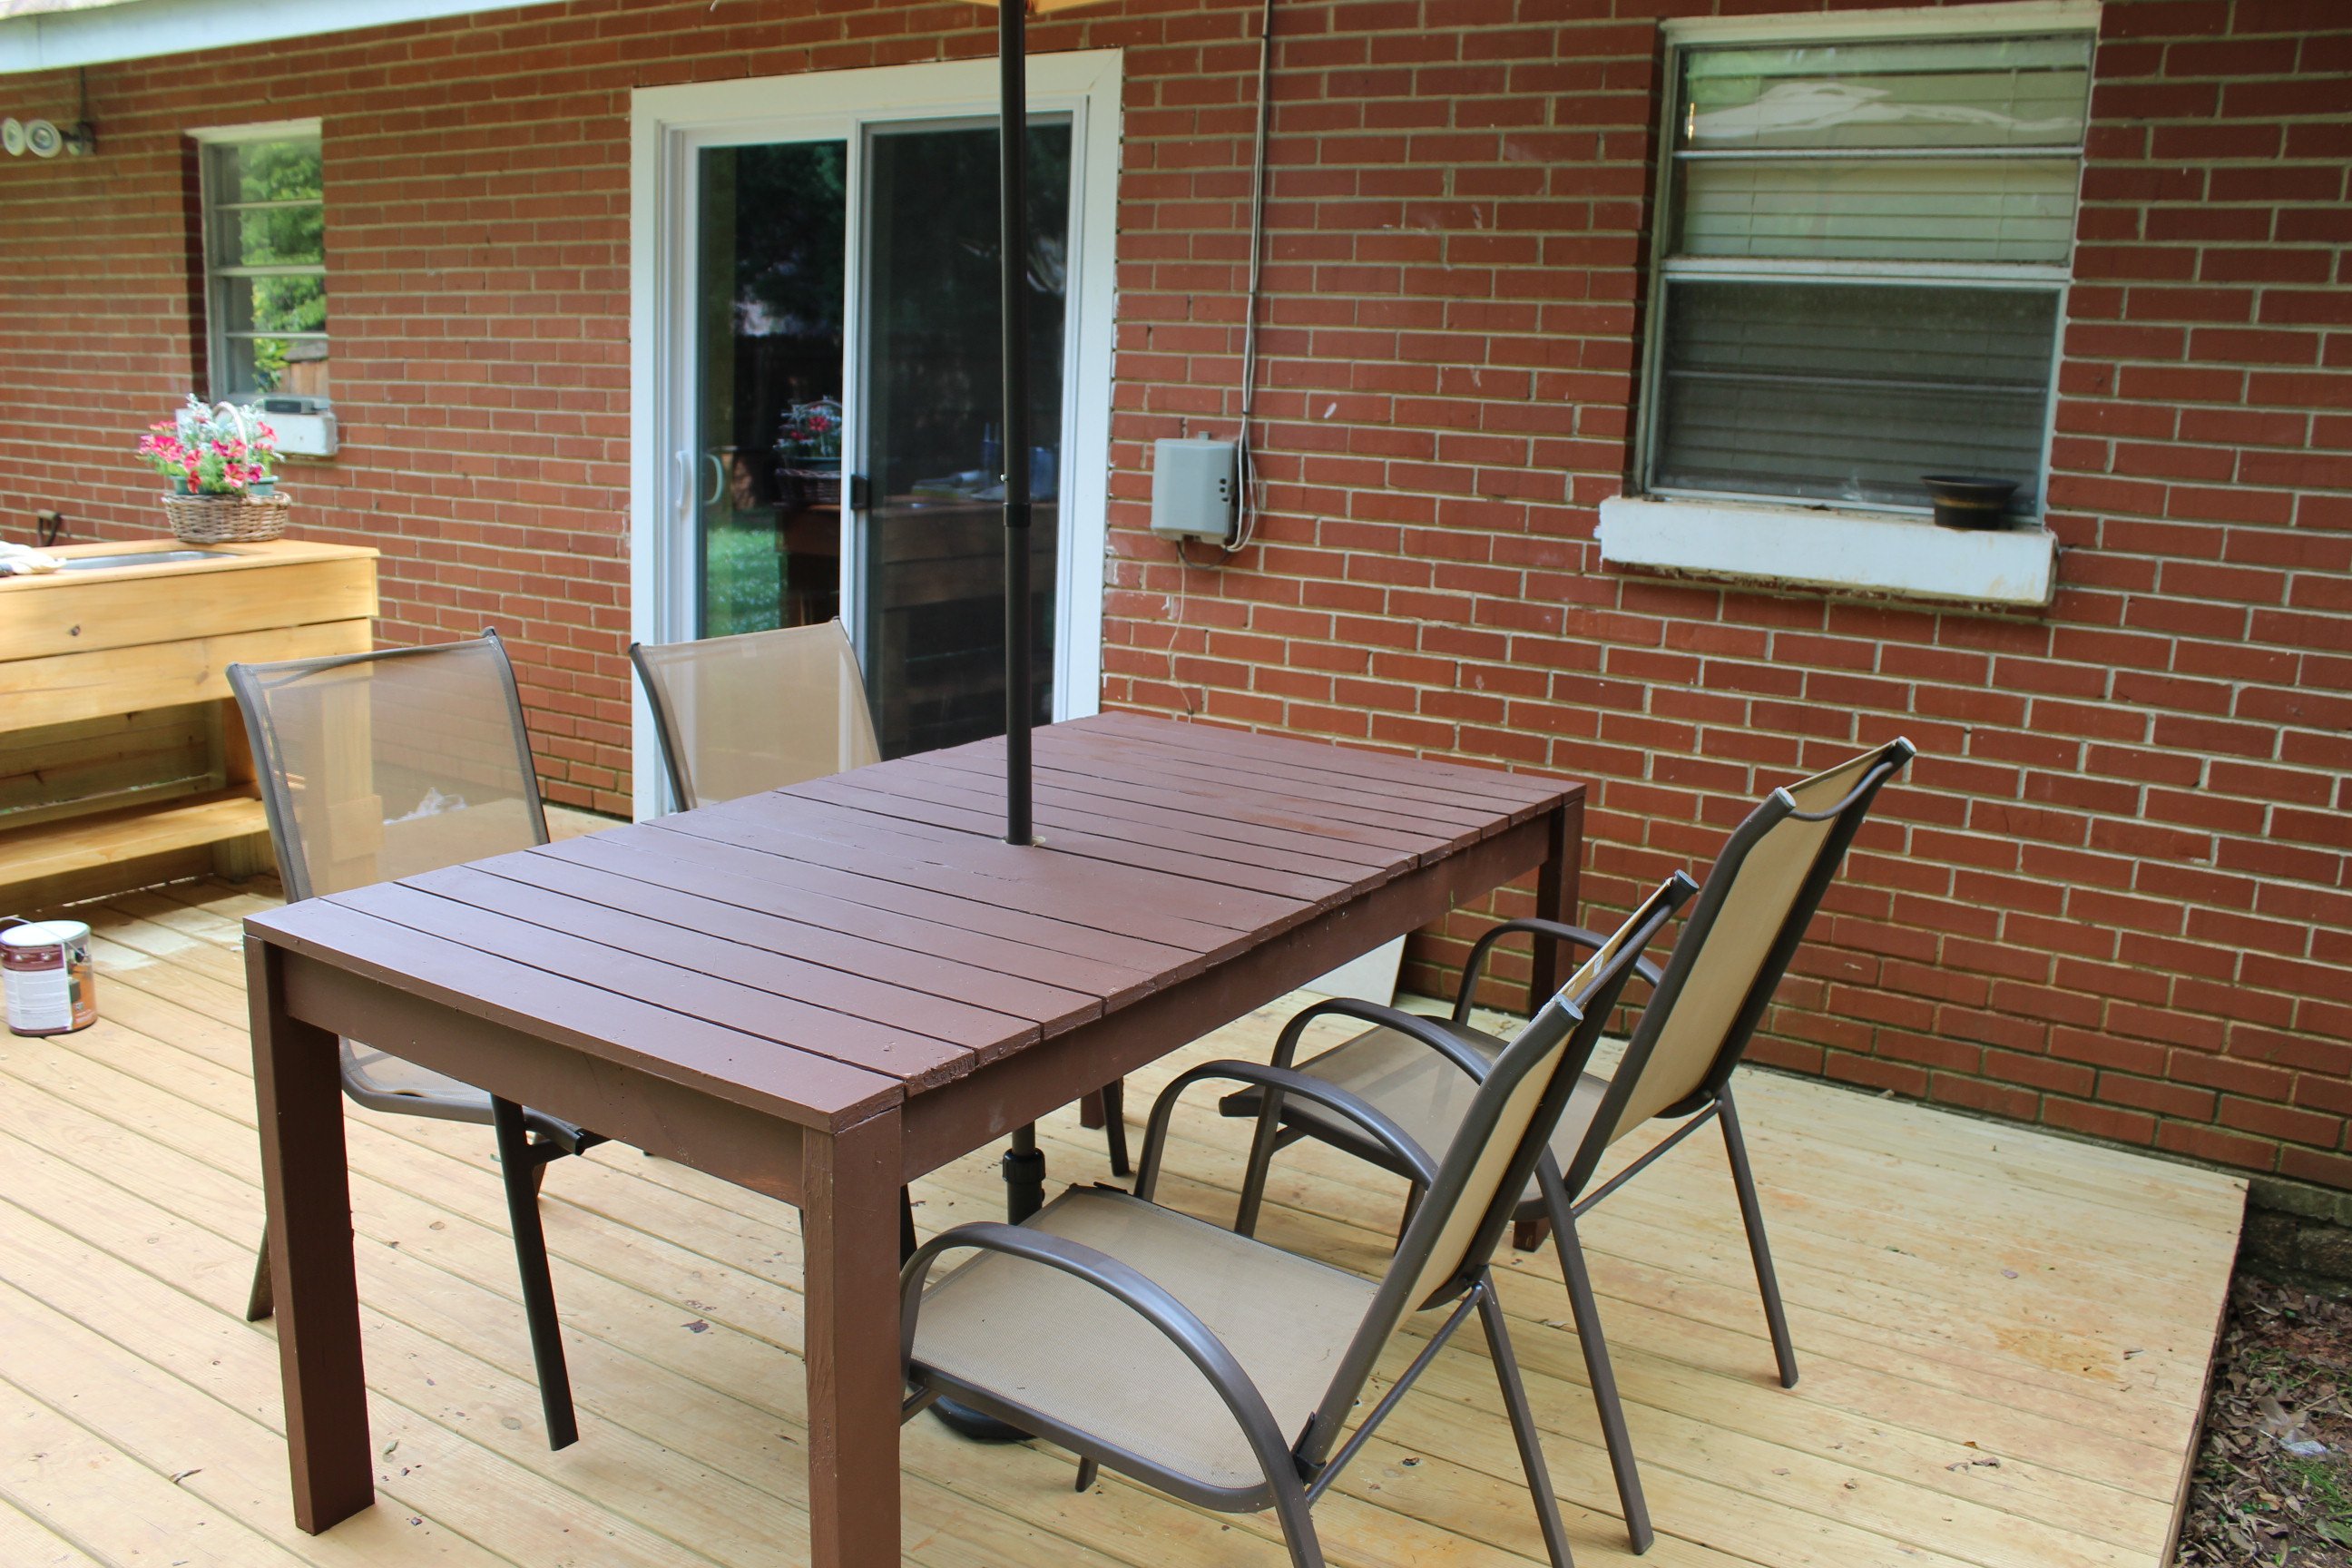
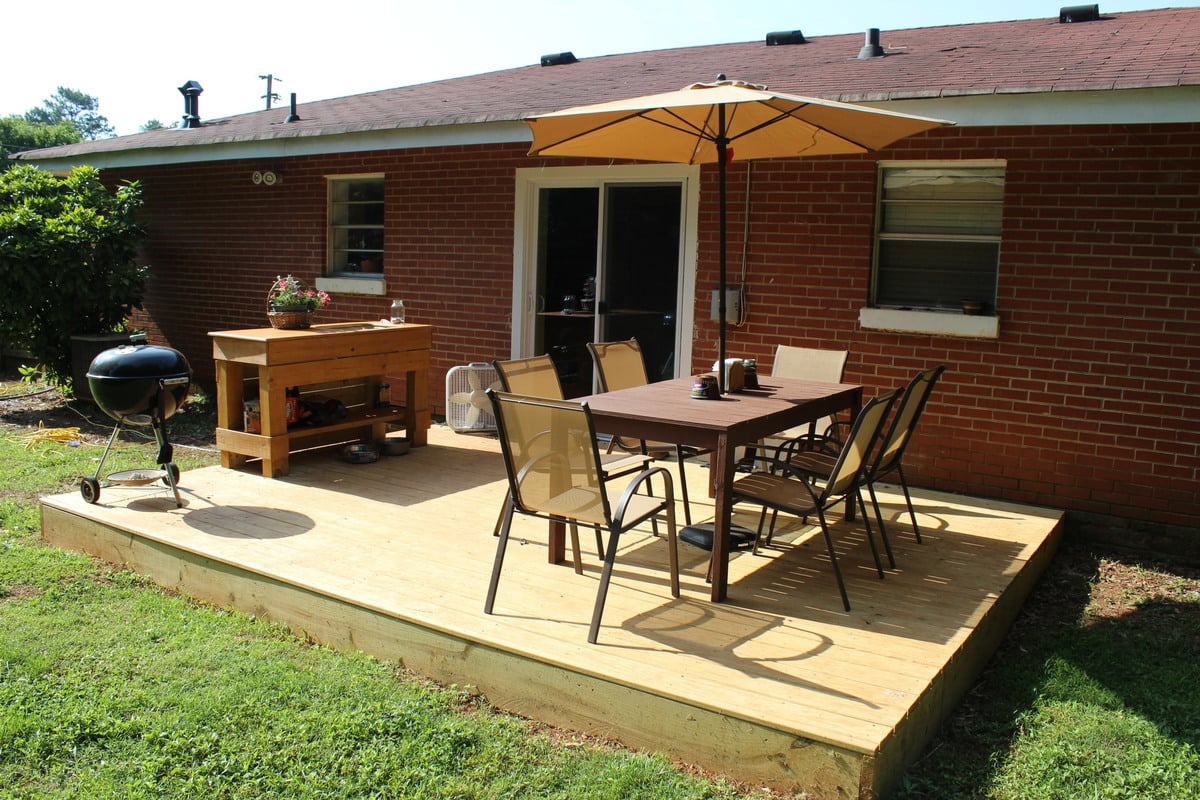
This is the kitchen table that I made when my wife said I "wasn't handy", I'm pretty sure she meant she wanted me to replace the ceiling in the dining room...
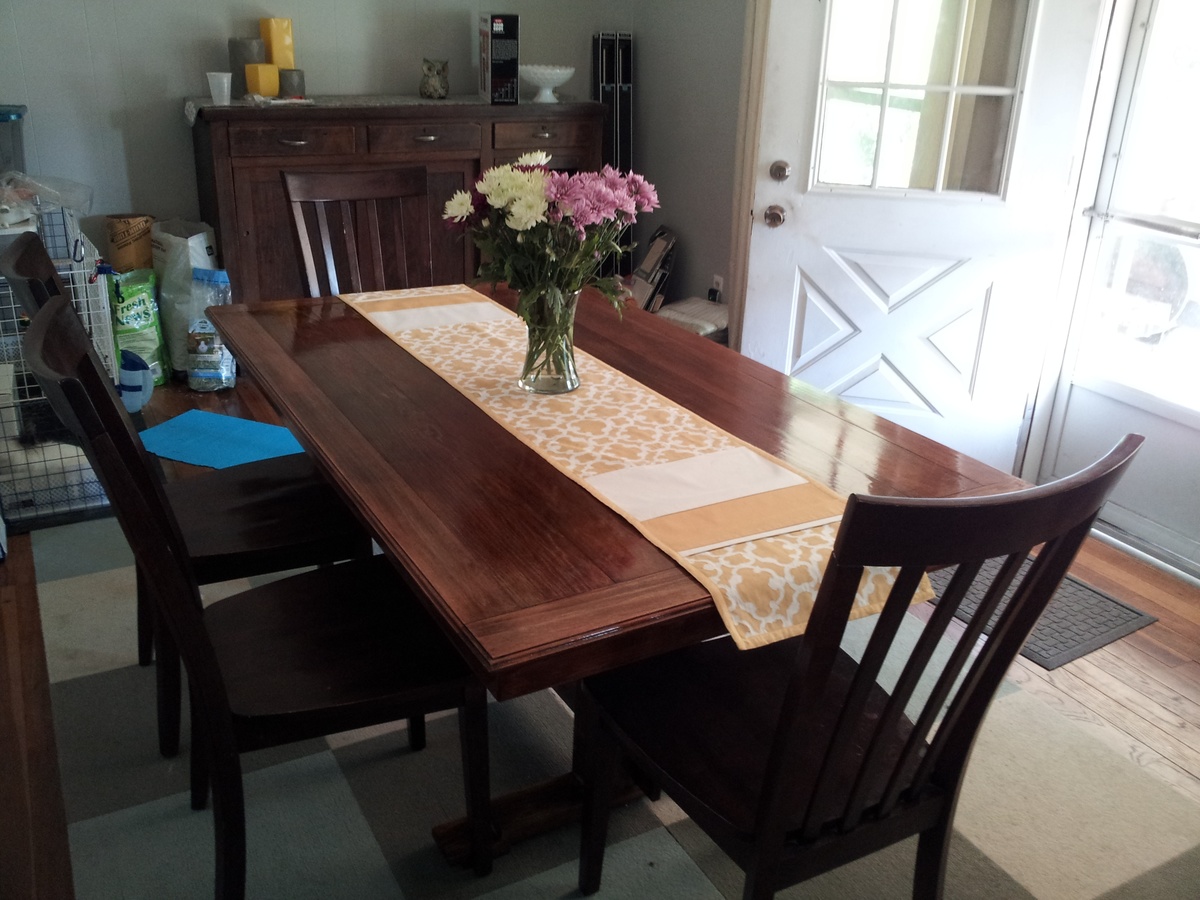
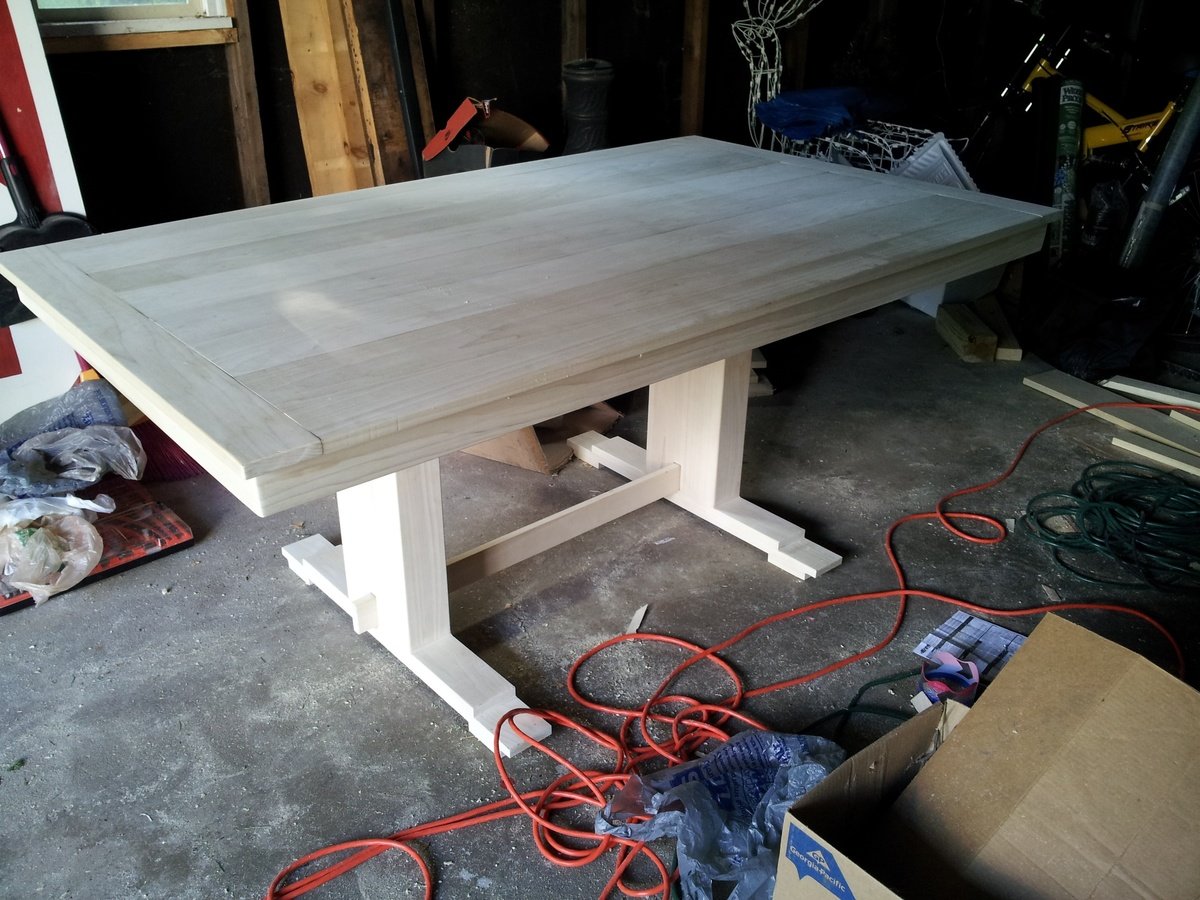
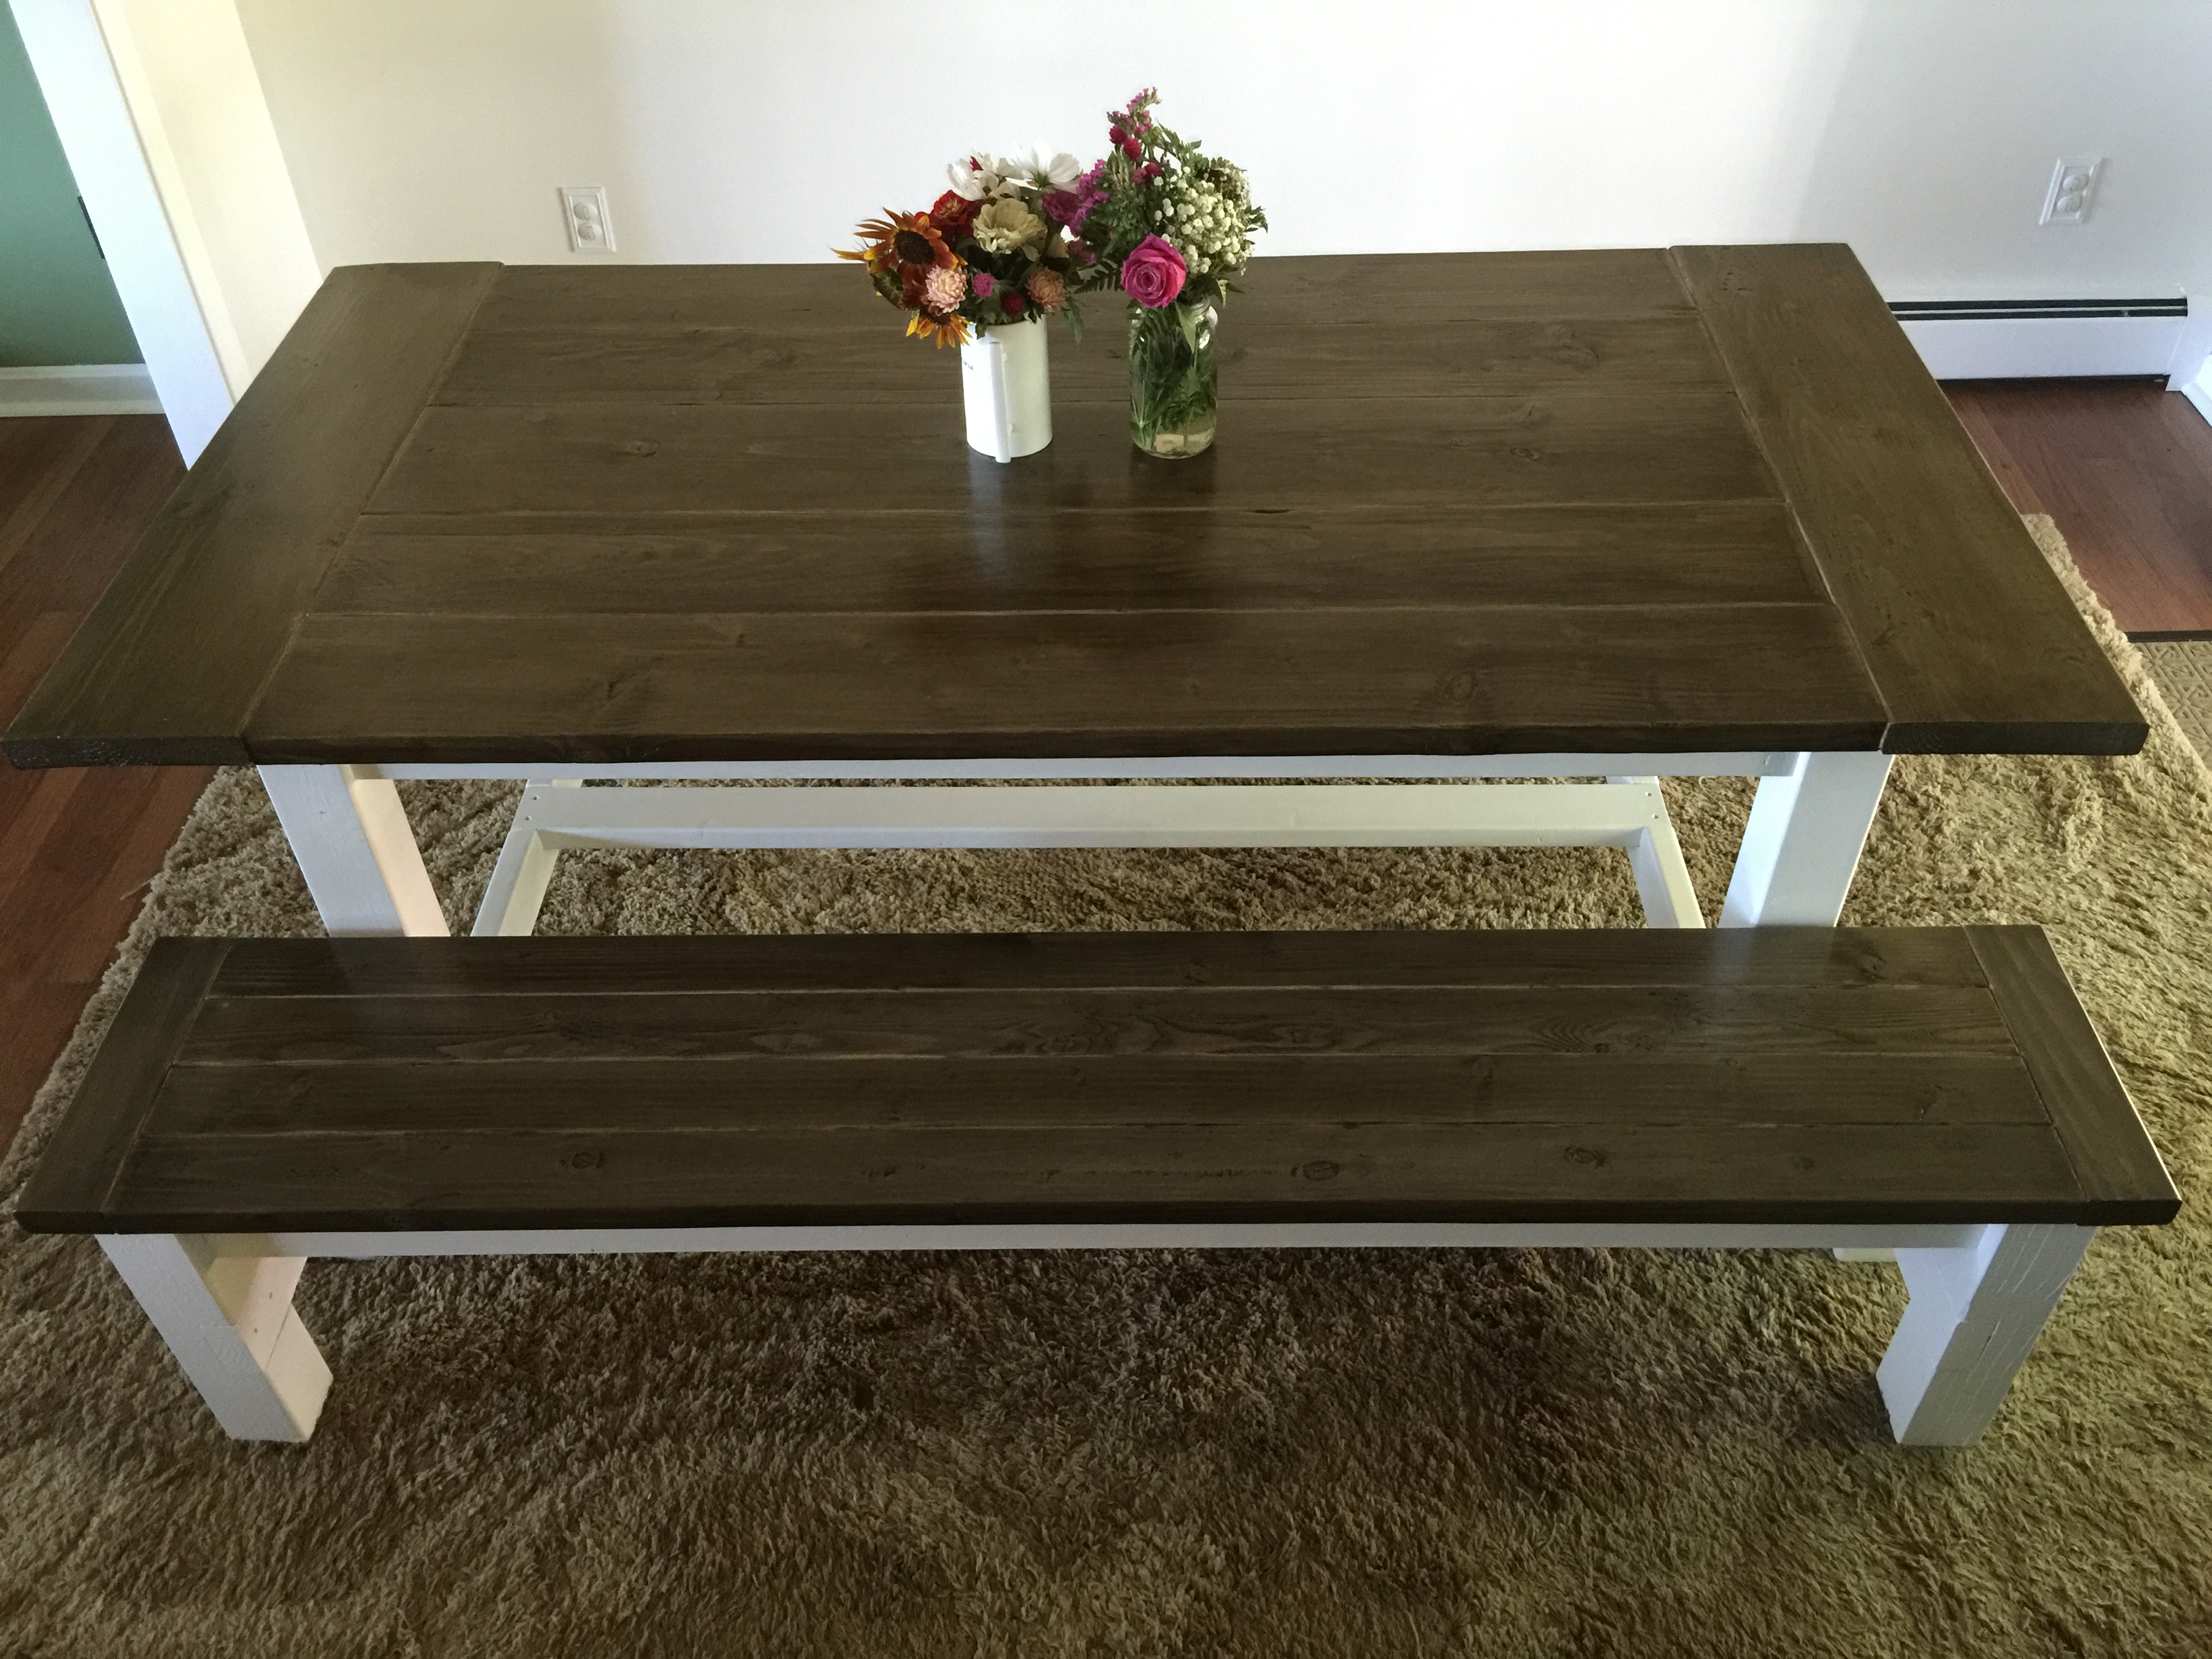
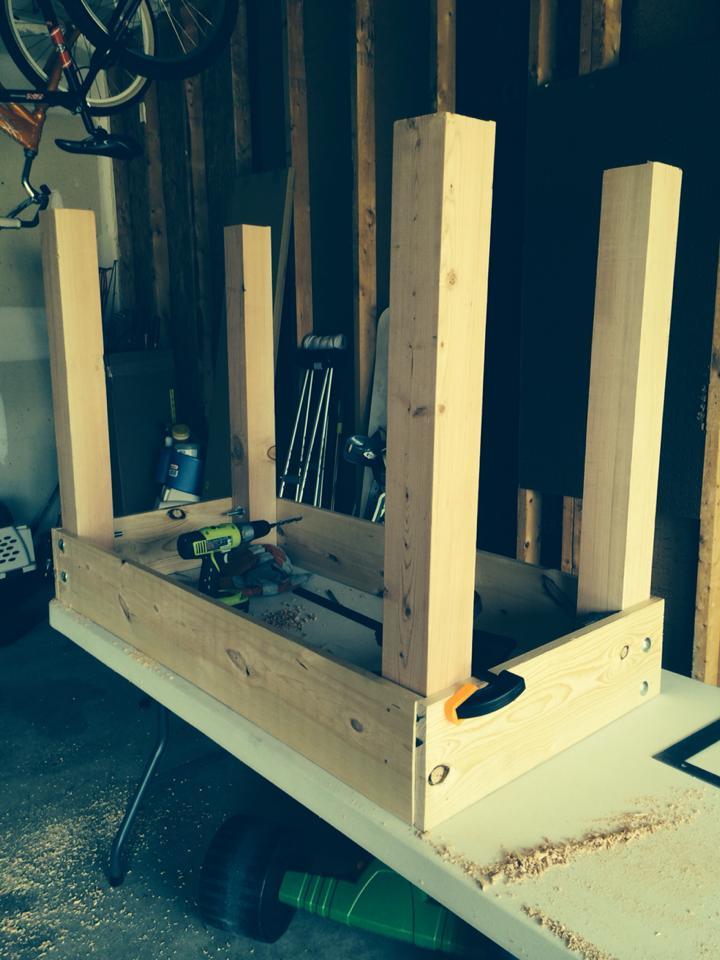
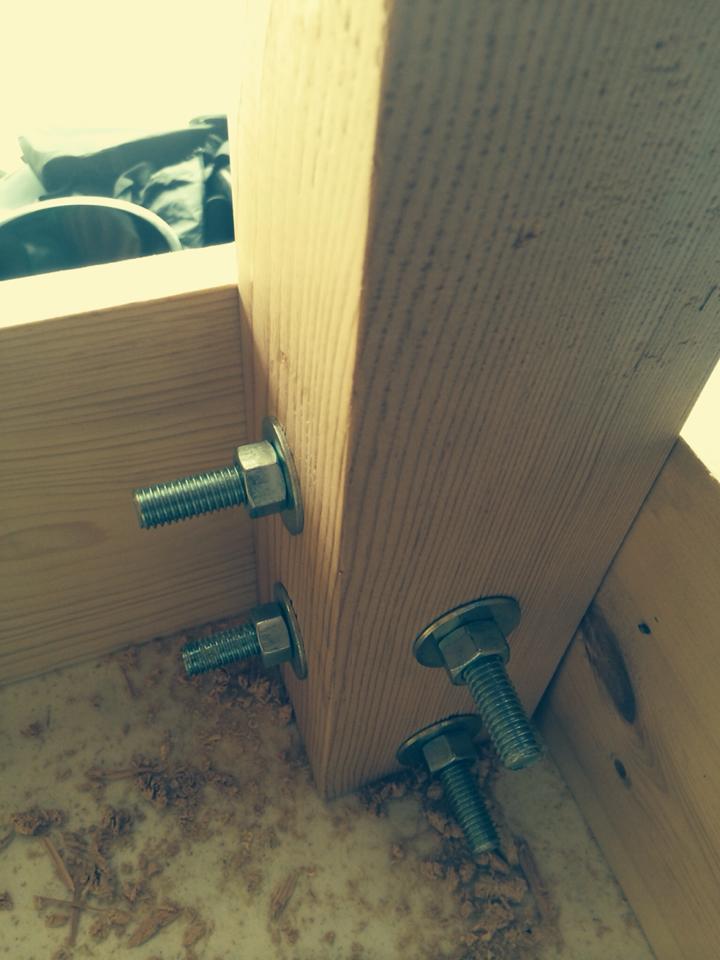
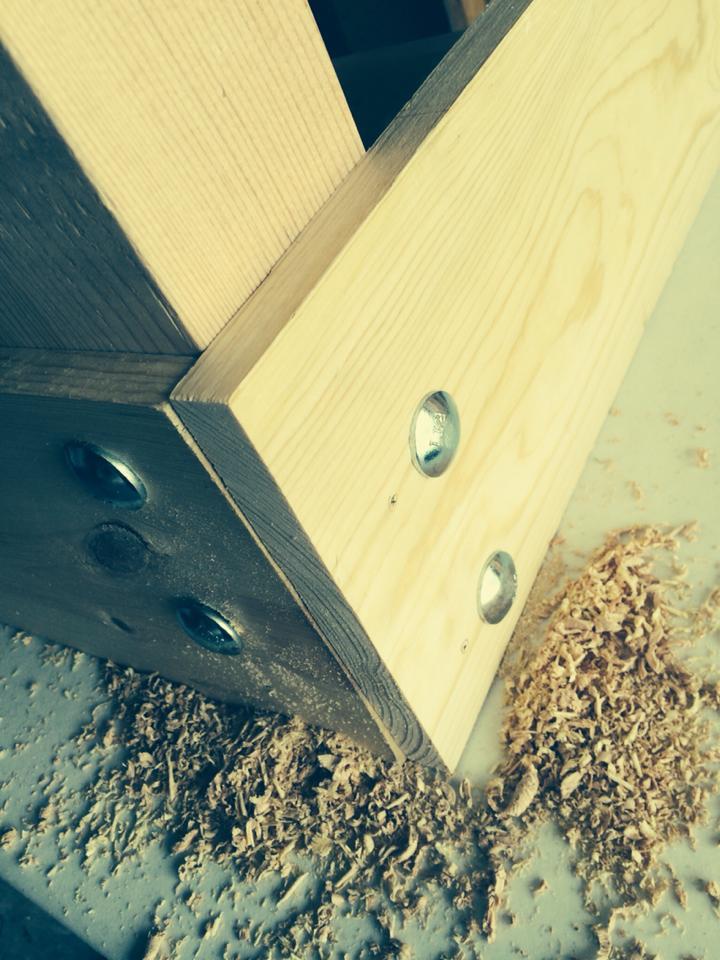
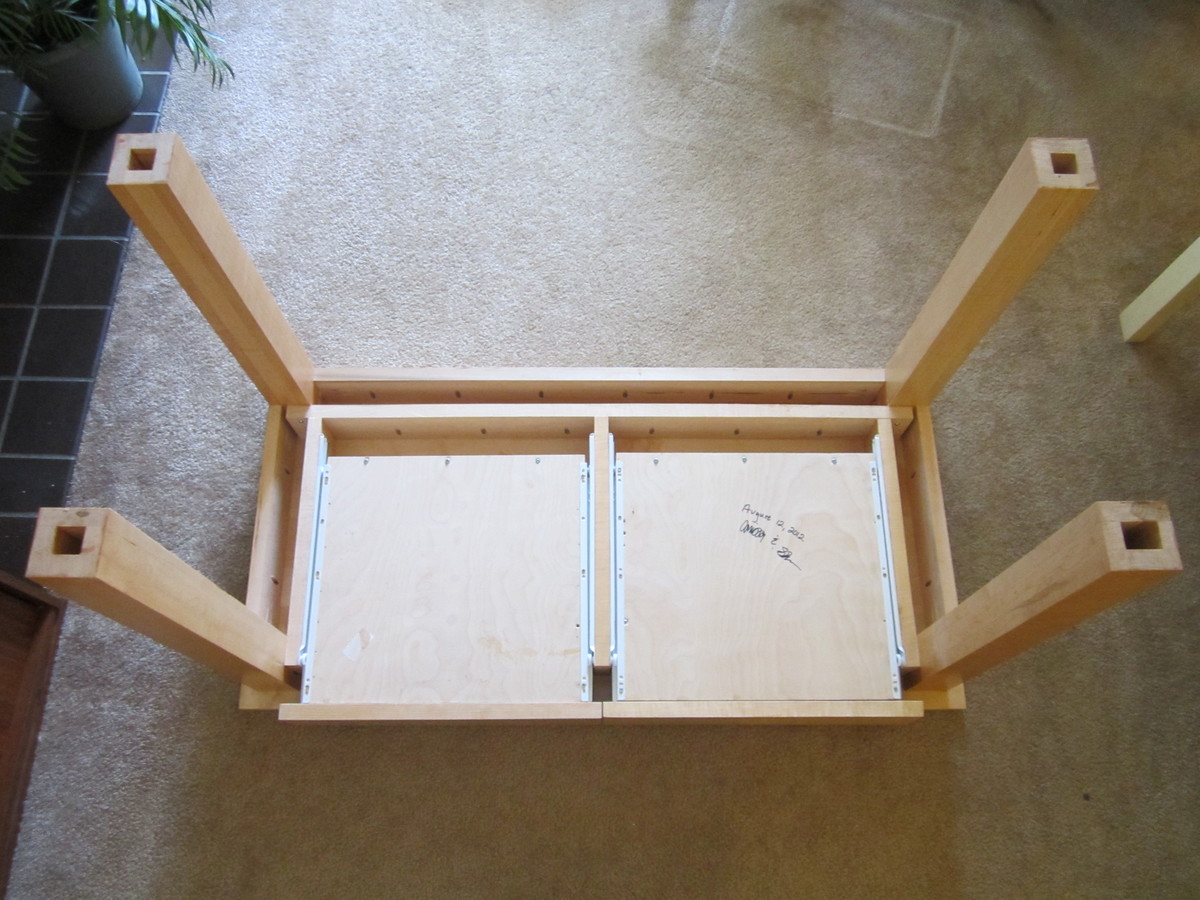
I took the Farmhouse Table plans and changed them a bit to create a true trestle table. I'm pretty happy with the results.
Unfortunately there isn't anywhere to put the Google SketchUp of this project.
Built from Plan(s)
Estimated Cost
$250
Estimated Time Investment
Week Long Project (20 Hours or More)
Finish Used
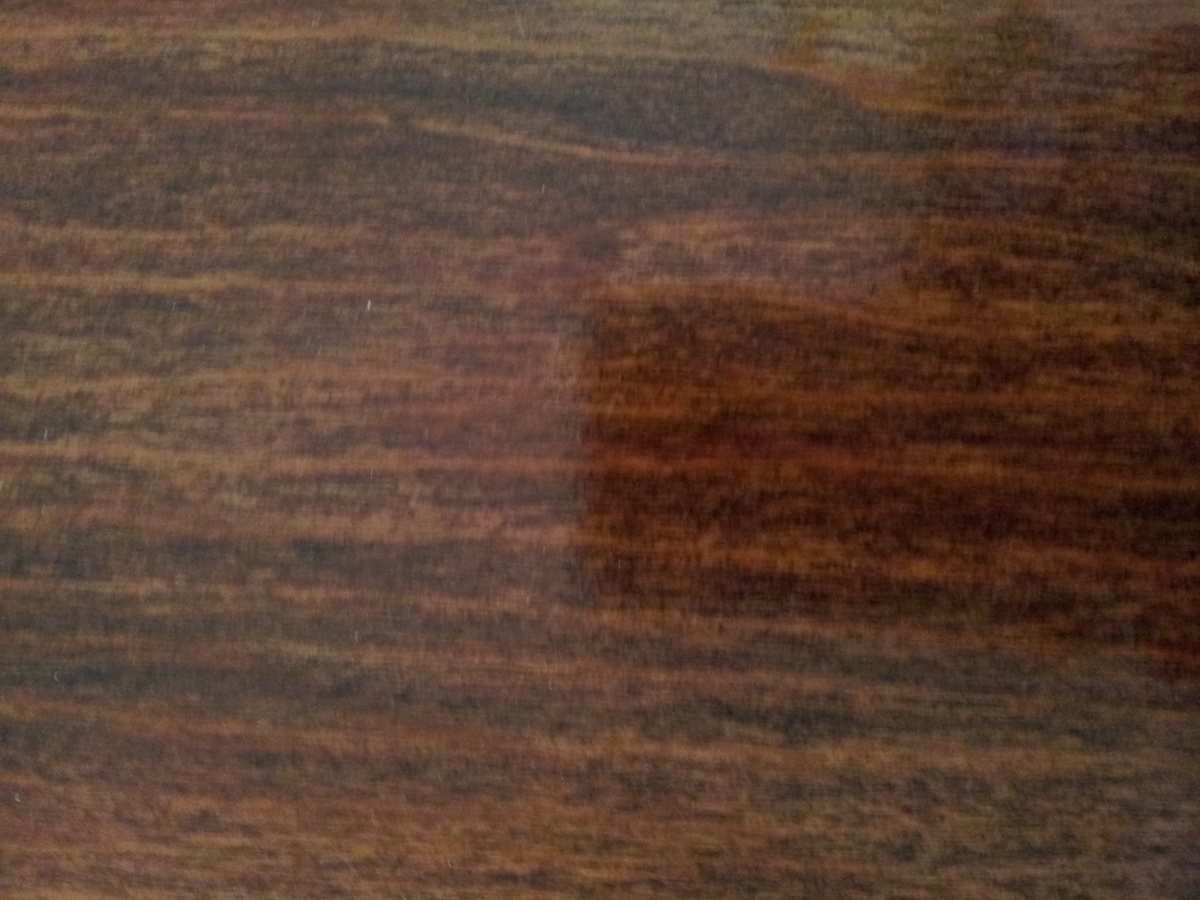
I used a cherry gel stain and a jacobean traditional stain, finished with poly. Two coats of cherry followed by the jacobean and three coats of the poly.
Recommended Skill Level
Intermediate


Comments
alamanda973
Fri, 07/27/2012 - 09:22
WOW!
Very nice table!
fethiye
Tue, 07/31/2012 - 14:32
Is it possible to give
Is it possible to give details on the modifications you have done? This is the type of table I am looking for.
Ryan
Wed, 09/05/2012 - 11:57
Changes
Basically I combined the farmhouse and trestle table plans that Ana has up here... I didn't want to use a metal bar to fasten the legs, so I used a wood cross brace. Though honestly with the large box legs, the table is very sturdy even without a cross brace. I have a Google SketchUp of this project if you want it.
Rich81
Sun, 03/10/2013 - 14:09
I love it!!
Would it be possible to get your google
sketchUp of this table? Thanks!
dvilar
Sun, 12/01/2013 - 06:59
Very nice!
Do you happen to have the drawings still? Thanks a lot!
MaryMurray
Sun, 12/01/2013 - 20:05
I love the color of the
I love the color of the finish. I am just about ready to start building my farmhouse table and was looking for a nice color for the finish. Thanks for sharing!
nikkipow
Thu, 08/18/2016 - 20:28
Gel stain
I was wondering what brand of Jel stain you used. Thanks!