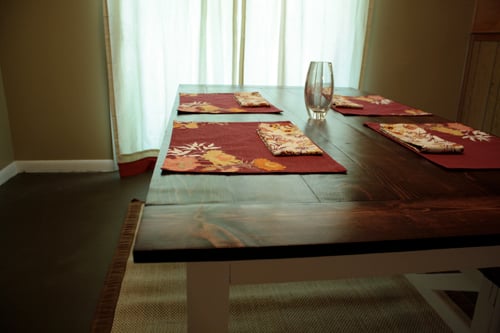
Dining room table
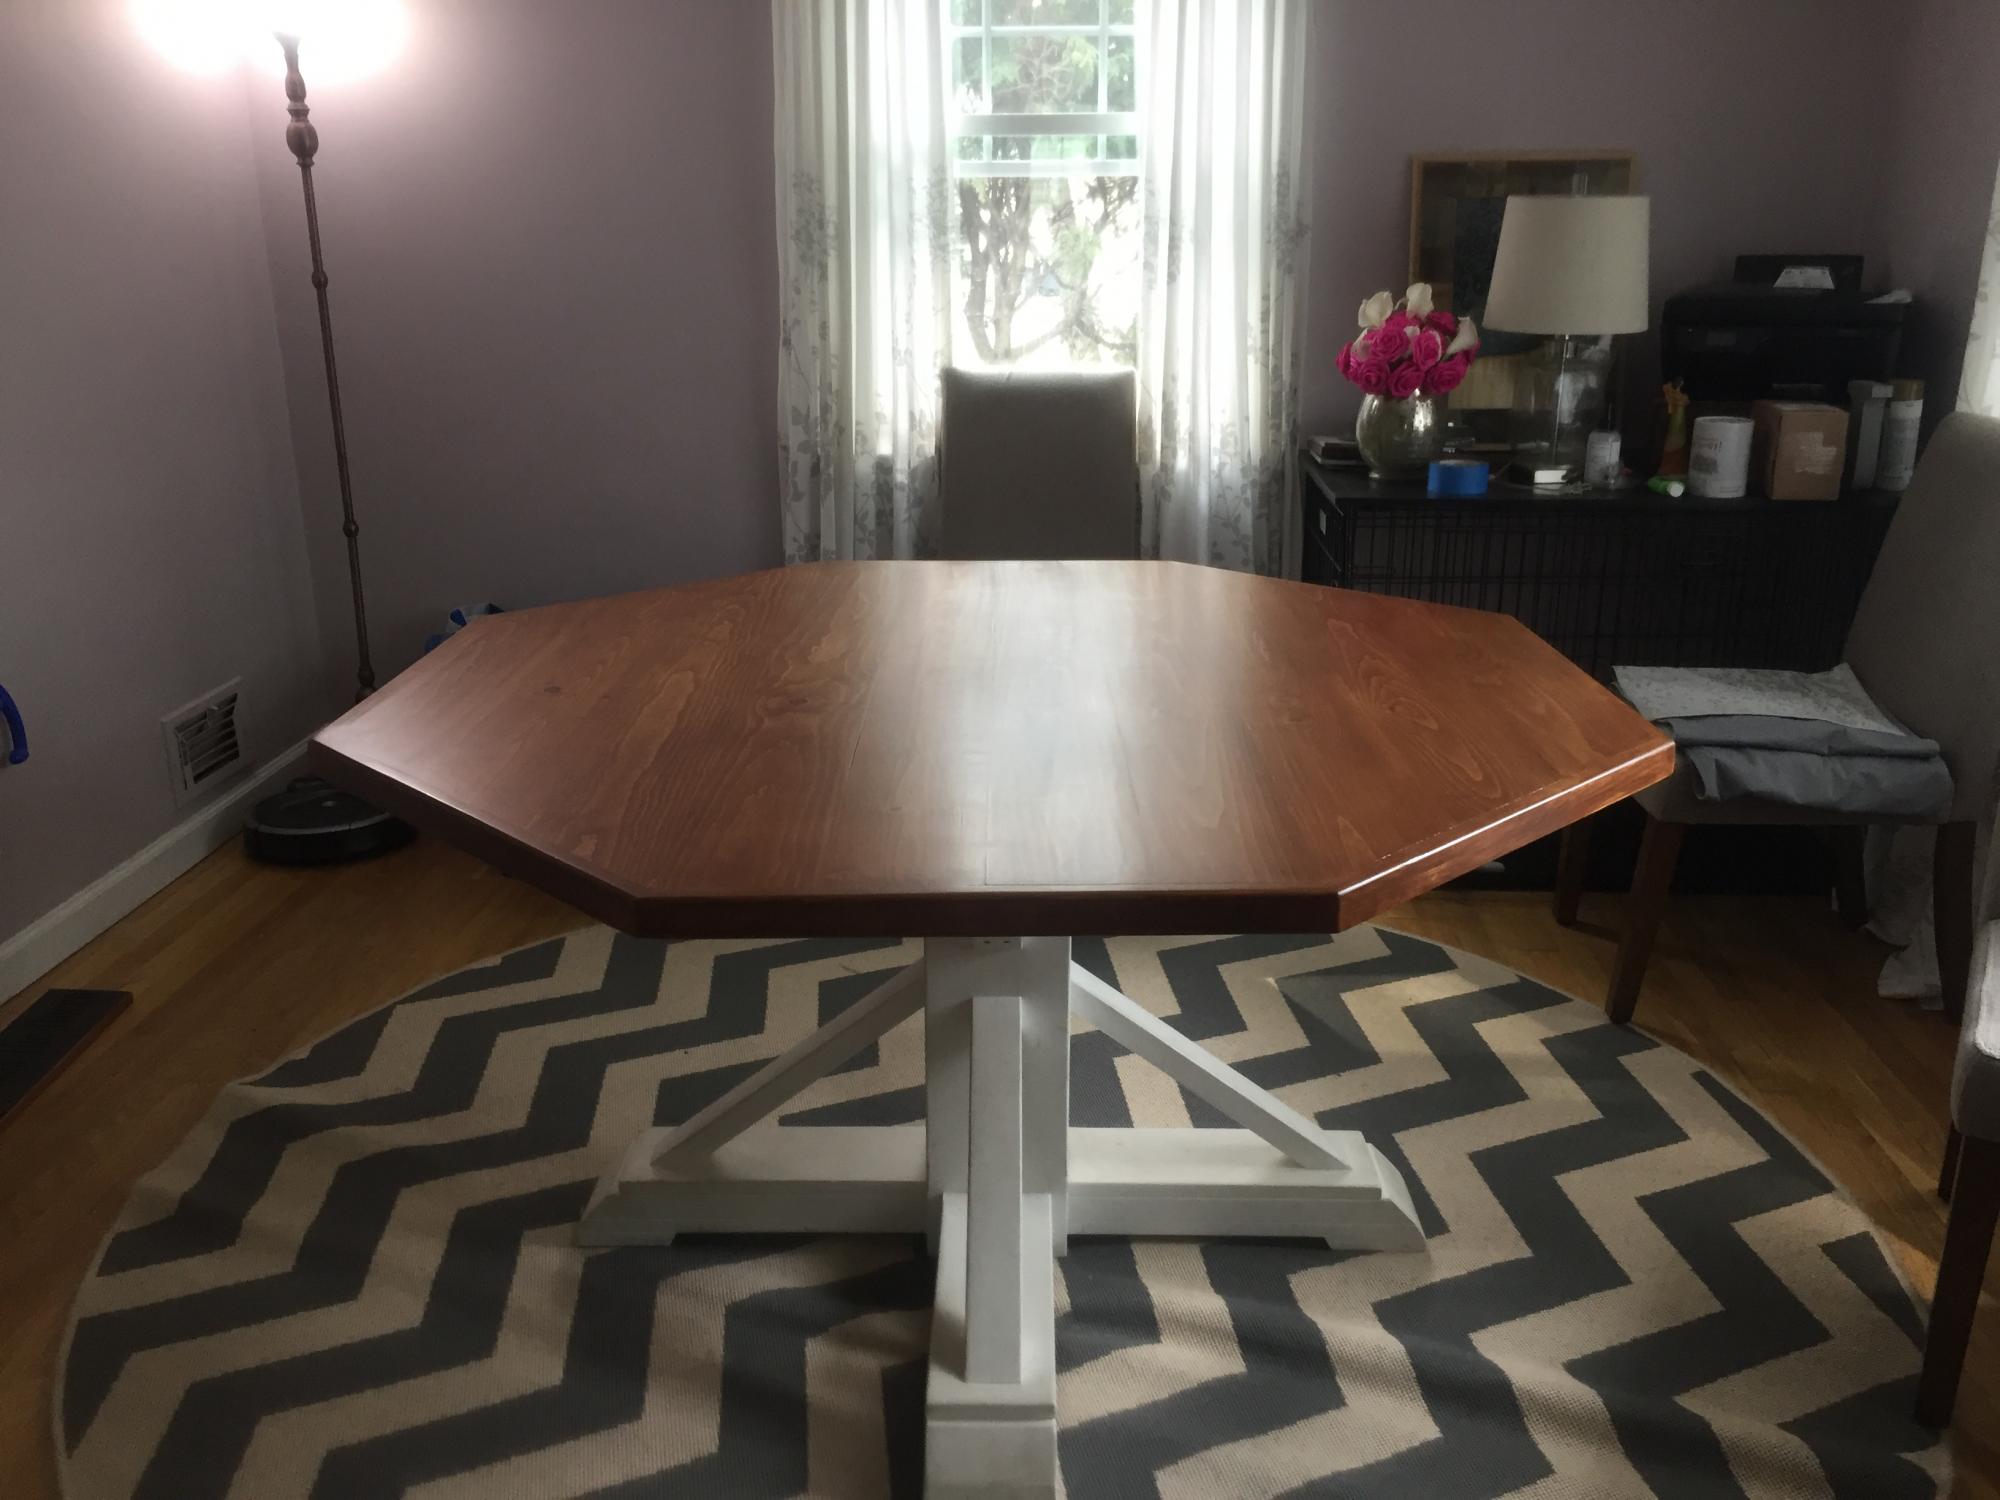
I built it. My wife stained and polyester it.
Built from Plan(s)
I built it. My wife stained and polyester it.
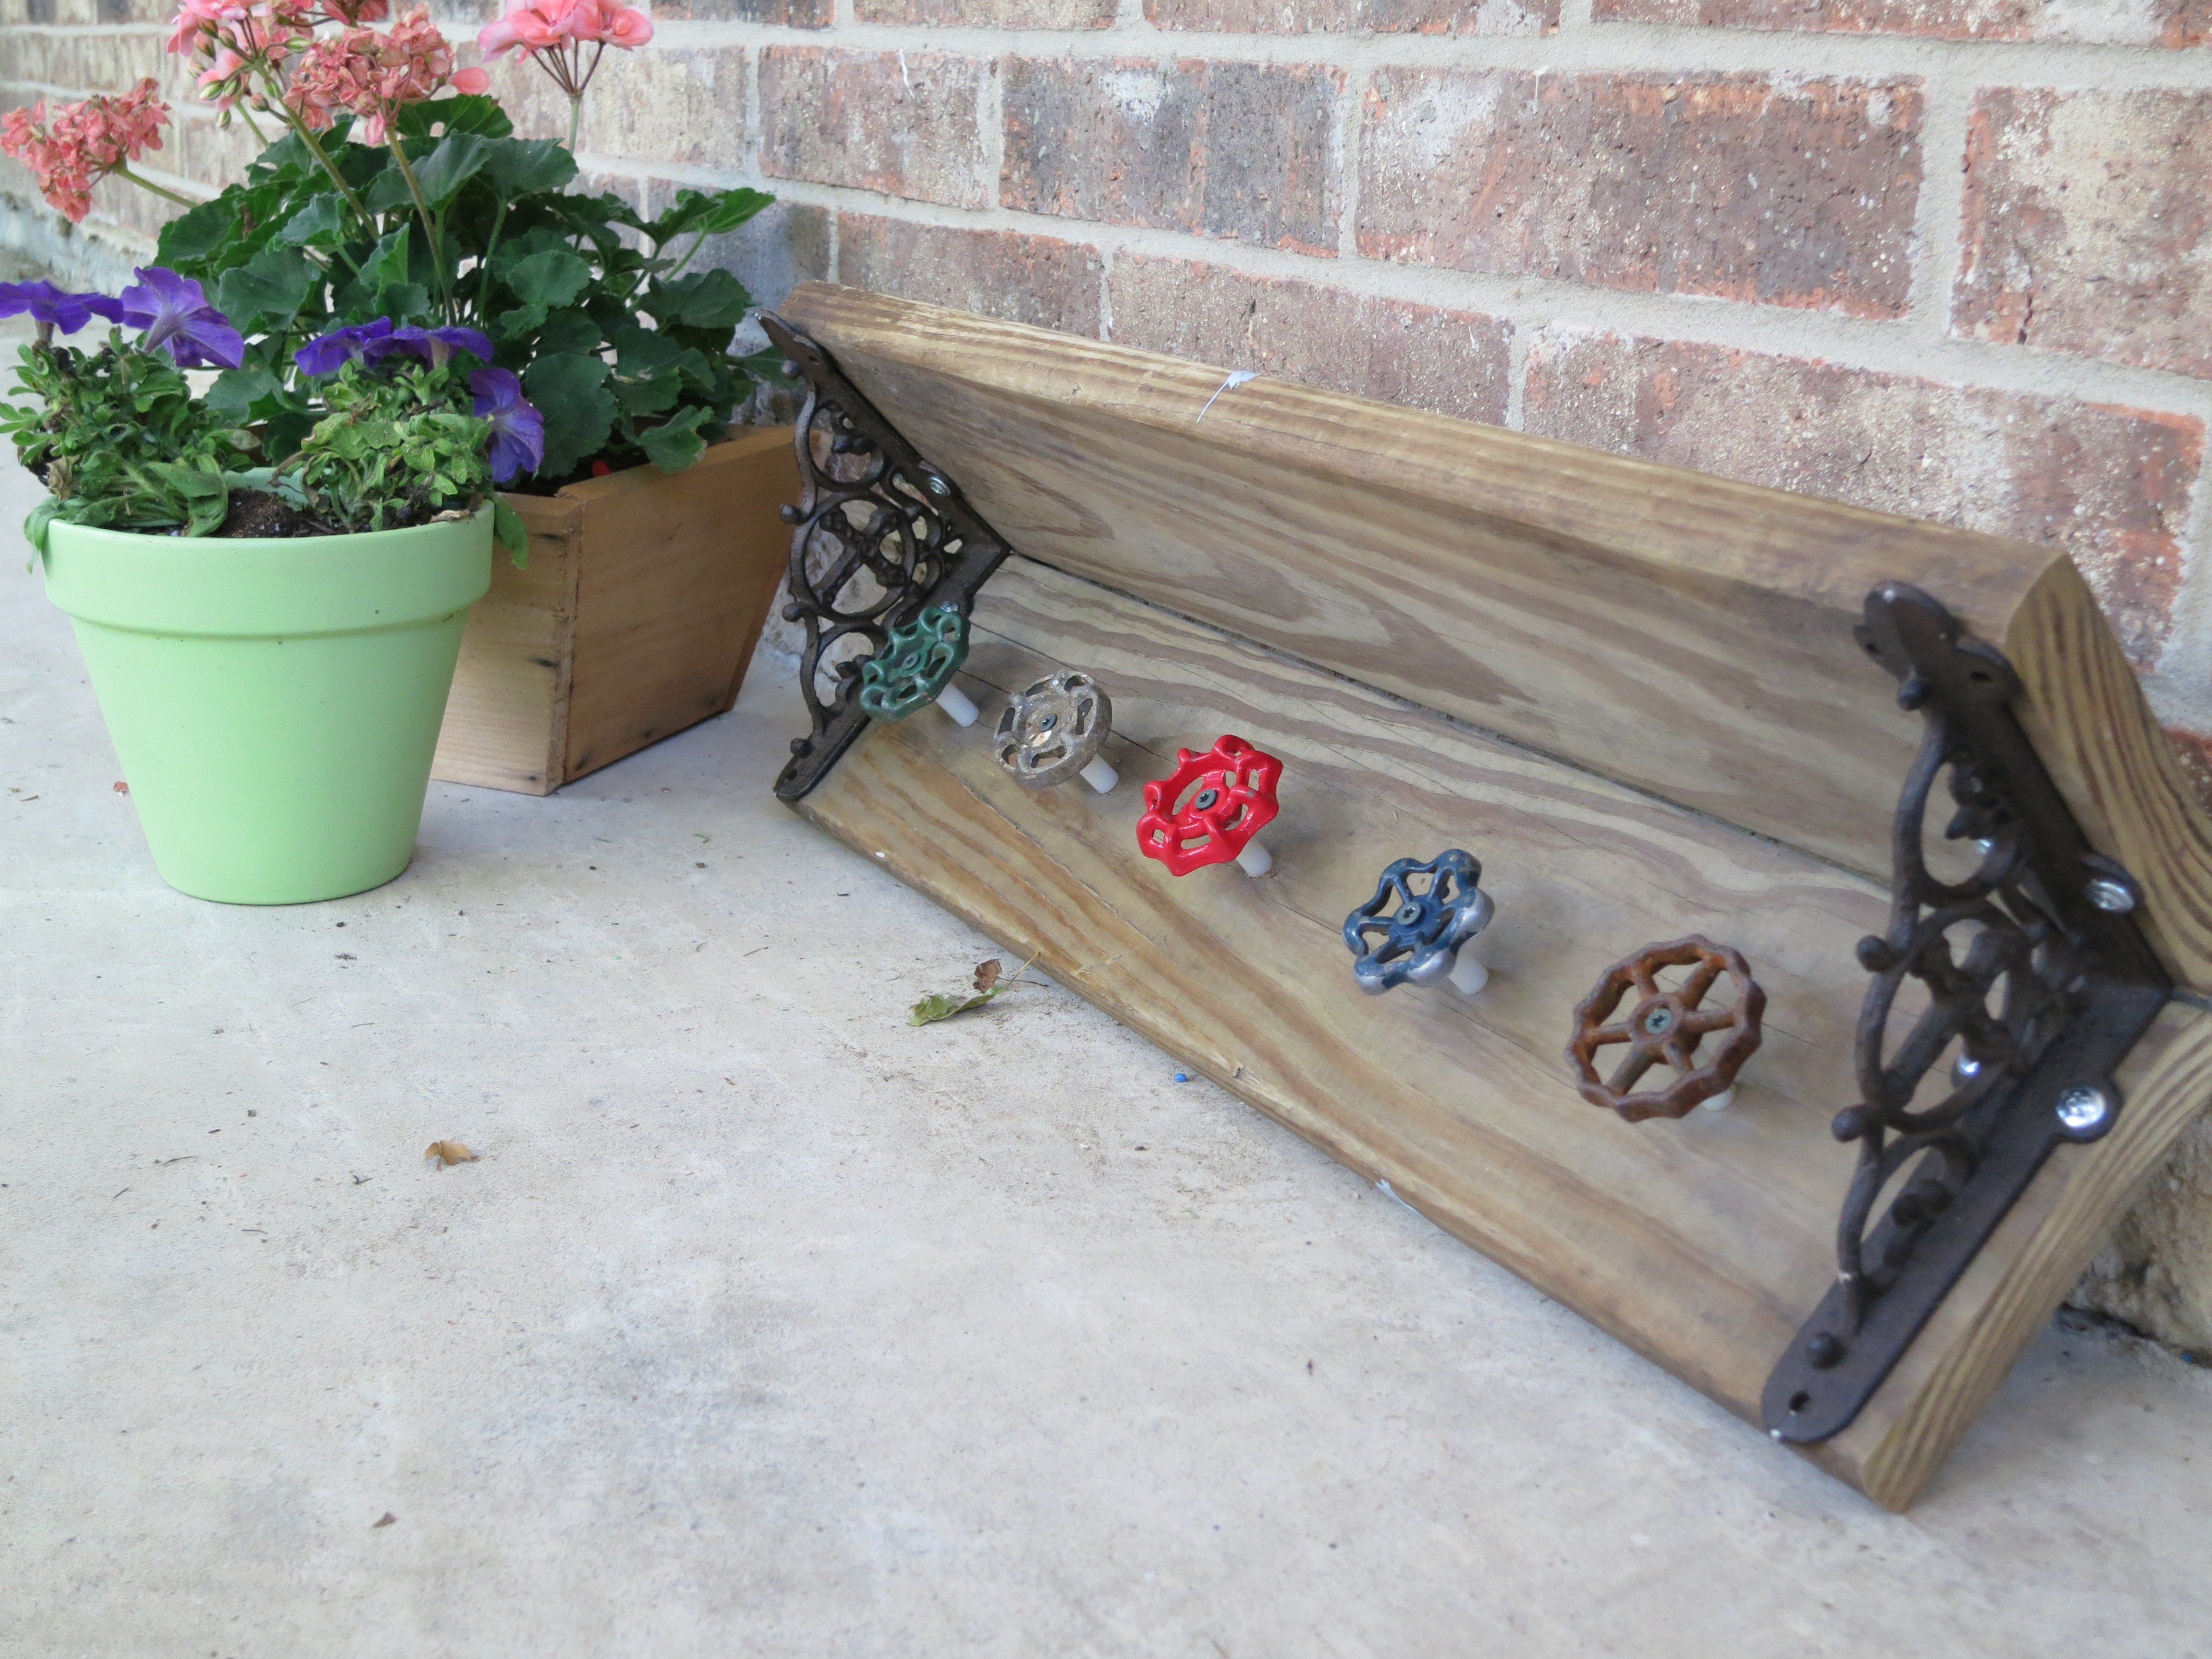
I wanted a gift for my mom. Something special and unique I think she would really like. Once on a guest post Ana posted a jewelry holder using a board, and some mismatched knobs.
My mom likes to garden. She works so hard on her back yard, and spends a lot of her time there. How could I make this outside proof? A few Pinterest finds later I found my answer: Water Spigots.
Voila! This is what we came up with.
** It's not going to hang by a string. It will be attached to her fence. This is just for picture purposes.
http://www.countryliving.com/homes/makeovers/fast-makeover-projects?src…

Thanks for the plans. Love the table
Great Plans! Thank you so much. My first go at a piece of "fine" furniture and I couldn't be happier with how it turned out.
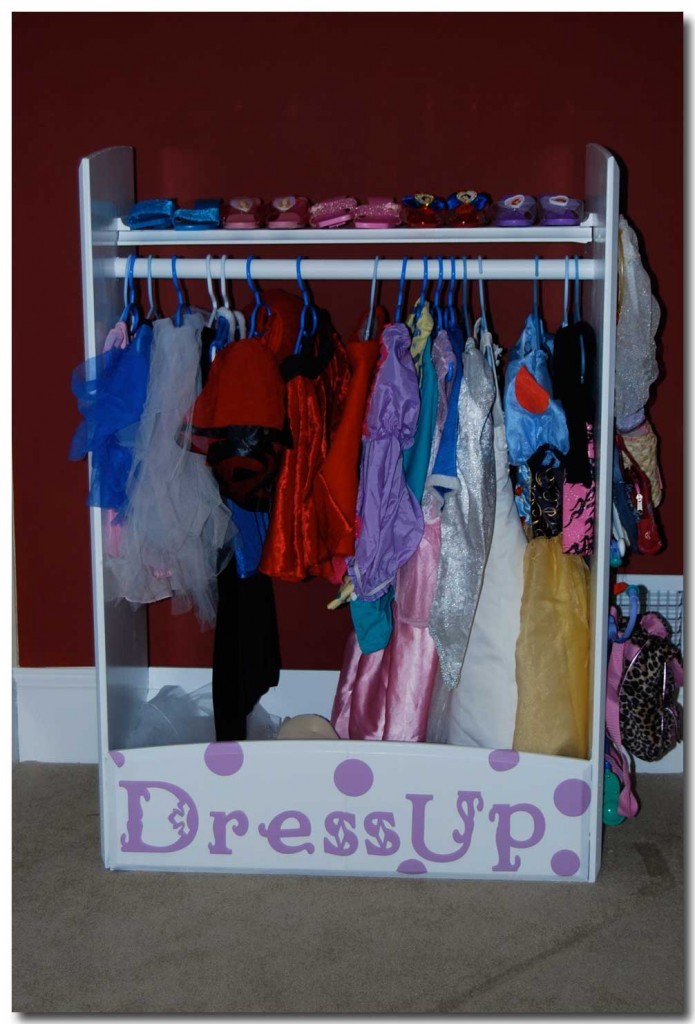
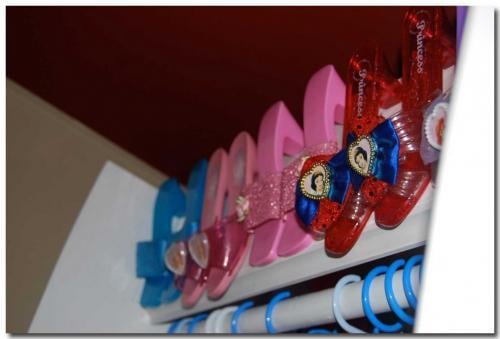
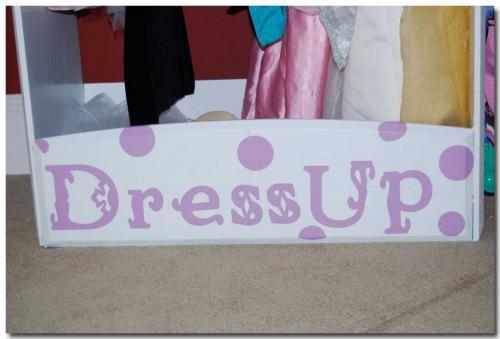
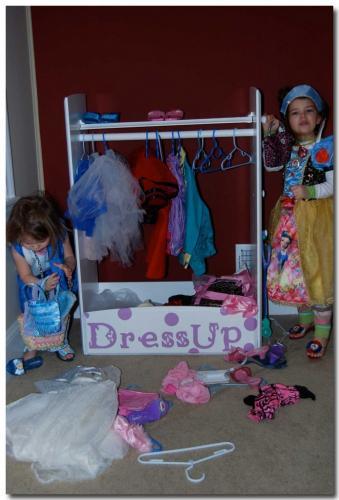
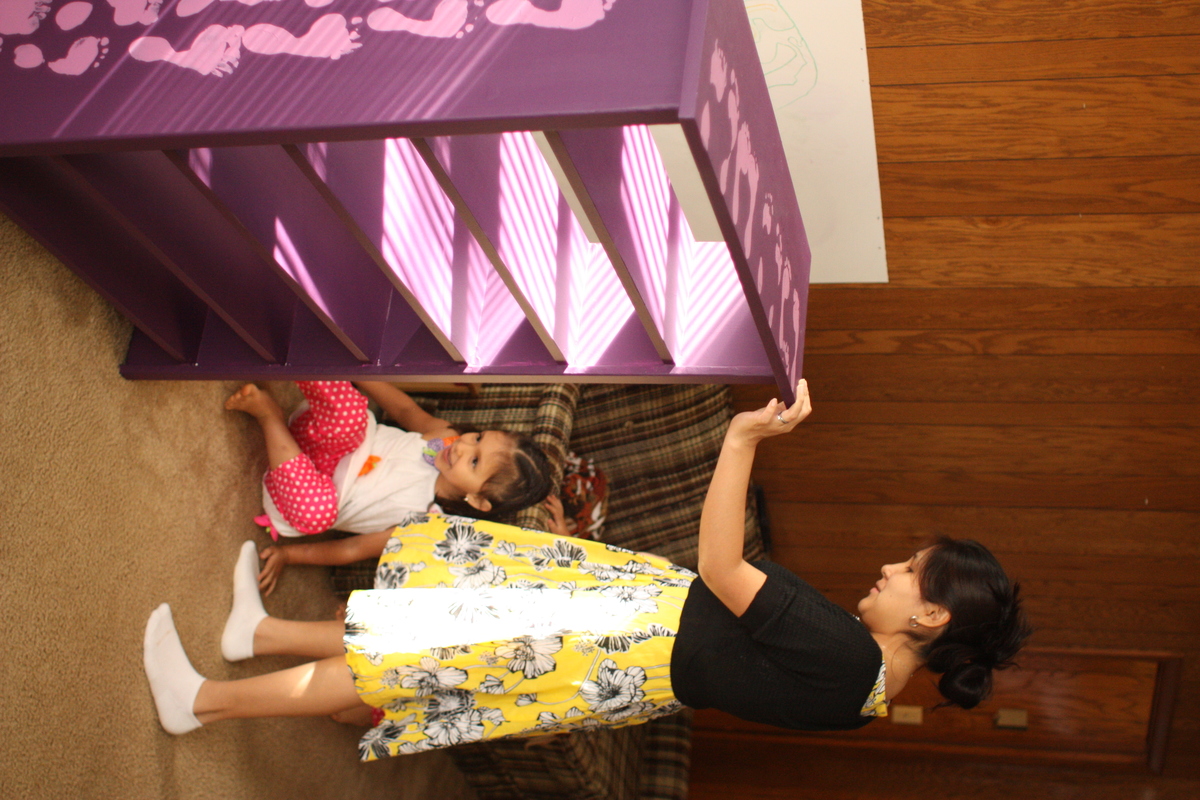
I used by kids baby armoire that was headed to the trash, and turned it into a dress-up center for my 3-year olds birthday gift. The best part is it was virtually free! The only thing I purchased was the pole. It was a lot of hit and miss, measuring, re-measuring, pulling nails out – but – it worked!! And it is awesome – and it only cost me a few bucks!!! As you can tell from the last pictures I took a lot of time getting it ready – and you can tell from the last picture it didn’t take them long to mess it up.
The best part was that the girls were so excited. Hayden – the birthday girl – looked at it with her eye’s wide open – walked slowly too it – looked at me and said “Mommy – It’s beautiful!” It was the sweetest most heart warming thing! I love that now my kids look at something and either ask me to make it – or did I make it.
Love for you to see all the before and after pictures over at my blog: http://mycreativeescapes.blogspot.com/2011/02/dress-up-center.html


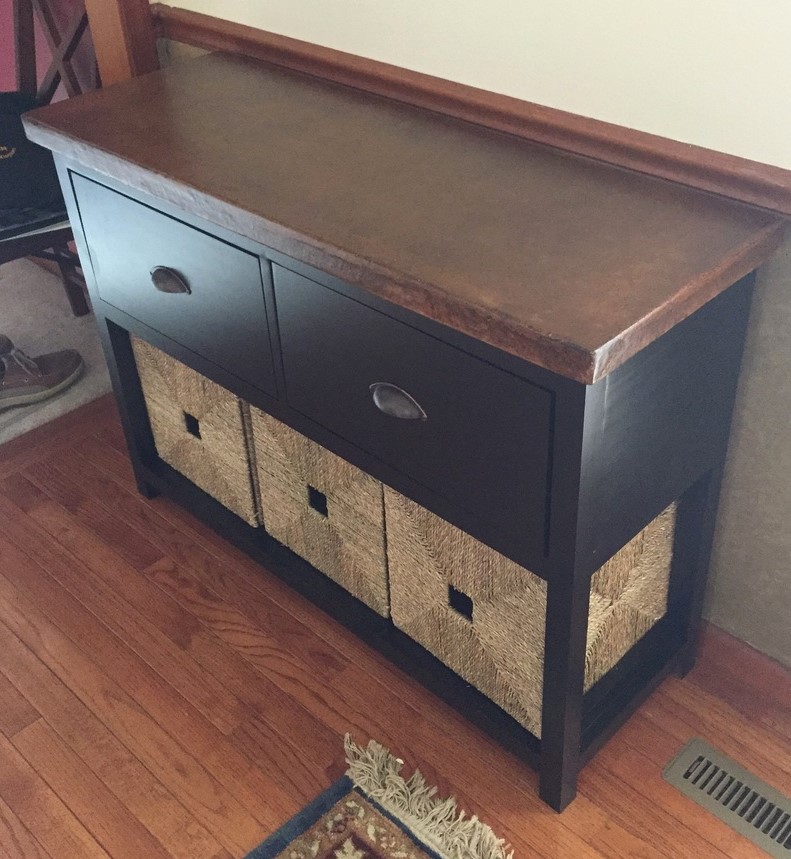
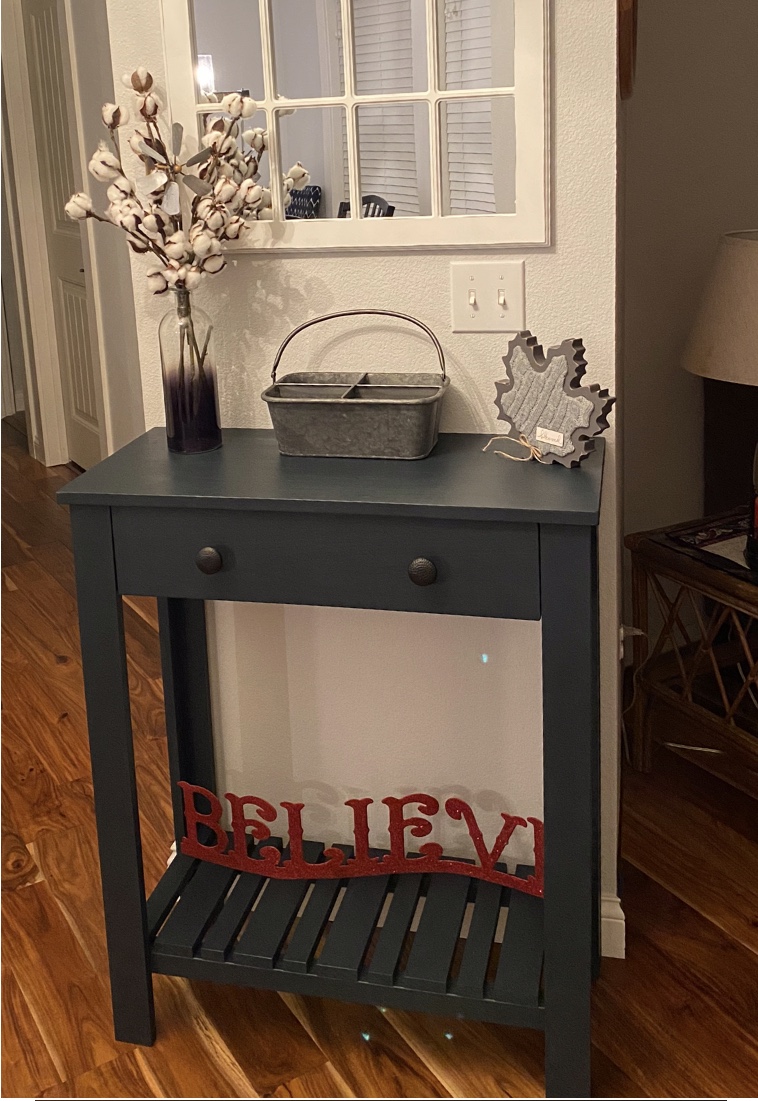
Made from entryway console plans and got the concrete top idea from DIY Pete's web and found a cool way to faux finish top with concrete stain I bought at sherwin Williams. Used a buff color dye added to top when mixing concrete

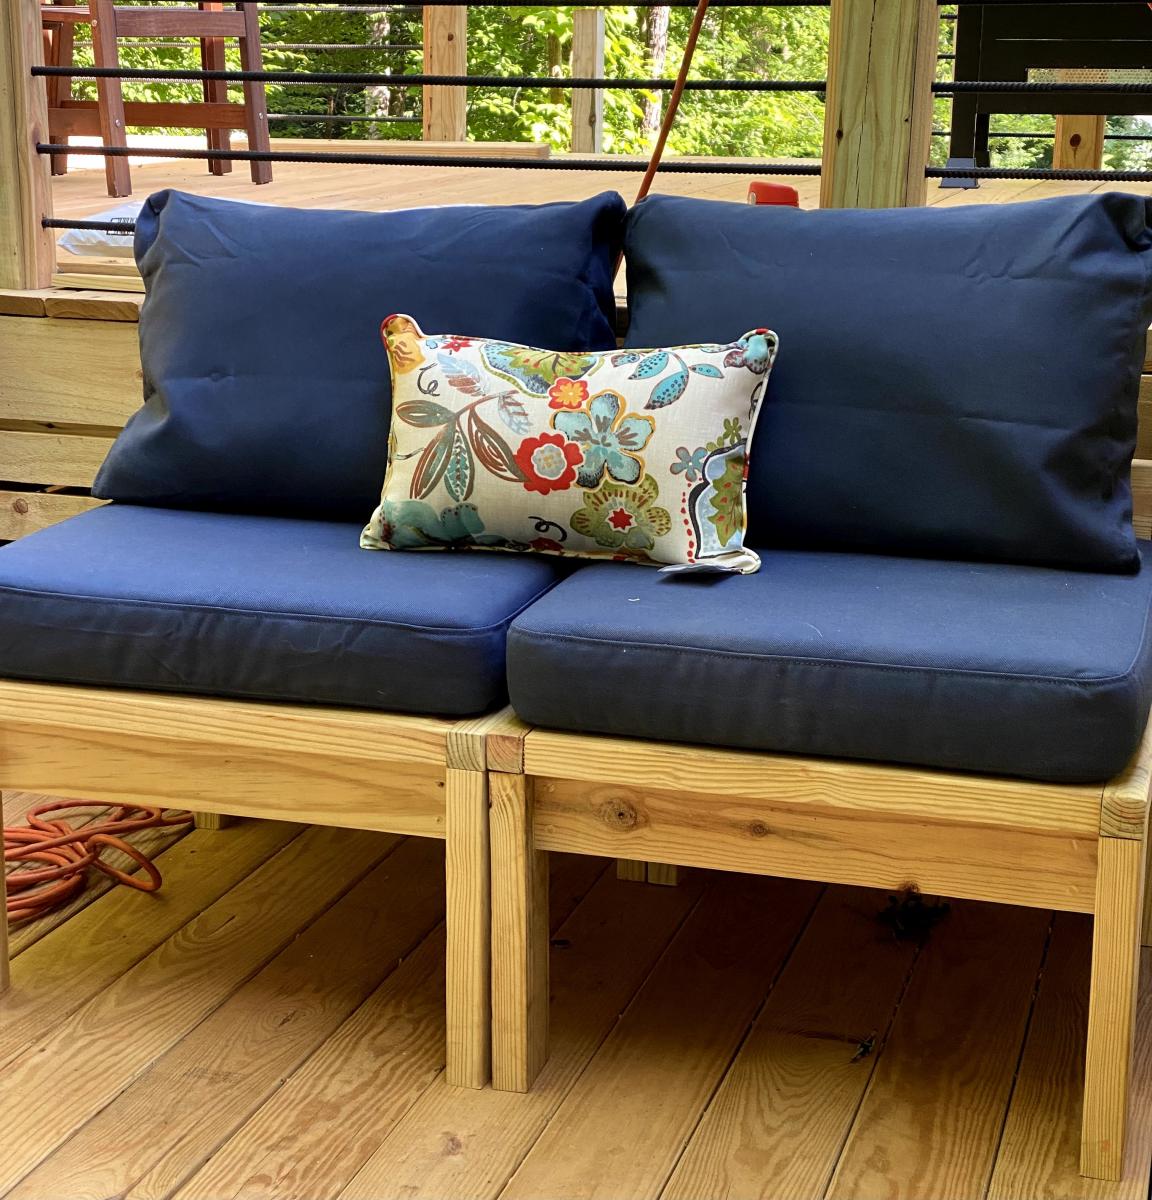
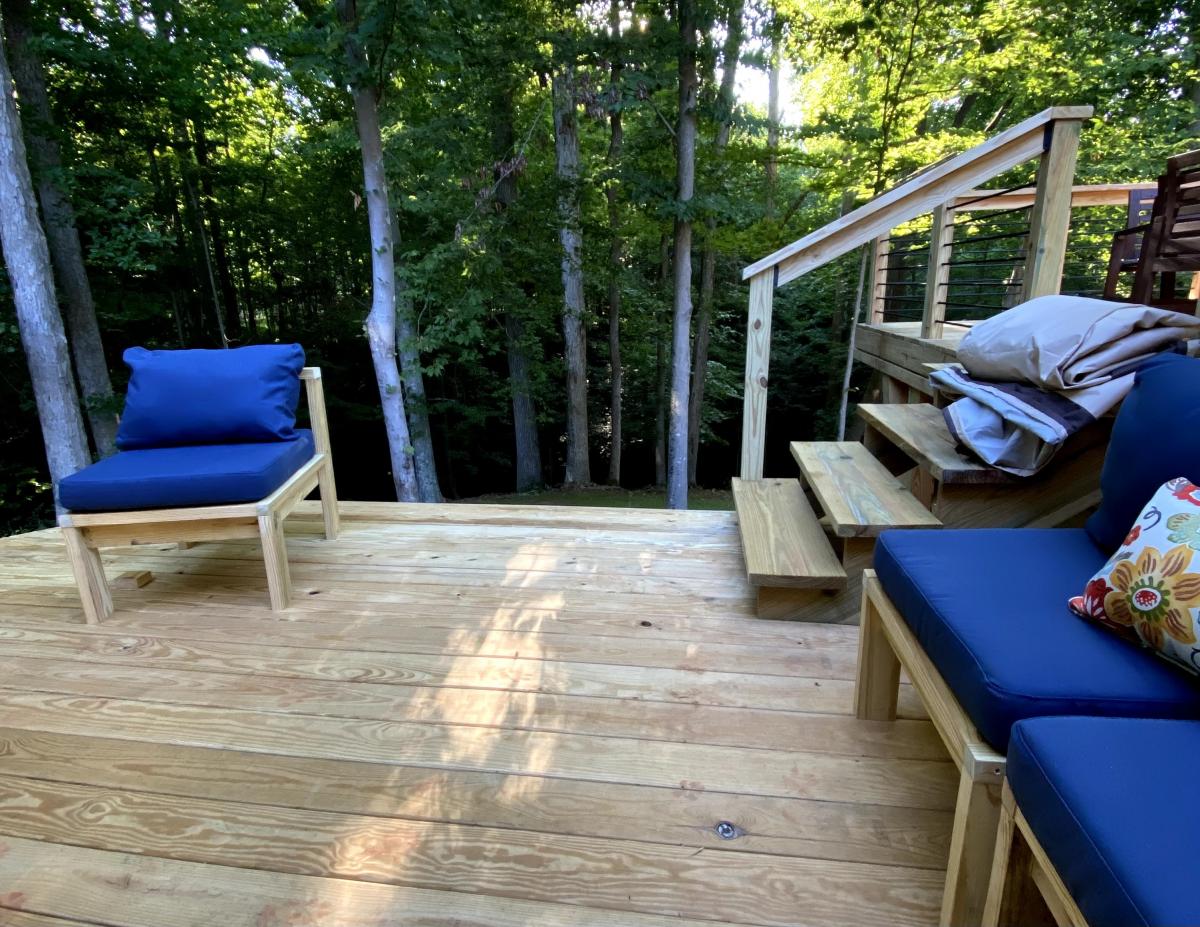
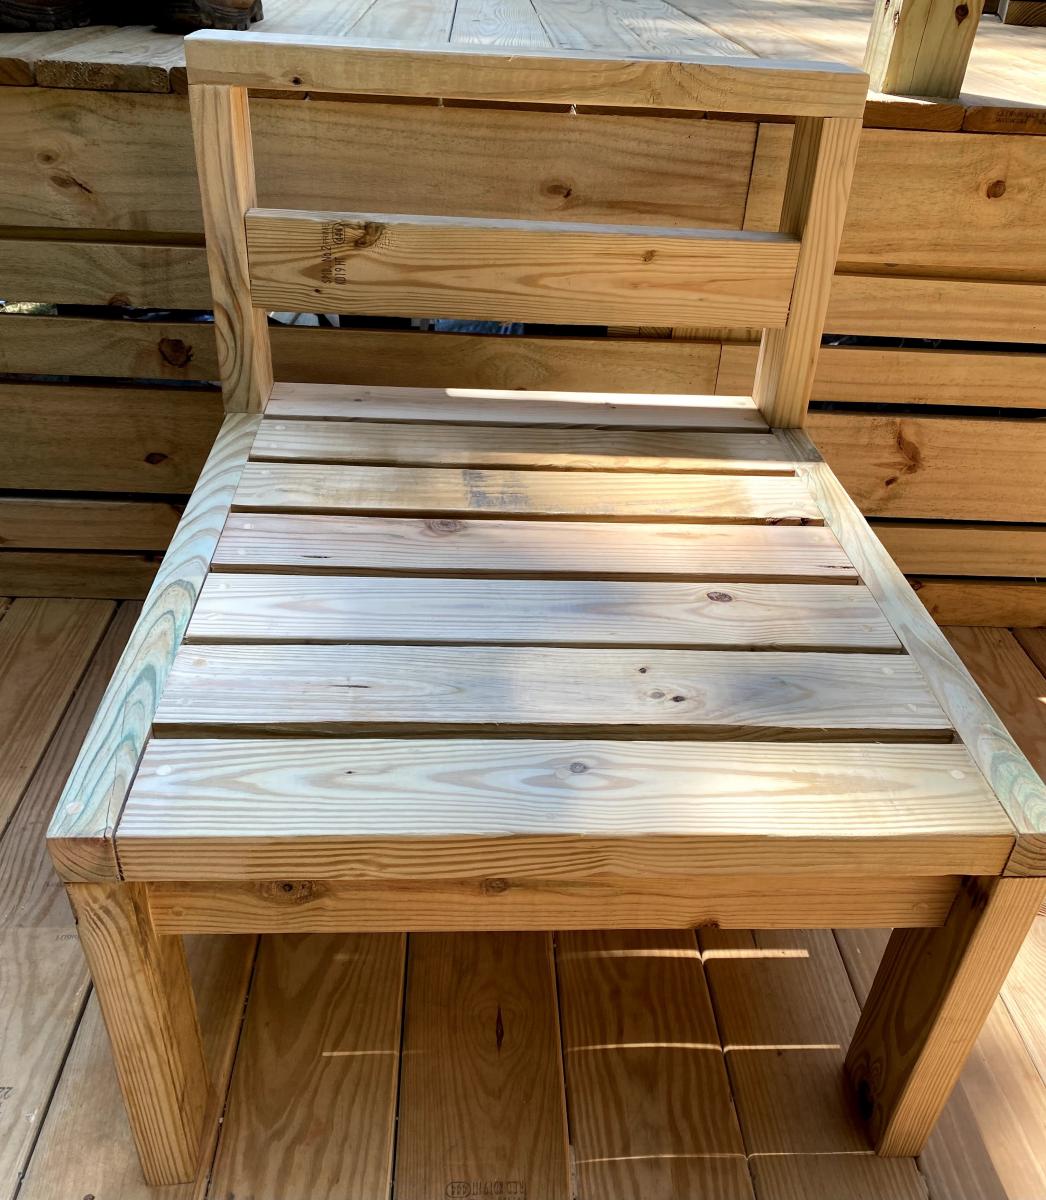
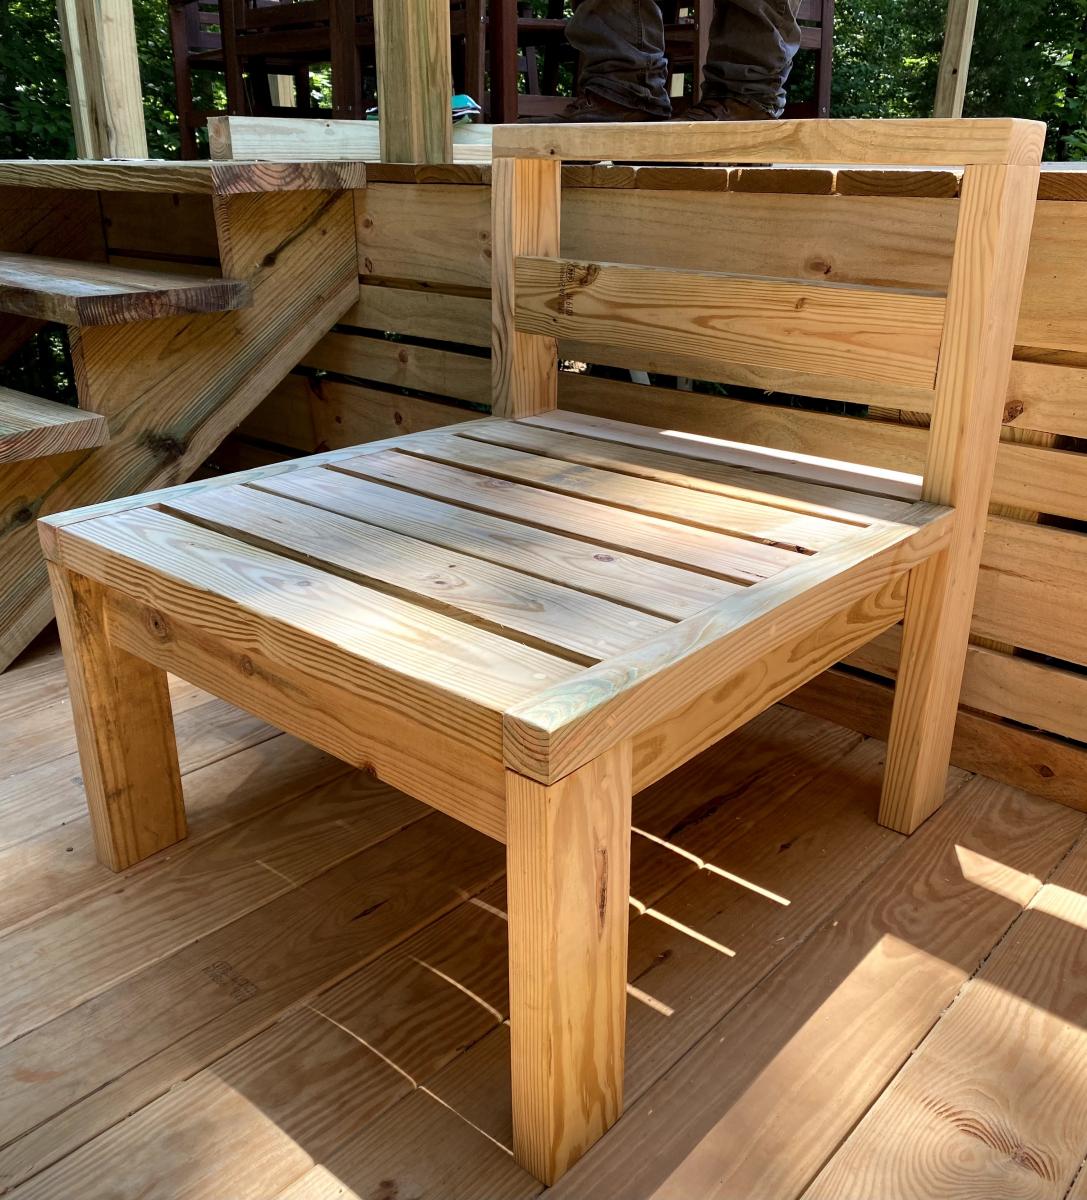
We modified the plans from the outdoor sectional to fit a single 22x24 pillow. We also made it a little longer and added back slats to provide some additional support. I guess it looks a bit like a hybrid between the outdoor sectional and an adirondack chair. Really easy build. I think it took about 3 hours to cut, sand, and build, and then a few coats of stain and spar urathane and we were ready to go!
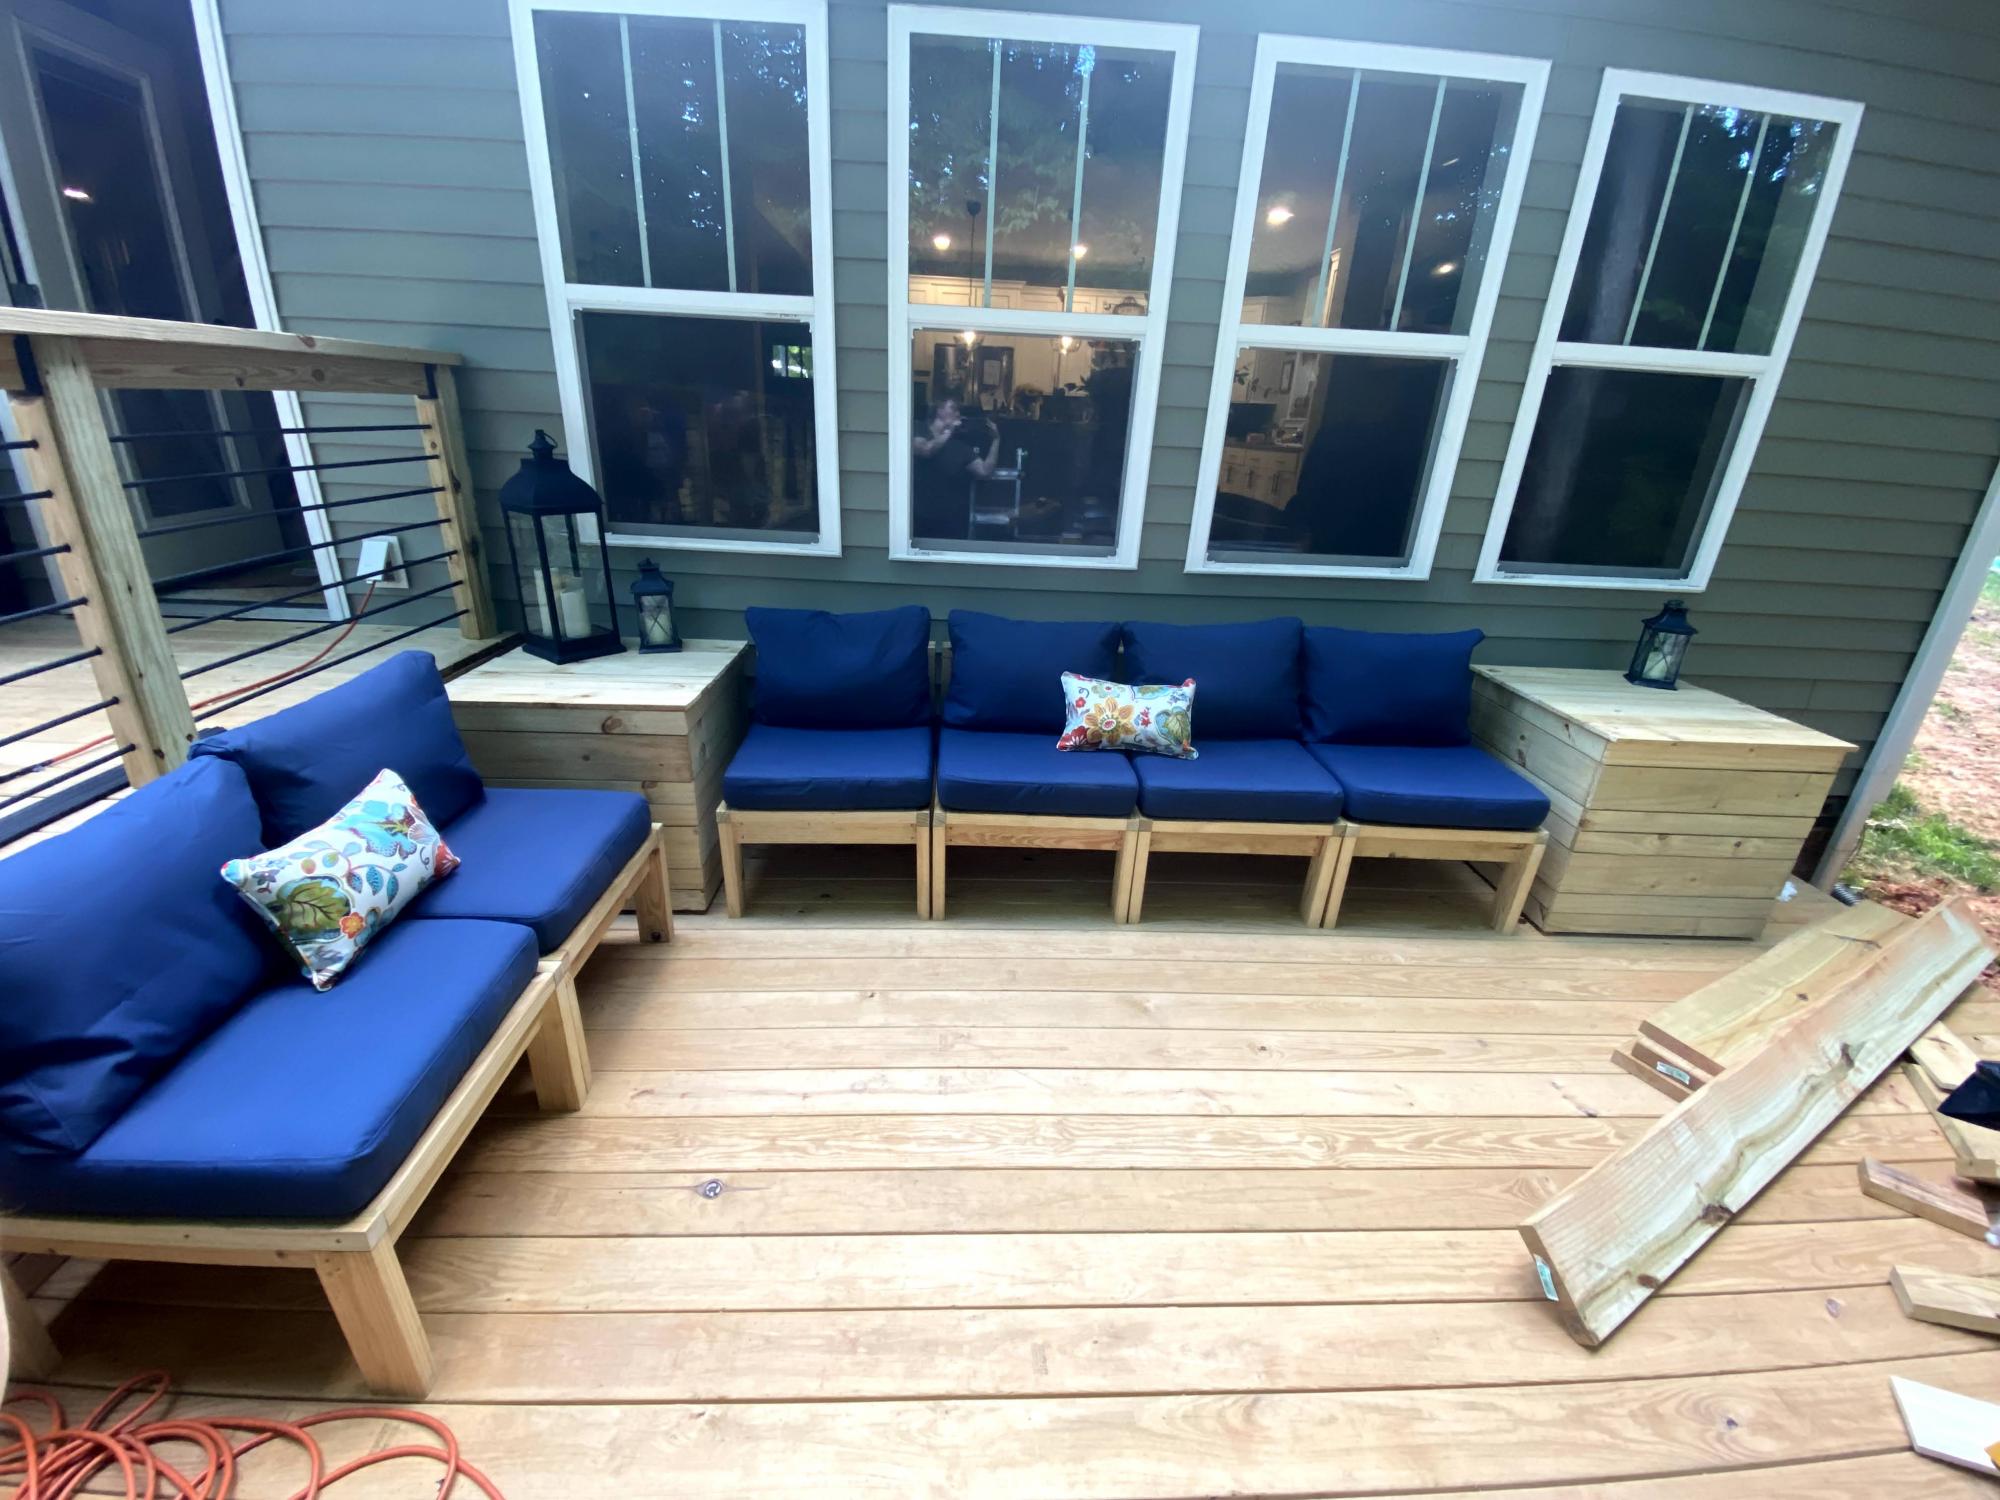
I love the versatility of this furniture. I wanted the ability to move it around in different seating sets. It was my first project with no help from my husband. So very easy to do and follow. I made a few tweaks and made wood plugs for all the screw holes. I plan to stain it later. I used ikea cushions.
Tue, 10/05/2021 - 10:47
YES, love the different options to use and move around as needed! Way to go, thanks for sharing!

When I was given a stack of MDF sheets from a friend, I knew this was the desk I wanted to build with it first! We recently moved into my husband's grandmother's house, and have been making some improvements. We took out the dark old built in, and I replaced it with three 4' long gallery shelves, and the Parson's Desk modified to 4' long. It fits perfectly in my space, and looks so chic and modern against our teal walls. It's the perfect craft nook and workspace! I added a mason jar pendant light I DIY'd from the IKEA bulb kit, and also sewed a reversible runner to match my handmade duvet cover. The fabric is Deer Valley, from Free Spirit. I also had the glass top from the original desk cut down at Lowe's for free, and it's a perfect fit.

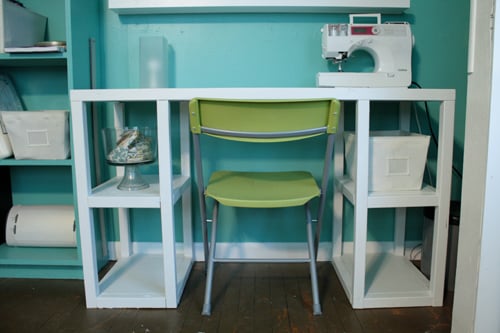

This project was amazingly simple and fun, and I love the outcome!

I made this less wide then the plans to fit in my small bathroom. Thank you for these wonderful
Plans!
Tue, 10/05/2021 - 09:49
Wonderful mods, fits like a glove and adds so much storage! Thanks for sharing:)
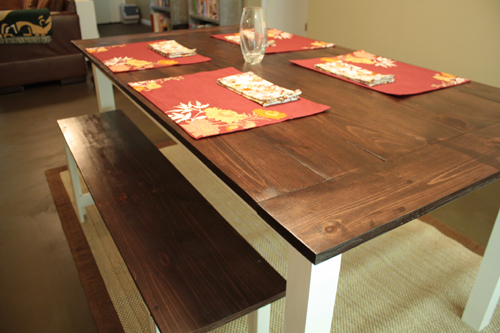
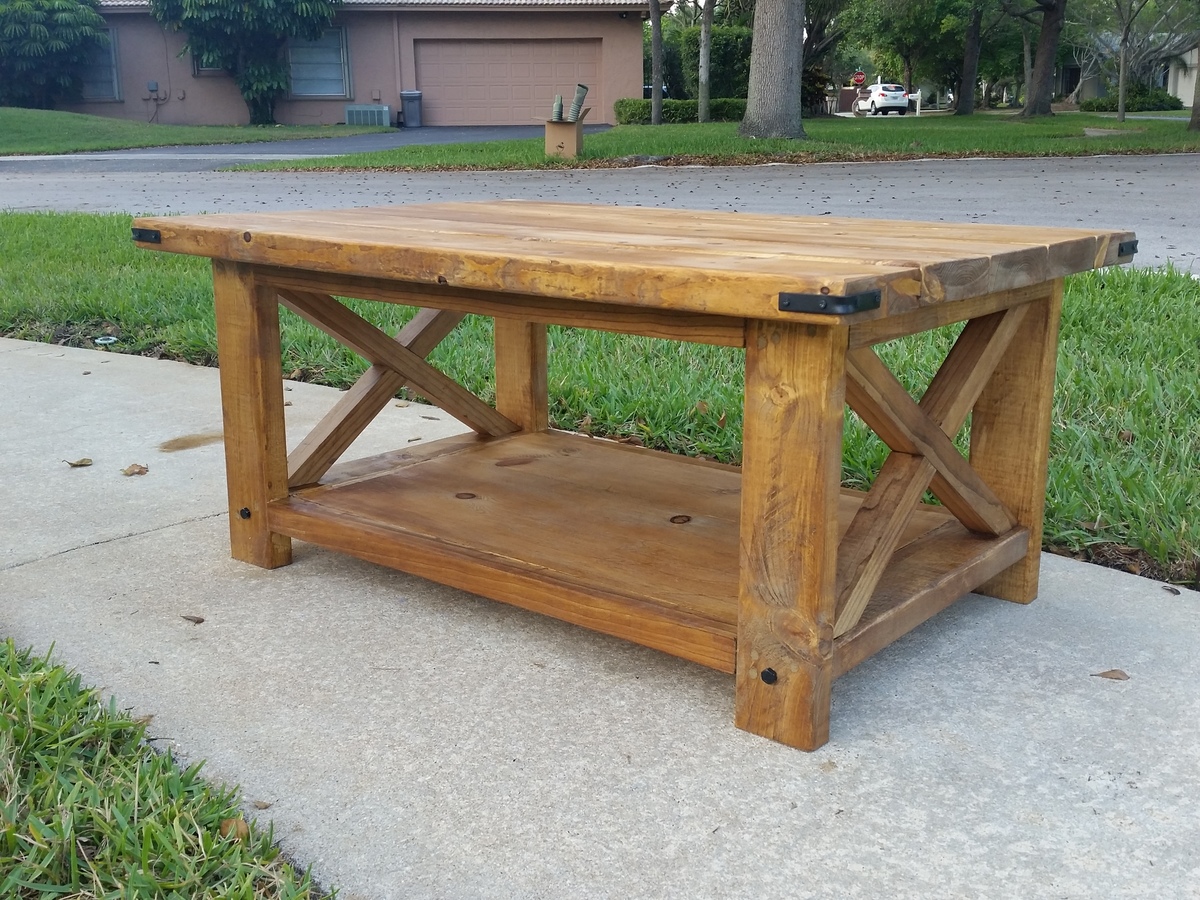
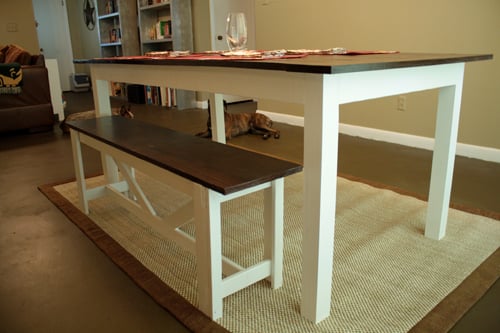
With a couple of projects under our belts, my husband and I decided to tackle the Farmhouse Table. We shortened it to 6' to better fit our dining room, and also chose 1x6's instead of 2x6's to give it a lighter look. We also nixed the stretcher, and opted for 3x3 poplar table legs, that made the overall cost jump quite a bit. I absolutely love how it turned out, and the bench really fits well. It's stained and painted to match.

A pretty simple shoe rack. My wife wanted something to hold a LOT of shoes that could go in our garage by the door to the kitchen. Girls helped with the painting :)
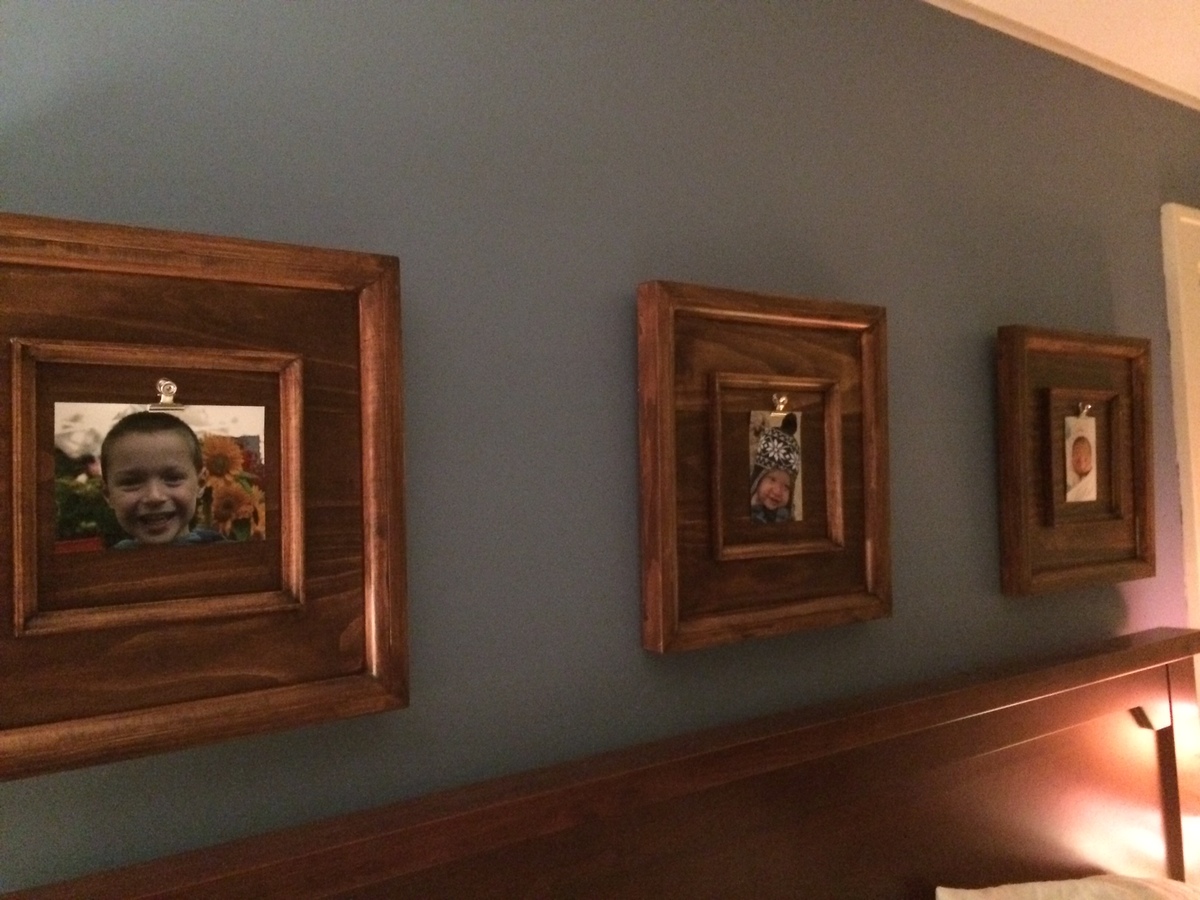
I made these from select Pine, they were super easy to do, look great and I love that I can change the pictures up easily.
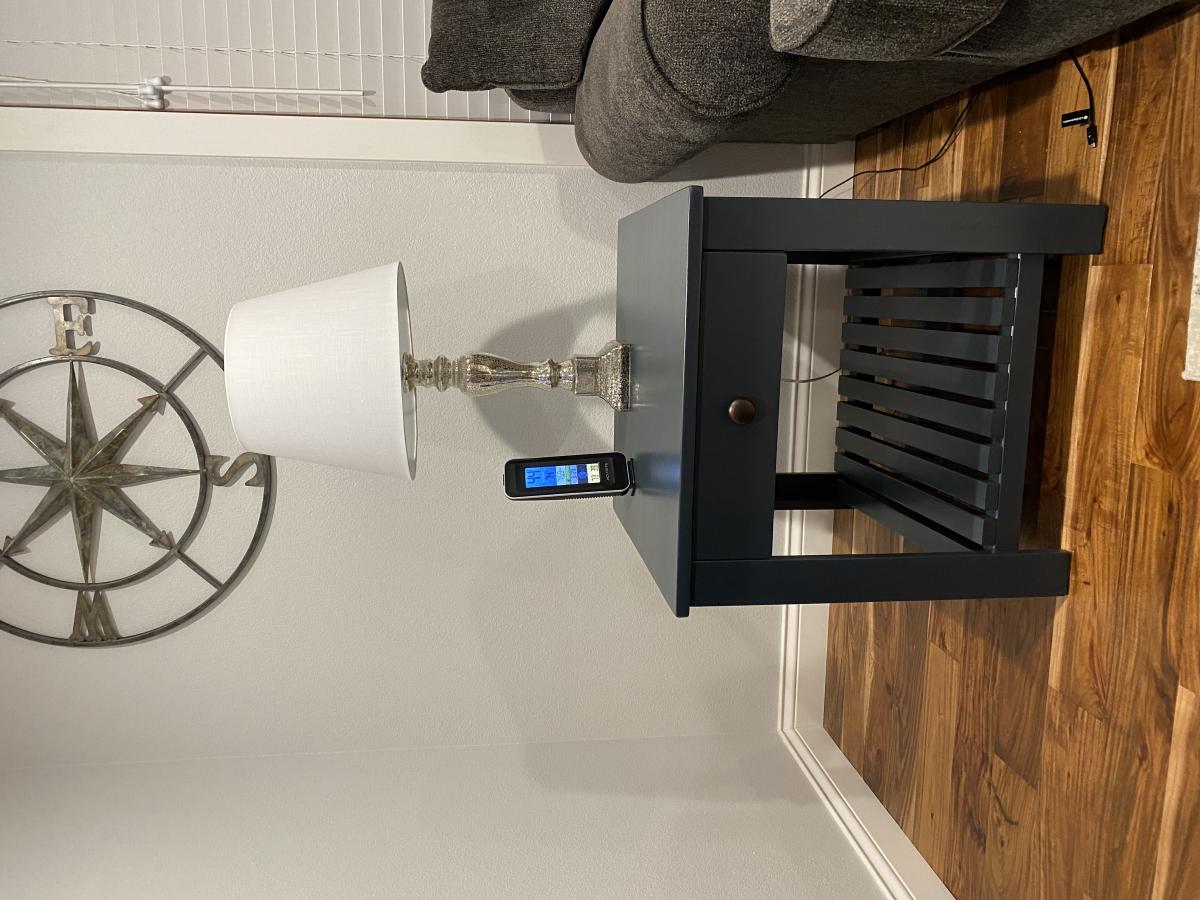
I used one by material because I wanted a piece that was less bulky. I also made side tables from the same plan.8 love these, they are exactly what I have been looking for!
Mon, 10/04/2021 - 16:55
Excellent builds, love the color choice! Thank you for sharing ~

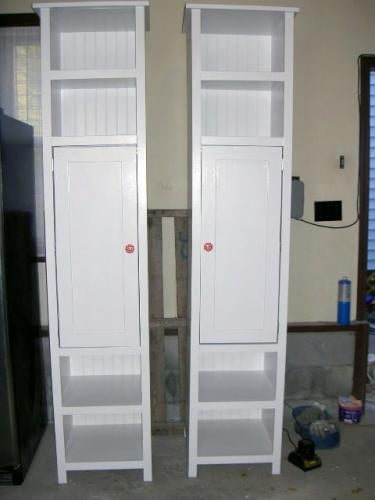
Custom tower shelves with hanging space and four shelves.


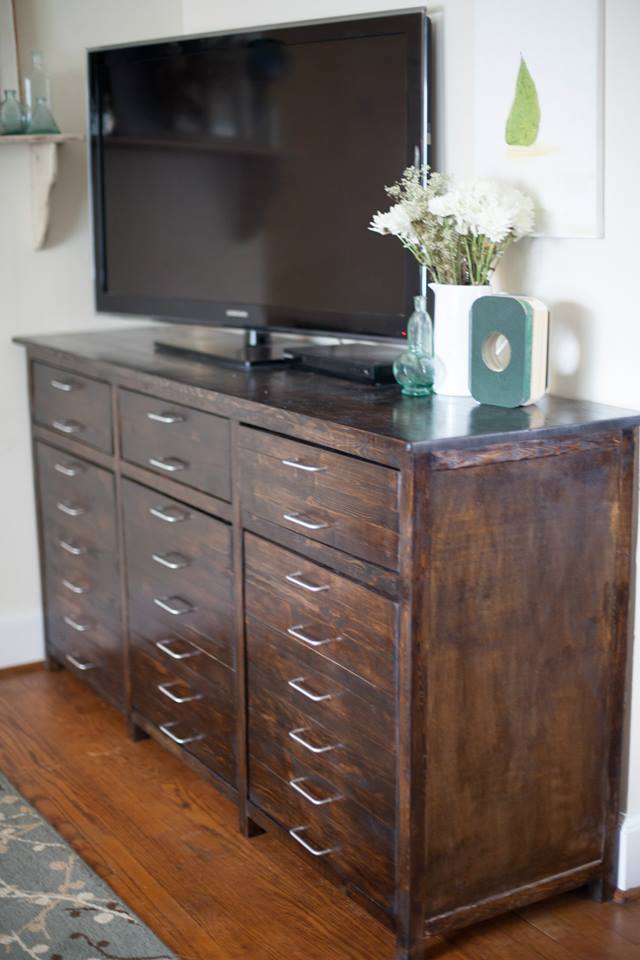
We made this and a dresser just like it. We wanted matching furniture.
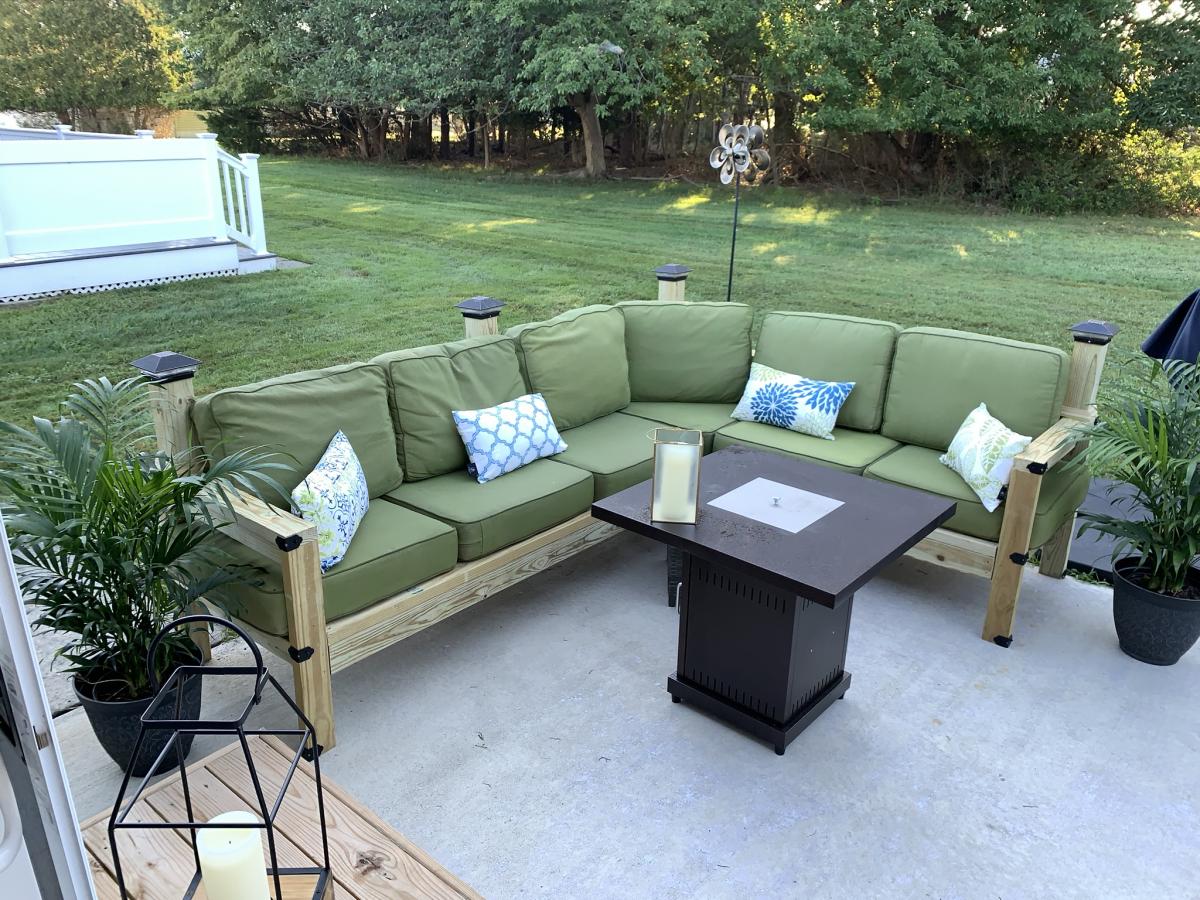
Build an outdoor sectional easily with these free plans.
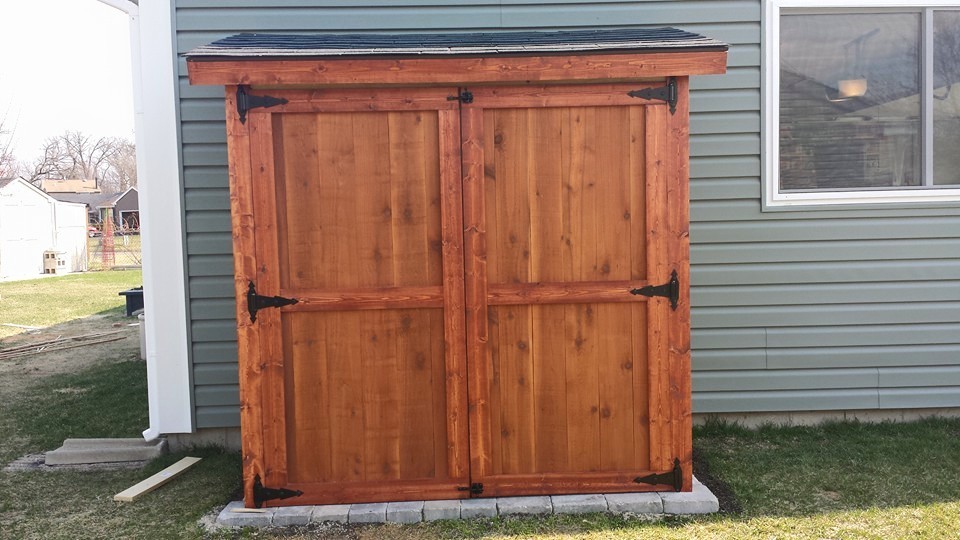
I poured a 3 1/2" concrete pad first then bolted the completed shed to it.
Shed was easy enough to make, the plans were well done. Spent about 25 total hours on shed, including staining. Hinges were very expensive ($20 a pair with latches), spent about $400 NOT INCLUDING gravel, sand, & concrete for the pad or clamps.
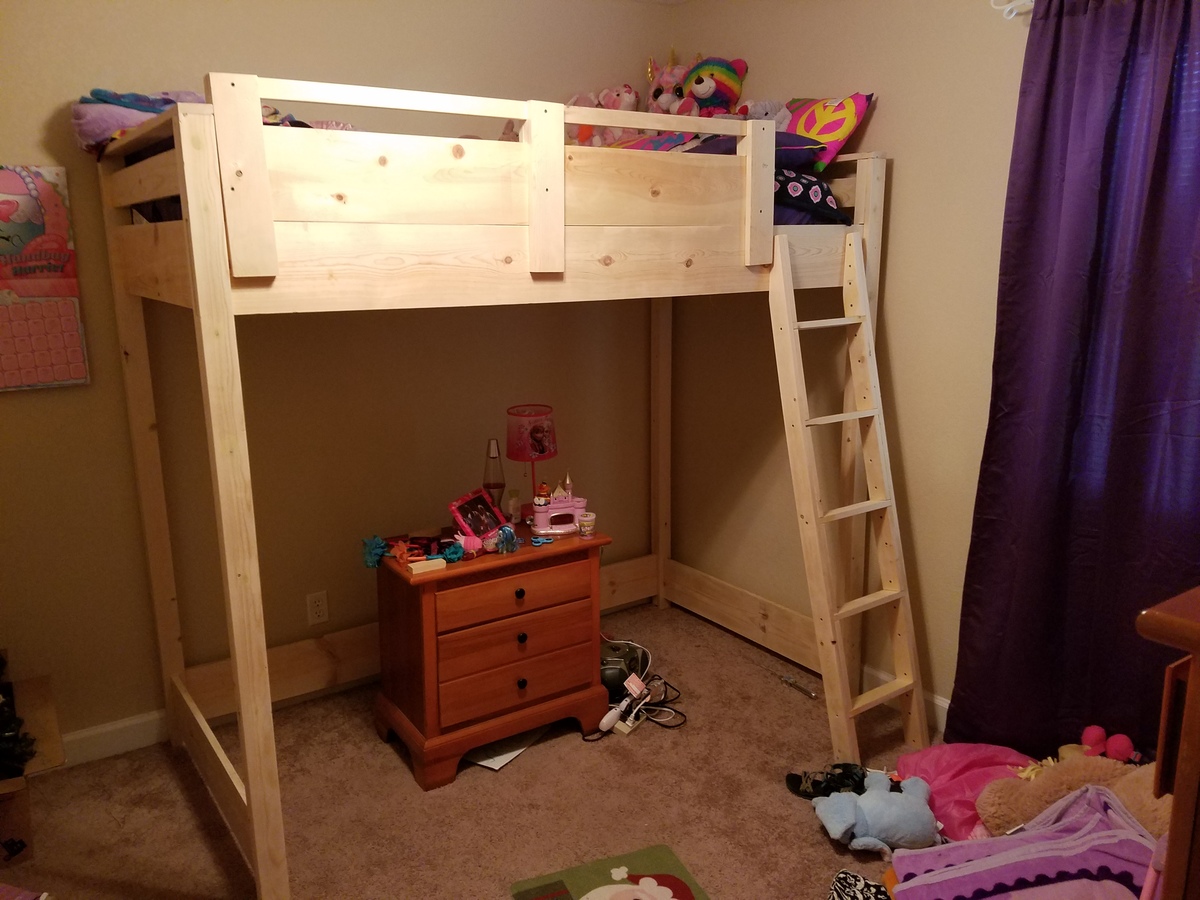
I told our daughter I would build her this bed for her birthday. She is still choosing what colors to paint it. Overall cost was $217 using white pine. She is's in love with this bed. started it Saturday morning and had it all put together by Sunday afternoon. I changed up the guard rail. Instead of screwing it in, I added a second set of 1×3s on the back side, so it is easy to slide on and off to make the bed.

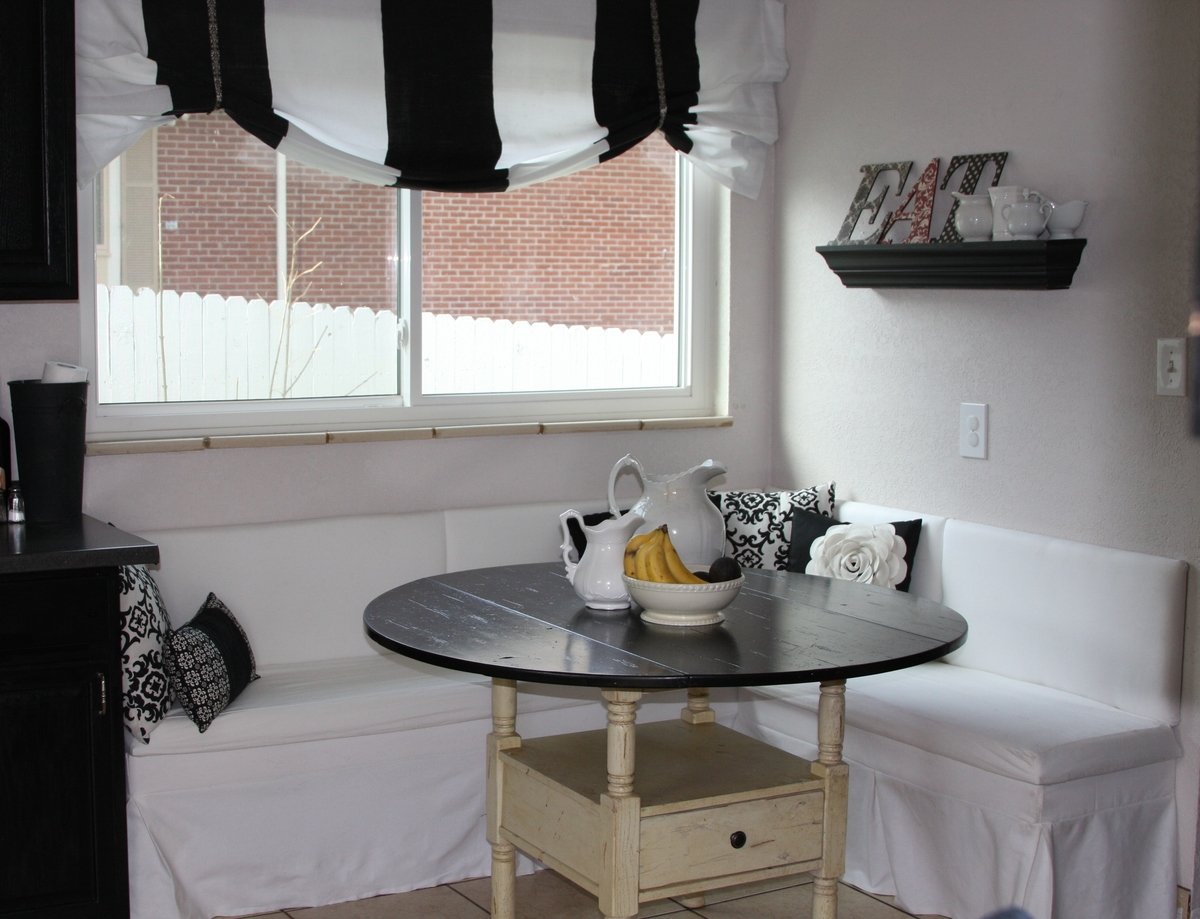
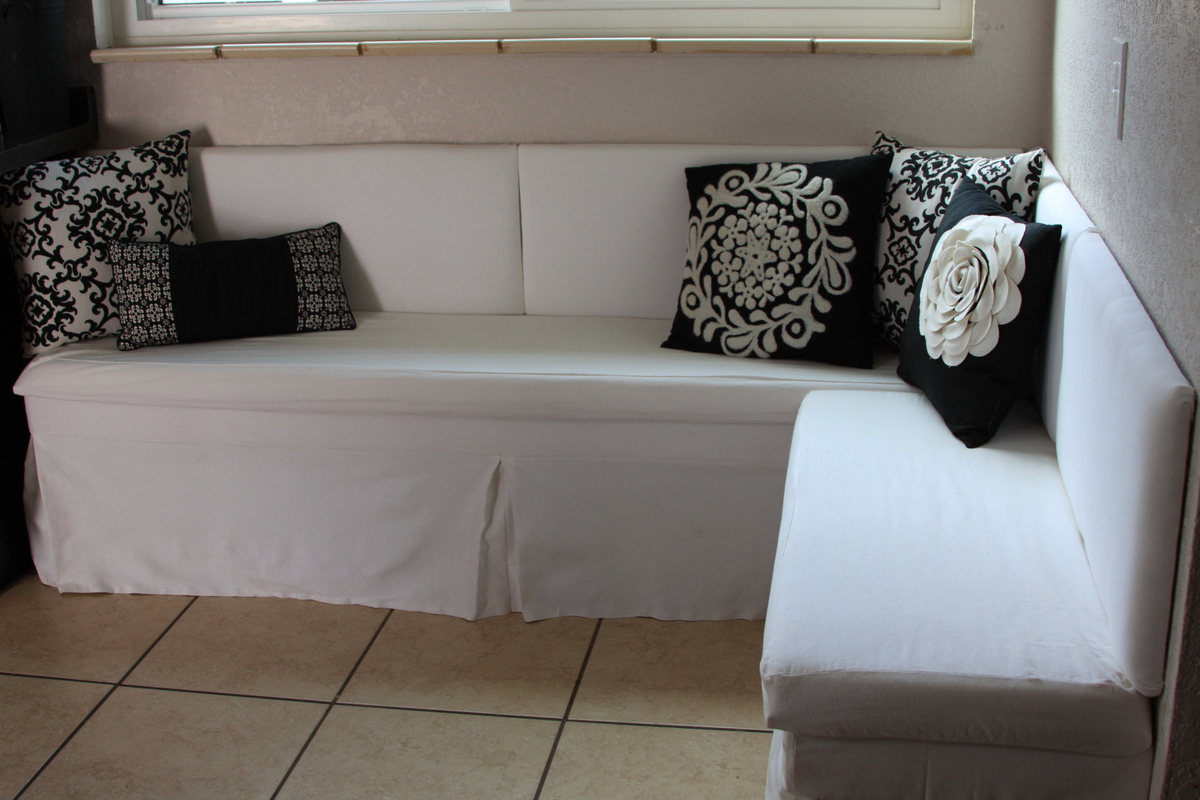
I love the way this bench turned out! And your plans were so simple to follow (as always). Thanks do much for sharing all your plans!!


Comments
Ana White Admin
Tue, 10/05/2021 - 11:30
Great build!
Thank you for sharing, this is beautiful!