Community Brag Posts

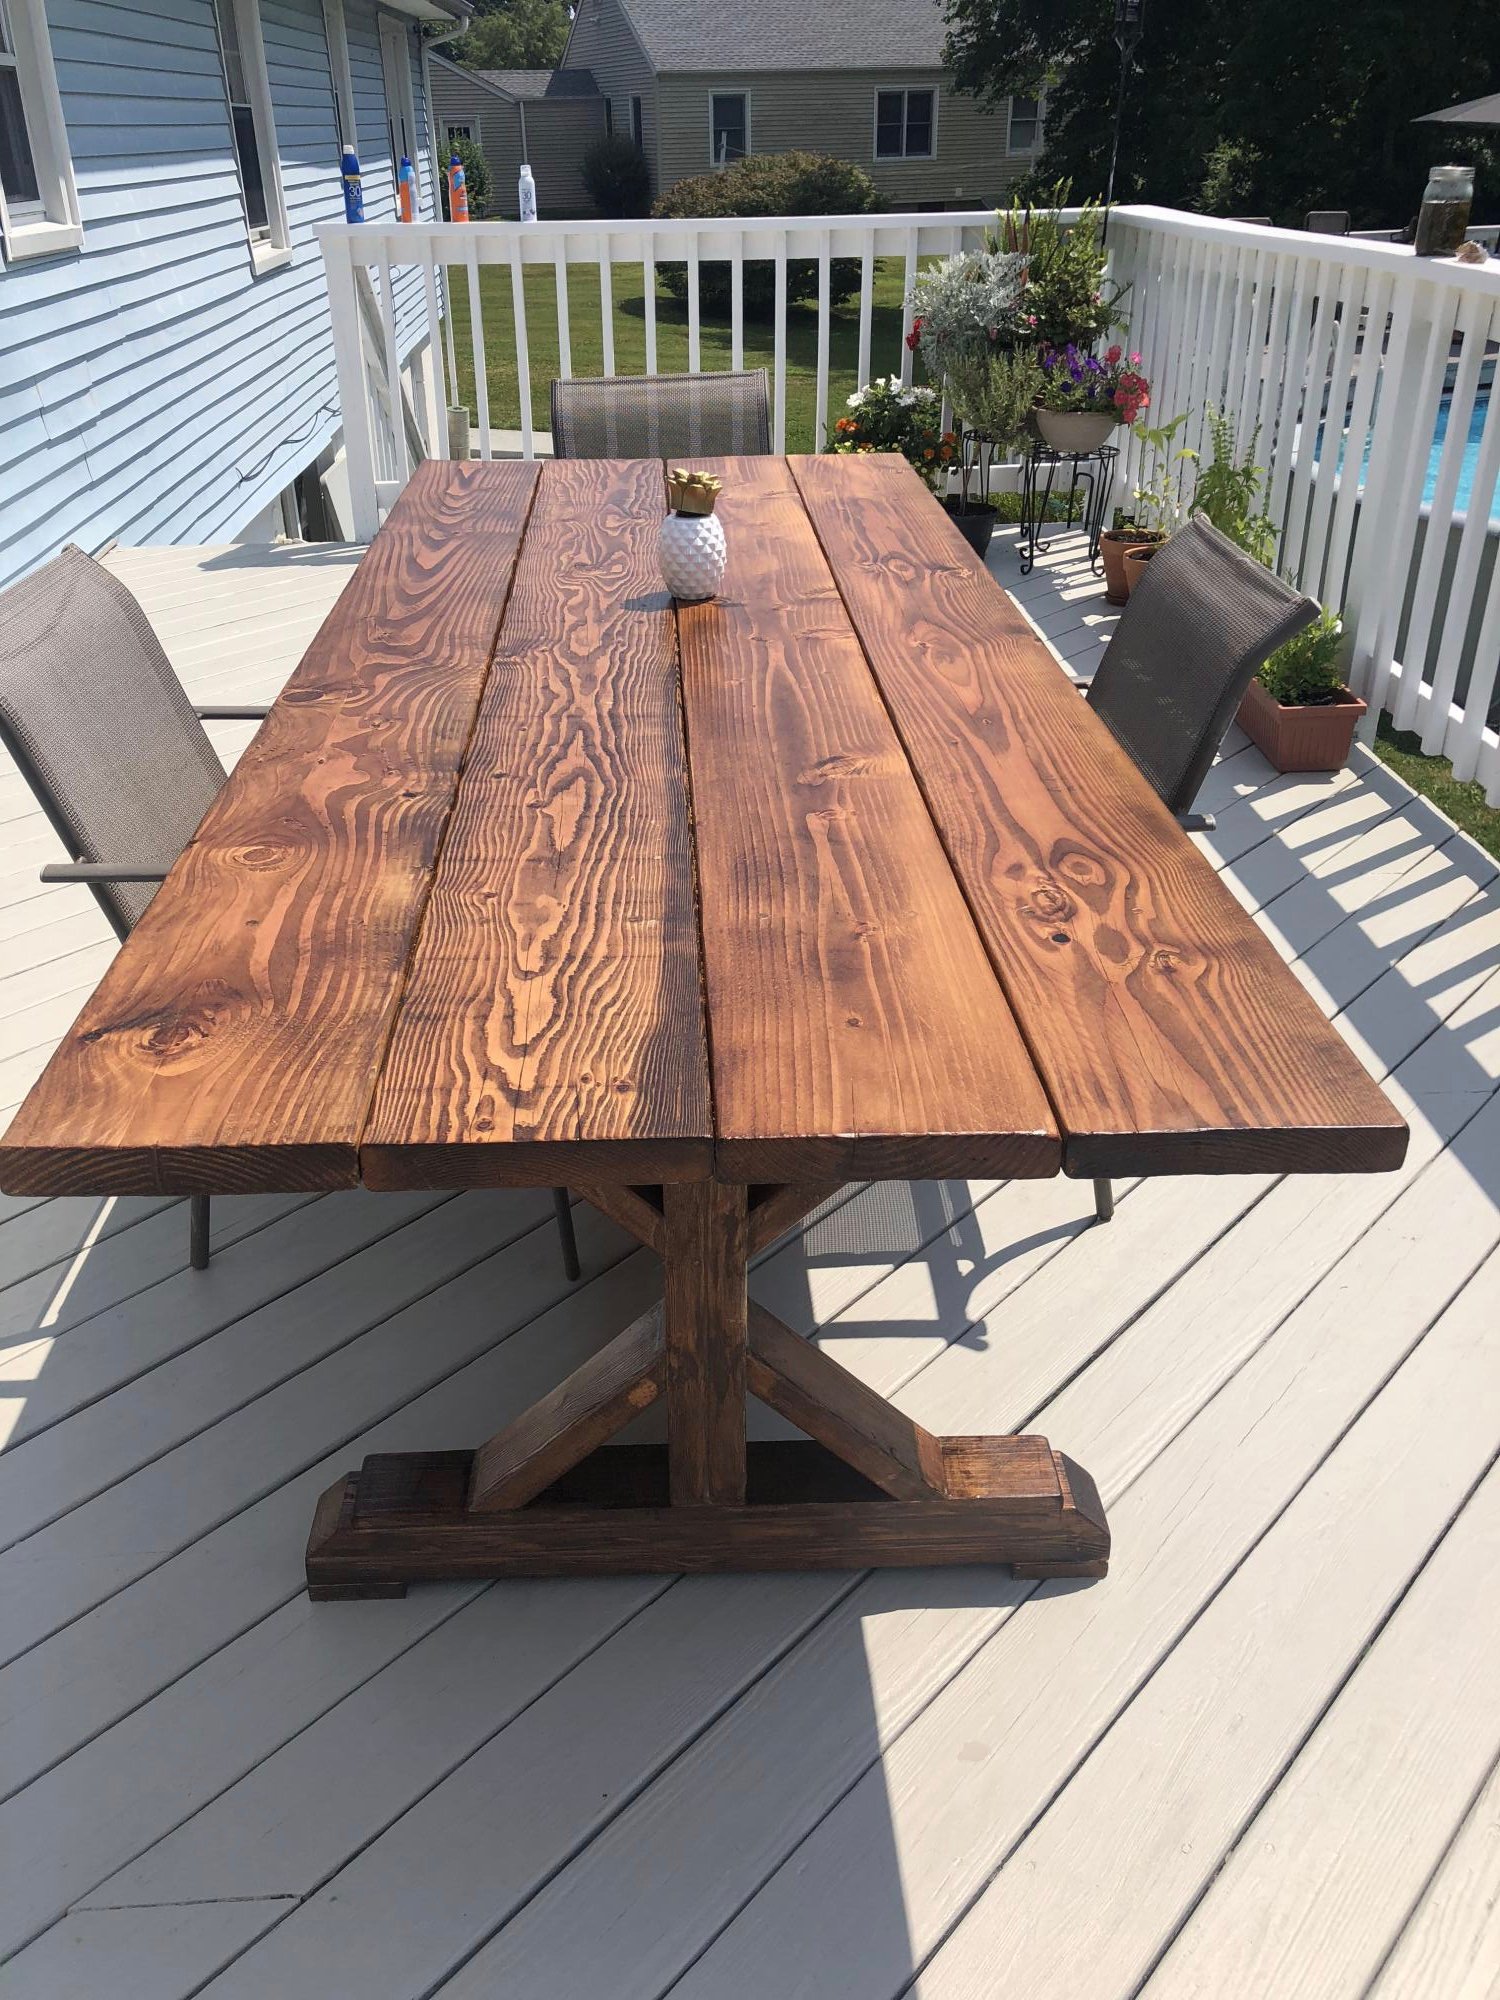
Fancy Outside Dining table!

Submitted by cfrascone on Mon, 07/29/2019 - 08:55

After looking for an outside table with no luck, not to mention the unbelievable price tag, I asked my husband to make me this table..He worked on it for the day with my son and ILOVE the way it came out!!! The plans were simple and easy to follow. Thank you Ana!!!

Built from Plan(s)
Estimated Time Investment
Day Project (6-9 Hours)
Finish Used
Stain
Recommended Skill Level
Intermediate

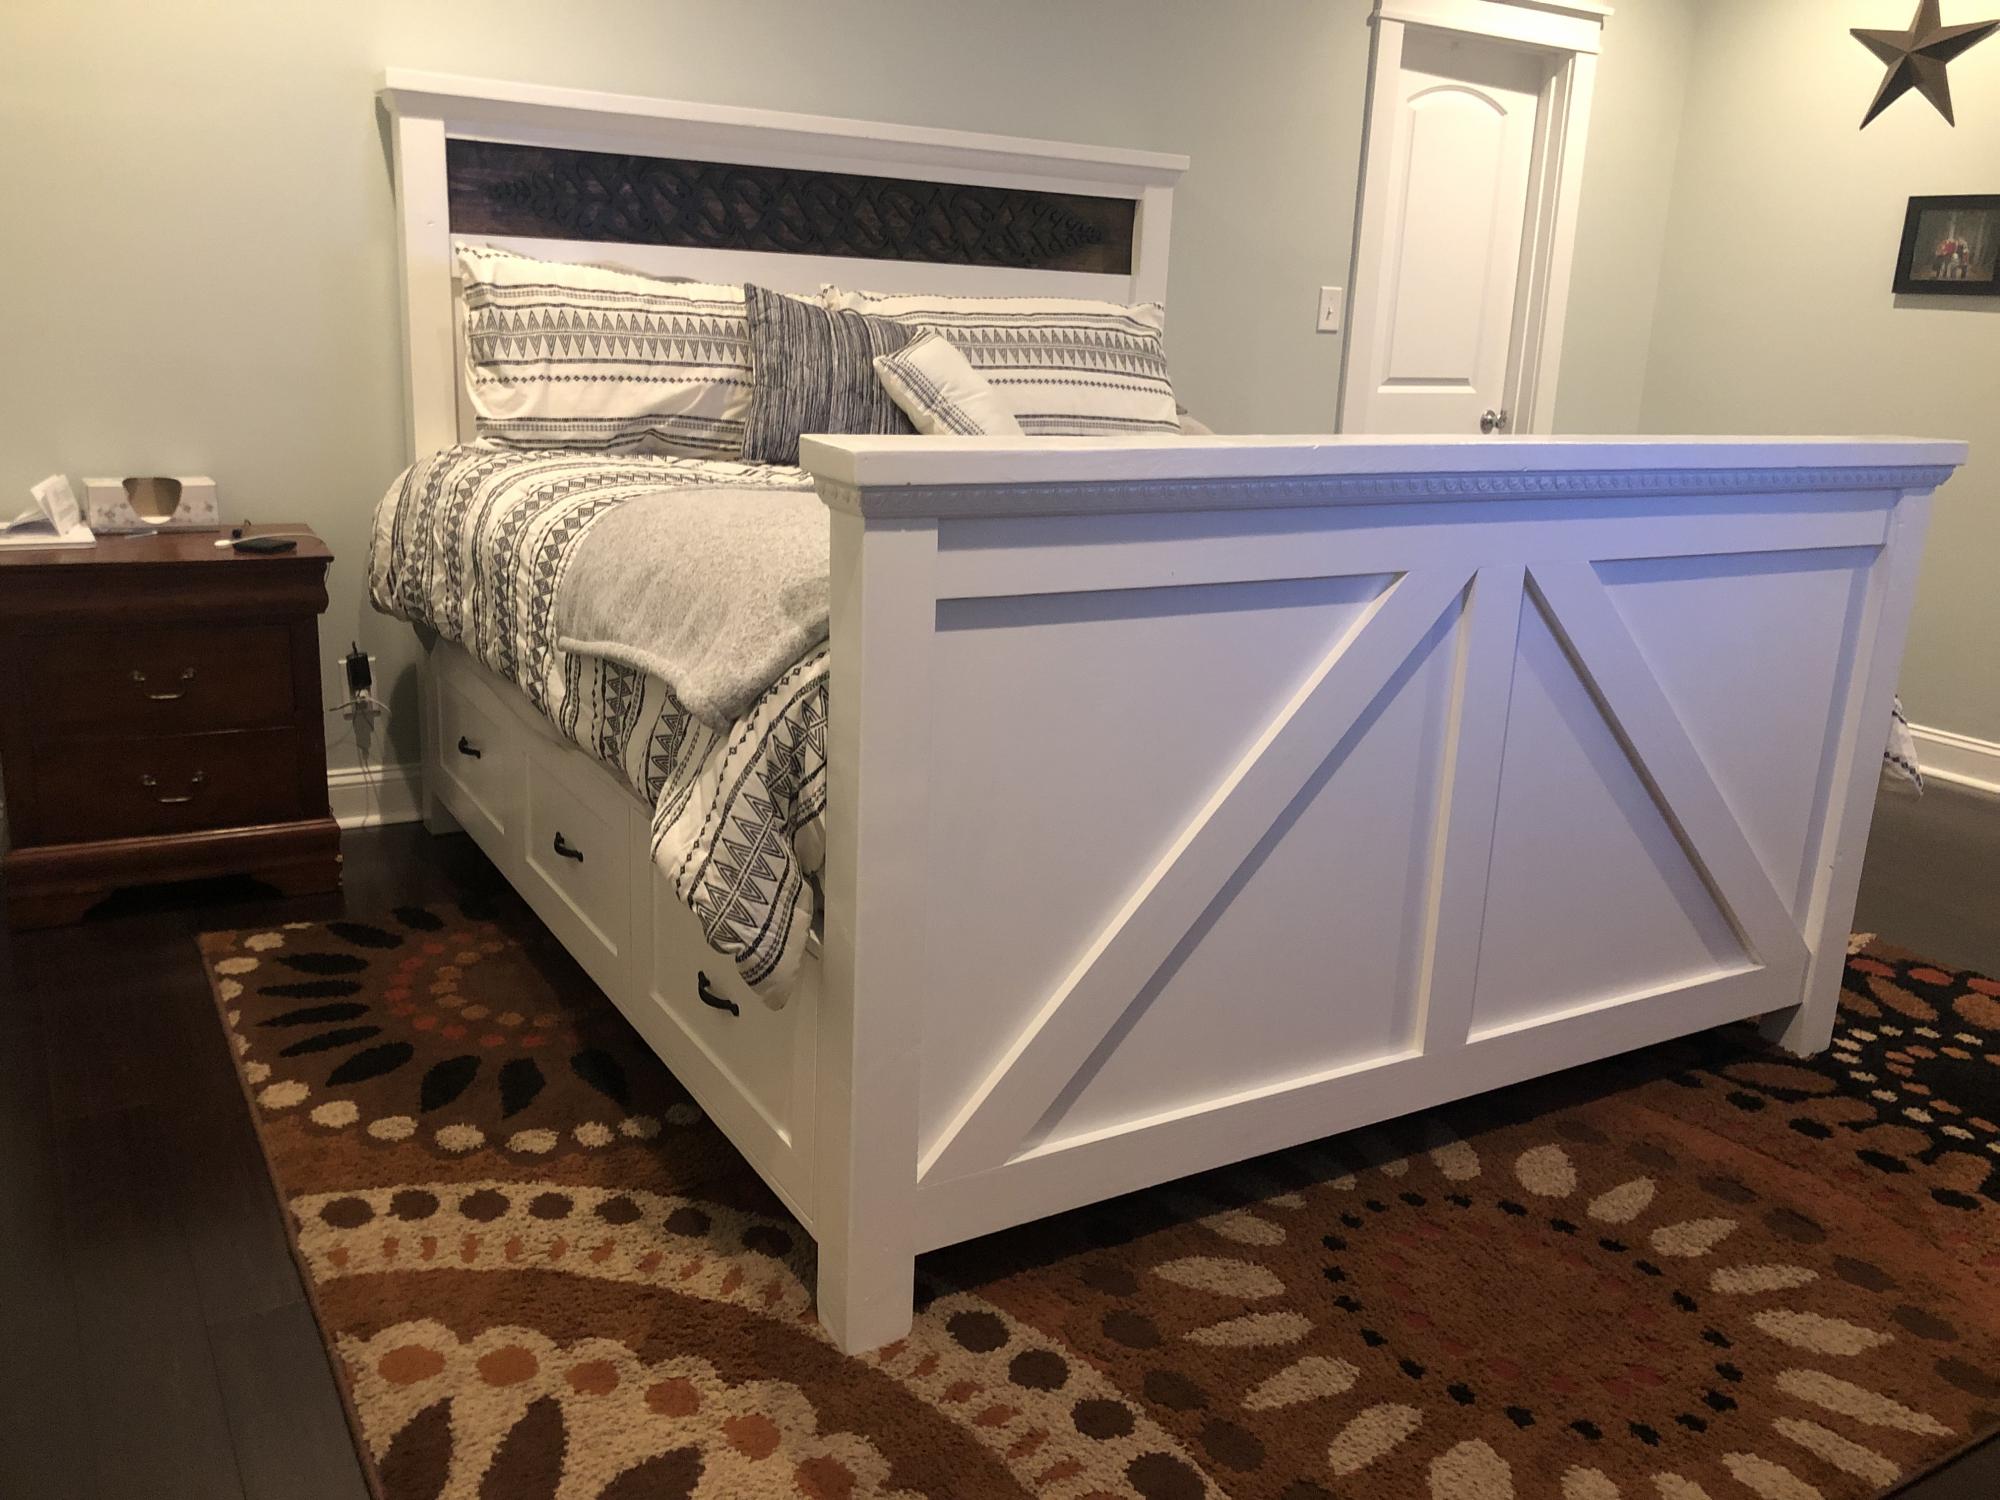
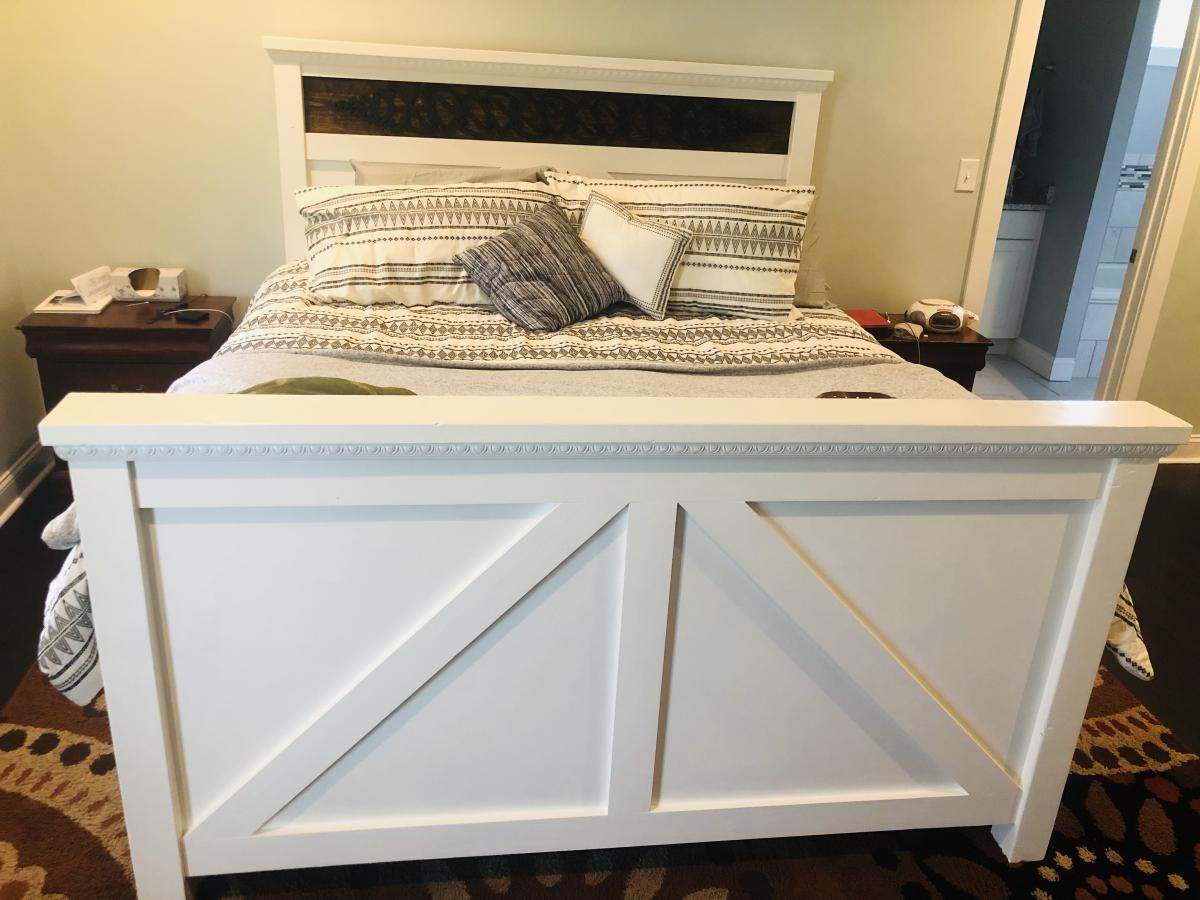
King Farmhouse Storage Bed

Submitted by Anonymous (not verified) on Sun, 08/18/2019 - 15:41

After a successful attempt at Ana’s farmhouse desk I decided to make a bed for my wife... needless to say I think she likes it! Thanks to Ana and Pretty Handy Girl’s plans! (This is my 3rd woodworking project)

Estimated Cost
700
Estimated Time Investment
Week Long Project (20 Hours or More)
Finish Used
Valspar Cabinet Enamel
Minwax Dark Walnut stain
minwax Polycrylic satin polyurethane

I used acetone to transfer the graphic I designed for my inlay. I carved out the inlay with a router. I stained the wood and then painted the surface black.
Recommended Skill Level
Beginner

Comments

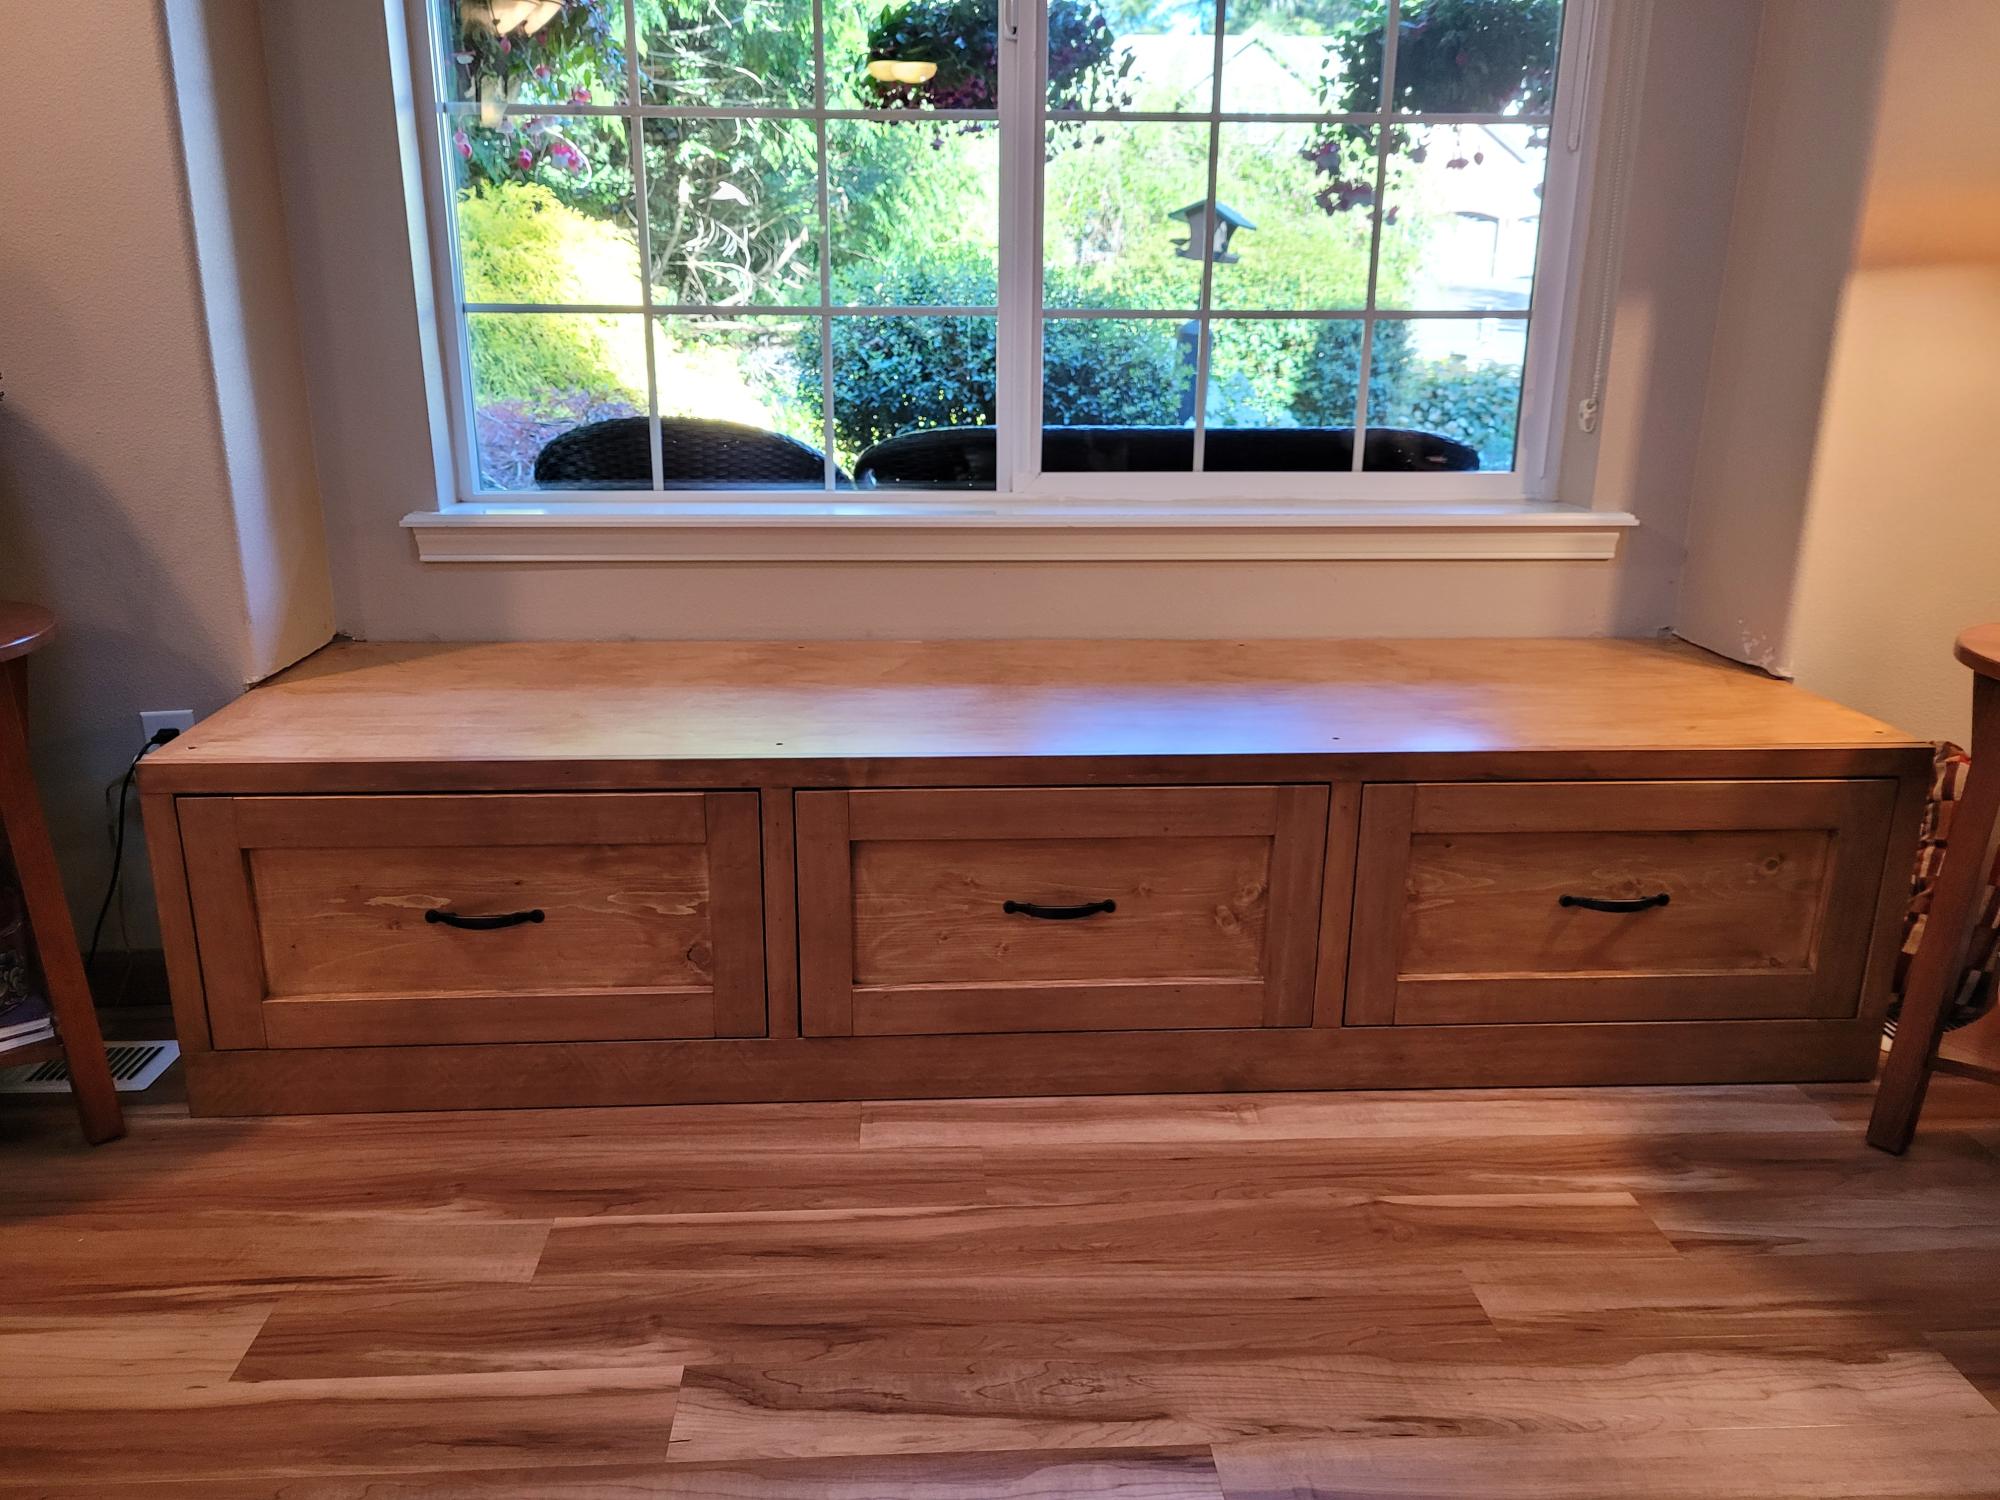
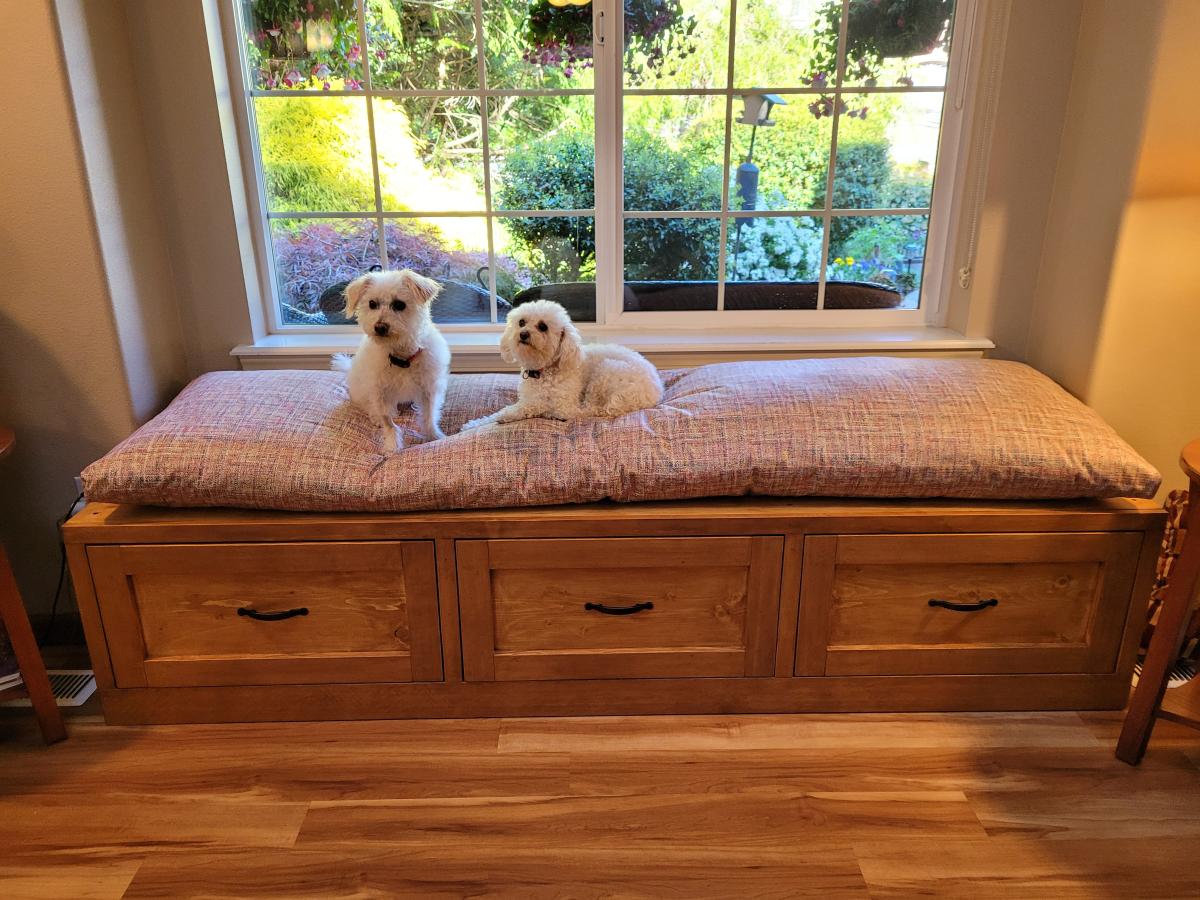
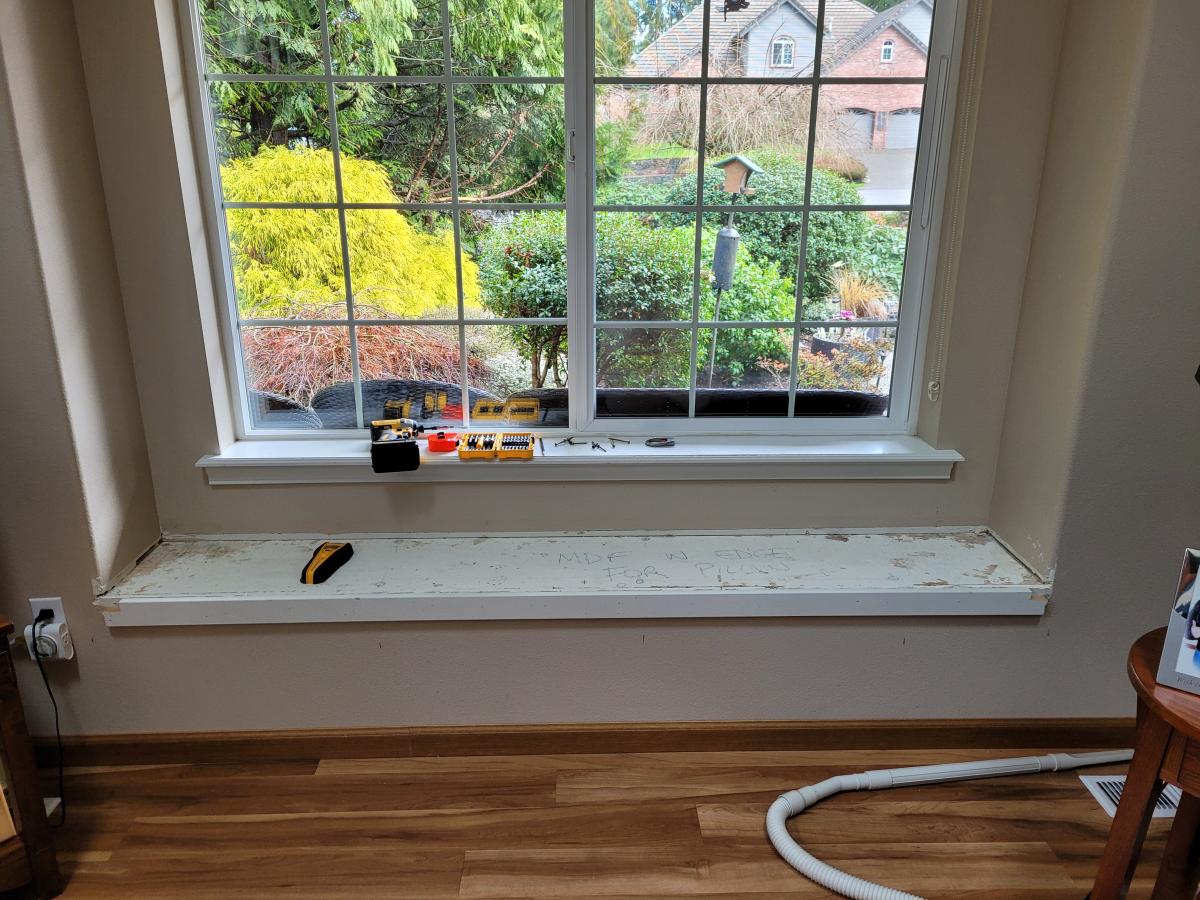
Window seat with drawers using the mudroom bench with easy drawers plan

Submitted by Anonymous (not verified) on Fri, 05/12/2023 - 17:57

Our home had a window seat that was only 14 inches deep and too small to sit on lengthwise. The before photo shows it just before I started the demolition phase. I had found the mudroom bench with easy drawers plan and decided it would work for our space. This was my first DIY woodworking project. I bought a Dewalt 12-inch compound bevel, sliding miter saw, a Kreg Pocket hole jig, and a Kreg straight-edge guide, and I plan to use them for future projects. I really enjoyed following the plans and building this project.

I got all of my wood at my local Lowe's by sorting through a lot of boards to find the best ones available. I found a nice-looking sheet of hardwood plywood for the top and sides. It was expensive ($84), but I wanted to try staining the project rather than painting it so that it would complement our flooring and other furniture in the room. I decided that if it didn't work out with the stain, I would paint over it.

A local Benjamin Moore paint store did a great job at finding a stain that would match and could be painted over if necessary. It only required one coat of stain to achieve the desired color, and I applied three coats of polyurethane over it.

We ordered a custom cushion with a cover to match the size of our new window seat with drawers. We, and our doggies, are very pleased with how the project turned out! Thank you, Ana White, for the excellent plans and video!
Gene St Germain, Poulsbo, WA

Built from Plan(s)

Comments

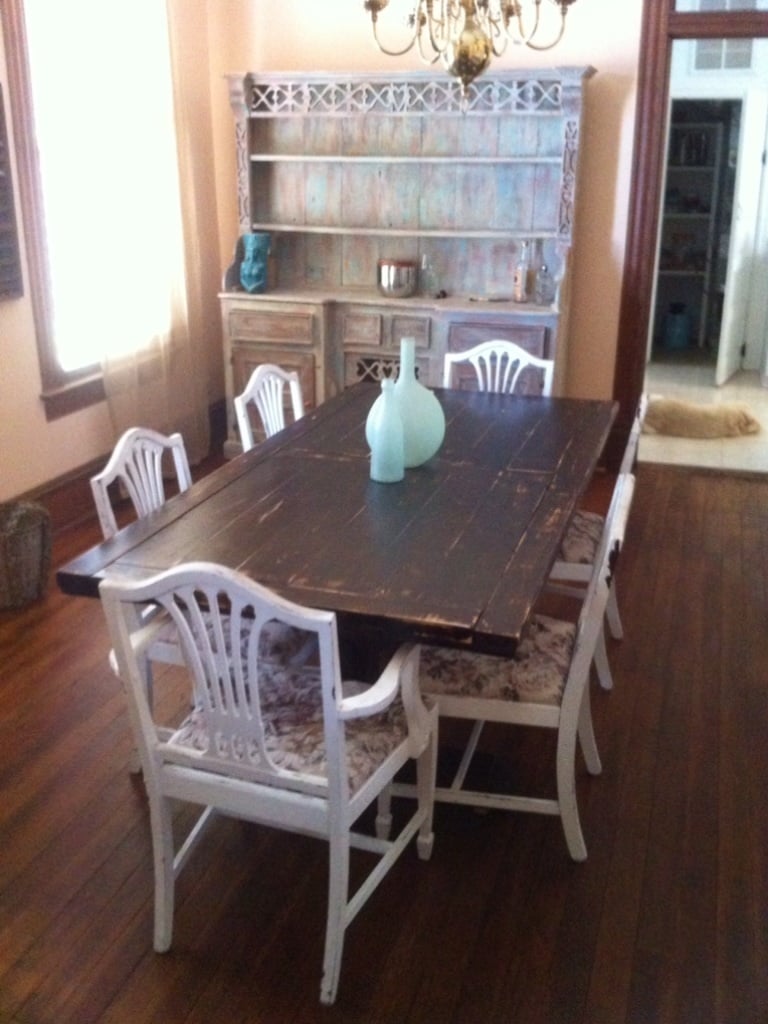
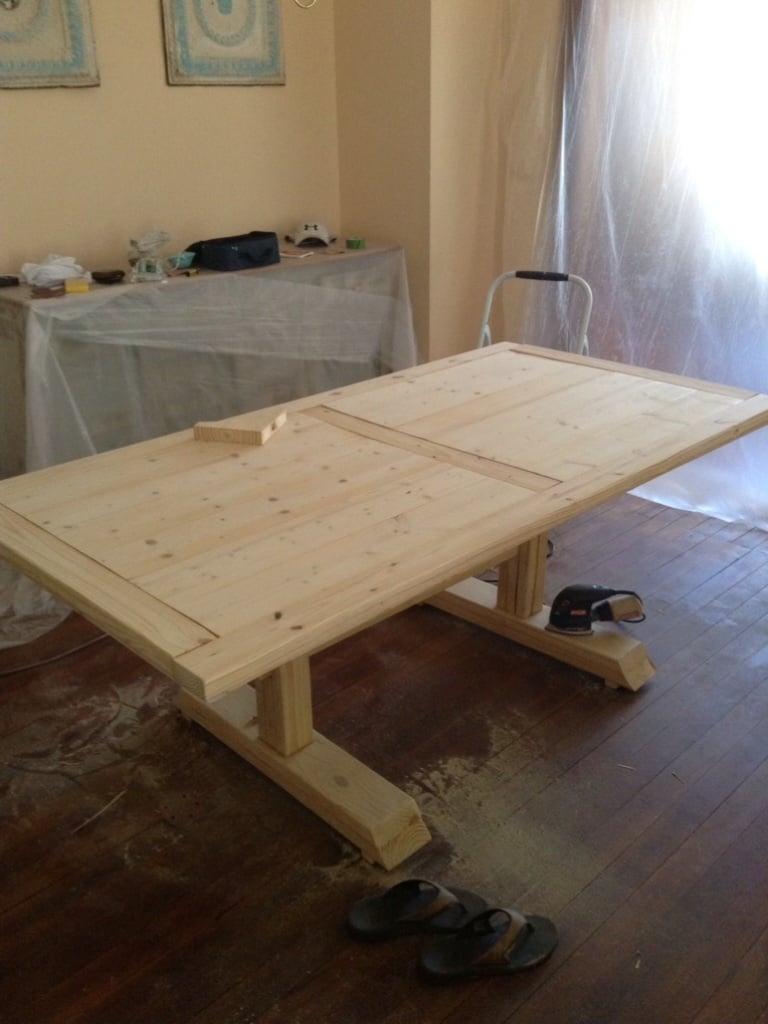
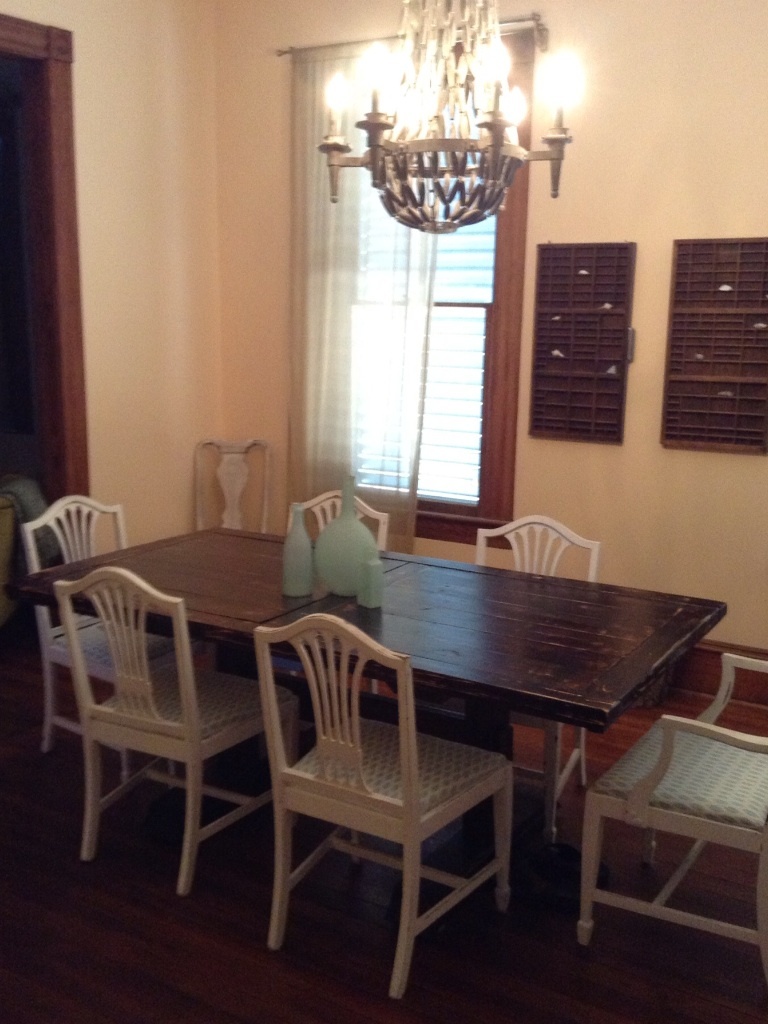
Pedestal farmhouse table

Submitted by Towboatjs on Wed, 12/04/2013 - 01:33

My wife wanted a farmhouse dining room table for our new house, I wanted to get into woodworking so these plans were a perfect fit. Bonus was adding a few tools to my collection! Revised plans to two pedestals and shortened about 2 feet. If I were to do over I would have stained and poly'd separately, but I tried to save steps because I was finishing inside the house and didn't have time for separate steps before leaving town. Ran into a few hiccups along the way but both my wife and I are happy with the end results.

Built from Plan(s)
Estimated Cost
150
Estimated Time Investment
Weekend Project (10-20 Hours)
Finish Used
Poly shades stain and poly in one, sanded Down to "distress" and then a few coats of wipe on satin polyurethane on table top to resist stains and for easier cleanup
Recommended Skill Level
Intermediate

Comments

8x12 Shed

Submitted by Anonymous (not verified) on Tue, 06/13/2023 - 03:26

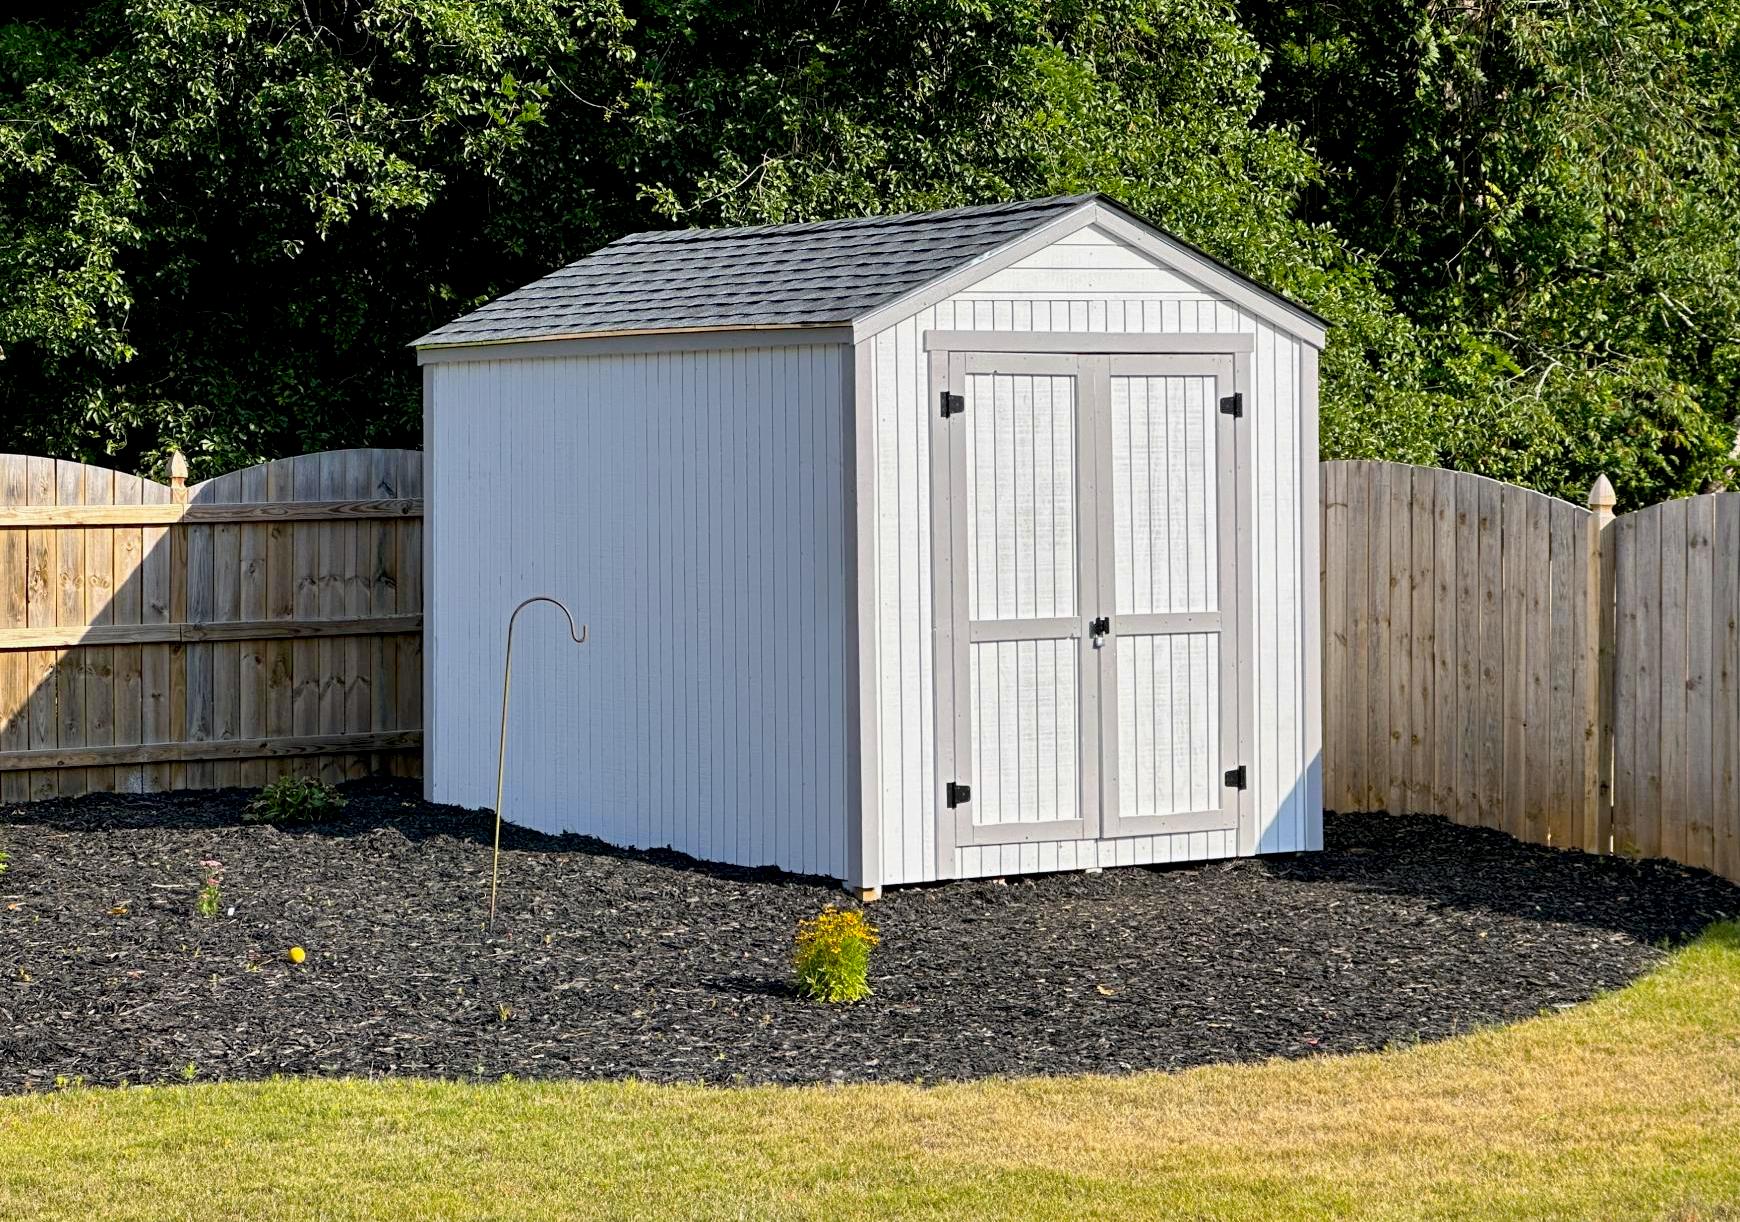
My new garden shed built from your premium plans! I'm 62, never built a shed before, and worked mostly alone. My sons helped with some of the wall and roof sheathing. In the end, I did everything except for the shingling. I painted it to match my house main color and trim.

The video is very helpful - I watched it several times. My major change to the plans was using Simpson Strong Ties and hurricane ties to secure the rafters to the ridge pole and the top plates. Otherwise, I used all other methods. I recommend cutting the front wall sheathing before cutting the panels for the doors. I do not have a trim saw and thought my standard circular saw was too heavy for me to make the cuts like Jacob did.

Built from Plan(s)

Comments

Seasonal And Holiday

Farmhouse King Bed - knotty alder and grey stain

This was my first building project! I had so much fun with it ... for a guy that can't even hang a photo on the wall! My dad helped and he had all the tools. I spent a few weekends with him so not only was a good father/son project we had something to show off at the end. I think I've caught the woodworking fever.

Estimated Time Investment
Week Long Project (20 Hours or More)
Finish Used
prestain, weathered oak stain, danish oil finish
Recommended Skill Level
Intermediate

Comments

dentalba

Mon, 12/23/2013 - 12:10

I really like the look of the stain. I would be interested to know what changes you made to the original to achieve this look. Also, where did you find the lumber? I can't find knotty alder around here.

locke1103

Thu, 10/23/2014 - 06:32

Is there a way to find the materials needed and specific instructions on how to make this bed? I LOVE IT!

winnsamuel

Tue, 11/25/2014 - 19:22

Hello,

This is awesome, I've been looking to build a bed frame for my new apartment.  Does anyone know where I can find the plans for this project.

Similar to the person above me, I am new to this and not quite sure what to do.  If anyone can provide me with a little insight to this project I would really appreciate it!


Thanks!

4x4 Truss Beam Table

Submitted by WolffA on Fri, 10/11/2019 - 08:15

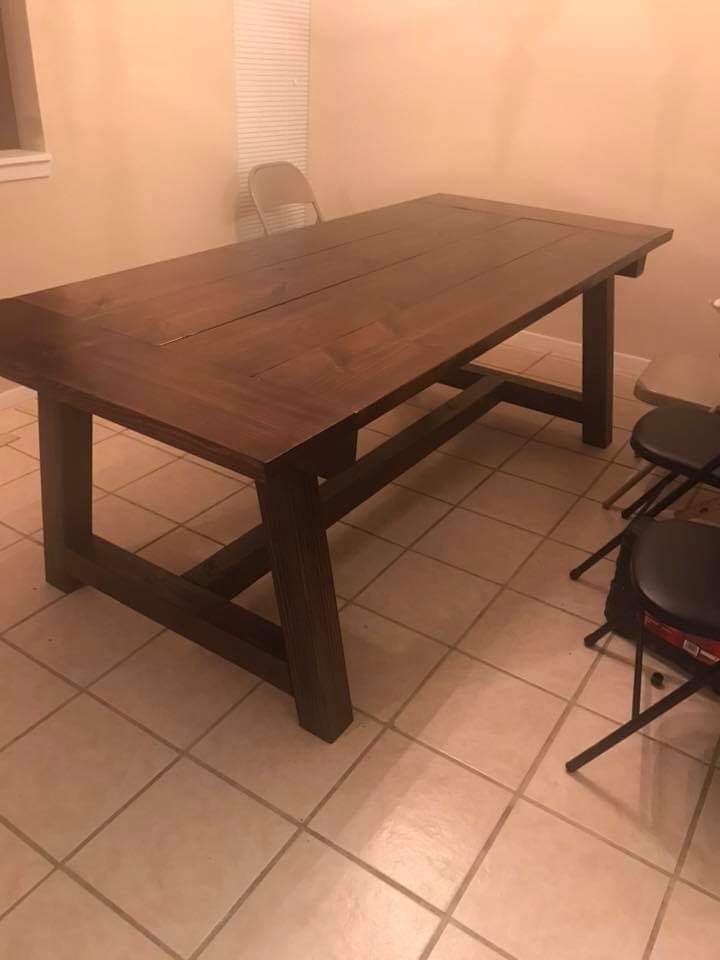
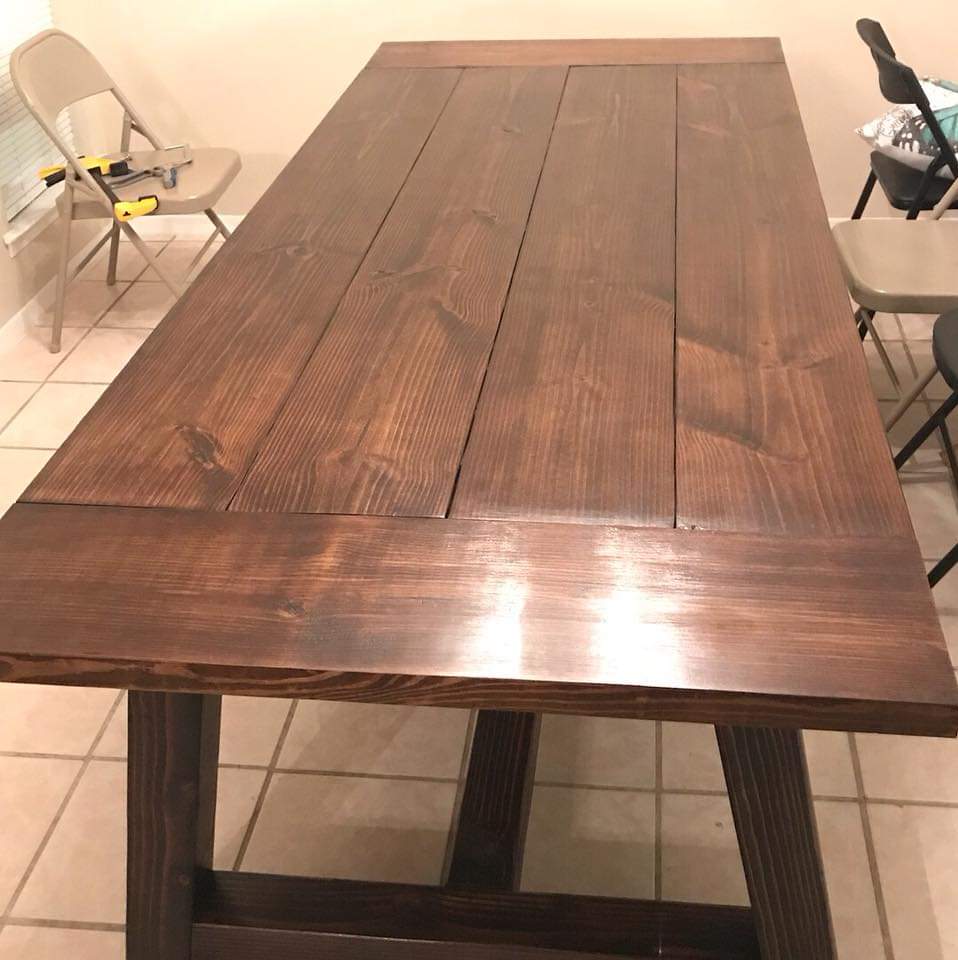
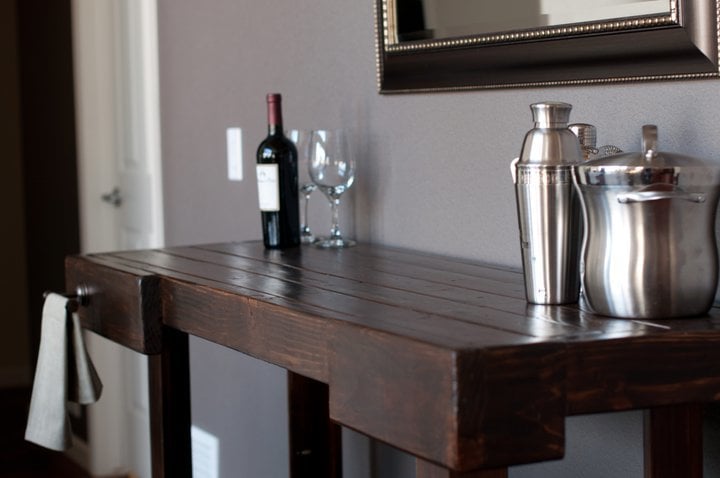
Used Kreg Jig HD screws and pocket holes with glue. Stained in Dark Walnut. 

Built from Plan(s)
Estimated Cost
250
Estimated Time Investment
Weekend Project (10-20 Hours)
Finish Used
Dark Walnut Stain
Recommended Skill Level
Intermediate

Easy Upholstered bench

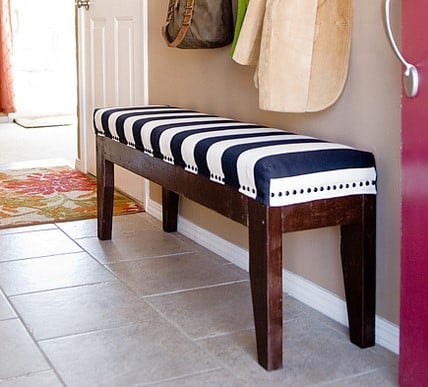
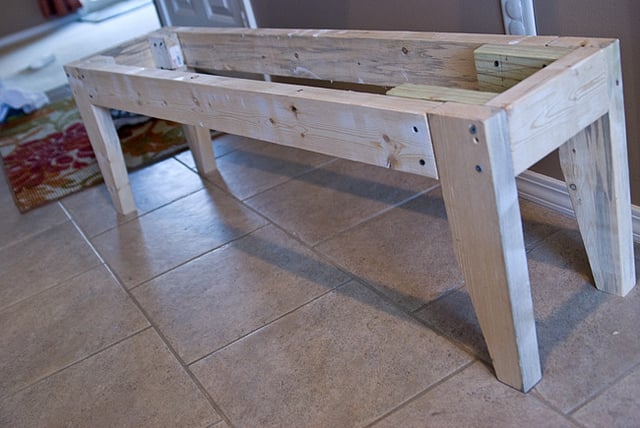
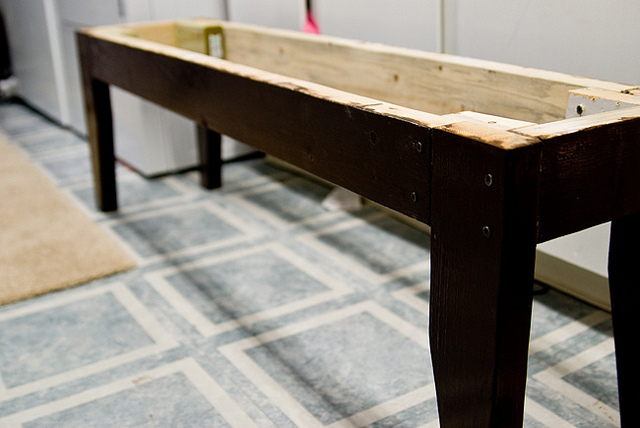
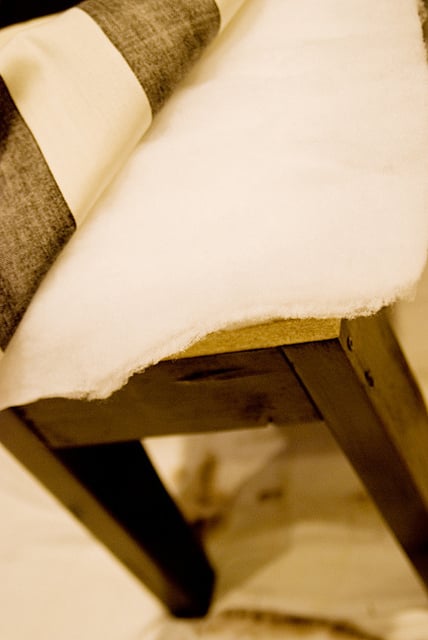
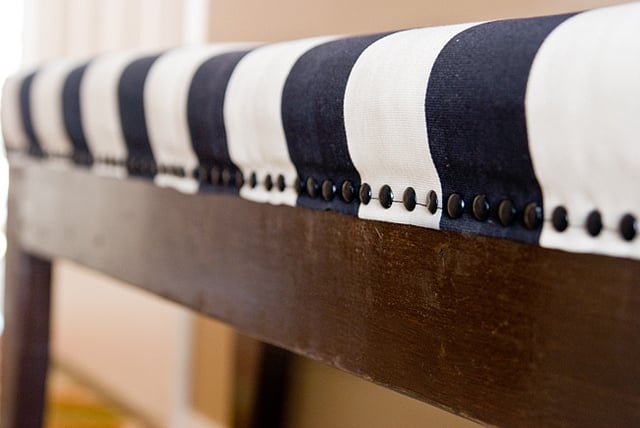
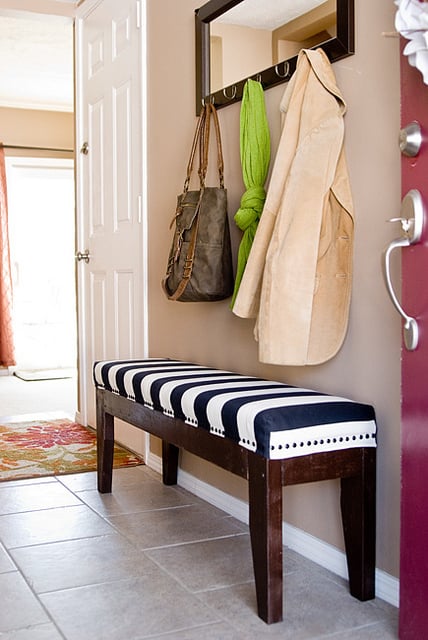
Wonderful project! Very fun. Built a bench from scrap 2x4s (left in the garage by our home's previous owner, so they were free!) and a piece of MDF shelving. Perfect for our entryway. The bench itself was incredibly easy to build. The hard part, in my opinion, was finishing it. So many pretty things to choose from! I used a piece of 2-inch foam plus a double layer of batting for the top, some striped upholstery fabric, and 160 nailheads to finish it off. Love it.

Built from Plan(s)
Estimated Time Investment
Day Project (6-9 Hours)
Finish Used
Minwax stain in cognac, and then two coats of minwax poly.
Recommended Skill Level
Beginner

Comments

Guest (not verified)

Sun, 02/19/2012 - 12:54

Love it! Wondering if I could build it and have some type of slipcover on it. (house with three kids under 5 years old does not go well with permanent upholstery! haha)

Guest (not verified)

Fri, 03/09/2012 - 09:06

If you check out Ana's original plans for the Easiest Upholstered Bench, you'll see that she DID use slipcovers! You could make different ones for each season, or for holidays like Christmas or birthdays...

ehahn1

Wed, 10/30/2013 - 08:36

Hi Katie, I am having a difficult time finding fabric (hard to believe)! did you get yours online? How wide are the stripes? most fabric I am finding is not wide enough to cover the top and sides. Thanks for the help! Great build!

DIY Famhouse Table

Submitted by Anonymous (not verified) on Wed, 07/05/2023 - 08:24

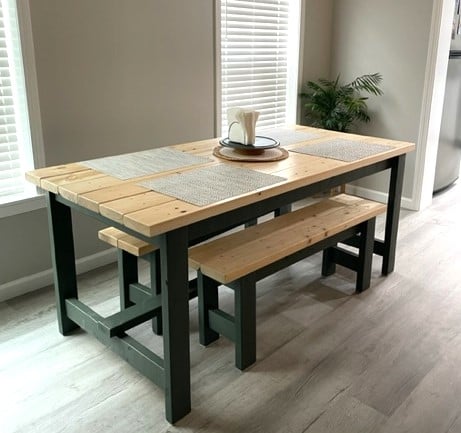
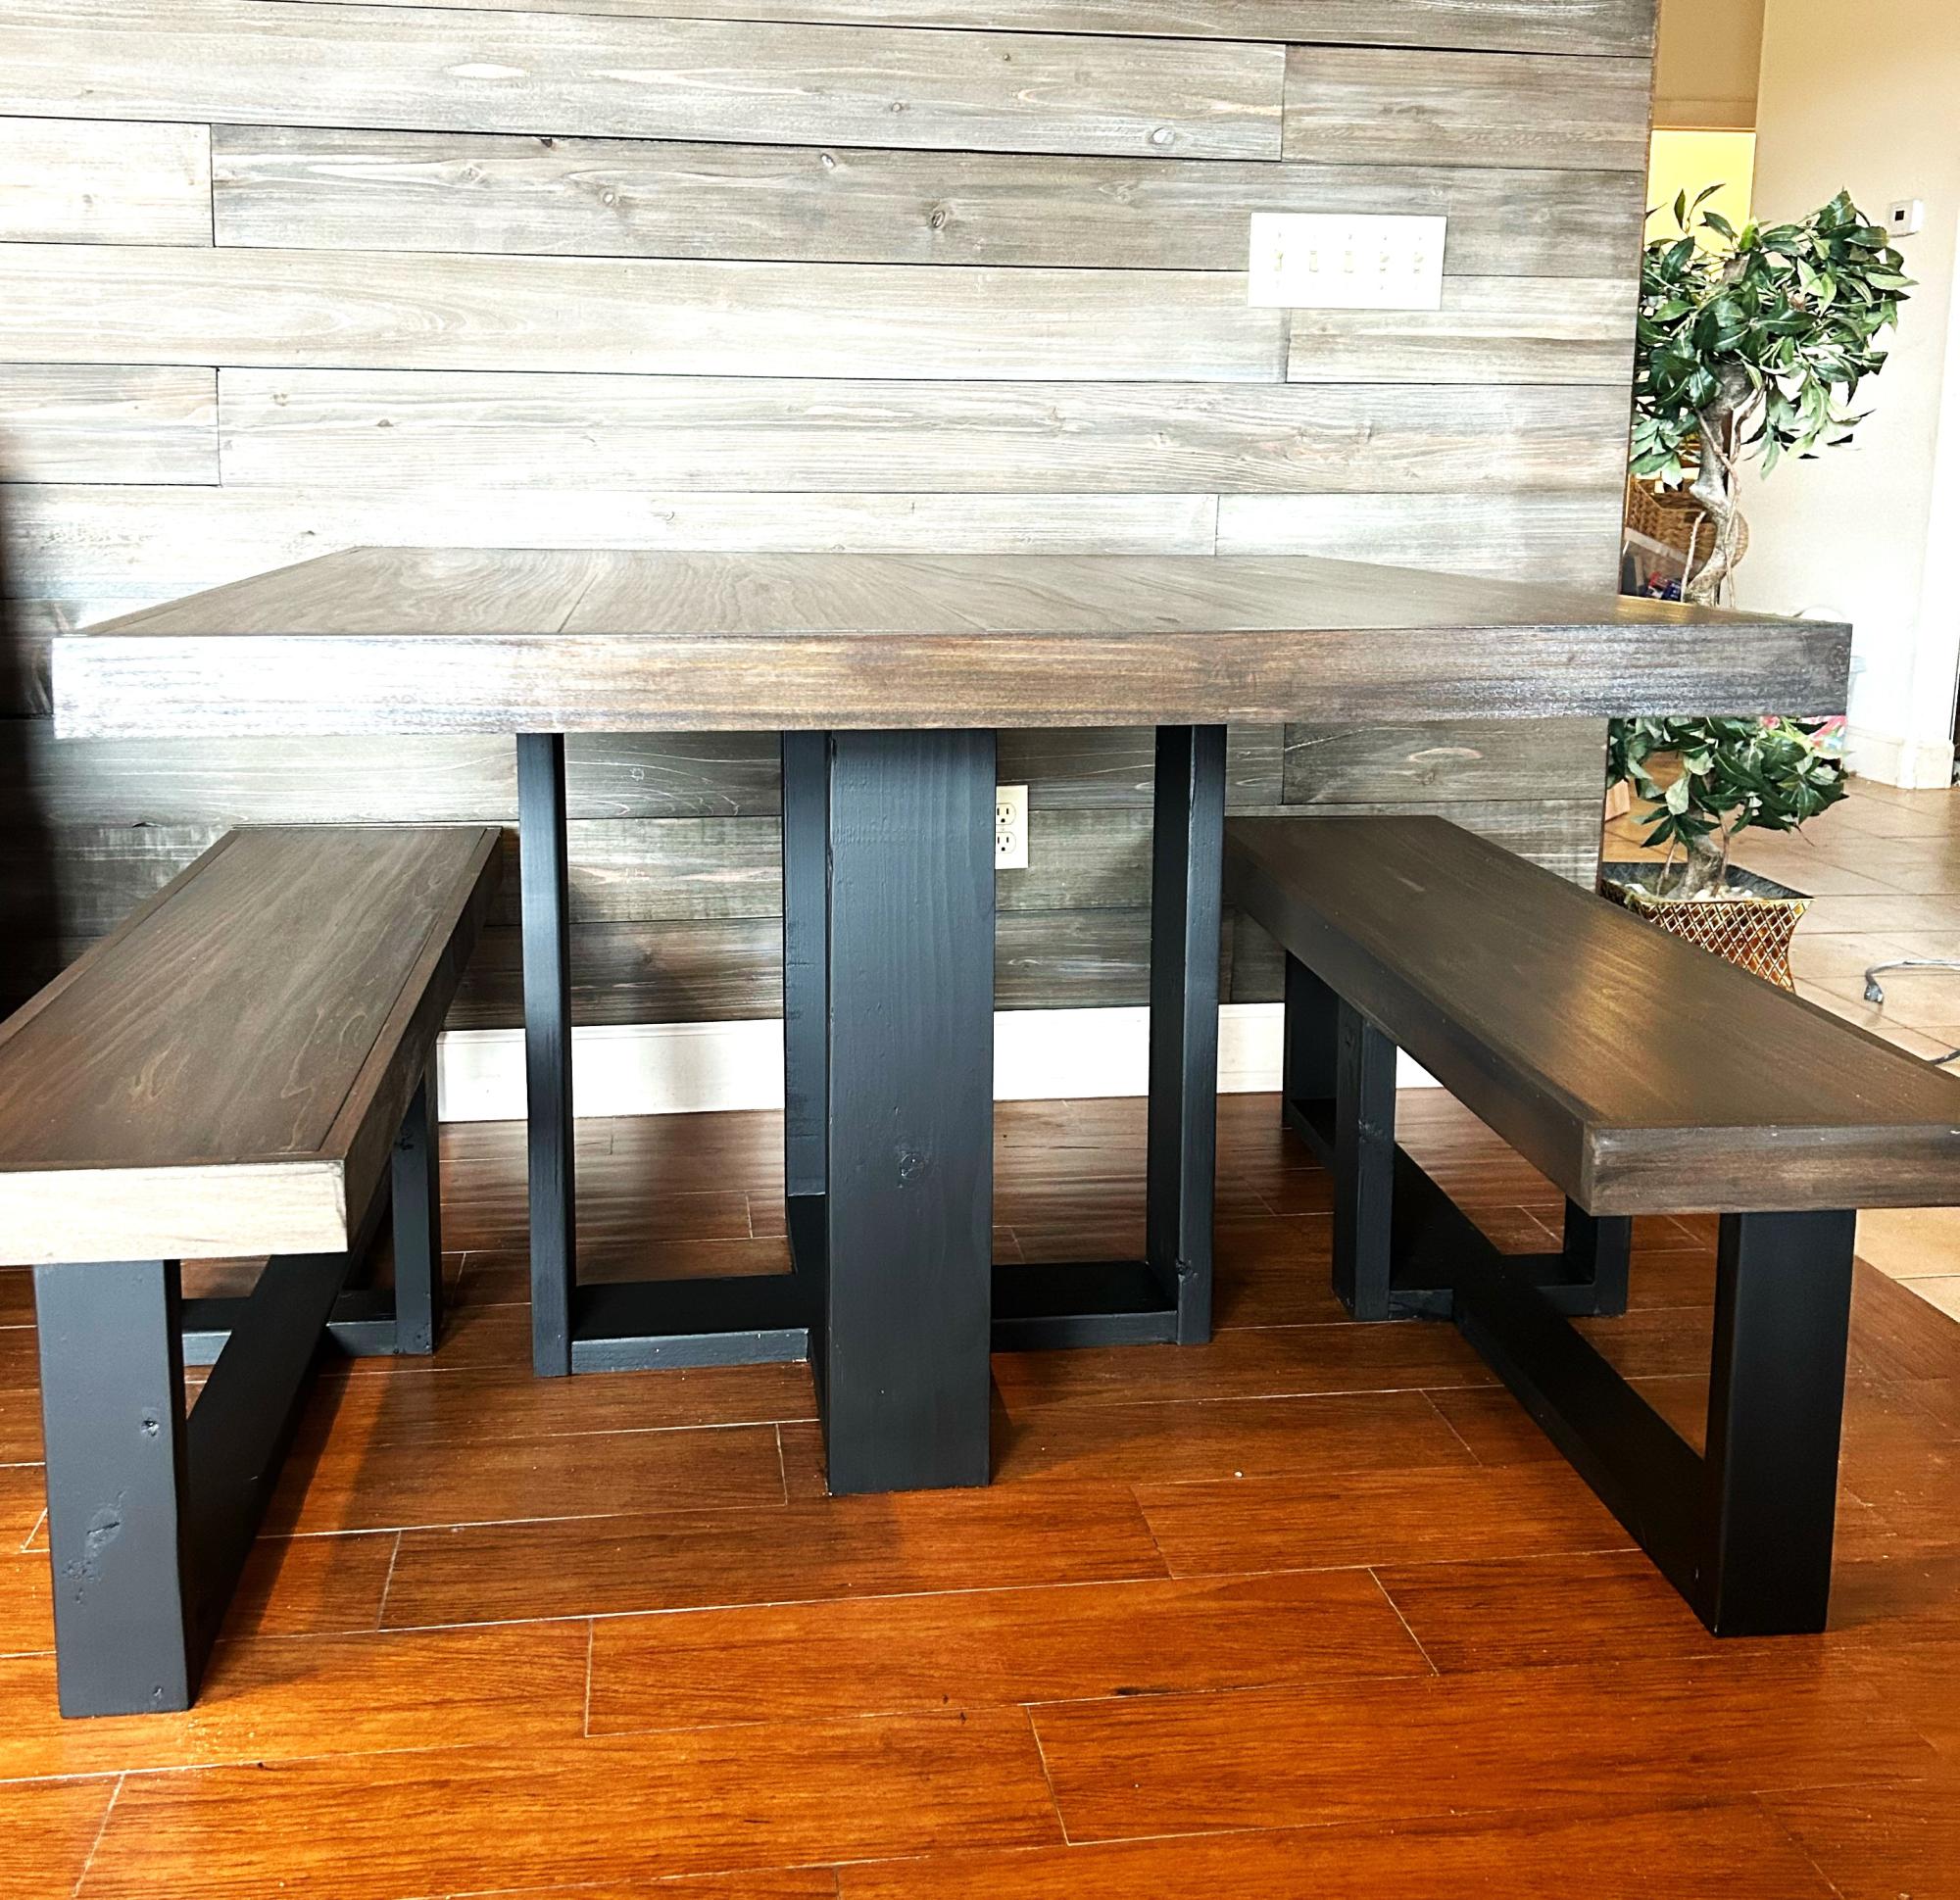
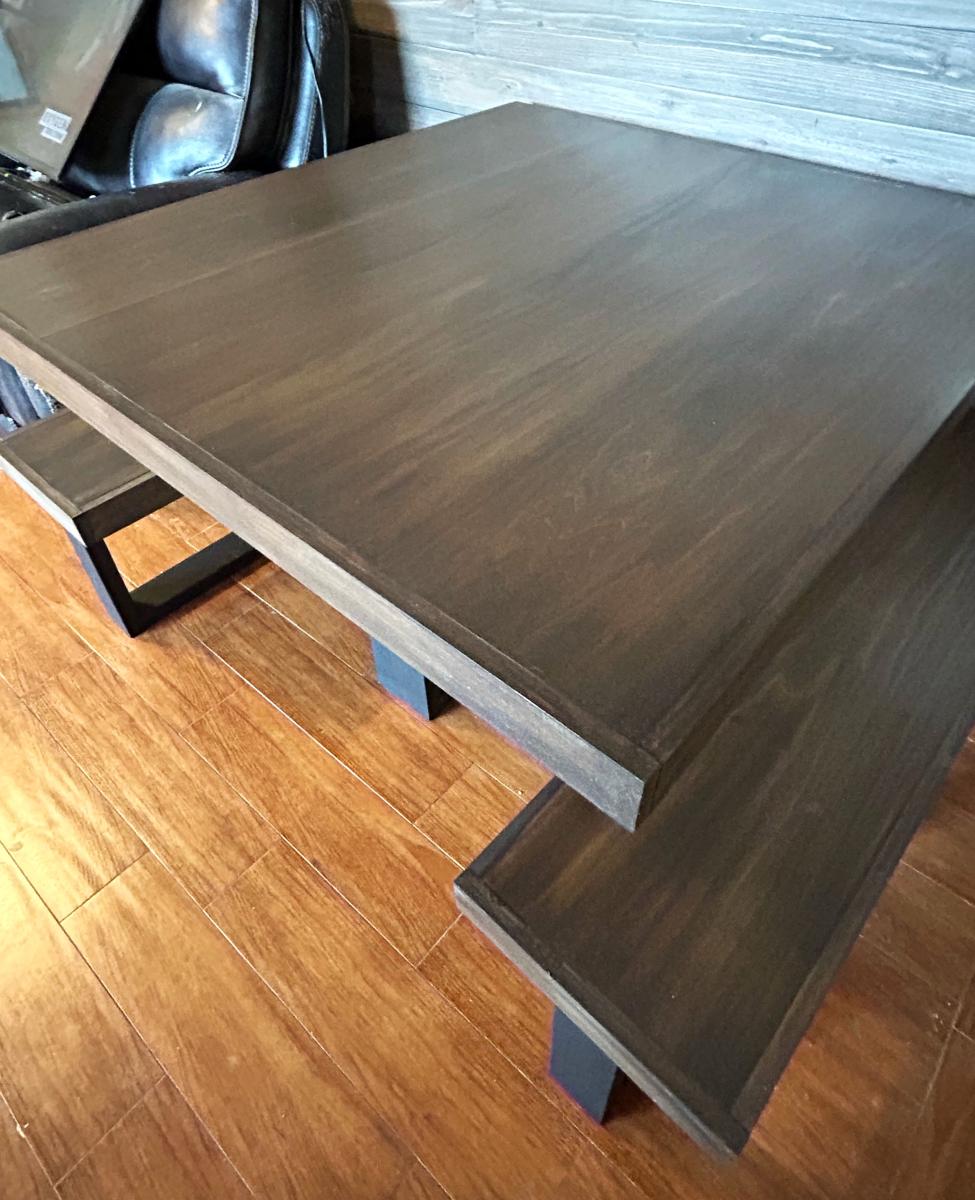
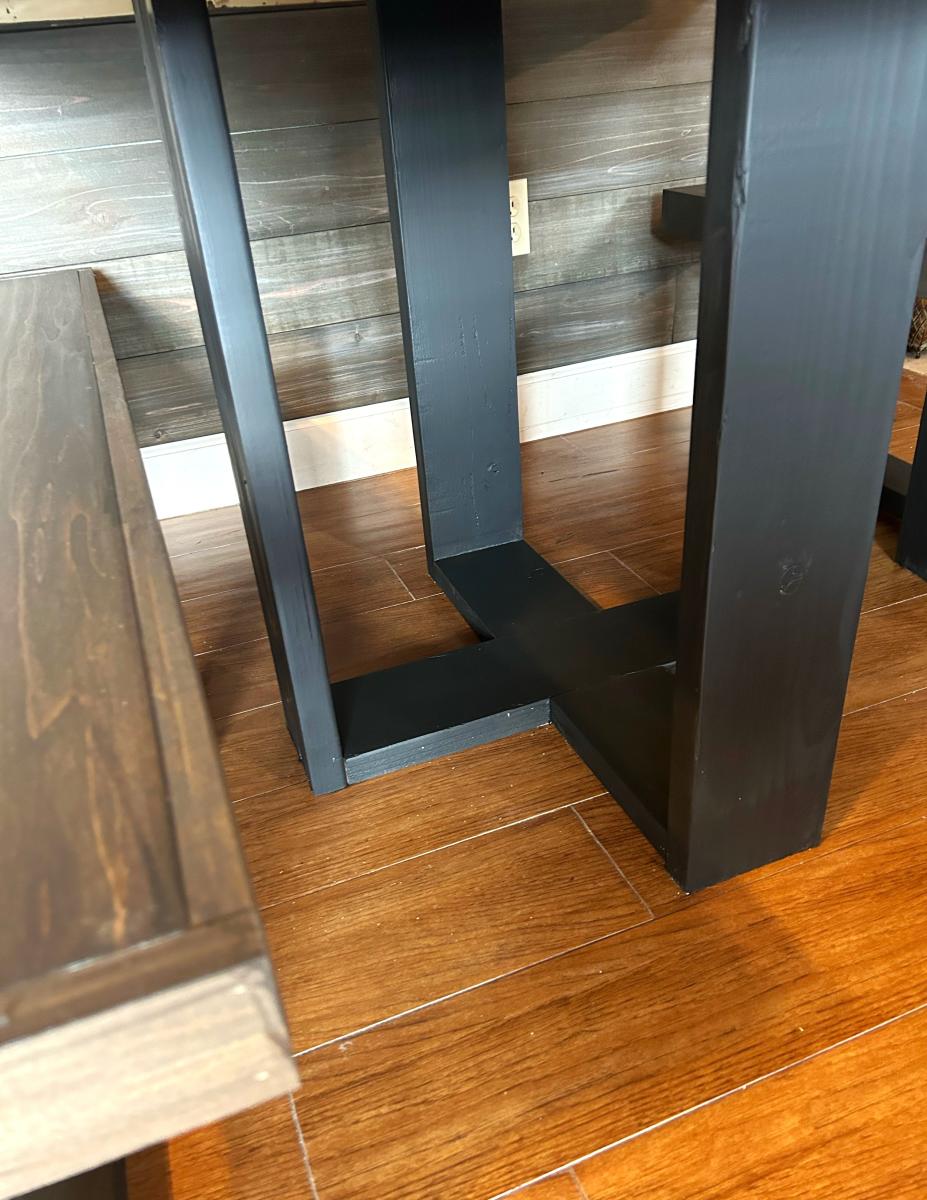
I used the farmhouse table plans, with a few modifications. I made two benches to go along with it. This was my first big wood project and I'm pretty proud of it. My daughter bought her first home and needed a table custom sized to her space so this was perfect. I love all of Ana's plans, so easy to follow.

DIY Brew Station

Submitted by Anonymous (not verified) on Sun, 07/30/2023 - 14:38

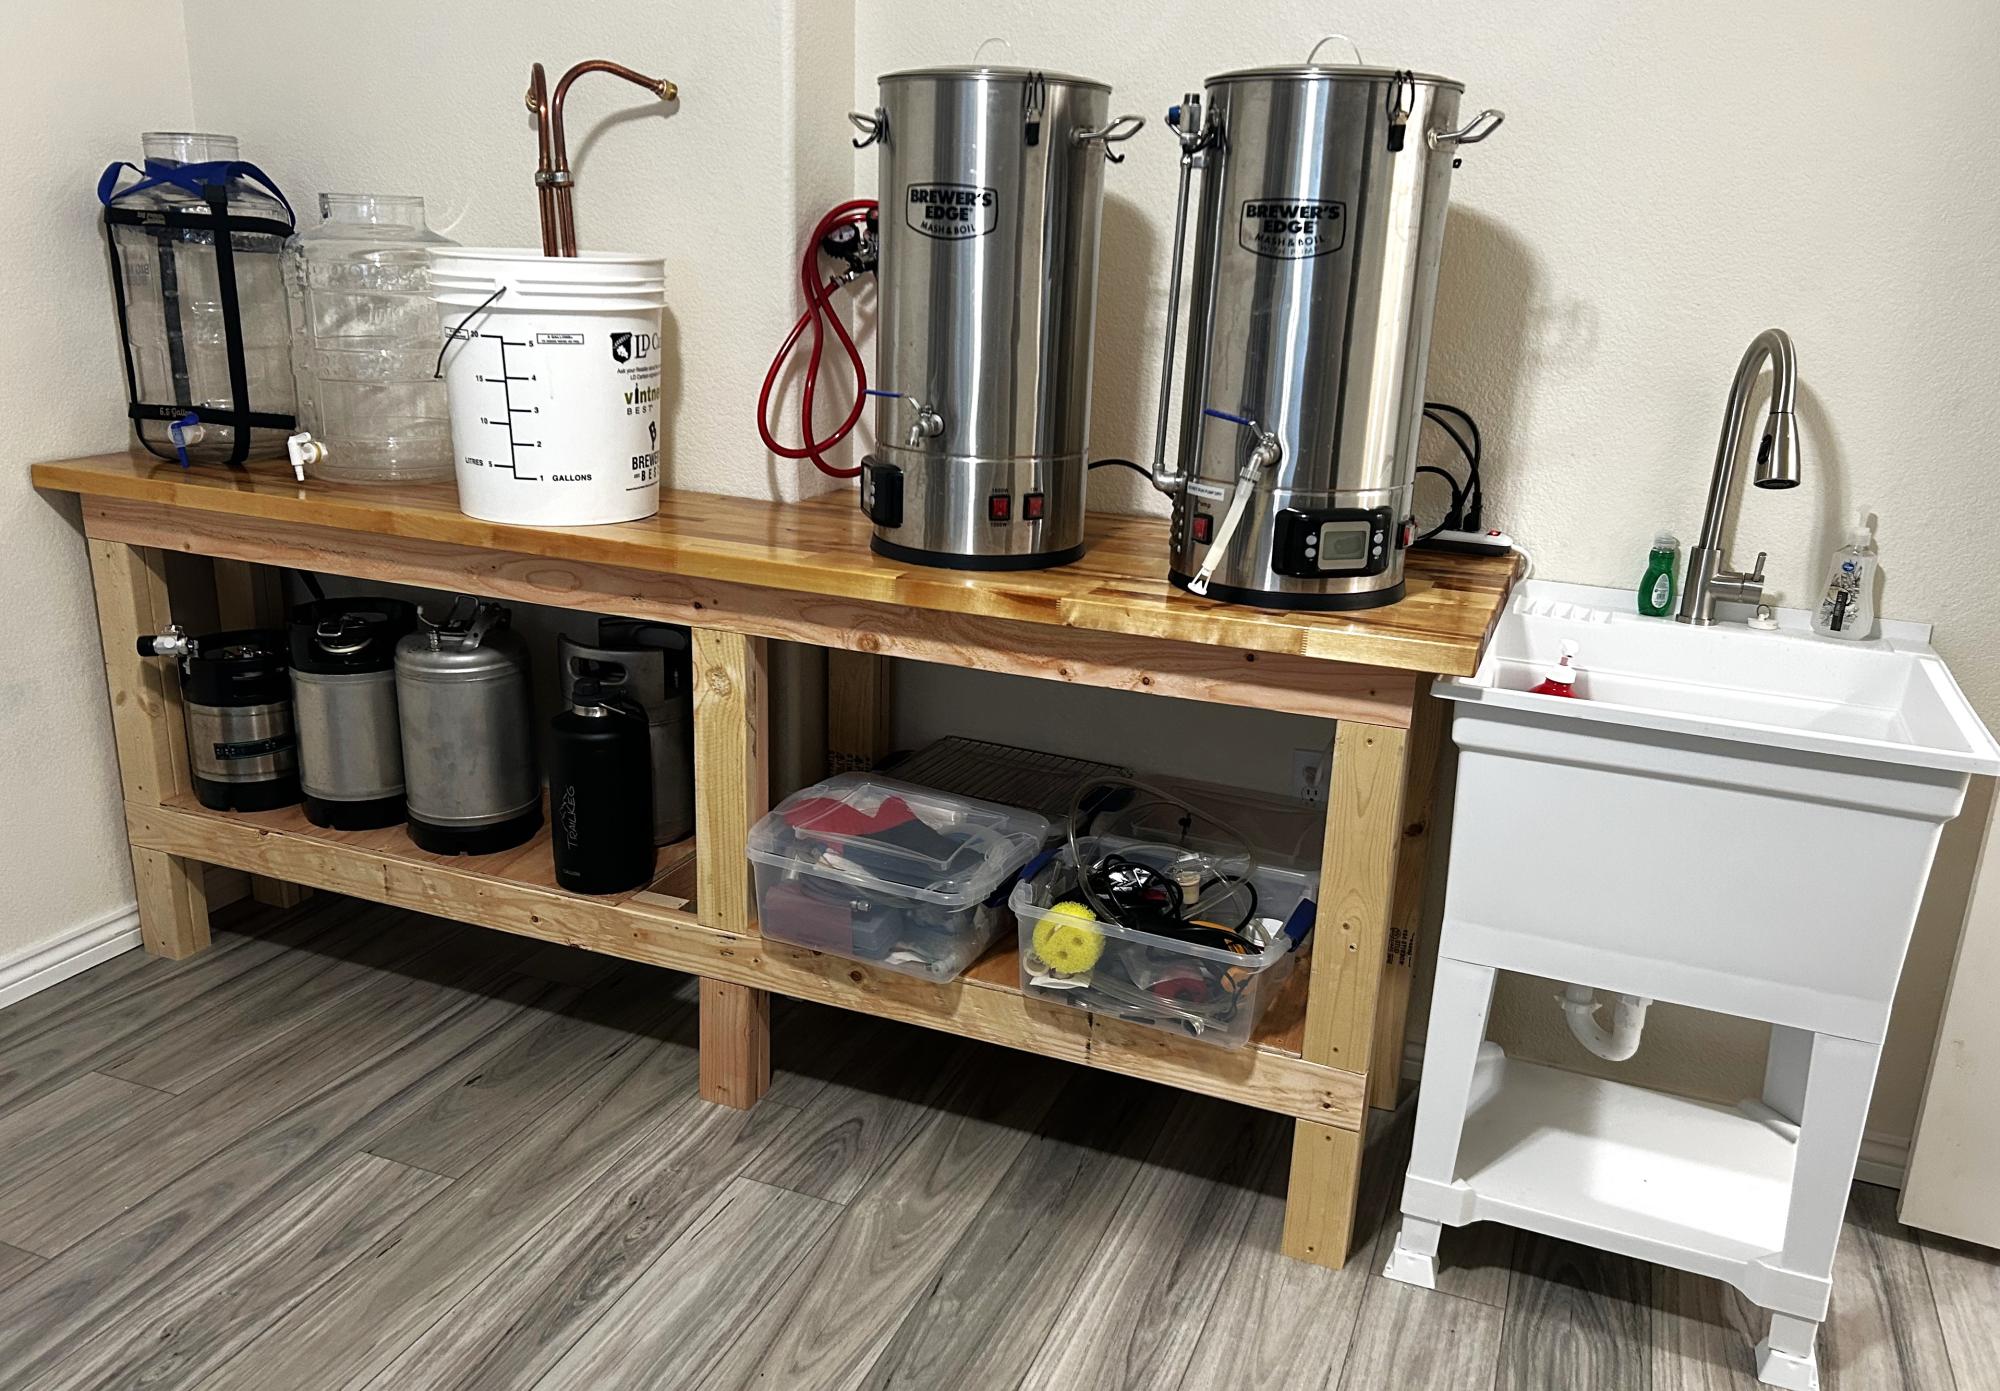
I used your workbench plan to build my Brew Bench. I changed the measurements to fit my space and used a butcher block for the countertop. Very sturdy and pretty easy project. Took one day to build.

Scott R

Comments

Coastal End Tables

Submitted by Anonymous (not verified) on Thu, 03/31/2016 - 17:53

We changed the finish of the tables from the original plan, but everything else was the same. We loved the slats on the bottom of the table, and they turned out even better than expected. The two end tables are the first pieces of furniture we ever built, but the plan was very easy to follow without much knowledge needed. The kreg tool and screws are truly magic.

Built from Plan(s)
Estimated Cost
$150 for 2 tables
Estimated Time Investment
Weekend Project (10-20 Hours)
Finish Used
Walnut stain for the top (2 coats)
A bright white paint we had from painting trim (2 1/2 coats)
Recommended Skill Level
Intermediate

Folding workbench

Submitted by mellyc_fl on Mon, 12/30/2019 - 17:42

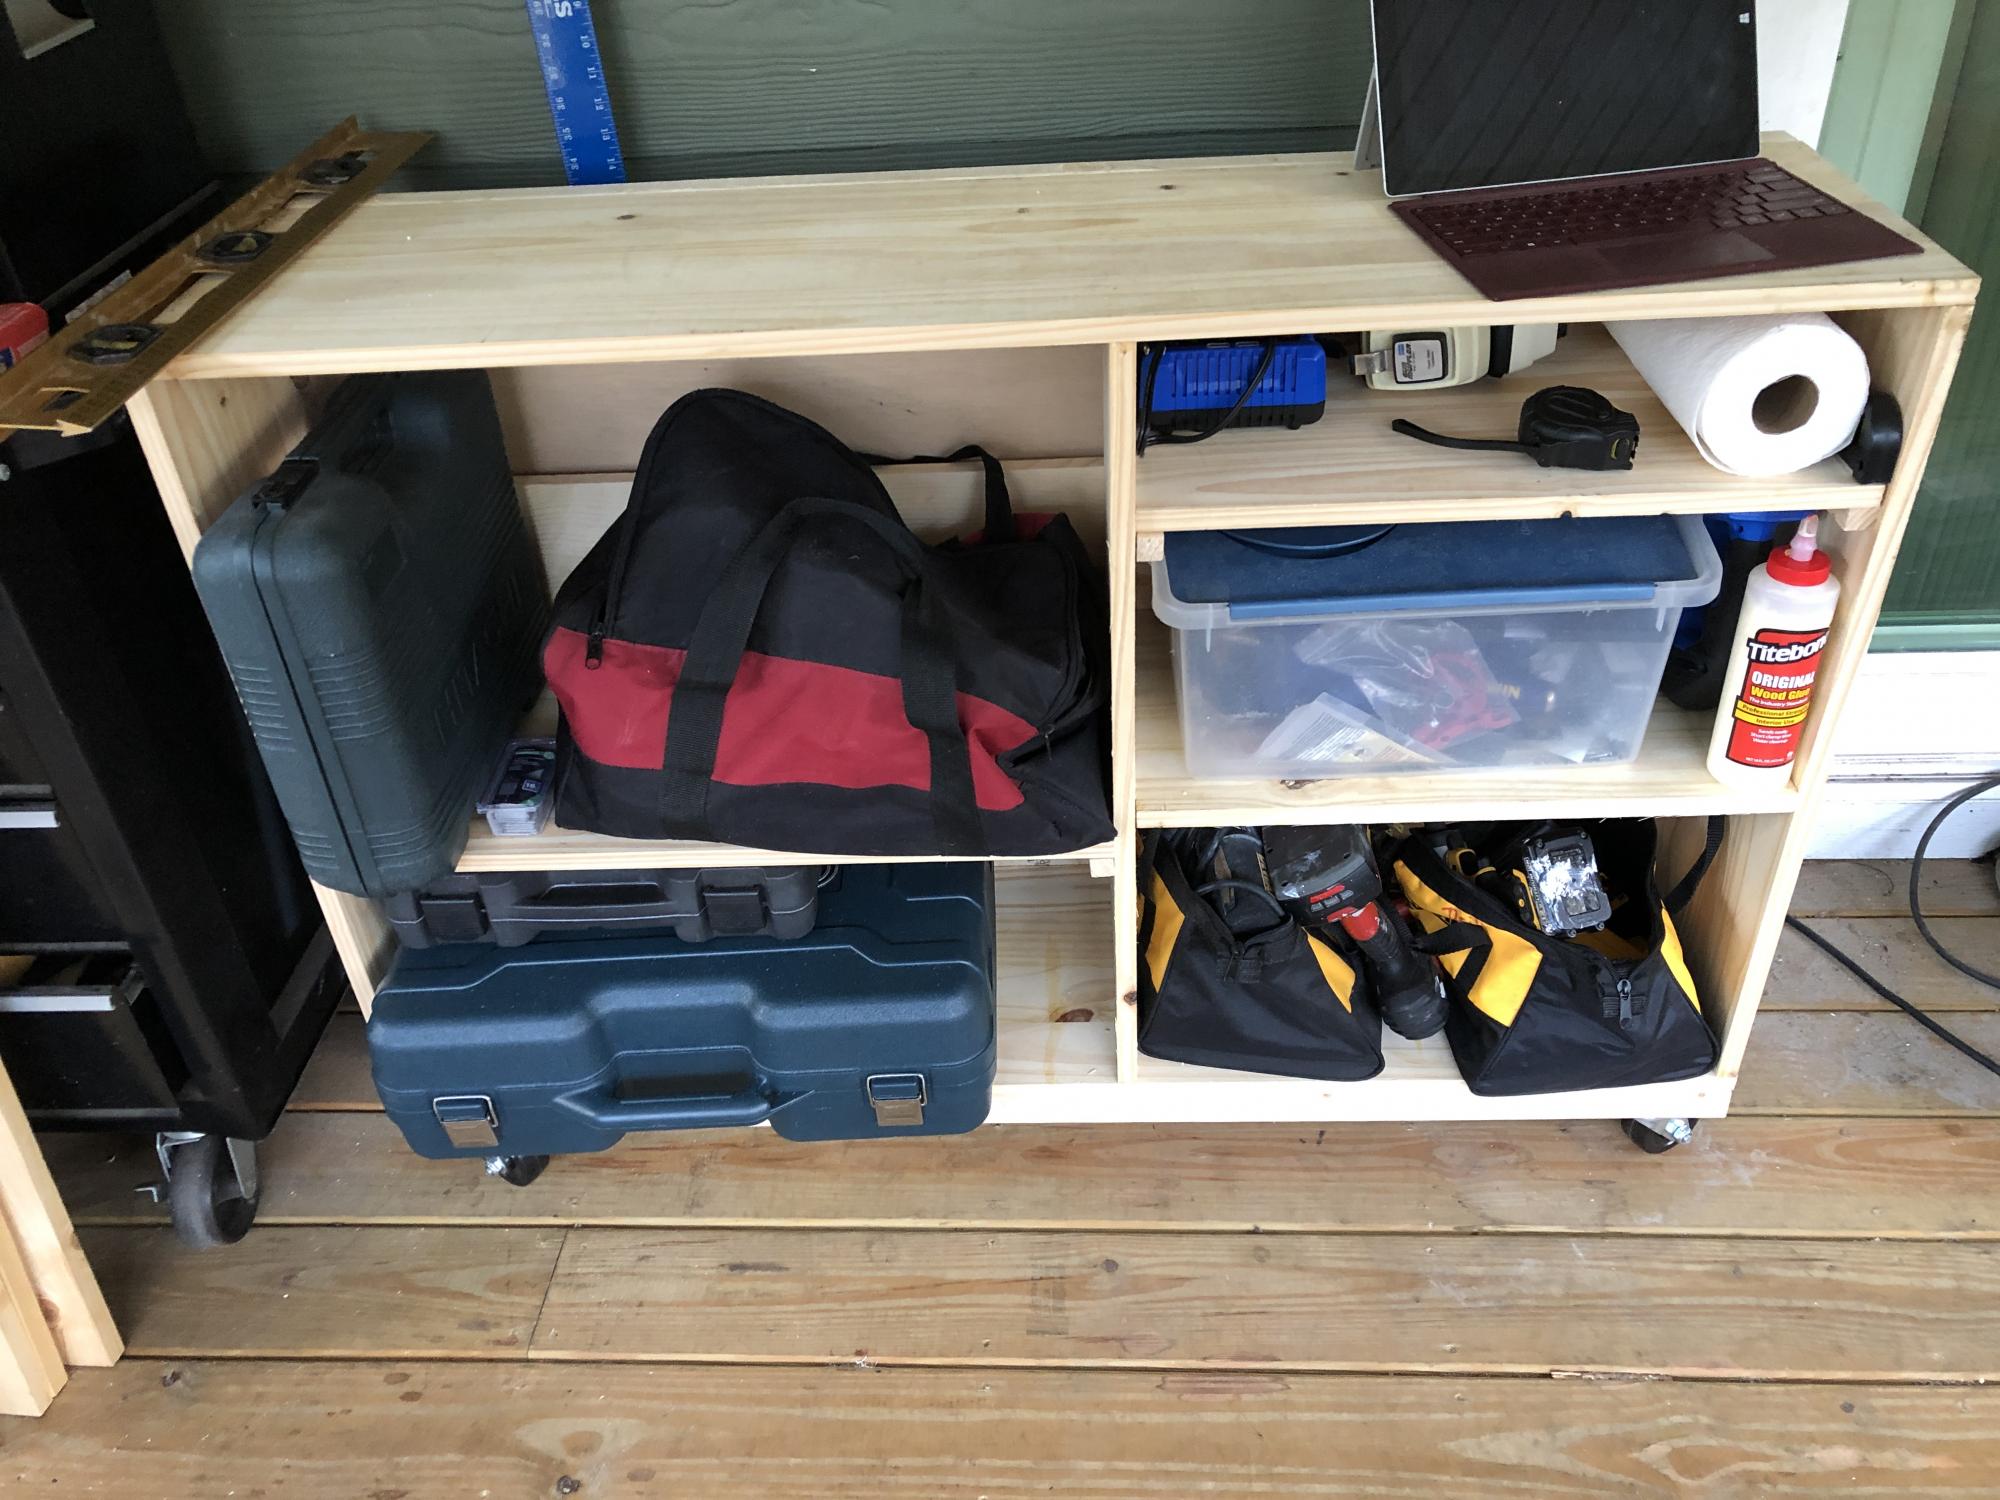
We do not have a garage yet, so this size works great to push out of the way when not being used and pull out for a workbench and also to extend the table top for the saw.  The plans were easy to follow and easy to modify.  I added a base made of 2x4’s to make it sturdier since it will be moved across a deck vs a level floor.  I also added some boards behind the shelf to keep things from falling out the back and adjusted the height to match the table saw top.   Next up will be a router table stand to replace the camping footlocker. 

Built from Plan(s)
Estimated Cost
$100
Estimated Time Investment
Afternoon Project (3-6 Hours)
Recommended Skill Level
Starter Project

Craft Room Build

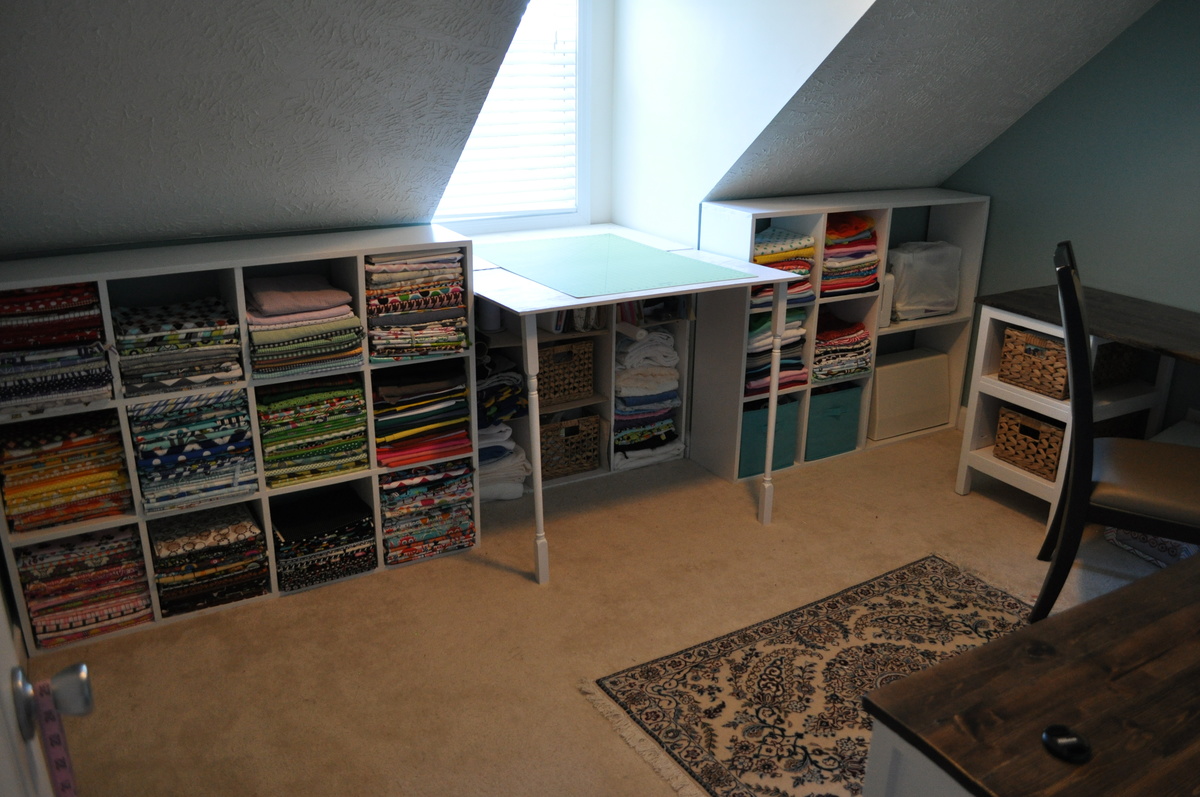
This project was one that I've been planning for about 18 months- I had to wait until we moved back into our home to start the build, so I had plenty of time to think about how to maximize my storage space in this small room with a slanted ceiling. My husband had some time off from work and offered to watch our toddler during the day time- so that was all the motivation I needed to start this big build!

Overall, it took about a week from beginning to end. The cost was between $400-$500 for everything- including hardware, paint, supplies etc. Still a huge savings over what it would have cost us to purchase desk and storage units to work in this room (I priced them out at about $2000-$2500 - WAAAAY out of our price range).

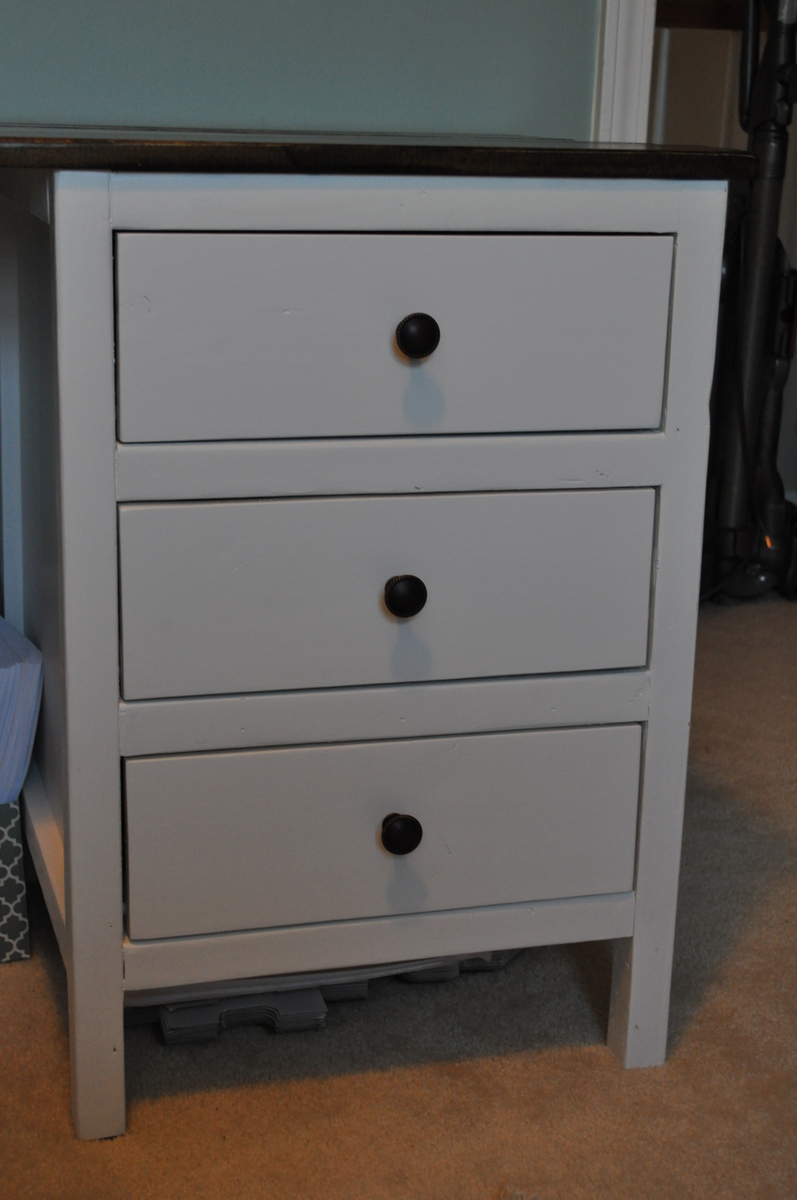
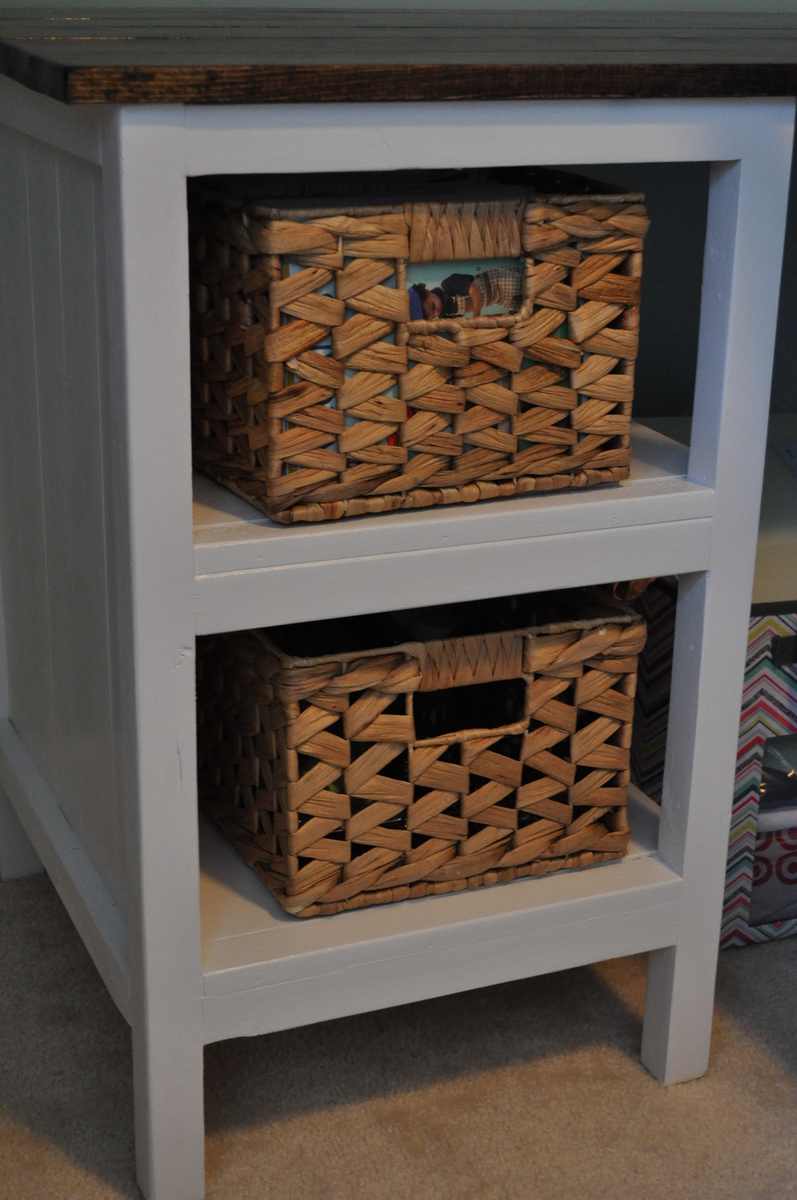
For the main desk unit I used the plans for the reclaimed look wood bedside table. I modified the height of the legs to 28" tall so that the sewing desk height was correct for when I'm sitting at my machine for hours on end. I also modified one of the units to be an open shelving unit, so that I could store my patterns and misc. sewing notions in baskets on the shelves.

The desk top was created by using six 1 x 4 whitewood boards joined with pocket holes. The corner joint is "woven" in a sense to give a unique look to the unit. I used 4 brackets in the corner (secured to the studs) to support the weight of the corner of the desk. I used Dark Walnut stain and then followed up with 3 coats of Poly (sanding in between each coat).

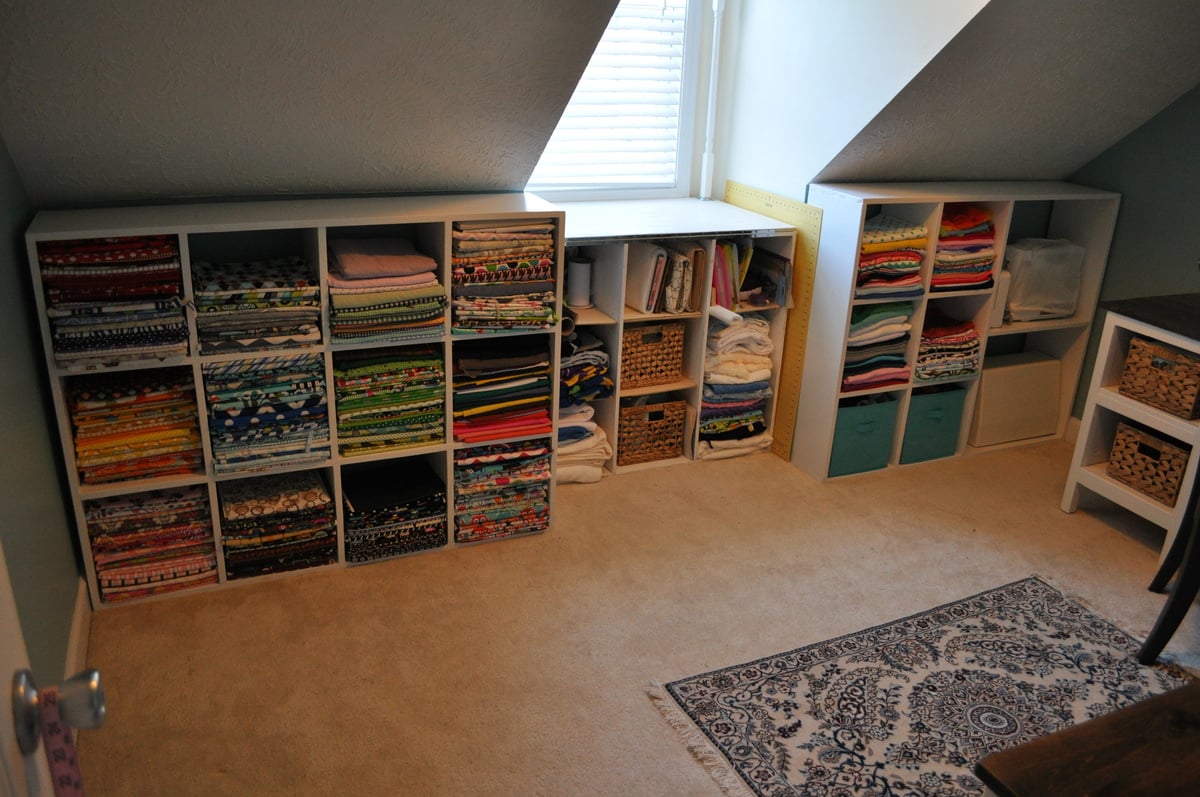
The two fabric/machine storage bins were made using the cubby bookcase plans as a base. Both plans were modified to maximize fabric storage with the small space- hence no face frame on each unit. The middle storage unit is one that was my first build a few years back, before I'd even heard of knock off wood- oh how it would have been so much easier if I'd known about this site back then. I added a plywood top with a piano hinge to fold out for a stand up cutting unit. For the legs, I simply went to the table/baluster aisle at my local hardware store and purchase some hardware to secure two balusters to the plywood top. Screwed them in on the outside of the window frame so I don't have to unscrew the legs every time I fold it up and away, cut the balusters down to the proper height and that was done!

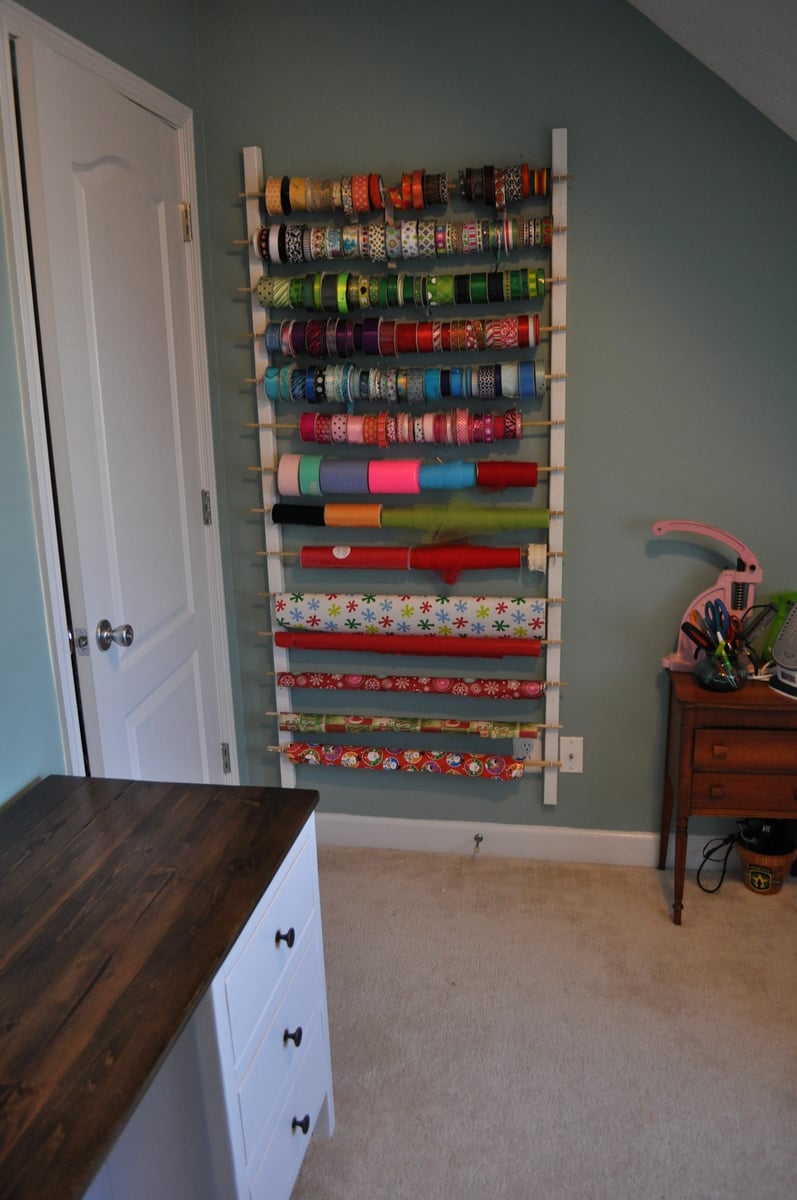
The ribbon/wrapping paper storage was super easy- just used some of my left over 2 x 2 furring strips, along with 14 dowel rods and 1 /14 screw in hooks. I pre-drilled the holes for the screw in hooks as well as the 3" screws I used to mount it to the wall.

The thread holder was a previous build of mine as well- just cut out LOTS of dowels that fit into the peg board and glued them in place. Added a little decorative trim to finish it, and painted it white.

Overall I could not be more excited about how this build turned out...aside from wood working, sewing is my next favorite thing (I have a small Etsy shop and do local craft fairs for fun). Having the stand up cutting station is a HUGE relief, as after 10 or so years in the Army, my knees and back are shot (who would have ever thought that jumping out of airplanes wasn't good for you!) The fabric storage is great and allows me to see all of my different fabrics so I eliminate over-buying (which I obviously have a problem with) and purchasing doubles.

I can't thank Ana enough for her website- I grew up with a dad that builds everything, but was always a bit intimidated when it came to building stuff for myself. Her plans really break everything down to the simplest level of instruction and make the building process stress free. This was my first time building a cabinet unit and I was very worried about the drawers not working, but I just followed along on the instructions and they came out perfect.
Estimated Time Investment
Week Long Project (20 Hours or More)
Finish Used
Valspar semi-gloss white
Minwax dark walnut with Rustoleum POLY top
Recommended Skill Level
Beginner

Comments

Ana White

Fri, 01/24/2014 - 10:05

I love this space, you did an amazing job with all of the builds! Thanks for sharing!

DecorSanity

Fri, 01/24/2014 - 17:11

You did an amazing job, way to go! I love to sew too, and I think building is a lot like sewing...but with saws and hardware instead of scissors and a sewing machine!

dgwheeler24

Fri, 02/07/2014 - 13:09

I would also like to see your corners up close.

Was your decision to not use a leg(s) for the support (and instead used the brackets) for a reason? Was it just easier?

I love the desk that size, but since we are military we move every couple years...I want to use legs for easier breakdown for transportation instead of something as permanent as the brackets. Not sure how far apart to space the legs for the support...

Arbor Press Workbench

Submitted by Anonymous (not verified) on Fri, 09/08/2023 - 09:35

Needed a small workbench to fit in a tight space, but still wanted something sturdy as it supports a 1-ton arbor press. Your plans were so helpful!


Comments

Addison Headboard - King Size

Submitted by awbrown on Tue, 02/04/2014 - 16:07

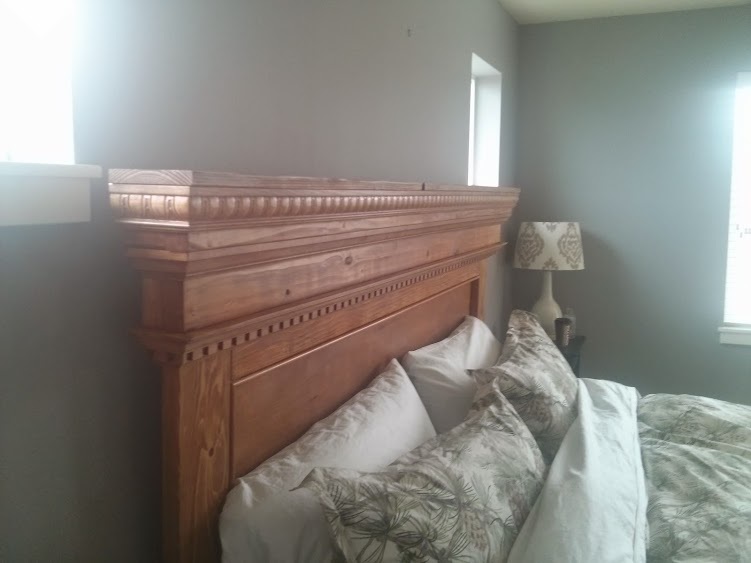
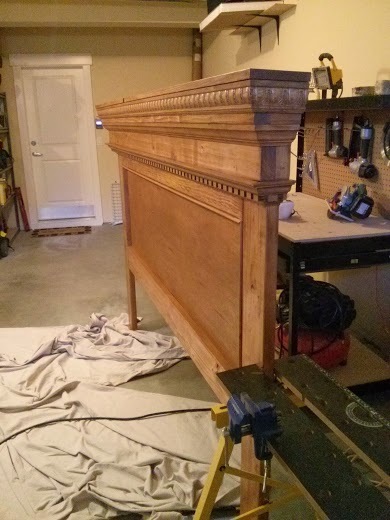
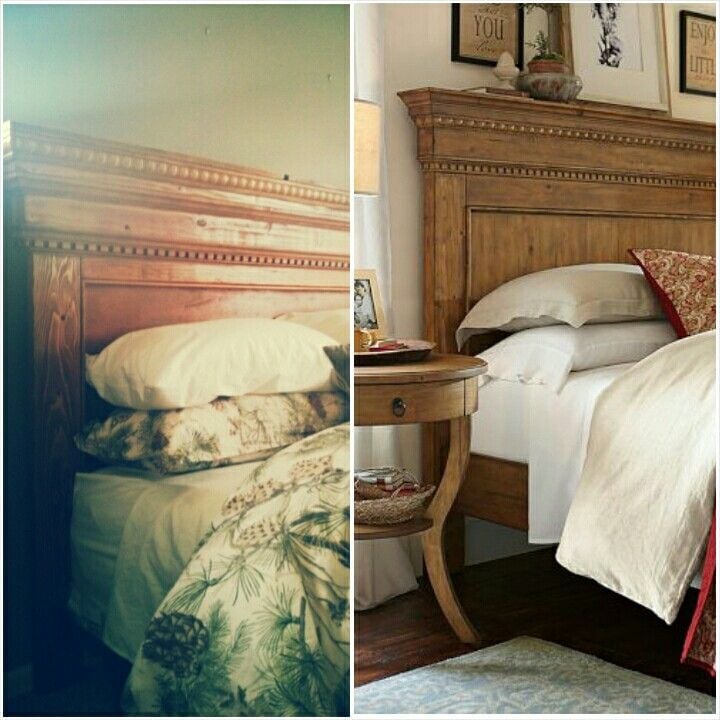
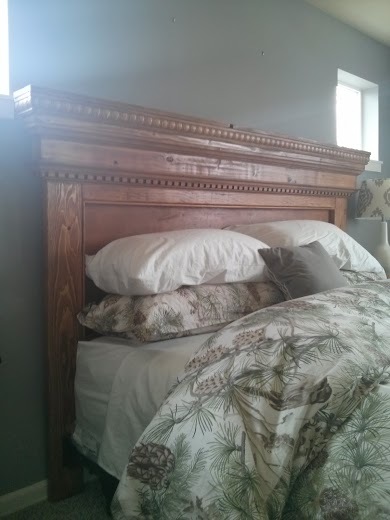
This site features the queen size version of this headboard, I decided to build the King and use more elaborate molding pieces, which increased the cost. I stained the wood to a very close match although my mobile photos don't do justice to this claim. It took me about a week to complete with nights and weekend availability.
Built from Plan(s)
Estimated Cost
130
Estimated Time Investment
Week Long Project (20 Hours or More)
Finish Used
Custom
Recommended Skill Level
Intermediate

Comments

PorkyPok

Thu, 03/12/2015 - 13:37

looks great. Did you use pine? Which stain did you use? I would like to be able to closely match the stained version of pottery barns addison too. Thanks!

Storage/Toy Box

Submitted by AndyH on Mon, 05/02/2016 - 19:55

Storage box made from left over 1 by 4 and plywood from recent projects and a top I made for another cabinet but didn't use.  All I bought was two 1 by 4s for the top trim and the hinges.

Built from Plan(s)
Estimated Time Investment
Day Project (6-9 Hours)
Finish Used
White satin paint and Sherwin Williams Foggy Day gray paint for top.
Recommended Skill Level
Beginner

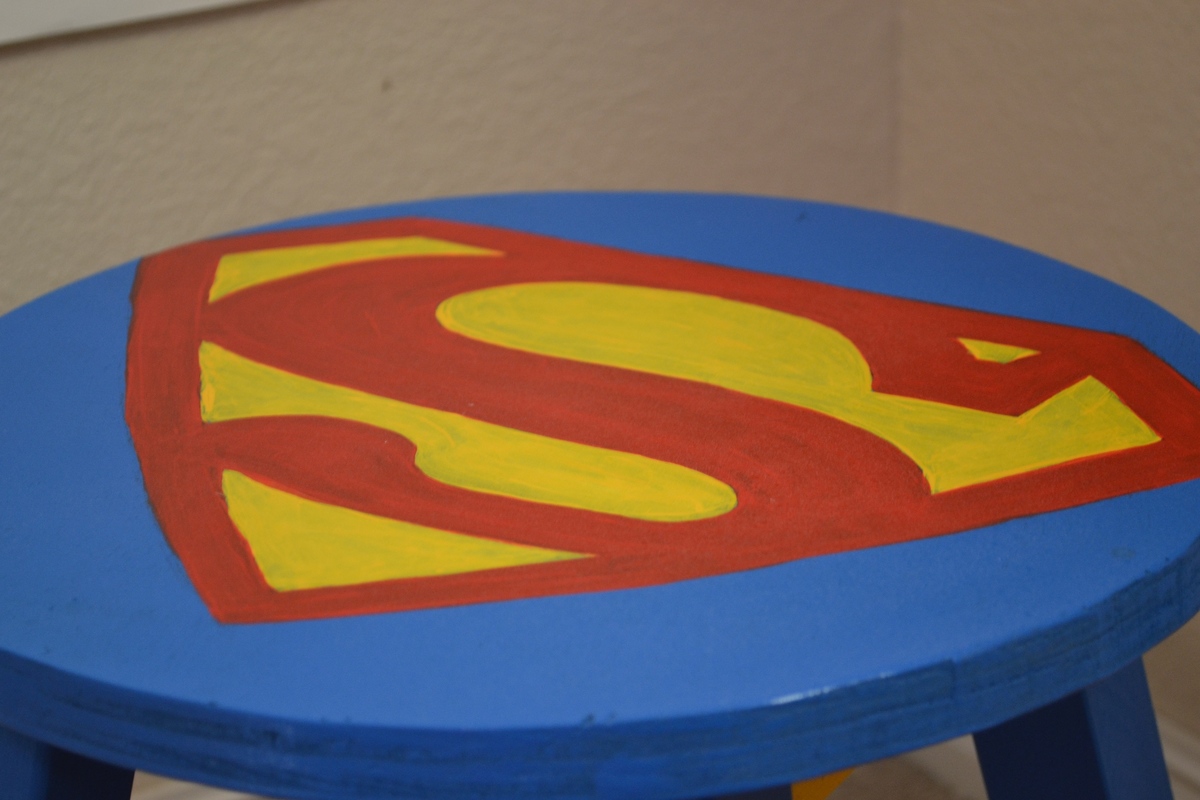
Superman Stool

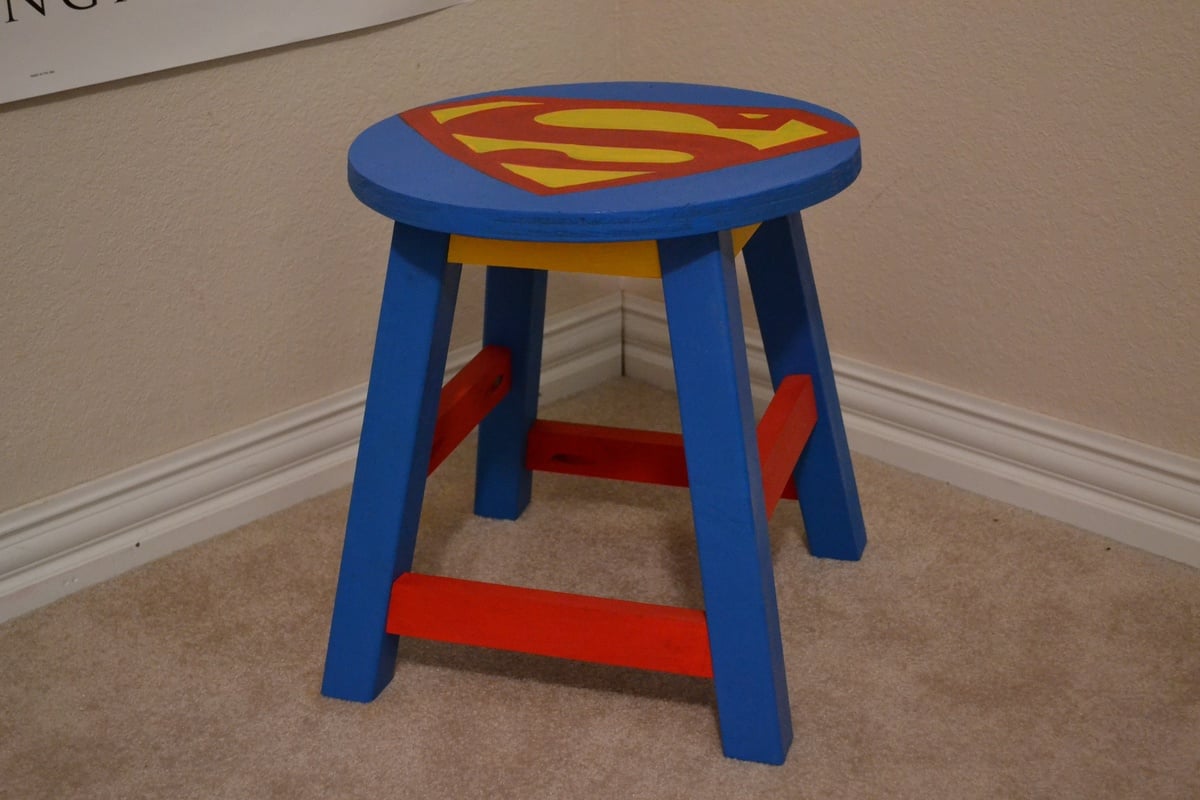
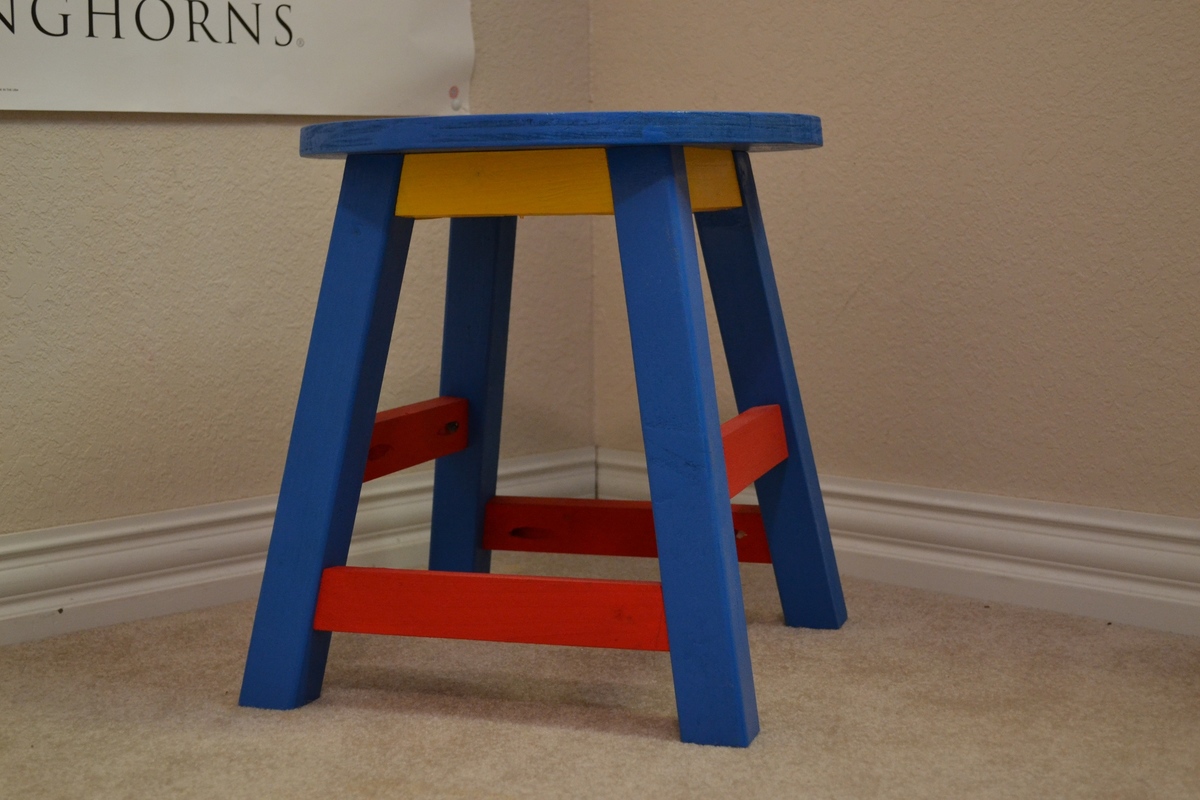
This stool is a gift for my nephew's 4th birthday!! The hardest thing about this stool is trying to get all the legs put together without having enough room to get the drill at the right angle. This time, we used an extender piece on the drill bit (duh!) and it was MUCH easier than the other stools we have built.

I used a projector to put the trace the Superman symbol, then painted it.

I hope he likes it!!!

Built from Plan(s)
Estimated Cost
$20
Estimated Time Investment
Afternoon Project (3-6 Hours)
Finish Used
Blue is spray paint, the yellow is some pre-mixed paint I used for my picnic table, and the red is acrylic paint. All the finishes are different, so that's probably not good. I sprayed a clear coat on at the end.
Recommended Skill Level
Starter Project

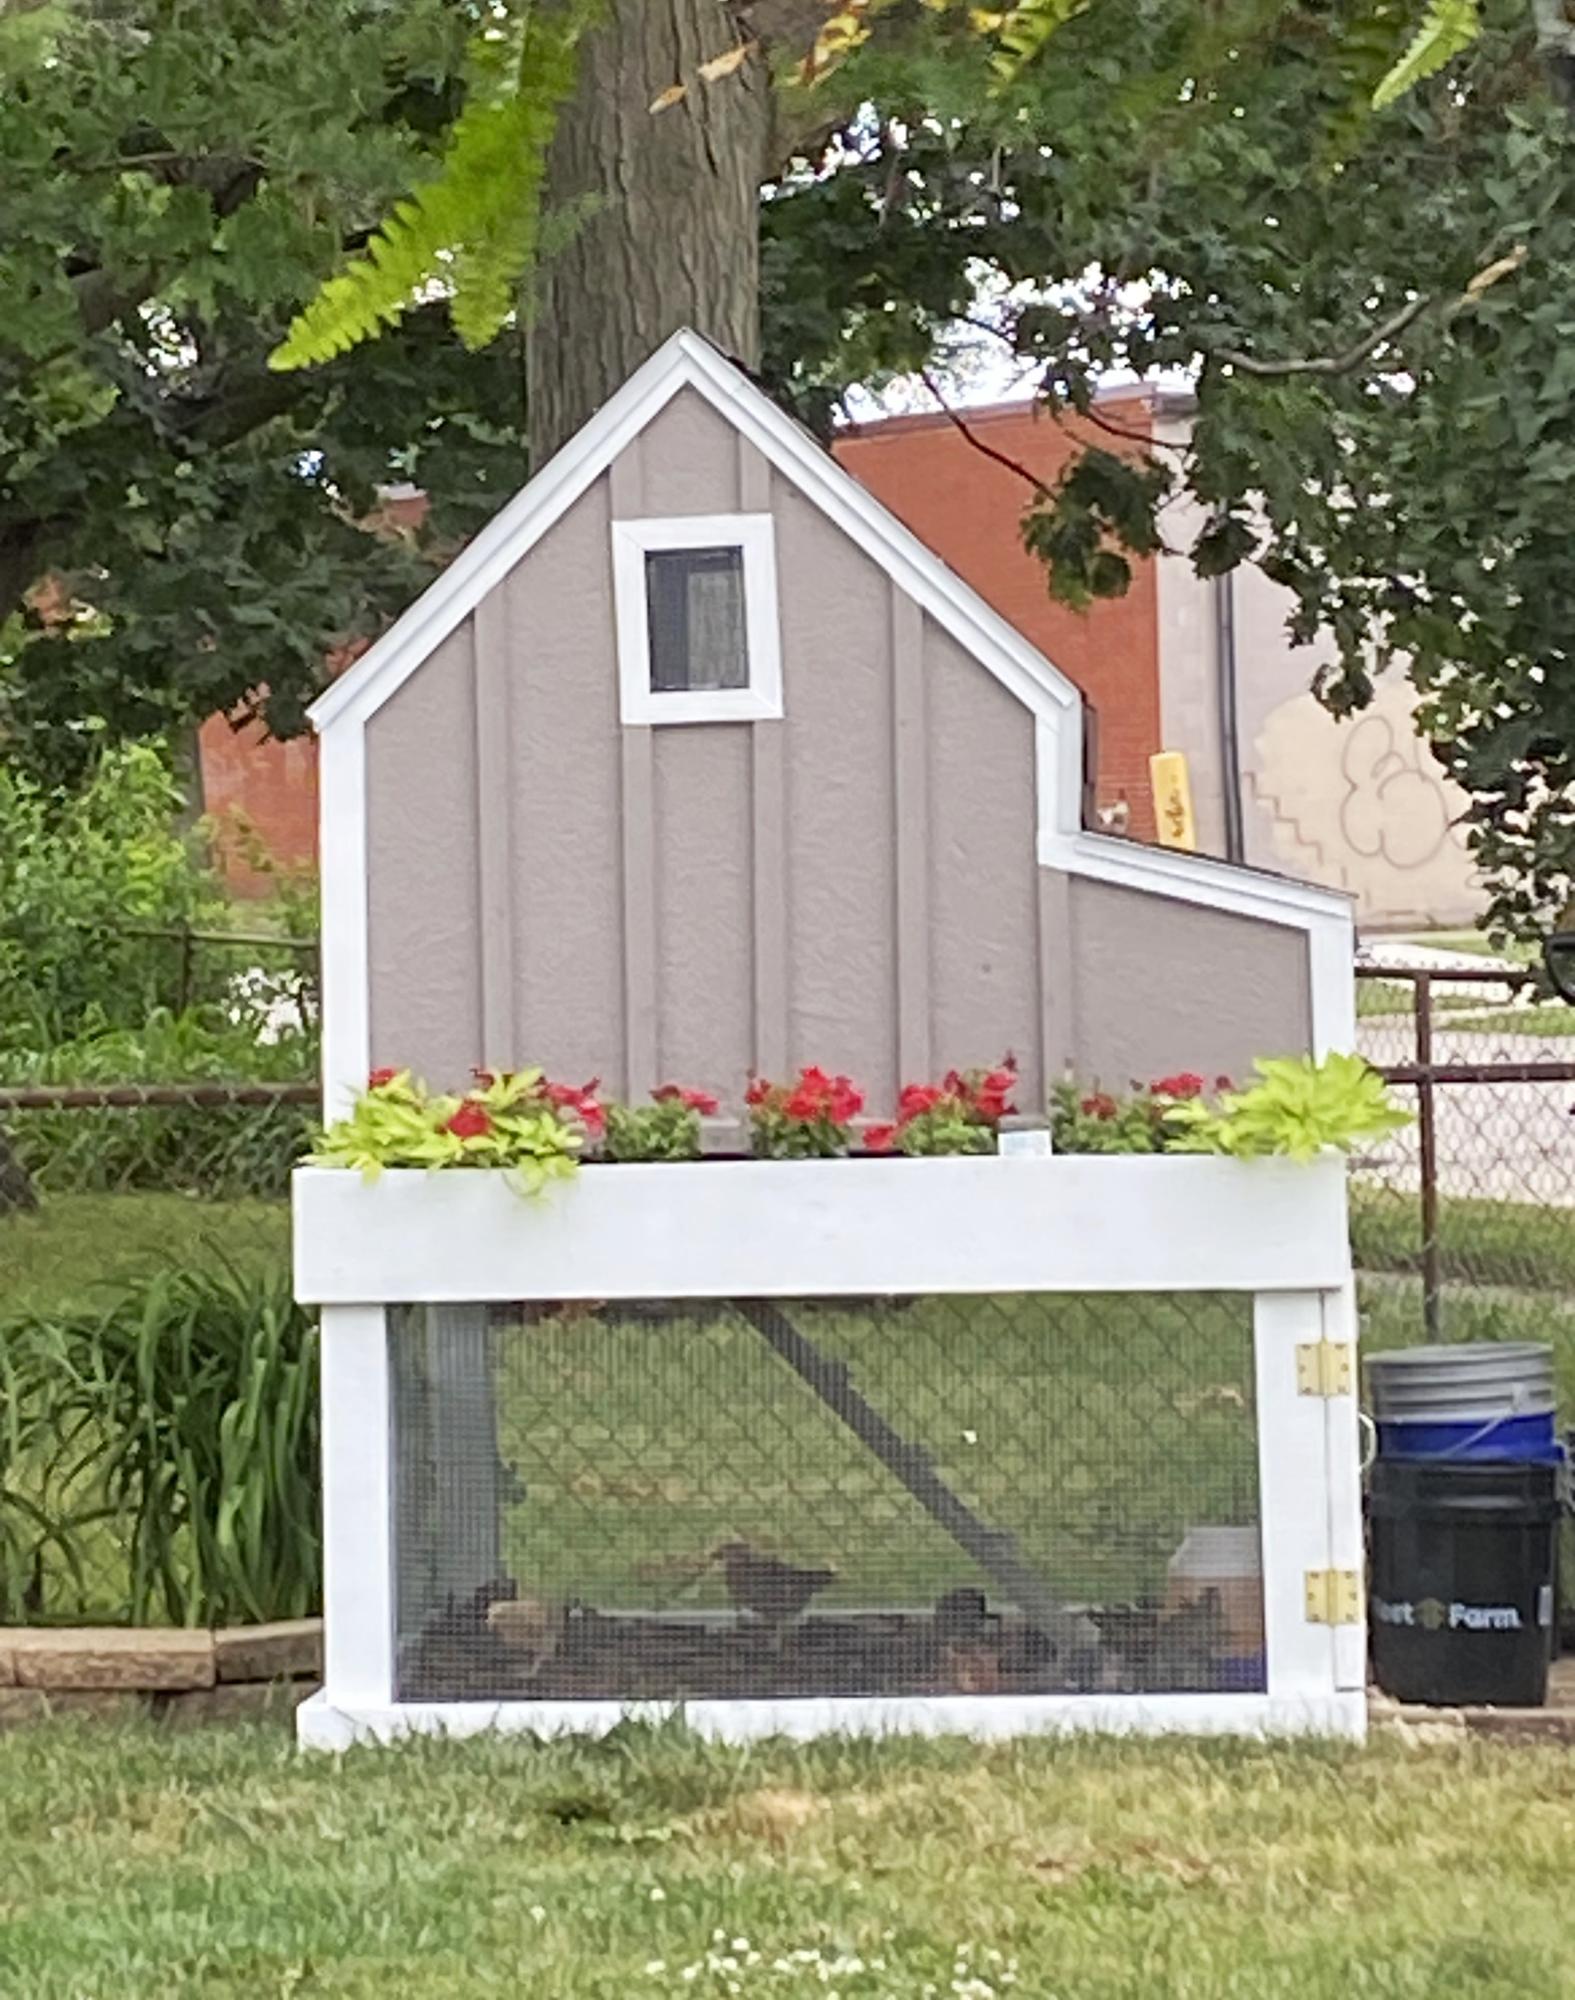
DIY Chicken Coop

Submitted by Anonymous (not verified) on Mon, 10/30/2023 - 17:55

As a first time chicken farmer, I have four chickens now fully grown. It was 29 degrees in Iowa this morning, wondering if I should wrap the lower portion of the coop on three sides with visqueen, and should the roost windows be covered? I have straw bales to roost on and add where needed . I don’t plan to heat the coop . Any help will be appreciated.

[email protected]

Seasonal And Holiday

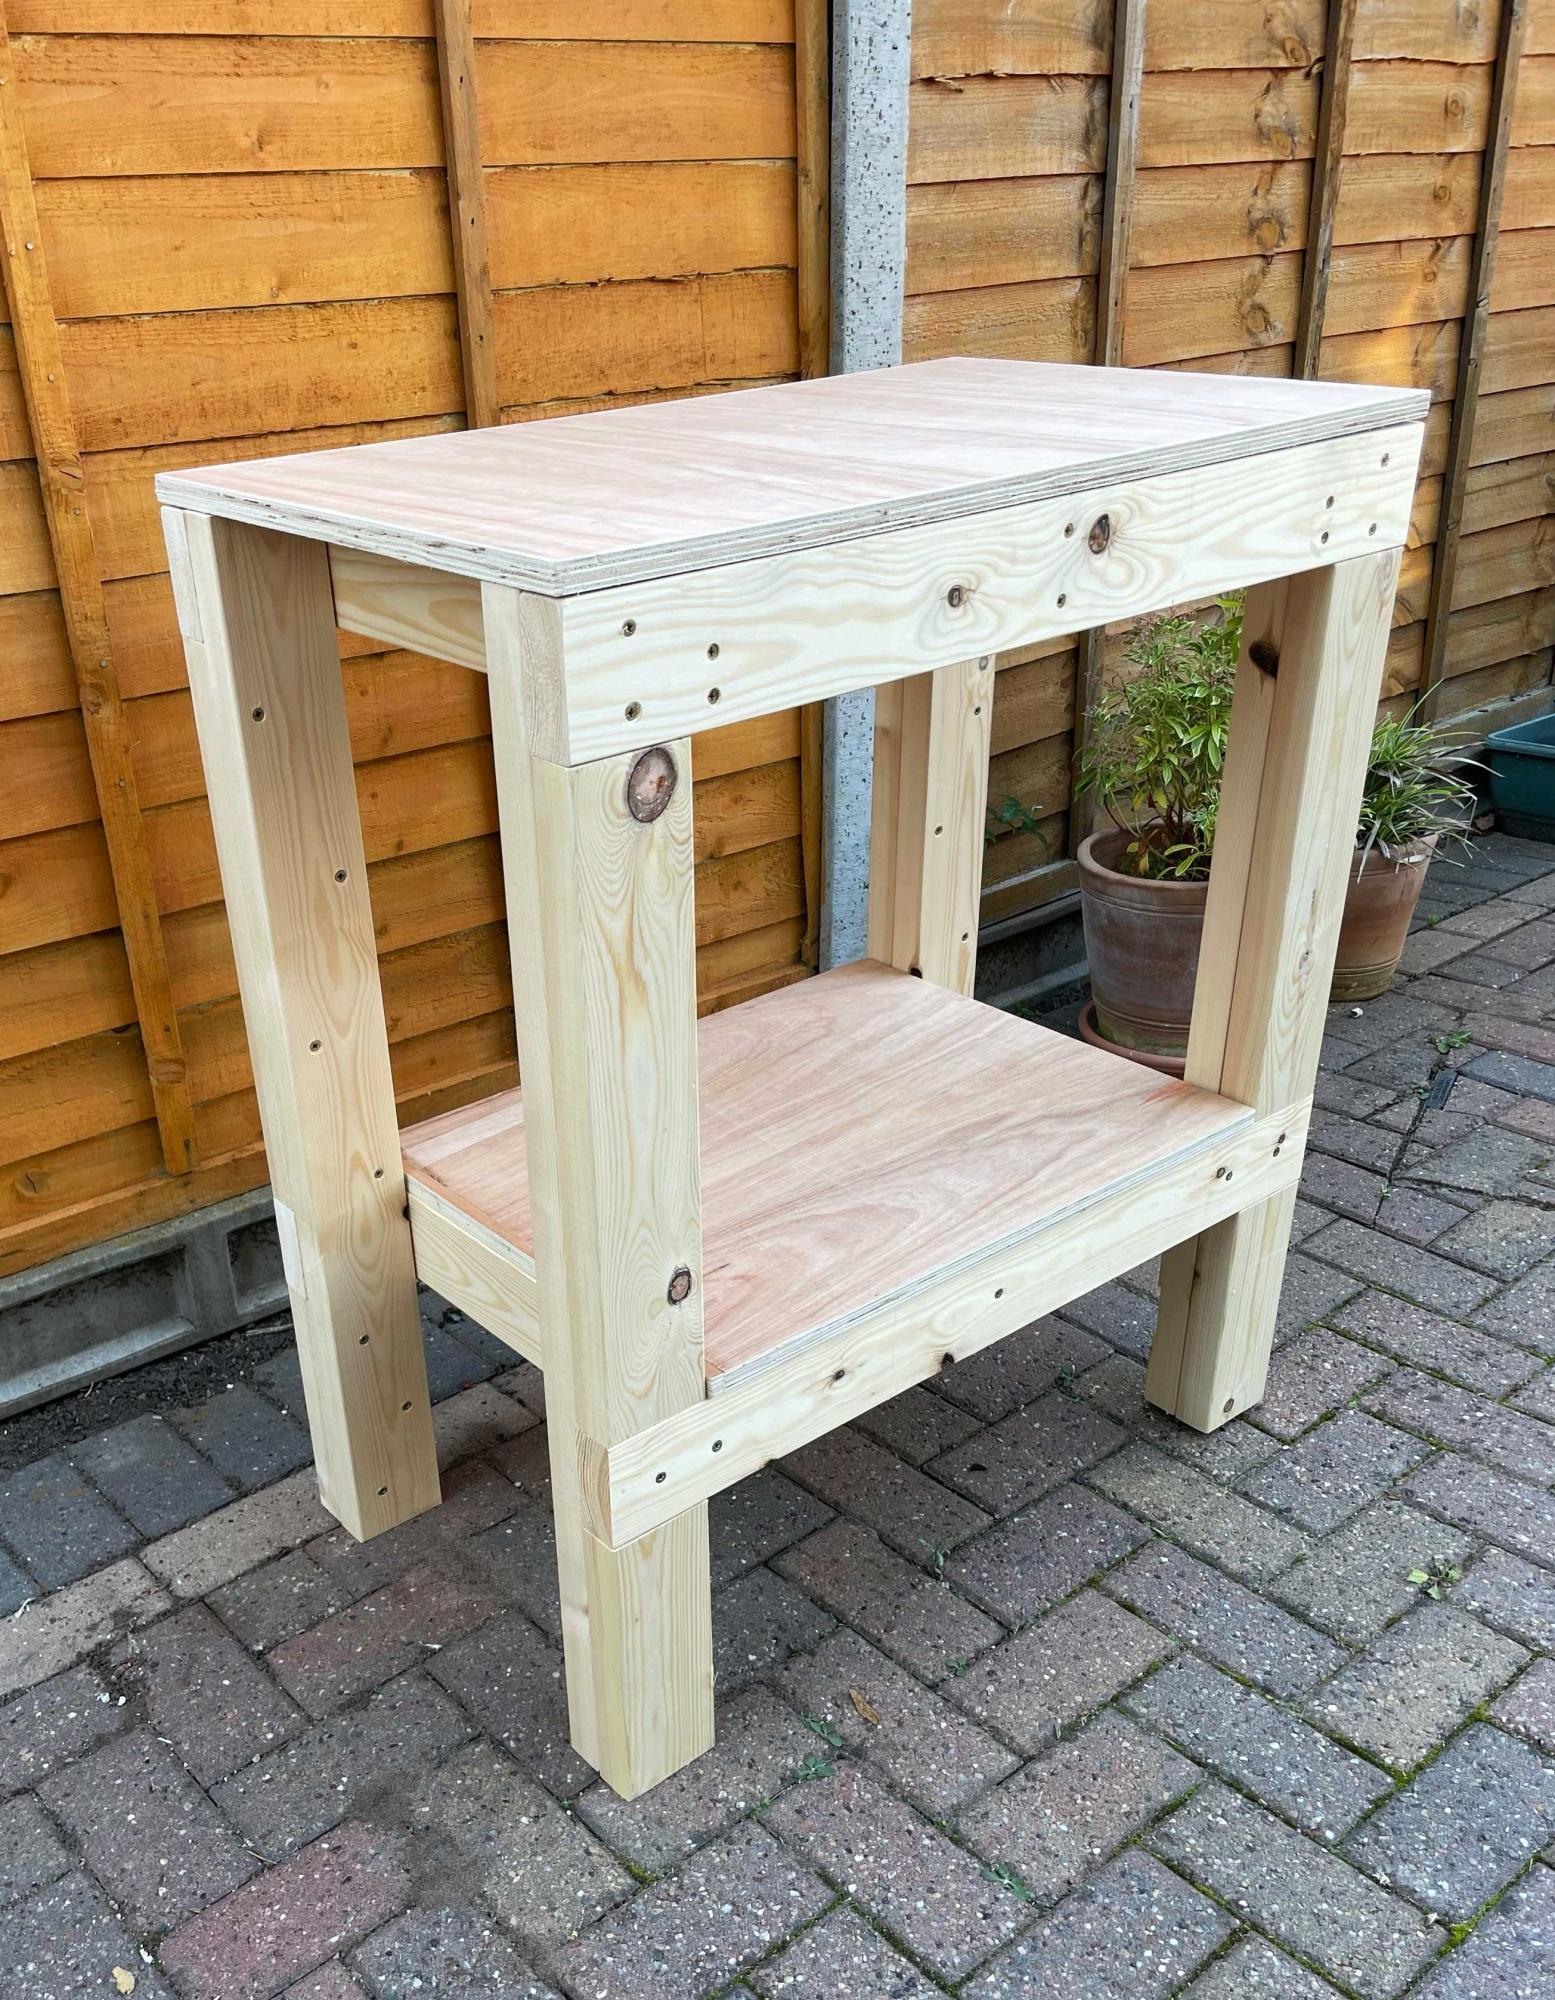
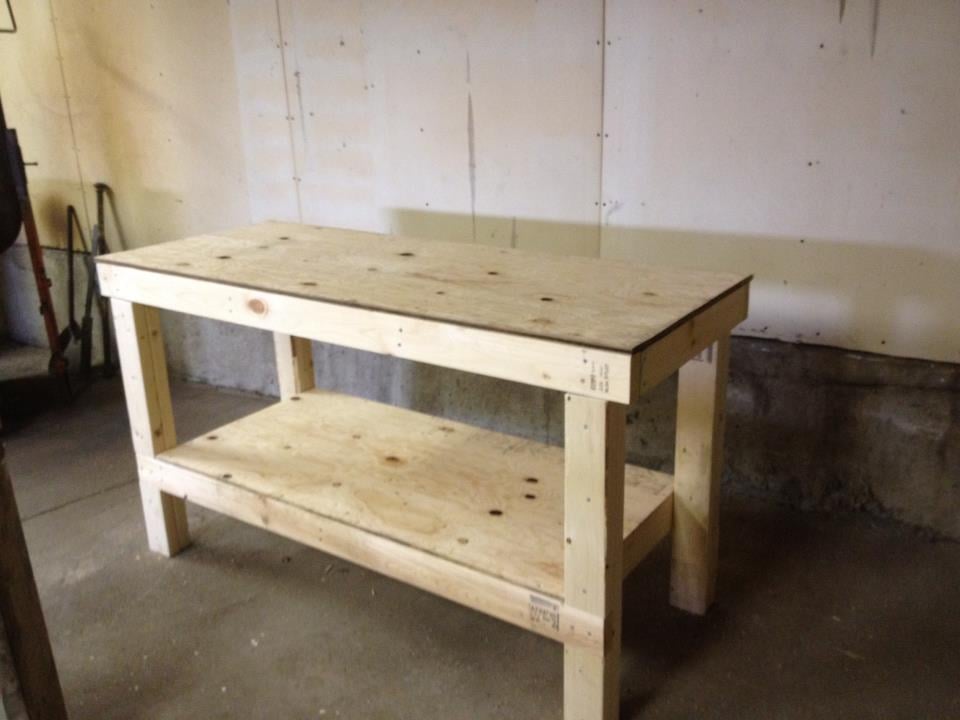
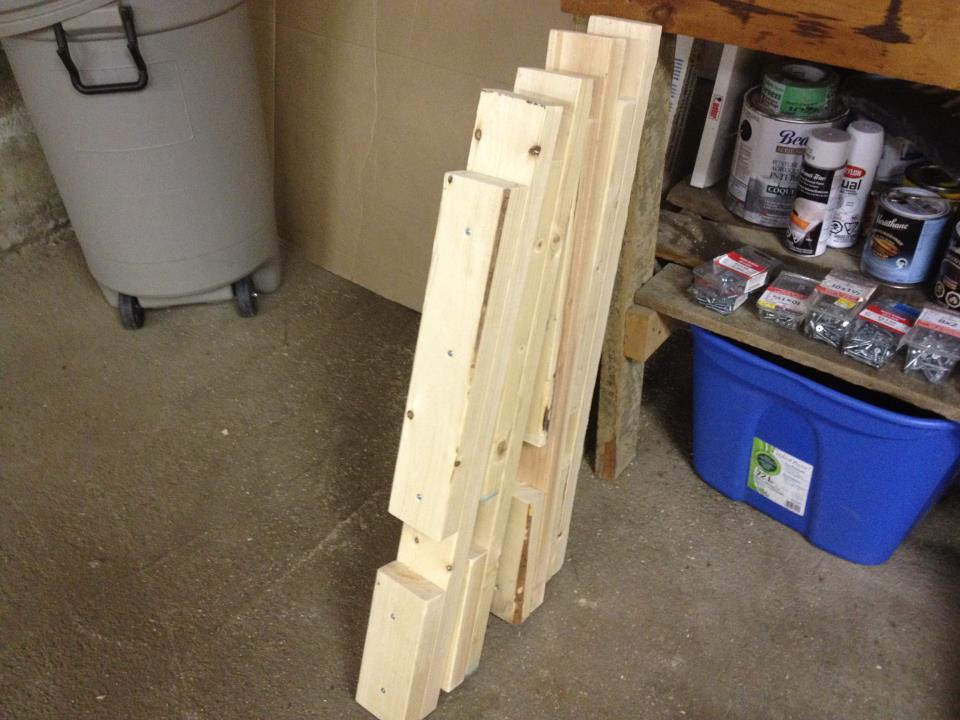
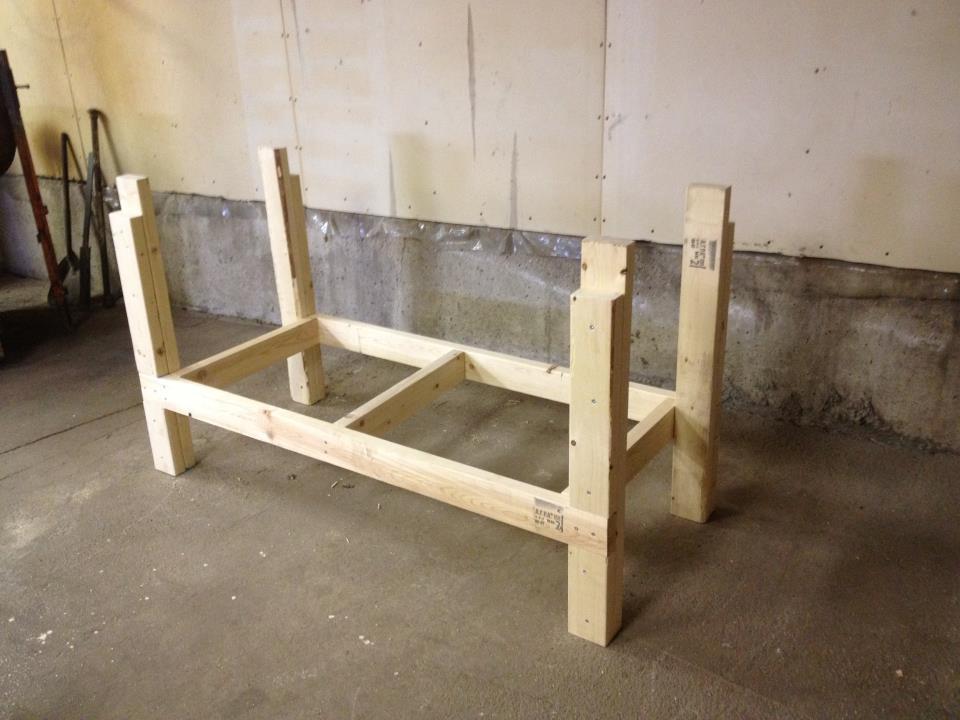
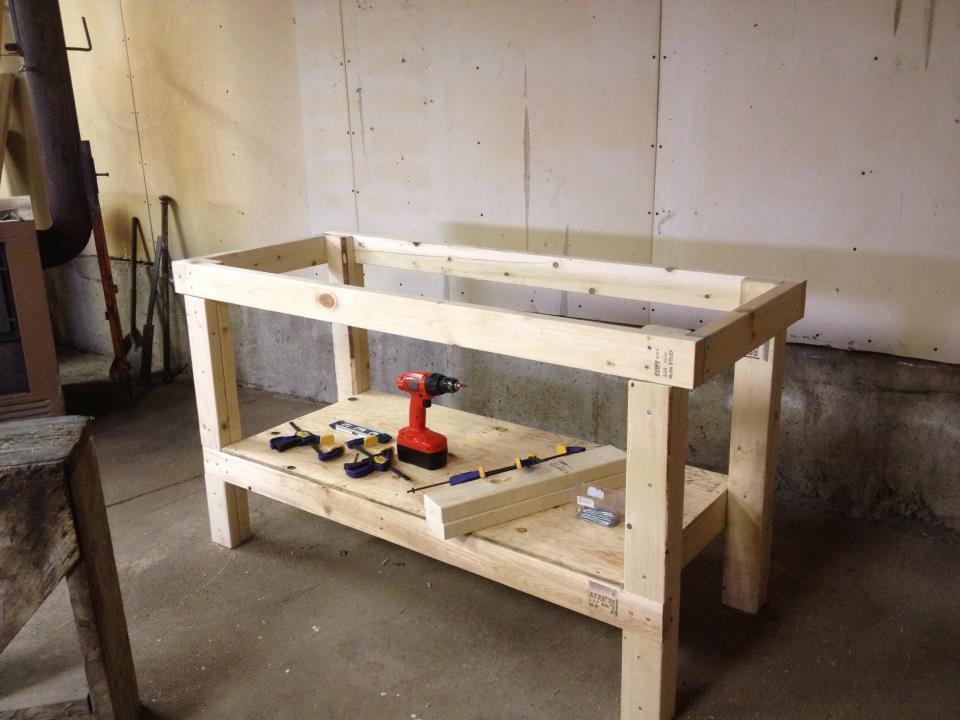
Workbench

Easy to build! Took about 3 hours!

Built from Plan(s)
Estimated Cost
$75
Estimated Time Investment
Afternoon Project (3-6 Hours)
Finish Used
Floor Verathane
Recommended Skill Level
Beginner

Comments

deannaf

Sat, 05/19/2012 - 05:15

This is fantastic, just what I need to build. Would you mind sharing some measurements such as height, width and depth.

"Thomas" Train Bunk Bed

We wanted a short bunk bed for our sons, age 4 and 1. Our 4-year-old insisted on a Thomas Train bed. We modified the fort bed plans slightly to add stronger barriers on the top bunk and add a barrier on the bottom for the little guy. We also used solid plywood rather than MDF. We used 2x4's and steel angle to hold up the top bunk. It should be sturdy enough for them to use into teenage years. Because we beefed up the strength, the cost increased as well.

We tried staining it and it didn't come out as nicely as we had hoped, but the boys added their own stickers to it and now they have a Thomas bed that they love. When the 1-year-old gets older, we will probably remove the barrier on the bottom bunk to make getting in and out easier.

Built from Plan(s)
Estimated Cost
$200
Estimated Time Investment
Weekend Project (10-20 Hours)
Recommended Skill Level
Beginner
Back