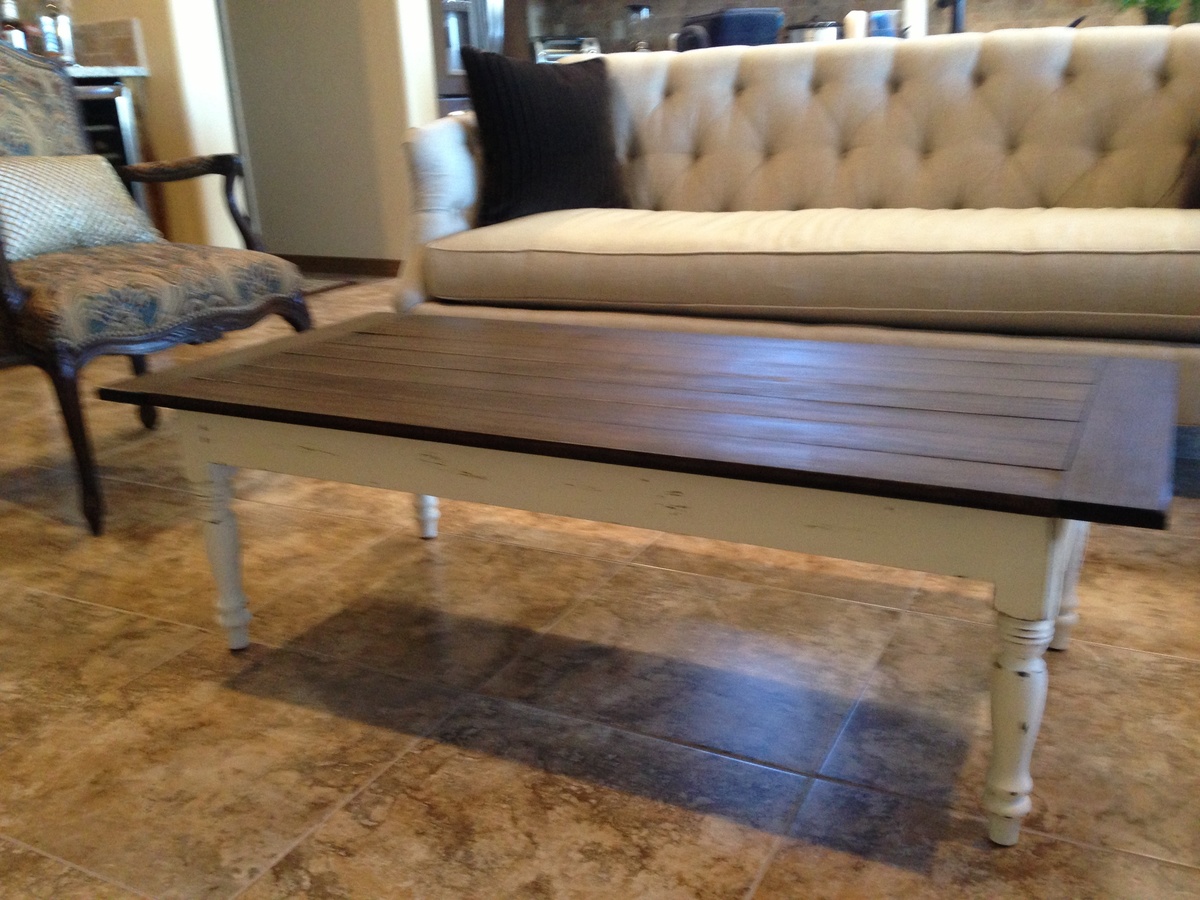
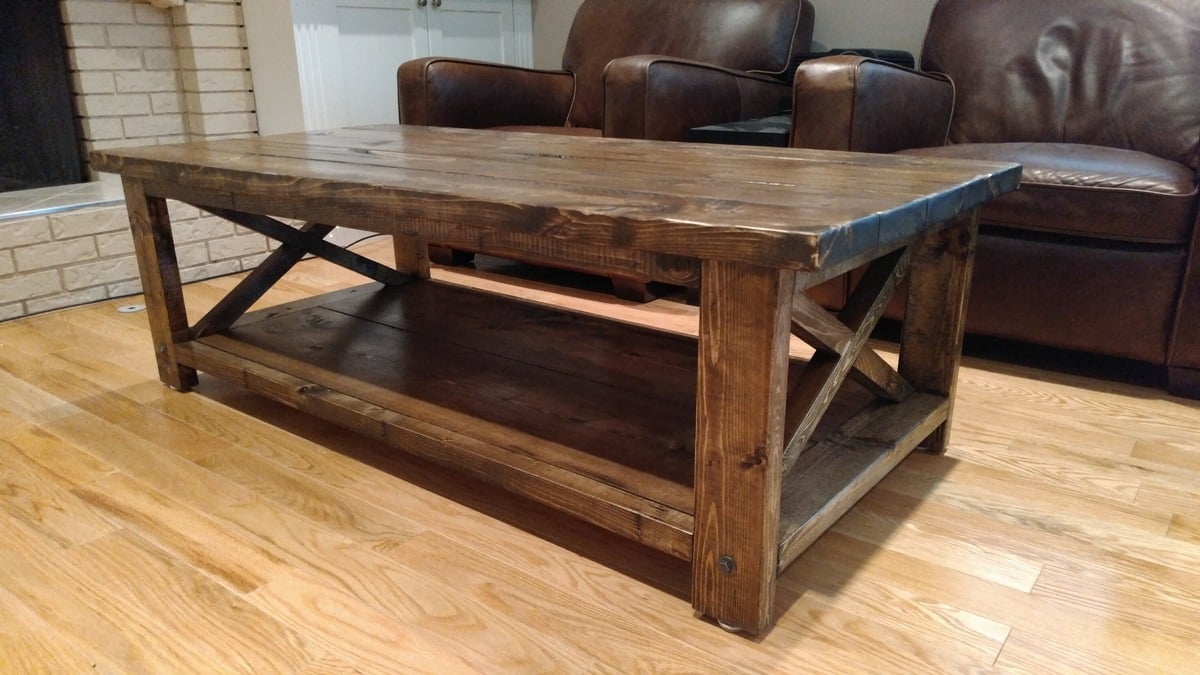
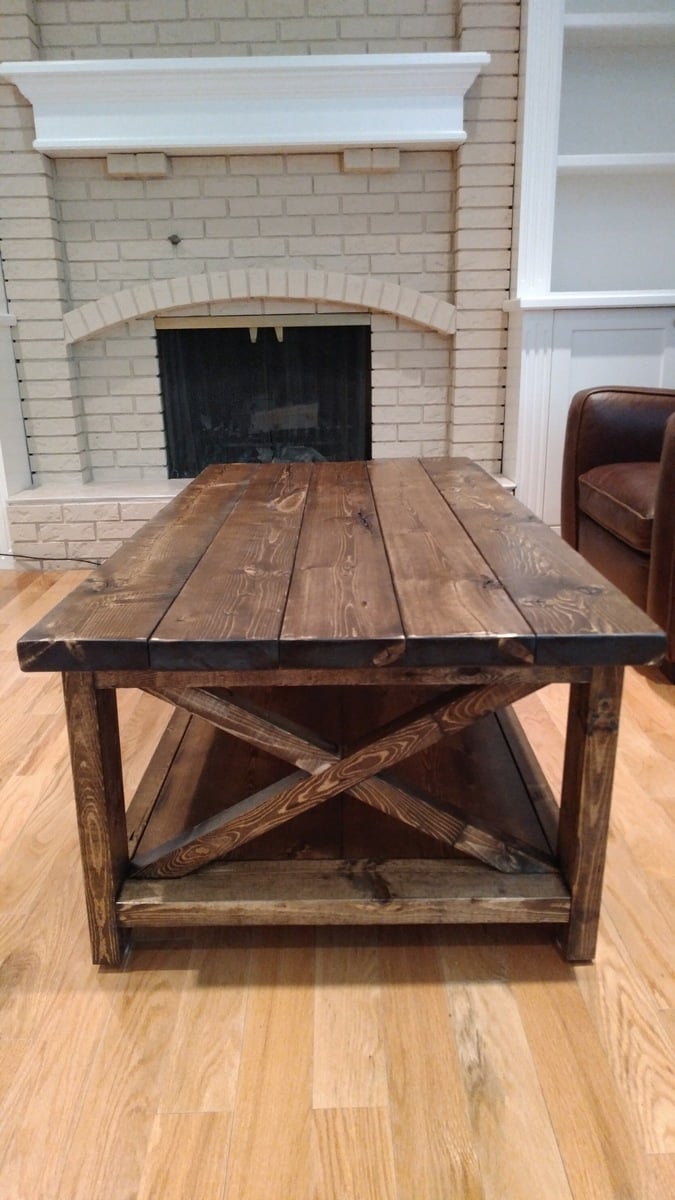
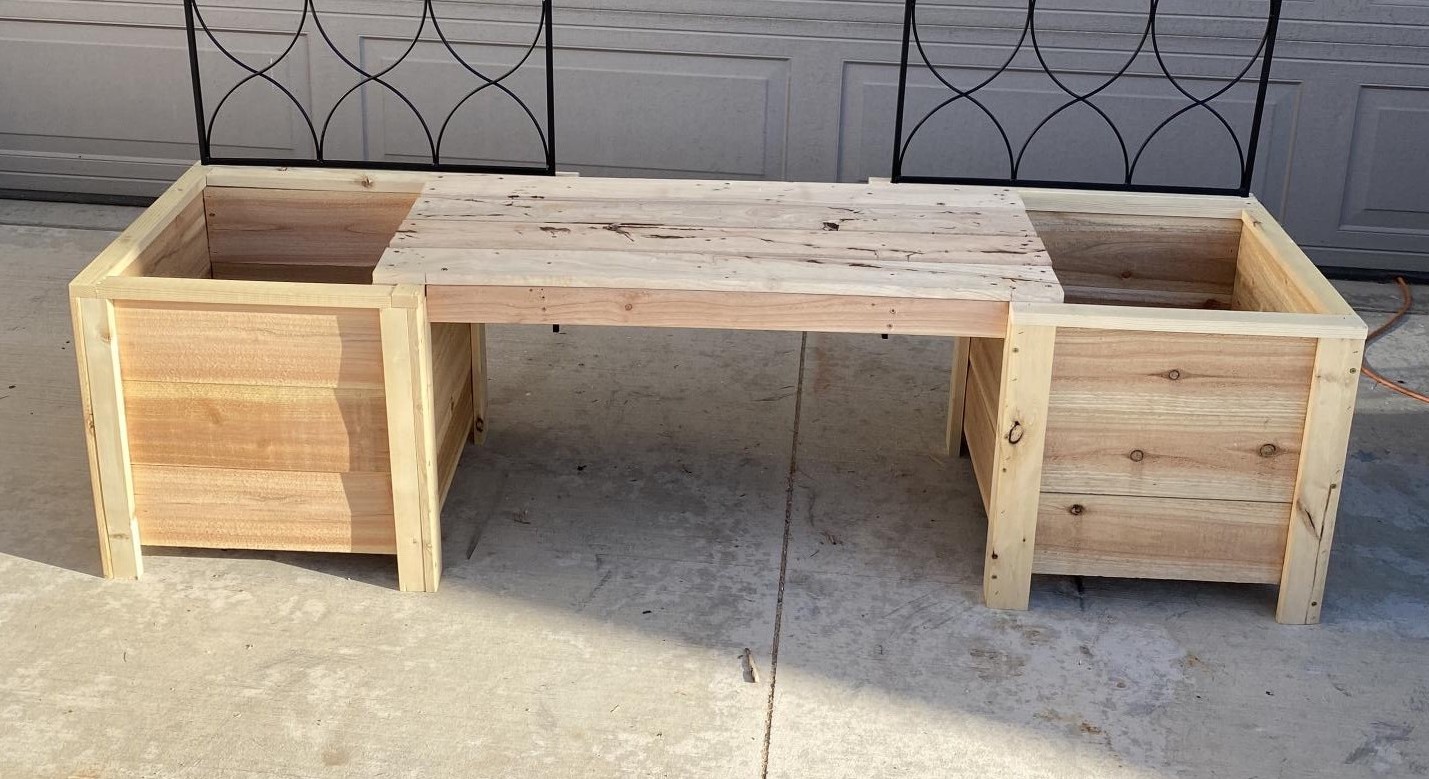
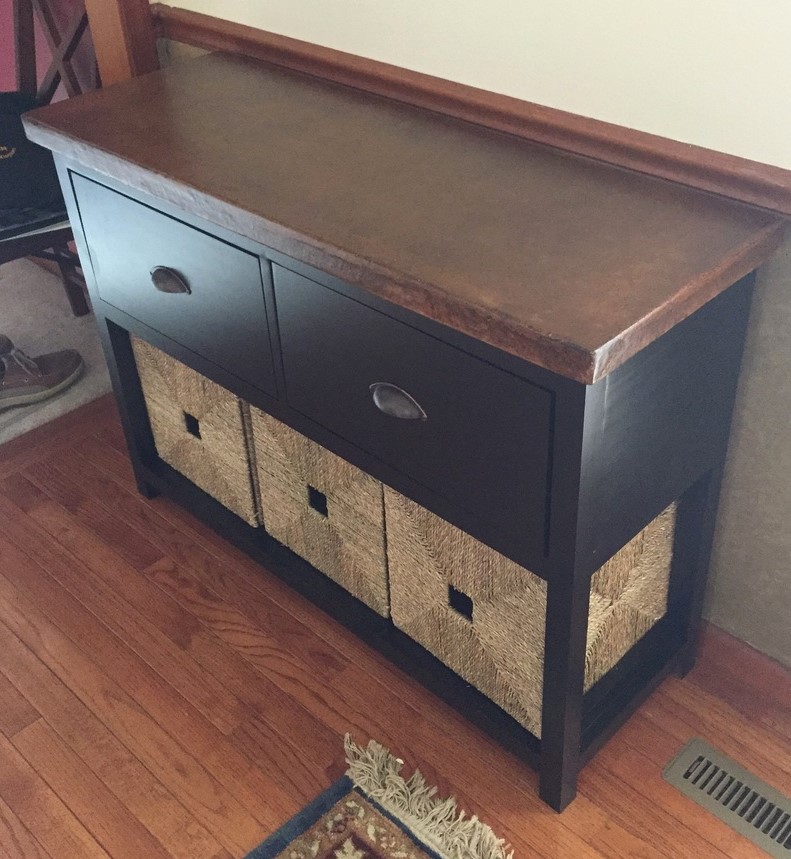
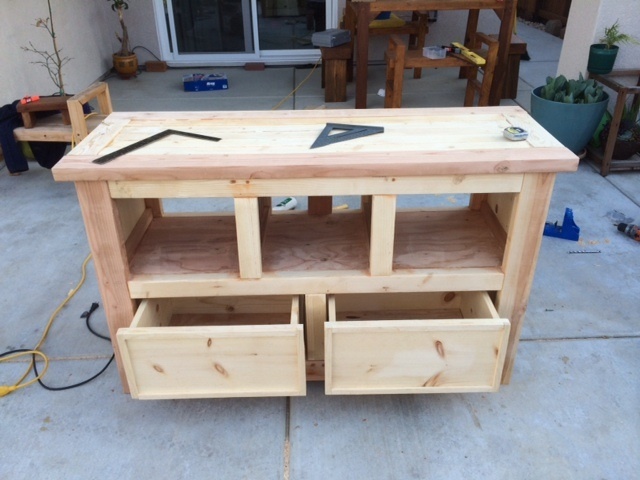
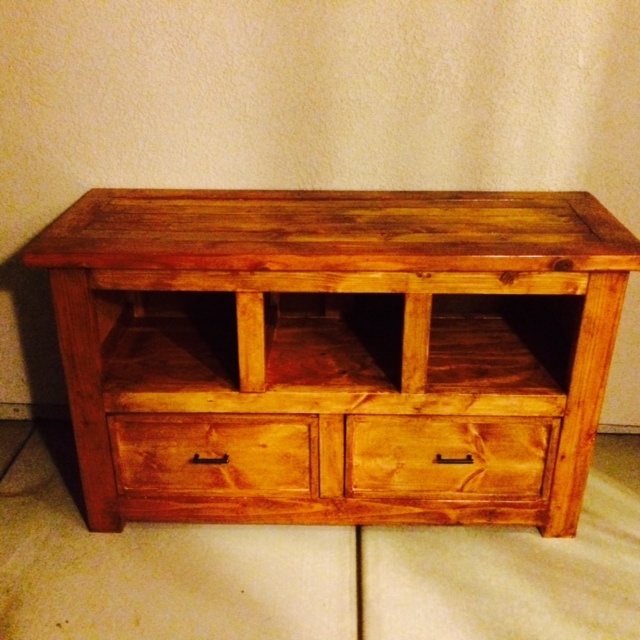
Kitchen Island Trolley
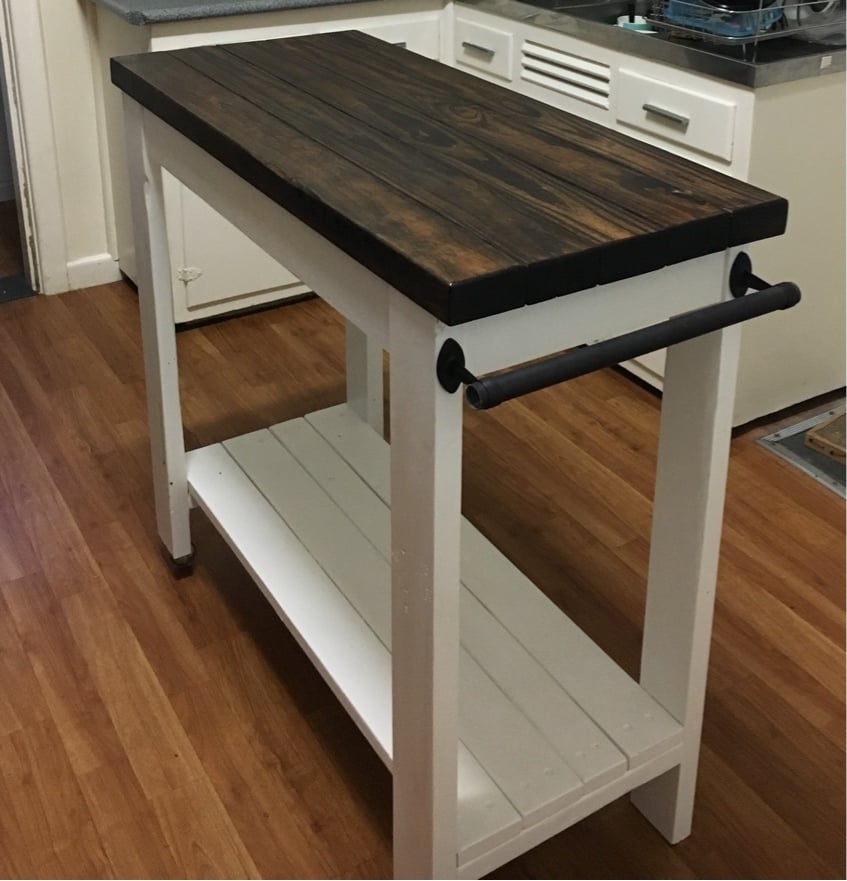
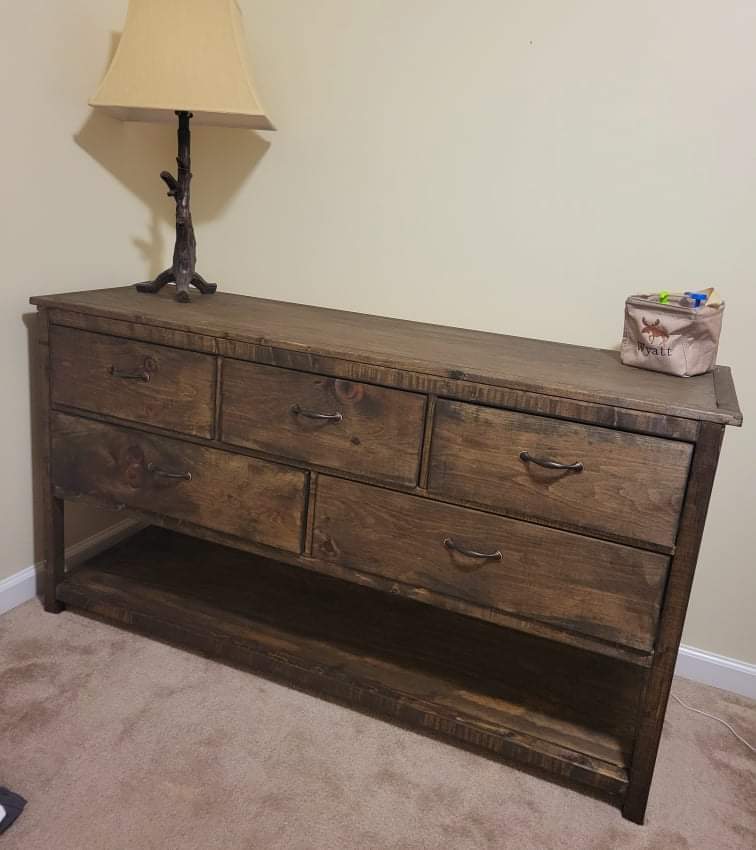
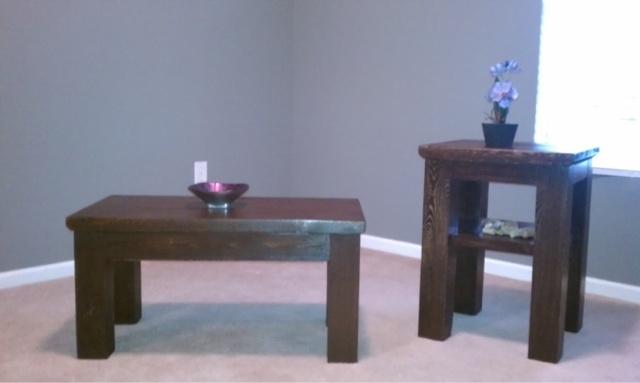
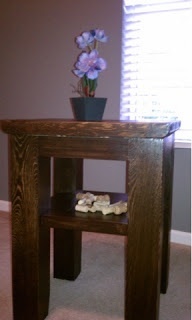
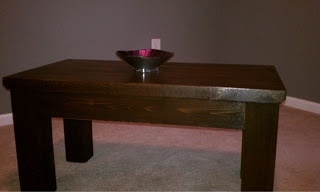
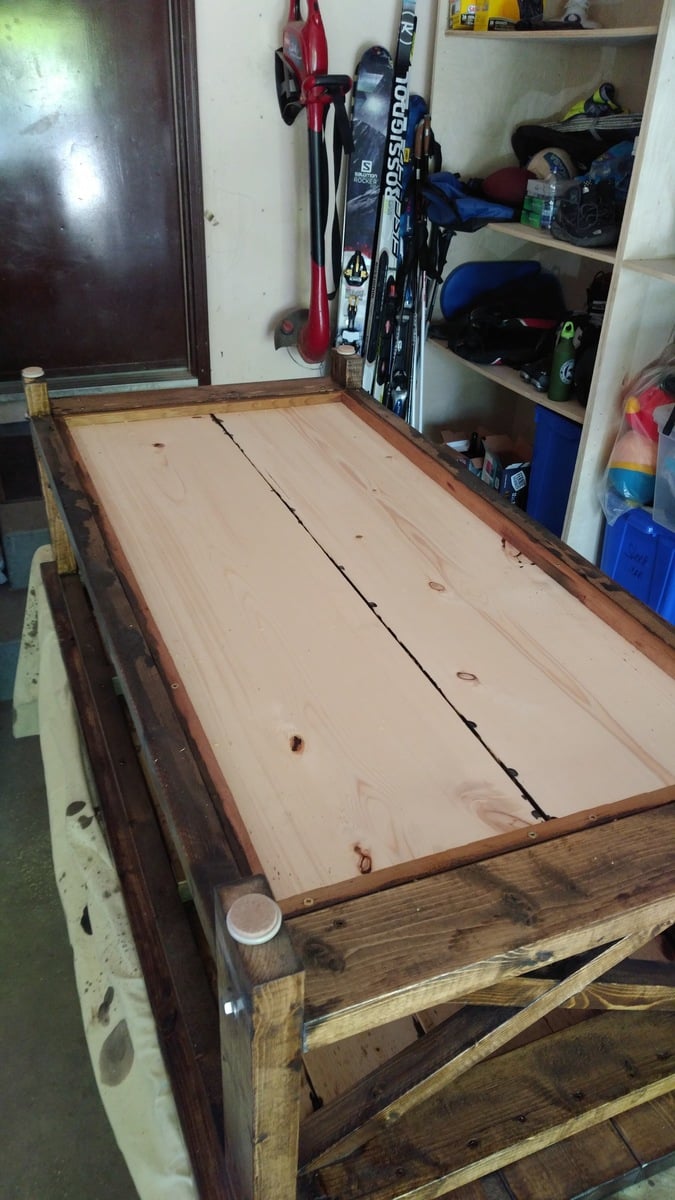
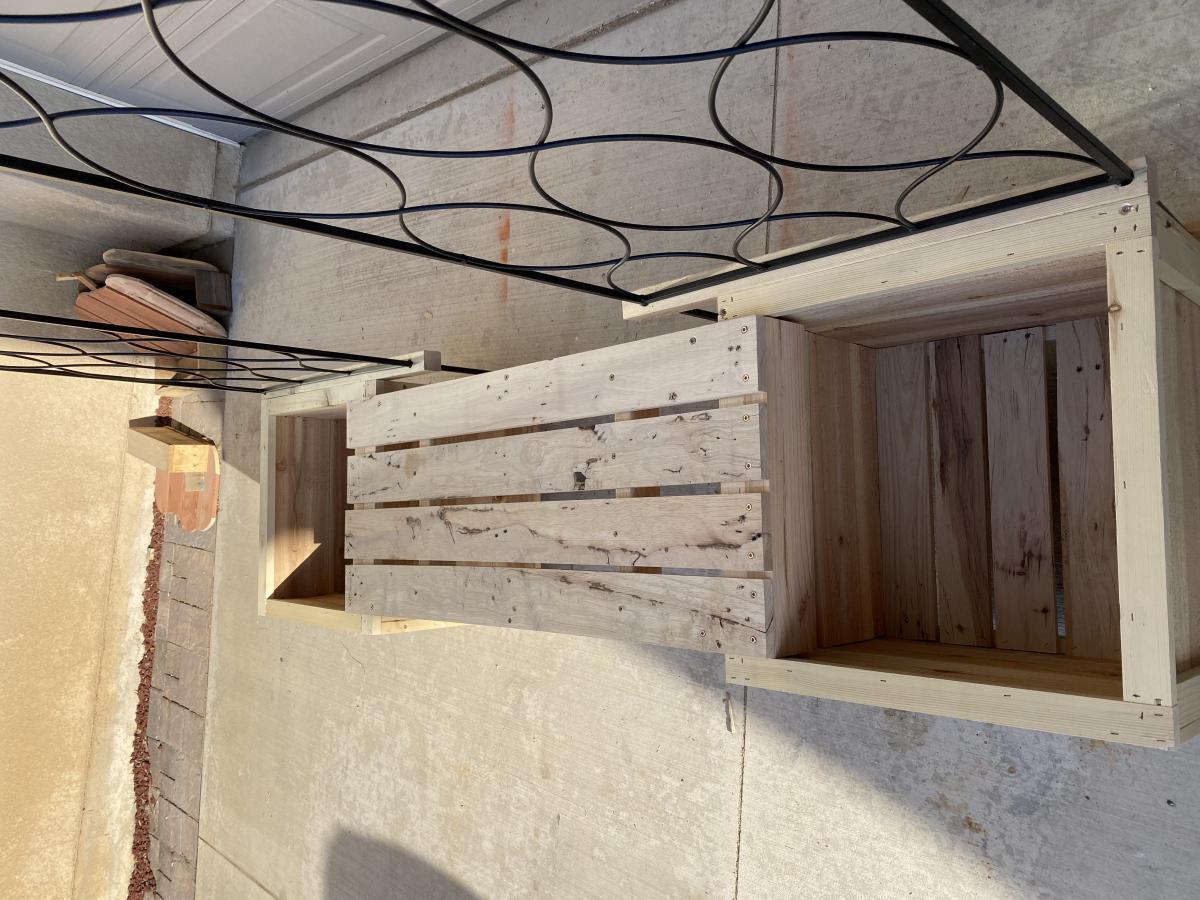
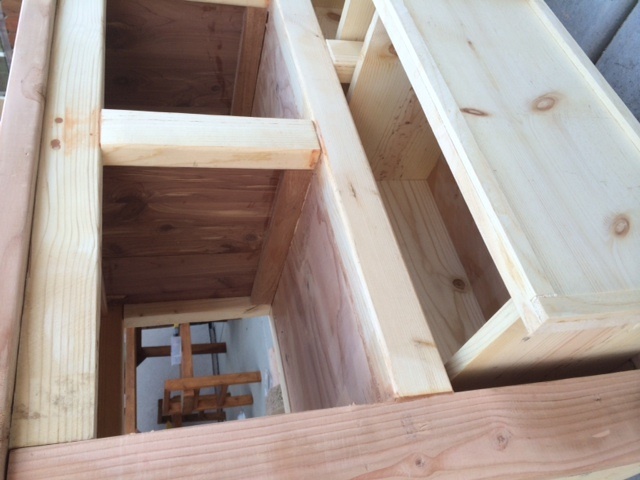
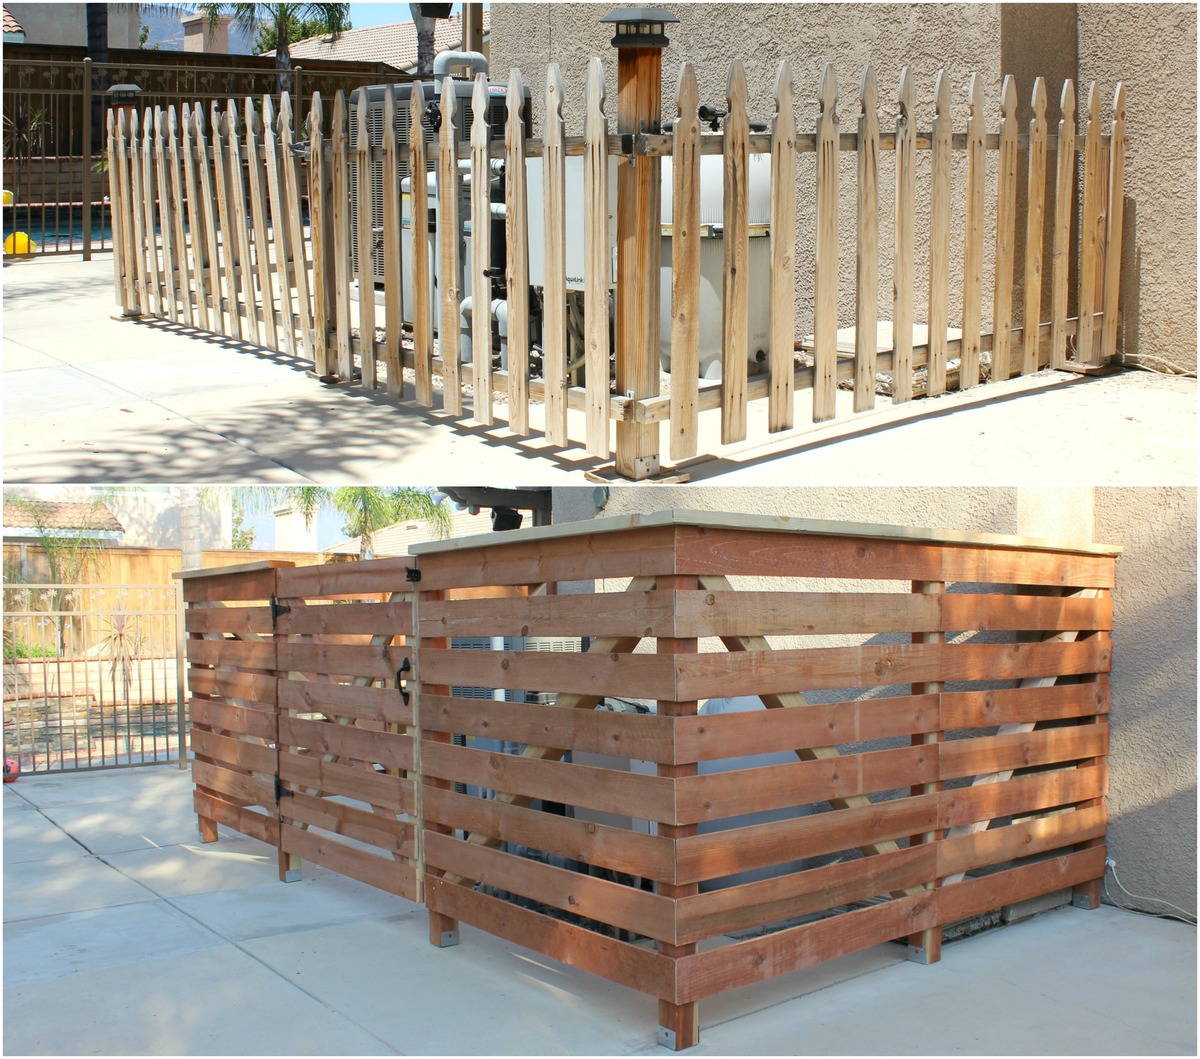
Base was made from recycled timber and the top was made with new pine.
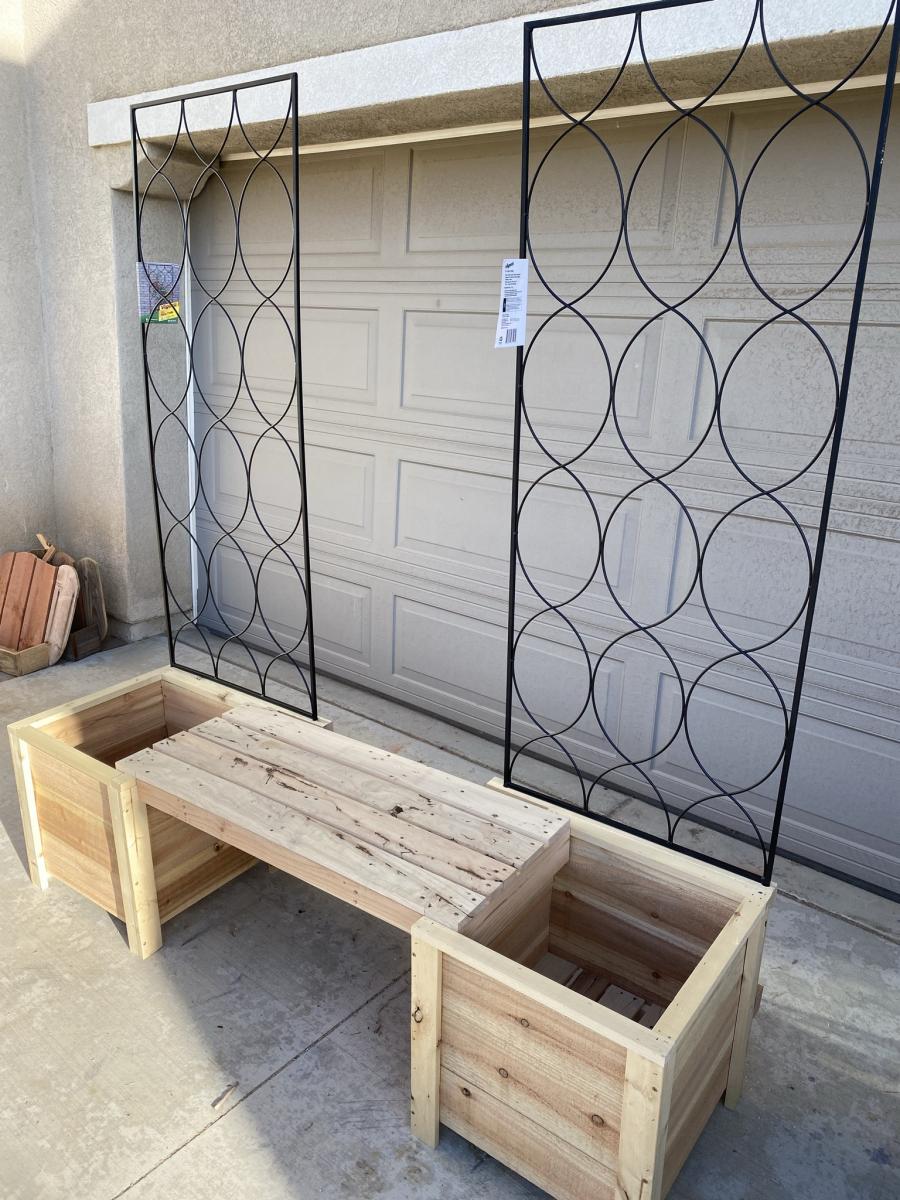
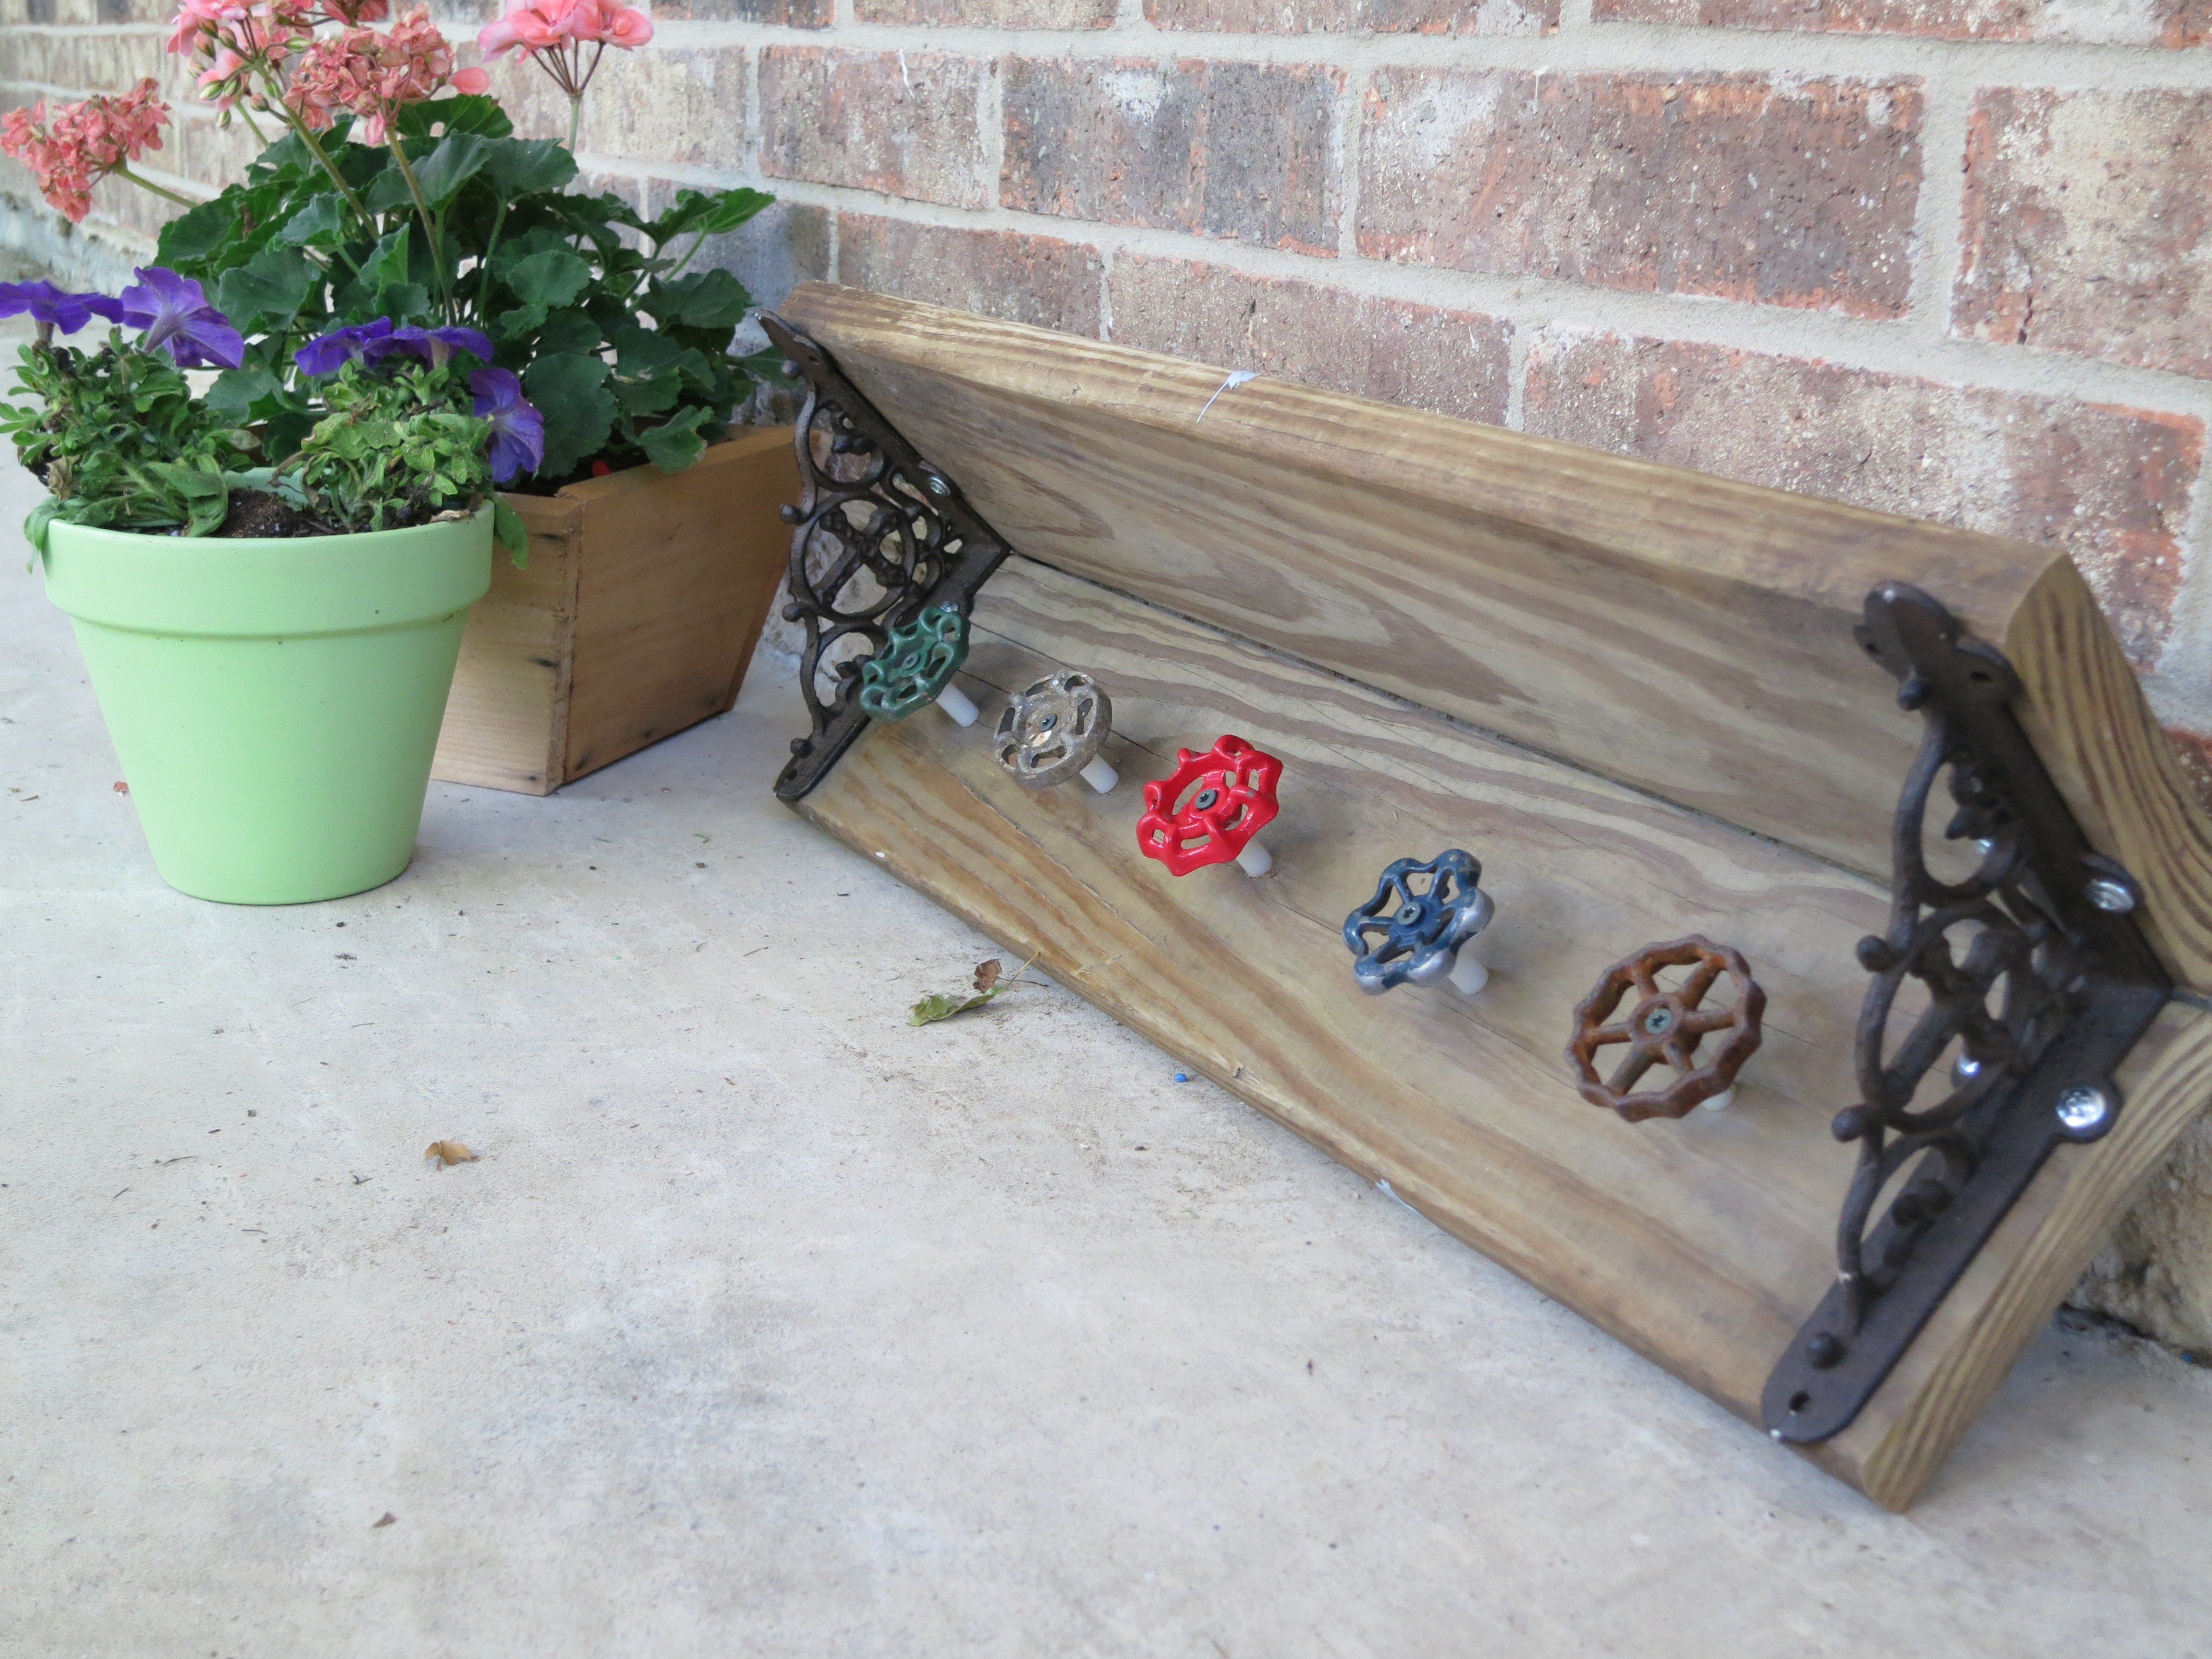
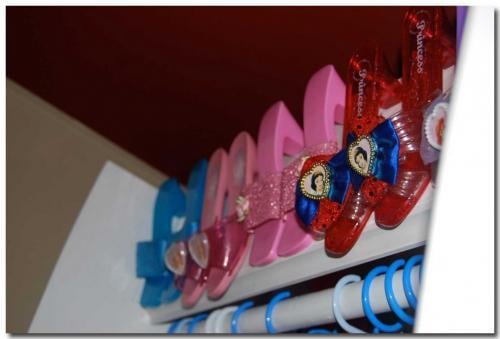
The rails were made from curtain rails.
One end has wheels for easy moving.
Built from Plan(s)
Estimated Cost
$20
Estimated Time Investment
Day Project (6-9 Hours)
Finish Used
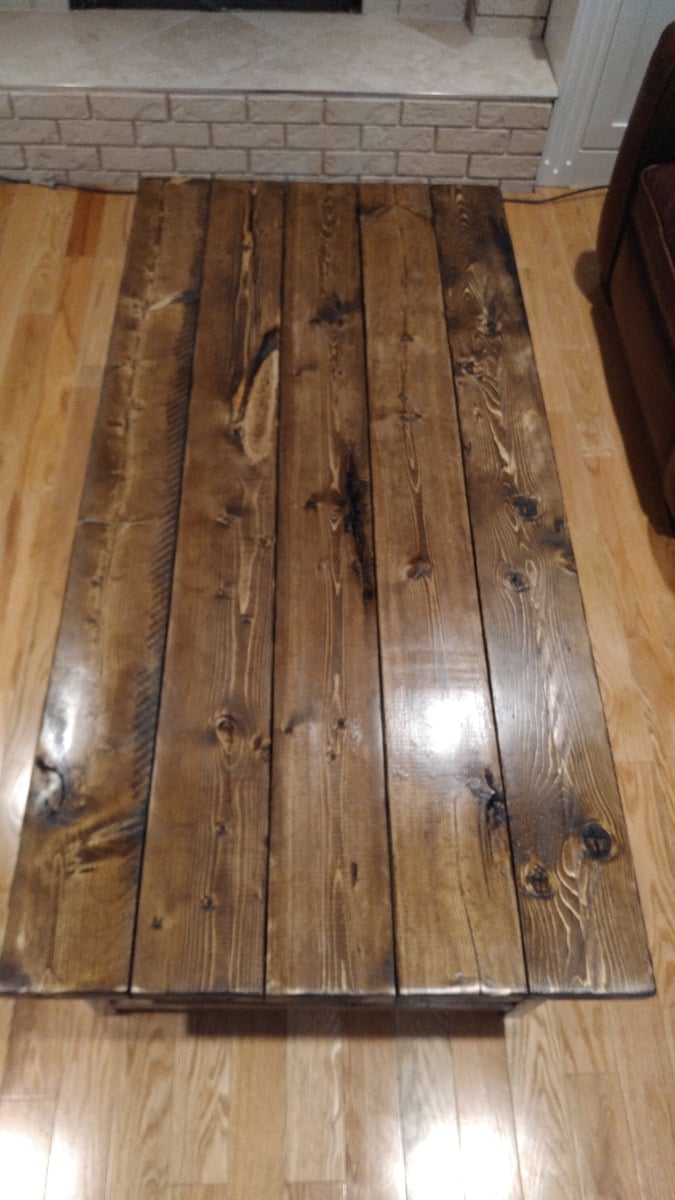
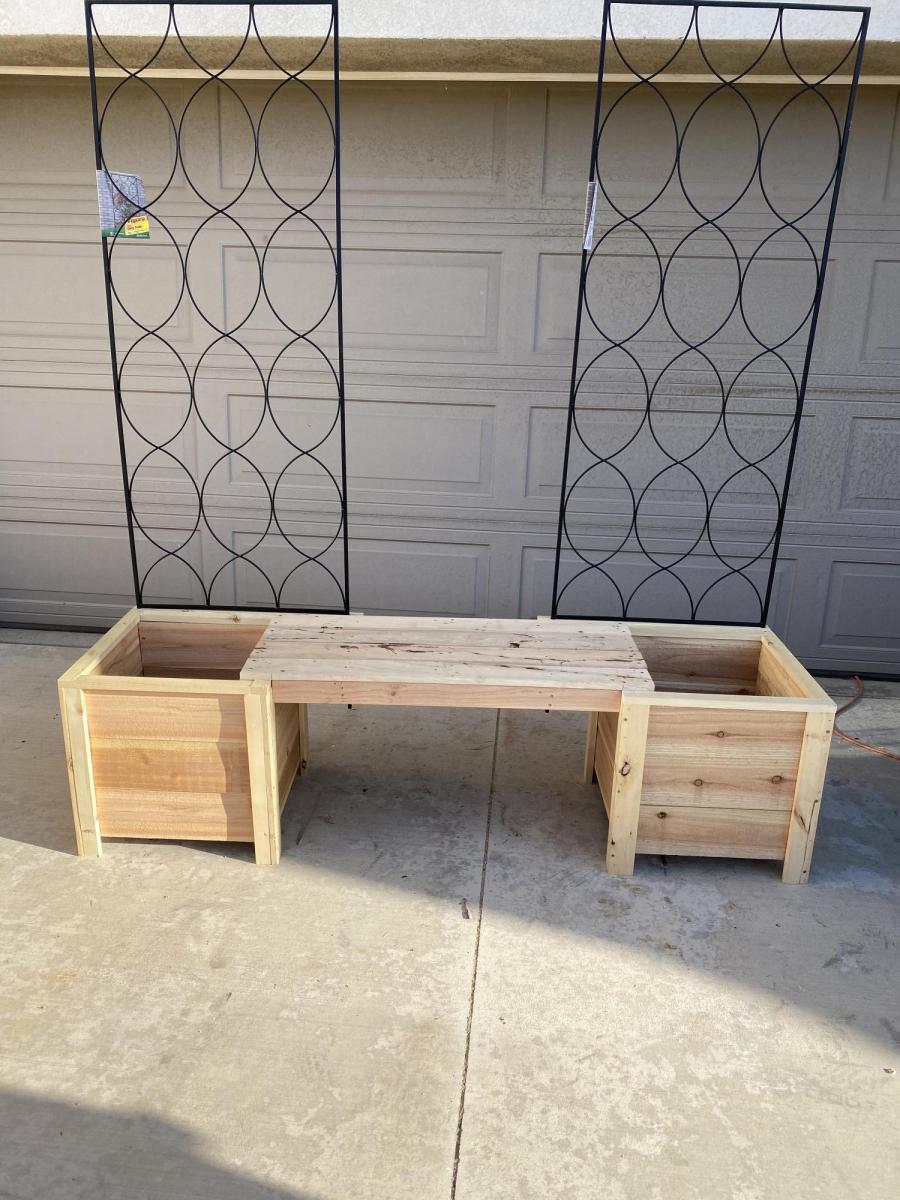
Enamel Paint and Brown Japan Stain
Recommended Skill Level
Intermediate
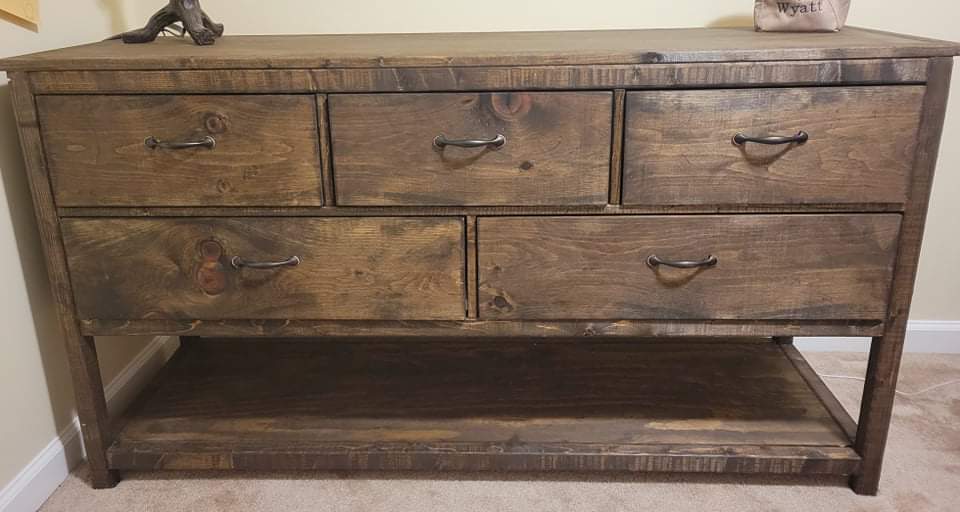


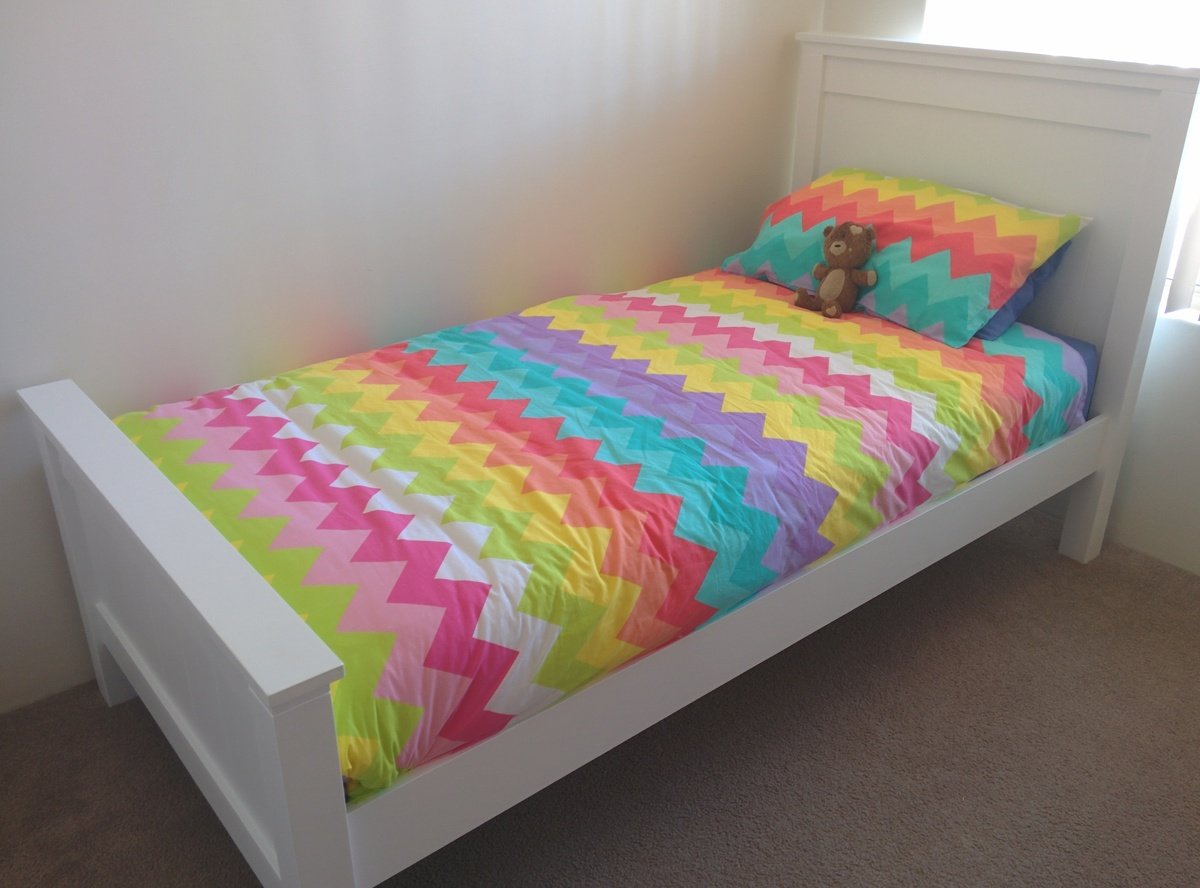
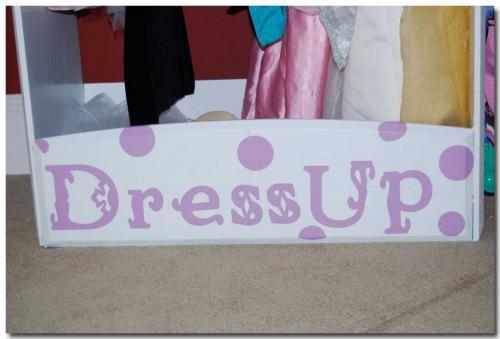
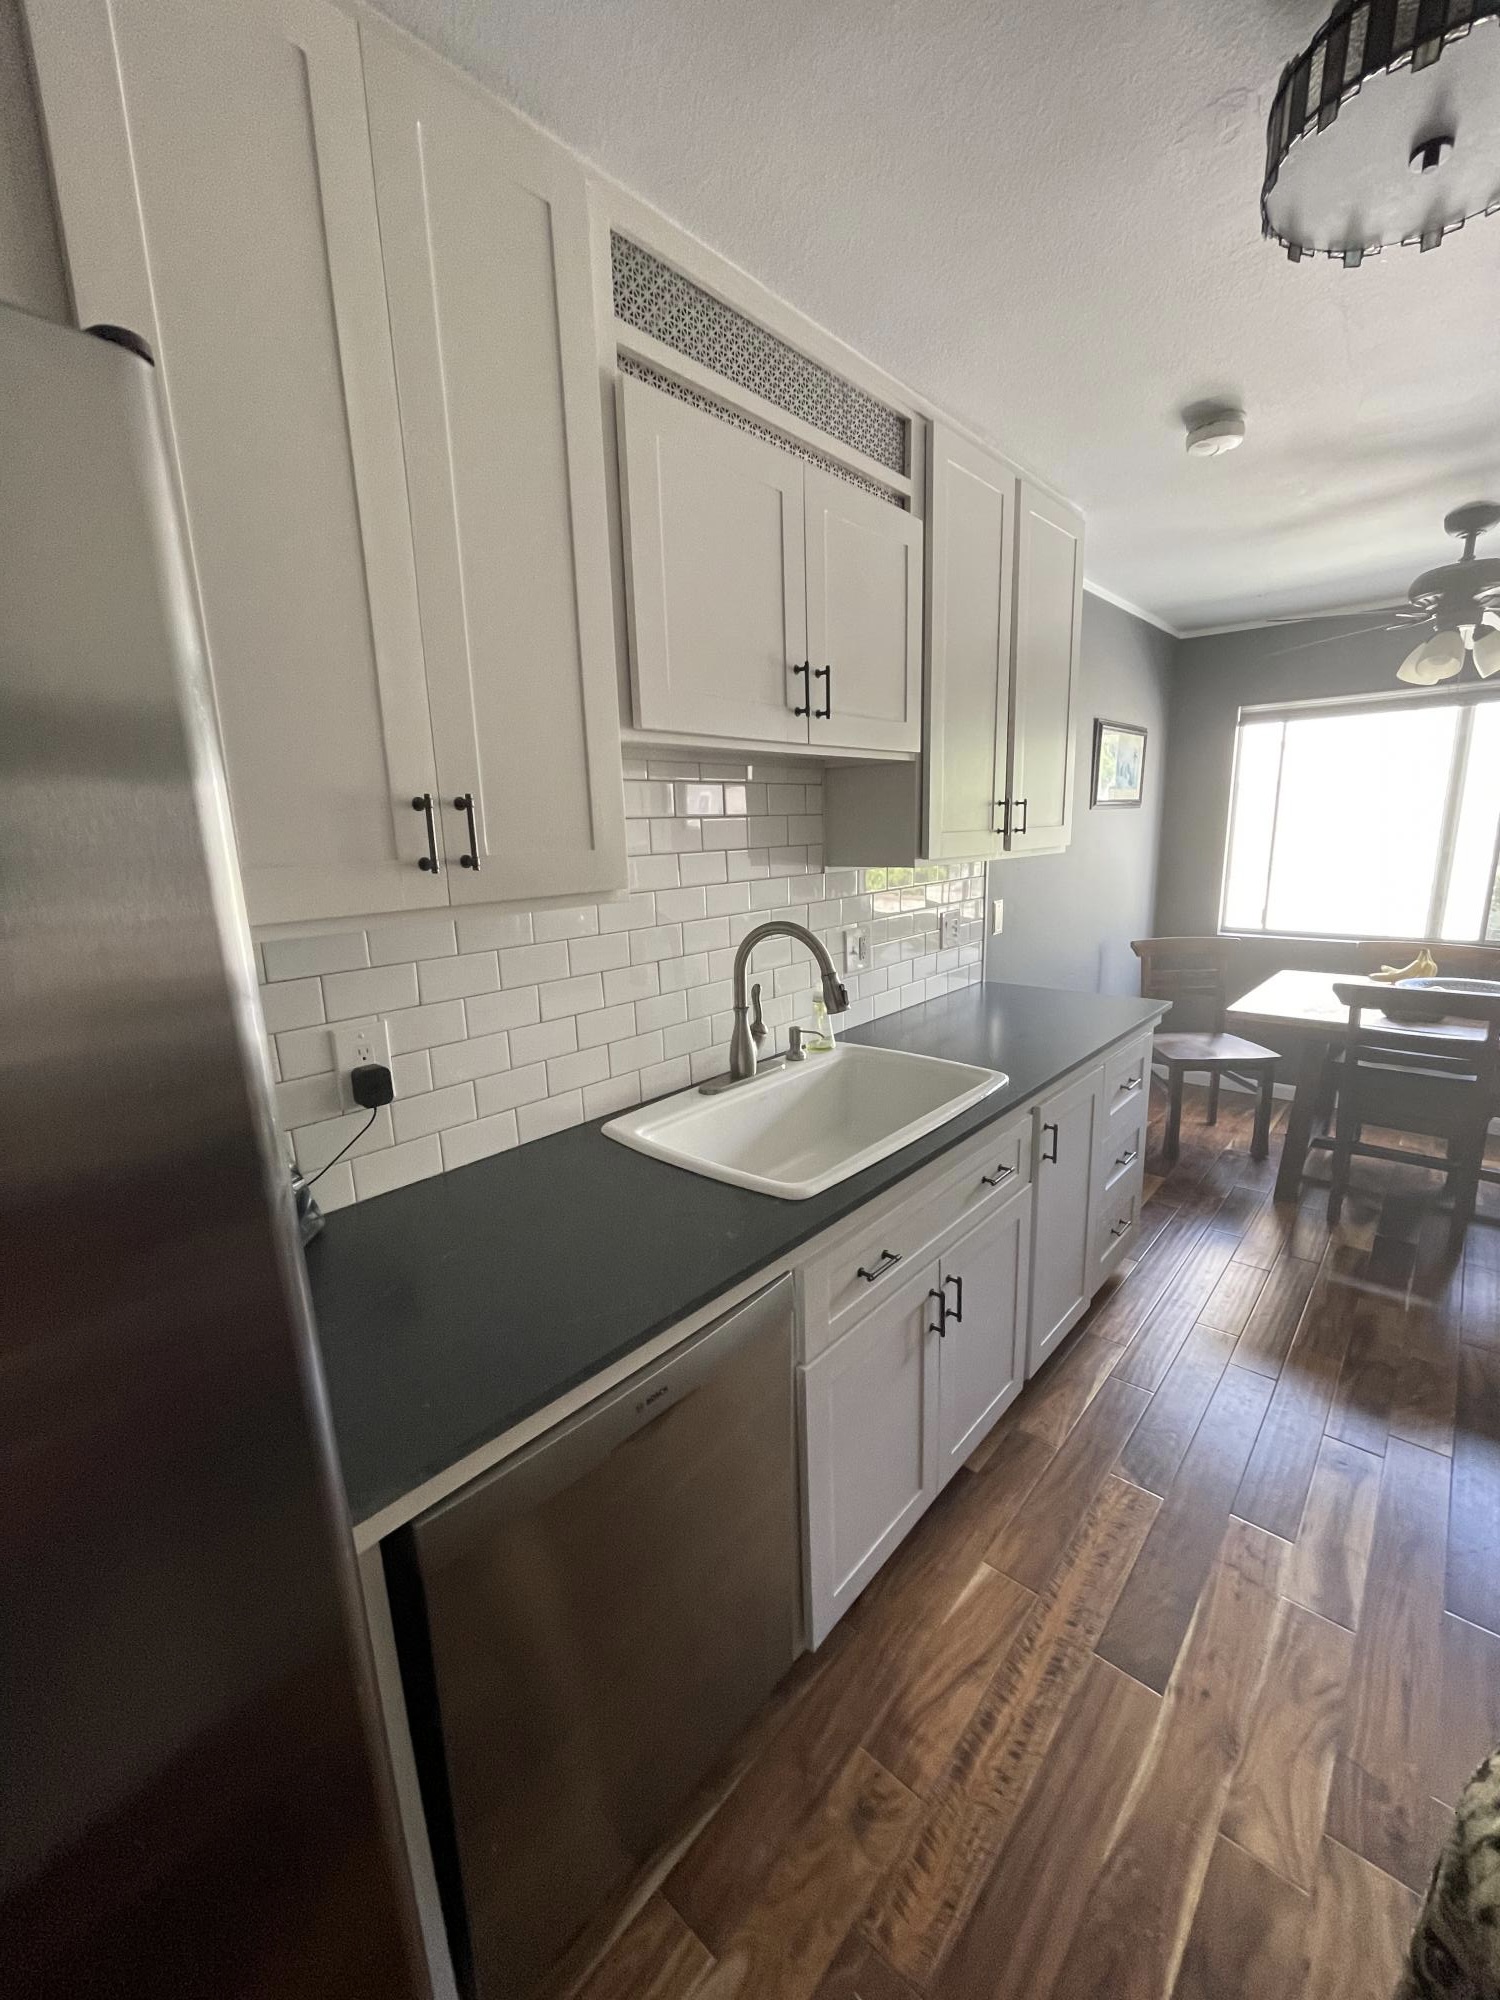
 . Painted walls, added new flooring, still have to customize the closet, but with Ana's help that will be a snap. I would have never gotten the courage to do some of the builds I've done without Ana's site. Thank You Ana!!!


Comments
Ana White
Sat, 07/22/2017 - 13:38
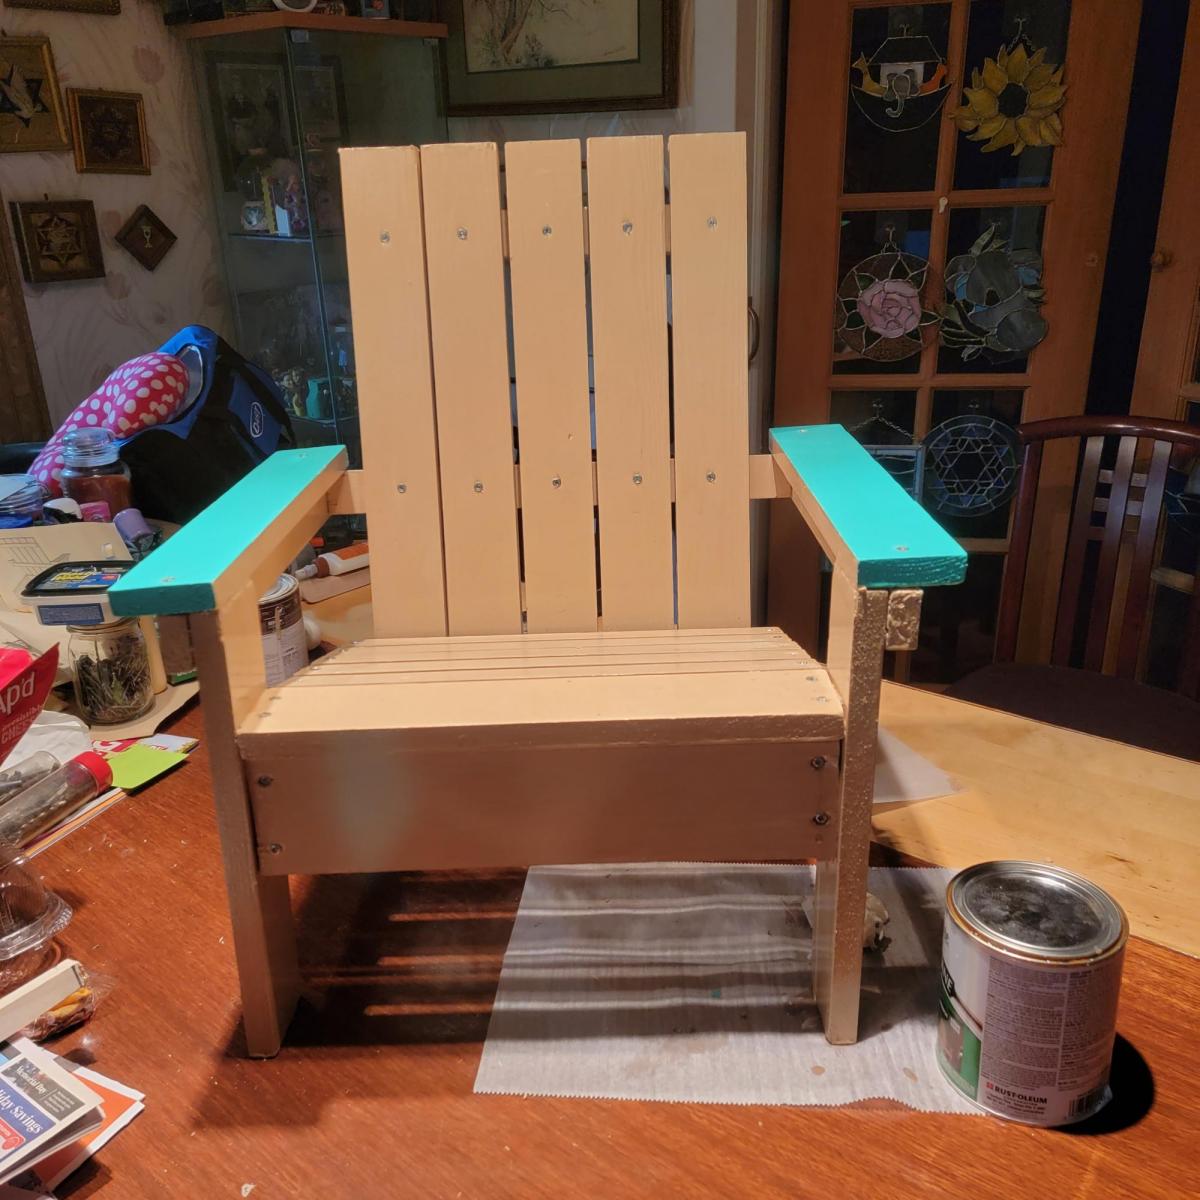
Amazing! I love the two tone
Amazing! I love the two tone finish!
In reply to Amazing! I love the two tone by Ana White
naomi
Thu, 09/07/2017 - 05:50
Thank you :)
Thank you :)
sis2795
Wed, 07/31/2019 - 16:58
Cost
I don’t understand the cost for this. The wood is going to cost significantly more than $20. Am I an idiot and don’t know where to get the wood from??? How does that equal out to $20?
In reply to Cost by sis2795
naomi
Sun, 08/11/2019 - 22:41
Cost
Hi,
All of the base was made from free pallet Wood and the timber top was one line length of new timber which cost about $8 and the wheels I had in the shed and the curtain rail was a couple of dollars from Bunnings. The paint and stain I already had.
I hope this helps. 😀