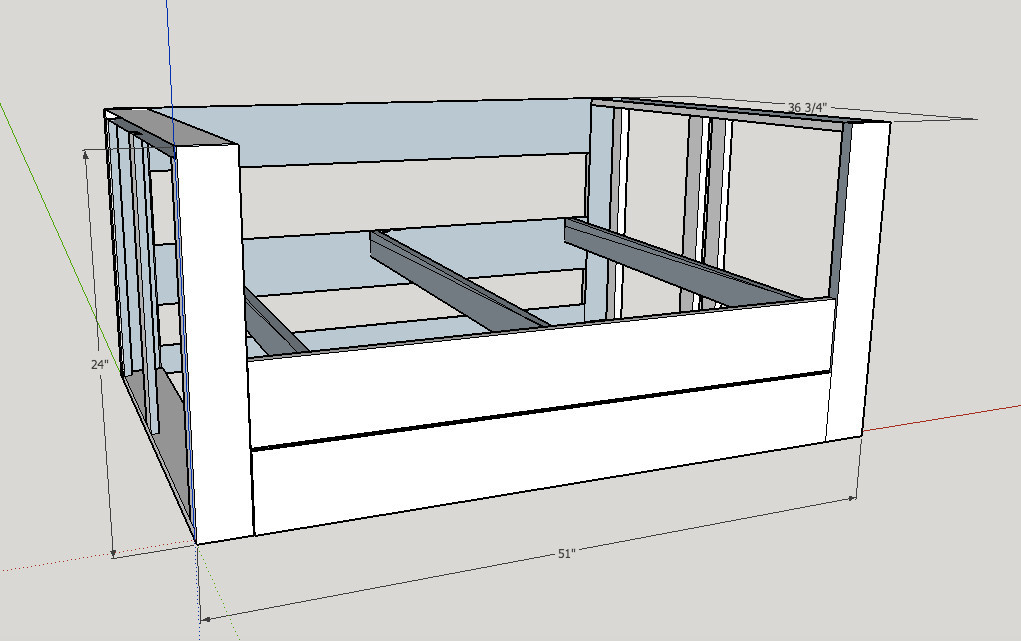
Modern outdoor Sectional
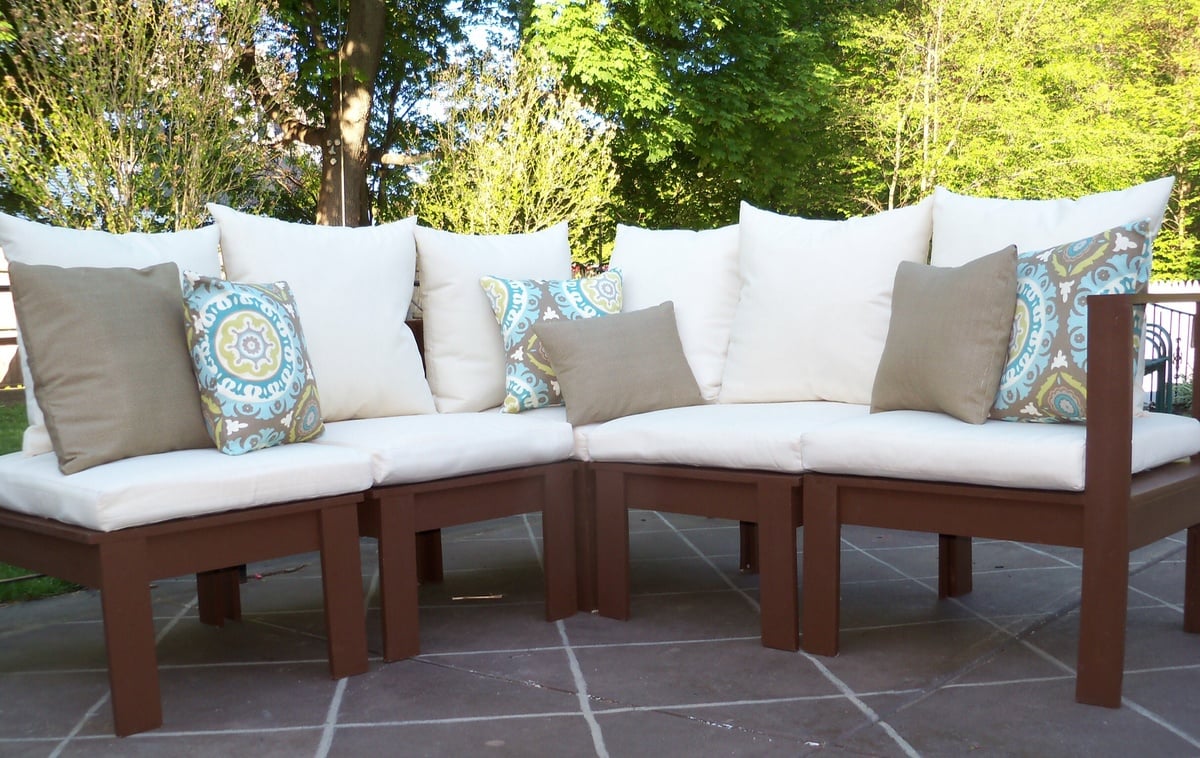
This project is straight forward and lots of fun. Next time I plan to stain opposed to paint due the amount of time painting takes.
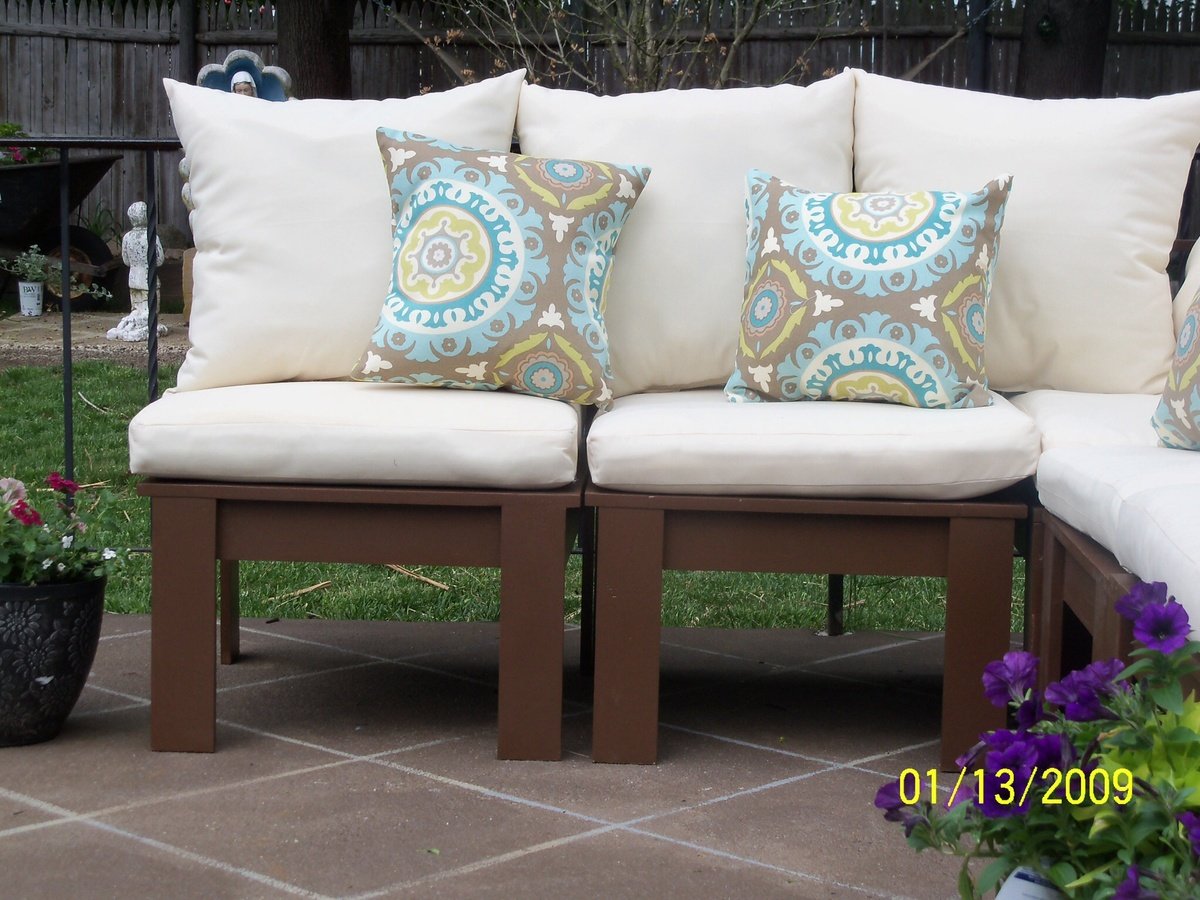
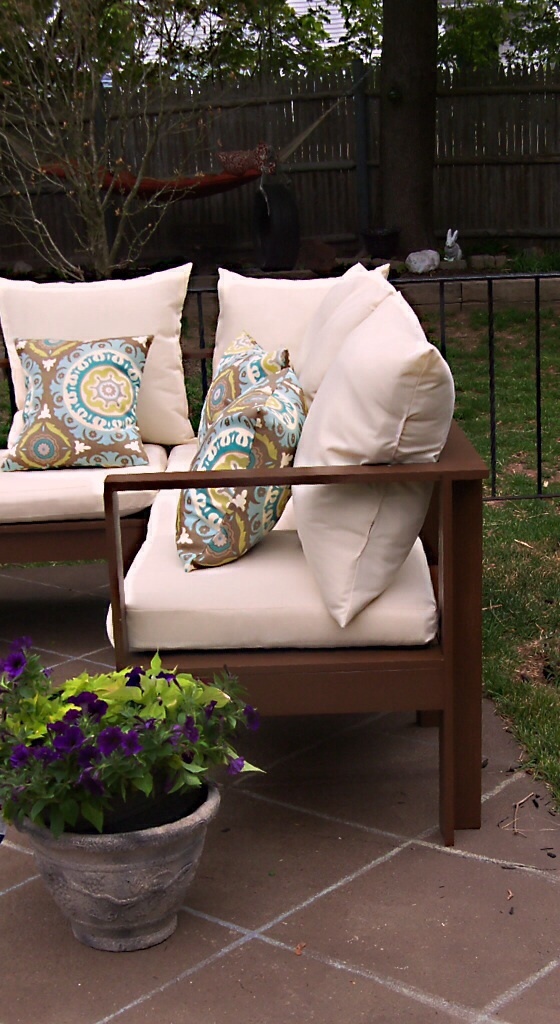
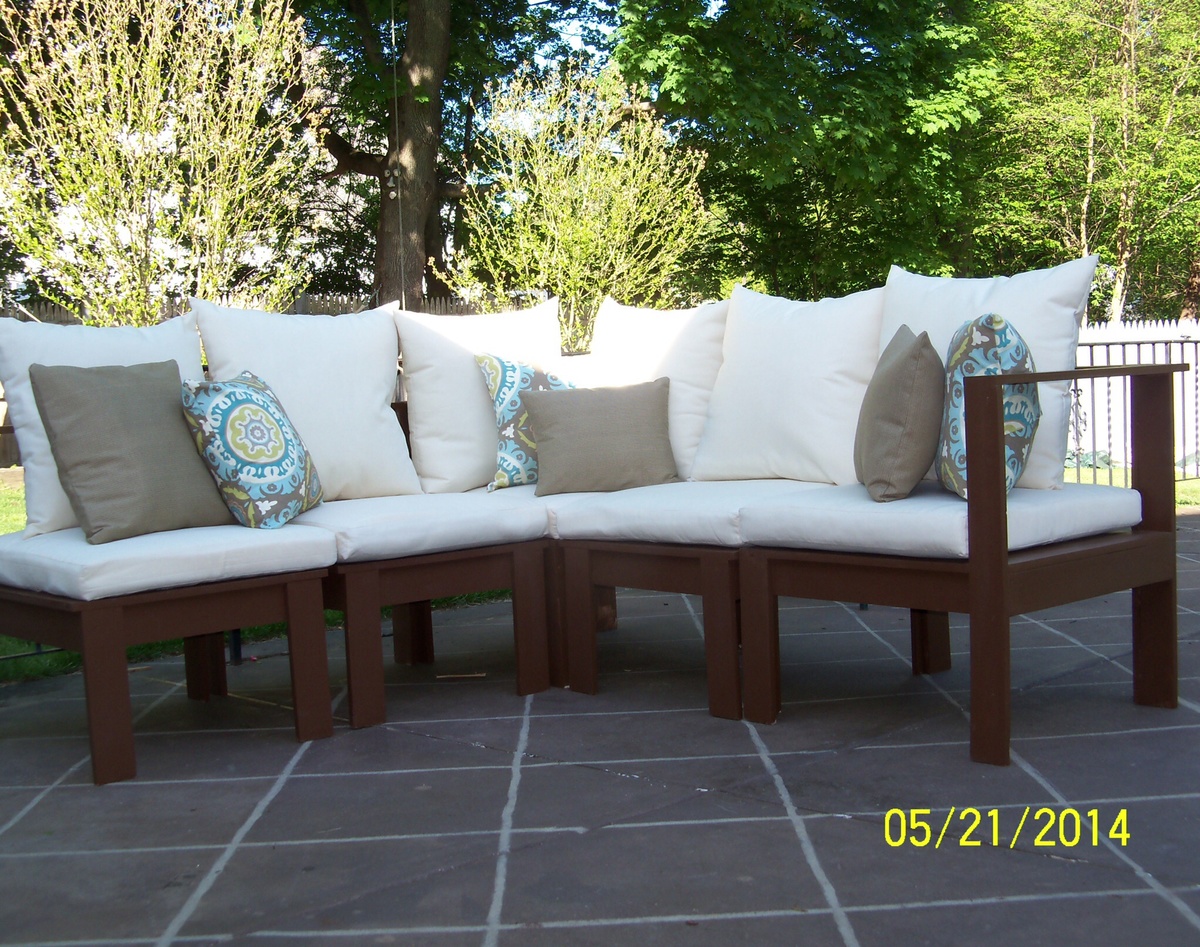

This project is straight forward and lots of fun. Next time I plan to stain opposed to paint due the amount of time painting takes.


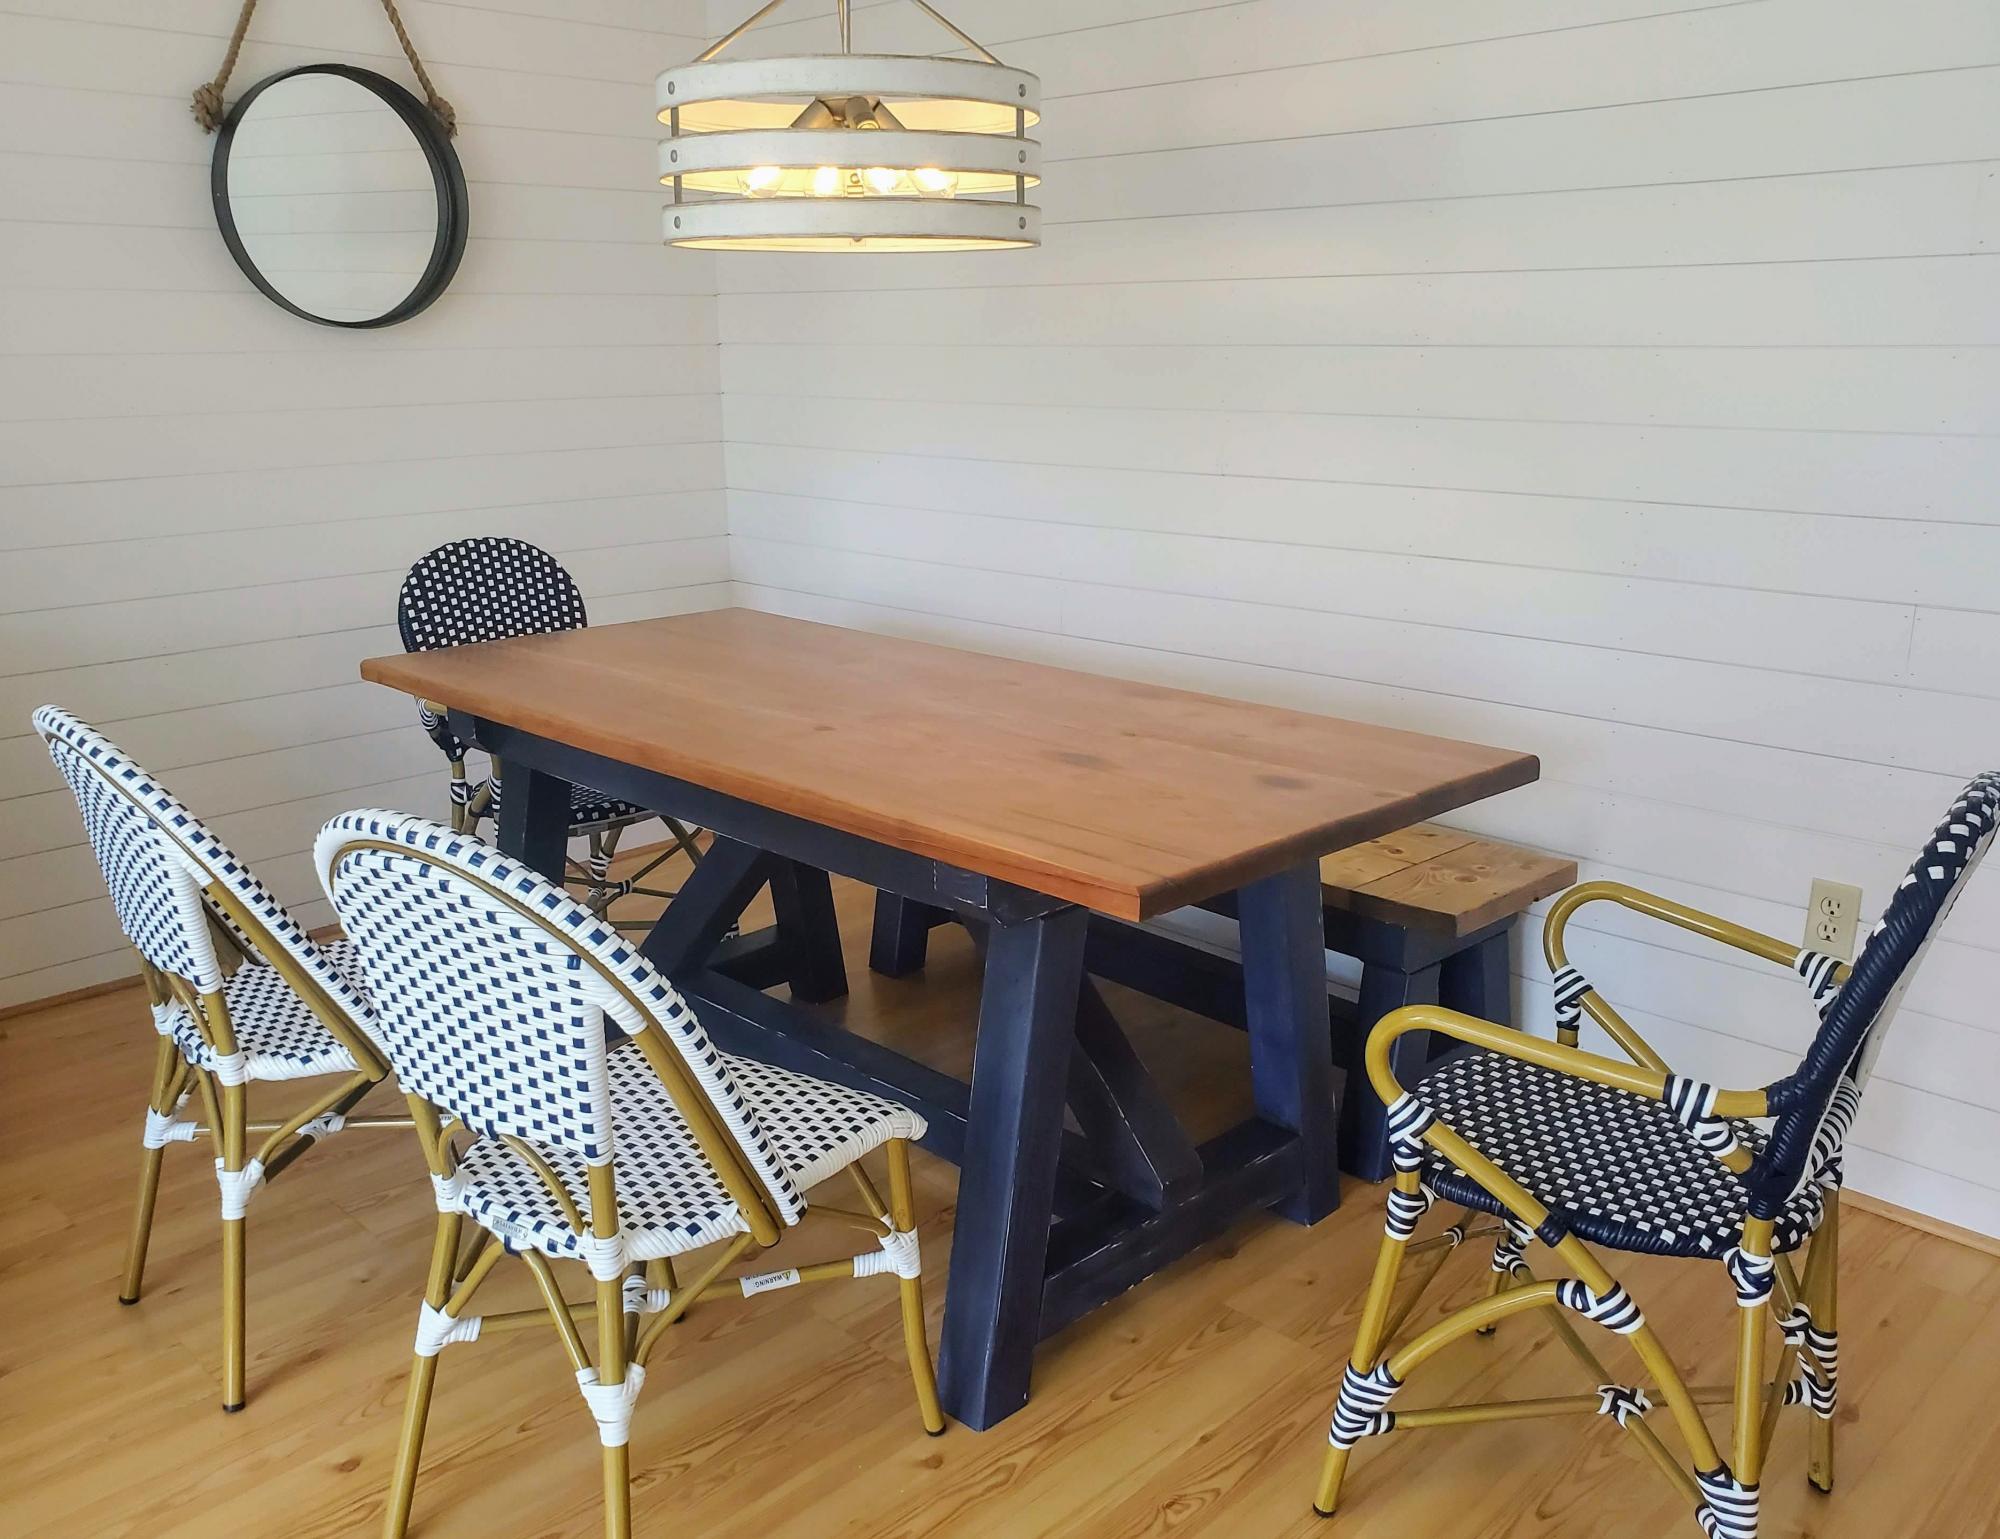
I followed this plan to create our new dining table and bench. I went with a distressed chalk paint for the base, and the top is made from 100 year old douglas fir barn rafters. They look great with our blue/white cafe chairs. Thanks for the great plan!

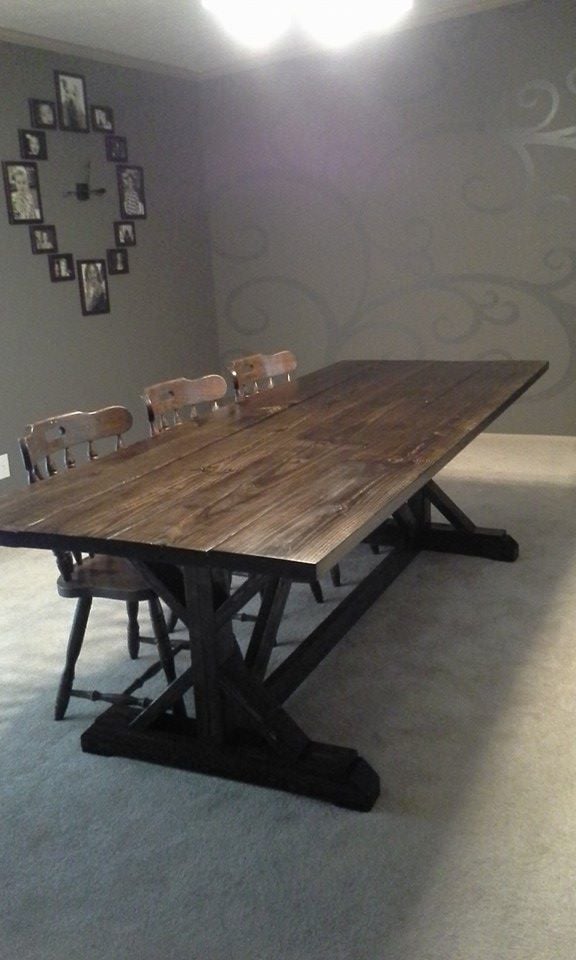
We decided to build the Farmhouse Table after our 30 year old dining table began to crack and just wasn't working so well for our family of 5. This was our first project, so we made a lot of mistakes but also learned a lot. One of the hardest things was finding decent lumber that wasn't warped or split. We also made two Farmhouse Benches but they aren't included in this photo.
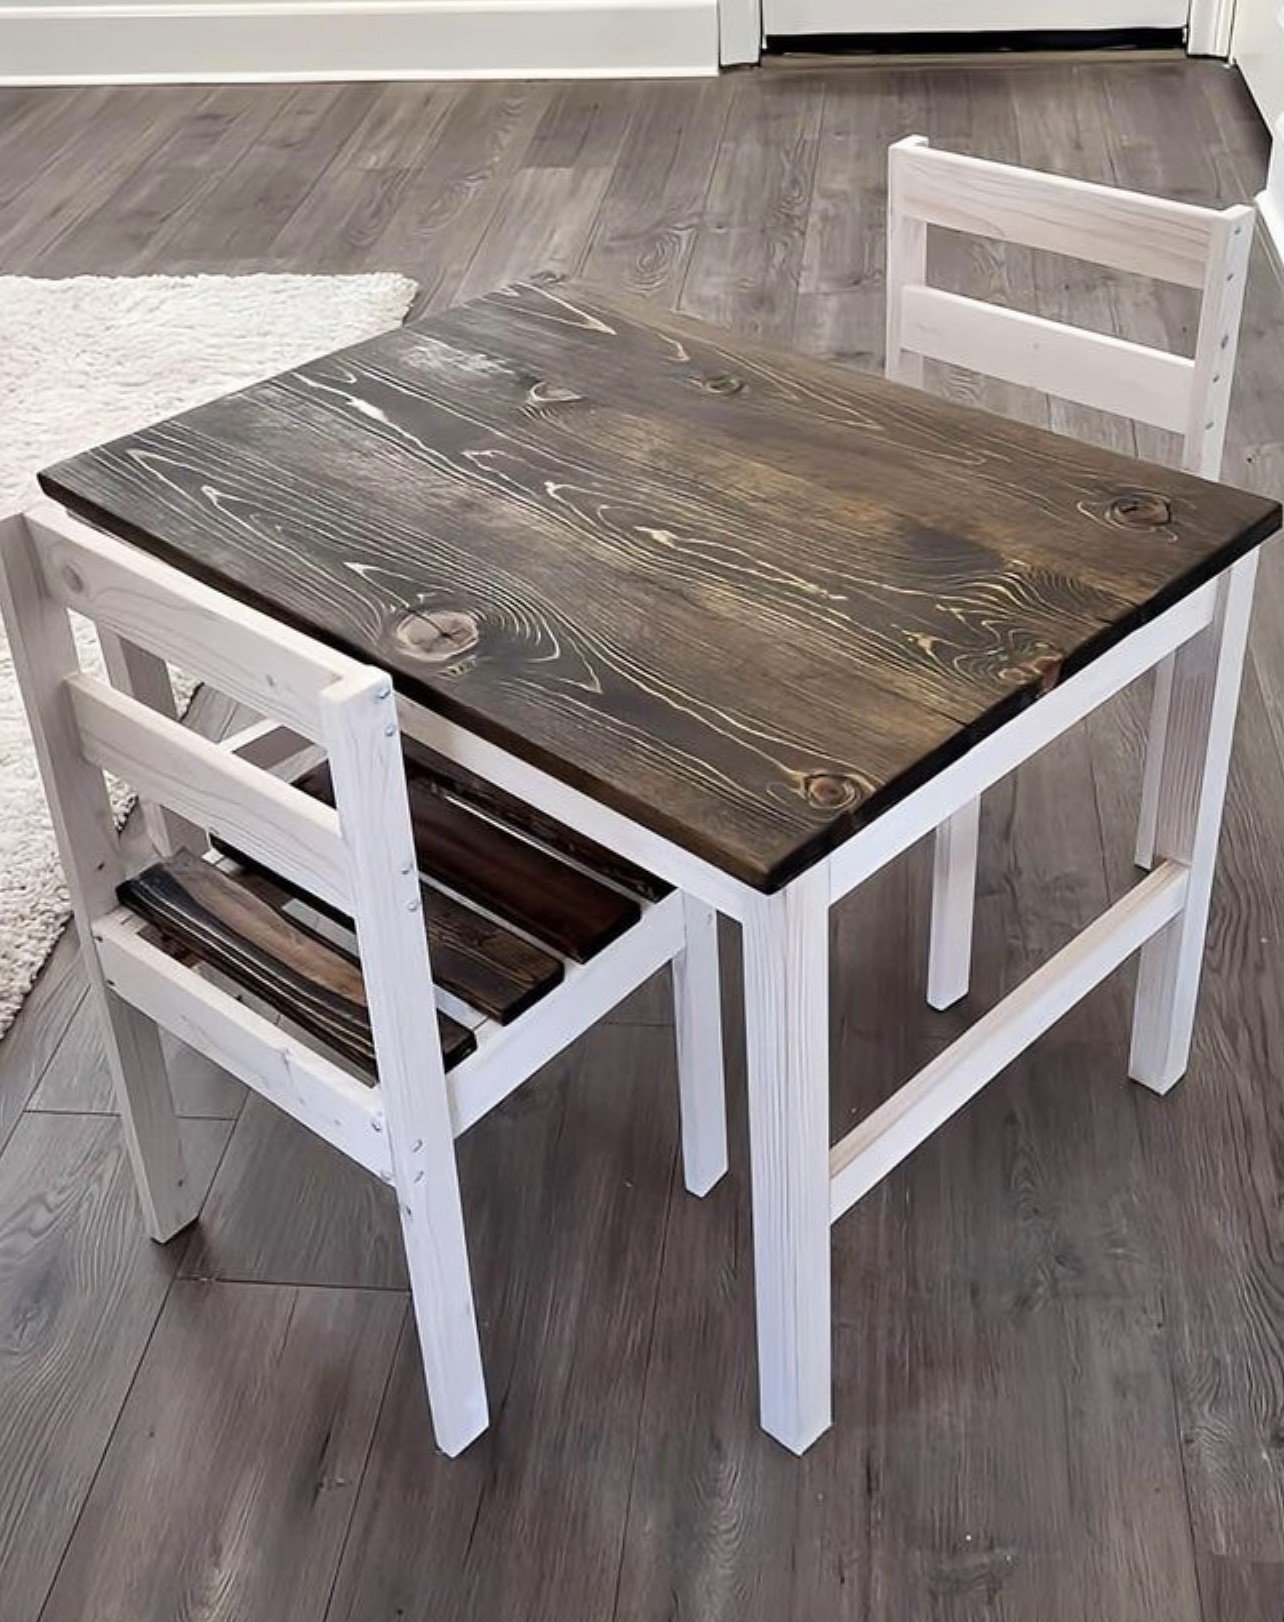
Super easy to build ,thanks for the instructions!!!!!!
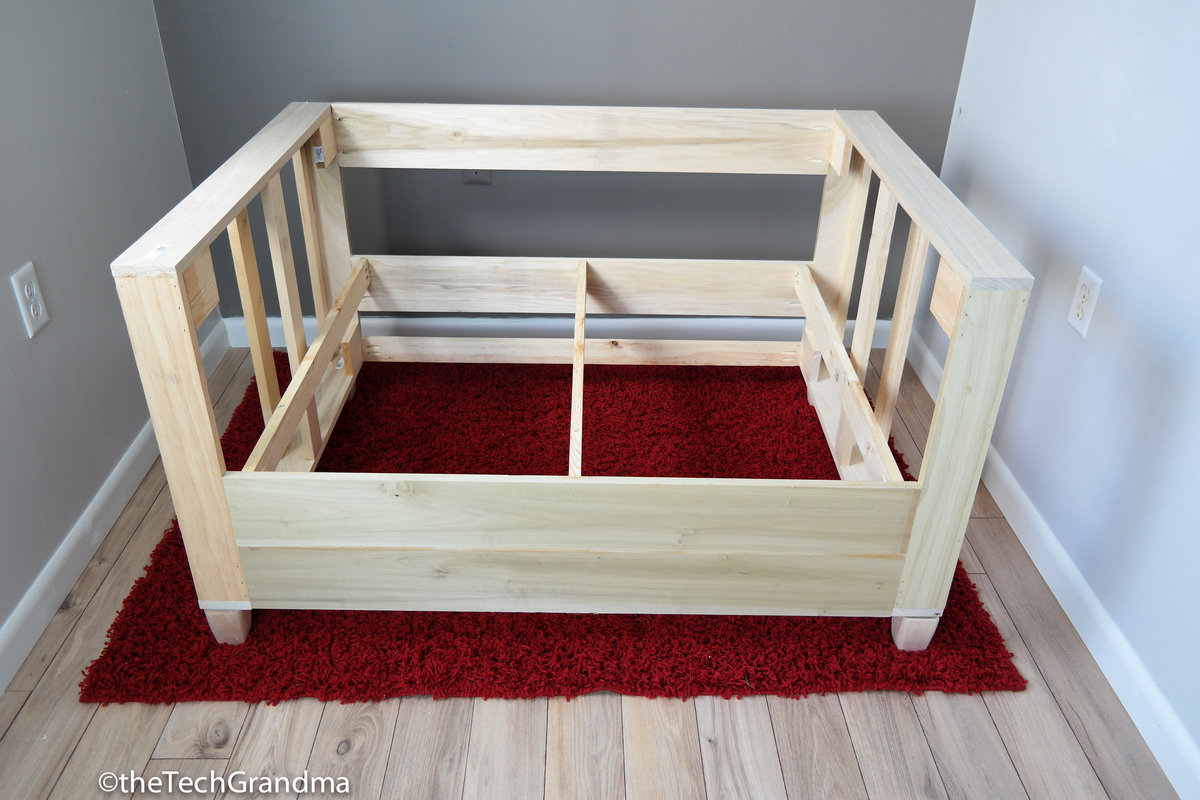
As I finished the basement, my thoughts turned to the upstairs furniture. We bought a sectional when we moved into our house 2 years ago from Art Van. We paid $2000 for it and it lasted about 3 years. We finally got rid of it after 5 years, but the frame was broke and the cushions were terrible!!
I looked around and couldn't find anything I thought was superior quality that didn't cost an arm and a leg. Quite frankly, this is expensive even to make but I'm up for the challenge.
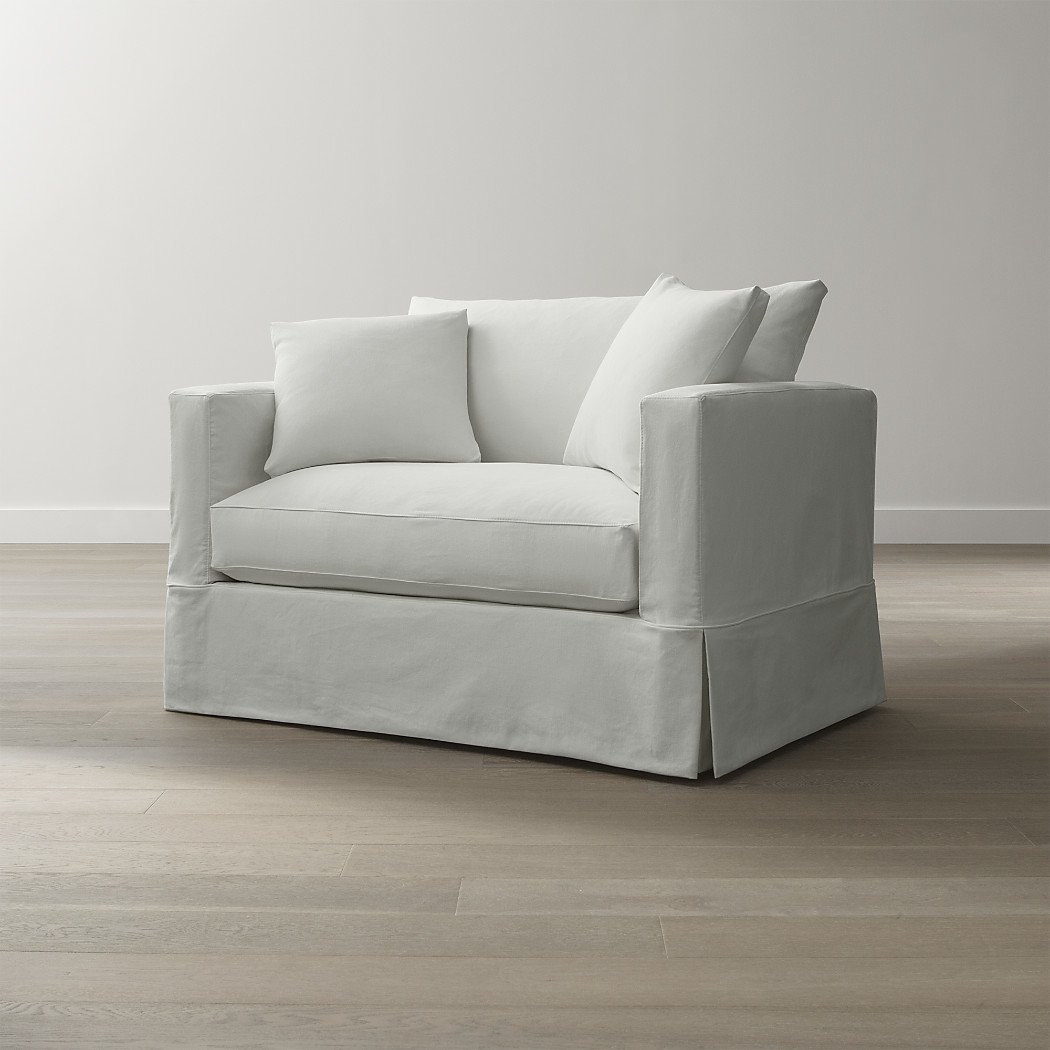
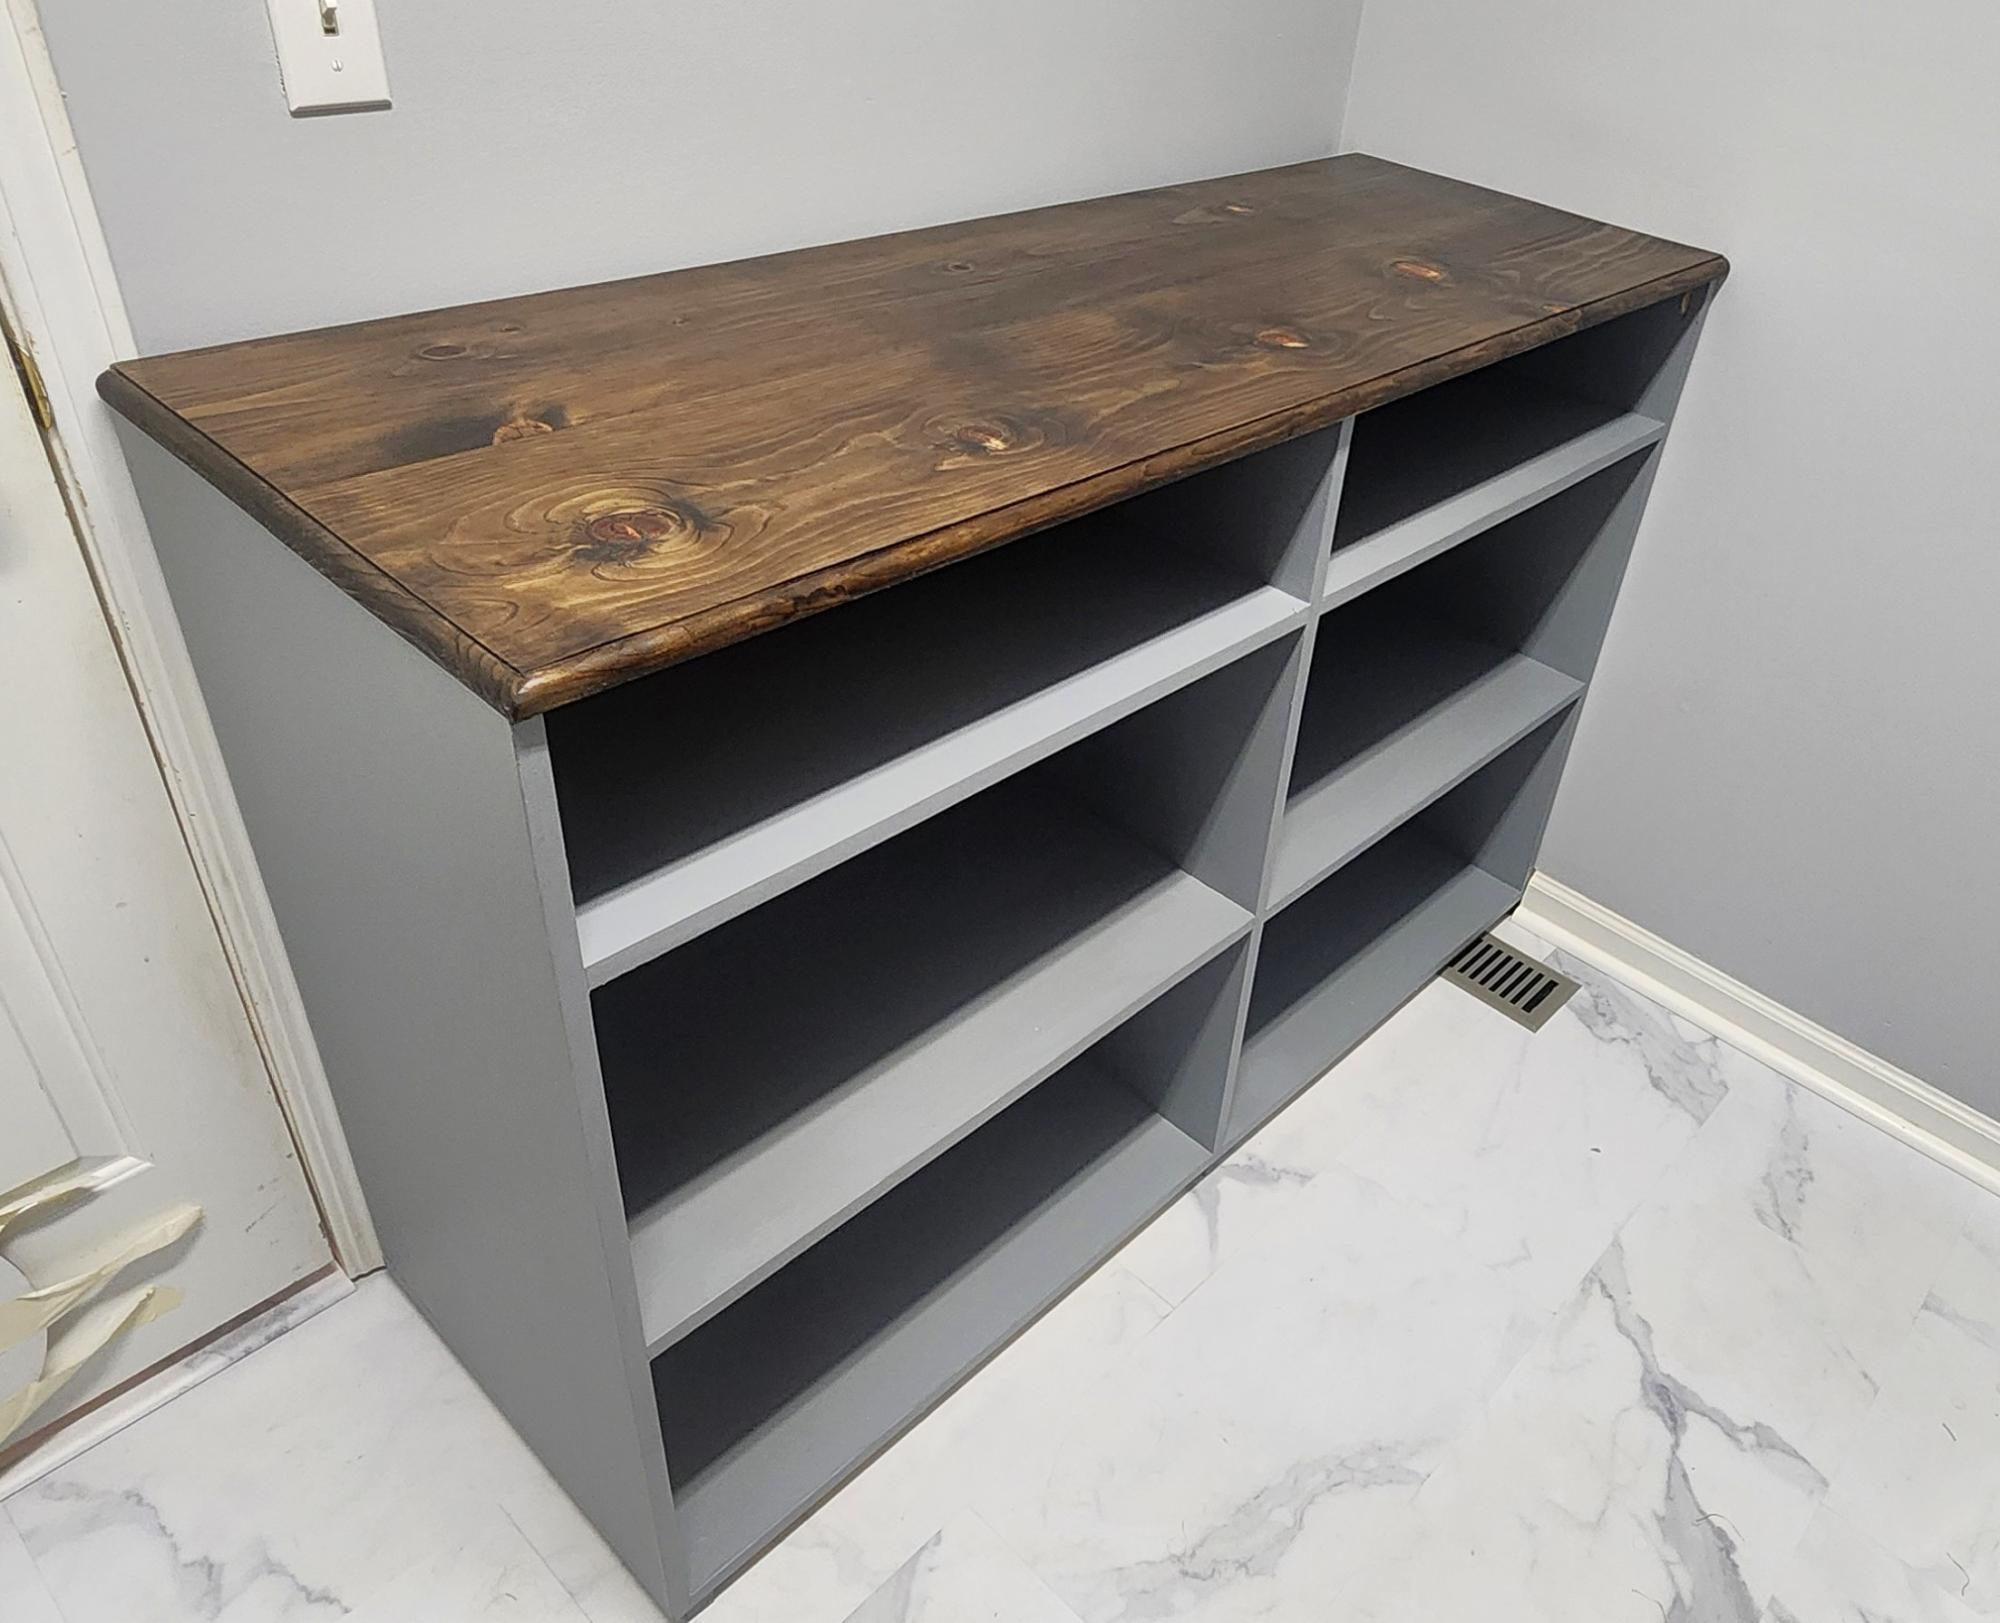
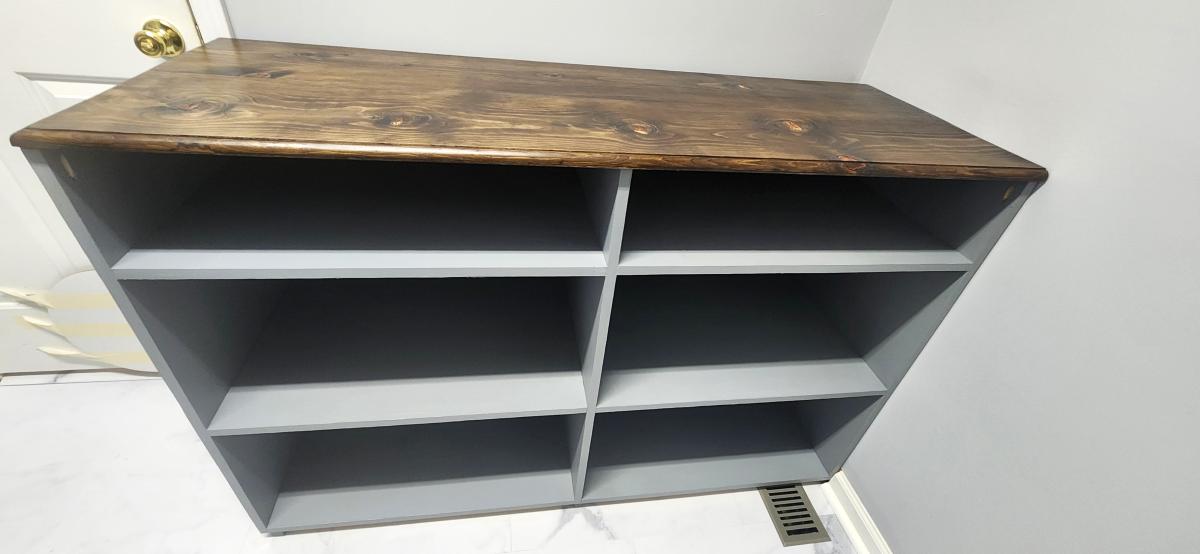
This was a modification to an Ana White design and another brag.
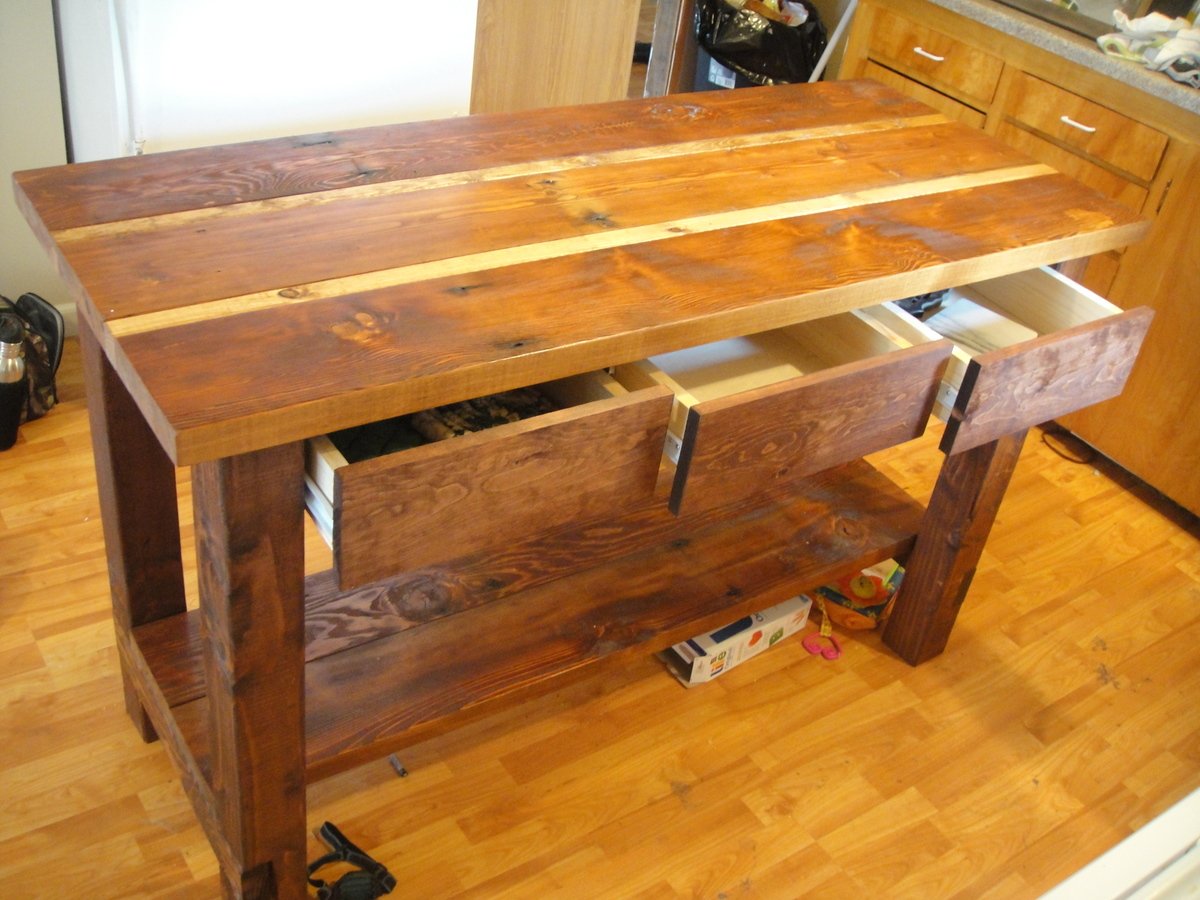
Designed on sketchup. It holds 4 laundry baskets sideways. Because I wanted it to be counter height I have a 6 inch shelf.
3/4 reconditioned plywood for the base assembled using Kreg pocket screws.
The top is a low cost pine 11.5 wide.
I jointed them using a 14 inch hand plane. First time for that. Cut the top to 22 inches wide.
Prestain conditioner. Minwax dark walnut stain and 6 coats of minwax poly wipe on.
Attached using Kreg screws.
Randy Eby
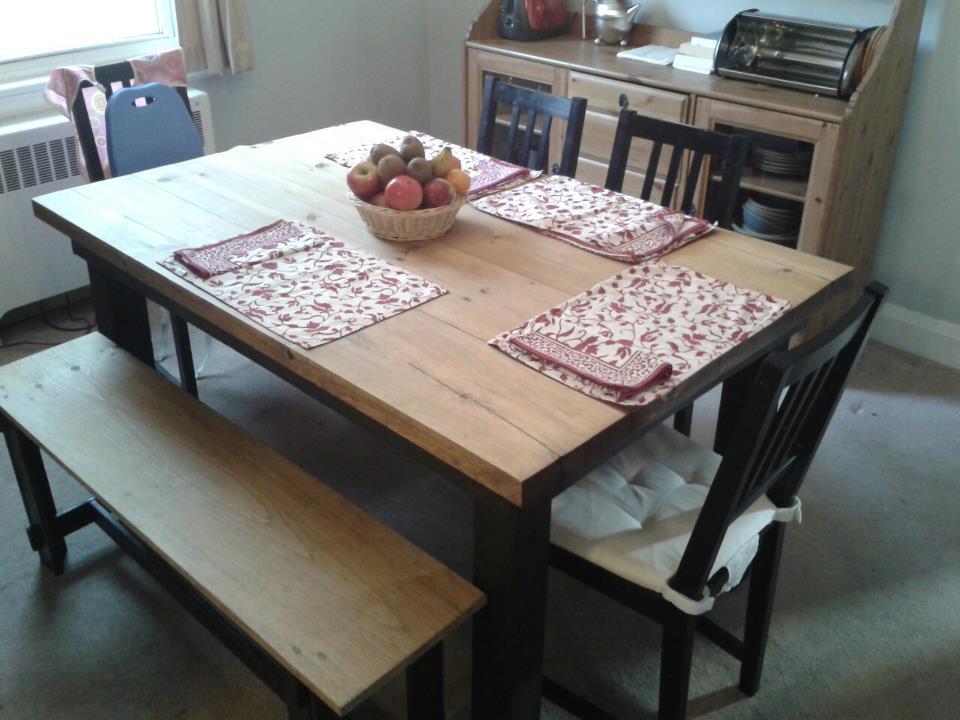
Originally built this to be part of a set and then took it home. (My two year old loves the bench!) Used 4x4s for the legs and increased the table thickness to 2".
Thu, 03/07/2013 - 23:47
I love what you have done here with the 2" top, and the 4x4 legs. Do you have any plans for this or can you tell me how you attached the wider legs from the inside? Still just screwed it in or some kind of bracket? Thanks :)
In reply to Love this! by Shari Hurley
Tue, 06/24/2014 - 11:53
I am just seeing this comment now! I used the plans provided, just switching out the top and legs. I did add a few extra 2x2s under the table top. The end 2x2s are right next to the legs and add a little extra support.
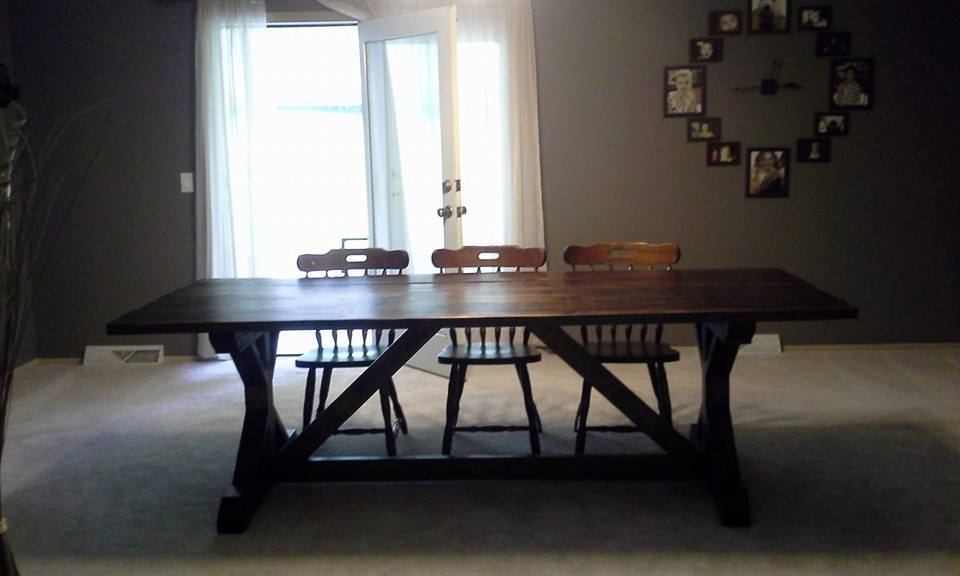
This was not my first build, but it was the first time I have done miter cuts. It was an easy to follow plan. The hardest part was trying to decide on the stain color! I am thrilled with the way it turned out. This table will easily seat 10 people which will be perfect for parties and dinners.
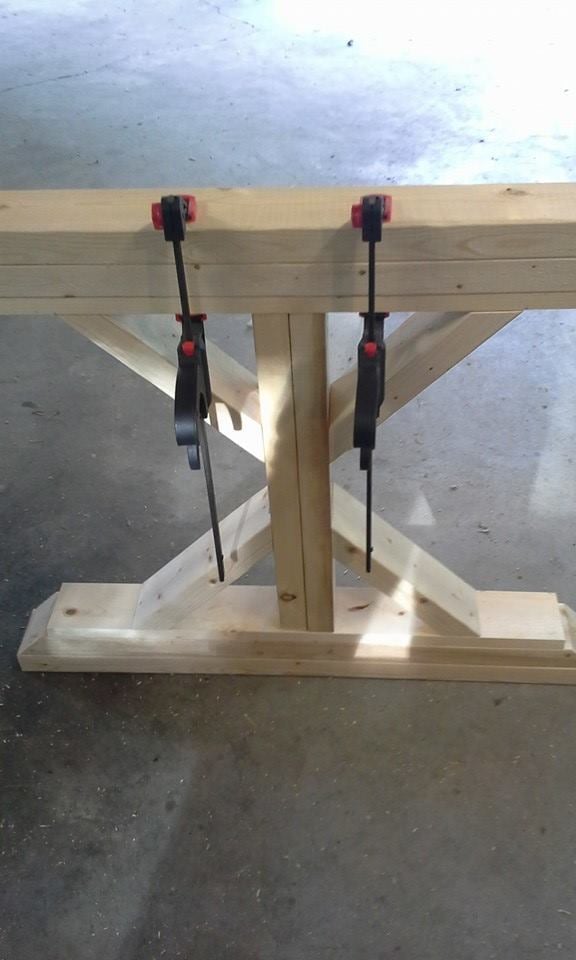
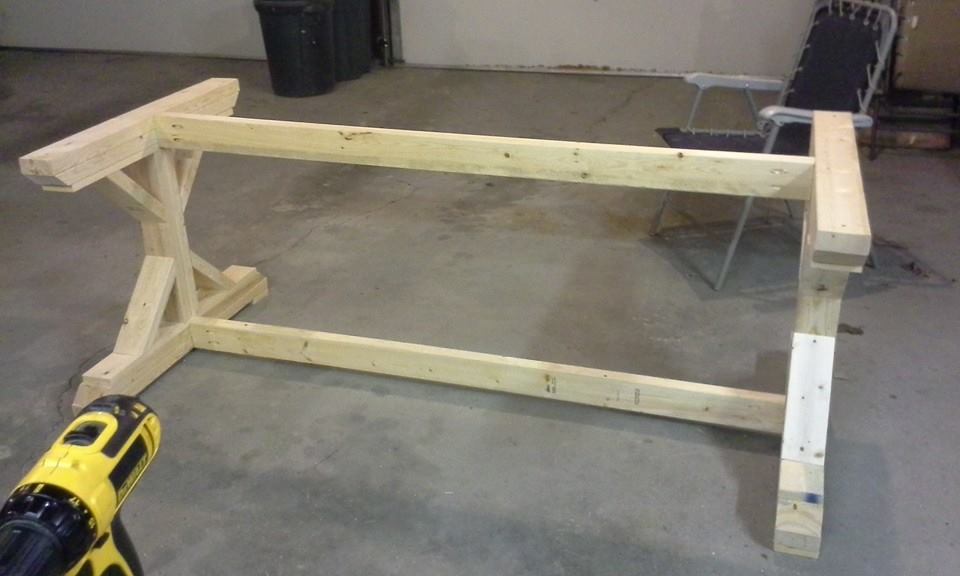
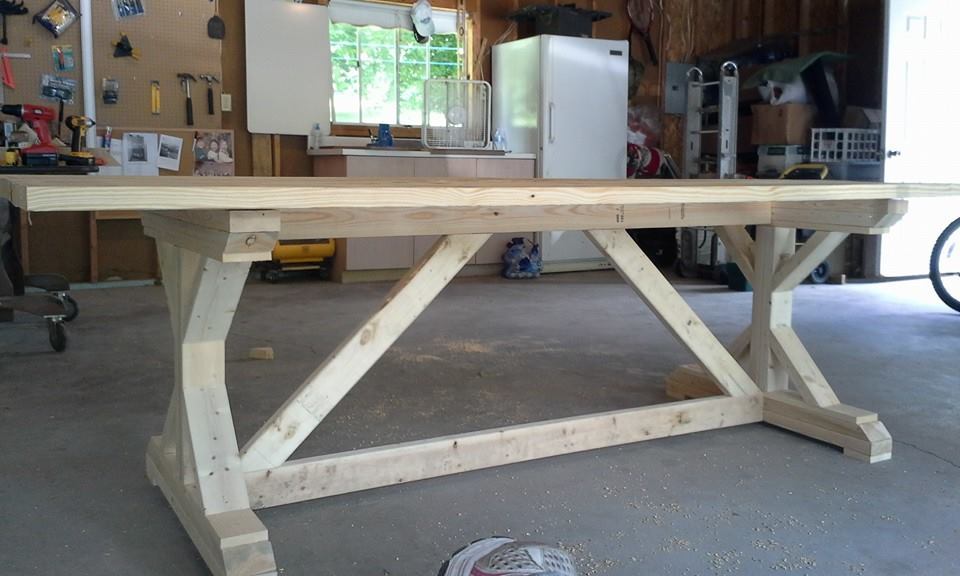
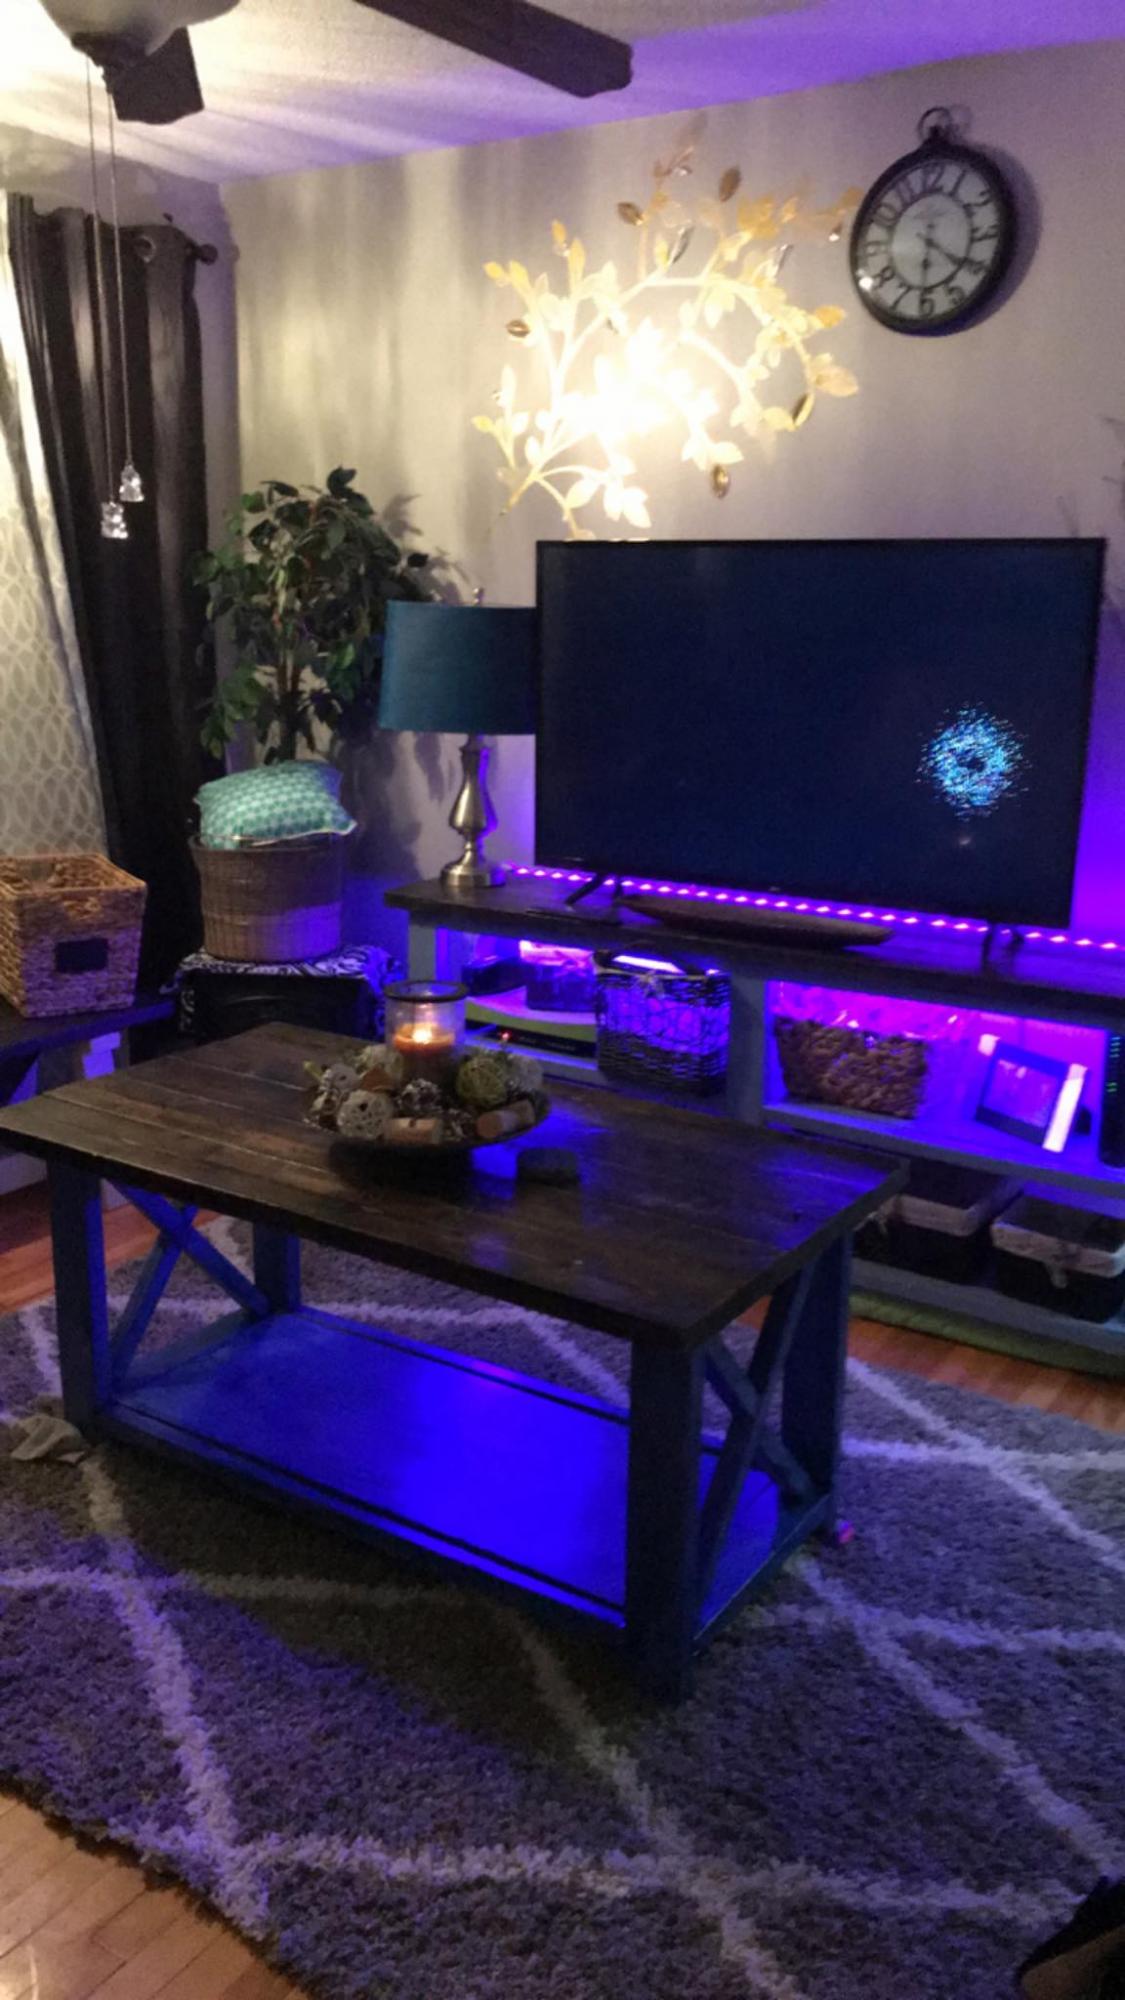
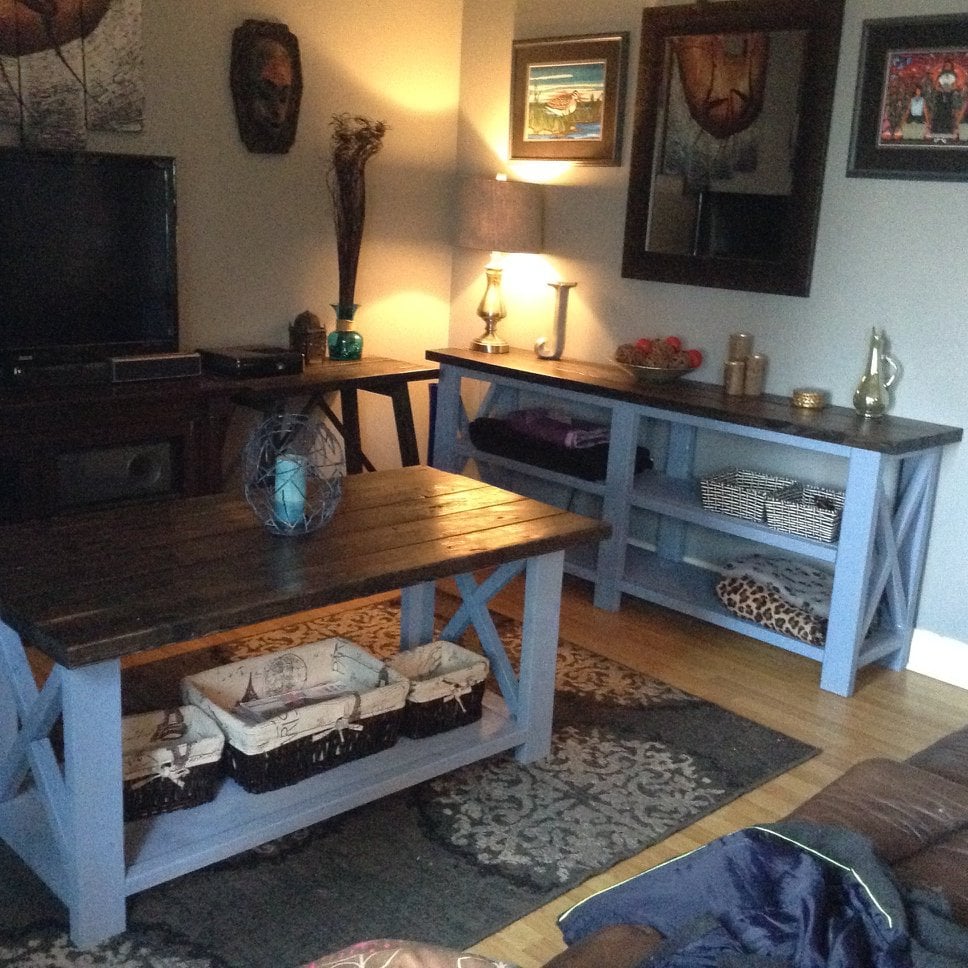
Made exactly as according to Ana Whites plans. Easy to build and very pretty once completed
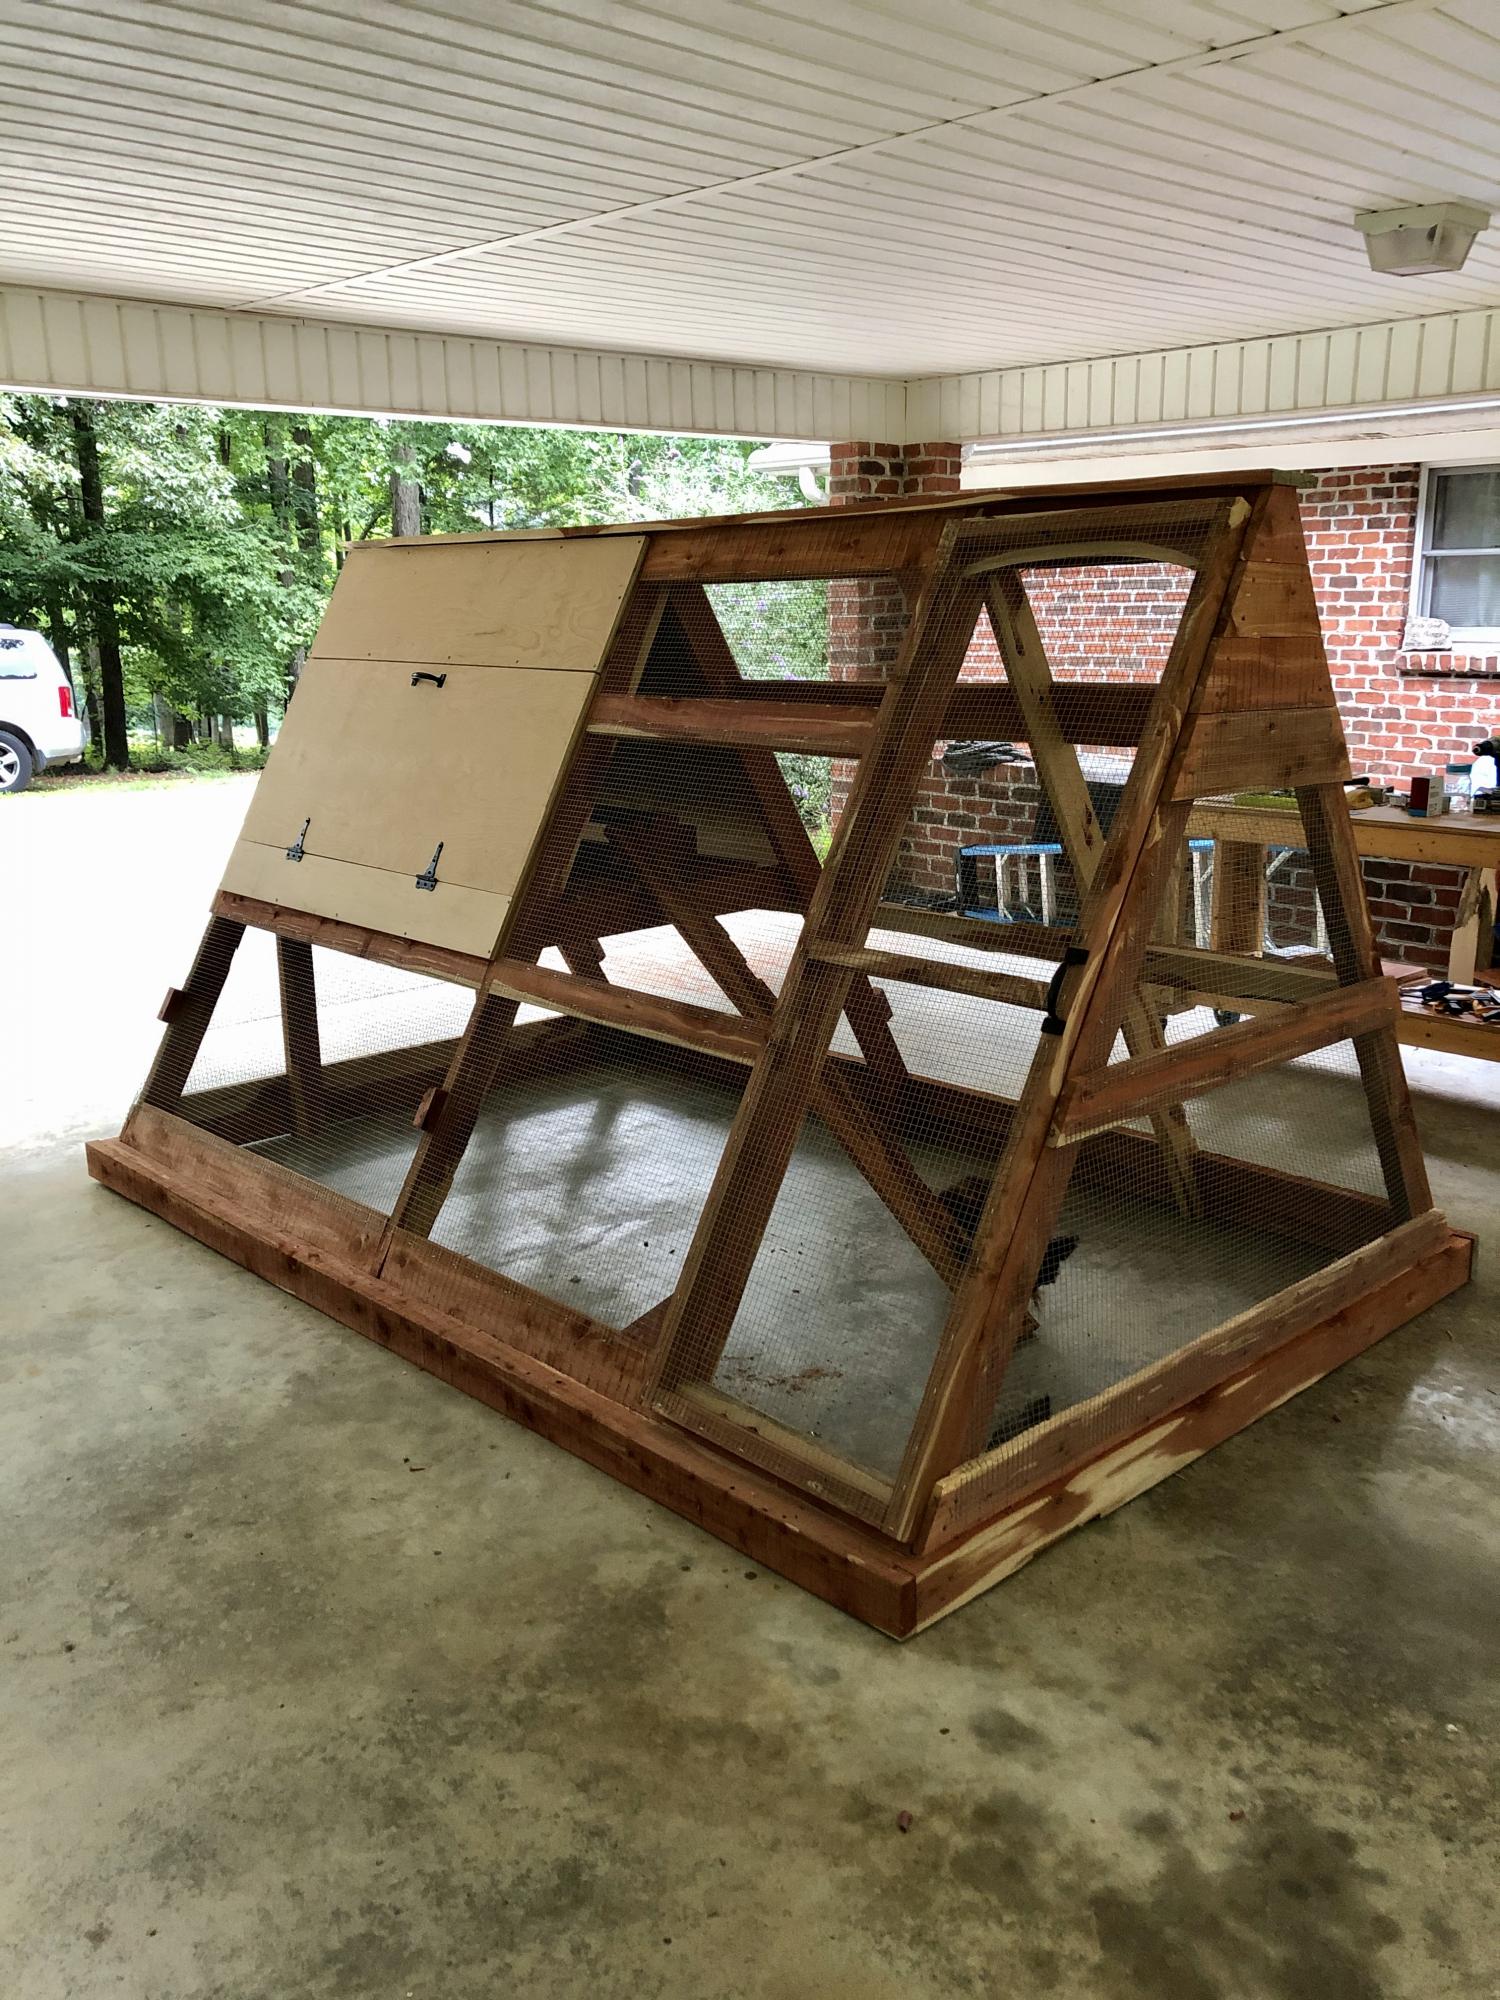
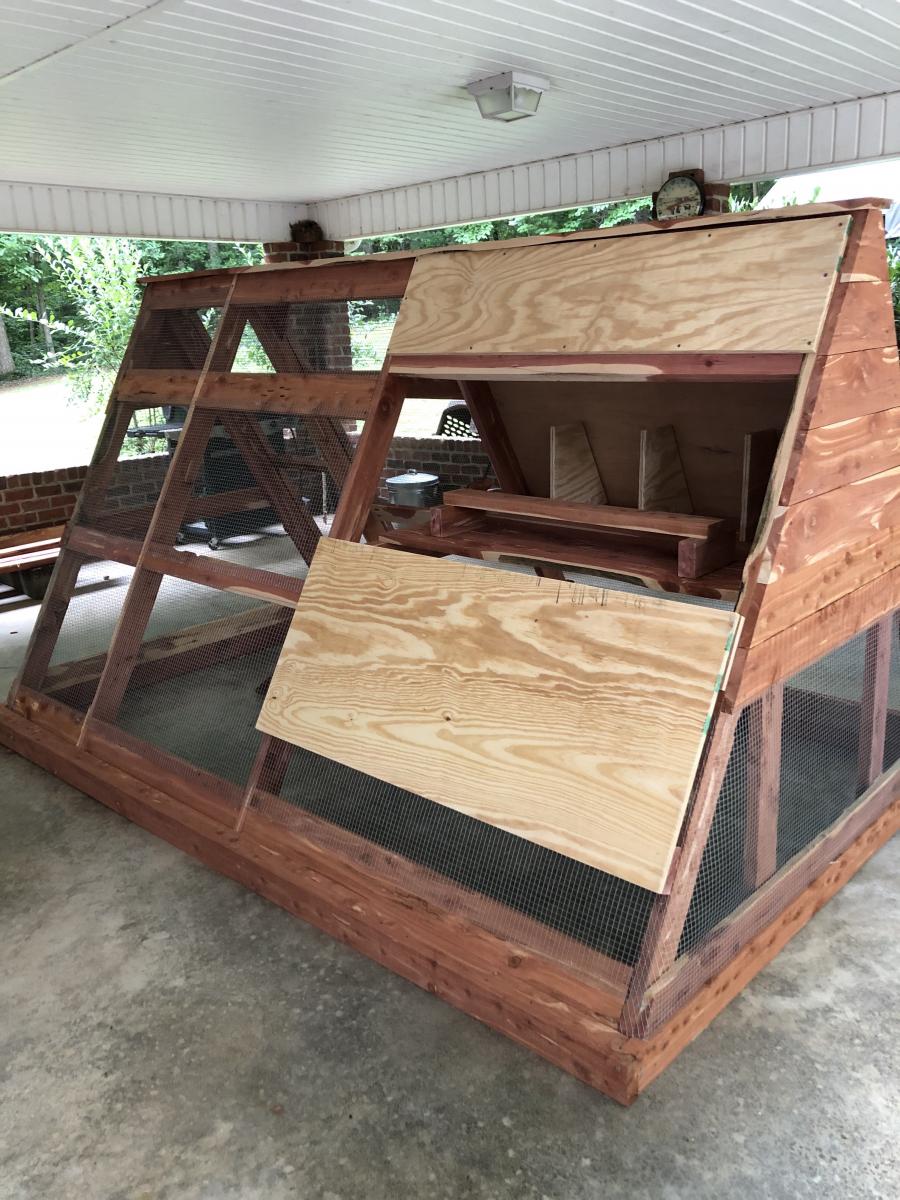
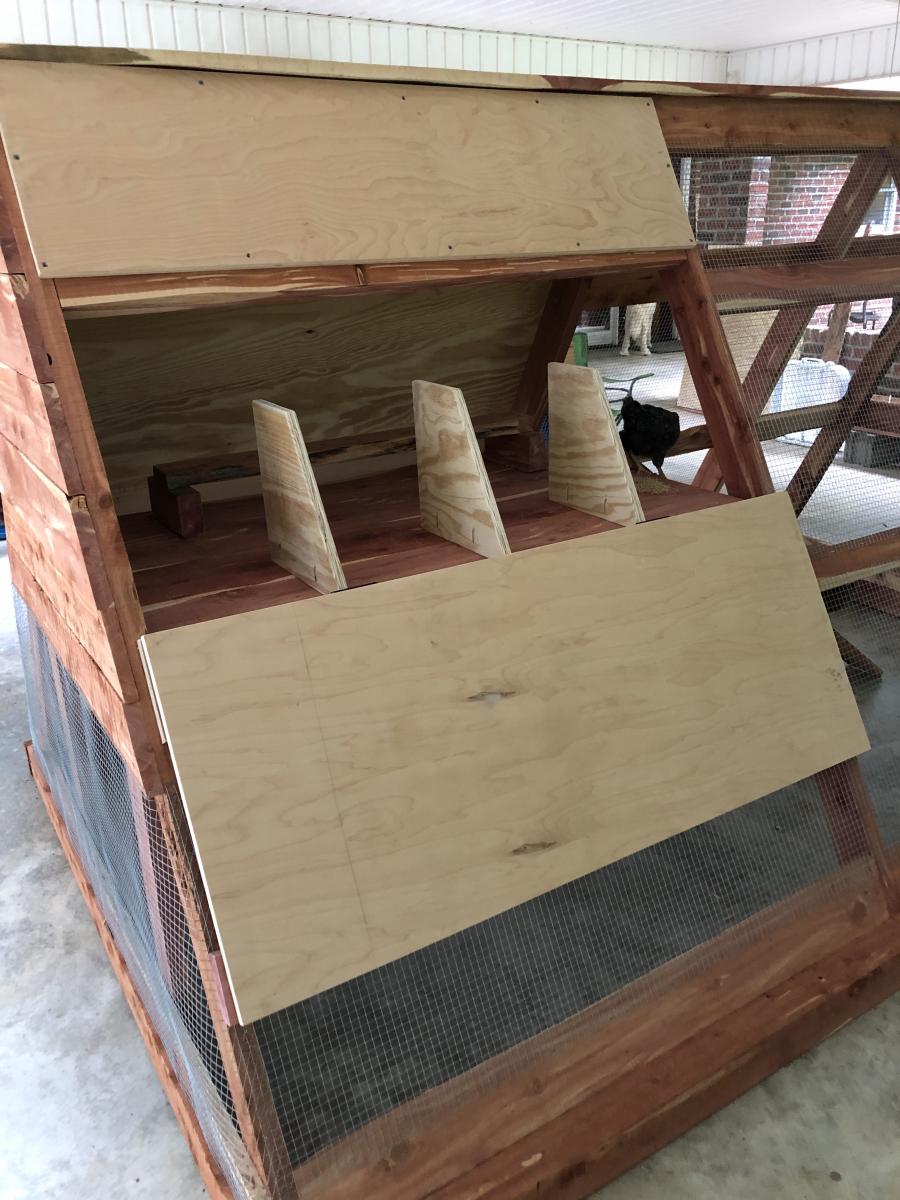
This was my biggest build yet and these plans along with being able to see a few brag posts with modicifactions made this project less intimidating. I extended the coop in order to add a walk in door. The drop down doors on both sides will give plenty of access and help with cleaning. I've added door latches to all the doors since putting it in place. My dad provided the cedar so that greatly reduced my costs. This project took about six days to complete. The fun part was getting it out of my carport : ) This was built for my daughter's chickens and she is thrilled with it. So am I! Thanks for the plans Ana!
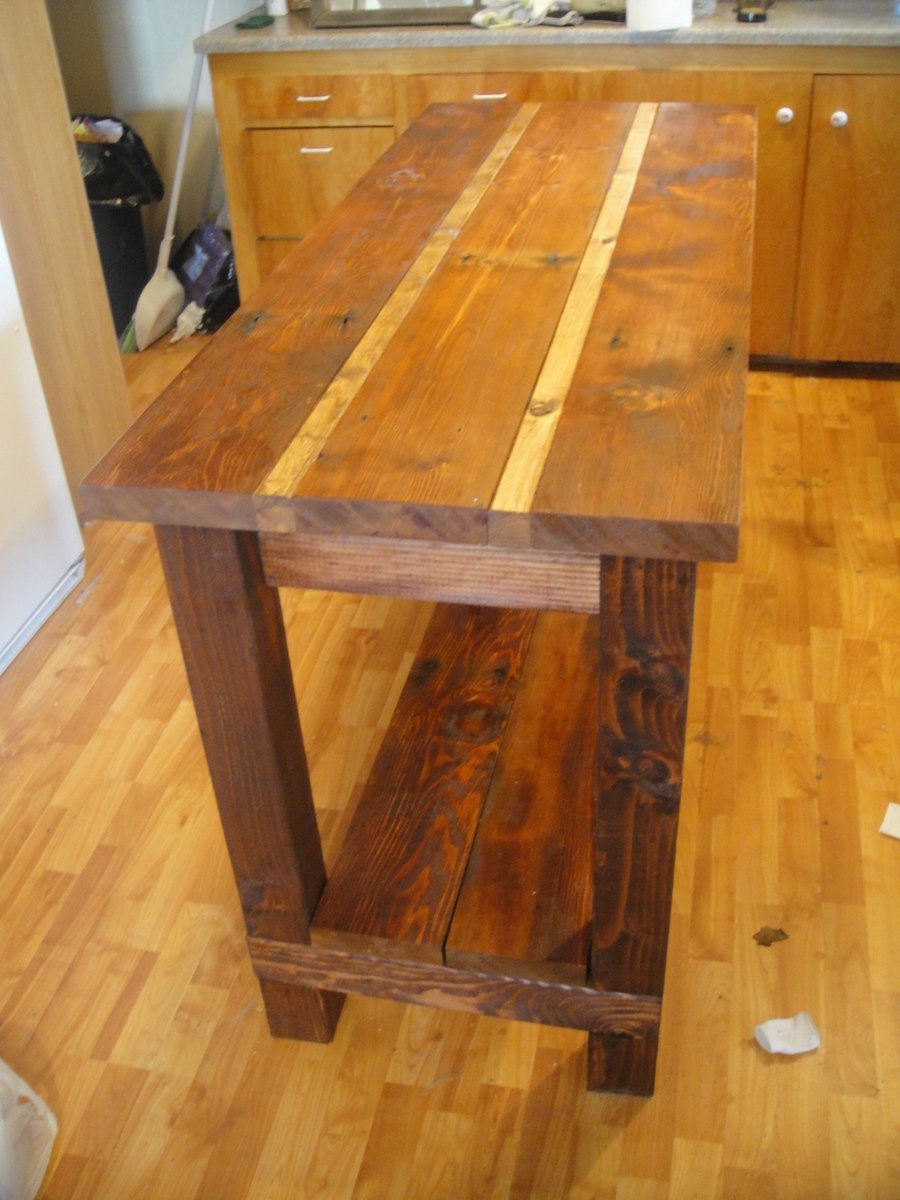
My wife found this plan so I decided to tackle it. Spent about $80 in supply's and had some 2x8s from a shed we tore down. Planed them down and made this beautiful piece. Now my wife can't get me out of the kitchen. Sorry for the mess in the back ground.
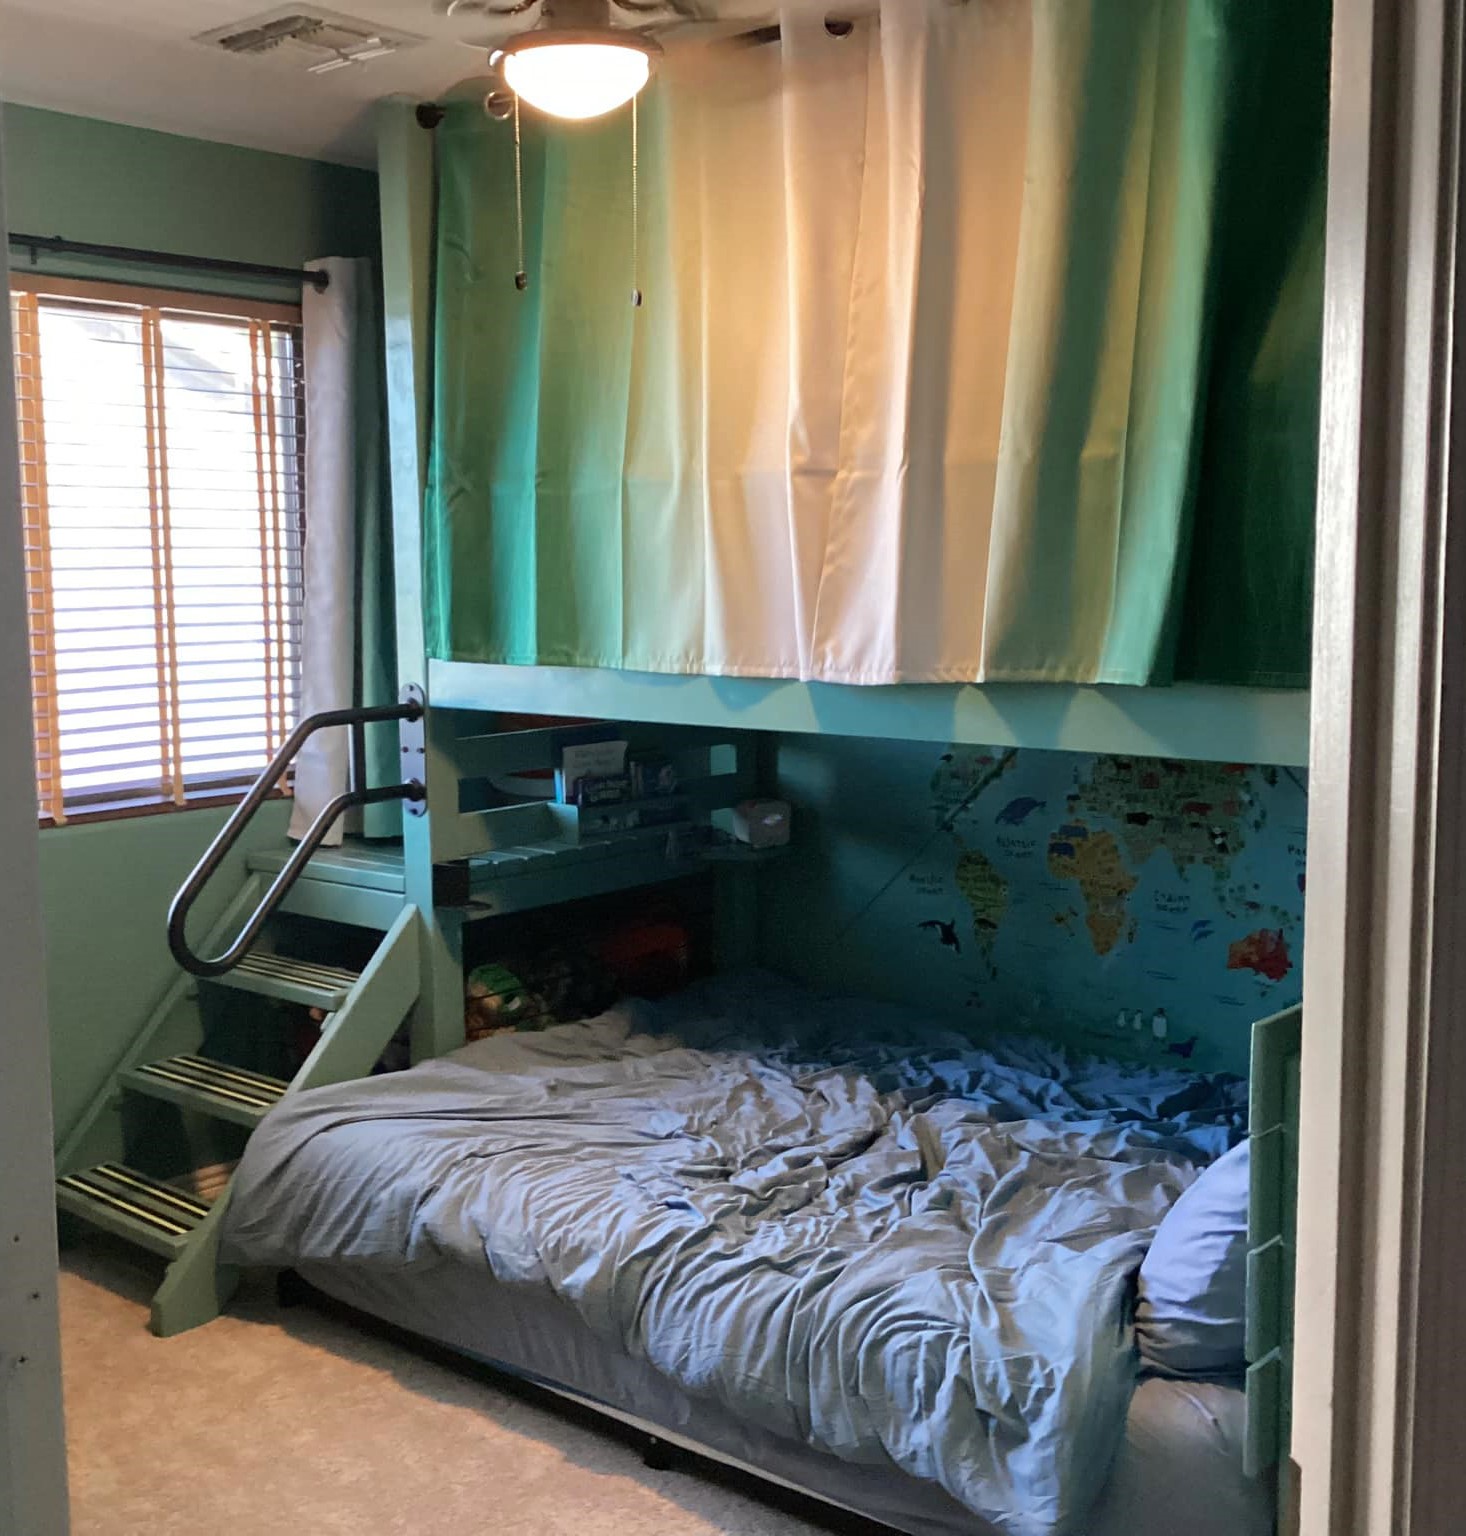
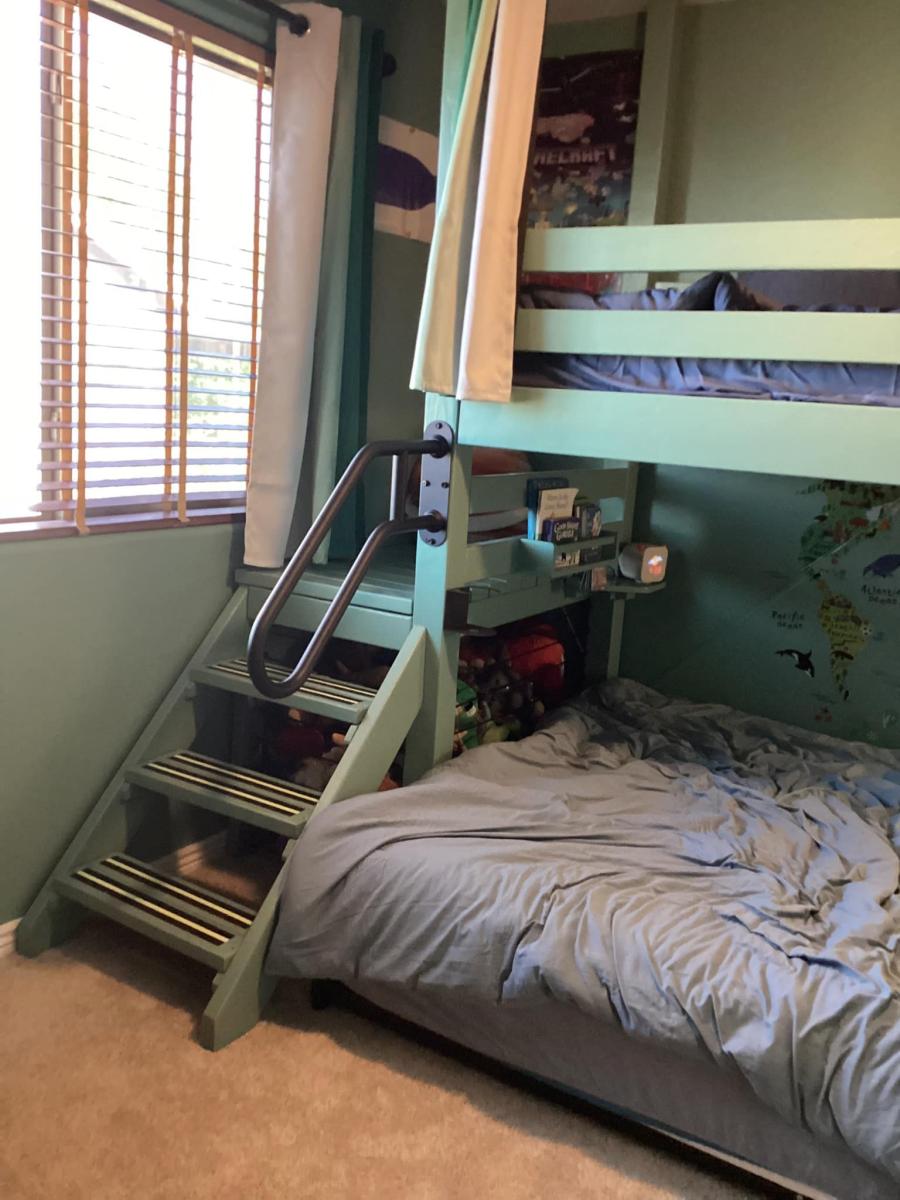
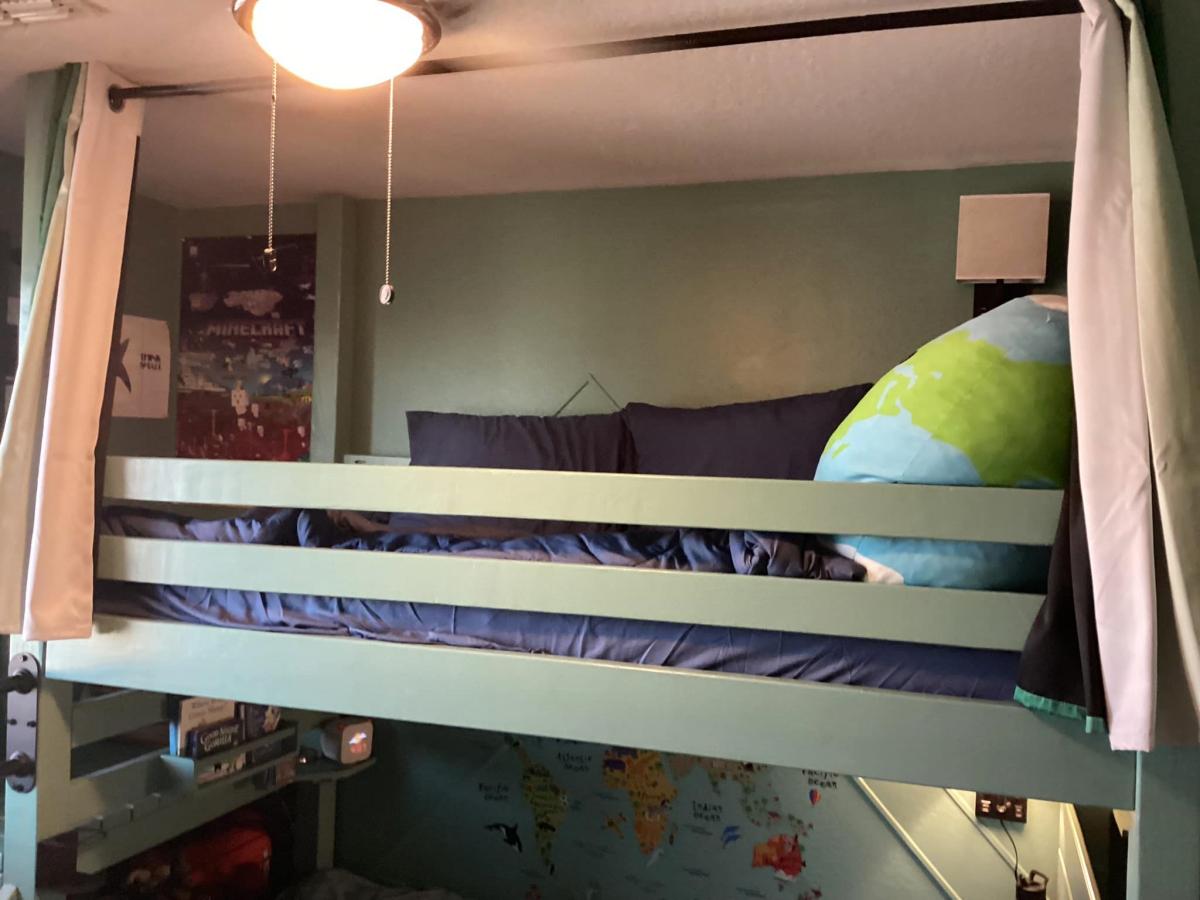
Camp Loft Bed with Stairs/Junior Height
We (hubby & myself) found these plans on your site and thought the bed would be perfect for our 13 year old son with special needs. He's been sleeping on a queen bed, but also had a privacy tent in our front room when he wanted to be alone. He never went into his bedroom unless he was sleeping for the night.
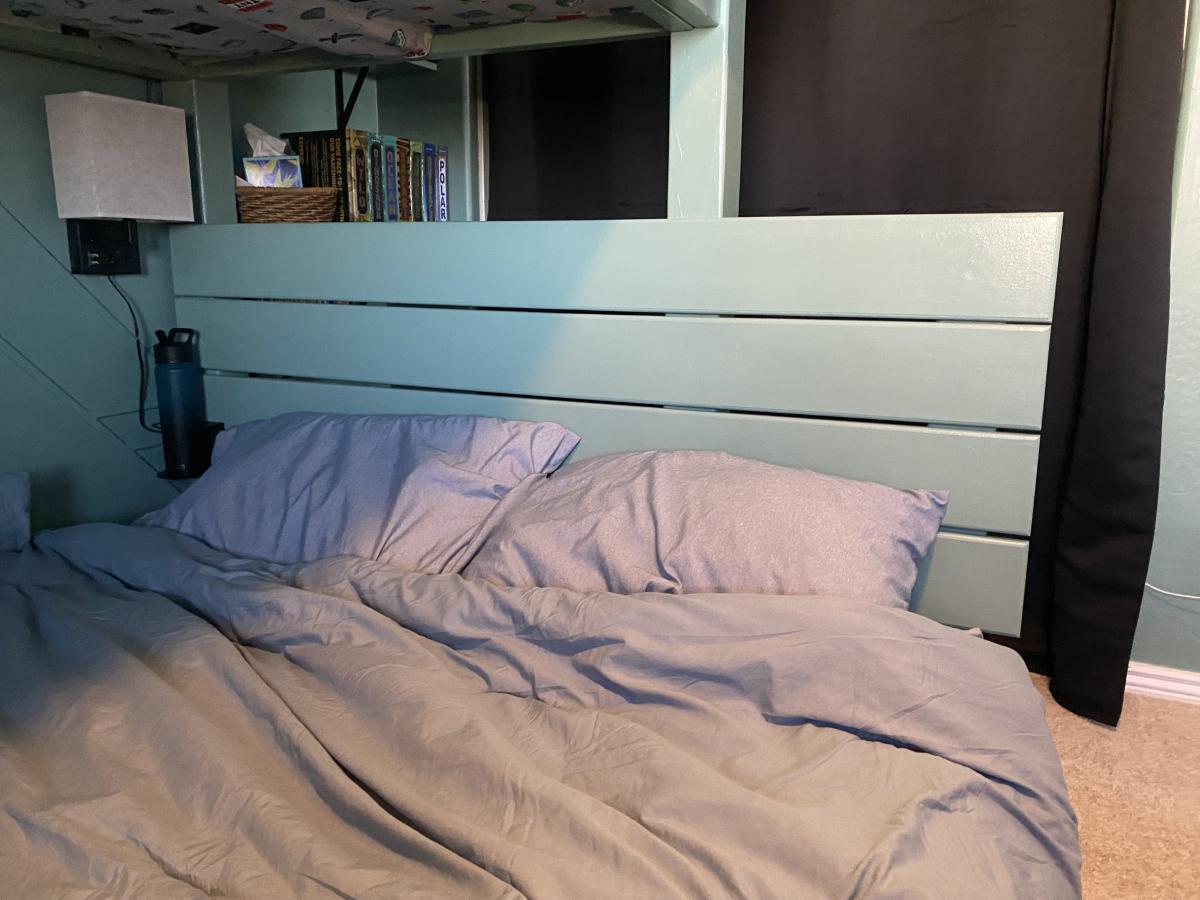
We decided to keep the queen mattress for him on the bottom, but wanted to save as much floor space as possible. We put a twin xl mattress on the top (added 5 inches to length), so the queen could fit underneath in the same direction. We built a headboard for the lower queen (1 x 6s) and added accessories like a light, cup holders, small shelf and a book holder to compensate for the nightstands we removed from his room. We decided to purchase a three inch bedframe for the queen in case the bottom space is used differently in the future.
Since our son needs extra stability, we added stair treads and a hand rail to the stair/platform area. We didn't want the space underneath the platform to go to waste. It is perfect for his stuffed animals. I used eye hooks and bungee cord to create a safe enclosure for them.
In order to provide him with the ultimate privacy, we used 4 x 4s for the bed posts and ran them up to the ceiling. This allowed us to run blackout curtains on the front and on one end of the upper structure. We also installed a light on the top level.
The instructions were great, especially the cut list. I can't give you a project time. Due to our schedules, we built it relay race style. My husband picked up the wood, and I cut it while he was working. He'd have some time to router the edges, and I would sand (80/150/220 grit), prime and paint all of the pieces. We worked together to assemble the bed in our son's room. I finished areas that needed filling/painting and added the accessories.
We are very happy with the results. This bed changed the whole dynamic of the room, and our son is finally hanging out in there.
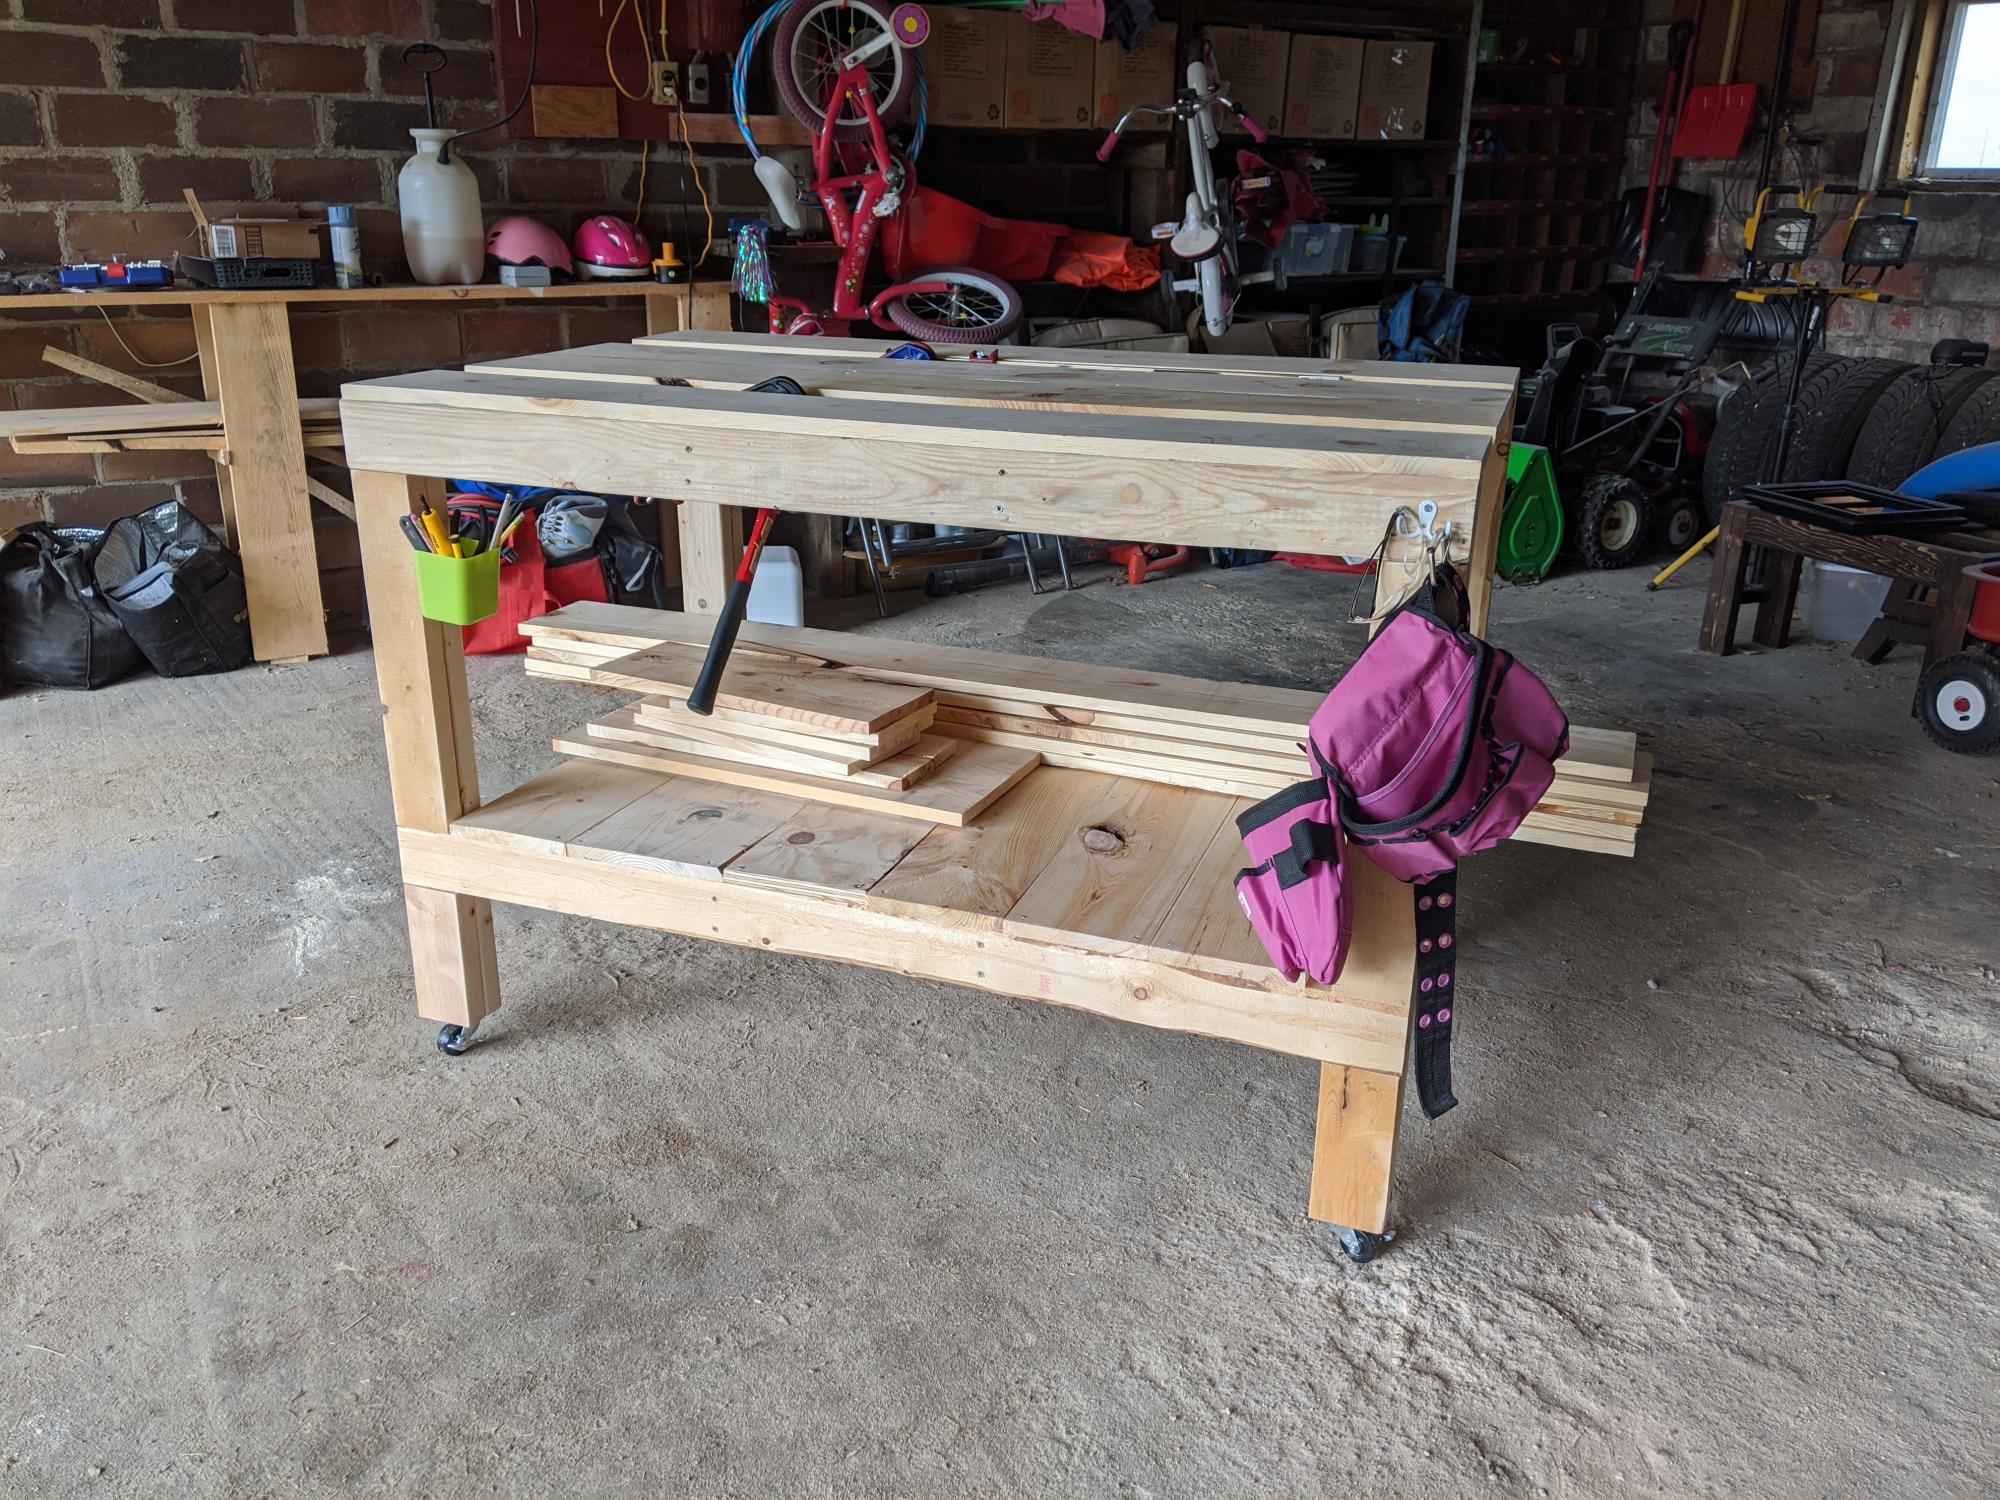
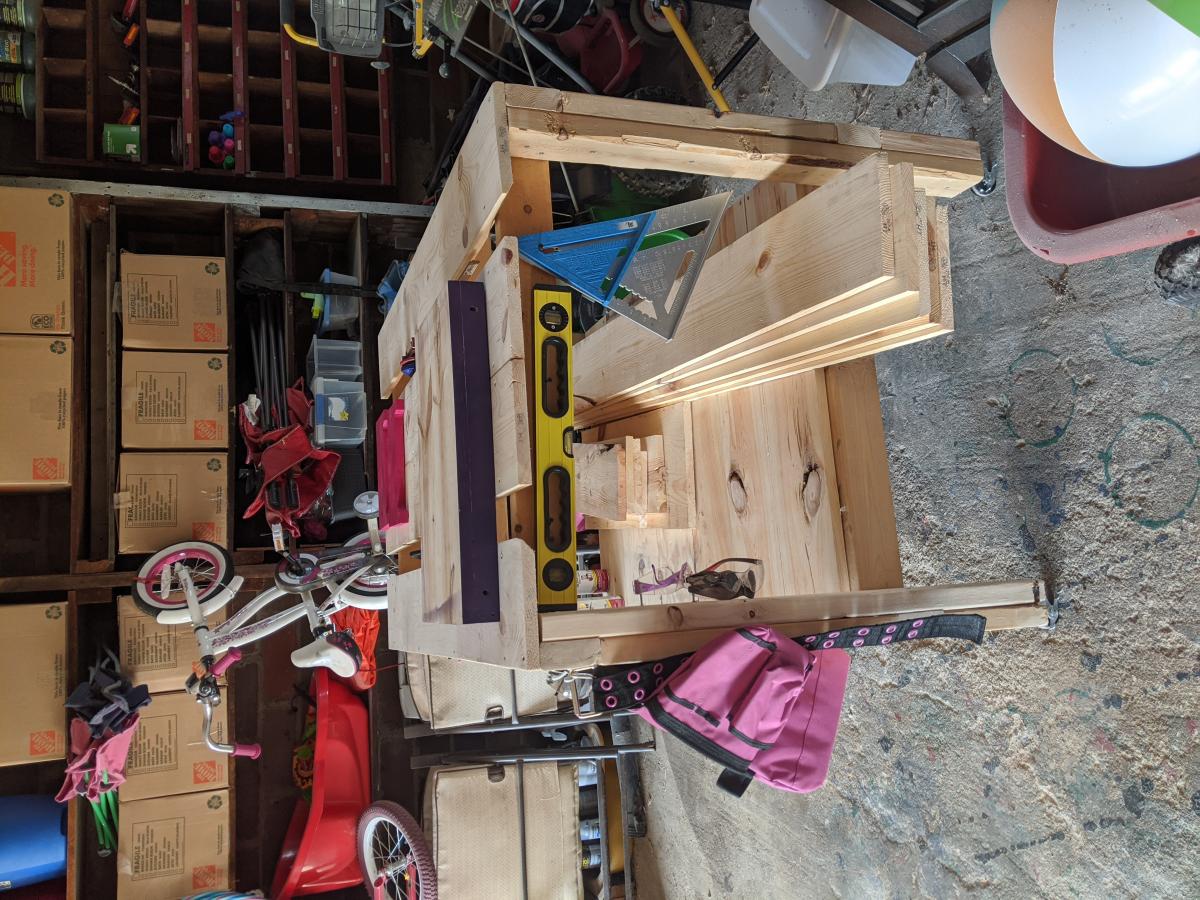
I needed a legit workbench and I had a bunch of wood to use up. I got a bunch of 1x8x6s from my local hardware store's scrap pile. There's a reason they were free... But I couldn't just toss them. I used all scrap, from the hardware store, my garage, and my brother-in-law's farm, except 3 2x4s that I bought new.
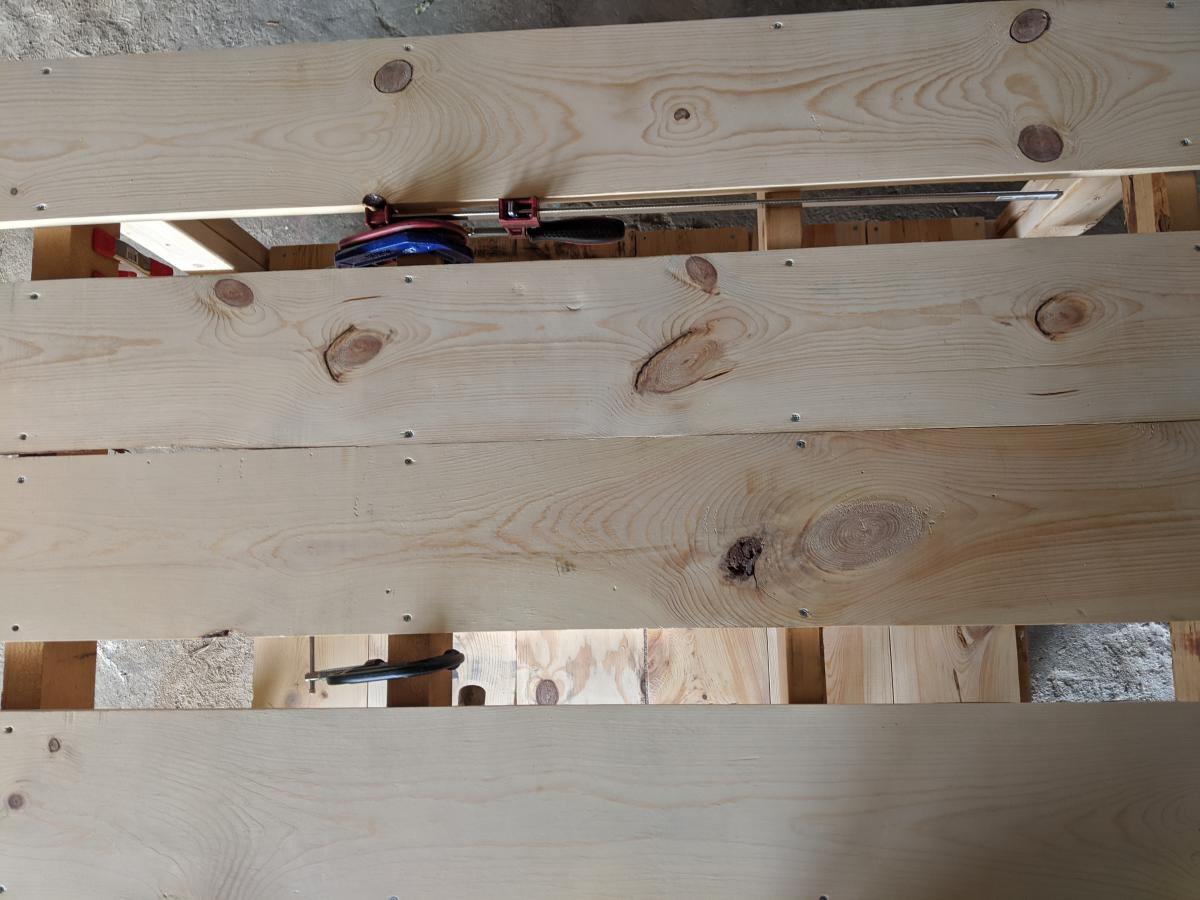
For this workbench, I used slats on the top and the bottom shelf. The frame is 2x4s. I had some idea I could use the space in between the slats to cut wood, but after adding 2in casters, it appears it might be a bit too tall. Even still, the spaces in between the slats make for excellent clamp storage.
And now I finally have a legit, mobile workbench to keep all my chaos somewhat contained.
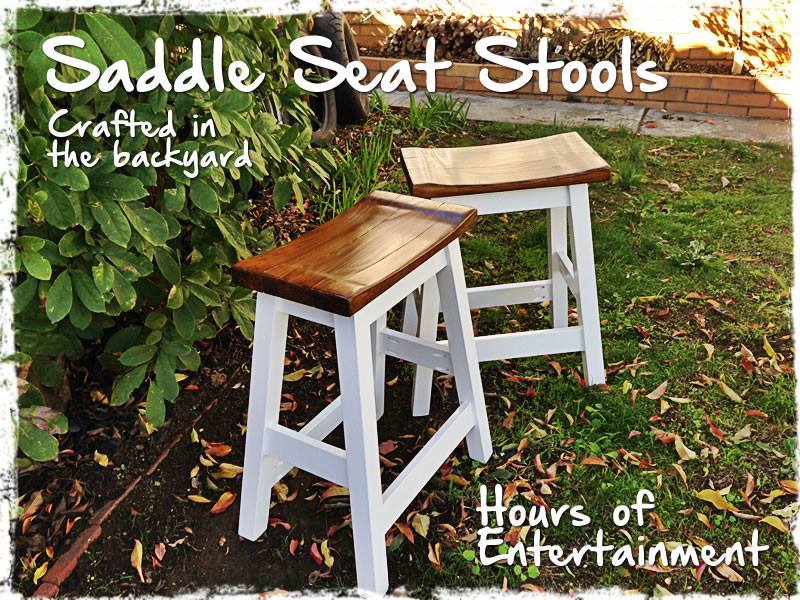
After a lot of cutting, screwing, chiseling and sanding... oh and a lick of paint! My new little Saddle Seat Stools are complete. Time will only tell whether they will hold up to the abuse the boys give them especially Brodie! These new stools only cost me $48 to make the pair and I got all the timber from Bunnings
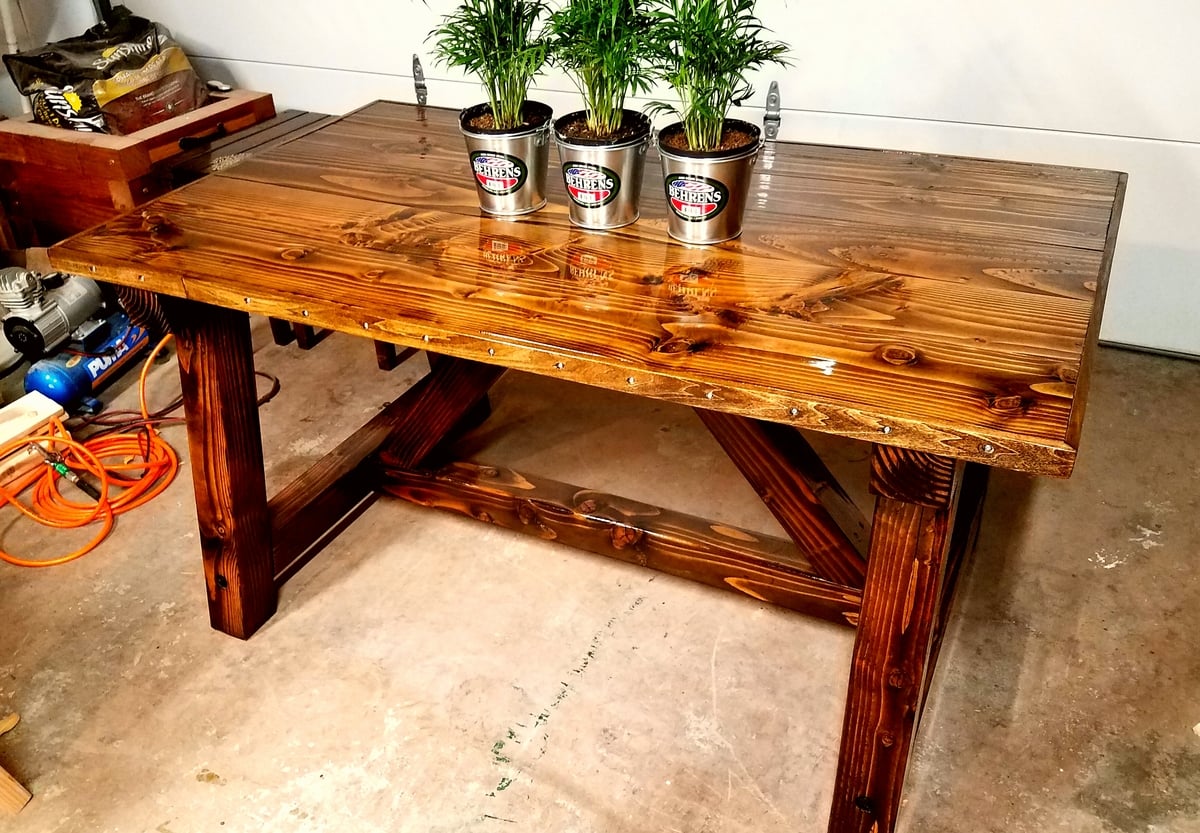
Truss Beam Table size 35x60
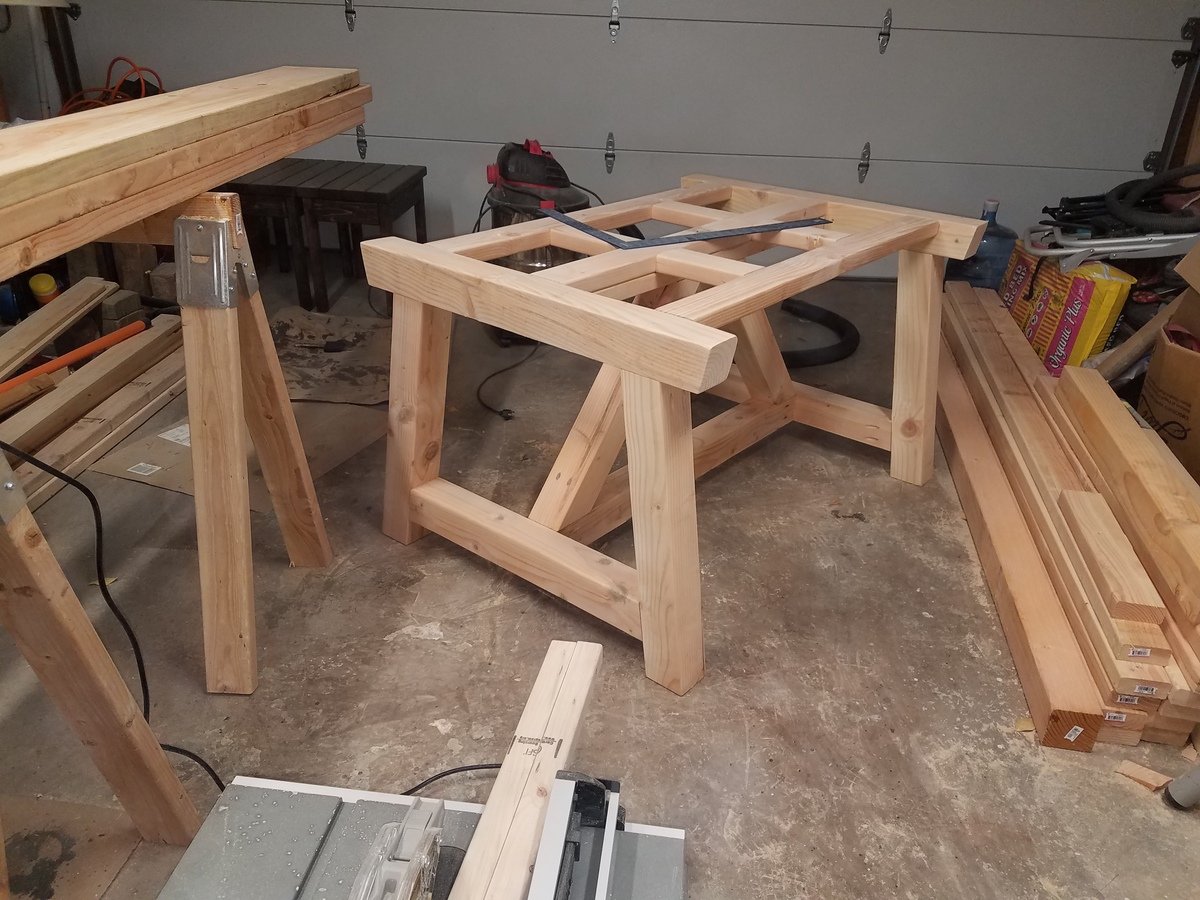
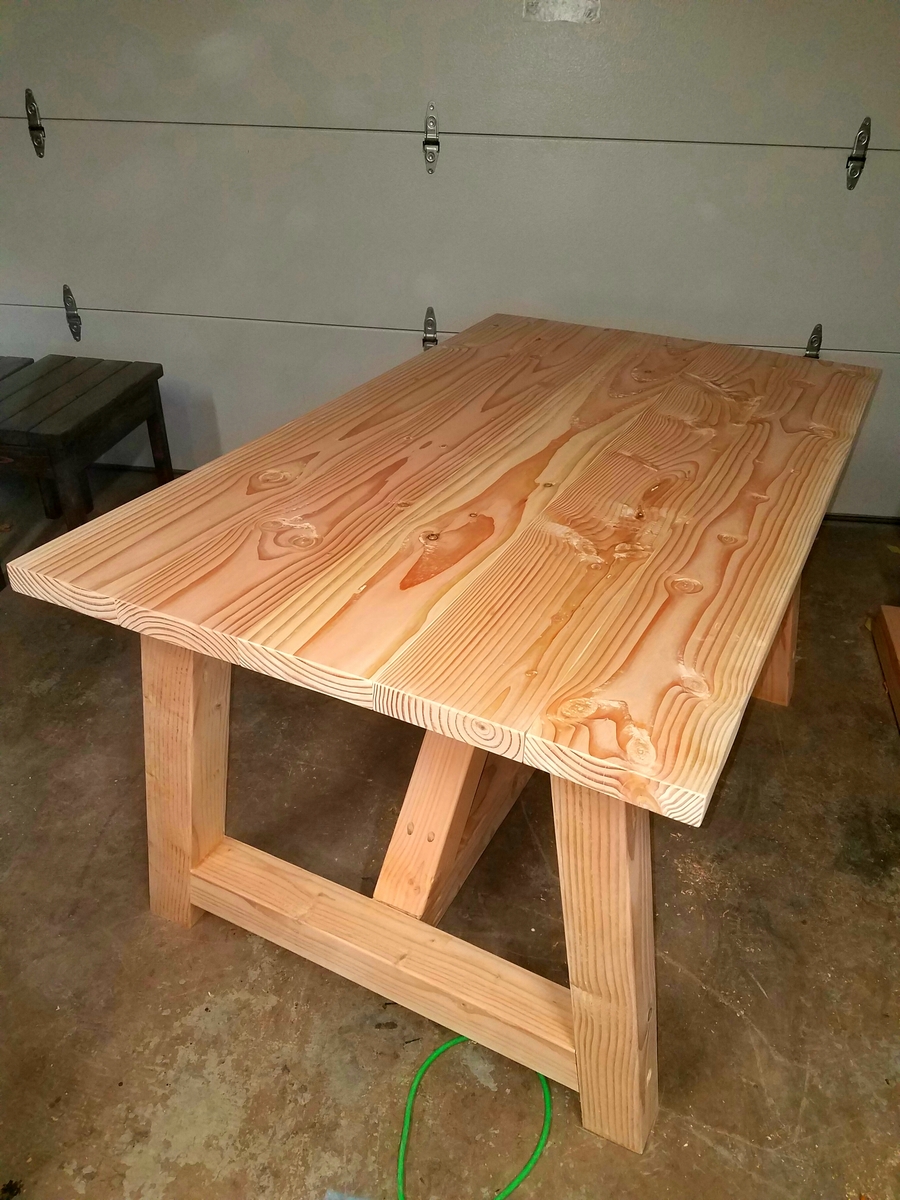
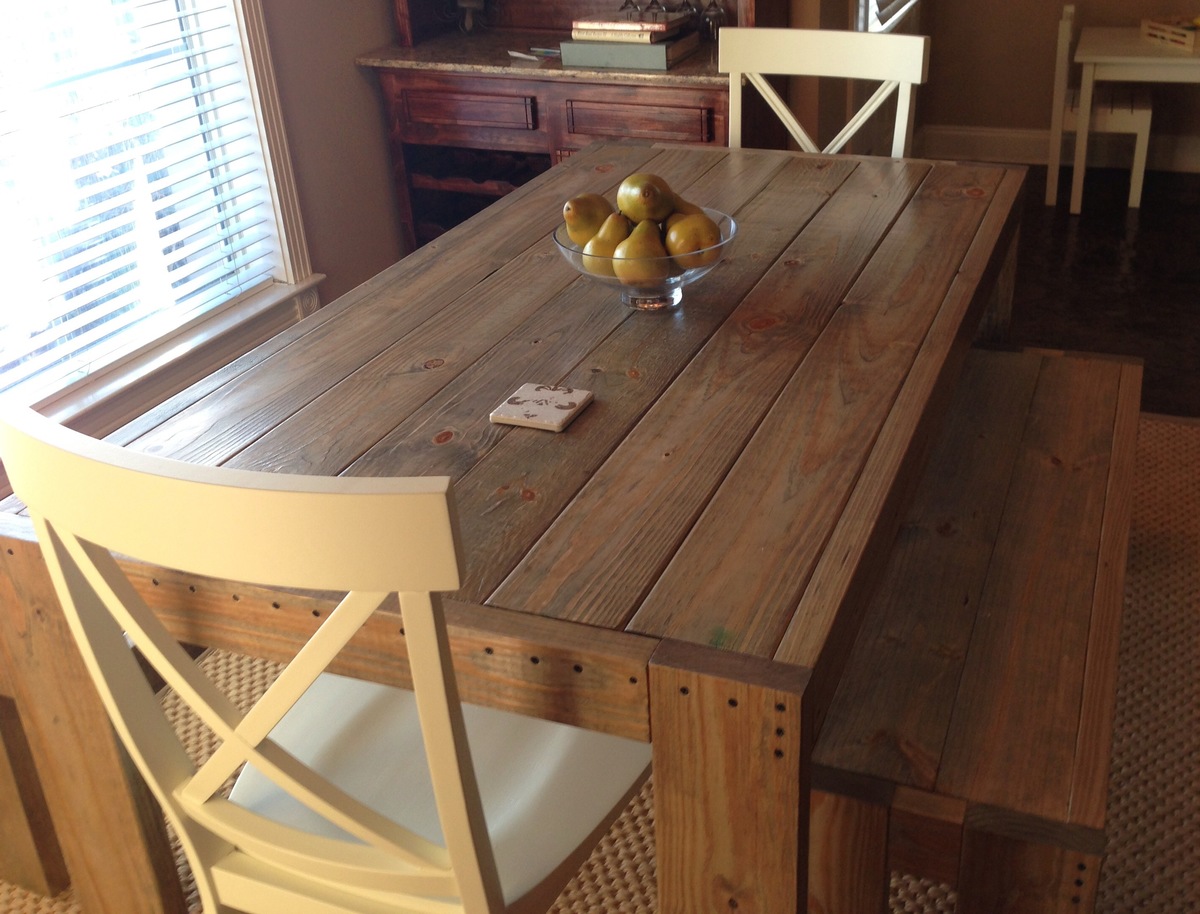
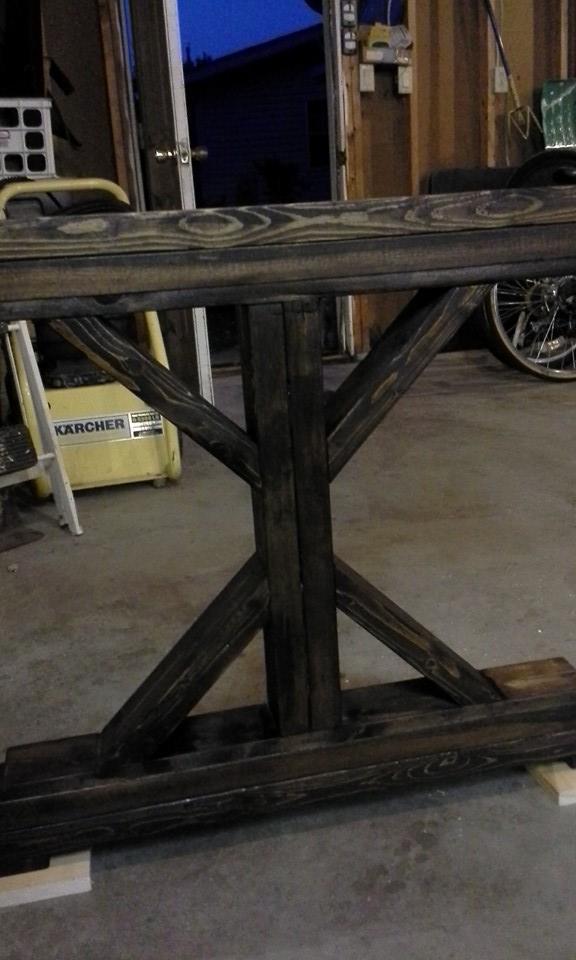
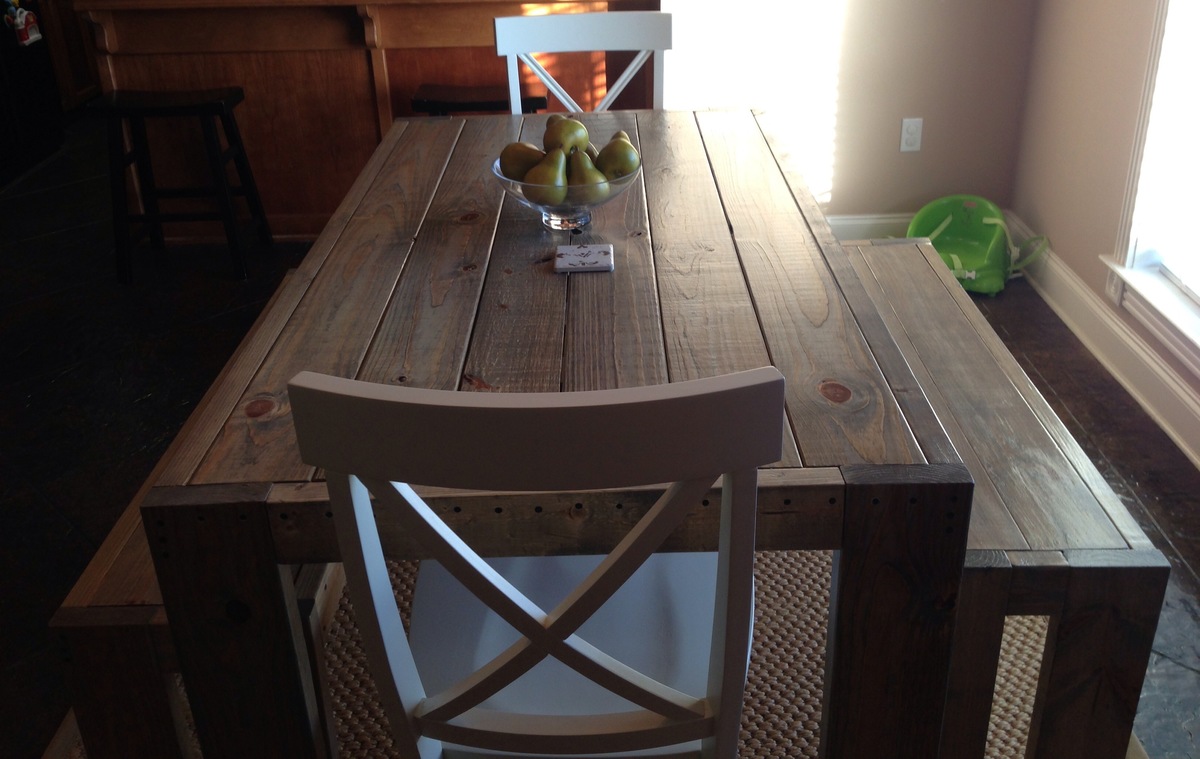
This table and bench combo was a fun project to complete and was not very difficult (hardest part was picking out straight boards at the lumber yard). The table was stained with weathered oak stain and finished with satin polycrylic. The chairs were purchased, I am not skilled enough to build those!
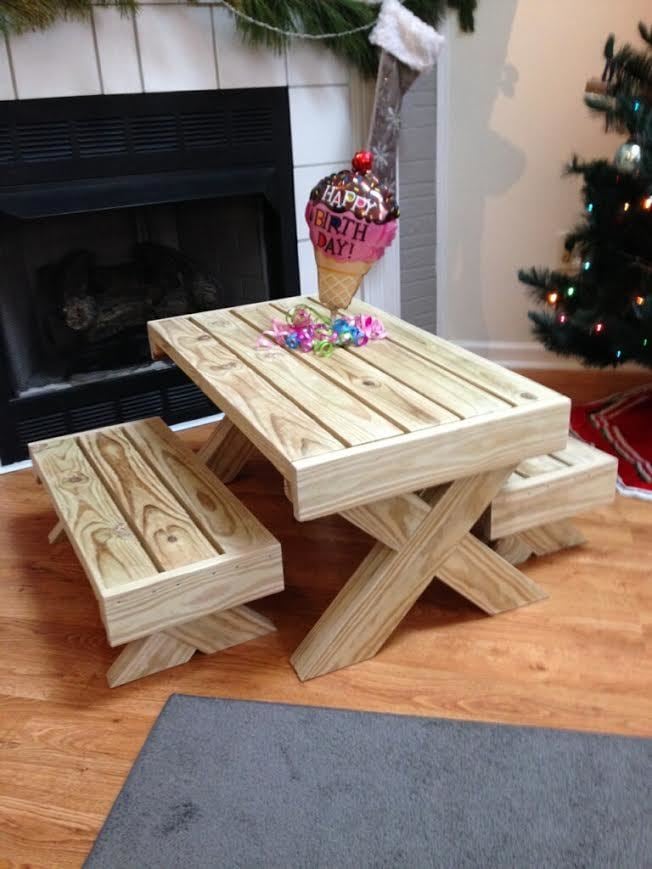
Did a couple modifications but this turned out great and she loved it. Now we wait until spring so we can stain it.
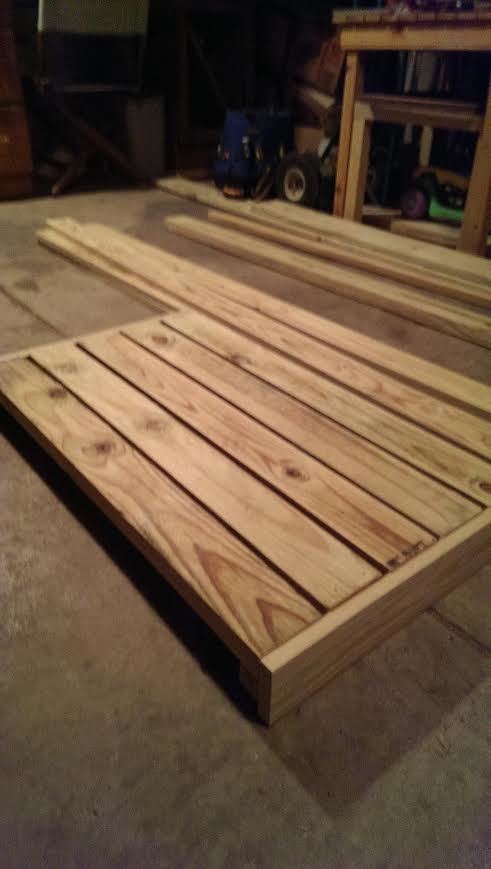
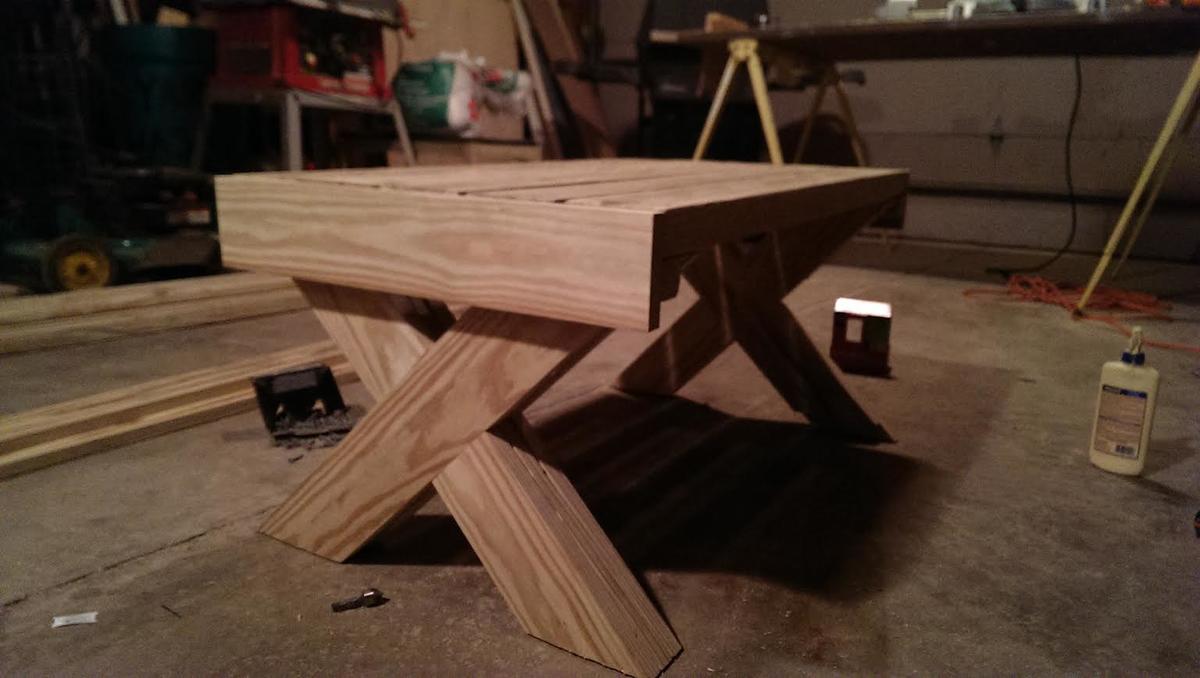
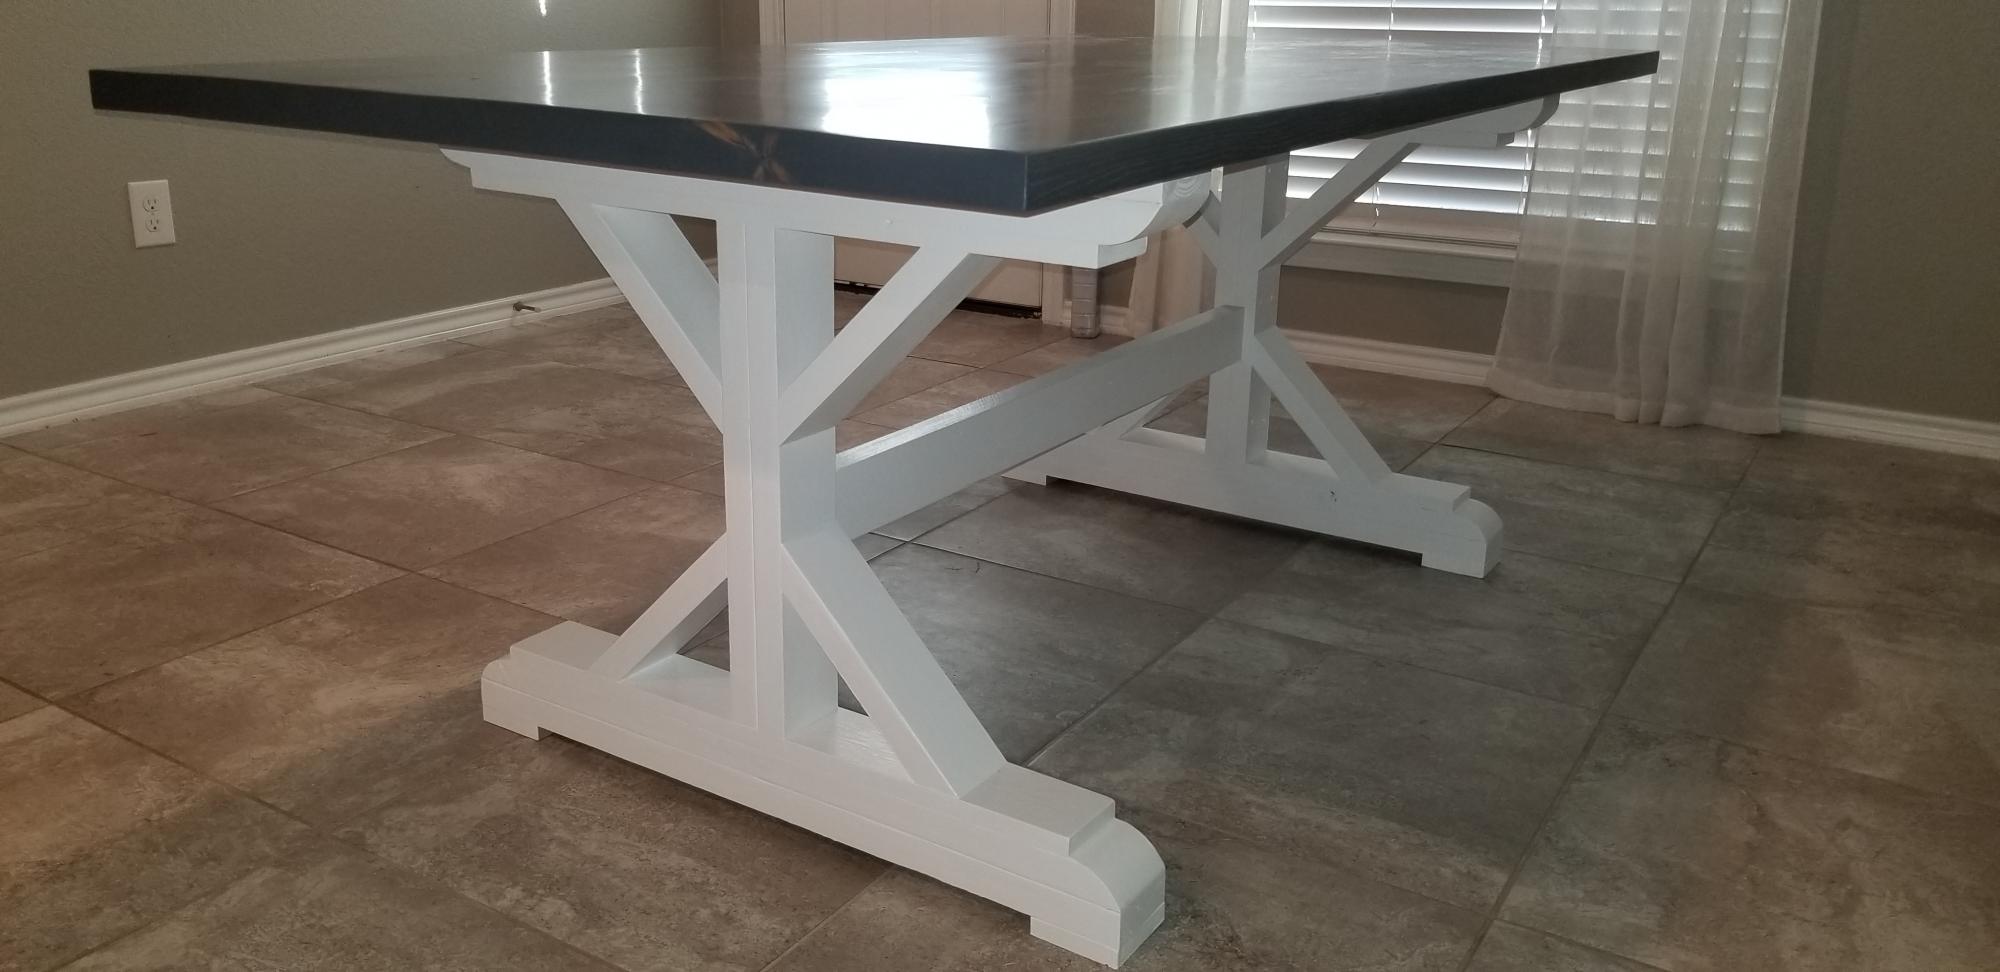
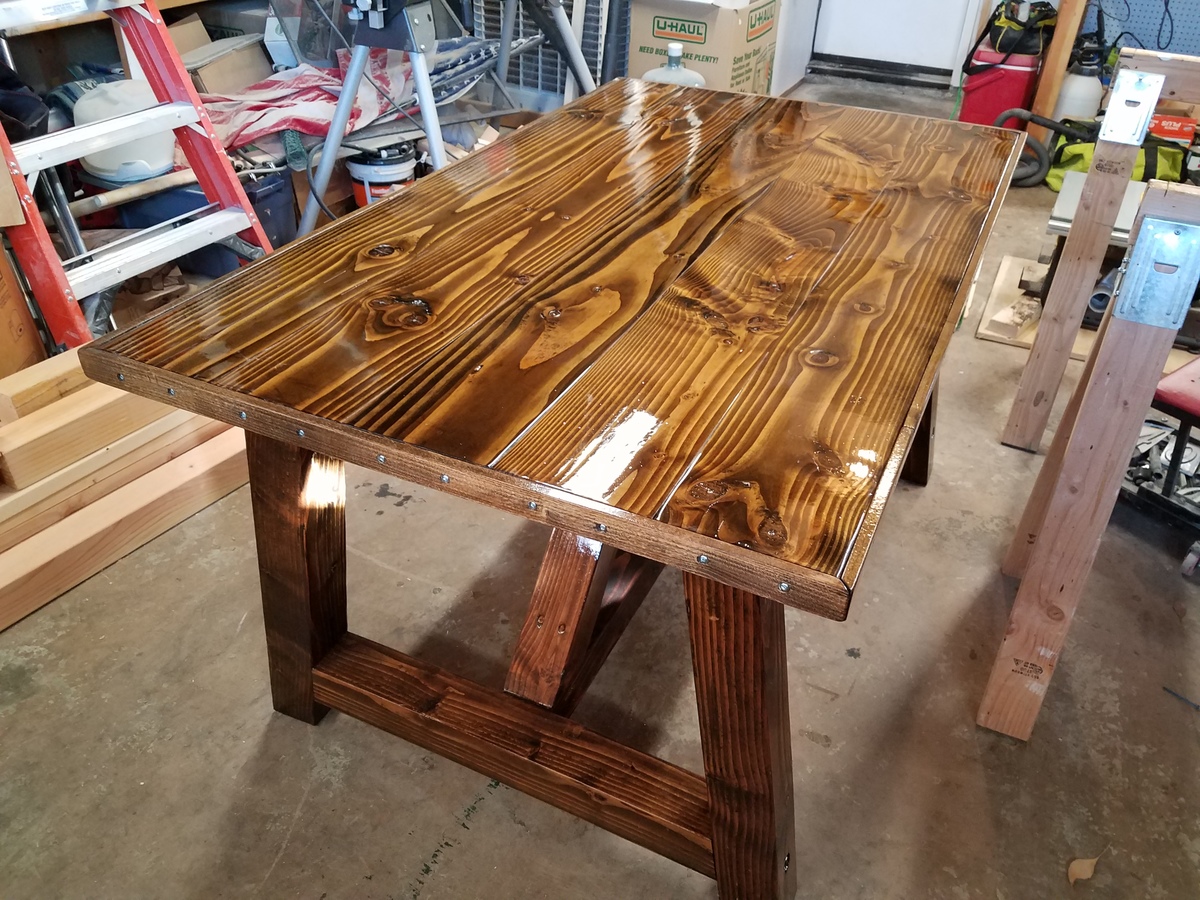
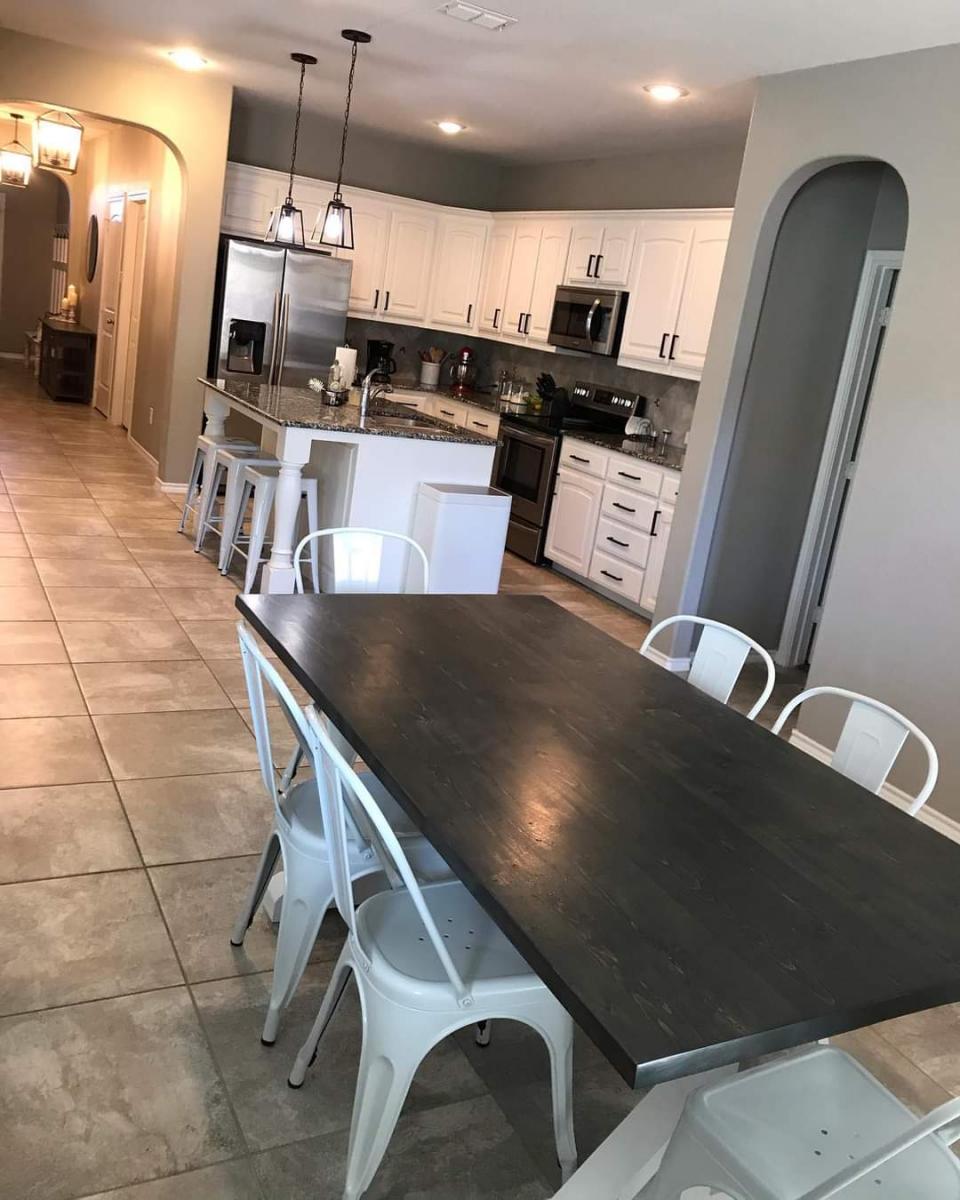
This was my very first table. We could not find one in stock so I found these plans from Ana White. The base was easy enough if you take your time and make sure you are oriented right before cutting.......not that I made any mistakes by not double checking before plunging that saw into my work piece. The top was modified to be 6 feet long. I edge jointed, using an electric hand planner, the 2x6s after planning the faces flat. This helped my hand planner to ride flush and make a pretty straight edge after a few passes taking off very little each time. This actually took longer than building the base. I pocket holed the underside to squeeze the top together with some glue. It turned out almost perfectly seamless. I mixed some fine sanding dust with some poly for any cracks or blemishes. That allowed the stain to actually take, unlike with wood filler.

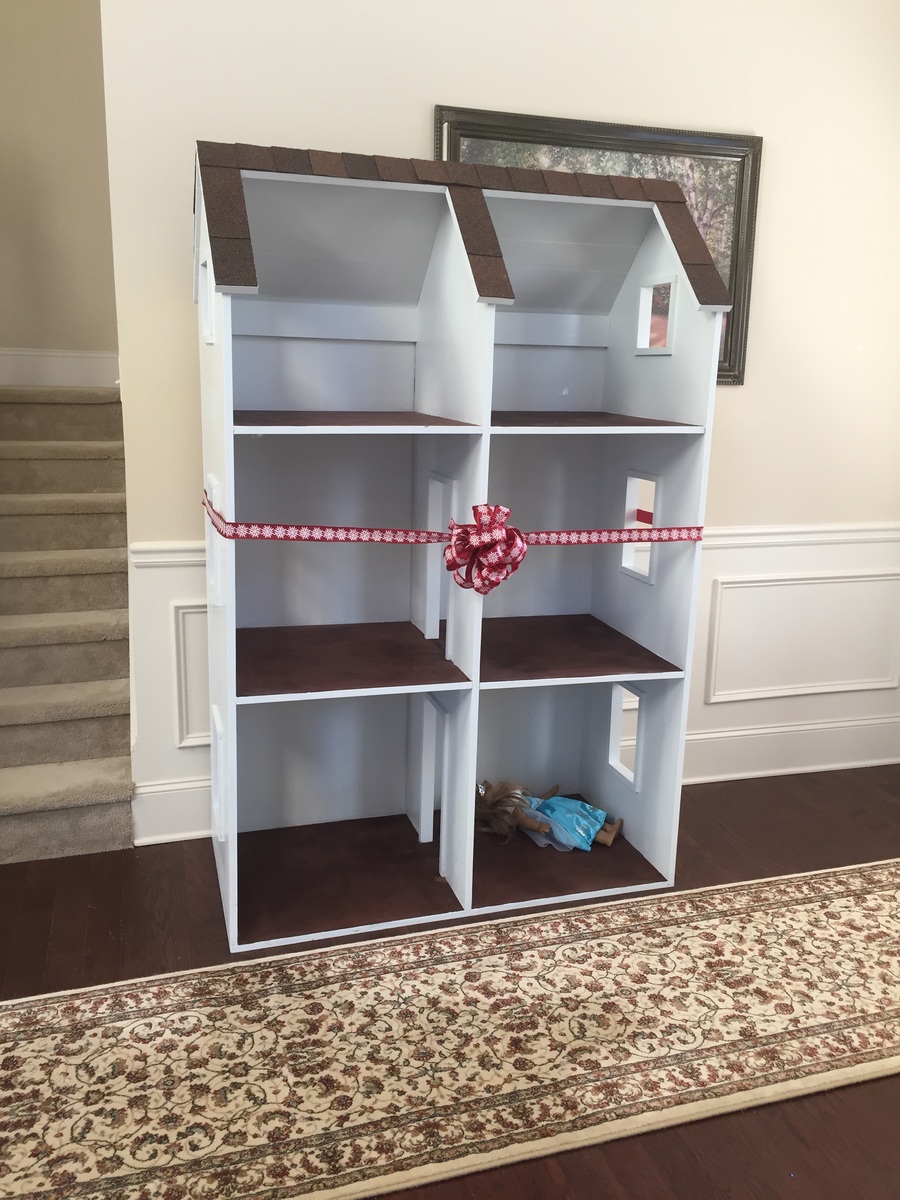
My fiance and I built this for my seven year old daughter's Christmas present. I have built several pieces of furniture before but this was our first major building project and I'm proud to say we made a great team!
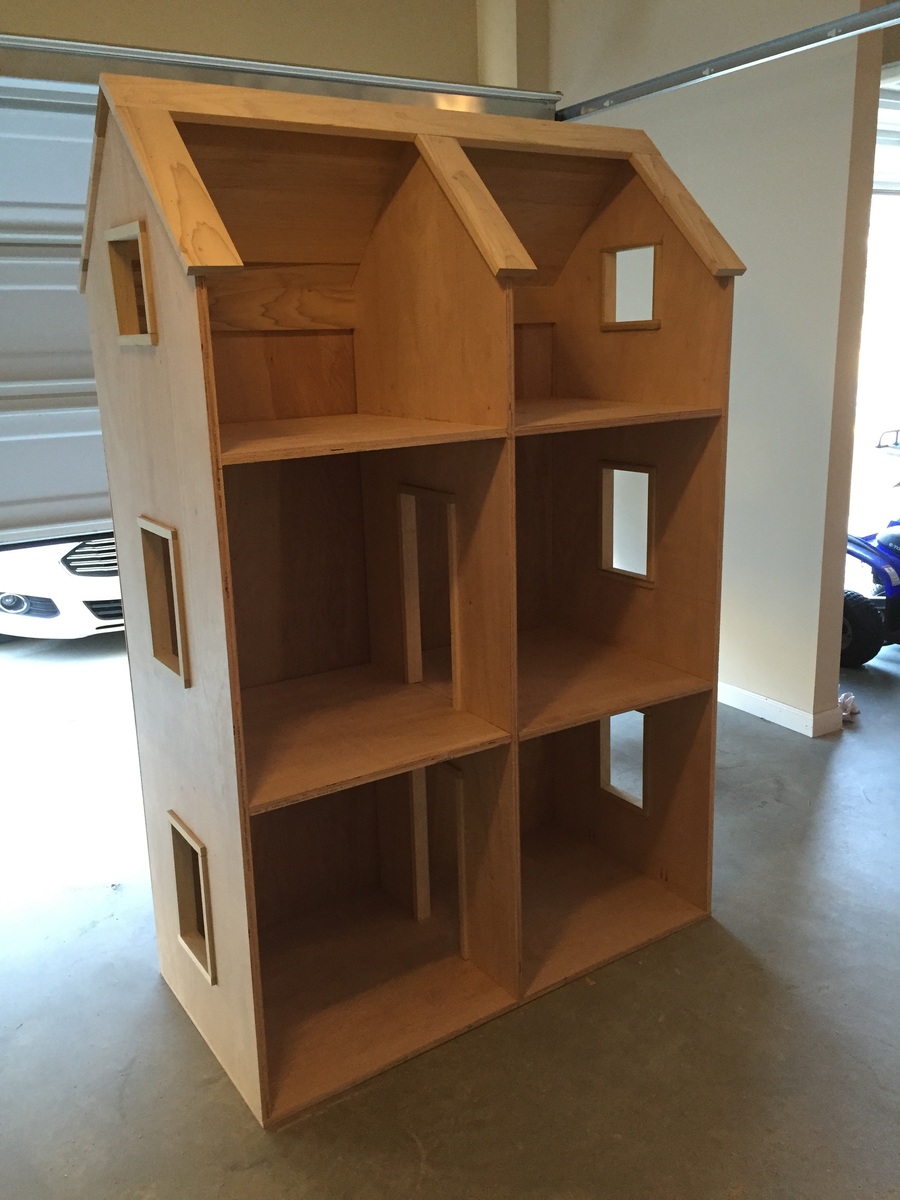
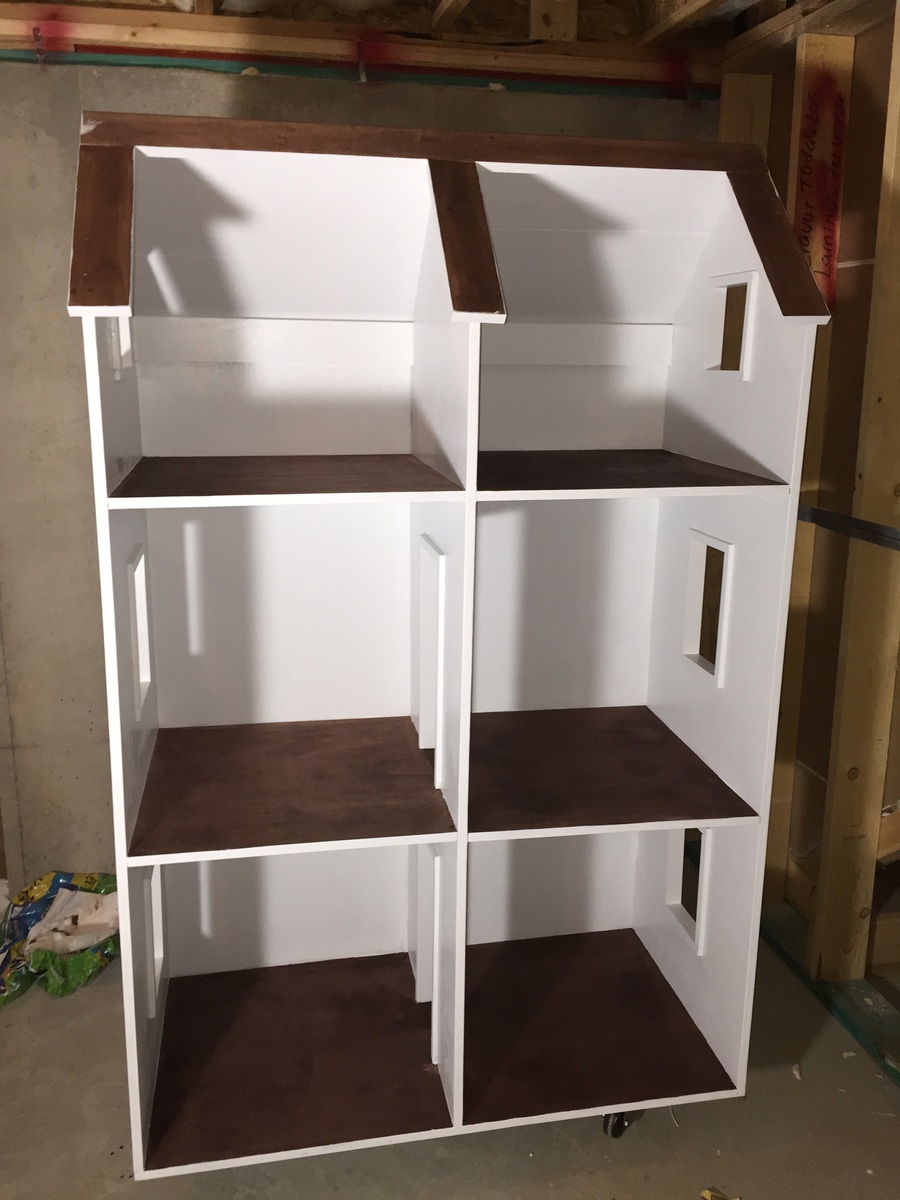
We didn't make any major changes to the plan, we just chose to leave the wheels off the bottom and we added two boards across the back of the attic rooms so we would have something to attach the back too. We were lucky enough that this project coincided with my dad have his roof replaced and he had spare shingles, so her doll house has real asphalt shingles! They were actually a lot easier to add than I expected, we simply scored the back of the shingles with a knife and then they cleanly broke apart. We used a staple gun to attach the shingles we would be able to layer so you couldn't see the staples, but for those where the staples would have shown we used a hot glue gun.
The only issue we had was moving it around without my daughter noticing because it's so big! My fiance and I actually scratched up a door frame trying to sneak it under the tree after she went to sleep because it's so large (totally my fault, apparently I need to work out more). Other than that everything went smooth and it was fun to build and so exciting to watch my daughter freak out over Christmas morning!!!
Comments
spiceylg
Fri, 05/30/2014 - 11:37
Nice
This came out really nice. Love the colors and cushions. Can you share the source of pricing of the cushions please?
Pursuit of Handyness
Fri, 05/30/2014 - 20:23
Quite Lovely
I like how the color contrasts with the cushions and the throw pillows add a nice punch of color and fun. I also would like to know the source of the cushions. The cushions seem to always be the budget breaker.
Tammylinskey
Wed, 08/06/2014 - 14:44
Apologies
My apologies for replying so late!!! I didn't realize I received a comment or two!! Thank you for you for the lovely comments I truly appreciate it. As far the cushions, I purchased the fabric, batting, etc at Joan's Fabric at 50% off and sewed myself. Before this project I had never sewed before so please have faith in yourself because if I can do it anyone can do it!!!!! Tammy Linskey
CainSadie
Sun, 09/13/2020 - 23:54
read
The cushions seem to always be the budget breaker.