Rustic X desk
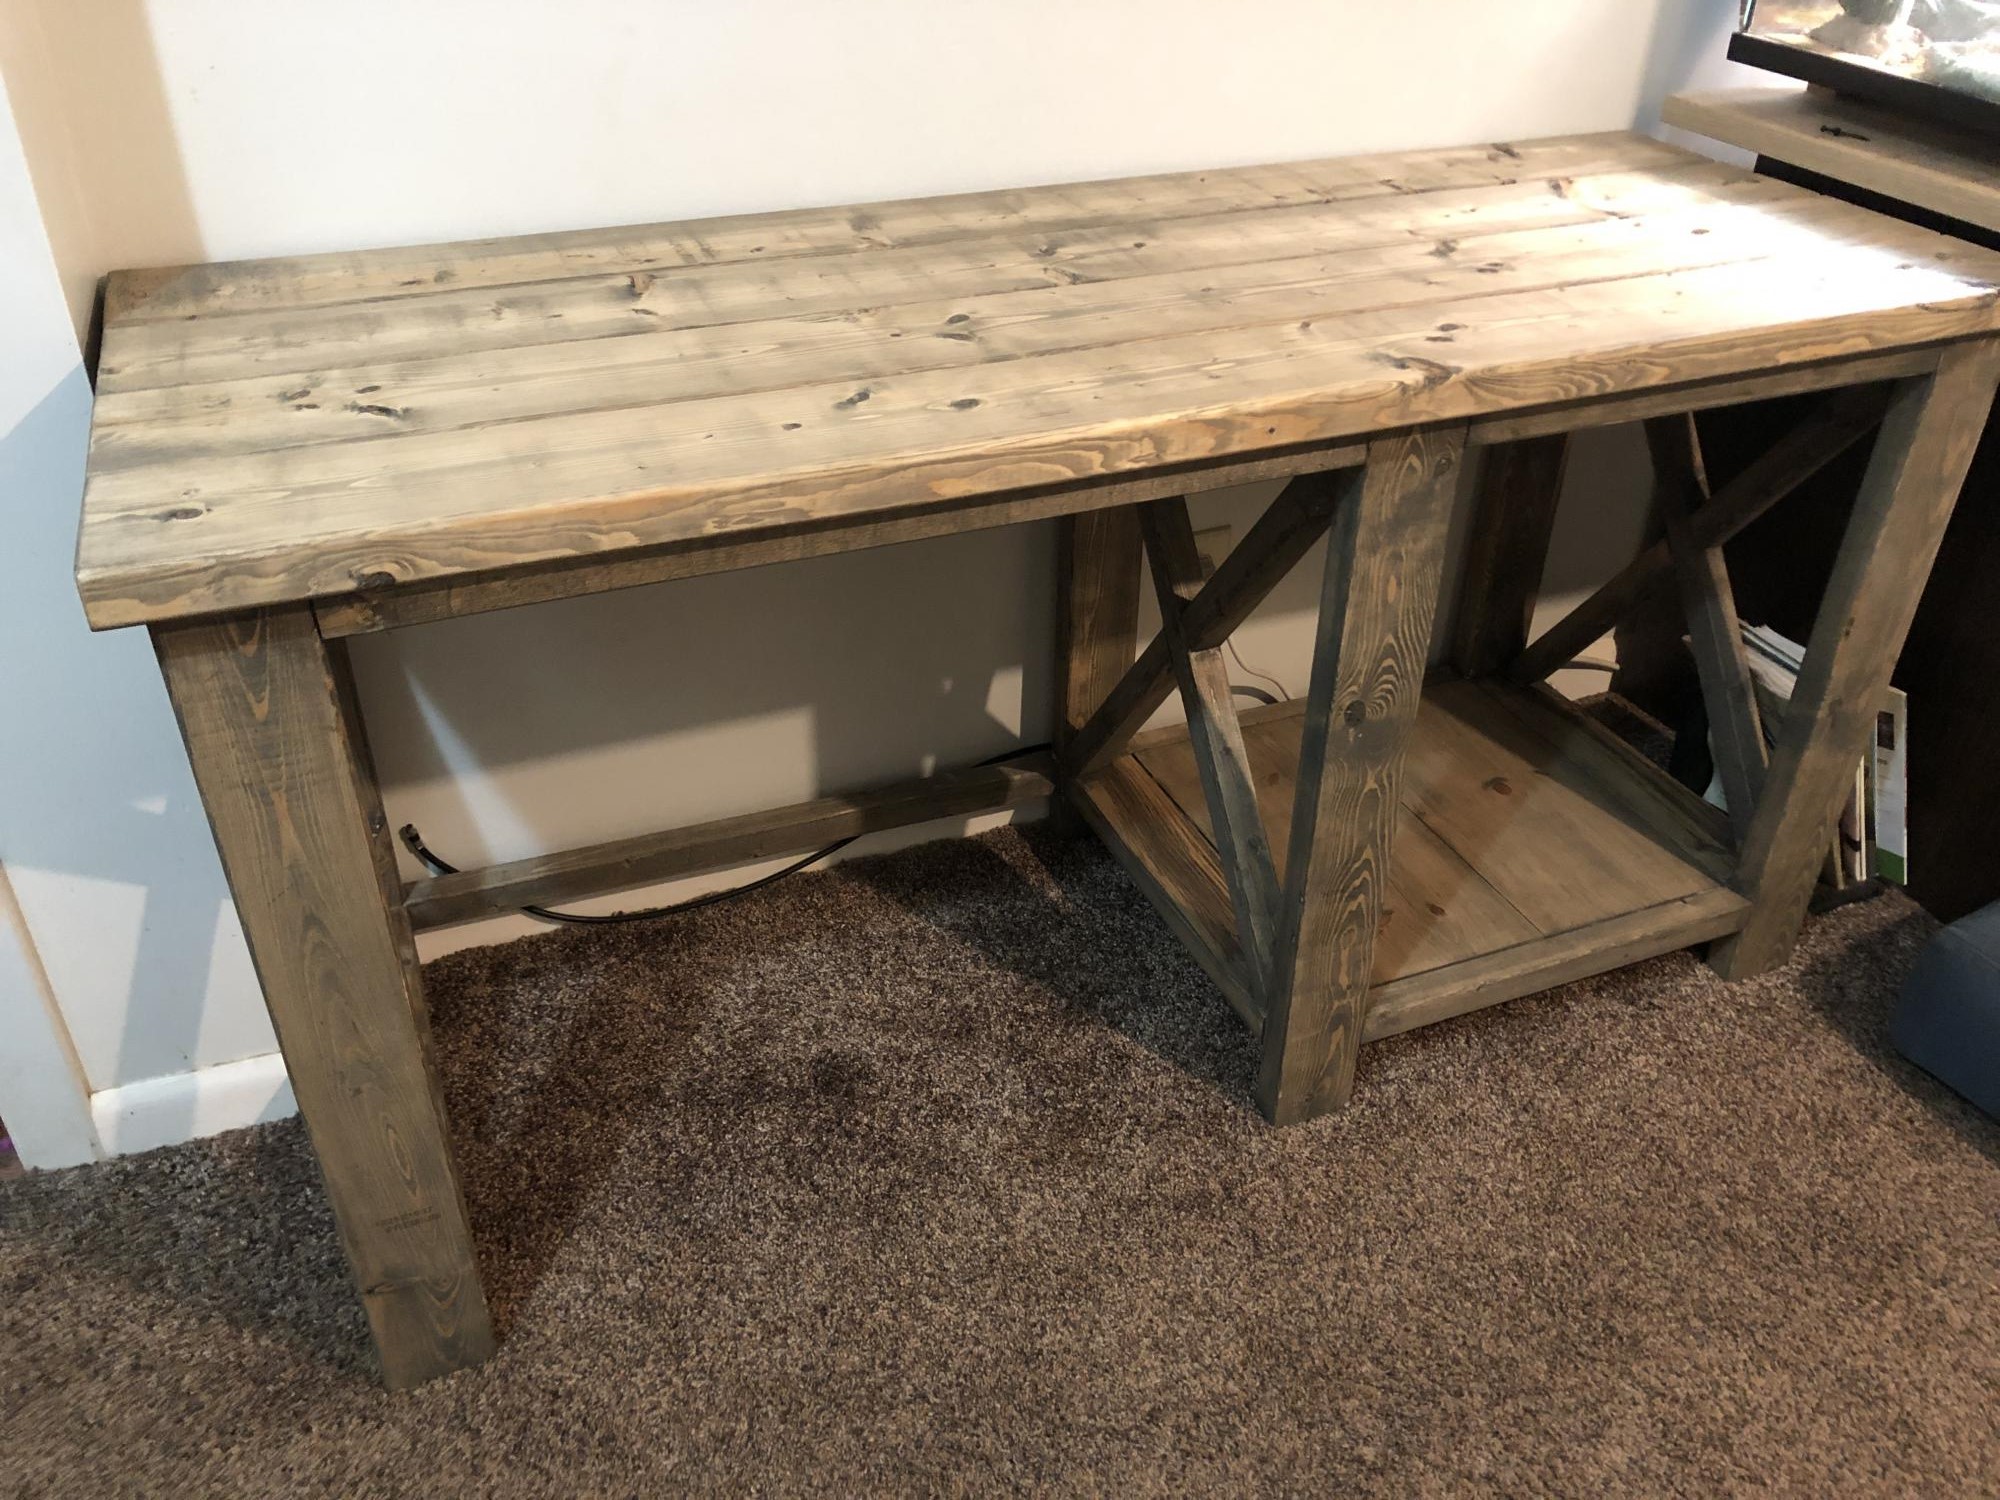
Great desk, easy build and very solid.
Only issue with the plans was not enough 2x4 (unless I cut it wrong).

Great desk, easy build and very solid.
Only issue with the plans was not enough 2x4 (unless I cut it wrong).
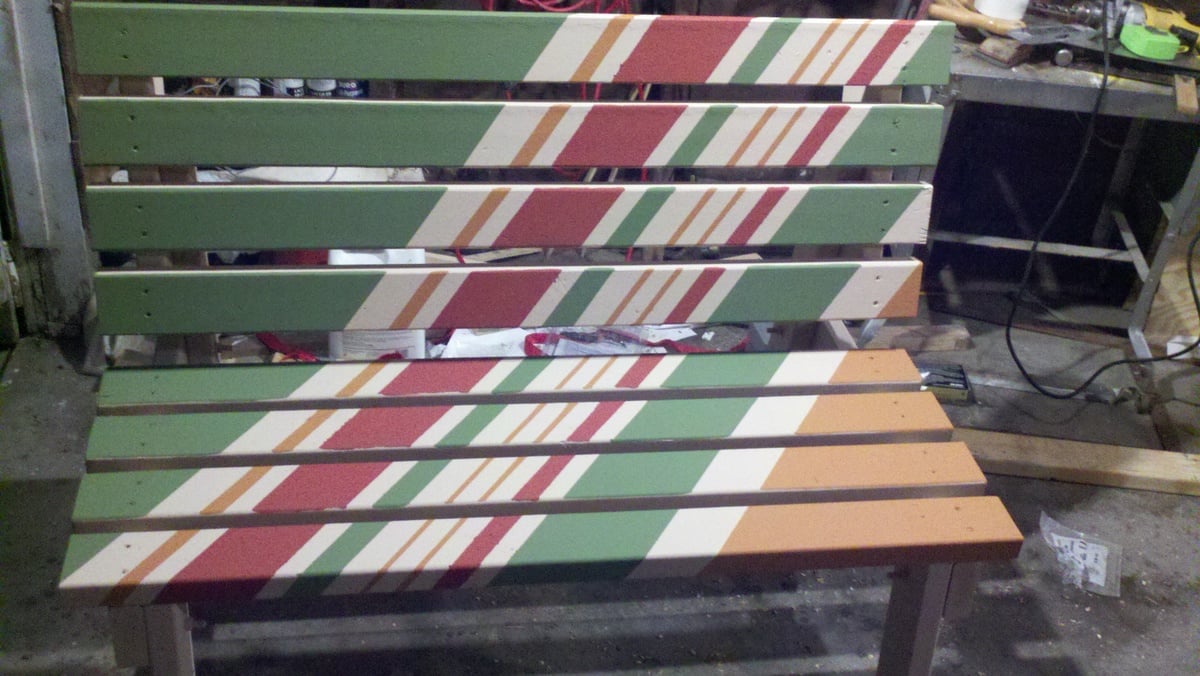
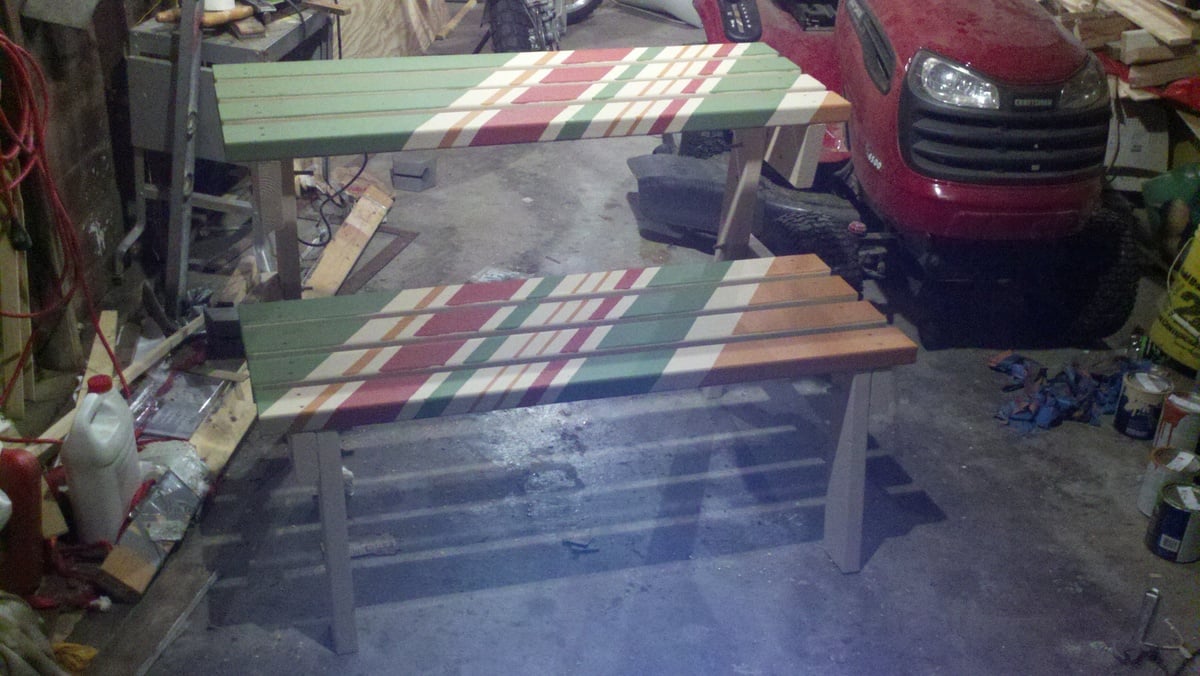
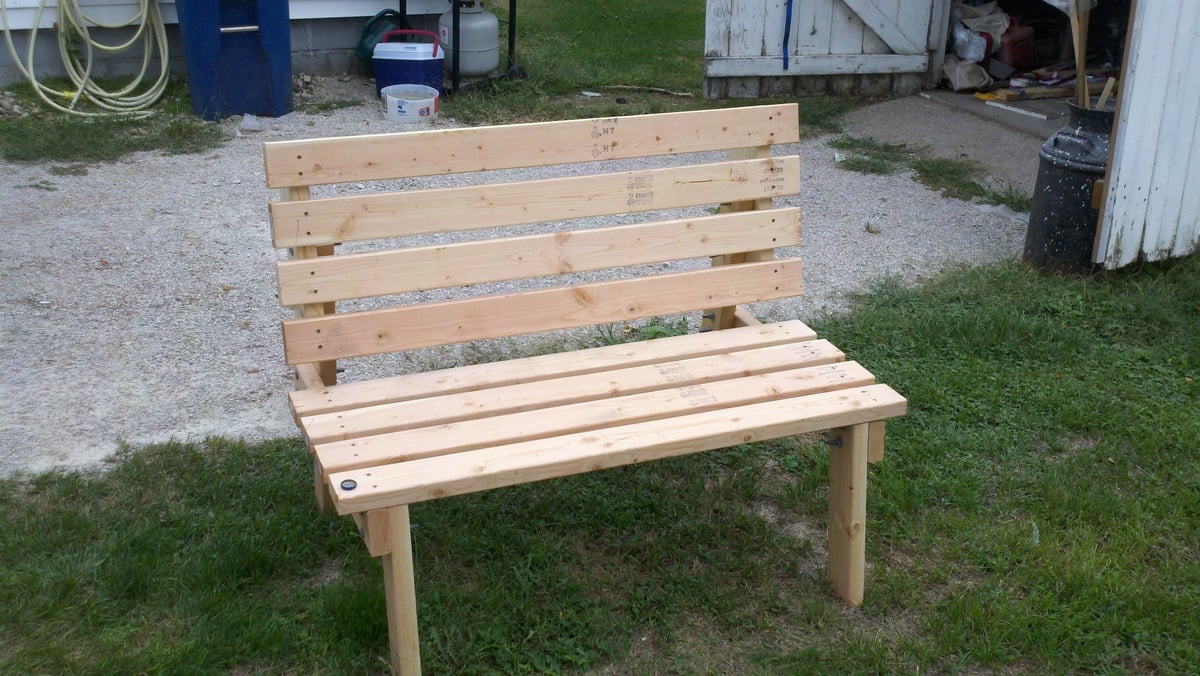
A nice summer project that is good for relaxing and eating outside.
Built with
7 - 2x4x72"
1 - 2x6x8
galvanized hardware
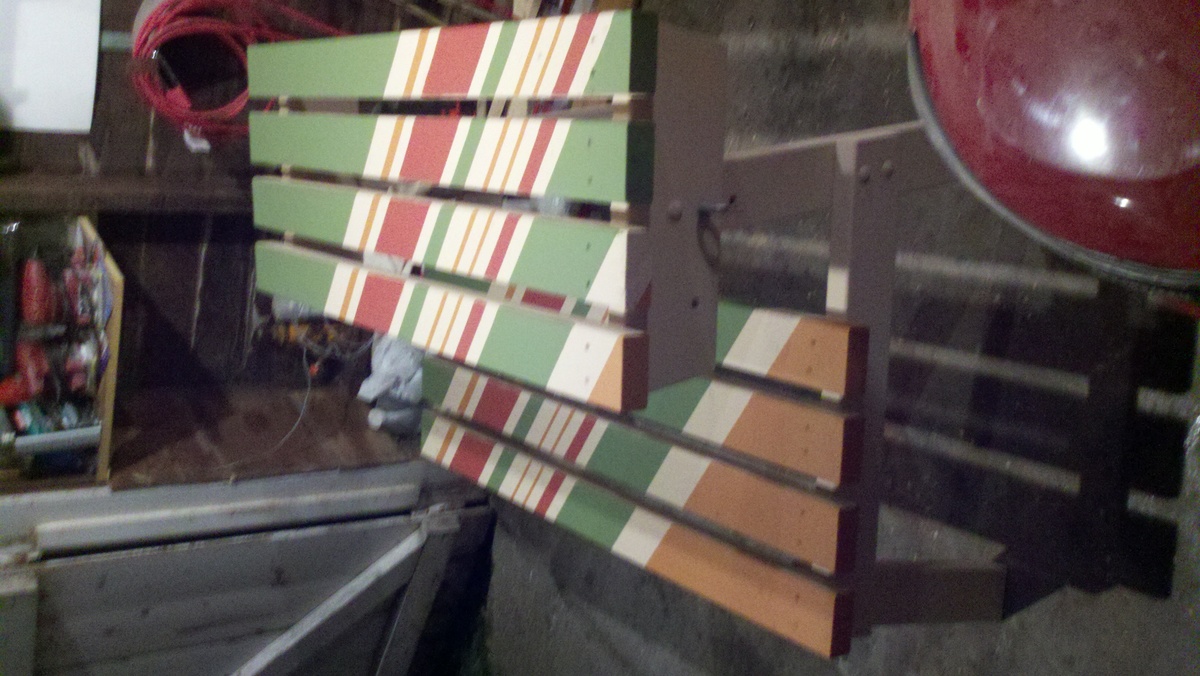
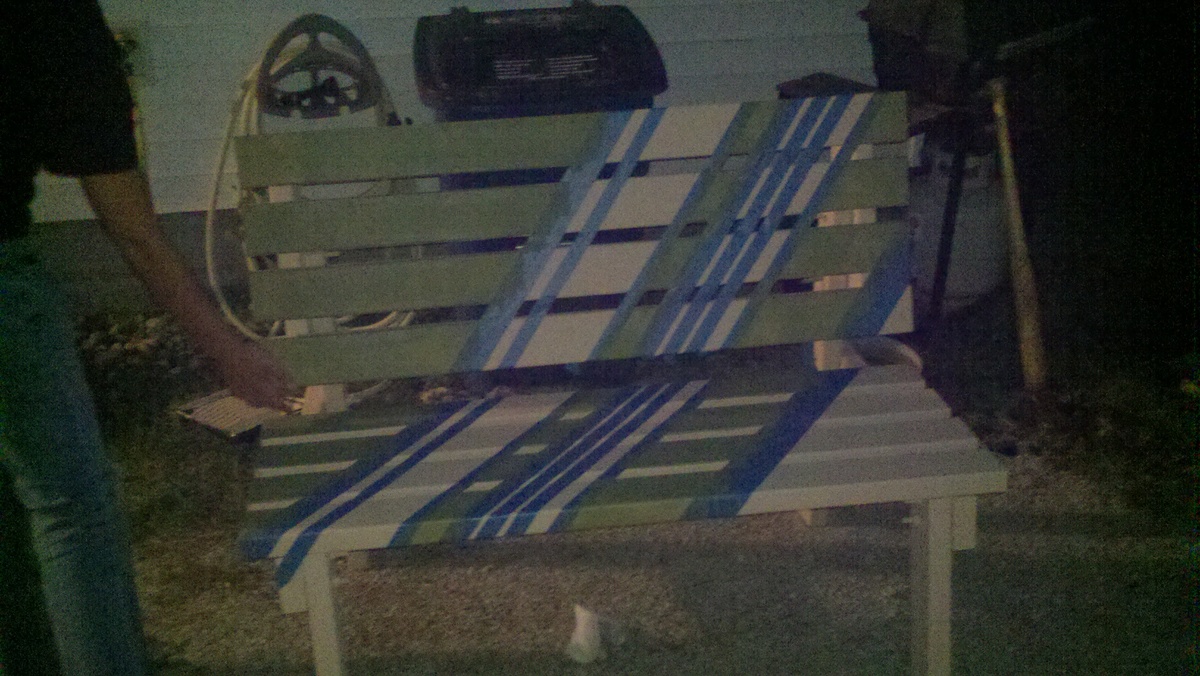
Started with a light base paint and taped off diagonal sections.
Next time we would lessen the gap inbetween 2x4's.
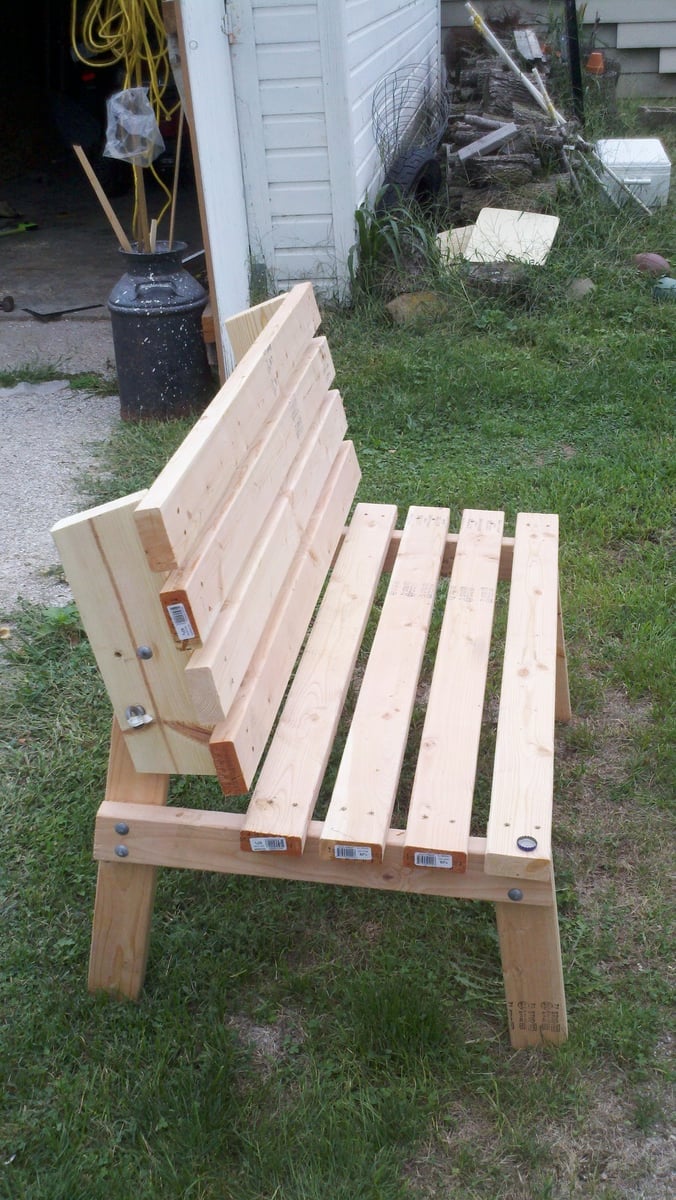
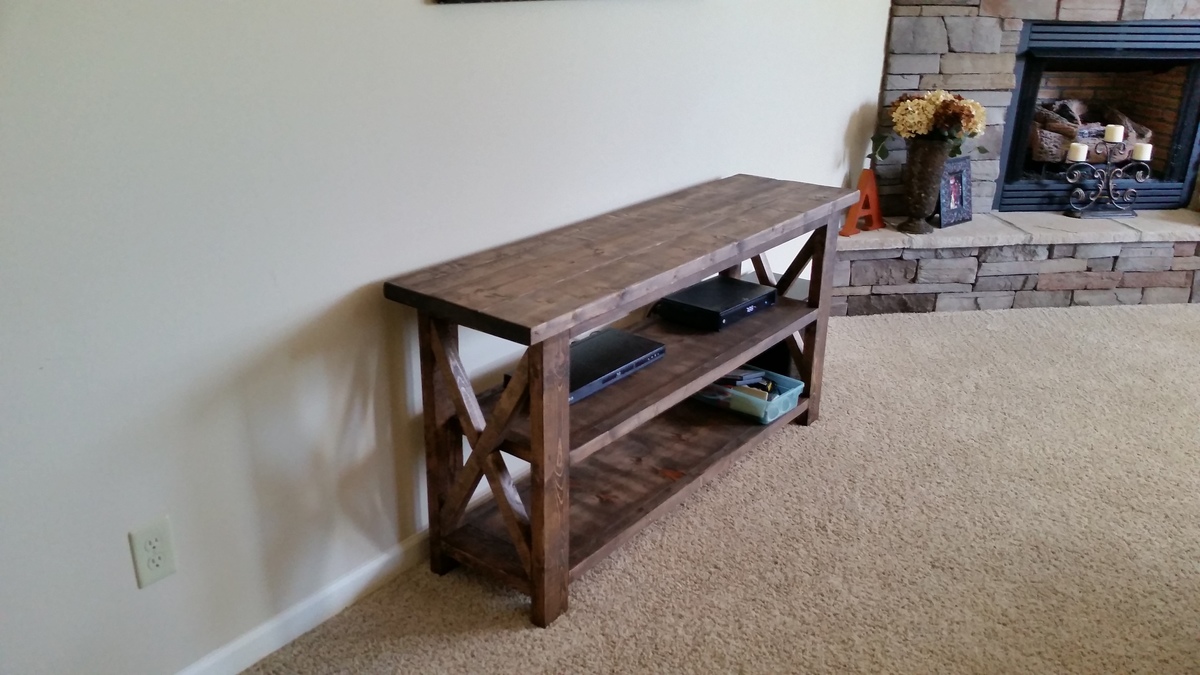
Wife and I needed a console for our TV components really bad. Saw this x-console and said we had to have one! Super quick and easy to build and looks amazing.
Sun, 09/21/2014 - 01:01
Hi there!
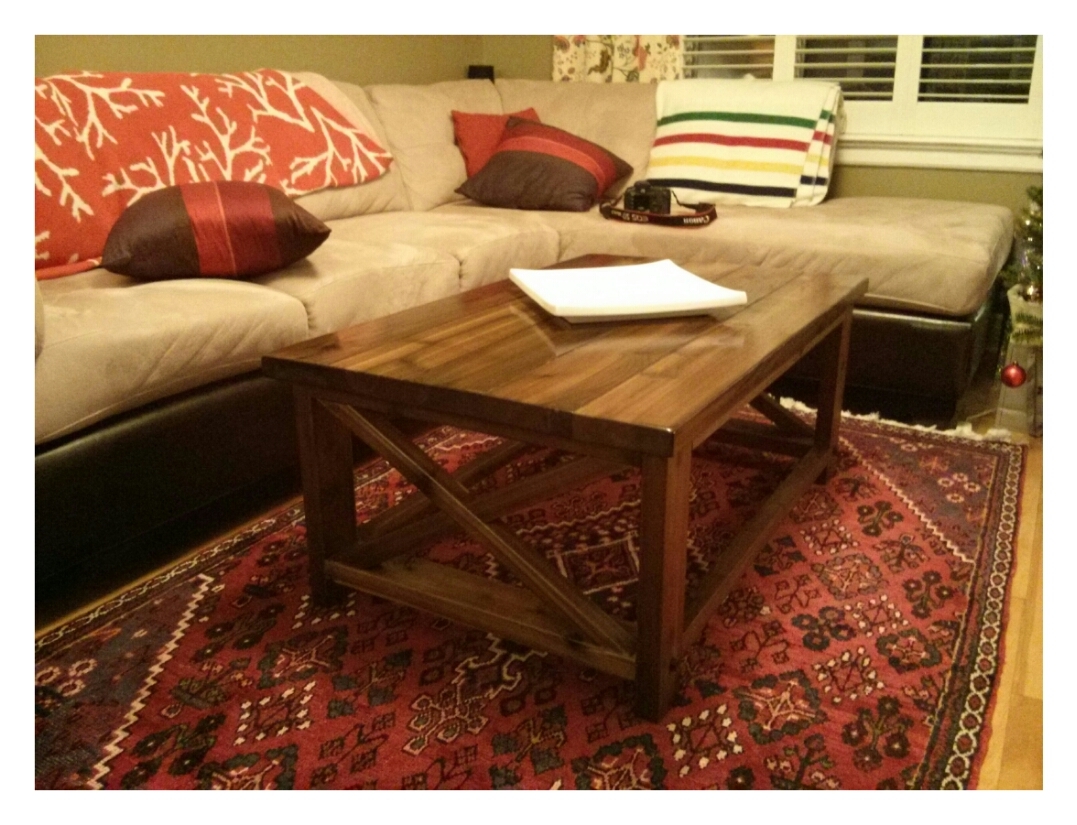
Your table came out great! I love the stain you used. I am also building this table. Everything is going great, except the x's. Can you offer any advice?
Thu, 09/25/2014 - 03:34
I built this same table and love it. We did not put the x's in we left them out. On the 2nd shelf we just added a 2x4 to make it even.
Fri, 05/22/2015 - 22:24
This table looks amazing! Would you mind sharing the dimensions and materials you used? It looks a bit smaller than the original and its exactly what I need for my living room. This will be my first project so I'm not really sure what I need since the dimensions will be different. I hope to hear back from you!
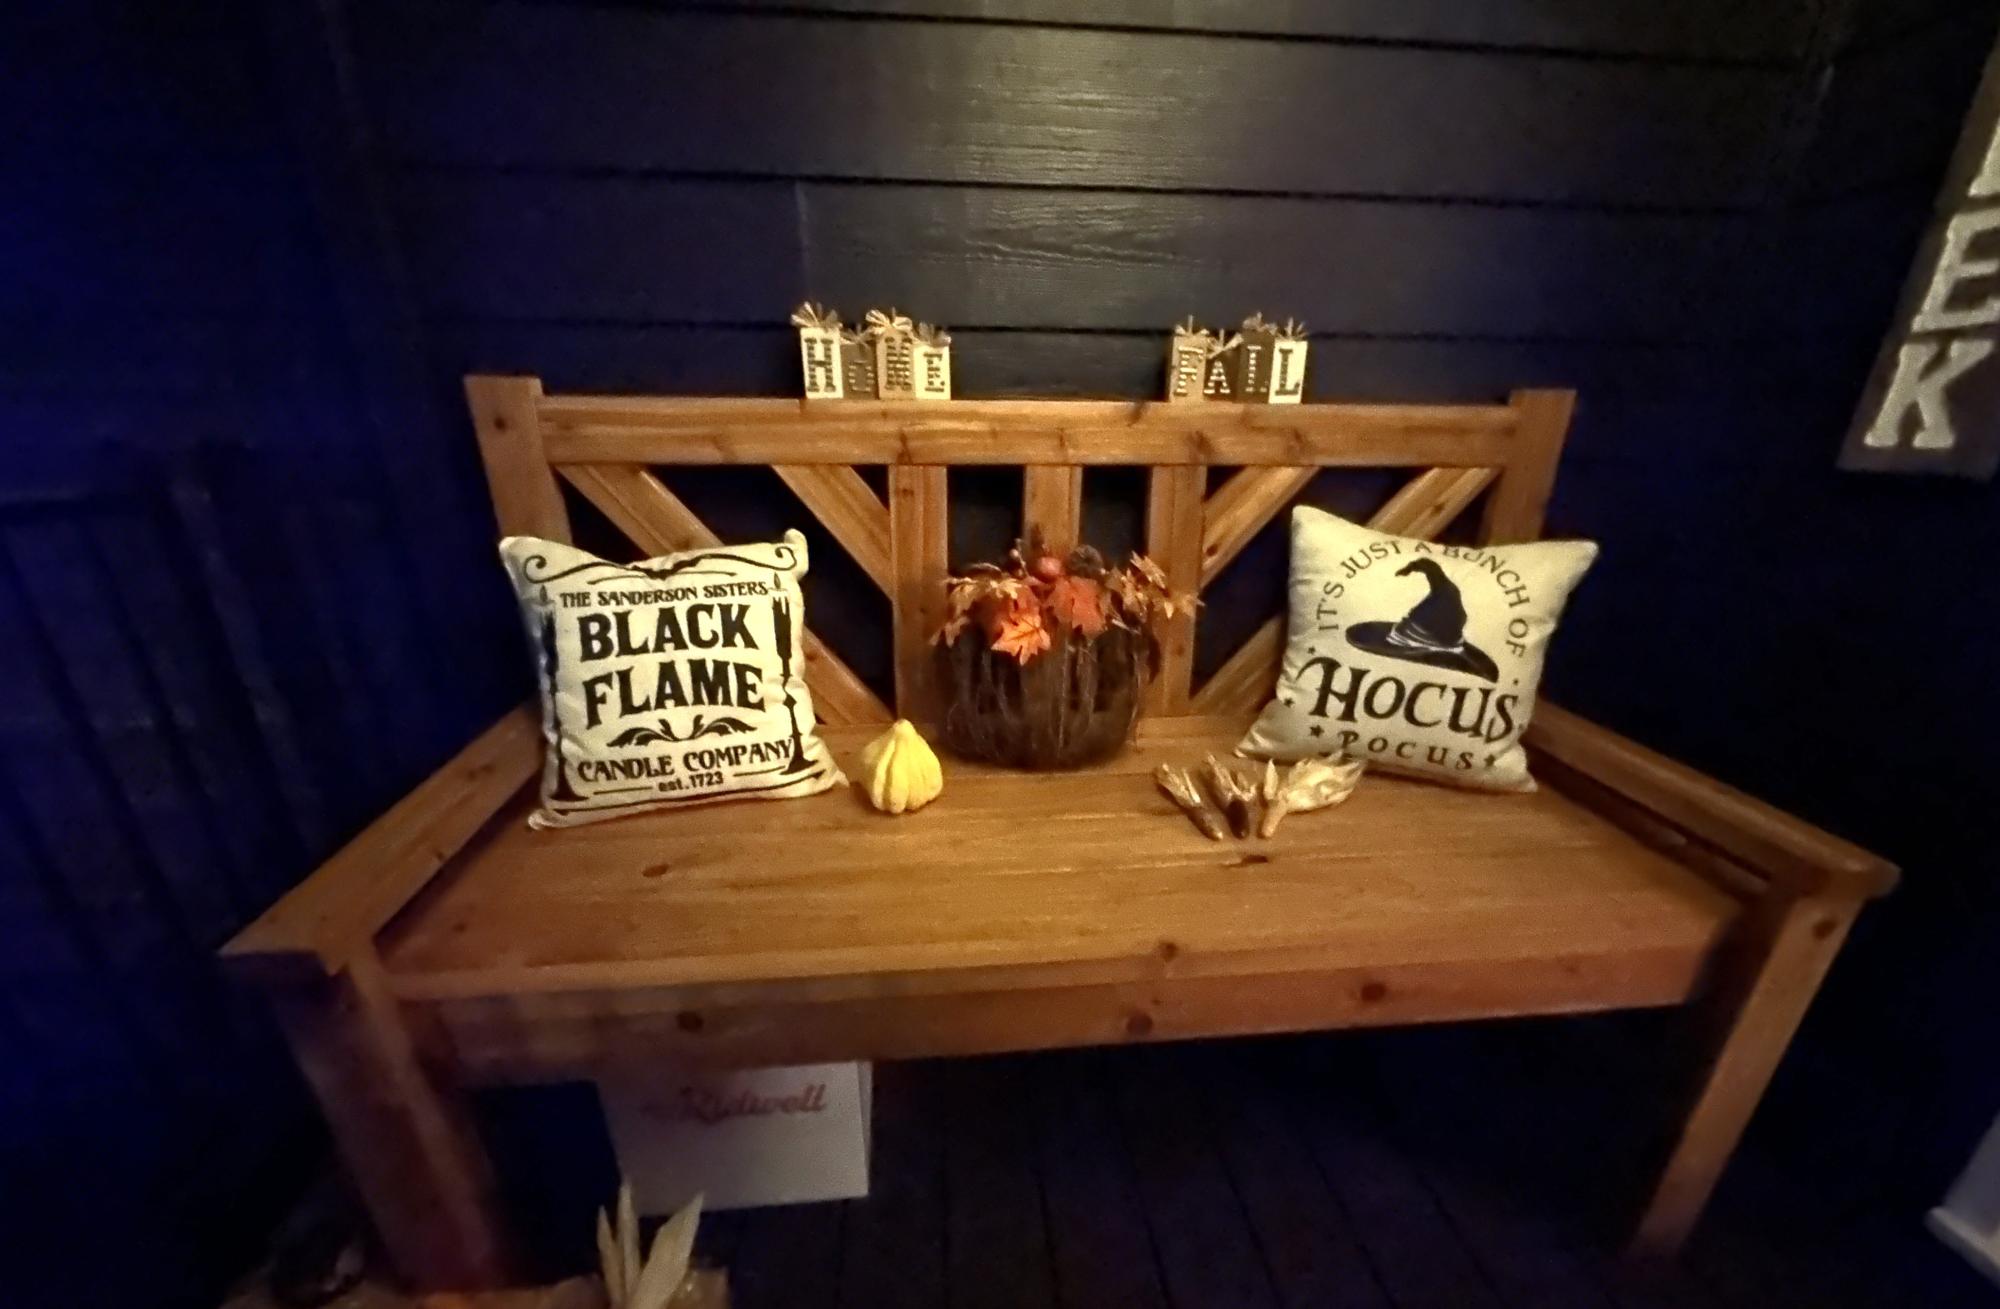
A spin off of the Large Outdoor Bench with X Backs. First decorated for fall season. - Caleb Chapek
With Christmas fast approaching I am busy finishing making my holiday gifts. As a personal touch for some of the purchased items I decided to make little crates to hold the gifts. I used 1/4" poplar craft boards and made them in about half an hour. My dimensions are to fit these spices that I bought for gifts in the Caribbean when I was visiting my sister last month, but the design is so simple that you can easily modify it to fit whatever gift you are giving.
Check out my blog for more details: http://homeandawaywithlisa.com/blog/2012/12/14/small-gift-crate.html
love love this project !!!
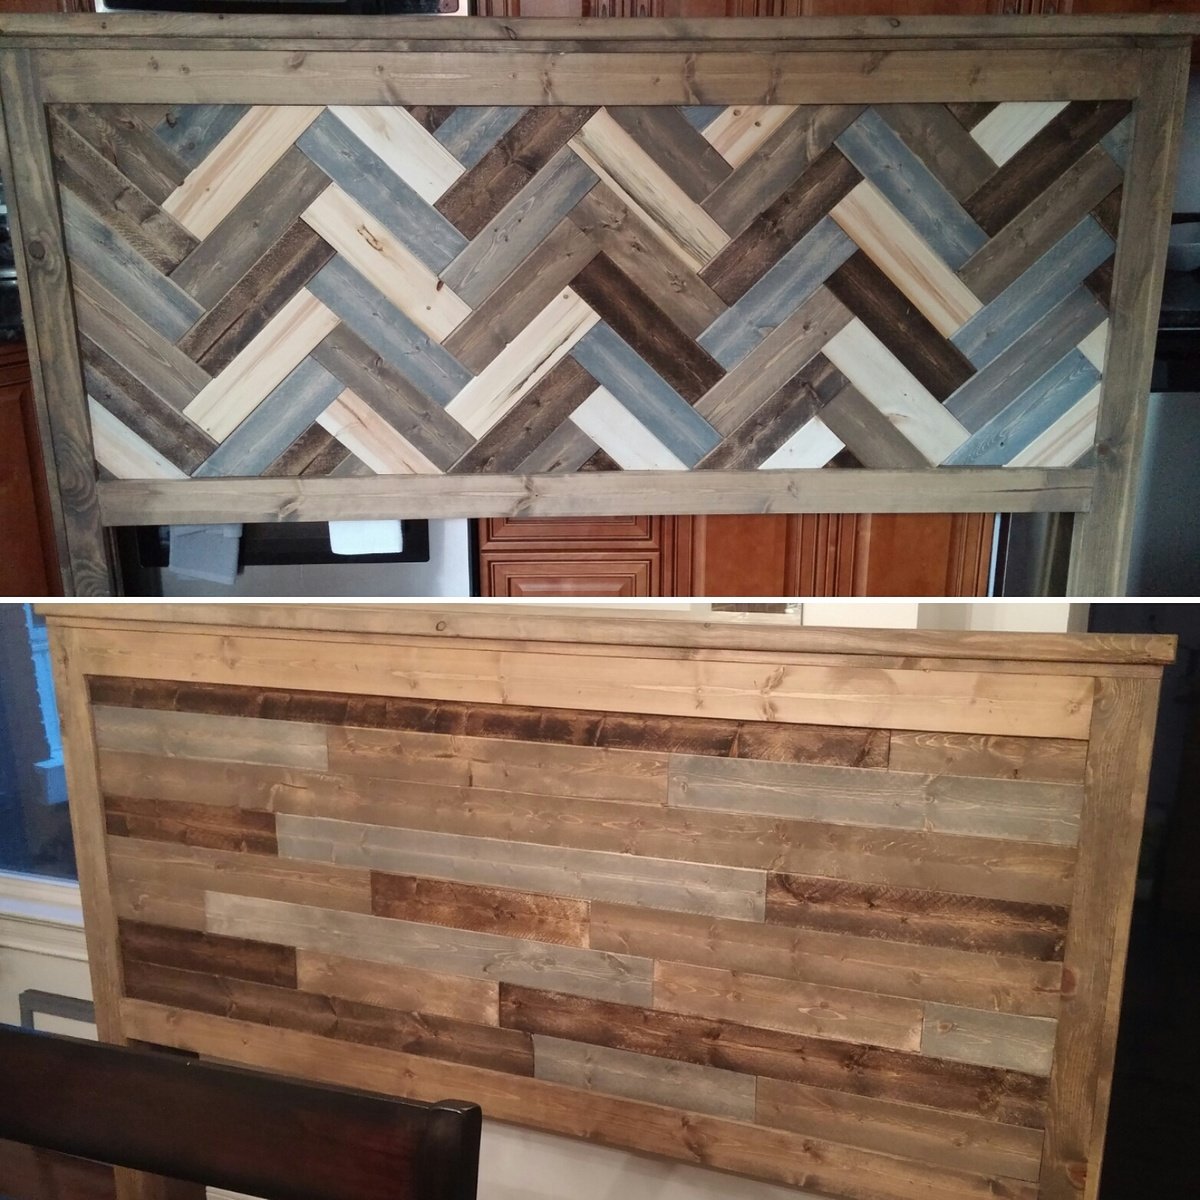
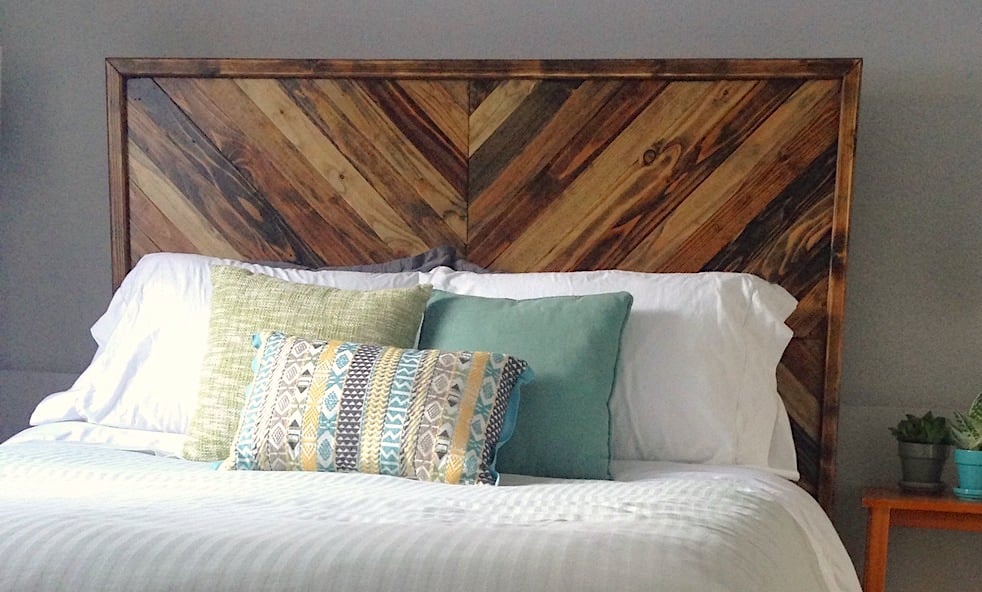
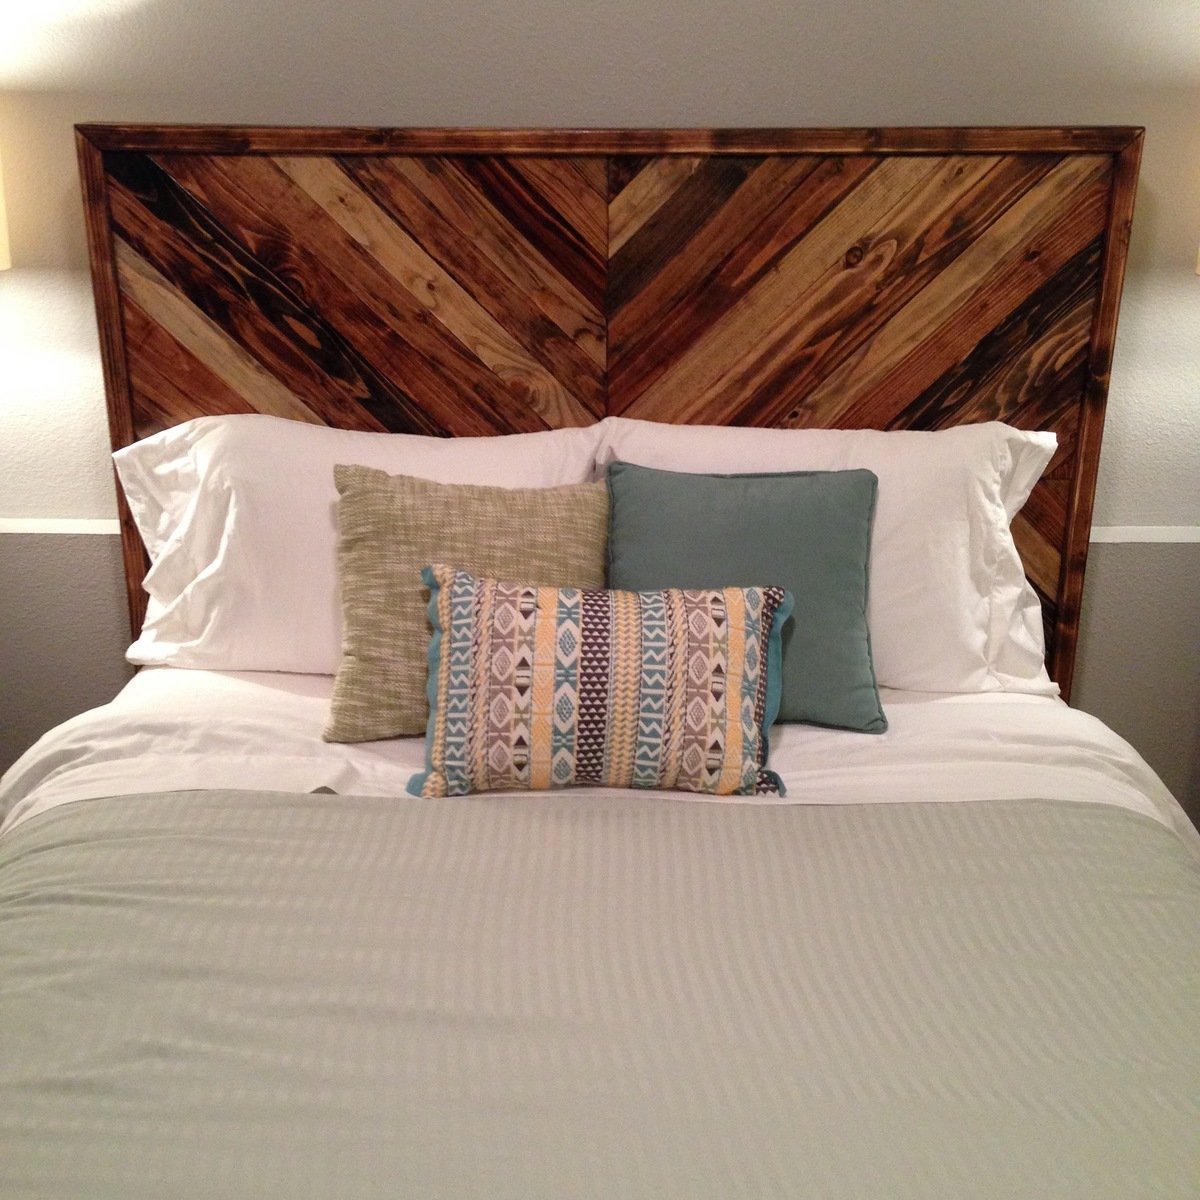
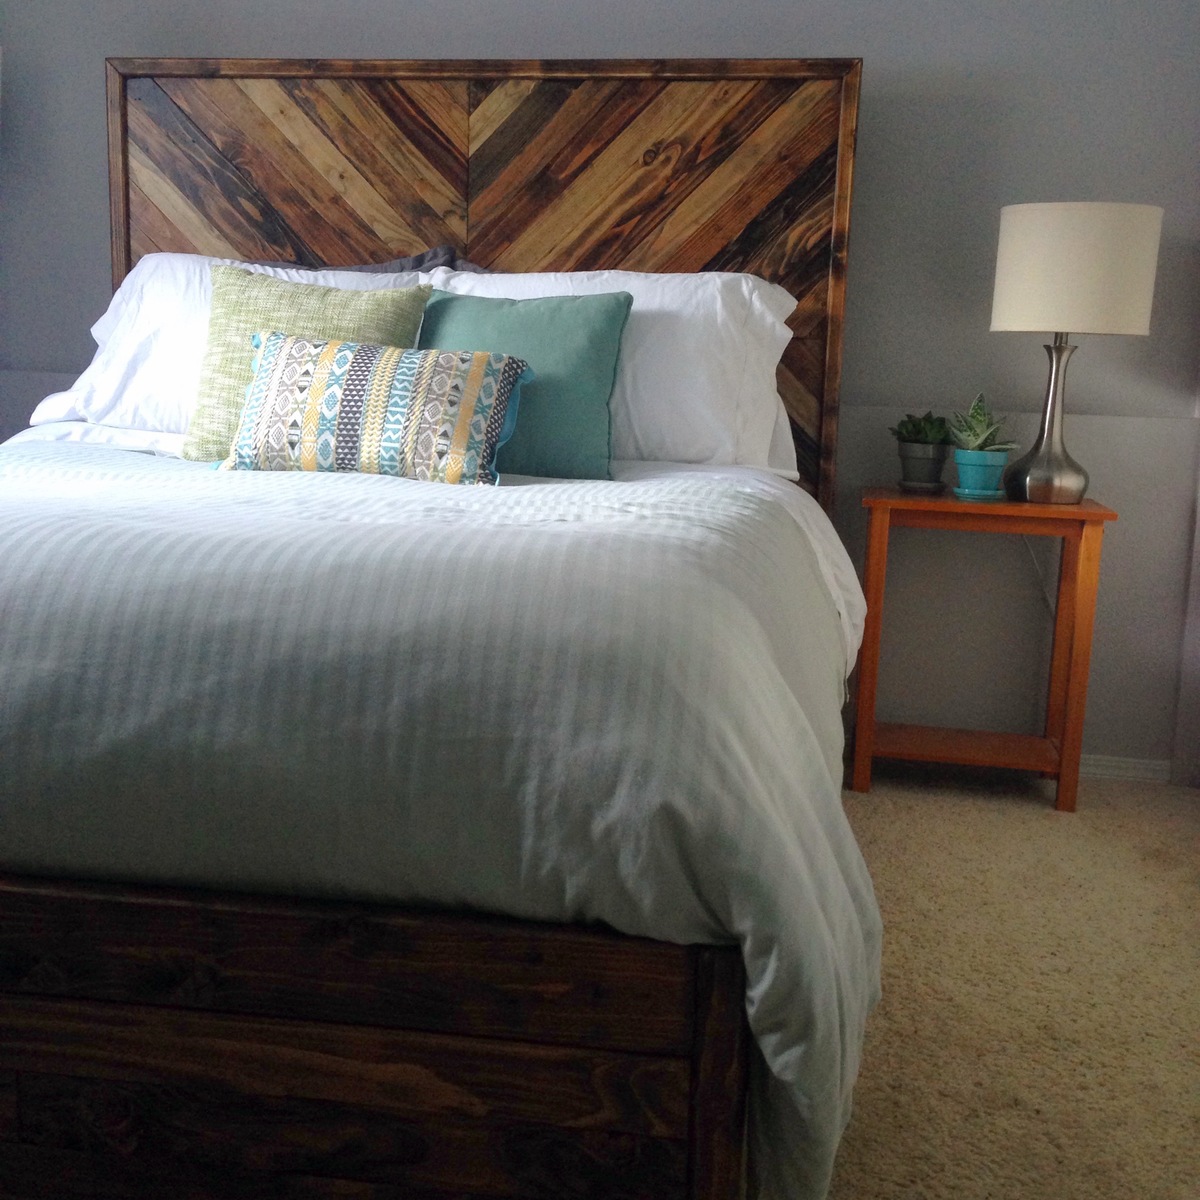
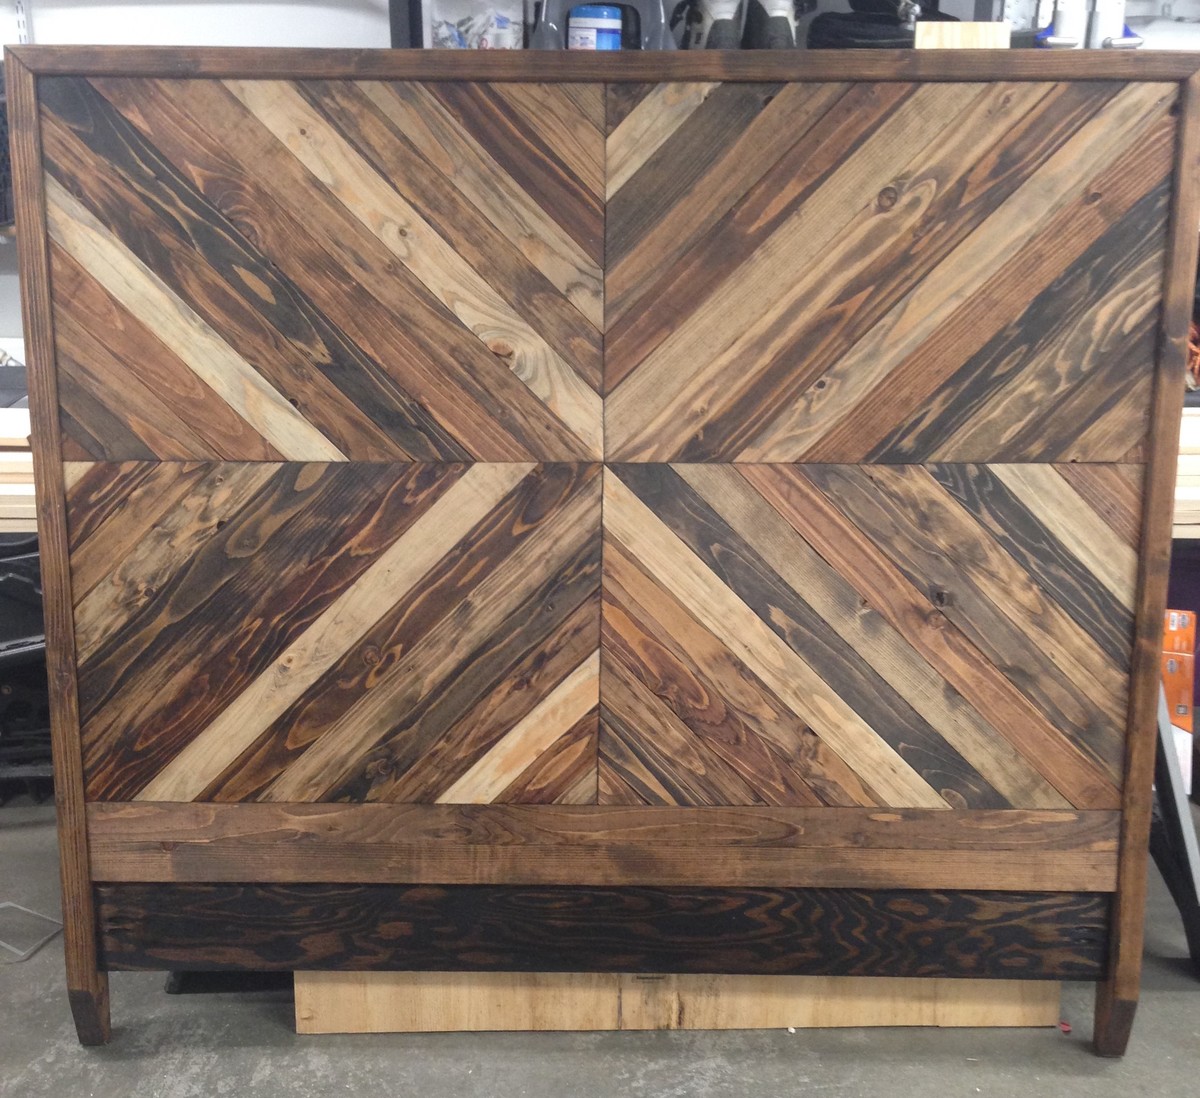
Overall, this was a simple build, easy for anyone familiar with woodworking. I built this for my sister-in-law and her boyfriend. It started as the standard king size headboard plan, however she really liked the look of my basement ceiling and requested if I could add something similar to the design. The rustic horizontal planks and herringbone pattern were added to the front and back allowing her to flip the head board to suit her interior design style without needed to buy a new headboard. The added texture of the rough cut tongue and groove pine was just what she was looking for. The original build only took a few hours. The herringbone pattern took the longest. Let me know what you think of my twist on this already beautiful project!
Required Skill Level: Beginner
Tags:
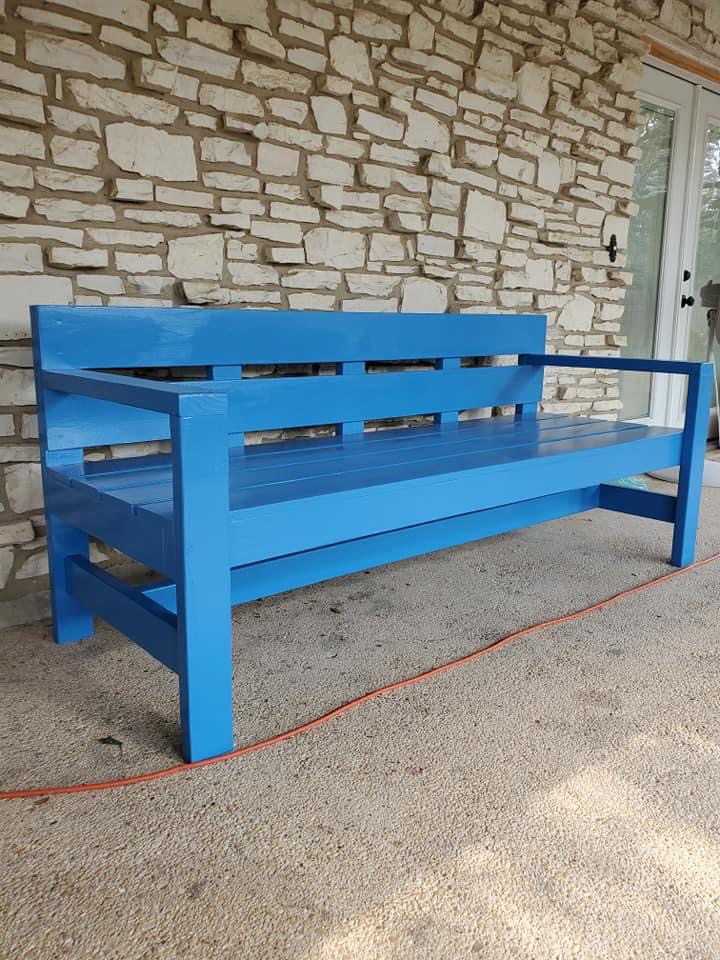
Just finished my Garden Bench, love the sturdiness of this bench.
"When your husband just whips up a table for you because you don’t want to spend $1,000 on one." - House on Hillridge
Very easy and fun first dollhouse project. Opted not to go with traditional "barn" colors and made it a mod Barbie house. My 5 year old niece loves it. Thanks Ana!

Thanks for the easy to follow plans for this corner cupboard. I enjoyed making this as much as I enjoyed making your adirondack chairs. Your drawings couldn't have been any better. Very easy to follow. Keep on posting more plans!!
RW Church
This was my first build and I am so happy with how it turned out! The plans from Jen Woodhouse were extremely easy to follow and I would definitely recommend this project to others!

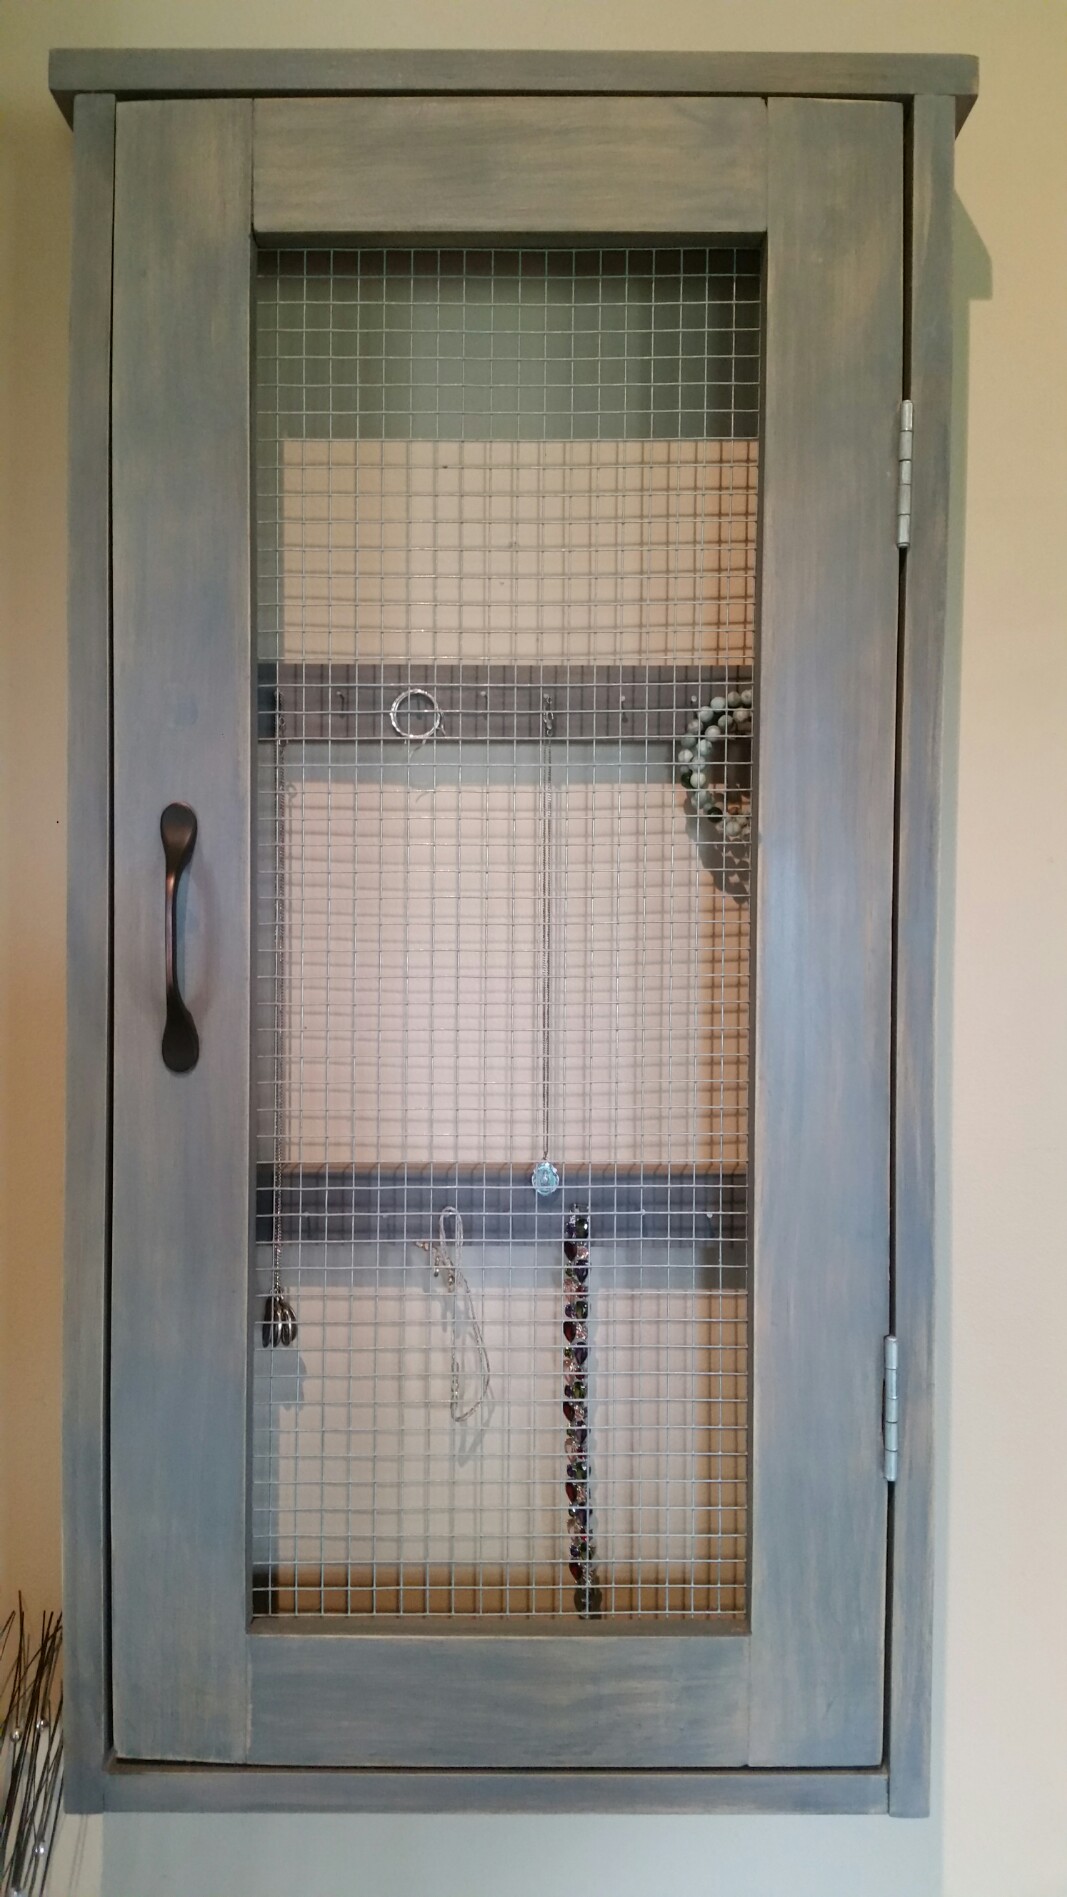
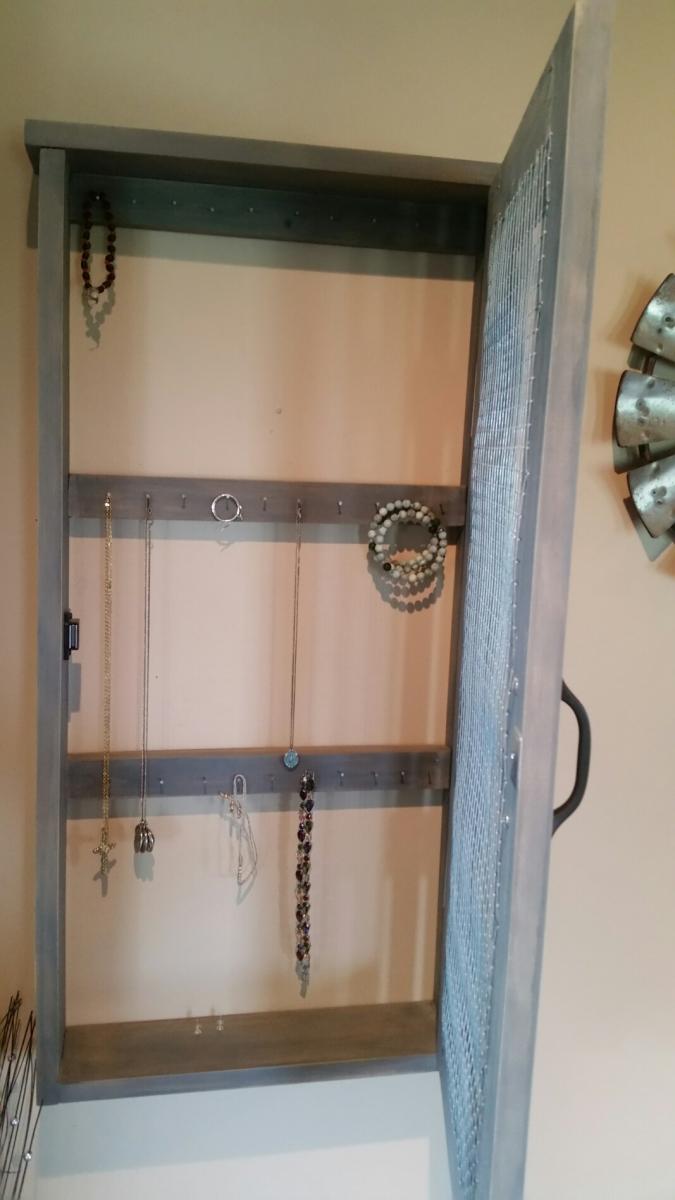
Built this for my mom as a Christmas gift!
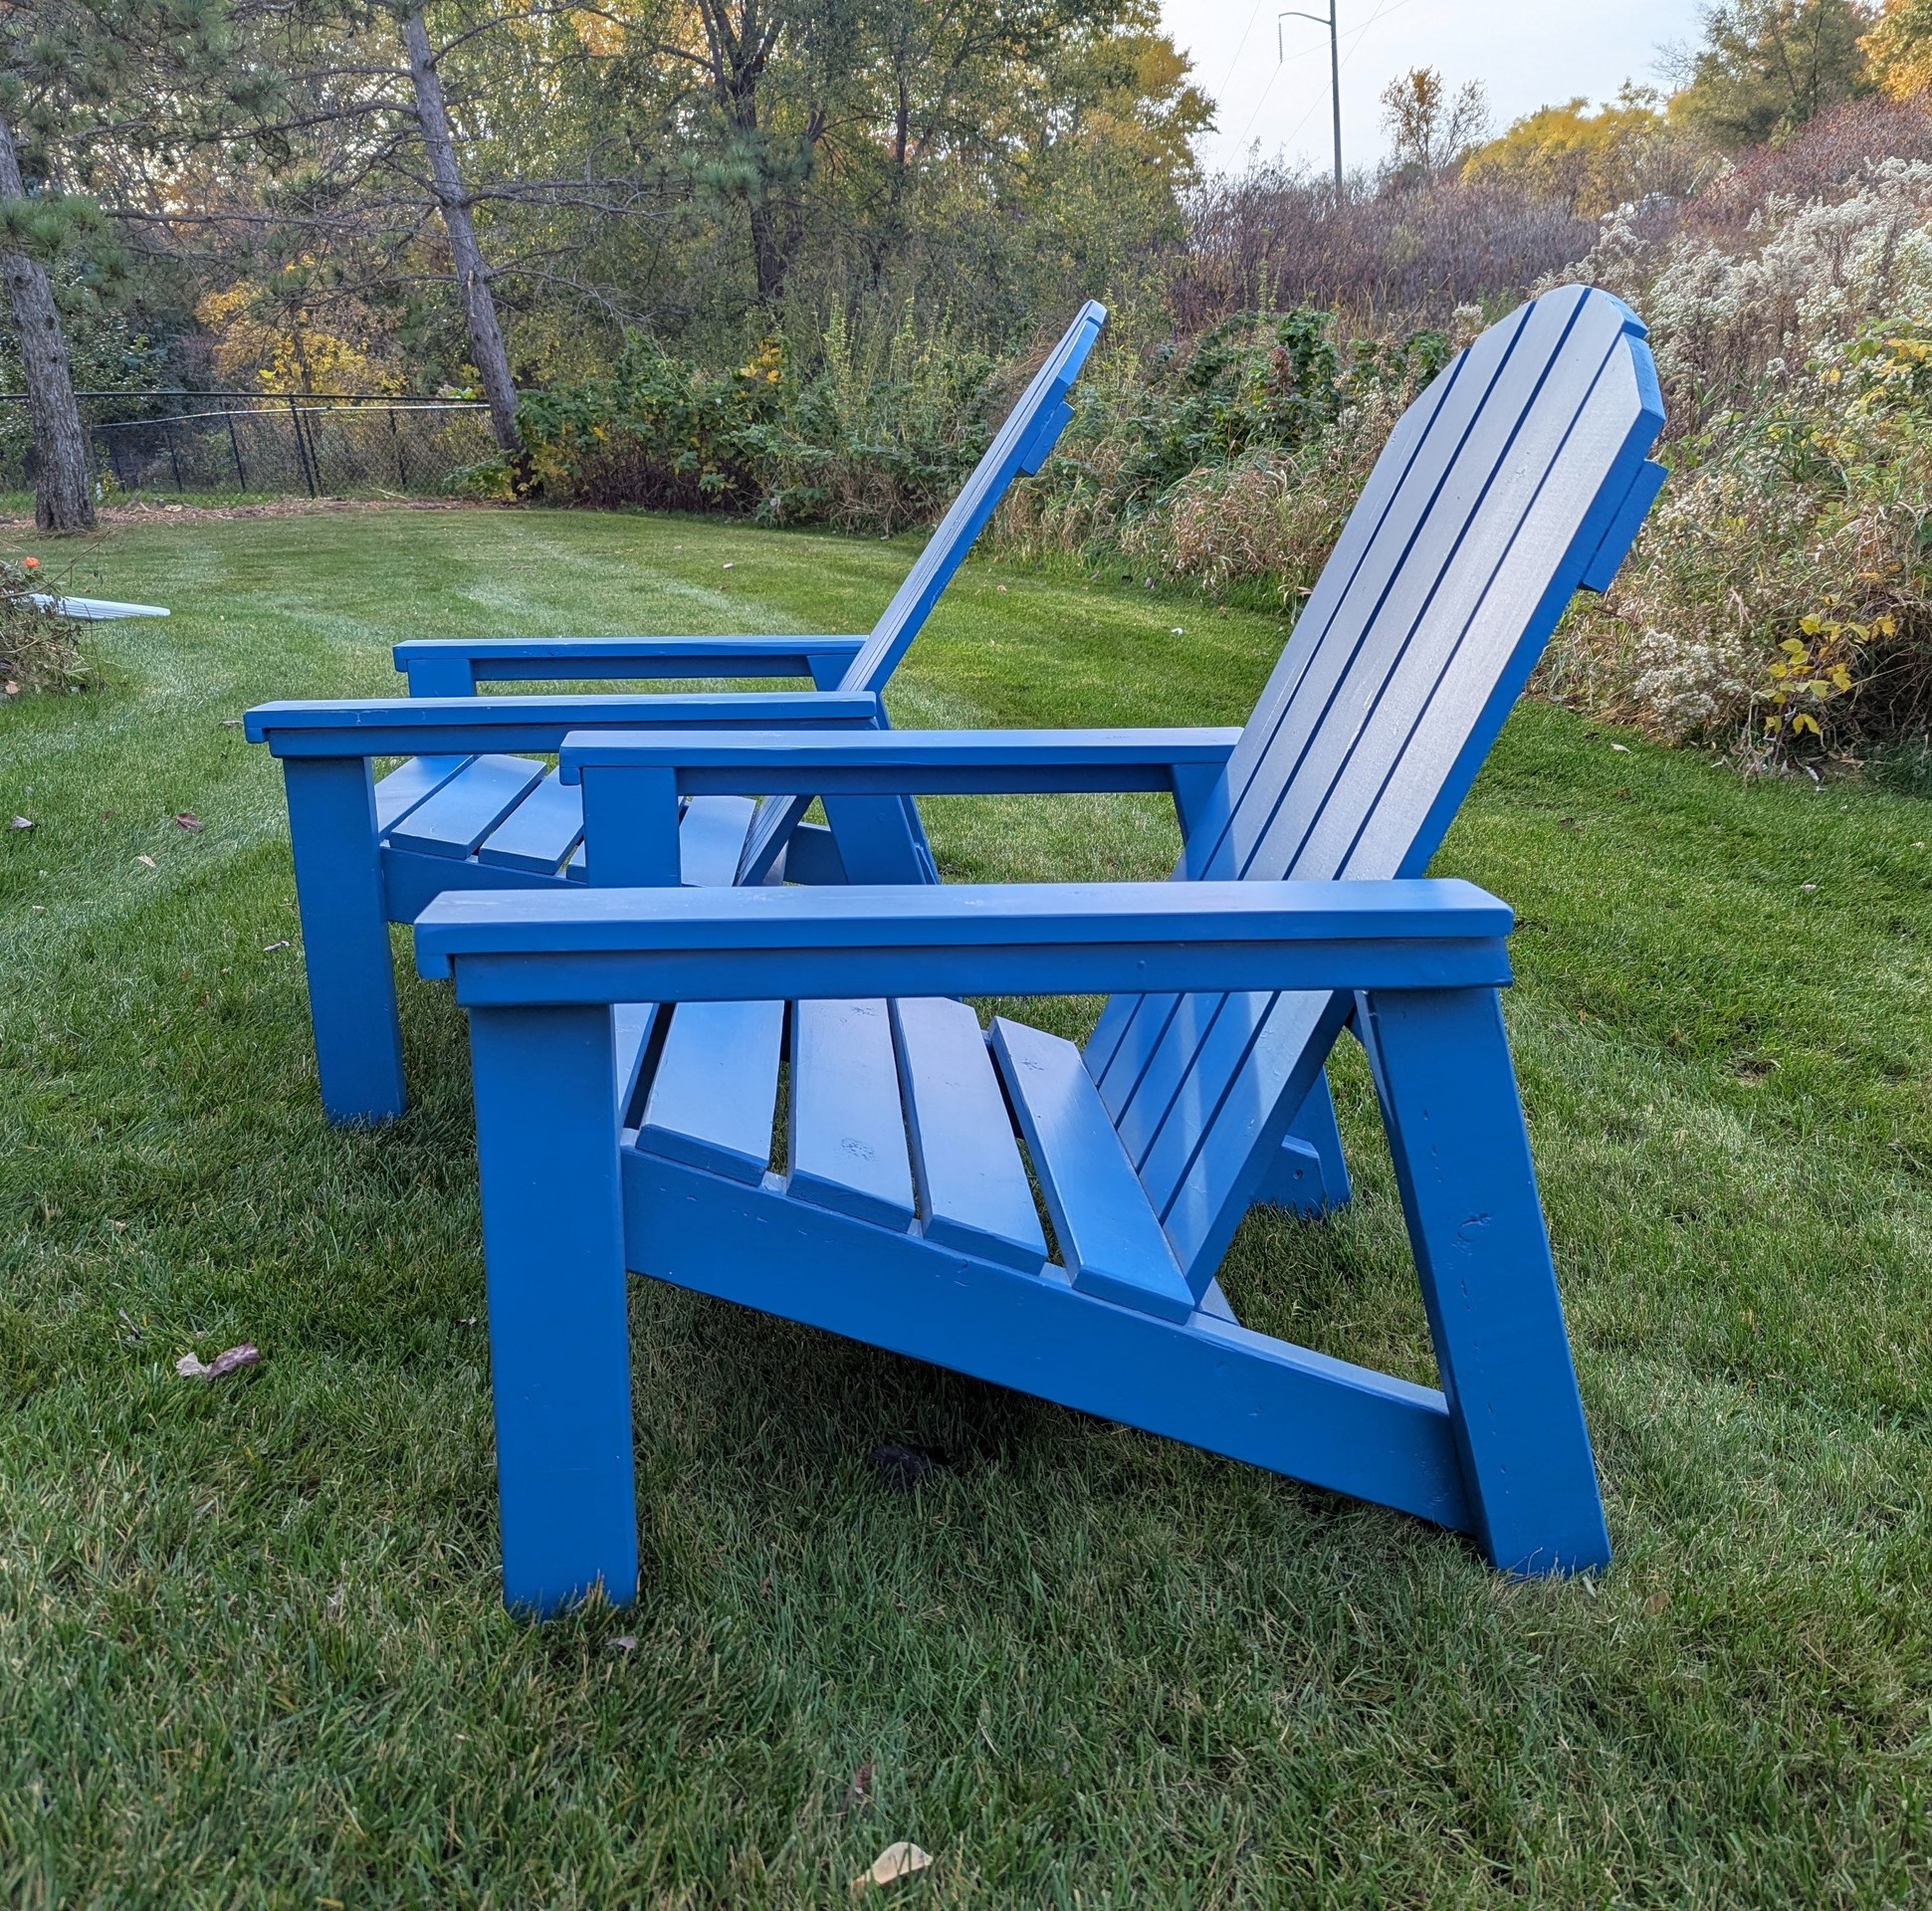
I made the first of these directly from the plans on this site. I adjusted the second version a bit to ease the angle of the seat (a bit tough to get out of the original one for us old folks). I did this by changing the first cut on the stretcher bar from the suggested 20 degrees to 15 degrees. Hope the picture show the different angle of the seat. Three coats of Sealer/Stain and four costs of Spar varnish should allow them to make it through a Minnesota winter. - Rusty Rover
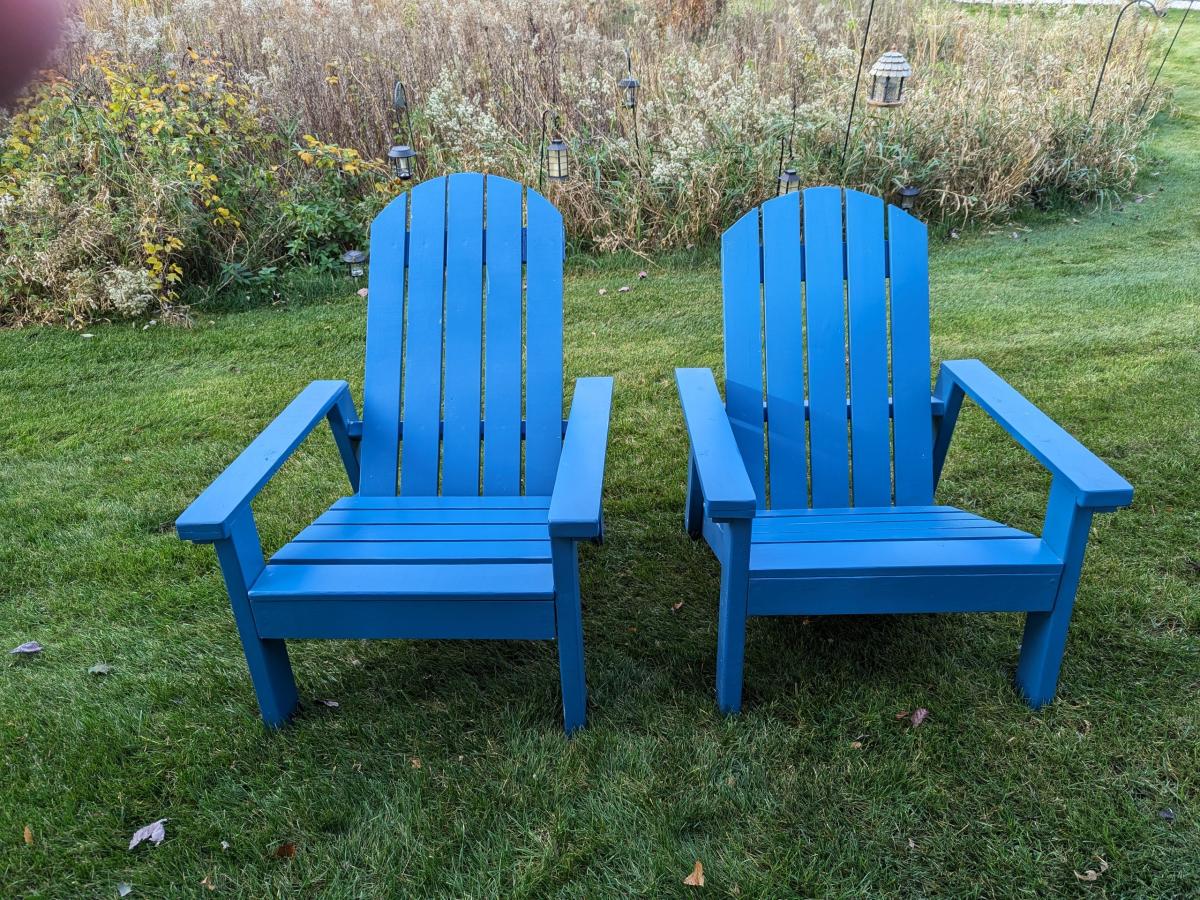
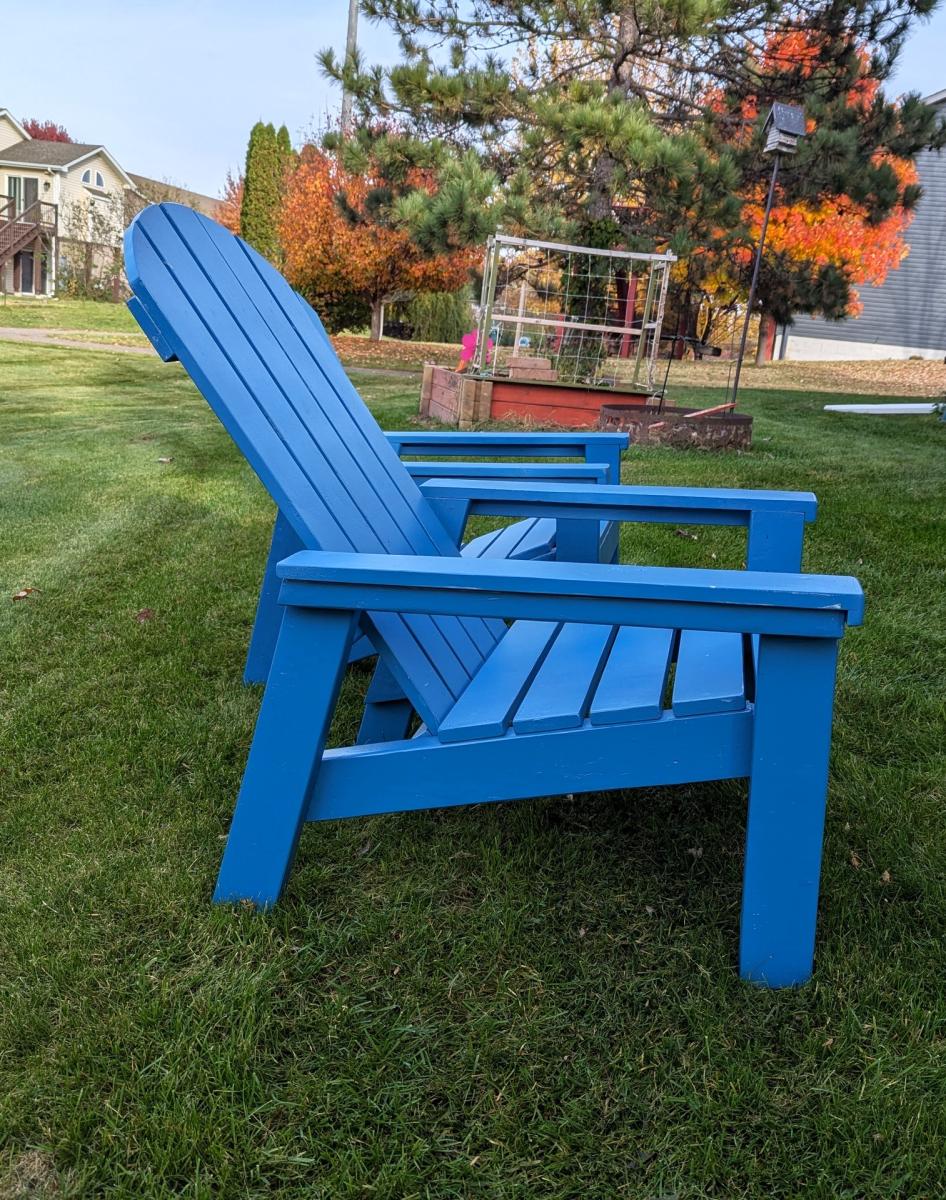
Used cedar wood so I applied a few costs of oil based polyurethane to compensate for the softness of the wood.
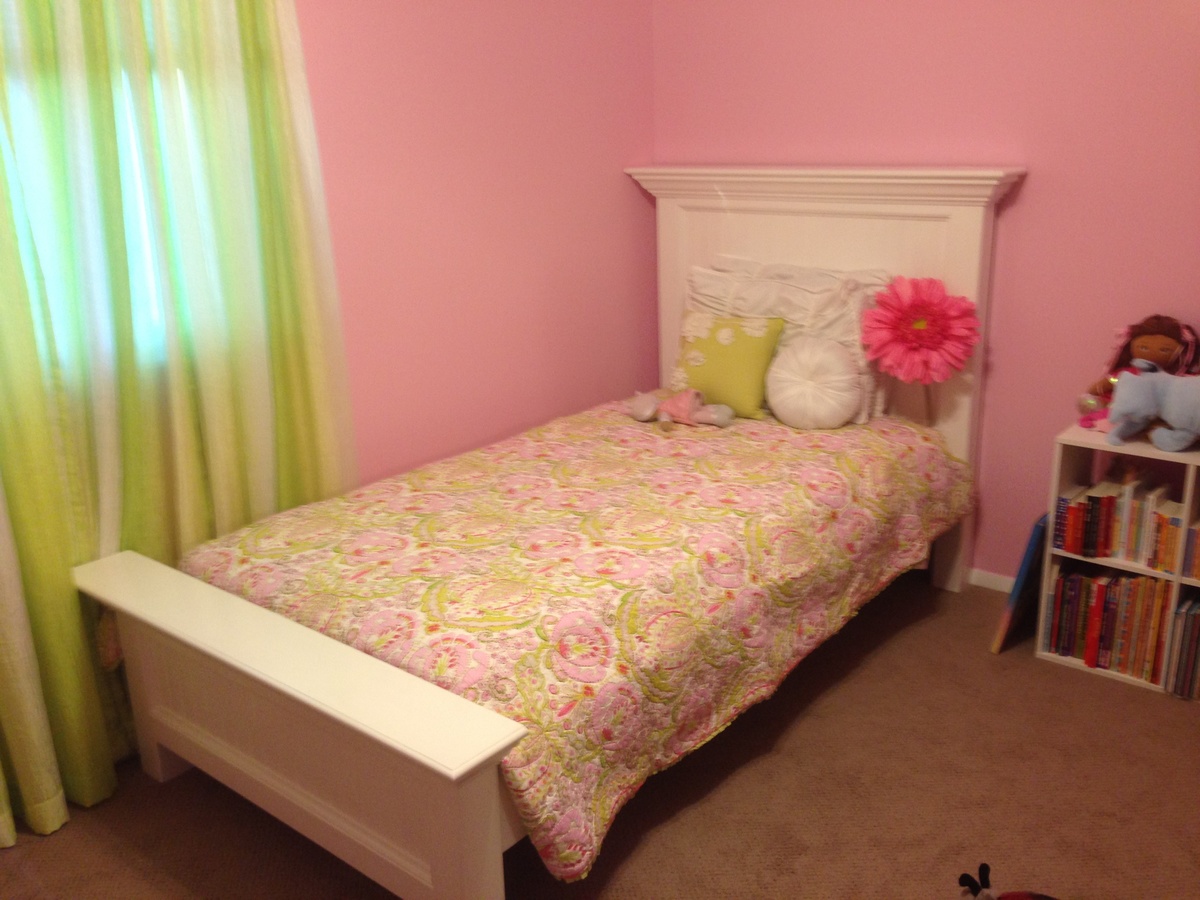
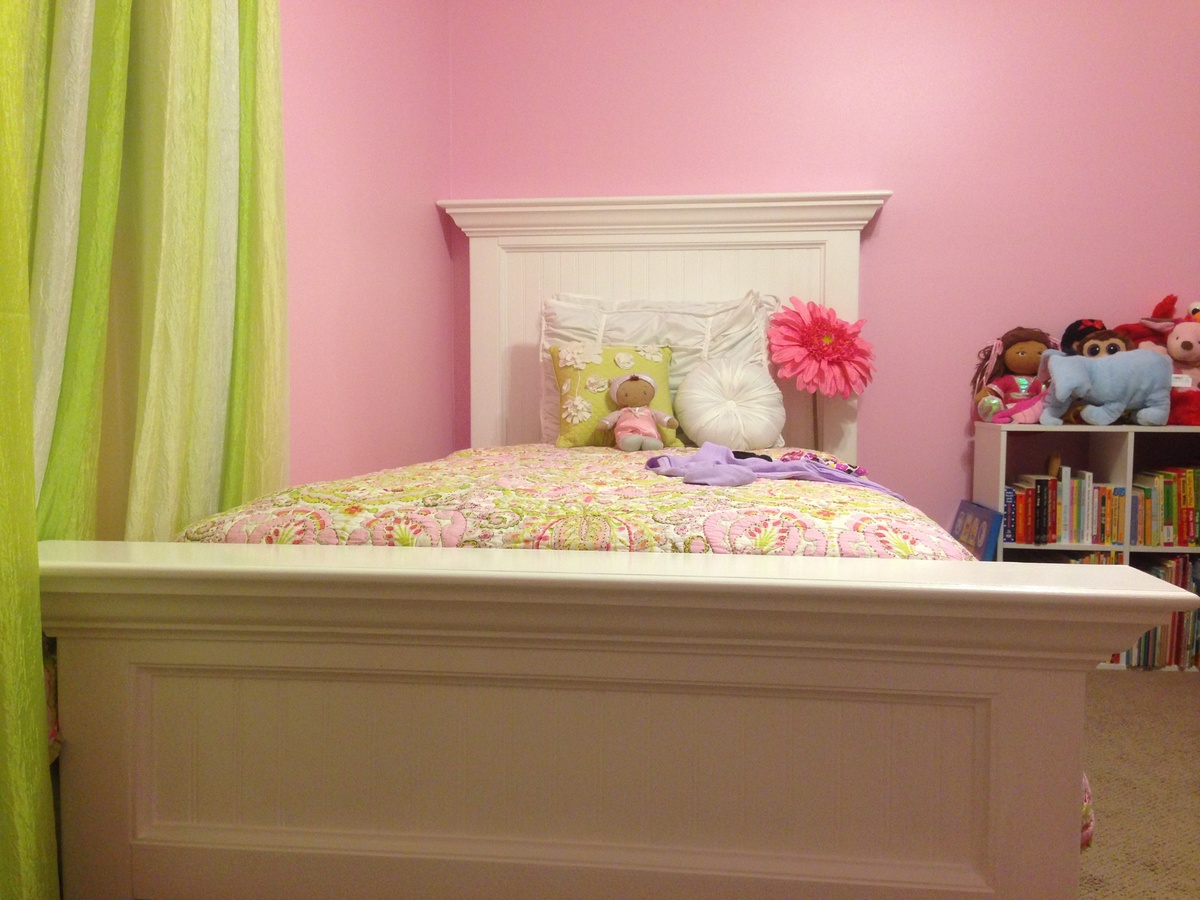
This project took a lot longer than anticipated. I had the entire bed built when it somehow fell over on its own and broke into pieces. It was at that moment that I decided when I rebuilt the bed that I would not use MDF. I used 3/4 ply for the back and I ripped a 1x8 for the top of the head board and foot board. I also used 3/4" half round to cover my semi noticeable saw marks from ripping the board. I didn't have a metal gram for the bed so I made rails out of 2x8"s and ripped a 2x4 in half to make the ledge for the slats. For this bed I placed 3/4 sheeting down instead of slats and set the mattress on that. I also had to fill in the holes from the crown with triangular fillers for the foot board since it would be seen.
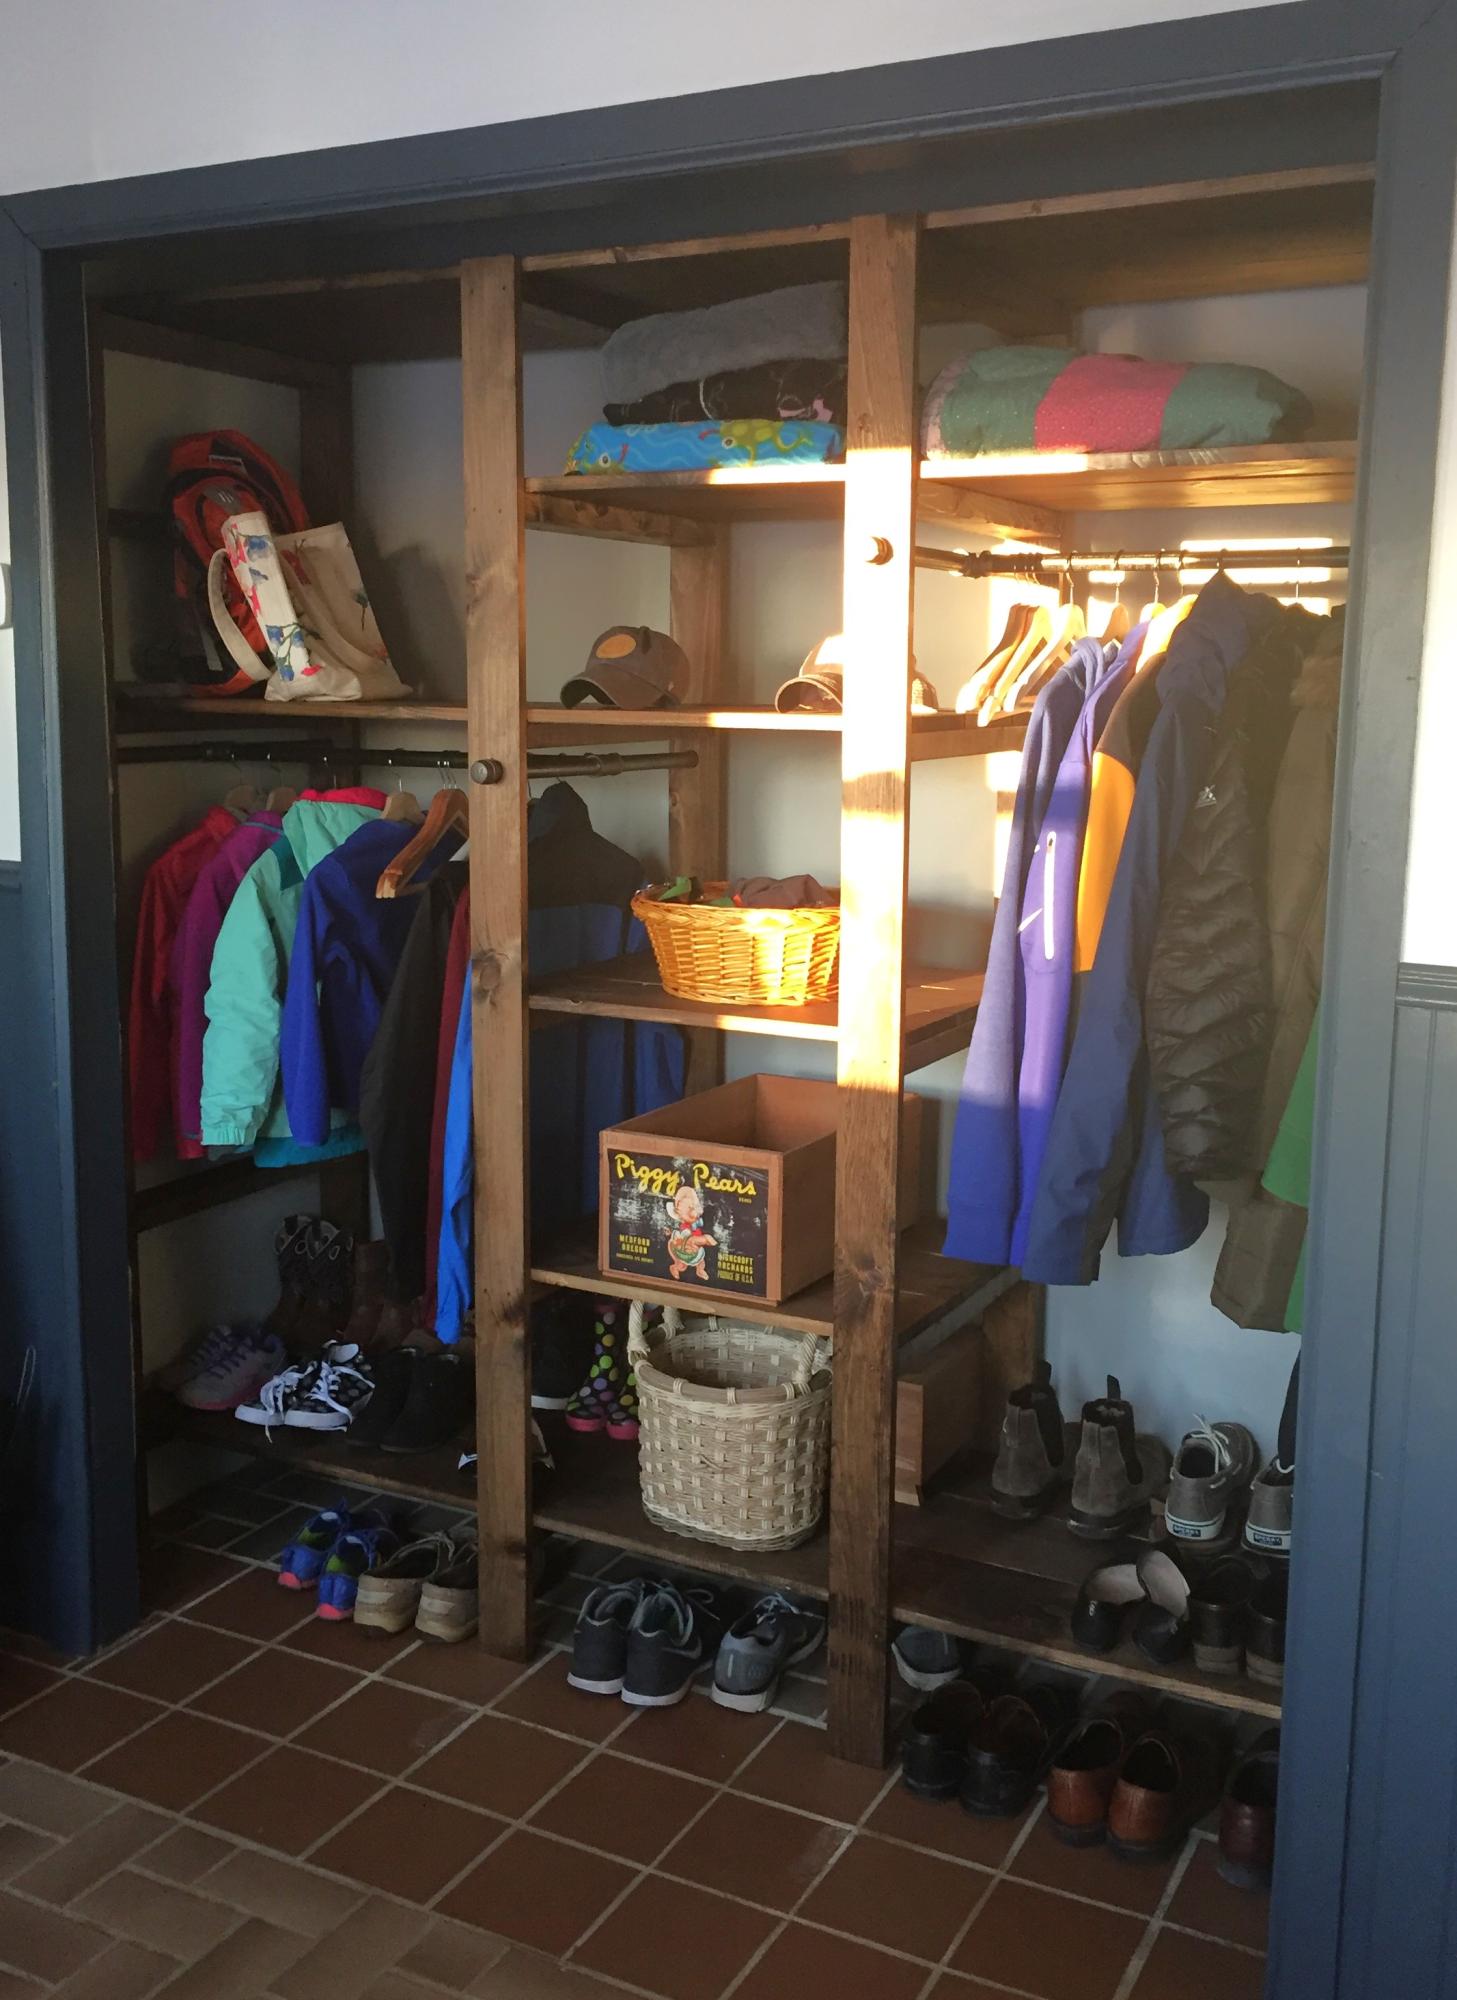
I had so much trouble deciding what to do with this HUGE closet in my breezeway. Previously it had just one bar across the top and ugly sliding doors. I loved Ana's design, but made several changes. Since my closet was super deep (32") I extended the depth of her design to about 25". I also staggered the rods for longer coats, and one that my 8 year old can actually reach to hang her stuff up! I changed the shelf design up a little bit too! Her instructions are super easy to change to your specifications. I did end up spending about $350 on this project, but keep in mind I was using 3 - 1x8's for each shelf instead of 1x4s.
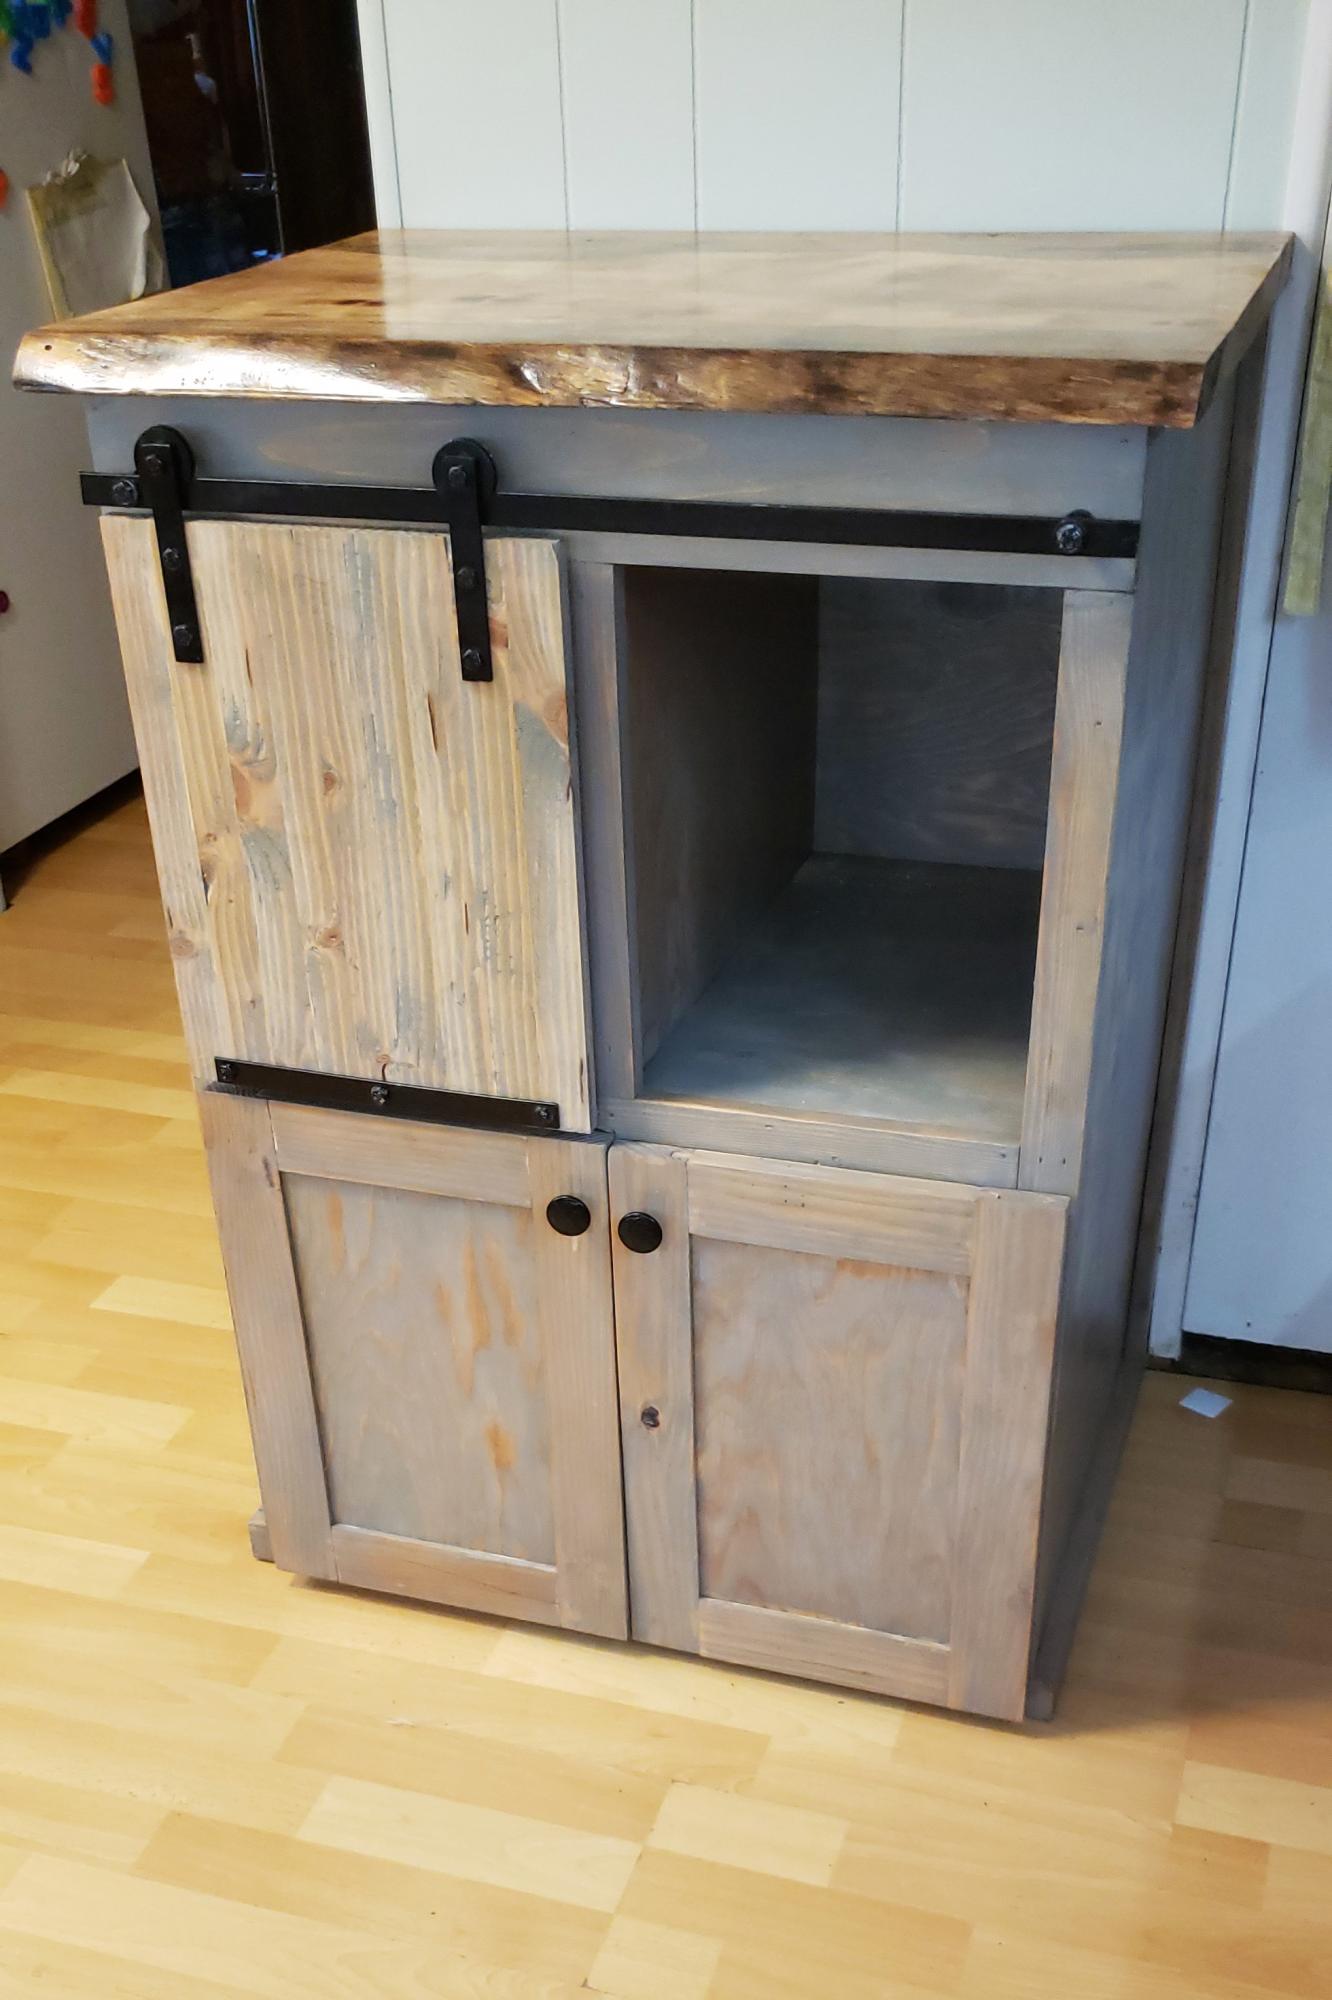
My son wanted the baker's rack in my kitchen to use as a coffee bar, so he built this cabinet as a replacement for me. His first build. The top is a piece of white oak with a live edge that was given to us more than a decade ago. I'm so pleased!
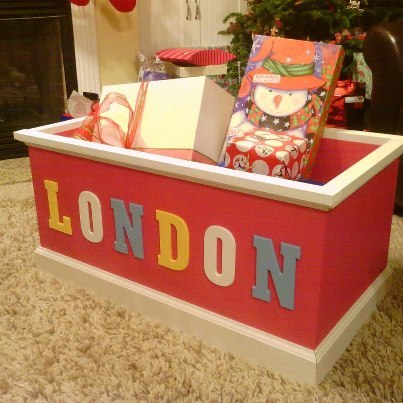
I made this for my 5 year old niece for Christmas...she loved it! Got a big hug without her parents saying a word.
Considering it's only my third woodworking project I was pleased with the results. Her Mom has requested one for London's baby brother; if I learn from my mistakes that one should be even better.
I painted all of the pieces separately before assembly, so the project was spread out over several days. If you're good enough to paint it all at once it's a weekend project.

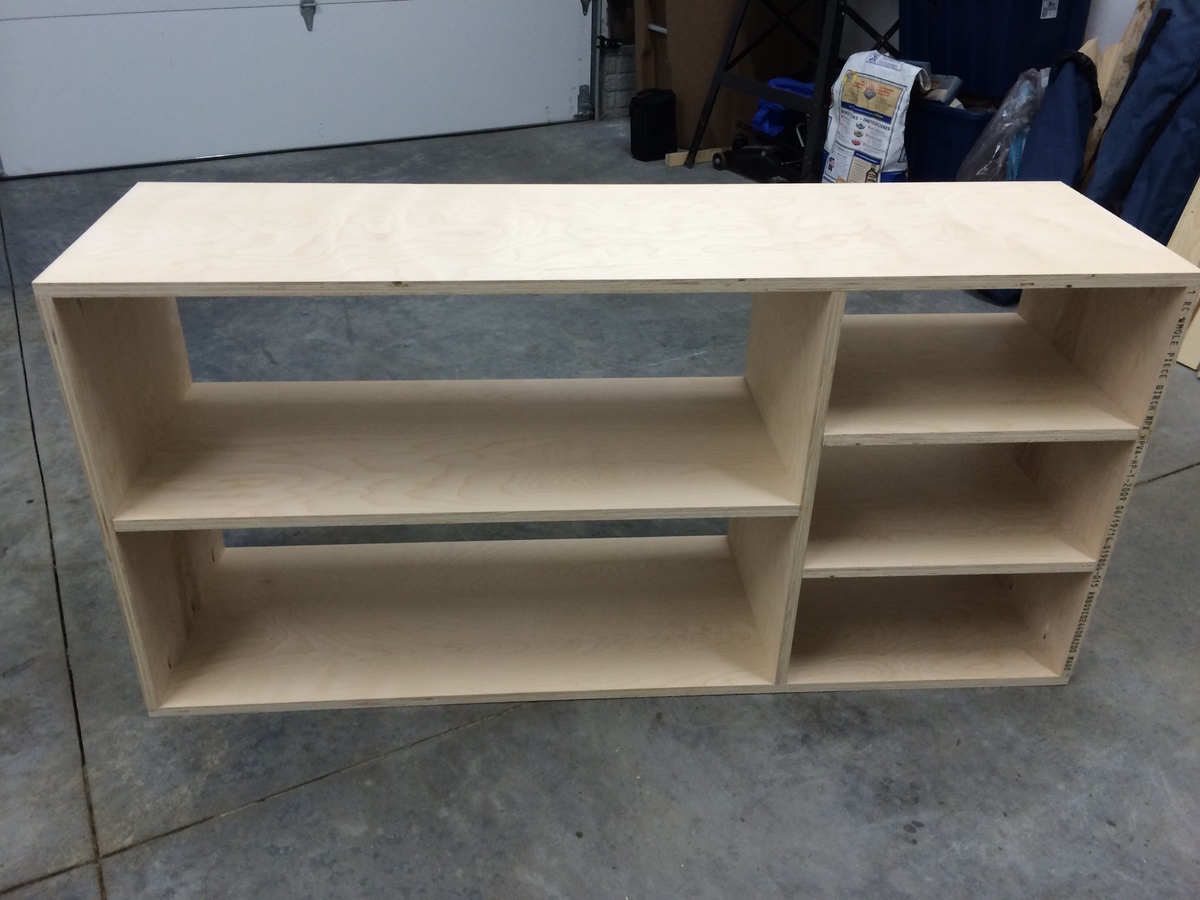
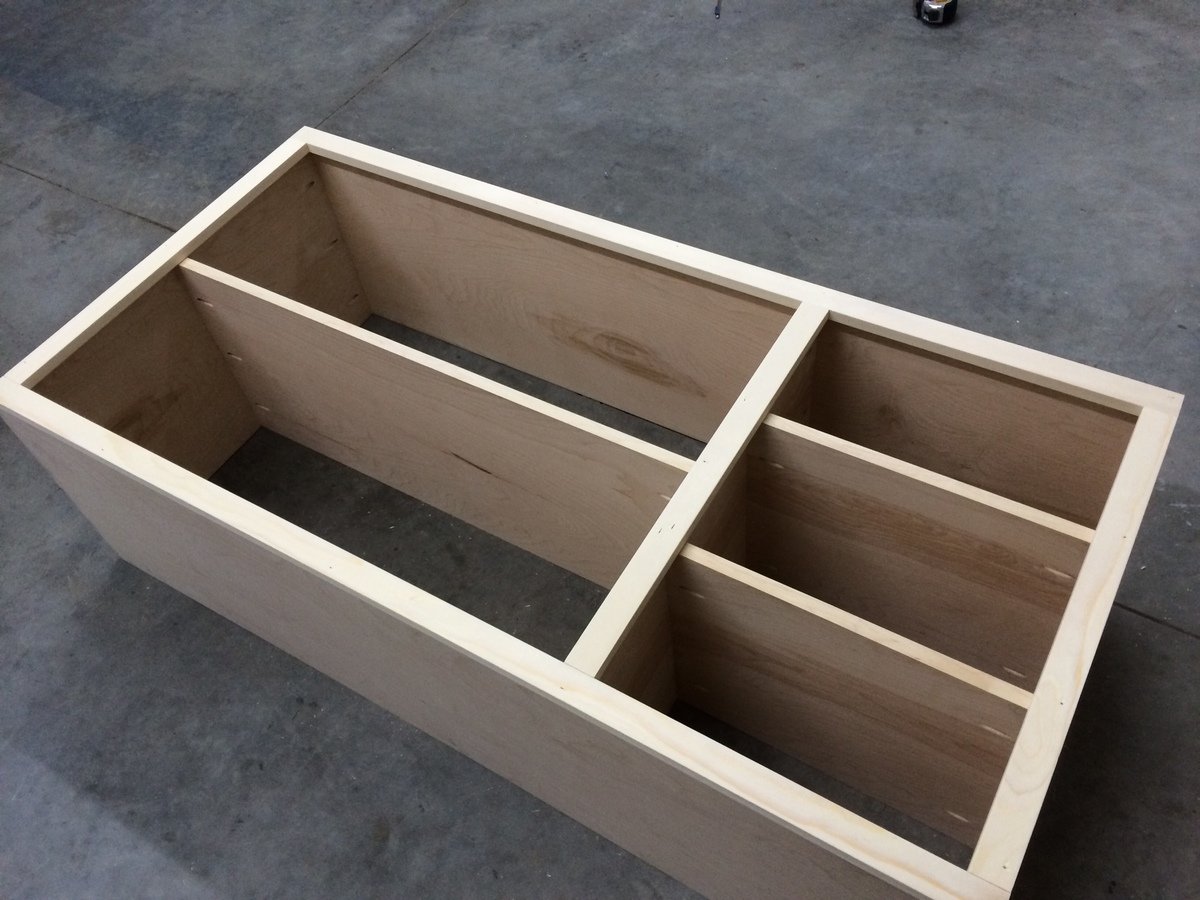
My wife and I decided to build this with the same intent as Ana, to use as a changing table for our baby due in January 2015. We haven't built the topper yet but we're thrilled with the console table!
We did a lot of research on lumber before purchasing and ended up going through a local lumberyard, Gilcrest-Jewett for all but the pine 1x's which were purchased from lowes since the lumberyard didn't stock them in as many varying lengths and would have to mill them all from 1x4's. We used white birch purebond plywood. I understand Home Depot also carries this brand and may have been a little cheaper but the lumberyard cut all the pieces. Since we don't have a truck, hauling two 4x8' sheets of plywood wasn't an option and they can be super accurate with their wall saw. Totally worth it.
The instructions for the doors say to use glue and nails but we took it a step further and secured each board to the one before it using pocket holes, in addition to the glue. We then covered the pocket holes with the 1x3's, securing with 1 1/4" finish nails.
This was our first experience with edge banding and it really makes everything look so much more professional. If I were to give any tips, I would say to put it on the fronts of the shelf before putting the 1x2" frame in place so you can hide it, and also that I found it to be easier to use my sheet sander to get the edges off instead of a razor blade as the instructions suggest.
This was also our first experience with doors. I found that paint sticks work well to achieve that perfect gap around the edges. I should have measured and not assumed but we ended up having to add a piece in the middle of the two doors because the 1x3's (typically 2 1/2" wide) were just under 1/8" too narrow. Make sure you measure those boards before putting it all together.
In the end, we're thrilled with how this turned out. It's a real solid piece of furniture that's made to last. We actually looked at this piece at a West Elm and the floor model felt flimsy and thrown together. Great plans, thanks Ana!



Tue, 10/07/2014 - 09:59
What a beautiful build! Thanks for such clear, concise descriptions (and pictures) of how you built it.