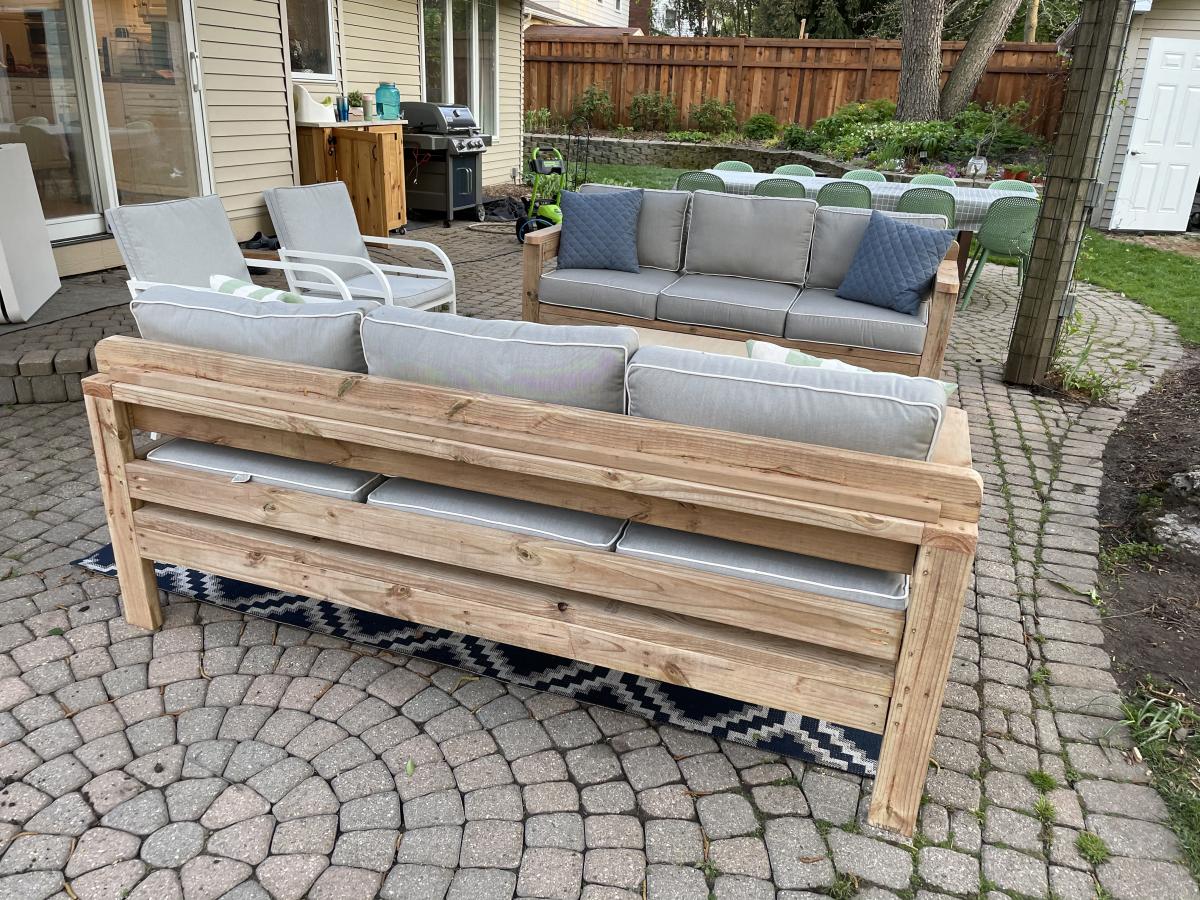
Truss Beam Table 35x60 size
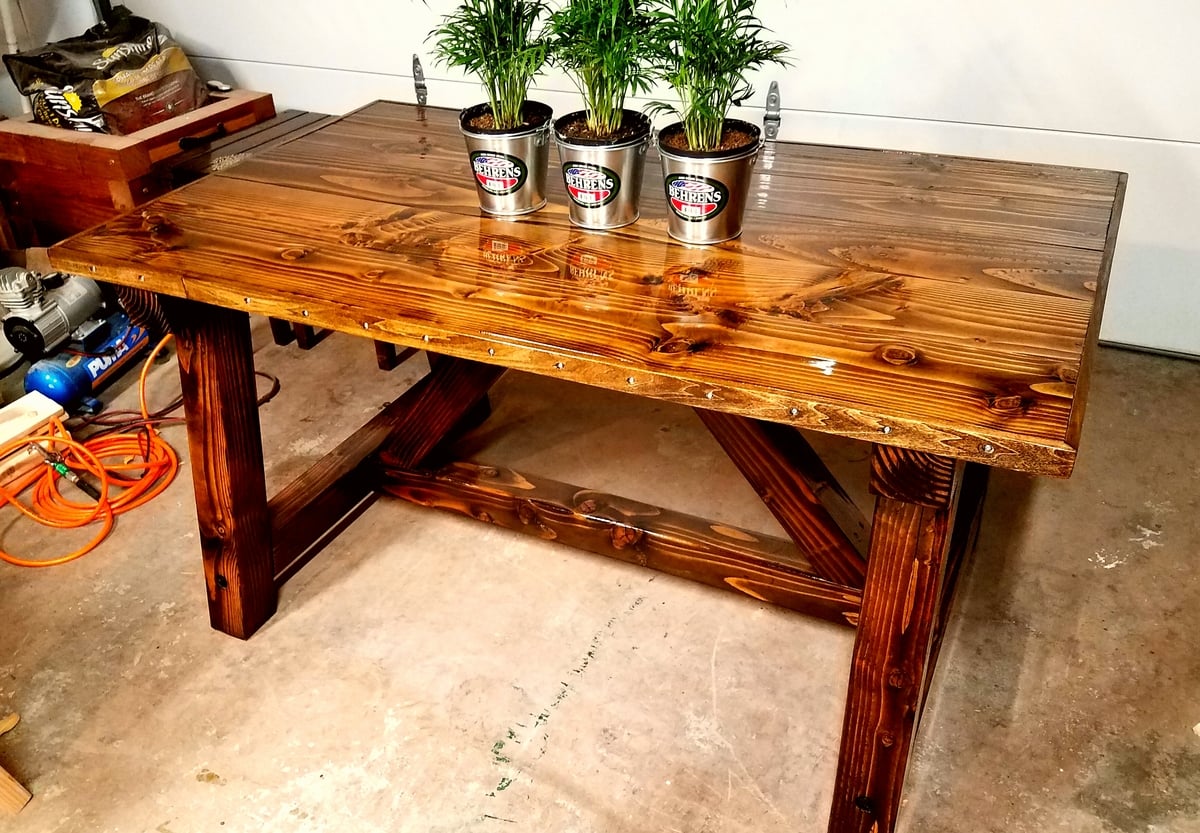
Truss Beam Table size 35x60
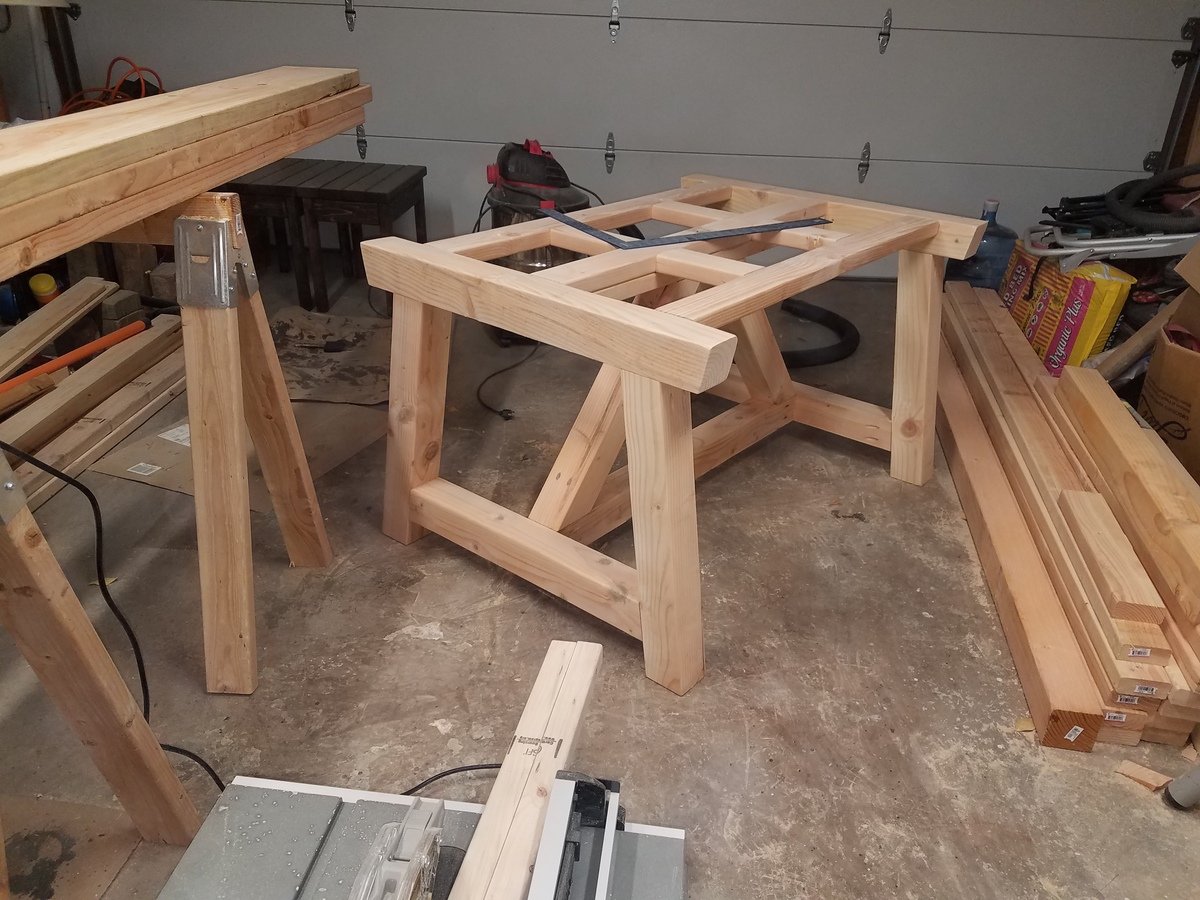
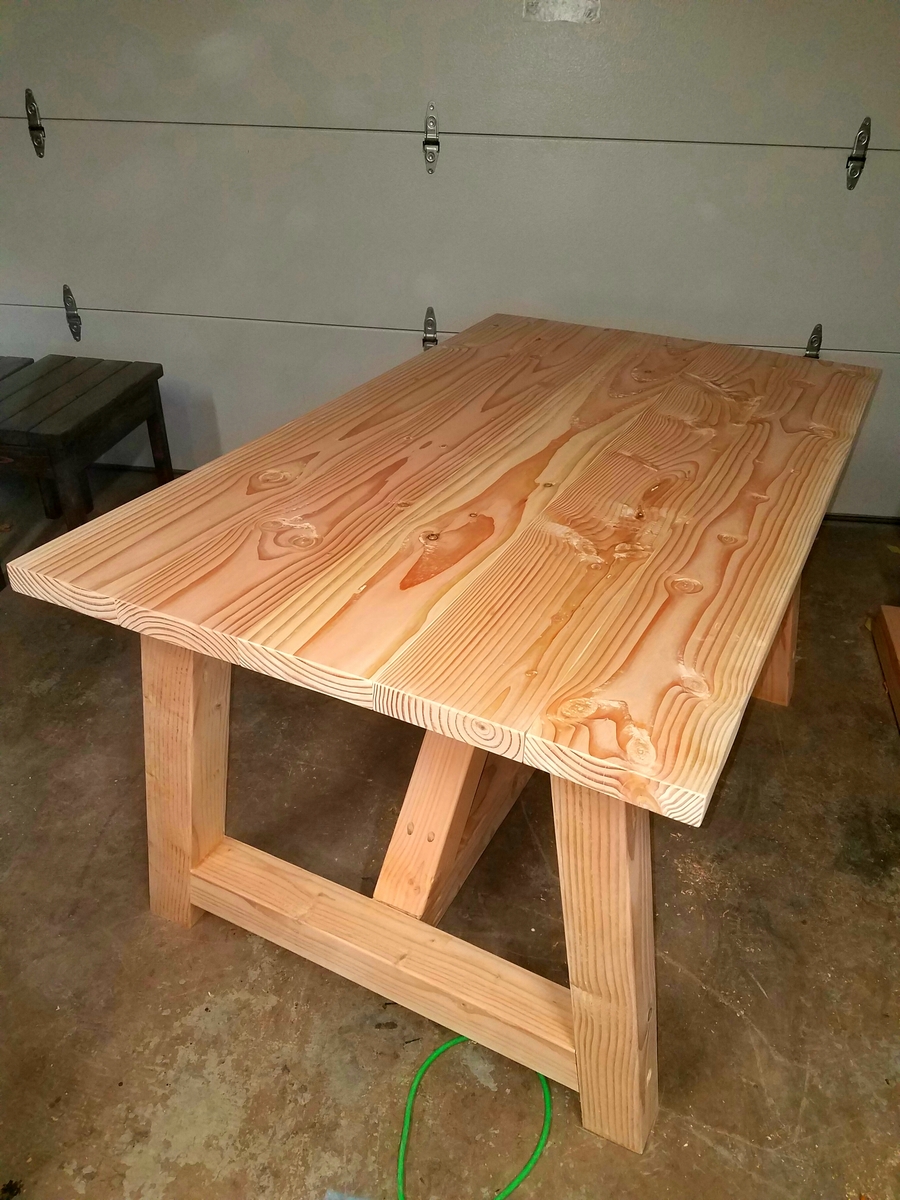
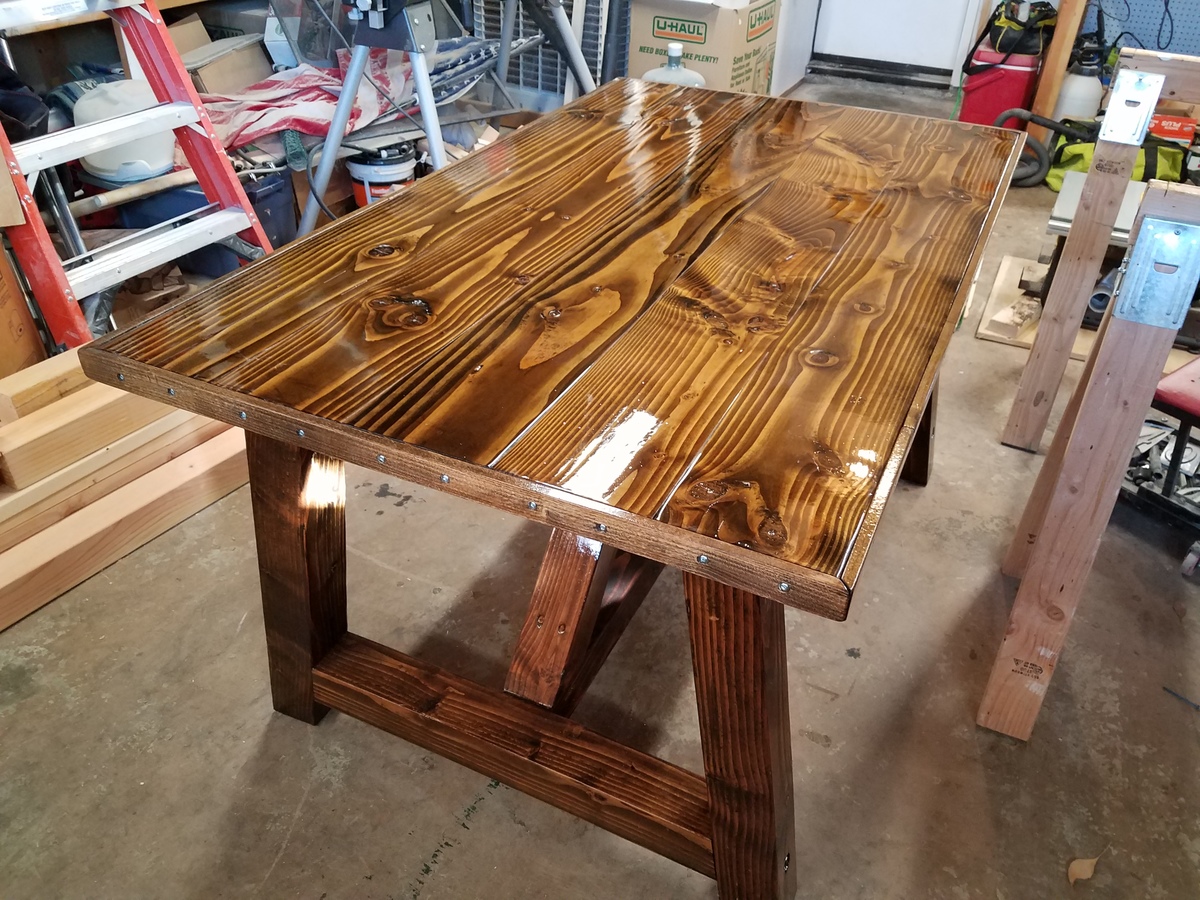

Truss Beam Table size 35x60


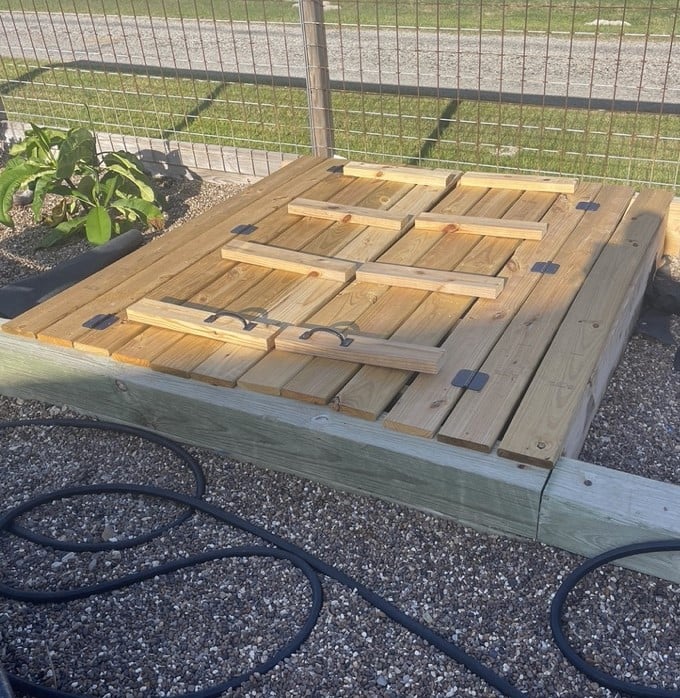
Followed the plans for the sandbox for my granddaughter. She absolutely loves it and so do I since I have a seat I can sit at! I did enlarge it a little so added some supports. It works so great. - Sandy
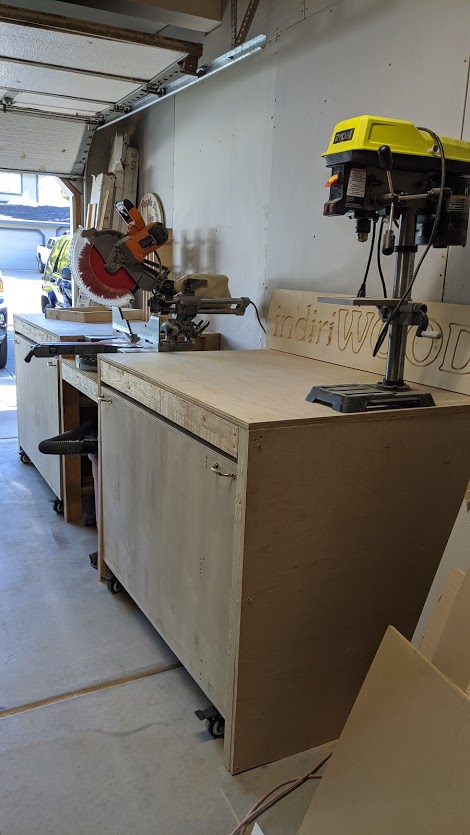
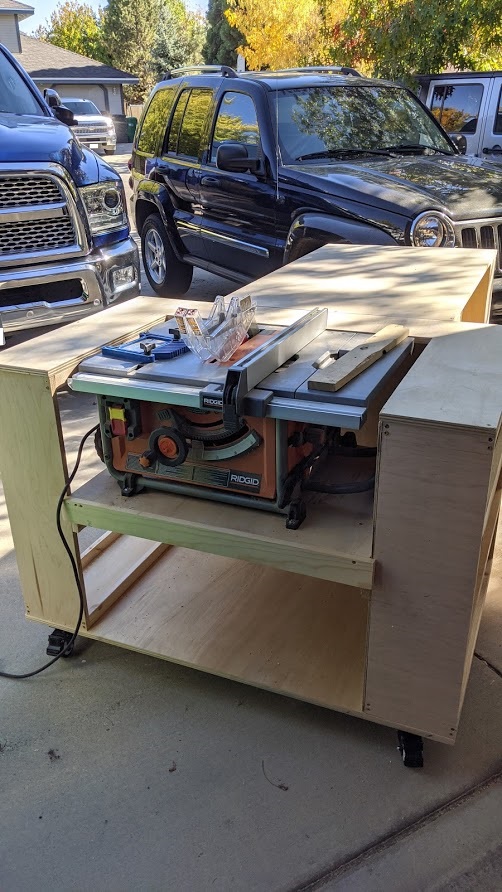
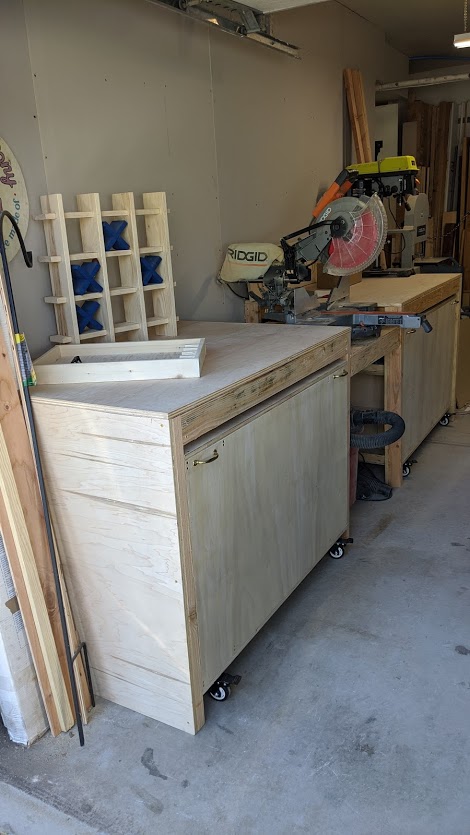
I have a one car garage for my "shop" which means I can be really short on space. This build is perfect for saving space!
I made a few adjustments for the bigger saws (it's deeper and the center part is wider). I also used screws more in places that it called for nails but I wanted to be sure nothing would budge and also I didn't put the shelf backing on the one part where the table saw is in so I have better access to the saw while it's in place. I tried to use leftover wood I had in the garage wherever possible but I still had to buy 2 sheets of 3/4" and 1 sheet of 1/4".
Since I used more screws I may pretty up the front later with trim, I don't know. TBD
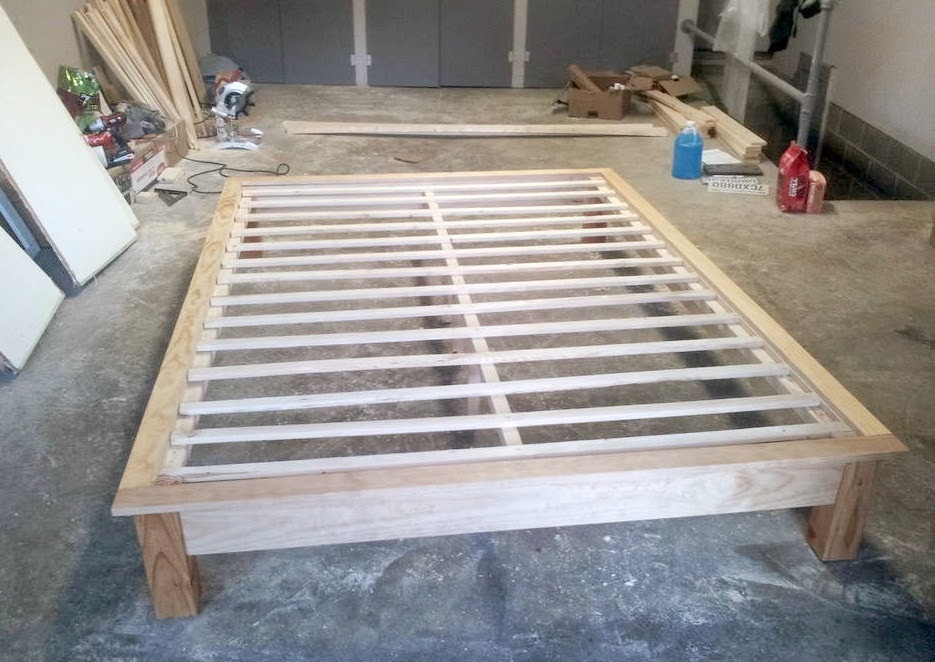
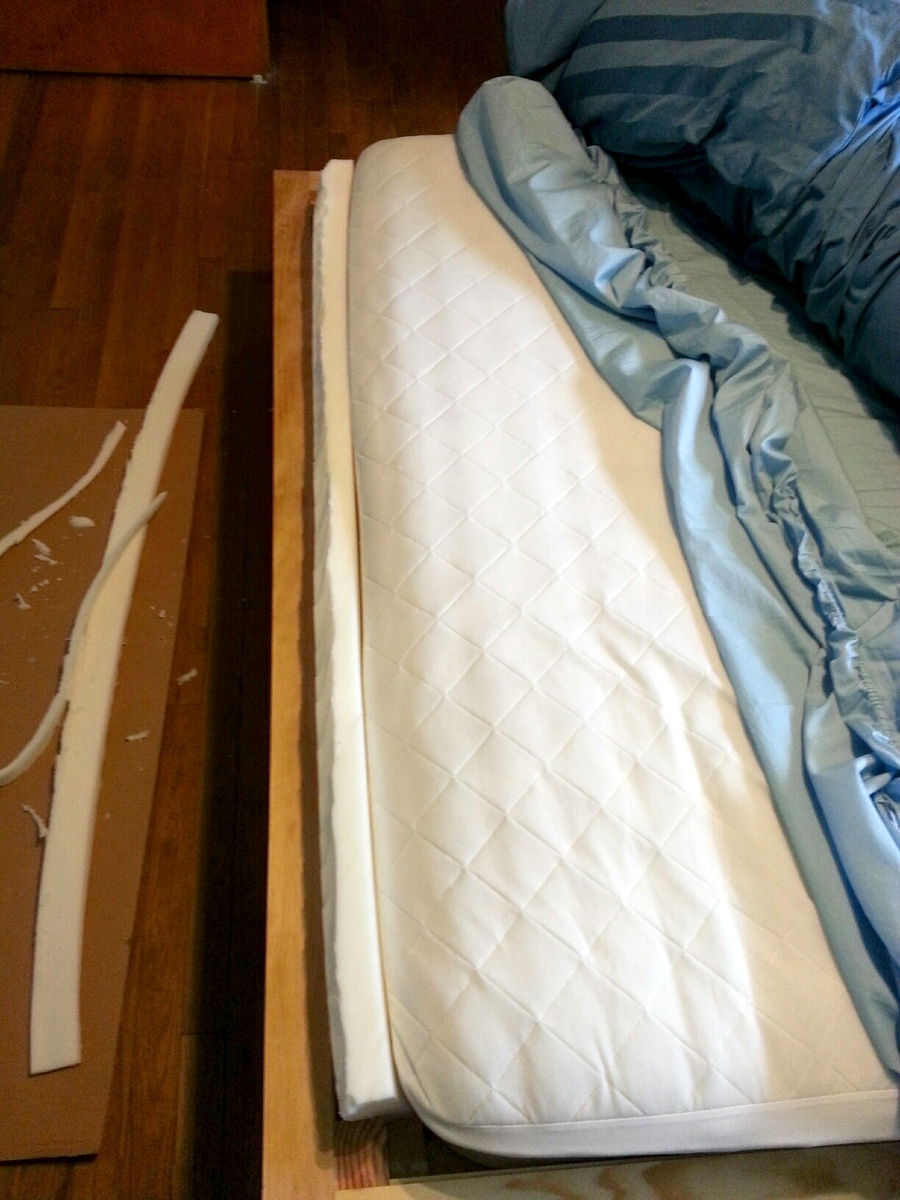
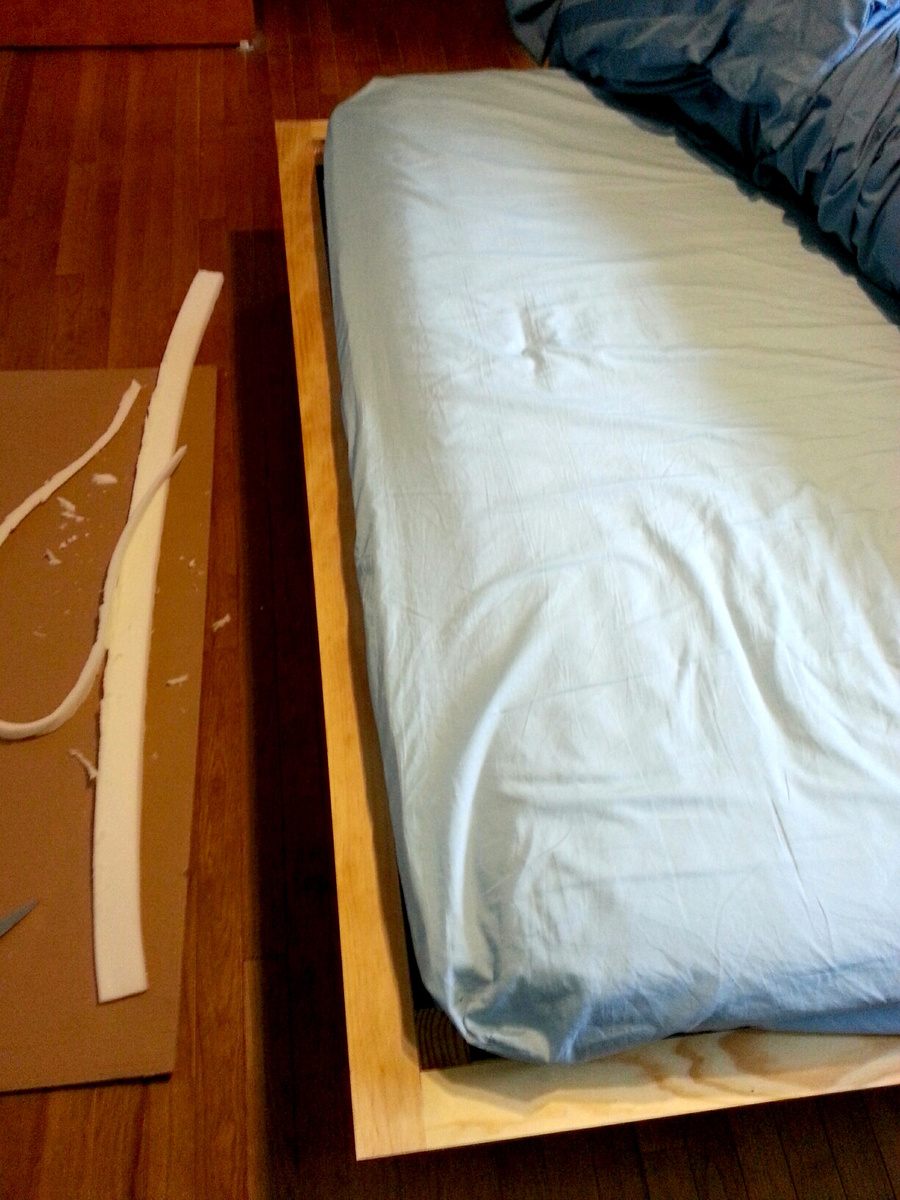
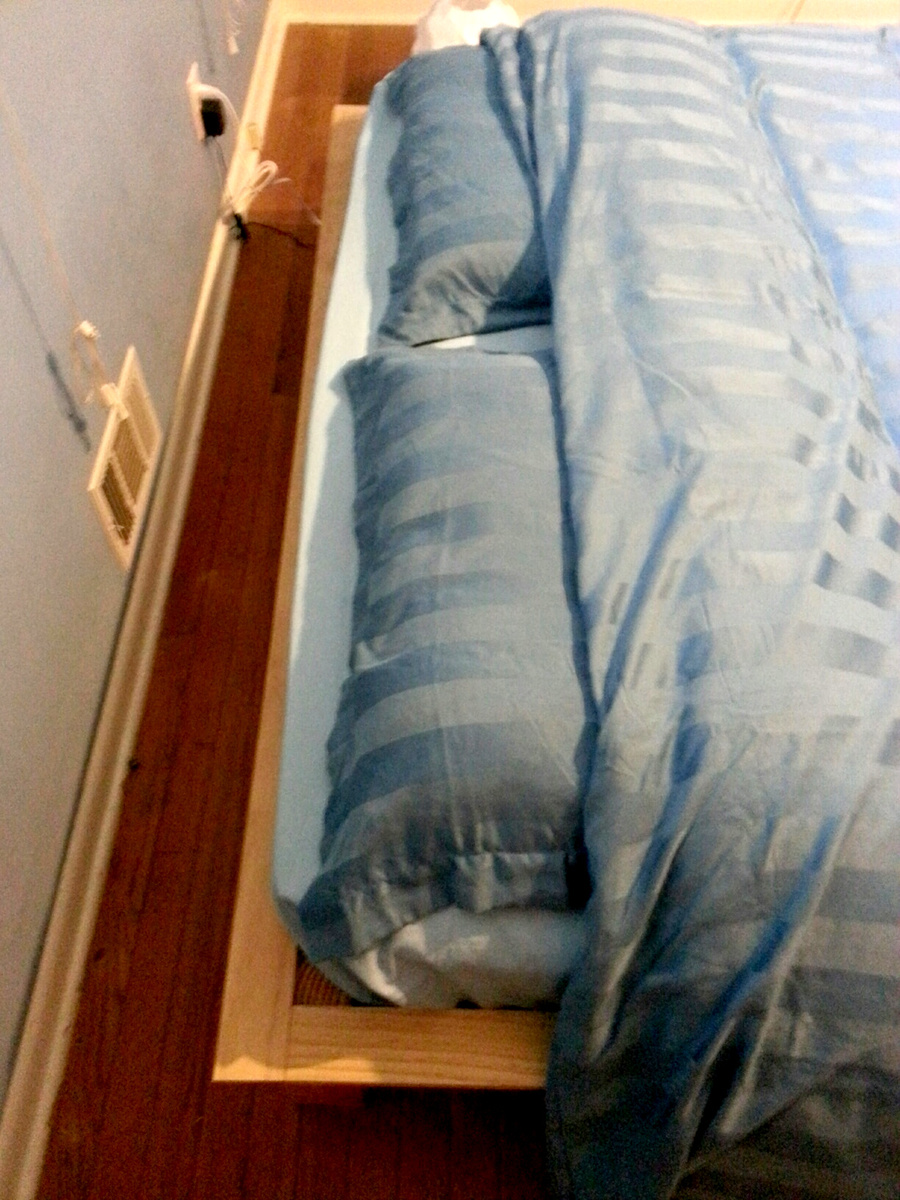
My hubby is 6'5'' tall. Since most matresses are 80 inches long, he mostly ends up with his feet hanging out of the bed (since you don't lay your head down at the very beginning of the mattress, right?). So I tried to solve this problem by making the bed 4'' longer than the plans suggested. I added 2'' of foam on each end of the bed, so now its 84'' long and my hubby fits perfectly!
Thanks for the great plans, I had a blast building my own bed!
My first project, something I took on with my kids. Lots of fun, errors, and lessons learned. Used an hvlp for stain and poly, so much faster and easier than brush or rag staining.
Thanks for the inspiration and instructions.
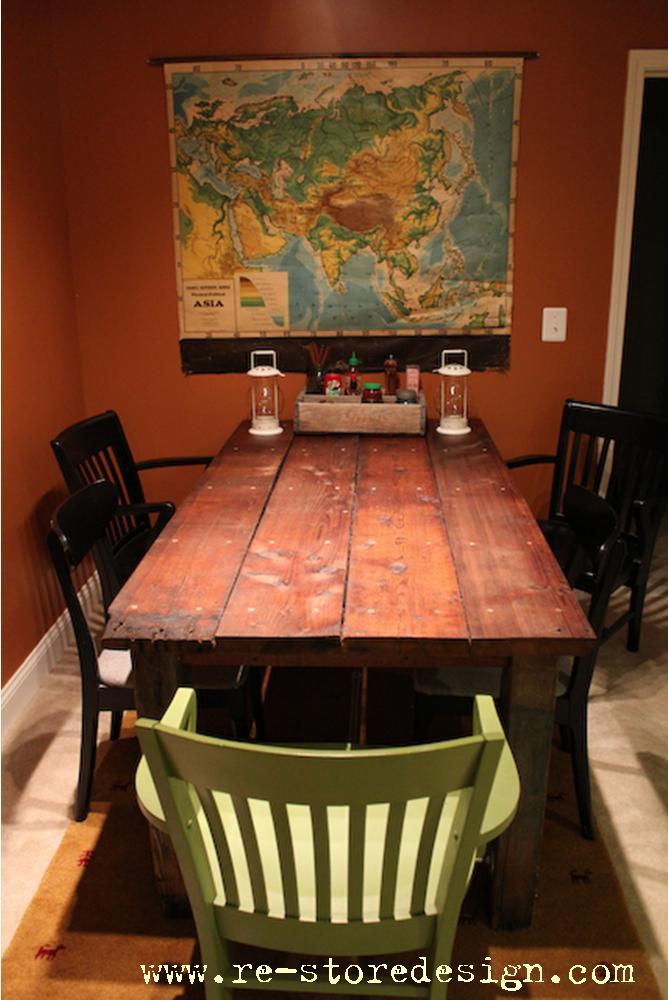
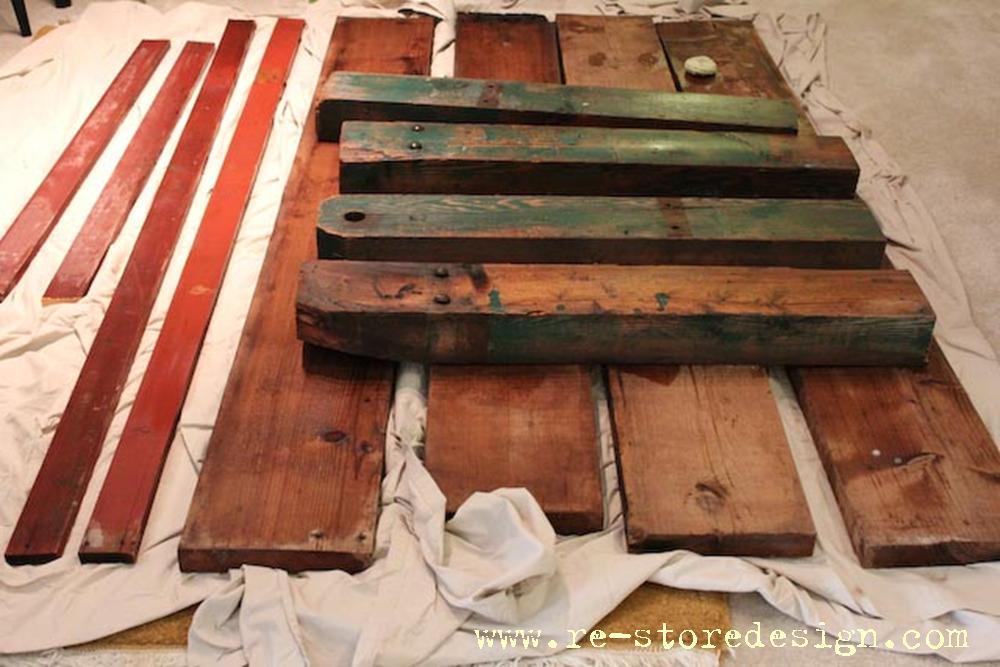
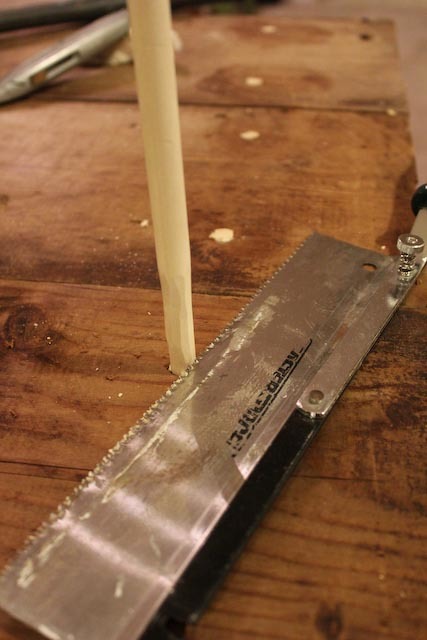
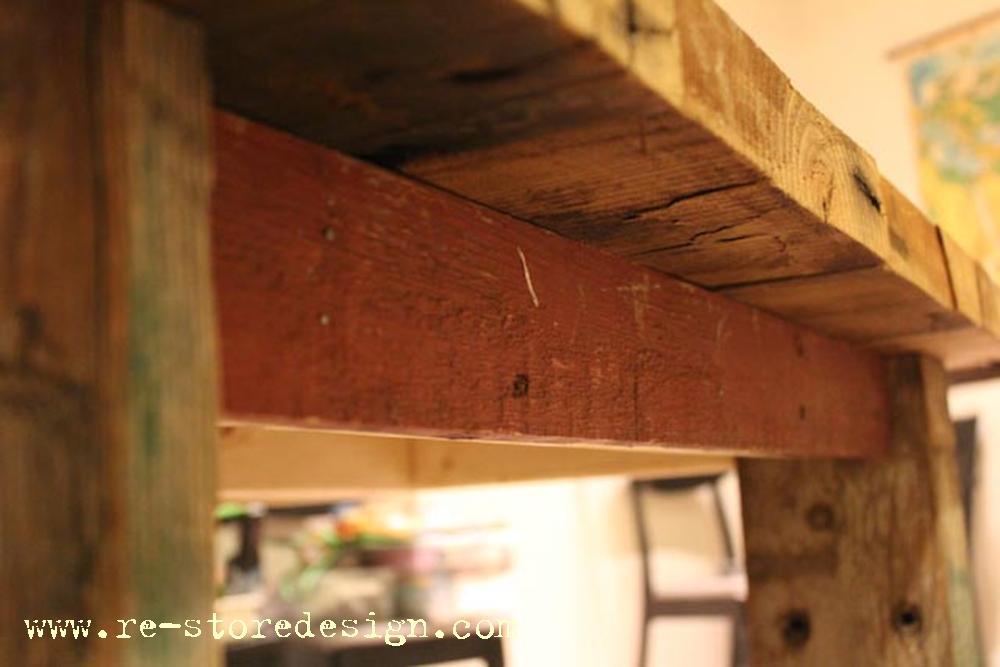
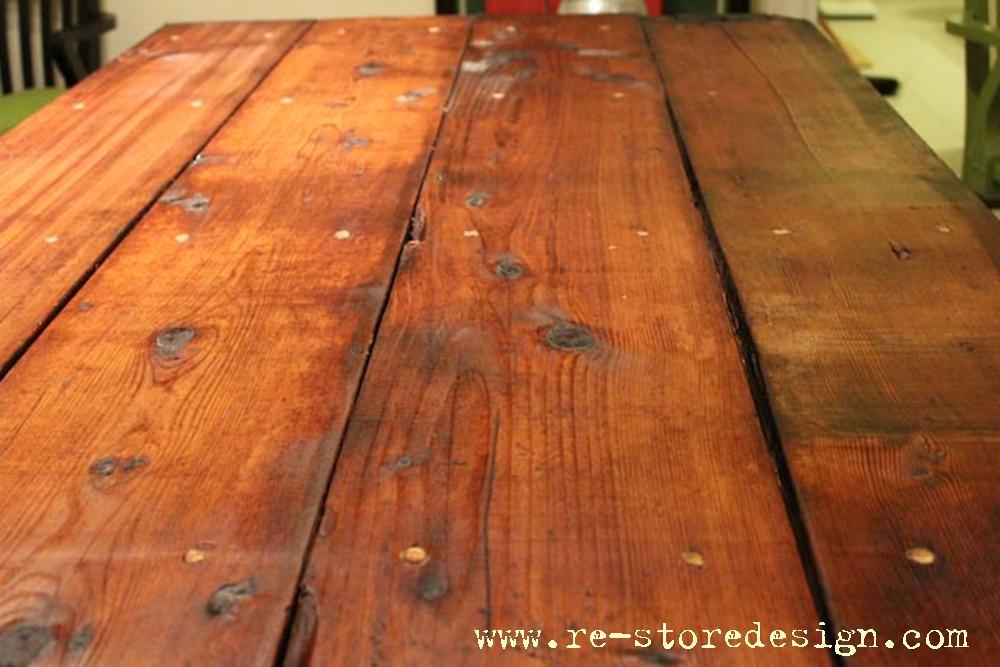
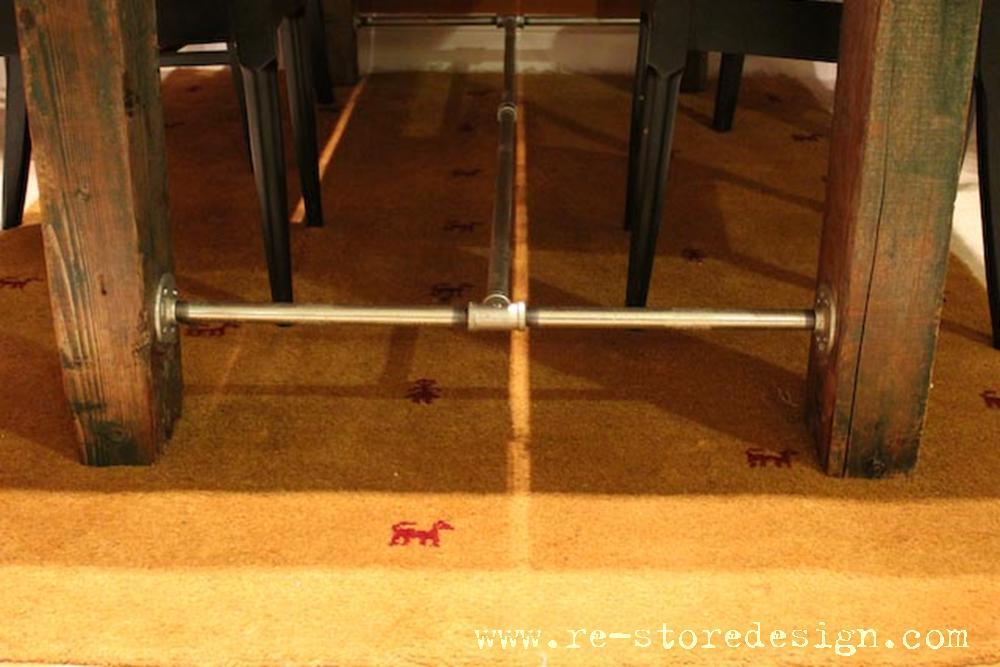
We recently moved from our small Minneapolis Bungalow to an apartment in Maryland. It was the prefect opportunity to build the Farmhouse Table plans I had been admiring. When we went to my parents farm in North Dakota for Thanksgiving we spent a couple hours digging through the barn to find old barn wood for the project. The wood then made the 1,400 mile trek to our new apartment in Rockville. Yes, you read that correctly…the table was built in our carpeted apartment! No excuses people…you can make this table in your apartment! If you do not have access to a saw your local big box home improvement store can make the cuts for you. If you go that route the cut list Ana has will come in very handy!
I do a fair amount of woodworking, so I was able to complete the project in one day. If this is your first project I would allow a weekend to finish it.
Wed, 01/16/2013 - 02:25
wow this is stunning, you must be thrilled with the end result!!
This is only the second project I've done, and I think it turned out great. I modified the measurements so that it fits 3 on each side and 2 on each end, 10 total (but it can seat more; the table is huge).
All I have is a band saw and a drill, and that's all I needed! The legs and support are Doug Fir from HD. The top is all 2x10's that I bought at a lumber yard so that they would have it kiln-dried and have the edges re-sawn. The only 2x10's I could find at the big box stores were green.
I finished it by sanding with 100 grit paper (I read not to over-sand doug fir for staining purposes), stained with one coat of Special Walnut (two coats on the breadboard ends), and 4 coats of satin poly.
This table is a tank. So glad I assembled it indoors, as we would have had trouble getting it in the house after it was all put together!
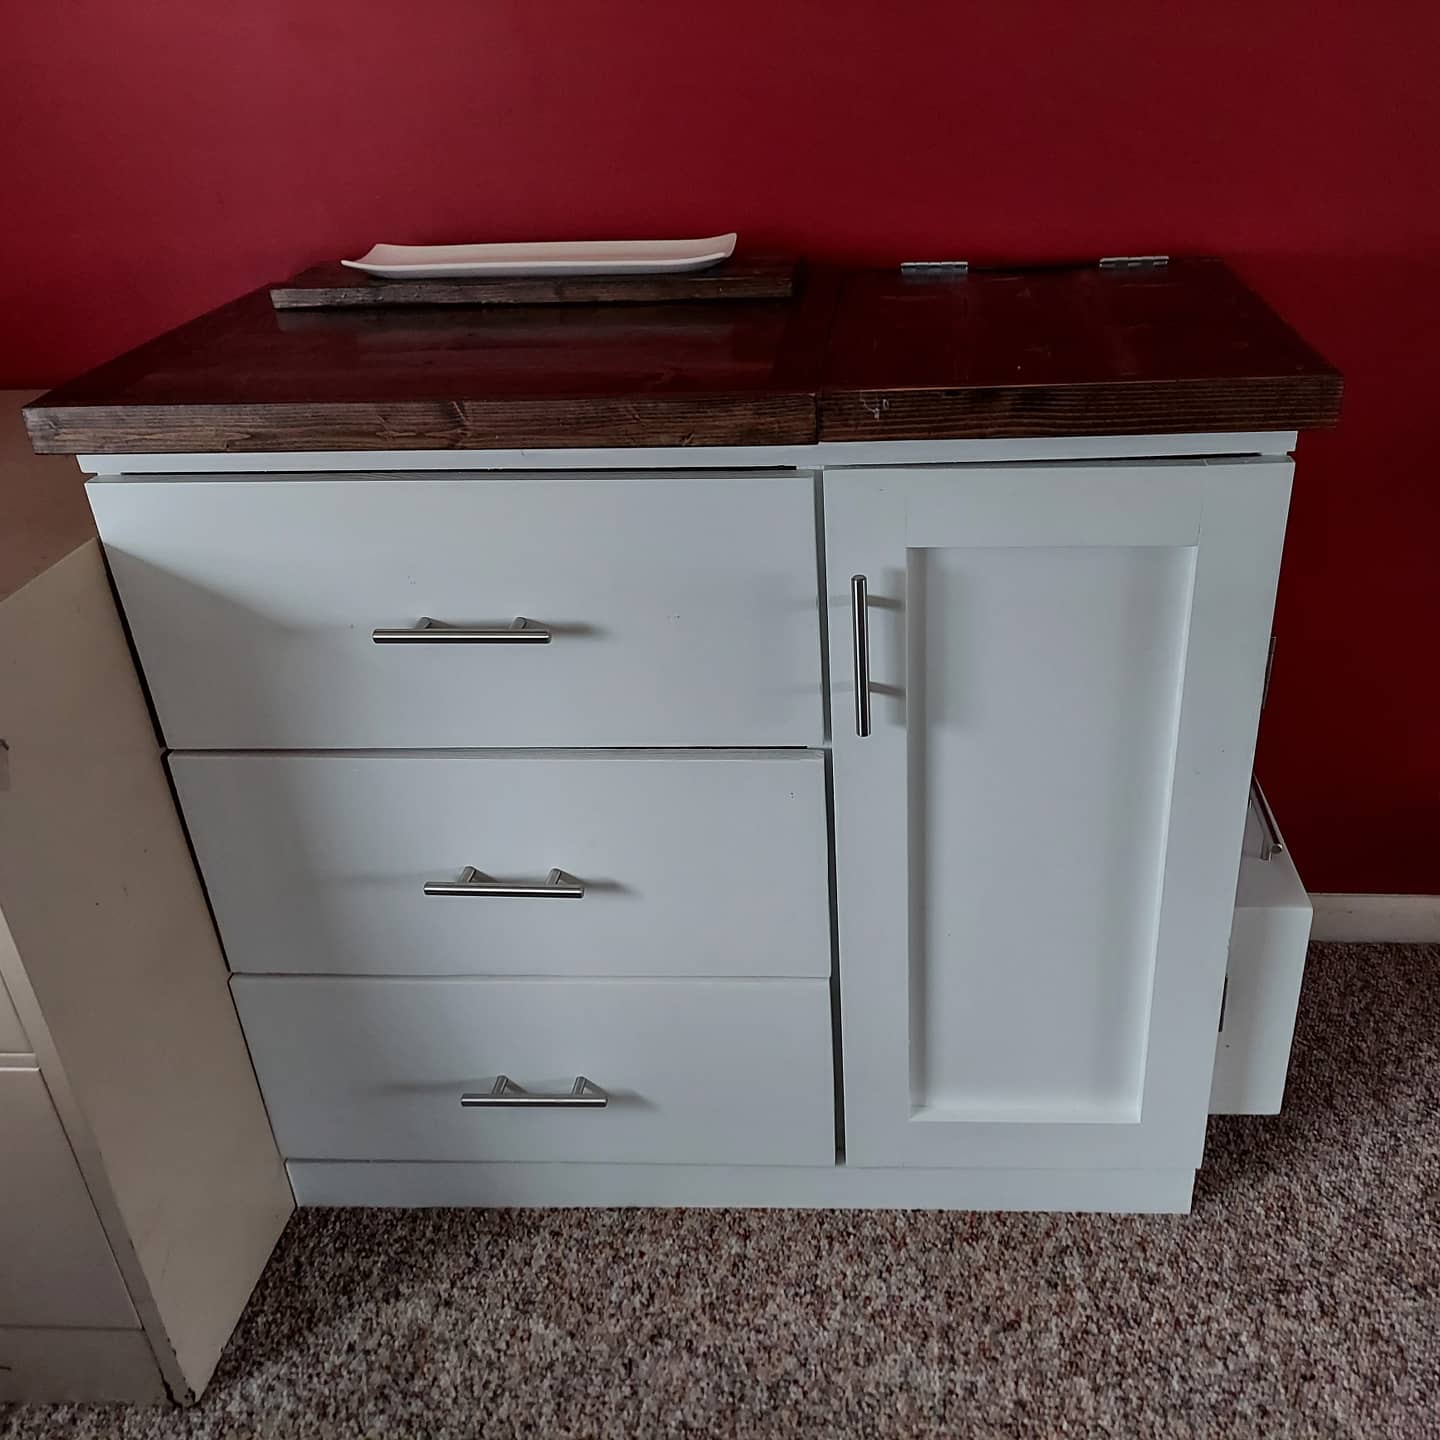
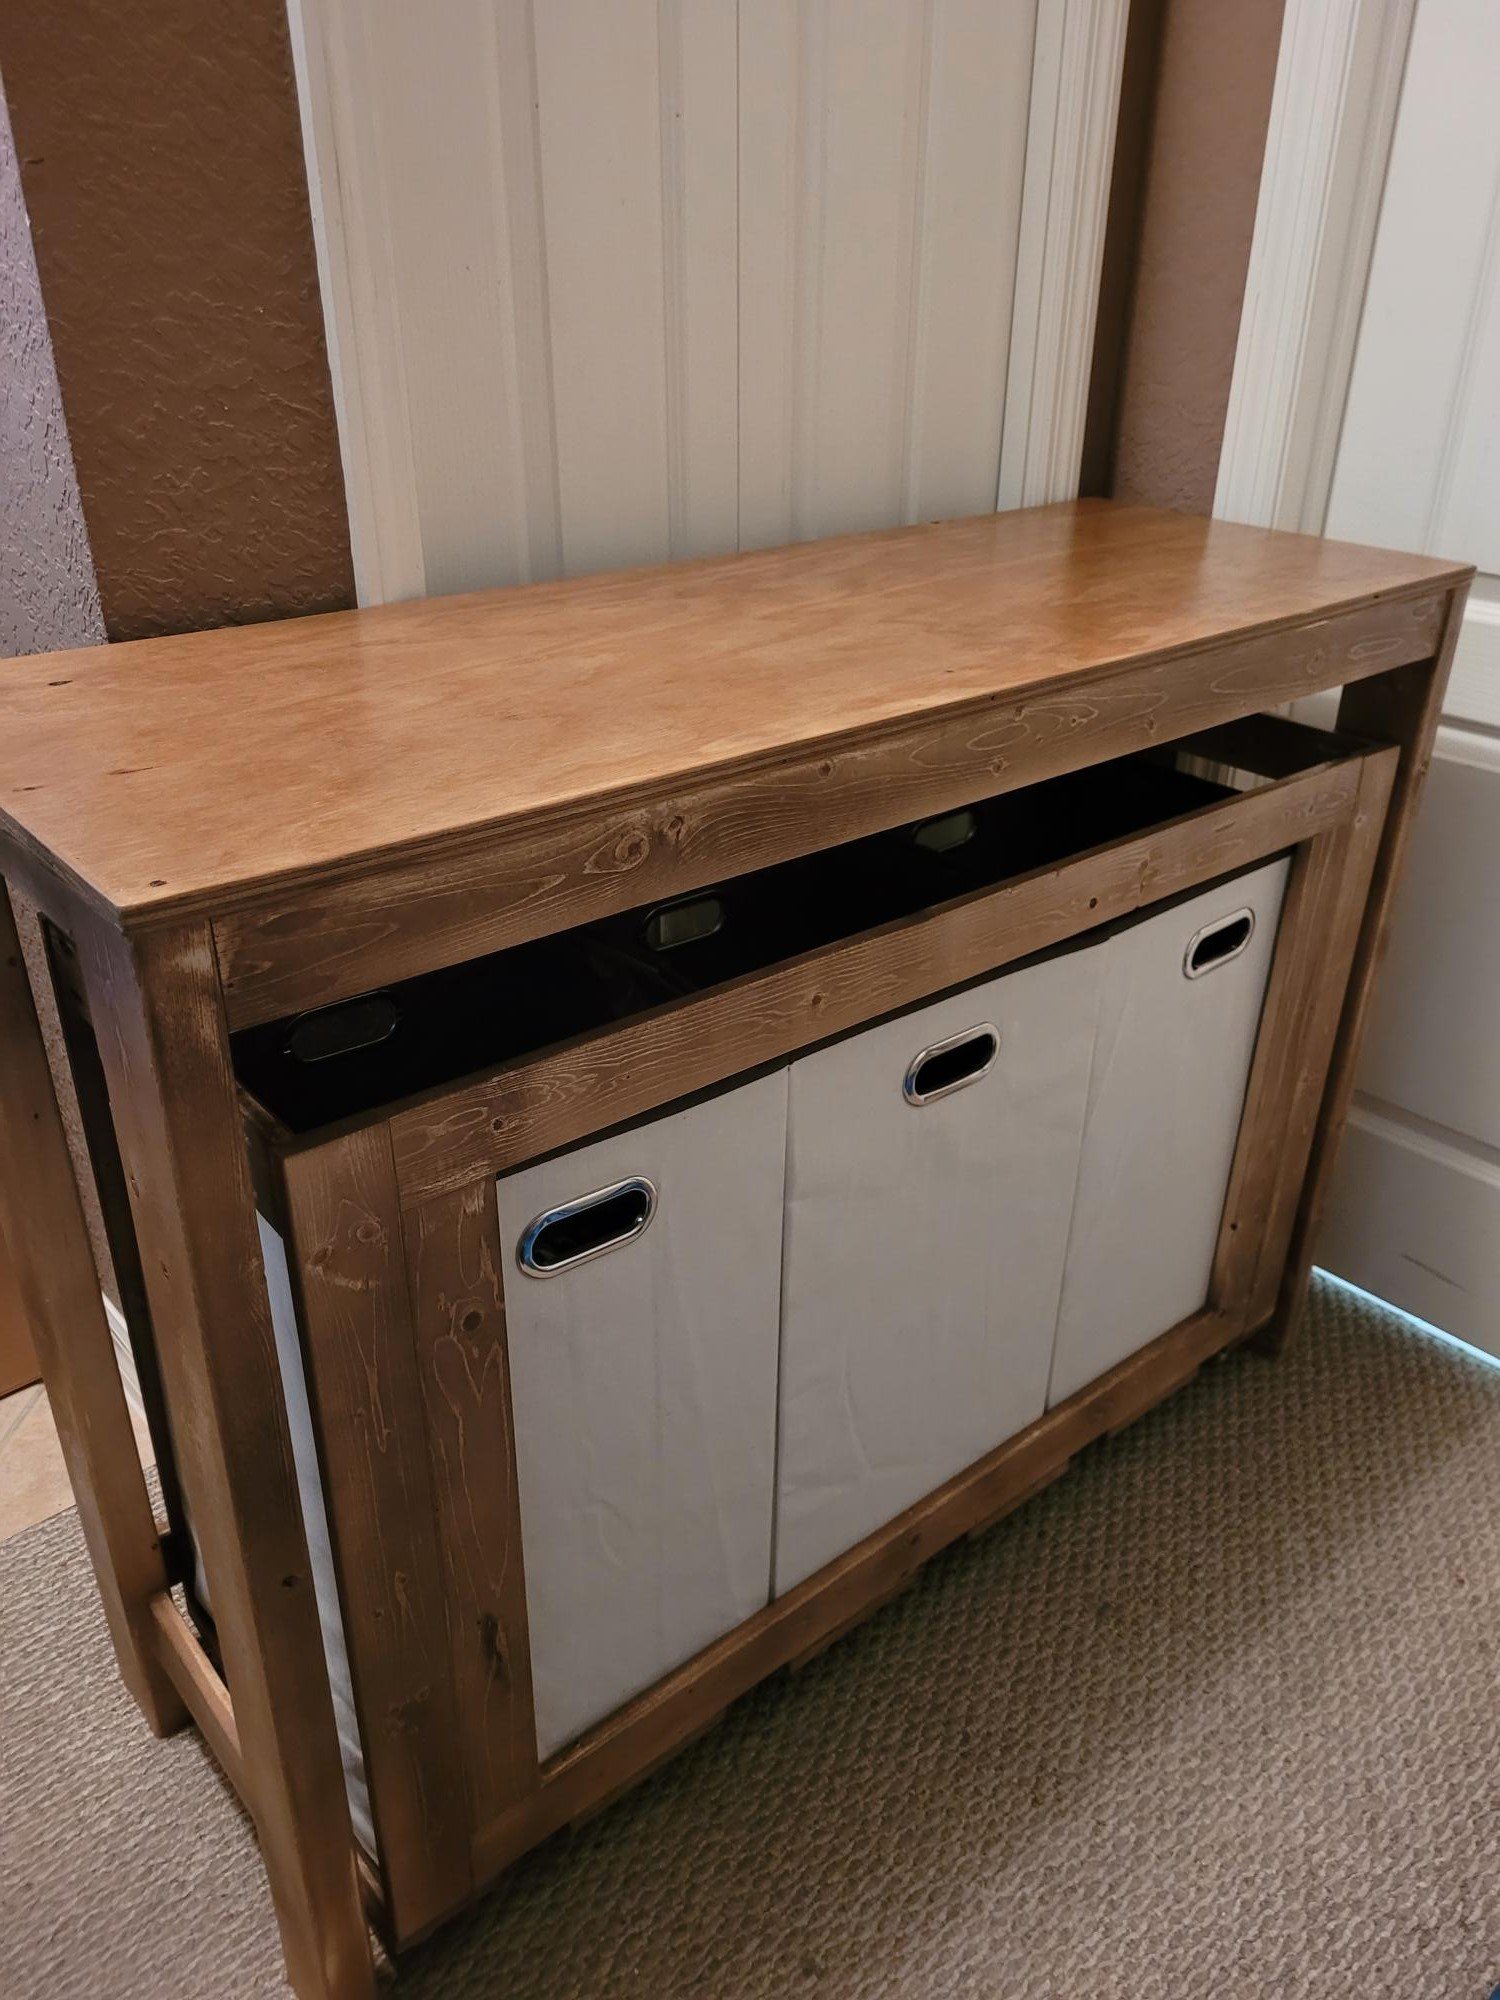
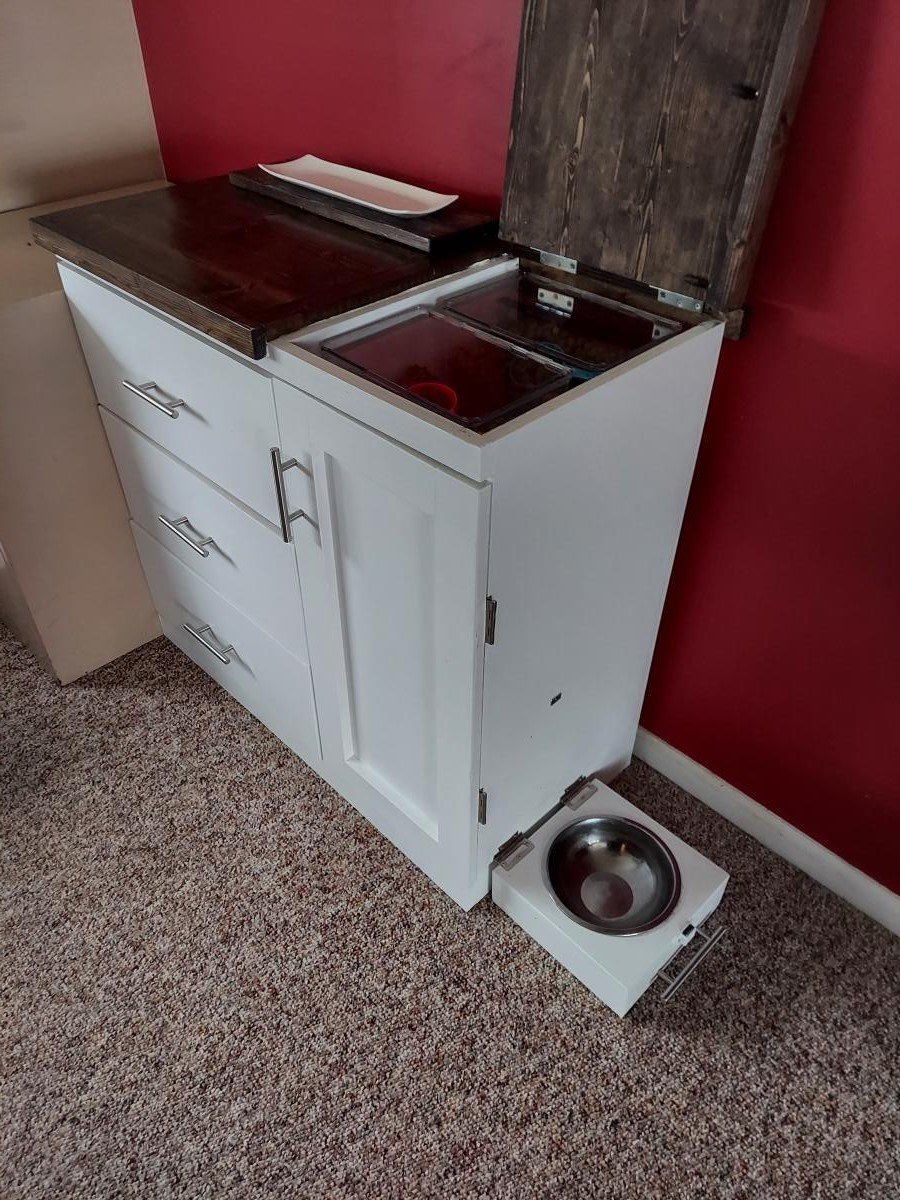
Modified plans for the modern patchwork dresser so part of the top opens for access to pet food storage bins.
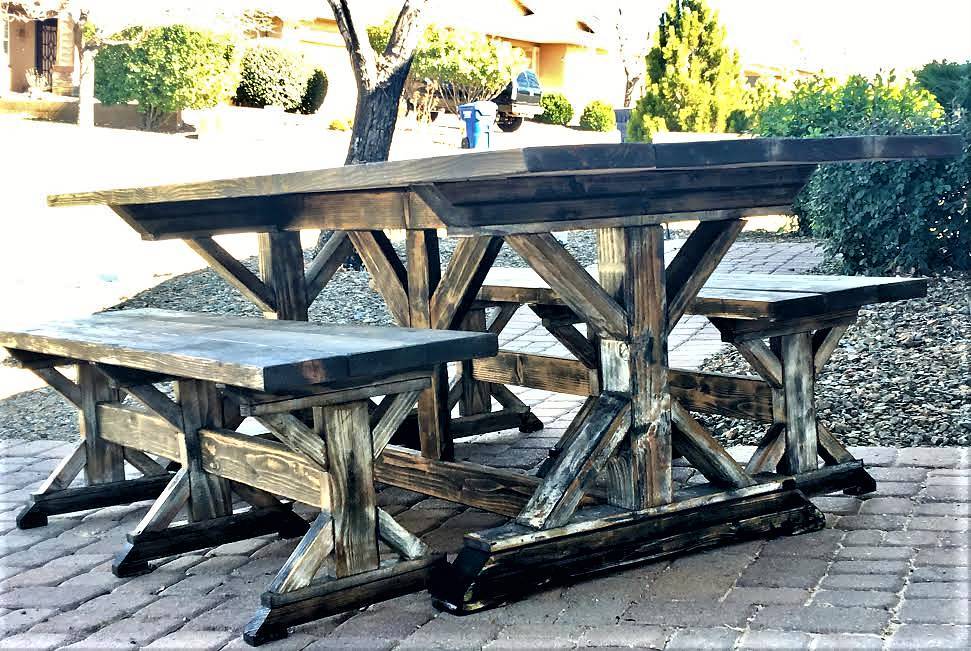
Using the plans for the farmhouse table, I took them and modified a bit and this is what I have come up with...so far... many more projects to come!
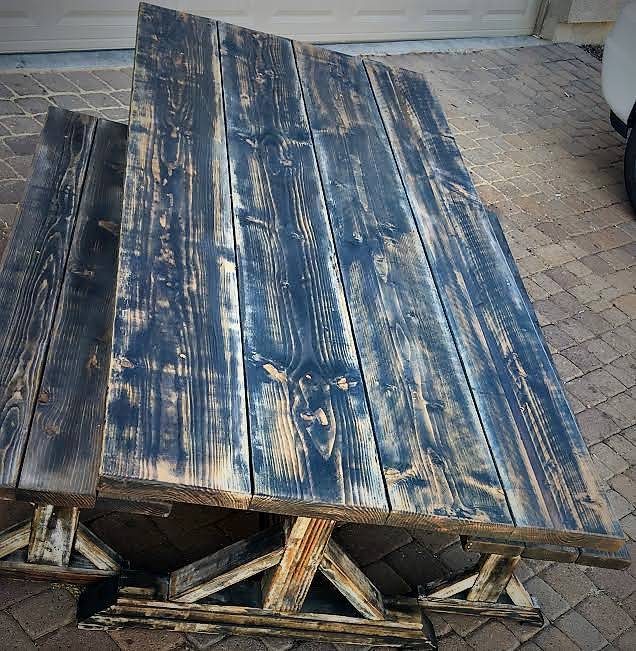
I was planning on building a greenhouse some time next year but I just happen to see this by chance and fell in love with it. I've always built from my own designs but when I saw this I decided to purchase the plans. I couldn't be more happy with it. Right now its doubling as a feed room. I wanted a solid foundation so I build a floating deck to mount the walls on. The deck added quite a bit to the total price.
Wed, 12/23/2020 - 09:52
Love that you're able to double it as a feed room, great job on this build!
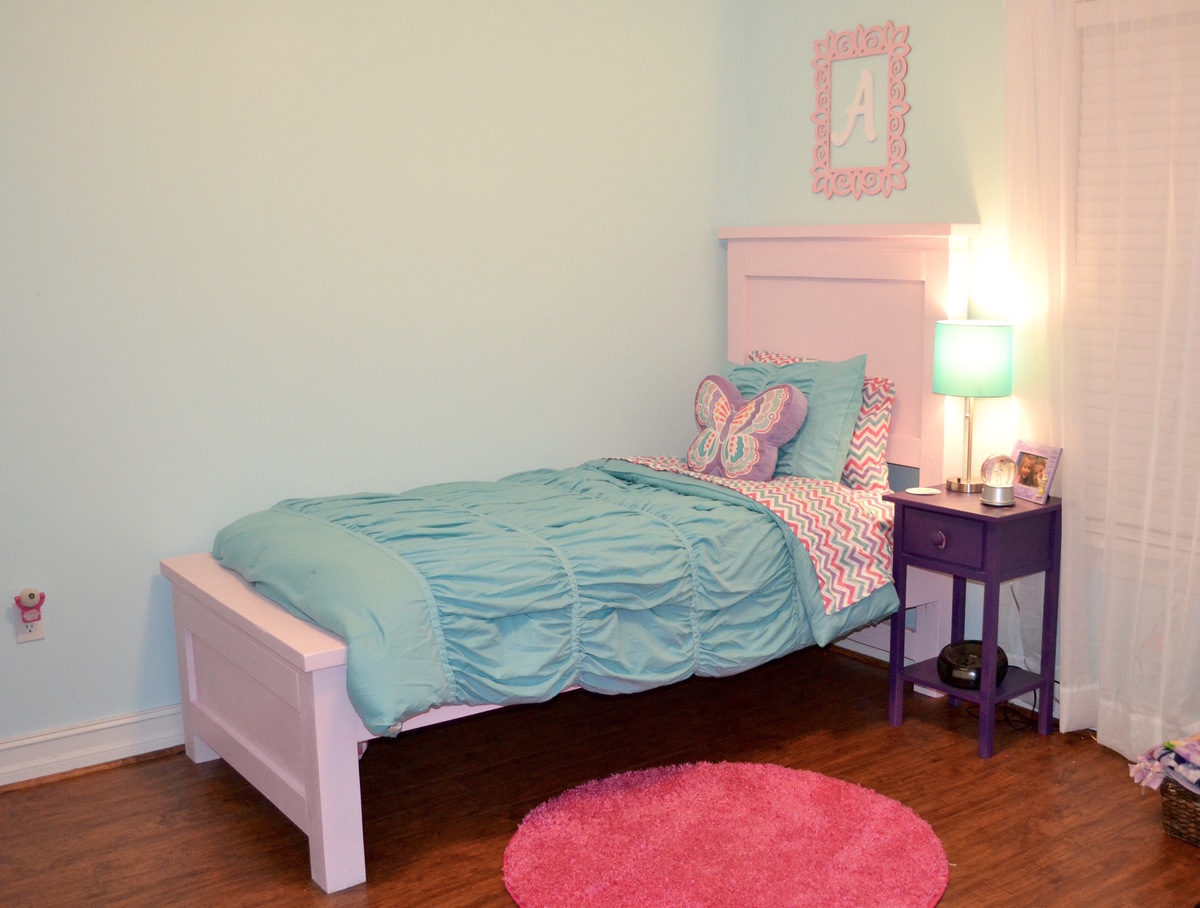
I used elements of both the Emme Twin Bed and Farmhouse Storage Bed to create this perfect bed for my daughter. Thank you so much for your fantastic plans Ana!
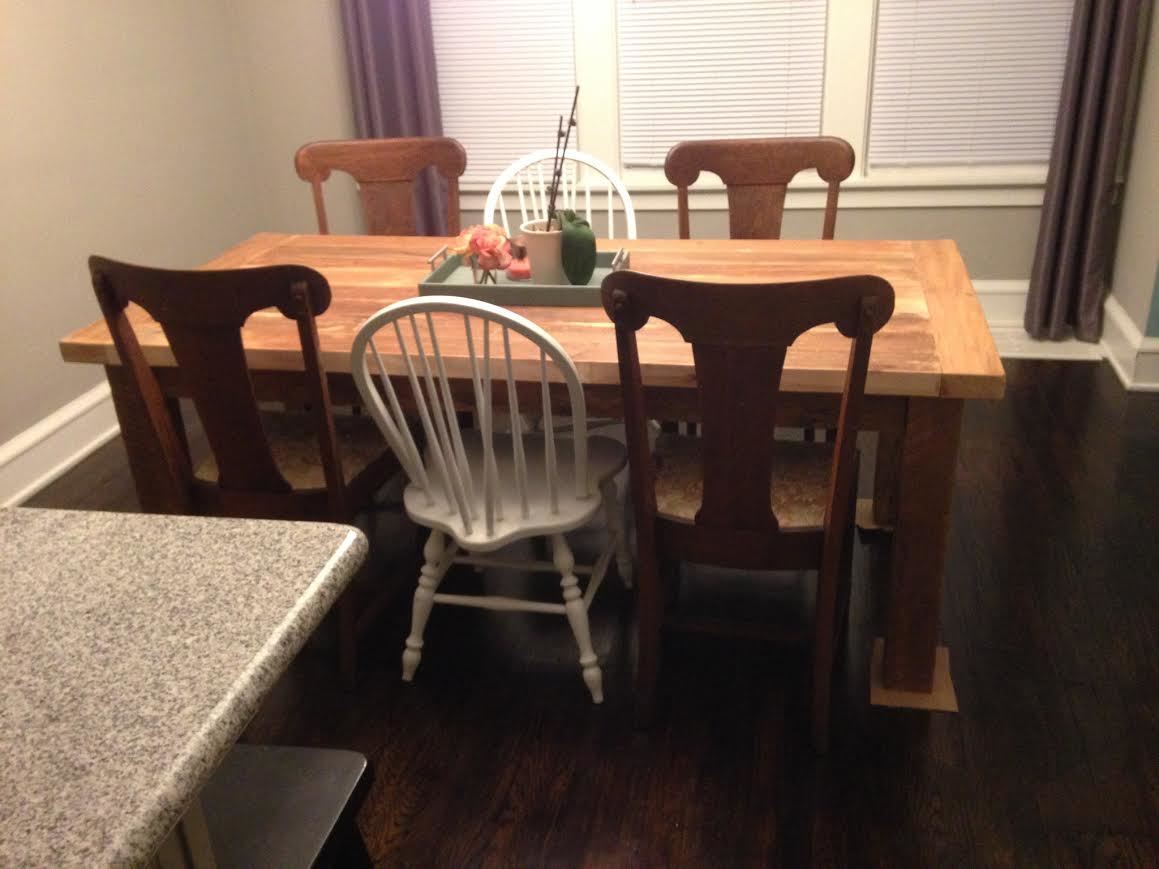
This was a fun project that my Dad and I had the opportunity to work on together. We were able to locate an old barn that and recently been blown over (farmer gladly told us to take whatever we wanted). We salvaged the wood, hit it with a little sand paper that provided the true rustic farm house look. With some modifications and a biscuit joiner we were able to fit this together. All in all I think I spent a total of $6 on the lag blots for the legs.
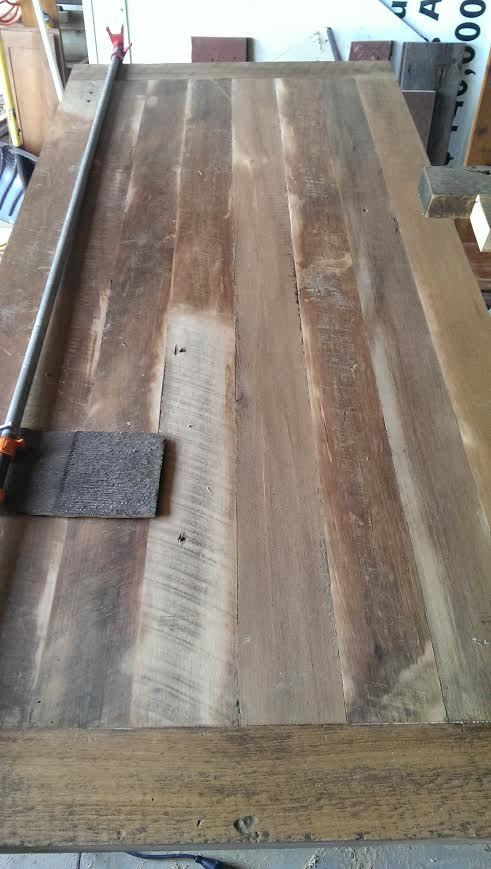
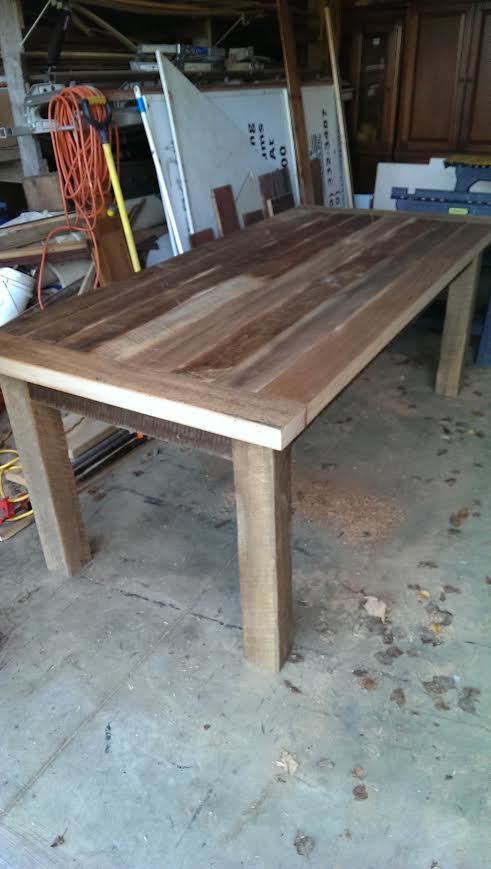
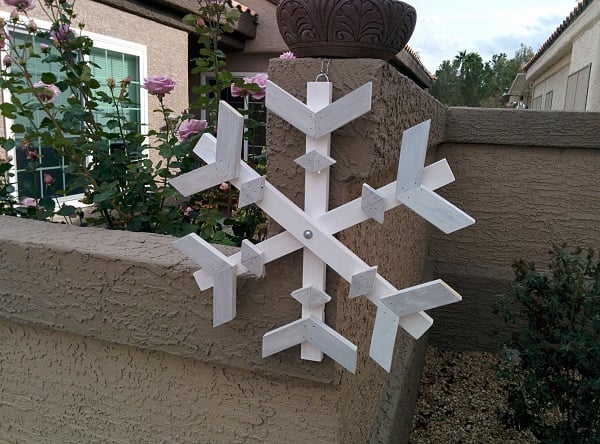
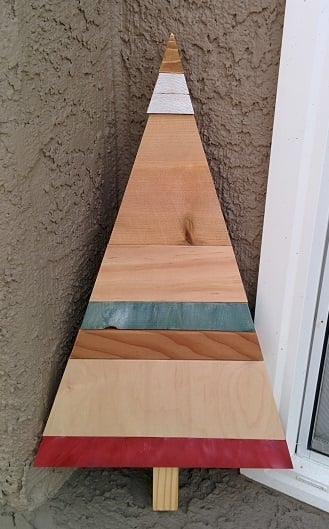
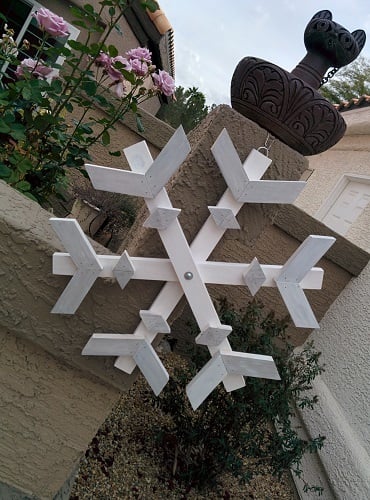
I made a couple of decorations from my scrap wood. On the snowflake, I had some extra parts of 1x2s laying around so sized this down to 20" and used those. The tree is just a bunch of different types of wood I had left over. This was really fun to do.
It took me a little over a day as I had to paint and wait for it to dry before I could assemble.
Thank you for the ideas and plans.
Tue, 12/16/2014 - 19:16
This is beautiful! It's so gratifying to use up scrap and turn it into something like this. :)
In reply to Thanks Pauline by CSaintD
Tue, 12/16/2014 - 20:38
I have a RYOBI giveaway on my blog, you should submit this photo.
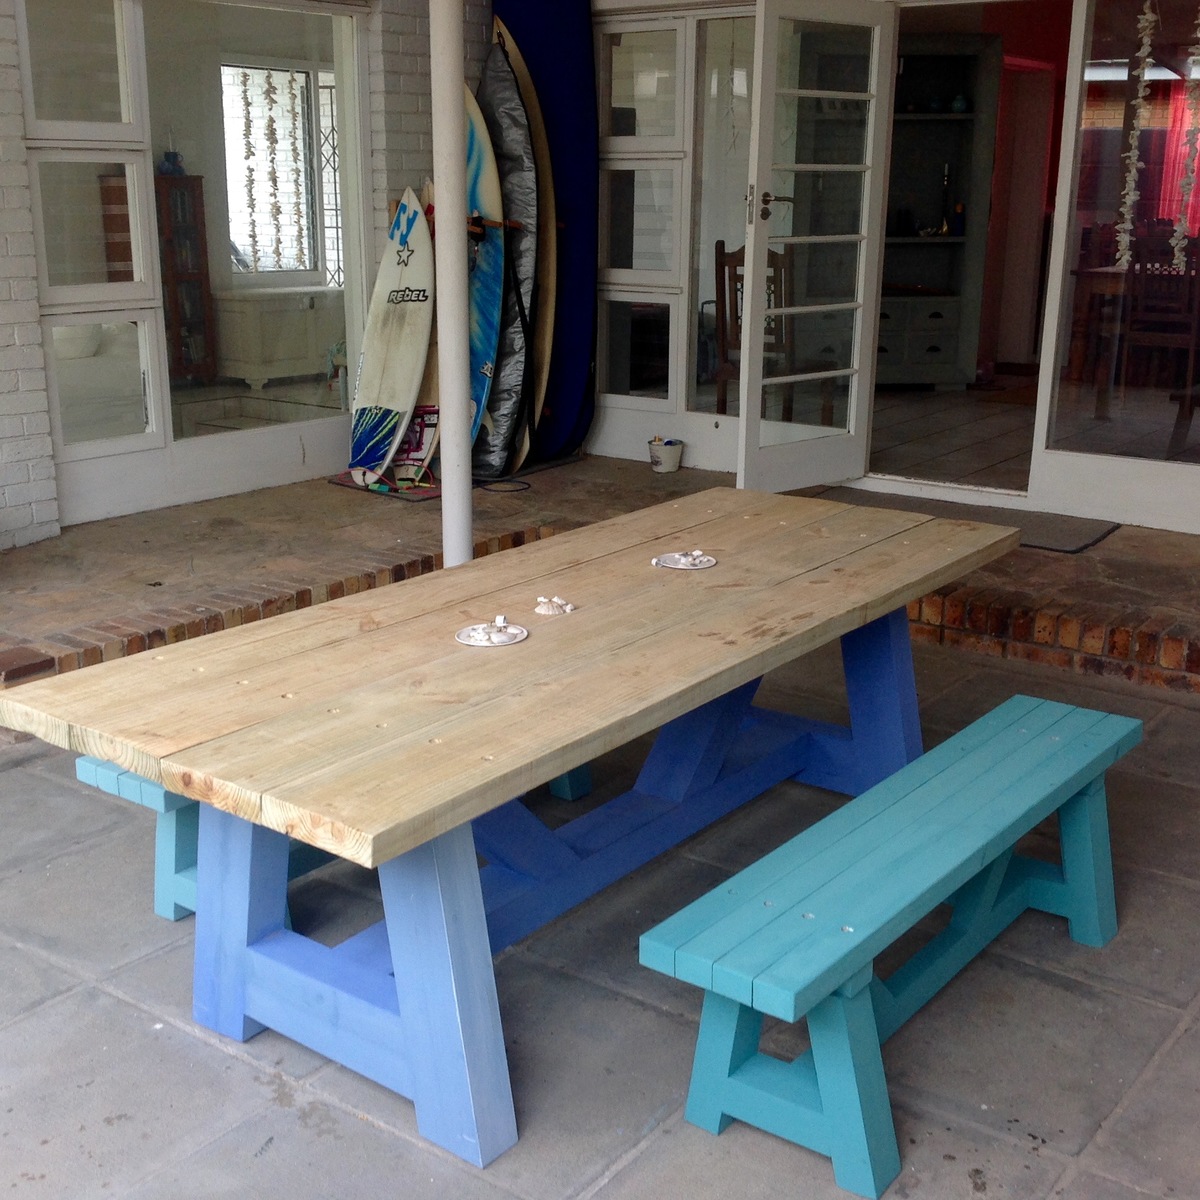
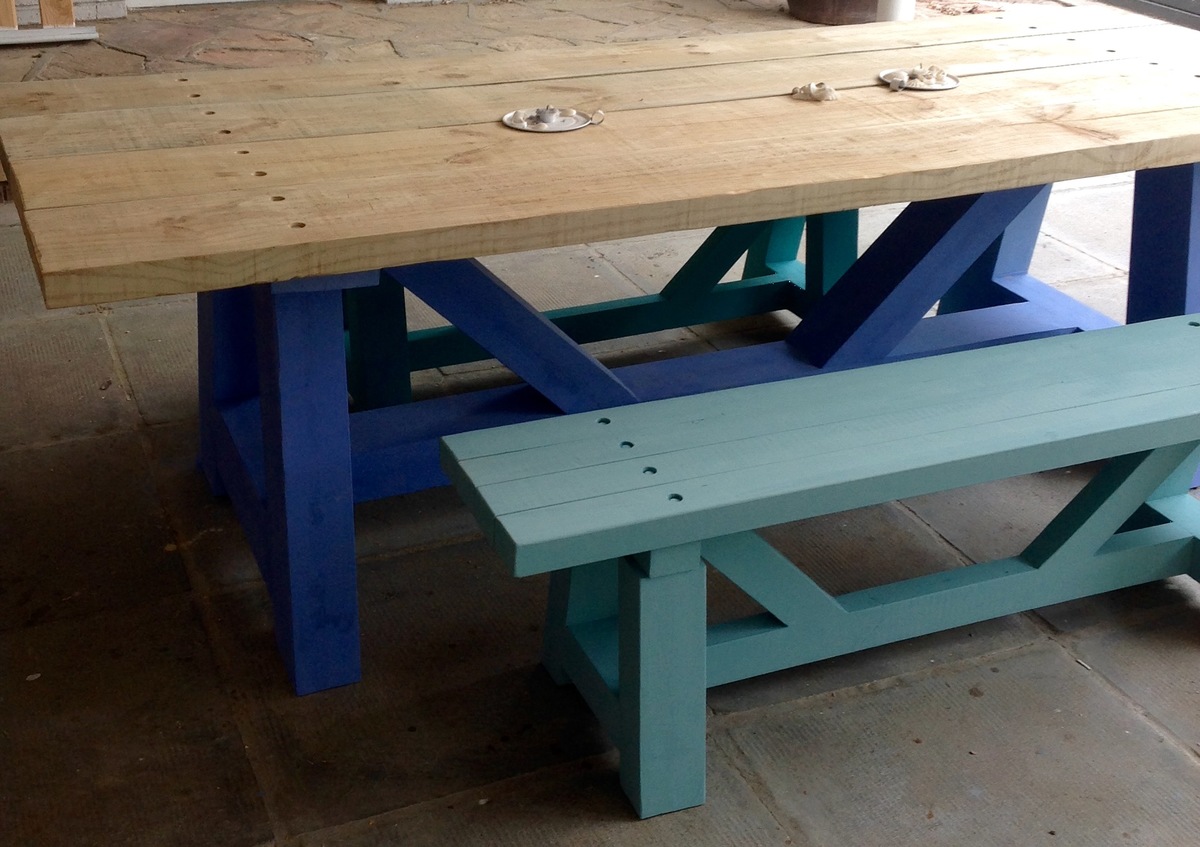
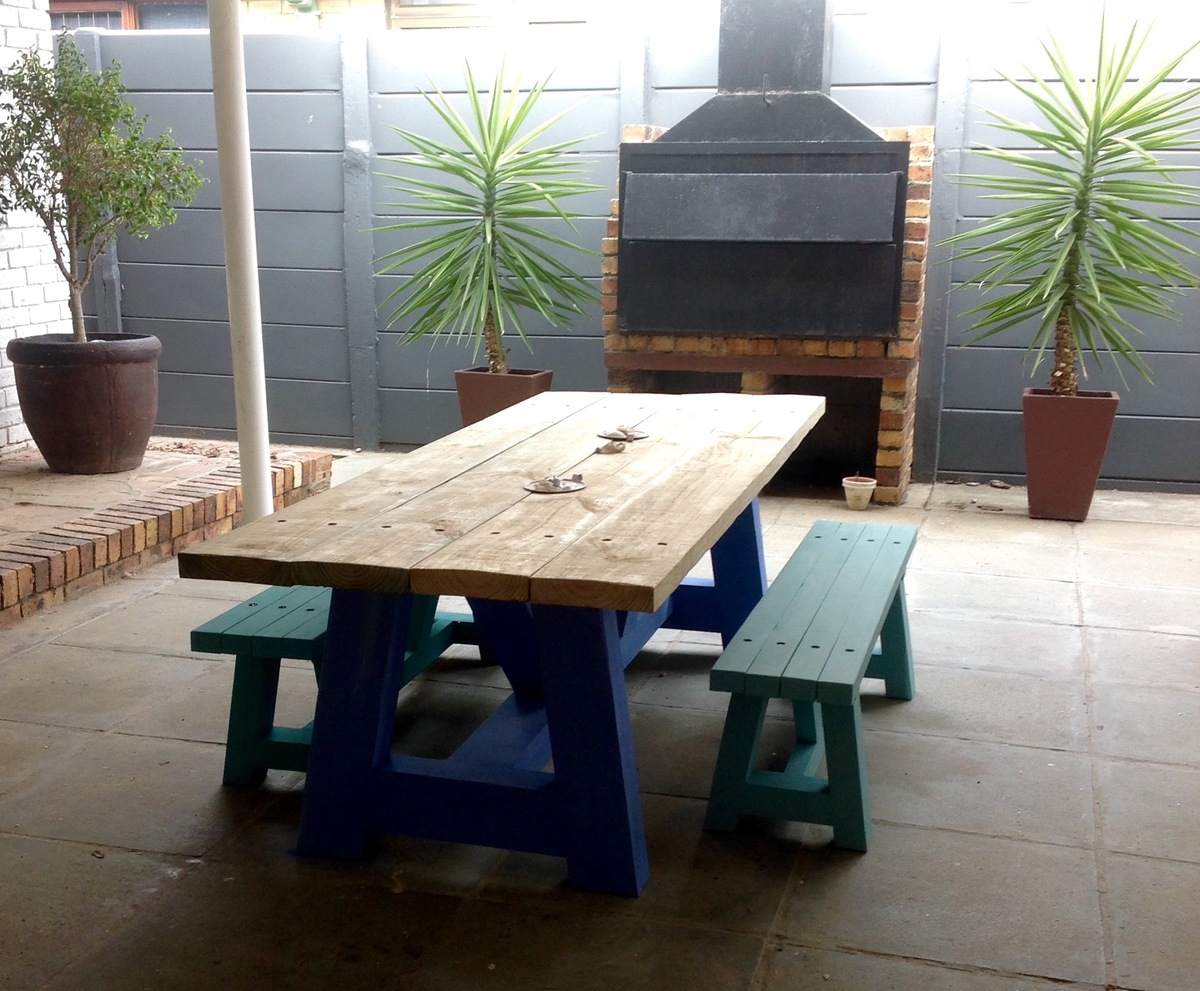
Looking for rustic outdoor table ideas, I came across Ana's website and the Providence Table and benches. When I saw it, I knew this was what we were after. After some more browsing I came across the 4x4 truss beam table and decided to rather go with the chunkier table. Although I’ve done a few woodwork projects, this was the most ambitious to date, especially considering that I only have a few hand held tools.
We live in beautiful Cape Town, South Africa - we work in metric, so all dimensions needed to be converted. Also, our locally available wood sizes are different to timber sizing in the States, i.e. we don't have 4x4 (100mm x 100mm) or 2x4 (50mm x 100mm) available, so it was a bit of a challenge to decide what to go for. In the end I decided to use 75mm x 50mm rough cut treated construction pine. It was cheaper, and I could end up with a REALLY Chunky table if I glued 4 pieces together! In order to do this, I need to amend the plans as if it was made from 6x4 beams.
So I started the process of cutting the 75mm x 50mm timber to rough sizes, gluing the pieces together, sanding the joints, filling the gaps with glue/ sawdust mixture and re- sanding for each member of the table! I took my time with this and did a bit each day after work. It was interesting watching YouTube vids on this build - the guy starts with perfect 4x4 timber pieces, cut them and assemble. For me just to get to the starting point took quite some effort, but I knew I would be very happy with the more chunky look.
Other challenges I did not fully appreciate when deciding on the REALLY Chunky size, was the cutting of these thick pieces of timber using hand held tools and how to join them!! You don’t get very long small drill bits for pilot holes, so ended up using self-drilling screws. Unfortunately the longest length I could find was 120mm (8.66inch) - so I had to counter sink them really deep into the timber - this was quite tricky!
Other things I did were to lower the original design table height as recommended by other builders on this site so I made the table height 750mm (29.5inch). It worked out very well for small children as well for adults (I'm 6ft2). Table length I made 2.4m (approx 8ft). For the table top I used 220mm x 50mm (8.66 x 2 inch) timber, once again due to the restrictions of locally available sizes. I also change the spacing between the legs in order to fit the benches under the table (1600mm opening to fit the 1550mm benches).
For the benches, I once again had to decide what timber sizing to use. I wasn't keen to go through the process of forming 6x4's for each bench member for 2 benches and also felt that it would look just too chunky for the short bench legs. So the design ended up being a hybrid between the providence bench- and the chunkier 4x4 bench design, using 2 pieces of 75mm x 50mm to create 100mm x 75mm (4 x 3.5inch) legs.
Other changes made to the bench design was to make the bench height 450mm (17.7inch), amend the overhangs of the seat, and change the overall length to be able to slide the bench in under the table.
The altered height of the table and benches really worked out well and we sit very comfortably at that table.
We used chalk paint for the finish, but as you can see, we're still deciding on colour choices and final look of the top.
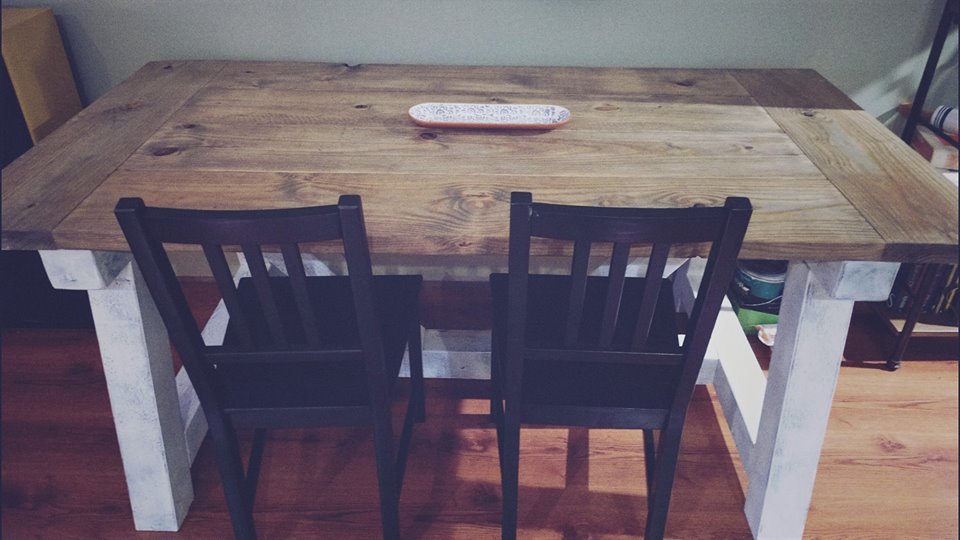
First DIY. Took roughly 17 hours completed over 3 days. Used untreated pine from Home depot for top and untreated cedar (the only 4x4's available) for legs.
Total cost $270
Top stain: weathered oak (2 coats)
Top finish: Rustoleom polyeurothane clear satin
Legs: undercoat of Behr's Nautical blue and two thin coats of a white paint we had on hand. Then we distressed with an orbial sander and a 220 grit paper.
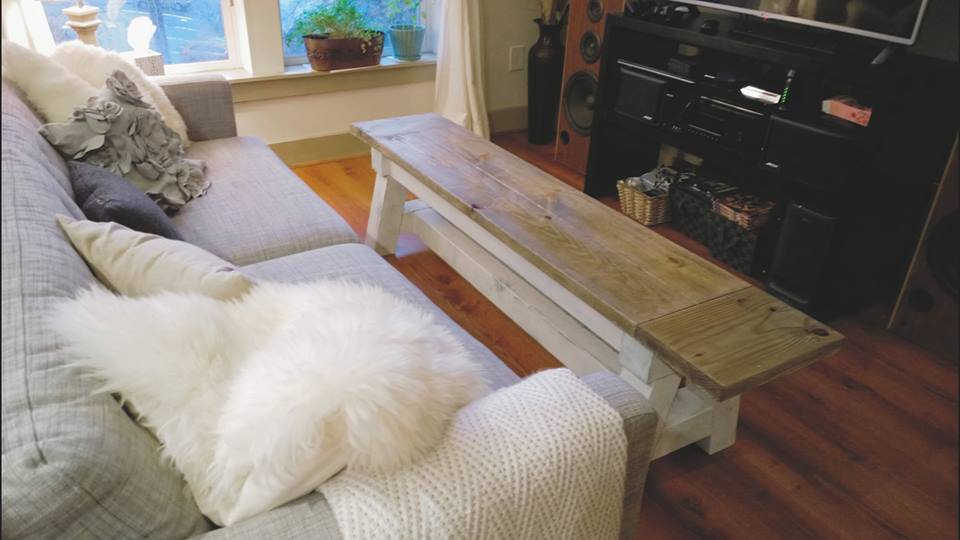
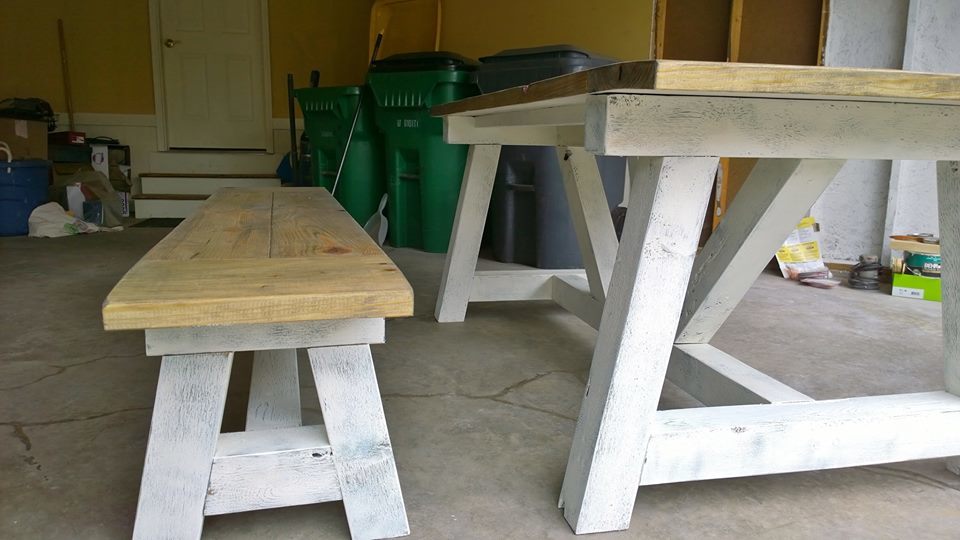
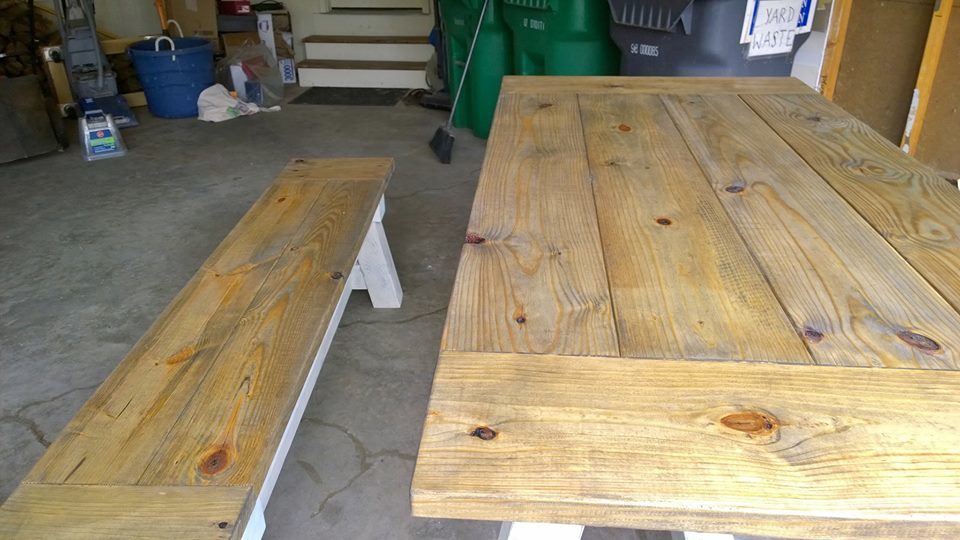
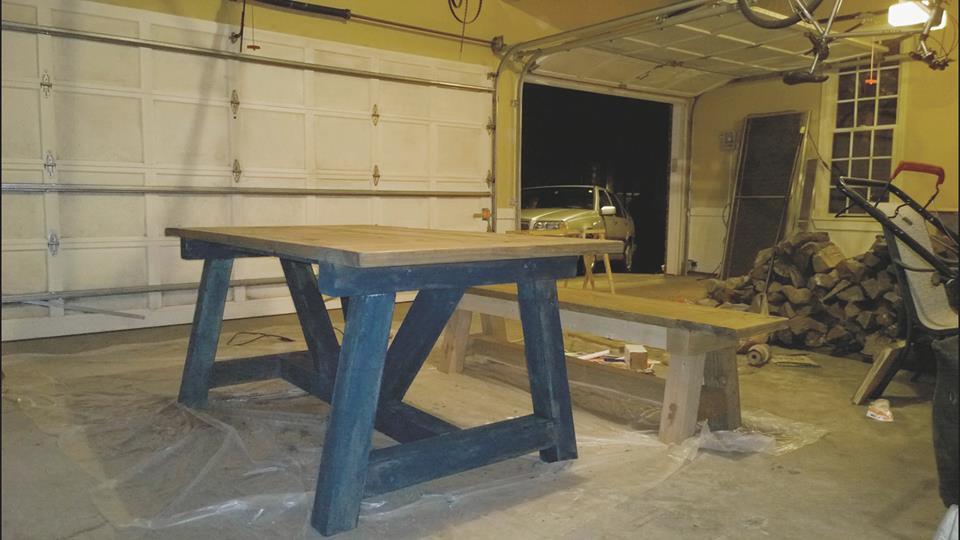
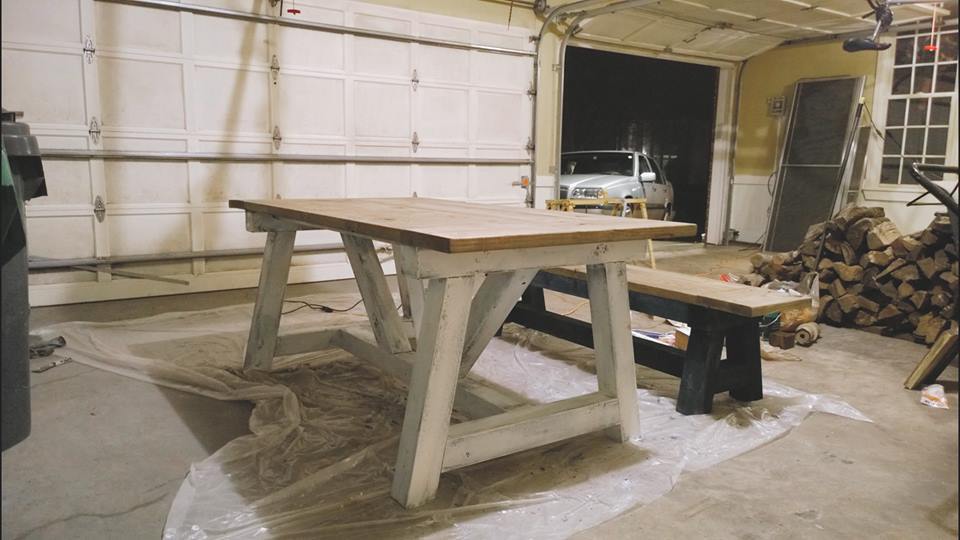
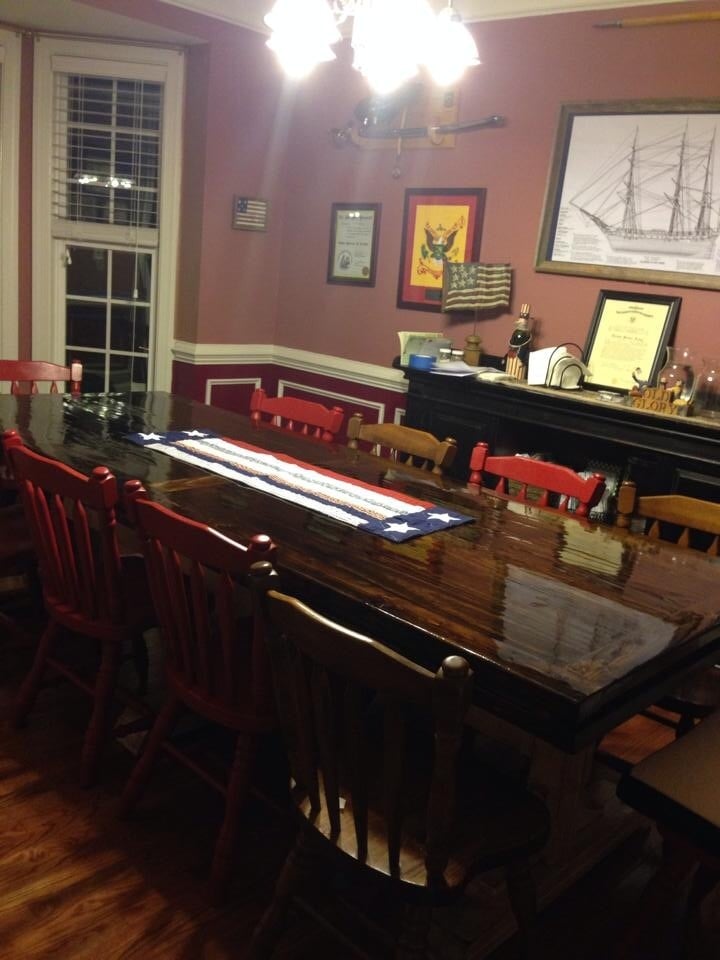
First project built using plans from Ana White. Loved completing it. Take the time to sand and prep for finish. Makes it sooo much better.
My glossy finish adds a lot of luster to the project. I trimmed the inside edges of the 2x4 peices on the outside trim to make a smooth surface.
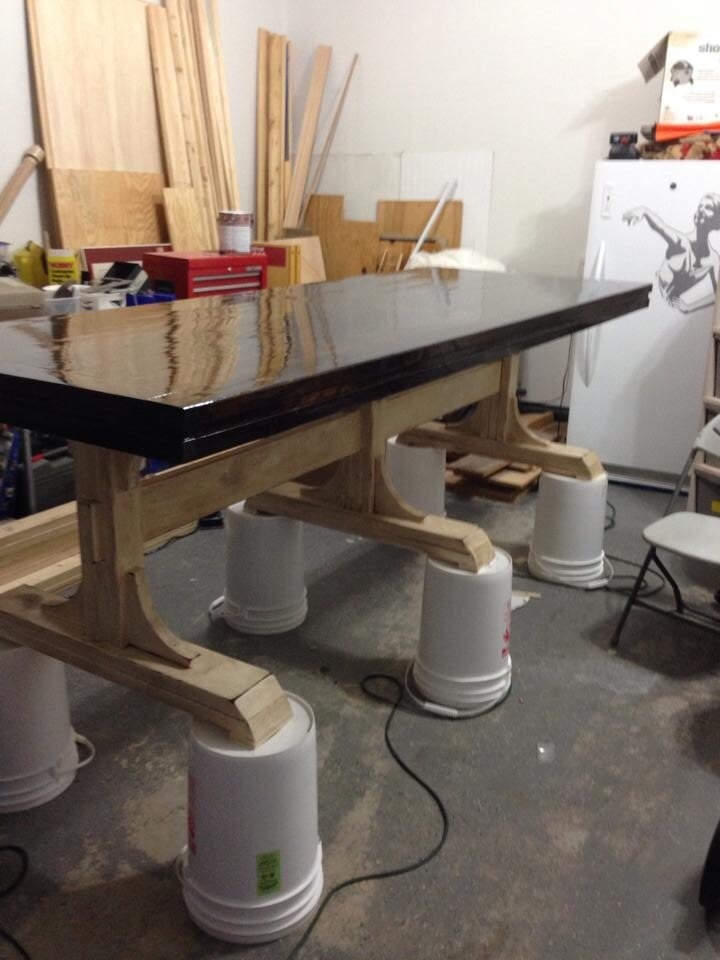
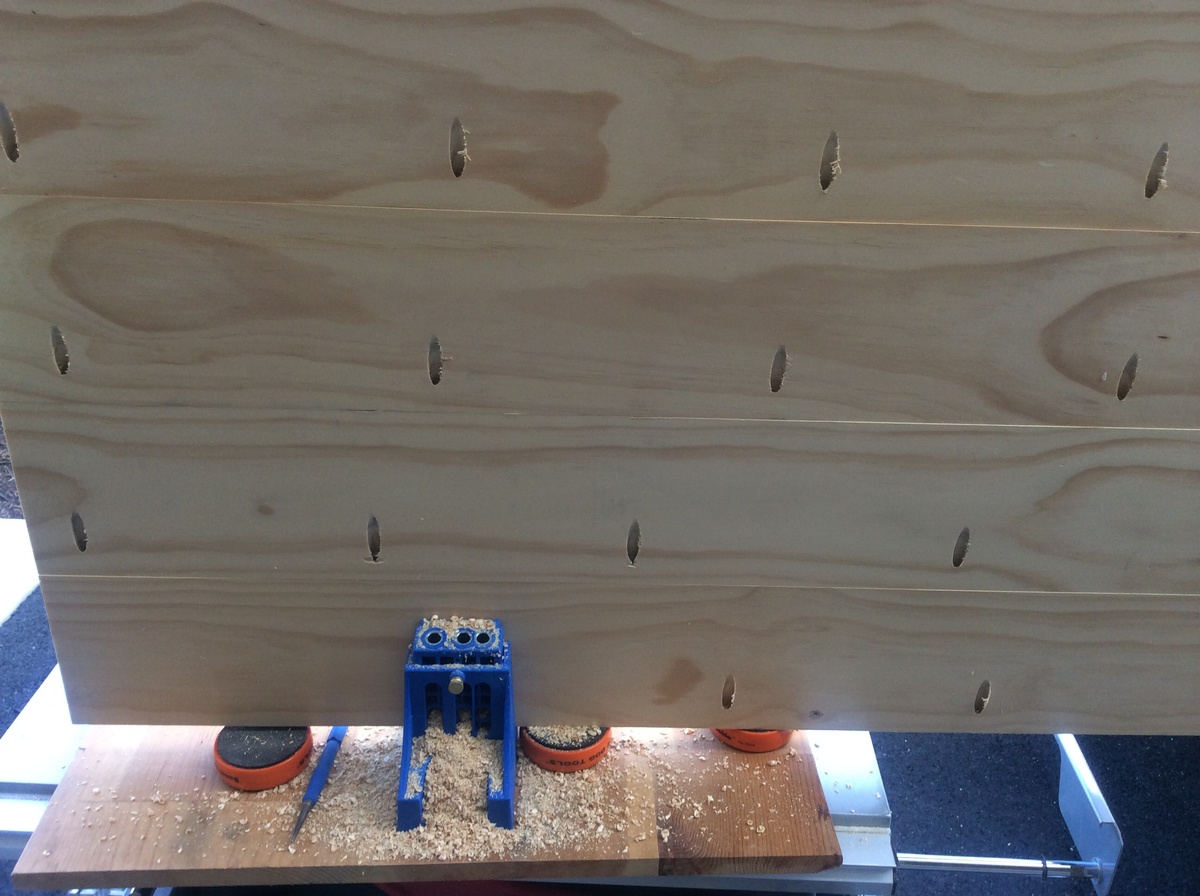
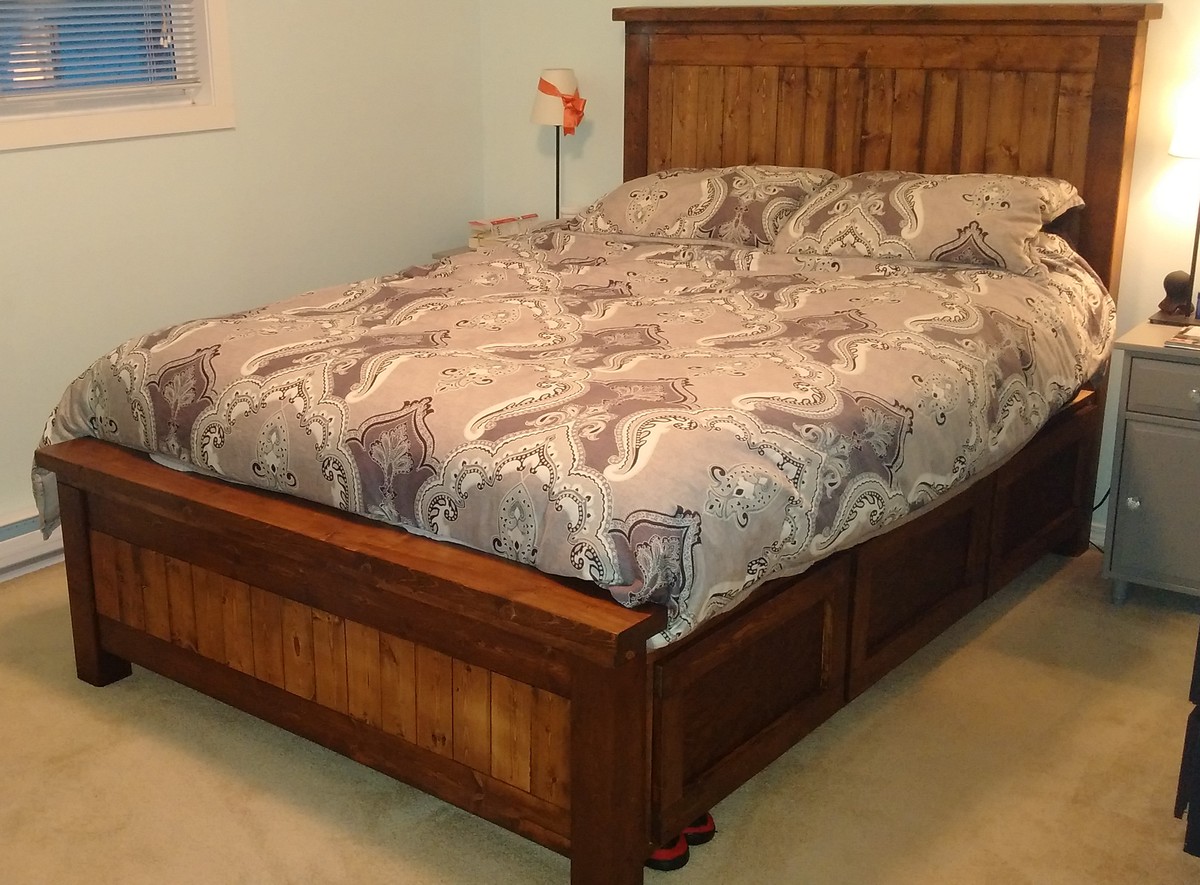
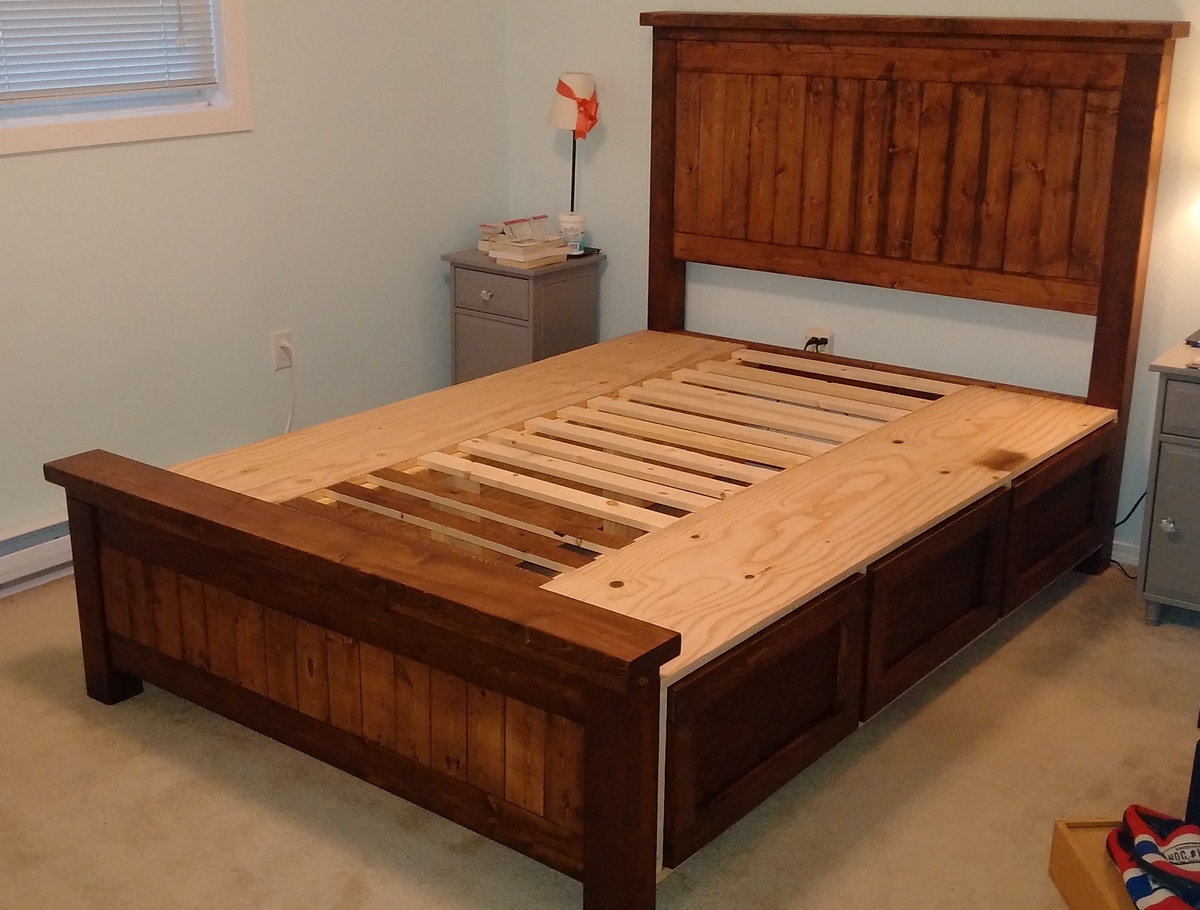
This was my Christmas present for my wife for 2014. Took about two days for me and my brother, with another 4 hours of staining and assembly. Could have been done quicker, but we took our time and enjoyed it! I have a good knowledge of tools, as does my brother, but I haven't done a woodworking project since Junior High School.
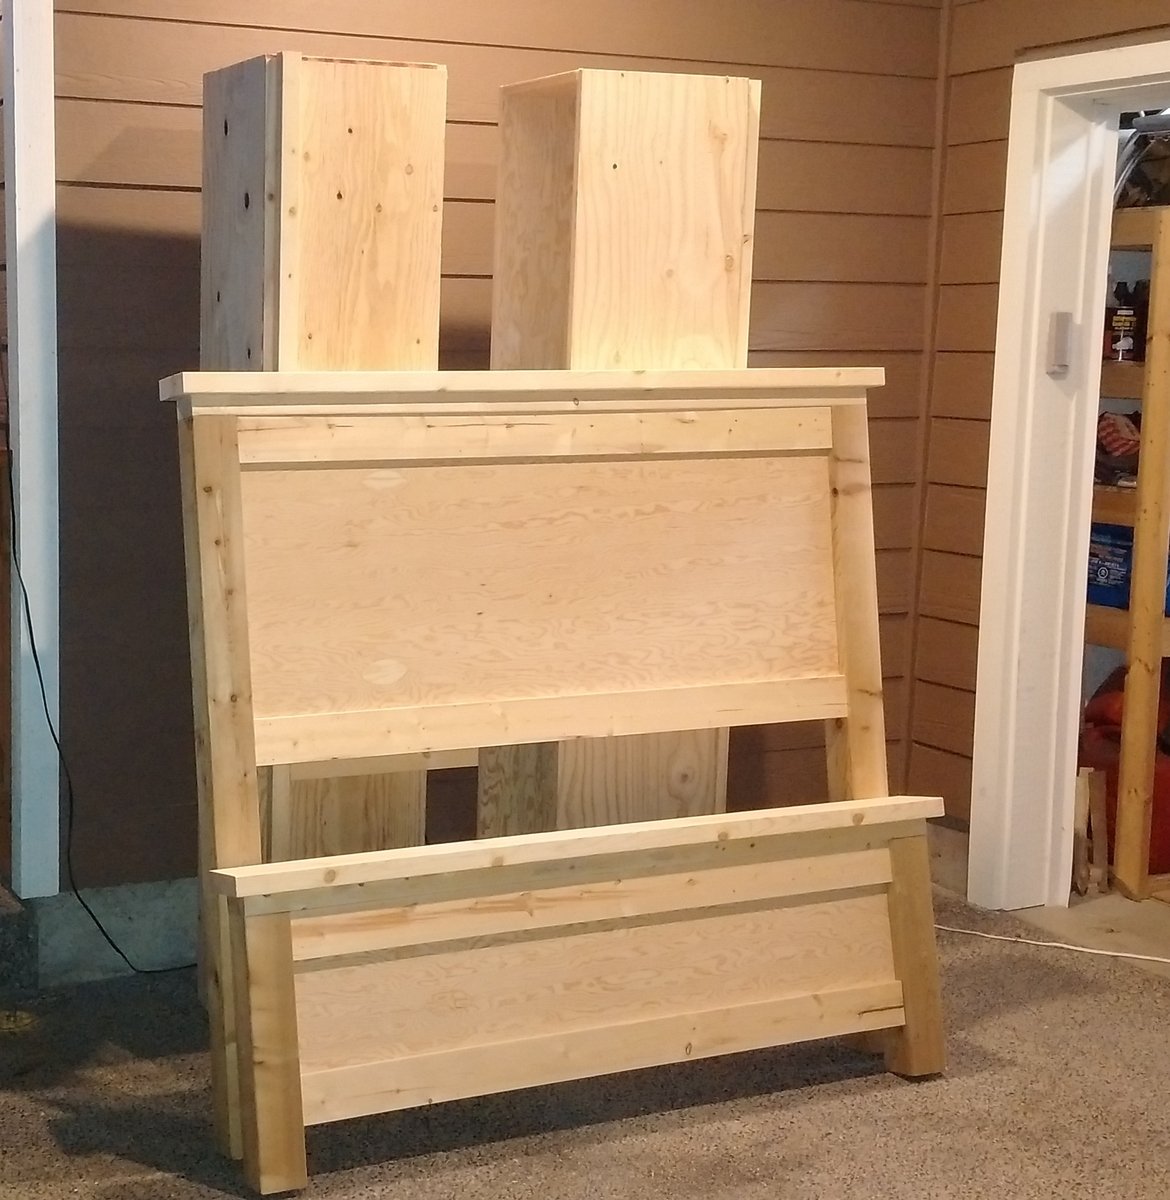
All in all, it was great and the result is perfect. I highly recommend using a pocket hole for the headboard attachment if doing the plywood - I didn't use one and it was tricky  . You can't see the plywood because I decieded to add slats to the headboard and footboard in the end (wanted to stain the wood, not paint it as planned originally).
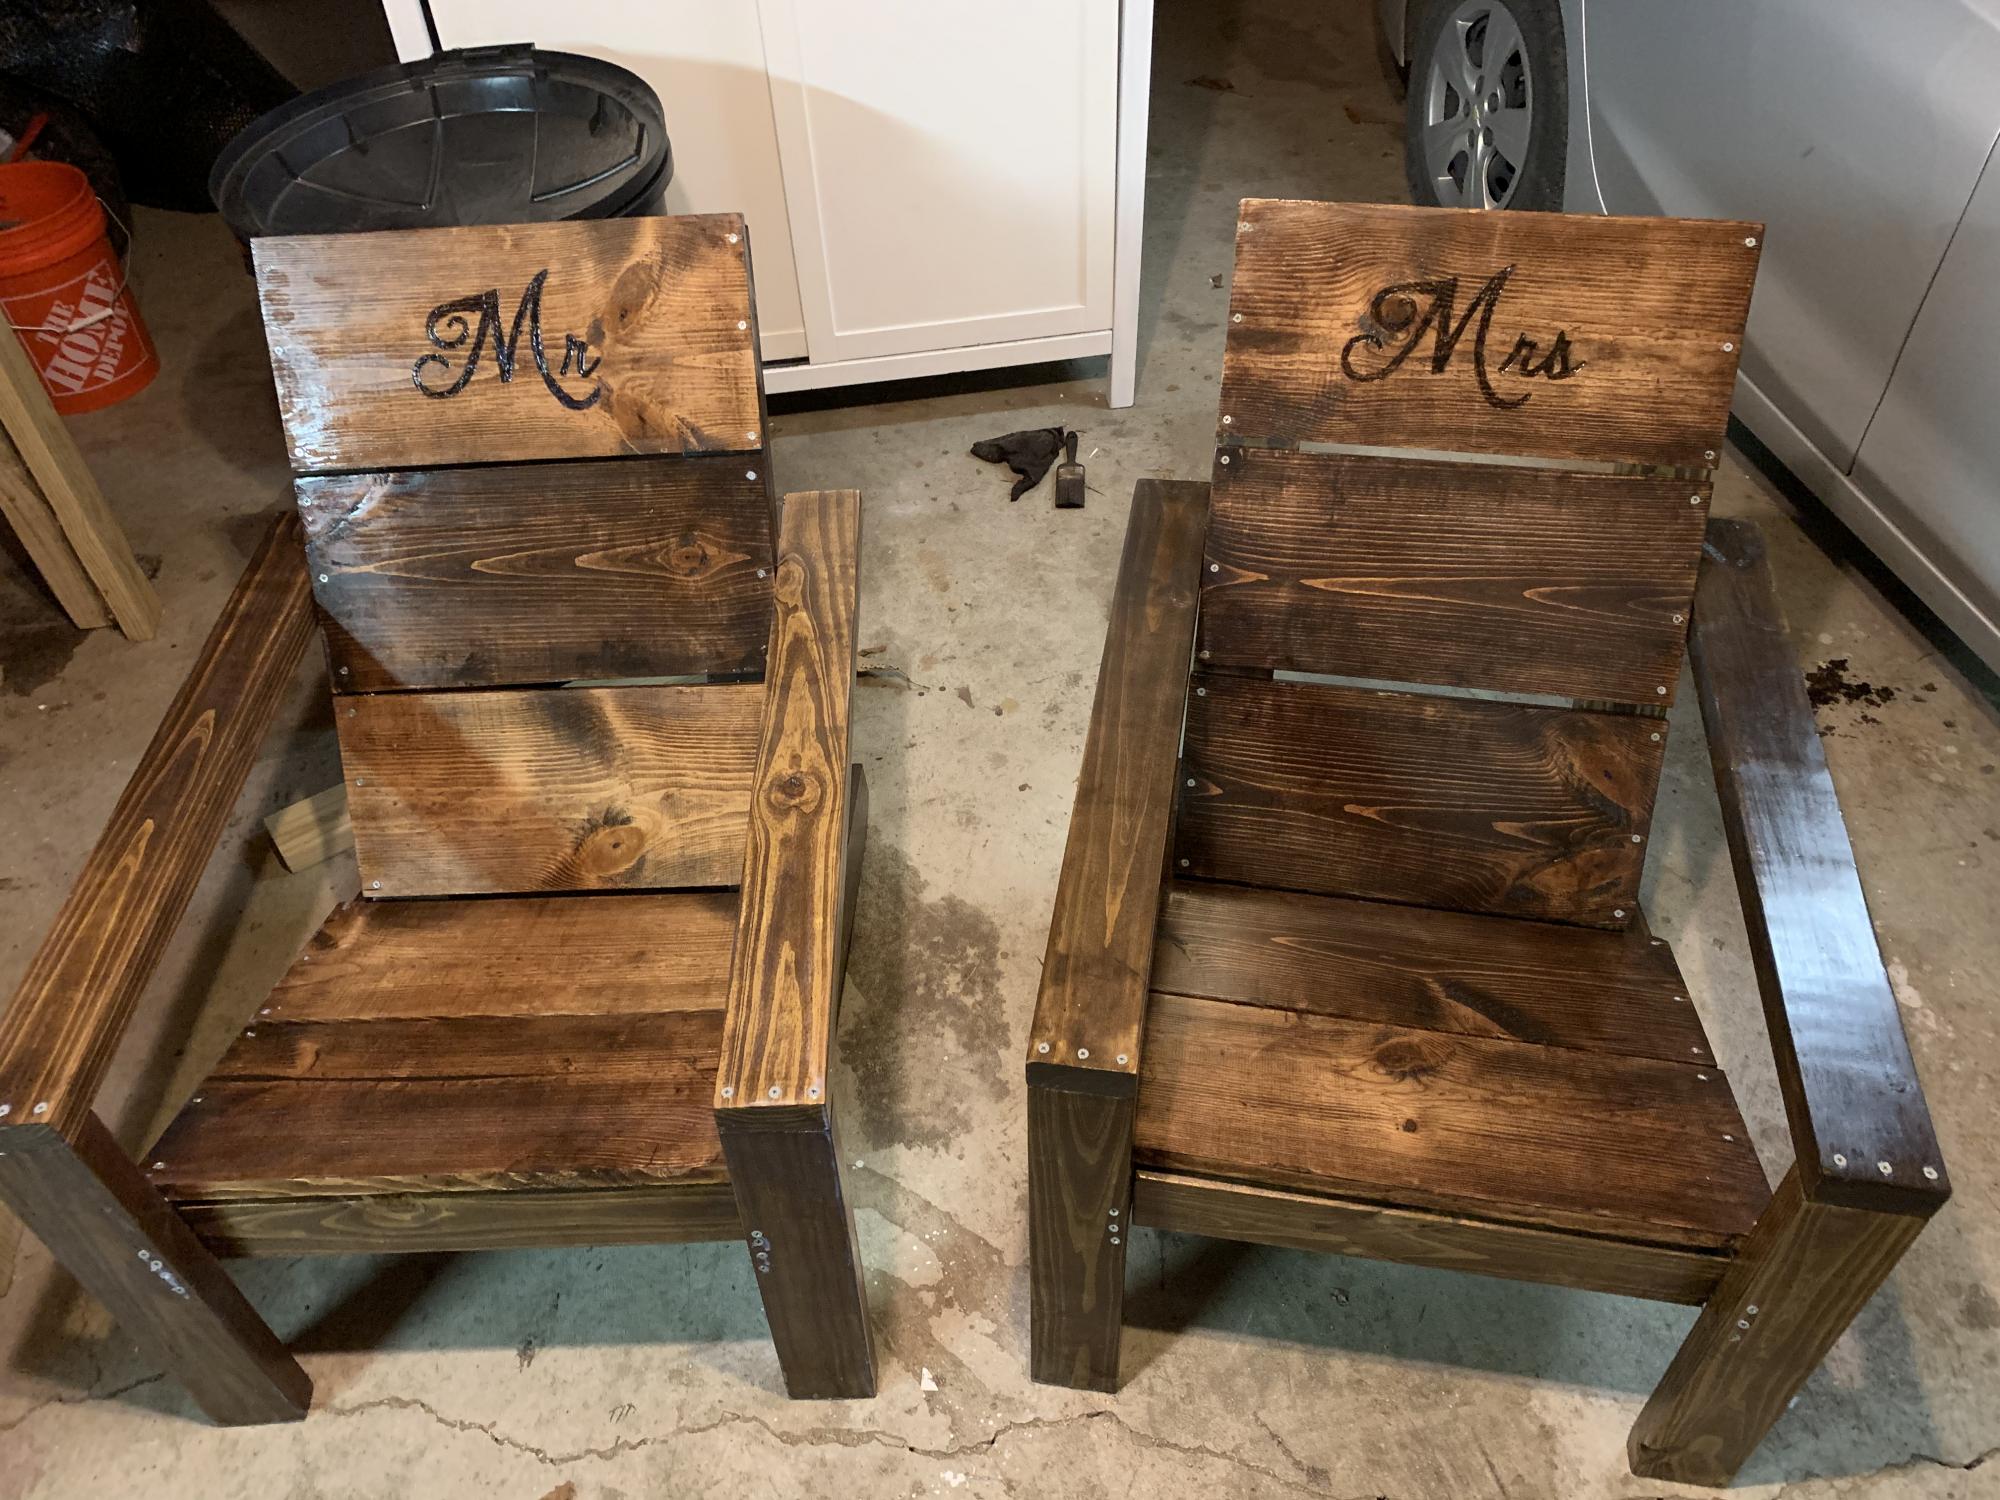
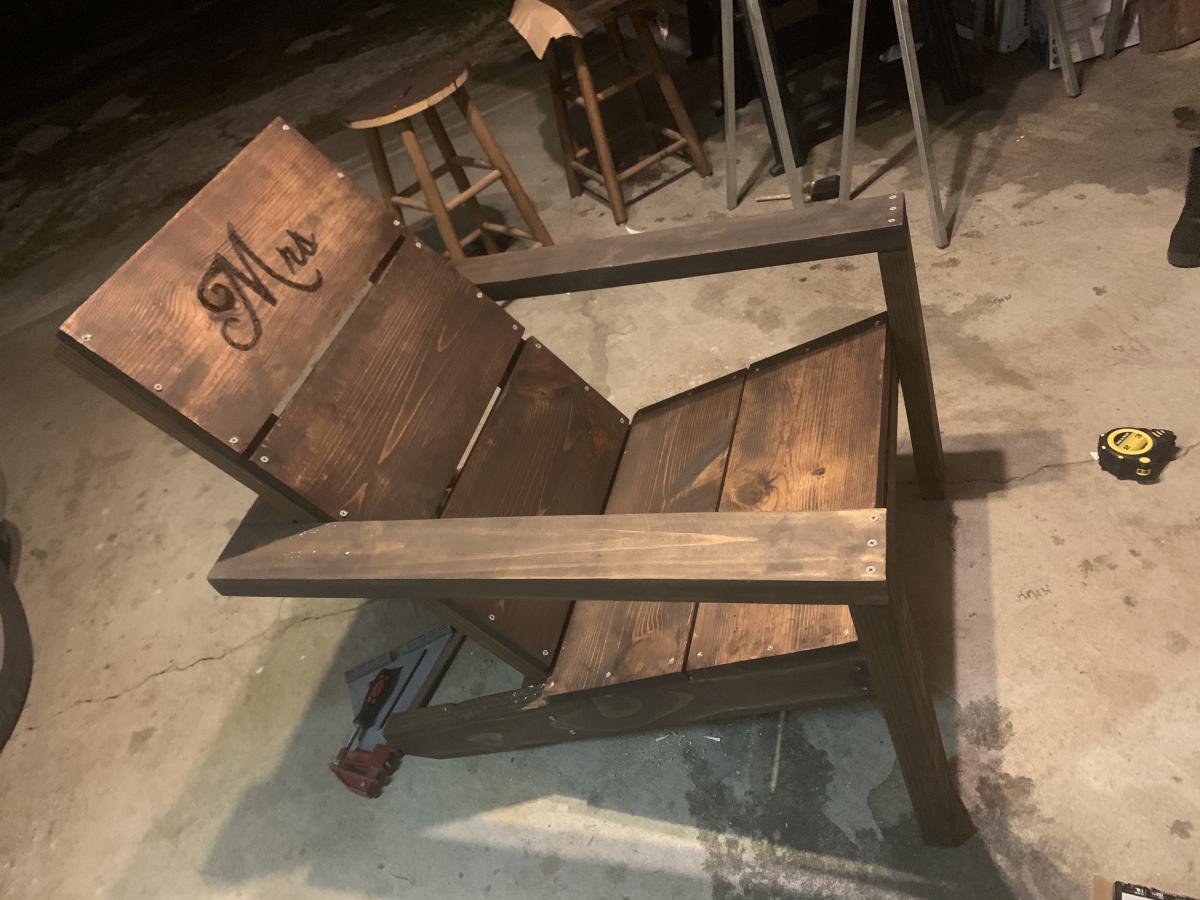
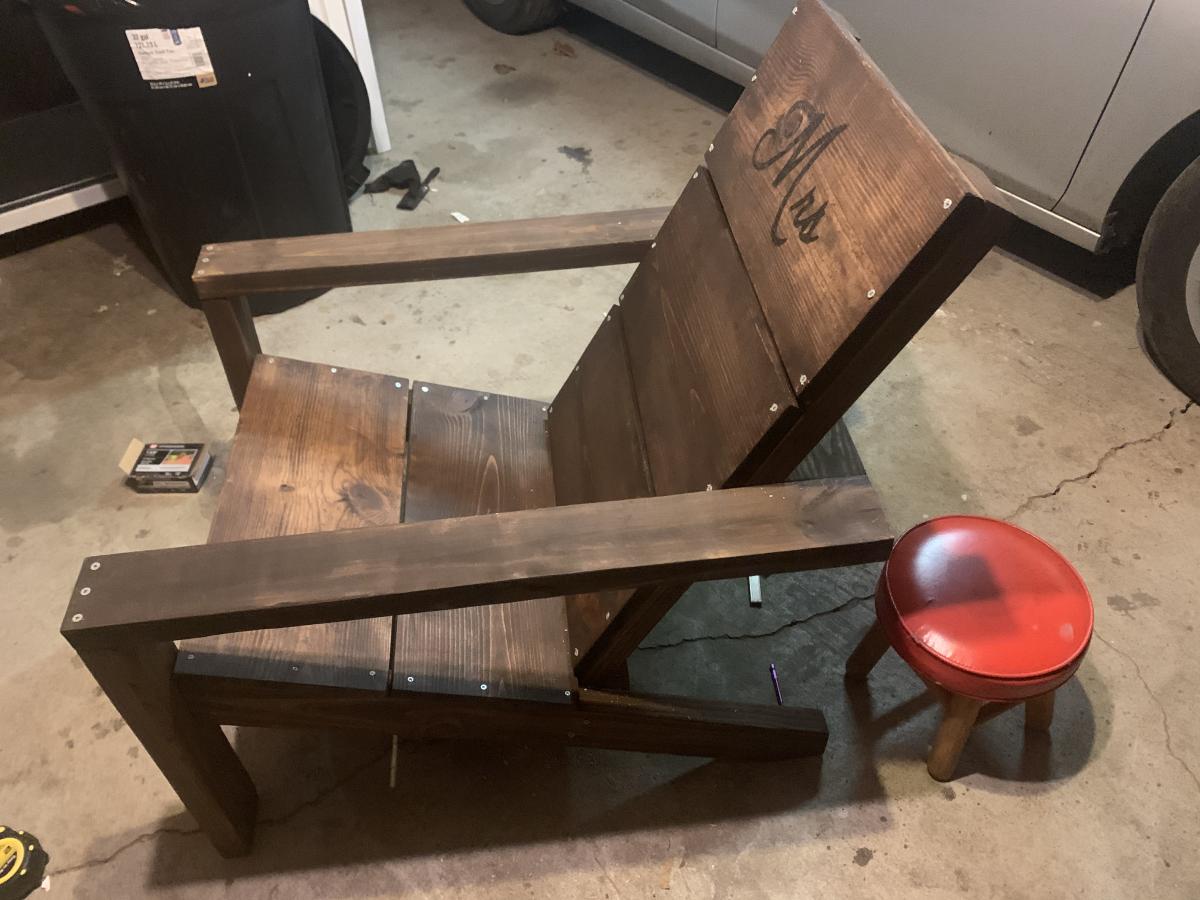
My friends were getting married so I chose these as their wedding presents due to them having fold out chairs for their new home. Wood burned the mr and Mrs. Used wood conditioning and stained with the rust oleum Kona. Then used the rust oleum glossy polyurethane x3 coats.
Thu, 04/01/2021 - 16:56
They looks great and I am sure the bride and groom will cherish them!
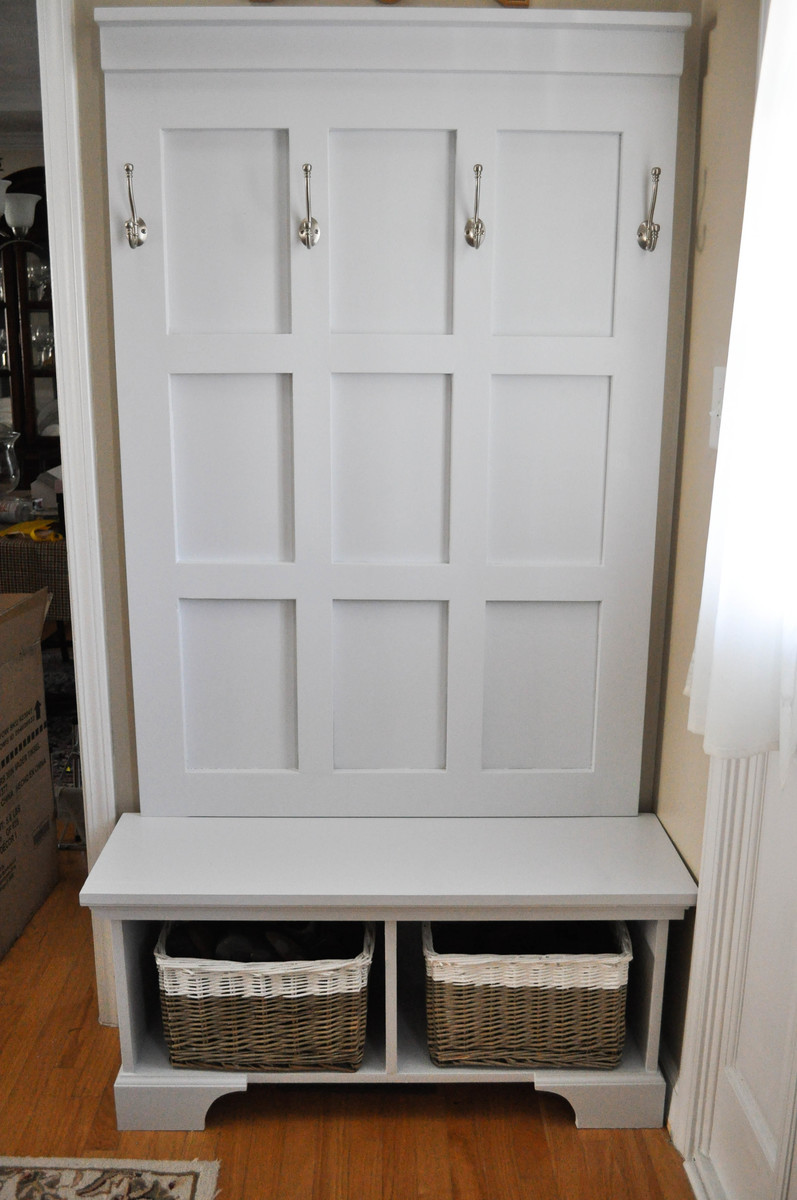
Modified the dimensions to 13 inches deep, 40 inches wide and a lower clearance of 4 inches to accommodate a vent diverter for an exsisting heat vent.
I used Maple Plywood (3/4 inch) for the bench, and 1/2 inch for the back (to allow maximum seating depth on the bench). The paint was leftover Valspar reserve paint from a recent bathroom project... and the paint dipped baskets were found at a local store called "the christmas tree shops" for under 25 dollars for both!
The project came in at just under $150 - well below our budget if we had purchased something in store. It was mounted to the wall for safety, as we have a dare devil toddler!
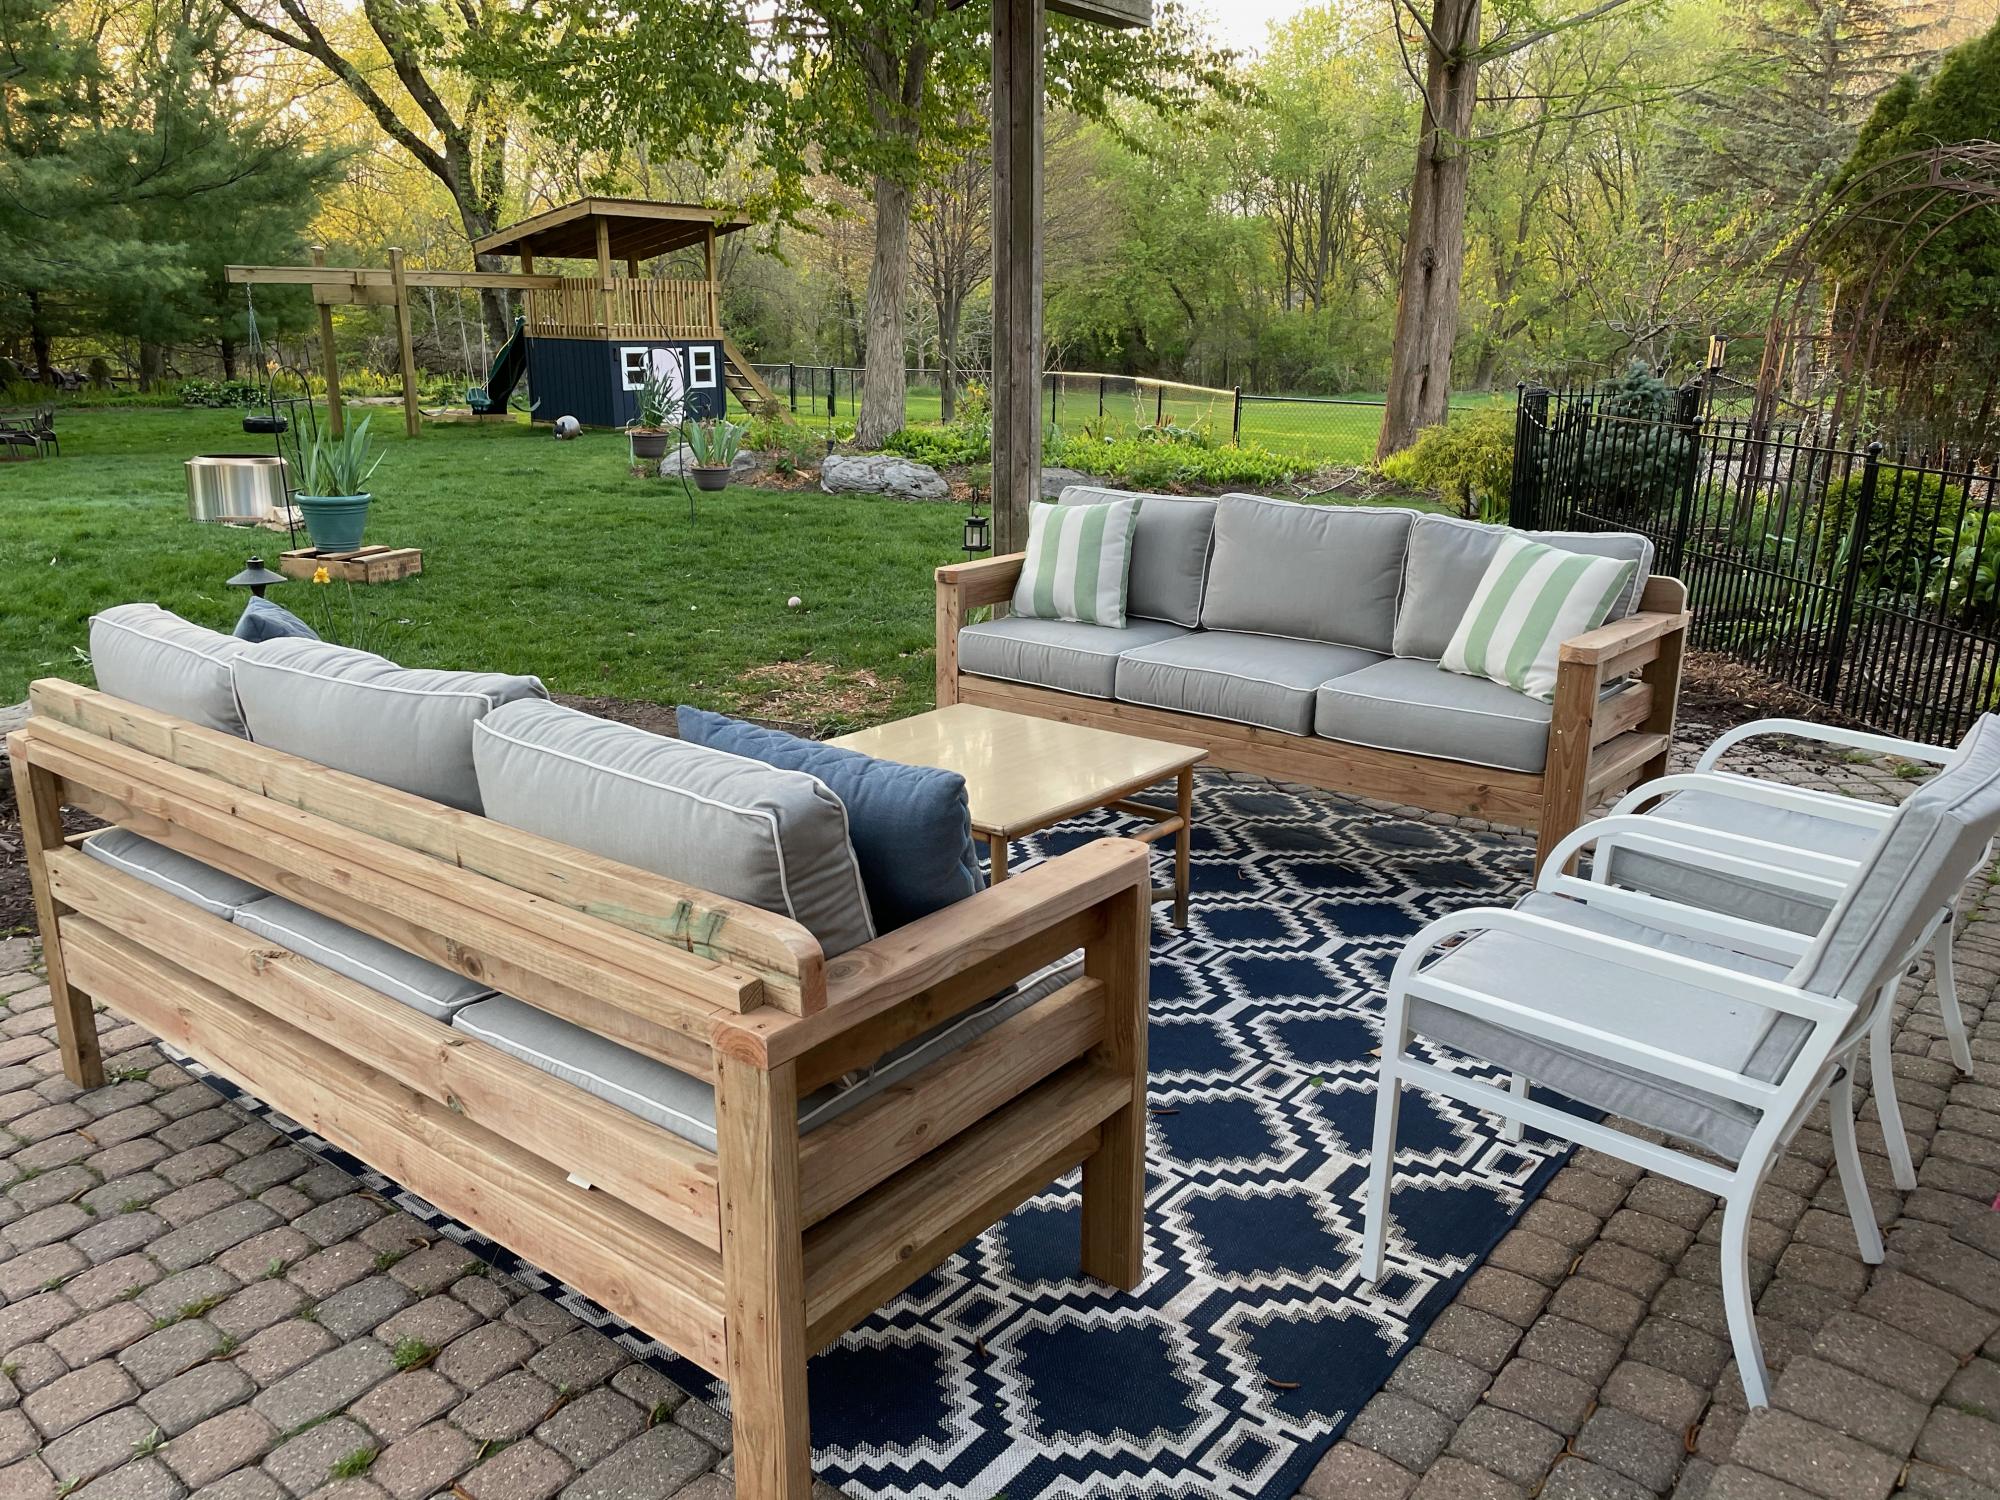
These were a blast to make. Cant wait till my next project.
