Modern outdoor patio chairs
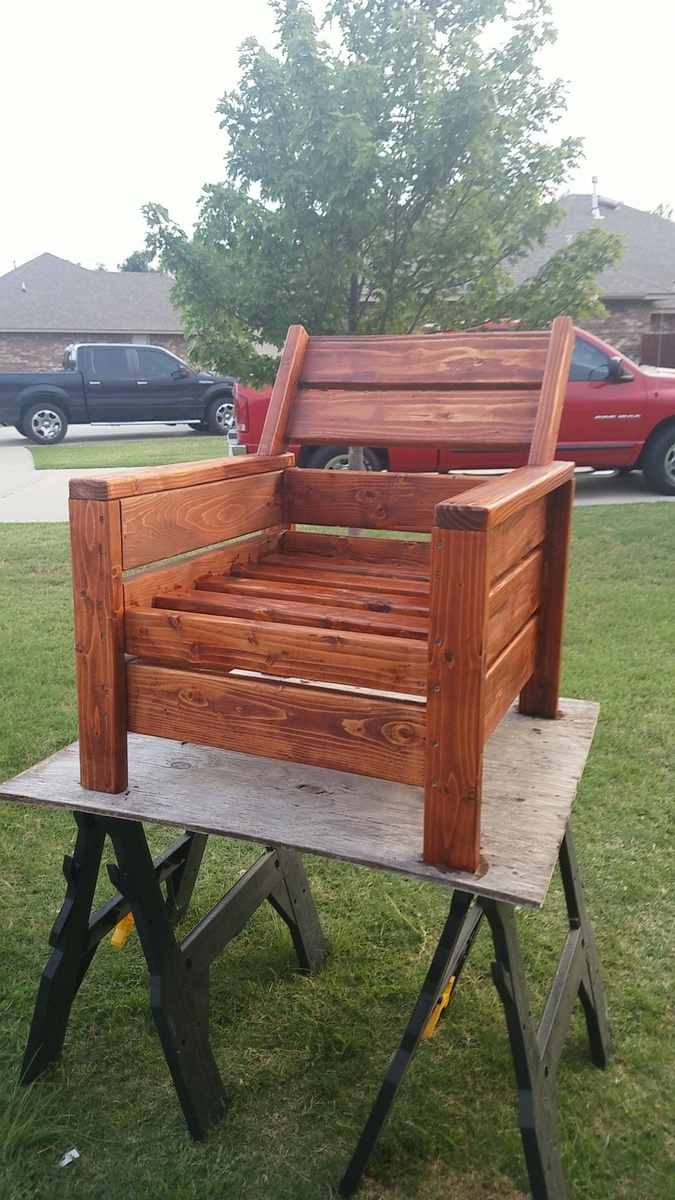
Added a little extra back rest. Made a double chair in the process of making a 3 cushion couch.
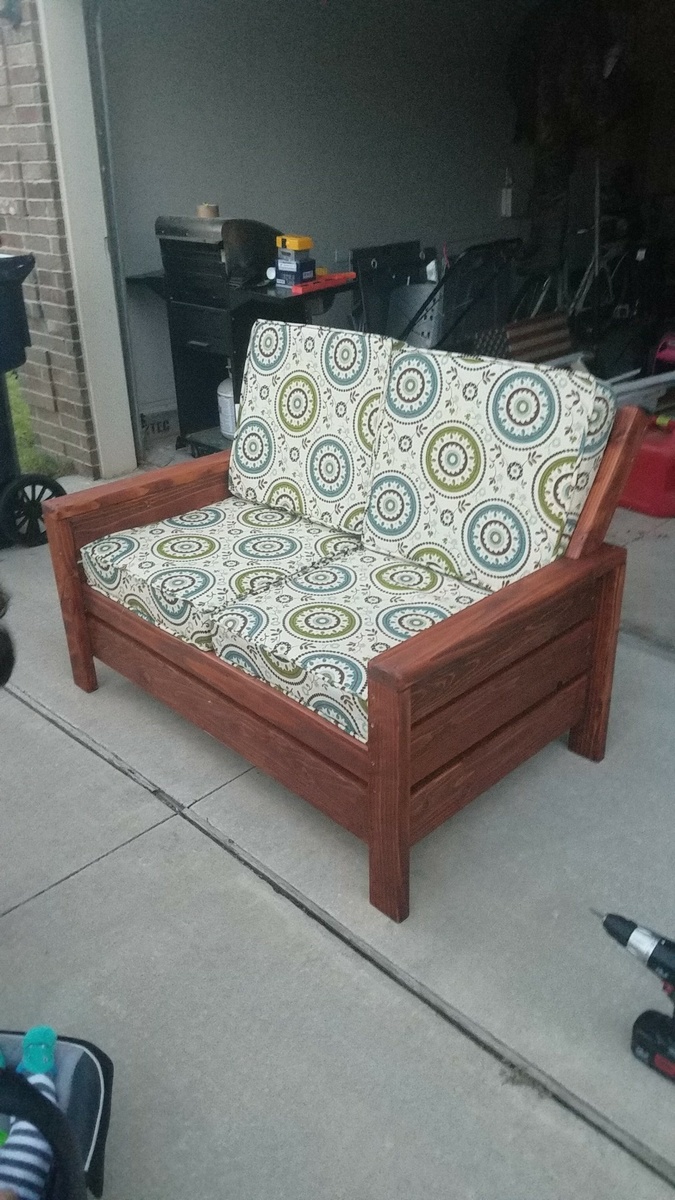

Added a little extra back rest. Made a double chair in the process of making a 3 cushion couch.

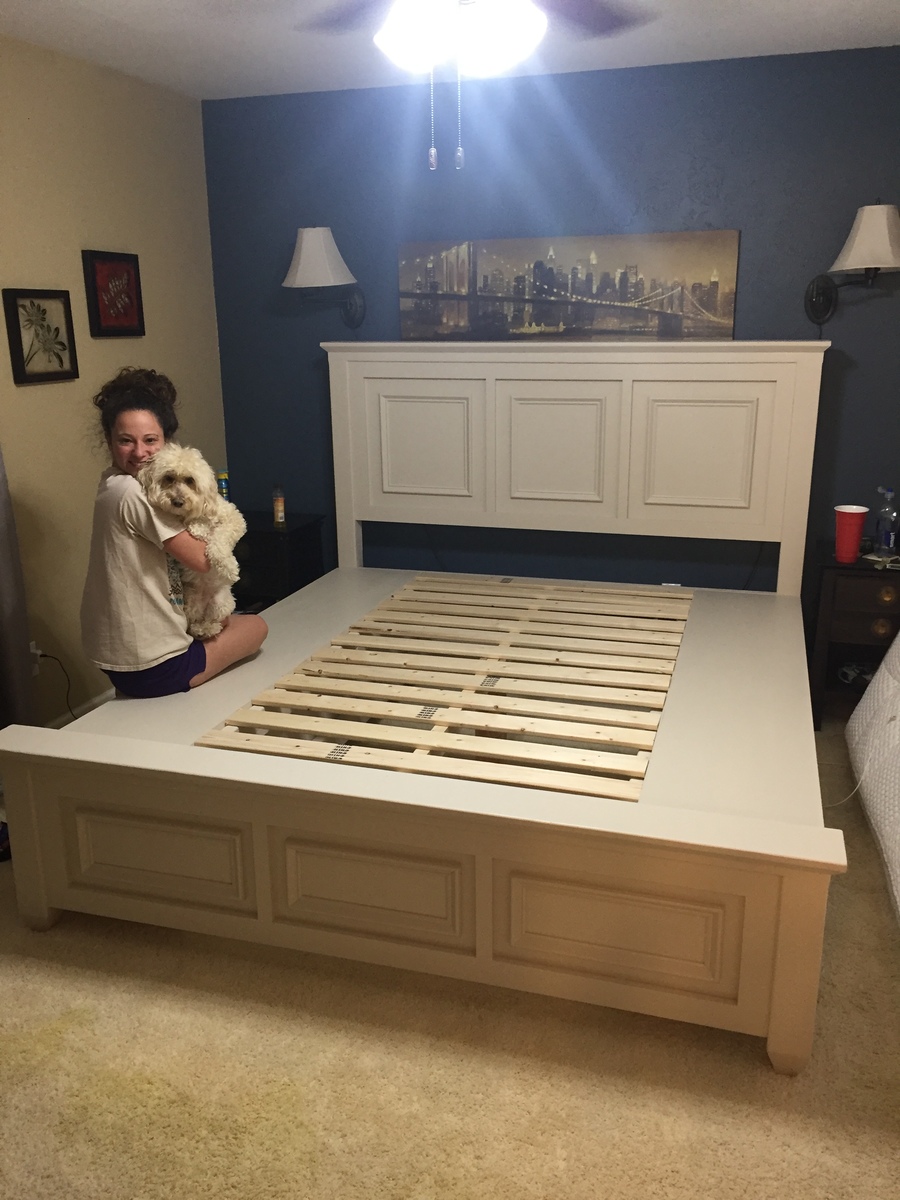
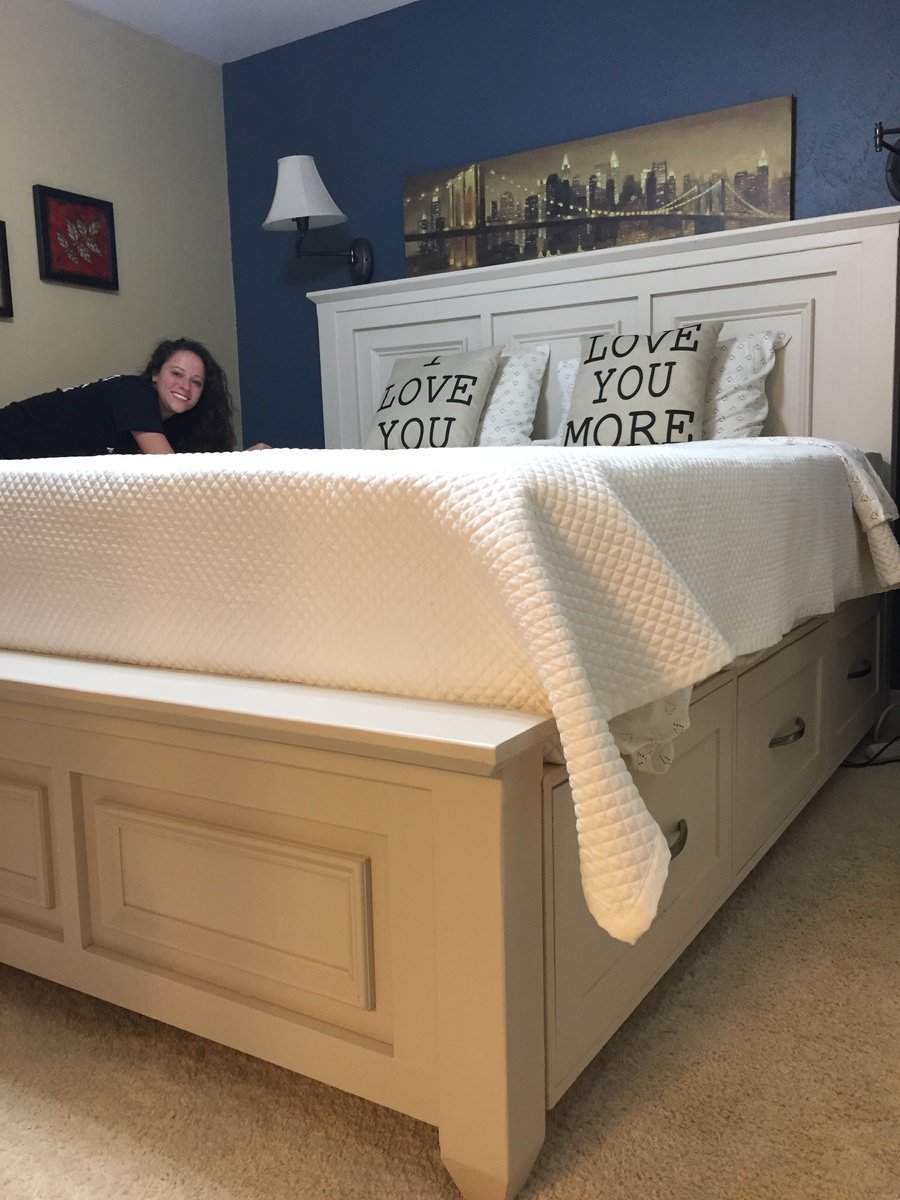
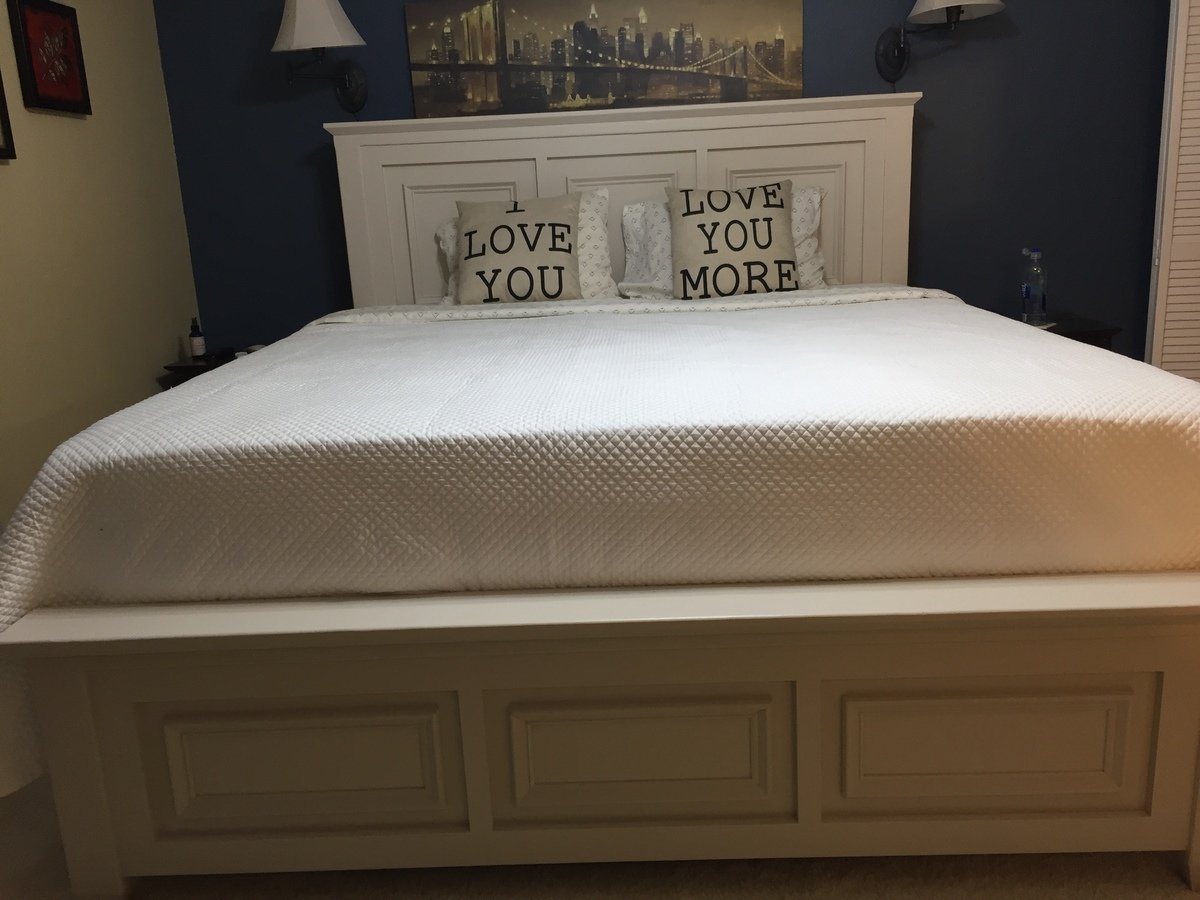
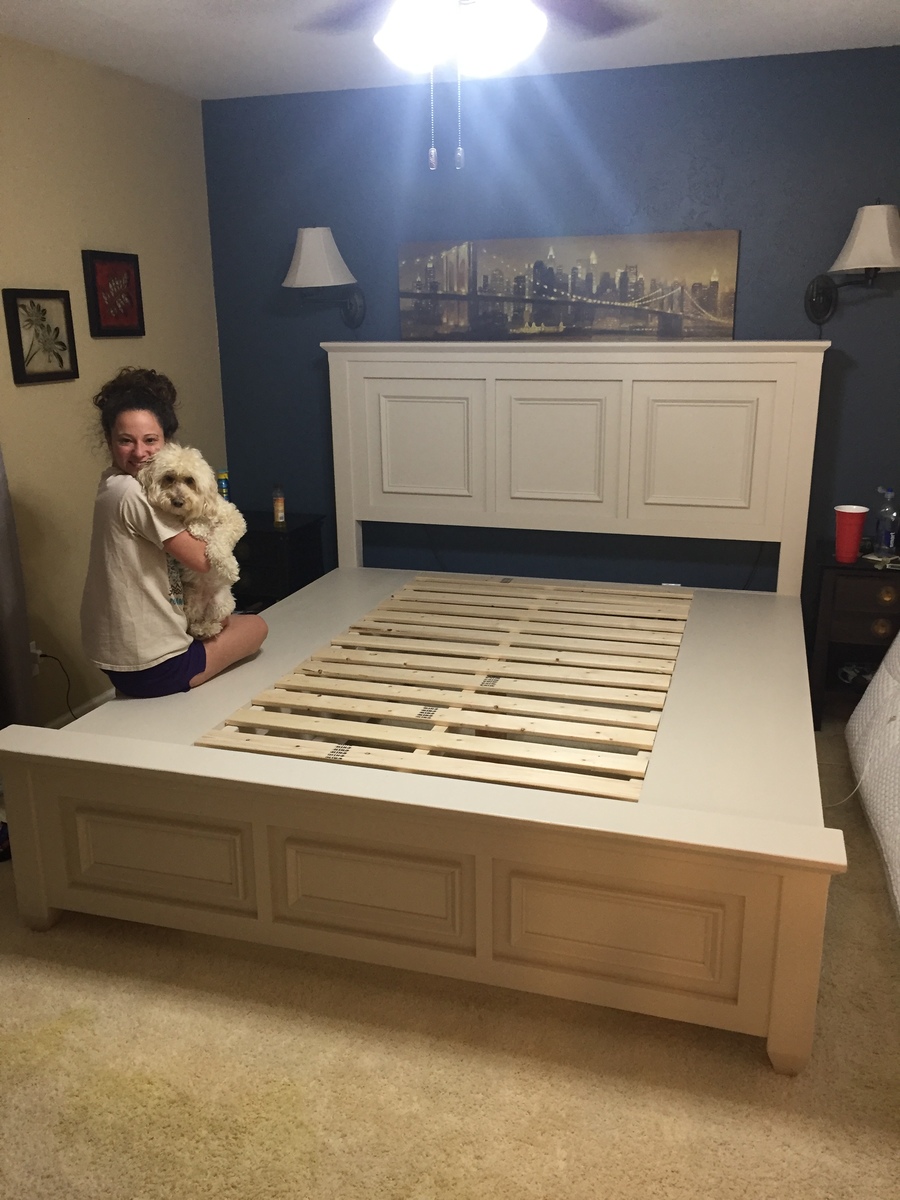
Farmhouse bed with storage sized up to a King
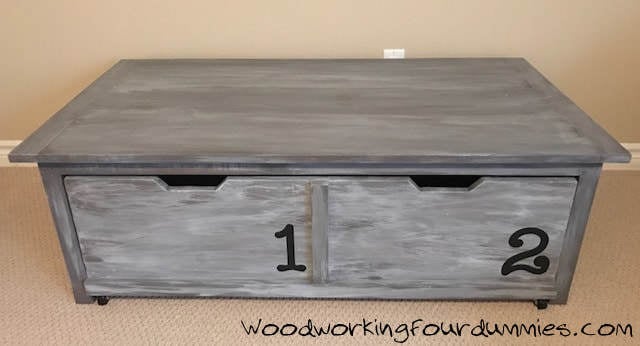
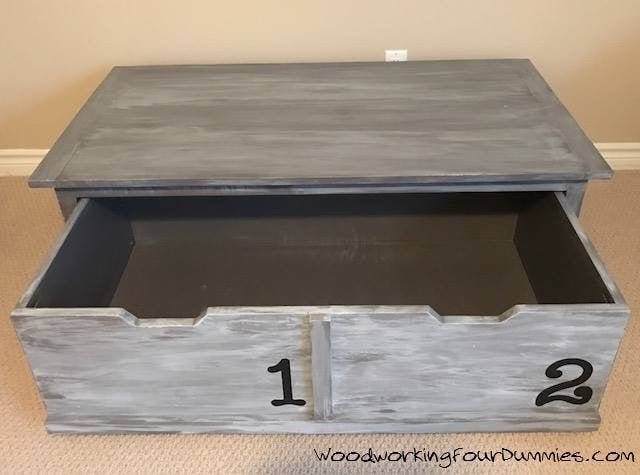
I made Ana's famous 20 sec tidy up coffee table. More details and photos on my blog if interested. Cheers Ian
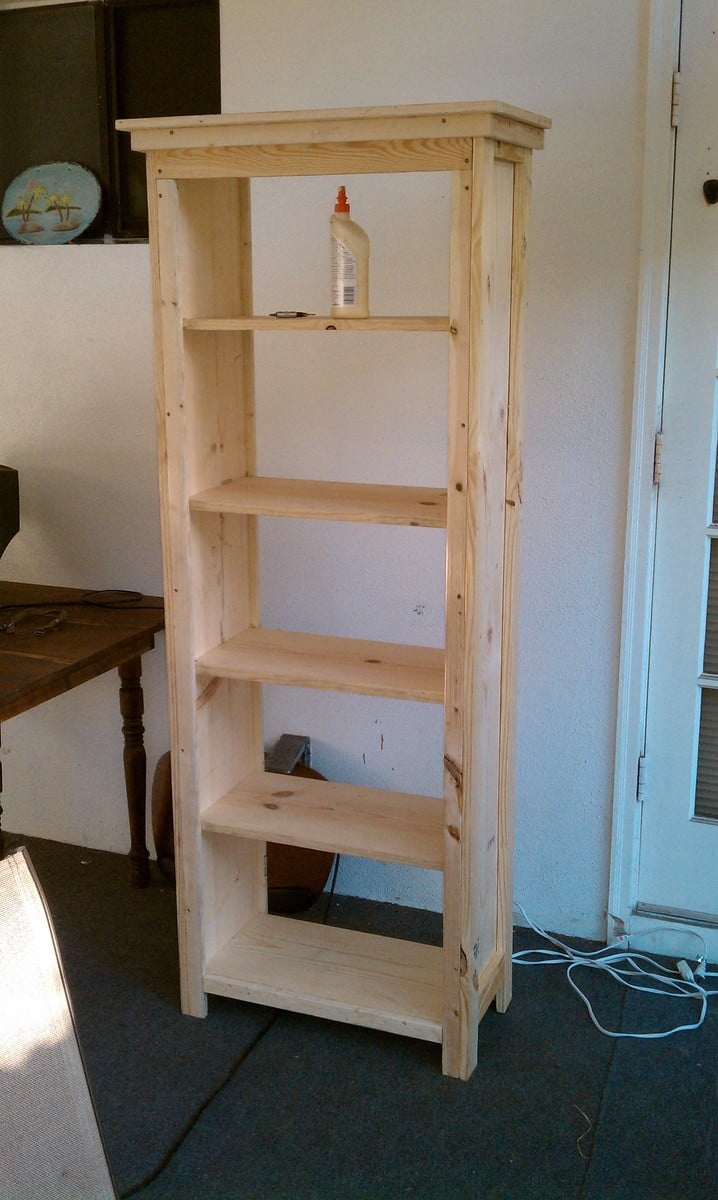
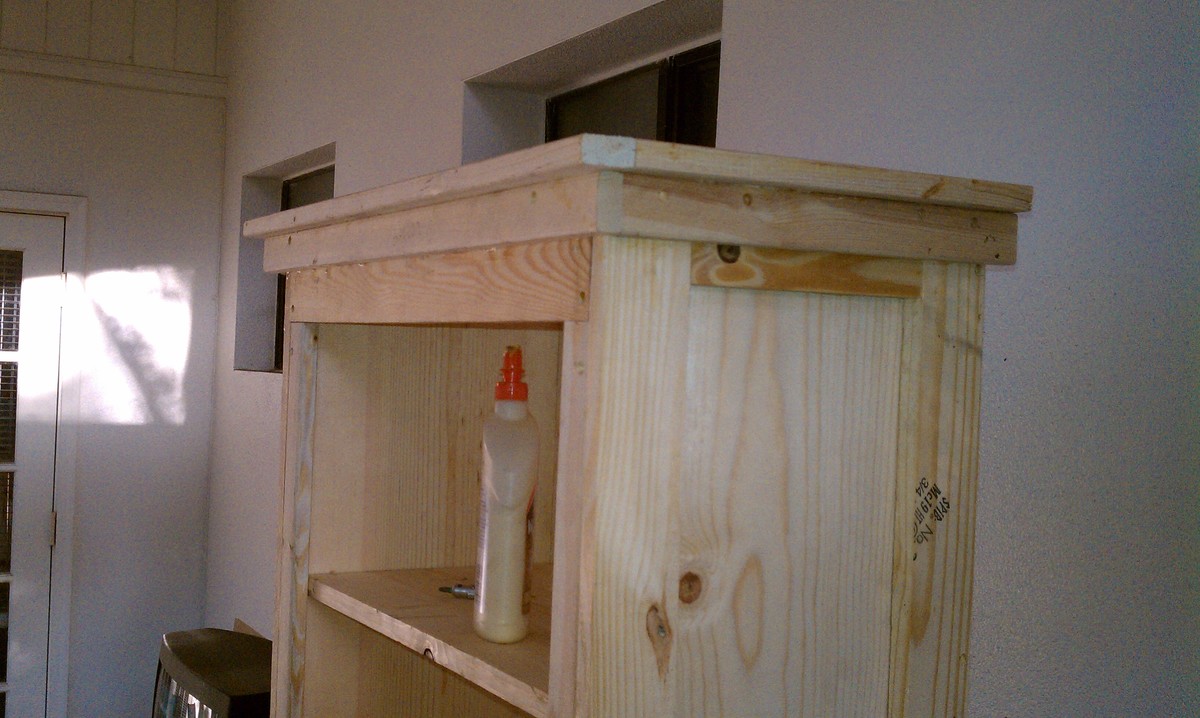
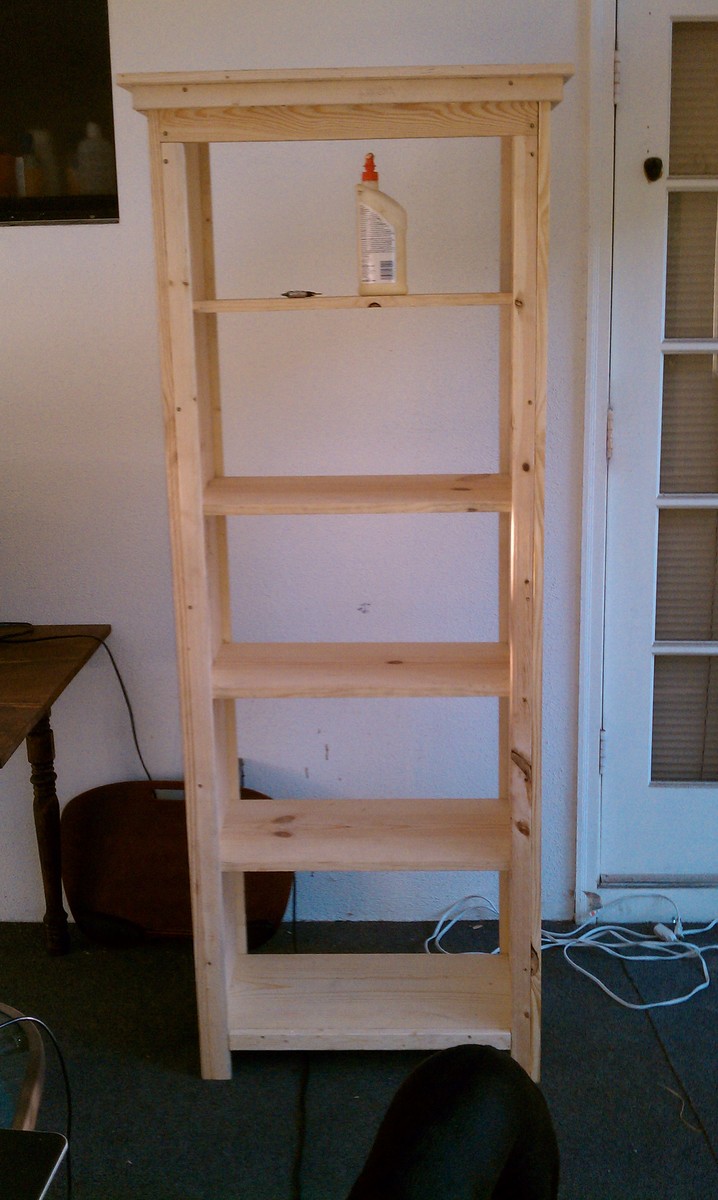
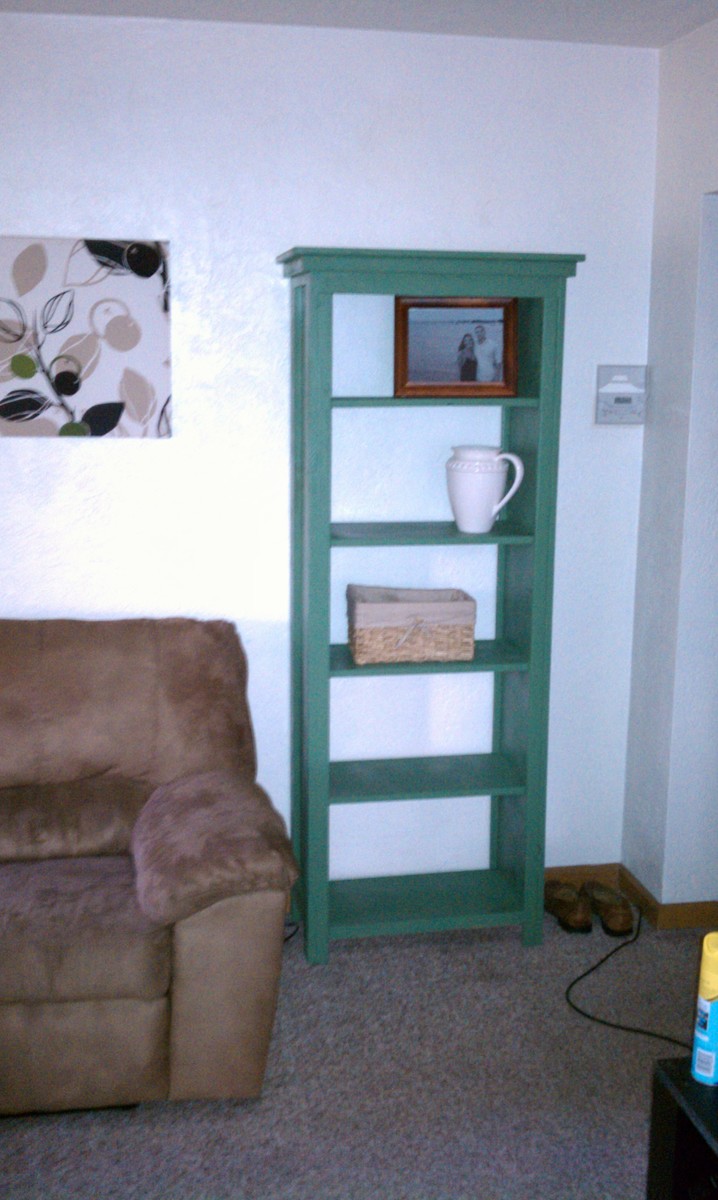
Favorite Bookshelf - 2nd project - slowly replacing all of my furniture - took about a day - all day - sprayed about 3 coats of spray paint on there - came out pretty good - hardest thing is to screw in shelves level - but overall not too bad

This is a knockoff of the Pottery Barn "Caden Leather Ottoman". Made from Ash and American Walnut.

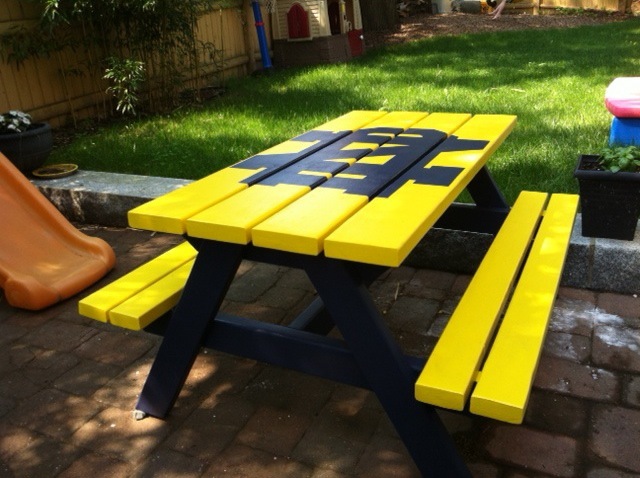
I wanted to make a gift for my friend's kids. I also didn't want to make something they didn't have room for and couldn't really use. The request was a picnic bench for their 3 and 5 year old. I offered to paint it to match the house and they said no, they wanted Notre Dame colors. One of the big box stores has official NCAA colors so it was a perfect match! The wood cost $25 (only 5 2x4 were needed) and the paint, screws, etc. brought the project up to $90. The instructions made it super easy to build and I really took my time making sure everything was square. Also just to build the table is a few hours, maybe not that much. The prep and painting took me a while.
The kids were happy with their table and their Dad, a Notre Dame alum, was thrilled with the design.
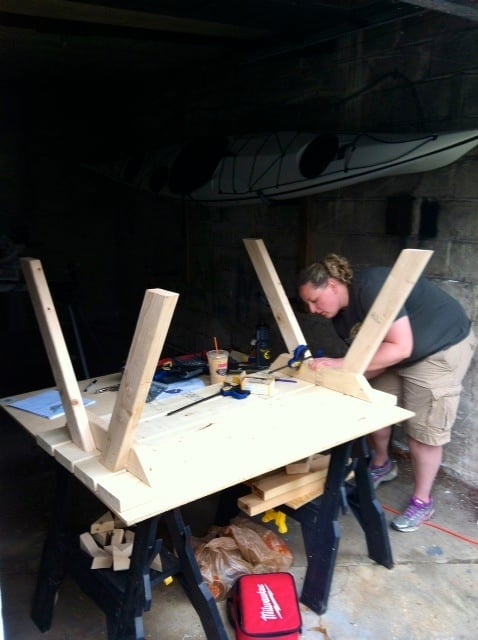
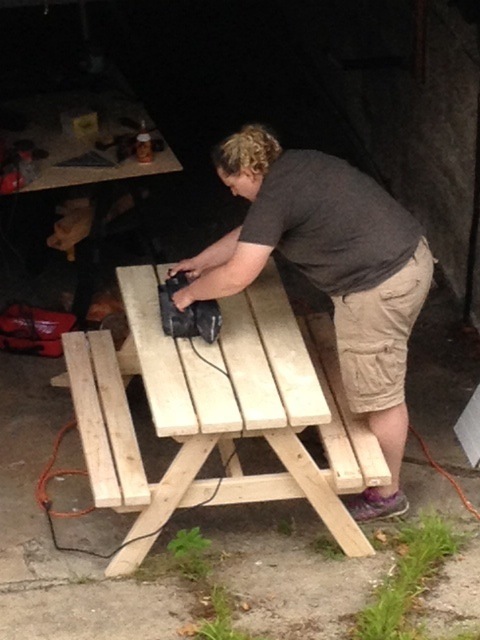
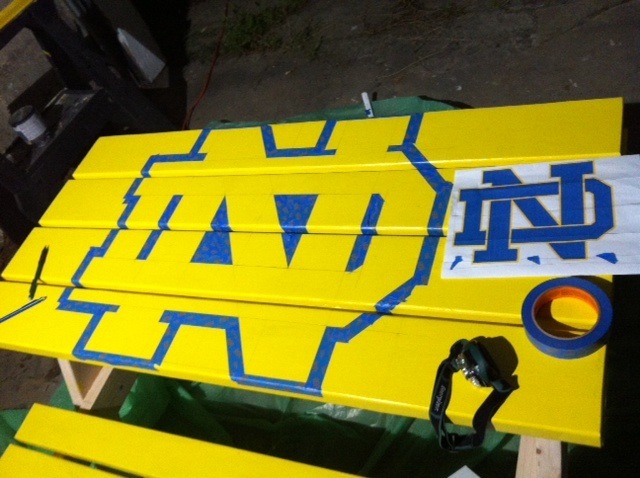
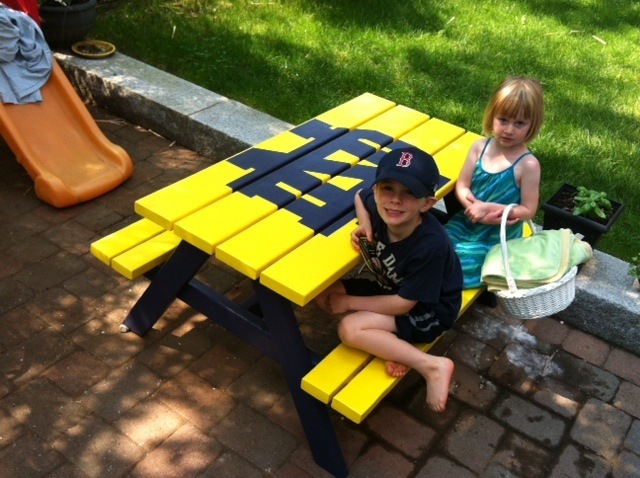
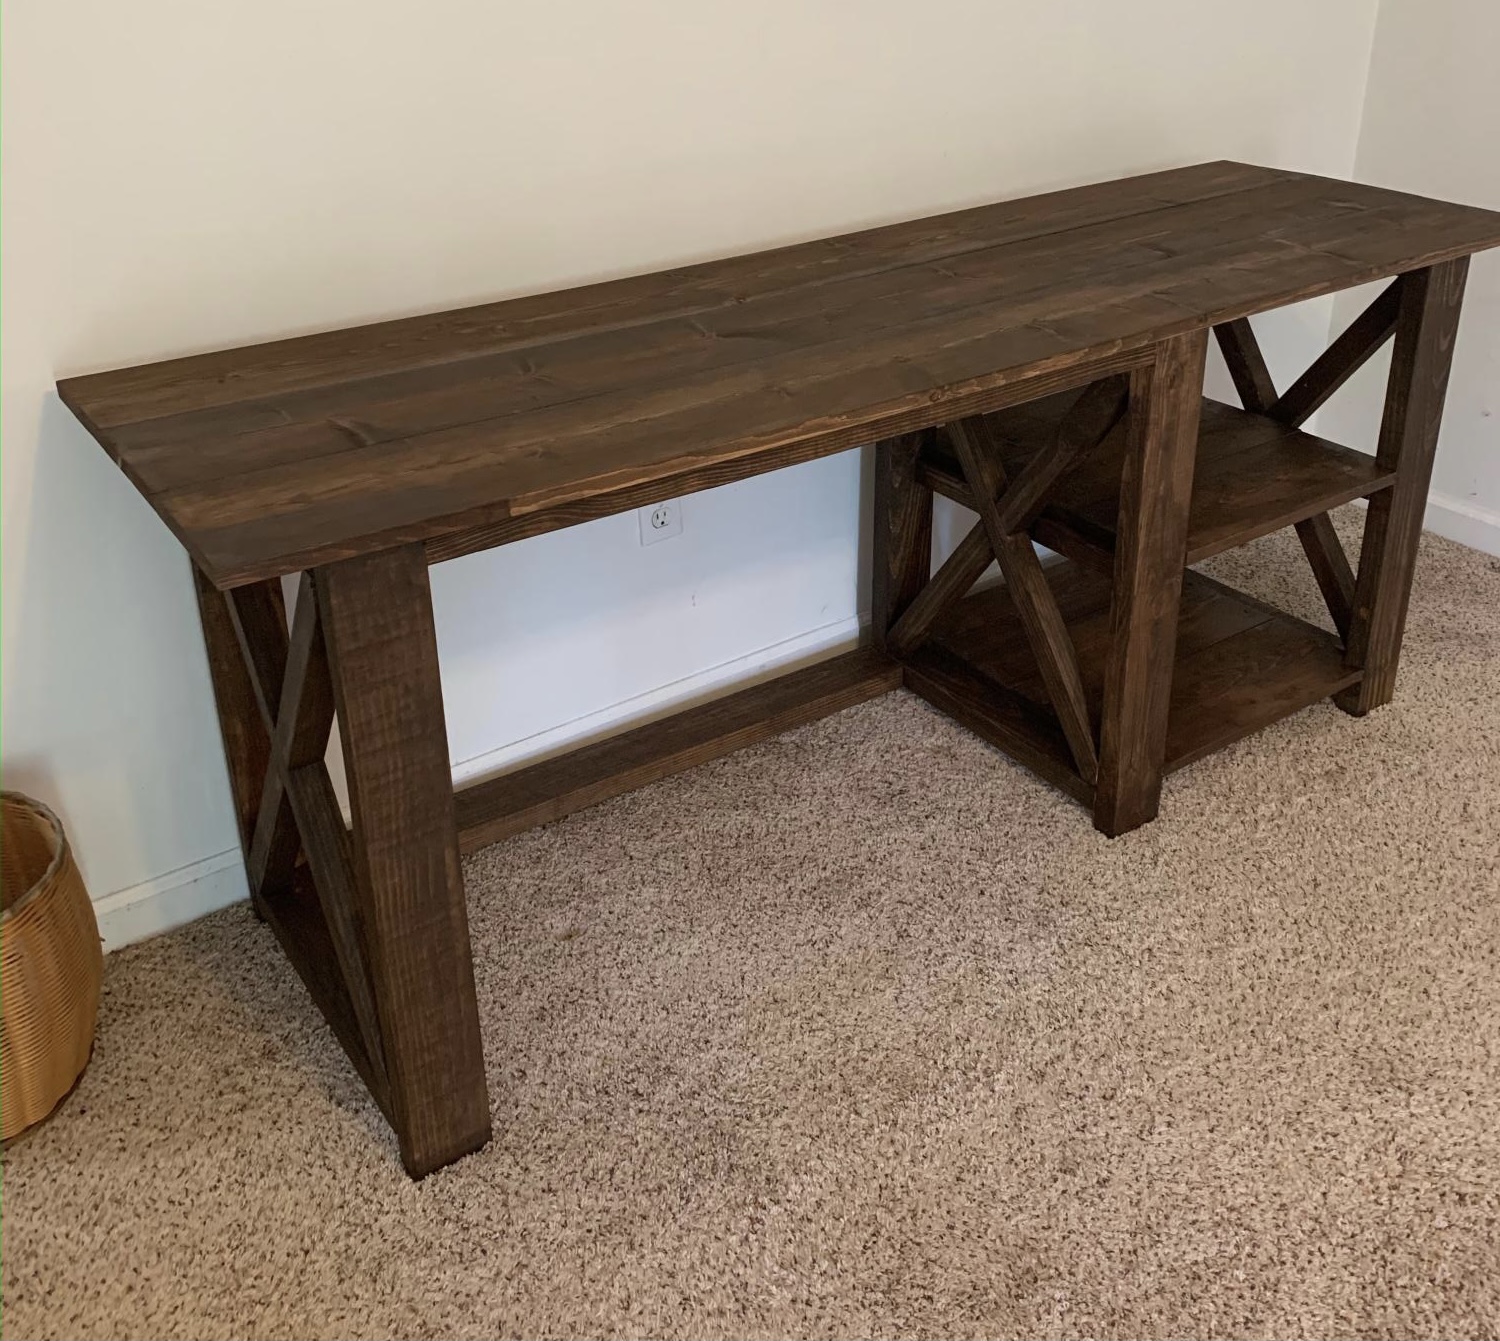
Used these plans to make this office desk for my daughter!
Used repurposed lumber for most of the project. Only thing I bought was the cedar pickets. This project cost less than $9
I also chose to cut the tops off and add mitered boards on top.
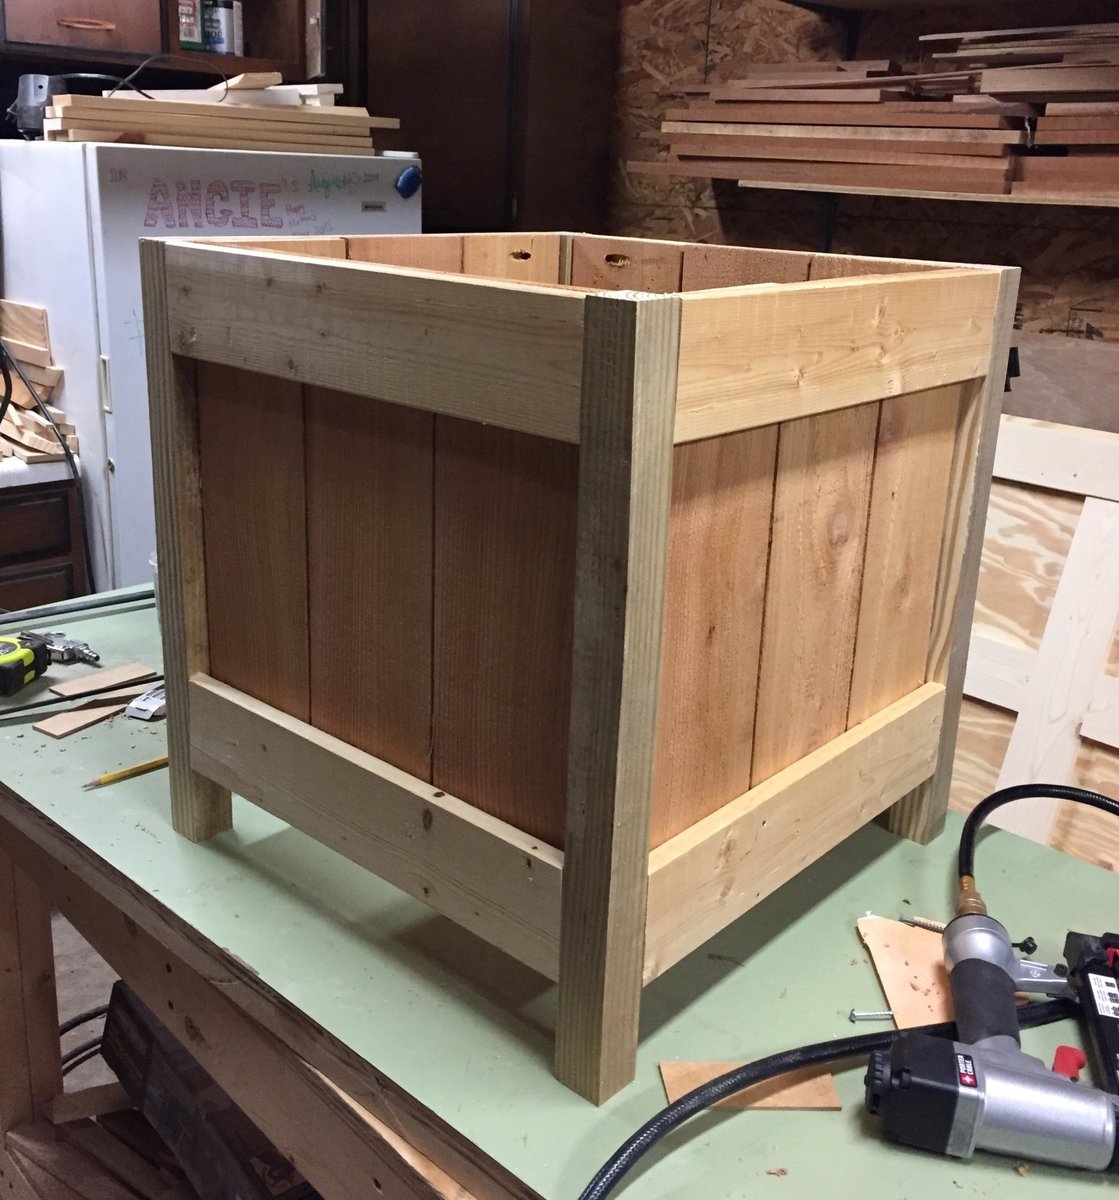
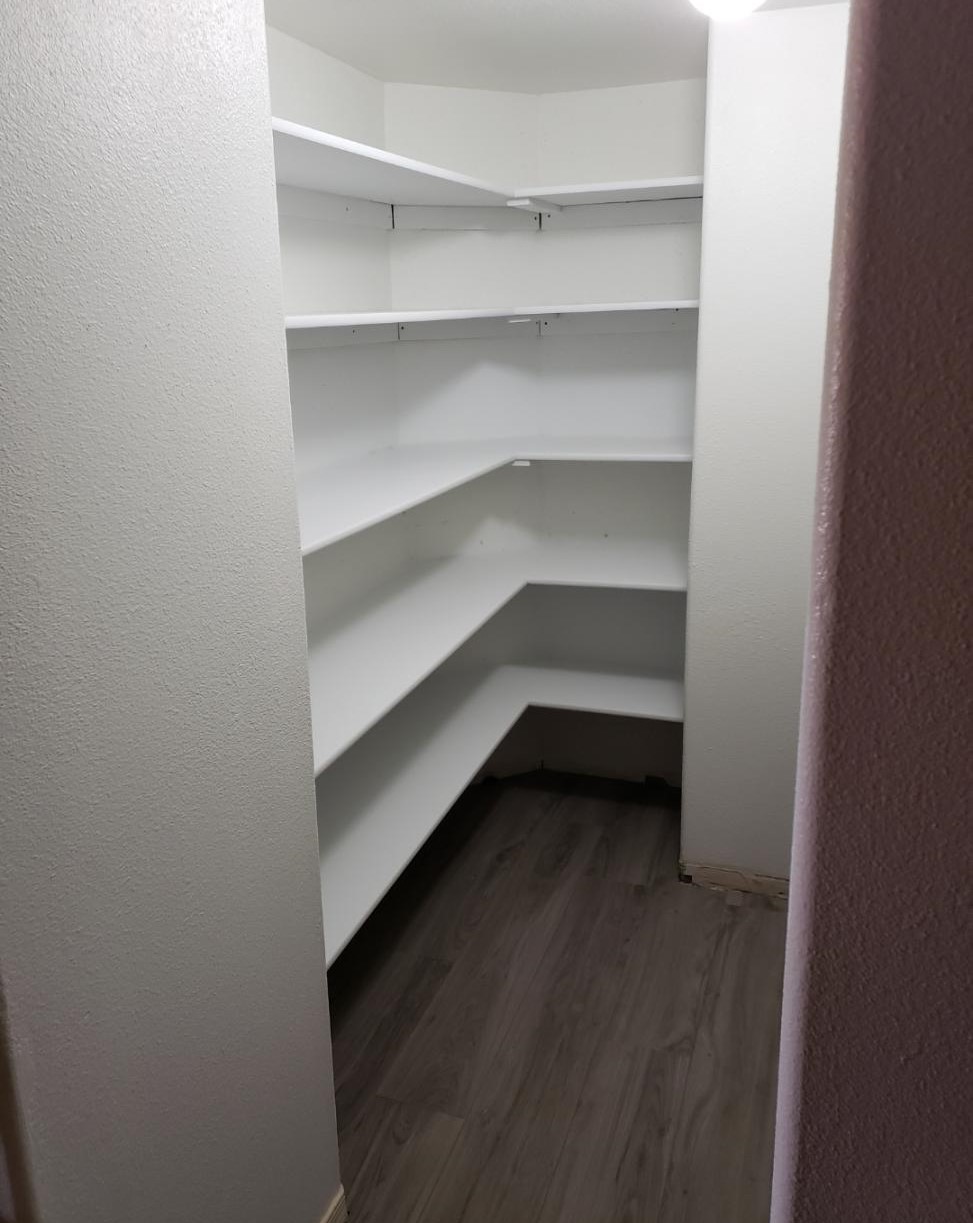
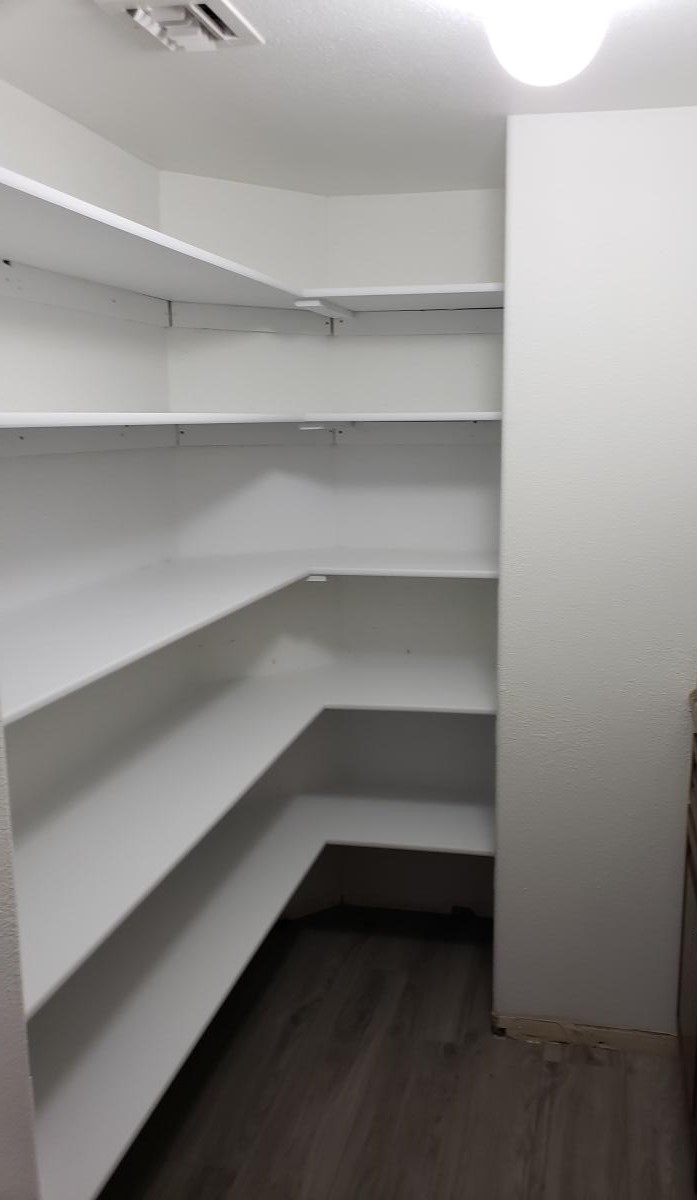
We enclosed an unused wet bar and then I built the shelves to make it into a pantry.
I washed the plans for the farmhouse table in hot water!
I modeled this kids table off the farmhouse table and then made the chairs out of 3/4" plywood with bright colours.
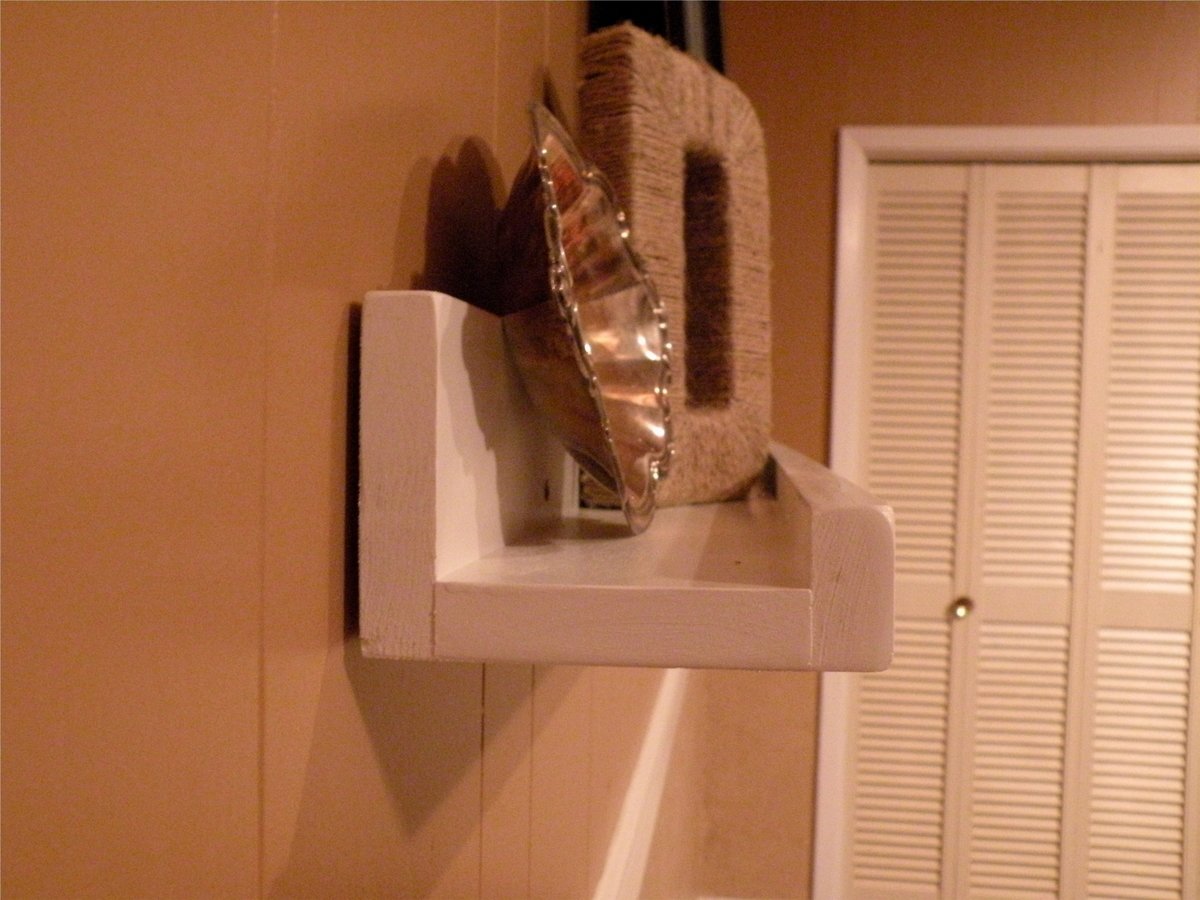
A quick shelf for a blank wall.
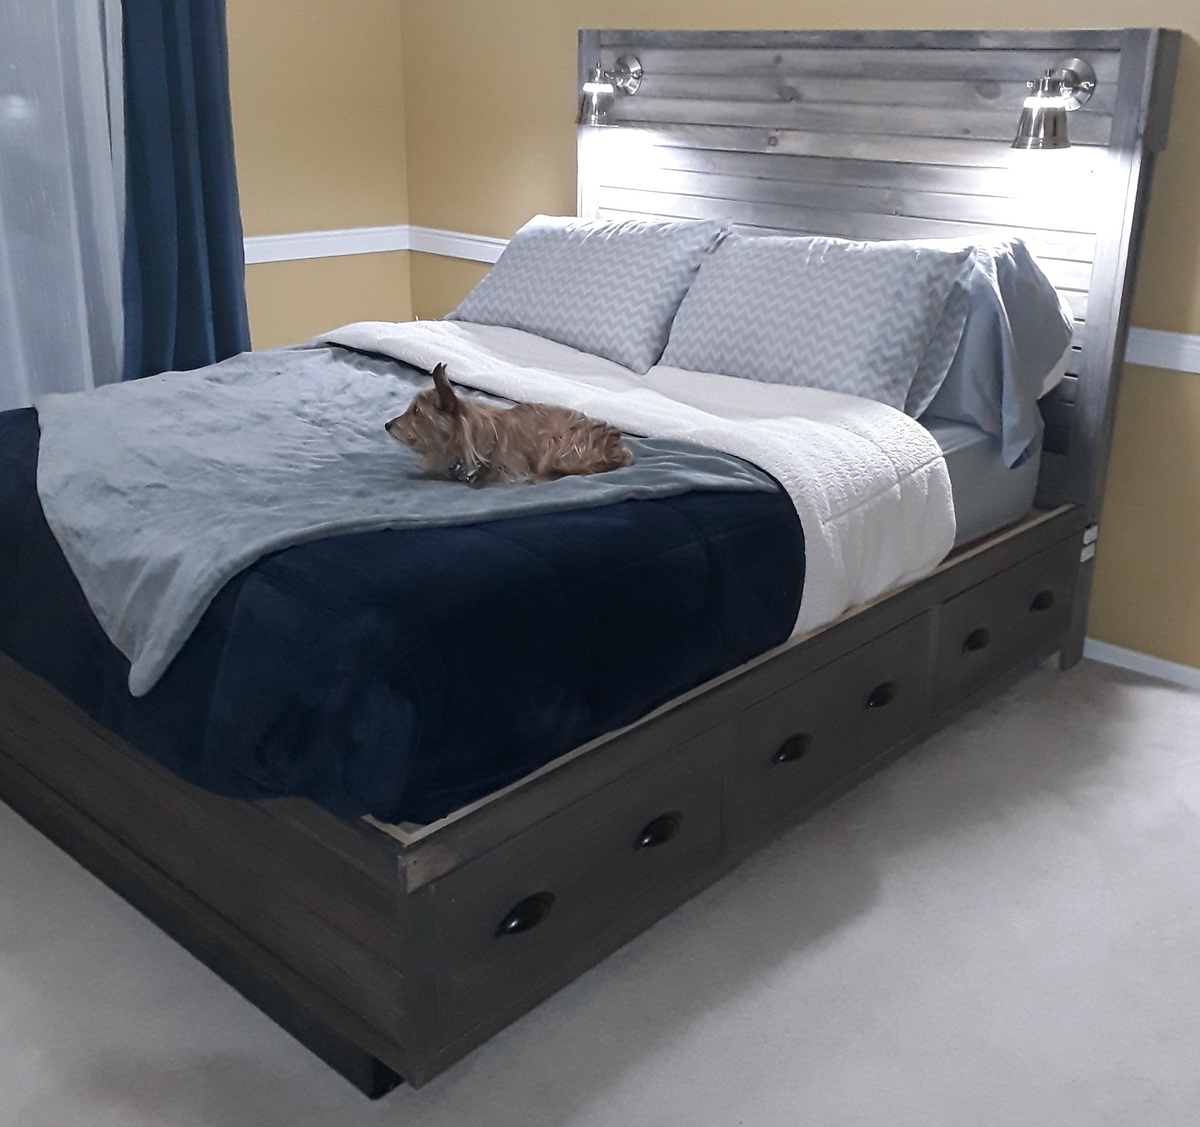
There was some deviation from the original plans.. We made the storage boxes a bit taller and the headboard has several new features.
First off, the under-bed storage takes up the whole size of the bed. So the drawers (six of them) are nice and deep. One of the drawers is actually the dog's bed now.
The picture doesn't show it but behind the headboard there are cubbies for storing books, tablets, phones, glasses, etc.
On both sides of the headboard there are four electrical outlets plus two USB charging outlets for charging tablets, phones, etc.
There are two reading lamps on the headboard as well.
I did the construction portion while my talented wife did the amazing paint job.
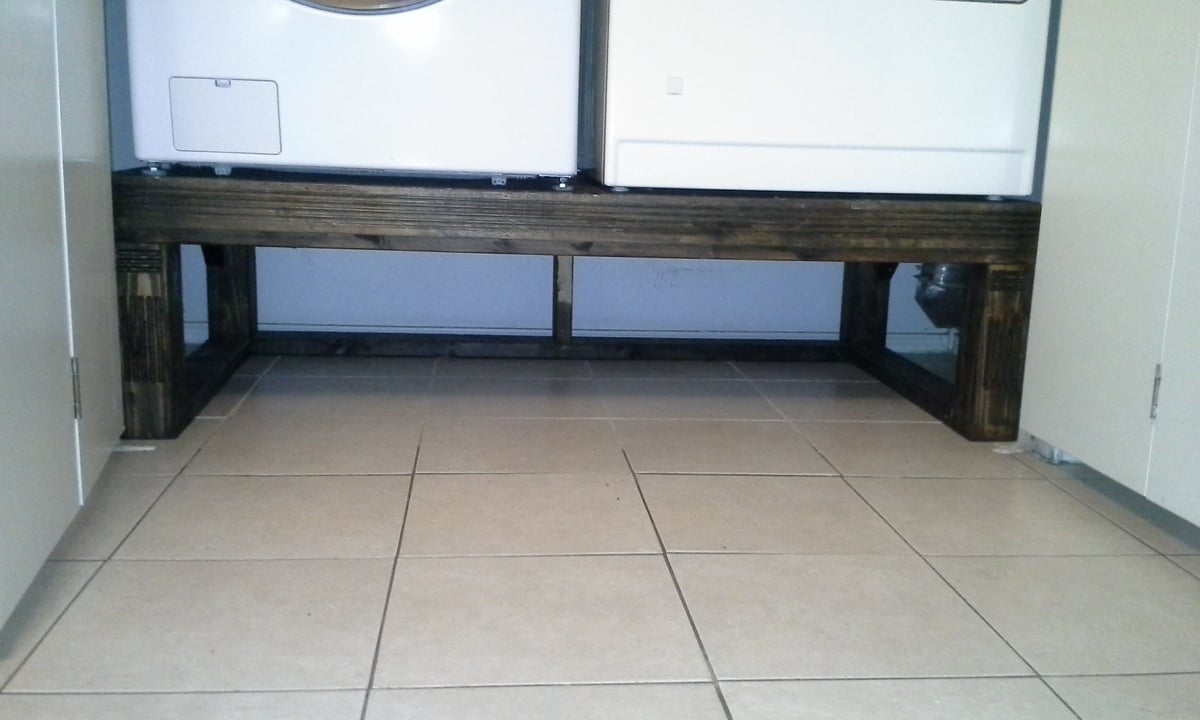
I had worked on this project a while ago, but did not had time to add my brag post. I actually modified the dimensions to fit my needs. I enjoyed making this pedestal along with my son.
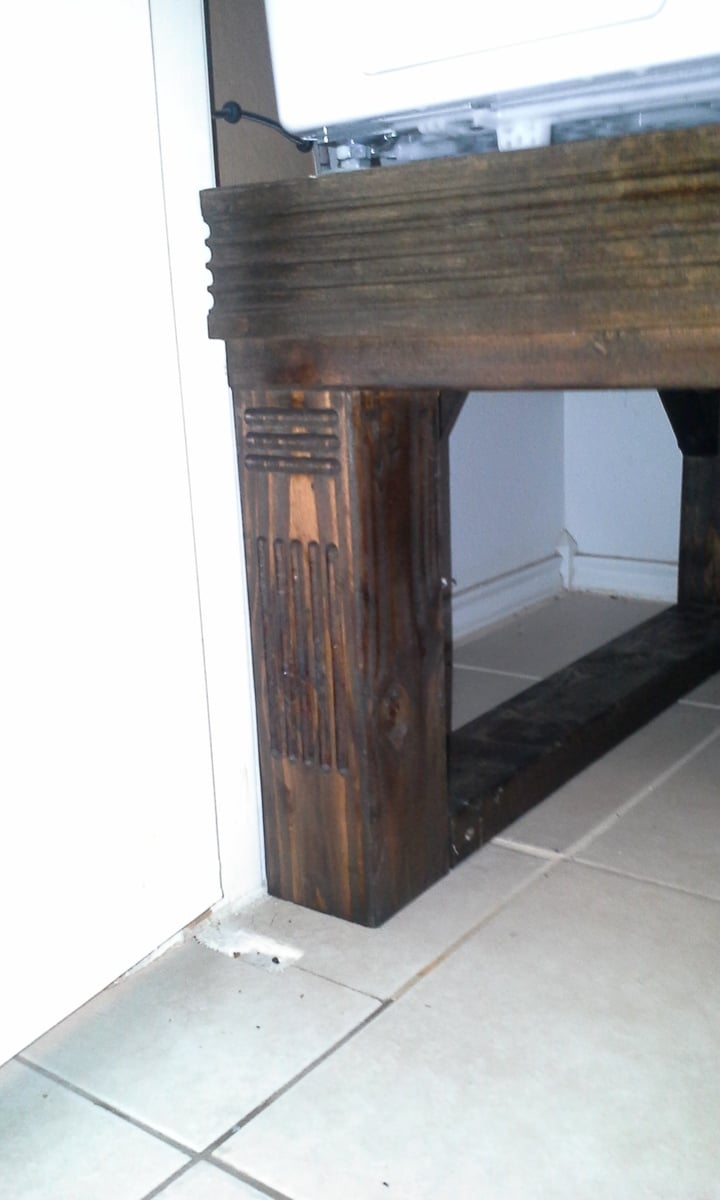
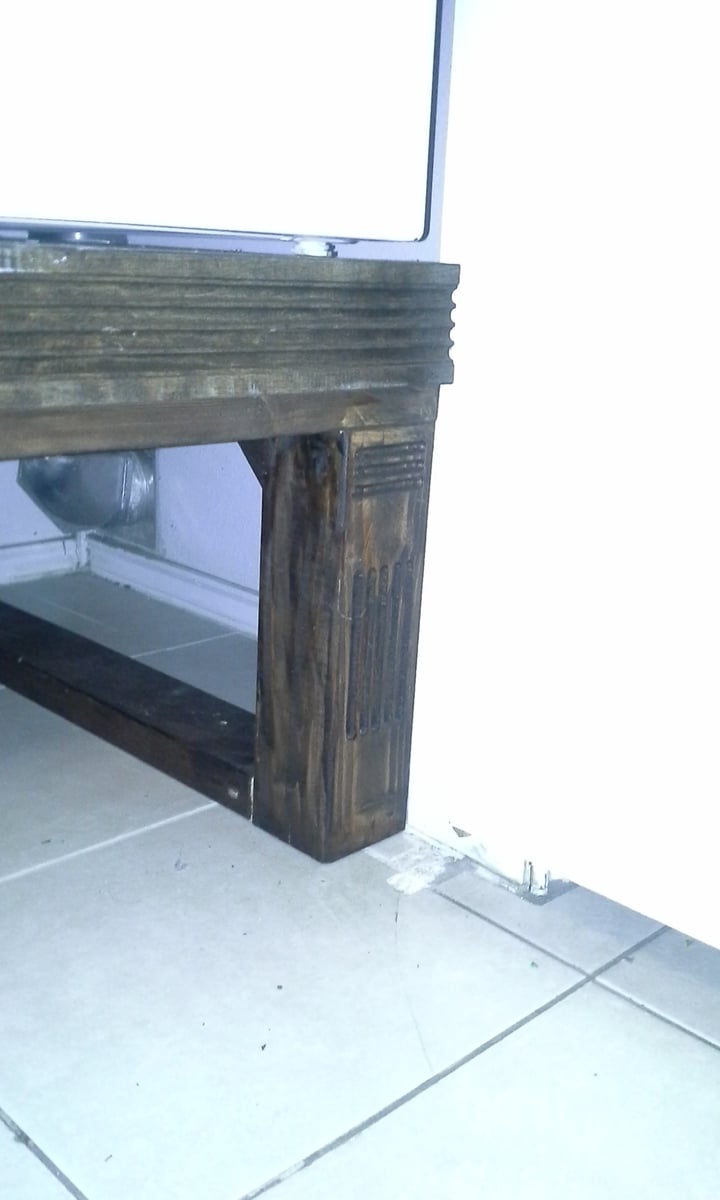
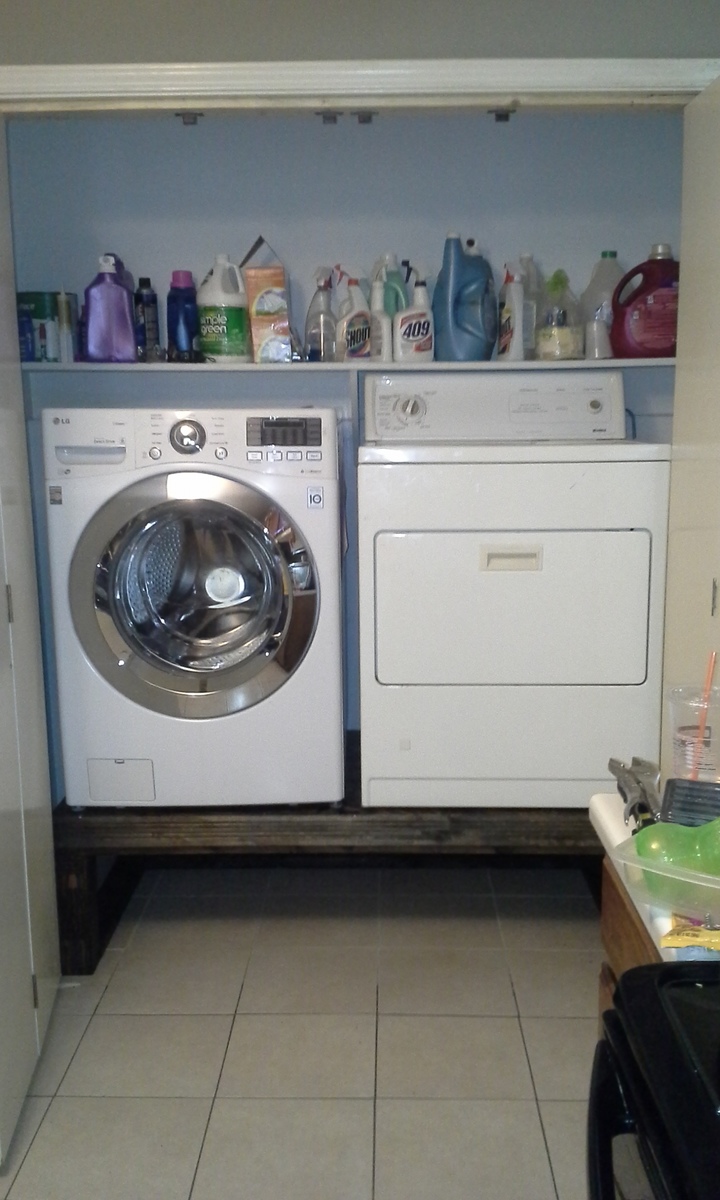
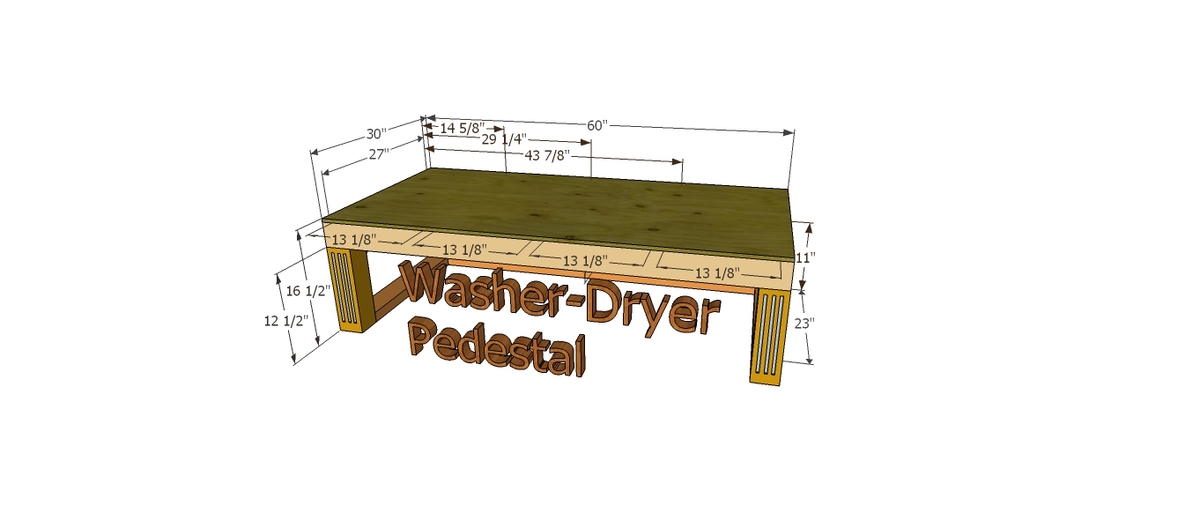
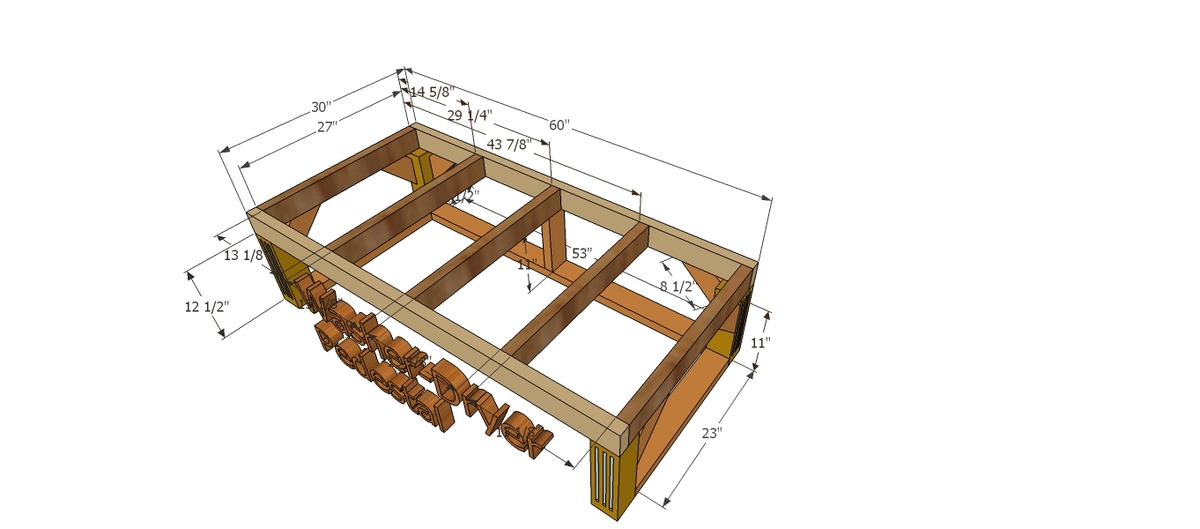
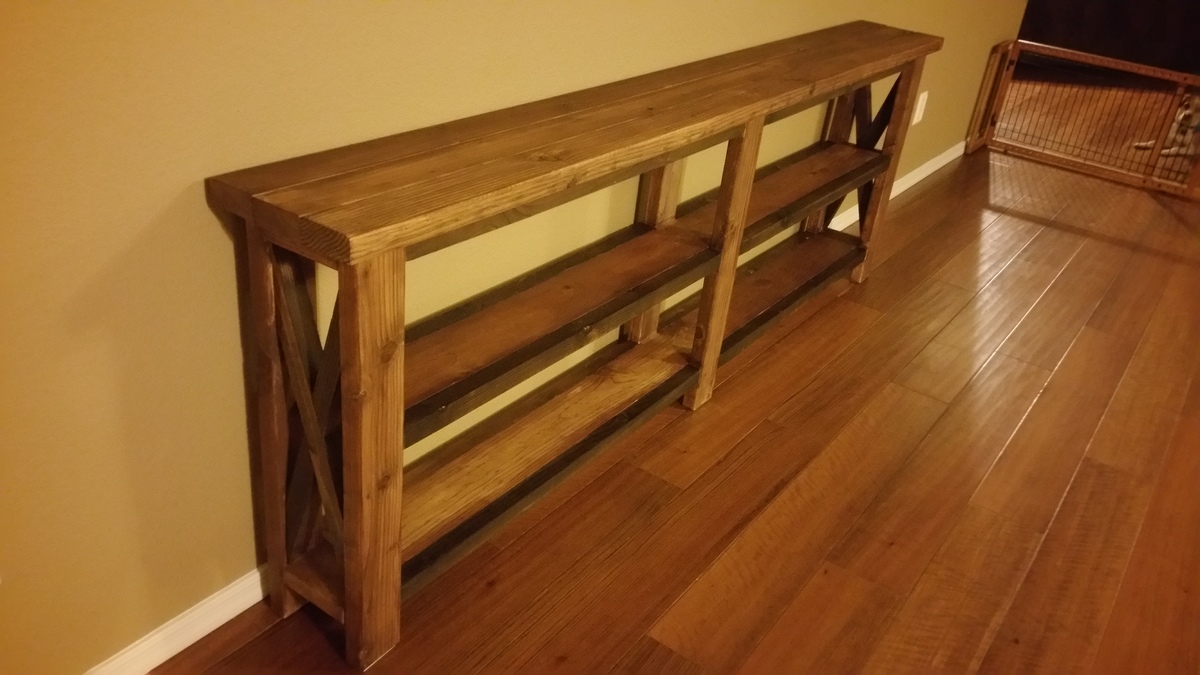
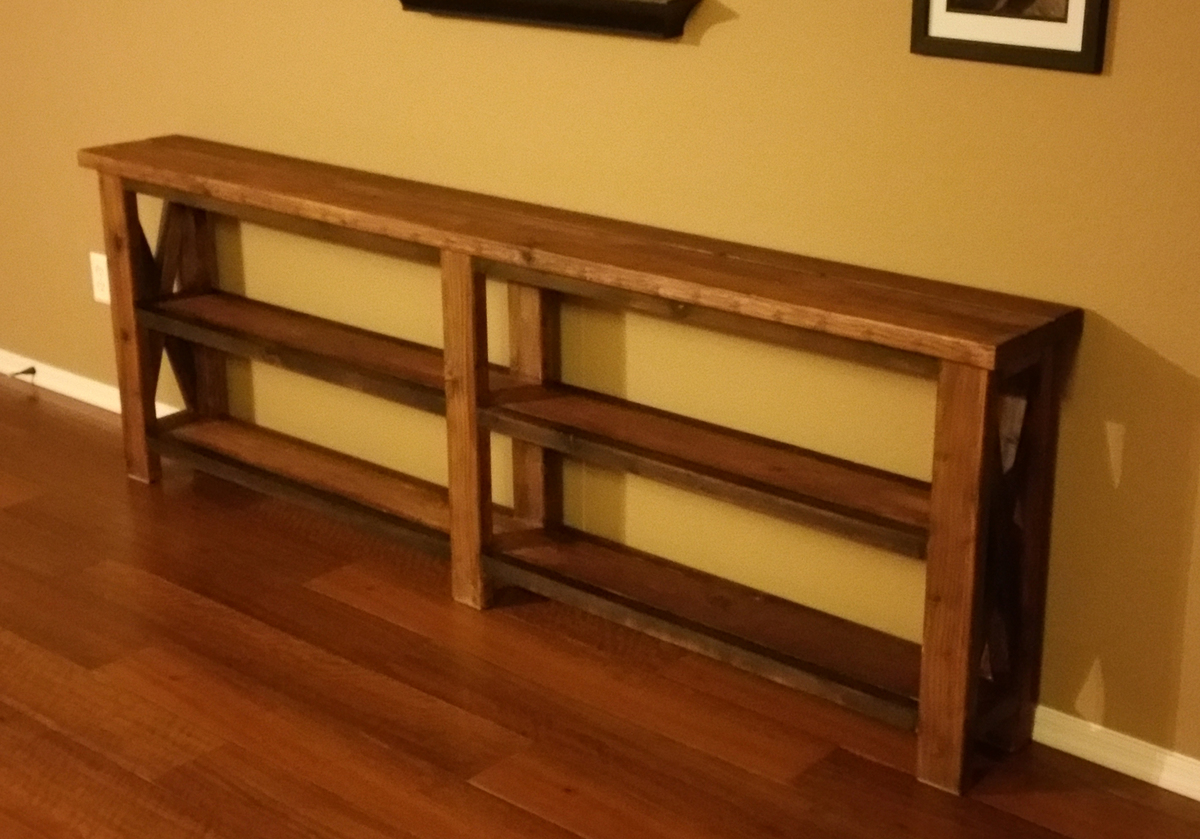
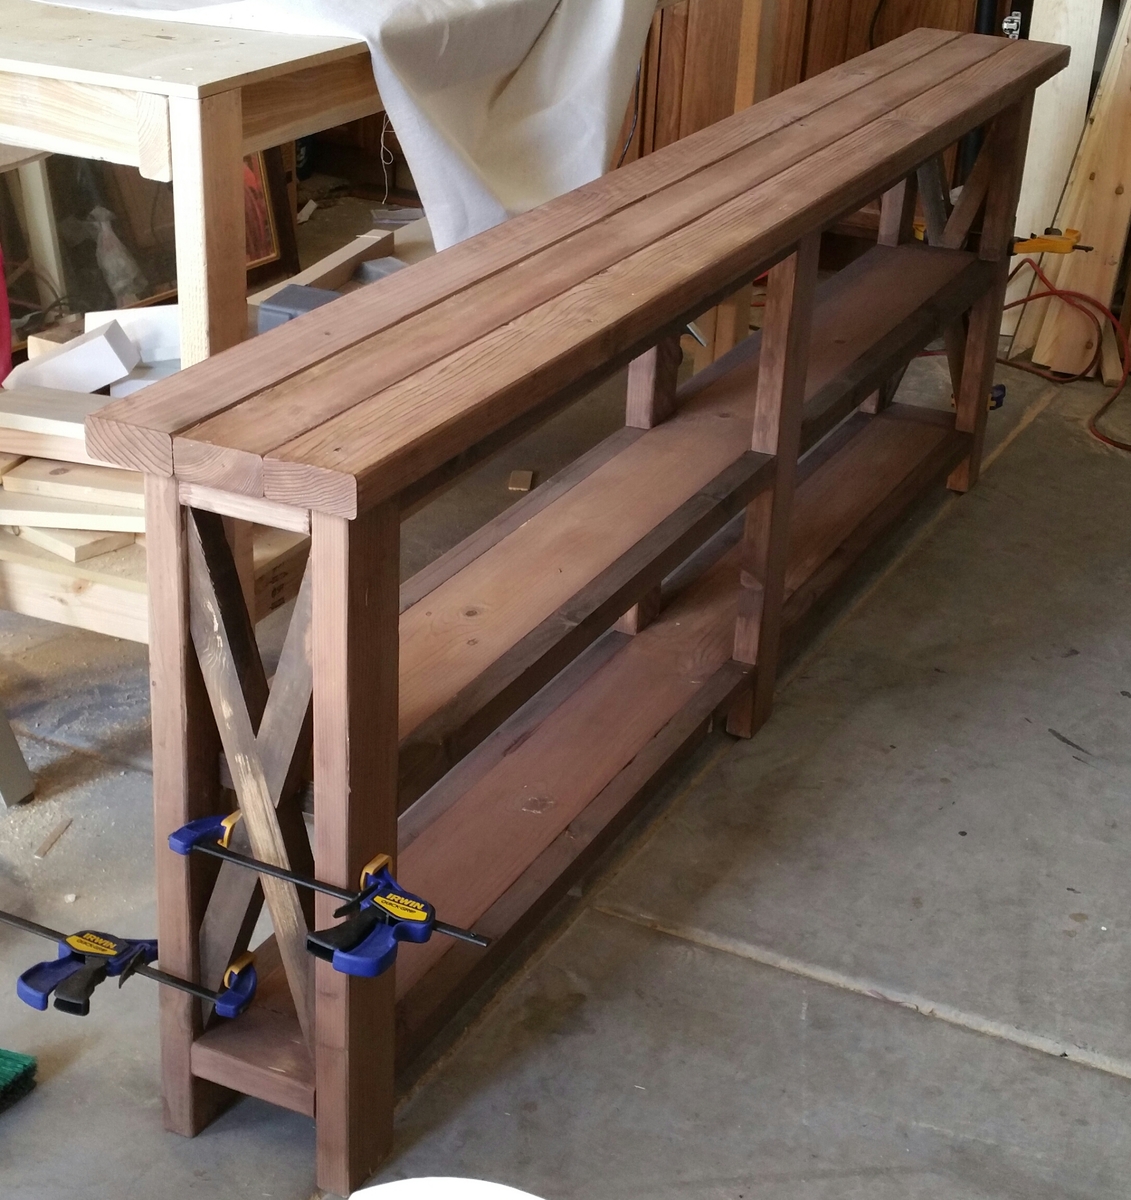
Modified from the original plans to make it longer and thinner to fit the space/need.
For the "X" cuts I just built the frame, clamped on a rough length of 2x2 and drew lines where the cuts should go. I ended up cutting those by hand since they were well over 45 degrees. Next time I will make a jig for my miter saw to handle those angles.
Finish is just vinegar and steel wool. The picture with the clamps is before the top coat was applied. Once the poly was put on it gave it a nice gloss and nice, rich colors.
Now it just needs some decorative pieces sitting on it :)
Fri, 08/21/2015 - 20:53
Your console turned out great! I was curious if you still have the dimensions you used?
Thanks
I am close to completing an outdoor set with only the table to go. My parents are going to love this at their new house they are building!! I found the cedar 1x4's at home depot for about six dollars a piece. I painted the base a basic semi-gloss white before I built the bench. It's so much easier to paint first and build later. I have a few more touch ups but I am happy with it. I used the Kreg Jig Jr to screw in underneath($40), which made this project and every project I've done so far that much easier.
Tue, 07/26/2011 - 15:28
Looks great! Love the two toned wood look. I wondered whether you added an extra support in the middle... sort of seems like there's one at least in the last picture. Also did you build the top completely separate so it was one piece? Sorry for all the questions. I really want to make this bench for a friend and I would like it to look better than the last outdoor table I made with my kreg jig. Thanks
Tue, 07/26/2011 - 16:42
Thanks! The bench had a little flexibility when I sat in the middle of the bench. I added the extra support in the middle which made no difference at all. It turns out that cedar is a naturally light and flexible wood. If I had it to do over again I would use treated pine for the white base and keep the top cedar. The 1x4 cedar from home depot I used is actually .625 x 3.3875 not .75 x 3.5. So as you can imagine, it threw off the whole slat configuration. Best thing to do is use 28 or so .25 inch spacers to place in between the 14 or so slats on level ground. Once you space the slats like you want, then you can maneuver the frame freely until its even on both sides. Once it looks even on both sides start screwing kreg screws at one end and continue until the last one is done. FYI - I highly recommend drilling the pocket holes first before building the frame in Step 1. Hope that helps!!
Tue, 07/26/2011 - 17:05
Almost forgot. I did add 2x2's in between the blue and green boards on each side of the frame to add more support. The middle board I added as you can see in the last picture did nothing structurally speaking.
Fri, 08/05/2011 - 10:11
Thanks for the tips. I finished cutting all the wood and am going to start putting it together tonight... After reading through the comments I think I'll join the 14 slats together with the side 52 1/4 boards before attaching it to the frame. Did you use an extra 1x3 for the second leg board?
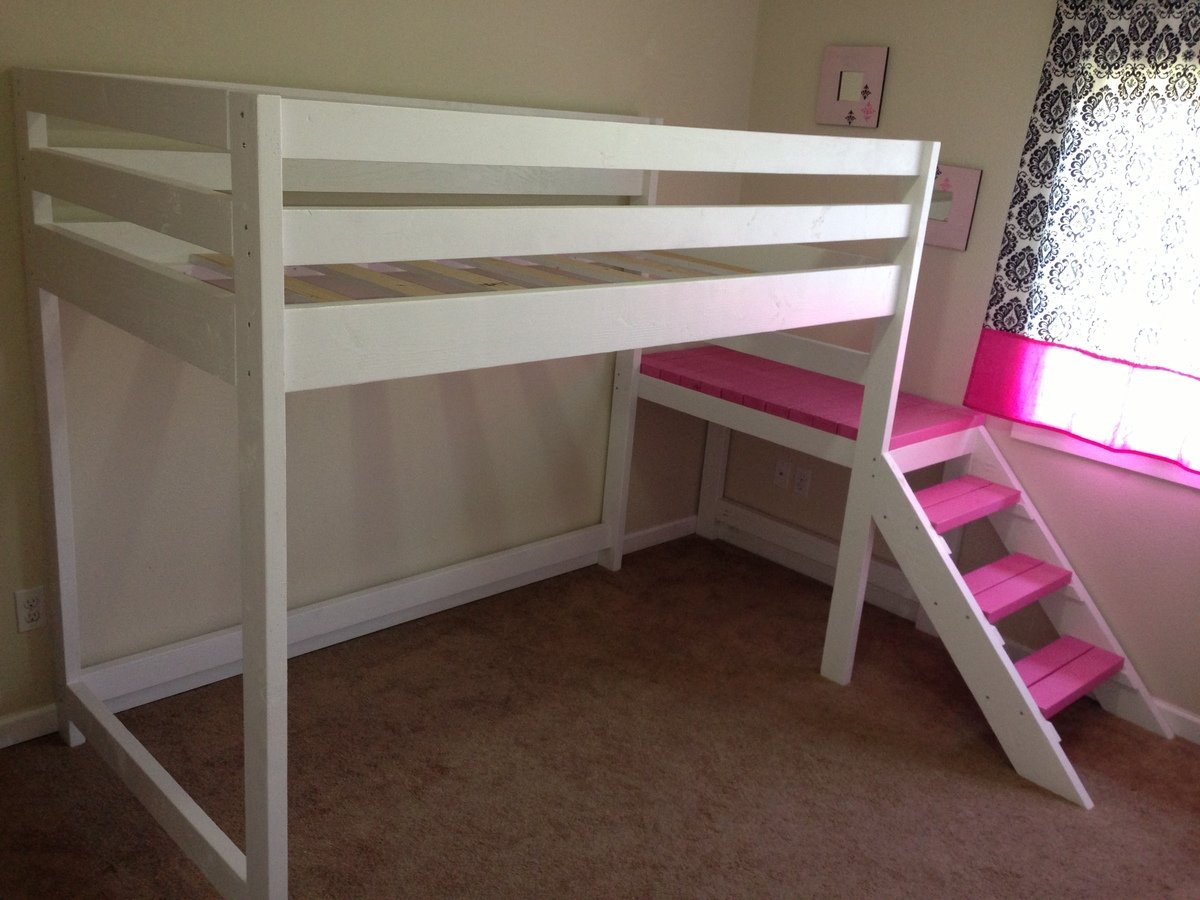
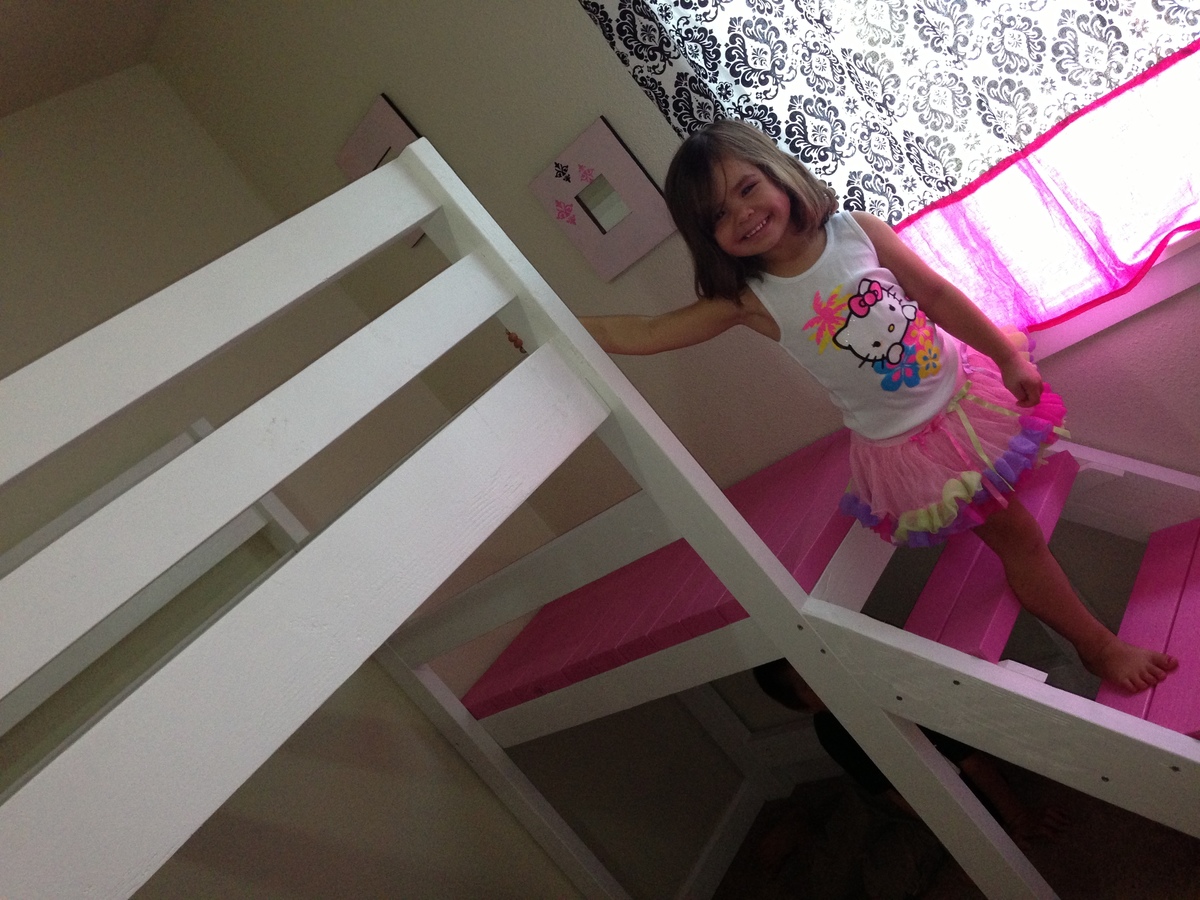
We made this loft bed for my daughter's 4th birthday. I did all of the cuts, sanding, and painting on my own, and had my husband help me with the assembly of the bed. It took us 2 full days to complete this build. The sanding and painting was the most tedious part of the project. I think it cost us about $150 for all of the lumber, paint, screws, etc.
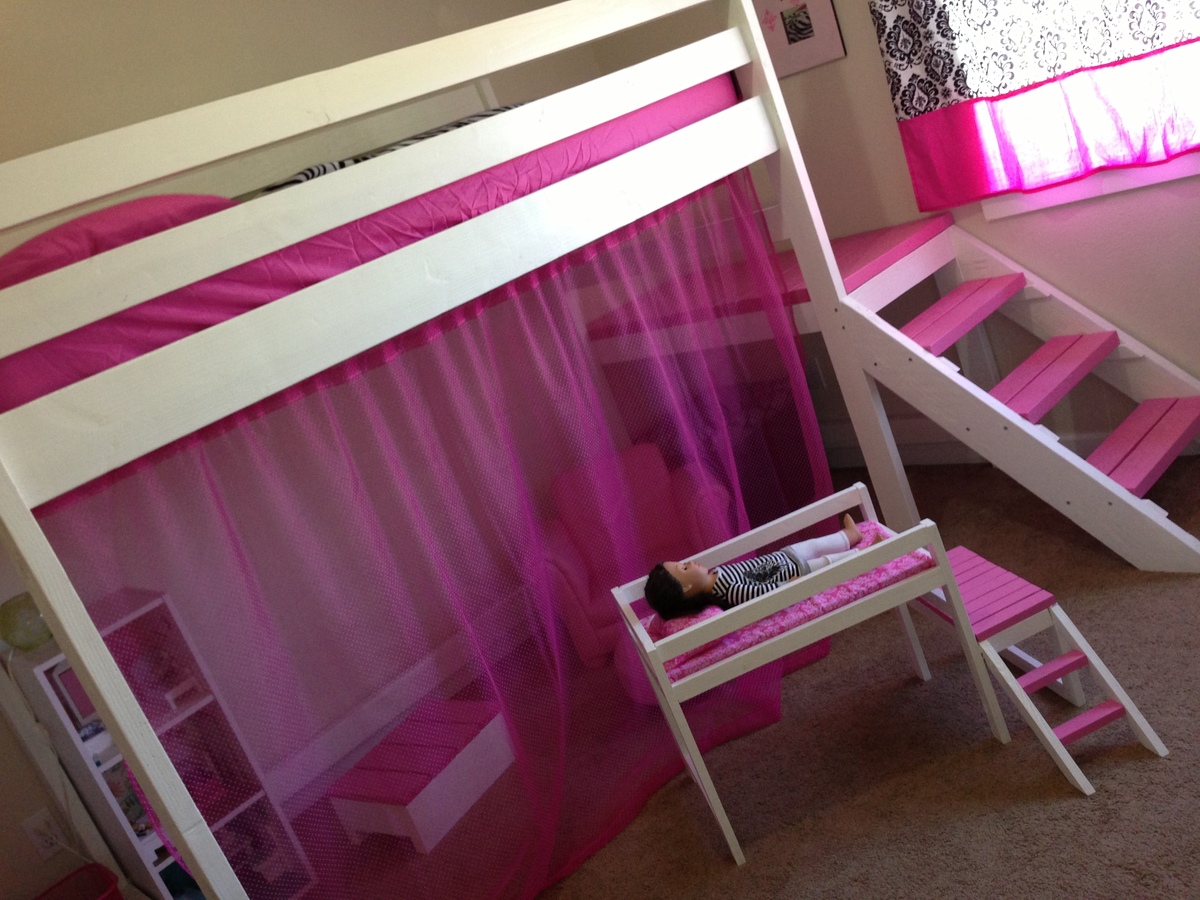
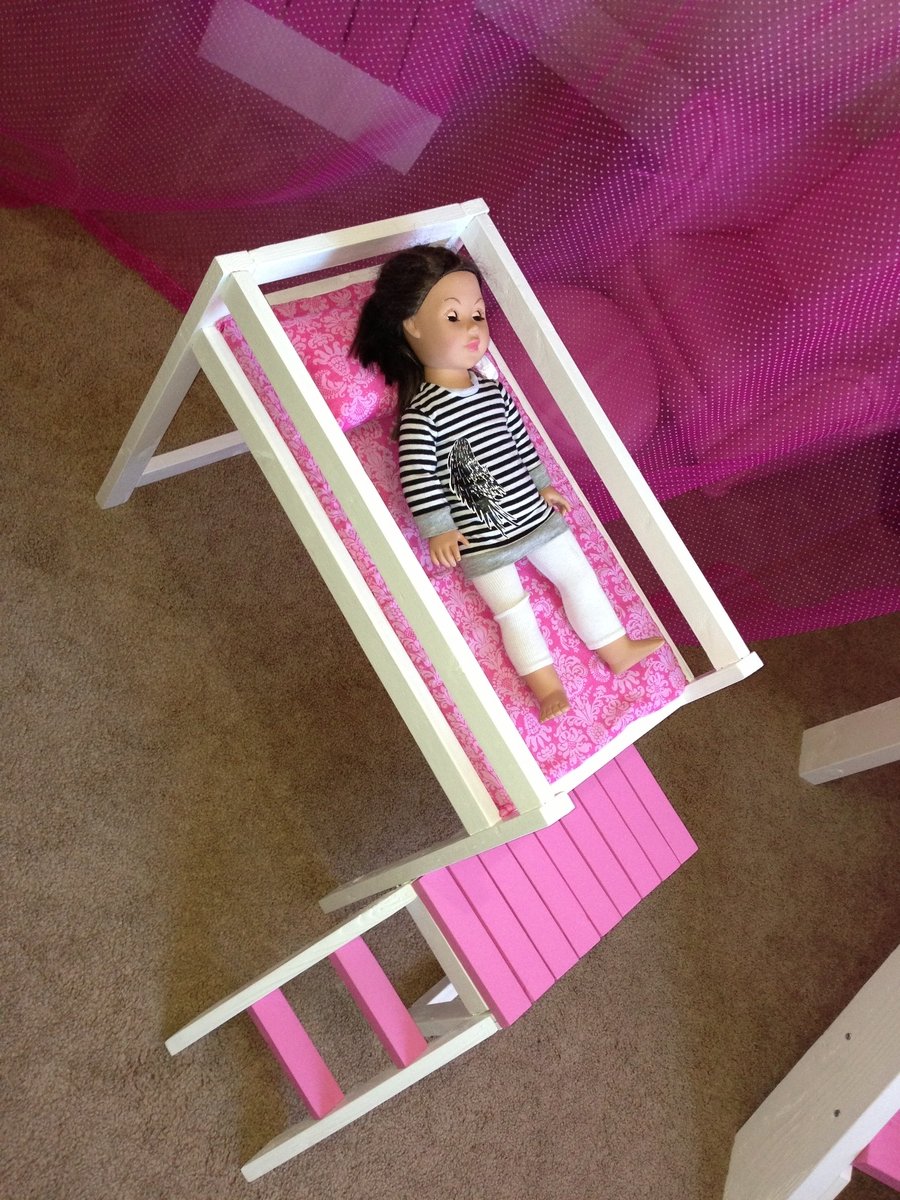
My daughter's really into playing with 18" dolls right now, so I decided to make a mini version of her loft bed for her dolls. I think it turned out really well and she absolutely loves it! The doll sized loft bed only cost about $15 to make (including wood, foam for the mattress and fabric). You can't beat that price for a wooden doll bed...and what little girl wouldn't love a matching bed for her dolls?!?!
I'm so happy with how both beds turned out!
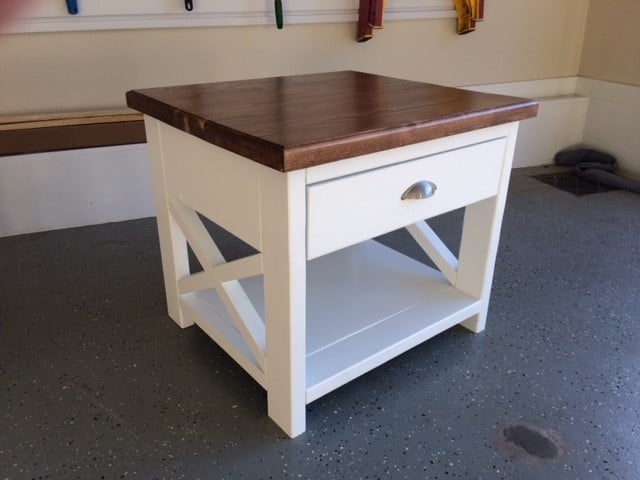
I used the rustic end table plans from ana-white.com, but modified to include a drawer for additional storage.

In need of outfitting the spare bedroom for overnight guests I came upon this site and found the storage bed plan we liked. After building the bed of course a dresser was in order. My sawyer has some northern white pine that came from the Wisconsin Northern State Fair grounds in Chippewa Falls. Having never worked with white pine before I found it rewarng and was happy with the finished product. Hope our guest enjoy it as much I had building it
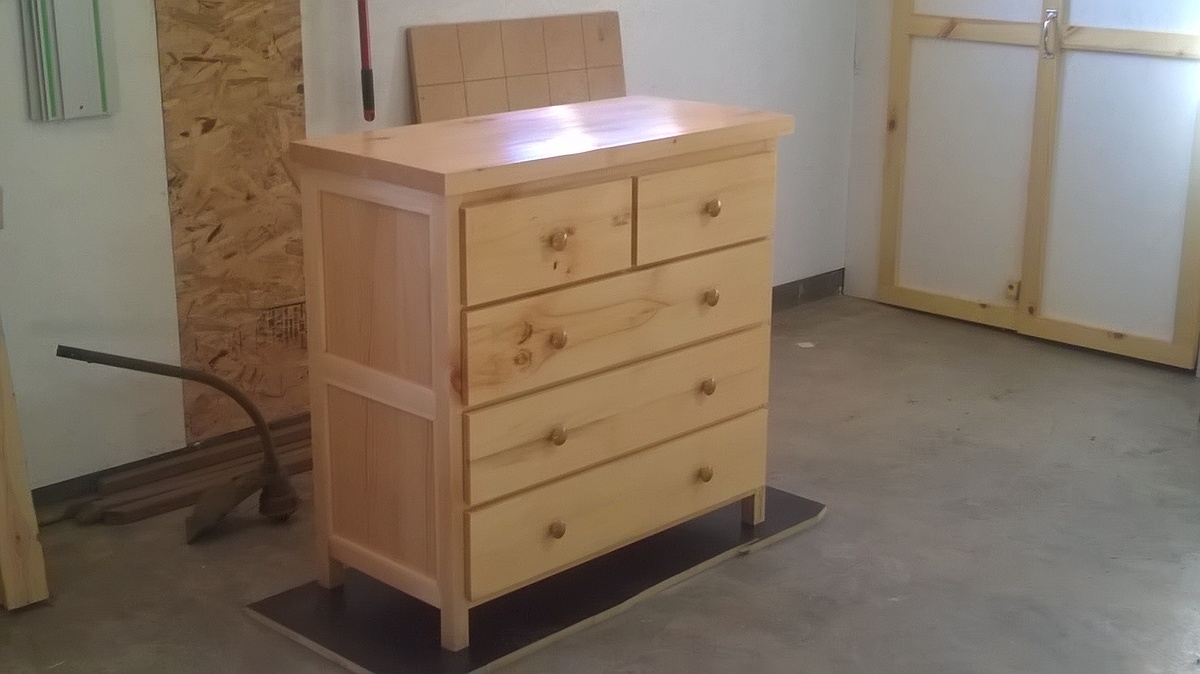
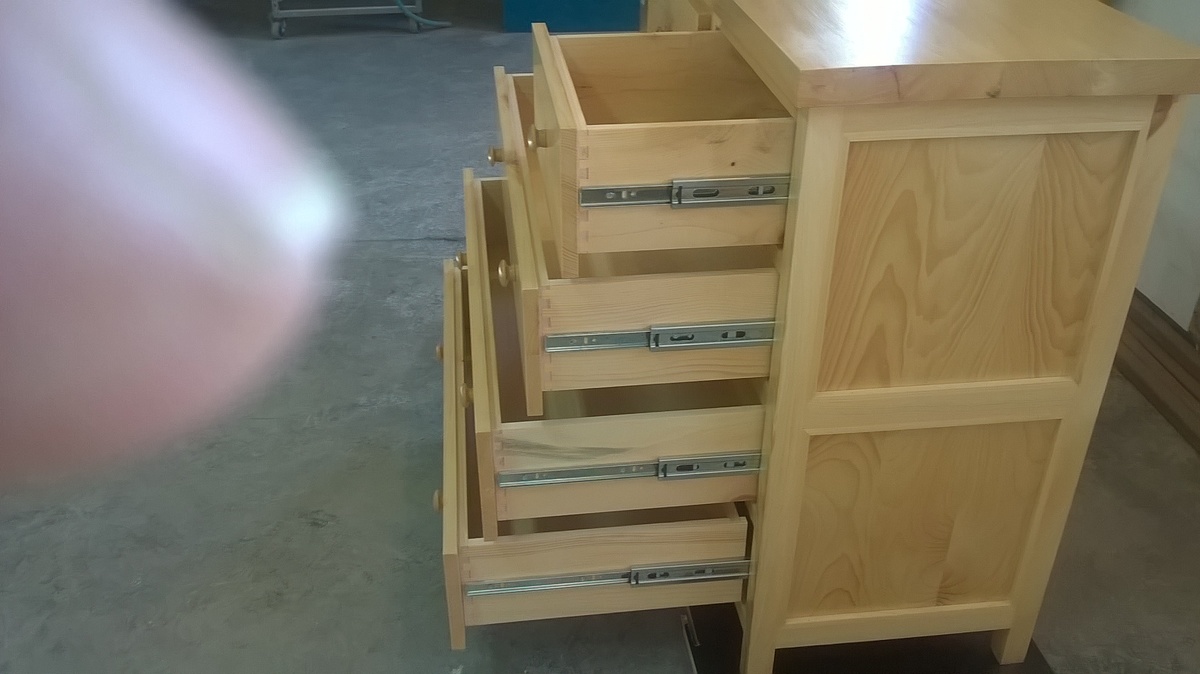
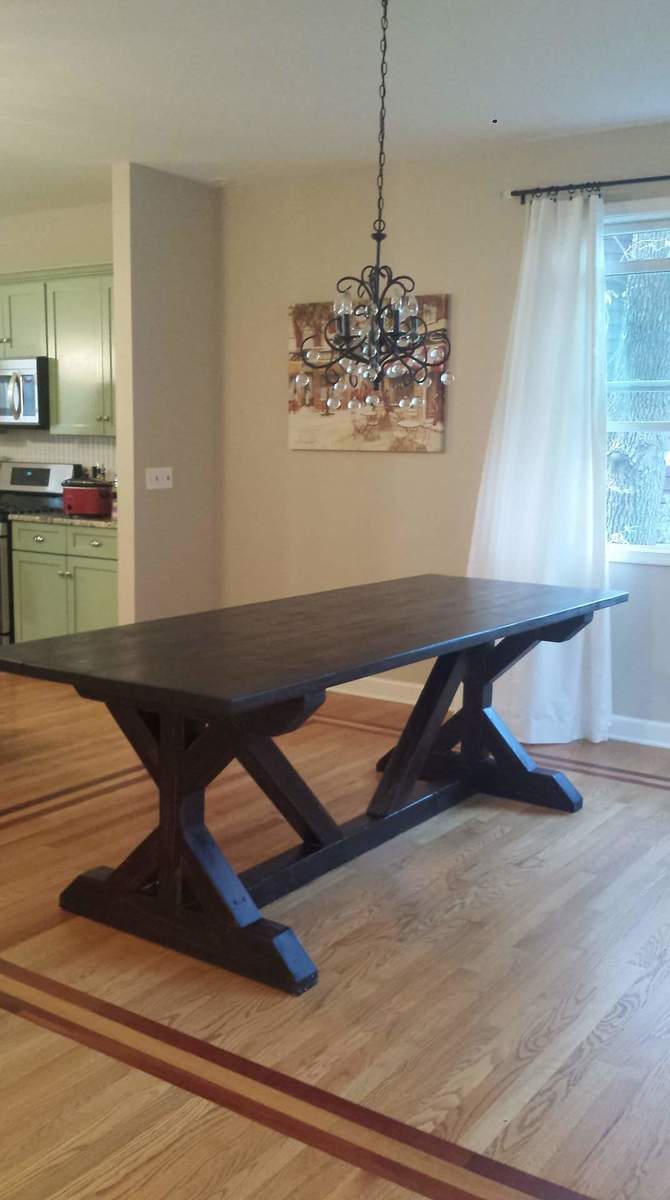
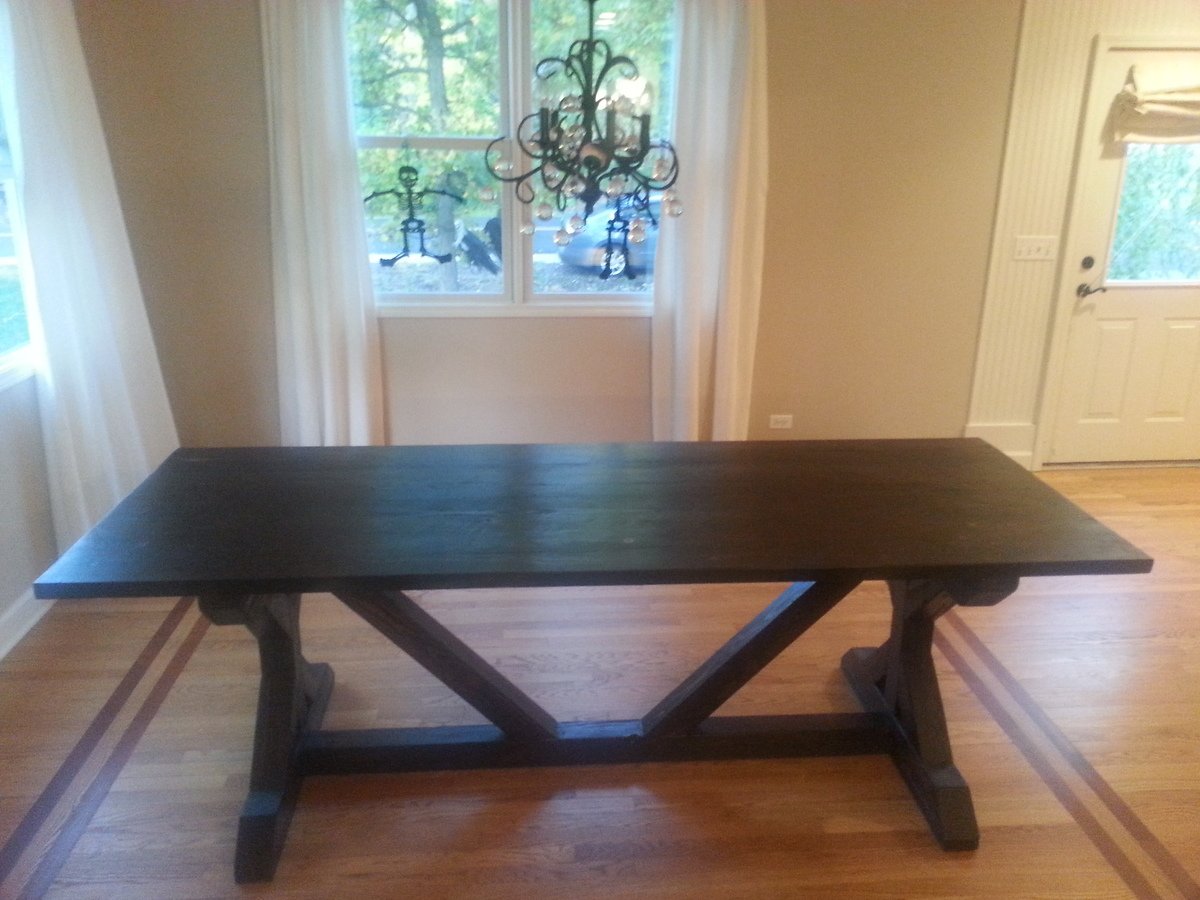
Made a couple modifications:
That last bullet was super-important to the Mrs. She was adamant that the table should not have spaces in between the boards, yet she did not want any seams for crumbs to collect. The result was that I had to sand down the table top about an eighth of an inch... but the seams disappeared.
Also, we initially used Ebony stain... until we realized it was too dark. Sanded that down a bit, then went over top with the Kona stain. Result was a dark brown with some black detailing. Finished with some minwax wipe-on poly. Turned out really nice!
Thank you, Ana - This project was a ton of fun, challenging, and ultimately, very rewarding!
I made this Christmas tree shelf using the plans here.
I modified it by adding on two shelves so that it could accommodate the 6 hooks I needed for my family's stockings. I also hot glued a string of lights to the perimeter. This is serving as our Christmas tree due to space constraints, so I wanted it to be "fancier" and more like an actual tree.
I think I did ok for my first real build and my family seems to really like it.
Sun, 12/06/2015 - 18:37
You did awesome!!! It looks great and I love how you just made the tree larger to accommodate your needs. Great job! Love the lights!
Comments
TerDickison2
Mon, 06/10/2019 - 18:43
Backrest question
I really like the backrest. I built the chair as is from the plans but found it really needs the backrest. Can I ask how you attached the backrest screw-wise and what the angle is? It looks like the backrest might have been screwed on from underneath the armrests before the armrests were screwed to the body of the chair. Am I thinking in the right direction? Thanks in advance!
DCurtin
Sun, 02/02/2020 - 13:48
Back rest for patio chair
Can I get the design for the back rest?
Lesleysw
Fri, 07/03/2020 - 11:24
Can I please get the plans…
Can I please get the plans for the backrest?
Thanks!