Community Brag Posts

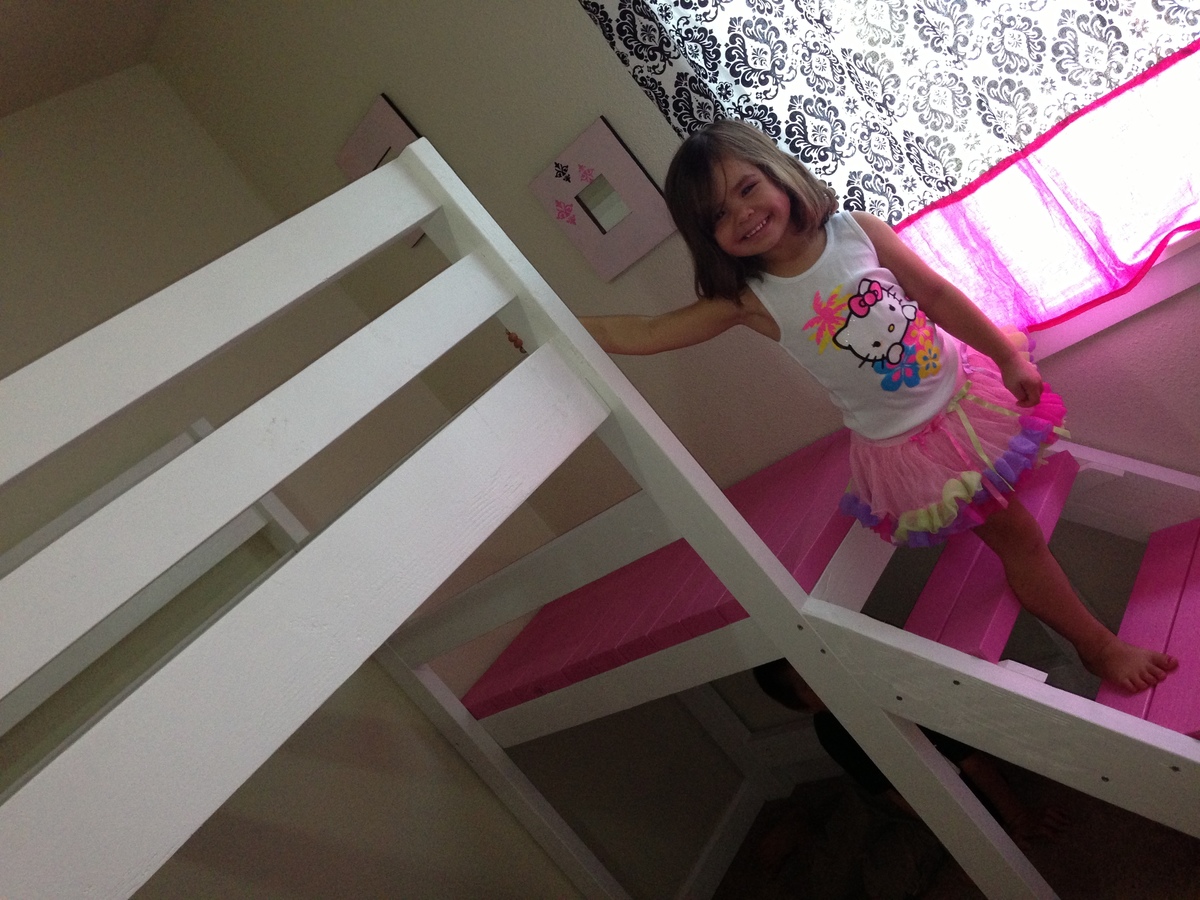
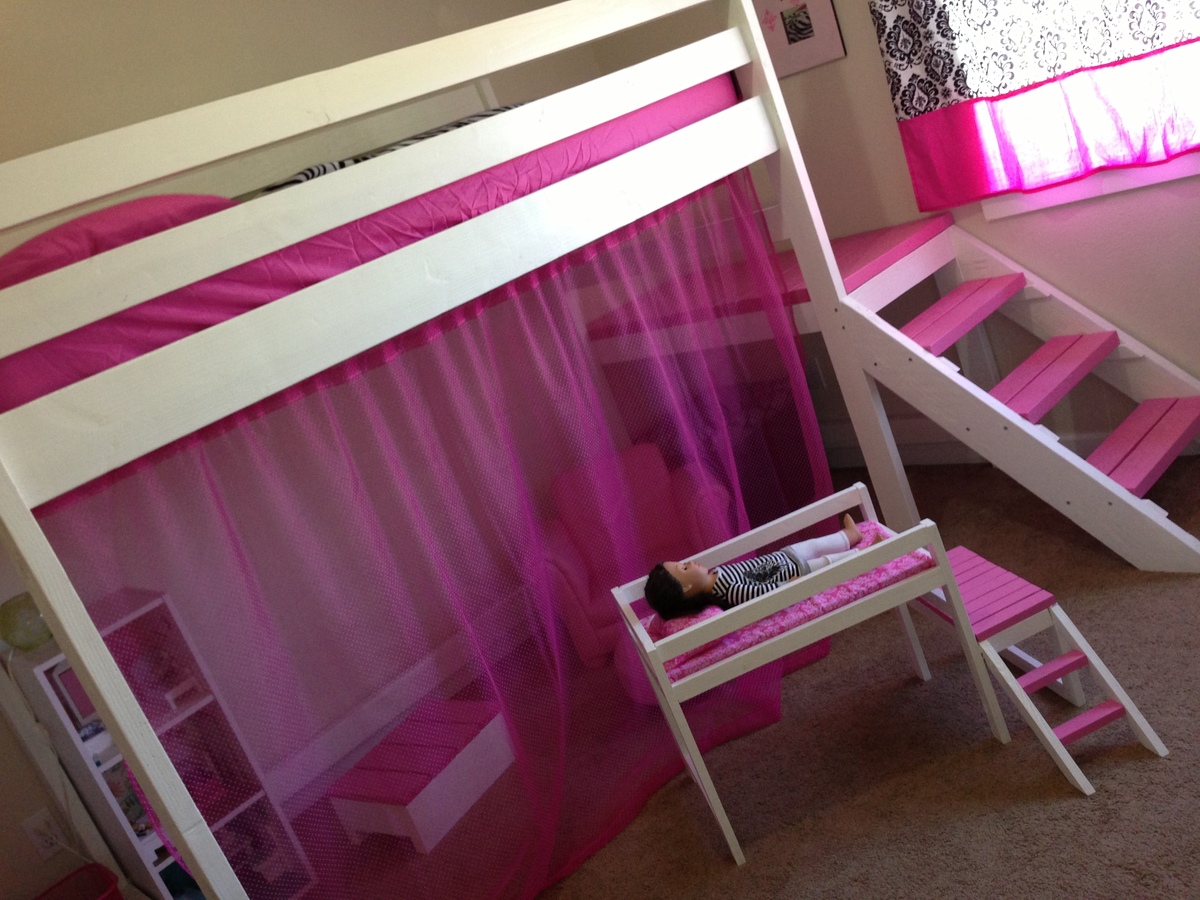
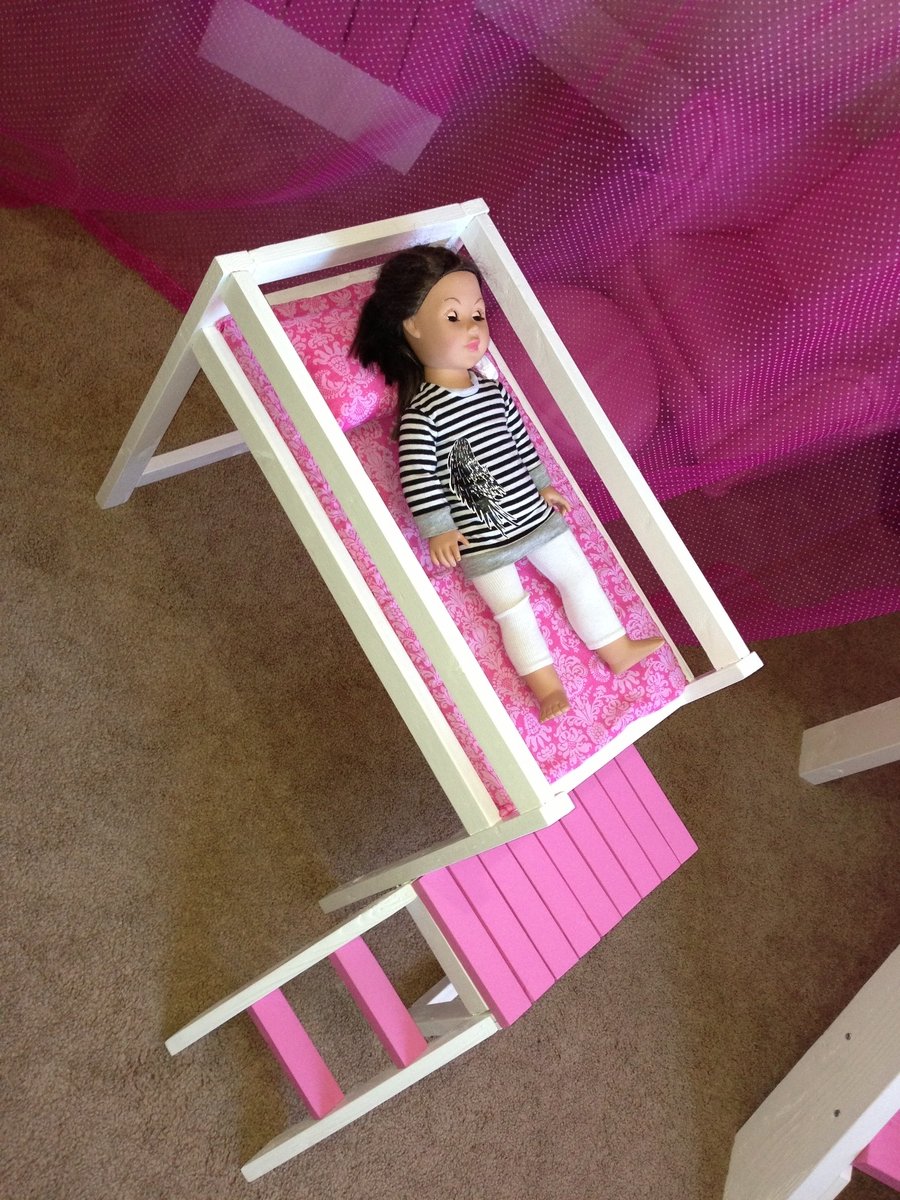
Camp Loft Bed with Matching Doll Sized Loft Bed

Submitted by lisatw on Tue, 08/20/2013 - 17:20

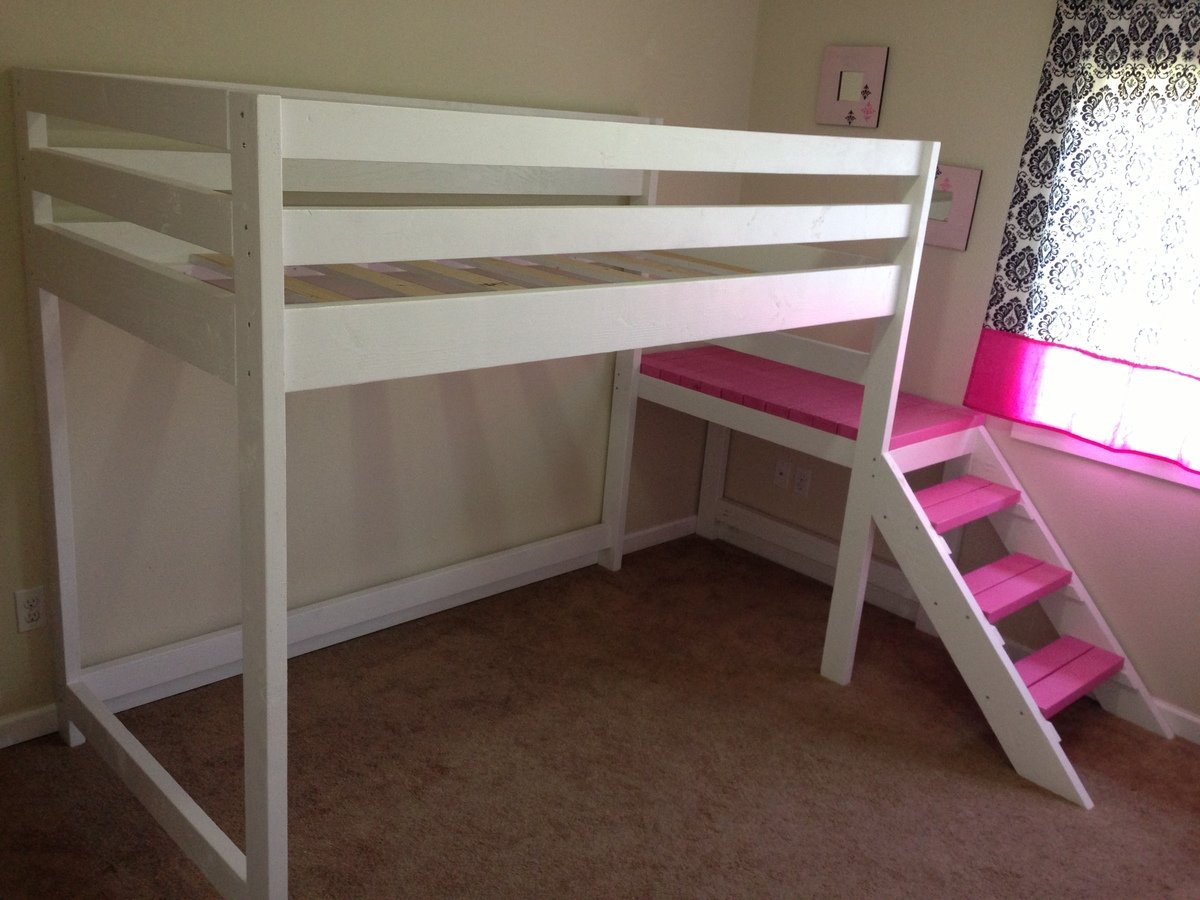
We made this loft bed for my daughter's 4th birthday. I did all of the cuts, sanding, and painting on my own, and had my husband help me with the assembly of the bed. It took us 2 full days to complete this build. The sanding and painting was the most tedious part of the project. I think it cost us about $150 for all of the lumber, paint, screws, etc.

My daughter's really into playing with 18" dolls right now, so I decided to make a mini version of her loft bed for her dolls. I think it turned out really well and she absolutely loves it! The doll sized loft bed only cost about $15 to make (including wood, foam for the mattress and fabric). You can't beat that price for a wooden doll bed...and what little girl wouldn't love a matching bed for her dolls?!?!

I'm so happy with how both beds turned out!
Estimated Cost
$150
Estimated Time Investment
Weekend Project (10-20 Hours)
Finish Used
Semi-gloss paint
Recommended Skill Level
Beginner

Comments

JoanneS

Tue, 08/20/2013 - 18:32

This looks awesome! Love the pink on the steps. And the matching doll bed, how cute is that?! :) Great job!

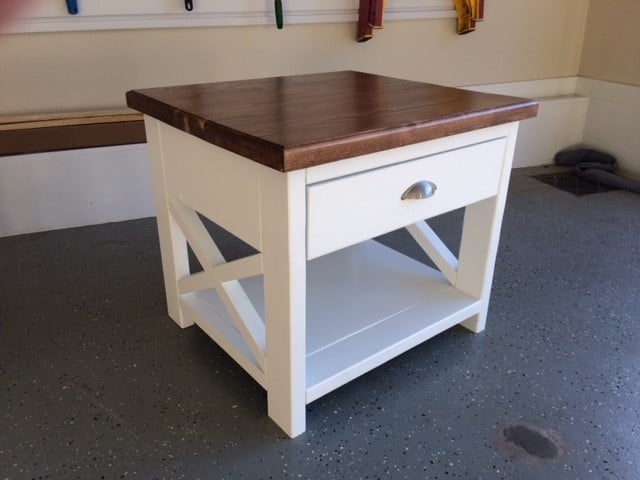
Rustic end table with storage drawer

Submitted by Anonymous (not verified) on Sun, 10/14/2018 - 12:59

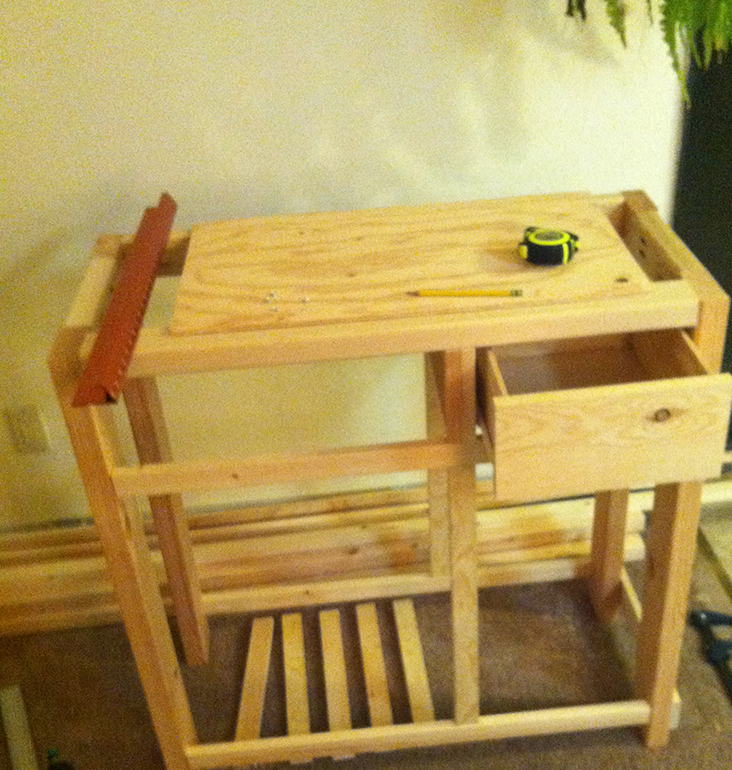
I used the rustic end table plans from ana-white.com, but modified to include a drawer for additional storage.

Estimated Time Investment
Weekend Project (10-20 Hours)
Recommended Skill Level
Intermediate

Comments

Northern Wisconsin White Pine Bed and Dresser

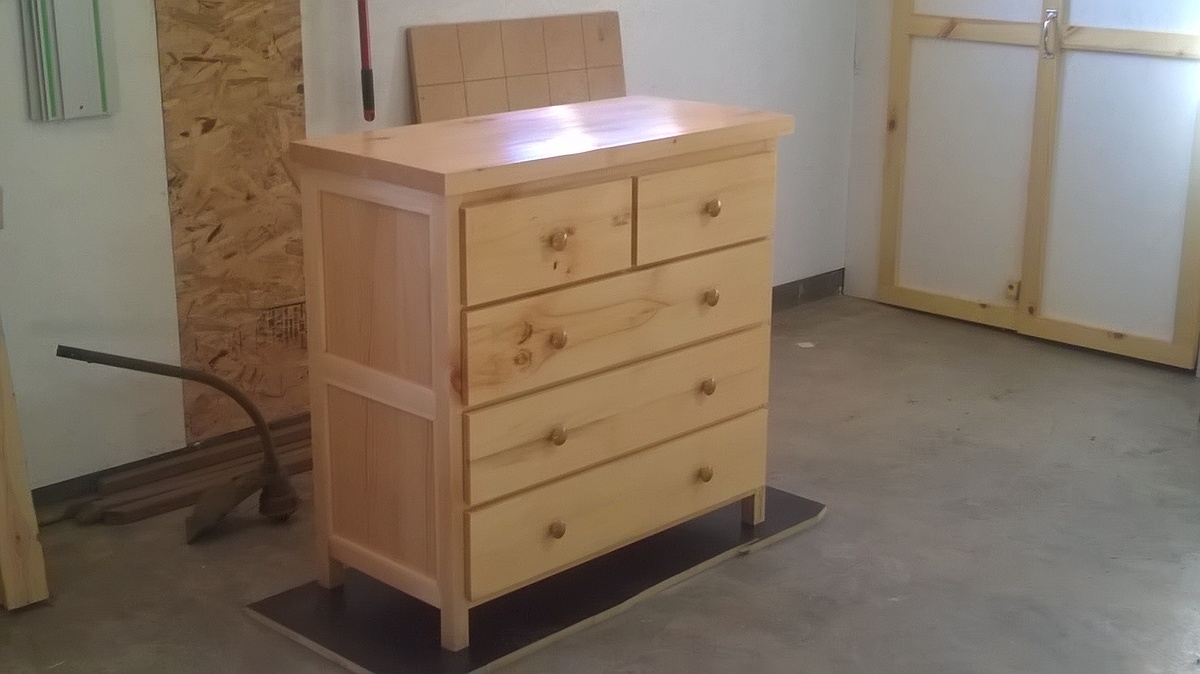
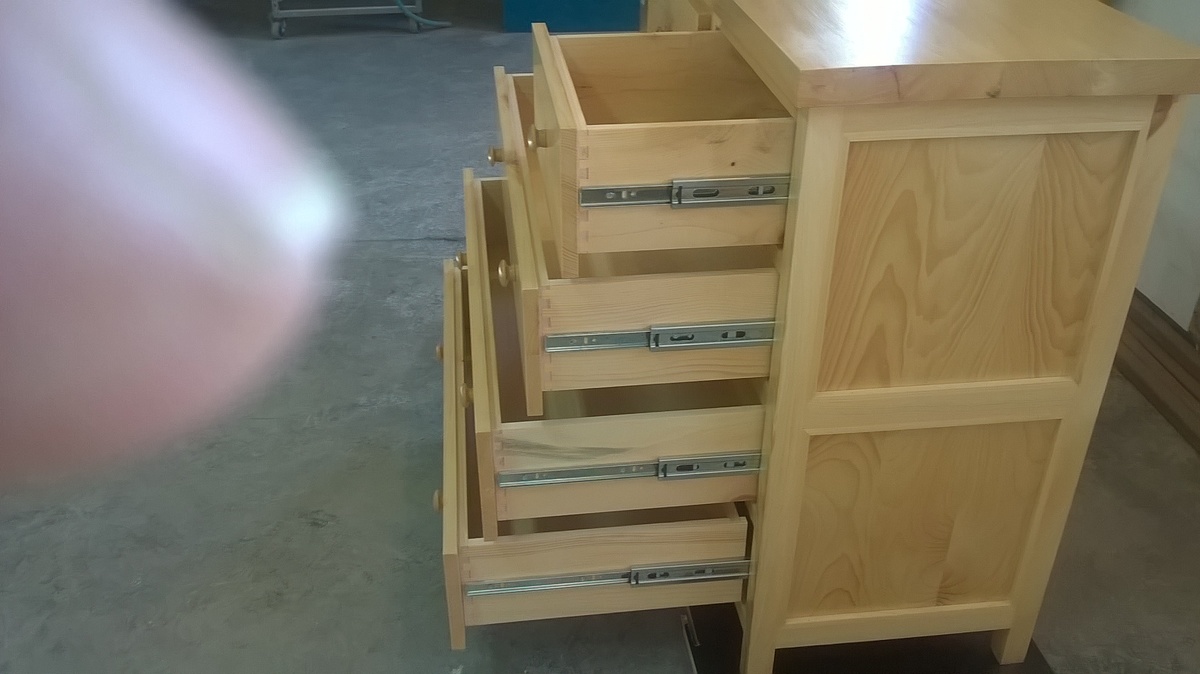
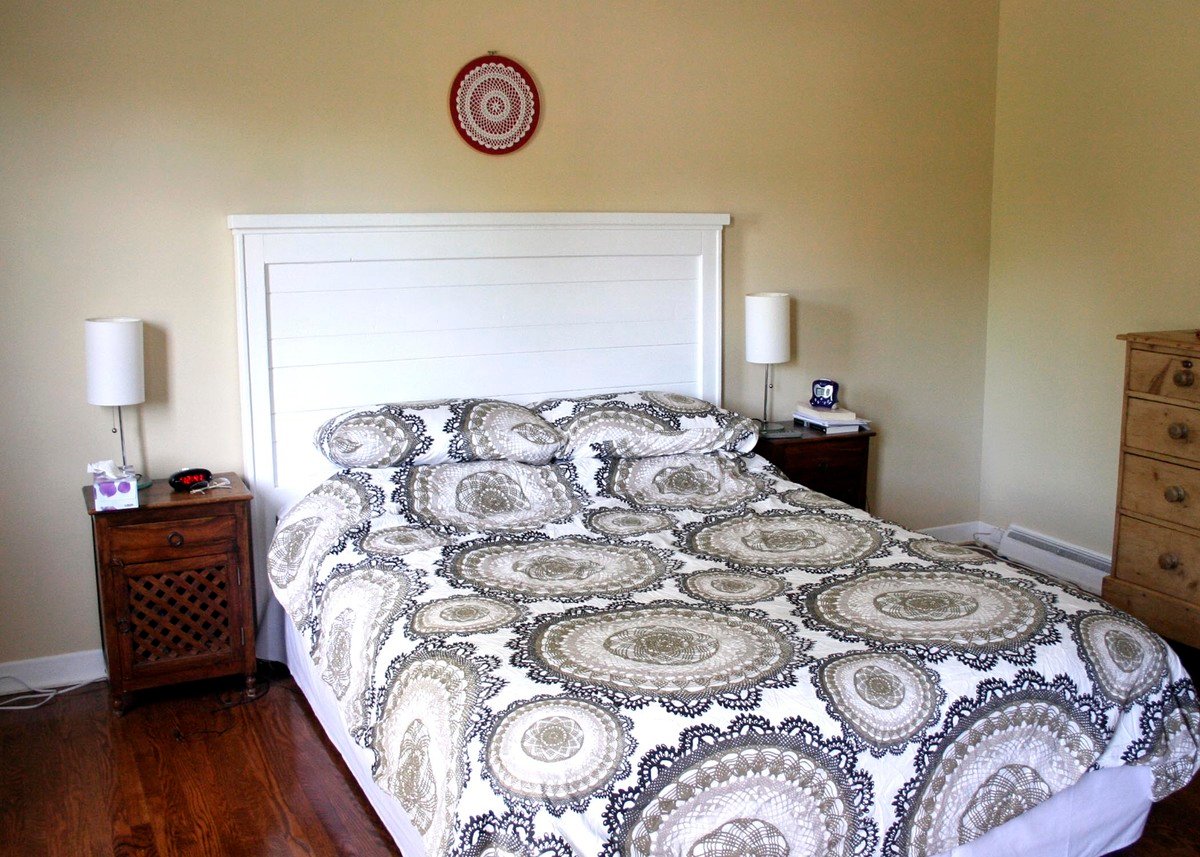
In need of outfitting the spare bedroom for overnight guests I came upon this site and found the storage bed plan we liked.  After building the bed of course a dresser was in order.  My sawyer has some northern white pine that came from the Wisconsin Northern State Fair grounds in Chippewa Falls.  Having never worked with white pine before I found it rewarng and was happy with the finished product.  Hope our guest enjoy it as much I had building it

Estimated Time Investment
Week Long Project (20 Hours or More)
Finish Used
A self leveling poly finish by General Finish.
Recommended Skill Level
Intermediate

Fancy X Farmhouse Table

Submitted by Goodge12 on Fri, 10/23/2015 - 11:22

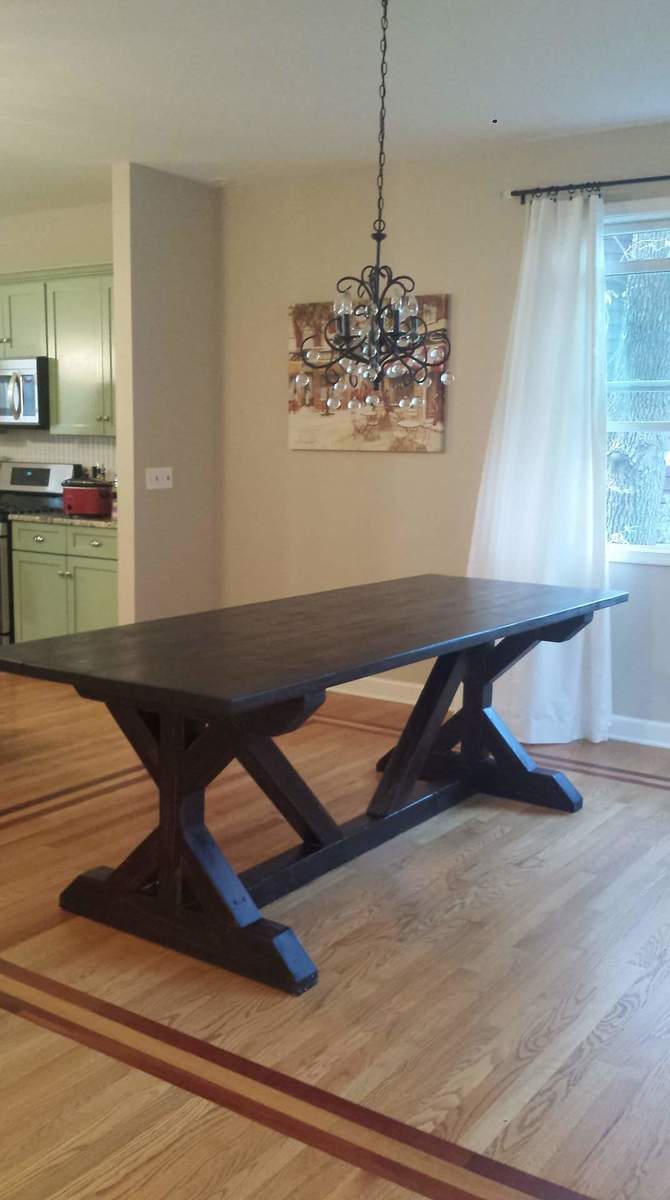
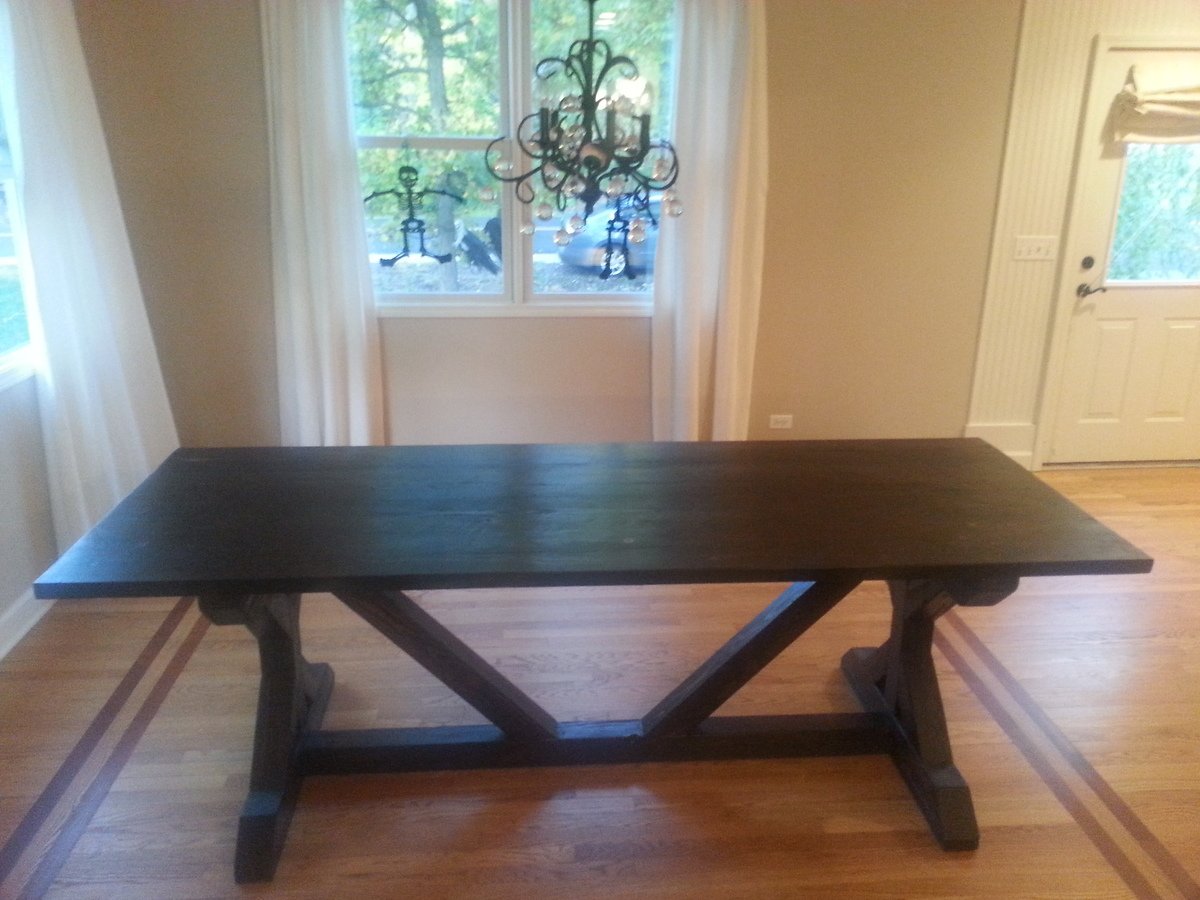
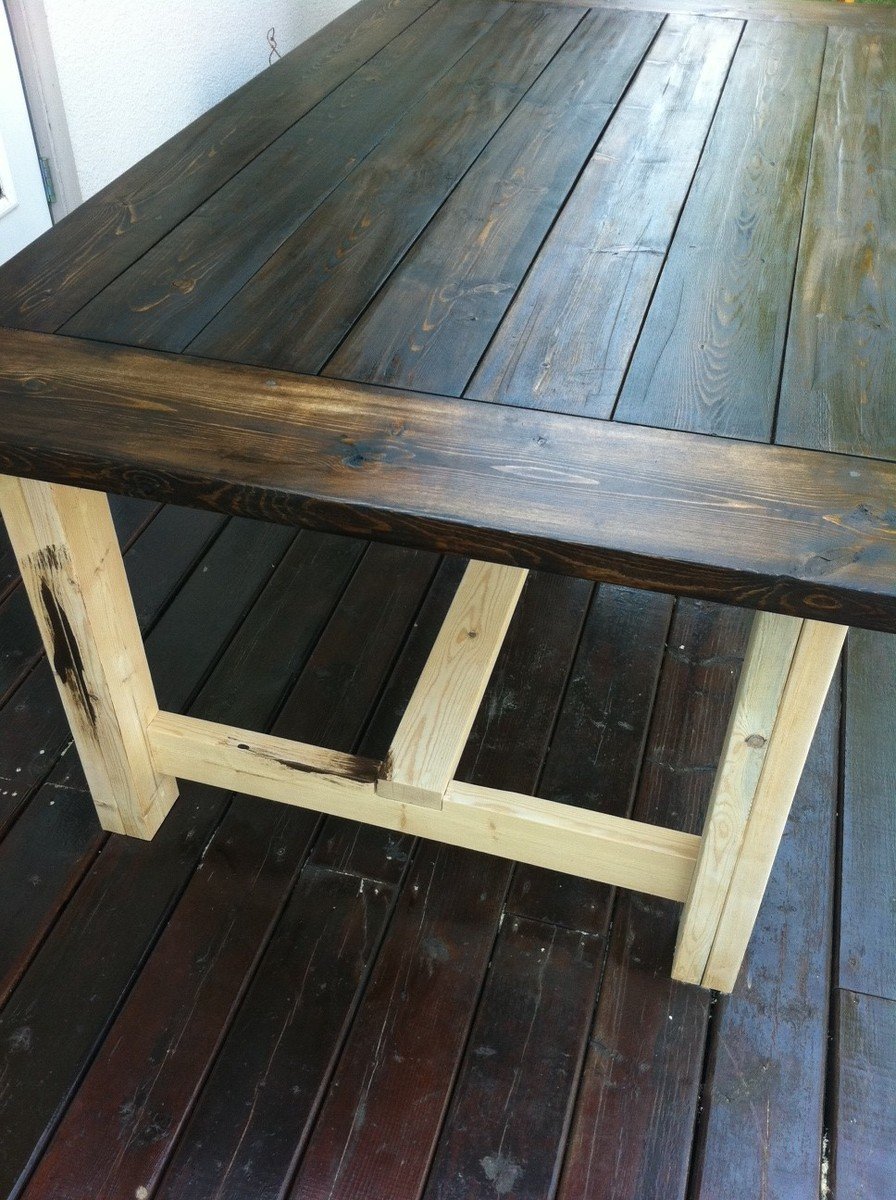
Made a couple modifications:

  • Used 4x4 for the cross beams instead of 2x4. 
  • Used 4x4 anywhere there were (2) 2x4s together. 
  • Used a dowel jig to attach the (4) 45 degree pieces on each post
  • Sanded down the table top until the seams disappeared.  Thank you, belt sander!

That last bullet was super-important to the Mrs.  She was adamant that the table should not have spaces in between the boards, yet she did not want any seams for crumbs to collect.  The result was that I had to sand down the table top about an eighth of an inch... but the seams disappeared.


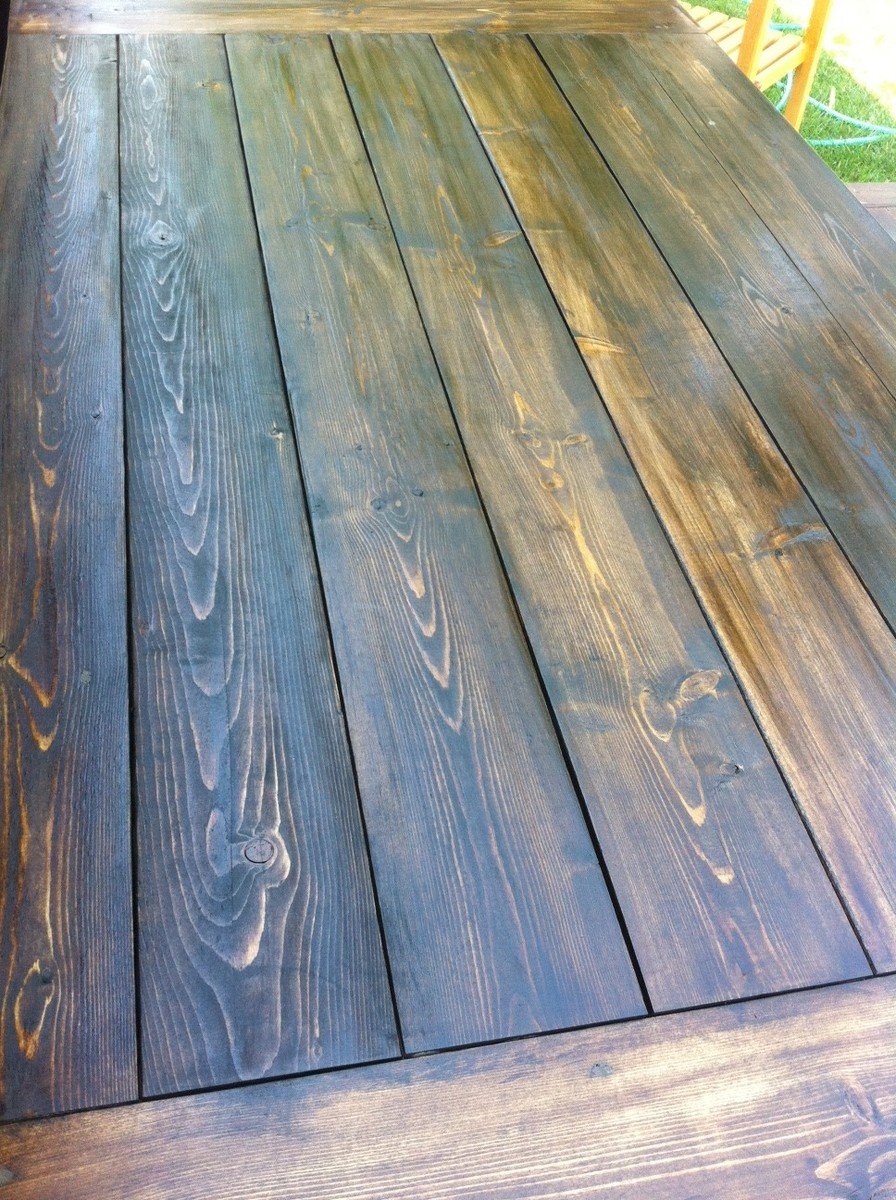
Also, we initially used Ebony stain... until we realized it was too dark.  Sanded that down a bit, then went over top with the Kona stain.  Result was a dark brown with some black detailing.  Finished with some minwax wipe-on poly.  Turned out really nice!


Thank you, Ana - This project was a ton of fun, challenging, and ultimately, very rewarding!

Built from Plan(s)
Estimated Cost
Approximately $120 - the 4 x 4s were Douglas Fir.
Estimated Time Investment
Week Long Project (20 Hours or More)
Finish Used
Minwax Ebony, Minwax Kona , Minwax Wipe-on Poly
Recommended Skill Level
Intermediate

Christmas Tree Shelf with Lights

I made this Christmas tree shelf using the plans here.


I modified it by adding on two shelves so that it could accommodate the 6 hooks I needed for my family's stockings.  I also hot glued a string of lights to the perimeter.  This is serving as our Christmas tree due to space constraints, so I wanted it to be "fancier" and more like an actual tree.

I think I did ok for my first real build and my family seems to really like it.

Estimated Time Investment
Weekend Project (10-20 Hours)
Finish Used
Rustoleum Sage Green spray paint in Satin
Recommended Skill Level
Beginner

Comments

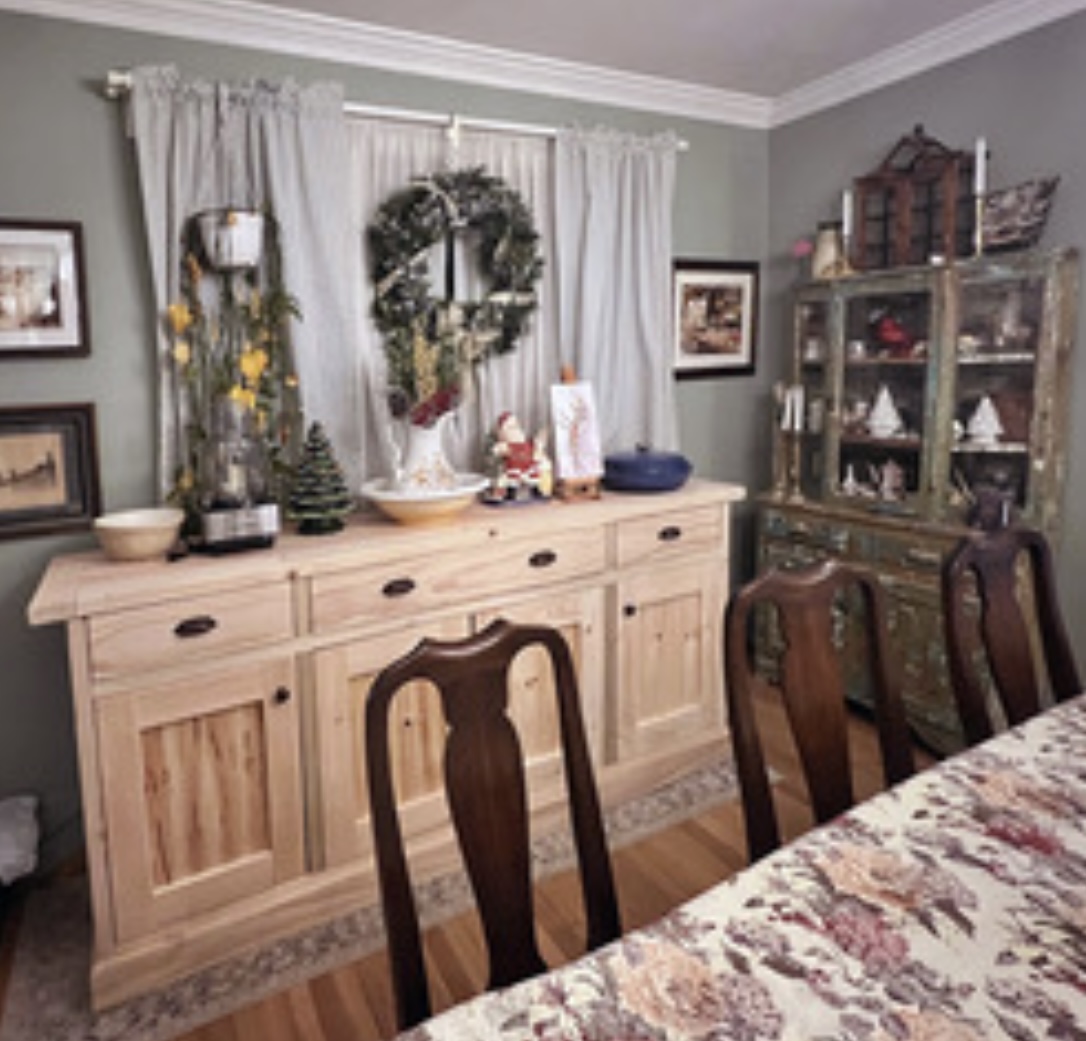
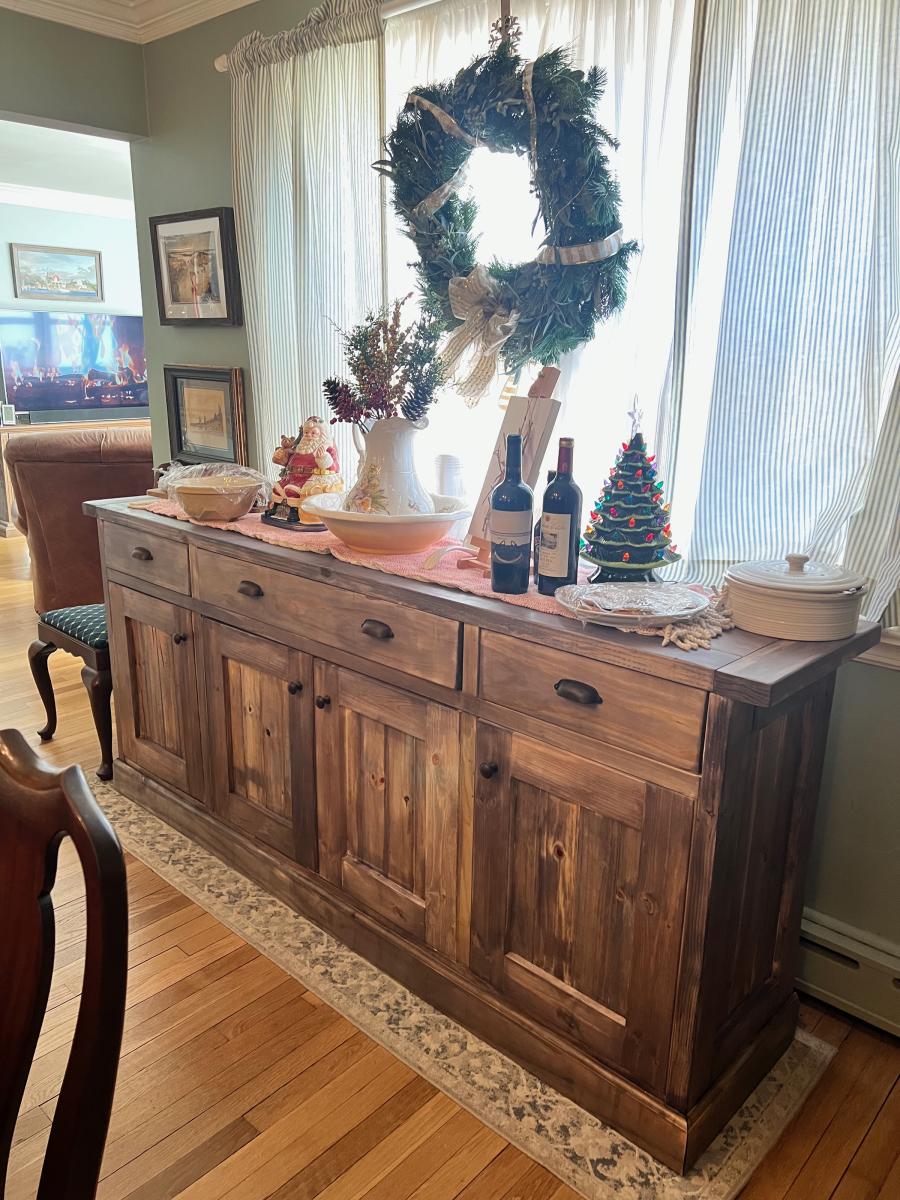
Wood Sideboard

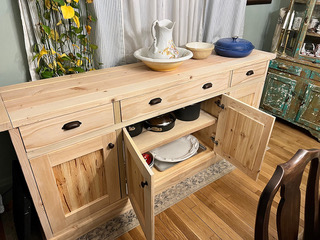
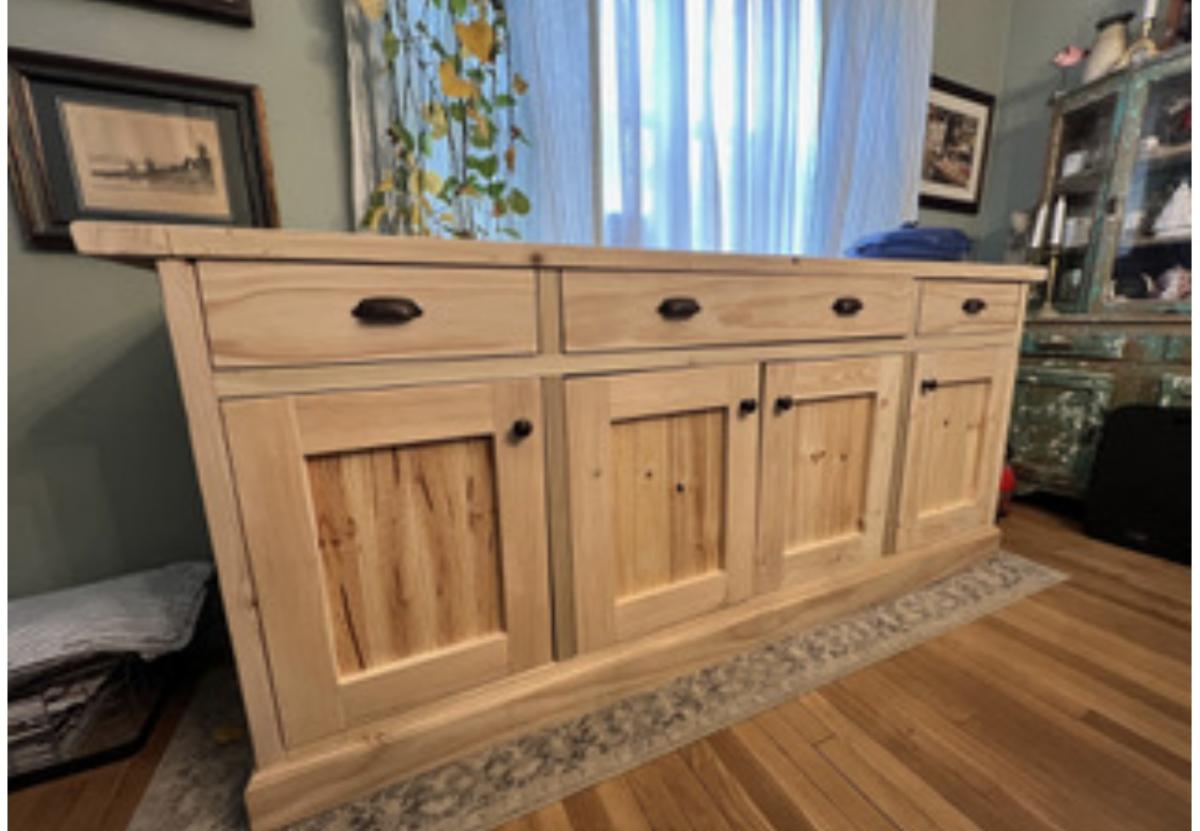
I decided to make this planked sideboard in early Nov. I just finished the build last week, working a few hours here and there in my basement. 
The plan is excellent and easy to follow. I’m a fine artist and graphic designer by trade so I am used to precise measuring, I strongly believe in the mantra of “measure three times cut once.” Follow the plan measurements to the 1/8” and your build will be spot on. I never have used pocket screw assembly before (I’m not really an active woodworker... my last build was a rustic farm table 17 years ago) 
so I invested in several Kreg jigs and practiced on some scrap pieces and was encouraged by the ease and accuracy!
This sideboard is a beast... so you will have to assemble the unit in its final resting place. 
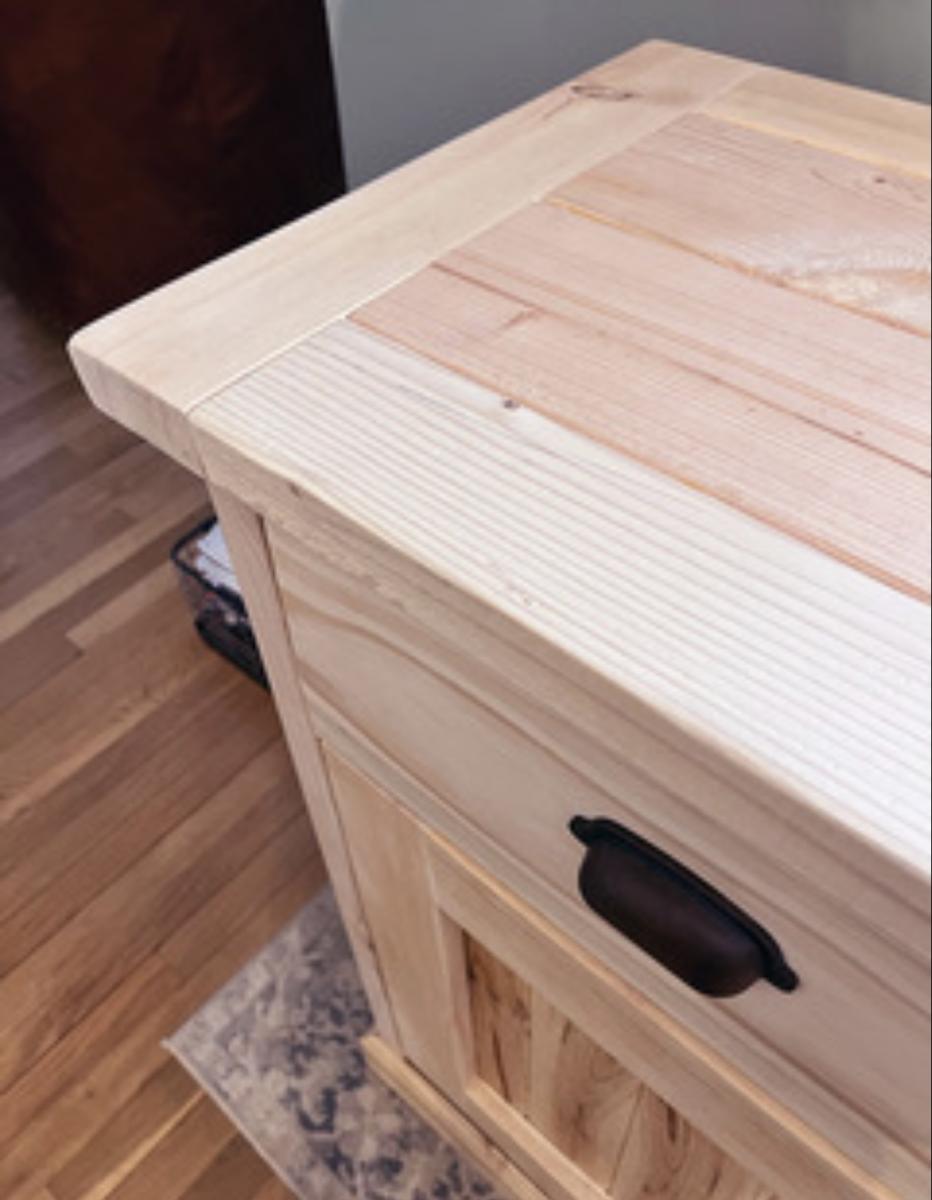
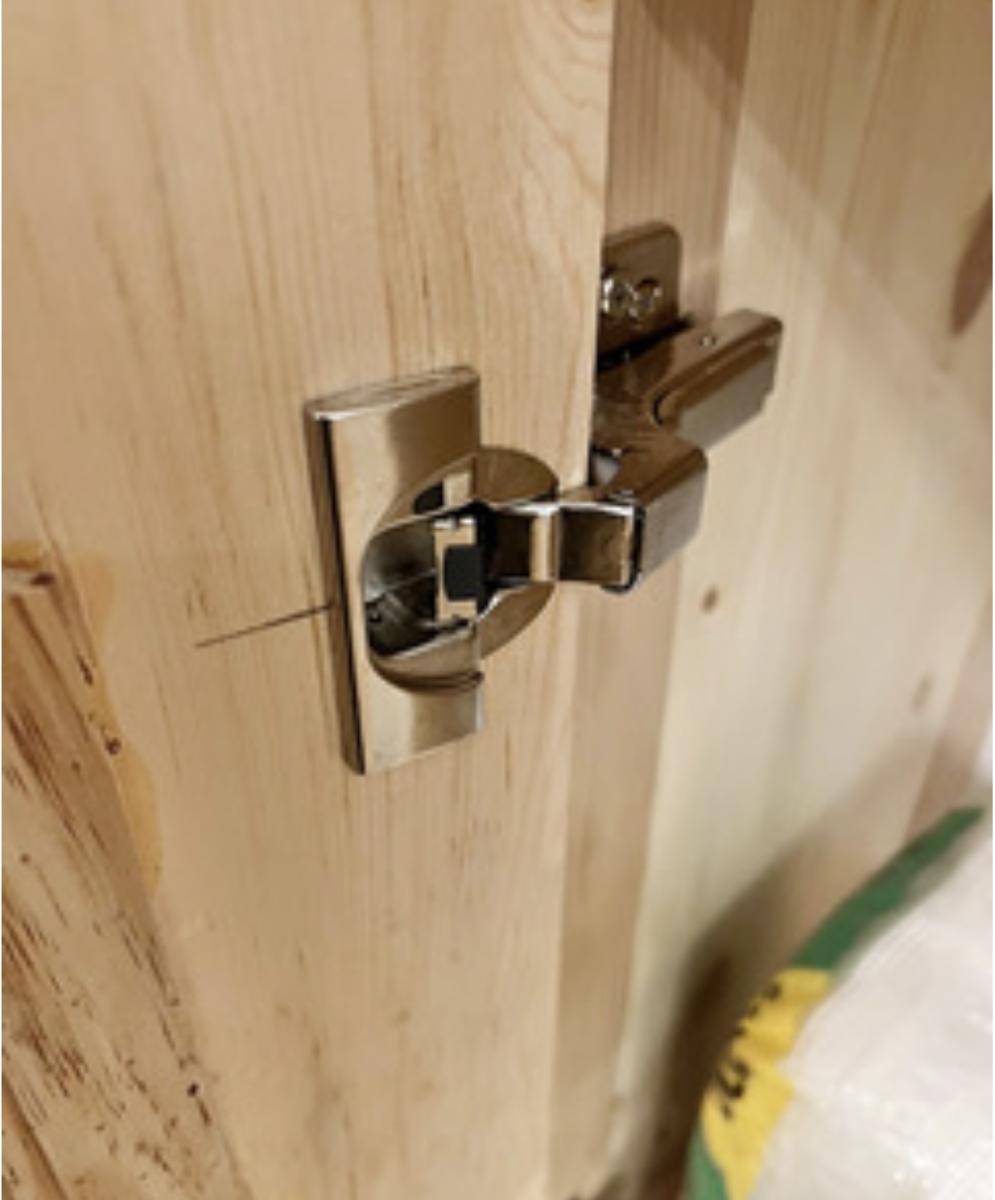
I can’t imagine what this thing actually weighs fully assembled. I opted to use Blum concealed hinges for the doors, Promark full extension soft close drawer slides. The knobs and pulls are from the Top Knobs Dakota Collection in patina rouge finish.
My one remaining task is what color finish to apply... I am pouring through color charts trying to decide. I know it has to be a water based low VOC product since the sideboard is in our living space and we don’t want fumes. Building this piece of furniture was a great experience, and knowing that I saved upwards of $2,500. on a similar store bought version makes it even sweeter.
Built from Plan(s)

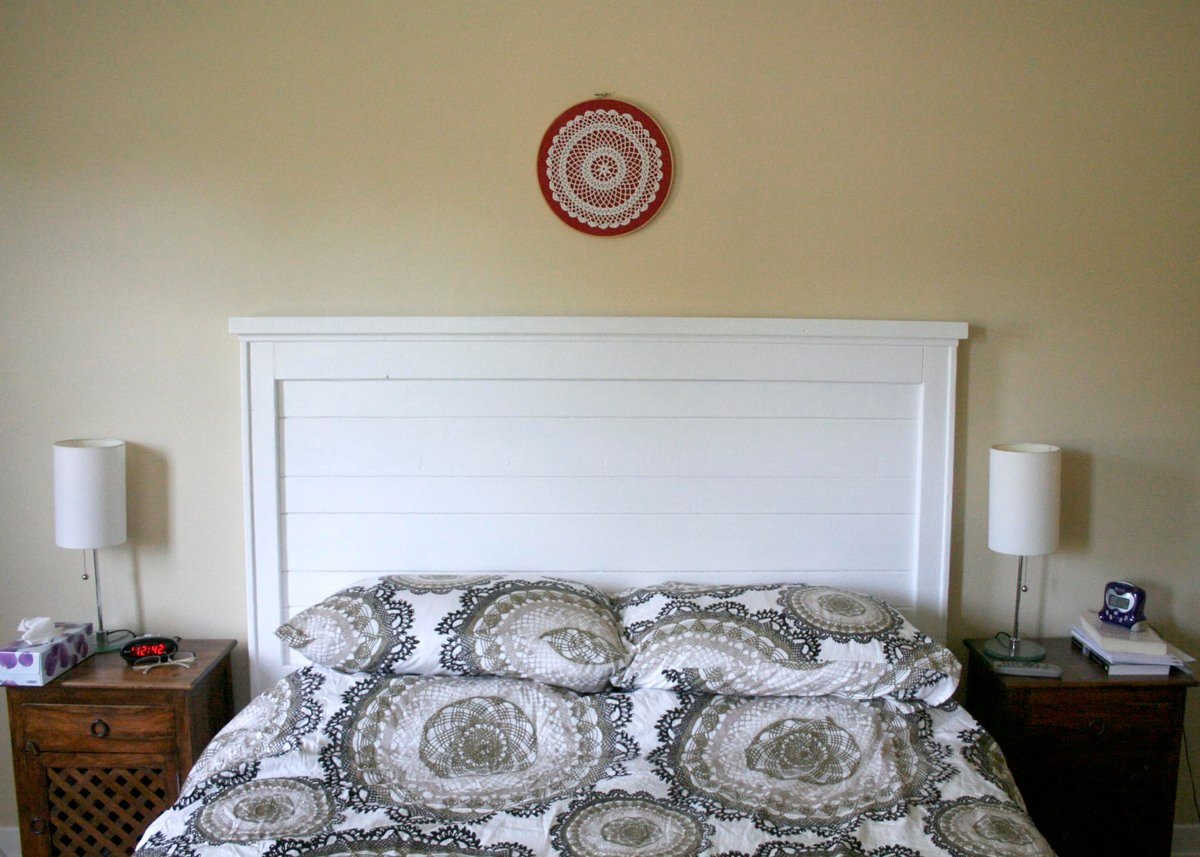
Bedside Tables

Submitted by sophie on Mon, 09/05/2011 - 13:22

I built two of these bad boys!
I used the cheapest spruce wood as I knew I was going to paint them.
Not sure how much everything cost in the end - maybe €50. Am making 2 beds to go with them too but they'll be a little longer in the pipeline!
I cut the wood myself using my circular saw and joined the wood with pockethole screws.
I painted the tables white and then used a chestnut brown woodstain on the table tops, shelf and knob.
Hard to say how long it took me as I just did a bit every now and again when I had a bit of time.

Built from Plan(s)
Finish Used
White paint and chestnut brown woodstain
Recommended Skill Level
Starter Project

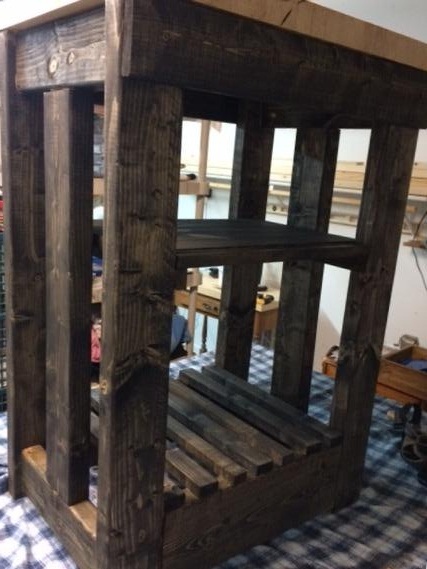
Rustic rolling kitchen island

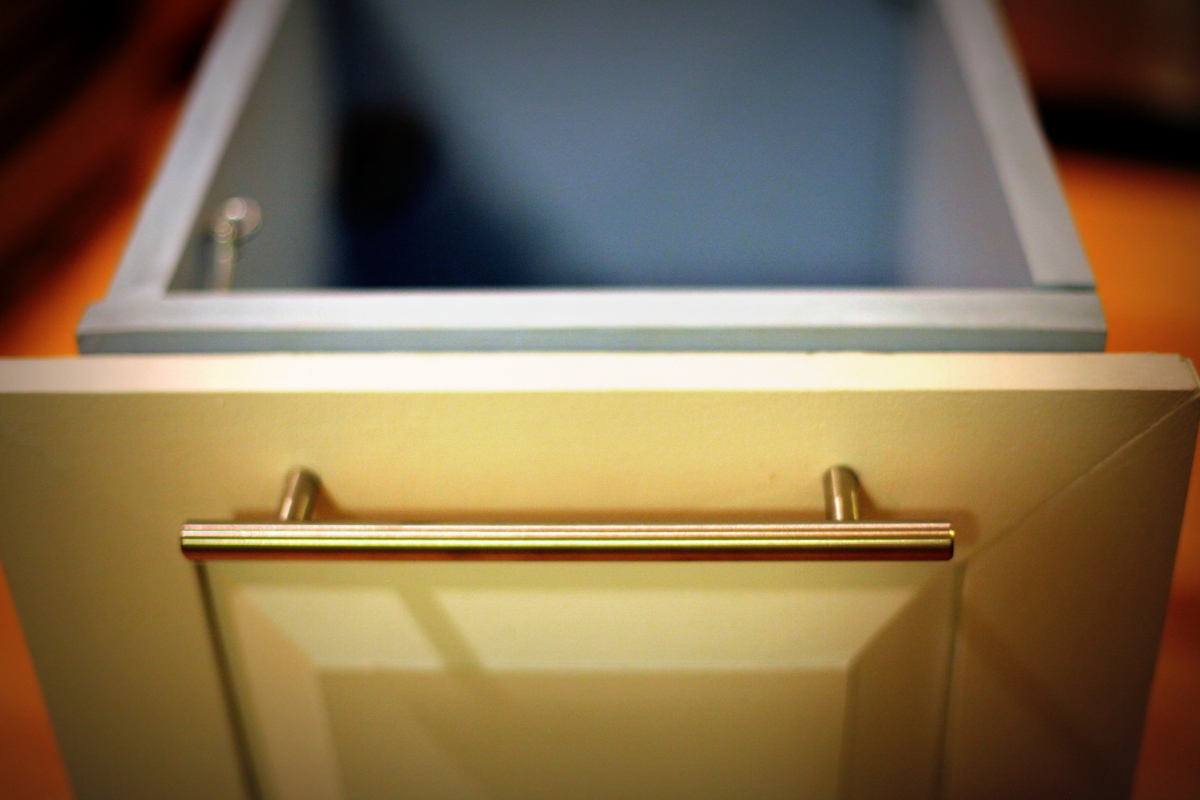
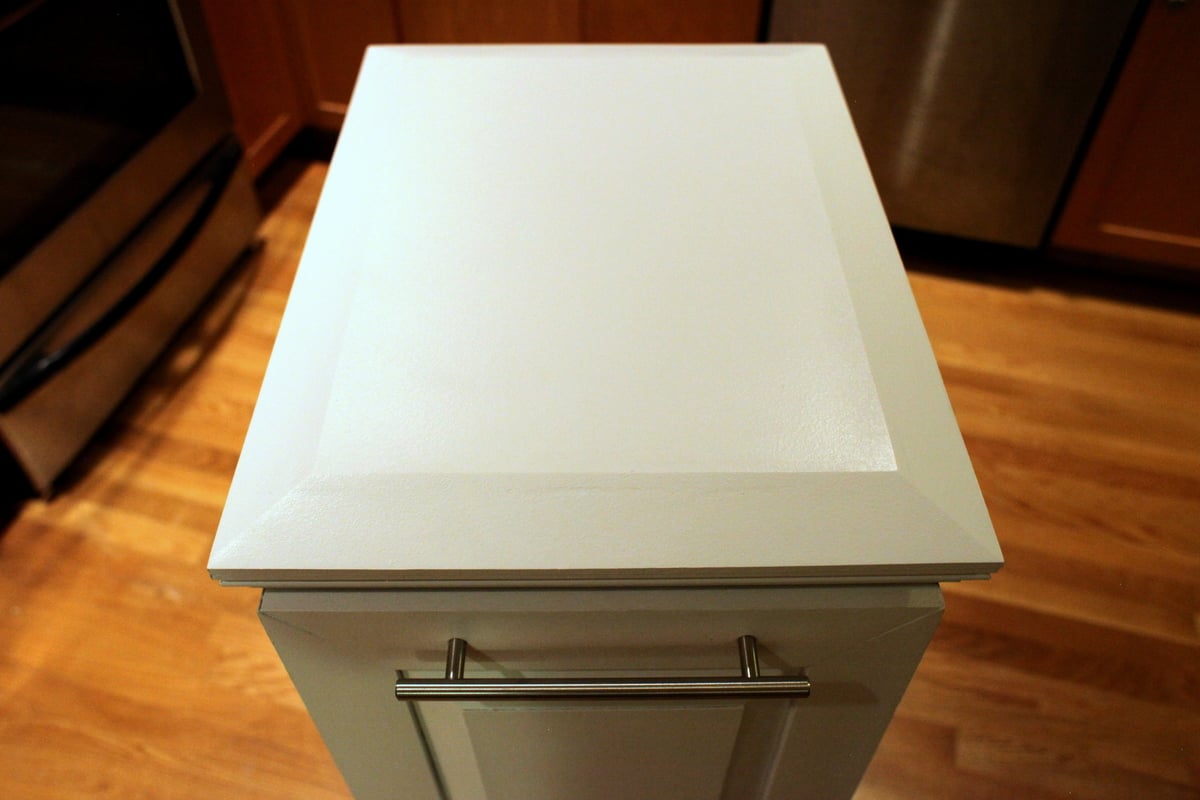
My version of the rustic rolling kitchen island. Really can't do the x's yet. It's all leftover wood and counter top. I use my other one similar to this as a coffee station.

Estimated Cost
This was leftover wood. Might run around 50.00.
Estimated Time Investment
Afternoon Project (3-6 Hours)
Finish Used
Min wax espresso.
Recommended Skill Level
Beginner

Entry Level Workbench

Submitted by mtairymd on Tue, 01/29/2019 - 13:26

Building a workbench seems to be a rite of passage for most serious woodworkers. The Entry Level Workbench shown here is a collaboration between myself and Kevin at Kev's Woodworks. I've detailed the design while Kevin and his son built the workbench as a father/son project.

All details including dimensions, parts list, tool list, and a full cost breakdown are included in the link if you would like to build your own bench.

https://www.instructables.com/id/Entry-Level-Workbench/

Estimated Cost
$1400
Estimated Time Investment
Week Long Project (20 Hours or More)
Finish Used
Paint for base
Recommended Skill Level
Intermediate

Entry Bench

Submitted by Anonymous (not verified) on Fri, 12/16/2022 - 06:51

I search many DIY entry benches and ultimately chose Ana White's, it was perfect what what we needed. Thanks for the vid, plans, post and tips that helped me build it. I'm currently browsing your other projects for the next one. Thanks so much

Built from Plan(s)

Comments

Farmhouse/Rustic table

Submitted by JruppJ on Sun, 12/13/2015 - 08:35

My Second DIY project! It turned out PERFECT :) 
 

Estimated Time Investment
Weekend Project (10-20 Hours)
Recommended Skill Level
Beginner

Comments

Tina's Kitchen

Submitted by Anonymous (not verified) on Sun, 02/03/2019 - 17:58

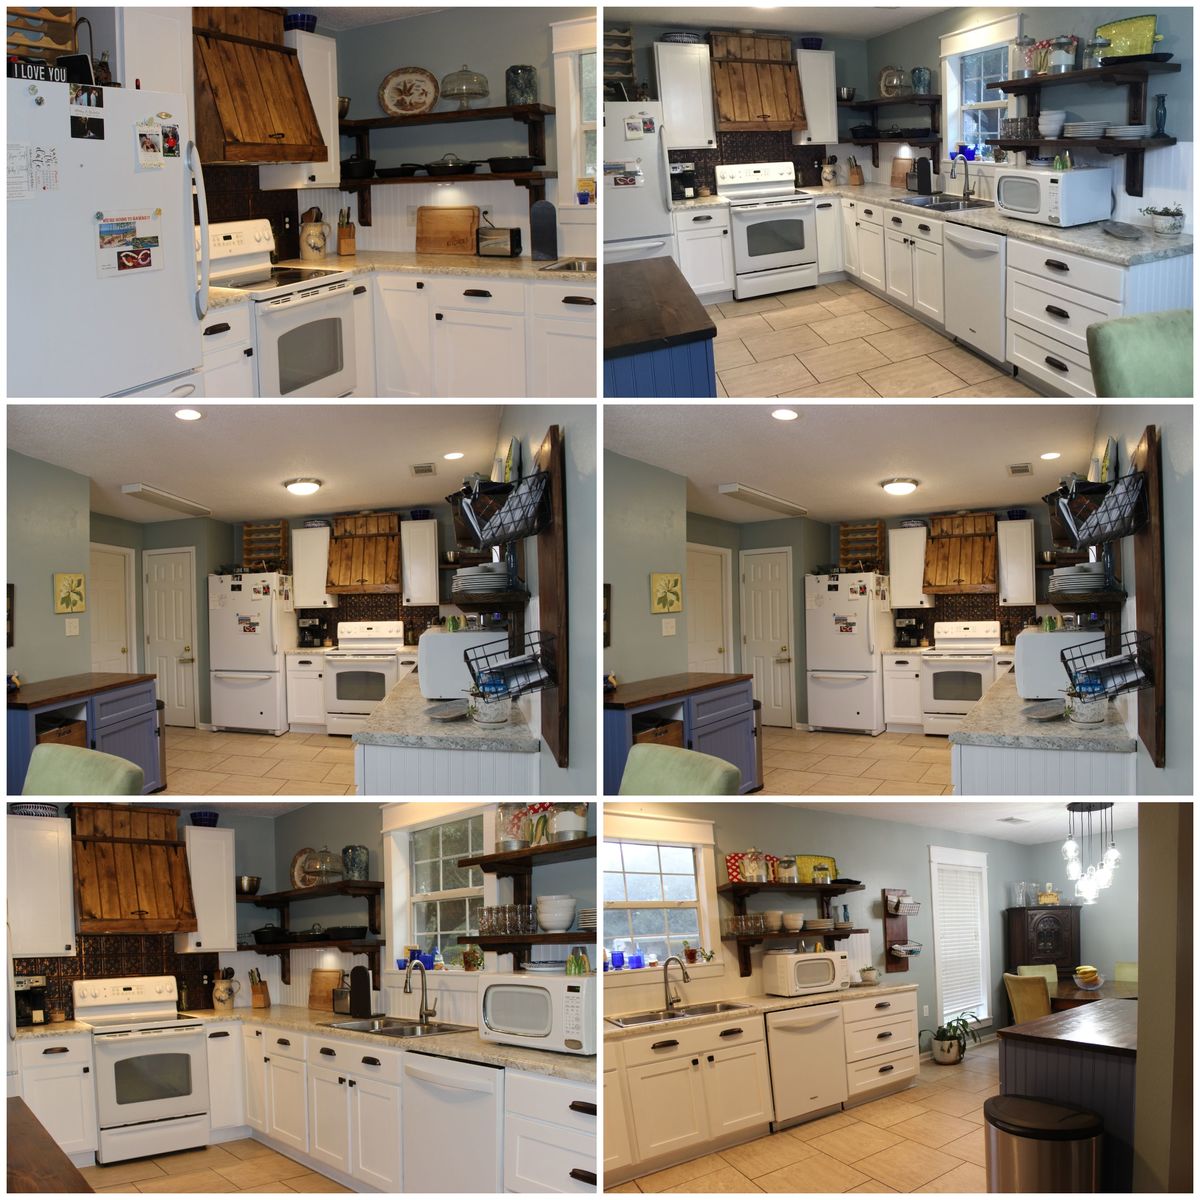
Finally, kitchen is done.  We've been in this house almost 4 years and for me the kitchen was not efficiently functional.  Dishwasher was on the wrong side of the sink, had a trashed compactor which we did not use, very little counter space, not enough drawers, etc.  

The whole kitchen was gutted except for the cabinet over the stove which I covered and still has storage.  

Thanks to Ana White for the plans and inspiration!  Learned a lot during this process.
Estimated Cost
The estimated cost of my kitchen, $3,000. This includes the specialized tools bought including a table saw! The only appliances bought was a new dishwasher, faucet and range hood.
Finish Used
Latex white paint with polyacrylic top coat. Used sponge roller. Latex Kiltz, Behr Marquee white, and Varathane water based poly. Lightly sanded between coats.
Recommended Skill Level
Intermediate

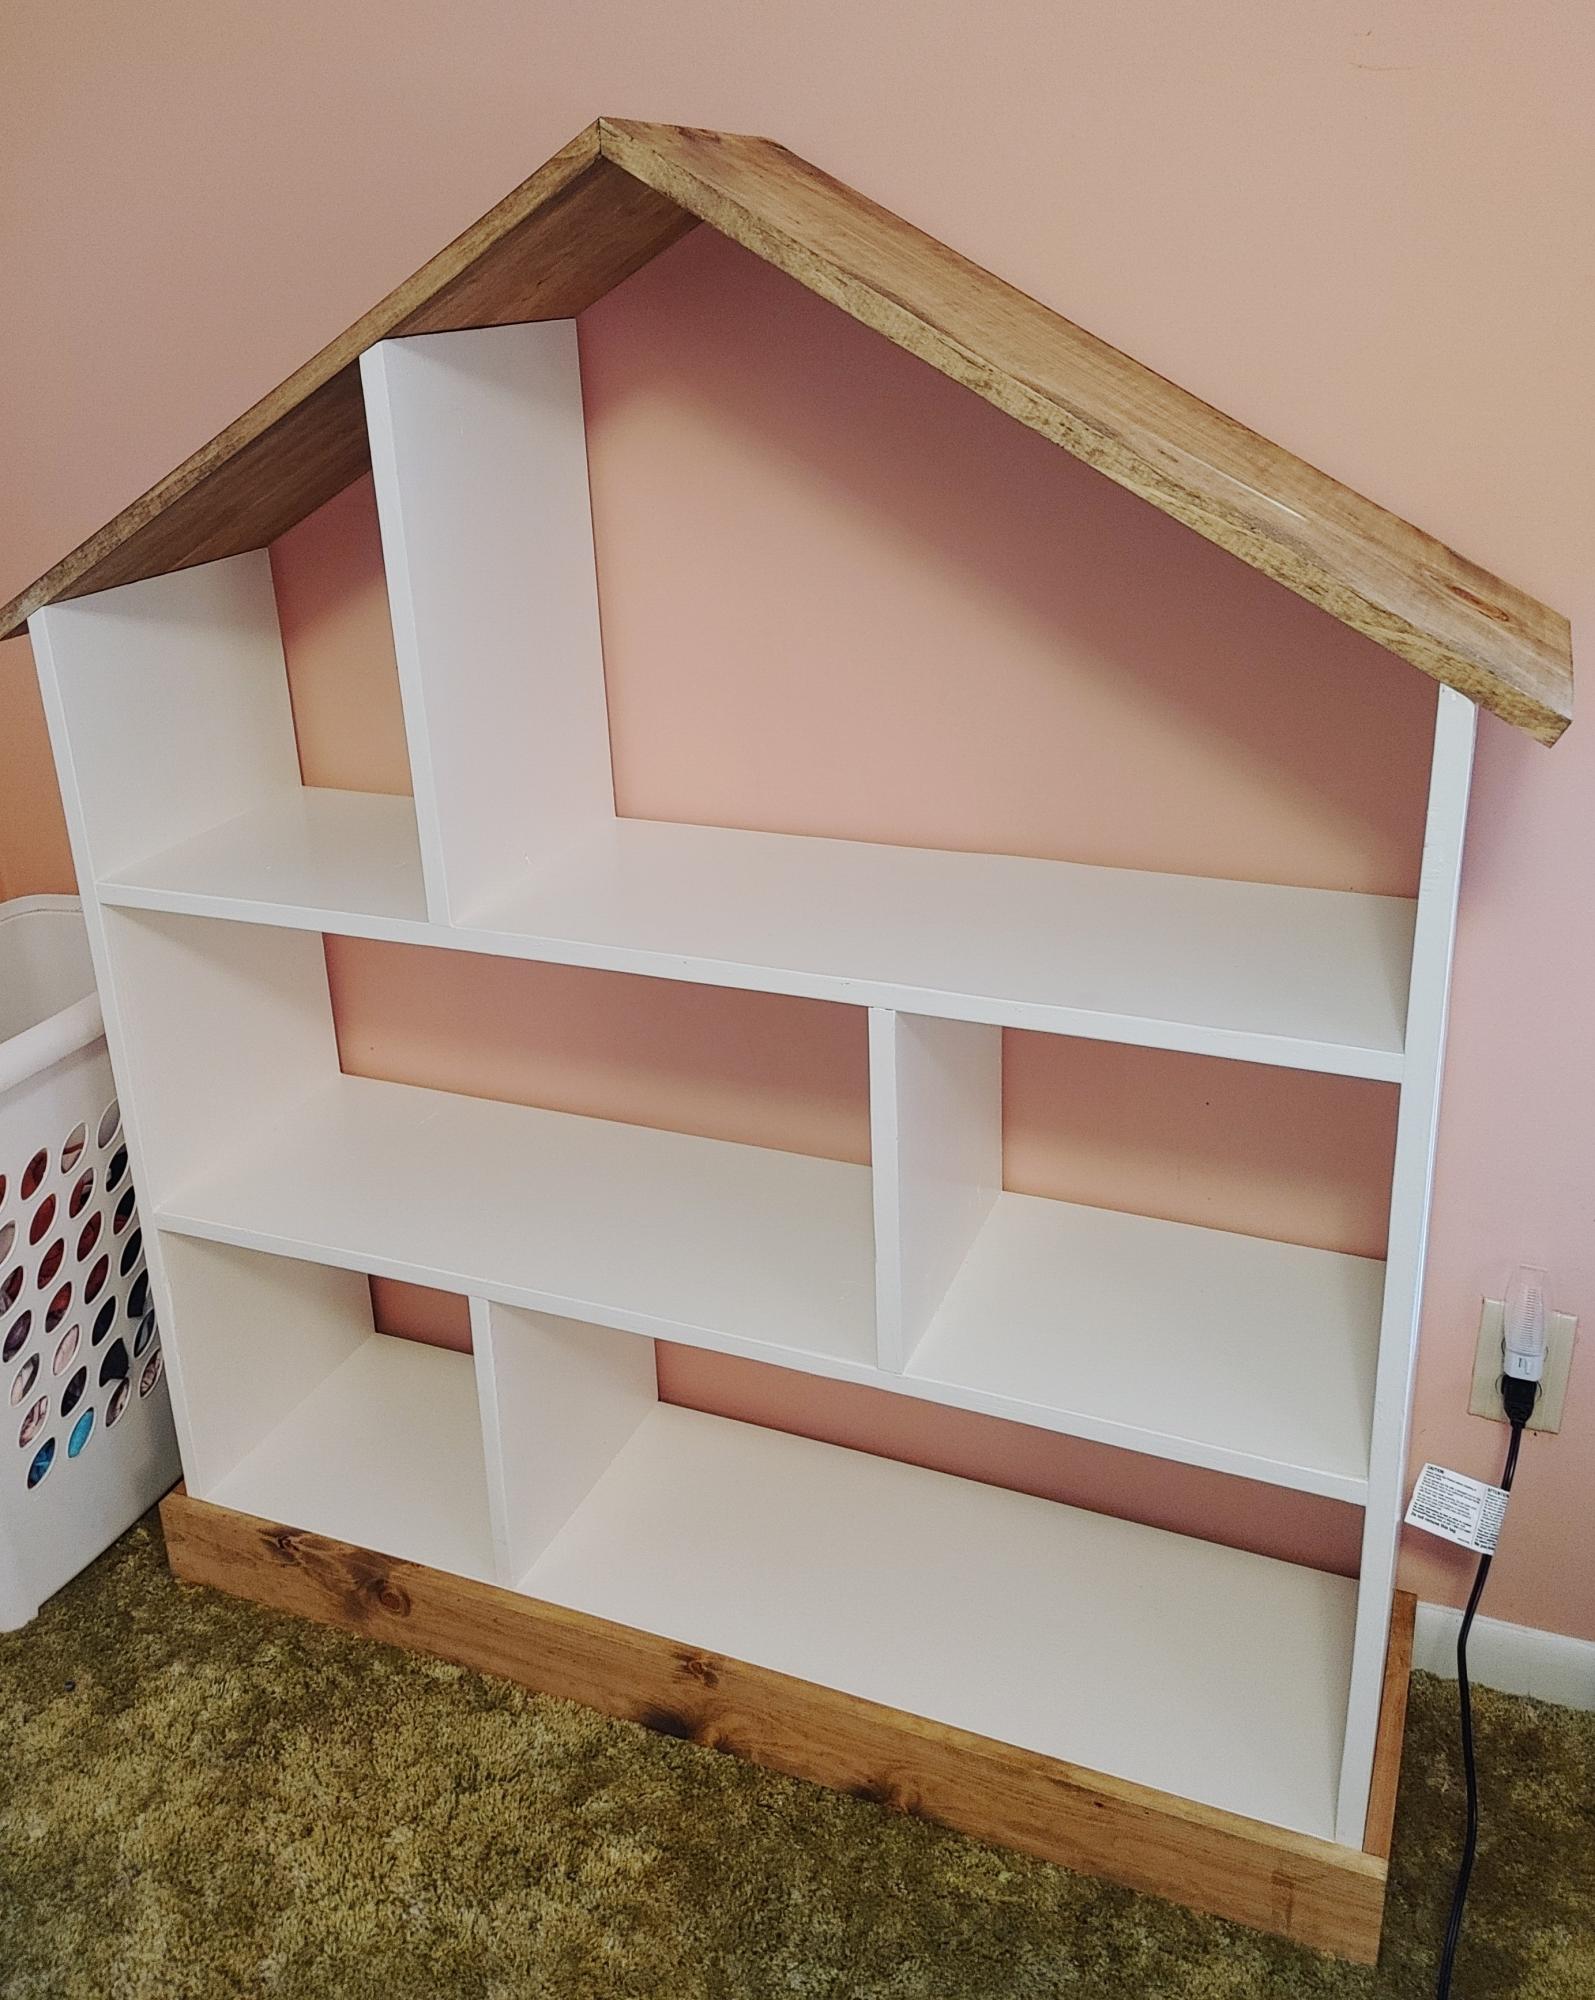
Dollhouse Book shelf

Submitted by Anonymous (not verified) on Wed, 12/28/2022 - 16:13

Very fun and easy project for Christmas for my 6 yr old girl!!

Built from Plan(s)

Comments

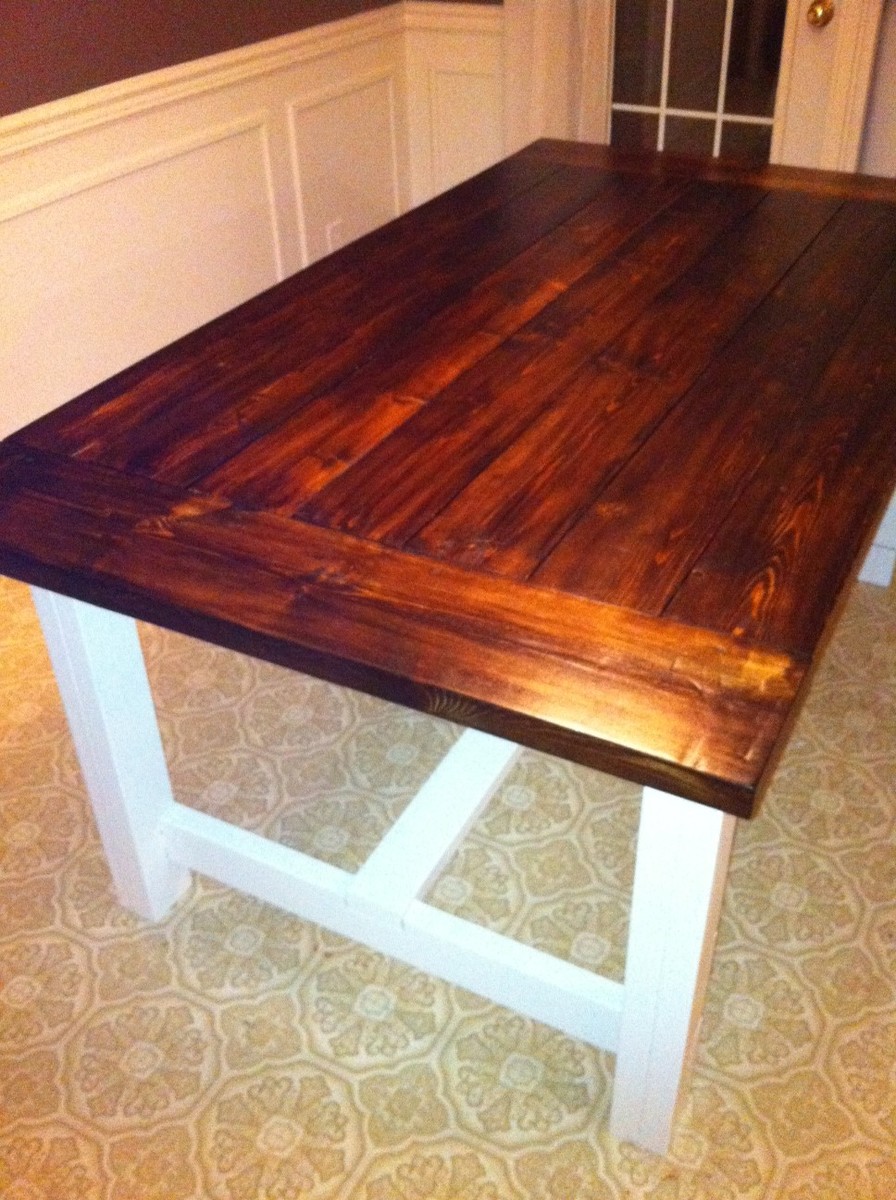
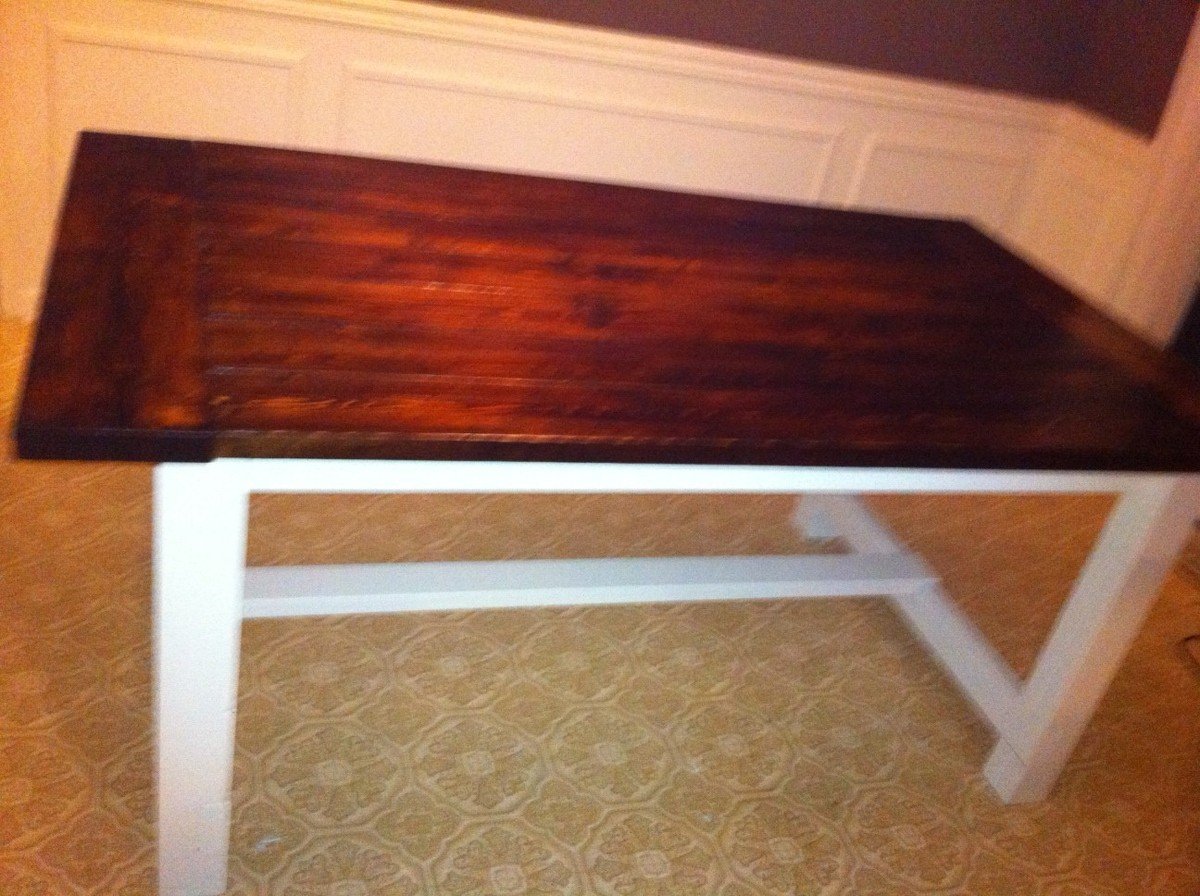
My Farmhouse Dining Table

Submitted by LinzFritz on Wed, 09/14/2011 - 19:28

I love my new table! My wood was a little bit warped for the tabletop, so that's where I ran into the most problems, but I used a hand planer to smooth it down and it turned out perfectly!

Estimated Cost
$150
Estimated Time Investment
Weekend Project (10-20 Hours)
Finish Used
Minwax Dark Walnut, Semi-Gloss Polyurethane, and Sherwin Williams Aesthetic White
Recommended Skill Level
Beginner

Comments

Adam (not verified)

Fri, 12/09/2011 - 06:33

Thats quite nice. I'll bet you spent more than half of the time on the finish. Great color choice.

Storage Playtable and Stool

Submitted by Bunhash on Sun, 09/29/2013 - 19:32

This was a really fun starter project for me. I've never made furniture before and I ran into some issues, but I learned a lot and enjoyed myself! My husband and I live with my Father-in-Law who has all the tools I needed (though I'm going to purchase my own later on).

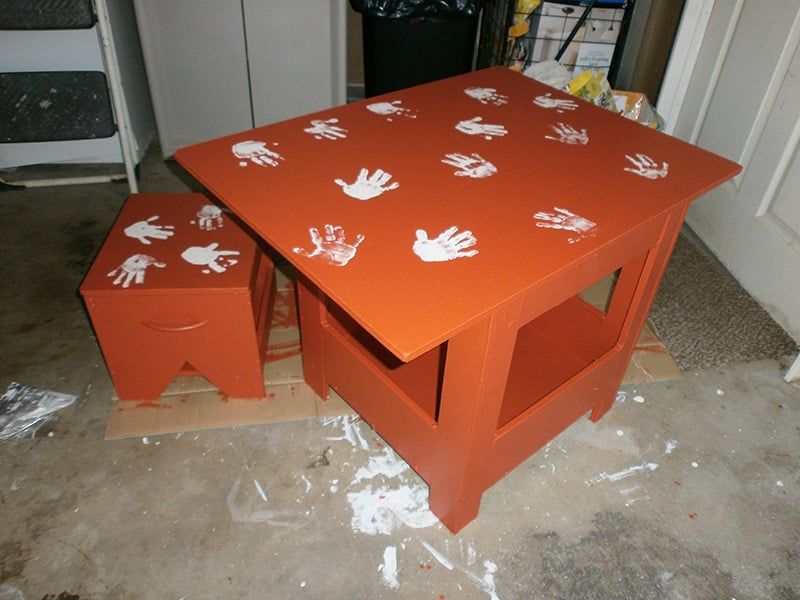
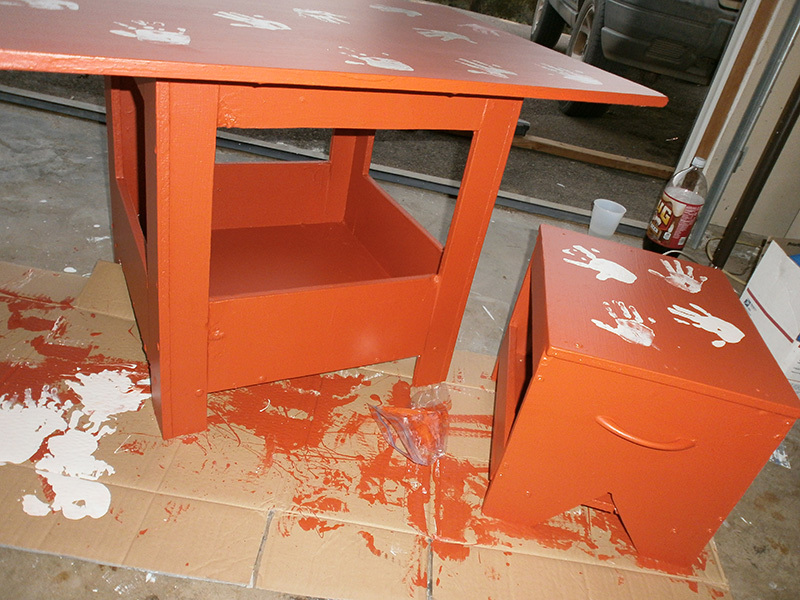
The stool and table plans are here: http://ana-white.com/2009/11/plan-kids-large-storage-play-table.html . I modified it slightly because I was using scrap pieces (two doors from a particle board wardrobe). I don't like particle board... but I figured since it's my first try, I wouldn't waste any cash since I had all the stuff here, even the nails and screws.

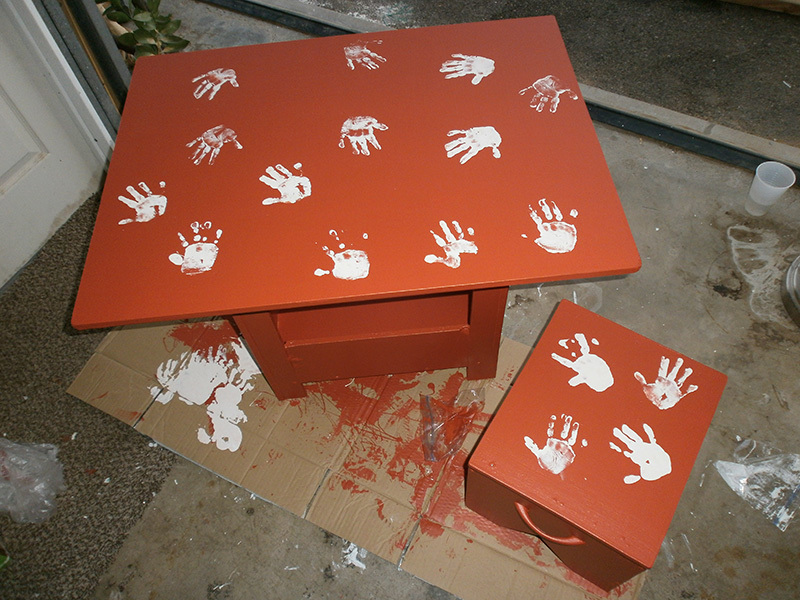
So I made the table about 2 inches shorter and the stool 1 inch shorter. I also used a rectangle top for the table with one side flush against the table side so I could put the set against a wall (i.e. three sides have overhang, the 4th is equal with the legs).

I painted both sets a dark red orange (my husband's favorite color) and let my daughter put her handprints all over in white paint . She LOVES it. And despite the 'wood' I used was particle board, it's pretty strong. I'm pleased. I will probably make another one with stronger material in the future.

Oh there were a lot of holes and such from the used board and some breaks from being thin, crappy board, but I was able to use filler one a lot of it and glue too. It's hard to tell it was a beginner job from a few feet away! Haha!

Built from Plan(s)
Estimated Cost
$15
Estimated Time Investment
Day Project (6-9 Hours)
Finish Used
High Gloss, Disney Brand Red-Orange Paint. I used 2 layers of primer and two layers of the Disney paint. It seems to be holding up okay.
Recommended Skill Level
Beginner

Coffee bar based on Easy Kitchen Island

Submitted by B.E. Lewis on Thu, 12/17/2015 - 13:25


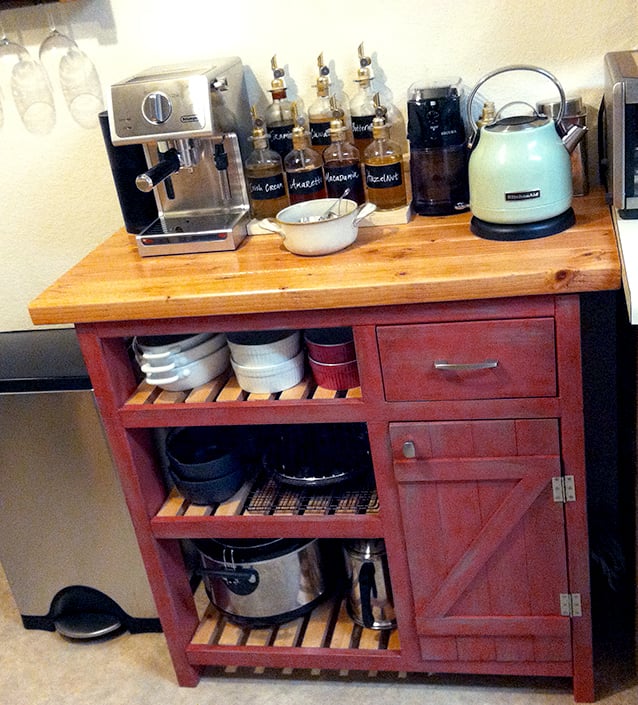
Used 2x4s for the top instead of 2x6s. All the shelves are 1x2s. My first attempt at a door and drawer - it kicked my a**! 

Top stain: Minwax Golden Pecan

Then Minwax Polycrylic 3 coats

Estimated Cost
Wood around $35 not counting stain paint or clear coat
Estimated Time Investment
Week Long Project (20 Hours or More)
Finish Used
See description
Recommended Skill Level
Intermediate

Comments

TV console

Submitted by Anonymous (not verified) on Sat, 02/09/2019 - 14:24

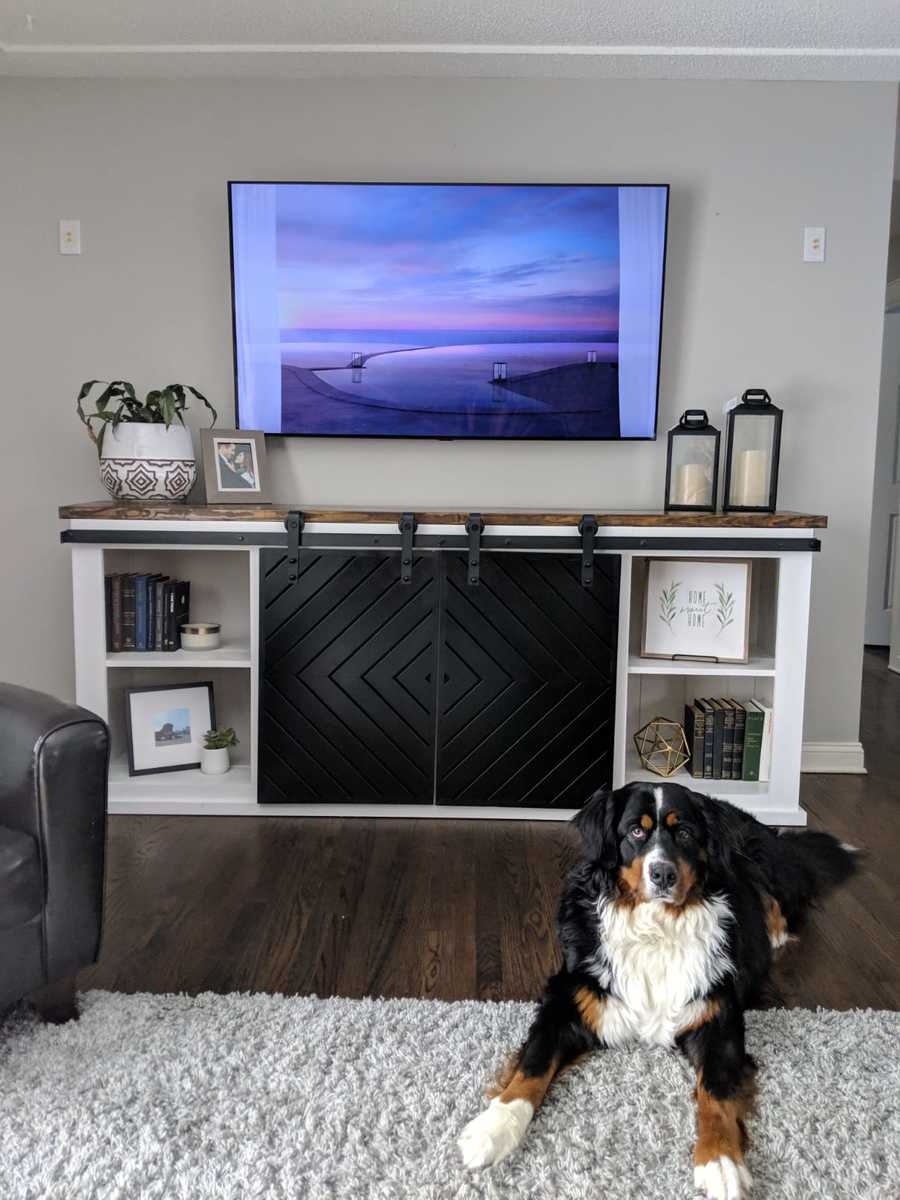
Had to build something to go with our brand new OLED TV. Combined Ana's 'Grandy Sliding Door Console' with a modified version of these modern barn door plans found at https://howdoesshe.com/build-a-fixer-upper-style-modern-barn-door/ from @angelarosehome to make the finished product shown here. My wife loves it (the pup doesn't mind it either)! 

Built from Plan(s)
Estimated Time Investment
Week Long Project (20 Hours or More)
Recommended Skill Level
Intermediate

Parson Tower Desk

Submitted by laceyigo on Thu, 09/22/2011 - 08:33

I recently built the Parson Tower Desk (which I see is no longer here on the site). I built it up 3 tiers vs. 2 tiers as the plan called for. Using the Kreg Jig this desk came together like a charm. It was the first piece of furniture I've ever built. Following Ana's plans was so simple. The part that took me the longest was painting it.

Built from Plan(s)
Estimated Cost
$50
Estimated Time Investment
Weekend Project (10-20 Hours)
Recommended Skill Level
Beginner

Feels like Fall

Submitted by MaryMurray on Tue, 10/01/2013 - 09:32

I built this Taylors console table and barnwood frame for my guest room which also contains my double Lydia daybeds! The room that Mary built...

Estimated Time Investment
Weekend Project (10-20 Hours)
Recommended Skill Level
Beginner

Comments

Ana White

Tue, 10/01/2013 - 12:57

WOW! Great job on both. Love the lydia daybeds by the way, they are super CUTE!