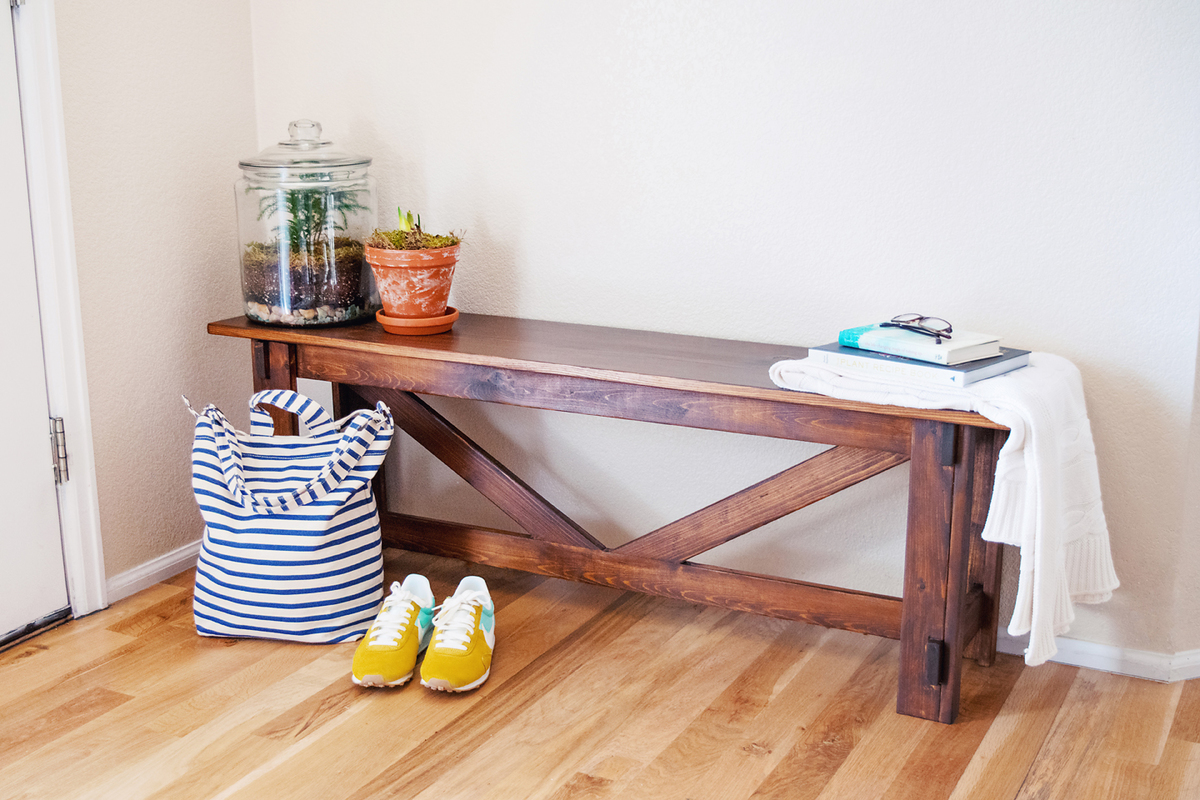
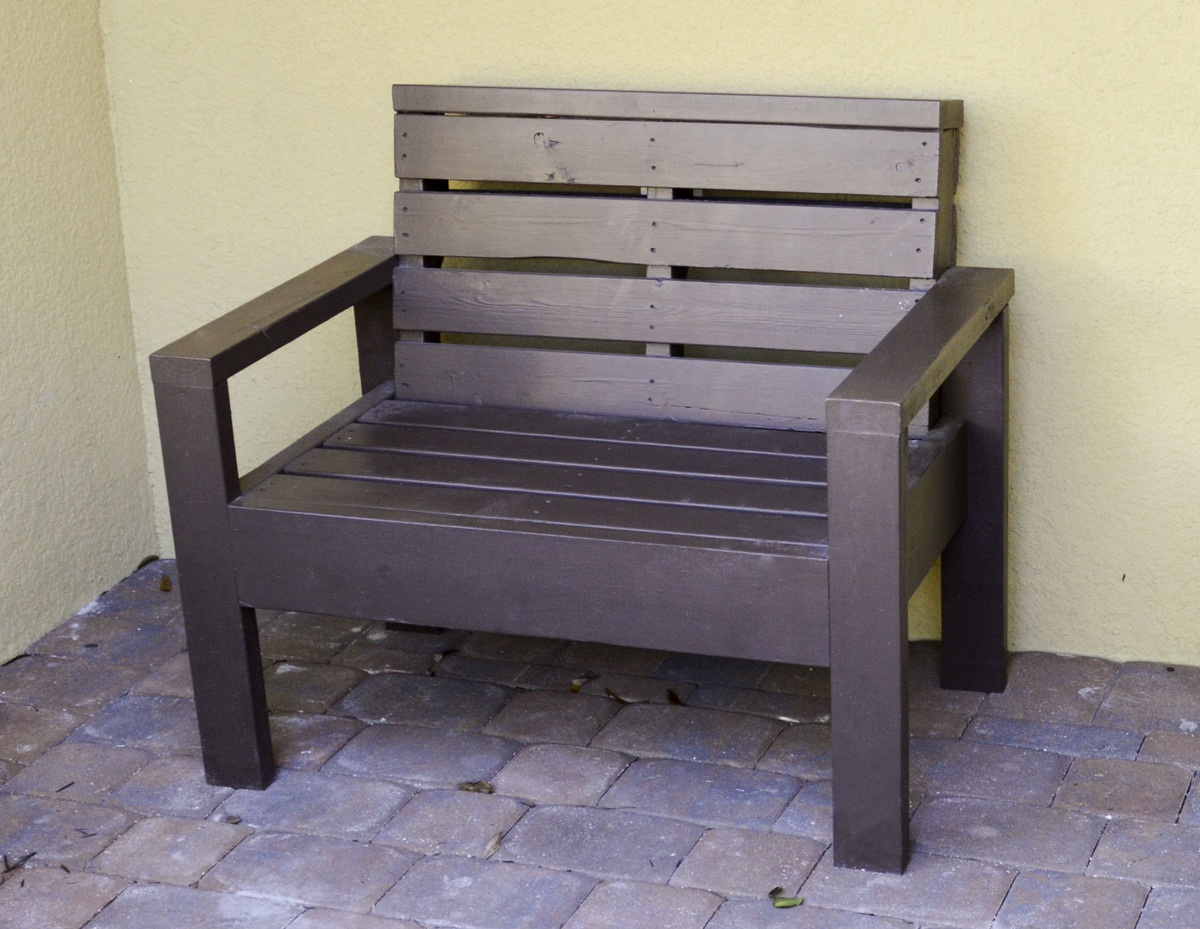
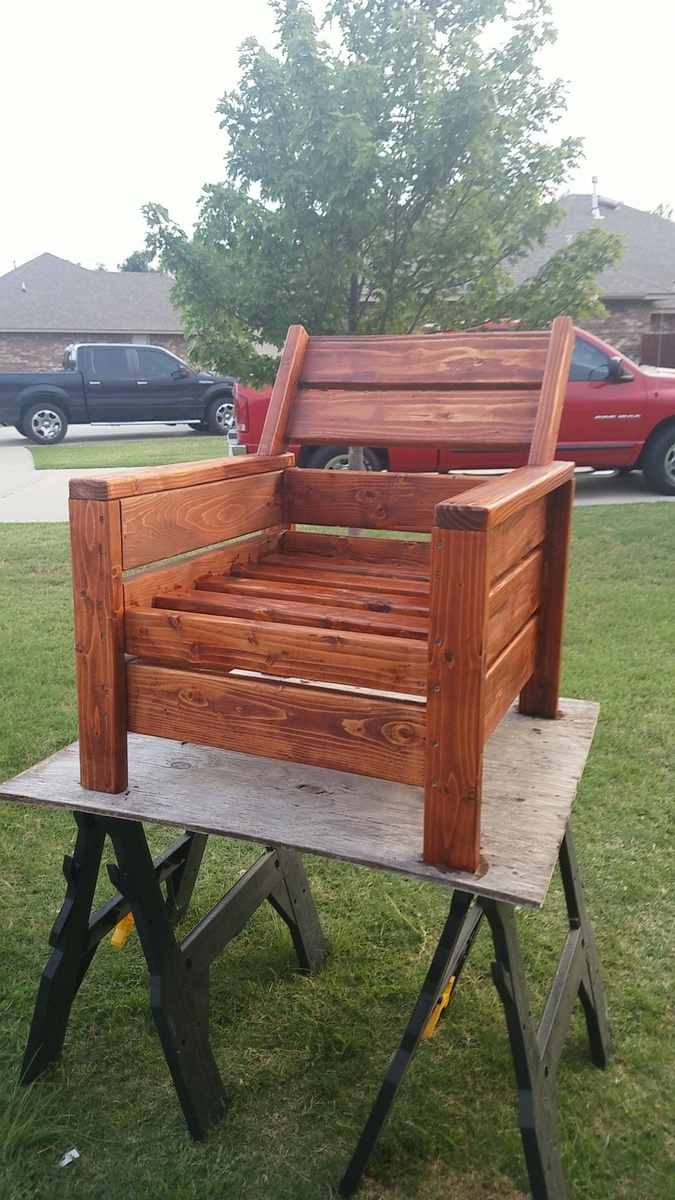
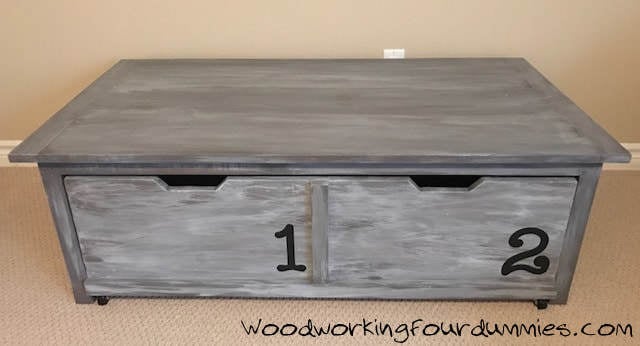
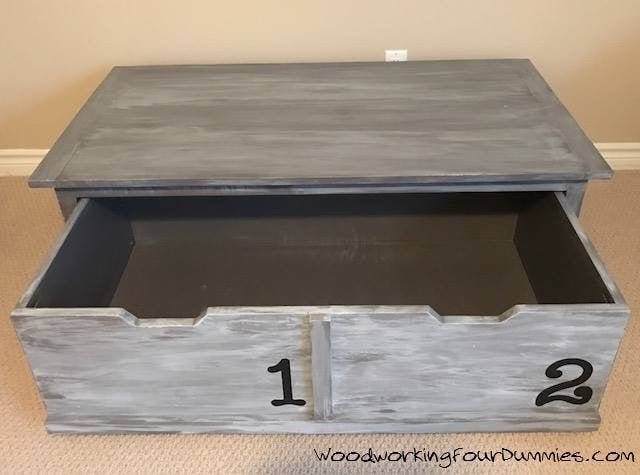
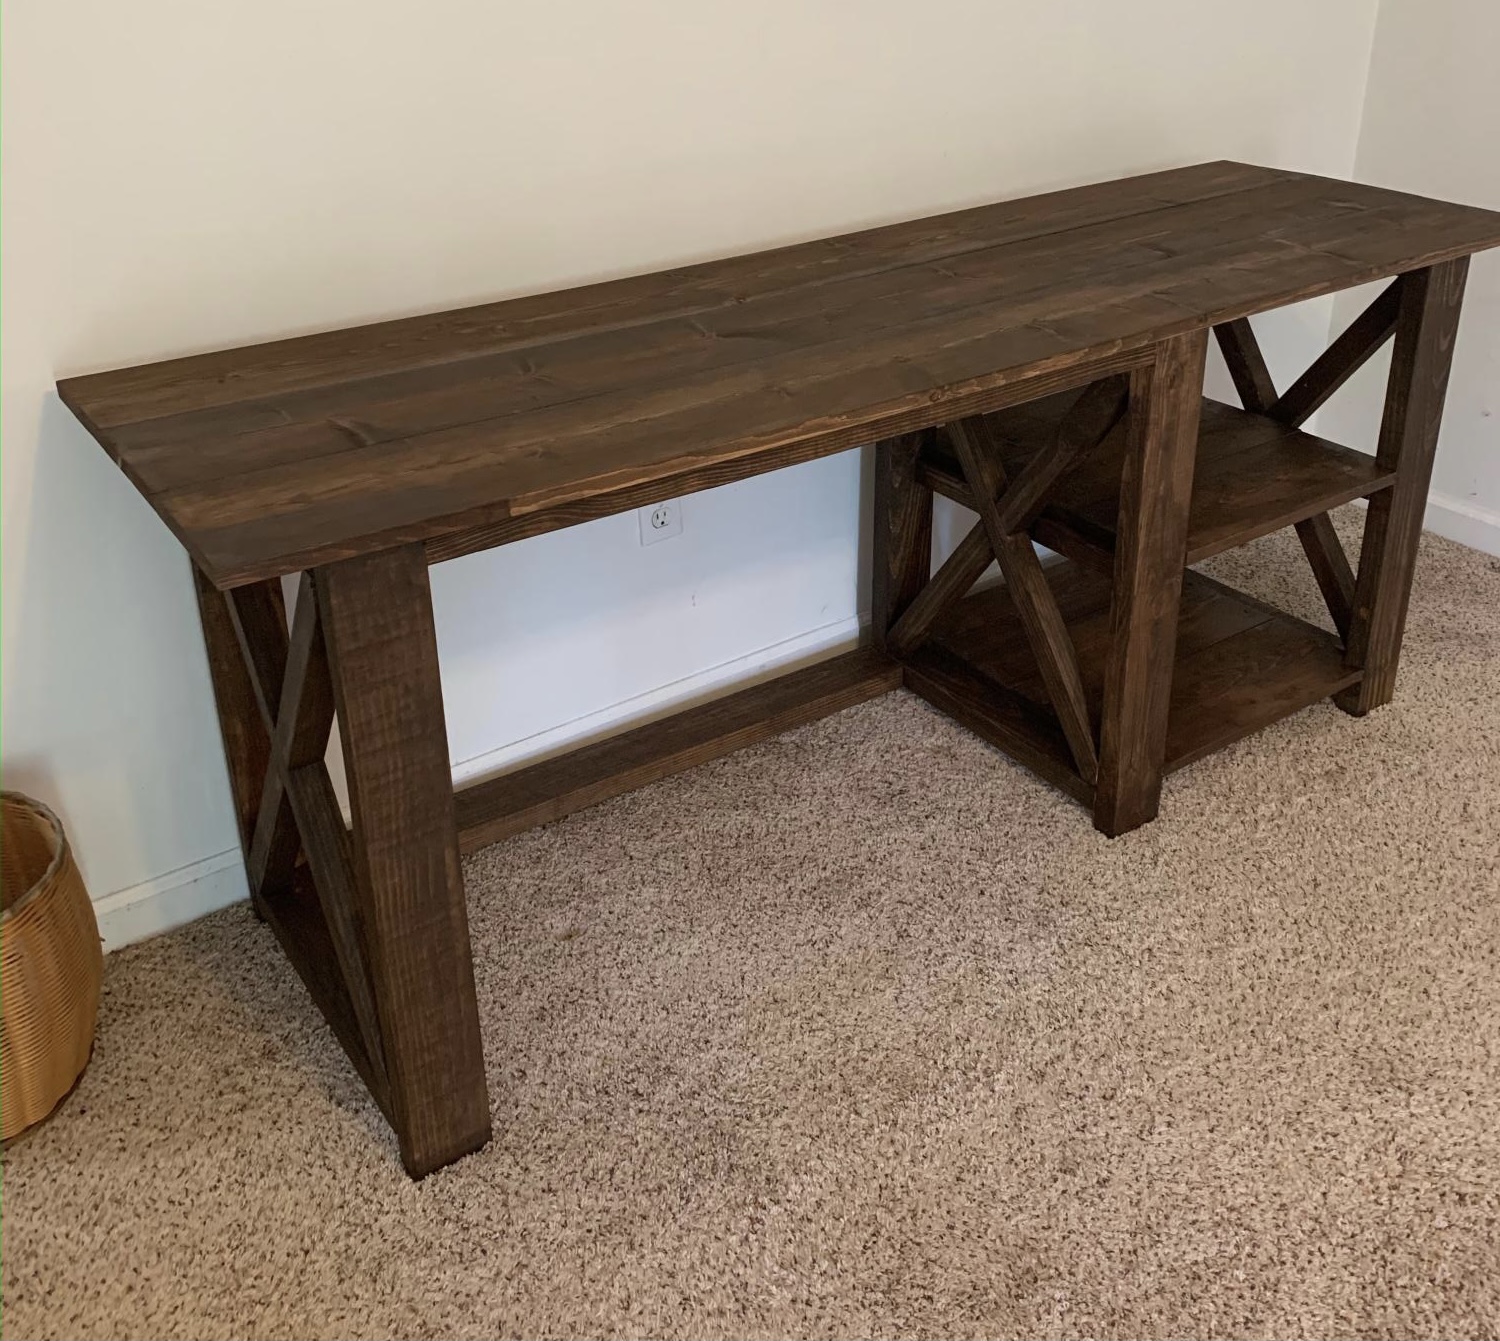
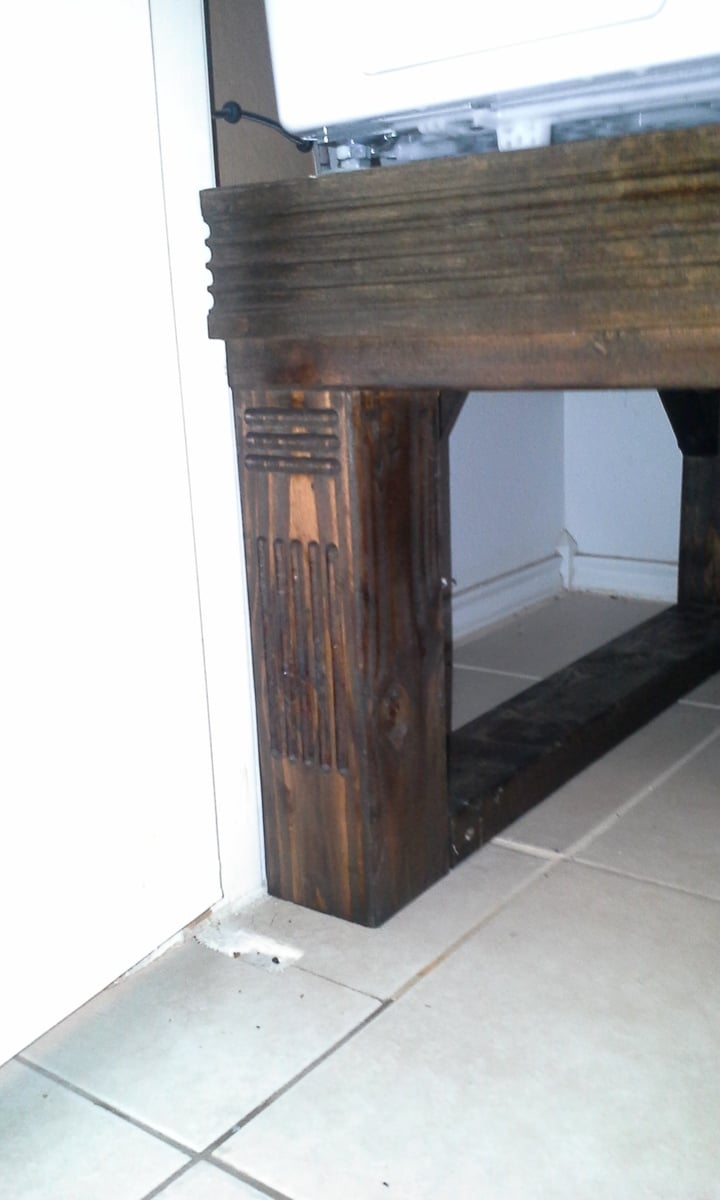
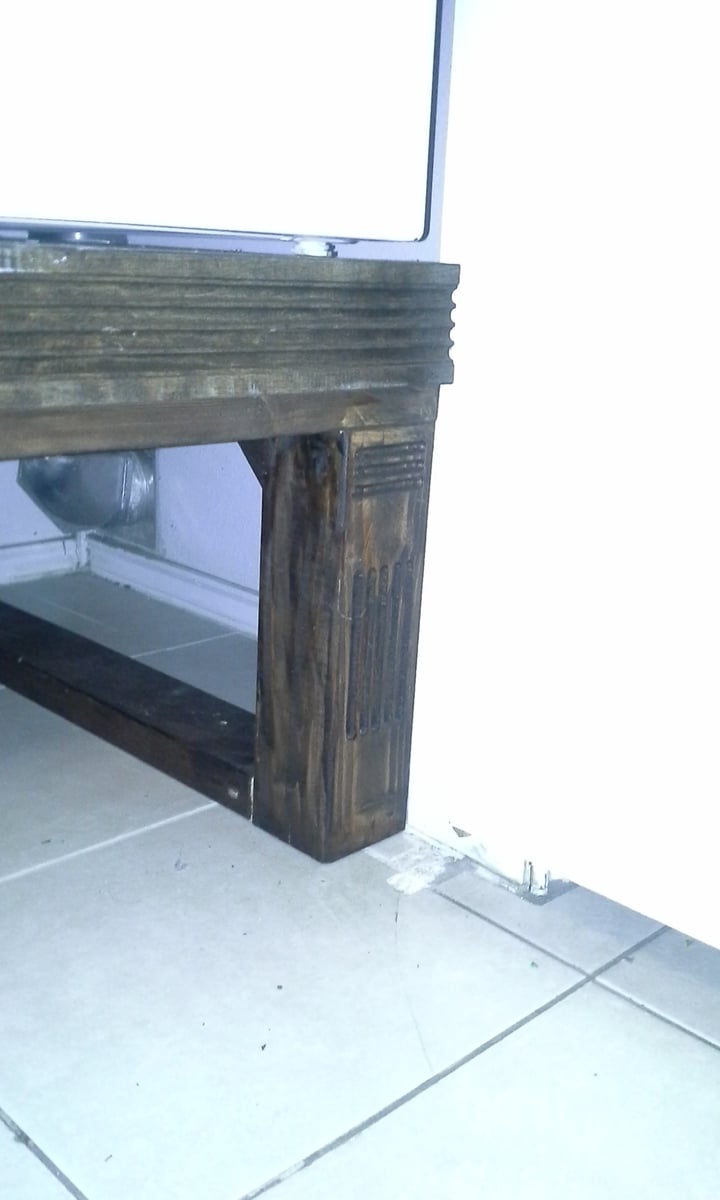
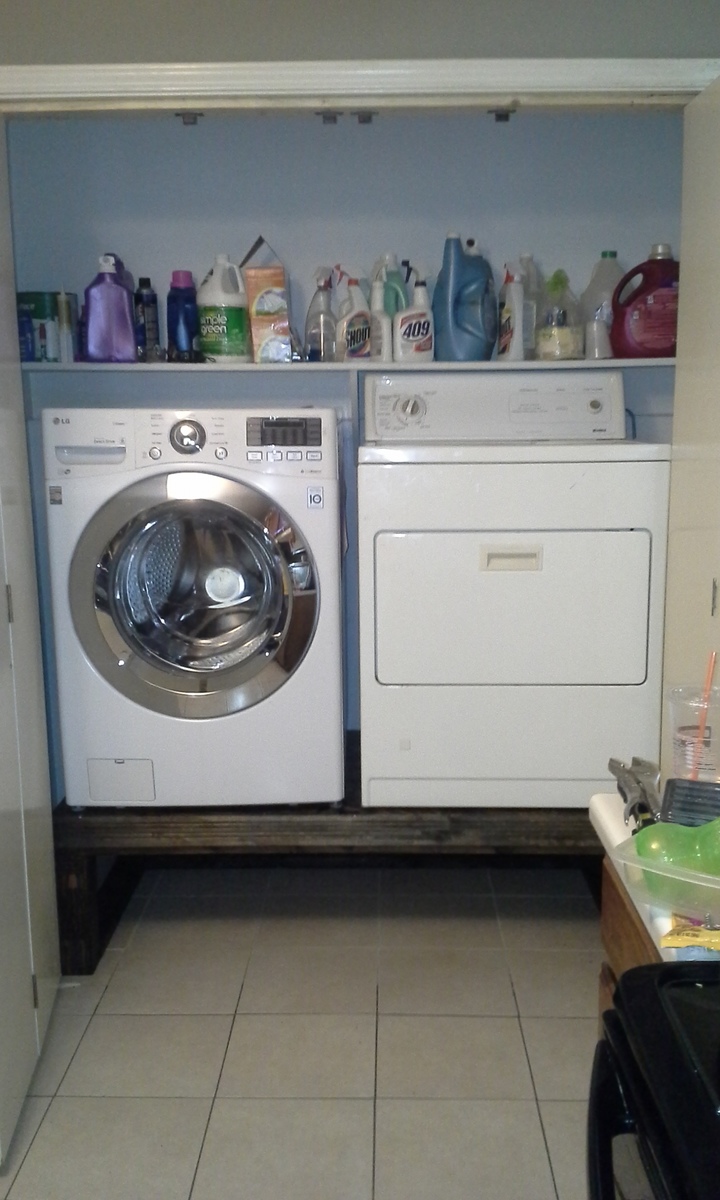
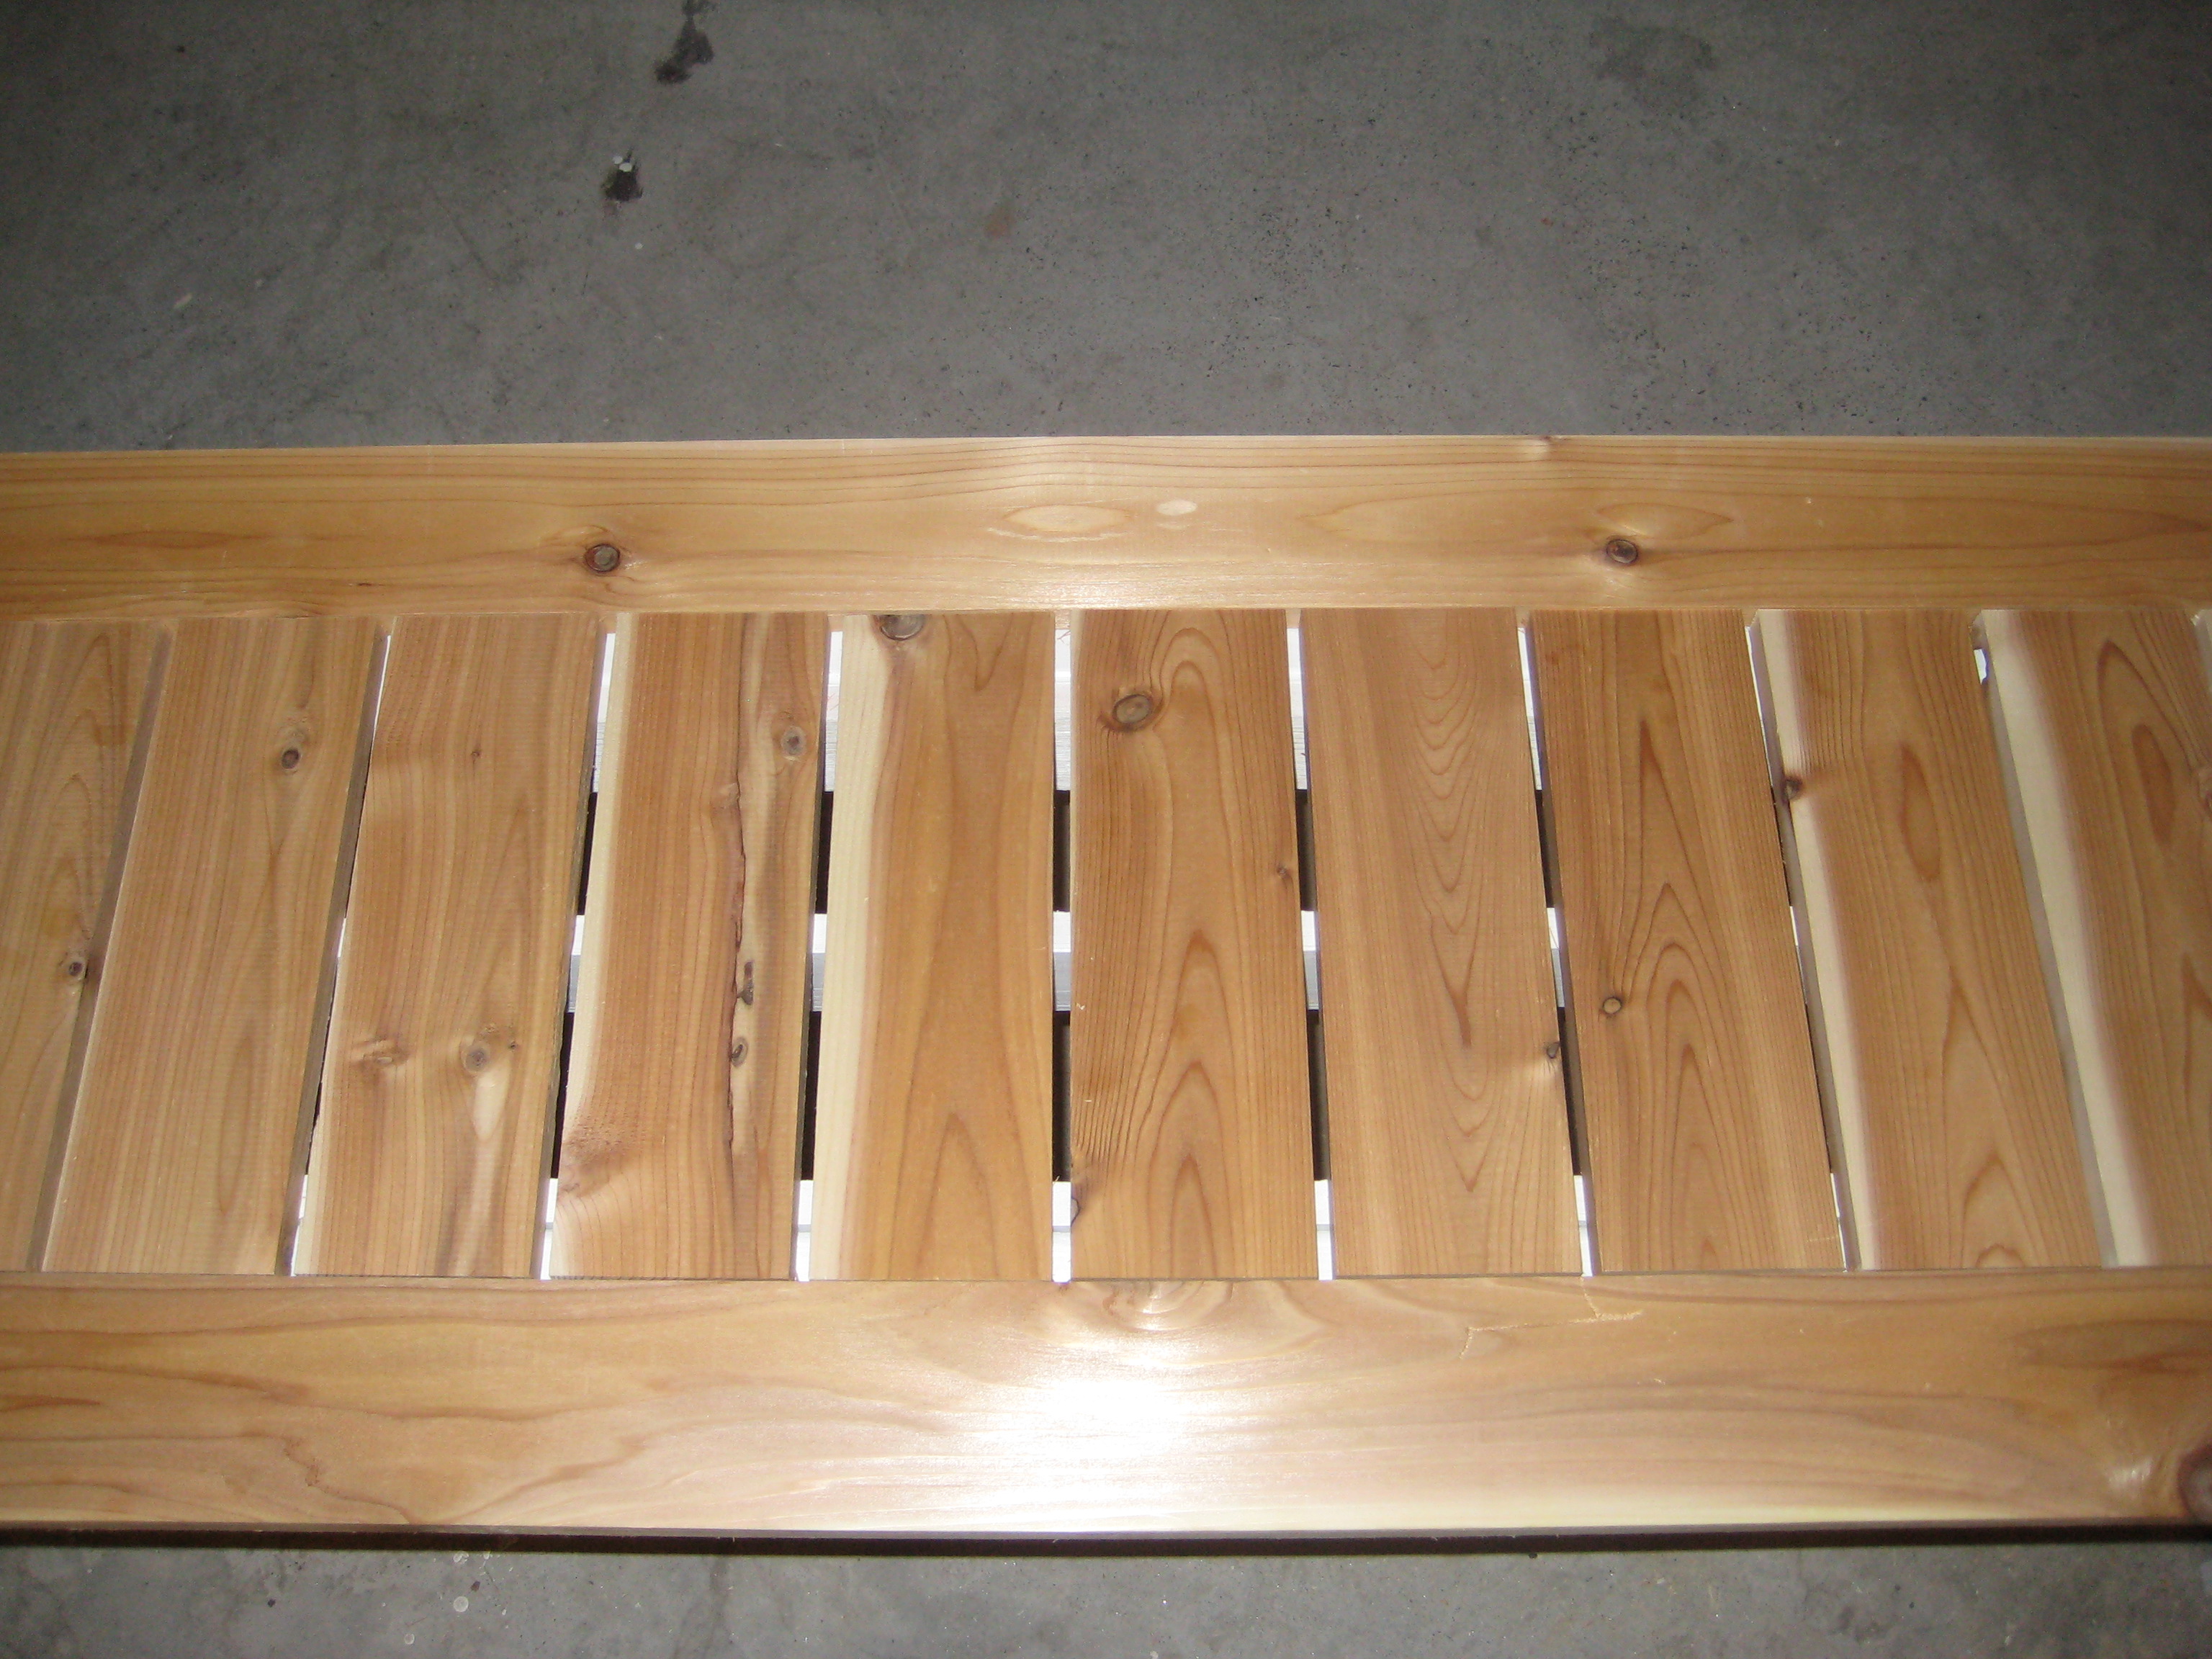
a bench
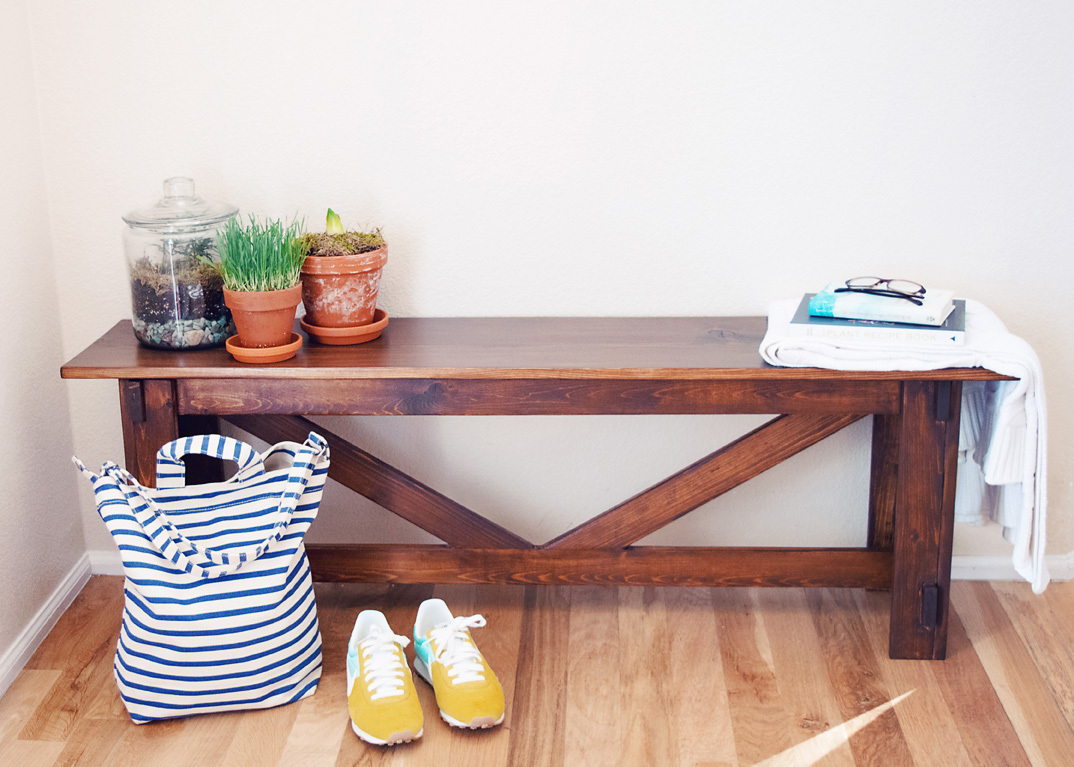
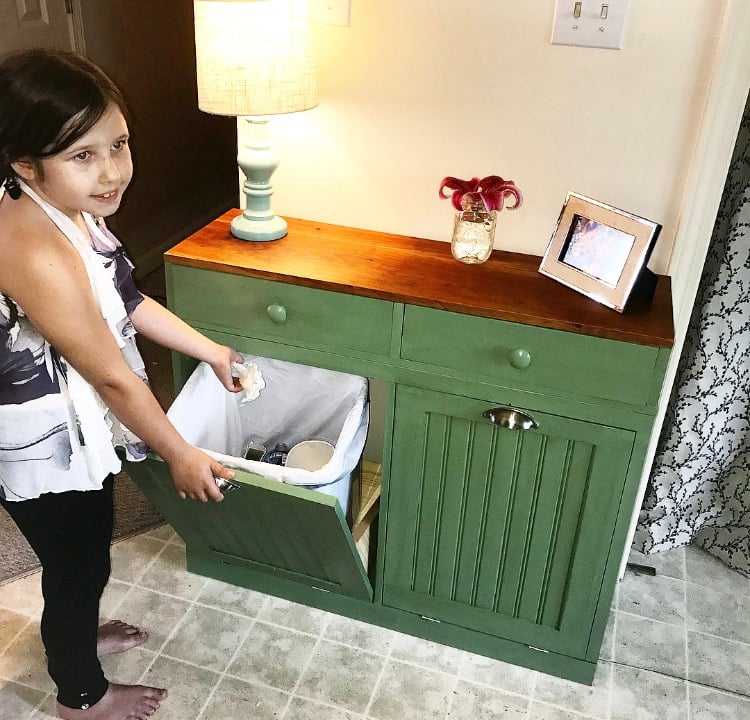
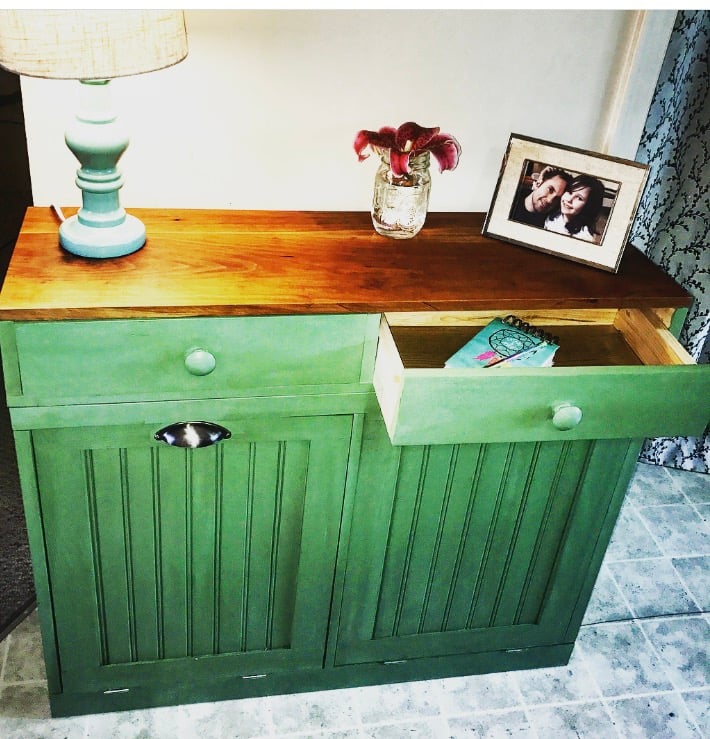
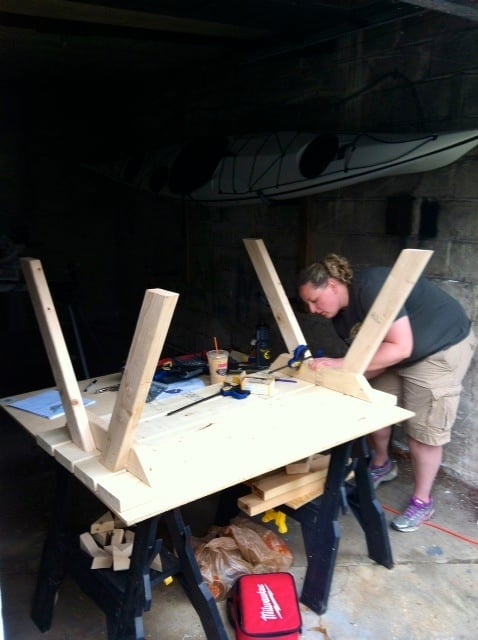
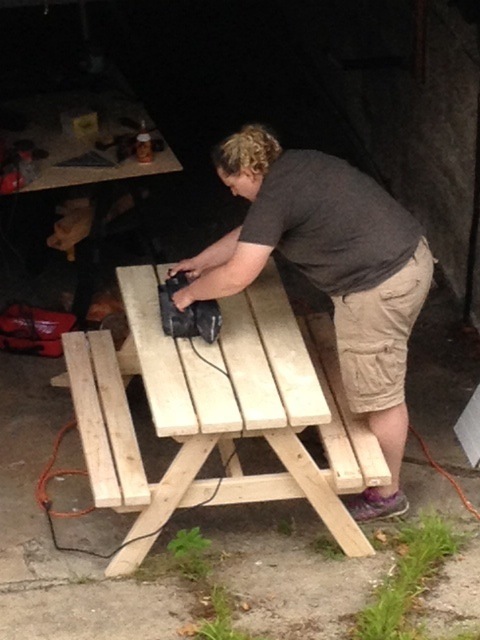
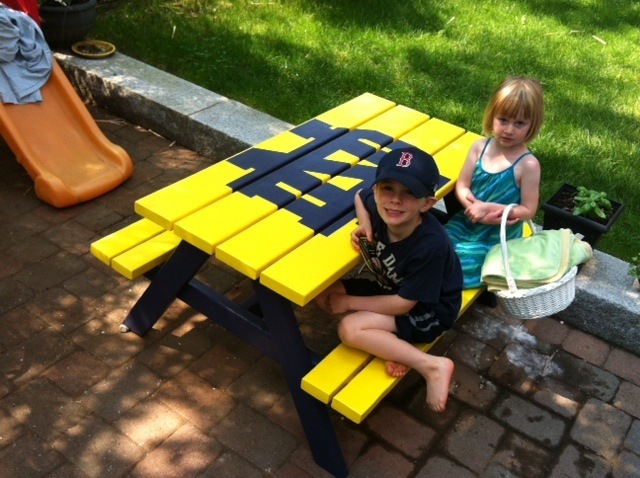
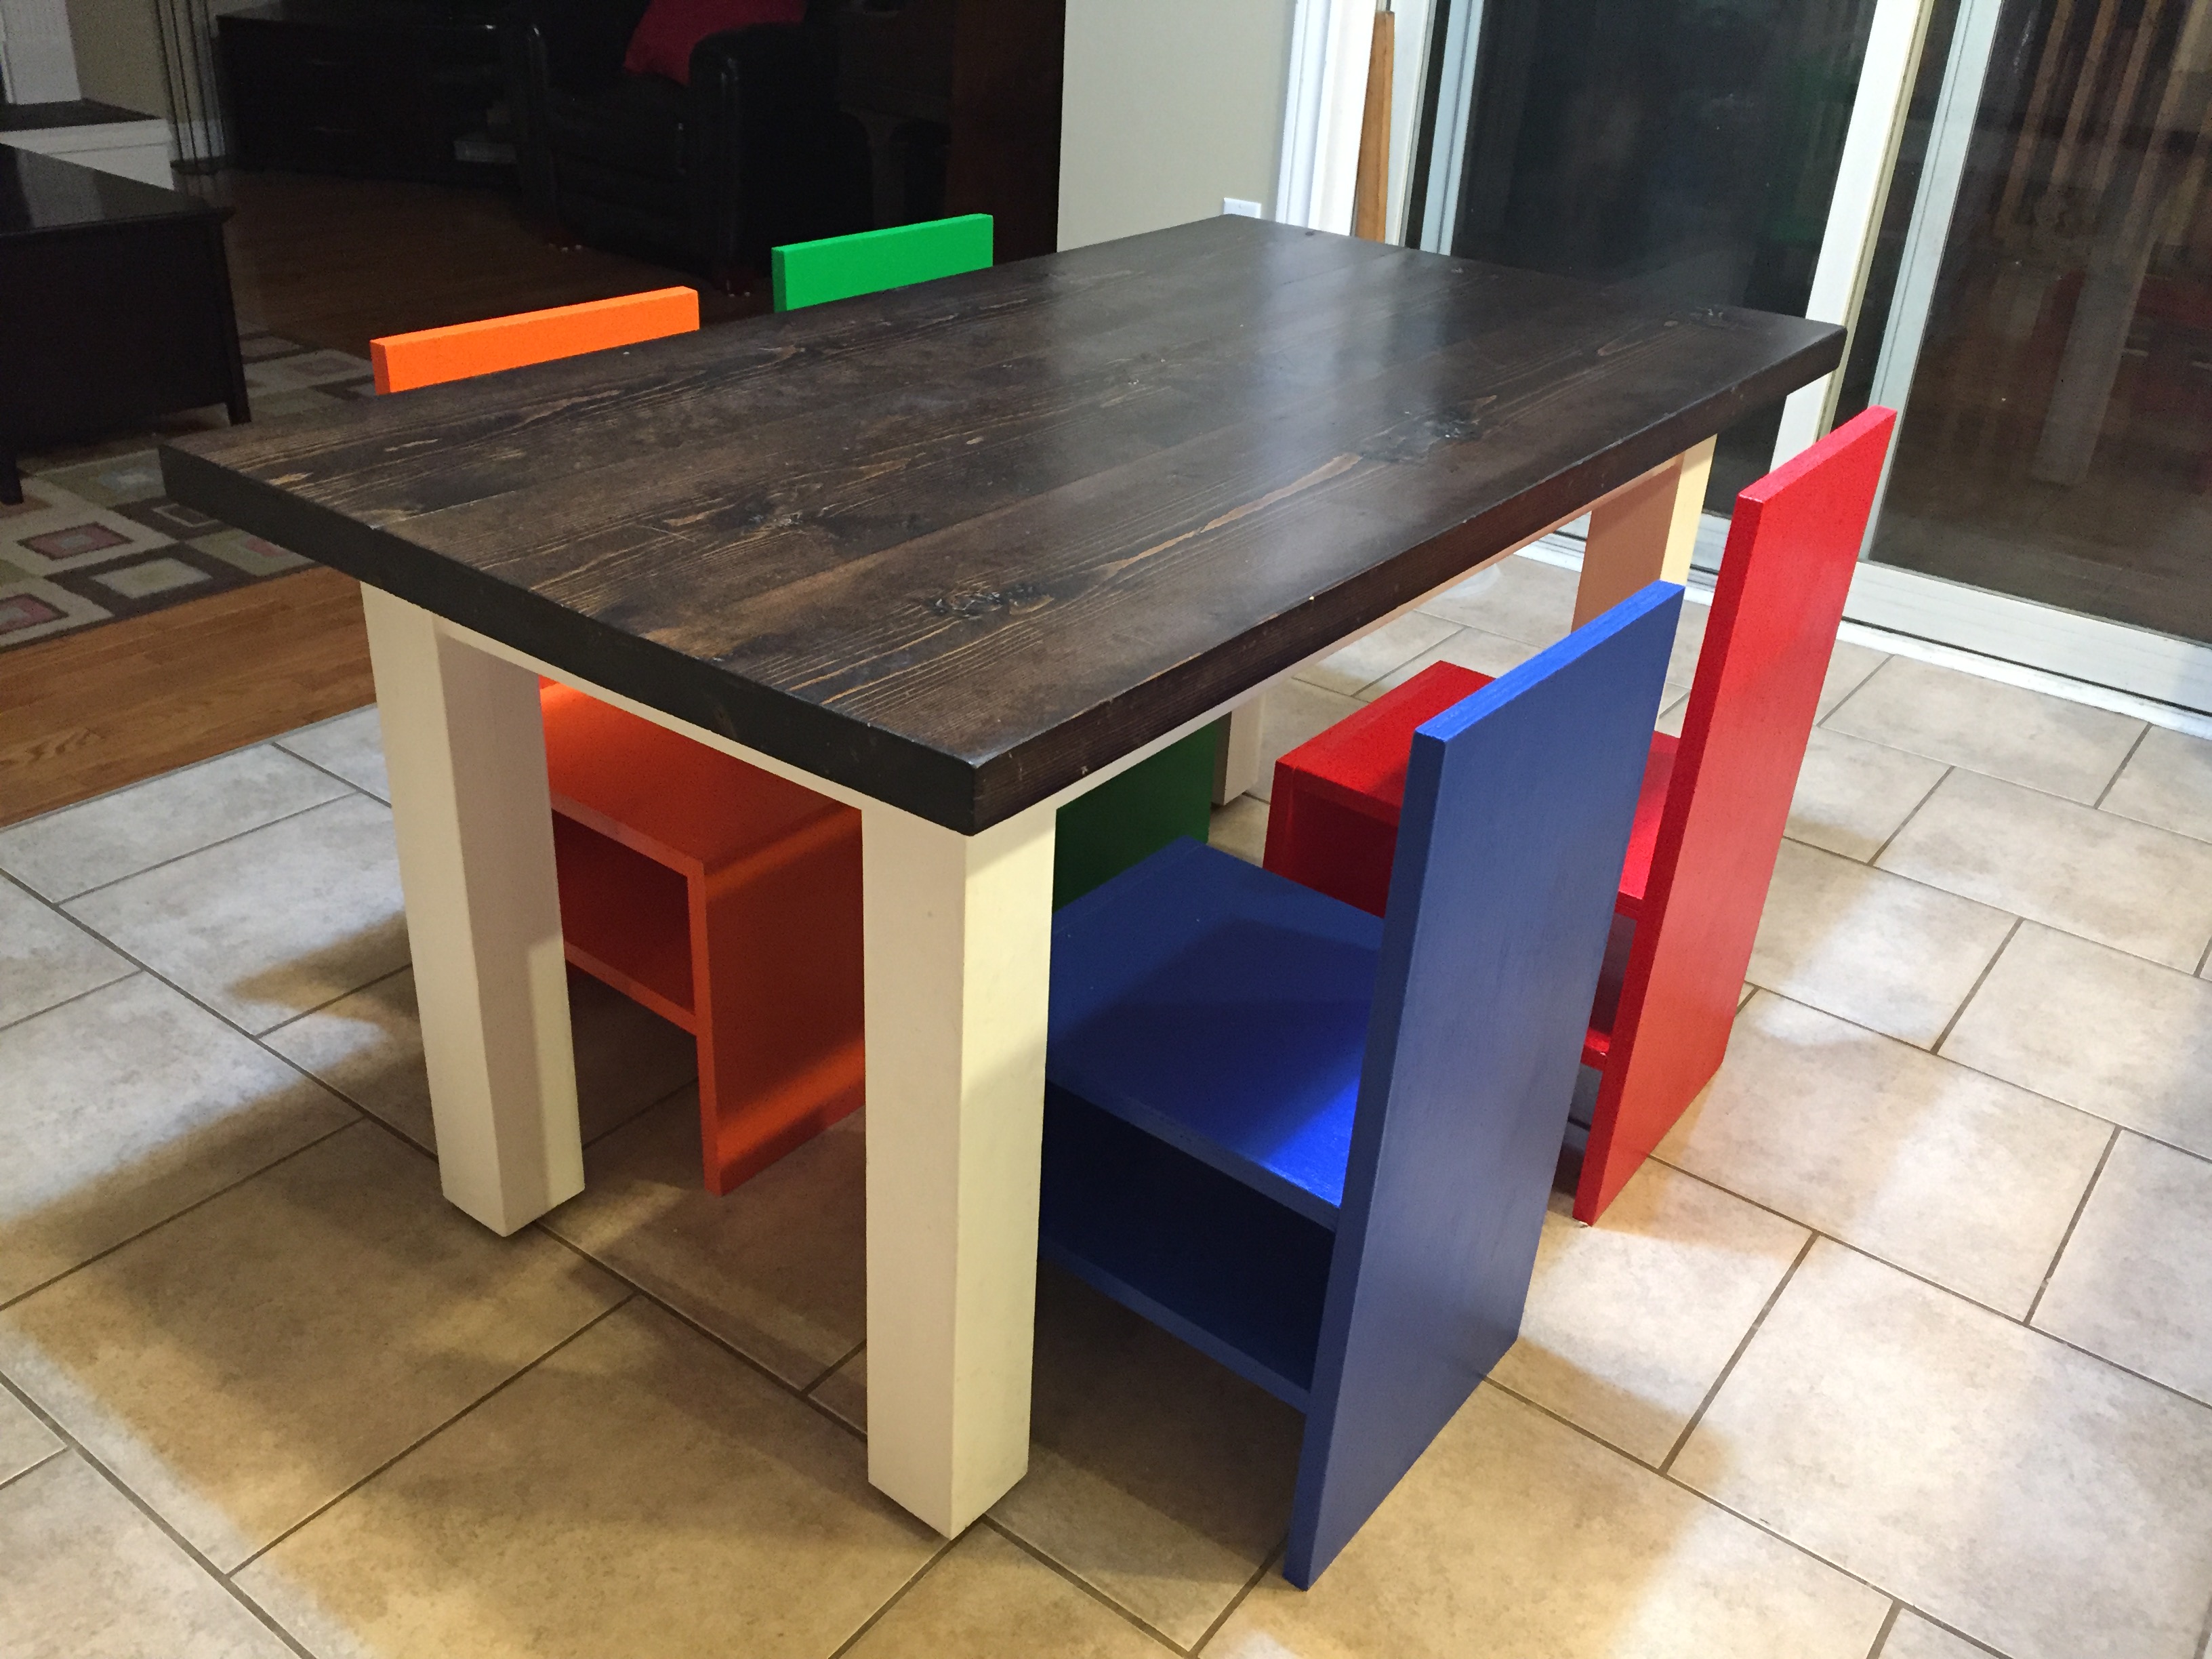
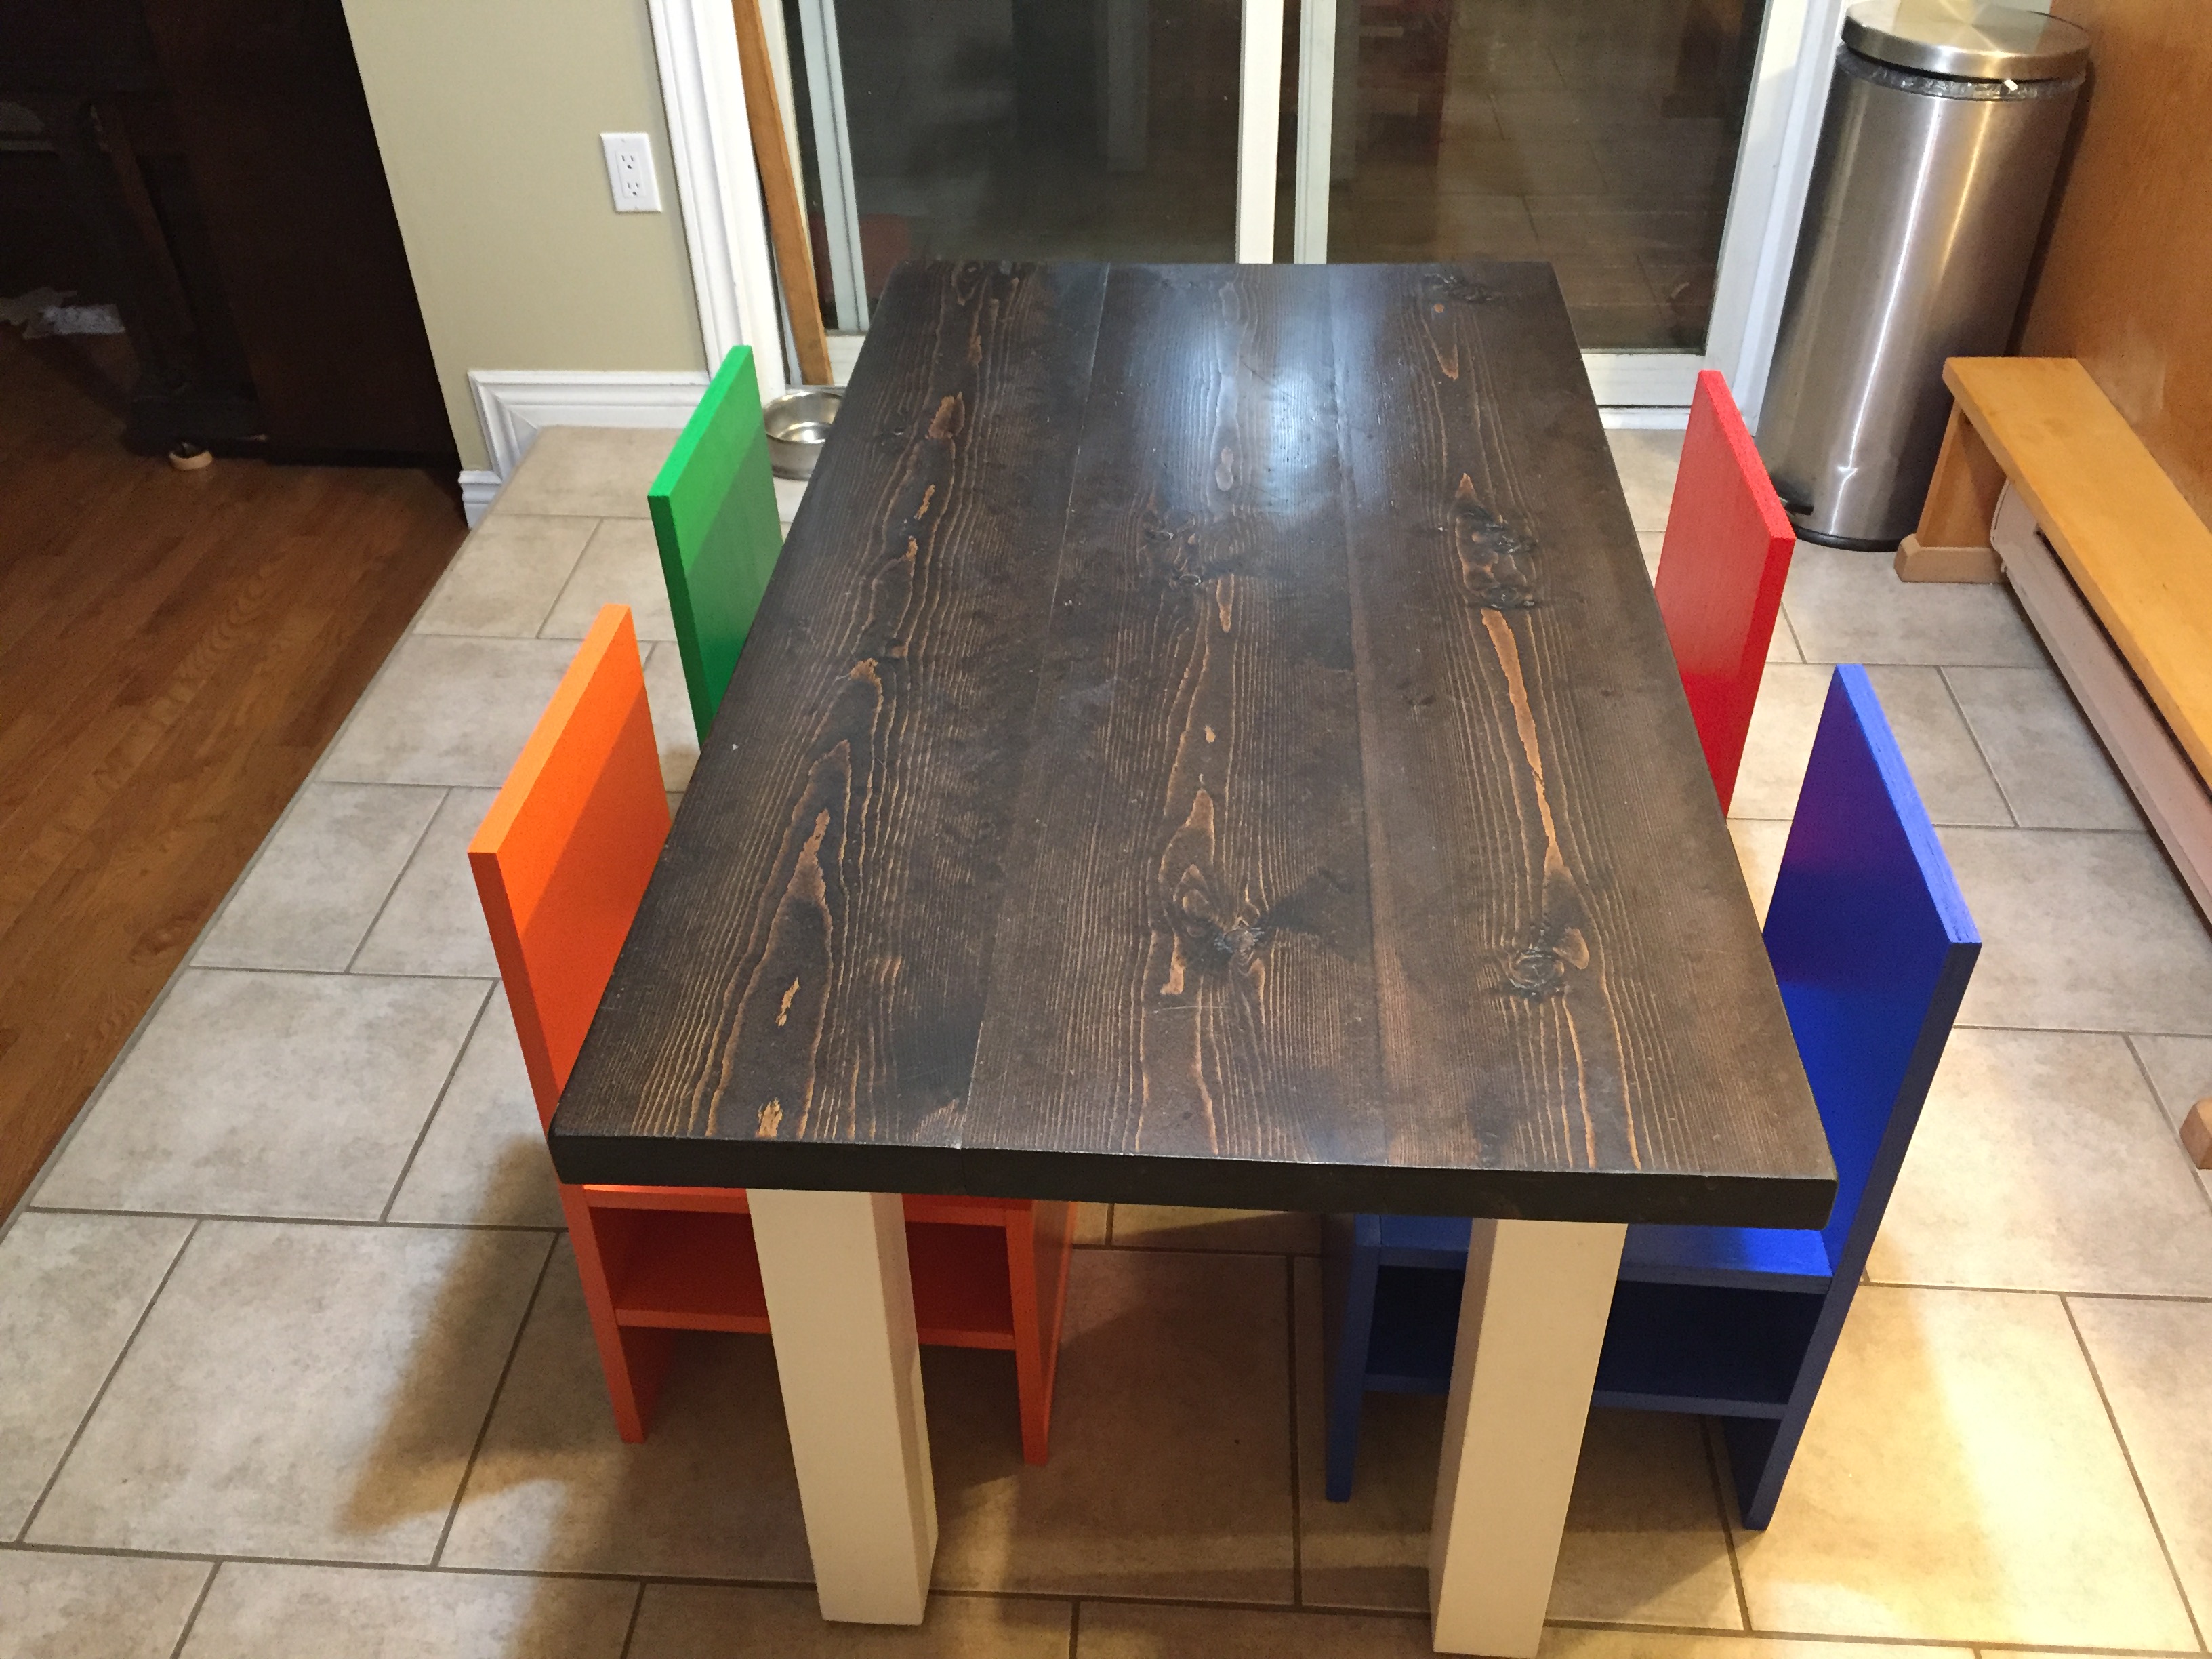
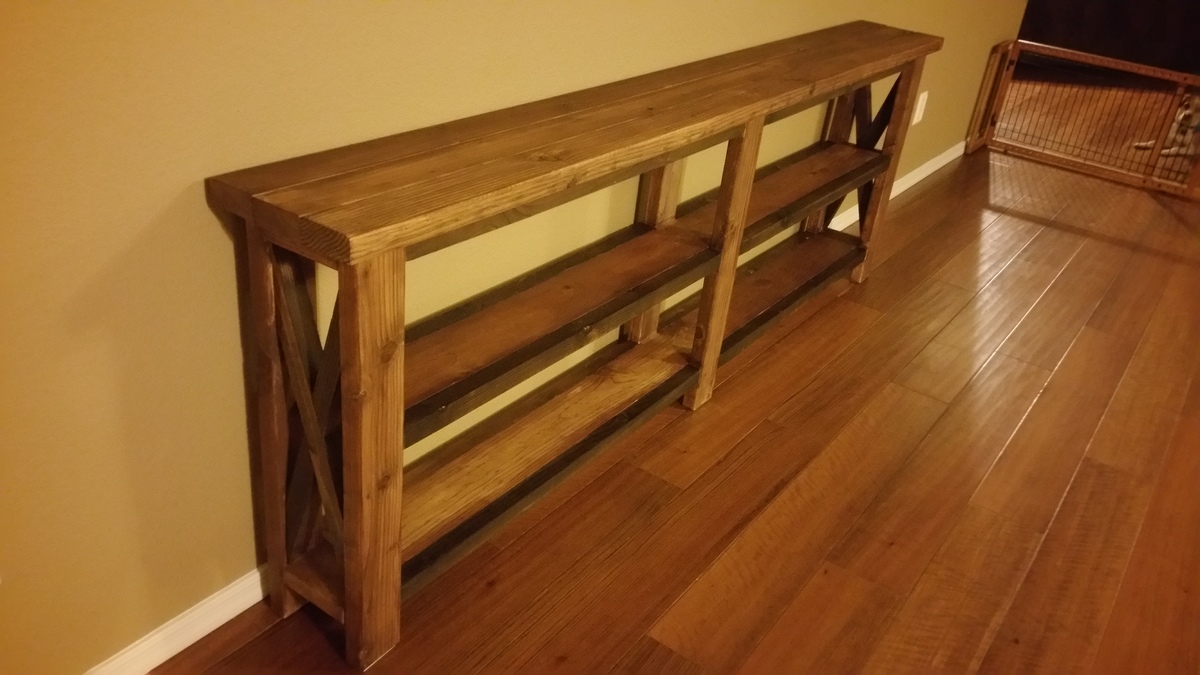
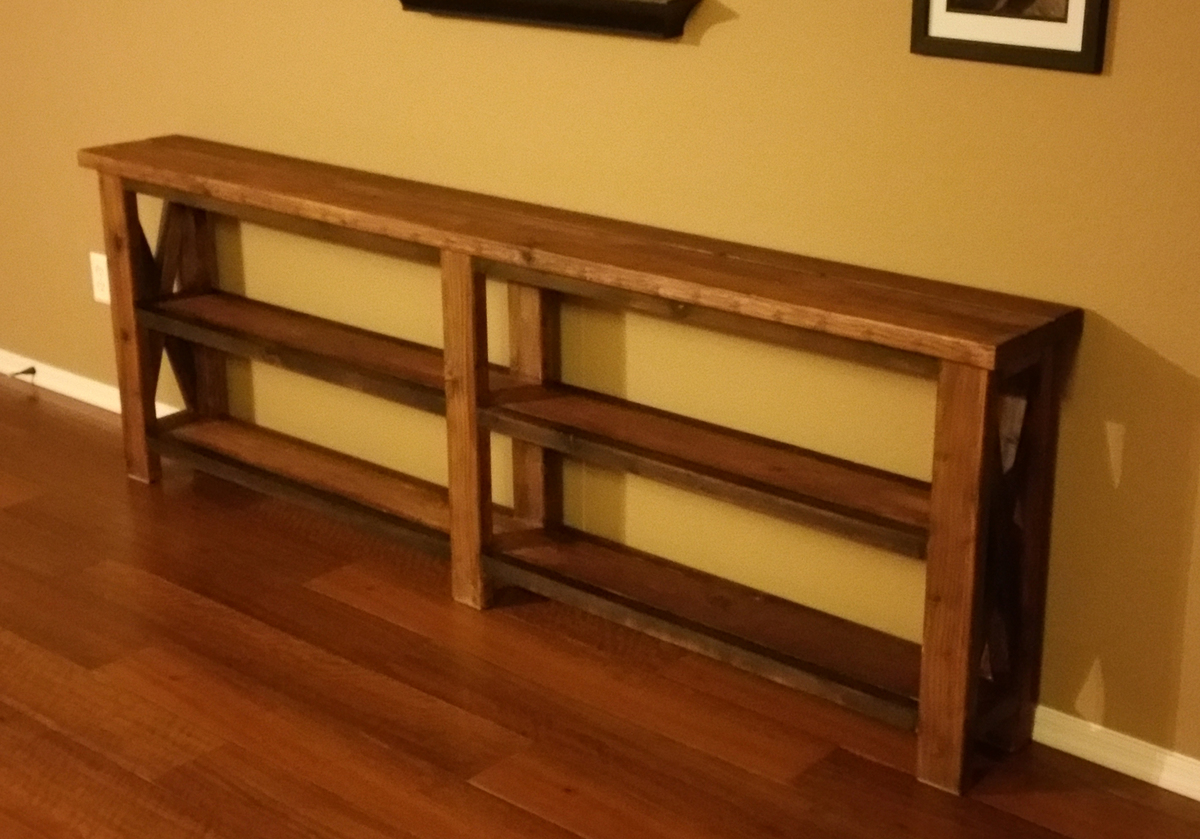
I love how this bench turned out! It's one of my favorite builds so far. It's simple but really beautiful to look at. I have a few pictures of the process and the stains I used to finish it up on my blog. Thanks, Ana, for another great plan!
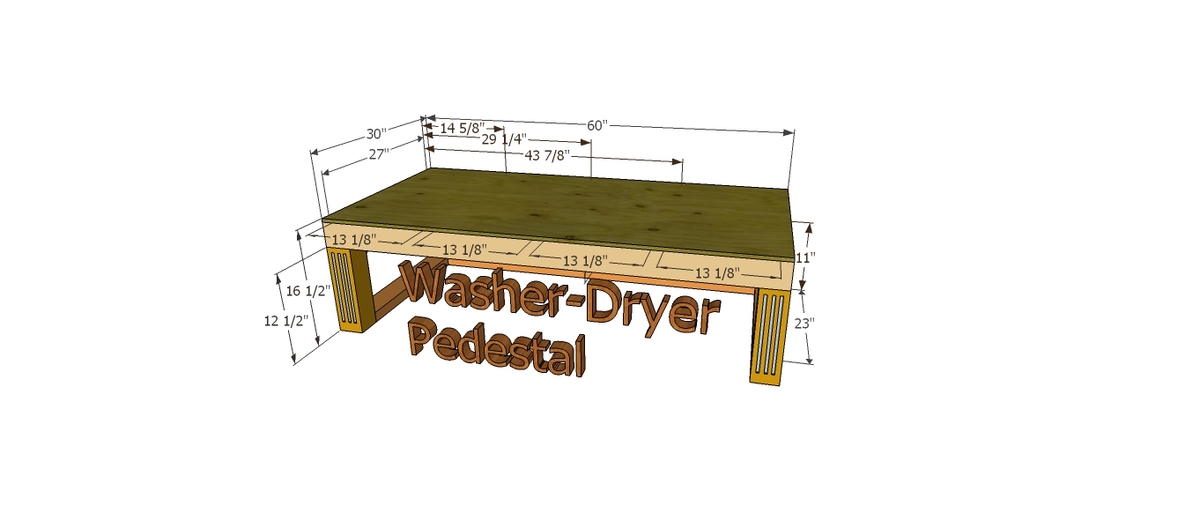
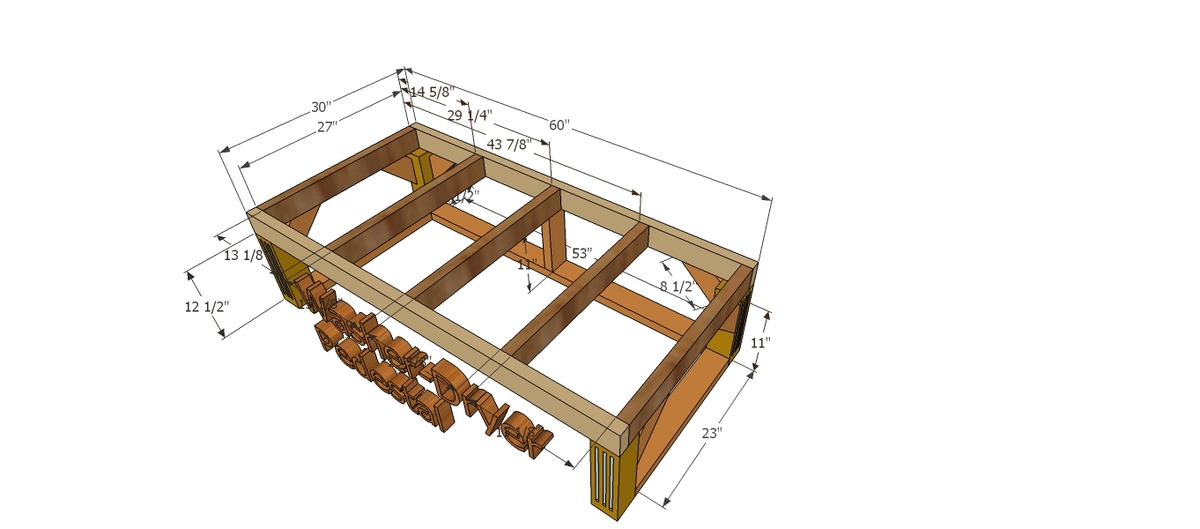
Built from Plan(s)
Estimated Cost
$30
Estimated Time Investment
Day Project (6-9 Hours)
Finish Used
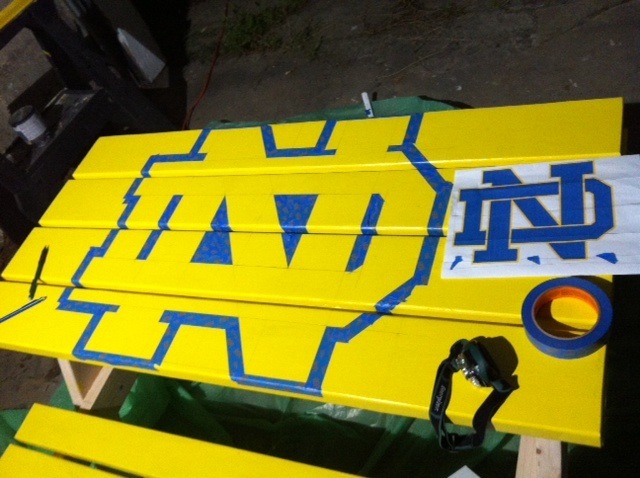
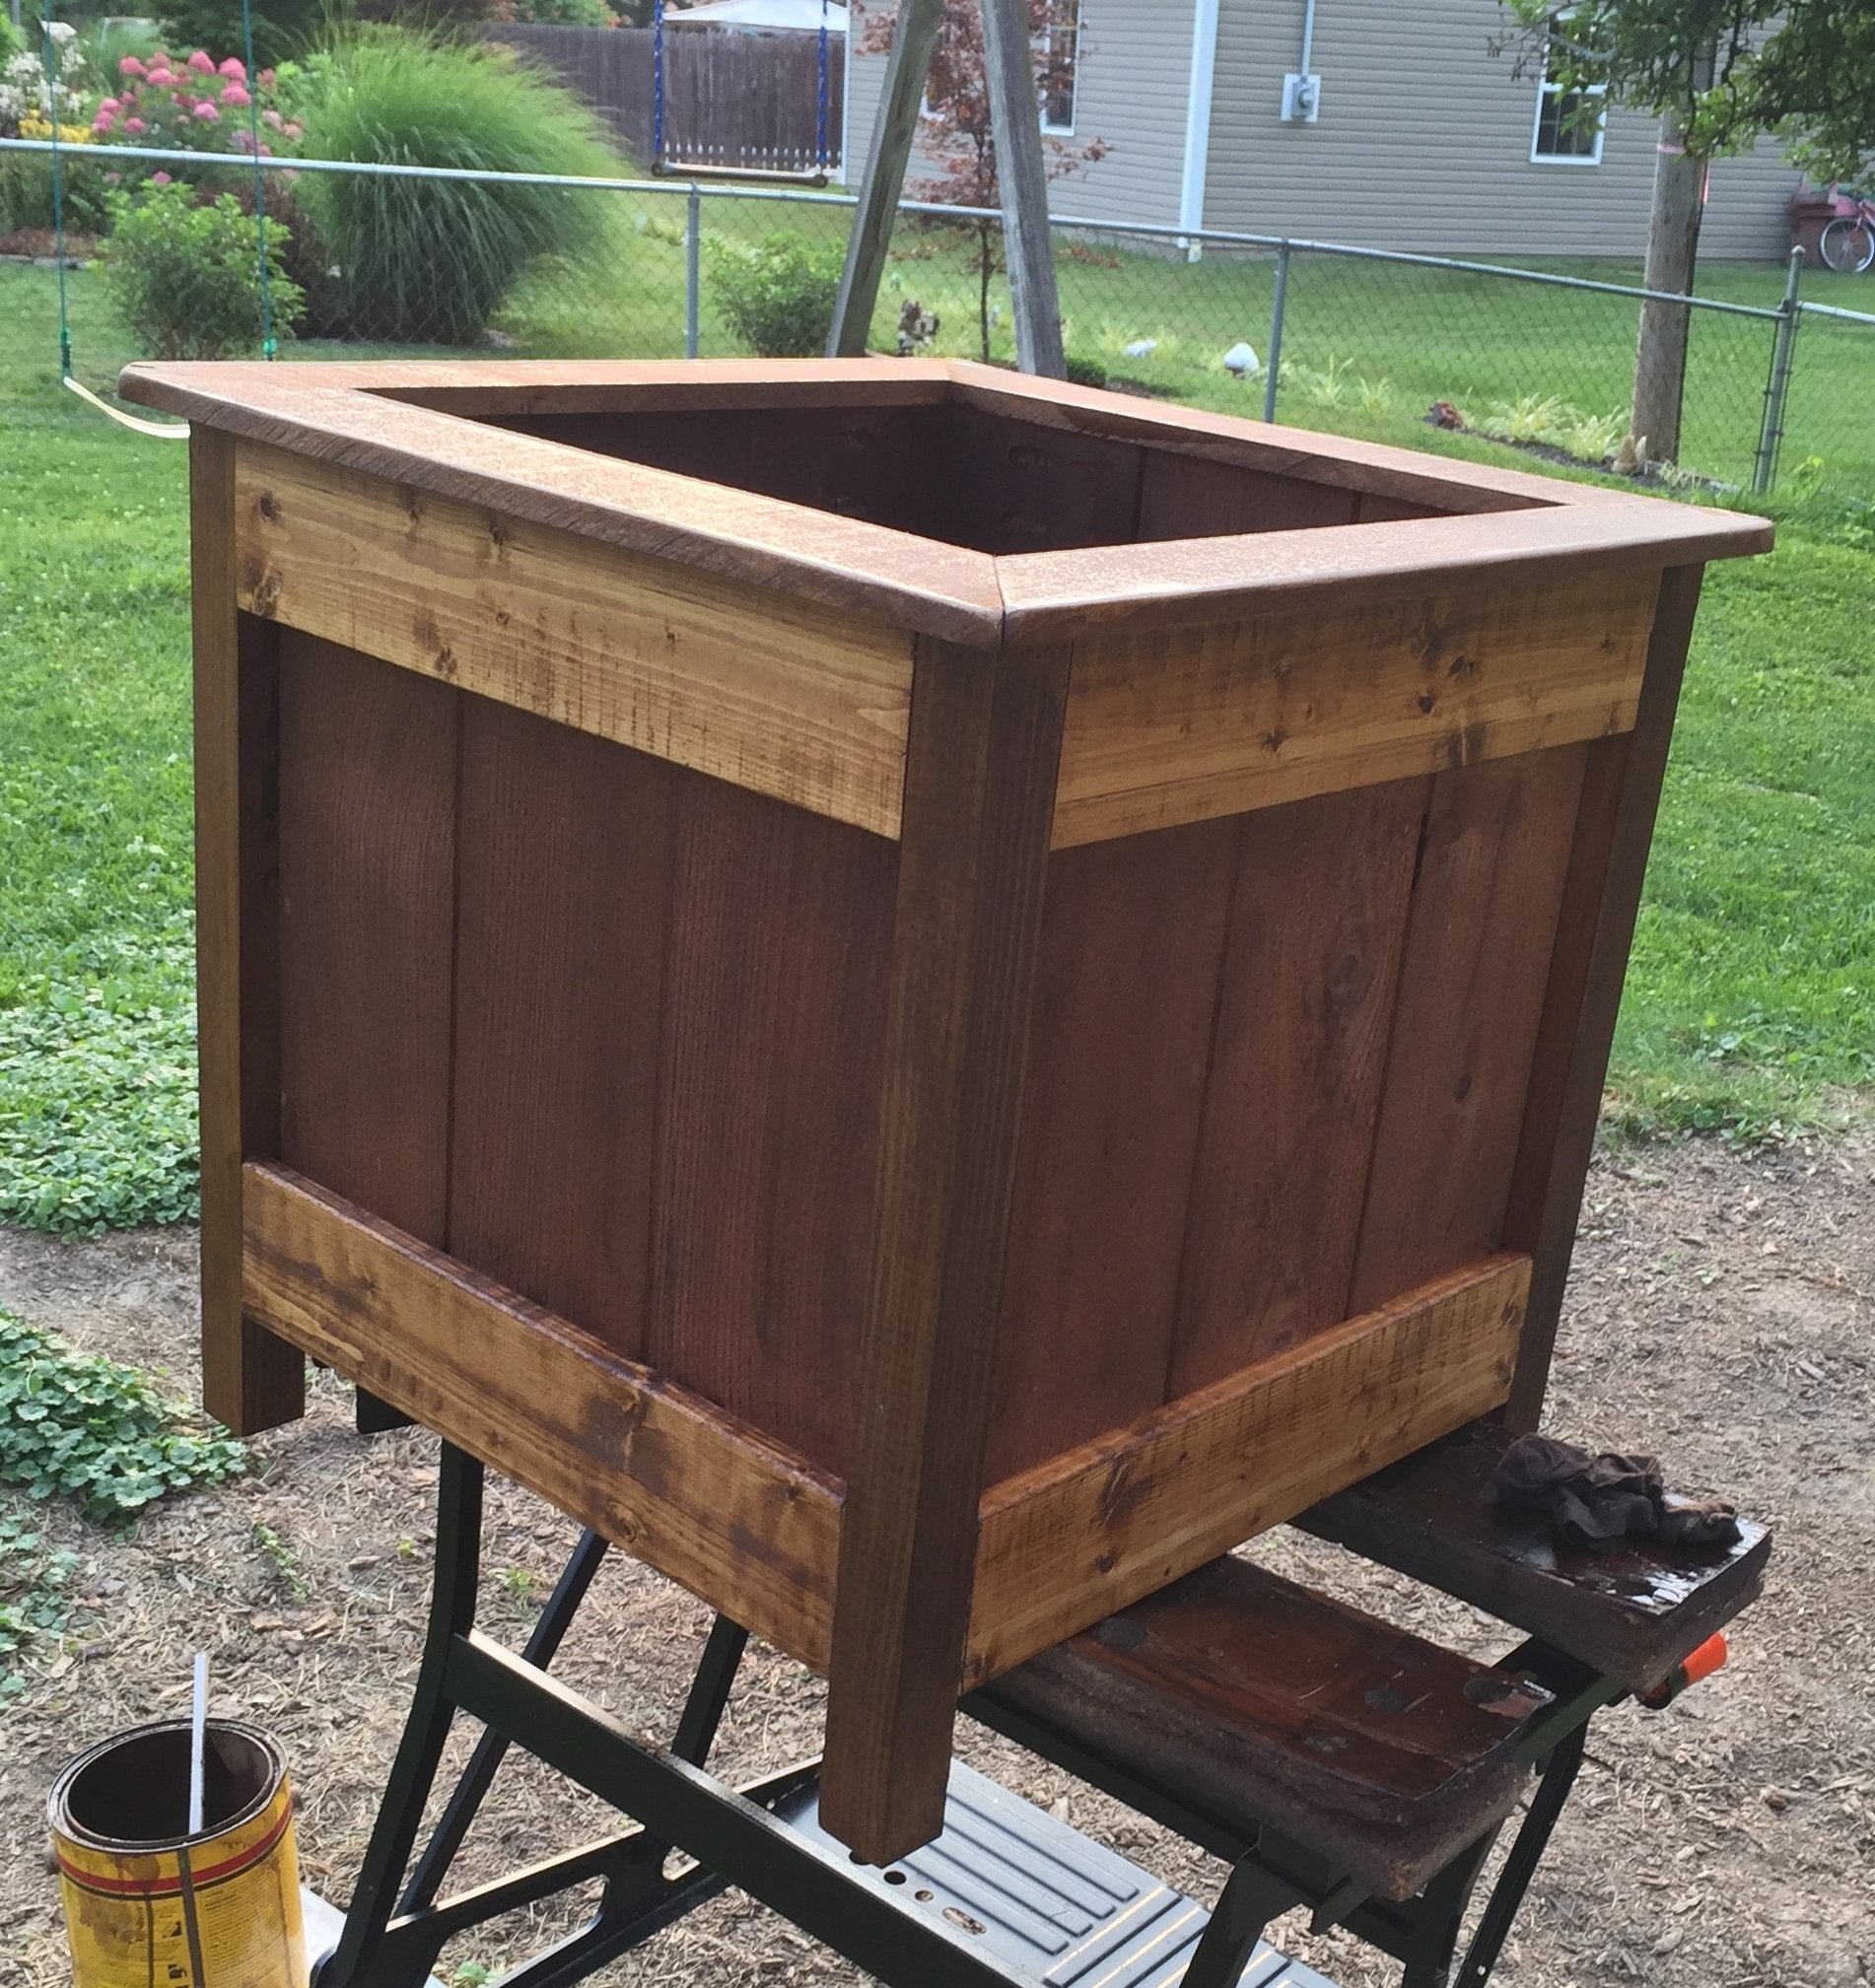
I used what I had on hand: watco danish oil in natural, general finishes gel stain in antique walnut, and general finishes outdoor oil
Recommended Skill Level
Intermediate


Comments
Ana White
Mon, 03/30/2015 - 15:07
Very pretty! I love the
Very pretty! I love the stain!