Toy Box

Reconstructed plans to build a toy box for my kids' playroom.
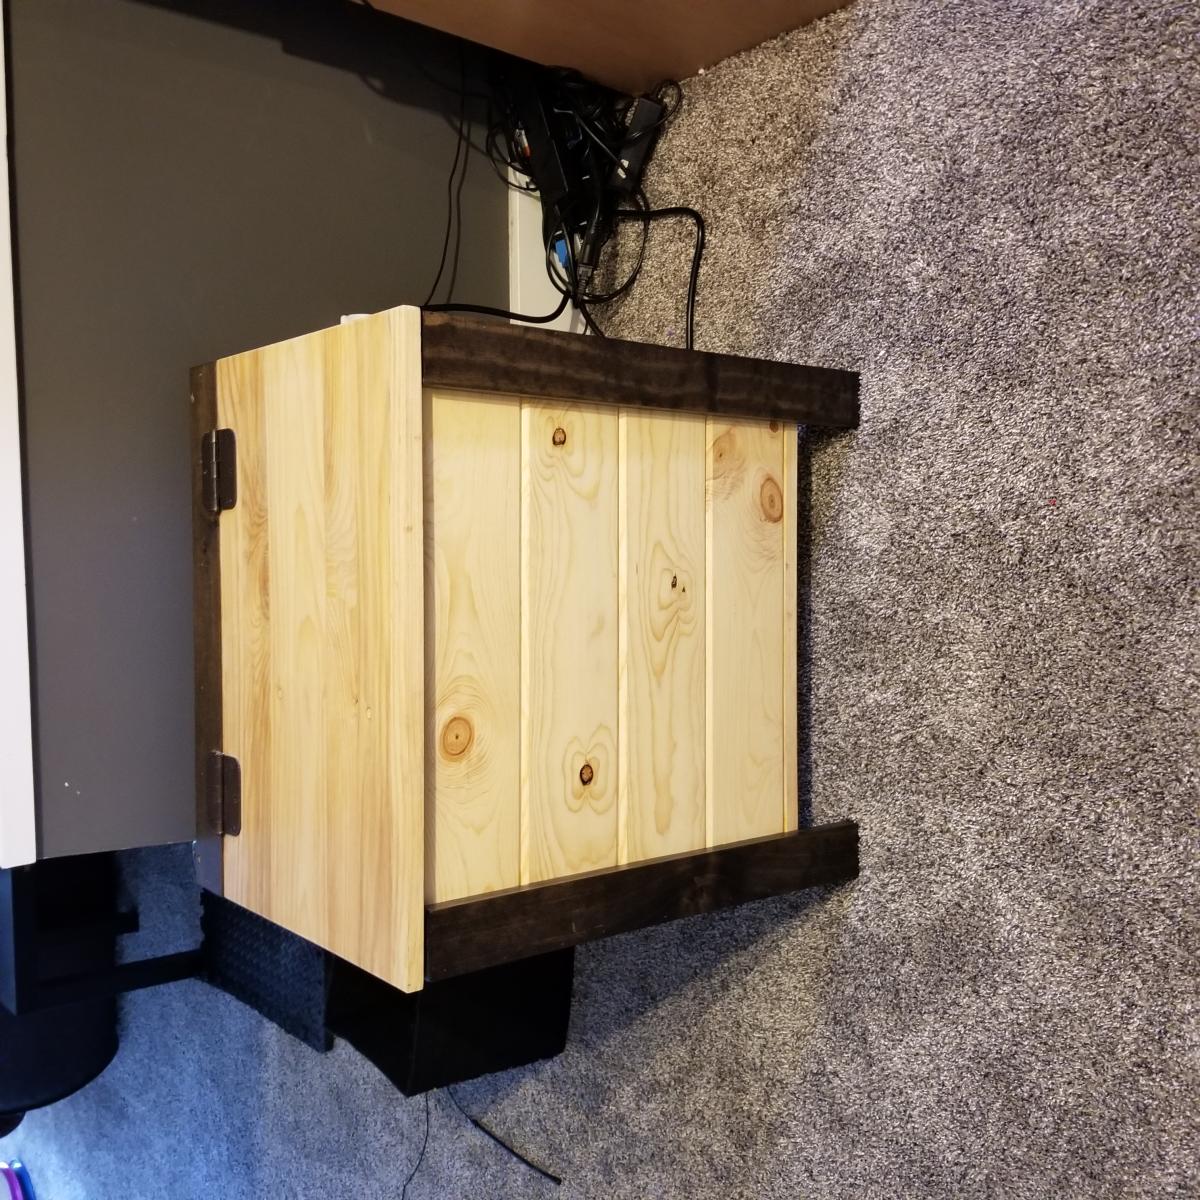
Built from Plan(s)
Reconstructed plans to build a toy box for my kids' playroom.
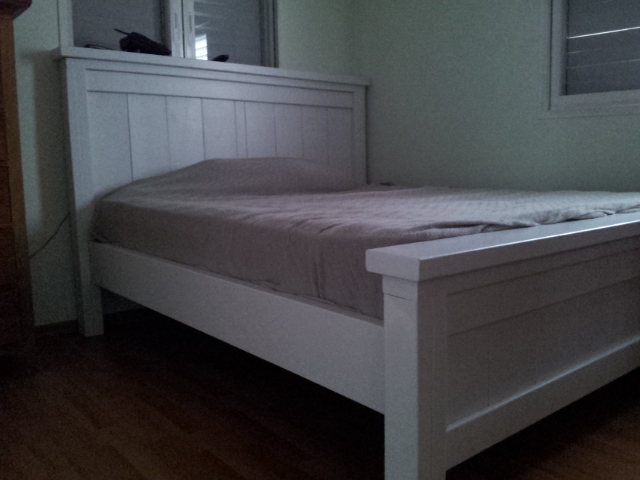
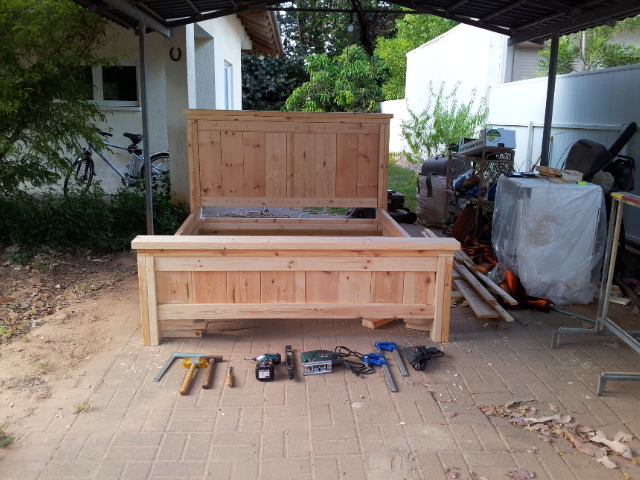
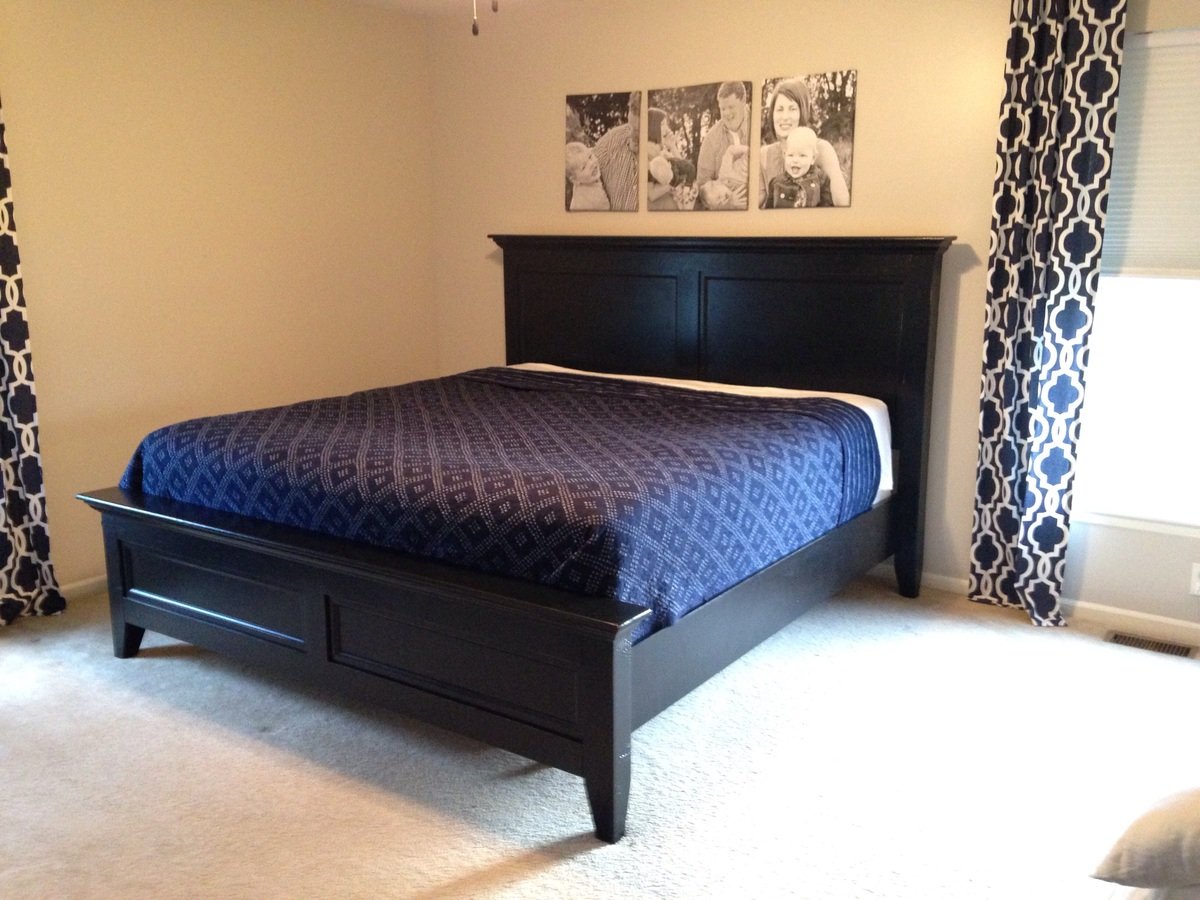
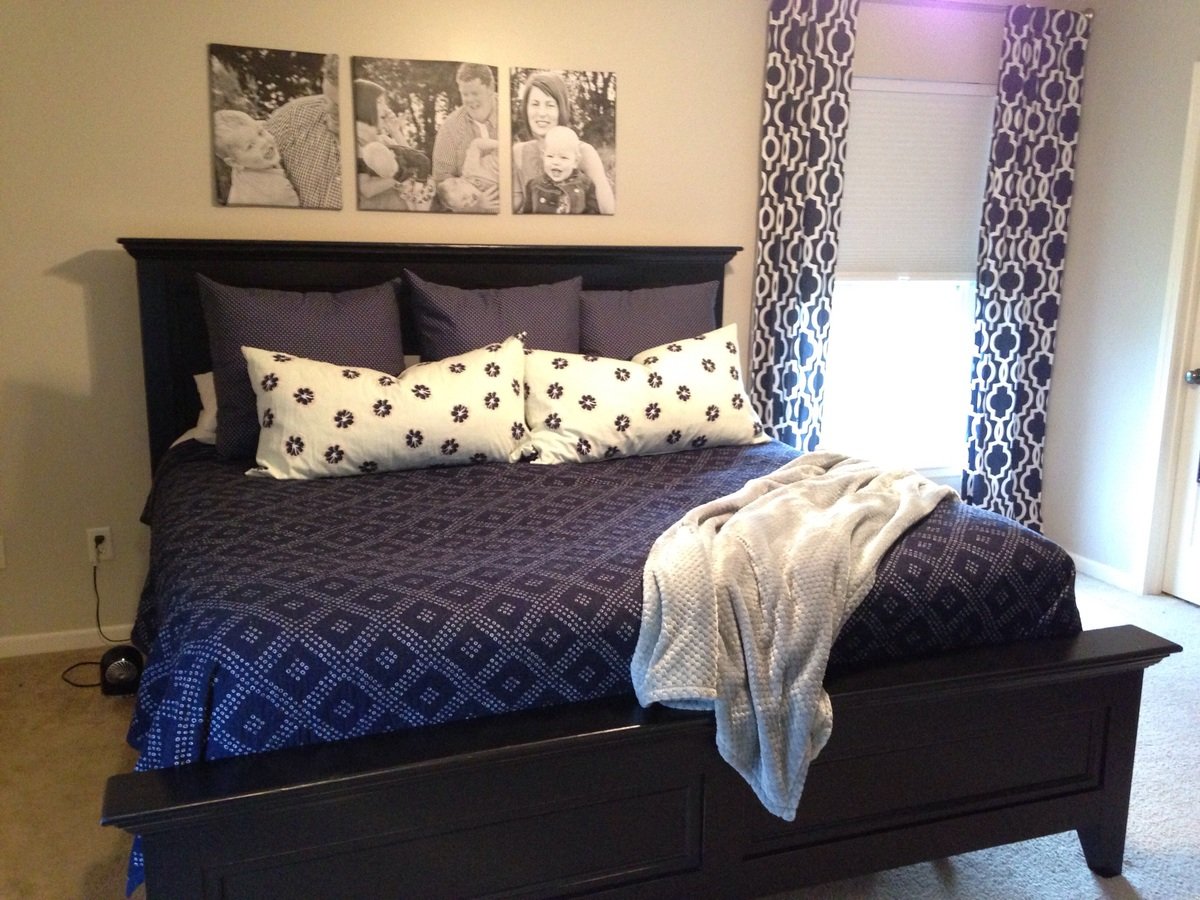
I'm done building my first ever bed. It was a little expensive (Around 350$).
I had a lot of fun; I made some changing in the connection between the bed frame and the footboard.
I also had to convert the measurement to centimeter and to the European mattress measurement.

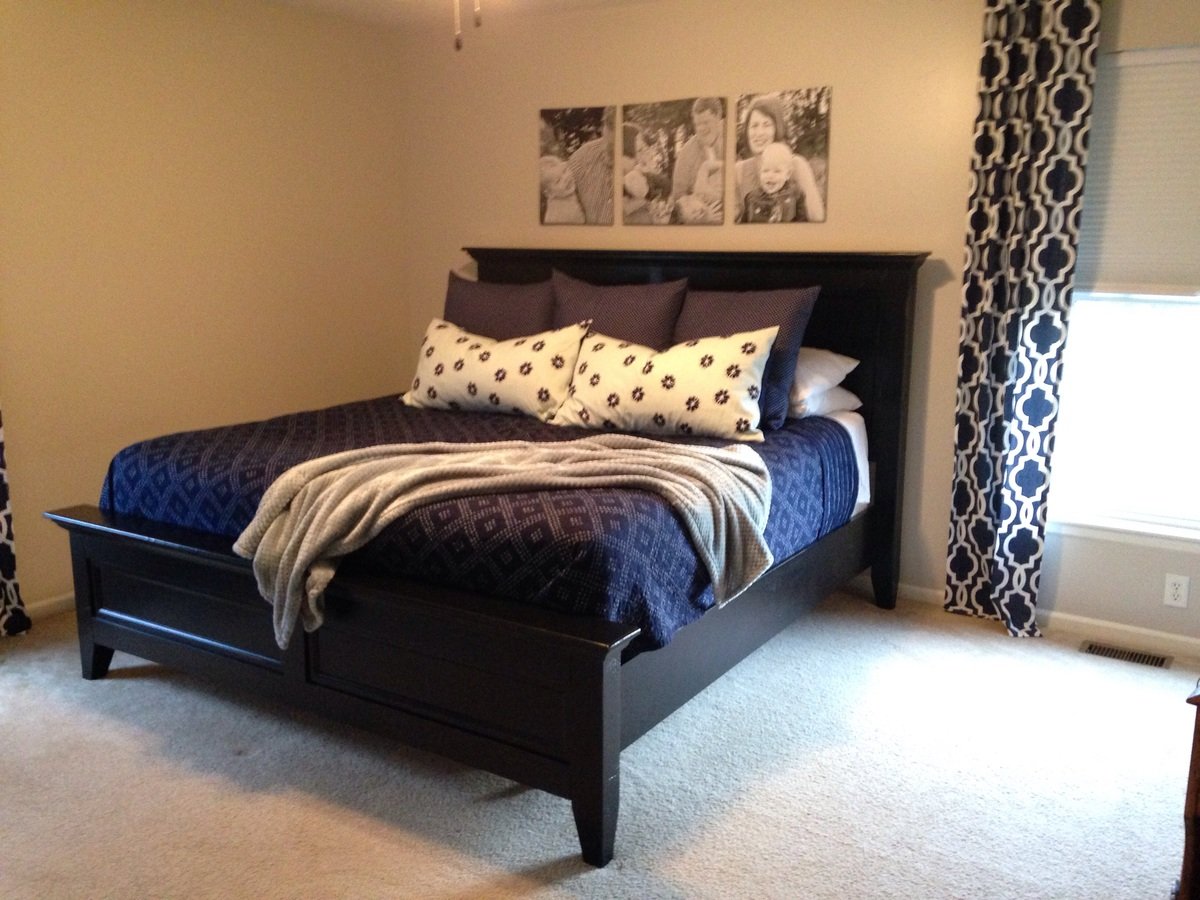
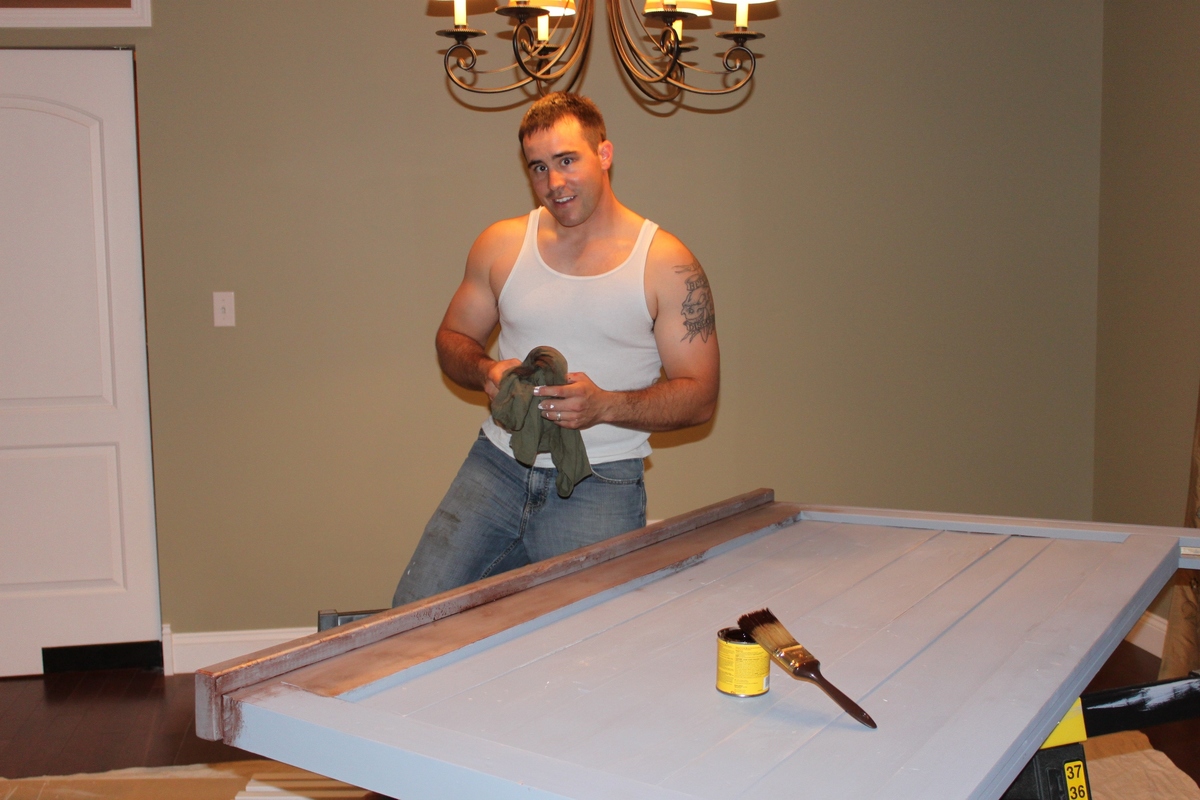
This was my first major project to build. I modified it to resemble Macy's Captiva bedroom set. I finished it with General finishes lamp black paint with some slight distressing.
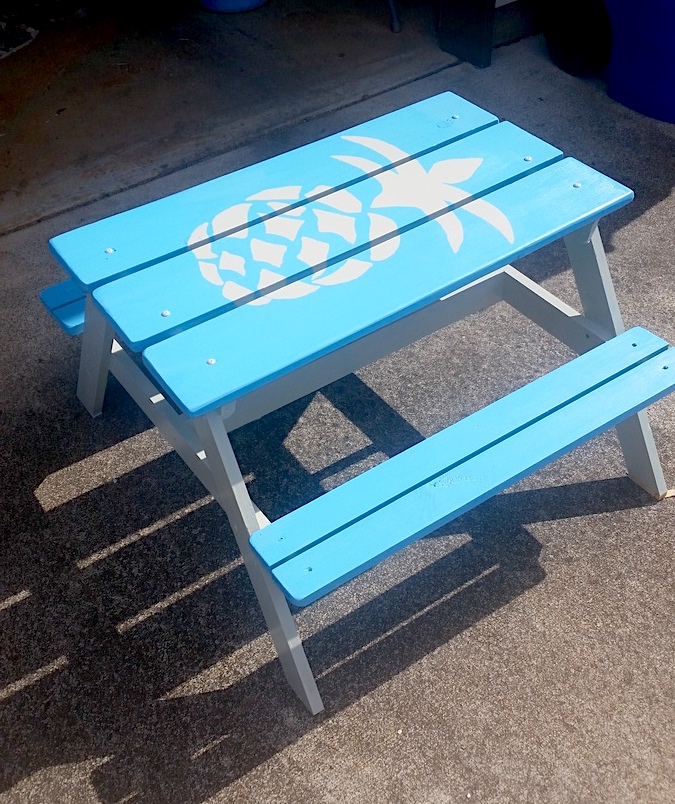
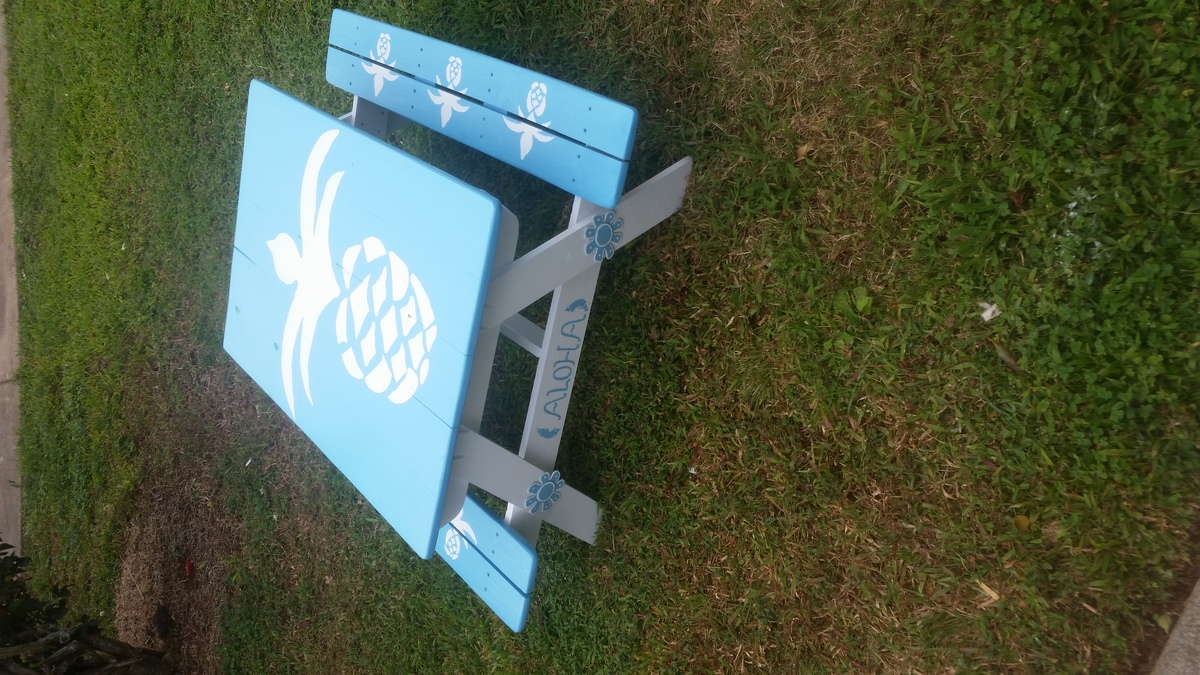
I built the preschool picnic table for my first table, then used my own measurements to make a bigger table that seats 6.
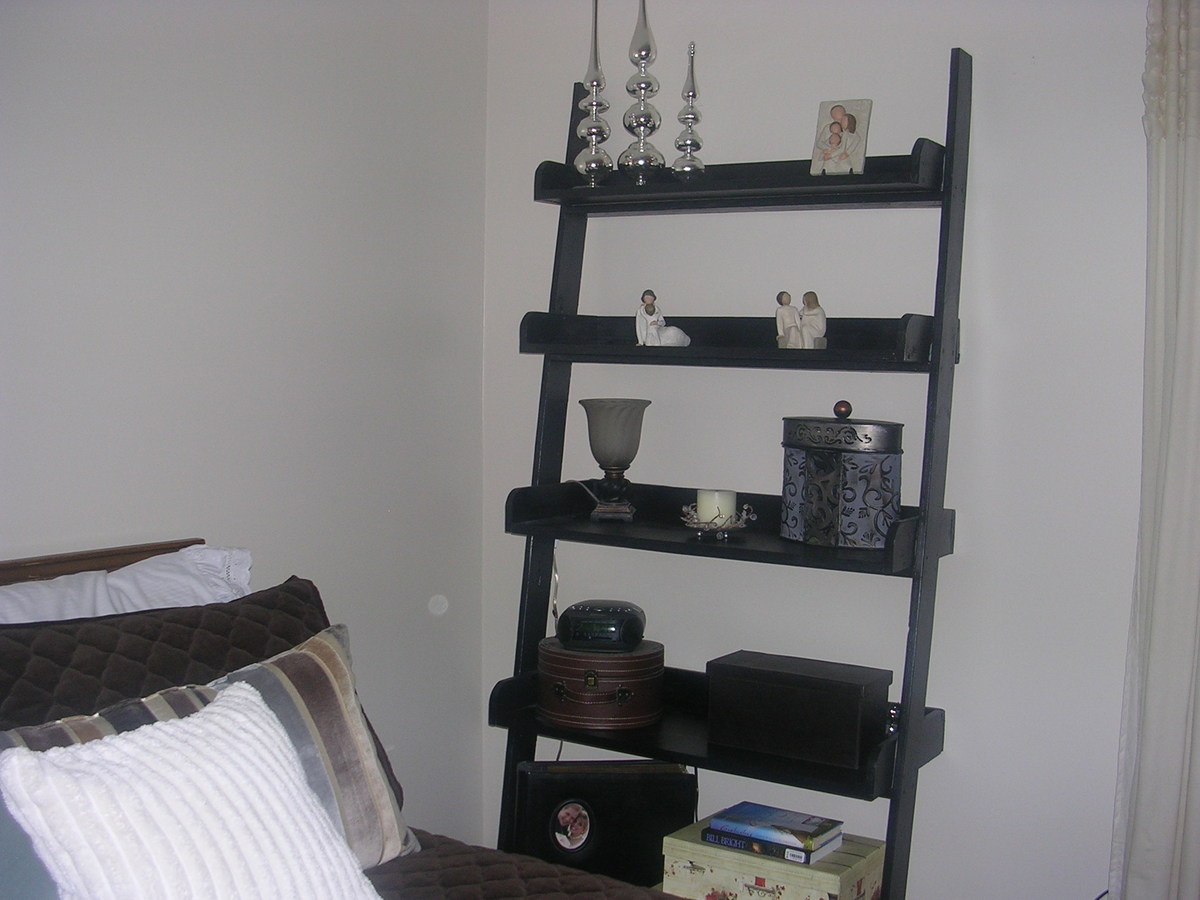
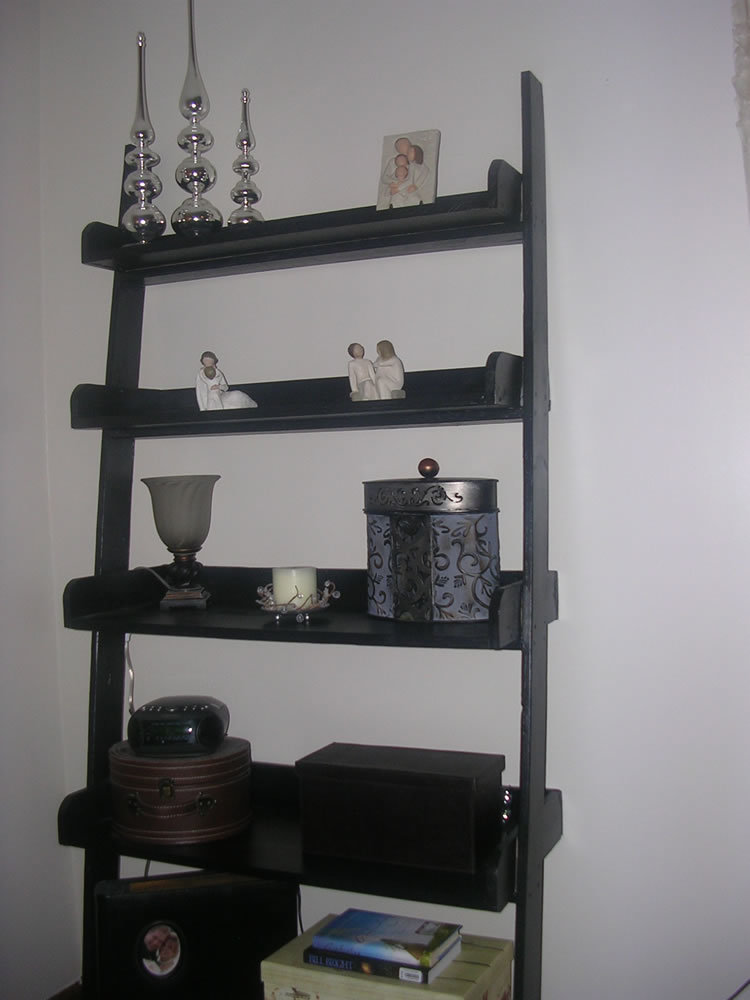
Finally I drummed up enough courage to try a project ... the leaning wall shelf. My husband and I had a great time working on it together.
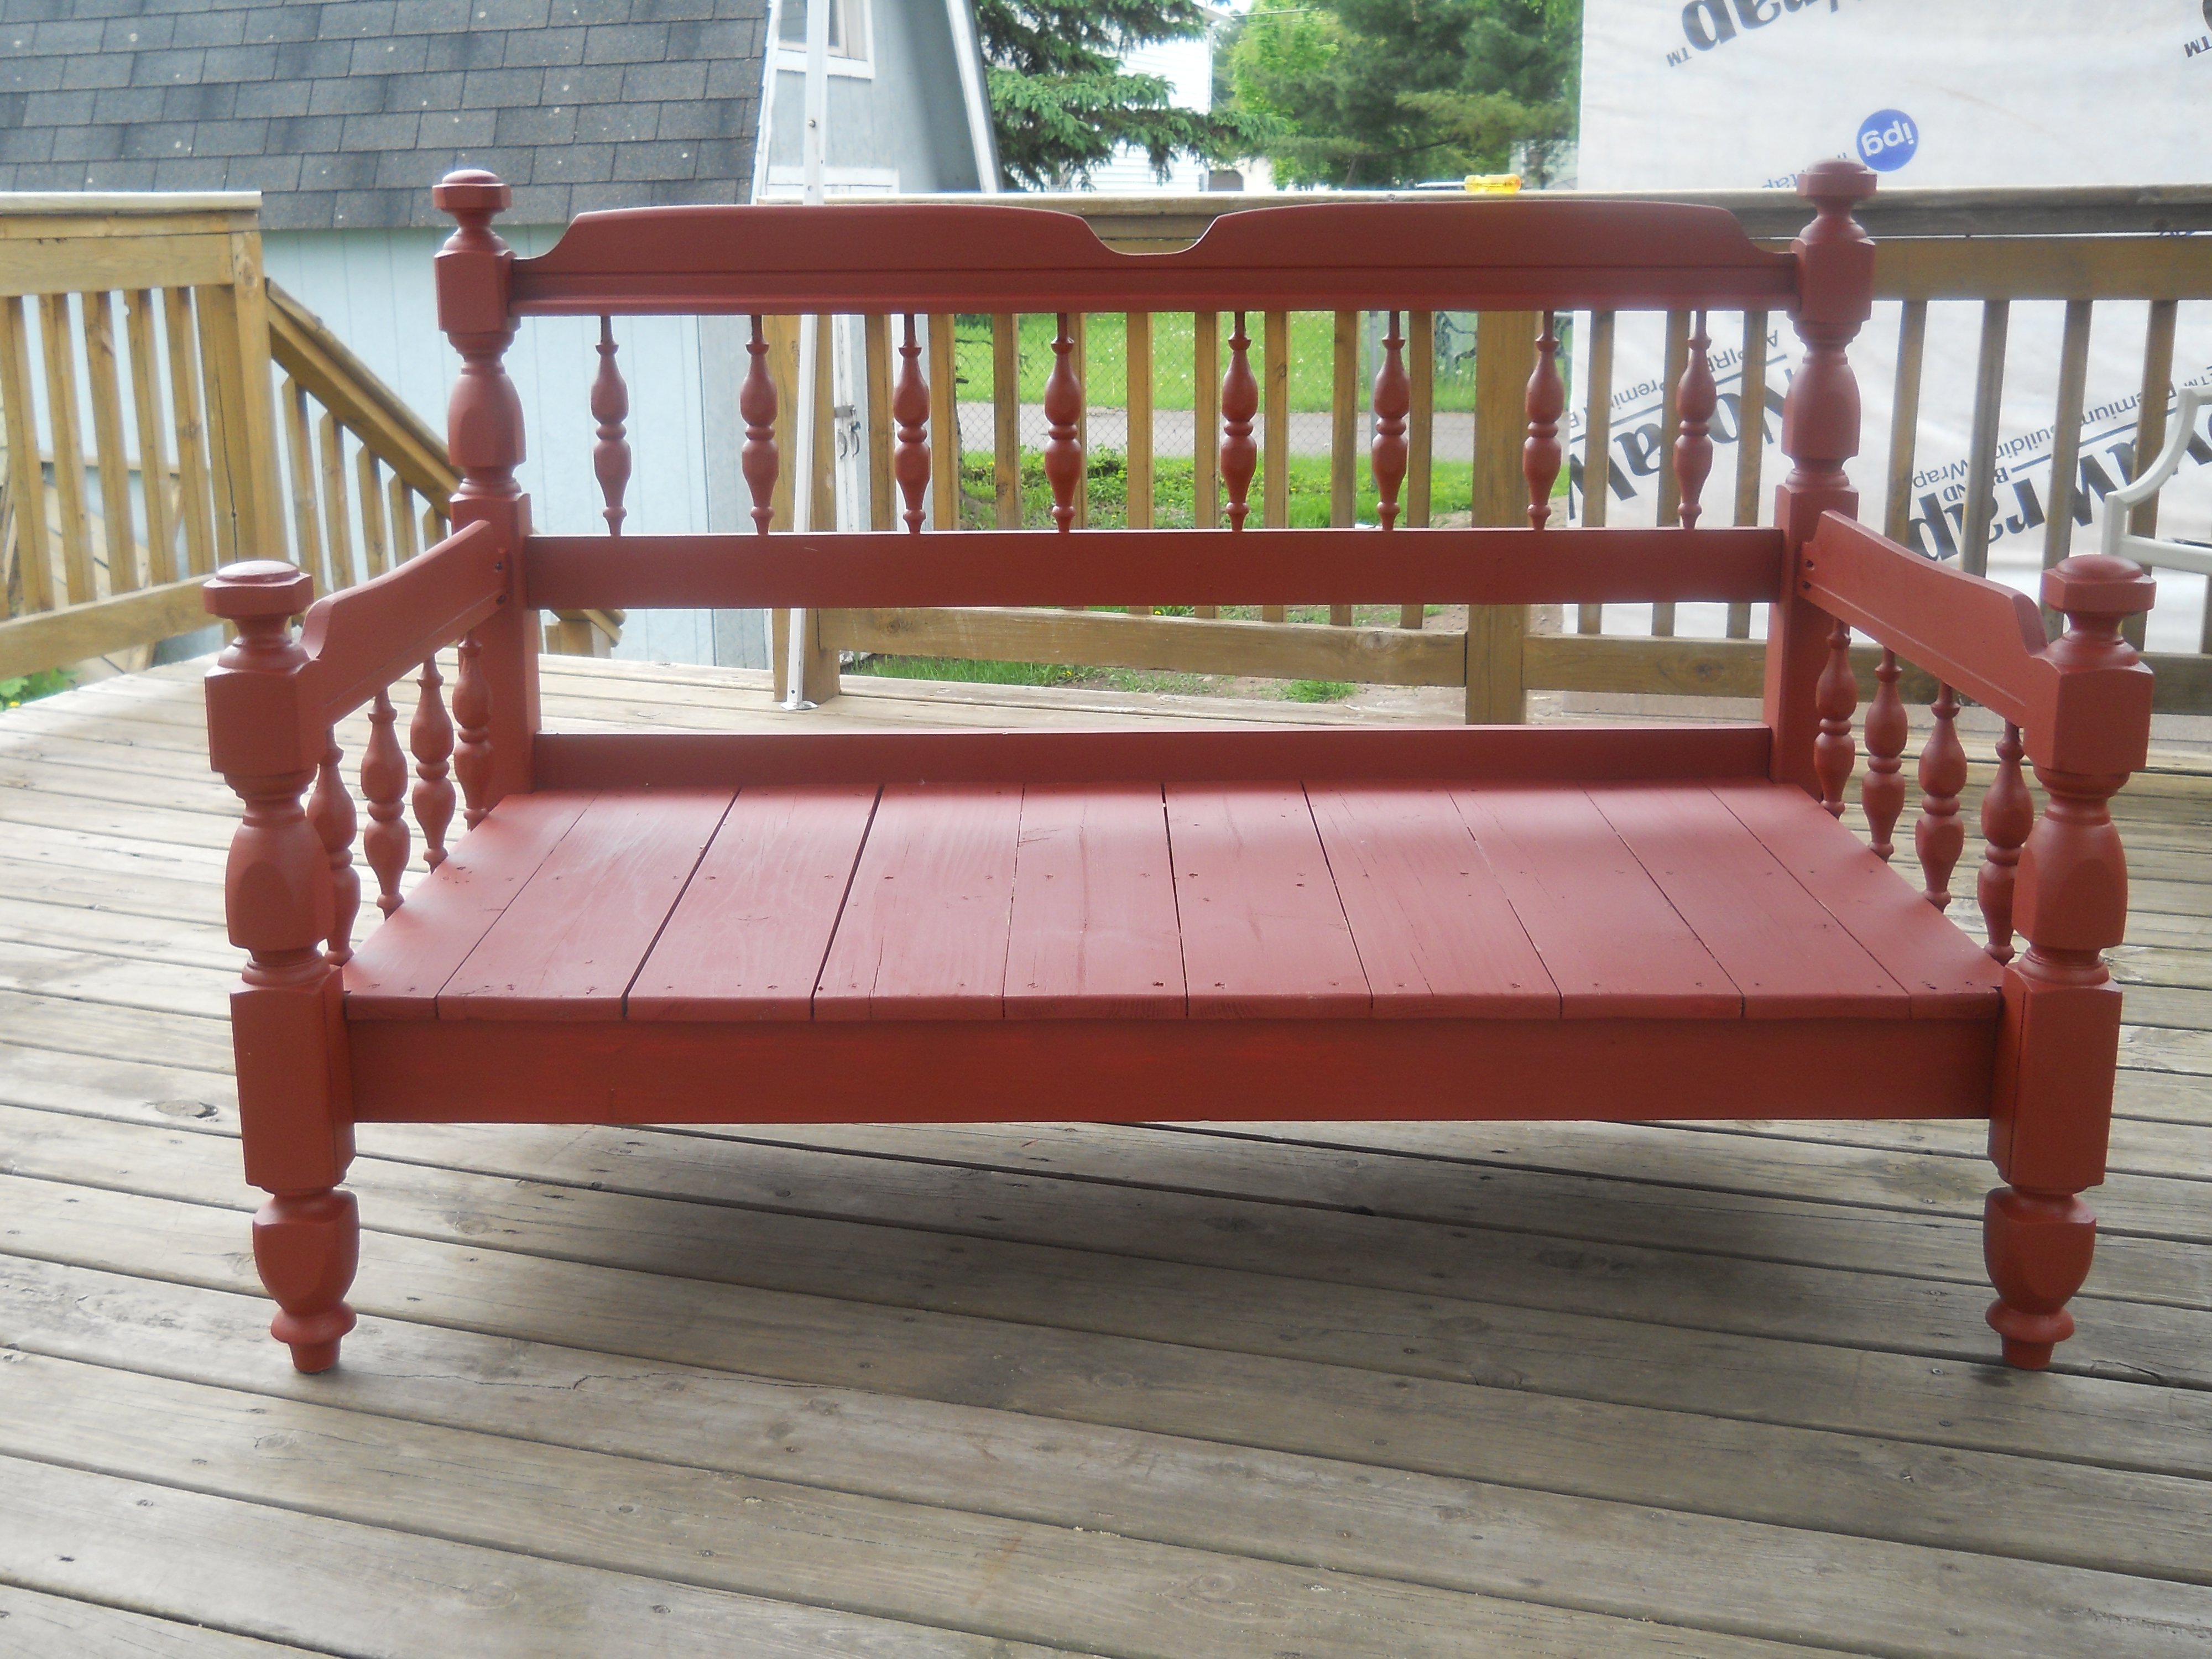
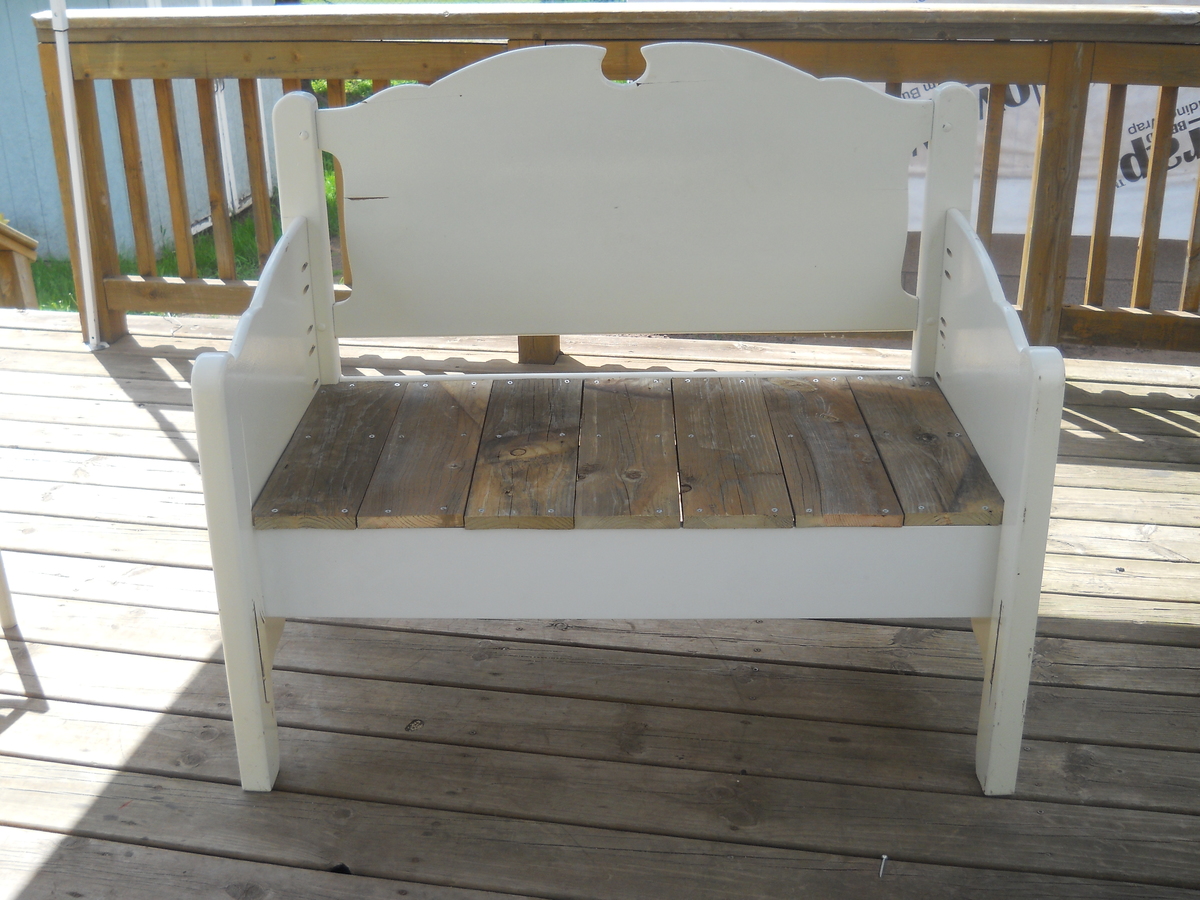
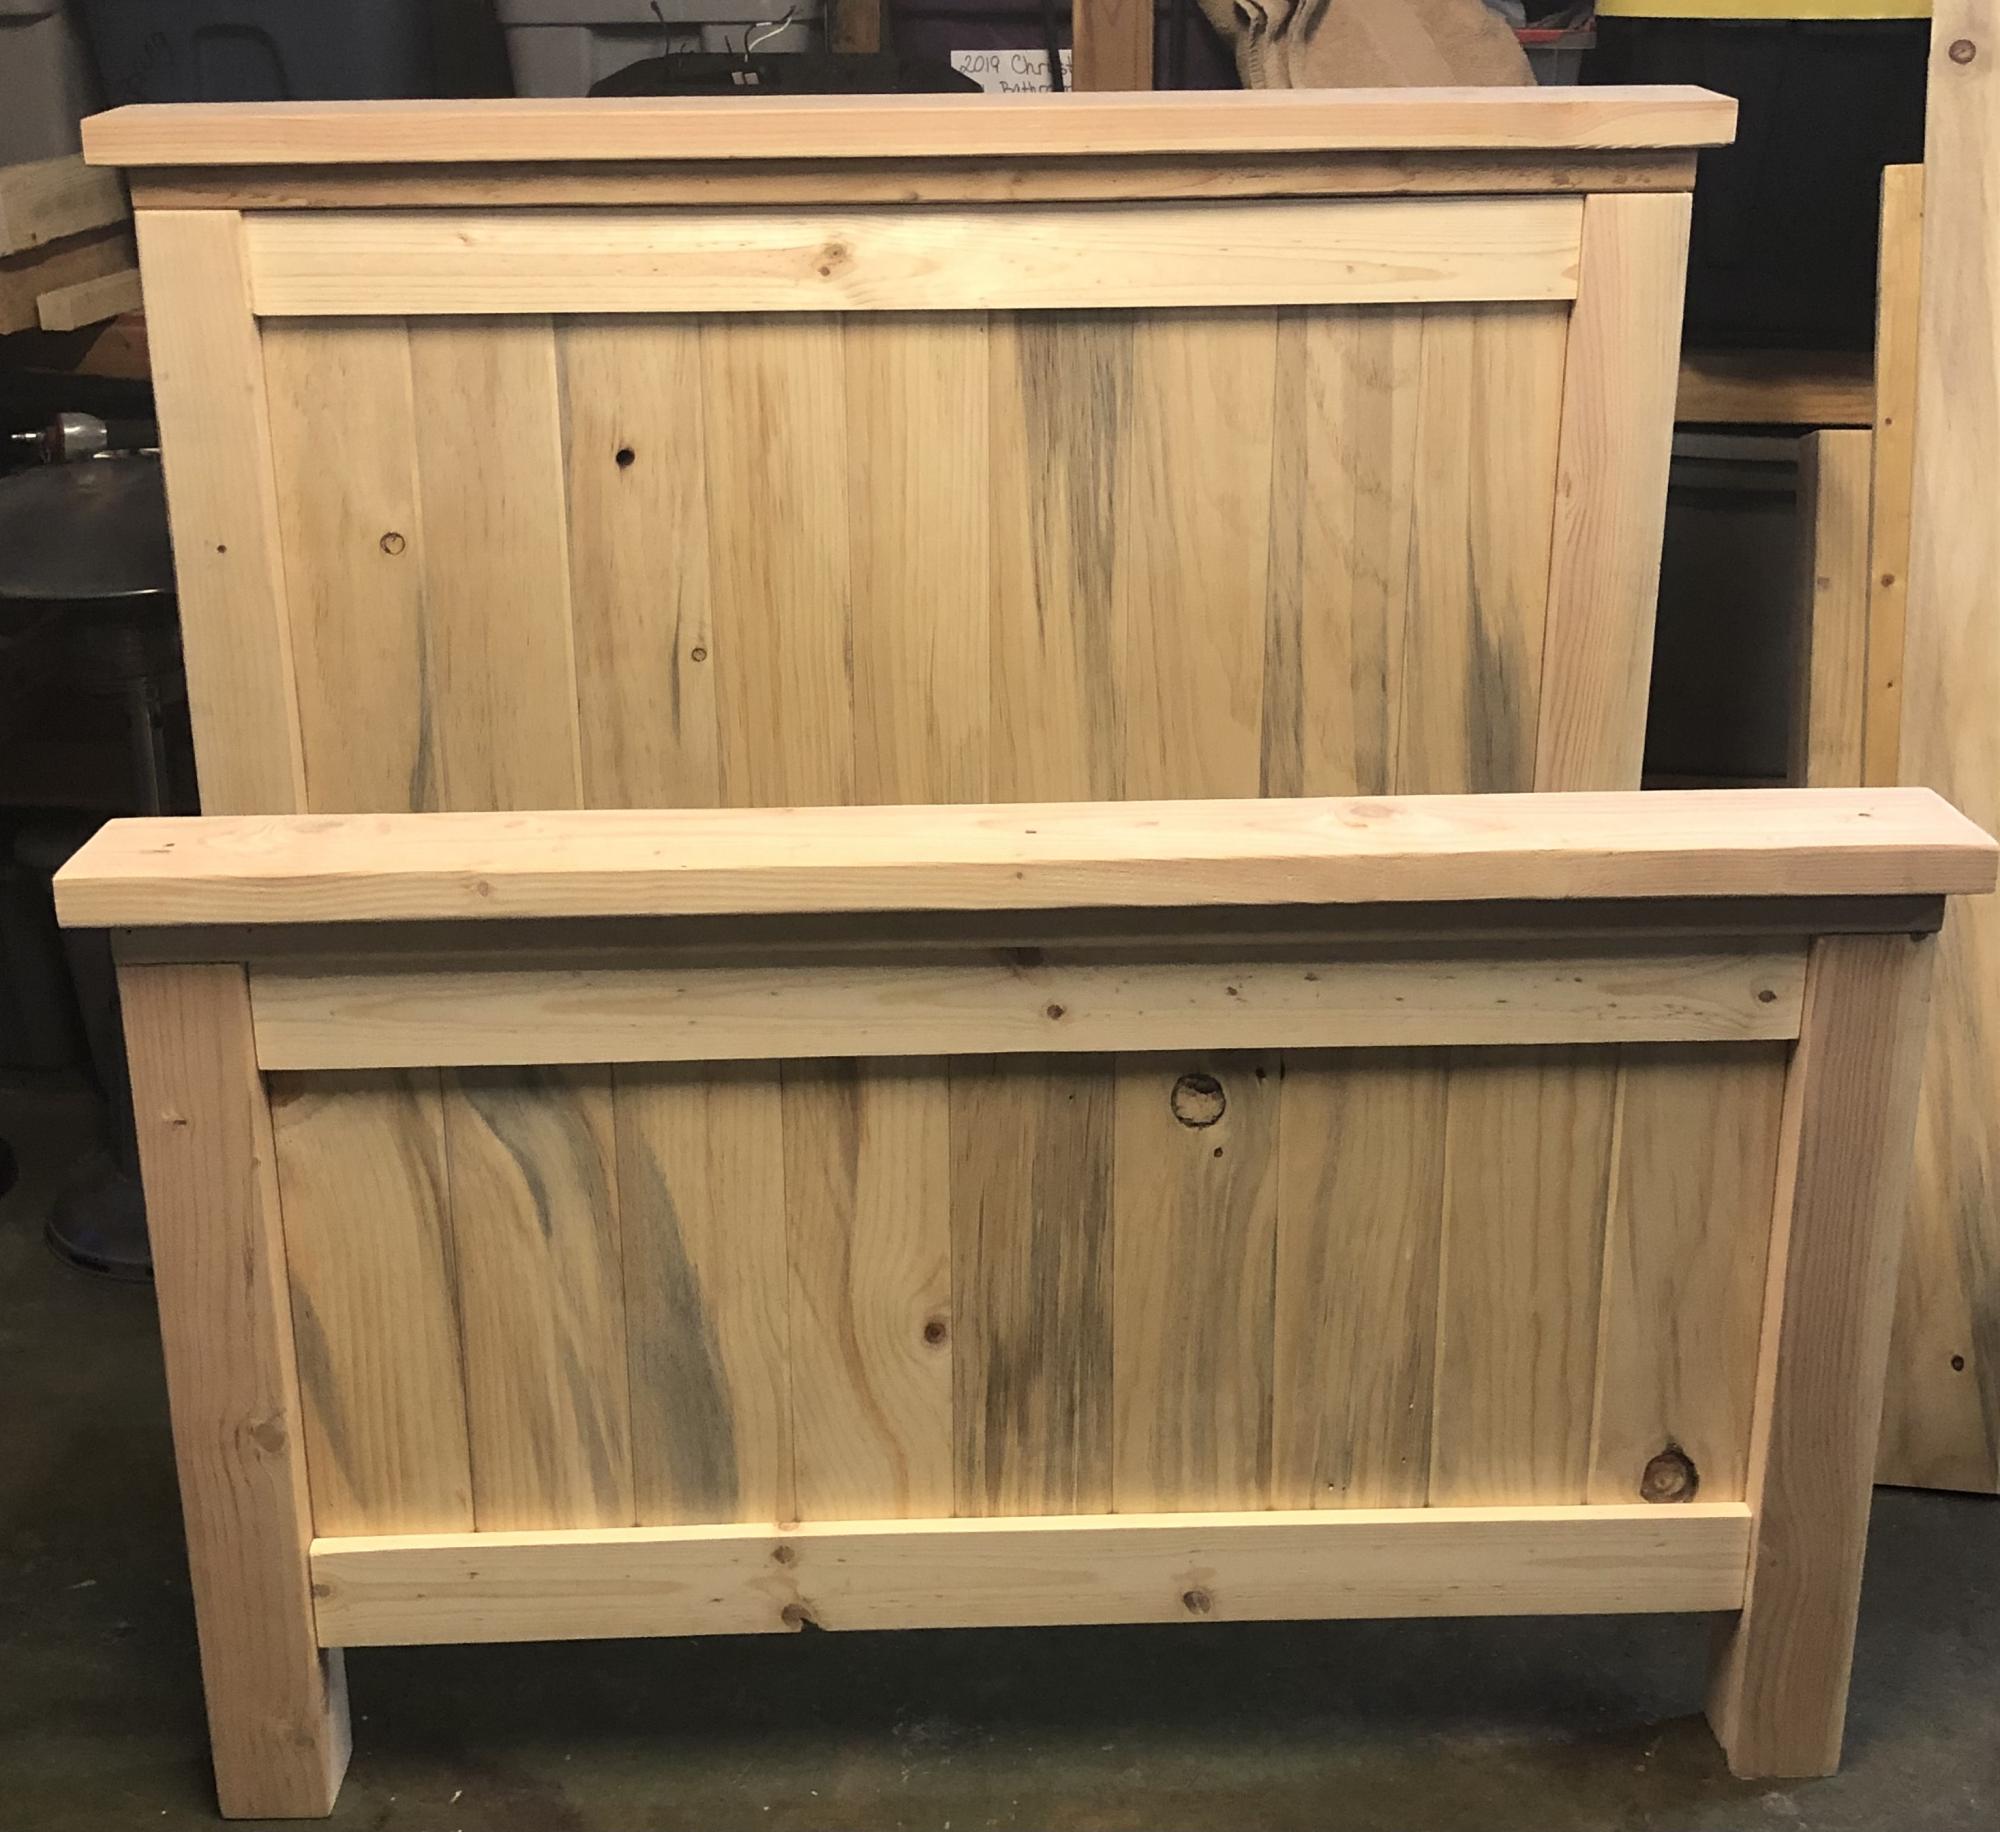
Both footboards were cut in half attached with Kreg jig frames built for the seats out of leftover 1x2 and the seats were from leftover 1x6 fence boards cut to fit. Both headboards were oak the first was stained using 3 coats of pittsburgh exterior stain . The second was originally painted white so I left as is and added the seat as the other and left it rustic looking.
The most difficult part of this design are the beveled pieces that creae the truss. The angles have to be exact
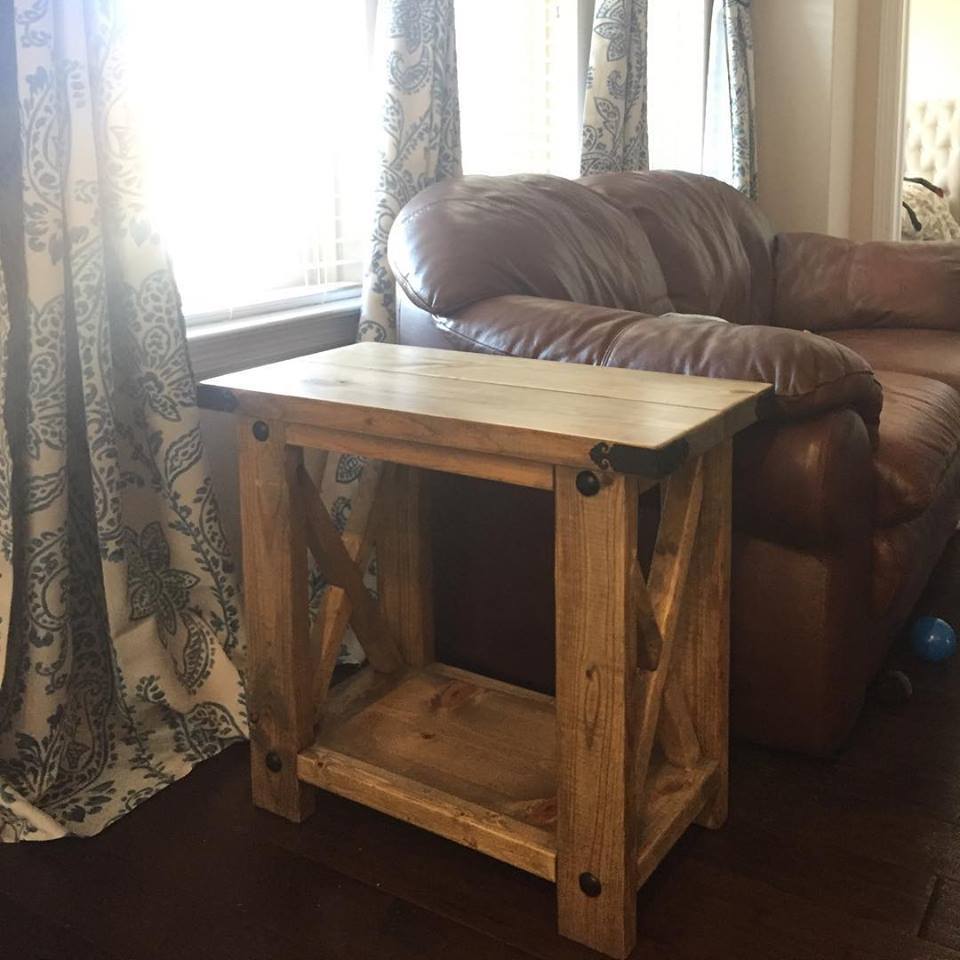
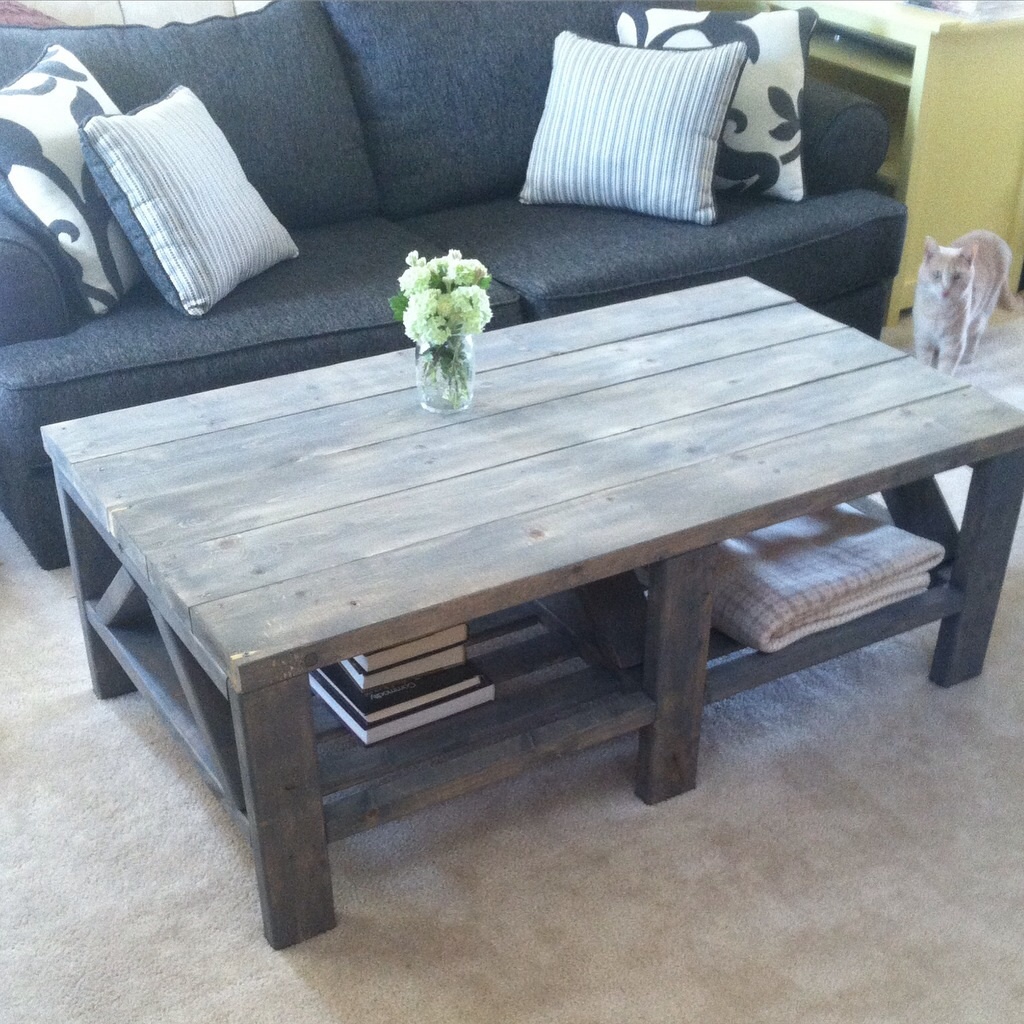
Made two of these and I made them a bit thinner as I wanted these to be on the end of the sofa where there was not a lot of space. Matched the hardware with my rustic X console table I made a few years back.
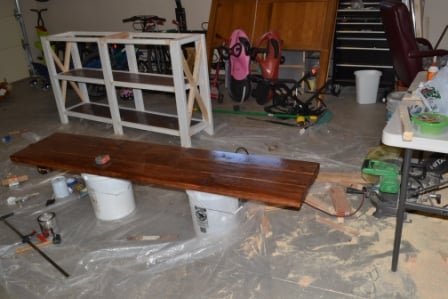
Legs made of 2x10 southern yellow pine scrap for strength & stability. Rails made of radiata pine scrap. Top made out of hickory panel reclaimed from $0.50 restore cabinet door for strength & weight while looking sharp. Legs & rails have 2 coats, top as 3-4 coats of platina shellac. Was fun to do a scrapwood project that provides something both nice & practical. Result extremely stable, no amount of weight seems to phase it.
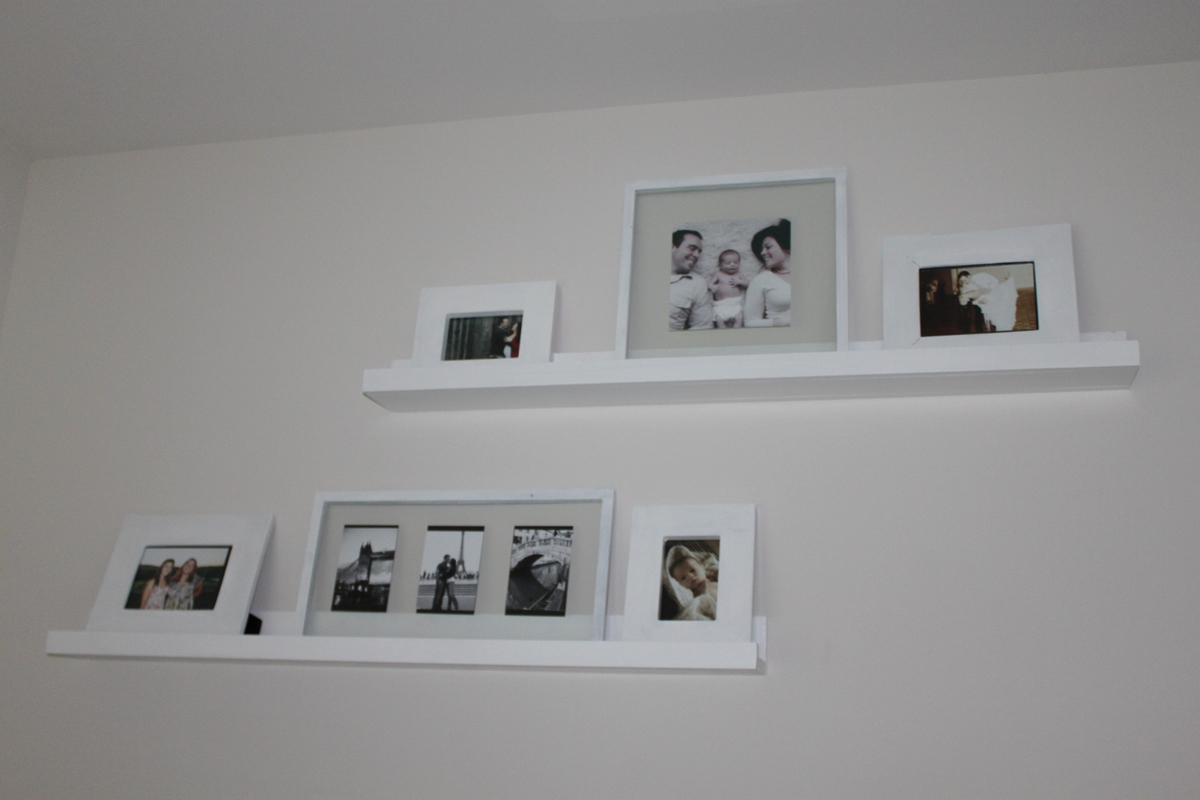
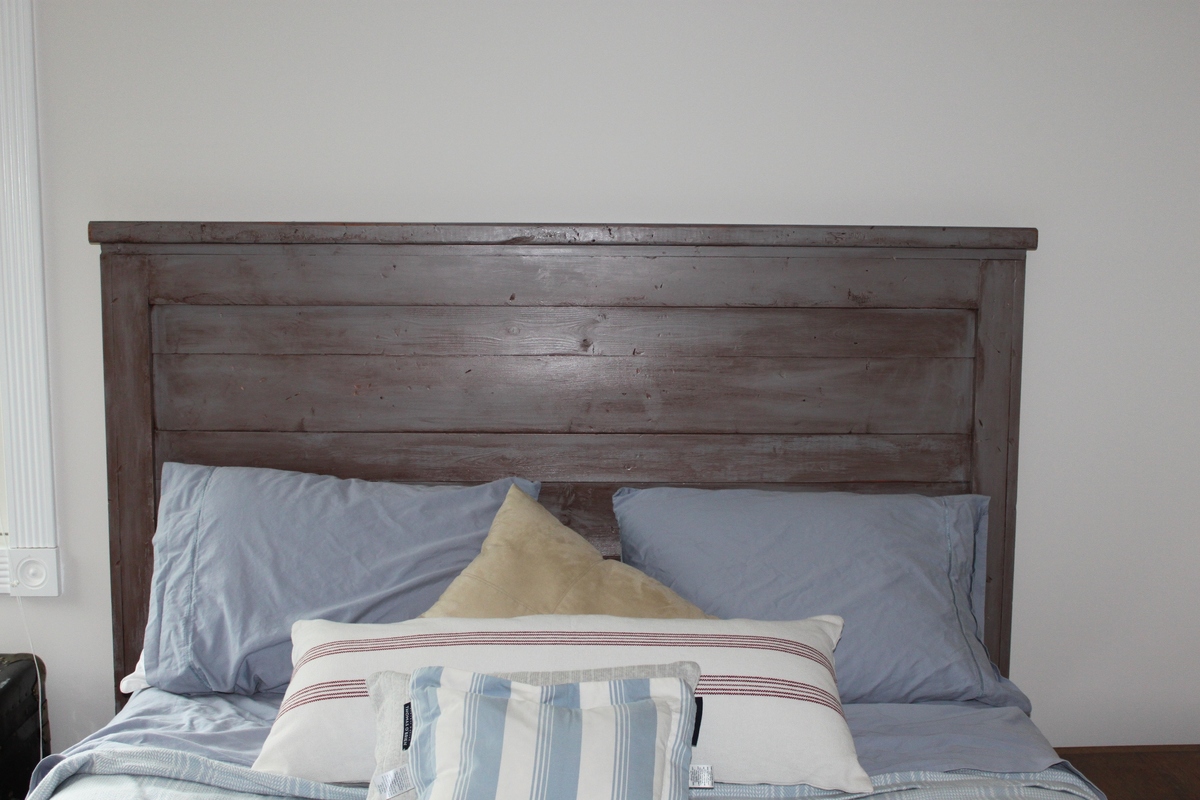
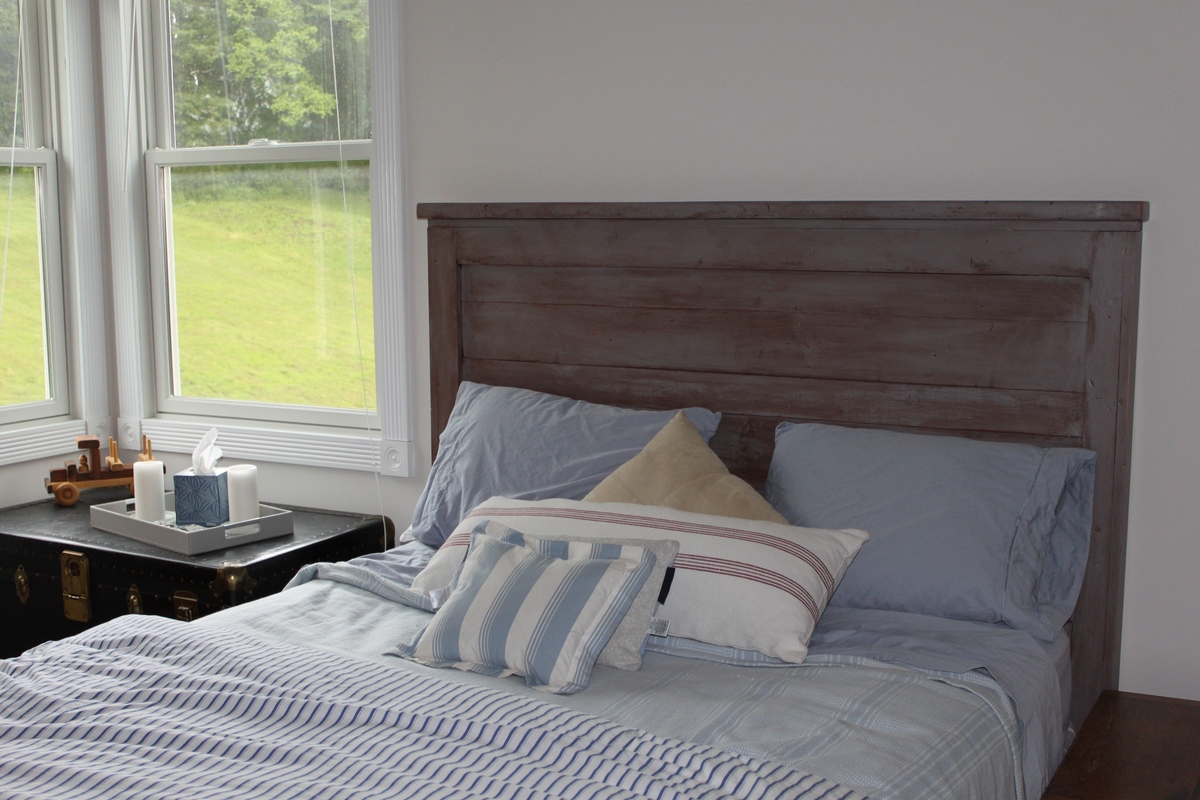
Our guest room had to be ready for some friends coming in town for the week. Before this room had no shelves and worse yet; no head board. Turned this boring room into...well a less boring room. In the picture are my first two projects; the Ten Dollar Ledges and the Reclaimed-wood headboard.

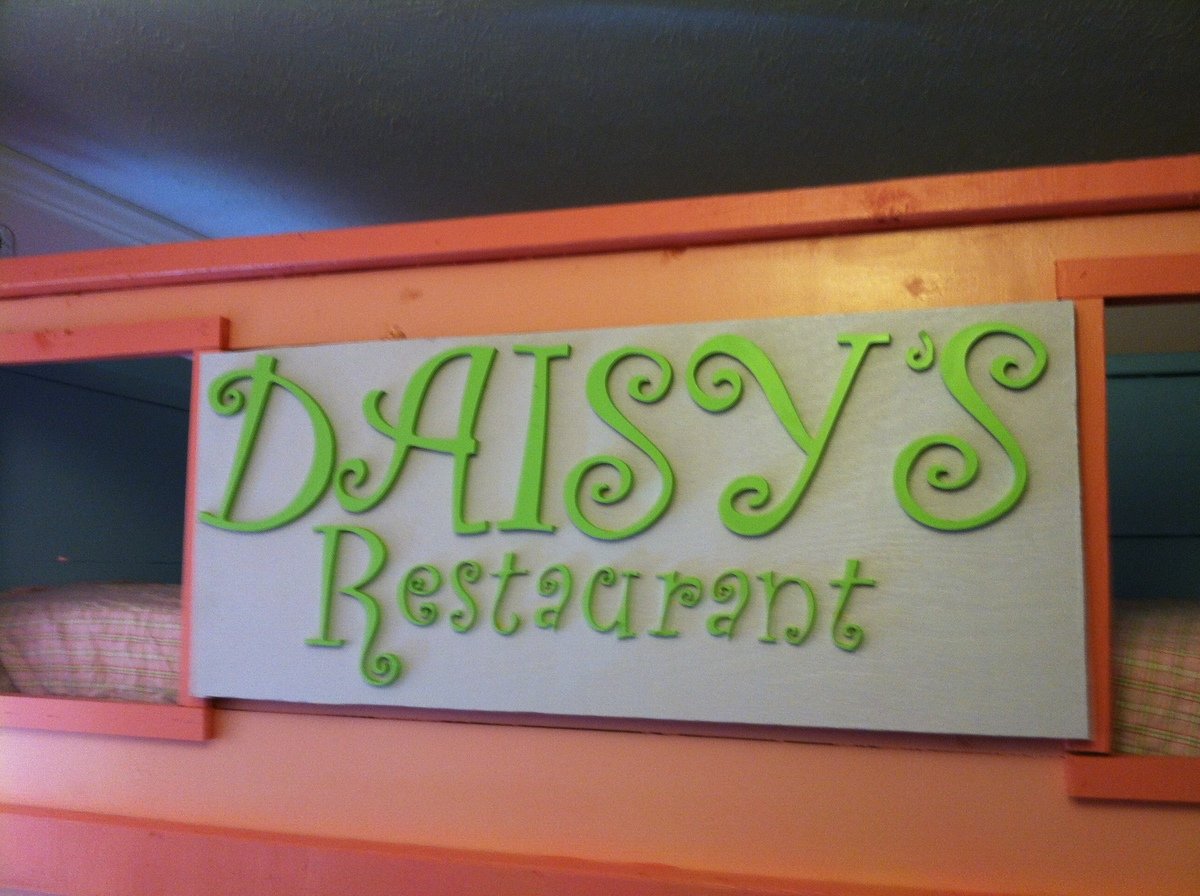
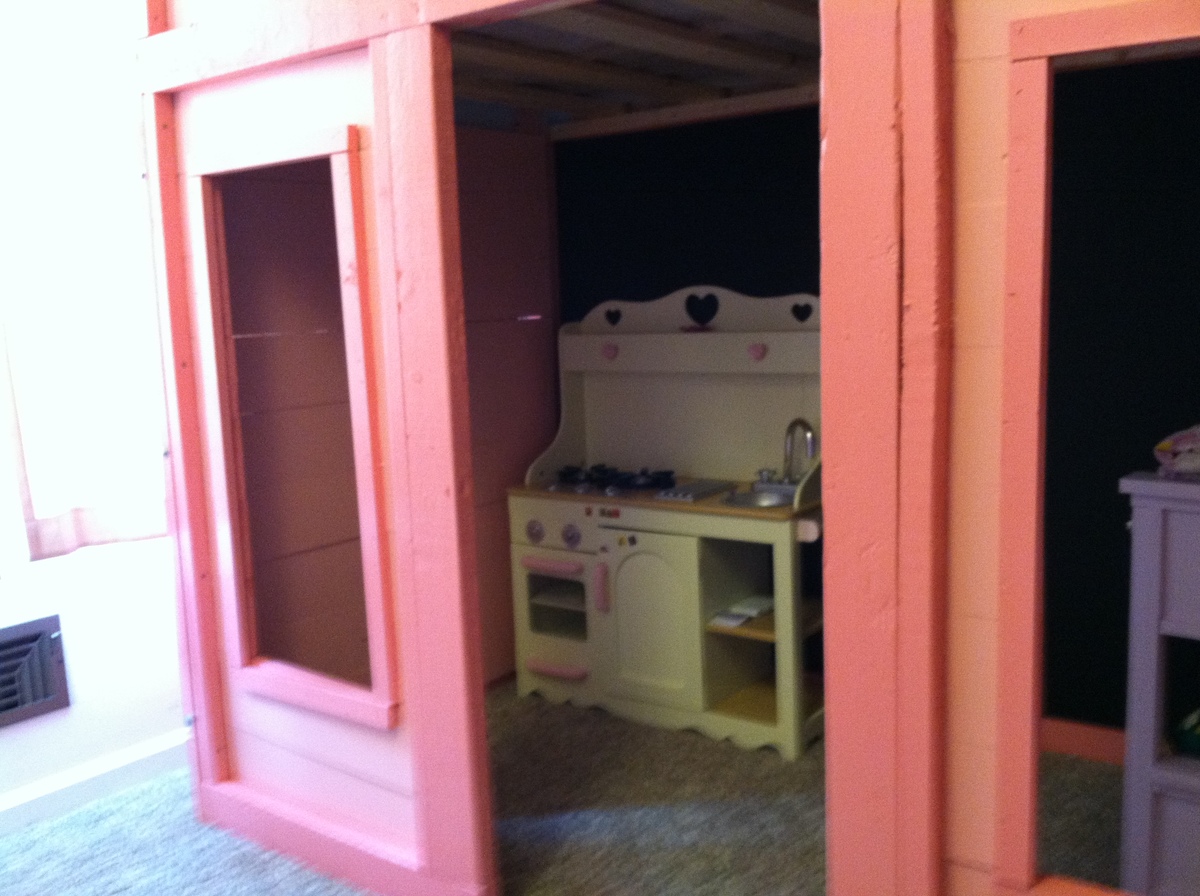
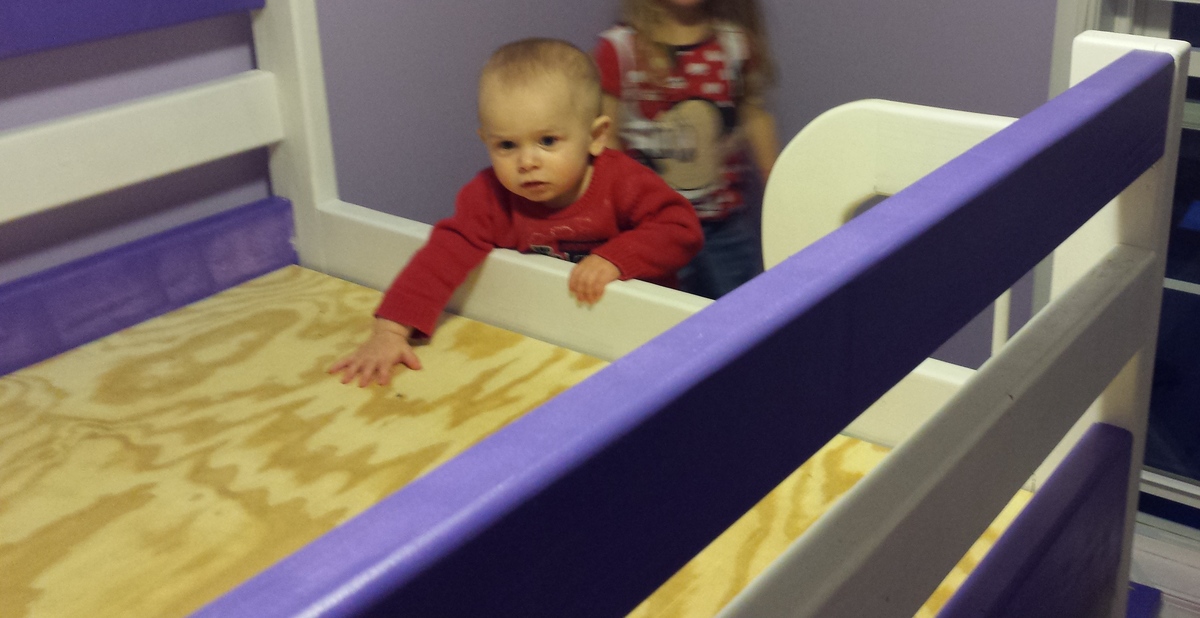
I took the basic plans for the Sweet Pea Bunk Bed and modified them to make a loft bed for my daughter. She dreams of opening her own restaurant when she gets older. The bed is on top and her restaurant is below. I made a chalkboard on the back wall of the bottom section. Curtains will be added sometime in the near future in her restaurant as well. Now she wants a cafe table and chairs as well.

Fri, 07/19/2013 - 00:24
So cute! I love how you made a little restaurant for your daughter! The sign looks totally professional- I can smell something cooking in the easy-bake oven from here!
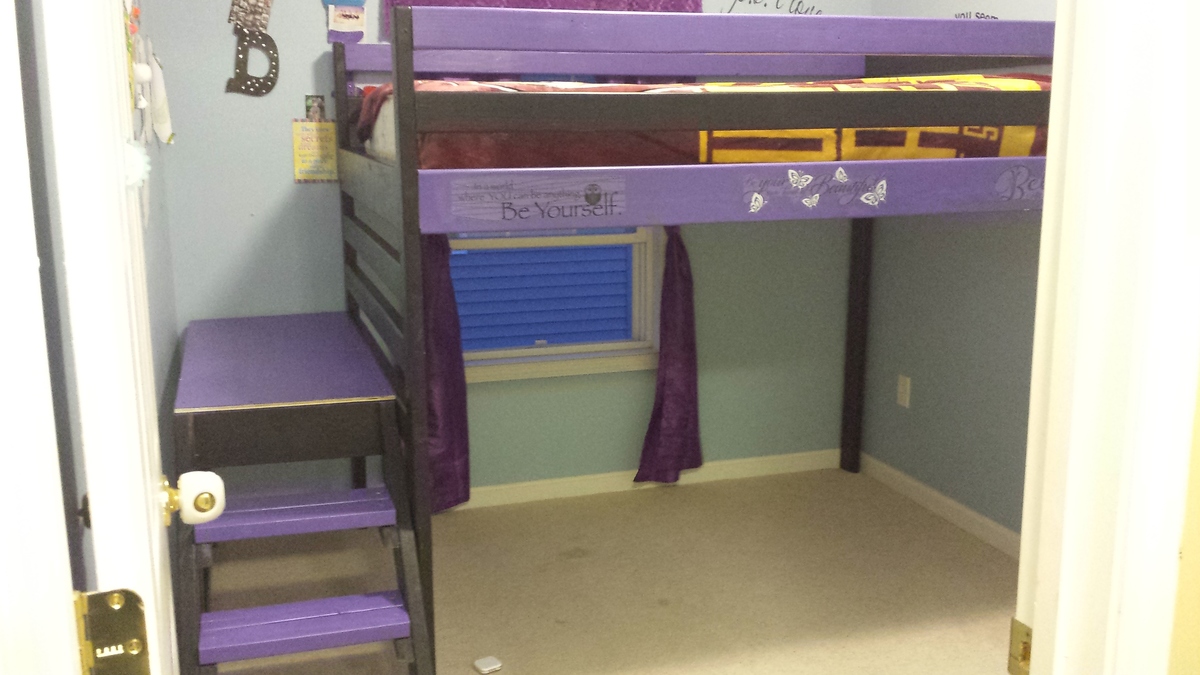
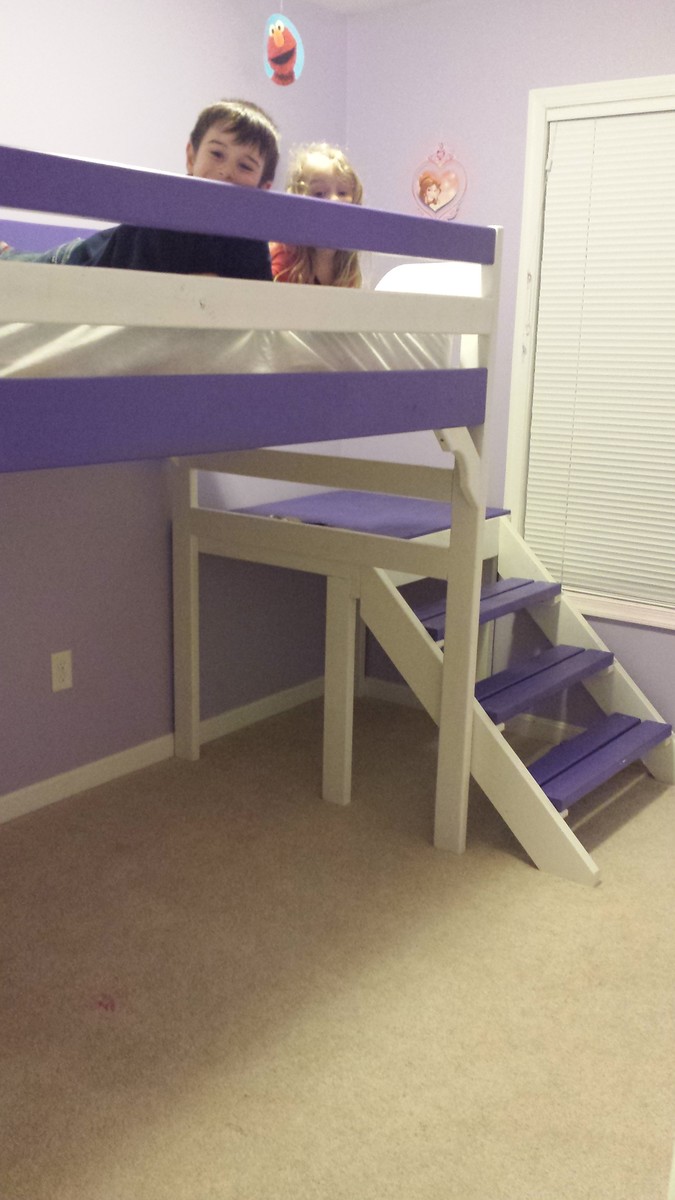
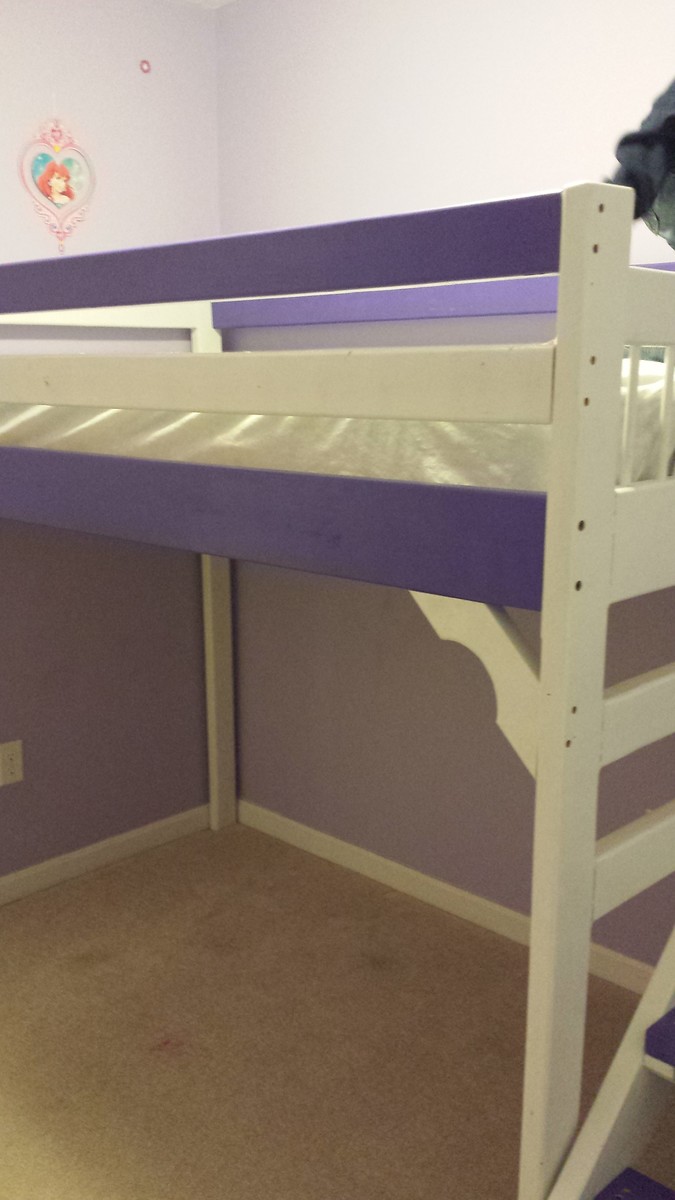
The first picture is of our oldest daughters bed (purple/black). We took the original design and increased measurements to fit a full size mattress and adjusted platform to fit room size. The remaining pictures are of our youngest daughters be (purple/white), which is only a twin.
Some of the tweaks we made were:
* building for a full size bed
* adjusting platform and stair width so the entire bed went from wall to wall
*adding brackets in all 4 corners for extra support (not shown in purple/black bed - weren't added at time picture was taken, just used triangle pieces of extra wood for brackets)
* Used plywood as bunkie board for both beds. Twin - 1 sheet just layed on top of cleats, fit perfect; Full - 1 1/2 sheets, used 'H' clips to hold the two pieces together when on frame and screwed down onto the cleats.
* shortened platform on purple/white bed bringing the stairs back a little to go under window
* added design element at end of purple/white bed to ensure entry on and off the bed would be safe and always on platform since it was shortned
One thing we did that wasn't mentioned in original plans, unless I either overlooked them or is a standard procedure when working with wood (seeing as I am a complete novice) all the wood we purchased need to be checked for quality - needed straight boards with minimal cracks and all the wood needed to be sanded down. Overall the project wasn't difficult, but I was guided by an expert. It took us about 20hrs over a period of three weekends to finish both beds from purchasing material to setting up in room. But that was due to emergencies, work schedules and traveling to the workshop we were using.
Simple two-toned take on this classic plan! Thanks Ana.
Still need to paint it. Perfect weekend project. Such an easy build! Thank you!
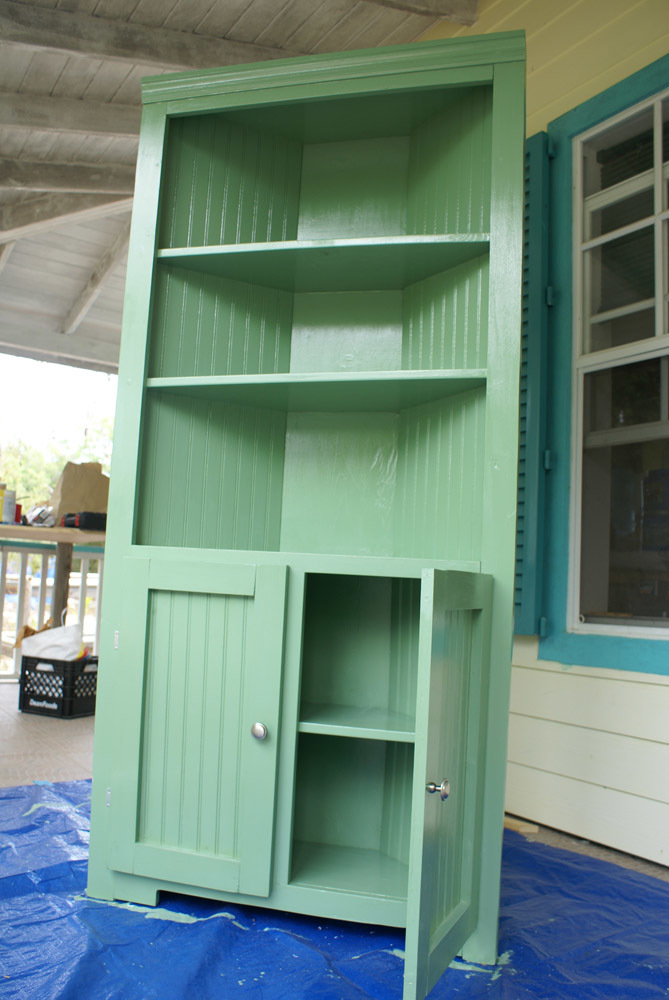
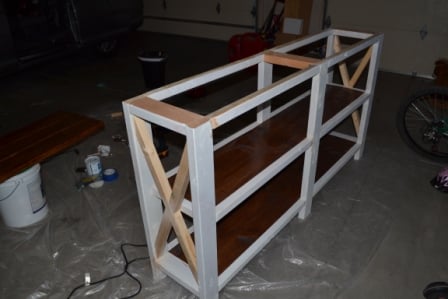
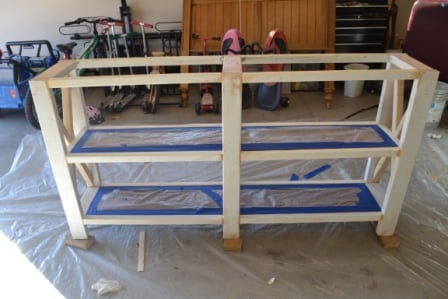
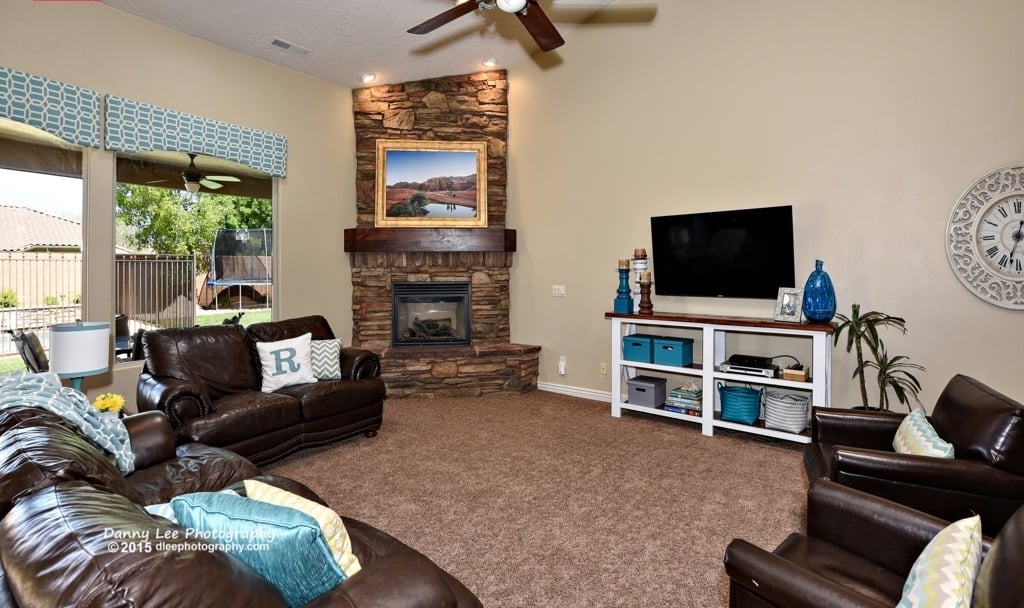
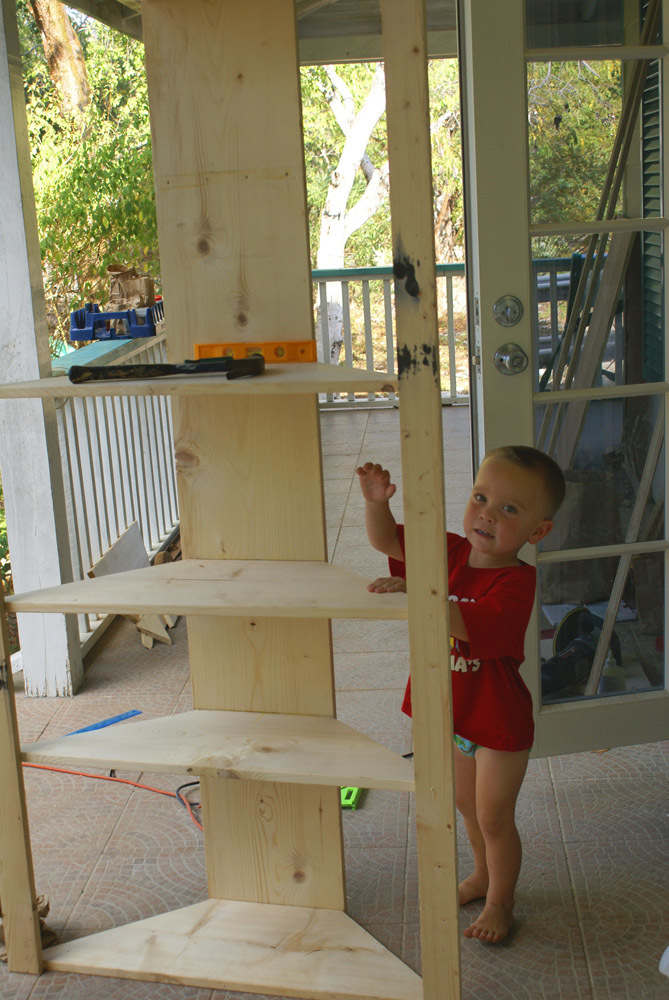
This was my second project. I wanted to get practice working with corners so I could do a media cabinet eventually and this was a great starting point. This cabinet is a great addition to our dining area too! My little helpers were never far away :)
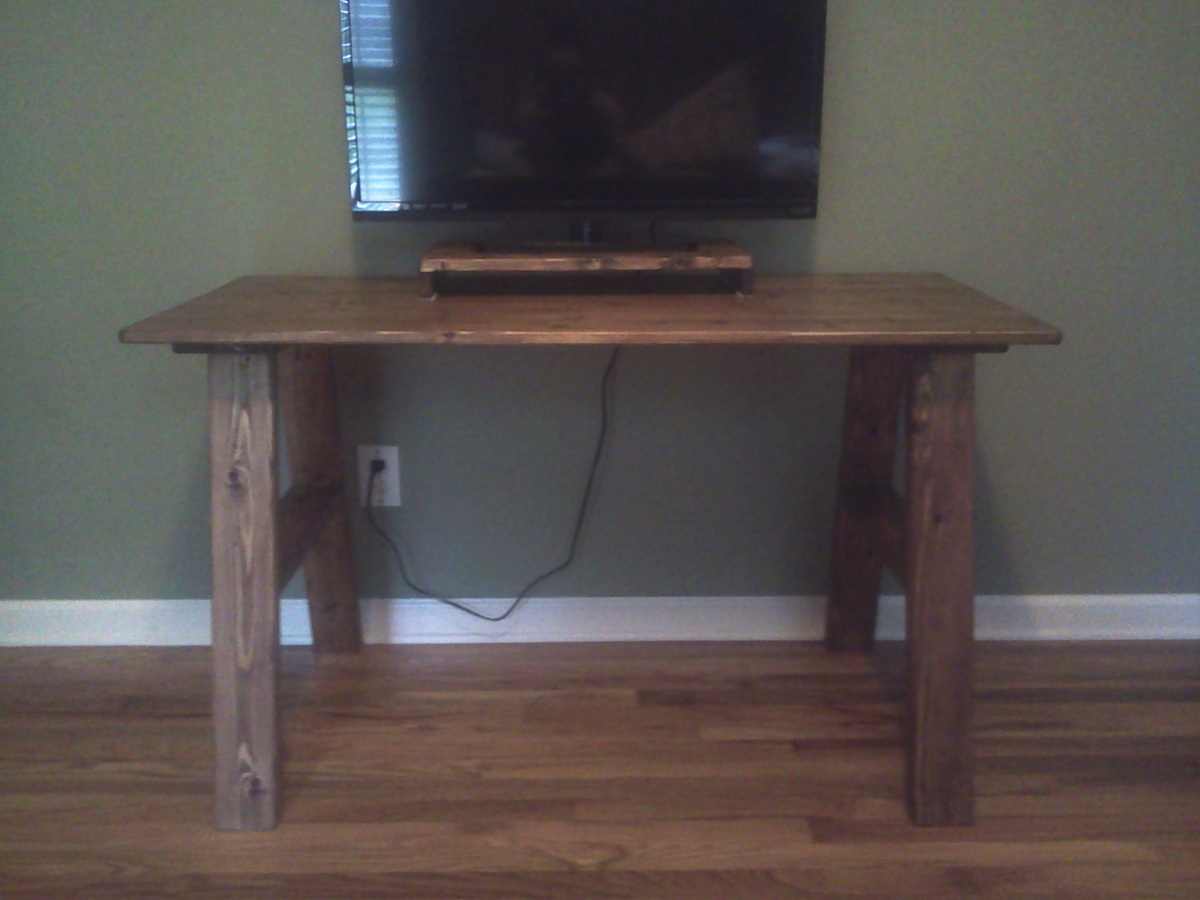
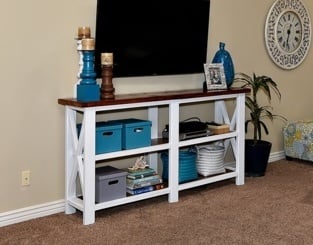
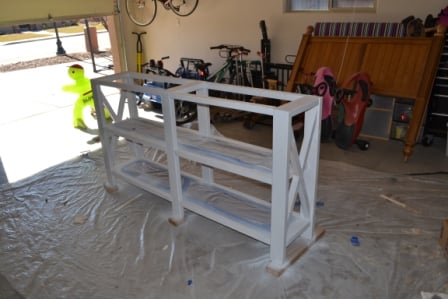
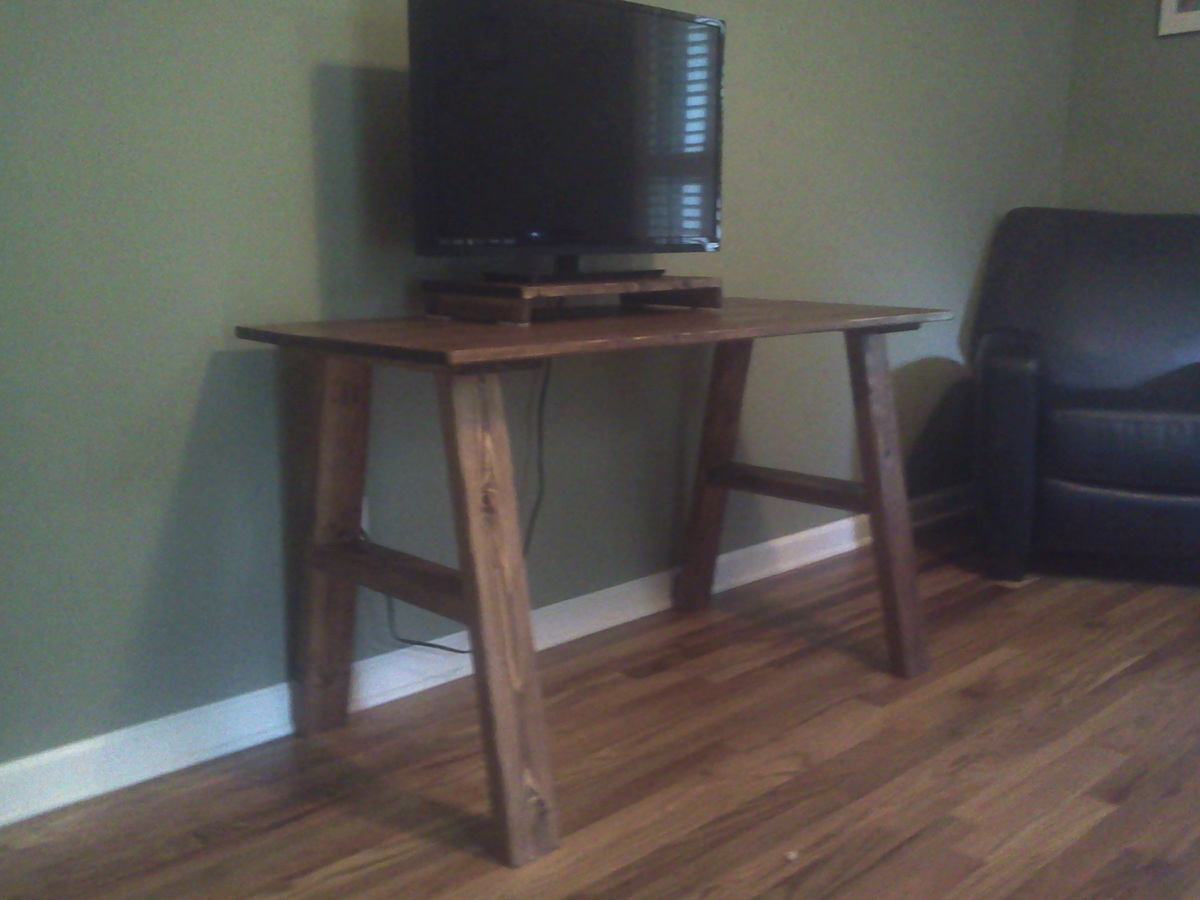
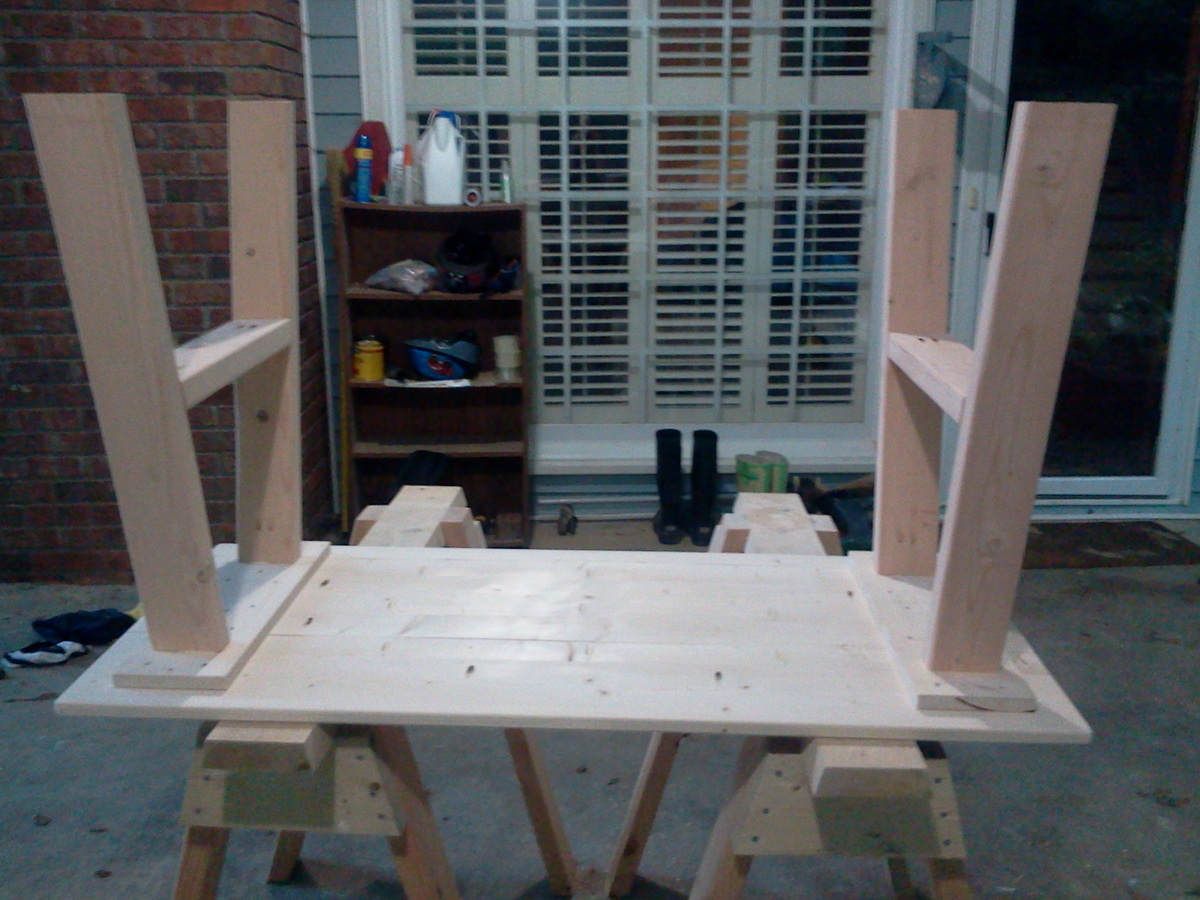
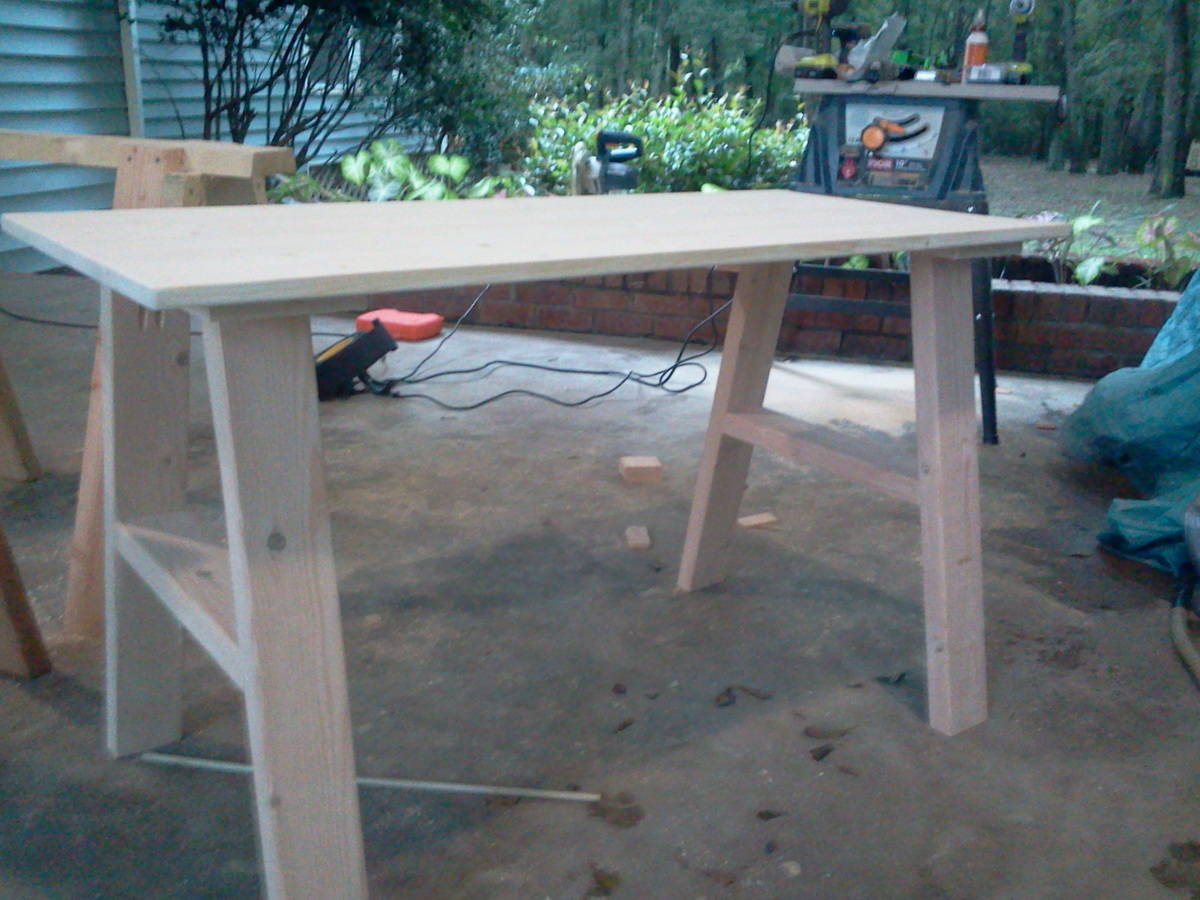
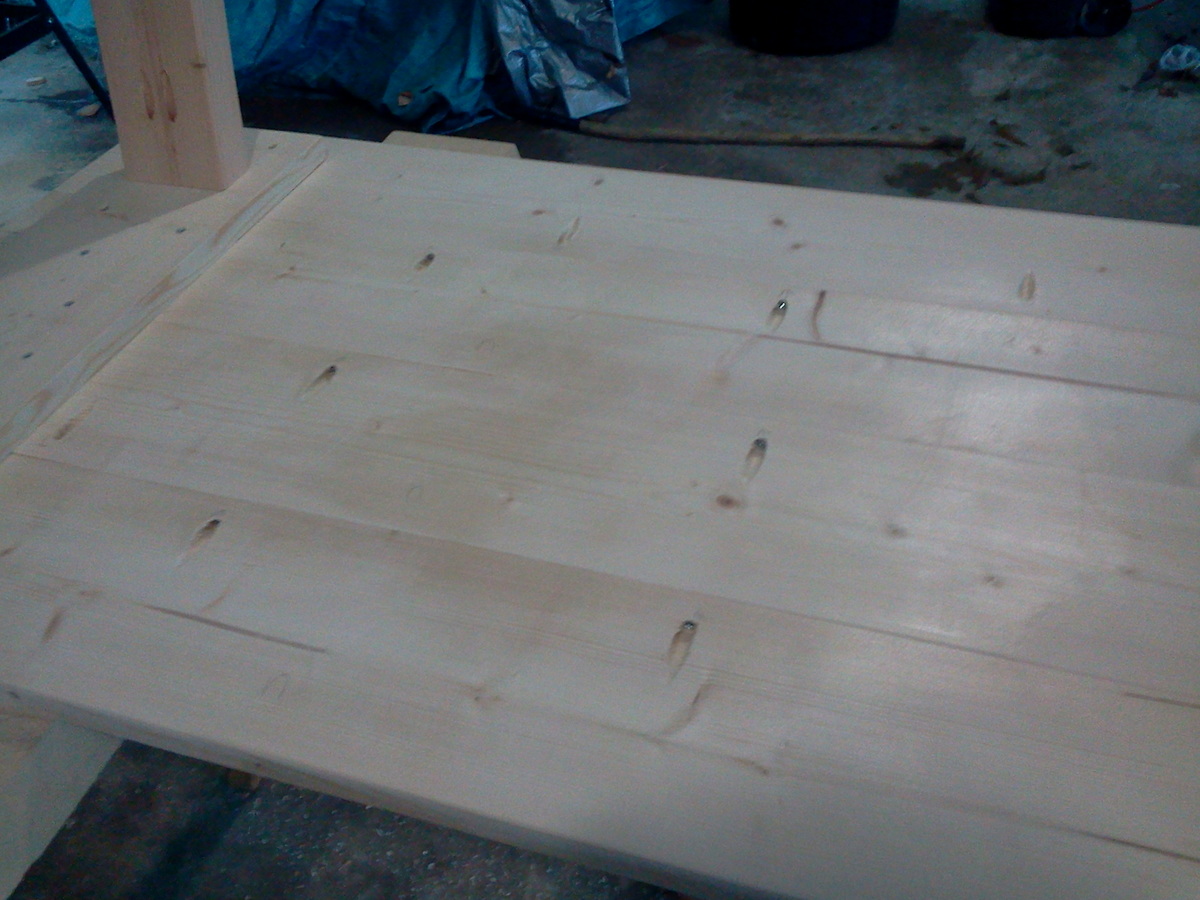
My husband asked me to make a small and inexpensive table for our new TV. I decided to make a desk so it would be able to be used later when we move the TV. Very easy plans. Easy assembly. Great beginner project. I used 1X6 for the top instead of 2X6. It was less expensive and seems to work just fine. I also threw together a small TV stand so the DVD player can go under the TV and not clutter up the table. It's 3 1X4's @ 20 inches. And I made the sides by ripping the leftover 1X4 in half the same width as the top. I spent $30 in wood and have some scraps left over for another project.

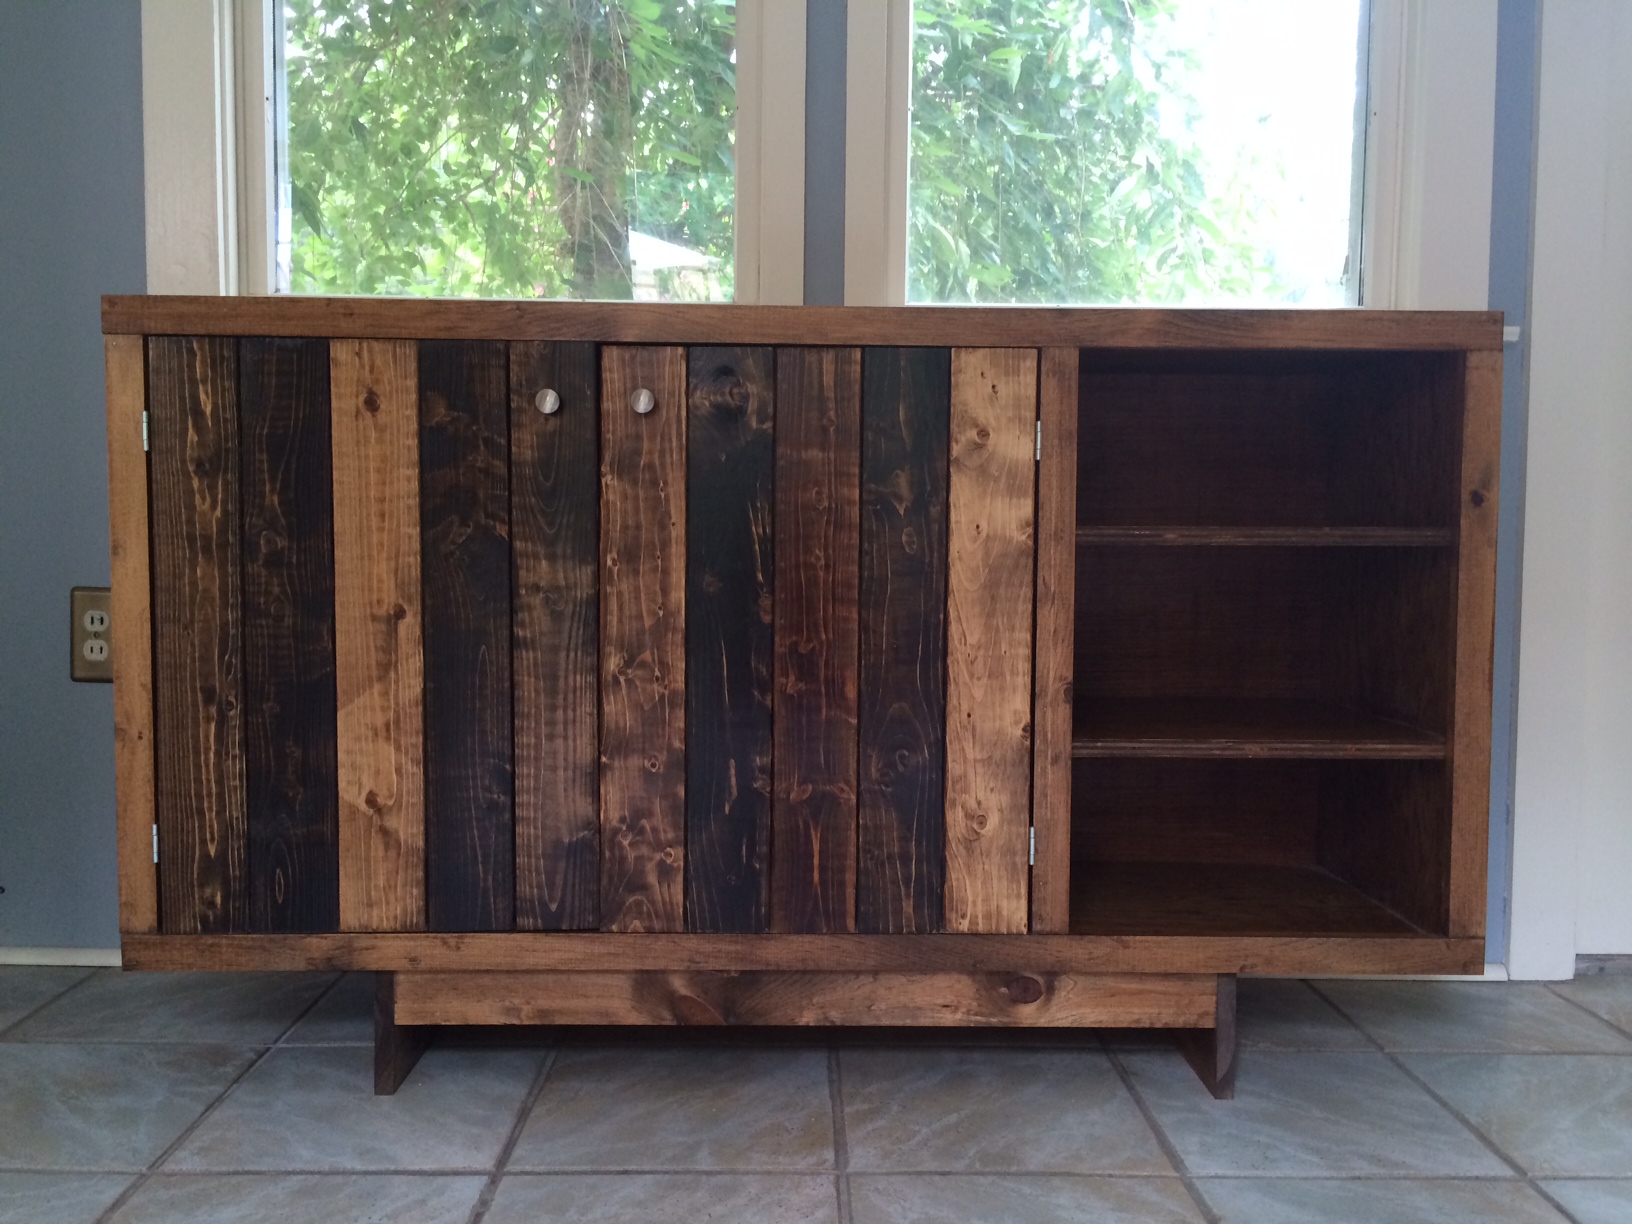
After unsuccessfully searching for the perfect sideboard for my office space, I got up enough courage to make one myself. I am so thrilled with the finished project!!
Used this plan and tried to Gary a rustic look.
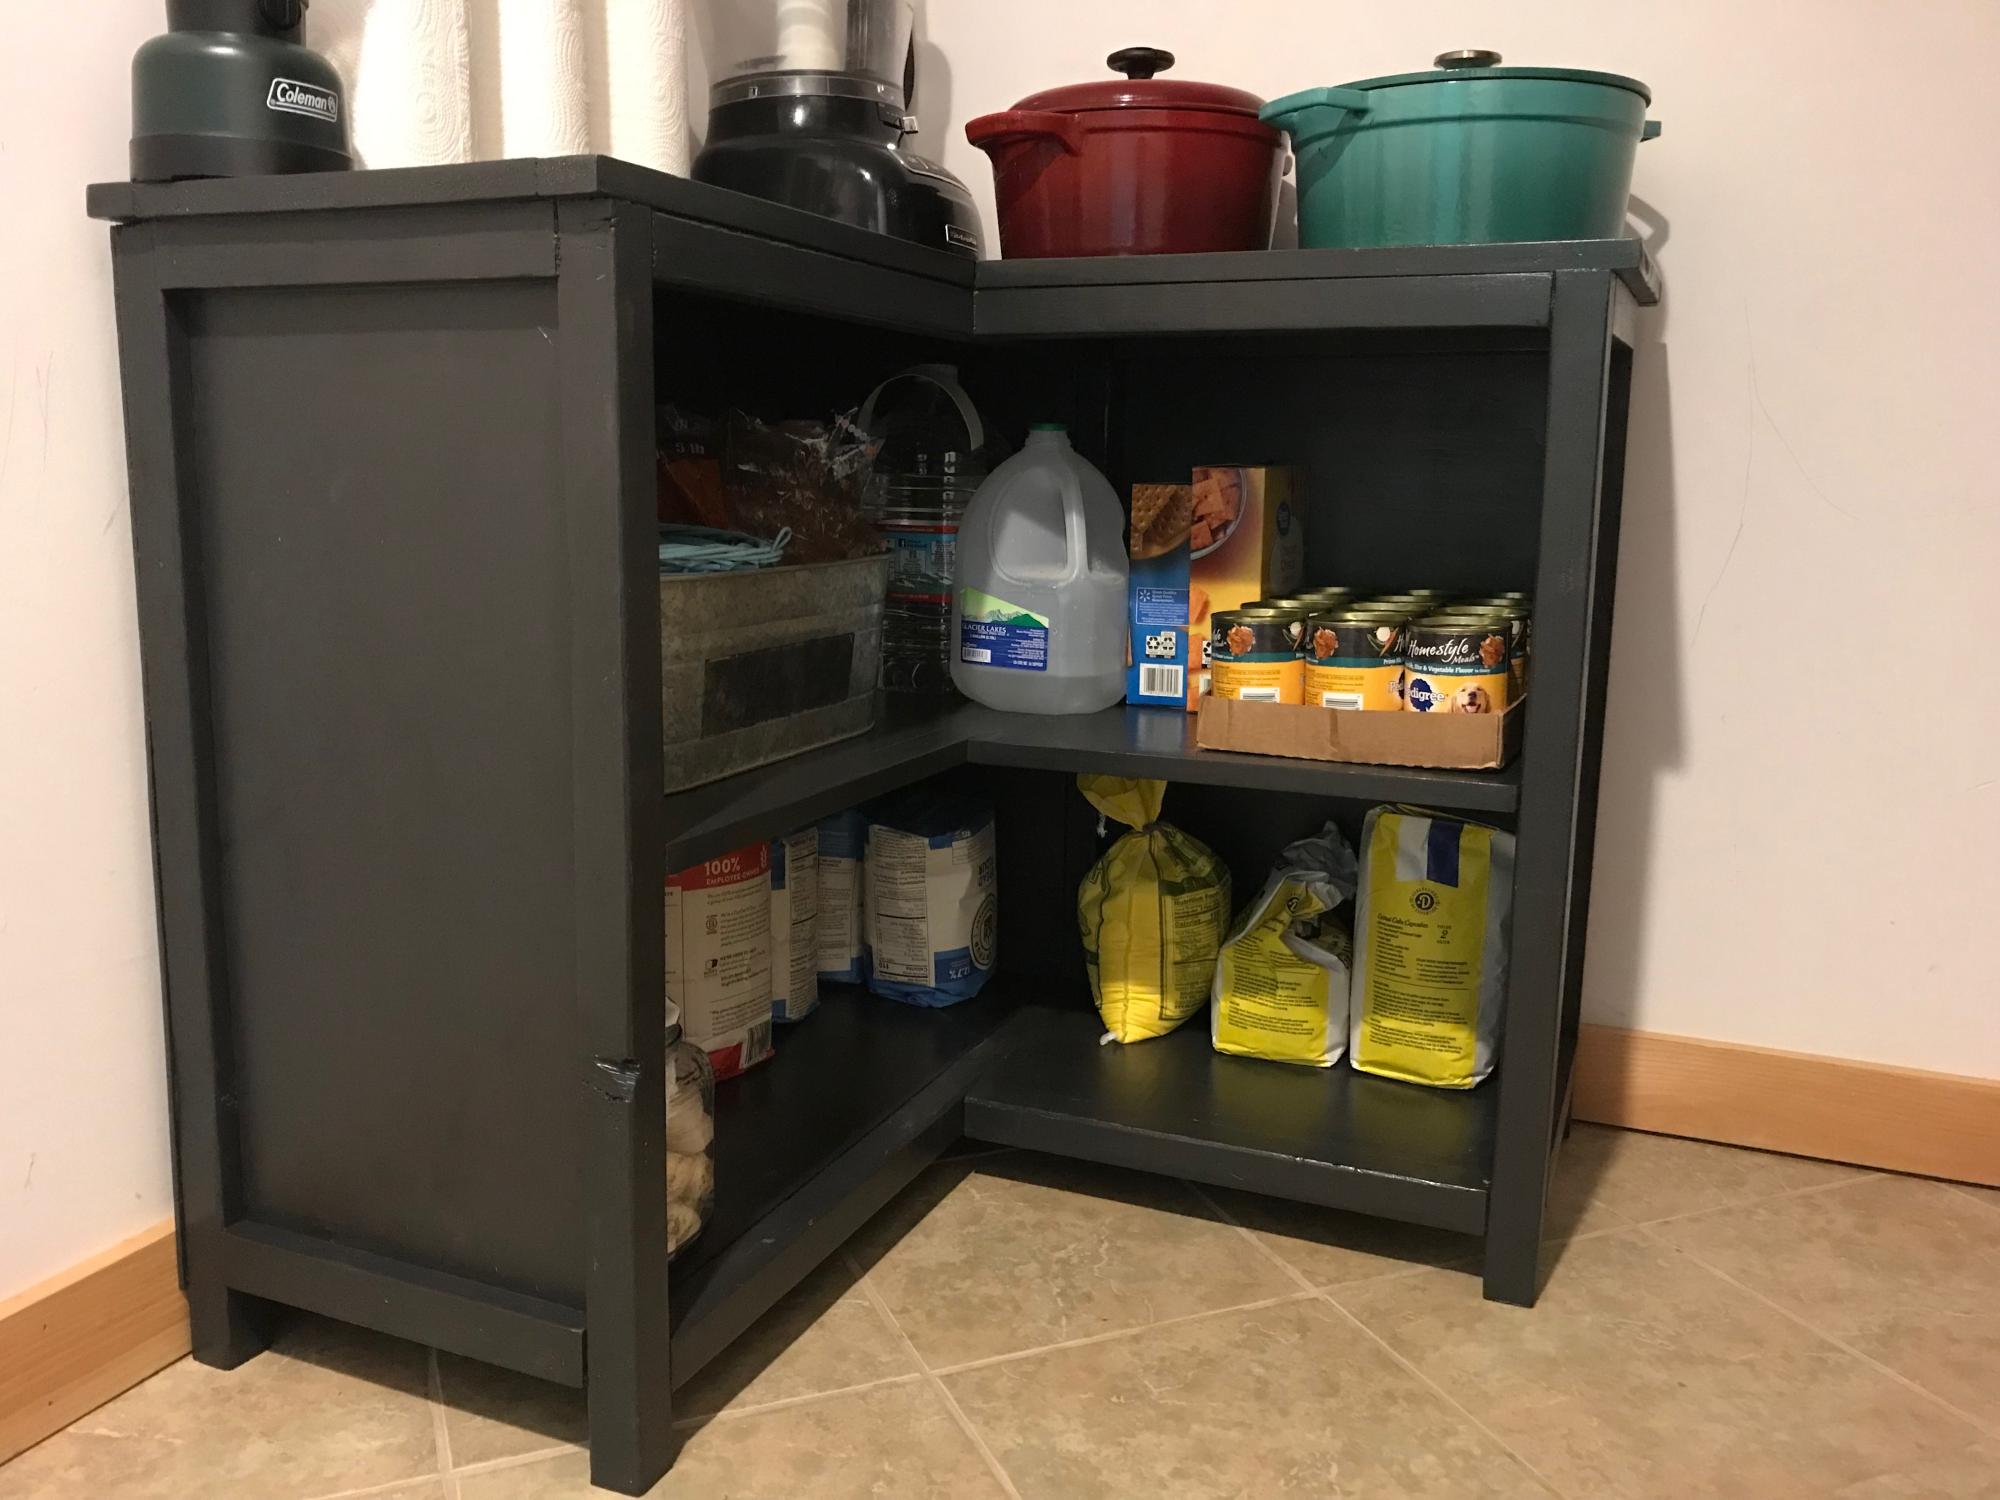
I built this corner shelf as part of my spring organizing effort. I have to say, that the shelf looks too good to be left in the basement's corner.
Wed, 03/30/2022 - 10:20
Great way to get organized and make it look beautiful too!
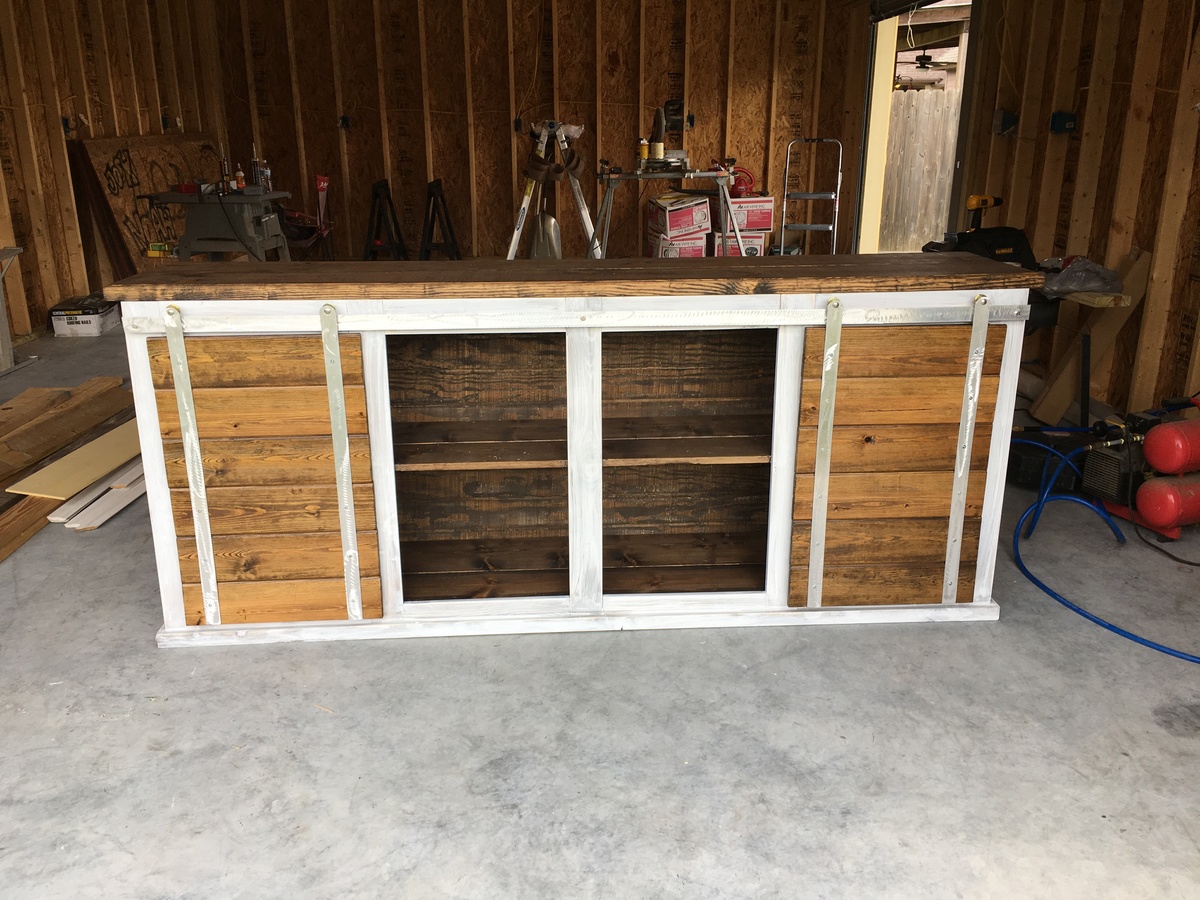
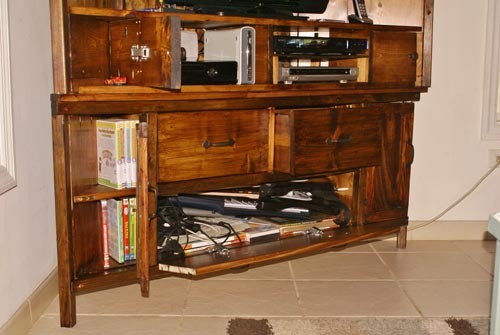
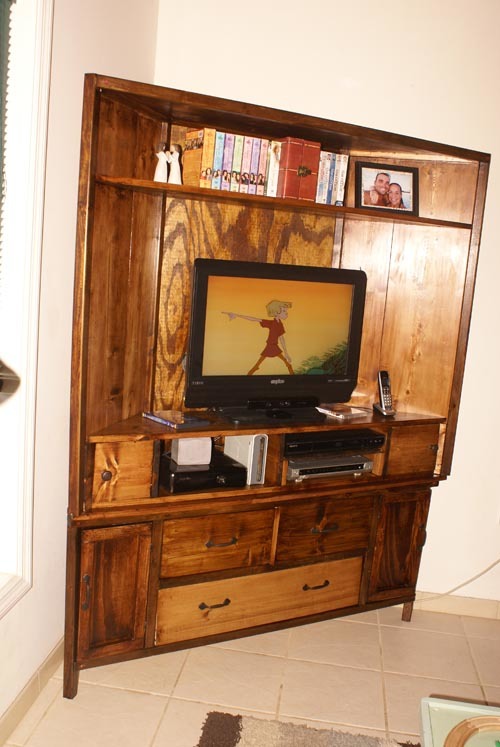
We were in desperate need of a corner media unit. I just know that Ana will post something incredible for this soon, but we just couldn't wait any longer. SO...I 'TRIED' to modify her lovely Cabin Collection Media Console & Hutch. Her plans were great, and I pretty much followed them step-by-step and just modified corners and things to fit my need. I'll emphasize...it is NOT perfect by any means and is probably not 'done-by-the-book', but it hides all of my hubbies gamer items (rockband guitars and keyboard, wires, controllers, games, etc). AND, I built it with growing room for his biggest wish, a new t.v. :)
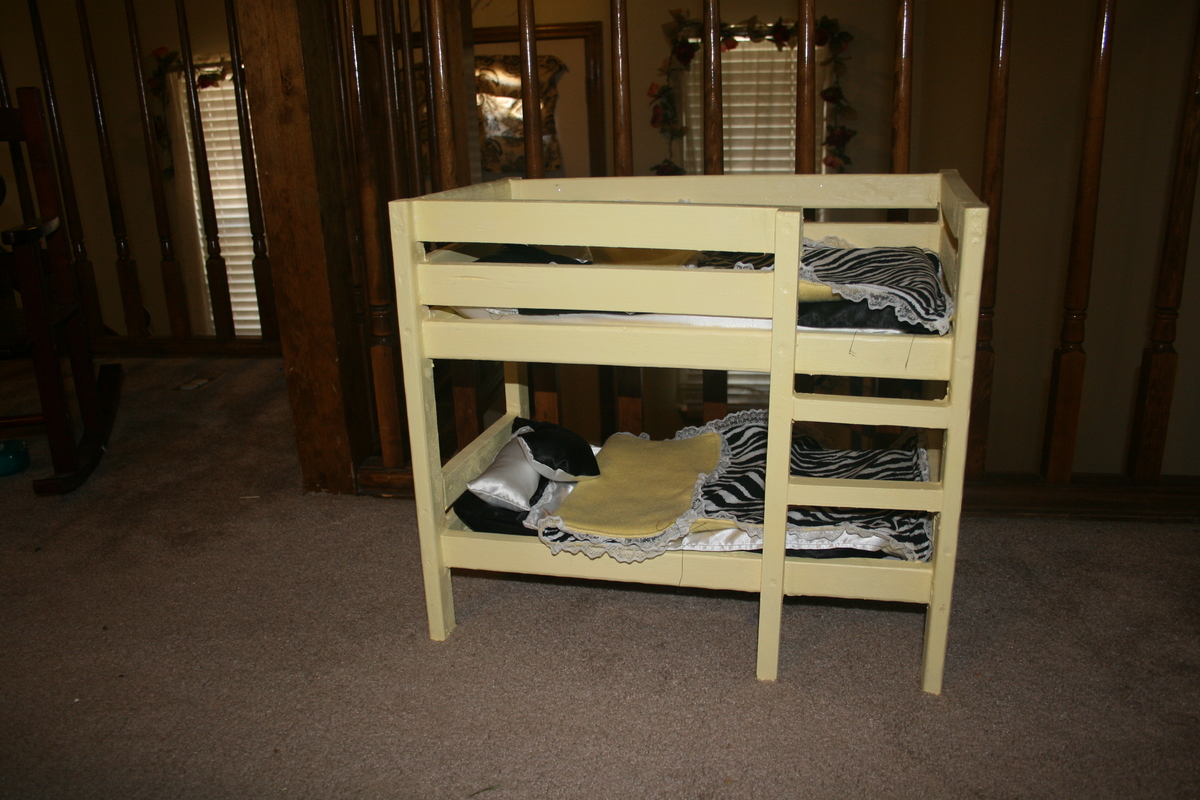
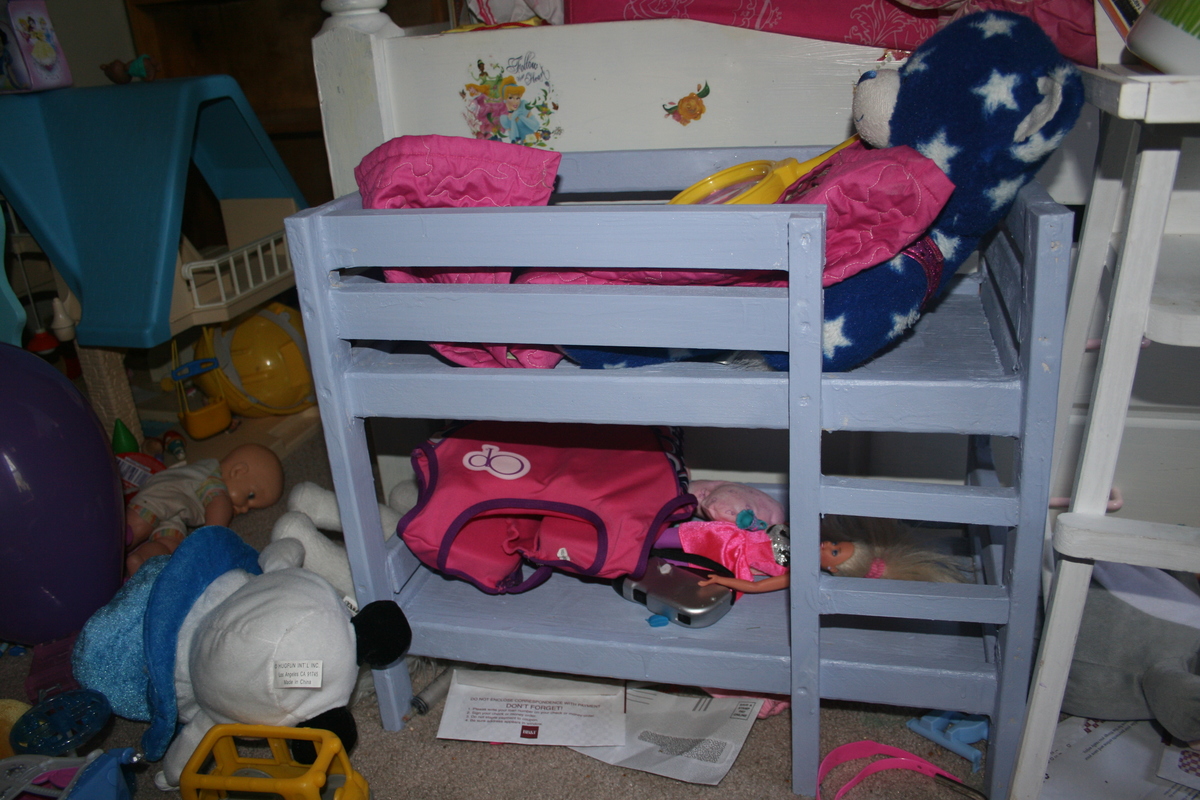
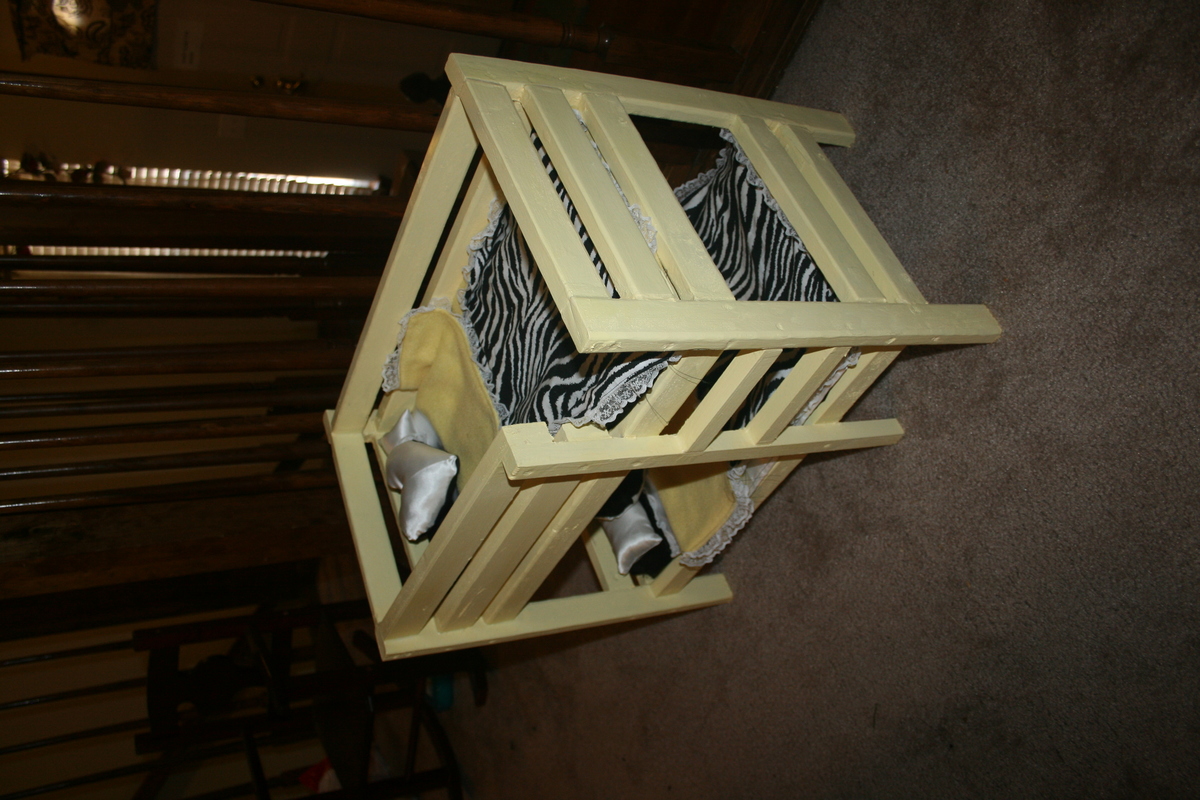
I made these bunk beds for my daughter and her best friend for her best friends birthday. My 4 year old daughter helped putting them together and painting so she got one too:) We used the paint sparkle add-ins from lowes with sample paint colors in each girls' favorite color. I haven't finished the bedding for my daughter's yet, but as you can see, it is working just fine without bedding:)
Comments
Ana White Admin
Mon, 01/17/2022 - 19:28
Great little toybox!
Sweet mods for a nice little toybox, thanks for sharing!