Community Brag Posts

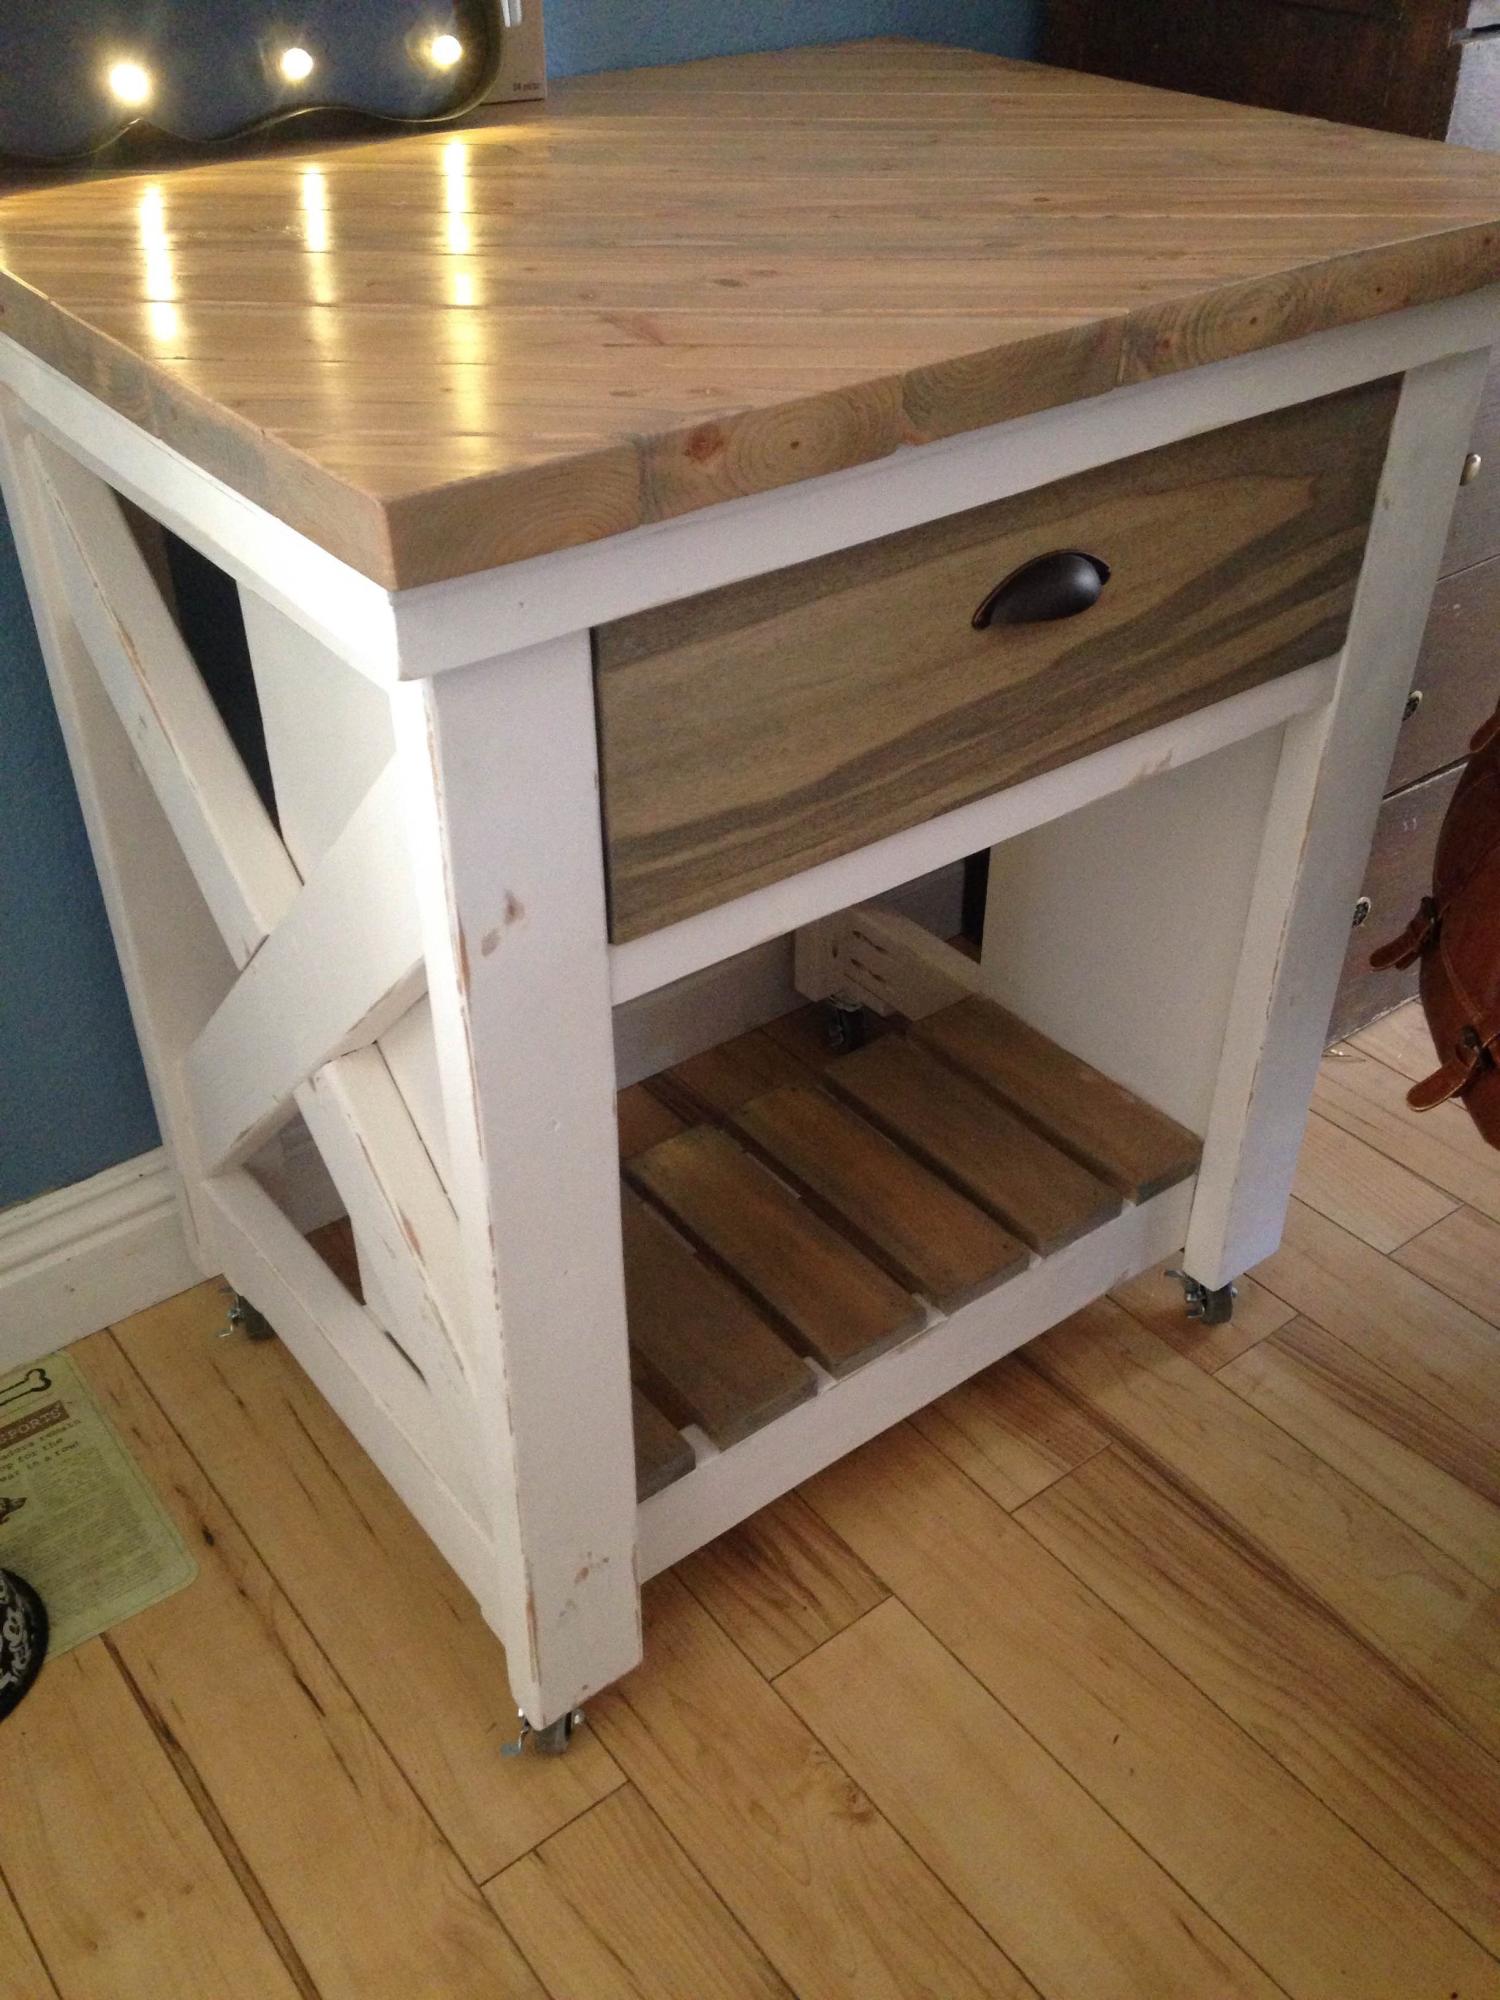
Rustic X end table

have not put a stain on this yet, waiting to make a pair before doing that

Built from Plan(s)
Estimated Cost
$45
Estimated Time Investment
Day Project (6-9 Hours)
Finish Used
not finished yet
Recommended Skill Level
Beginner

First Project

Submitted by J Spitzley on Thu, 01/07/2016 - 07:20

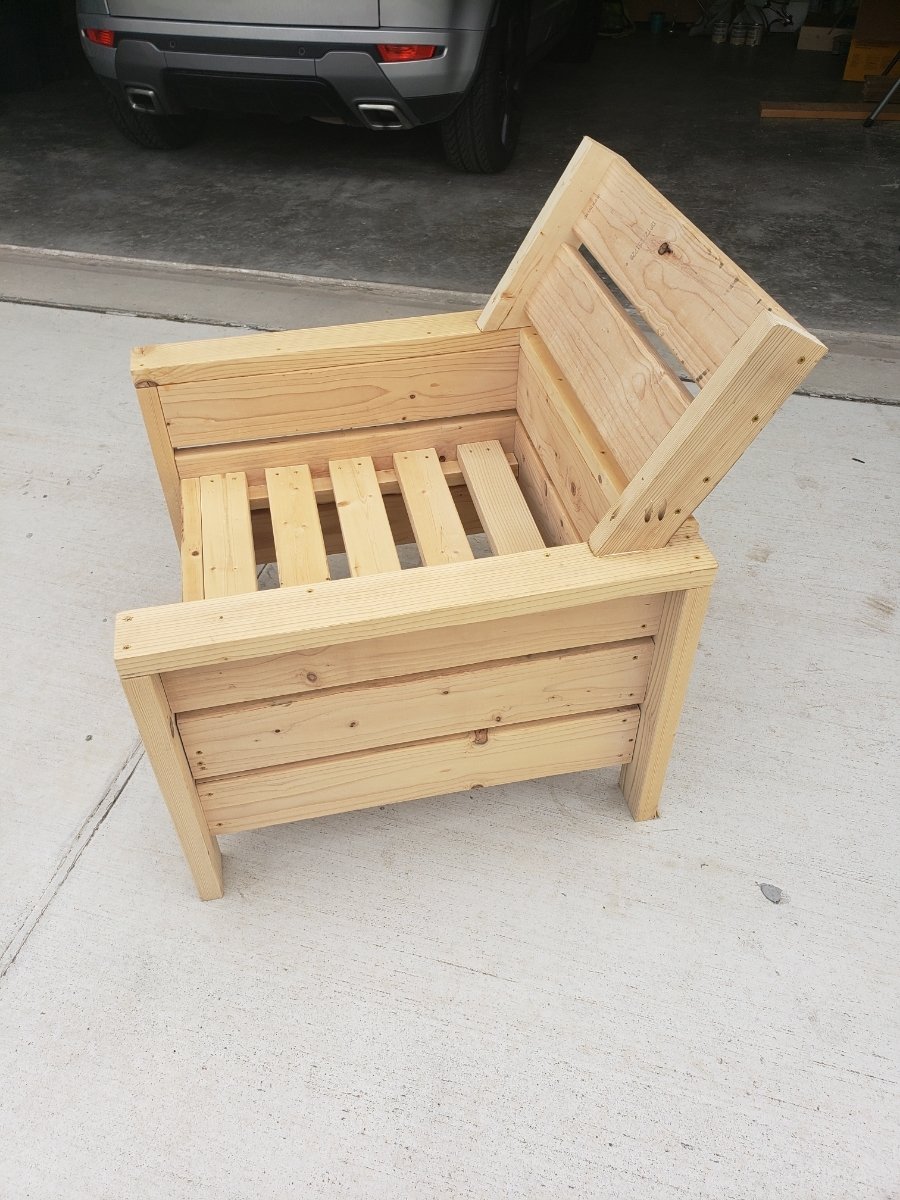
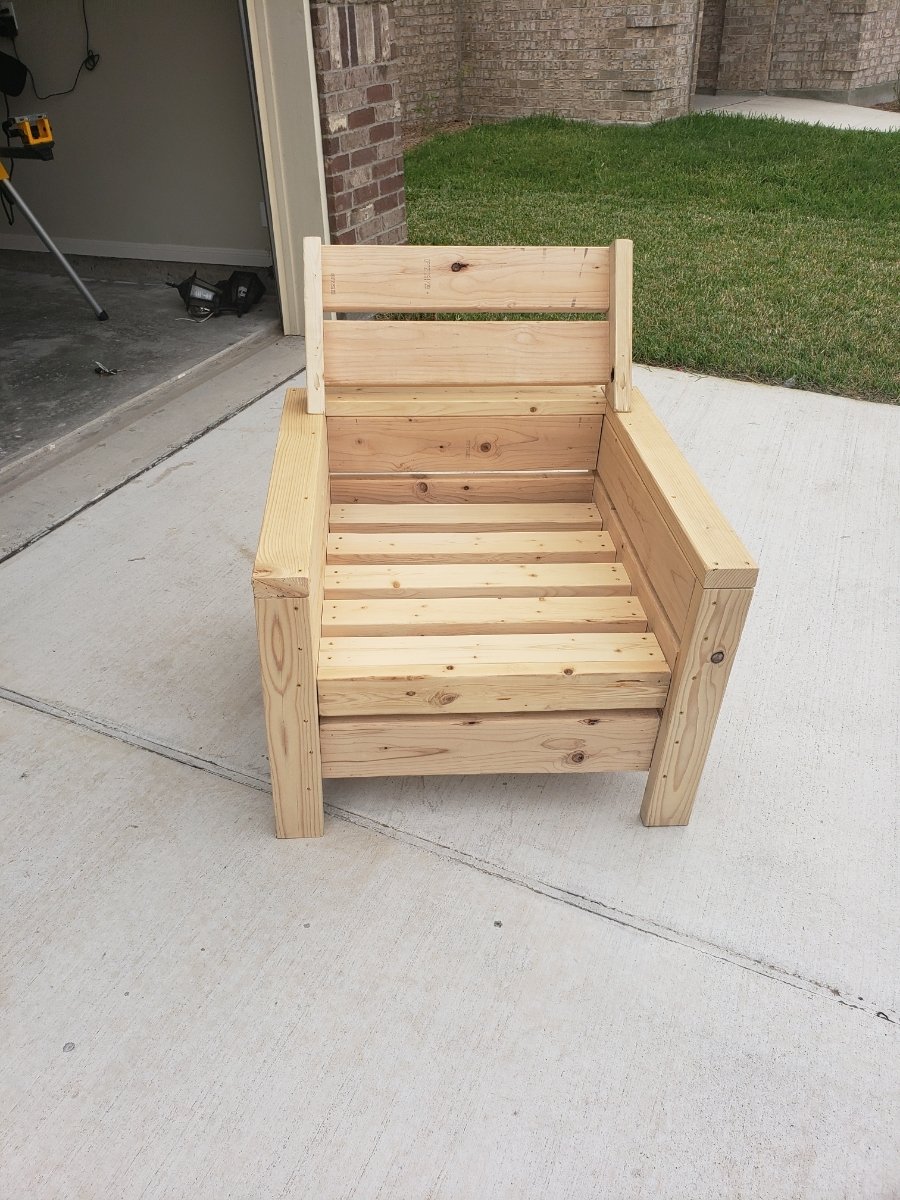
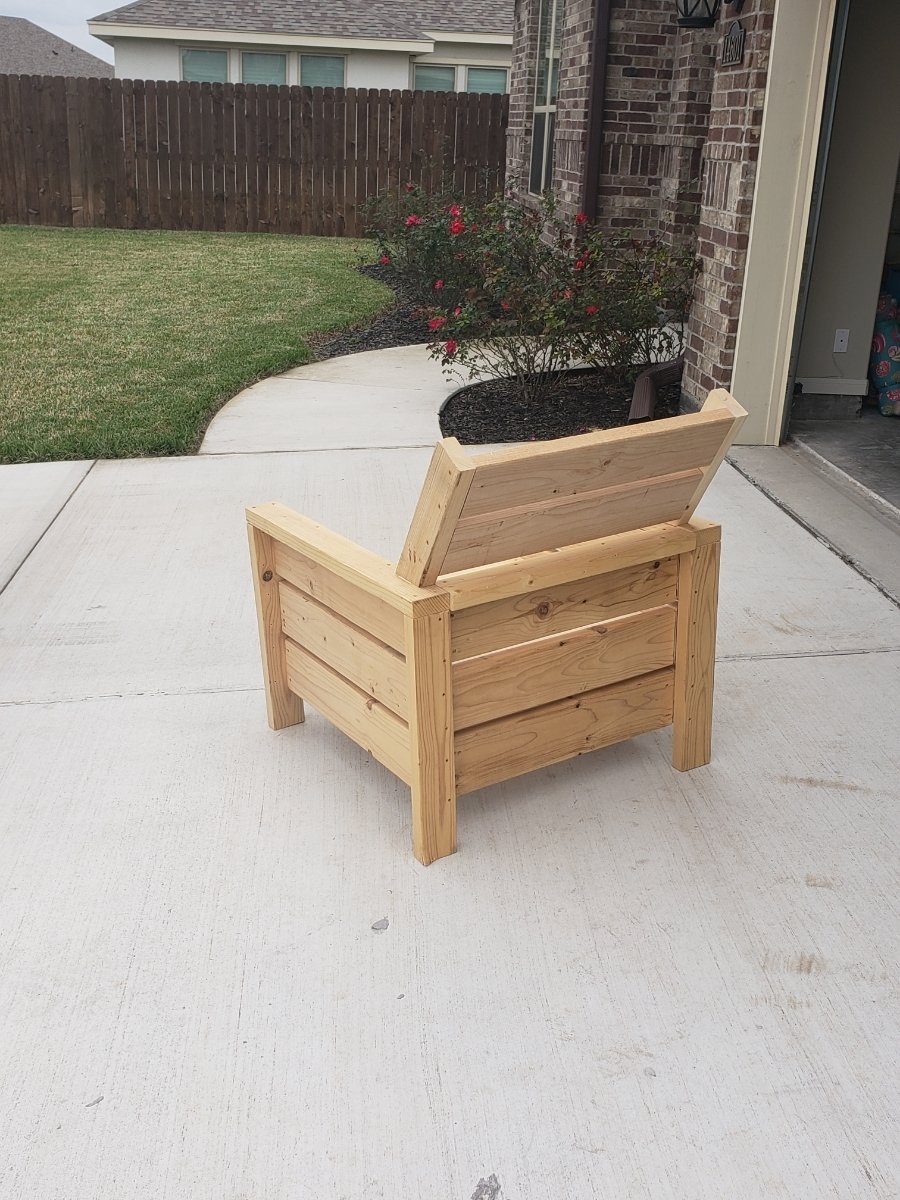
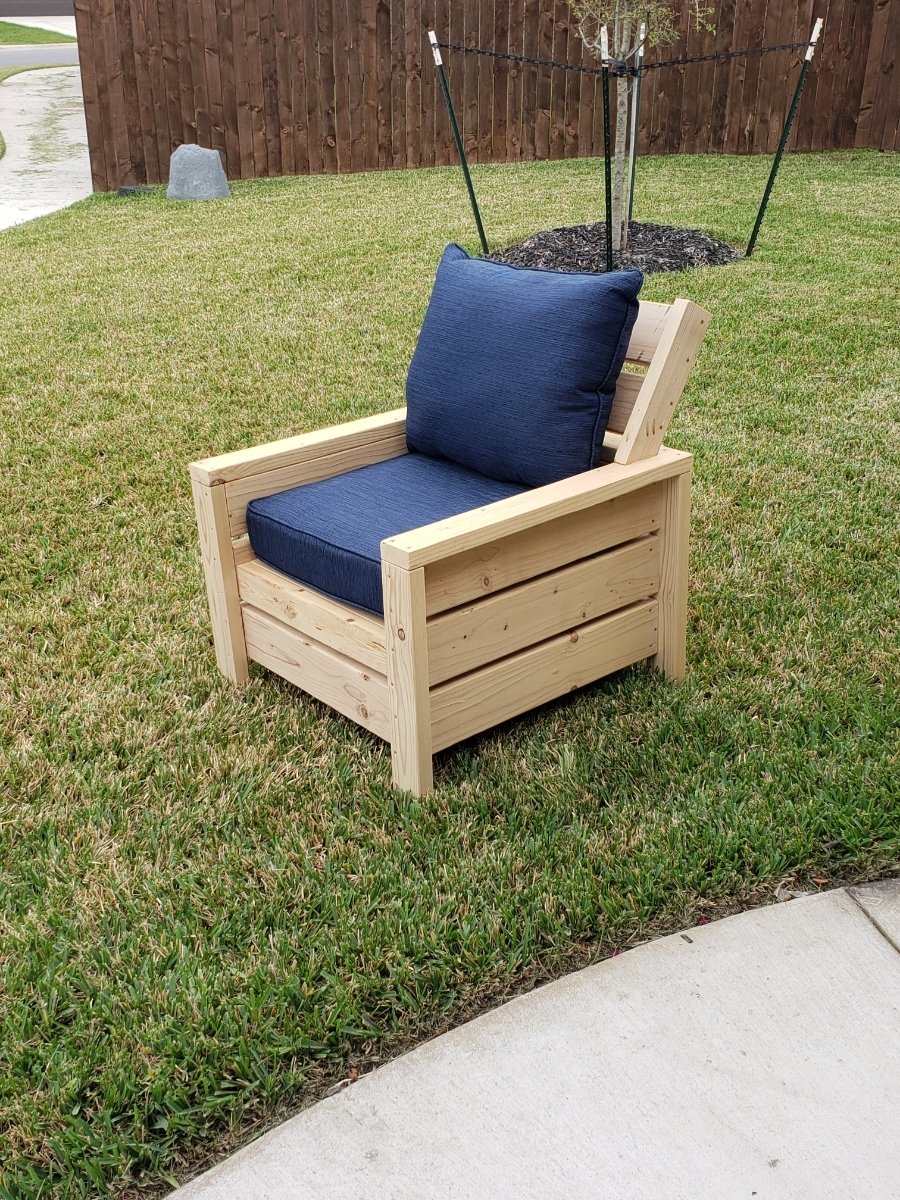
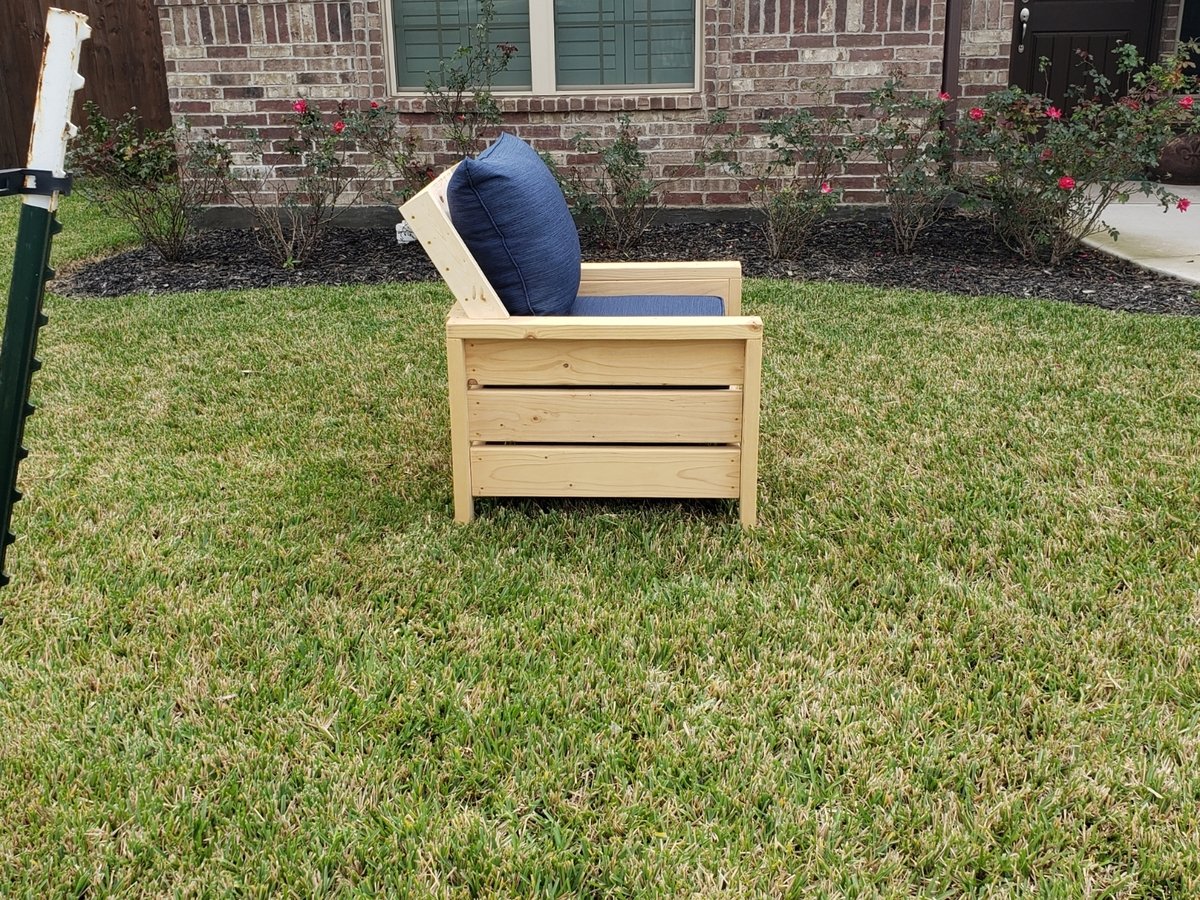
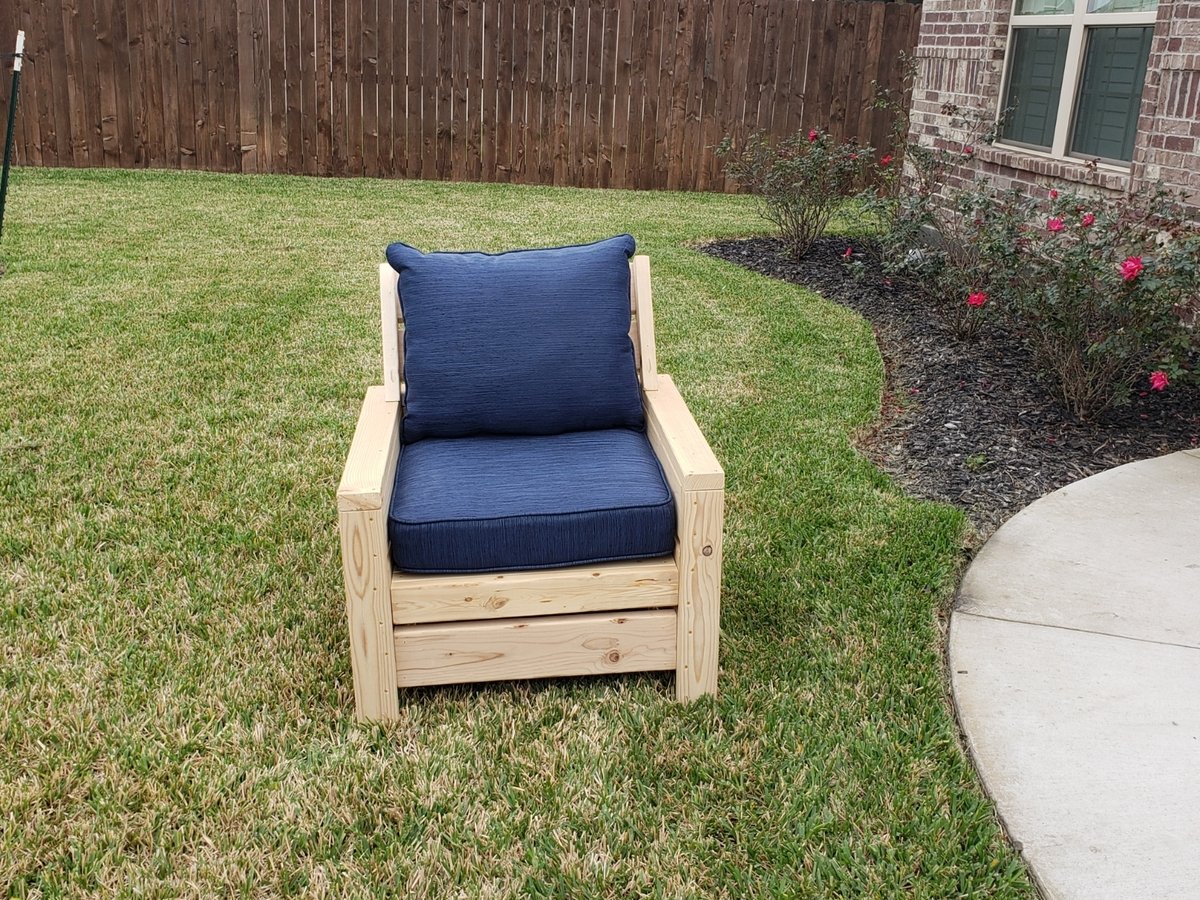
This was my first project, probably a little ambitious for a first project but the plans made it super easy. As soon as I was done with the 4 chairs (two armless and two corners), I immediately made two tables that we have used as side tables, as a single table and as seats. It was dirt cheap to make, probably less than $100 for everything, that’s a complete steal. The cushions cost twice as much as the entire build.
Estimated Cost
$100
Estimated Time Investment
Weekend Project (10-20 Hours)
Finish Used
Wood Finish Ebony - Stain

The chairs were difficult to stain with complete coverage, on the tables I stained the piece before I assembled them and it was significantly easier and turned out much nicer.
Recommended Skill Level
Intermediate

Reclaimed Wood Farmhouse Vanity

Using the Farmhouse Vanity plans as a guide, I built this enclosed farmhouse vanity out of a neighbor's old cedar fence and topped it with leathered granite and a ReStore sink. The finished vanity is amazing! For more, check out my blog.

Estimated Time Investment
Day Project (6-9 Hours)
Finish Used
None! That's the beauty of reclaimed wood.
Recommended Skill Level
Intermediate

Comments

Simple Outdoor Bench

Submitted by gabdannad on Fri, 10/25/2013 - 14:51

I had to modify the plans. The Size is 14" x 48". I also added a shelf at the bottom for shoes. Can't wait to replace the ugly shoe rack at the front door with this! I also used 1 x 4's for the apron. I found 1"x4"x14' at homedepot for only 3.40per piece!! So I was able to build this for less than $15. The wood has more knots than the other 1 x 4's, but if you look thru you can find some good pieces. I'm going to use this same wood to build the outdoor sectional too.

Built from Plan(s)
Estimated Cost
14
Estimated Time Investment
Day Project (6-9 Hours)
Recommended Skill Level
Beginner

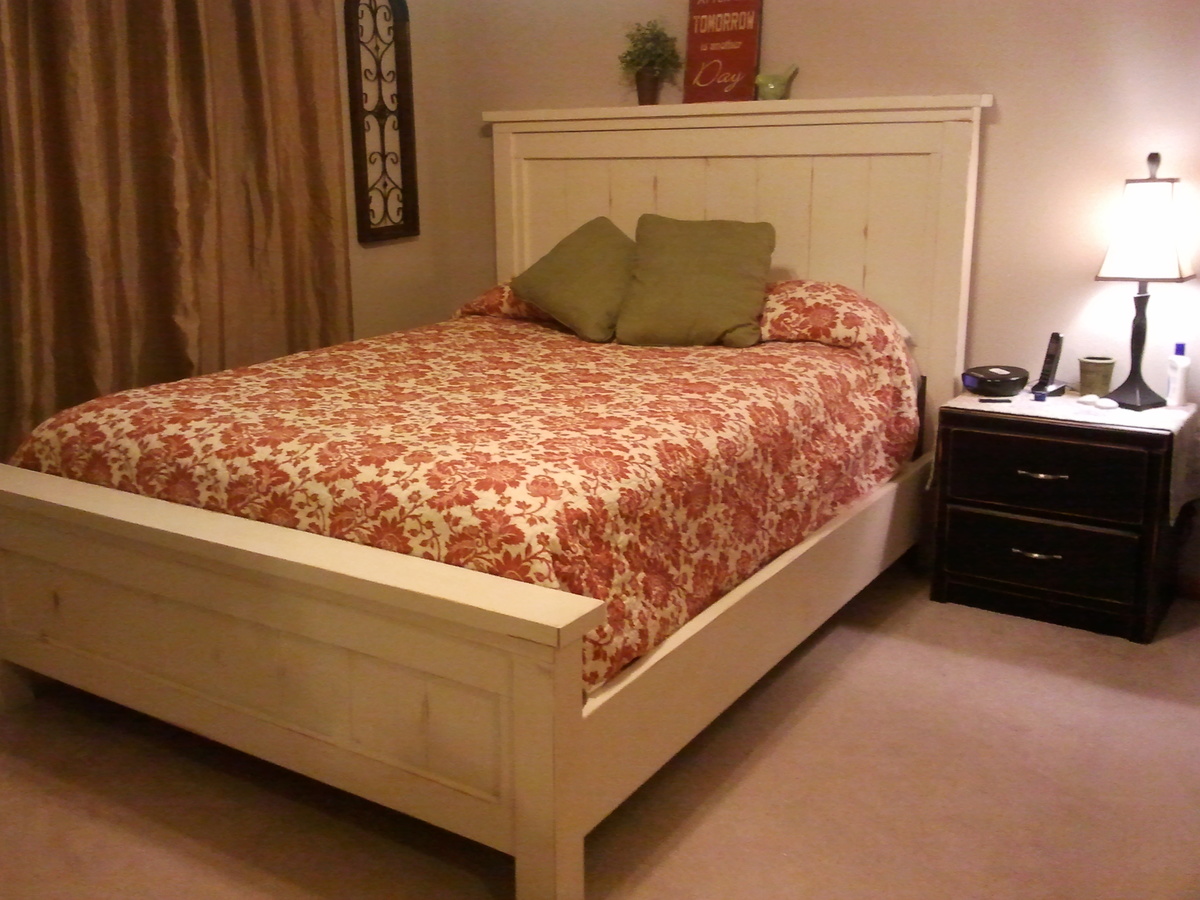
Farmhouse bedside table

Submitted by Anonymous (not verified) on Thu, 01/07/2016 - 22:07

perfect nightstand for our guest bedroom.  We love how easy the plans are. It was exactly what we were looking for and the cost to build was around $40. 

Built from Plan(s)
Estimated Cost
$40
Estimated Time Investment
Afternoon Project (3-6 Hours)
Finish Used
Hand rubbed stain finish with poly sealer.
Recommended Skill Level
Starter Project

Fancy Jewelry Box built by my daughter and me

Submitted by wowmom_cs on Tue, 05/07/2019 - 09:25

My 10 year old daughter is always creating. She recently decided that she wanted to do a woodworking project with me. We started by searching online for a design that looked doable and came up with the Fancy Jewelry Box from the Ana White website.

We decided that using the full thickness of 1x stock gave the piece a bit more of a clunky look than we were after. And since I have a thickness plainer, we milled our stock down to just under 1/2”. But that meant that we had to rework many of the measurements on the plan. This also made the drawers deeper and wider. Which is nice. A happy mistake happened when, while rough cutting the individual pieces before milling them down, I inadvertently cut the pieces between the drawers too narrow. We ended up turning them 90 degrees which allowed them to fit. This is why you see the end grain on those pieces. But we like it.

We also altered the plan a bit so that the edges of the plywood on the faces of the drawers and doors do not show. We added a nice border to the top of the box with a curved router bit. We lined the drawers with felt and then added some dividers here and there using some scraps of oak which we sawed thin with a bandsaw.

The original plan was to paint the box, as opposed to staining it. It wasn't until after I had nailed on the top and the drawer fronts that my daughter decided she wanted to stain it. That's why you can see those nail holes!

We had such fun making this Jewelry box. 

Built from Plan(s)
Estimated Cost
I don't remember. Not much.
Estimated Time Investment
Week Long Project (20 Hours or More)
Finish Used
Stain and water based polyurethane. We used 2 coats of poly "sanding" it between coats with fine steel wool.
Recommended Skill Level
Beginner

Comments

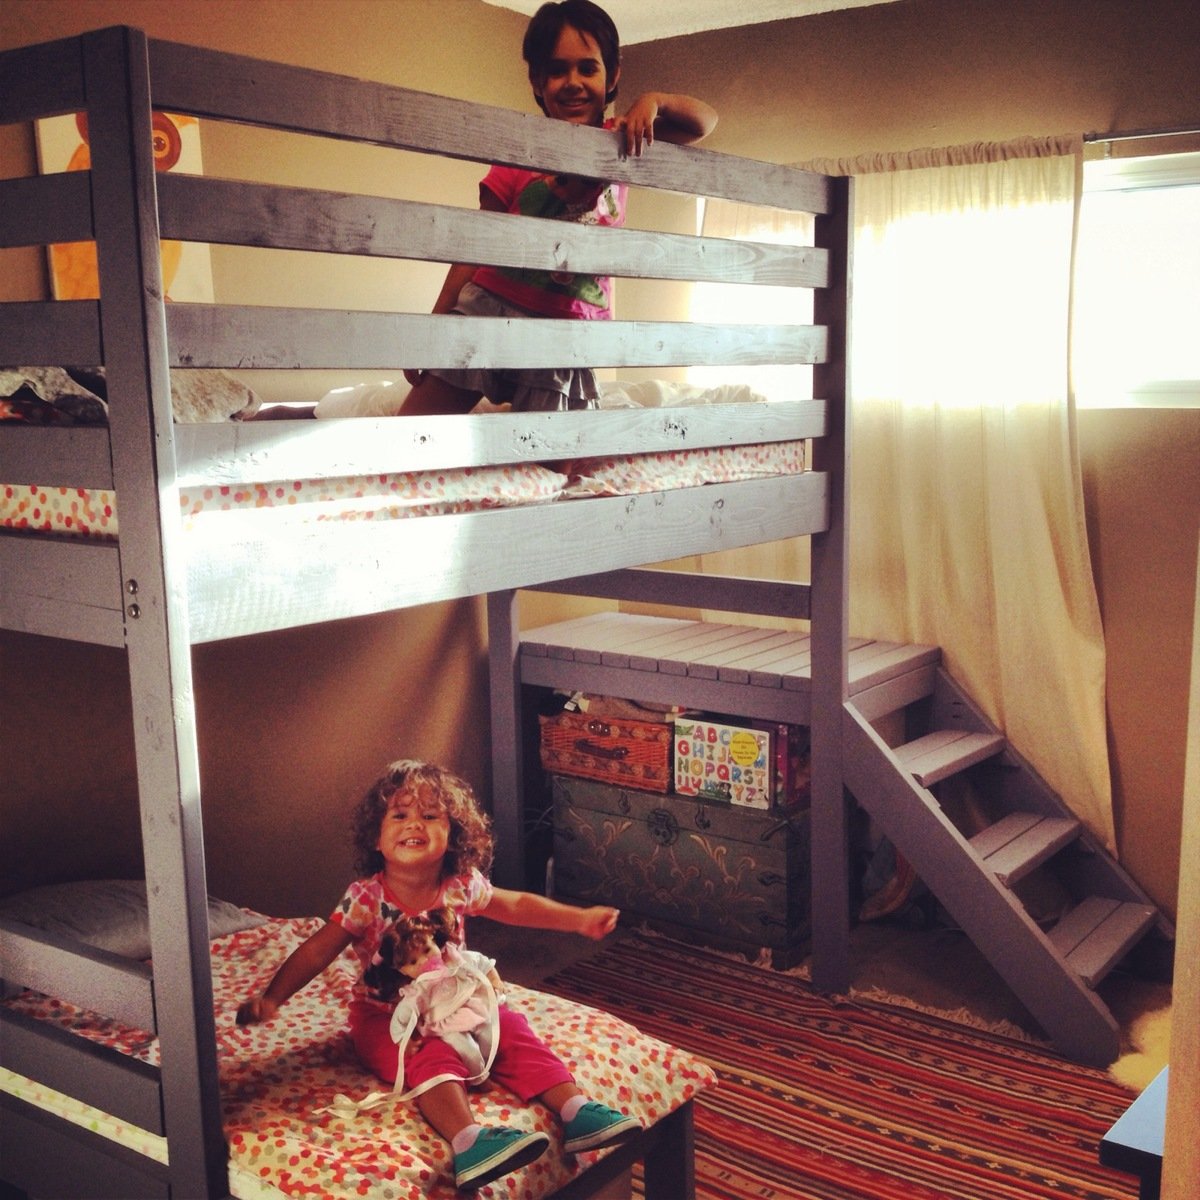
Bunk Beds

Submitted by Anonymous (not verified) on Fri, 03/03/2023 - 13:34

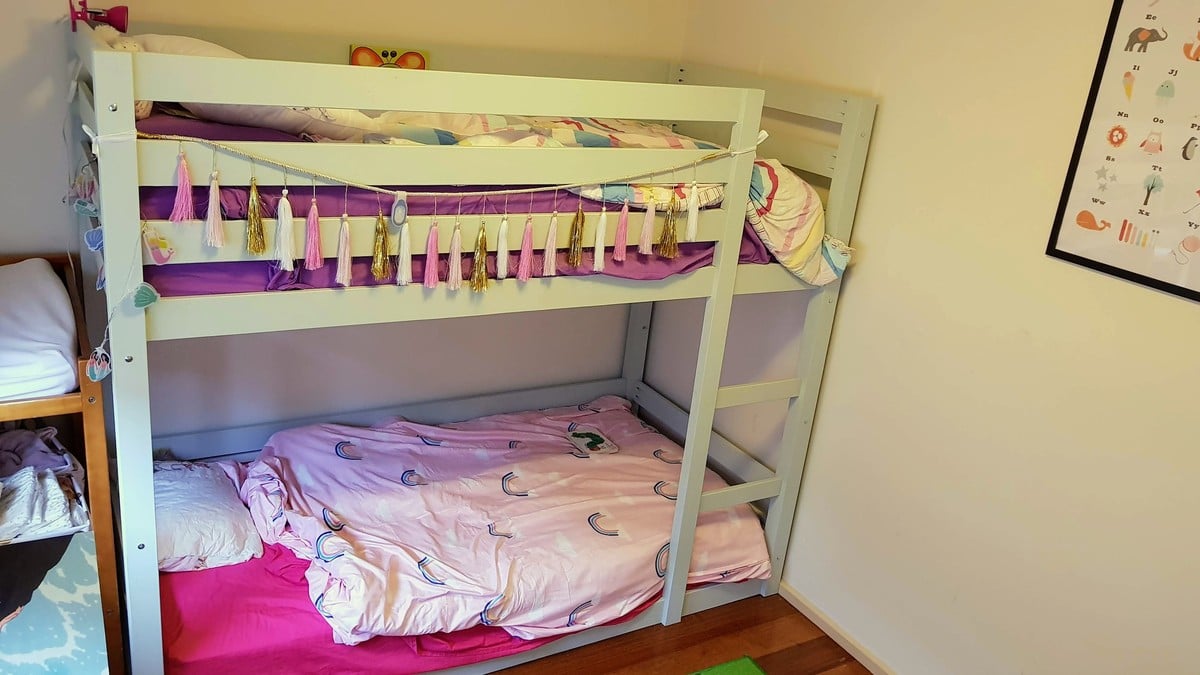
Built these bunk beds from Ana’s plans as my first build. I had to modify a bit but my 8 years old love it! We have a boy girl twin so very fitting they can modify their area as much as they want.
These are beds from Pottery Barn style. Cost us about $700 per bed to build, minus the mattress. These are very sturdy and they have been sleeping in them for about a year and a half, no issues.

Comments

Toy Box

I longed for two matching toy boxes to sit at the foot of my boys beds. I loved the idea of a simple/clean line box without a lid that they could throw toys or blankets and pillows in without the chance of any fingers getting pinched. I altered the plans slightly from the ones provided by Ana and finished them off with a satin white paint.

Built from Plan(s)
Estimated Cost
$25
Estimated Time Investment
Afternoon Project (3-6 Hours)
Finish Used
White satin paint rolled on with a foam roller.
Recommended Skill Level
Beginner

TV console

Submitted by Bunnie1978 on Sun, 10/27/2013 - 06:50

I ran into all sorts of problems building this! I started building it based off the materials I had on hand, not really knowing what it was going to be in the end. I started with the plywood box I hadn't intended for it to be a TV console, at first I was thinking a stand for a 55 gallon fish tank (which I have since sold.)
Once I decided what I was actually doing, it went together fine. I was going to make all three of the central column area into drawers, but I can't afford the hardware for that right now. I made the farmhouse style top and stained it to match the coffee table I made previous. However, I had many issues with finishing, problems with the legs, and after attaching the top accidentally broke off one of the breadboard ends of the top.

Finishing it was most exasperating. I started out with a mini-roller and white gloss paint. After I got it completely painted, I put on poly, but the poly dried very yellow and completely ruined the finish. I had to sand it almost completely back down to the wood to get it out. By the way, I learned something important about sanding which I will share with you... the cheaper sanding discs (made from clay) are crap. Get the ones made from ceramic. They last considerably longer and get the sanding done SO much faster. I love the guys at Lowes. :)

After I got it sanded back down I got some flat paint and used my sprayer. I love flat paint, it was so easy to get it on evenly. I did water it down quite a bit though. Then I sanded it down to a beautiful very smooth finish with some slight distressing. HOWEVER - flat paint needs a top coat, and I again screwed it up. Not as bad this time though. I used a spray on poly just in some places which gave it a little bit of an aged look, not too bad. Not exactly what I wanted, but doable.

I have not reattached the top with the expectation that I will still need to do more finishing, and it will be easier that way, and I will still be adding large caster wheels instead of legs on the bottom to raise it up a few more inches.

Also, the smaller cubby areas over the doors... they aren't big enough to use a sander to get the insides.

I used invisible hinges for the first time on this project which worked out quite well, and I love those.

I would love suggestions on finishing... if I use flat paint because it's easy to work with, what is a good top coat for that? Or should I stick with gloss paint and no top coat, and try that for my next one? Paint with primer? Still learning...

They say it takes 10 years to become proficient at a skill.. I've got about 8 years of building left before I'll be good at it. :)

Estimated Cost
90
Estimated Time Investment
Week Long Project (20 Hours or More)
Recommended Skill Level
Beginner

Comments

Val Manchuk

Sun, 10/27/2013 - 23:32

Hi There,

I do two coats of primer, and I sand very lightly, just enough so the surface feels smooth. I follow that with one coat of white semi gloss for most of my builds. White hides so many flaws! If I think the project needs a topcoat I will use Varathane Diamond Coat. That's what works for me. Hope this helps!

Val
artsybuildinglady.blogspot.ca

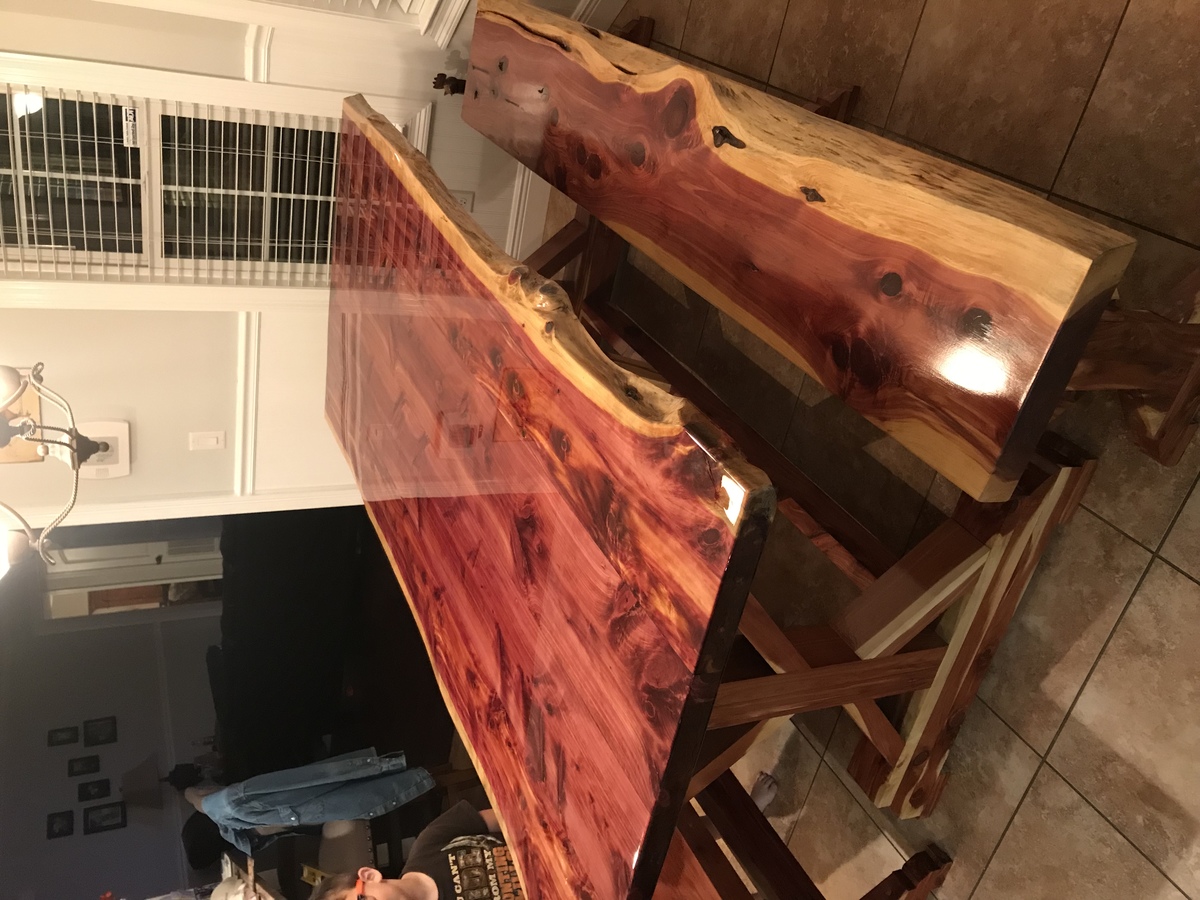
Fancy X Farmhouse Table

Submitted by rjgold on Fri, 05/10/2019 - 11:17

While mine is not as good as some of these projects I am pretty proud of it.   

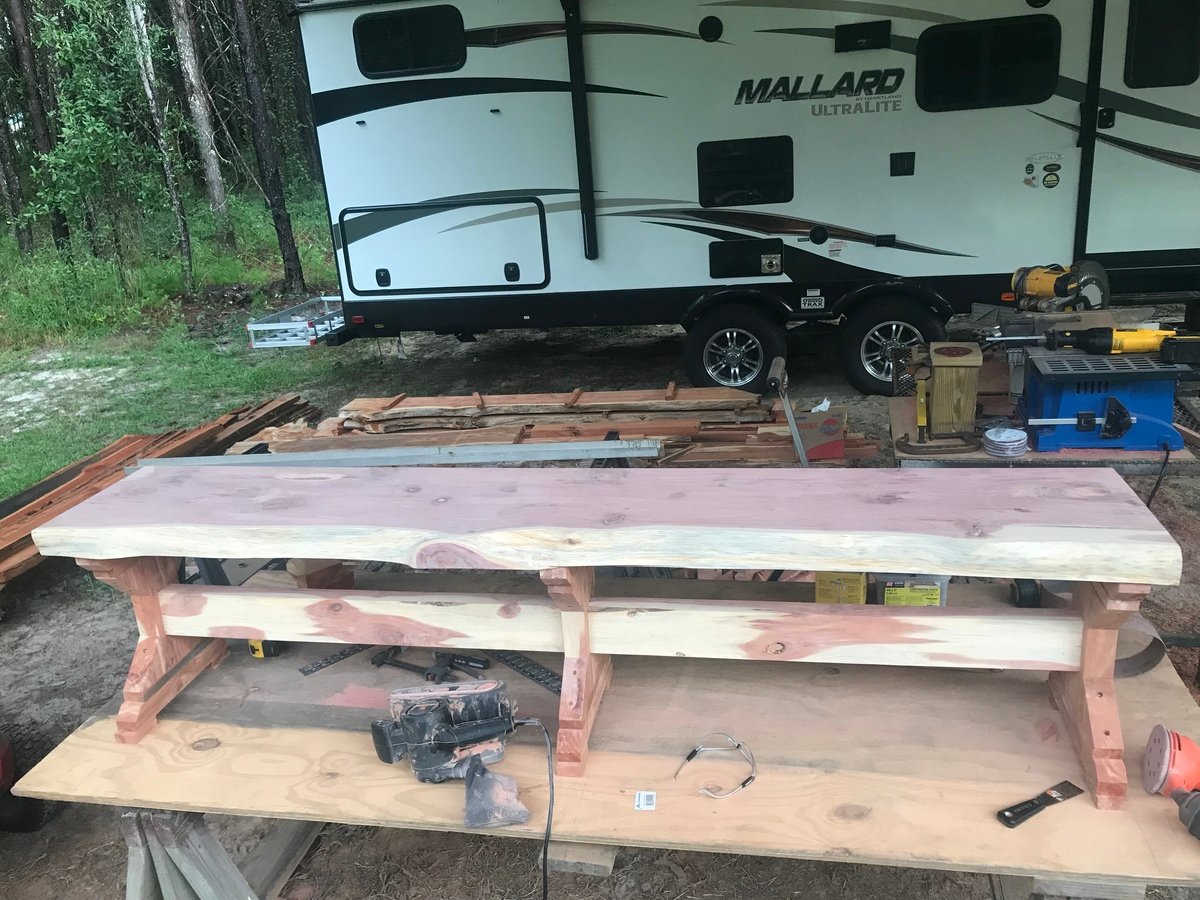
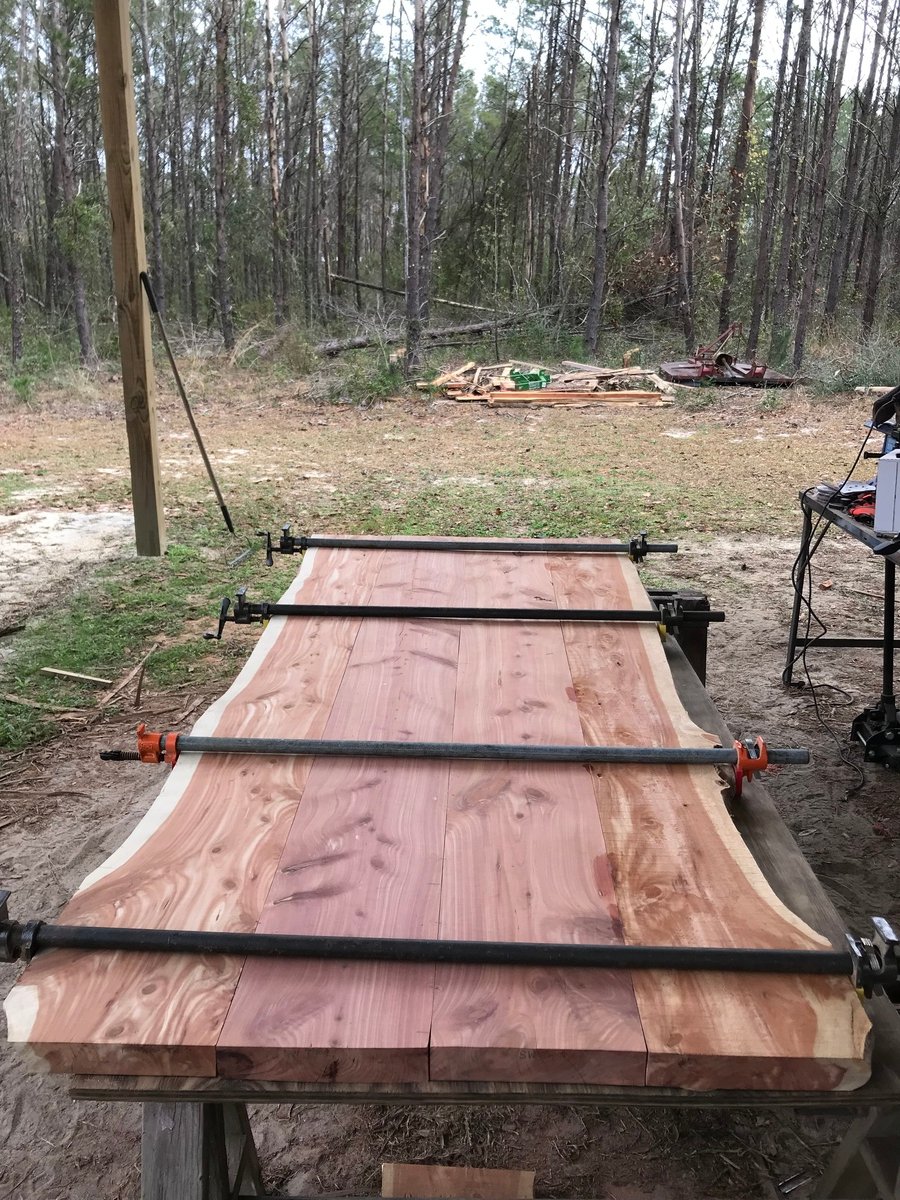
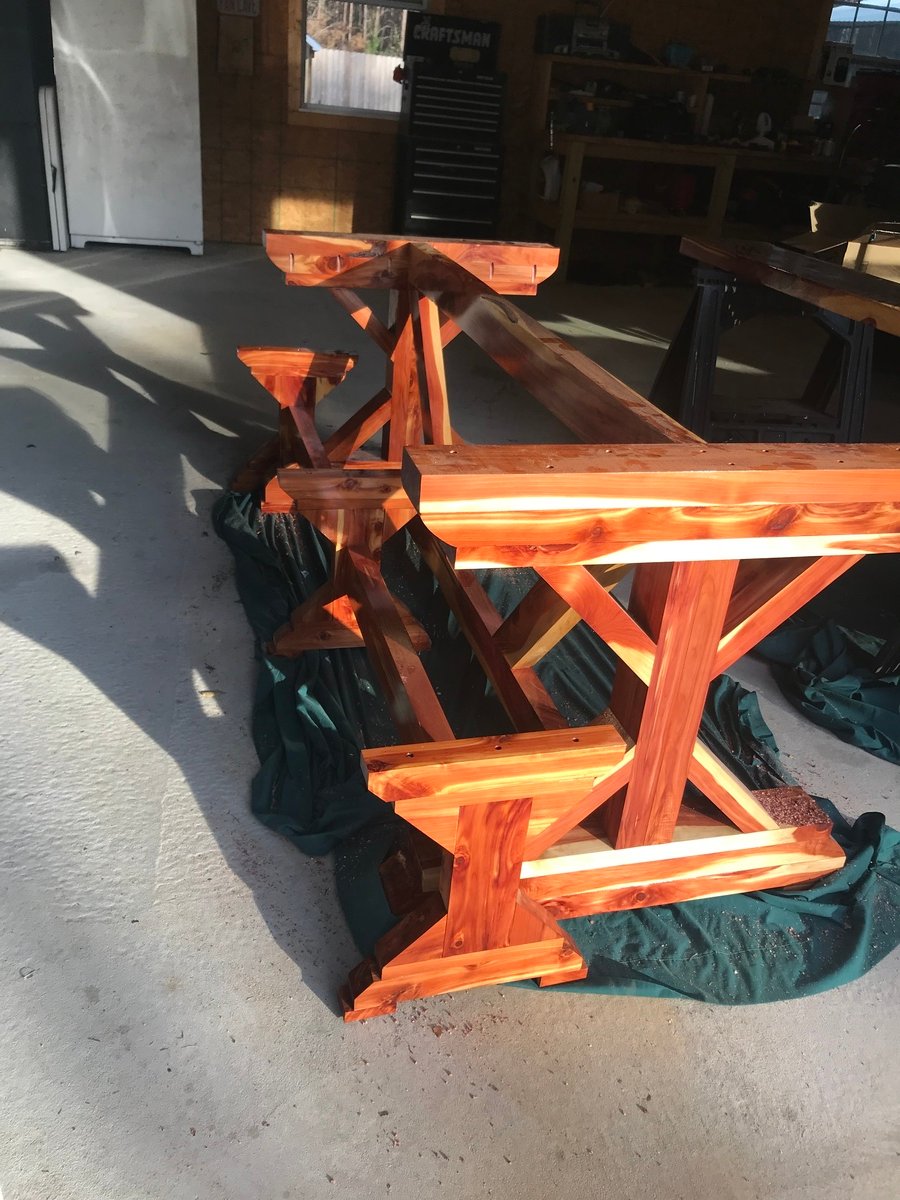
I came some 12"x1"x18' (Actual size) redwood planks that were removed from the roof of a building here in town, built in 1876.  Essentially these were milled over 125 years ago.   You can still see the the blade marks.   I did not want to shorten the planks too much so I built this table, just made two frames.  I used rough redwood 2x4 and 2x6  for the frame.  I made it a little taller.

Its the highlight of the back yard, we have dinners out there regularly now

Built from Plan(s)
Estimated Cost
$40 (I did not have to buy the top planks)
Estimated Time Investment
Weekend Project (10-20 Hours)
Finish Used
thompsons wood sealer
Recommended Skill Level
Intermediate

Comments

Smaller Size Kids Chair

Submitted by rosiejane on Tue, 10/29/2013 - 01:46

This is the third smaller sized chair that I've made. This was for my nephew's first birthday. Adjusted the measurements to suit smaller kids. My chair gift list keeps getting longer. I've got another 4 to finish before January.

Estimated Cost
$5 AUD
Estimated Time Investment
Weekend Project (10-20 Hours)
Finish Used
dulux aquanamel vivid white - 2 coats; dulux mondrian blue - 2 coats; lightly distressed then finished with cabot's cabothane water based poly - 2 coats.
Recommended Skill Level
Beginner

Barn Door Pantry Build

Submitted by Anonymous (not verified) on Sat, 03/18/2023 - 14:54

Using the Barn Door Pantry plan, I partially built this in my shop then took it apart and transported it to my son's house where we reconstructed it. This is a massive project and I recommend that you have enough room (and help) to build it and move it. The door is built with 1/2 inch plywood, framed with 1 by 4's with bead board inserts.

Built from Plan(s)

Comments

Rustic X Console Table

Submitted by hmctagg on Sat, 11/02/2013 - 13:06

We followed the plans closely, and it turned out well for the first project. It was the perfect size for what we needed! My husband had never built anything like this before and after a little research on how to use the kreg jig, he was able to finish it in a weekend.

Estimated Cost
$120 including finishing supplies
Estimated Time Investment
Weekend Project (10-20 Hours)
Finish Used
I used one coat of Minwax Provincial. I originally bought a sample can to practice on some scraps and then planned to go buy the bigger can, but I was able to stain the entire table with the sample size using an old T-shirt instead of a brush (I didn't want to risk brush marks). I liked the look after one coat, so I stopped there. I also decided against adding the hardware since I liked the look without it.
Recommended Skill Level
Beginner

Reclaimed Wood Look Bedside Table

Submitted by frymaster on Mon, 01/18/2016 - 09:01

This was my first bedstand build, and I was pleased with how they turned out! A possible recommendation might be to make your own 2x2's if you have the means, I looked everywhere around here and could only find firring strips. These look ok after a good bit of sanding, but the huge radius edges make for some funny looking joints, and they're super inconsistent dimensionally - like off by 1/8" smallest to biggest, which can make issues with fitting drawers. Another option would be to build the base frame, then make the drawers once it's all together and modify dimensions slightly to match. I would also note to make sure your drawer bottoms are flush with the outside of the drawer side to side, and not slightly bigger at all, it made for pretty a pretty tight fit for the drawers to make it in. Squareness was paid extra attention thanks to all of the good comments on these plans, and I didn't seem to have any issue with drawers fitting as a result, just a bit snug. I would suggest using 1x4 for the drawer frames for two reasons: The first is that the drawers are pretty shallow, and there's plenty of room to use 1x4 instead of the 1x3. The second was the alignment of the drawer pulls and the top of the drawer box frame. Mine ended up right on the border of the drawer box frame in order to get the drawer pull centered. This was a problem as I had to grind off the edge of the interior box frame to get the screw to fit. If you had a 1x4, you could just countersink it without any issues, since it wouldn't be right on the edge of the drawer box. Overall awesome project, and great plans! Thanks Ana!

Estimated Cost
$150 for two
Estimated Time Investment
Week Long Project (20 Hours or More)
Finish Used
Dark Walnut, two coats, 5 coats of poly on top, 3 everywhere else.
Recommended Skill Level
Beginner

Bench

Submitted by cheech on Thu, 06/06/2019 - 18:13

Lot of fun just purchased a pocket jig and first project can't wait to make another. Thanks for the plans 

Built from Plan(s)
Estimated Time Investment
Weekend Project (10-20 Hours)
Finish Used
Semi gloss white paint
Recommended Skill Level
Intermediate

Comments

Large Cubby

Submitted by Anonymous (not verified) on Fri, 03/24/2023 - 17:04

My son moved into his first very small apartment and wanted a cubby array rather than a dresser. I made this following your plans and it came out great! It’s 4x4 cubbies as you can see. I used 1/2” plywood to keep the weight down. It was a little flimsy, so I put 1/8” tempered sheet on the back, which made it completely stable. He loves it! Thanks Ana!

Built from Plan(s)

Comments

Farmhouse Table

We love the look of farmhouse tables but not their hefty price tags. So we decided to build our own. $60 in supplies and a week-end's worth of time left us with a beautiful table that has a story. Ana's plans were easy to follow. Building furniture is so rewarding...and easier on the wallet!

Built from Plan(s)
Estimated Cost
$60
Estimated Time Investment
Weekend Project (10-20 Hours)
Finish Used
We used two coats of Minwax Red Mahogany and three coats of Minwax Fast Drying Polyurethane Clear Satin
Recommended Skill Level
Intermediate

Comments

Laurel (not verified)

Wed, 12/14/2011 - 09:17

I was looking to make the farmhouse table this weekend but I think we'll make this instead. My husband wants "big legs" and I saw this and immediately knew that it was perfect.

Guest (not verified)

Tue, 12/20/2011 - 11:27

WOW! First your table is amazing- great work! Second, I am wondering if you wouldn't mind sharing where you got your chairs? I love the look of them with the wood table!
Thanks!

MS (not verified)

Thu, 01/12/2012 - 12:32

Hi, I love this, great job! I am wanting to build a bigger one that will seat 10-12. I love the farmhouse table on this website, but I do not like the way the supports underneath prevent you from sliding chairs up to the ends. Do you think it would be sturdy enough without them? Like you did for your table here.
Thanks!!

American Girl Sofa and Chair

Submitted by Anonymous (not verified) on Wed, 01/20/2016 - 13:37

We had so much fun making this sofa and chair for our daughter as a last minute Christmas gift. It went together quickly and we are so pleased with the end result. Thanks for sharing your plans just in time for a last minute gift. My daughter was so pleased!

Estimated Time Investment
Afternoon Project (3-6 Hours)
Finish Used
Glossy white enamel paint
Recommended Skill Level
Beginner

6 Drawer Coffee Table

Submitted by Loridale on Wed, 06/19/2019 - 02:57

The green one was the original built 3 years ago. The red is a recent makeover. I have loved this table since it was built and I love it even more now. This was my first project and I am so happy with it.

Estimated Cost
$180
Estimated Time Investment
Weekend Project (10-20 Hours)
Finish Used
Paint and steal wool in Vinegar and black tea
Recommended Skill Level
Intermediate

Comments