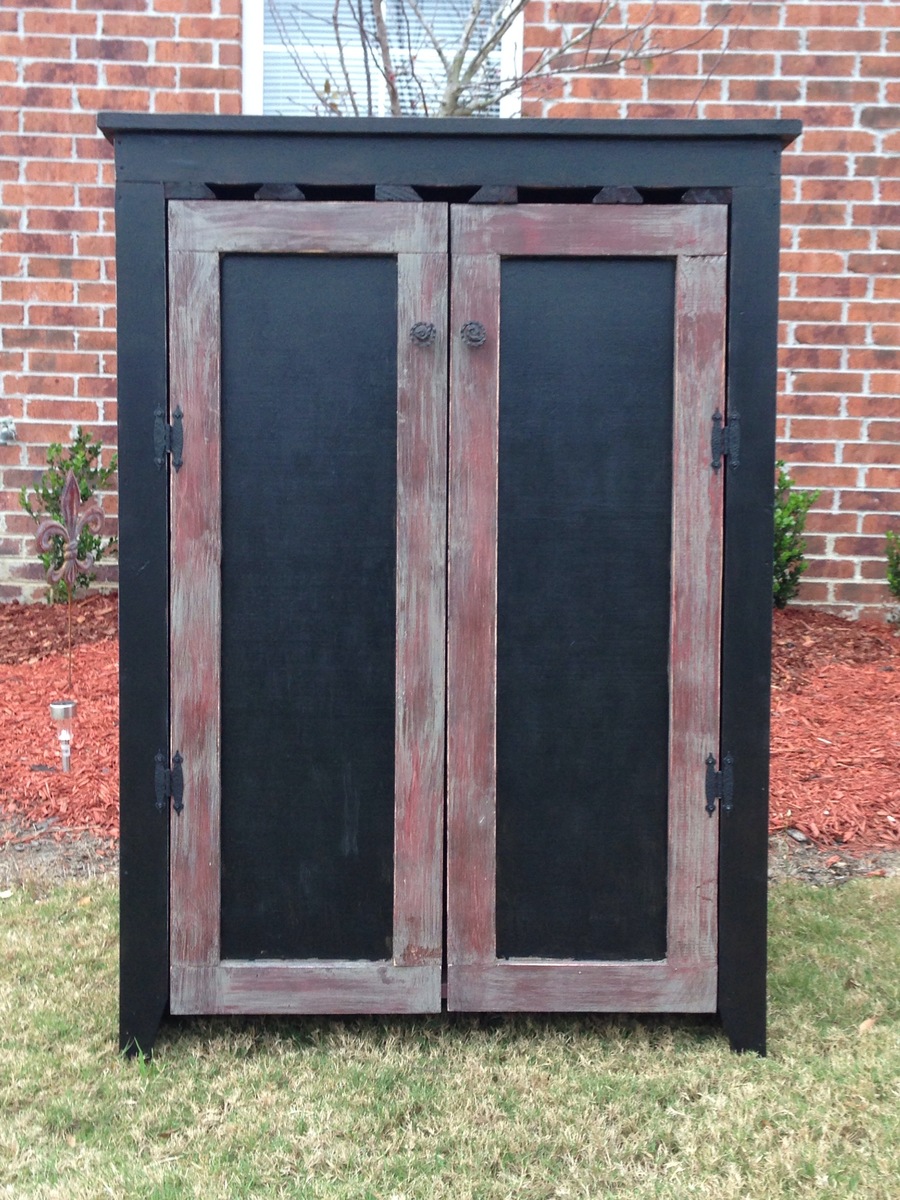
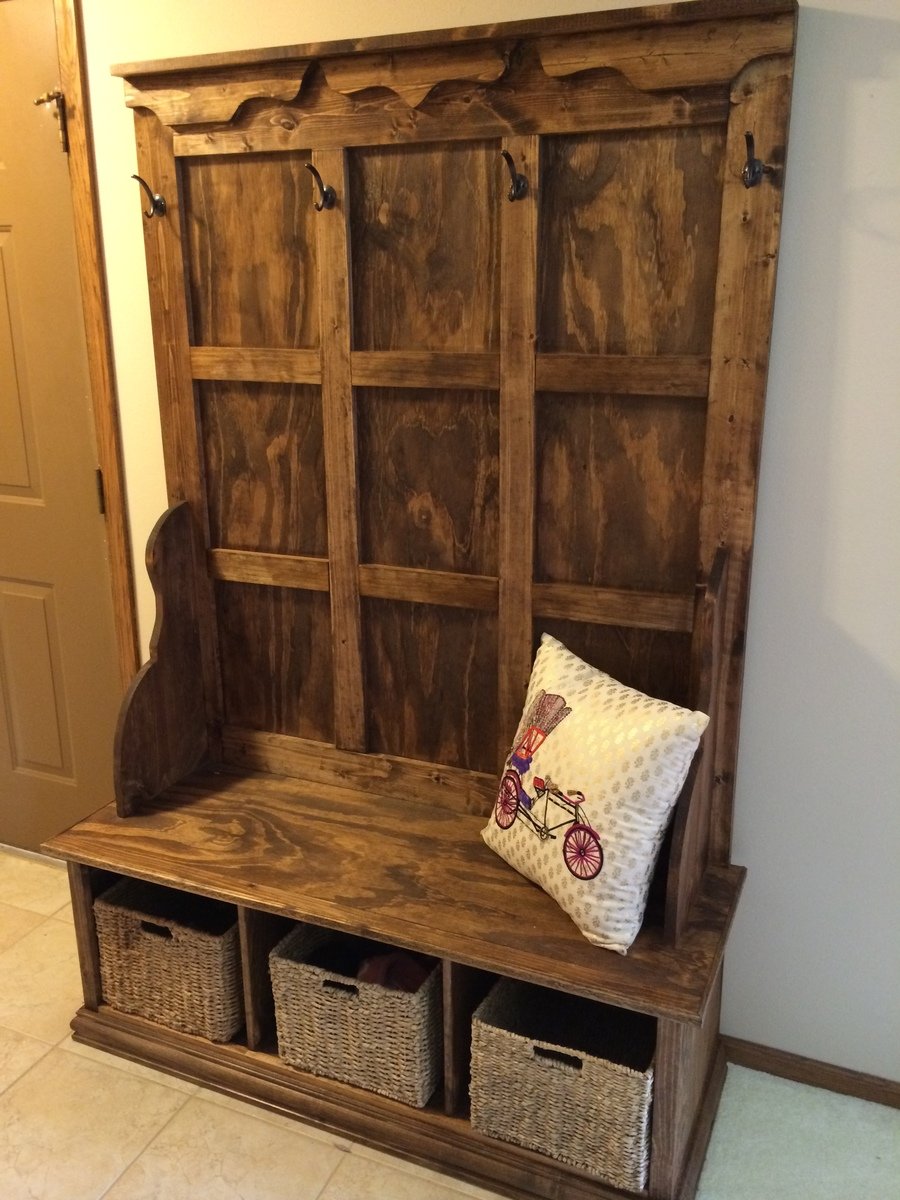
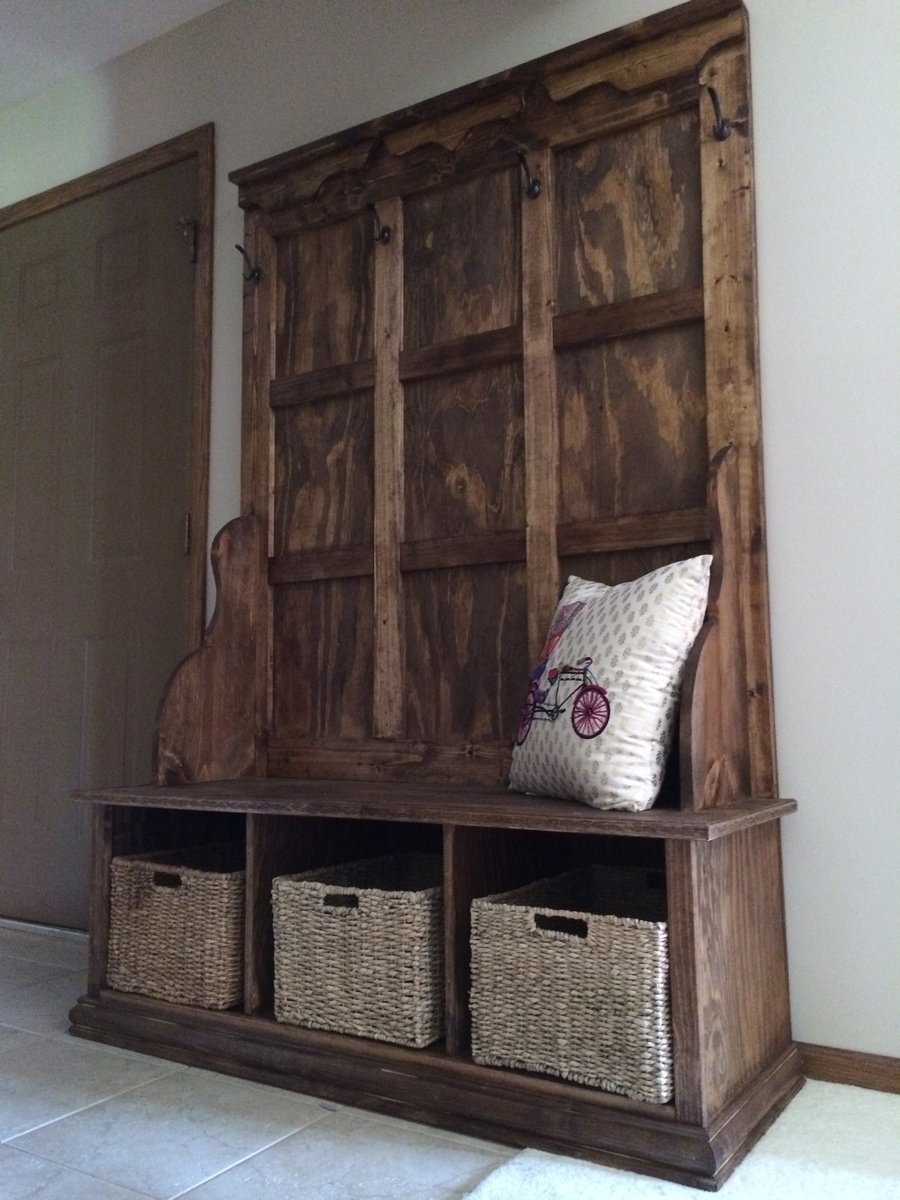
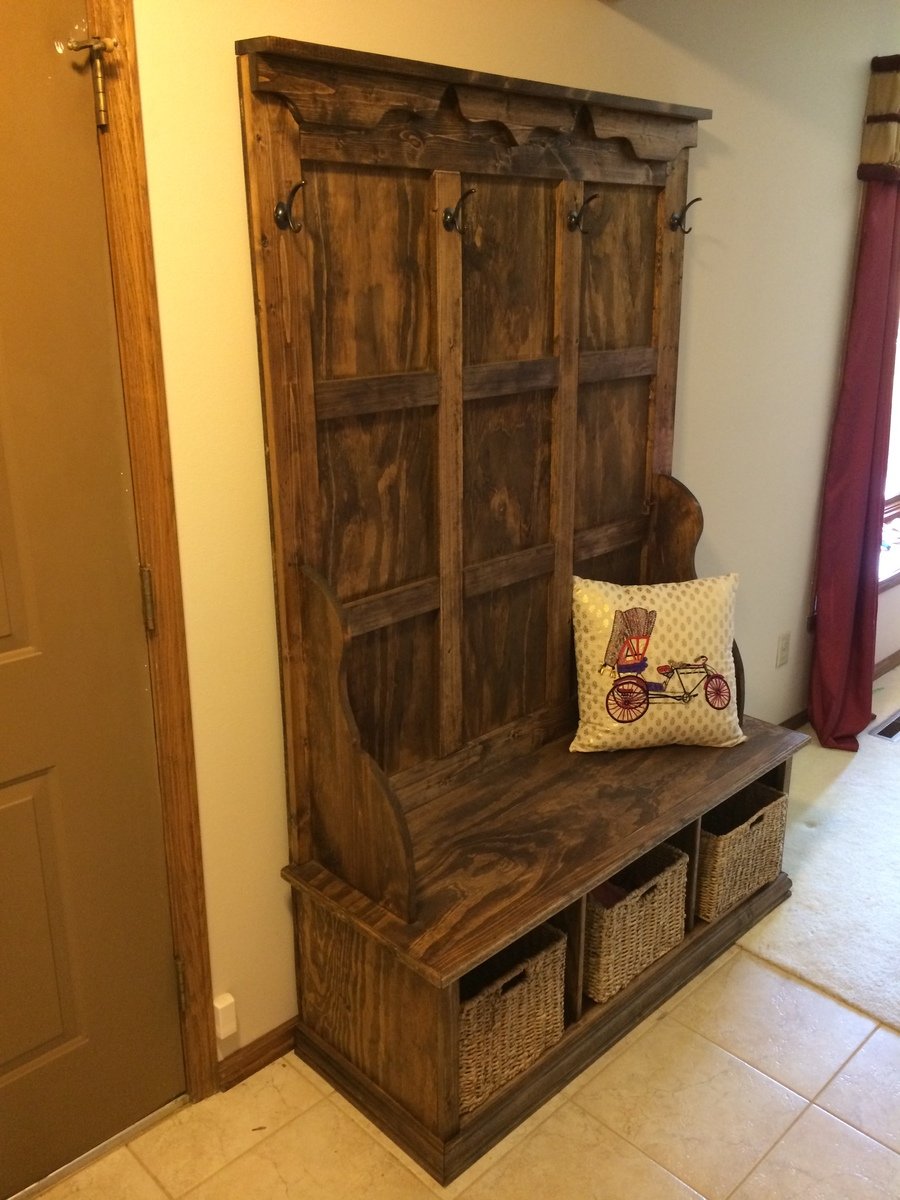
Kitchen prep table
![](/sites/default/files/15941089_1219130138156383_6998655287116065191_n.jpg)
I borrowed a few ideas from multiple plans to make this prep station for a kitchen with very few countertops. I really like the strong tie hardware and I purchased a bamboo benchtop from Home Depot to finish it off.
Built this for my mom as a Christmas gift!
We recently purchased a foreclosure on thirty-five acres and have been diligently rehabbing the property. (That's why the picture shows missing wall trim and unsealed floors!) We needed a desk in order to reclaim our dining table so I decided to build this one. I love how it turned out and it is perfect for our needs.
I designed this closed storage unit for my main bathroom. Two adjustable shelves behind each door make storage very flexible. The open middle shelf is tall and easily accessible for items used multiple times a day.
I built this with a single sheet of plywood. I splurged on nice hinges for a full-overlay door.
I drilled my shelf pin holes using a piece of pegboard as my guide, and some painters tape to mark the depth on my drill bit so I didn't drill too deep.
Getting the doors to hang straight was one of the hardest parts! I apologize that the pictures are all sideways, I don't know how to fix it.
I modified this project to fit my space. I'm pretty new at woodworking but everything was fun to do. One of the hardest parts for me were the legs so I opted for cabinet feet from Ikea. I've gotten so many compliments so far!
Barn door pantry scaled down to 5' x 7' with purple heart header and footer.
I had to add a guide at the bottom of the door to prevent it swinging out. Possibly my entire cabinet (or the wall) is slightly off level which is why it wanted to lean outward. I used a piece of felt inside the guide to prevent it scratching the purple heart.
My inlaws were building a beach house on the coast of NC. After years of going to the beach for family vacation and always renting houses that had water access and boat access, but no where to clean fish when we would return from the pier or boat, I decided to embark on a mission. I was introduced to the Kreg Jig work bench plans and felt that I could adapt this plan into what I wanted to do. I used all pressure treated lunber (including the plywood) and stainless steel fasteners. This did increase the cost, but was necessary for the intended location. I purchased a slab of cutting board material from USplastics.com (24" x 48") and glued and screwed it to the plywood bench top. I then mounted a bar sink and faucet for cold water access and it can either be set up on a dock to drain directly back into the water, or a 5 gallon bucket can be placed below the drain, obviously it could be piped to the drain system of the house also. It came out great. Father in law loved it, and I can't wait to see it get good use.
Great rustic farmhouse dining table
Fun quick project for our new house. I finished this bed in 2 days, and my wife was very happy! I stained it in Jacobean (Minwax), and finished with a clear satin poly.
Bed built off of plans. For one person this was a big job to finish in 3 days, but I was able to get it done before Christmas.
Sat, 12/29/2012 - 08:19
My 6 yr old recieved this bed for Christmas as well and we decided to let her choose the paint colors. This looks great with the purple and white! I love it! I showed her this picture and she likes it too. :)
Fun little project, think I used too many pocket holes, they are really visible, all well, take what you learn.
Thanks for the wonderful plans! This is my 2nd Ana White build (traditional turned leg, pottery barn desk). I used the legs from this build and then leveraged some tips from another blog for the herringbone top using 2 sheets of MDF as a base (http://www.southernrevivals.com/2014/06/tile-top-herringbone-table-make…). My herringbone table took some planning, as it is over 13' long. Now all of my family can eat together when we get together!
Wed, 04/29/2020 - 16:56
This is absolutely gorgeous! I love the unique top you did with the herringbone pattern. I've been debating on trying something similar myself 😁
Thank you Ana!
Love your site!
That was my first wood project, and it turned out awesome!
Here are the unfinished, and the finished version, with transparent matt lacquer.
I also added some wheels for easy moving around.
Yokhai
I was looking for a small entertainment stand that would fit our blu-ray player and cable box, but also some drawers to hold dvd cases. This looked perfect. I have some woodworking experience but not a lot. I've never built anything with drawers before and I was a little nervous about it. The drawers were definitely the most challenging part and took some modification. If I built it again, I'd rip an extra 1/4" off the drawer sides so they'd fit better vertically. Other than that though, the plans were great. The project turned out very nice and I'm very happy with it.
Thanks for the great plans. I got your book for Christmas!
Measuring 8' long, 36" tall, 20" deep, and weighing nearly 400lbs, this is truly a MEGA BUFFET!
Cabinet Materials: 3/4" cabinet-grade birch plywood sub-frame. 1/4" V-groove rear paneling. American Poplar face-frame
Top: 2-1/2" thick American Spalted Ambrosia Maple flitch
Hardware: Custom
I built this chair out of scrap lumber and leftover stain I had on hand for proof of concept. I love it. I’m calling it the sherbet chair, lol. I’ll definitely be making more in the future. I learned a lot in the process.
I built these for my son for Christmas. They were very easy to build (the 2nd chair turned out much better than the first, however!) and I am very pleased to have discovered this site. Thanks!
I made the countertop with 2 plywood boards screwed together and topped the stainless steel with heavy duty adhesive. I adjusted the plans a little to accommodate my space. Thanks for the plans! It was a fun build!
This is my more traditional take on the modern craft table (I guess that means it isn't technically "modern"!). We call it the "Lego Table" at our house. I doubled up the ends like others have so that my two daughters can have their own sides. My wife asked that the there be backs on the side shelves so that items aren't pushed off. I also added trim around the tabletop and molding to give it a bit more traditional appearance. Finally, I made the shelves adjustable.
I’m very excited for my first project. Not to be boastful, but I am very proud of myself. So my wife decided she wanted a kitchen island. I began from the top of the plans and about halfway through I realized I have a small kitchen. The wife came in and said “that’s way to big). So I had to make a lot of adjustments. For instance, the 4x4 legs became 2x2. I was afraid it would not be sturdy enough, but it turned out nice. I left out the portion of the plans for the range and just made a bigger shelf to accommodate my wife’s mixers and other large kitchen items. Instead of a second shelf I made a slide out trash can (single instead of double). It fits the kitchen well and more importantly the wife loves it. Now to build stools. Thanks to your site Ana, I was able to make a place for my family to have dinner together. My daughter helped me with this project and has been asking when we will start our next project.
Sun, 10/18/2020 - 12:50
You did a fabulous job, huge pat on the back! Can't wait to see your next project!
If you'd like to build a very inexpensive chair and bench for your boat dock out of just 2 x 4s and 1 x 2's that is extremely sturdy, then this project is for you. As you can see by the picture, I used the Kreg jig, 2 cordless drills. Also a chop saw to cut the materials.
Wed, 01/02/2013 - 20:23
These are great! Where are the plans for these??? I've been looking for a bench just like this.