Garden Bench
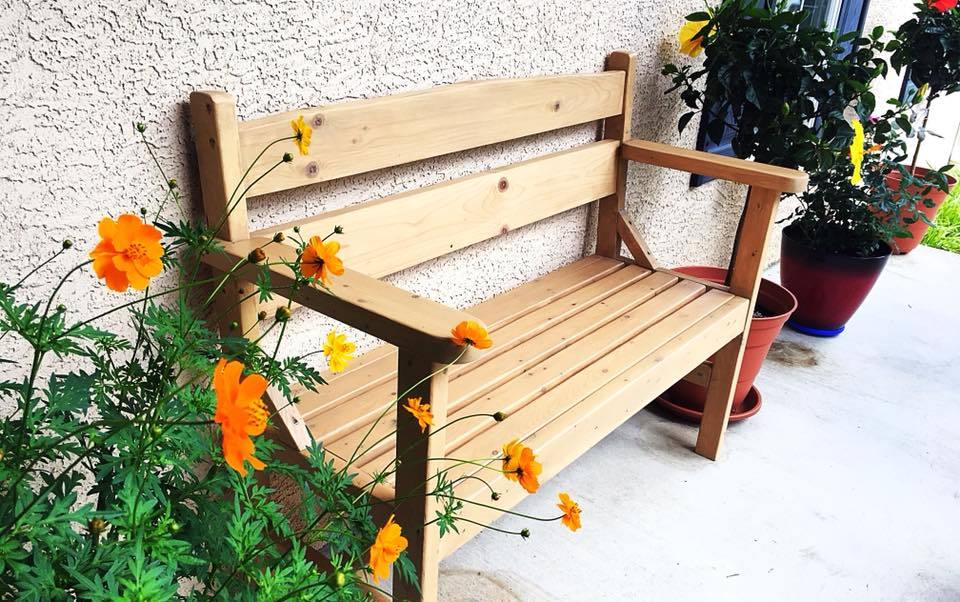
Used the plans changed some dimensions a little bit.
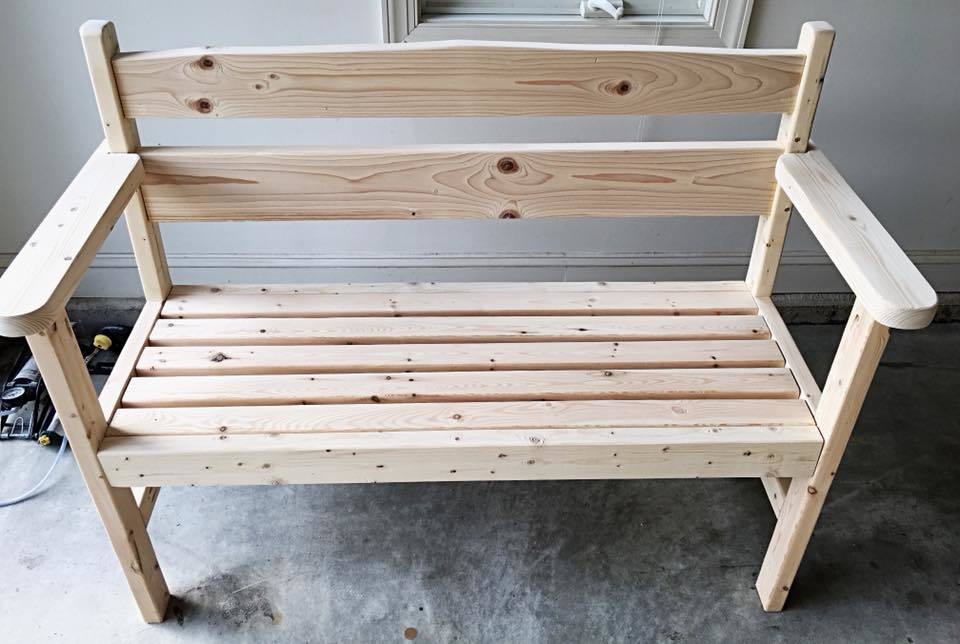
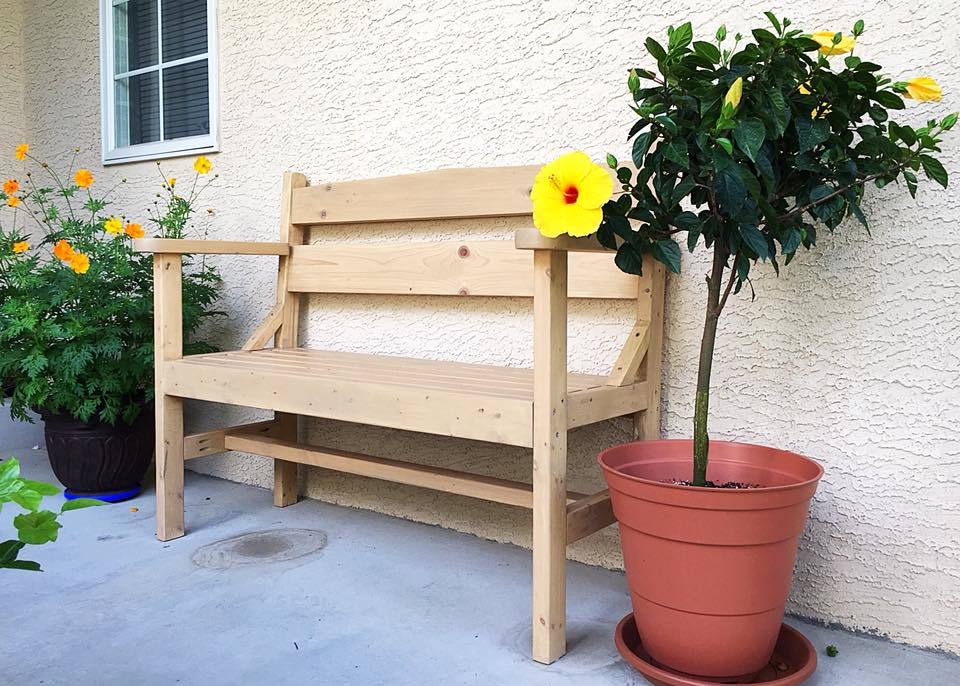

Used the plans changed some dimensions a little bit.


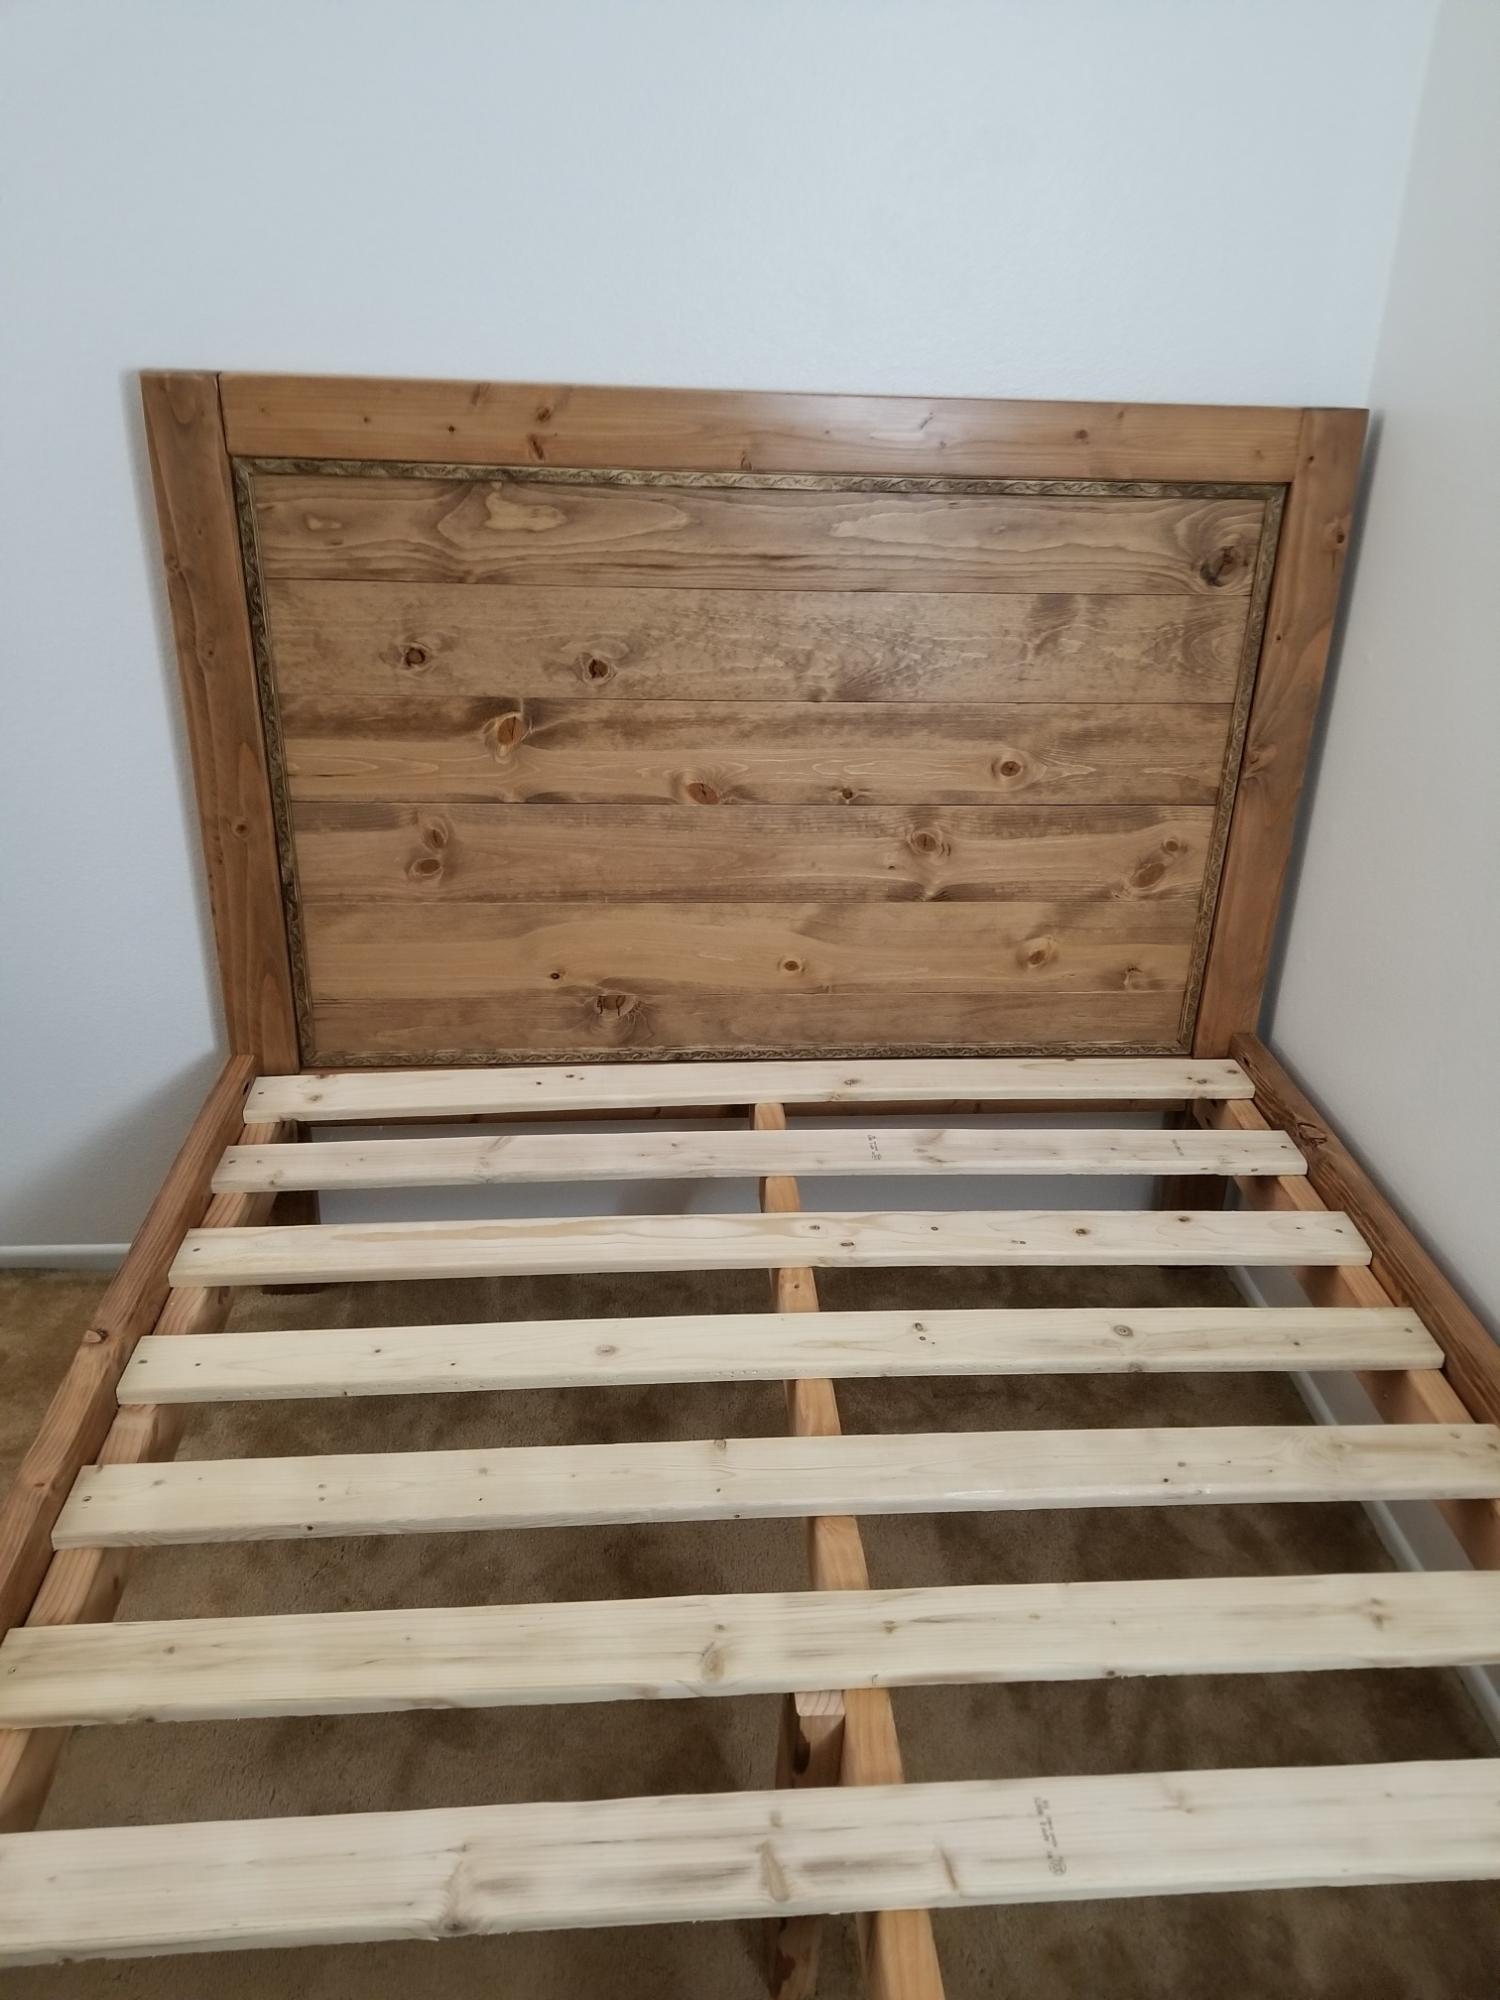
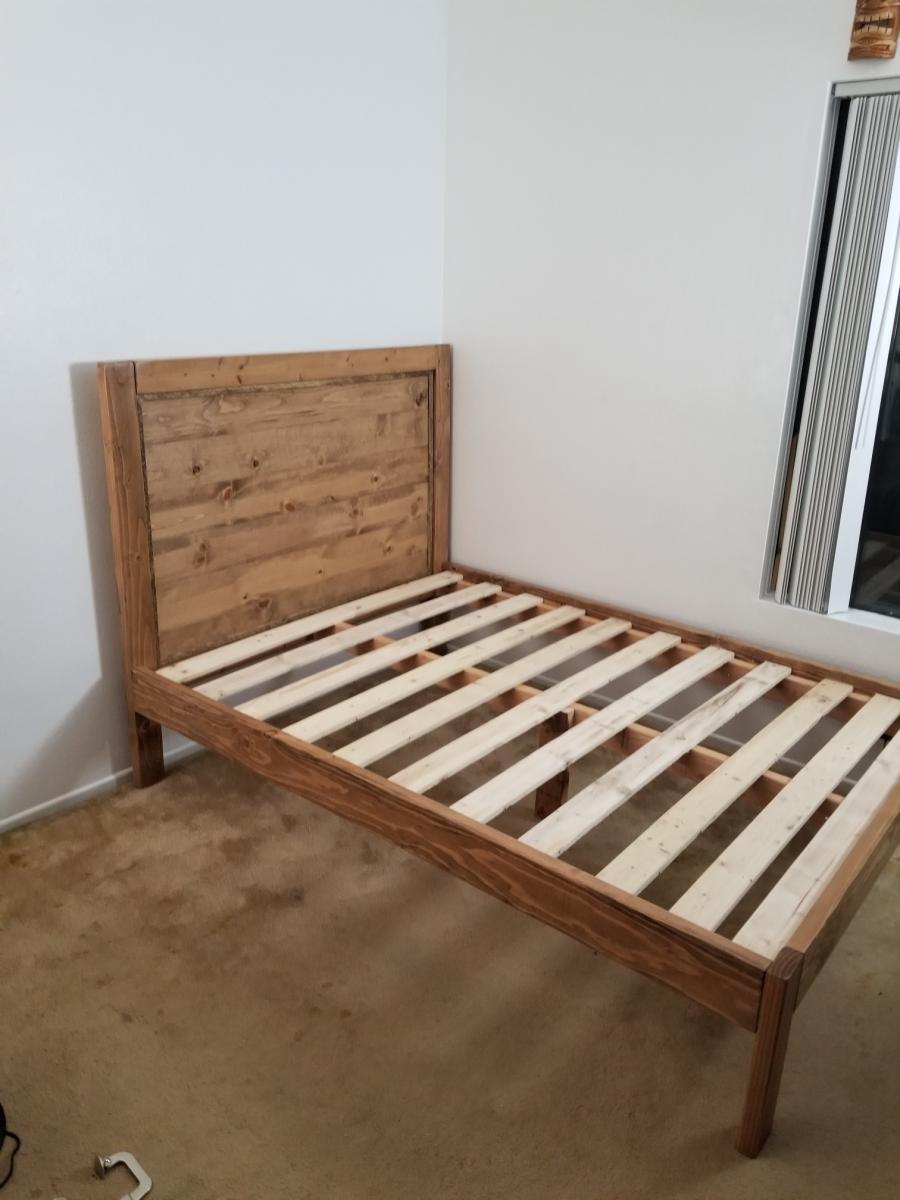
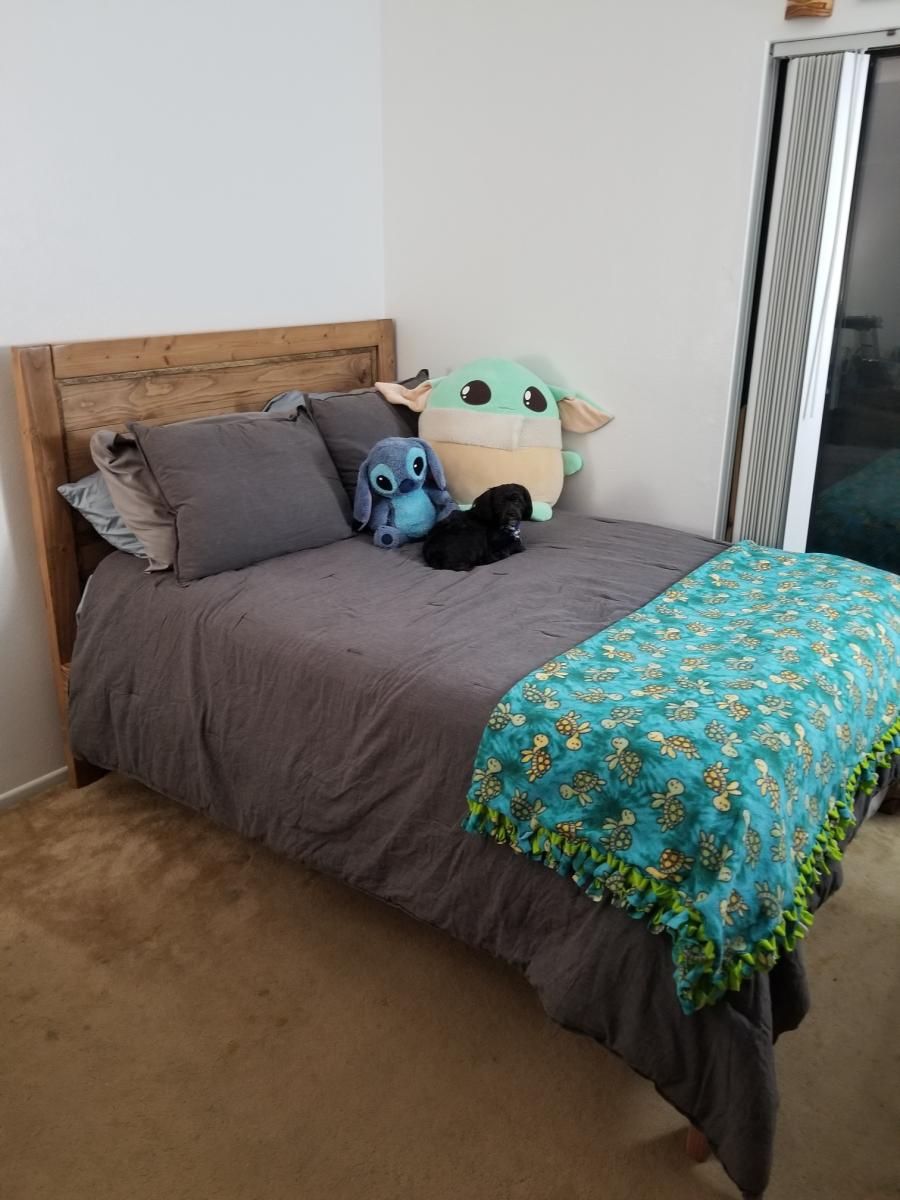
My grandaughter and I built the super simple bed and modified the Hailey planked headboard. We used common douglas fir from Home Depot. The finish is equal parts Minwax cherry and early american with 3 coats of Minwax wipe on poly with a light sanding with 220 grit between coats. Total cost was about 250.00.
The play kitchen is the favorite play area at our house! The girls and their friends play here for hours and that includes our 11 year old and her friends too! If you haven't built this set yet, it is a must! Give yourself plenty of time to finish it if you're going to give it as a gift because for me, the building was the easy part! It's the finish work that takes FOREVER!
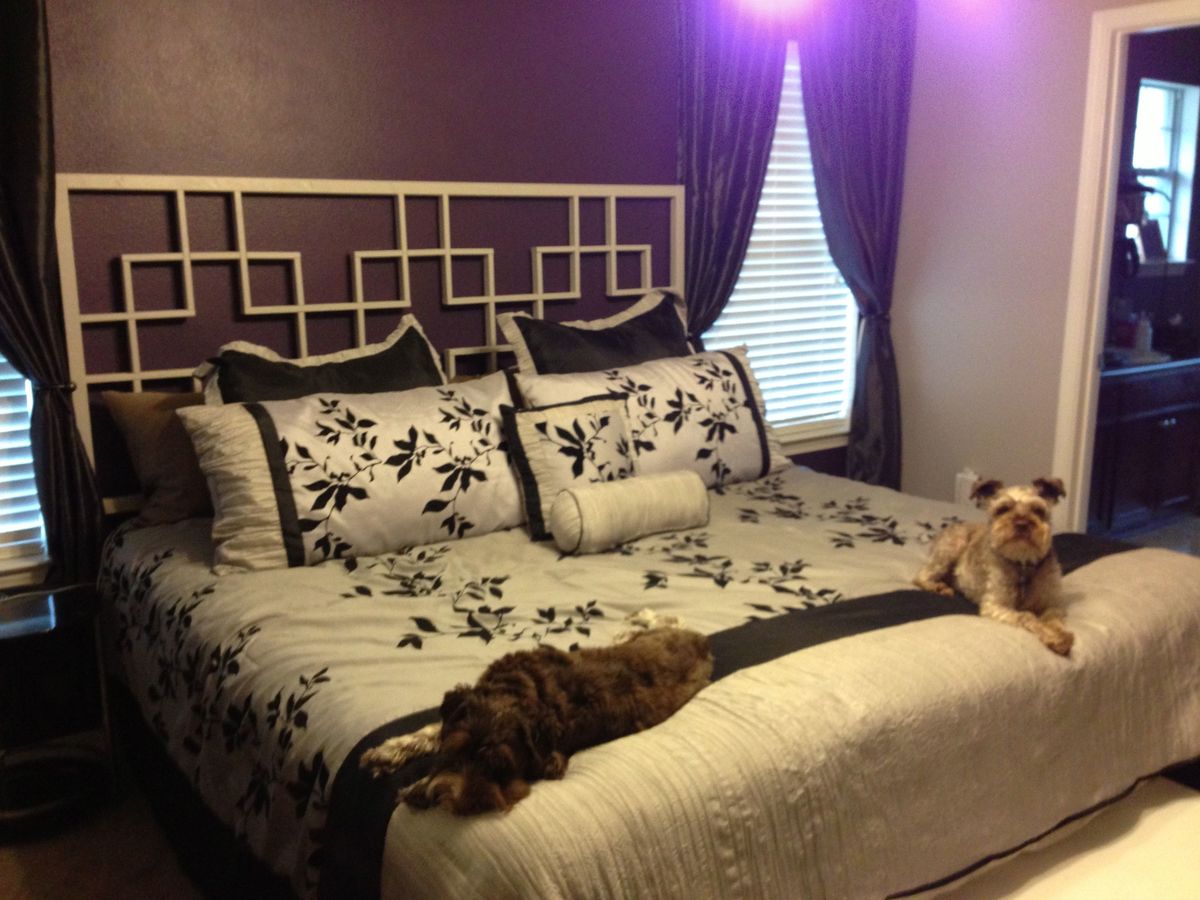
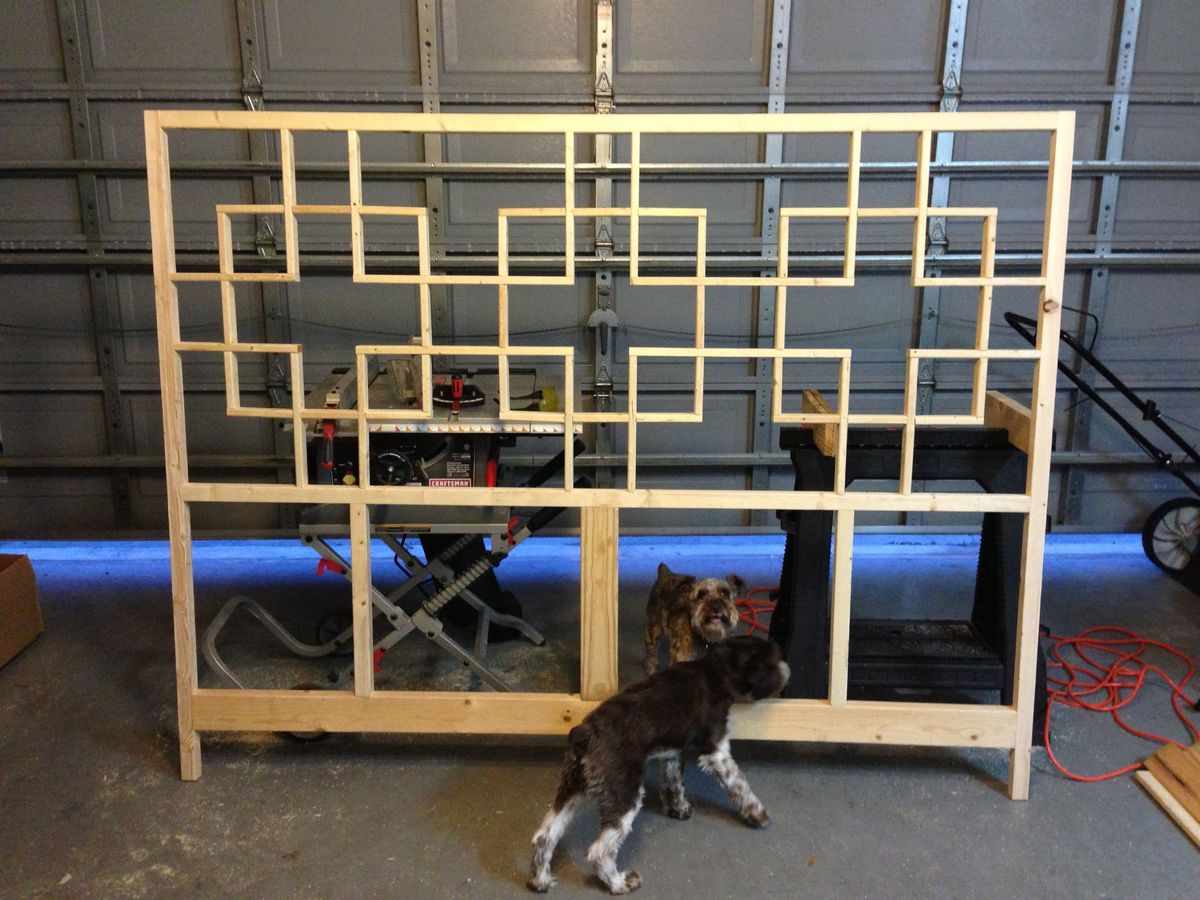
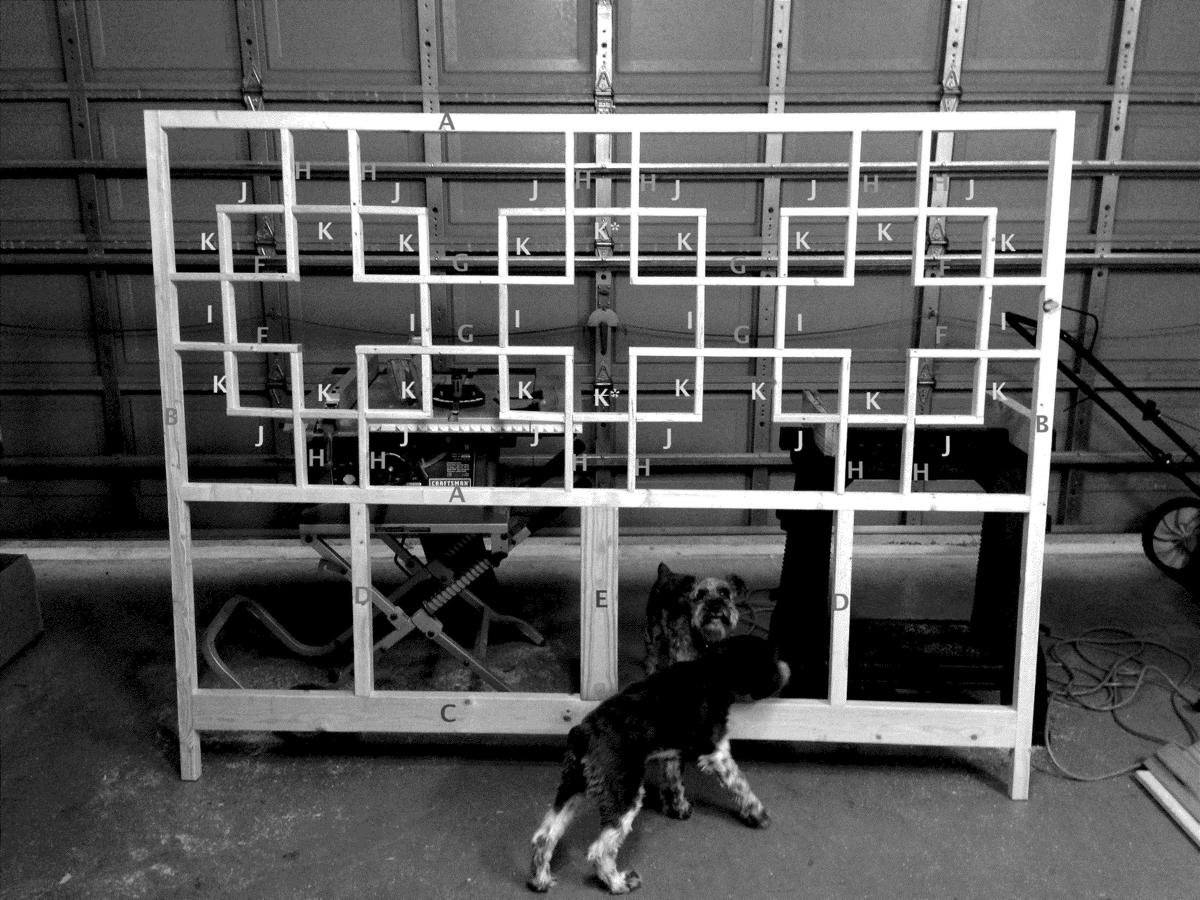
Adapted the original Queen plans to a King with a bed height of 27". Thanks for the original plans. Here are the adapted cuts to match the labeled photo:
Squared2 Headboard – King Size Cutlist for bed height of 27”
A - 2” x 2” x 76 ½” x2
B - 2” x 2” x 61 ½” x2
C - 2” x 4” x 76 ½” x1
D - 2” x 2” x 18 ½” x2
E - 2” x 4” x 18 ½” x1
F - 1” x 2” x 11 1/16” x4
G - 1” x 2” x 19 ½” x4
H - 1” x 2” x 12 ¼” x12
I - 1” x 2” x 5 ½” x6
J - 1” x 2” x 5 7/8” x12
K - 1” x 2” x 5 1/8” x18 K* - (May need to be trimmed to 5”)
Lumber needed
2” x 2” x 8’ x4
2” x 4” x 8’ x1
1” x 2” x 8’ x5
1” x 2” board cuts
|
19 ½” 19 ½” 19 ½” 19 ½” 5 1/8” 5 ½” 5 ½” |
11 1/16” 11 1/16” 11 1/16” 11 1/16” 12 ¼” 12 ¼” 12 ¼” 12 ¼” |
12 ¼” 12 ¼” 12 ¼” 12 ¼” 5 1/8” 5 1/8” 5 7/8” 5 7/8” 5 7/8” 5 7/8” 5 7/8” 5 7/8” |
12 ¼” 12 ¼” 12 ¼” 12 ¼” 5 1/8” 5 1/8” 5 7/8” 5 7/8” 5 7/8” 5 7/8” 5 7/8” 5 7/8” |
5 1/8” 5 1/8” 5 1/8” 5 1/8” 5 1/8” 5 1/8” 5 1/8” 5 1/8” 5 1/8” 5 1/8” 5 1/8” 5 1/8” 5 1/8” 5 ½” 5 ½” 5 ½” 5 ½” |
Sat, 08/17/2013 - 16:19
Phew, this pattern requires a lot of math, doesn't it? You did an excellent job of customizing the headboard to the size you need!
I'm working (today) on getting measurements right for a Squared2 Dining Table, so seeing your finished product is helpful. =D Thank you!
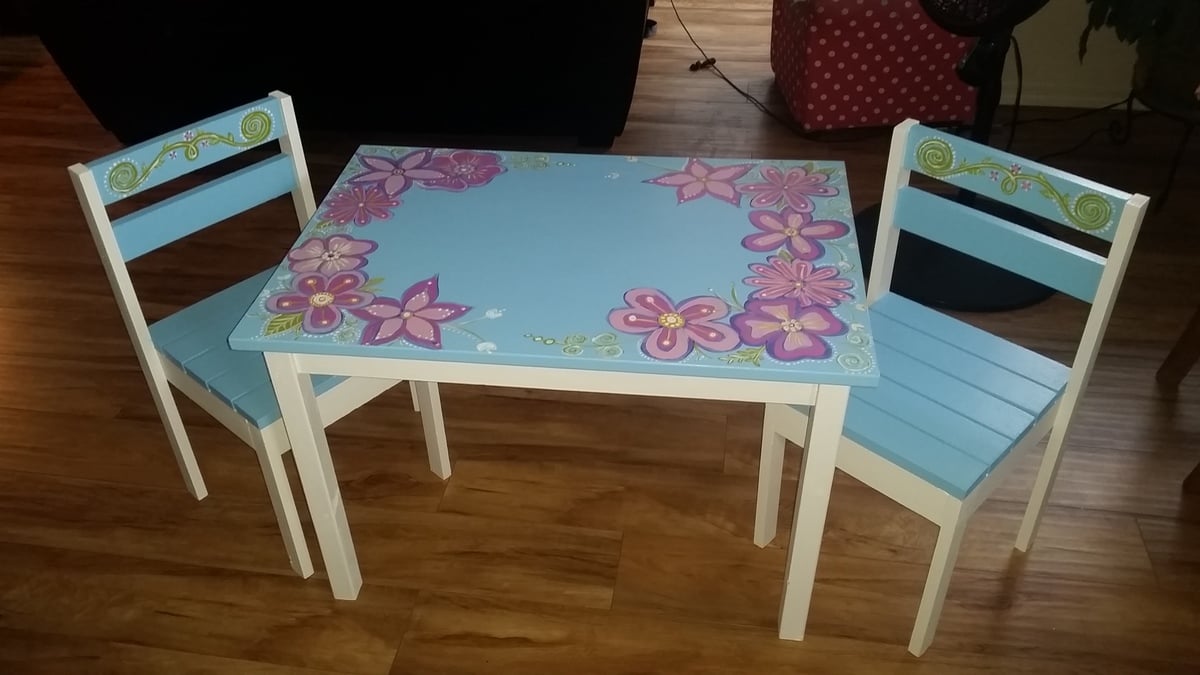
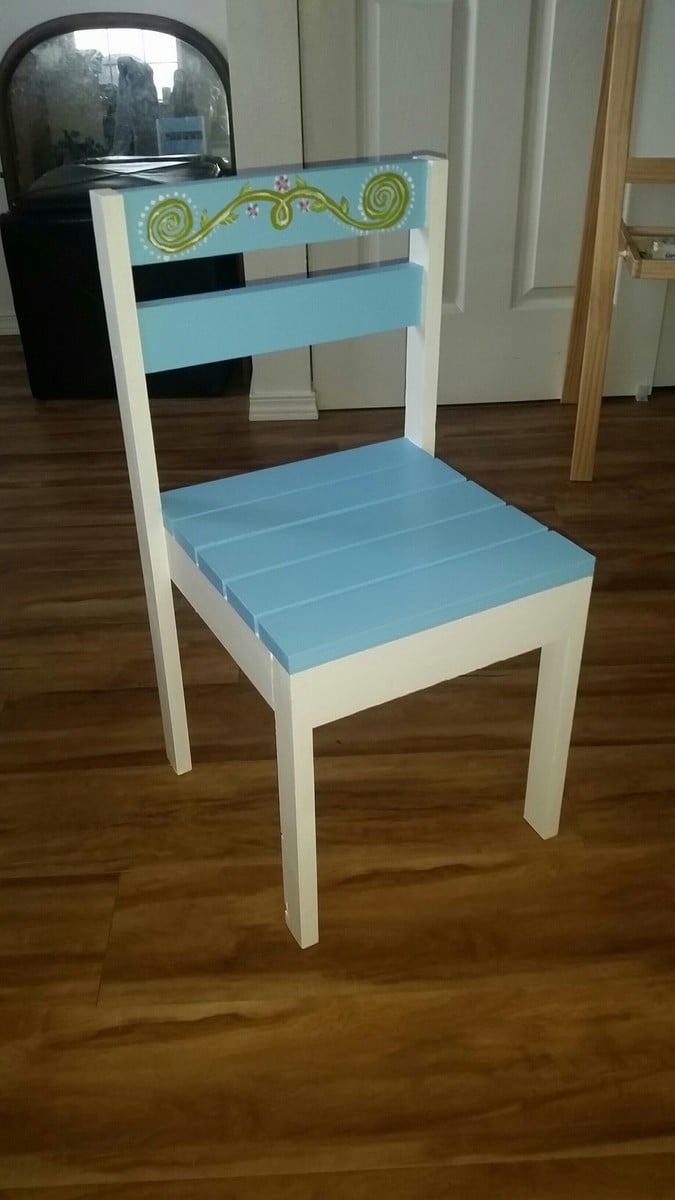
My daughter needed a table and chairs for her room and we luckily ran across these fantastic plans. Thanks!
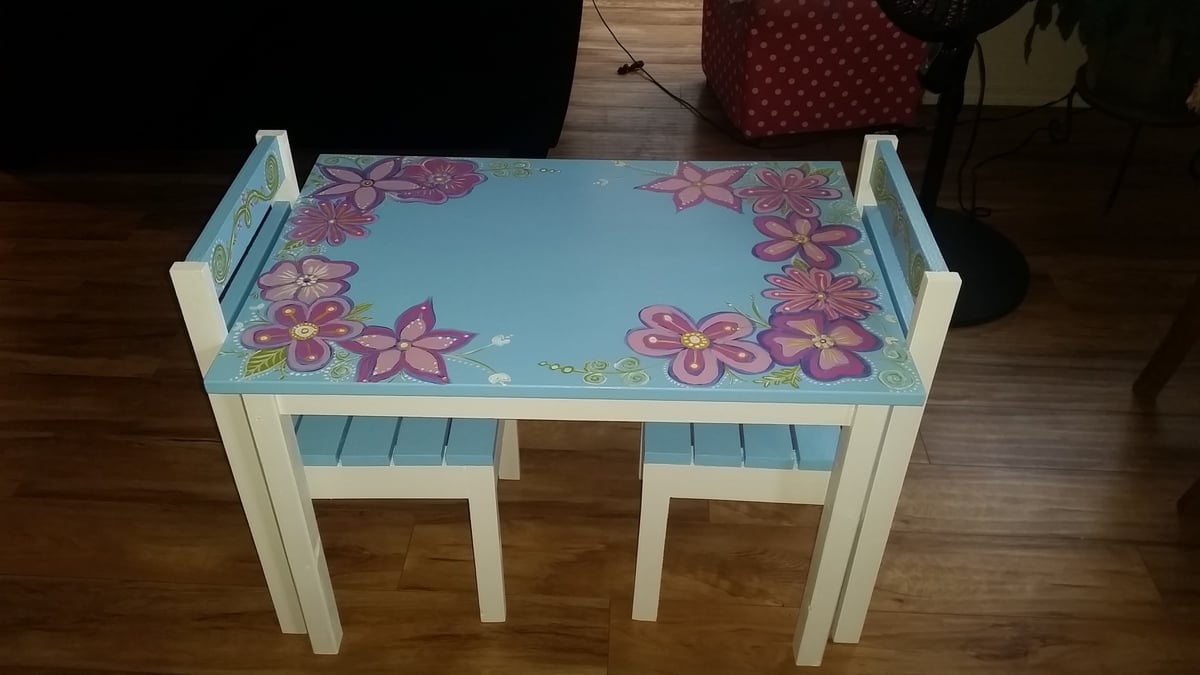
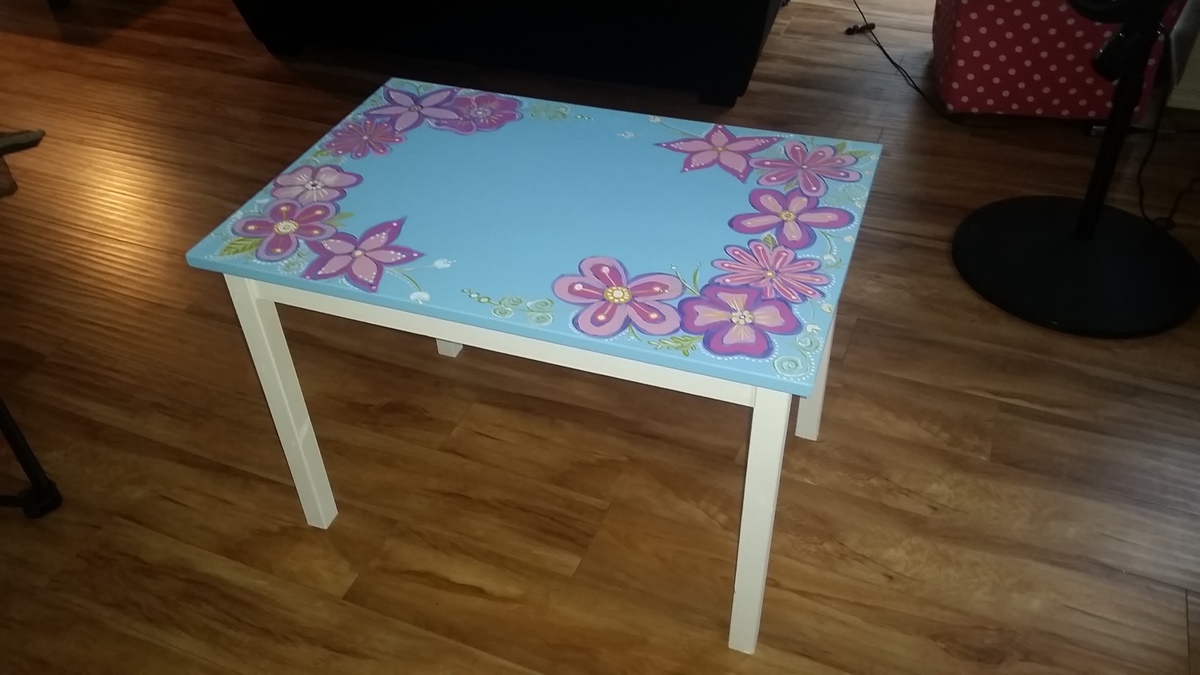
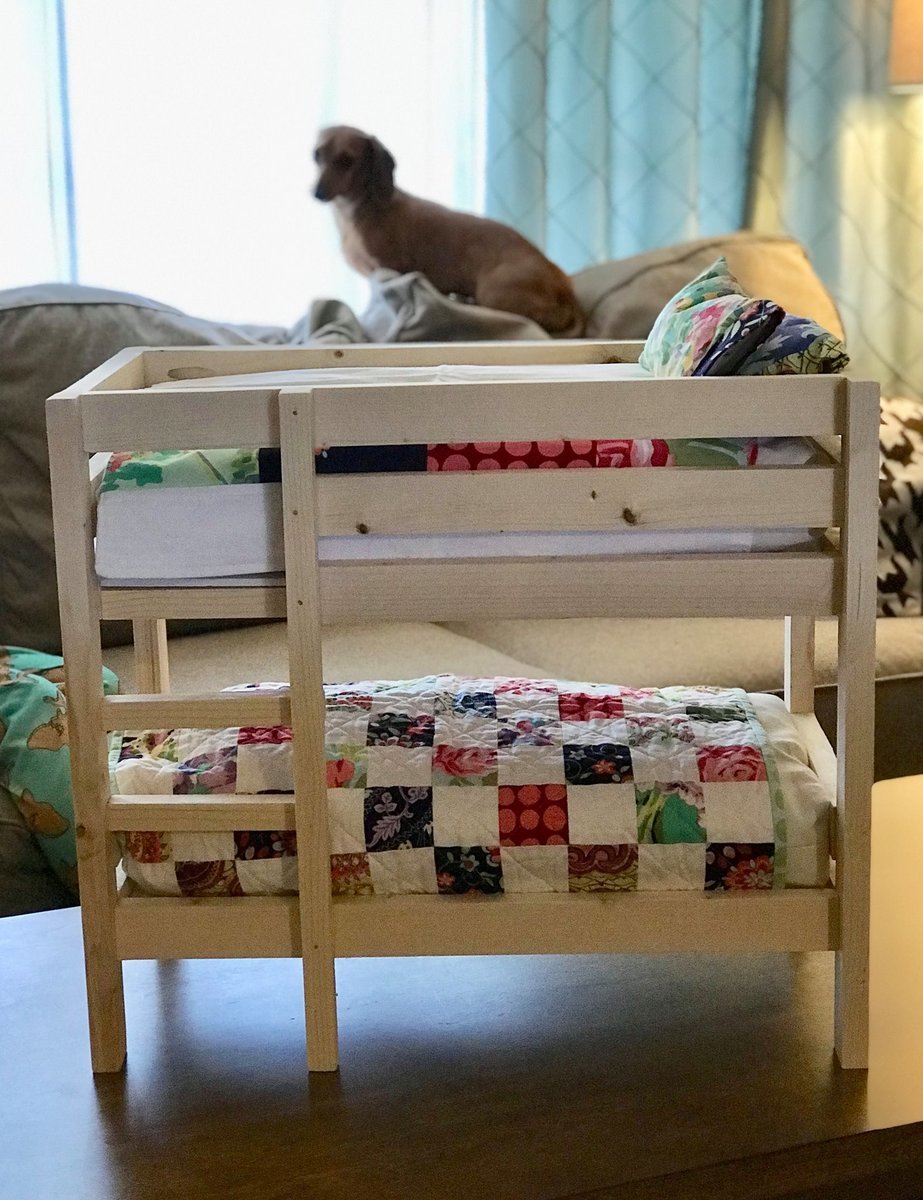
The plans were super simple, and I had it finished in about an hour (worked around the little's nap schedule). I left it unfinished so that the recipient could paint it or stain it however she wanted. It was so nice to see it built and the bedding dressed up before kids got to it. :) I will definitely build another for my own daughter as soon as she's old enough to have her own American Girl doll.
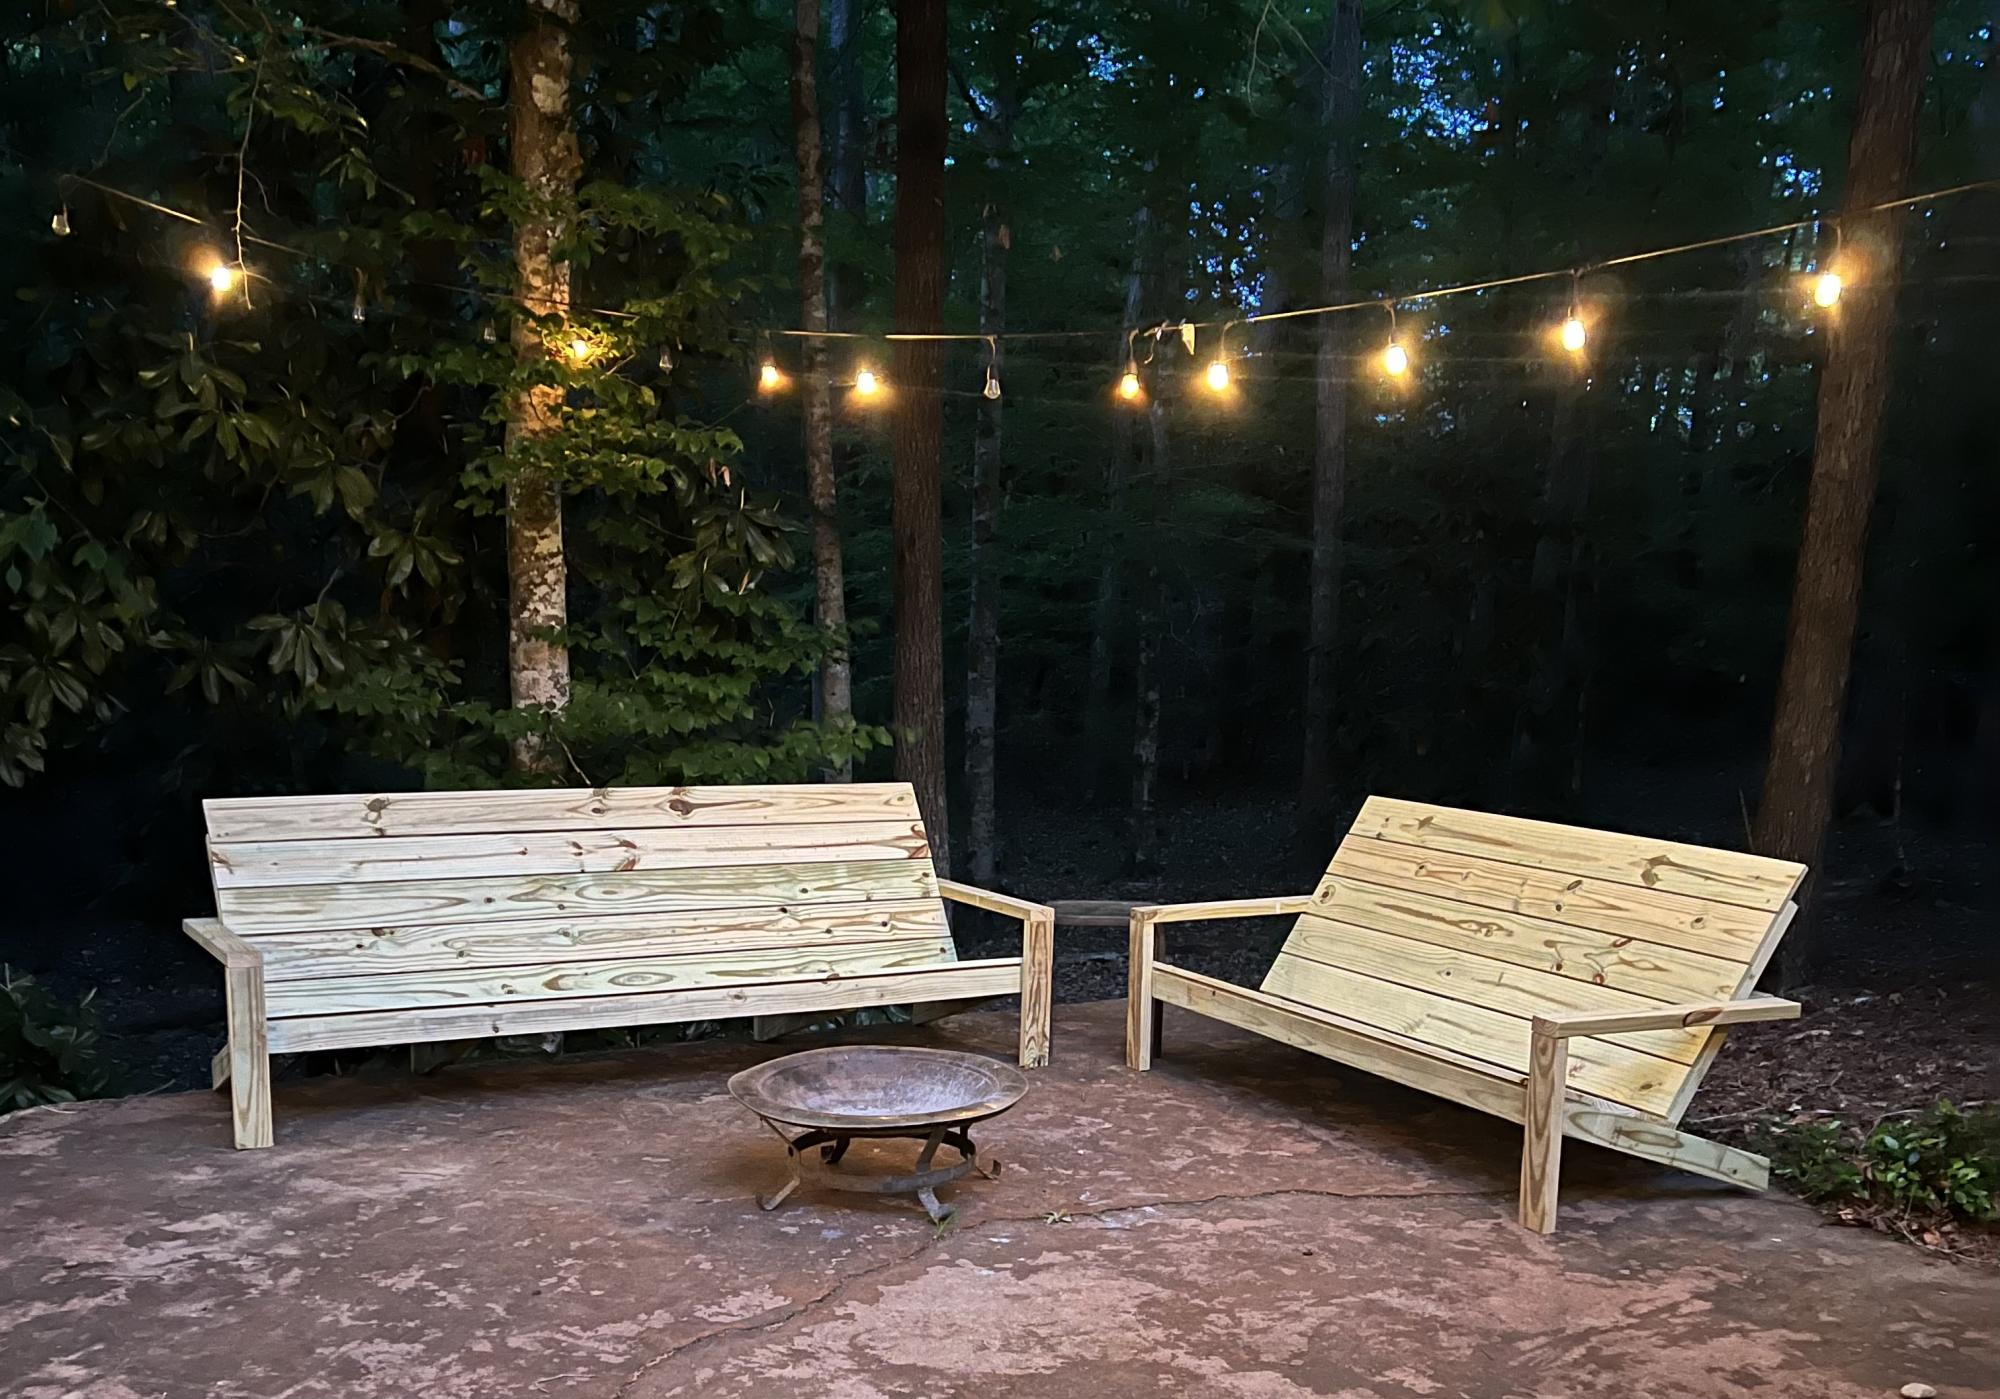
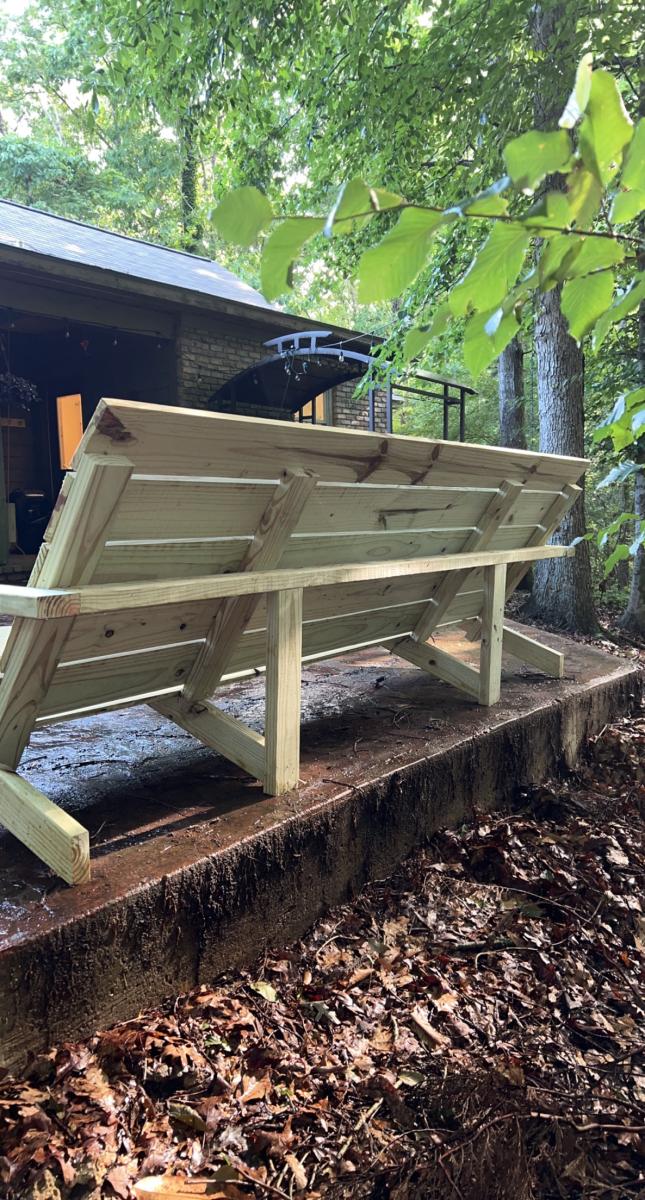
I fell in love with the modern Adirondack chairs, I love how comfortable and simple they are. But I wanted benches to go around my fire pit area. So I decided to modify the modern Adirondack chairs to make 6ft and 8ft benches. I added in extra supports (of course) but it was an easy mod with a gorgeous outcome!
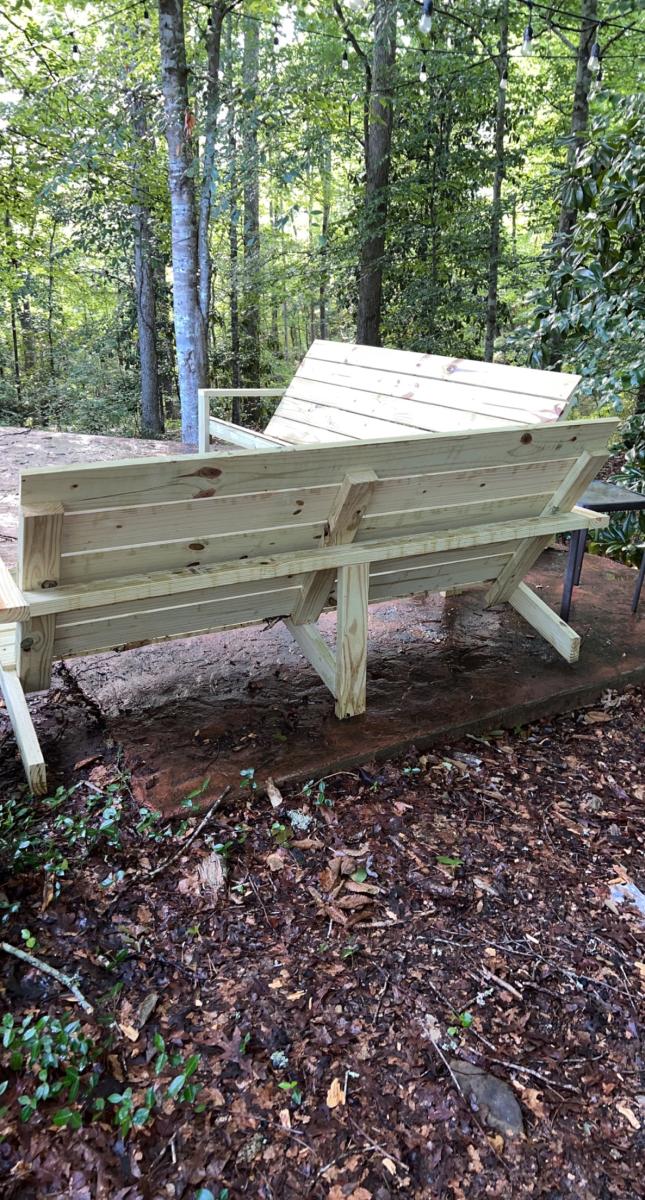

I took the plans and got a little creative with them. Really easy to build.
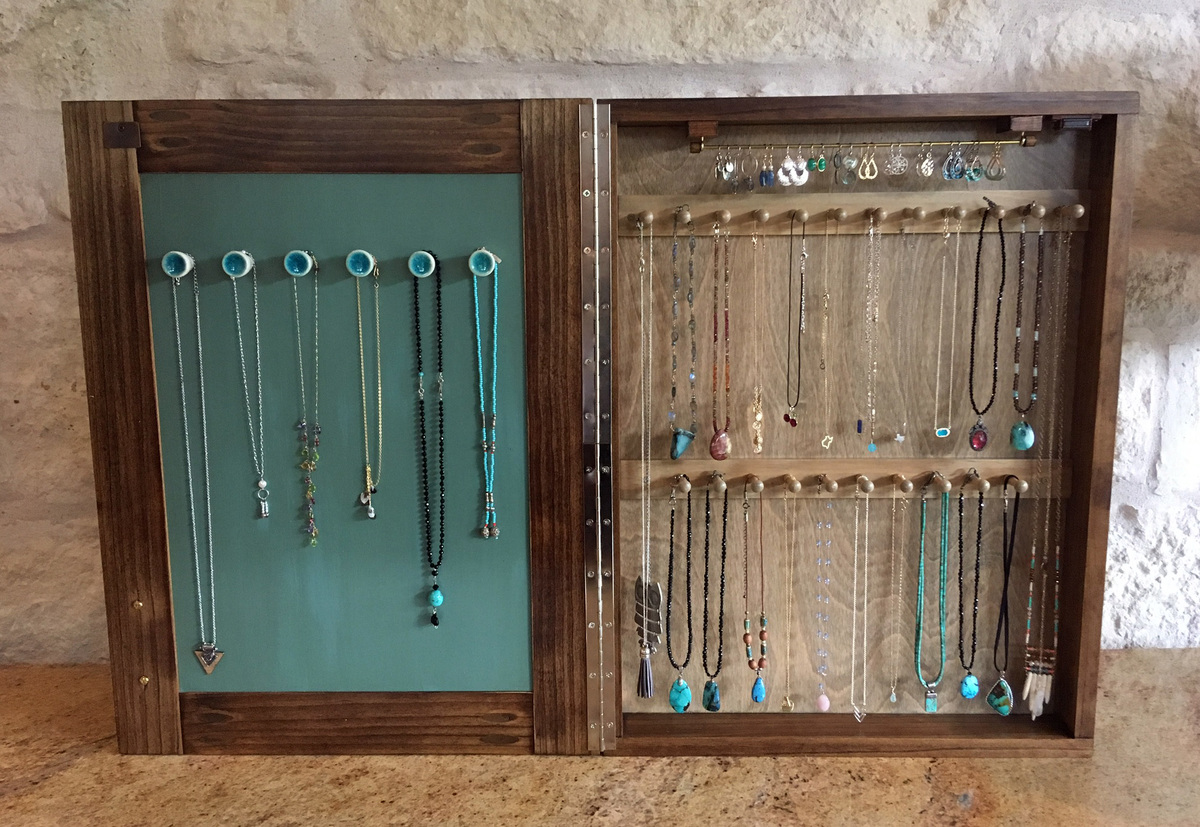
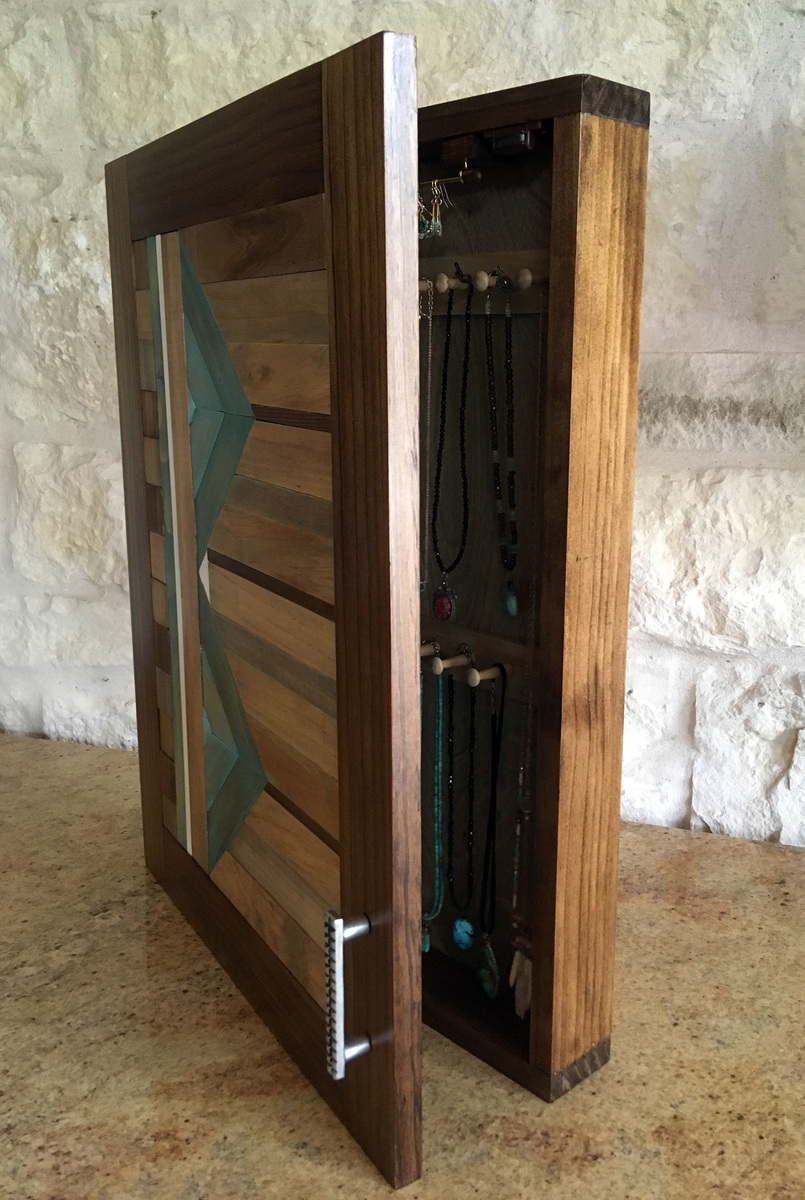
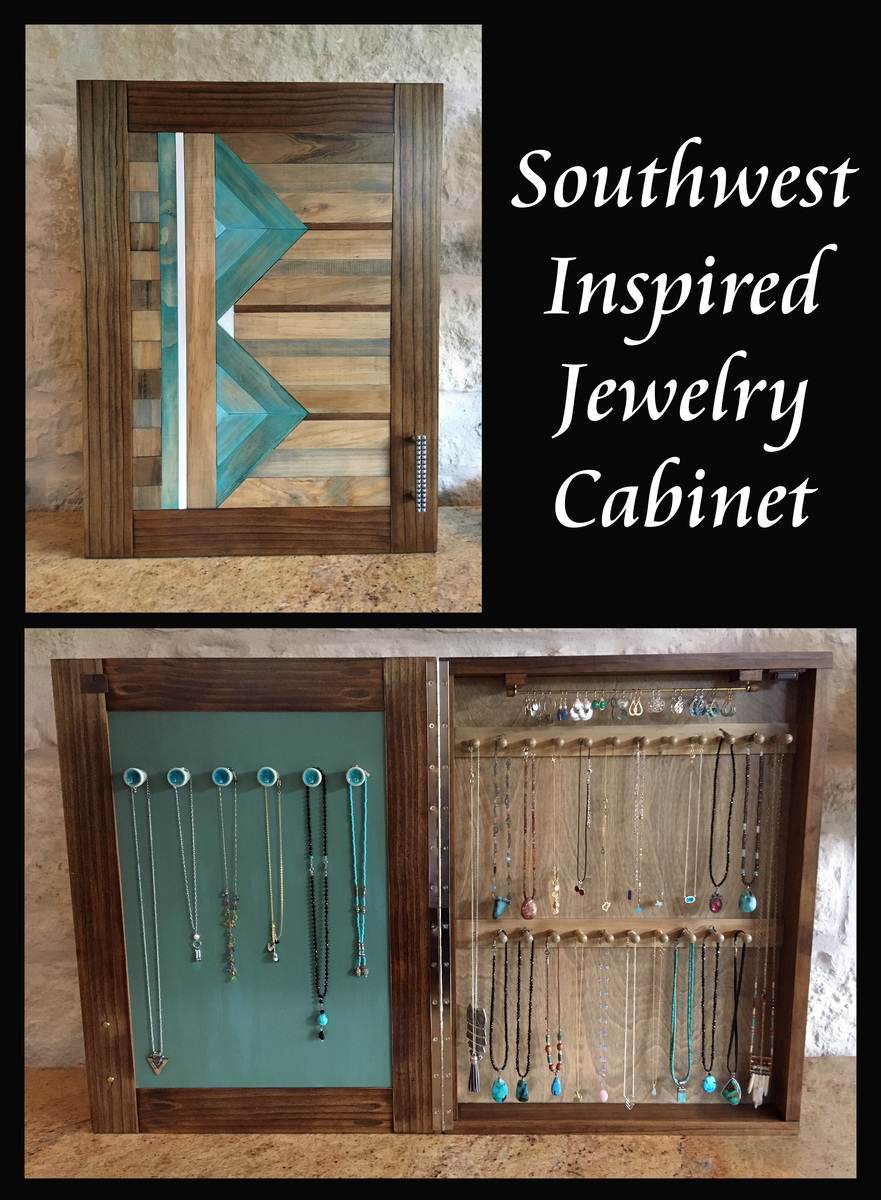
This was inspired by Ana's wall jewelry cabinet, but with a few changes. I specifically wanted the long shaker style pegs so that I could hang several necklaces on each peg. I also wanted an earring bar, and fashioned one out of an 1/8" brass rod (found on amazon), after experimenting with a few different options. This particular option was small enough to easily hold the earrings, but sturdy enough to hold the weight. To "cap off" the brass rod, I cut a few pieces off a thick dowel rod, and ran a drill through them.
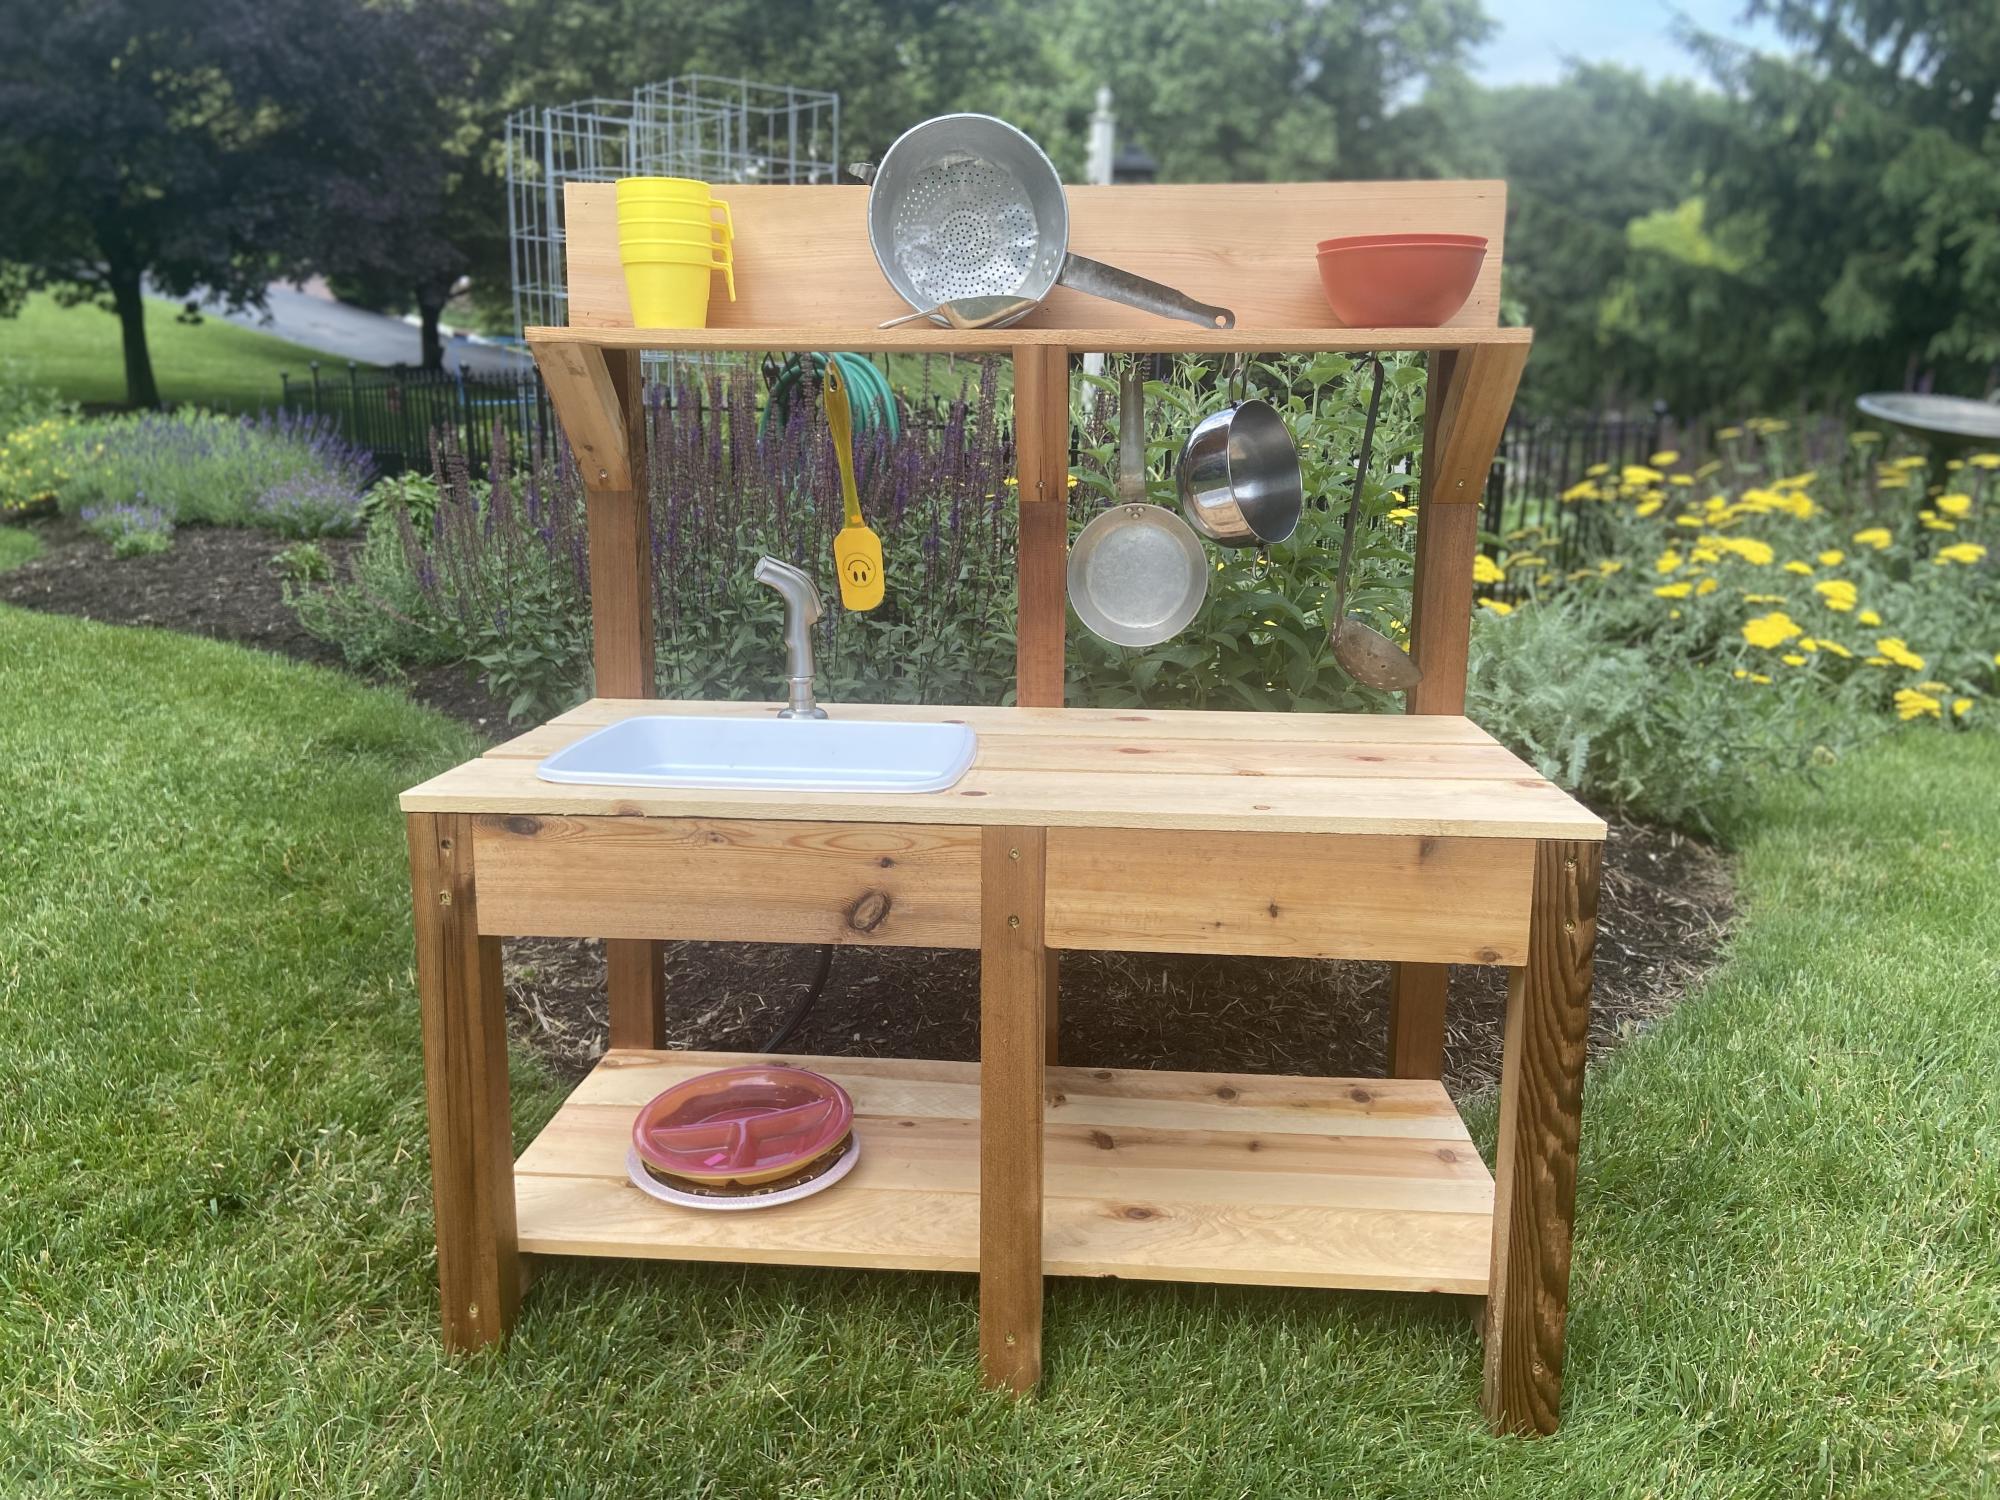
My niece requested this for her fourth birthday. Hoping this earns me the best Aunt award! Had some 6x6 cedar scraps from a project, cut them down, and voila!
Mon, 06/13/2022 - 11:51
And the best aunt award goes to YOU!!! Thanks for sharing:)
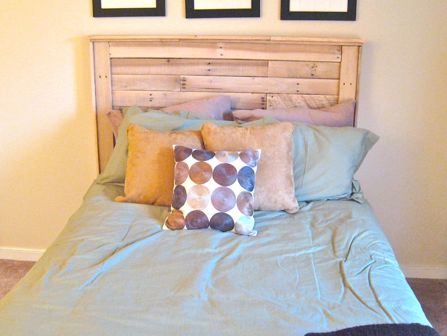
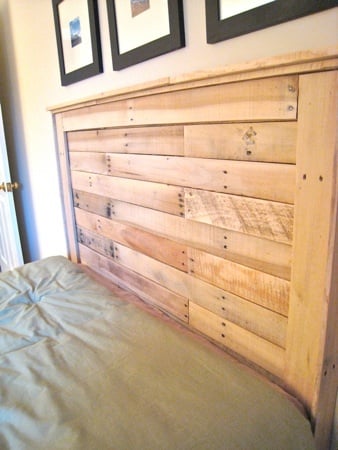
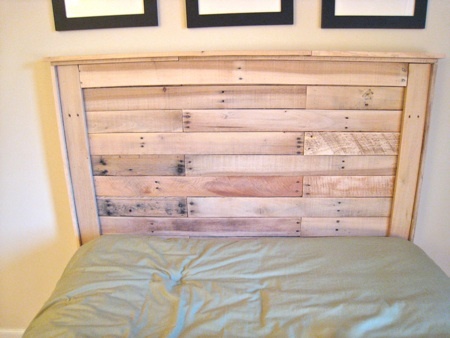
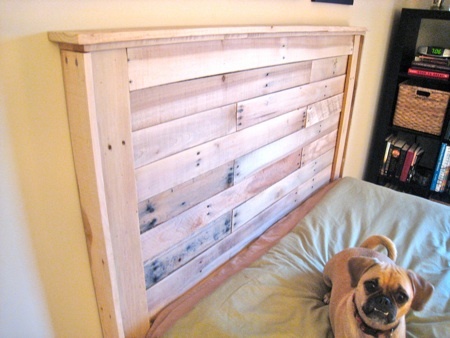
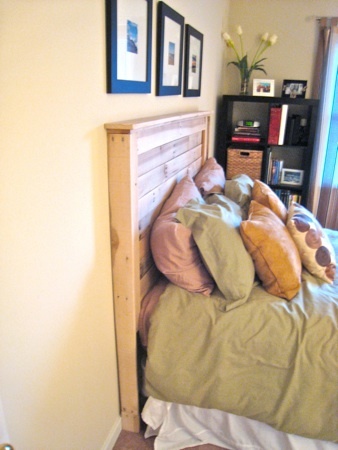
I've been using a bunch of FREE pallets on some projects here lately and decided to make the Reclaimed Wood Headboard with the pallet wood that I had. Every piece of wood came from pallets and it turned out pretty great. We're still undecided about if/how we want to stain it....but for now it's all natural'. I made mine a couple inches shorter then the plans called for and an inche or two narrower based on the measurements of our Full Size Bed. I documented this project as best as I could at: http://www.tommyandellie.com/Site/Home/Entries/2011/7/20_Entry_1.html
Wed, 07/20/2011 - 05:37
Looks beautiful. I wouldn't stain it. Just put a clear finish on it and call it good.
Sun, 07/24/2011 - 10:08
One of my favorite things is to use pallets for lumber! I have finished pallet wood before successfully using Minwax Poly-shades. Love Golden Oak as it doesn't do much but enhance the grain...grab a few samples and try them out on some scrap boards, that's the only way you will know how it will look in the end! Best of luck!
Thu, 01/26/2012 - 19:21
we tried the link for this project and it said error. Would love to make this for our bedroom. could you please let me know the directions?
Thanks!
In reply to reclaimed wood headboard from pallets link by Guest (not verified)
Fri, 01/27/2012 - 09:00
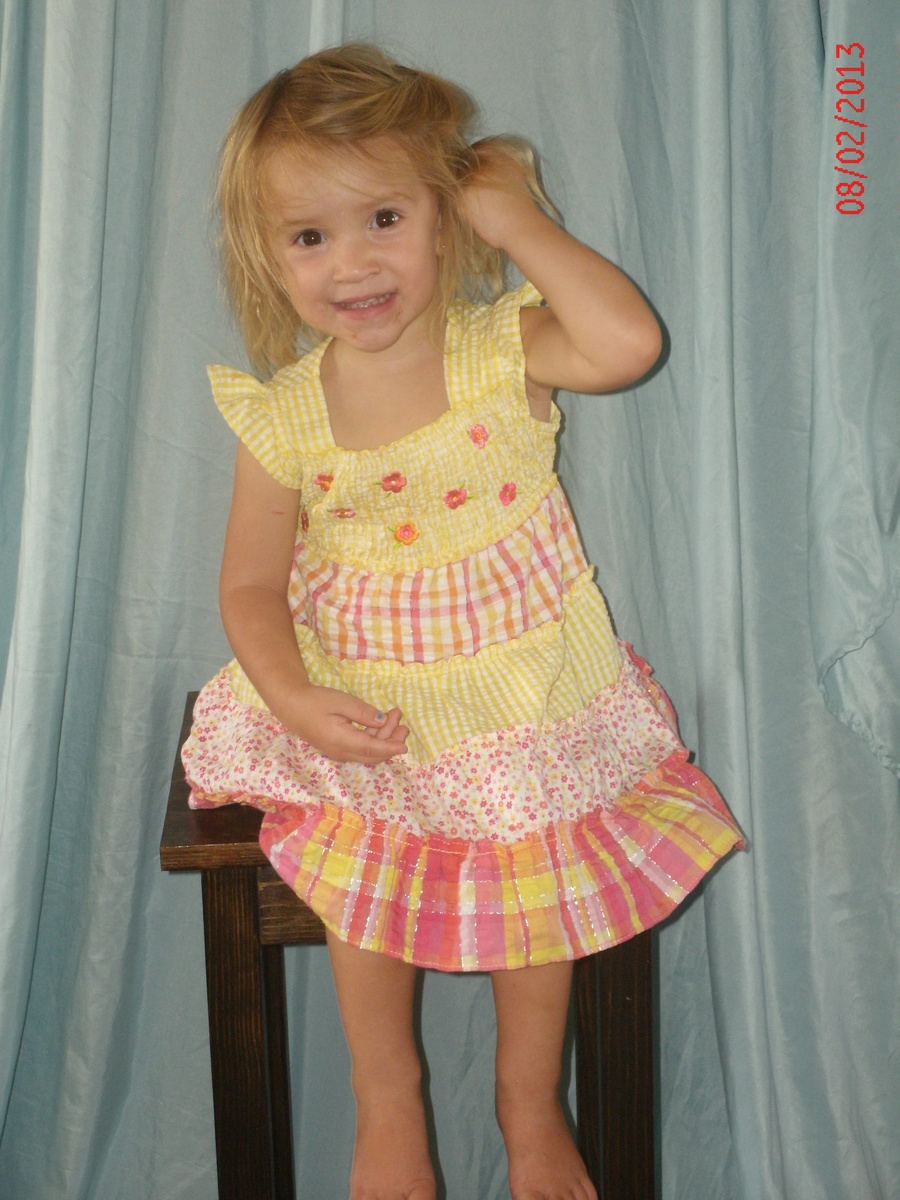
We pretty much followed the plan with the exception of making the legs 28" tall and then removing the middle bar and then adding two additional supports 4" higher than the lower ones and put them on the opposite sides as the lower one. It formed a ladder like thing which we wanted since this was for kids starting at age 3. I hope that makes sense it doesn't really sound right to me but anyways moving one. It was really fun to make these I made three for my older sister since the walmart specials that she bought were horrible and falling apart after a short amount of time. They were easy two do probably about a day of cutting and assembling and then a day of staining and polying however if you were only doing one then it would be a day project at most. My other tip is that after cutting all the pieces I sanded them which made it nice after putting the top on and not having to worry about if the parts in between the two pieces touching was sanded enough not to give the kids splinters. And the best part was that I got a new tool which I love, the Kreg pocket hole jig. It was fun. I did have some splitting on the test wood pieces (scraps from cutting pieces for the stool) so instead of having the aprons flush I used an old cd case under the apron and attached them that way it was close to center but no worries about splitting and was super easy to do.
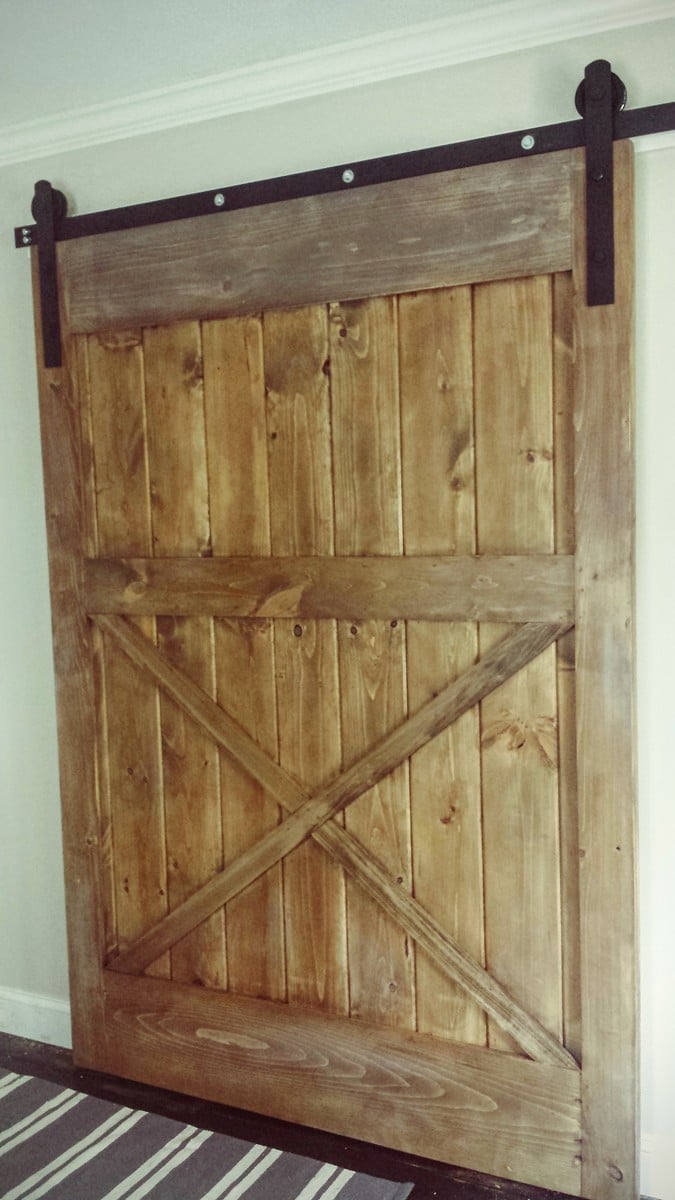
To date this has been my favorite and fullfilling DIY project!! Skills were learned, $$ was saved and it looks fabulous!!! It wasnt easy but it wasn't impossible. April WIlkerson provides a detailed tutorial on her website along with a fantastic youtube video on her channell. I hope this inspires someone else to take on this challenge!! If you have any any questions please feel free to ask me!! Enjoy.
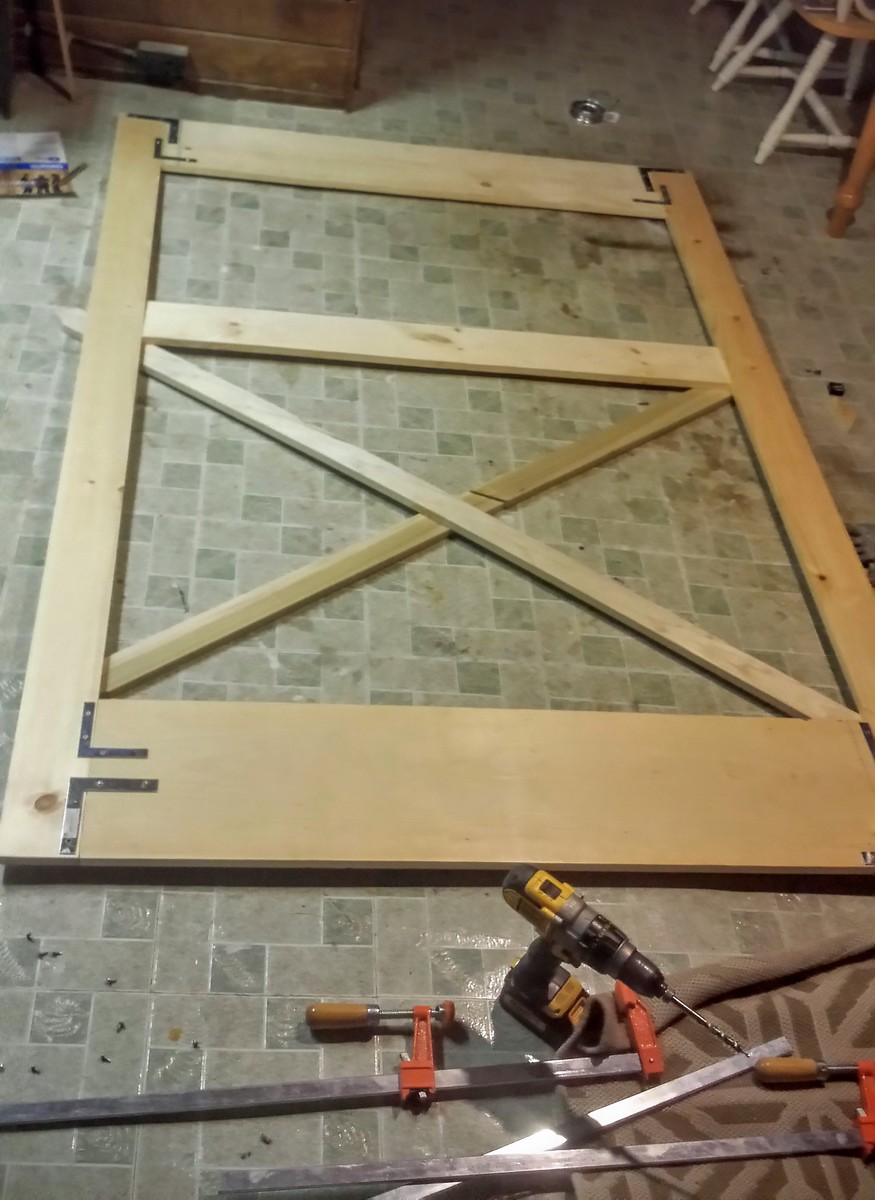
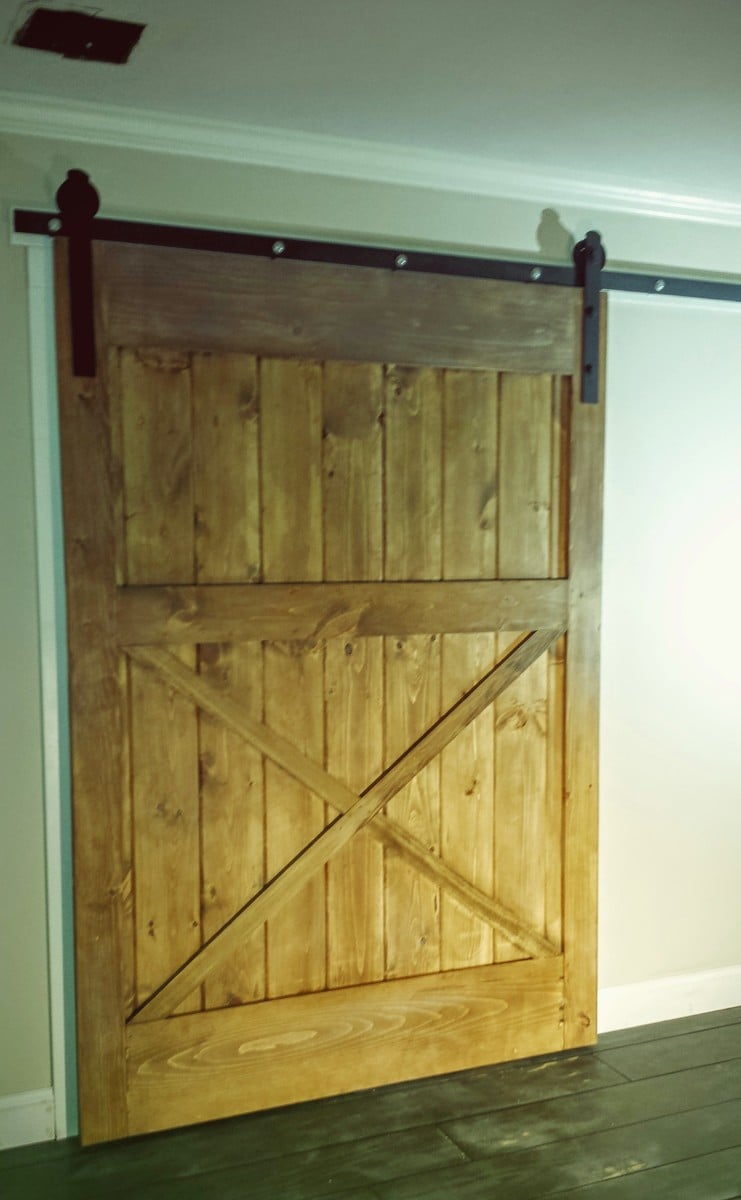
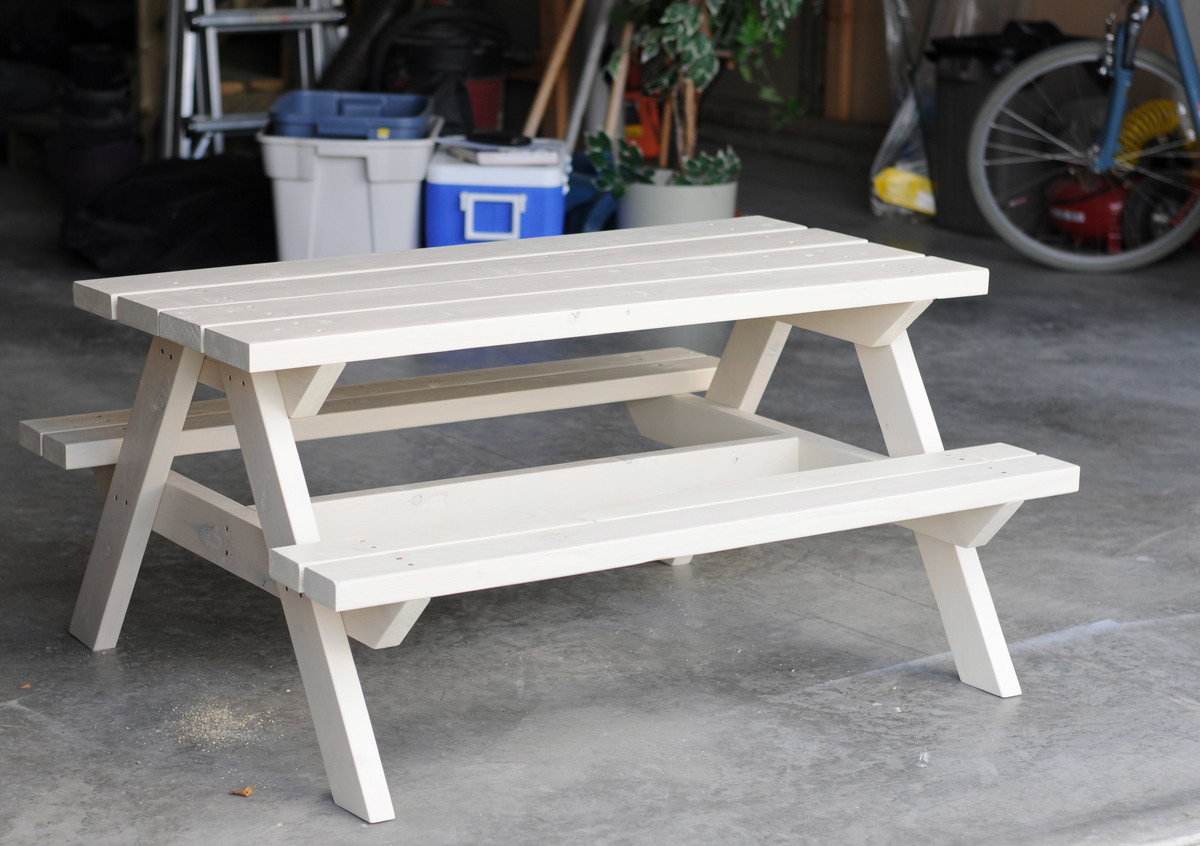
This turned out to be a great birthday gift. So much better than more toys. My 5 year old nieces loved it.
Sun, 10/14/2018 - 18:01
Beautiful! You did an amazing job, what a lucky little niece!
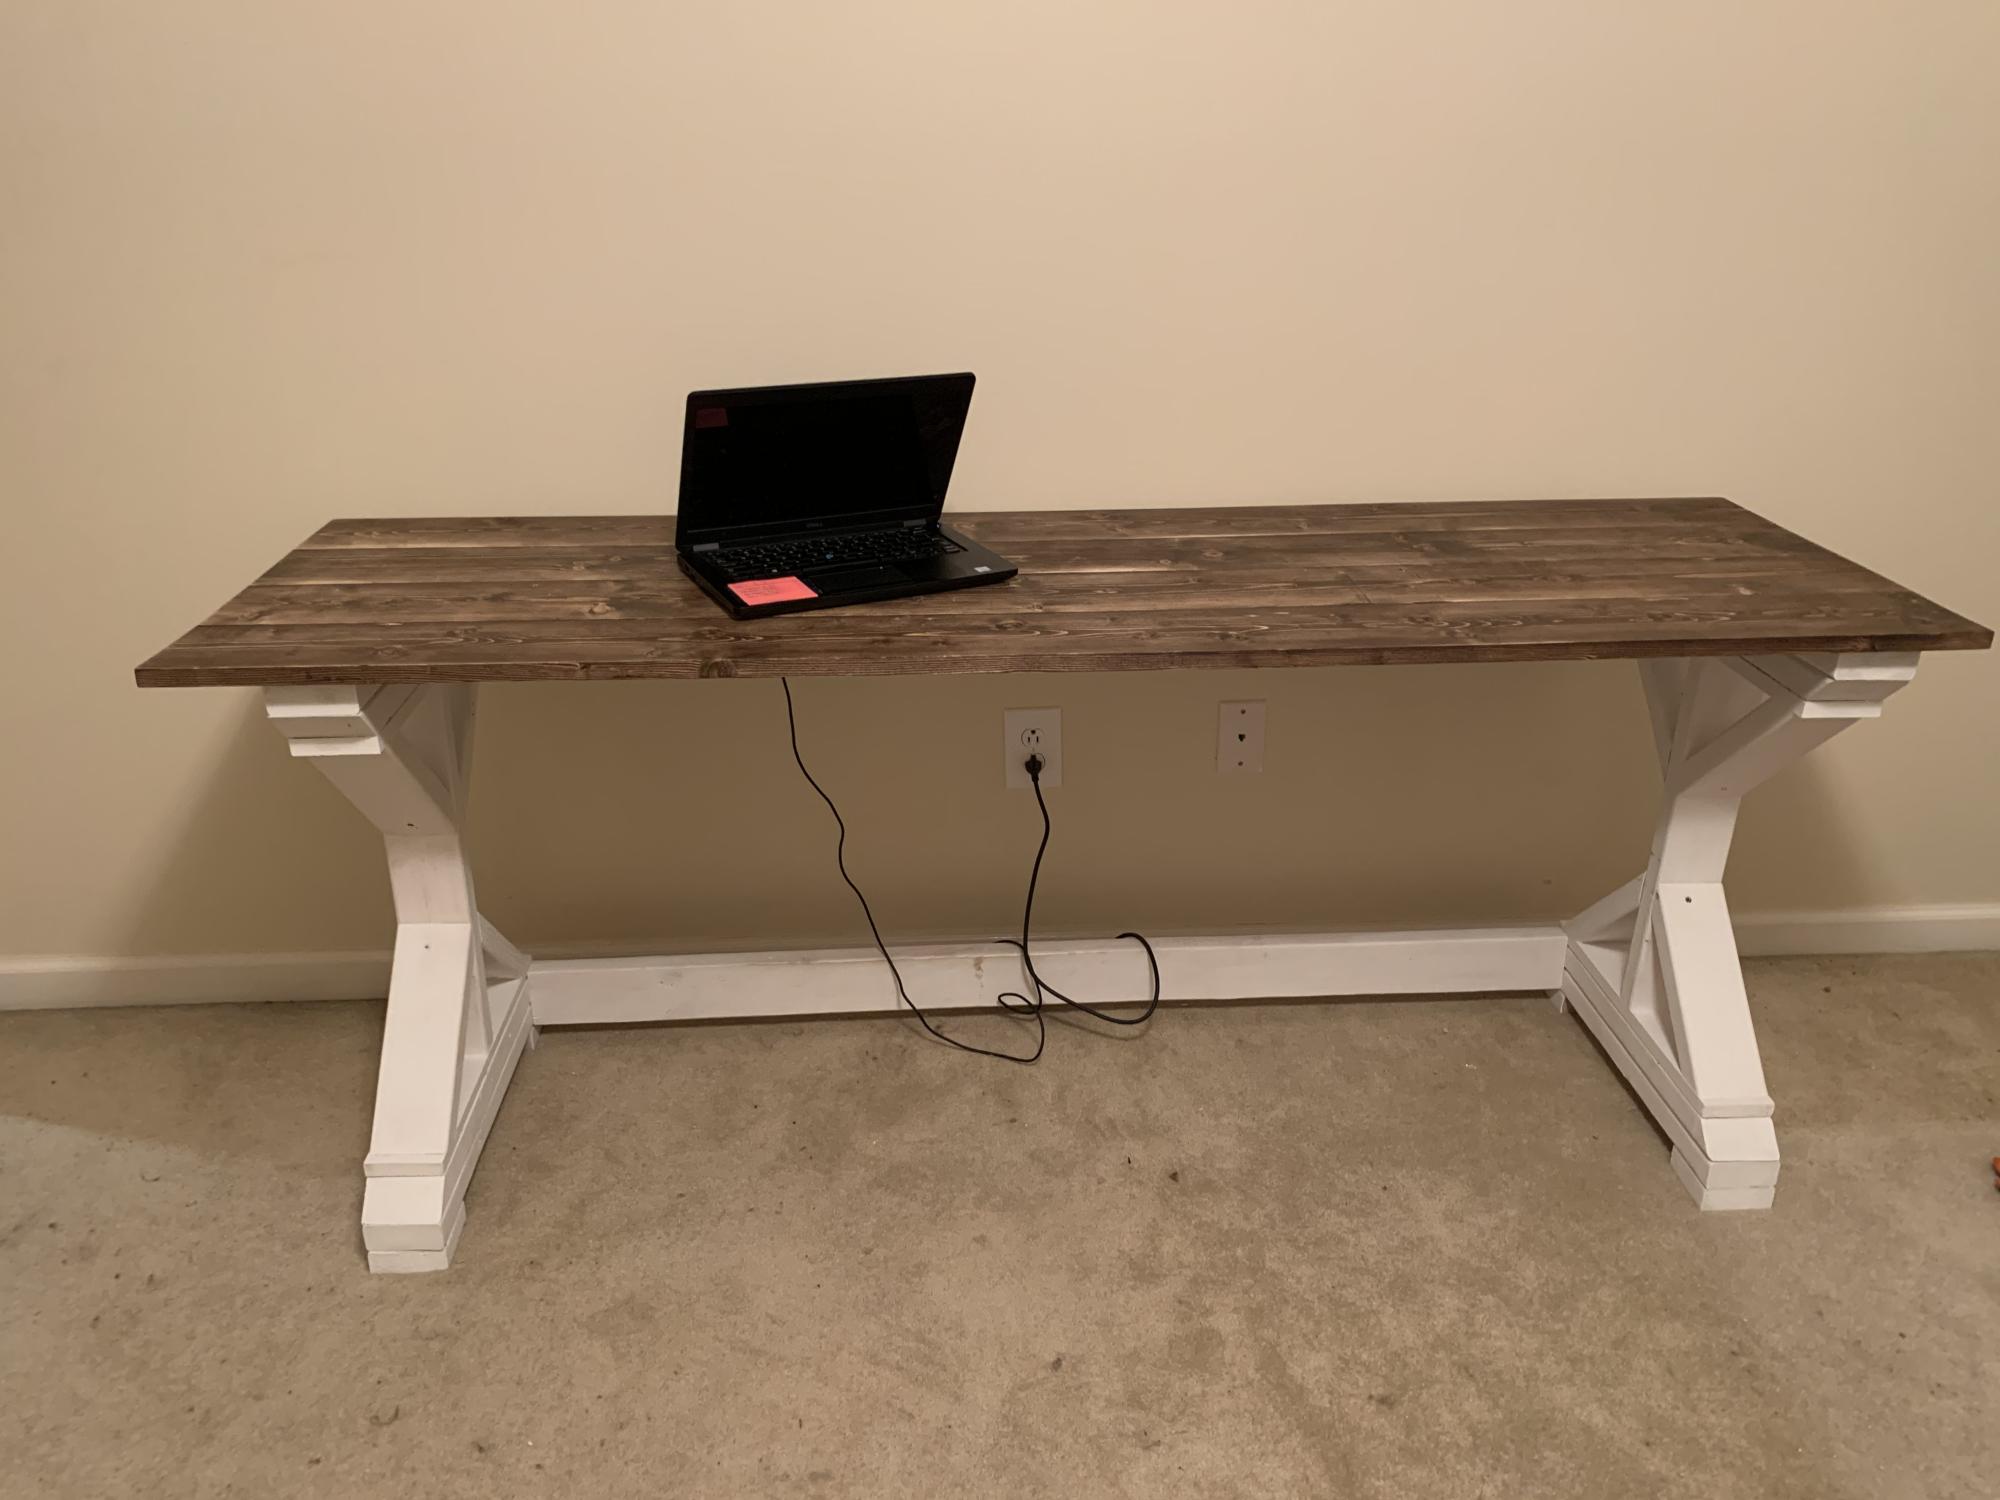
I needed a new desk for my office and this one is perfect. I made it a little longer than the plans so I could accommodate all my "stuff". Mine is 6' wide
This is a slightly modified version of Ana's Providence bench.
http://ana-white.com/2012/04/plans/providence-bench
In Step 1, instead of having the bottom supports flush with the end, I decided to center them on the 2x4s.
This means the bottom rail needs to be shortened accordingly.
I sanded everything down with 120, and 220 grit sand paper.
I find it easier and quicker to sand larger pieces of lumber than smaller pieces.
Next everything was cut to size, and then primed. I let the primer dry for a few hours, and added the second coat of primer.
I primed all the surfaces, exposed and unexposed. Now some of you may think this was overkill. But since I live in Arizona, I didn't want the wood warping. This also protects if from all the elements.
Next day, it was all assembled, this took a few hours, we used a kreg jig to make most of the holes, I didn't have the right kreg screws, so I just used outdoor deck screws.
Finishing:
I filled all the holes with wood putty. This needed to be done several times, because putty shrinks, more so in the heat here.
Eventually, sanded it all down with 220 grit lightly, just so that there were no tell tale signs.
Next painted the bench red a few times. I needed about 2 coats to get it just right..
My contractor commented on how sturdy this bench was, coming from him, that's quite a compliment, it turned out to be A LOT sturdier than I thought it would be based on how flimsy those angled supports were...
It matches my red front door and is a great place to have my morning coffee and put my shoes on.
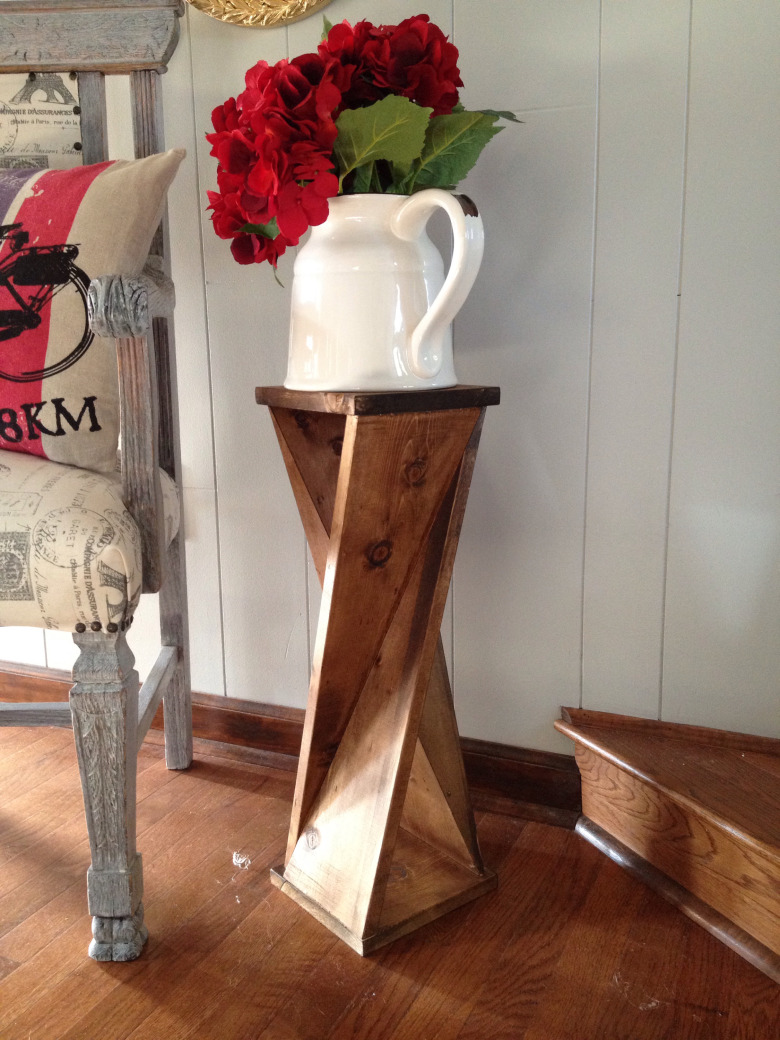
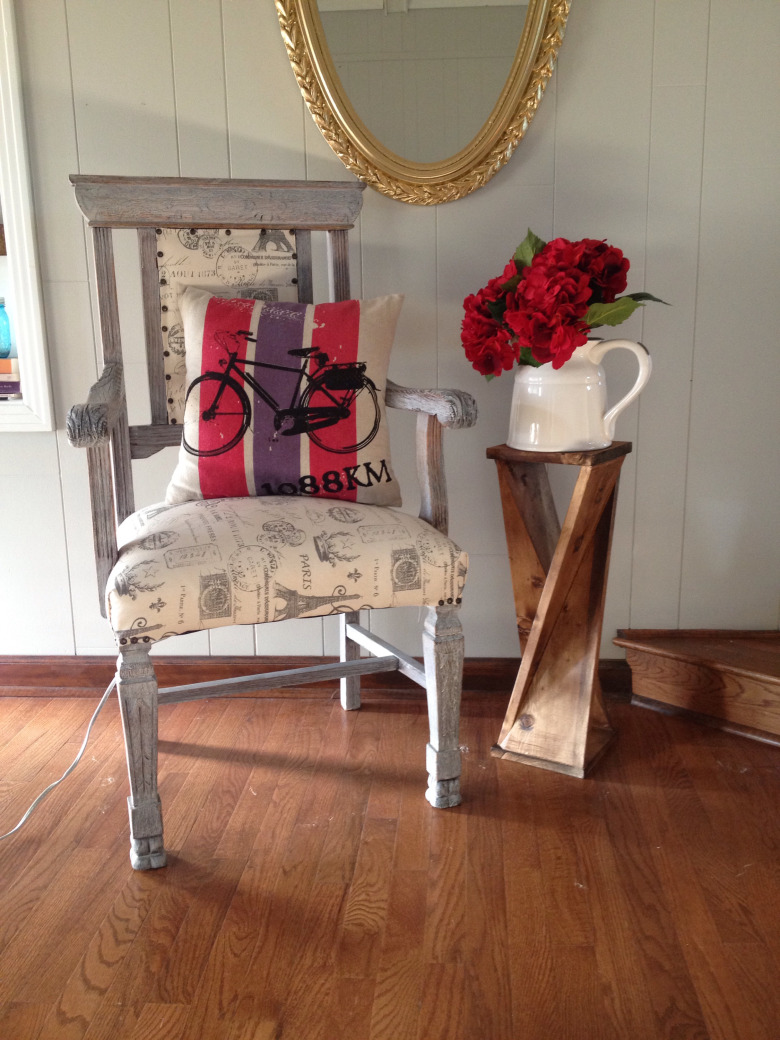
I made this twisted end table for my #oneboardchallenge project. It was a learning experience and I'm honestly surprised that it turned out as well as it did! There are so many good #oneboardchallenge projects being submitted, I don't know if mine will get lost among the crowd. Either way, it wont get lost around my house :) It is a good conversation piece!
Mon, 10/26/2020 - 01:40
Are the plans for this on your site?
As a new wood worker I am very appreciative of your site and plans. It's my go to source for ideas.
Thanks

this was my first furniture piece that I have built. Next is a round farmhouse kitchen table super excited to make it.
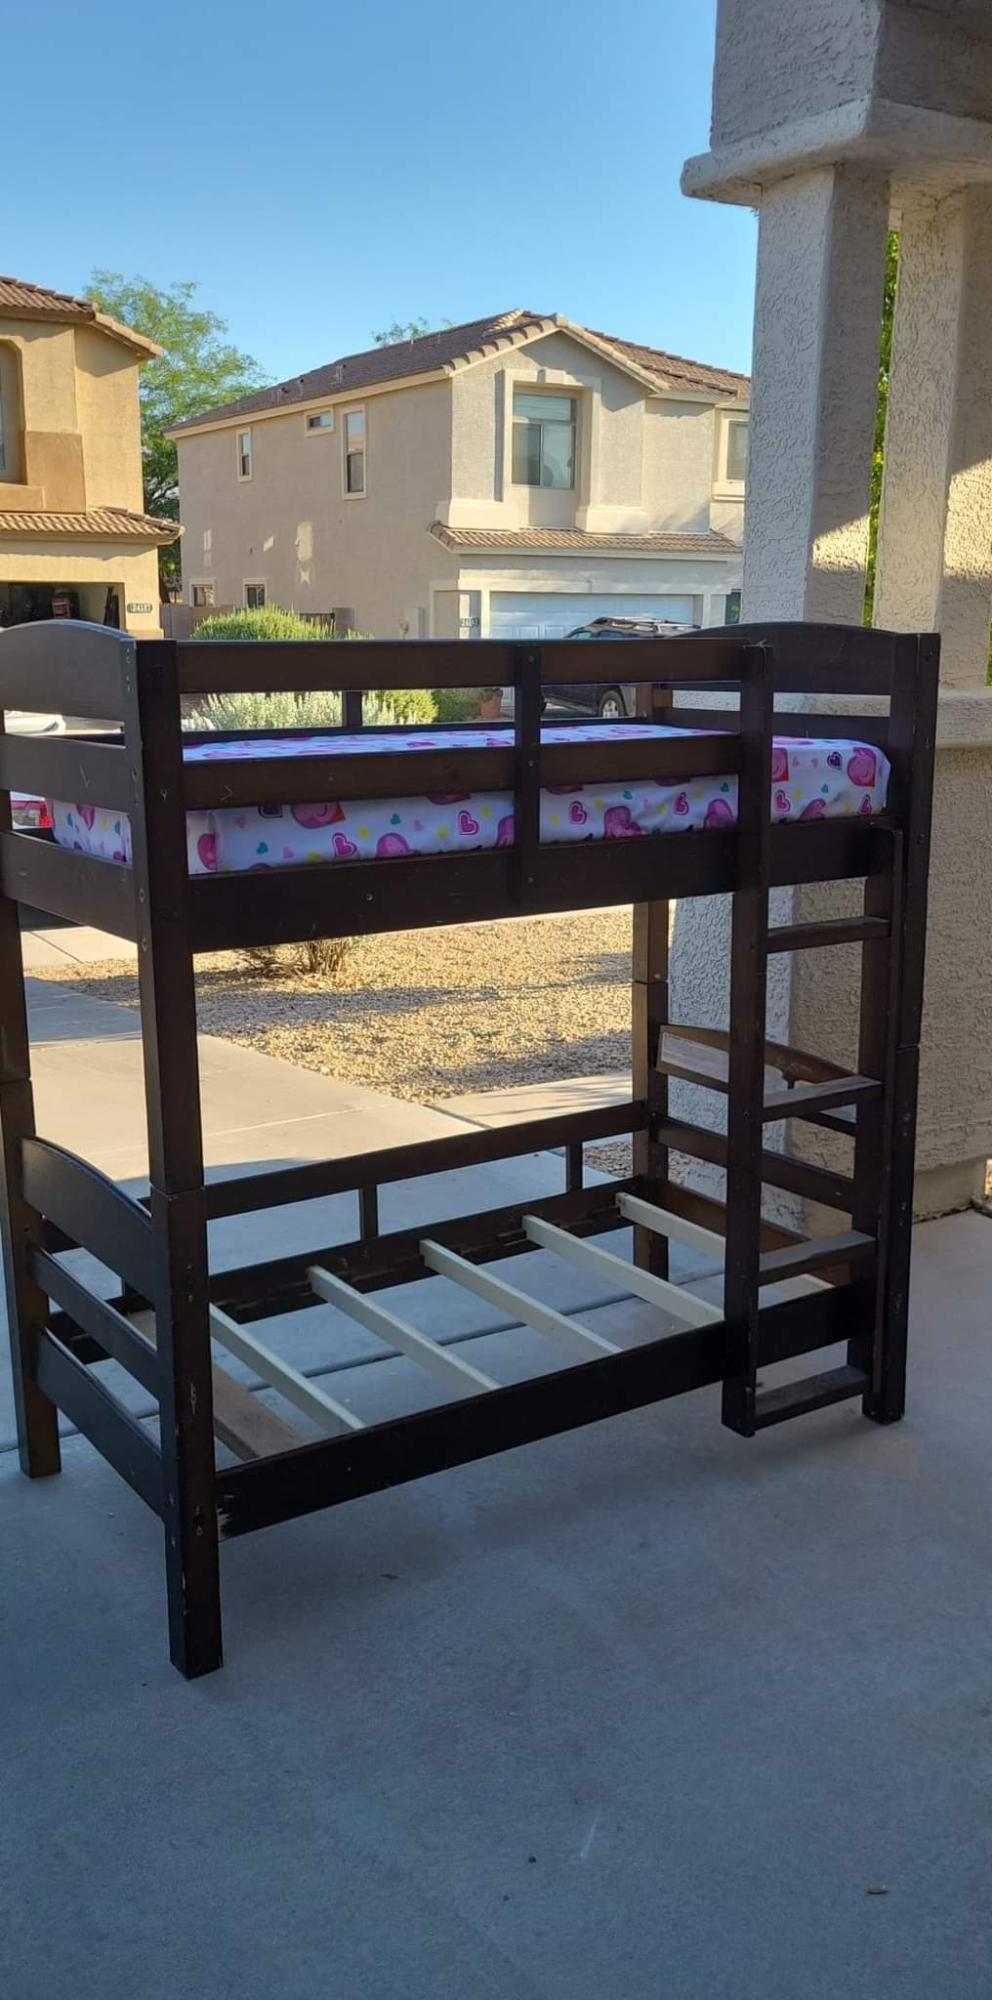
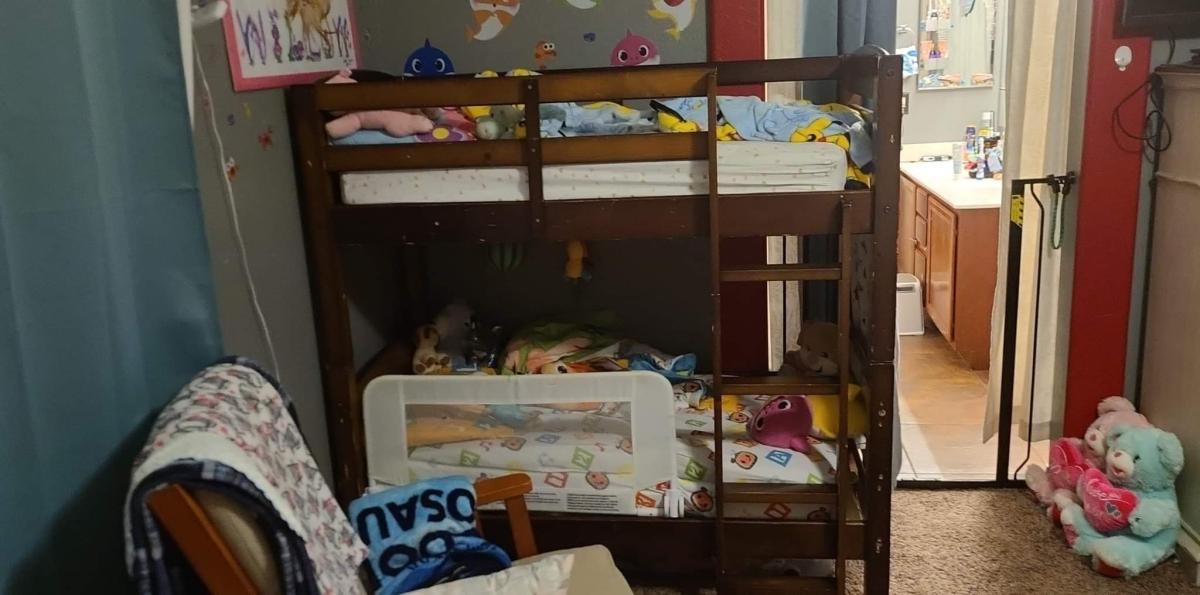
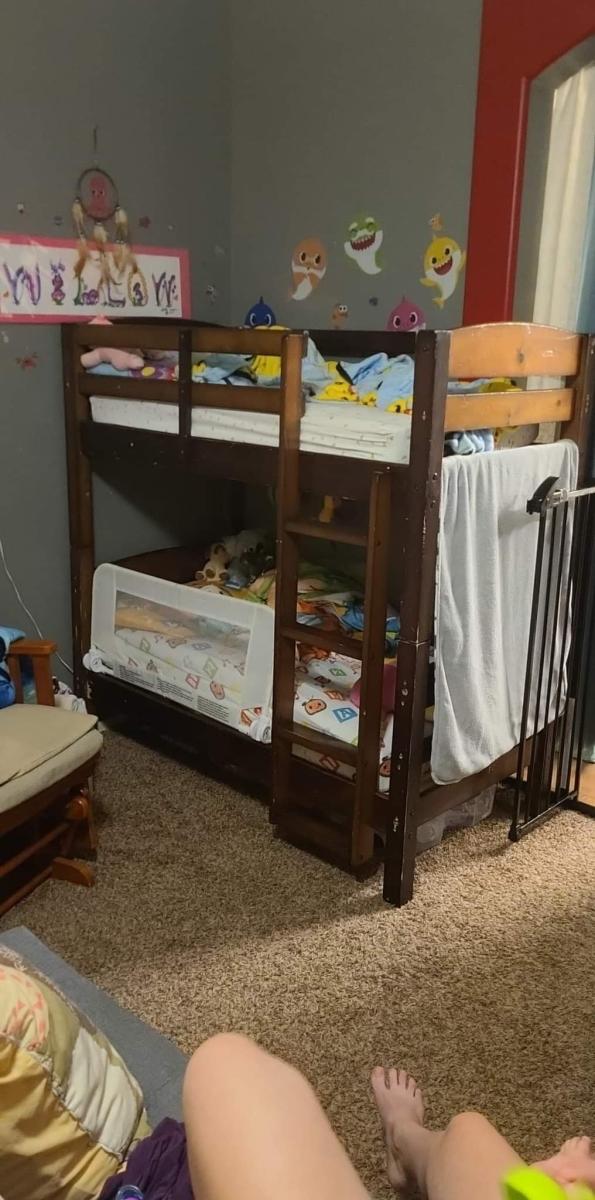
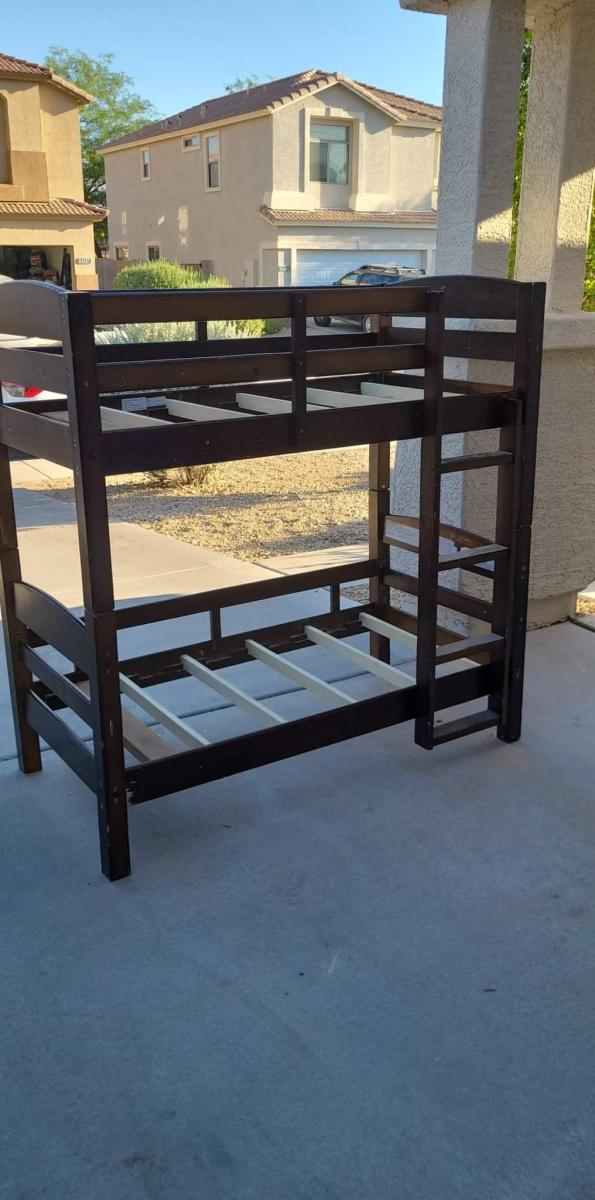
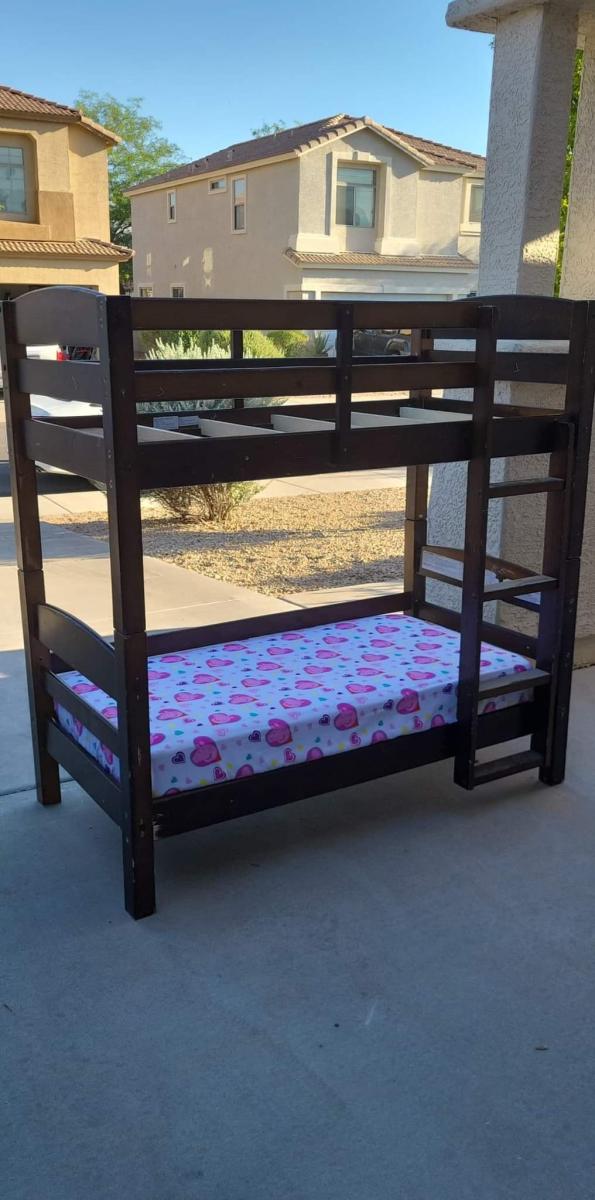
We took existing twin size bunk beds and modified the measurements to fit for 2 crib size mattresses. 1 for my 3.5yr old and the bottom for my soon to be 2yr old. It took us 12 ours to build from start to finish then about another 1hr to place in room and set it up completely. All in all they love them and sleep thru the night in there own beds lol. I also have a 7mth old in my room too...
