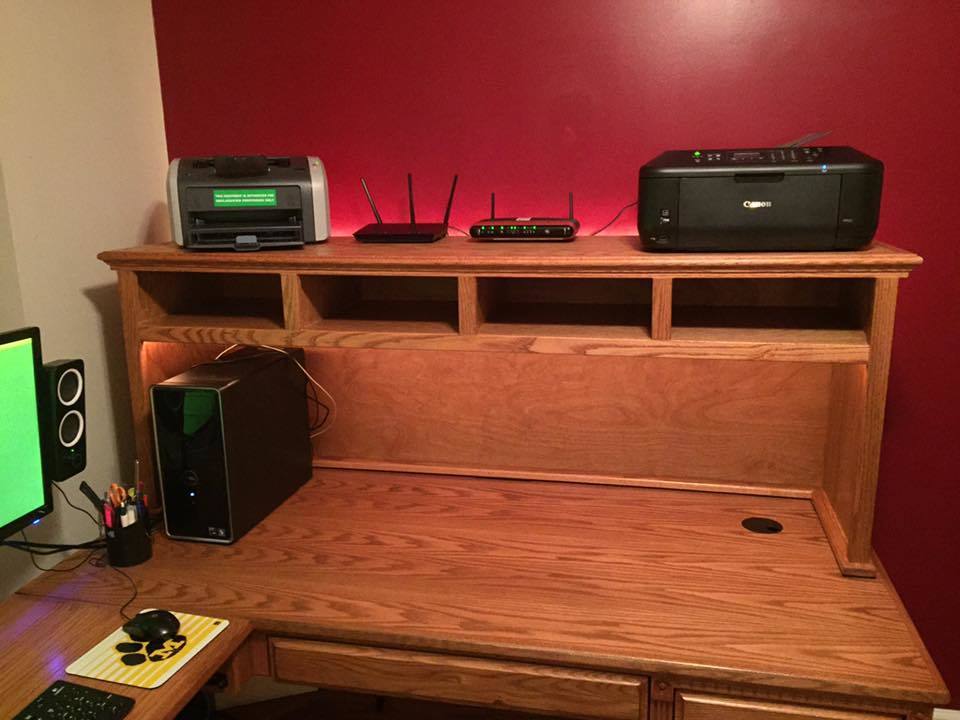
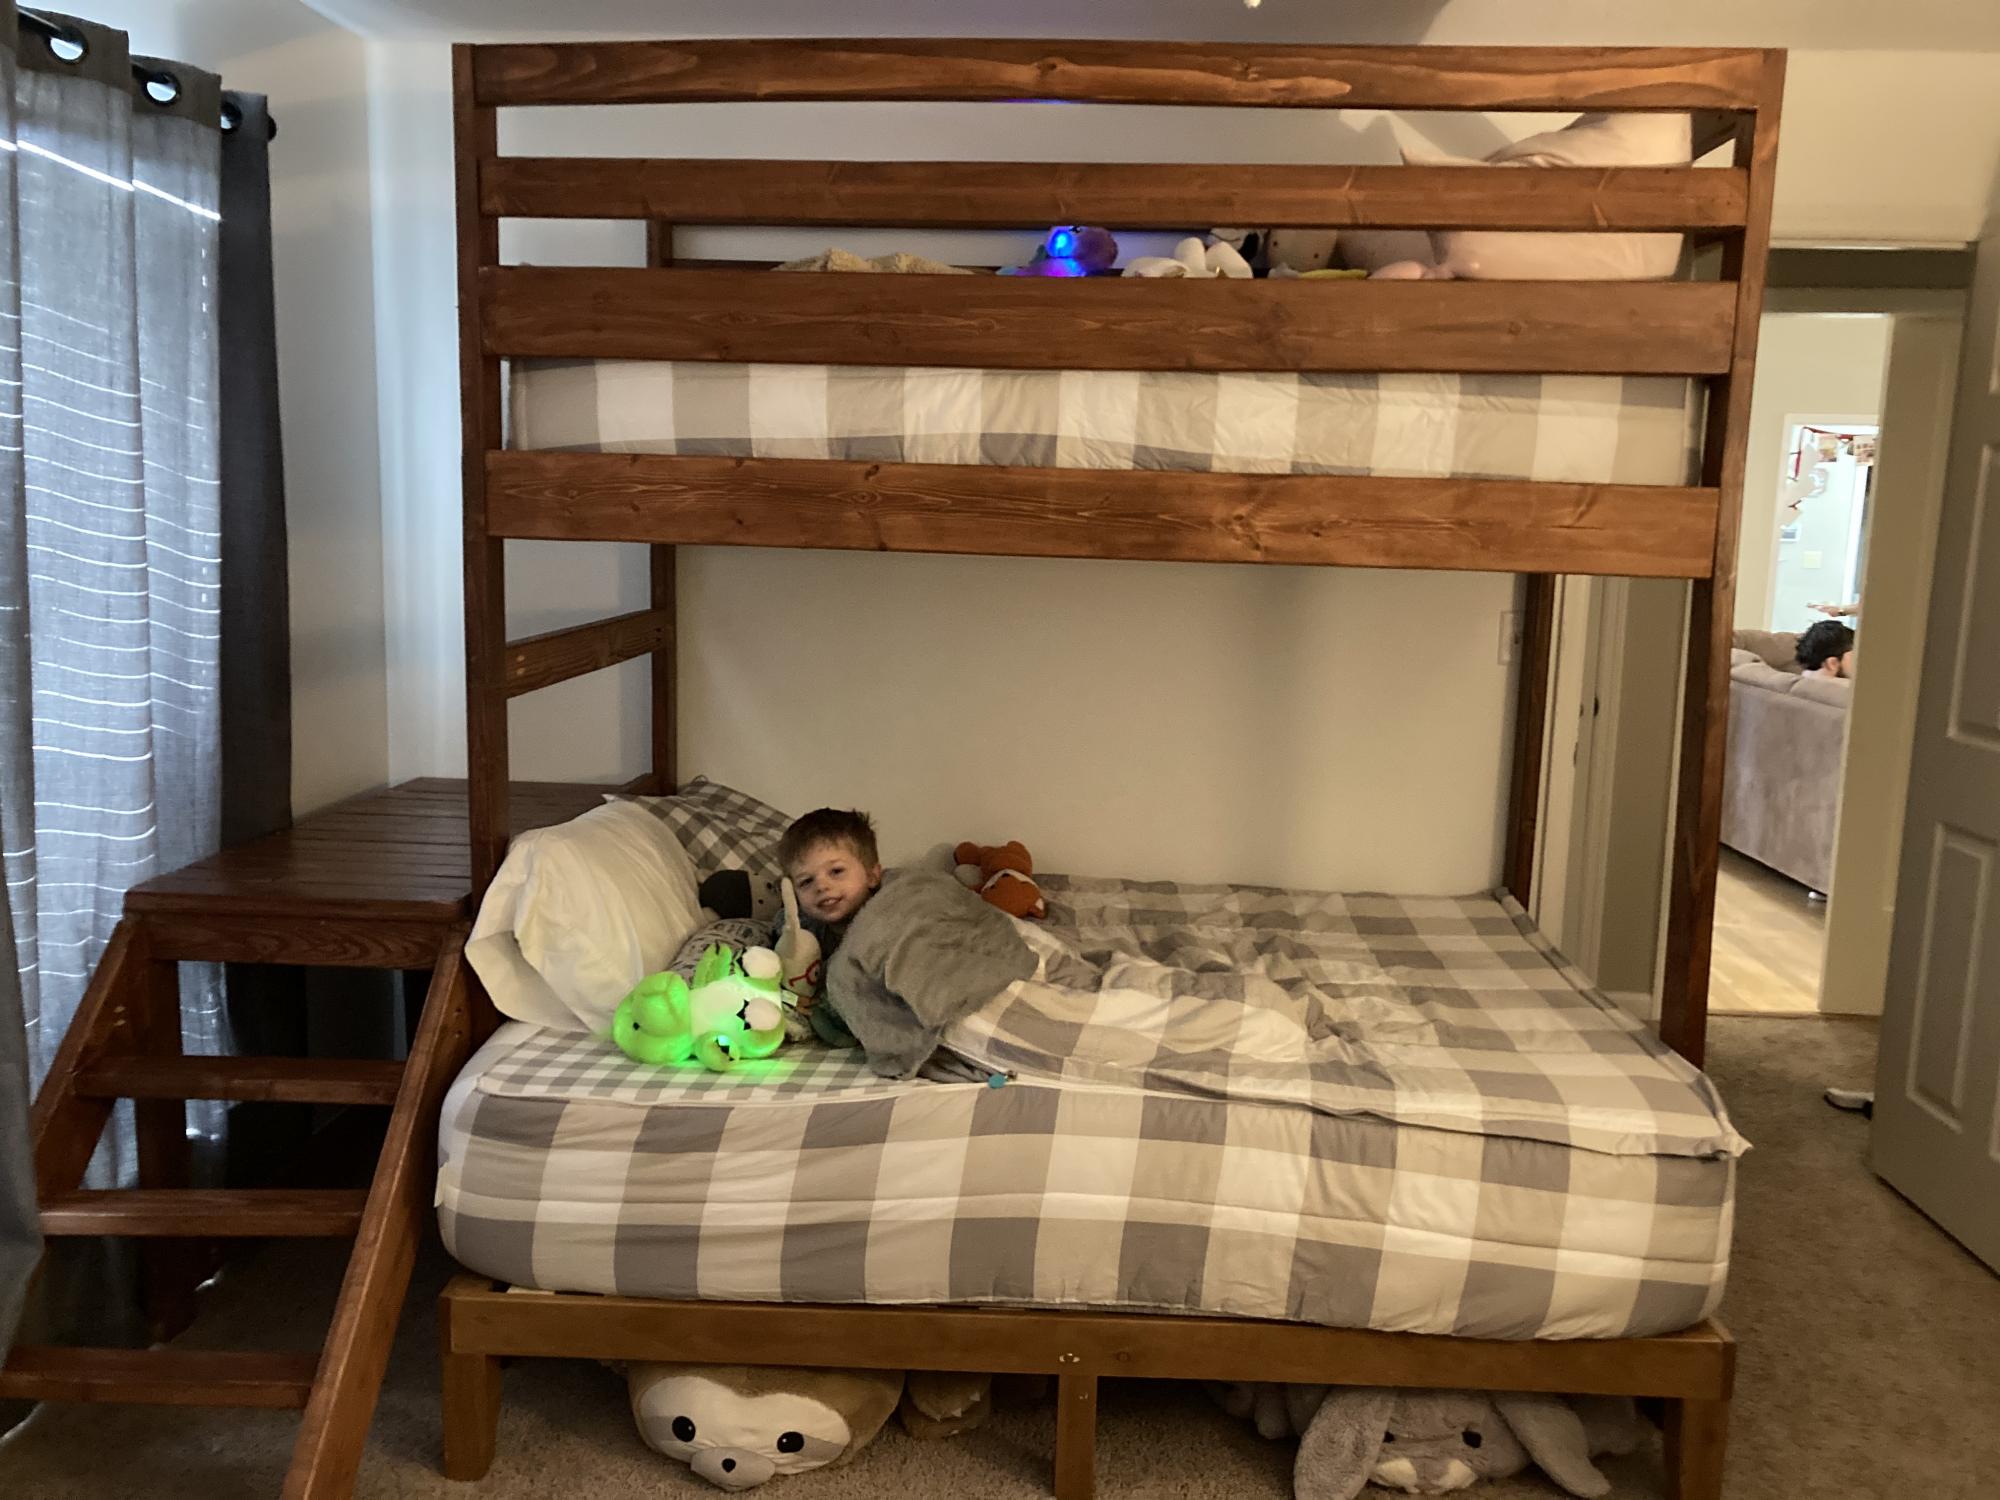
I needed to recover the desktop space occupied by two printers--one a black and white laser printer, and the other a multi-function color printer, scanner, and copier. There are also two routers that were taking up space. The L-shaped oak desk with return I purchased from a furniture store had a full-size hutch available, but it wouldn't really help store the printers since they would be too high to use.
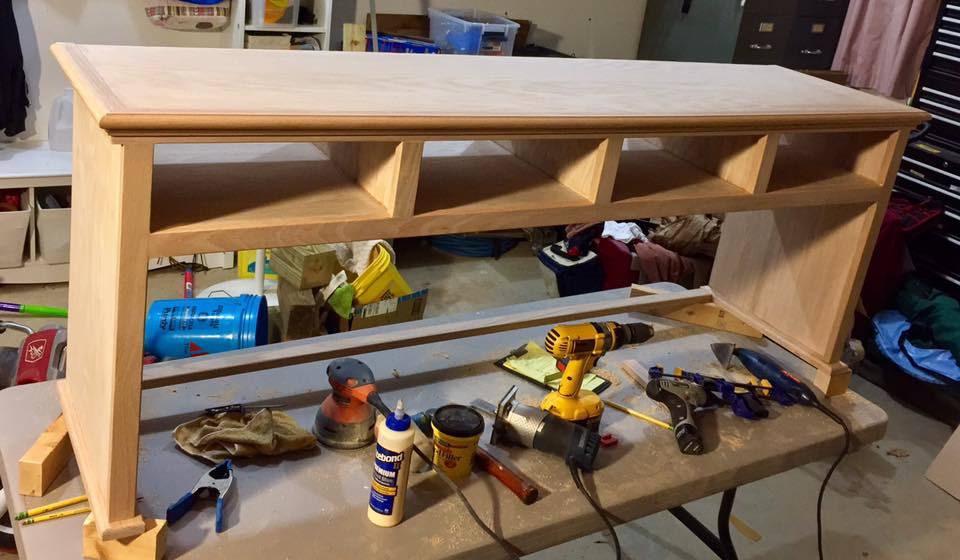
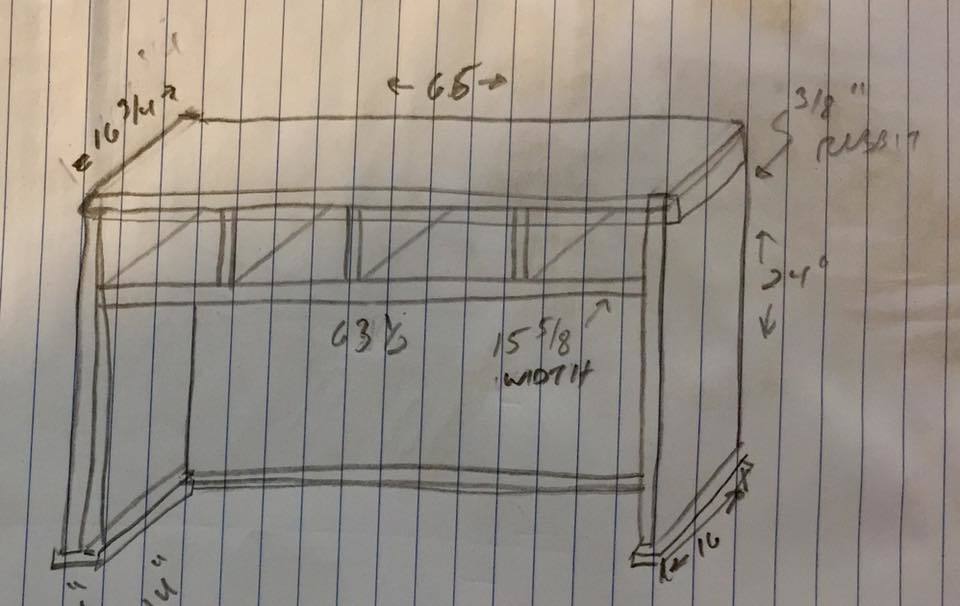
When looking around for plan ideas, my first stop is Ana's page. The schoolhoouse desk hutch dimensionally matched what I was thinking about. I liked the ideas of the cubby-holes to get papers and other items off the desk but readily available.
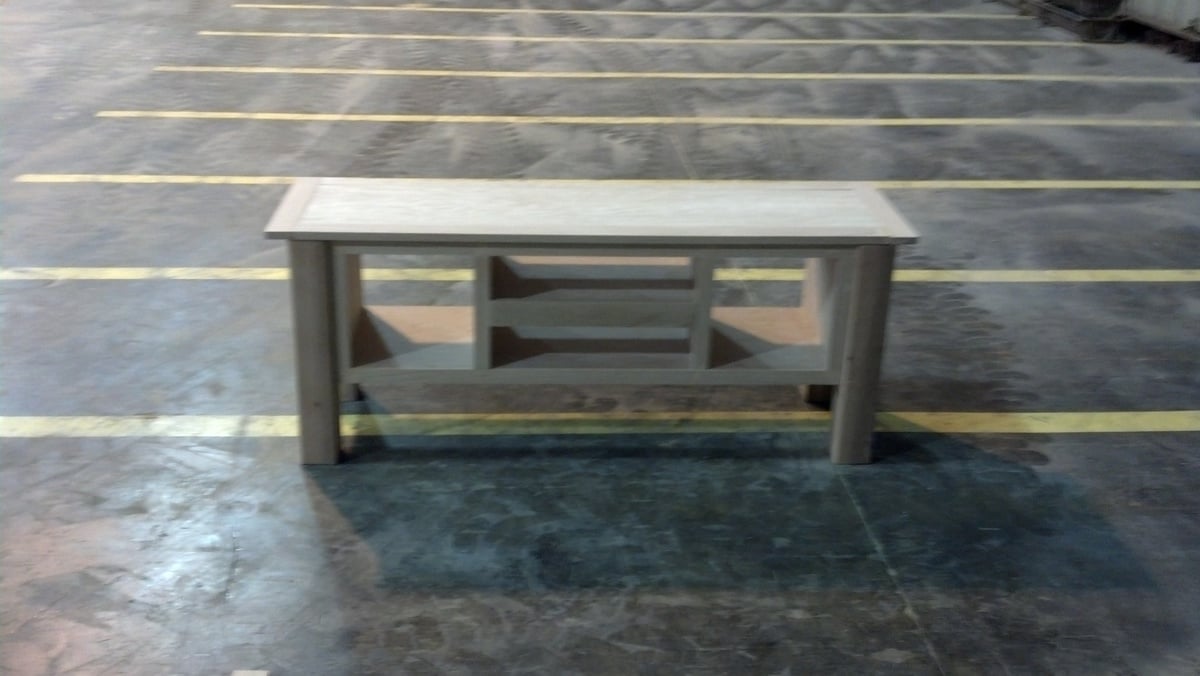
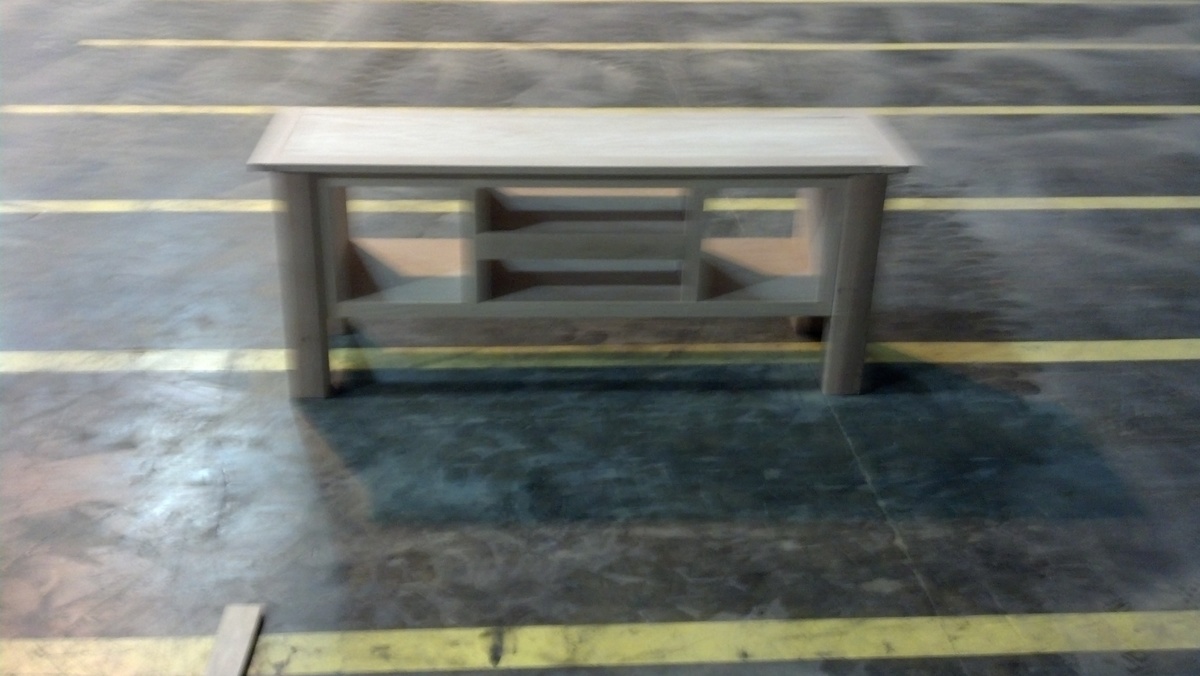
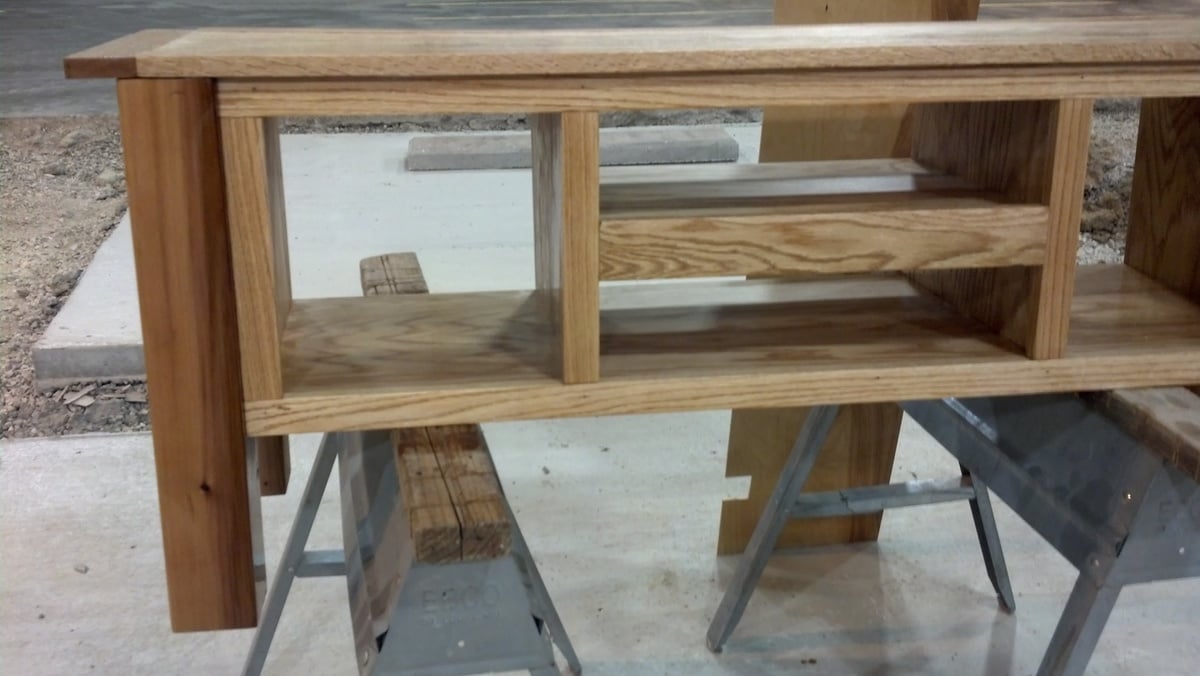
I trimmed it out a little fancier to match the desk and included feet simlar to a an oak hutch we have in the dining room. I think this feature, along with the trim, helps break up the straight lines.
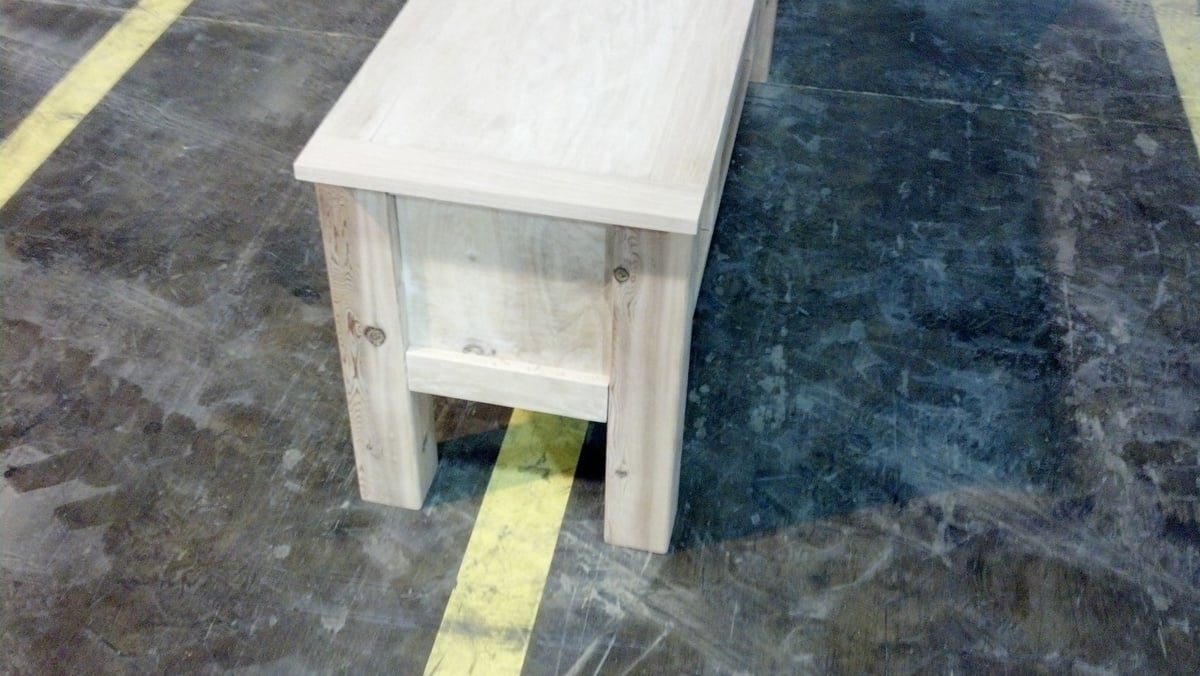
I prefer to use biscuits in lieue of pocket screws so I don't have all the holes to fill. I think it makes a cleaner cabinet but clamping time adds a little to the assembly. I attached the face frame with brad naile--18 ga for the face frame and a 24-ga pin nailer for the upper trim.
I also leave the face frame slighltly proud, about 1/8", which when sanded ends up about 1/16" We had some kitchen cabinets like this and I prefer the look to flush. Plus you don't have to use a flush-trim bit all the way around the cabinet.
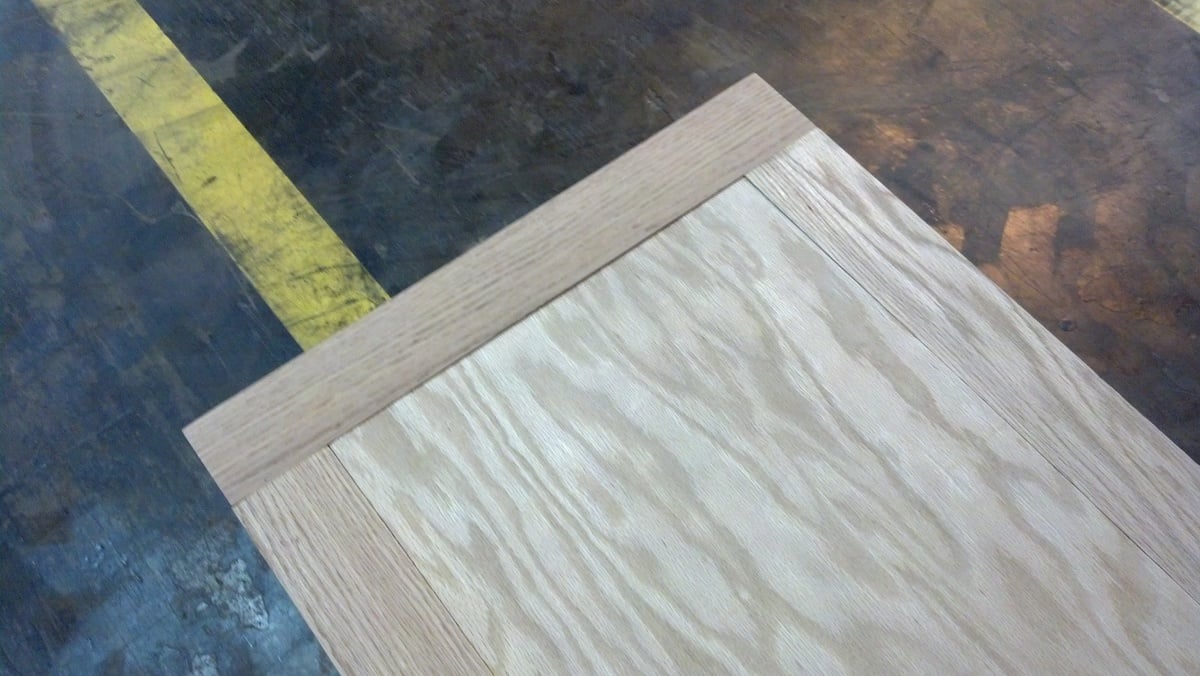
The cabinet is oak 3/4" plywood and solid oak pieces while the back is 1/8" birch. I couldn't find 1/8" oak panels at our local yards. The back is recessed in the cabinet, and next time I will be sure to cut the rabbit for the back before assembling the case. It was much harder with the ribs for the cubby-holes interfering with the router bit bearing.
I like the way it turned out and is functional without over-powering the room. I also added rope lights underneath and on the back for task and mood lighting.


Comments
Ana White Admin
Sun, 12/20/2020 - 10:18
NICE!
Beautiful job, love the extra detail, thanks for sharing!