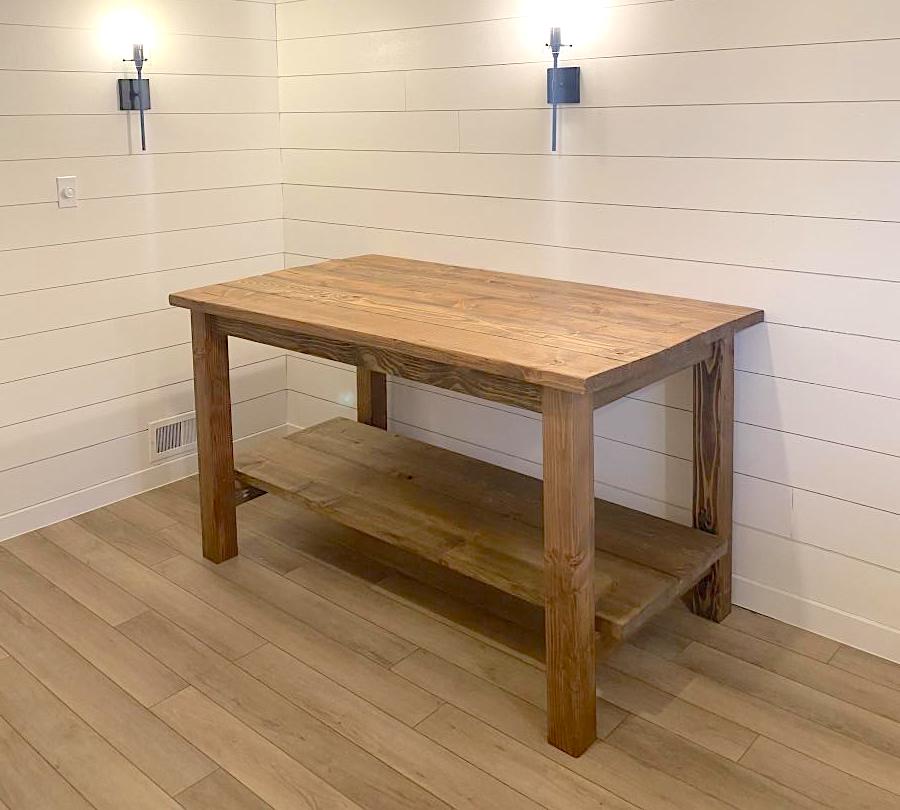
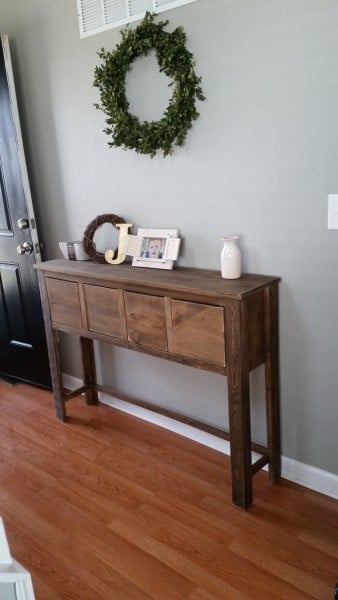
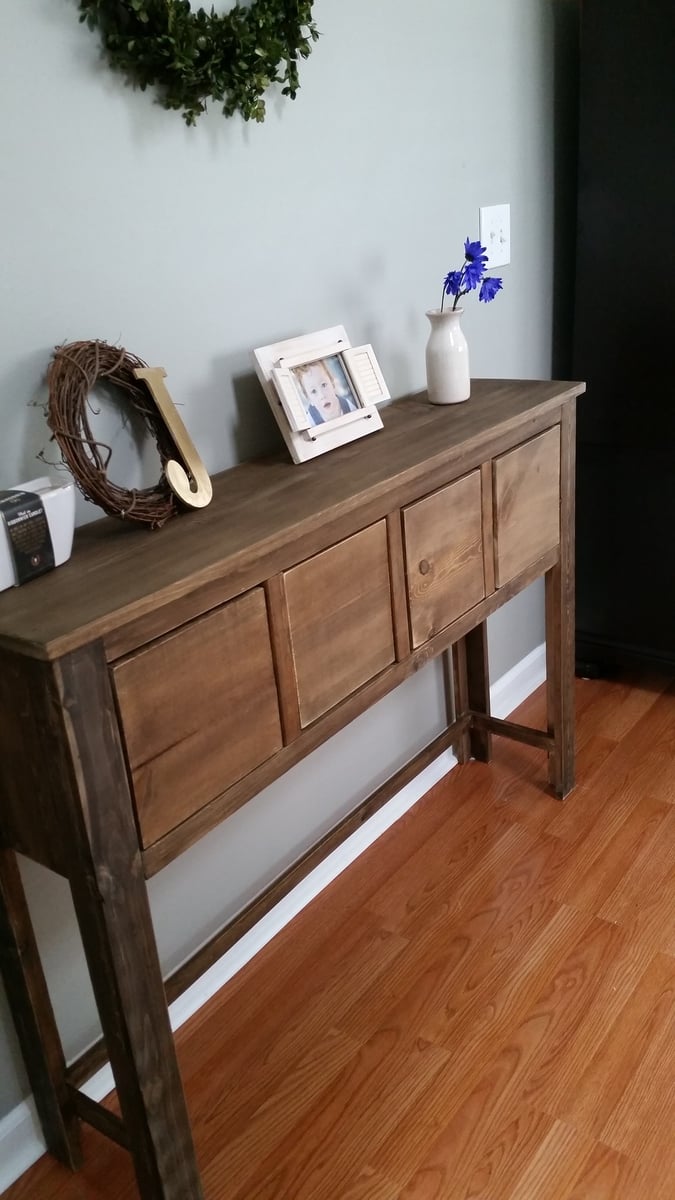
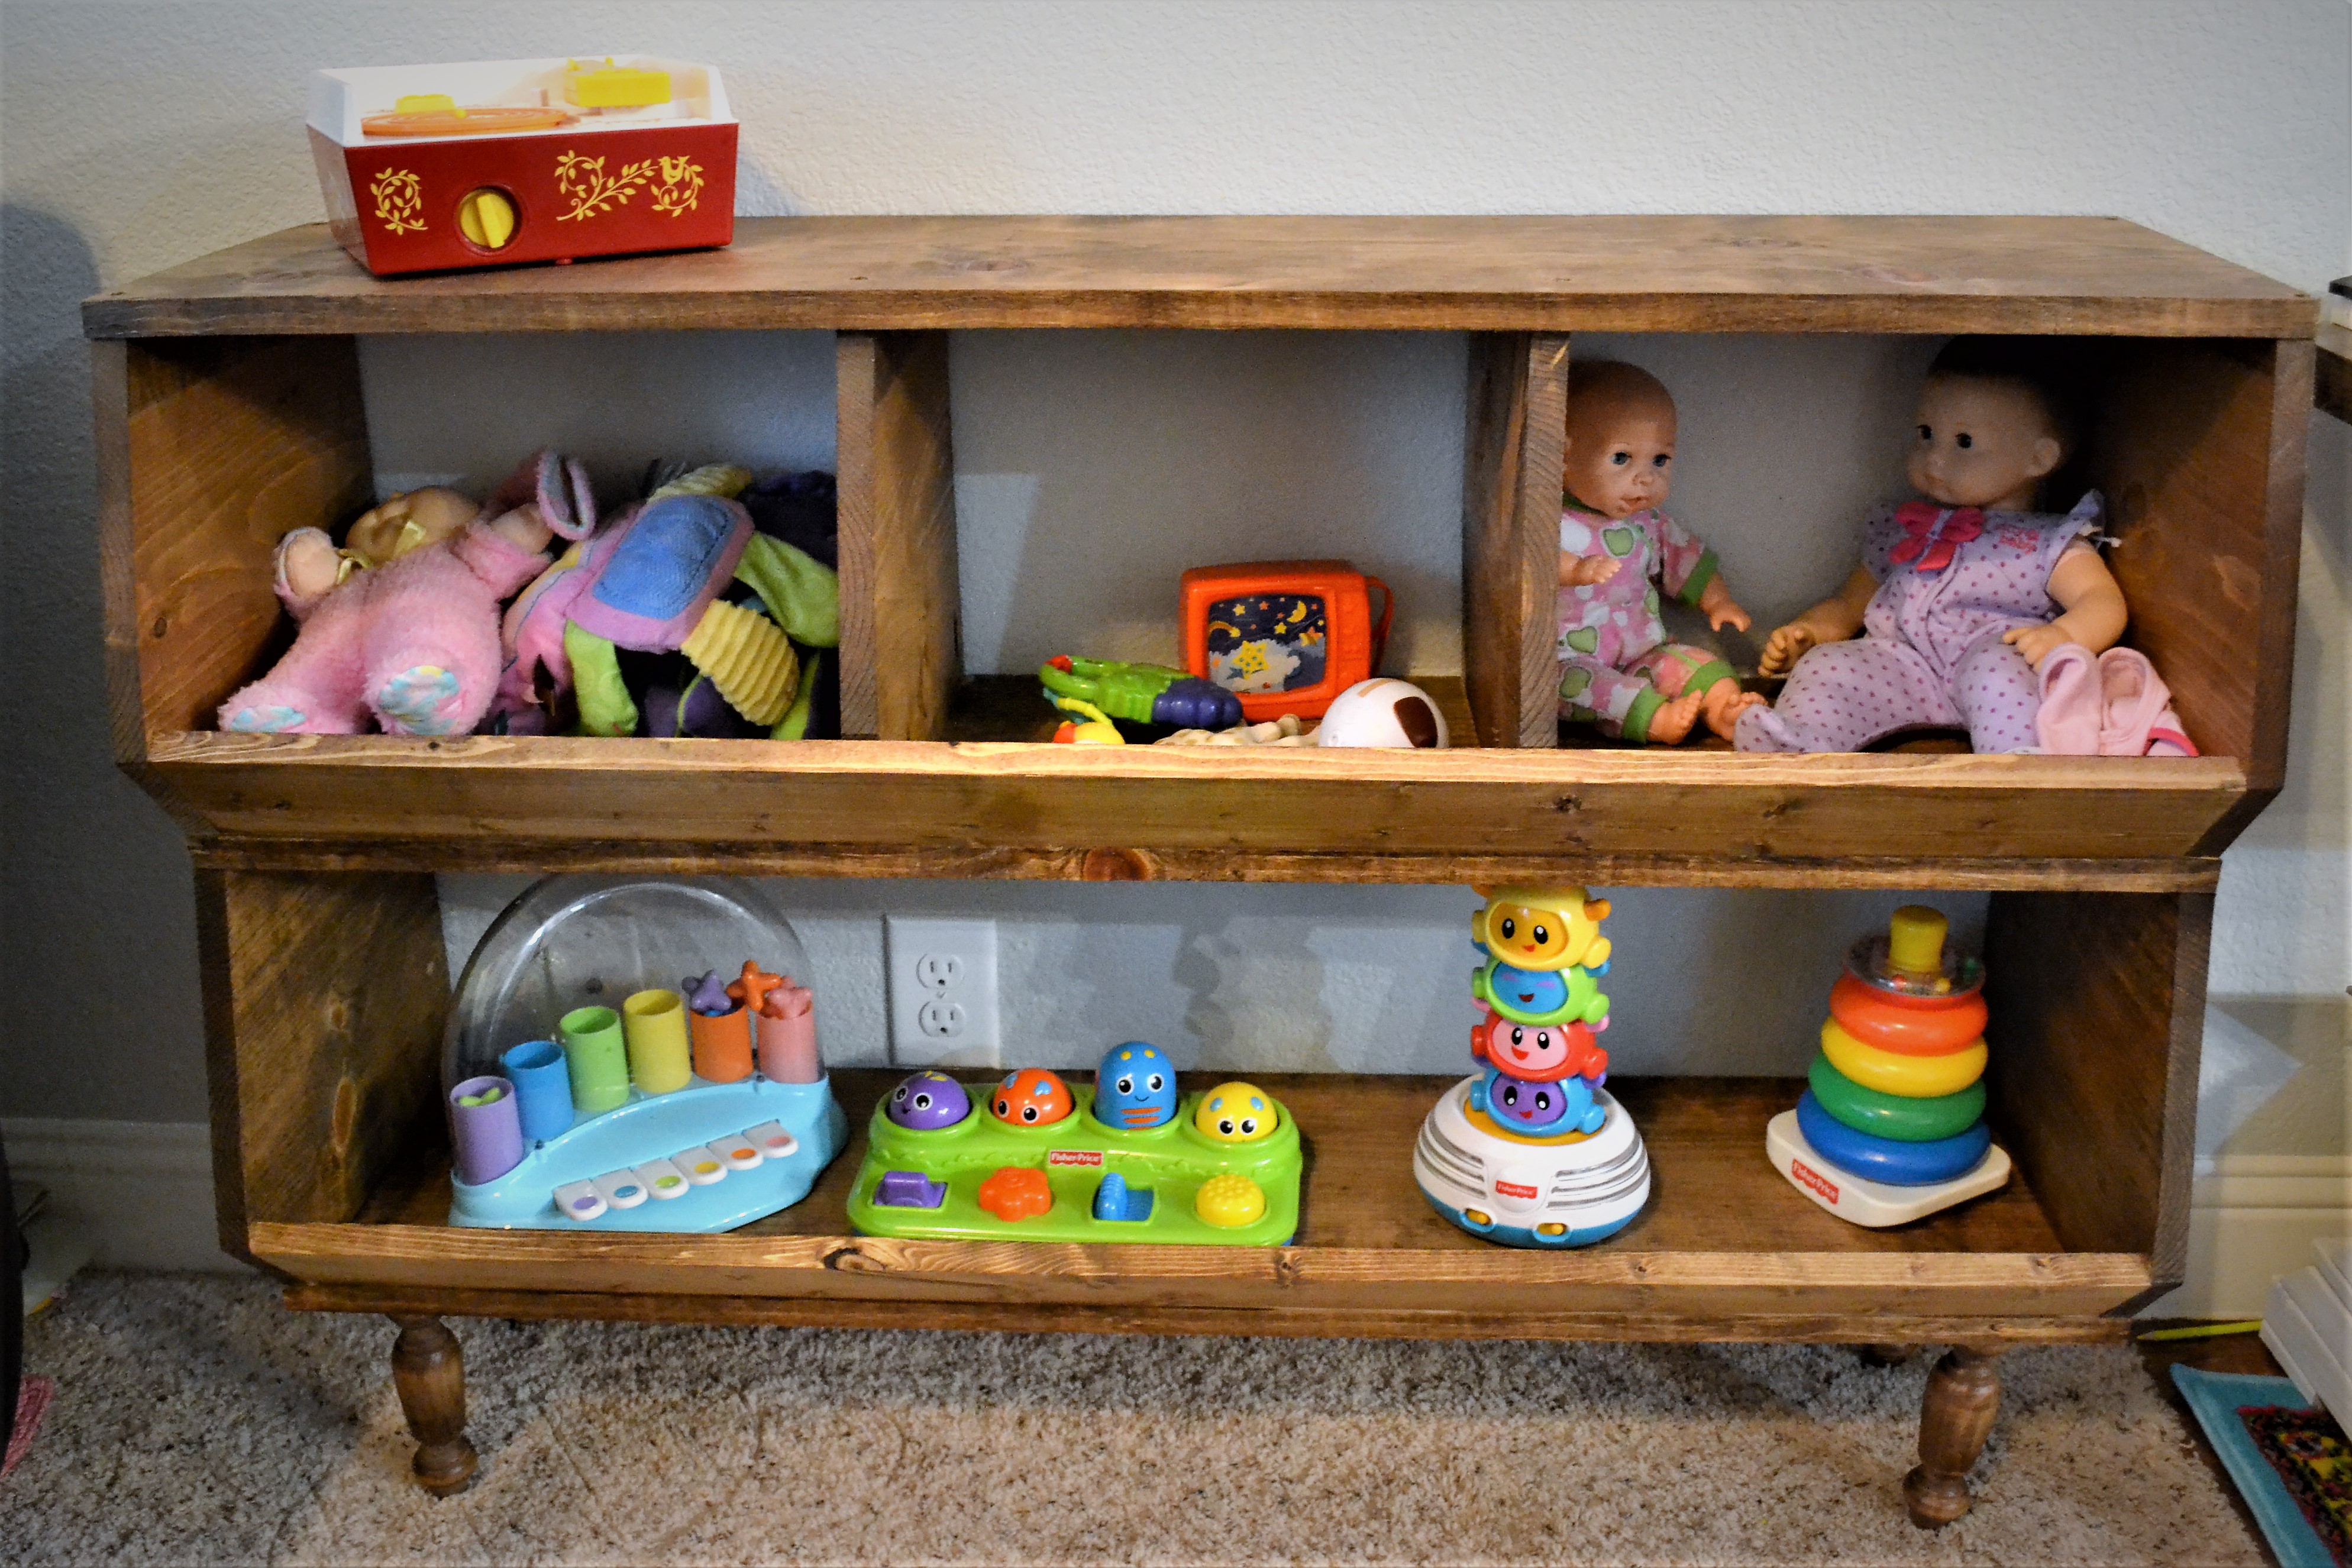
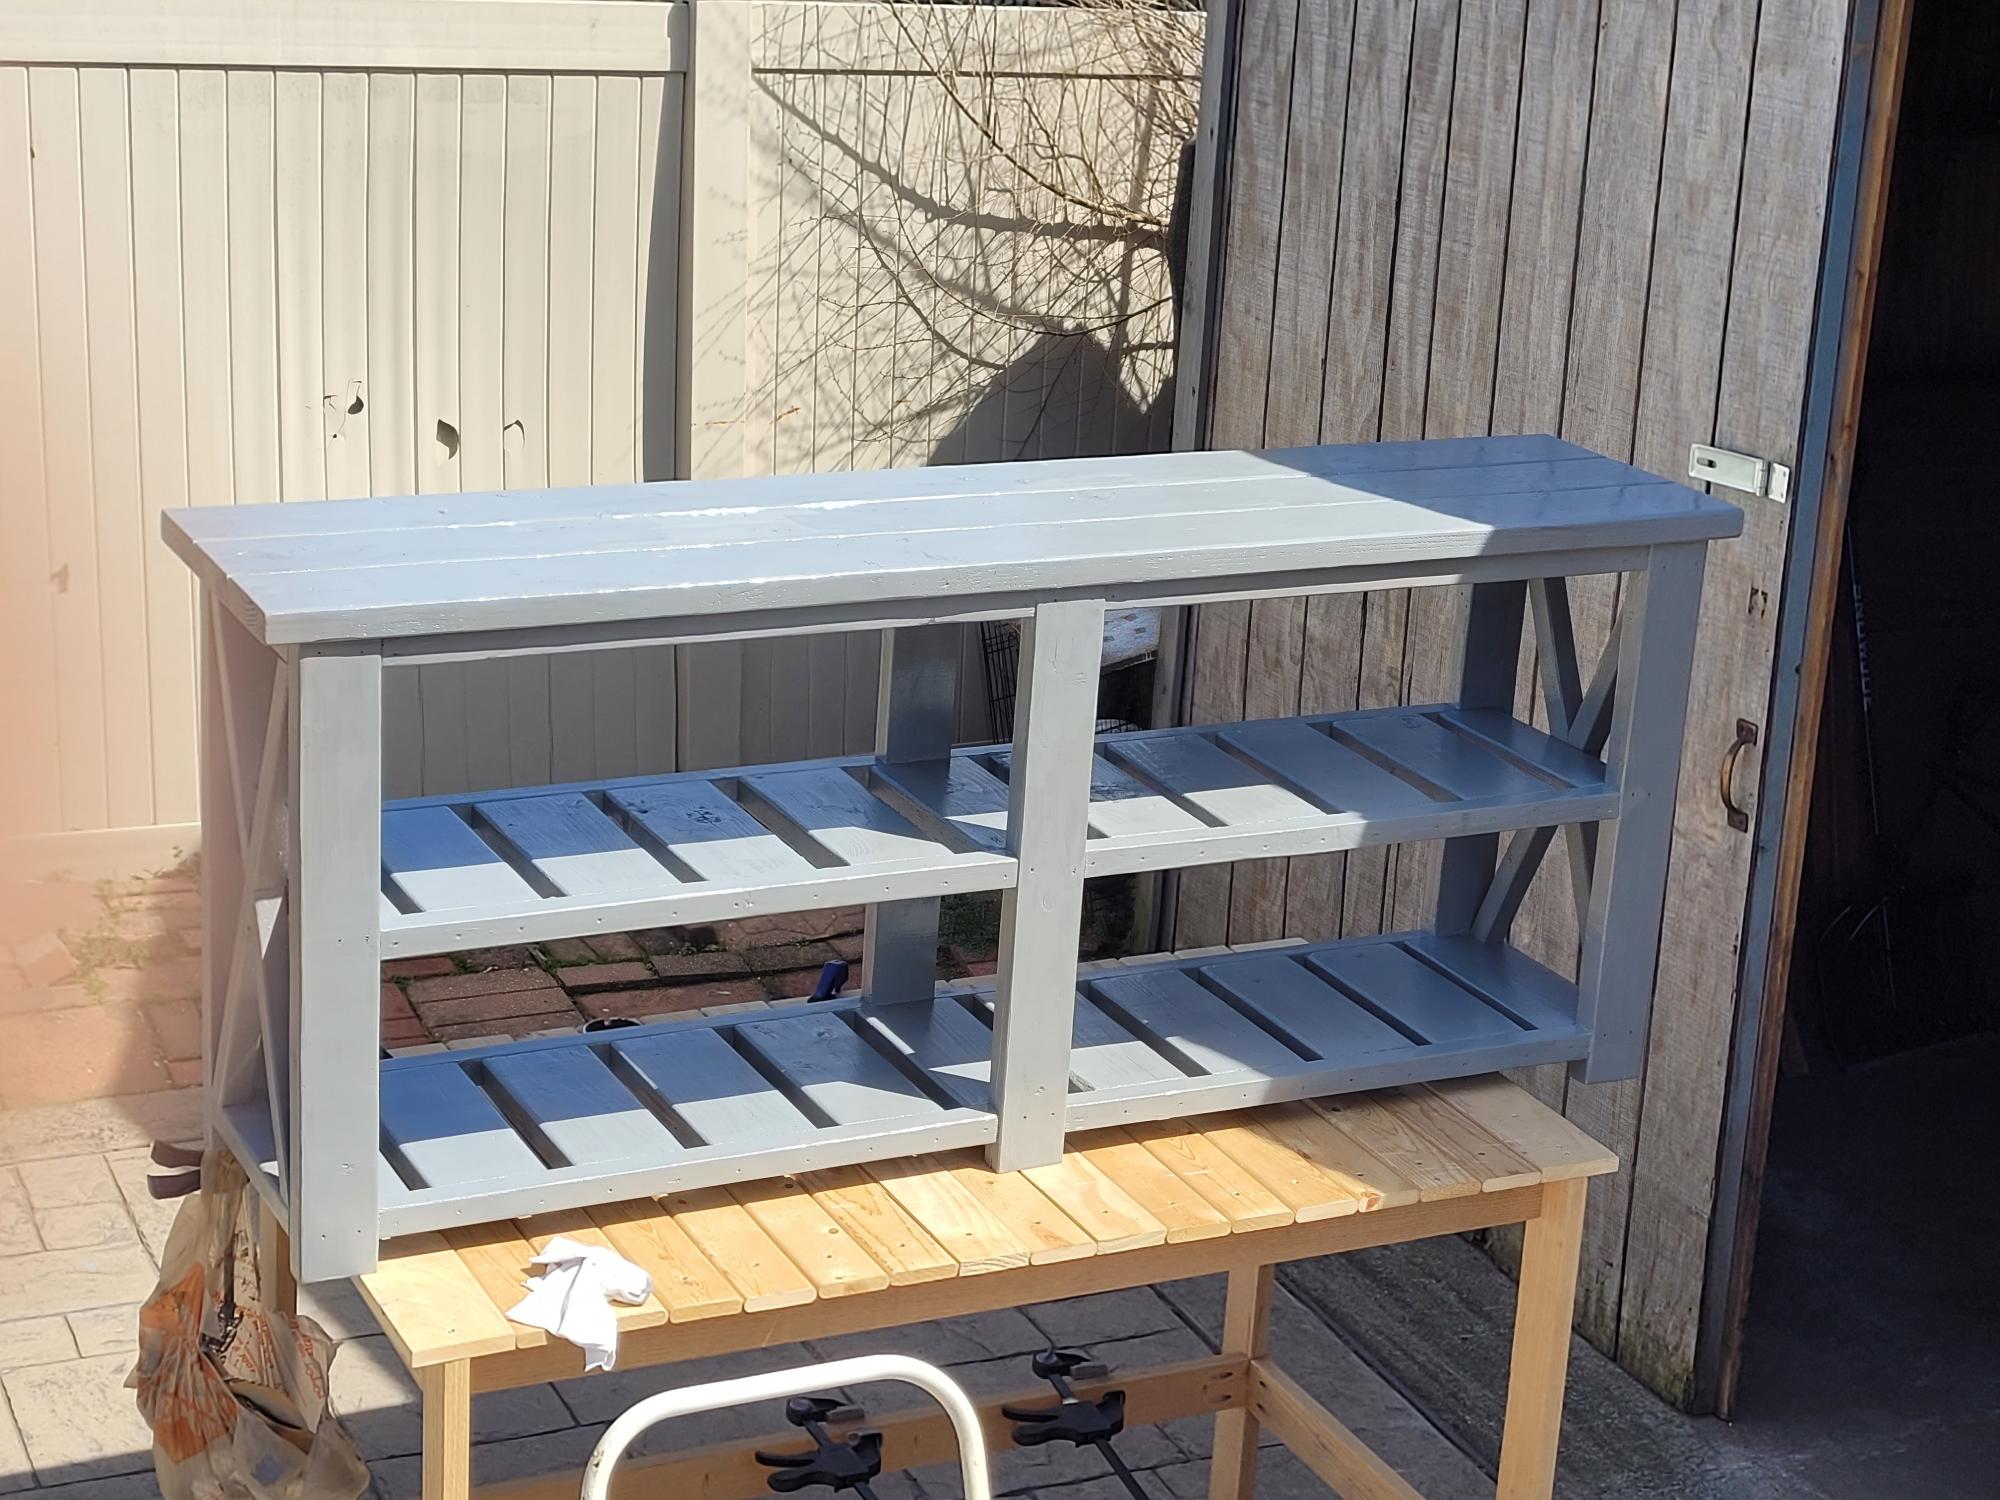
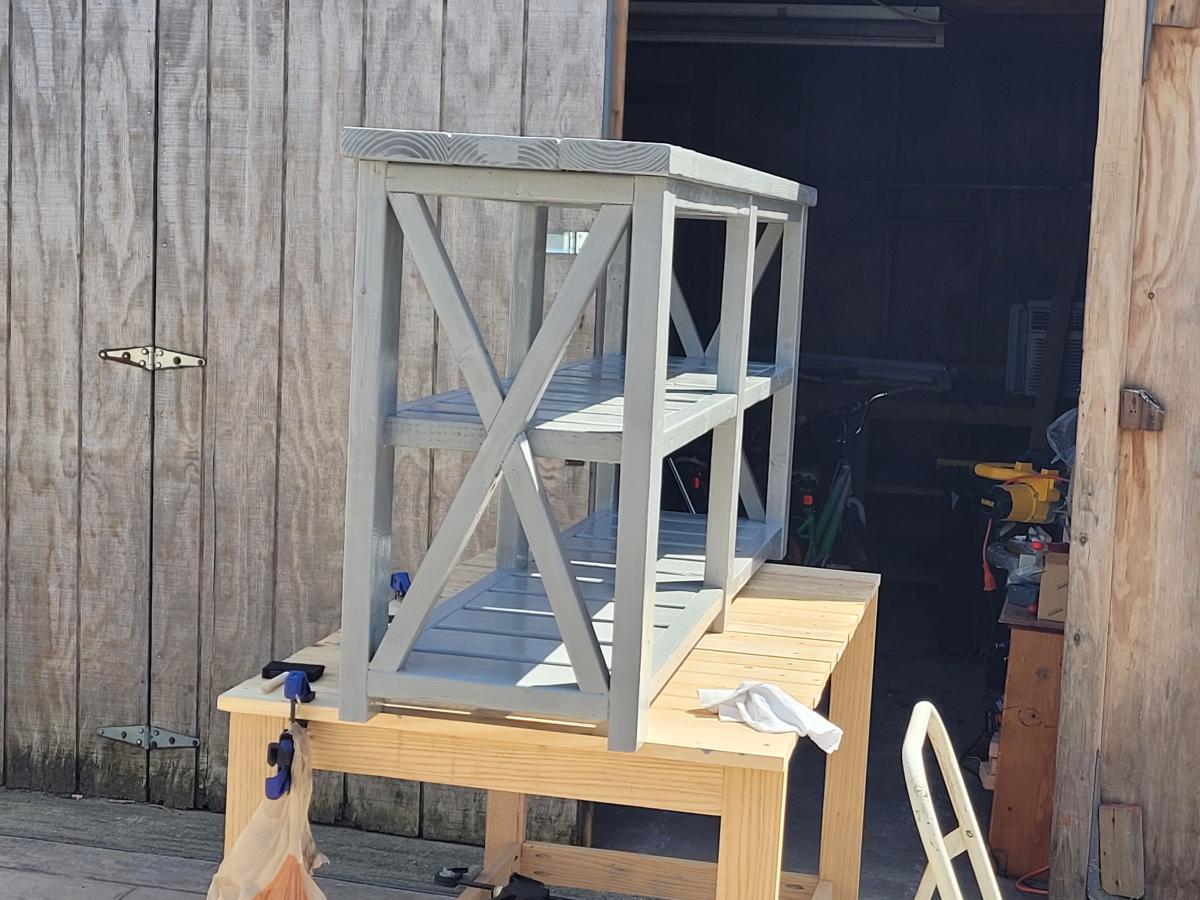
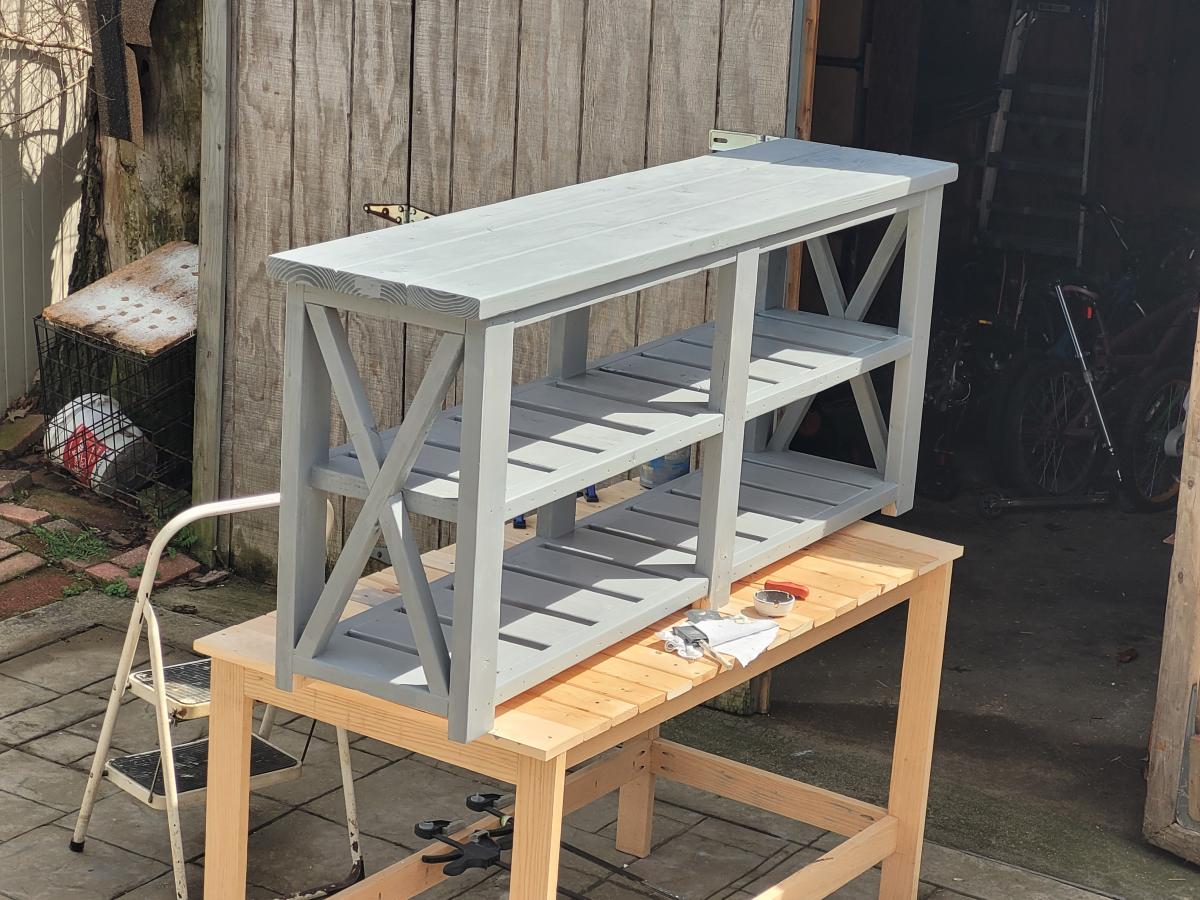
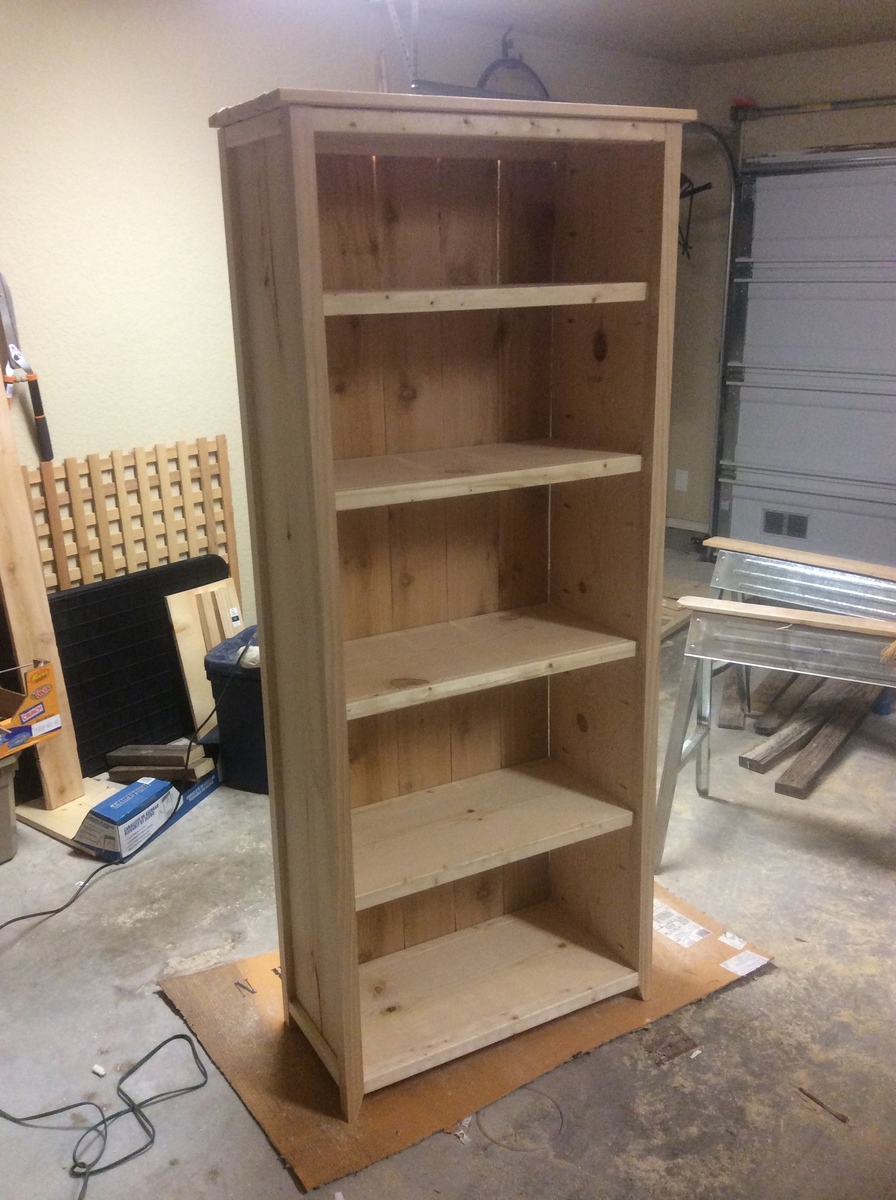
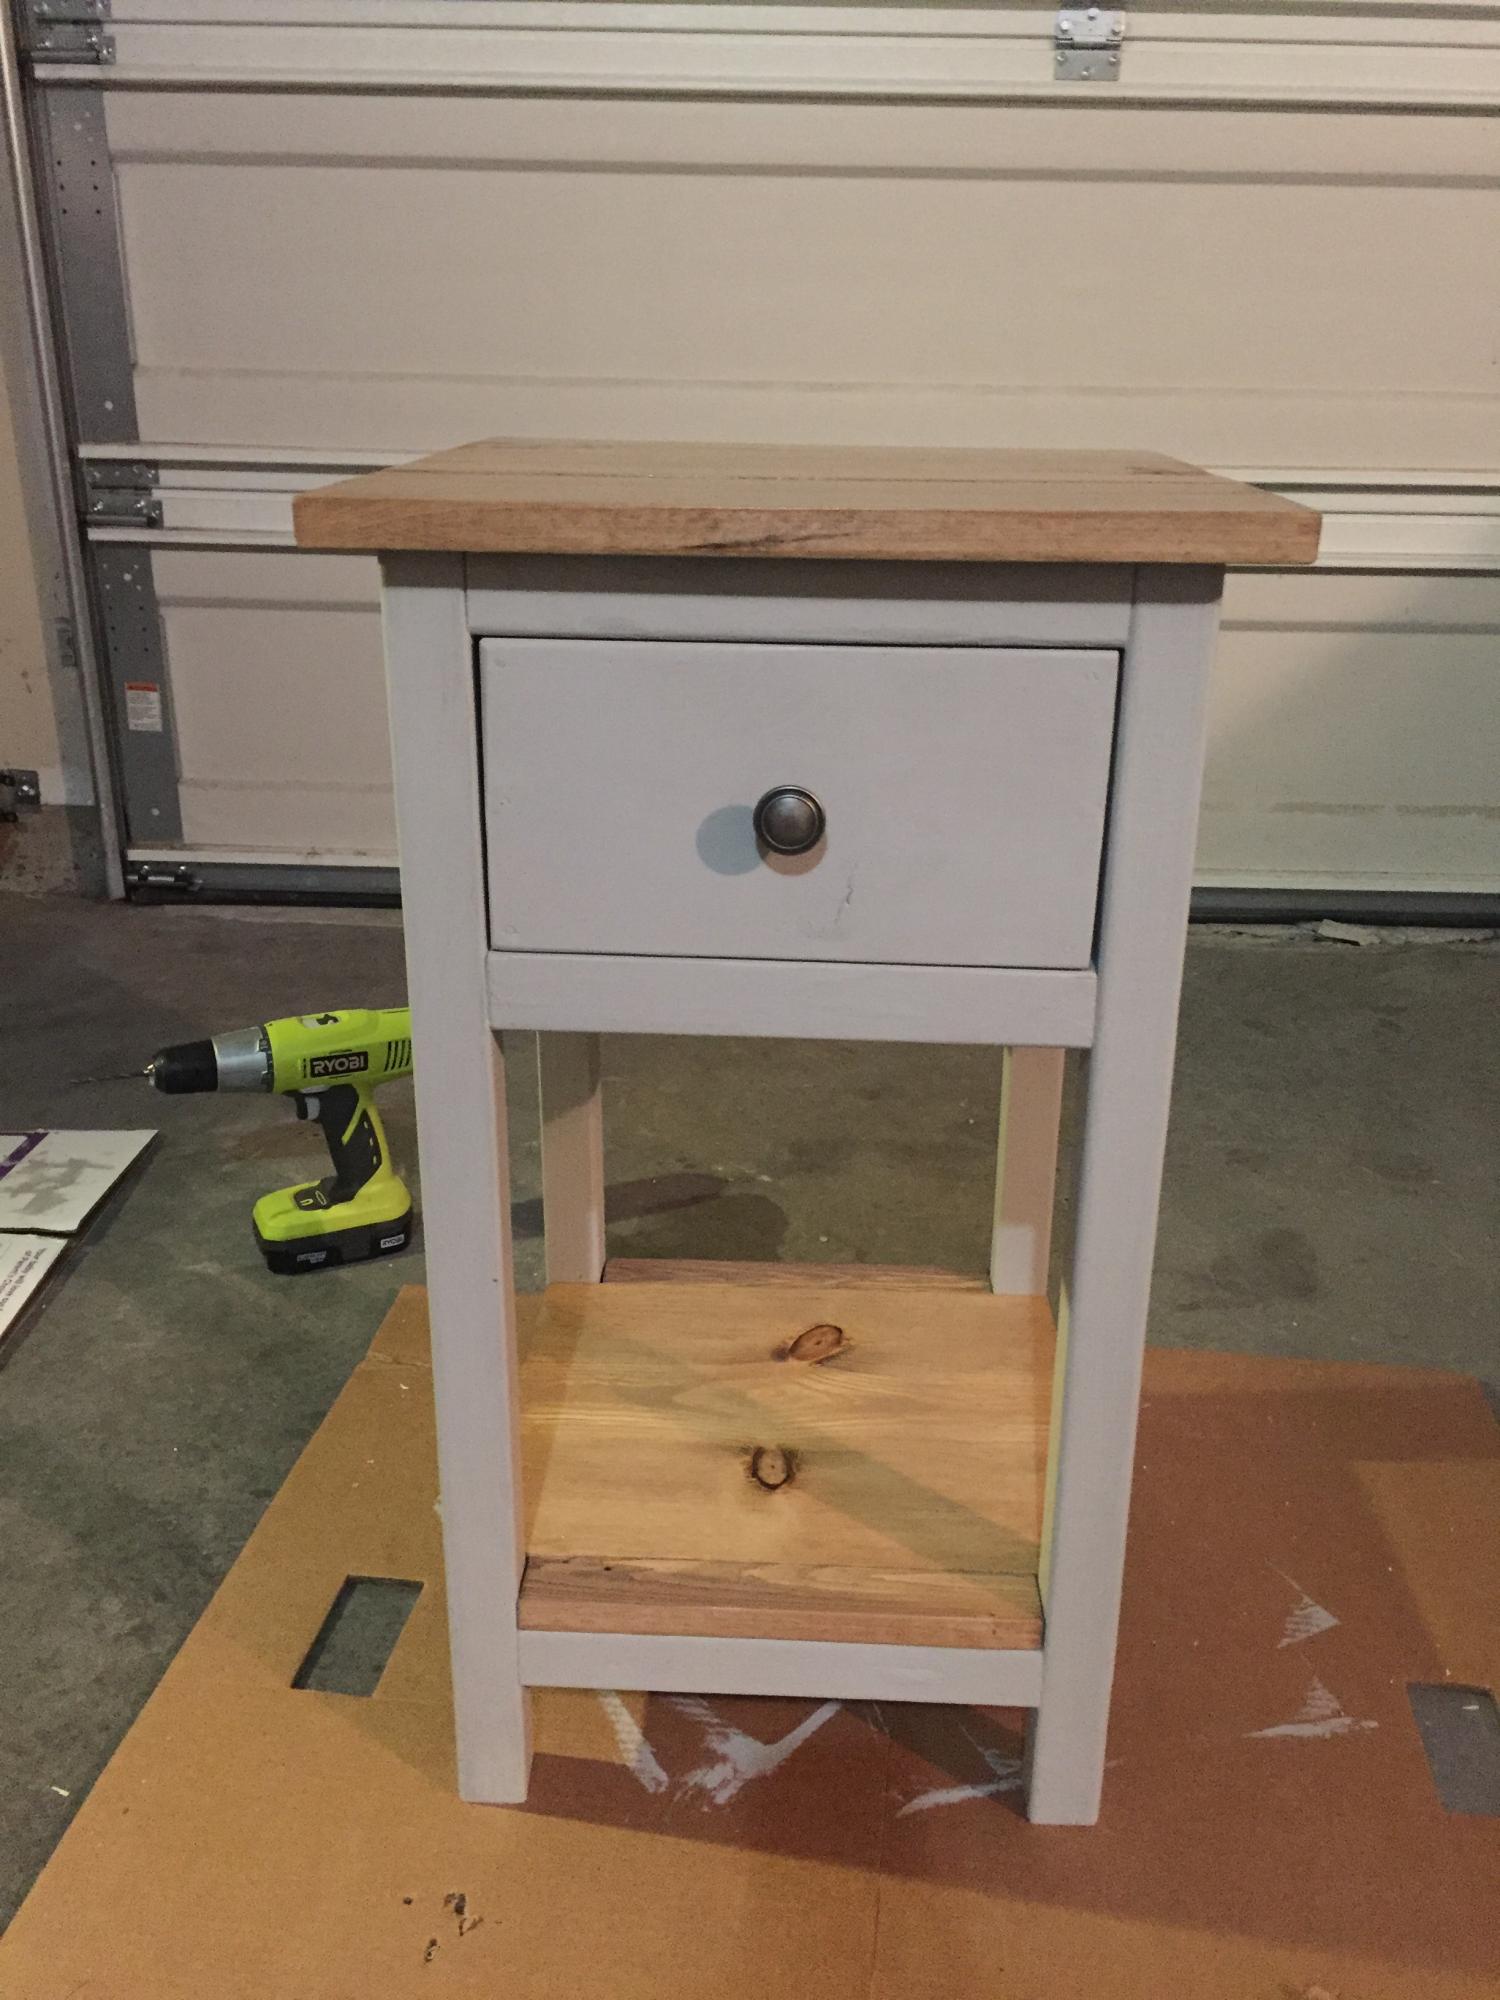
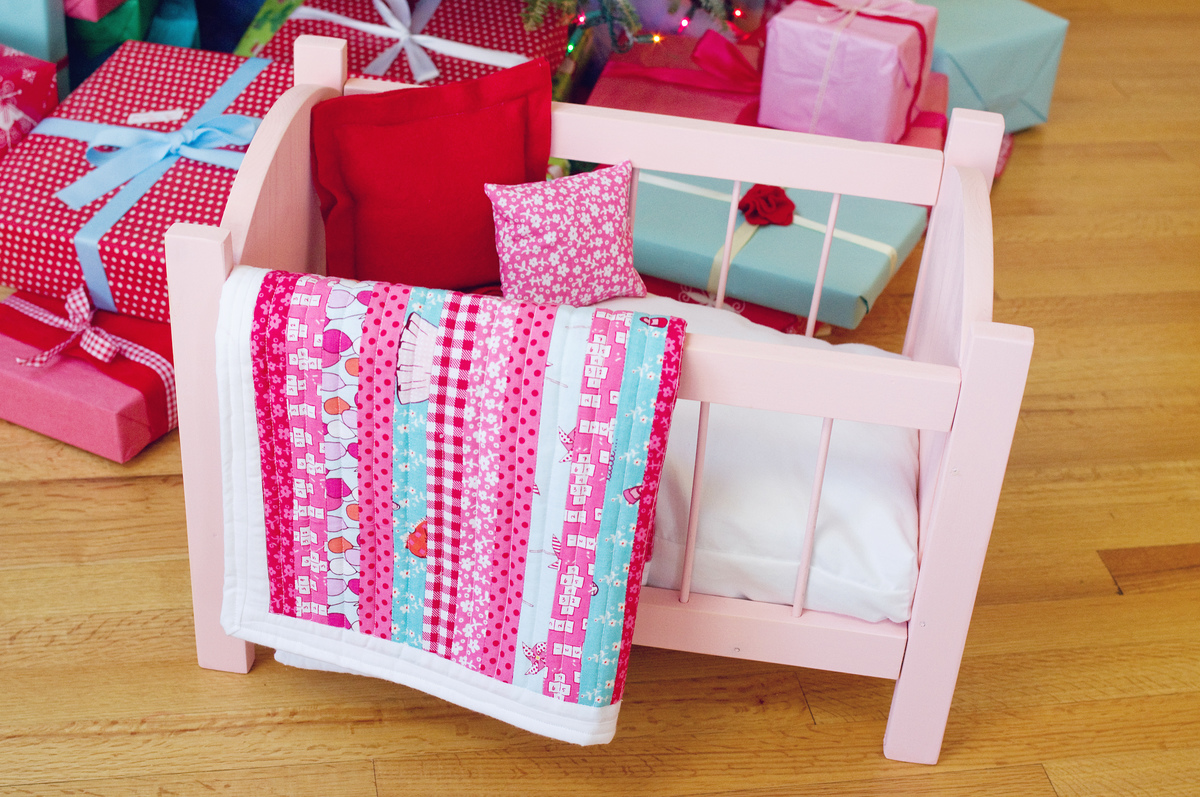
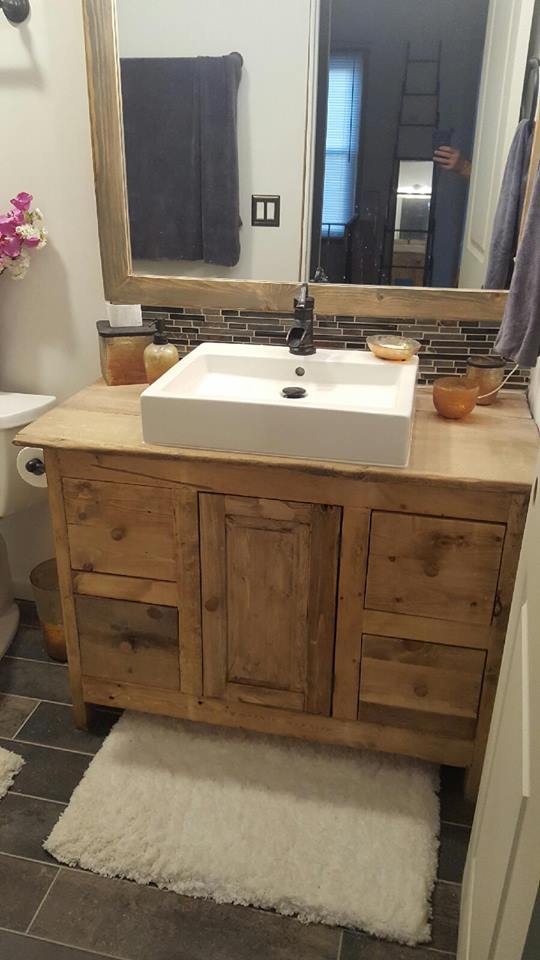
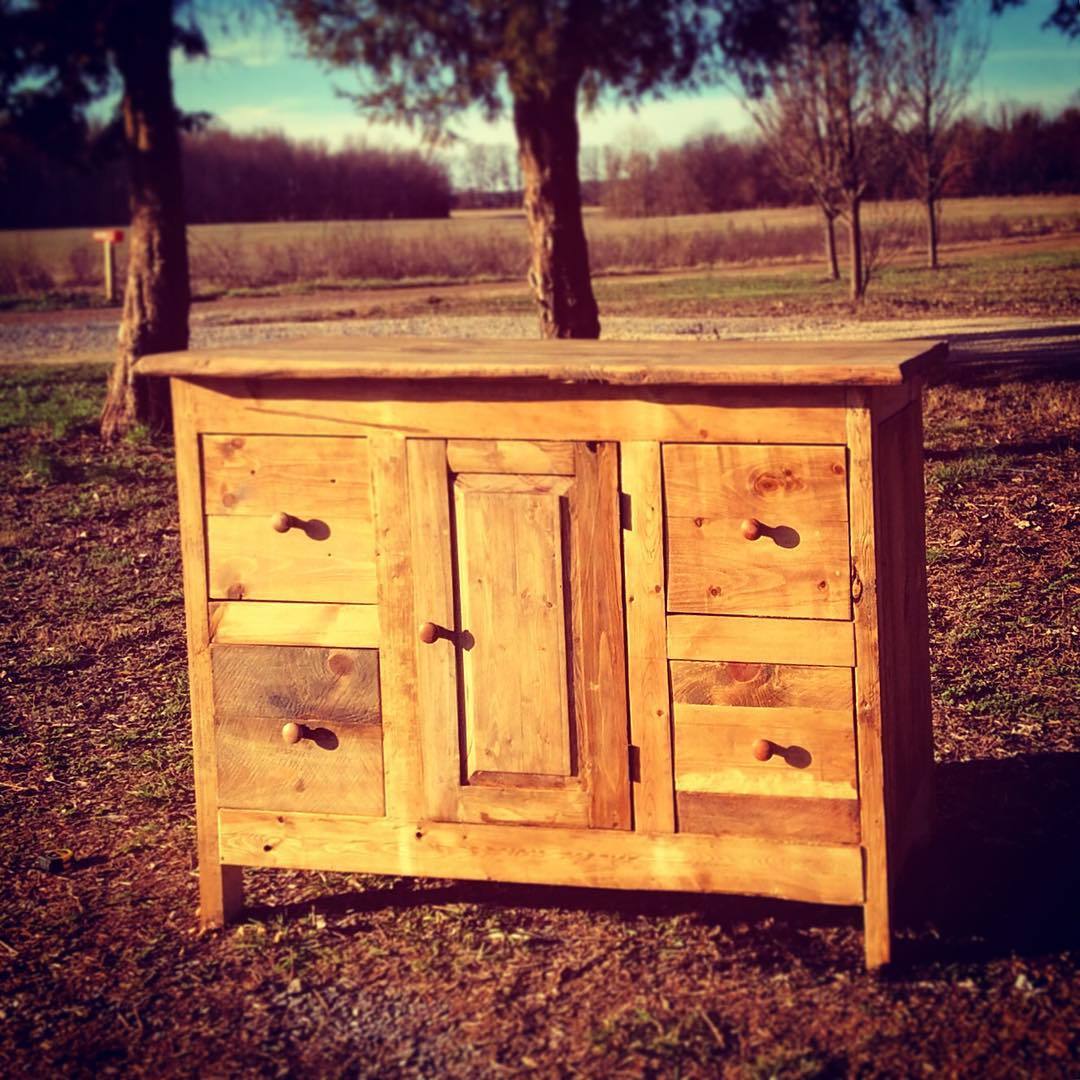
Bathroom Cubbie Shelf
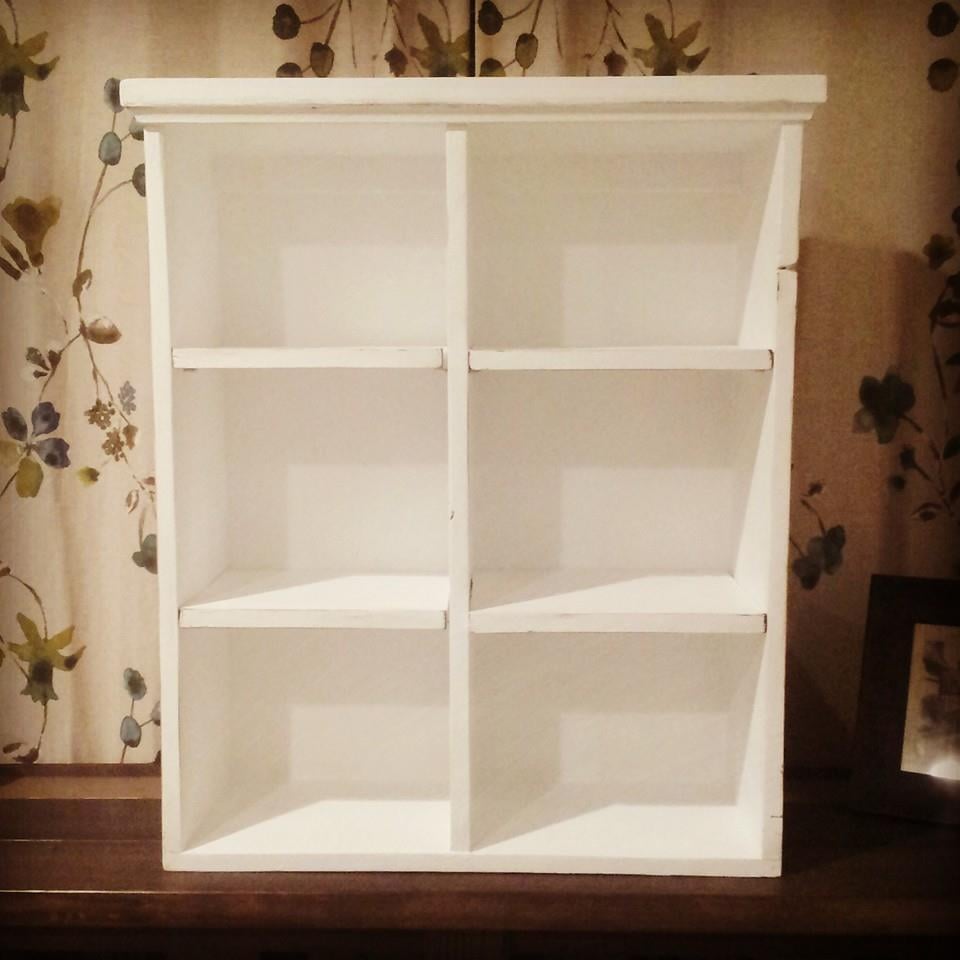
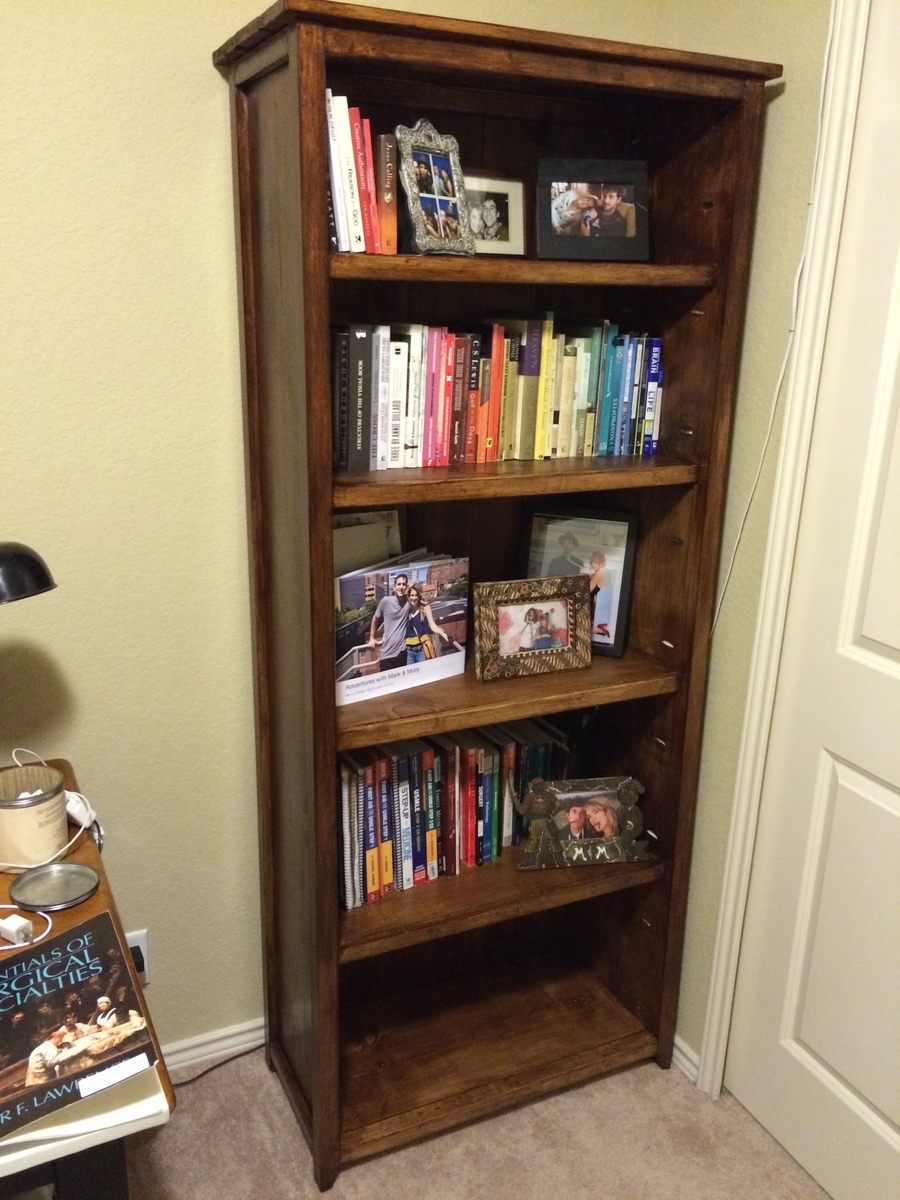
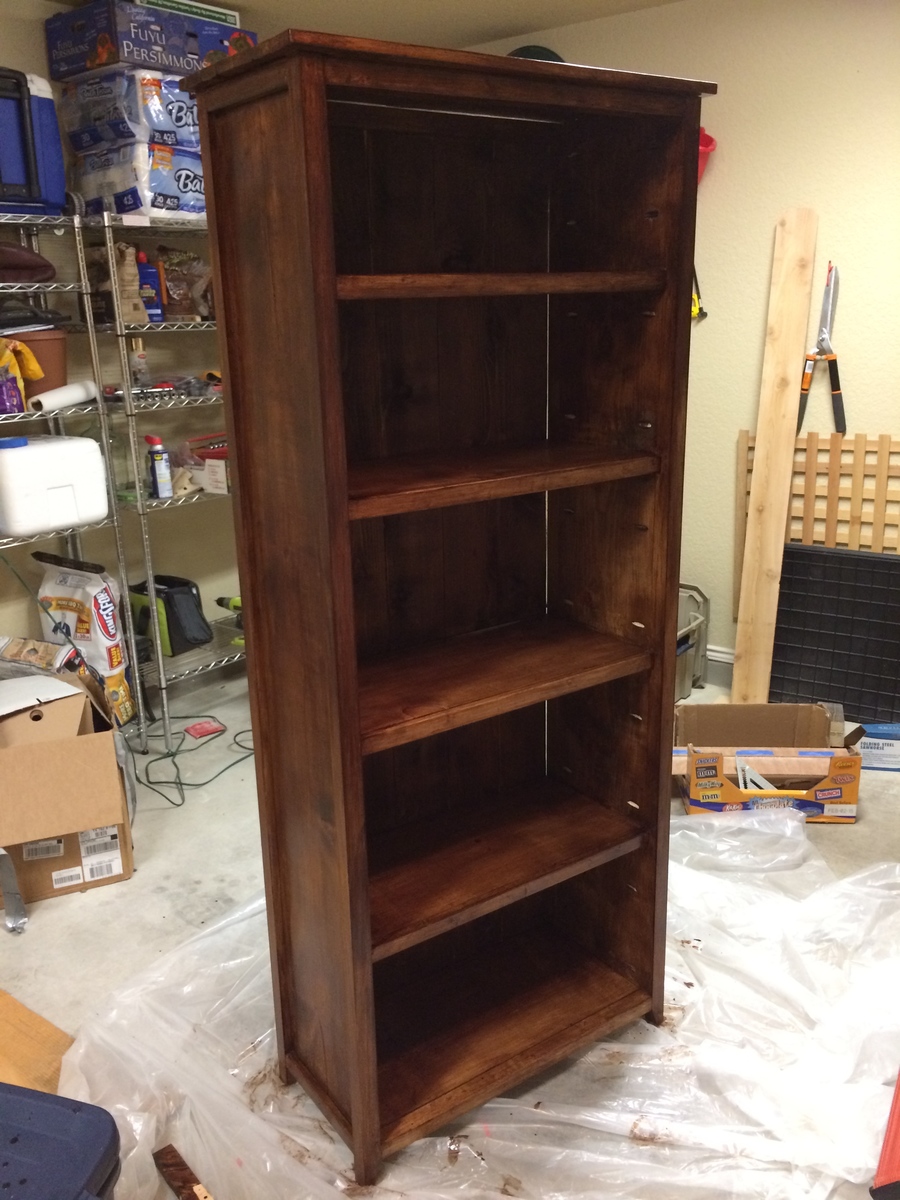
This is a piece from Ana's book. I used the plans from the book and followed Shabby-2-chic's recommendation for the finish. I used 120 grit sandpaper to knock the edges off then applied a dark minwax stain. Soft scrub was used to remove the extra finish from my white paint. The kreg shelf pin jig was invaluable in getting the holes just right.
Built from Plan(s)
Estimated Cost
$60.00
Estimated Time Investment
Weekend Project (10-20 Hours)
Finish Used
Behr premium white with primer in eggshell. Minwax dark stain applied to the sanded edges.
Recommended Skill Level
Beginner