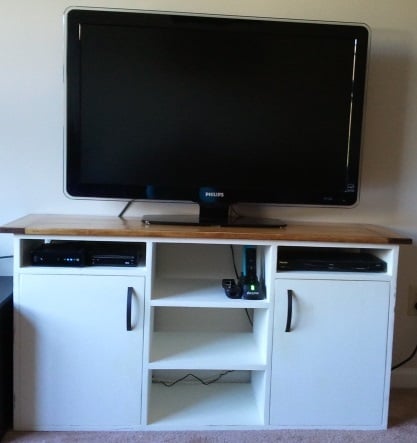
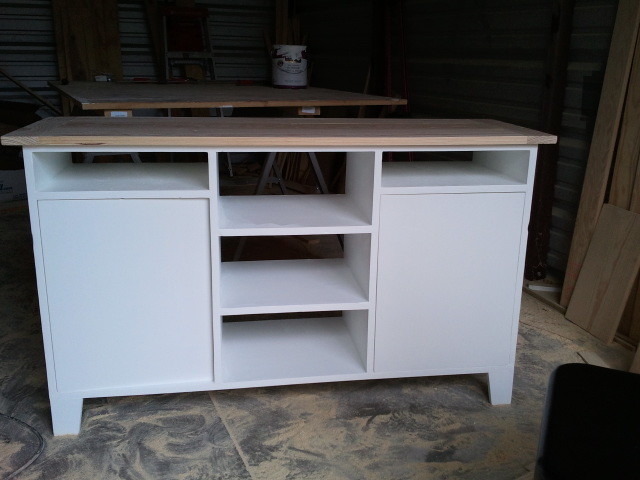
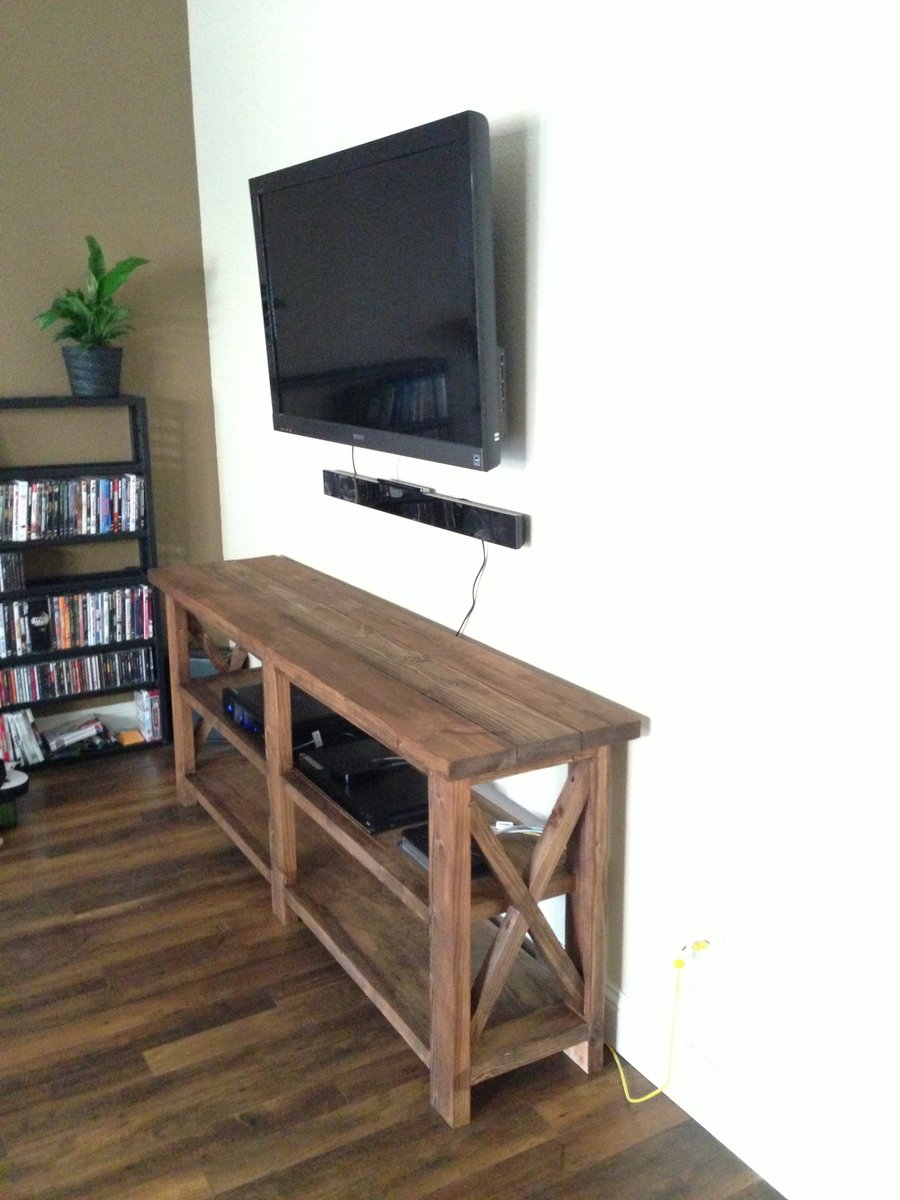
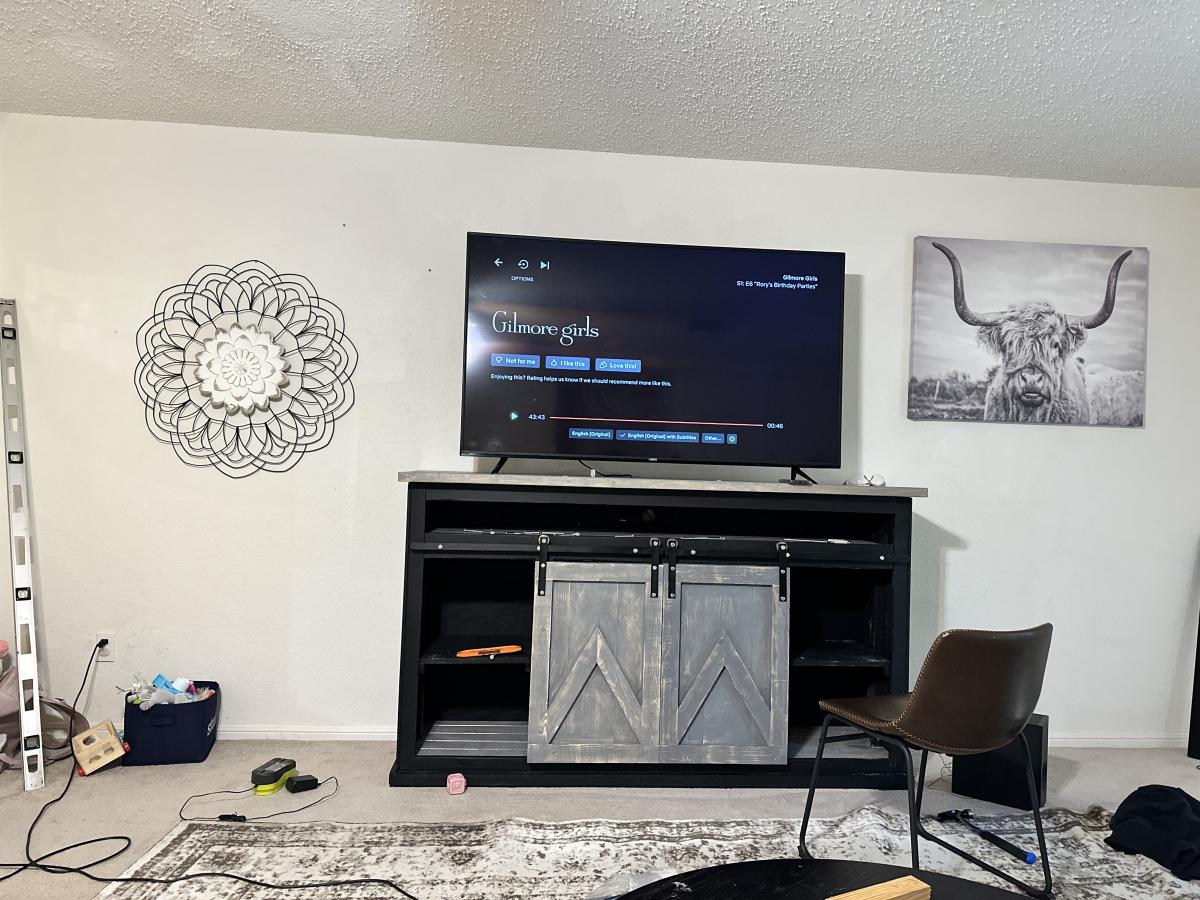
I ran into all sorts of problems building this! I started building it based off the materials I had on hand, not really knowing what it was going to be in the end. I started with the plywood box I hadn't intended for it to be a TV console, at first I was thinking a stand for a 55 gallon fish tank (which I have since sold.)
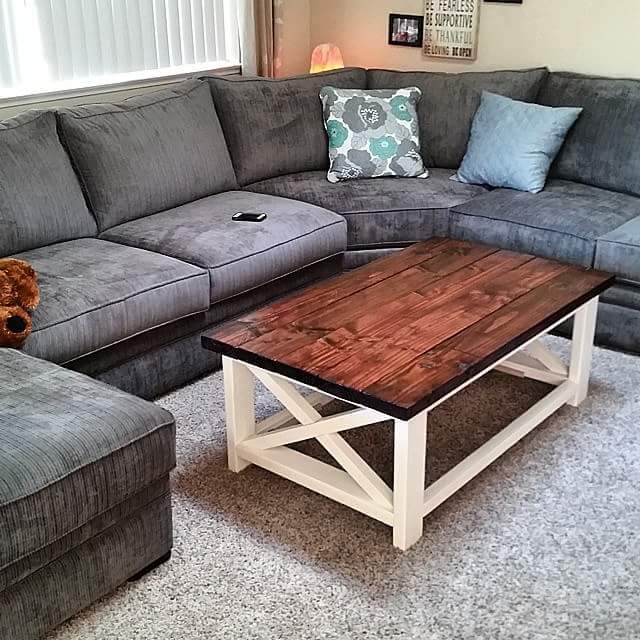
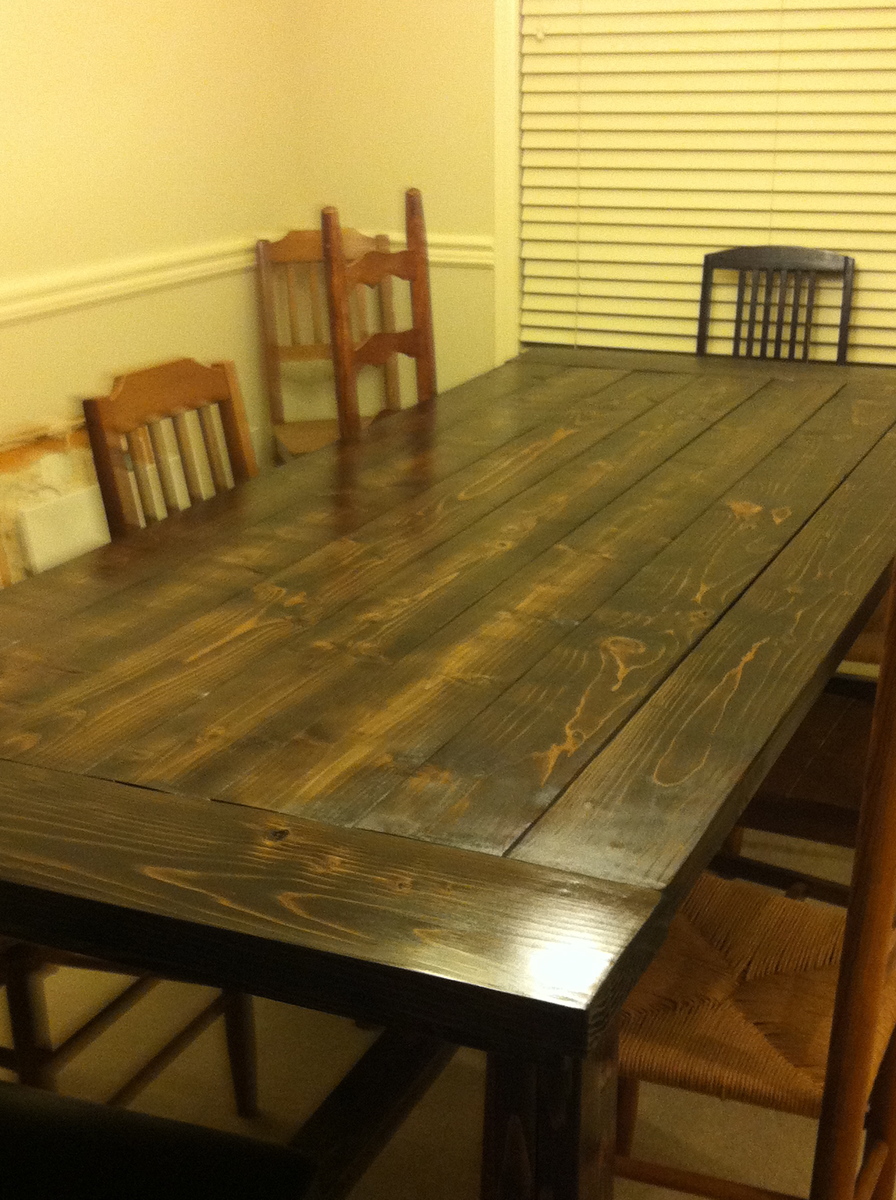
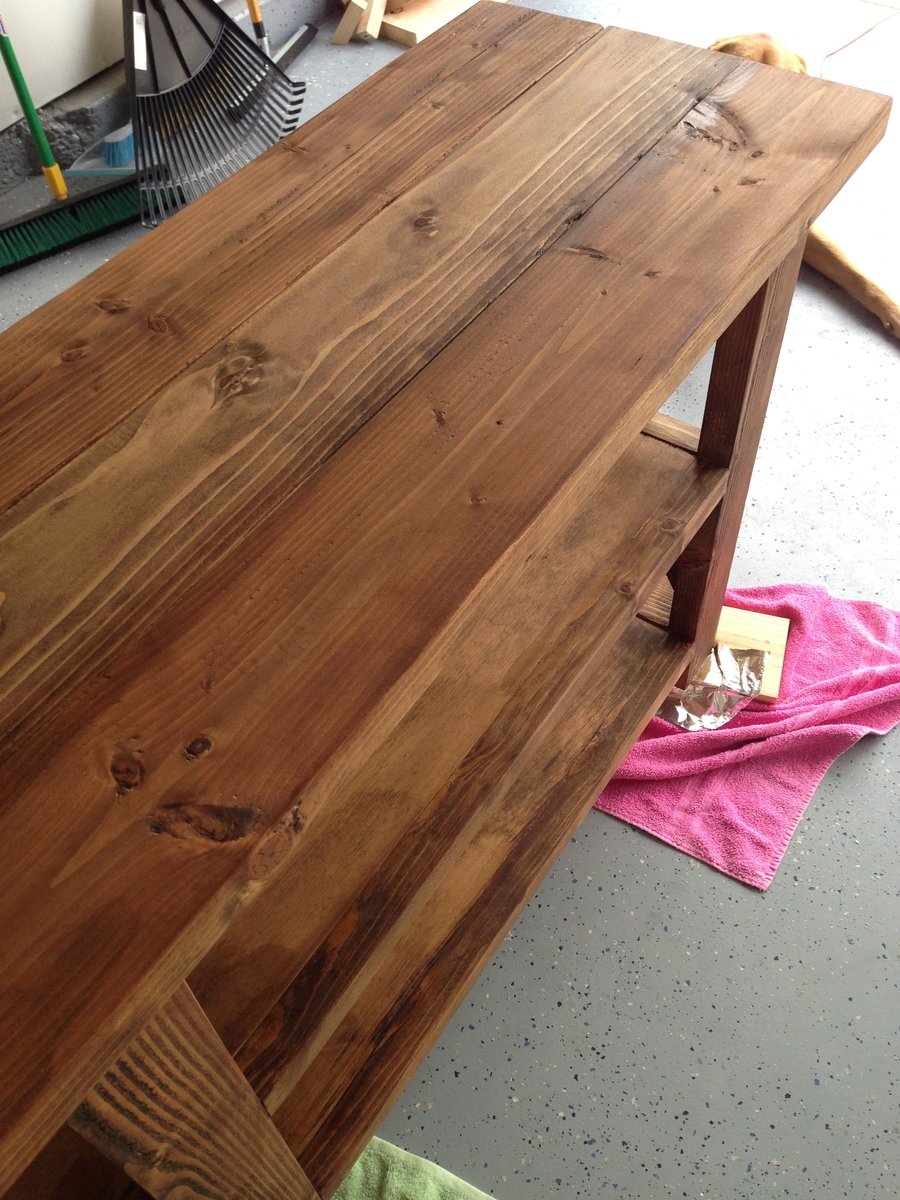
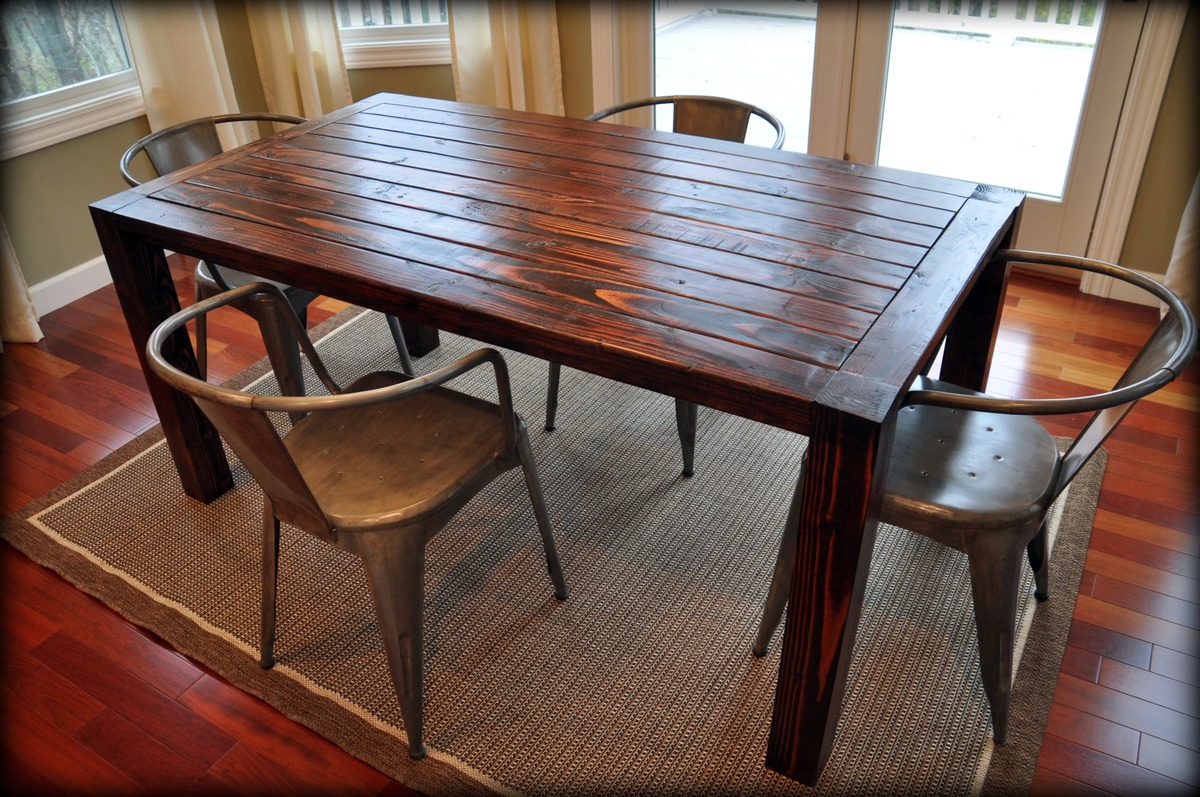
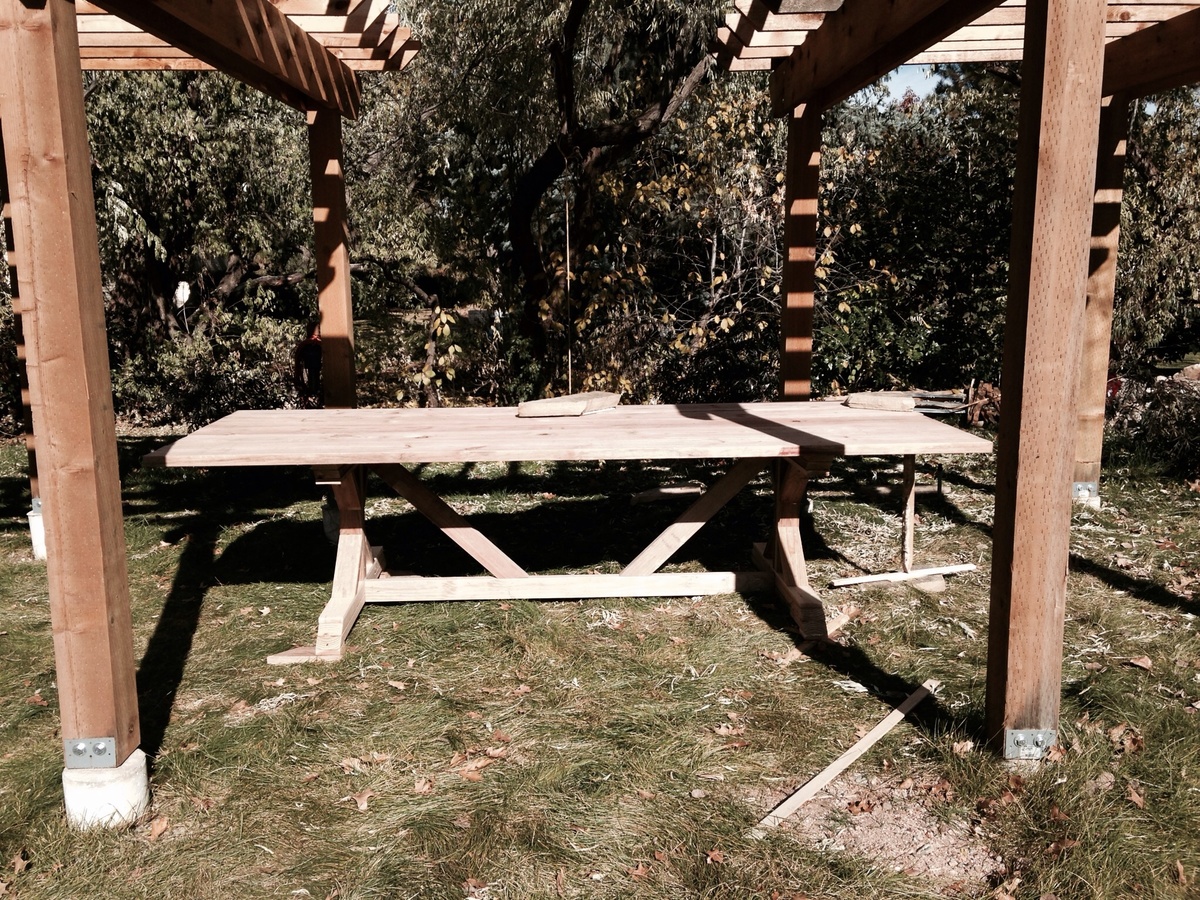
Once I decided what I was actually doing, it went together fine. I was going to make all three of the central column area into drawers, but I can't afford the hardware for that right now. I made the farmhouse style top and stained it to match the coffee table I made previous. However, I had many issues with finishing, problems with the legs, and after attaching the top accidentally broke off one of the breadboard ends of the top.
Finishing it was most exasperating. I started out with a mini-roller and white gloss paint. After I got it completely painted, I put on poly, but the poly dried very yellow and completely ruined the finish. I had to sand it almost completely back down to the wood to get it out. By the way, I learned something important about sanding which I will share with you... the cheaper sanding discs (made from clay) are crap. Get the ones made from ceramic. They last considerably longer and get the sanding done SO much faster. I love the guys at Lowes. :)
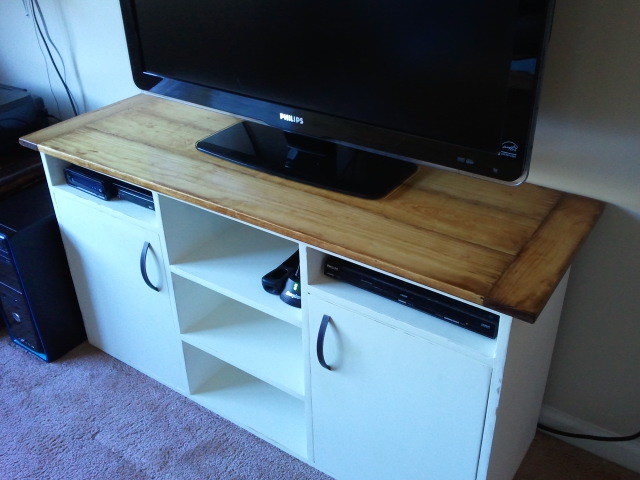
After I got it sanded back down I got some flat paint and used my sprayer. I love flat paint, it was so easy to get it on evenly. I did water it down quite a bit though. Then I sanded it down to a beautiful very smooth finish with some slight distressing. HOWEVER - flat paint needs a top coat, and I again screwed it up. Not as bad this time though. I used a spray on poly just in some places which gave it a little bit of an aged look, not too bad. Not exactly what I wanted, but doable.
I have not reattached the top with the expectation that I will still need to do more finishing, and it will be easier that way, and I will still be adding large caster wheels instead of legs on the bottom to raise it up a few more inches.
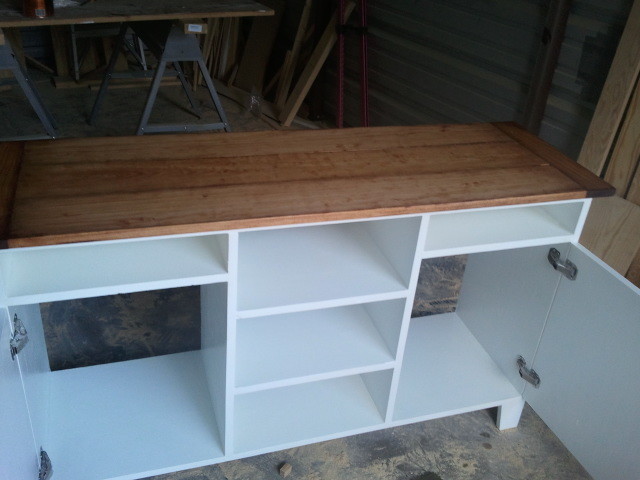
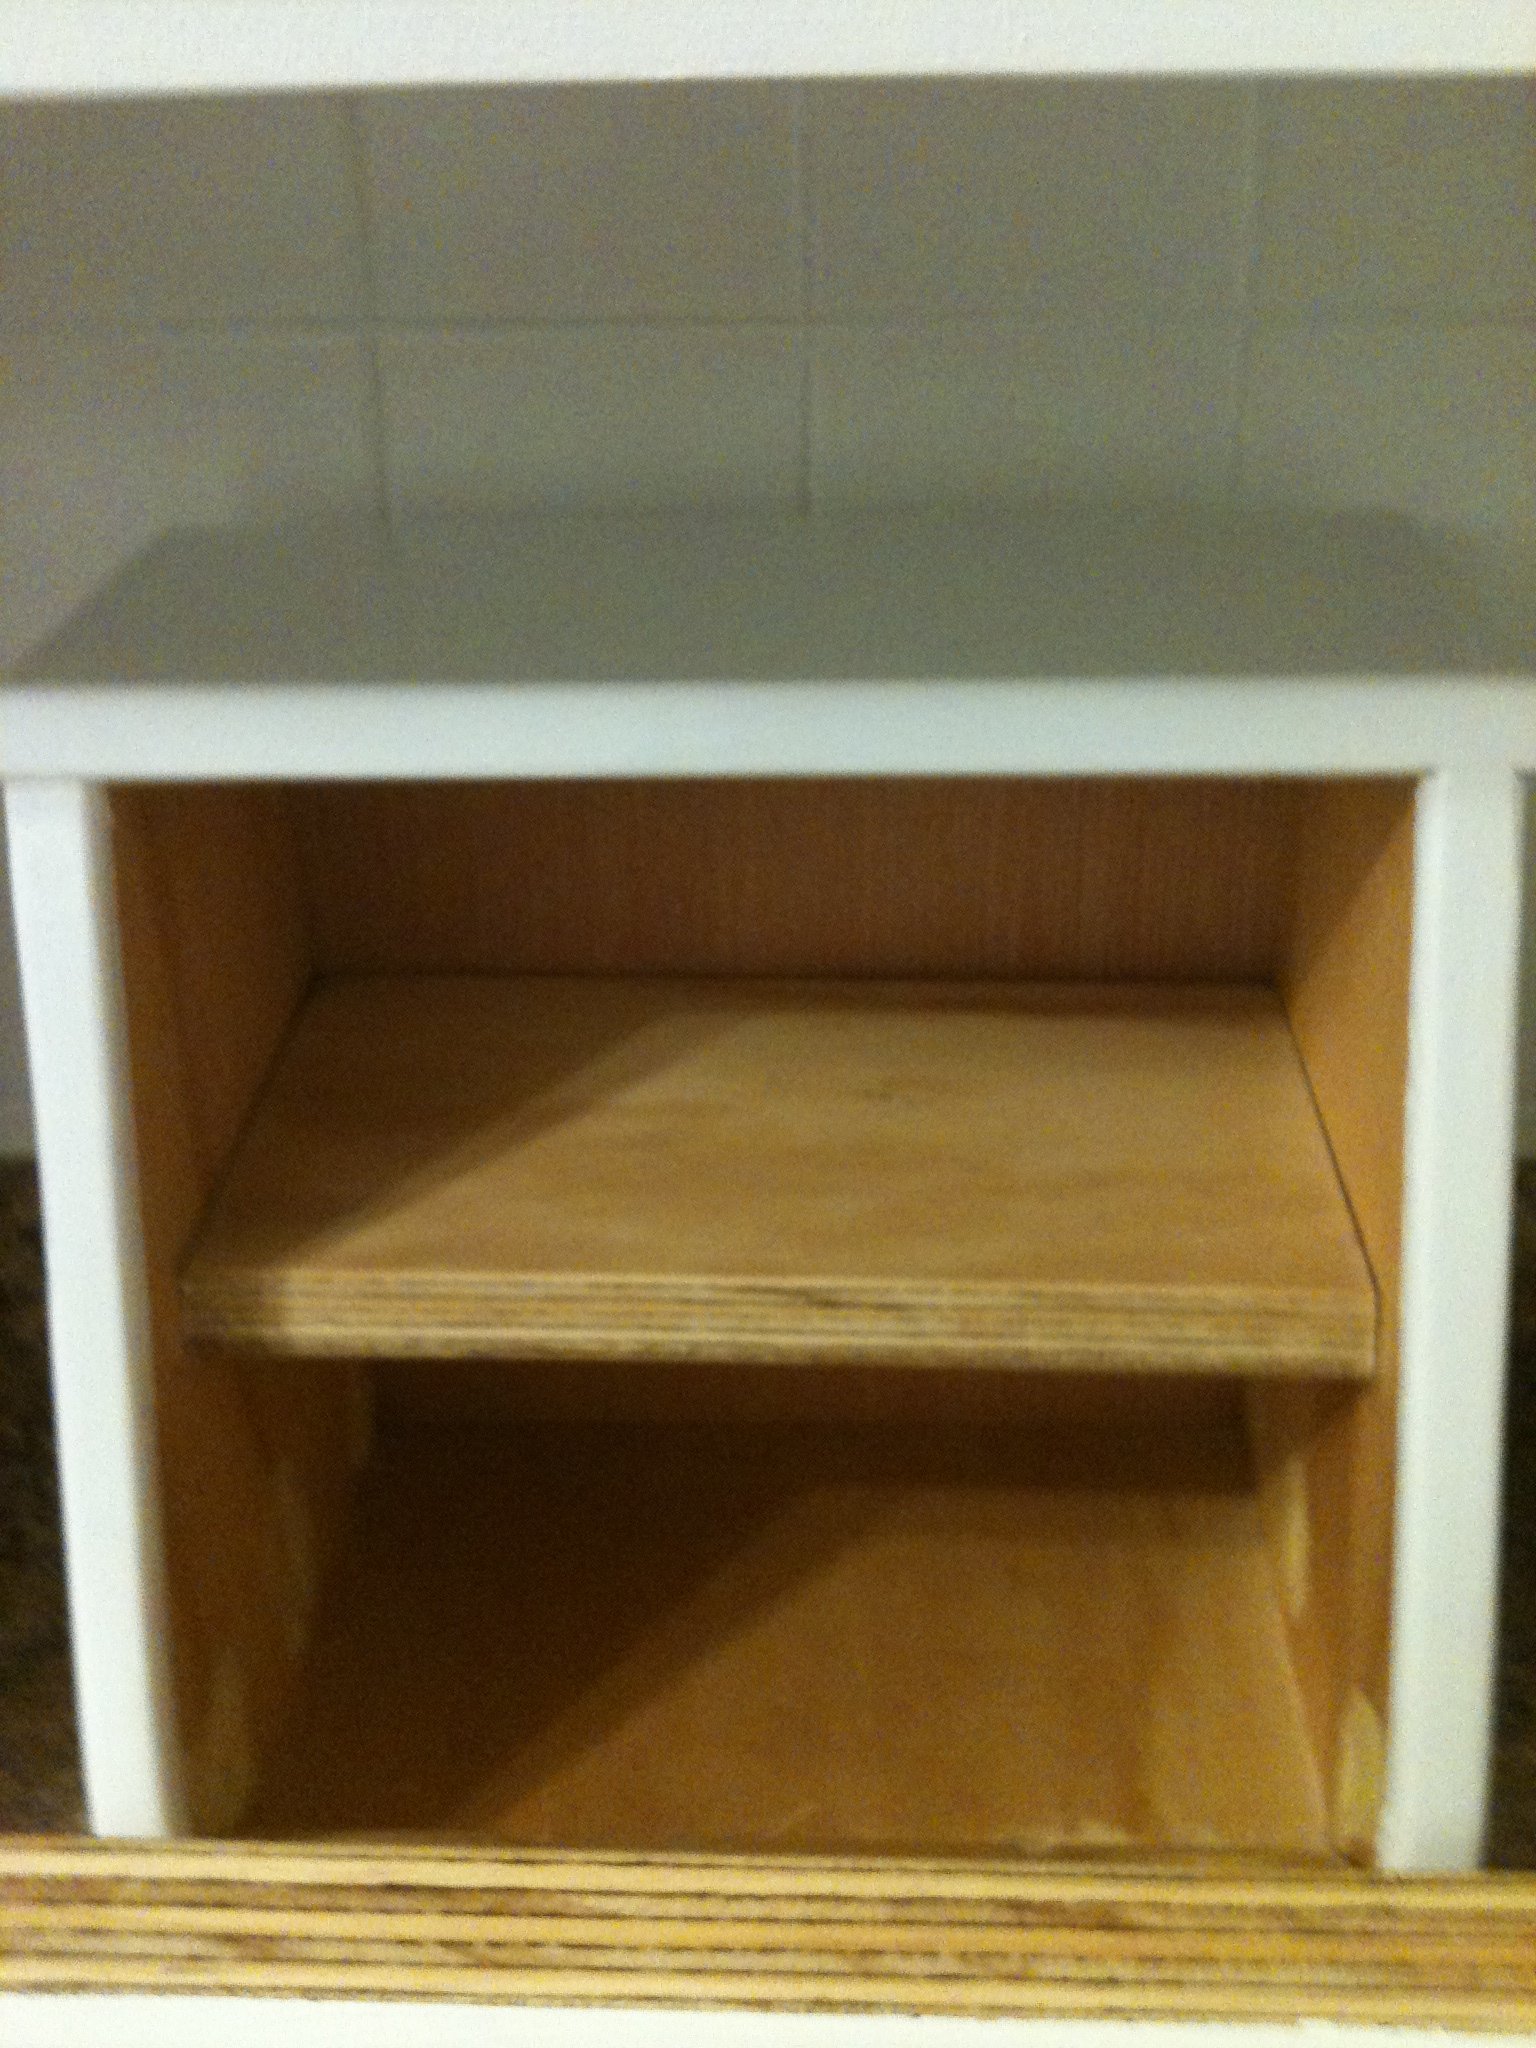
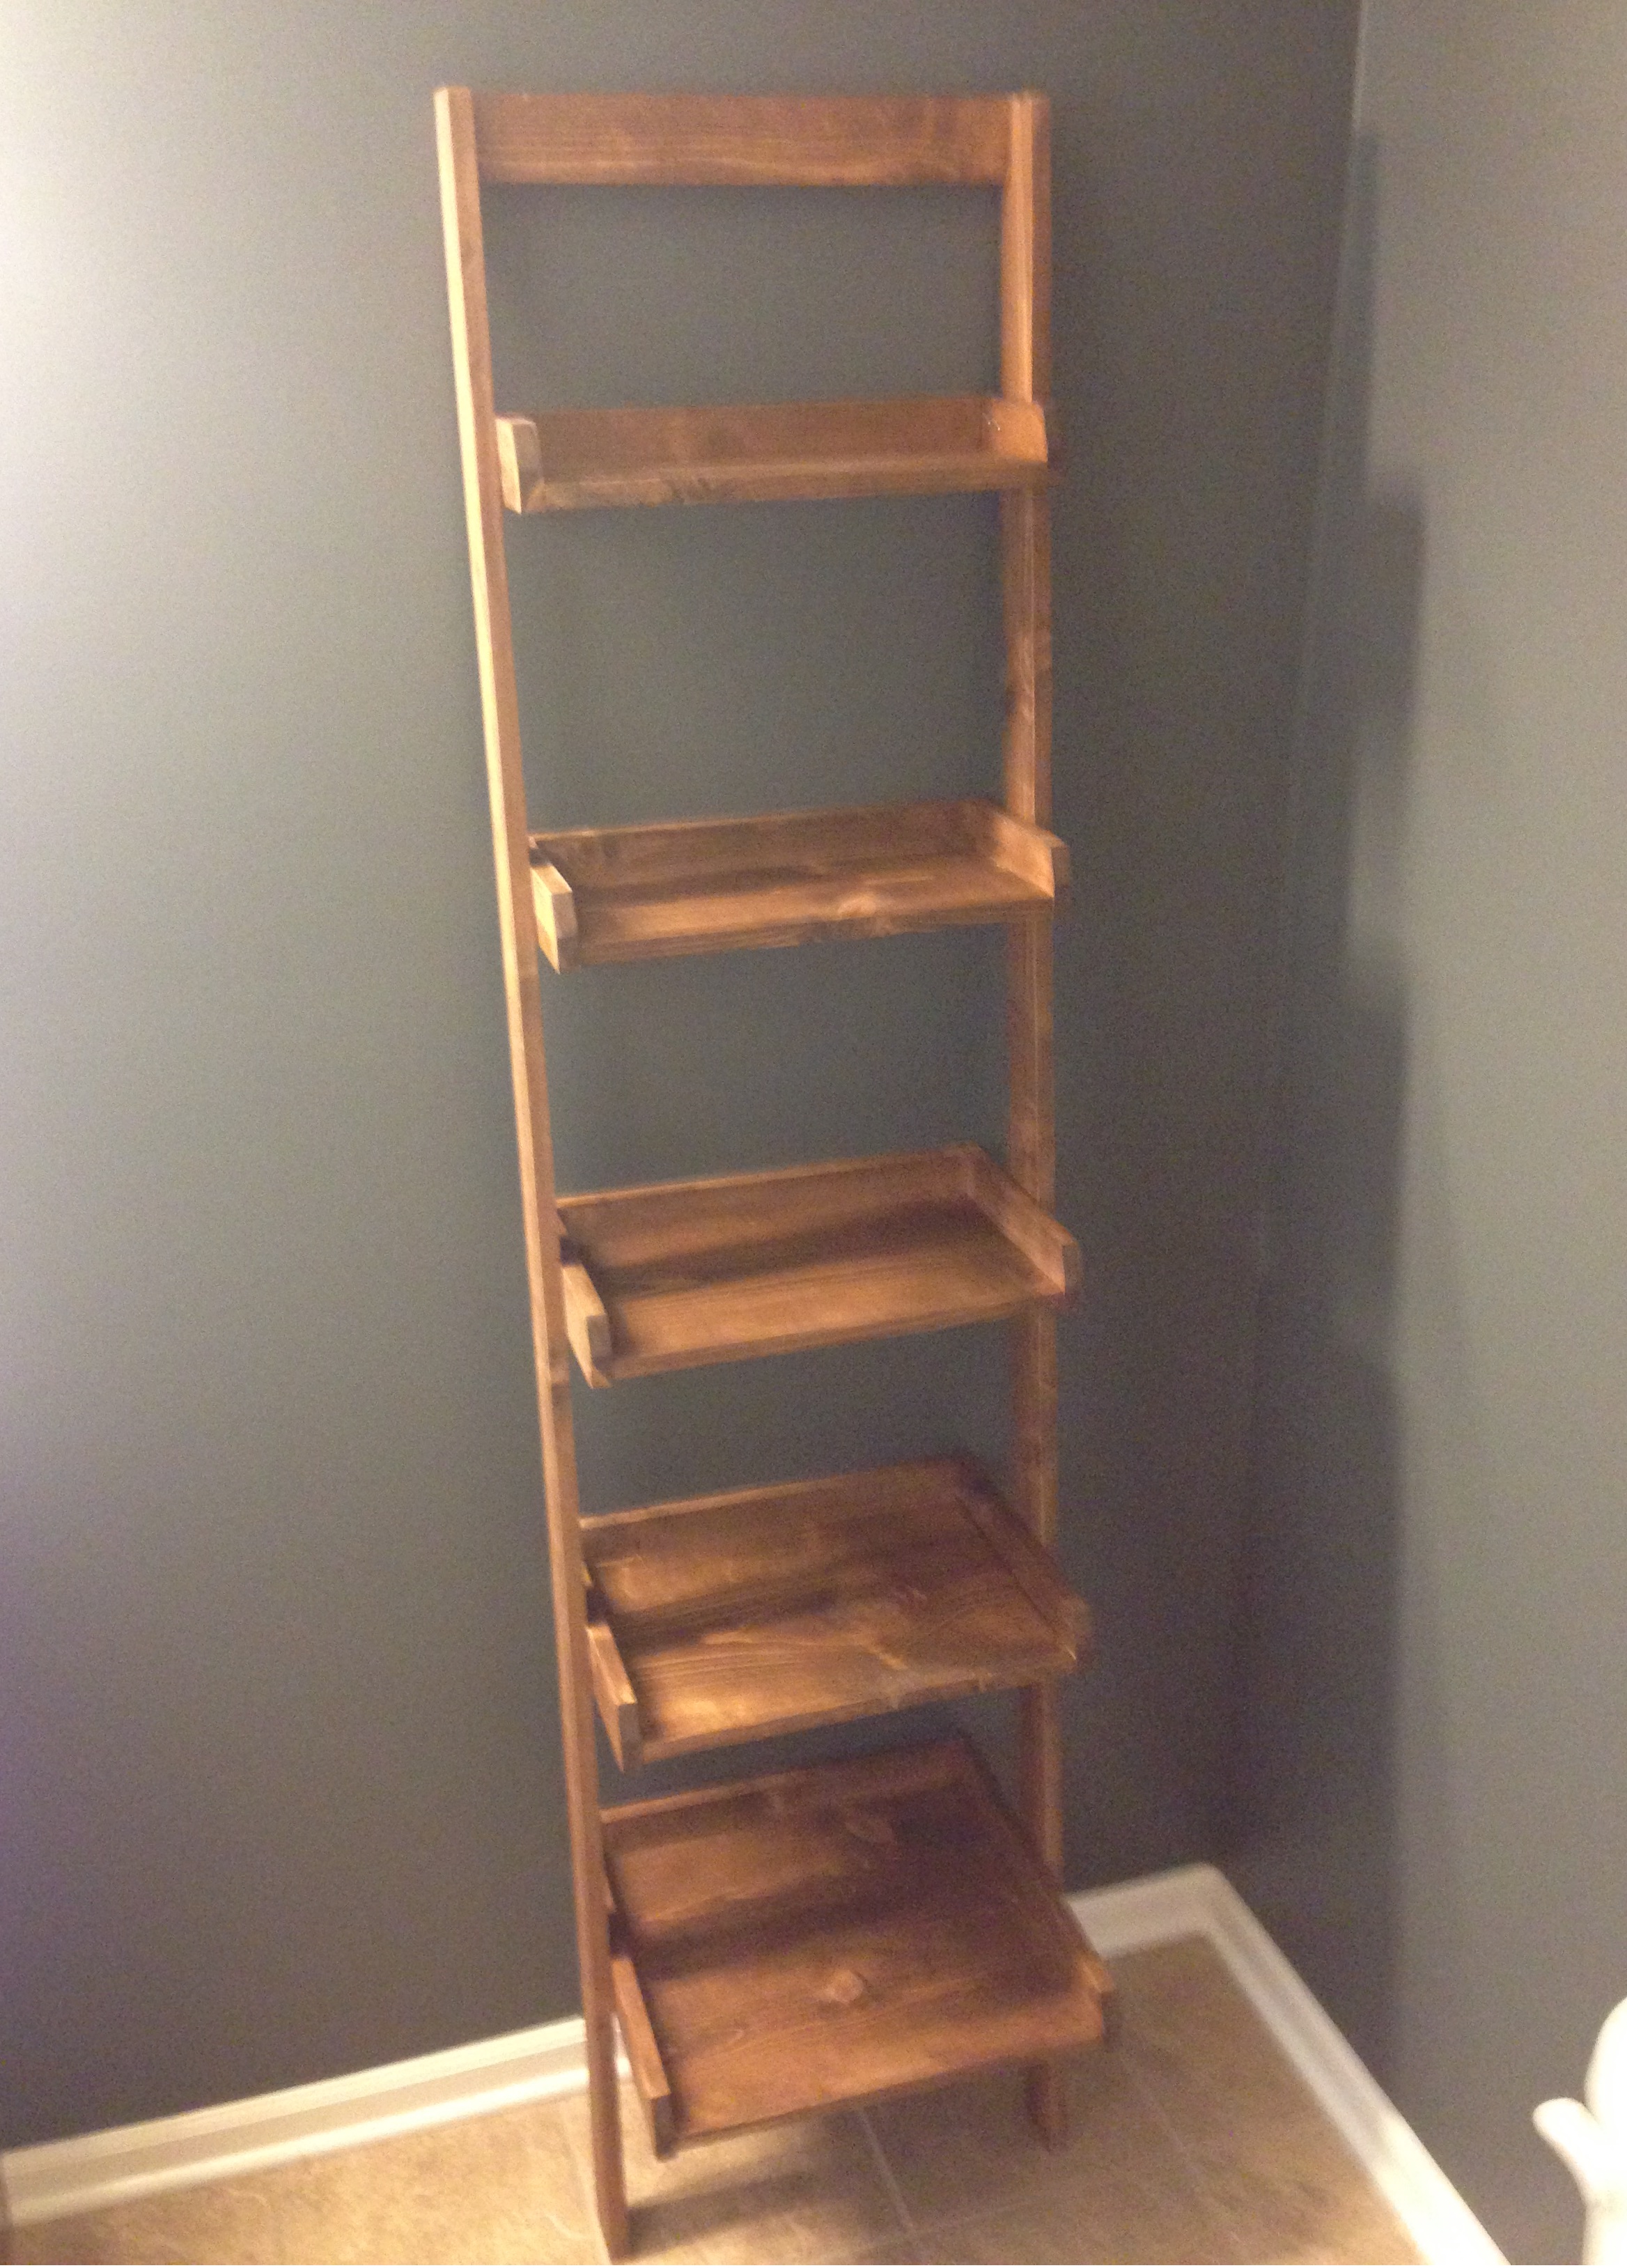
Also, the smaller cubby areas over the doors... they aren't big enough to use a sander to get the insides.
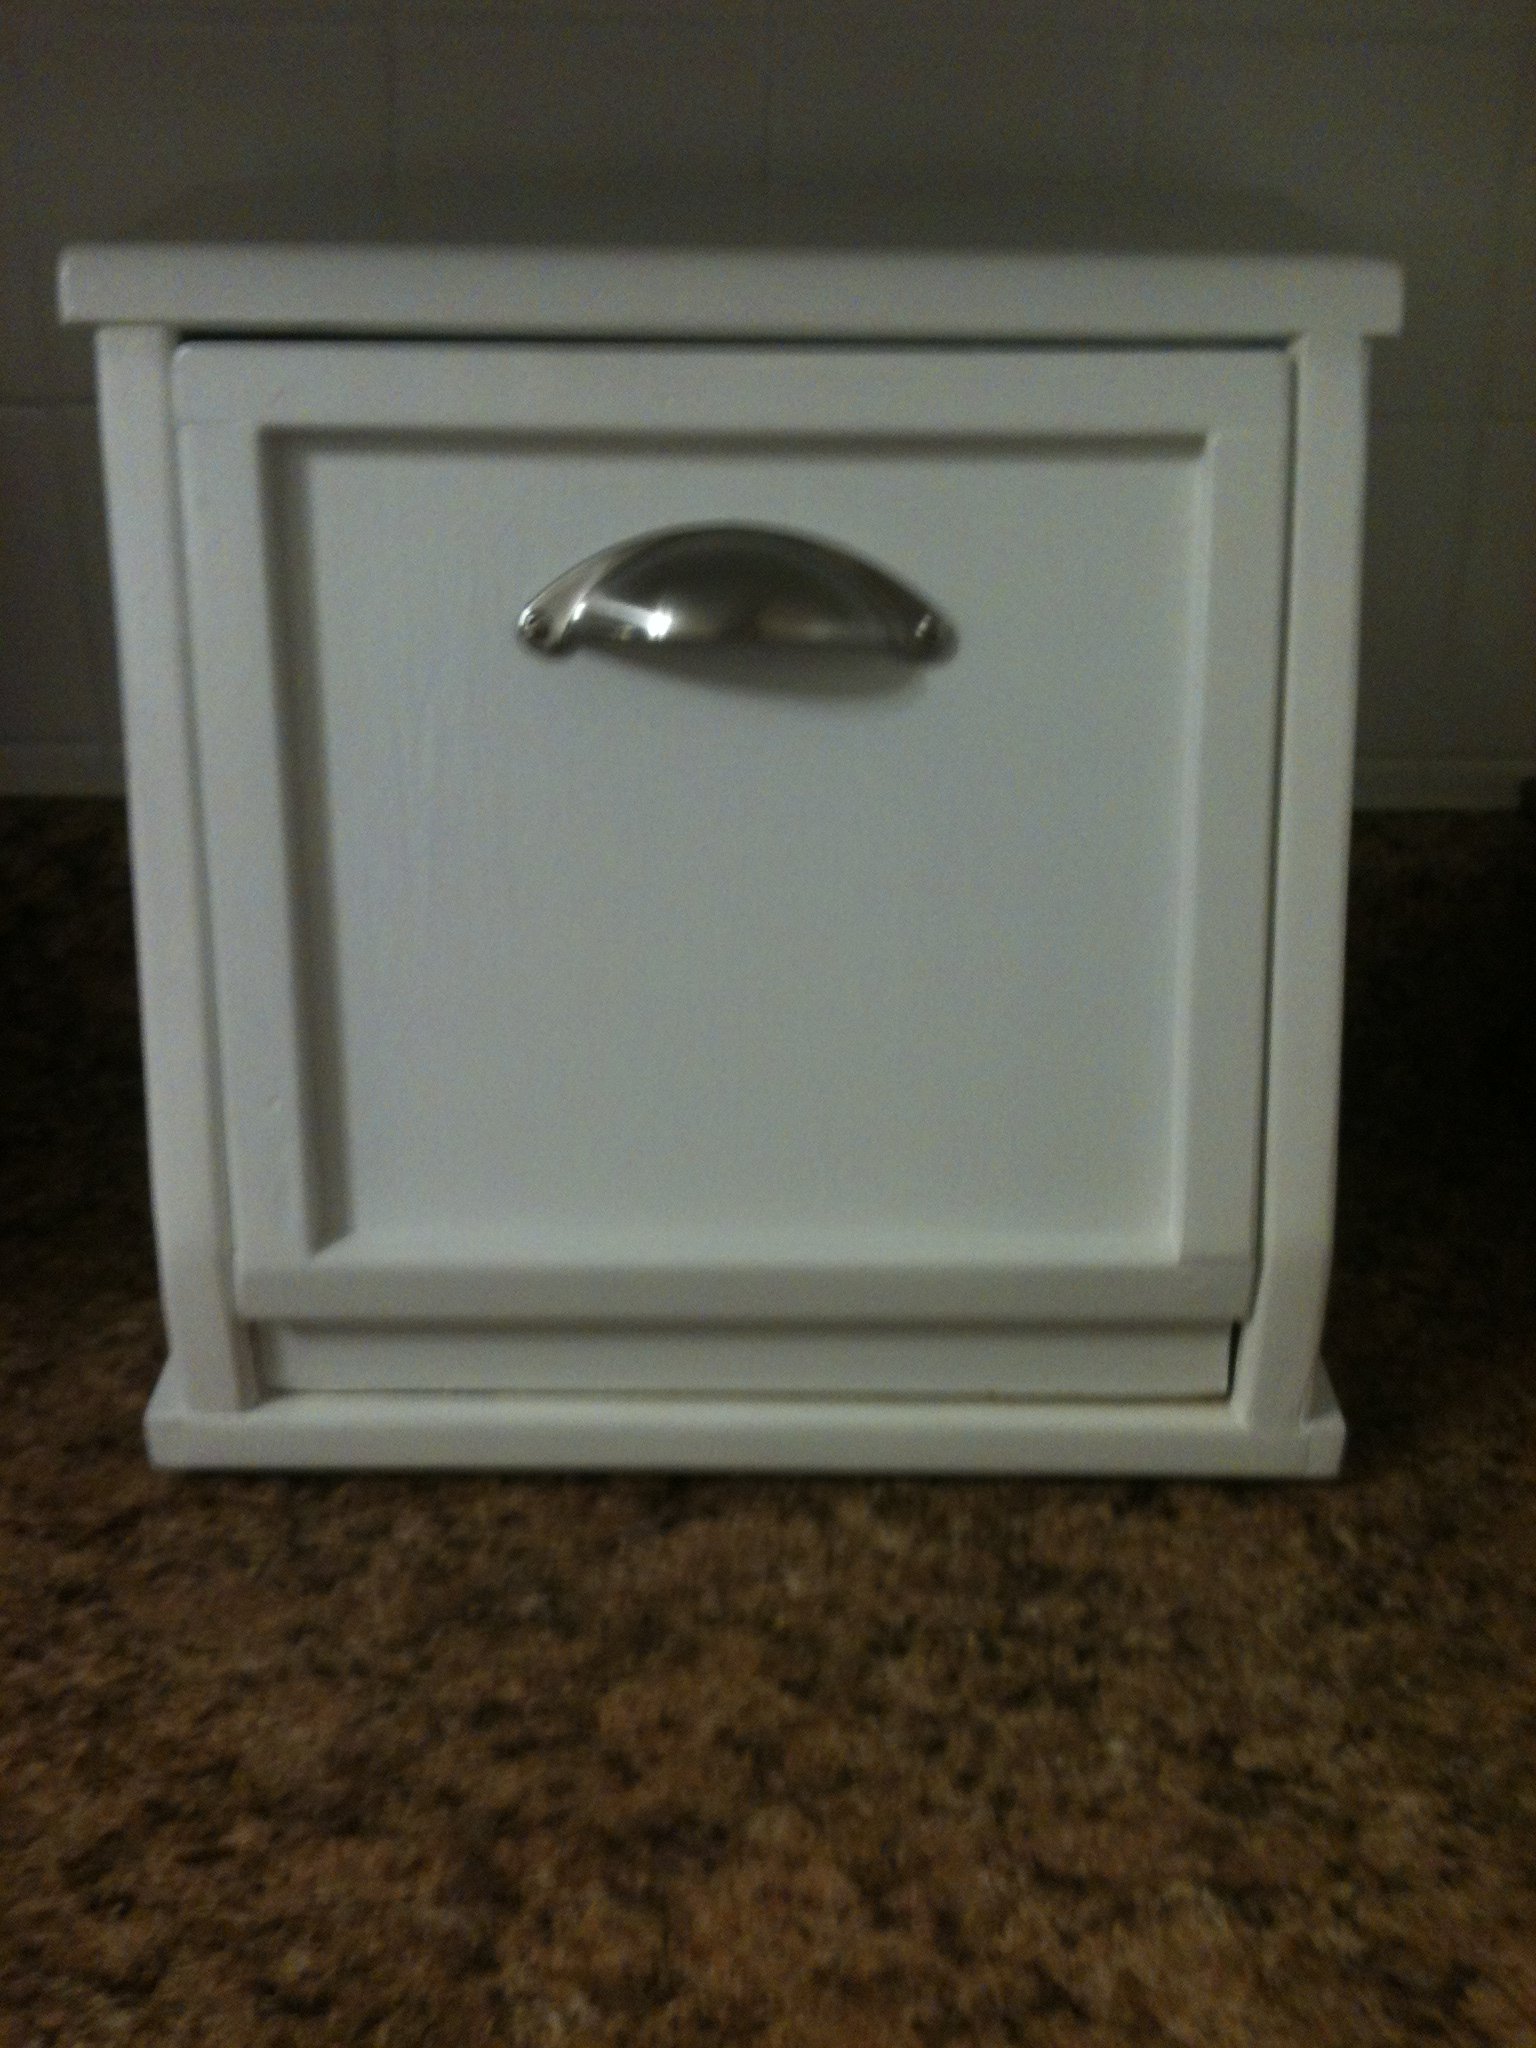
I used invisible hinges for the first time on this project which worked out quite well, and I love those.
I would love suggestions on finishing... if I use flat paint because it's easy to work with, what is a good top coat for that? Or should I stick with gloss paint and no top coat, and try that for my next one? Paint with primer? Still learning...
They say it takes 10 years to become proficient at a skill.. I've got about 8 years of building left before I'll be good at it. :)