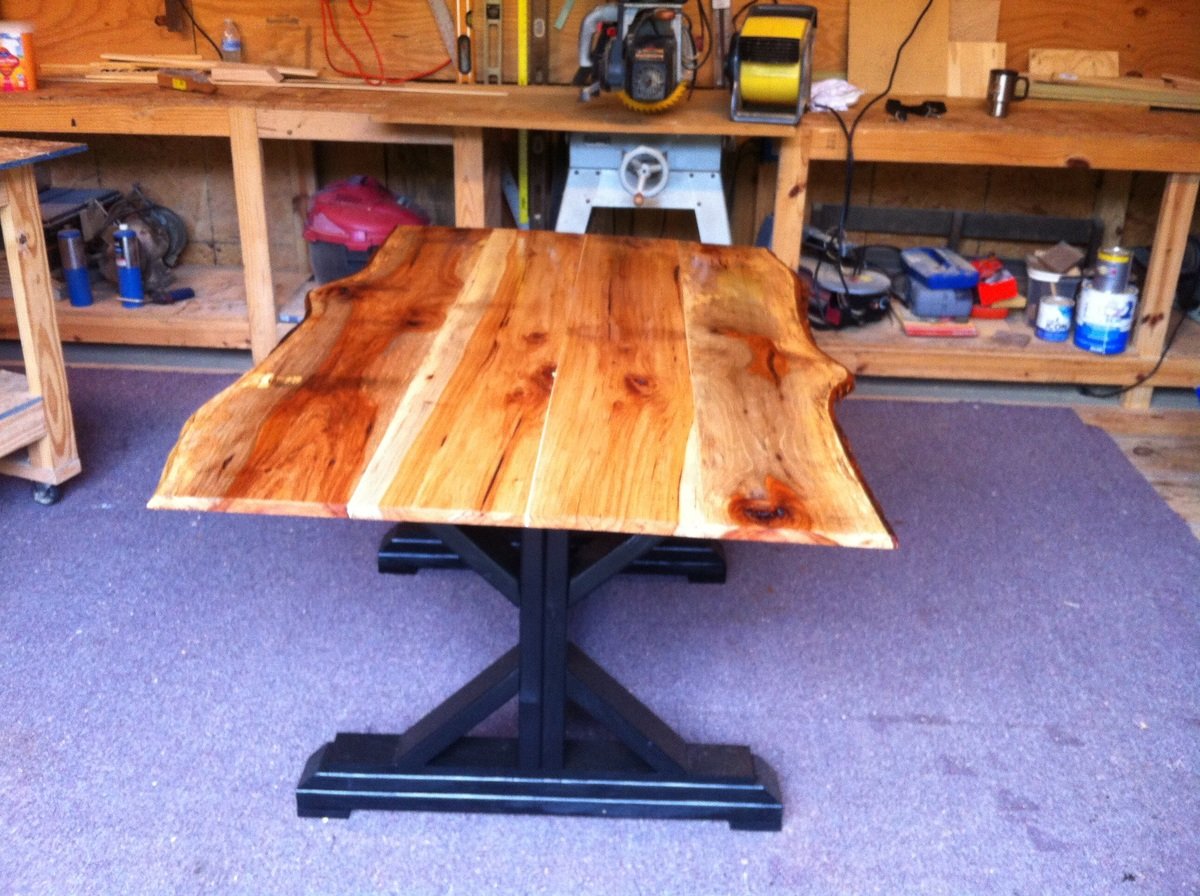
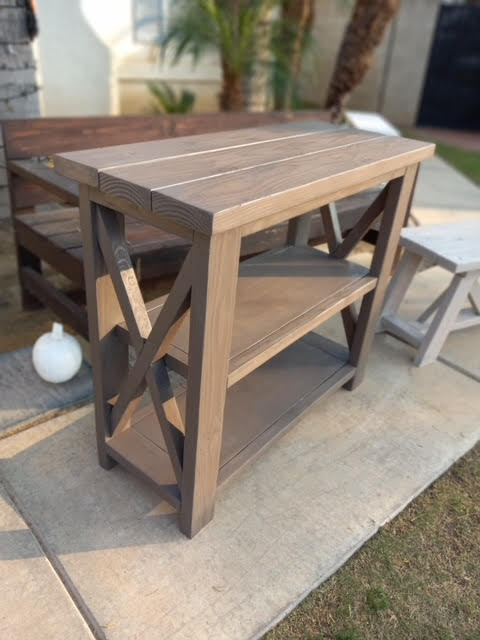
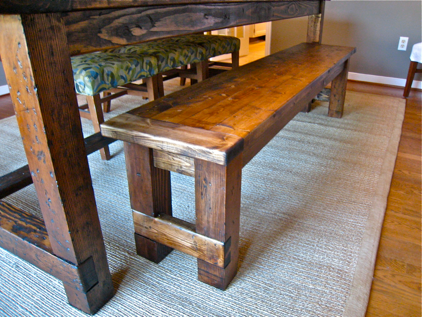
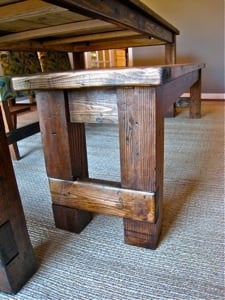
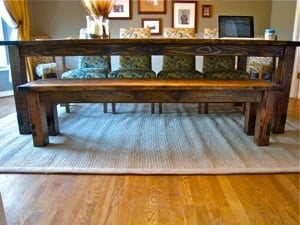
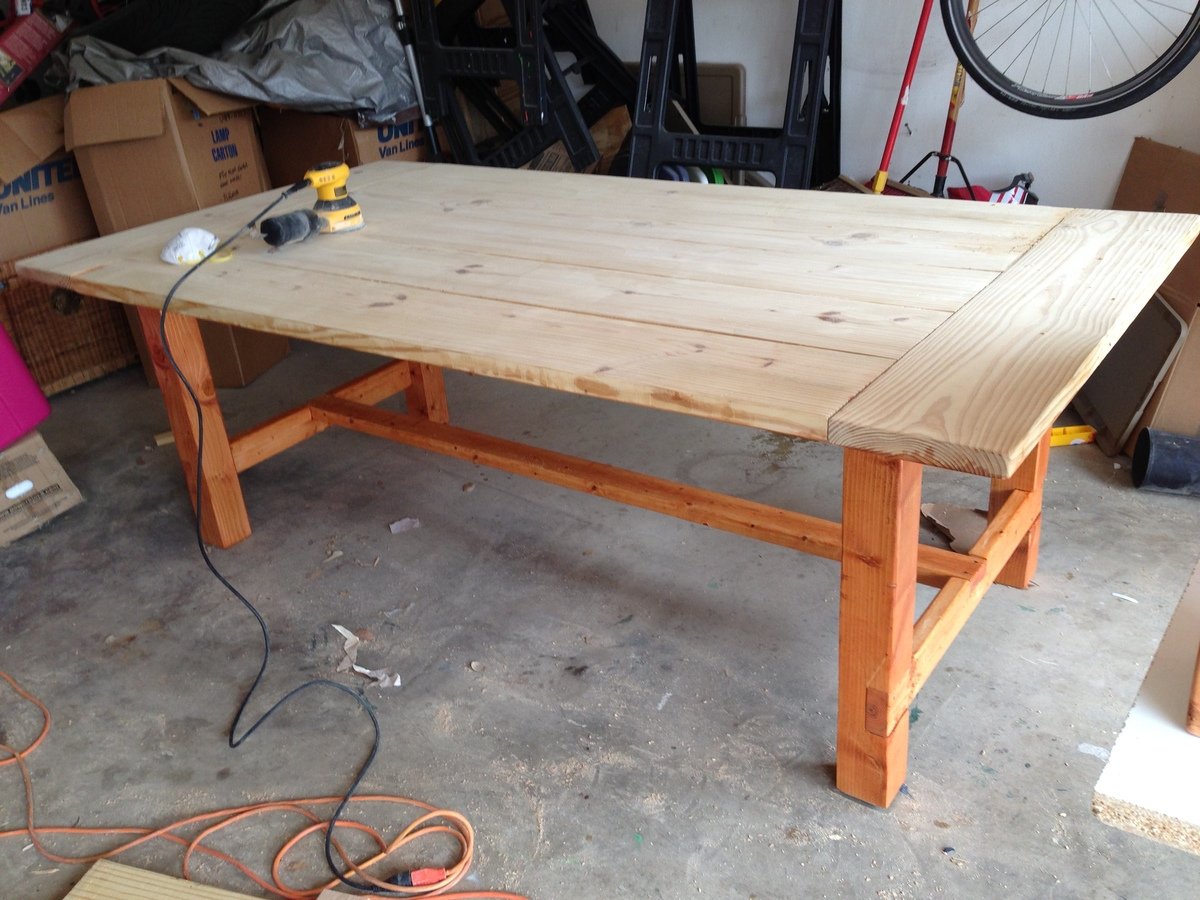
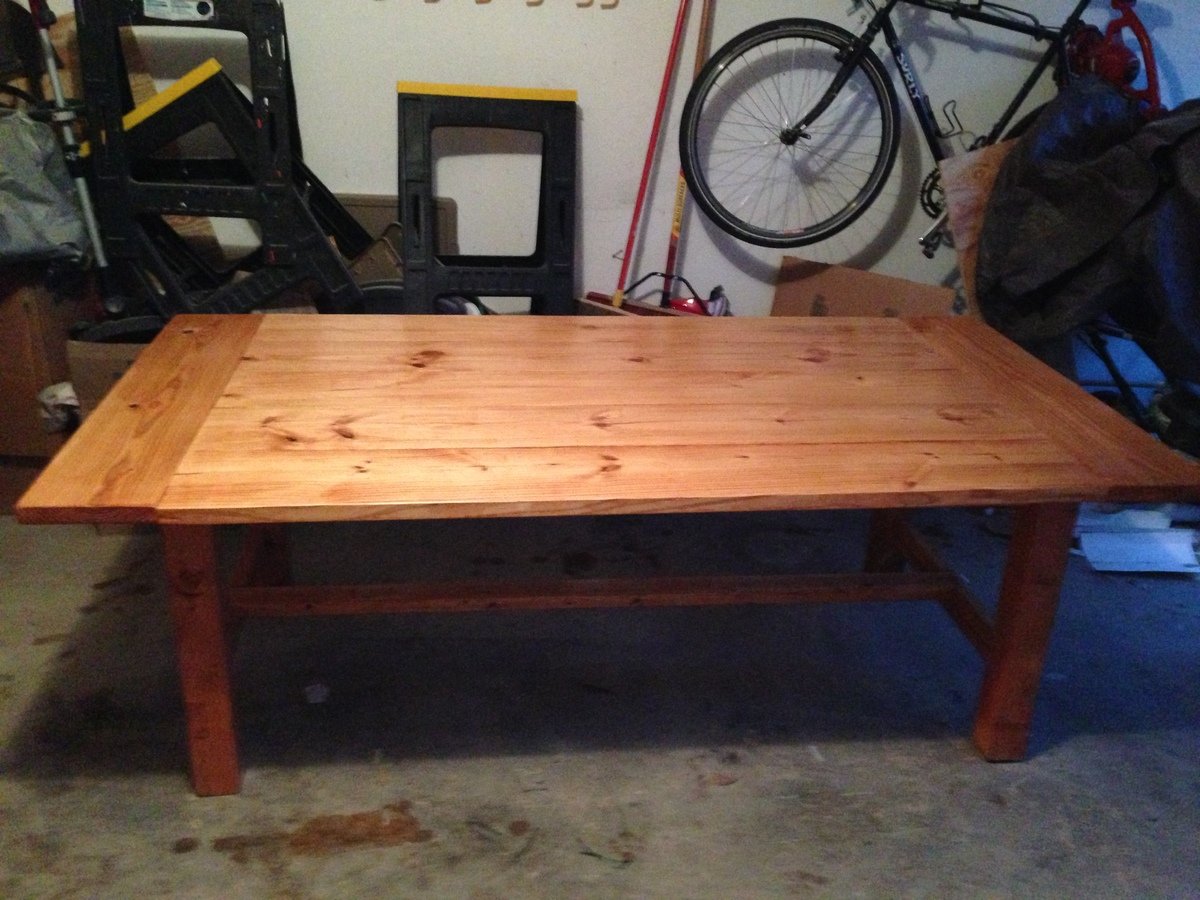
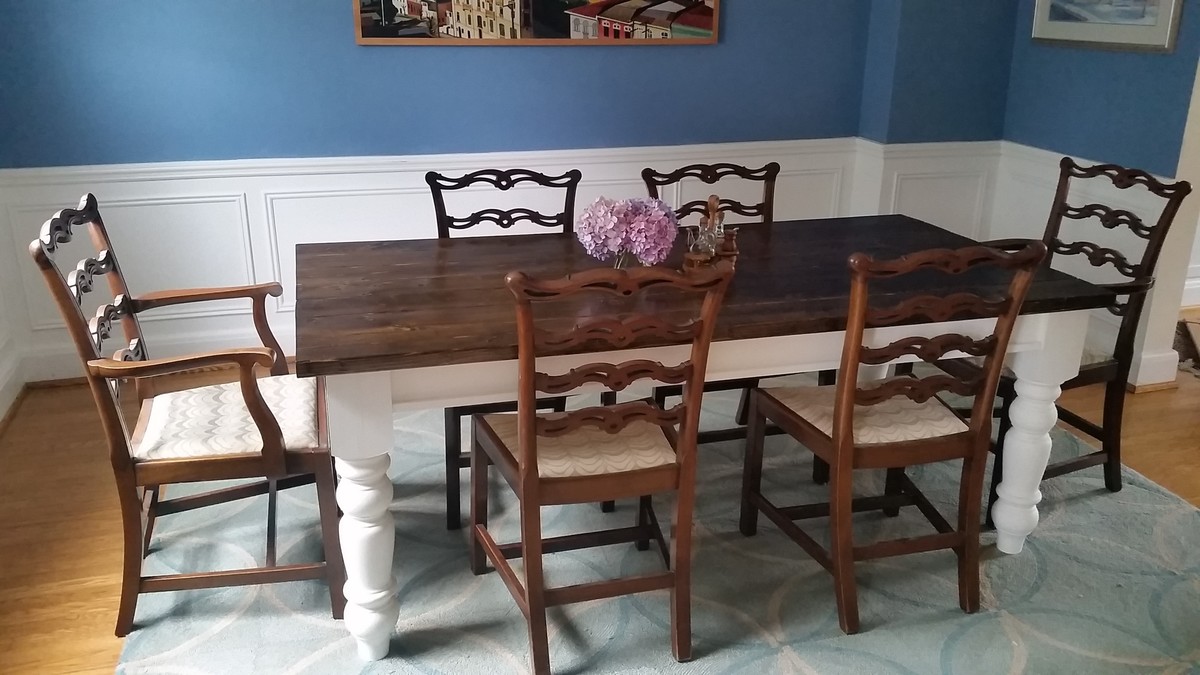
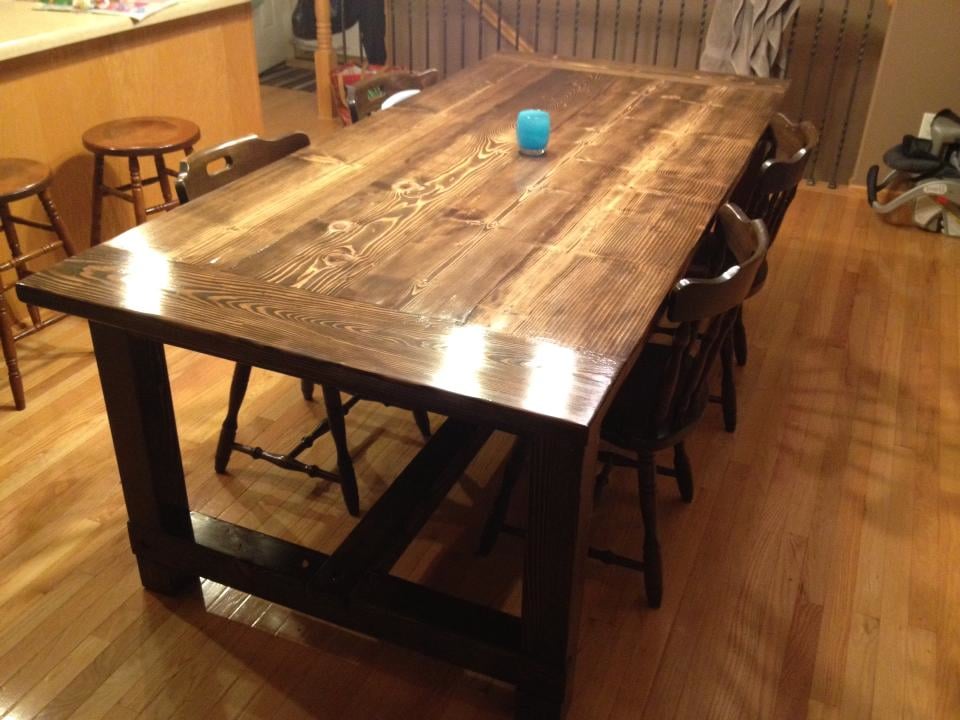
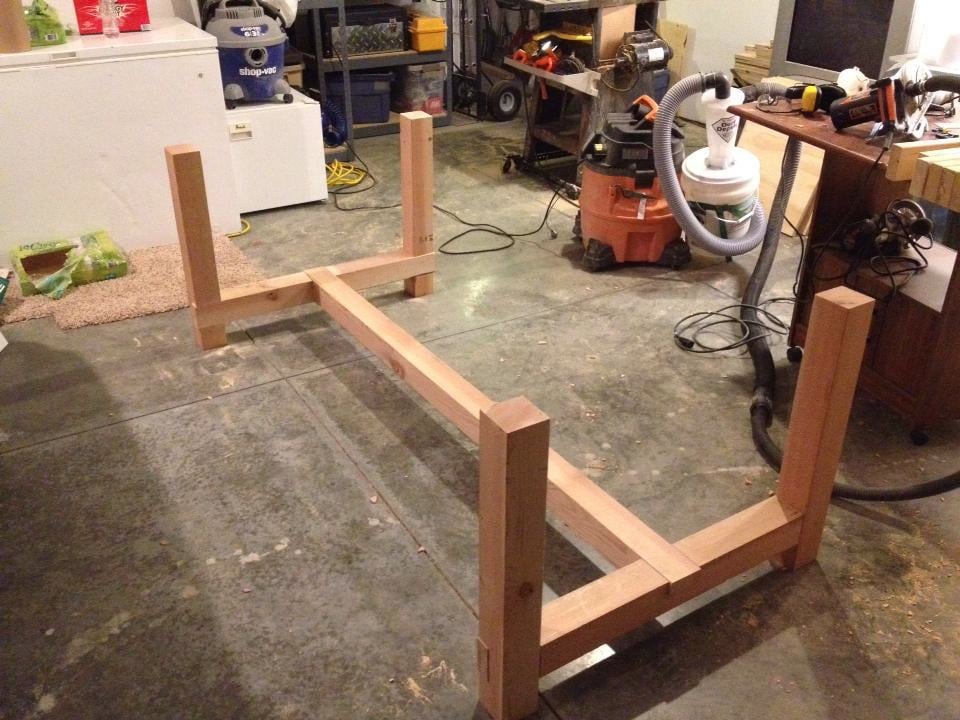
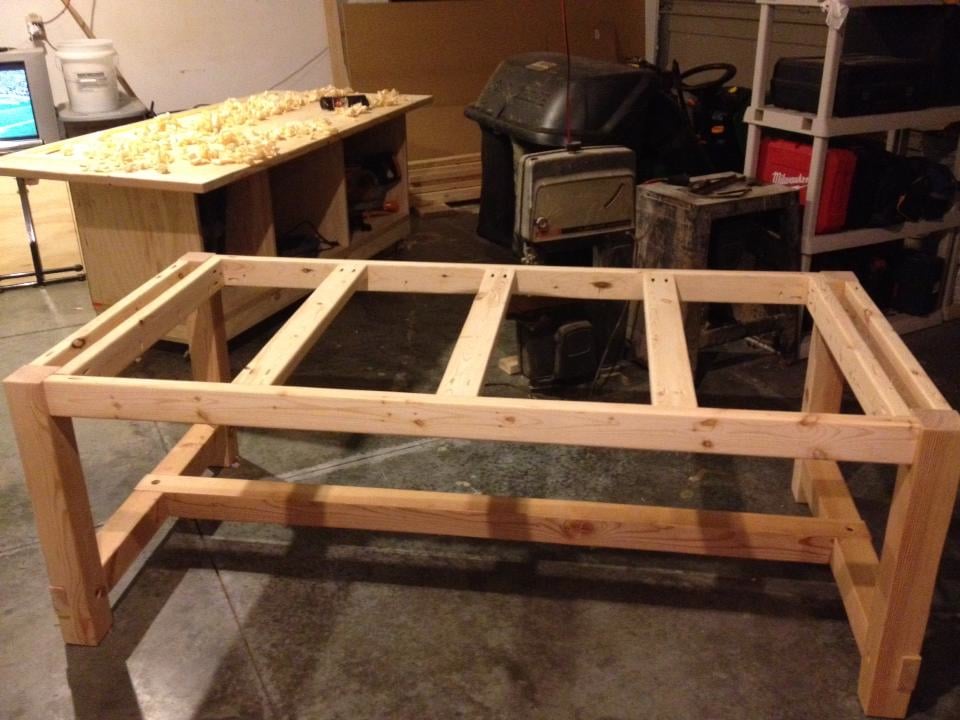
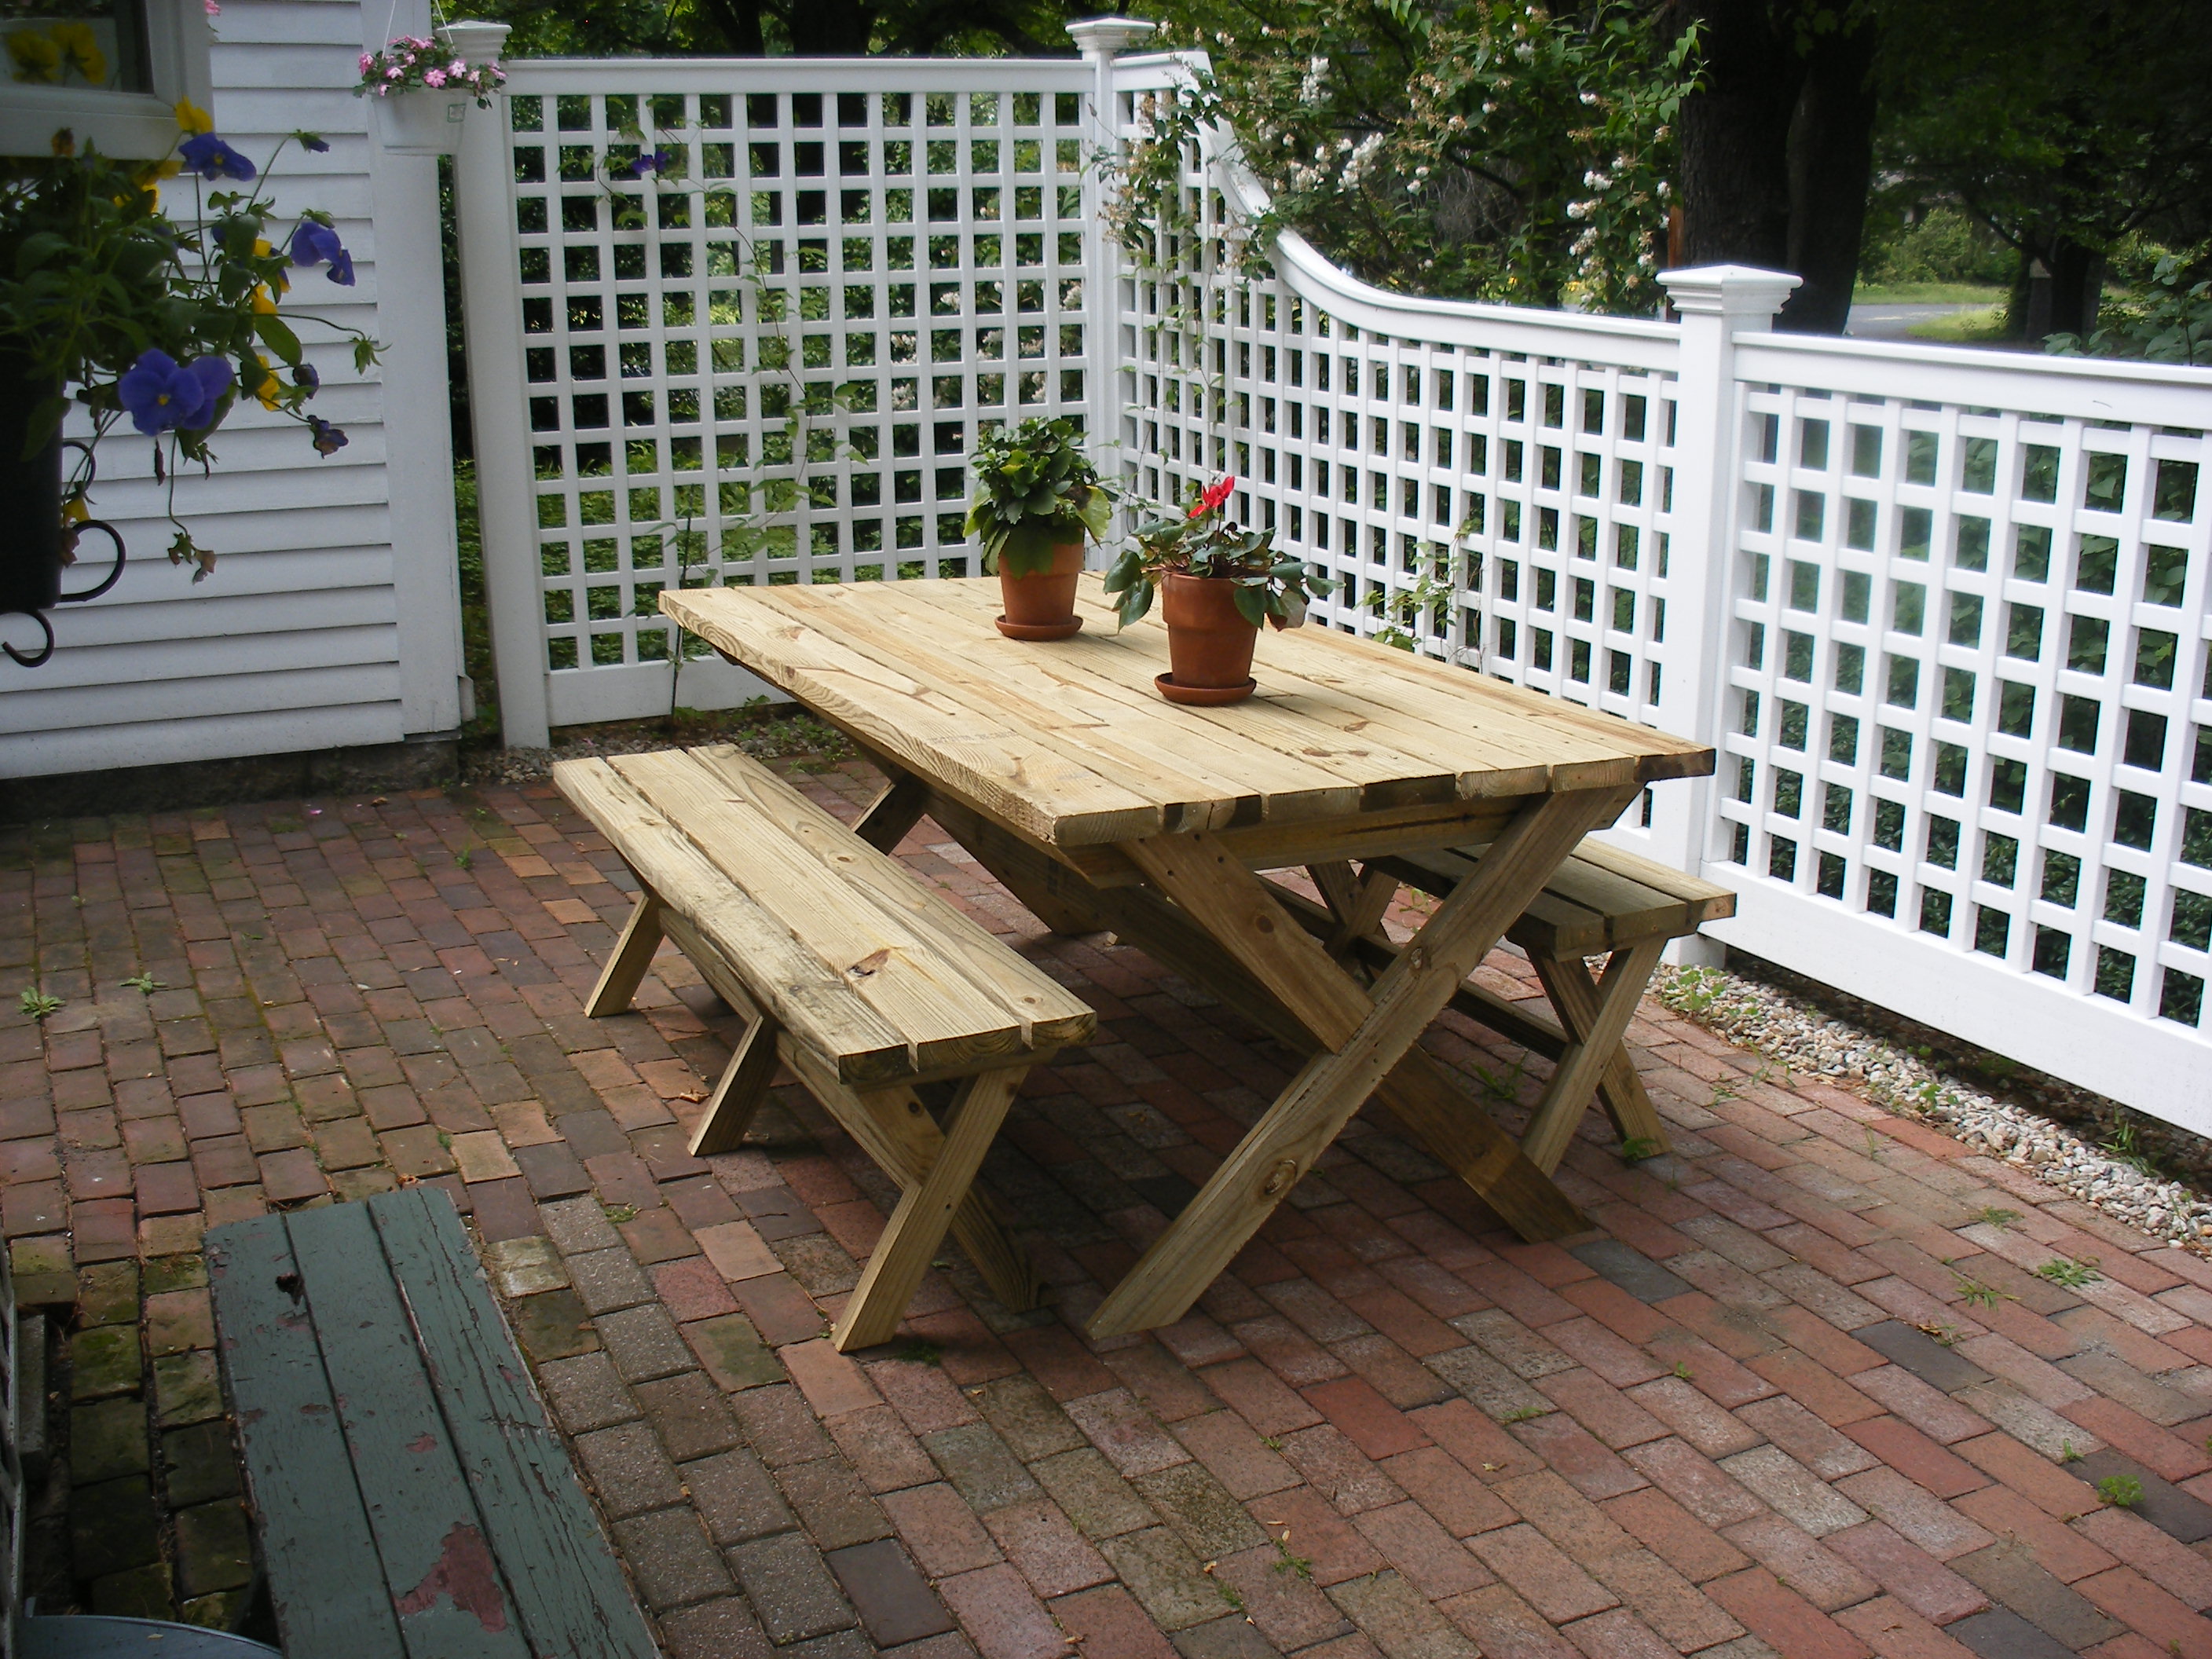
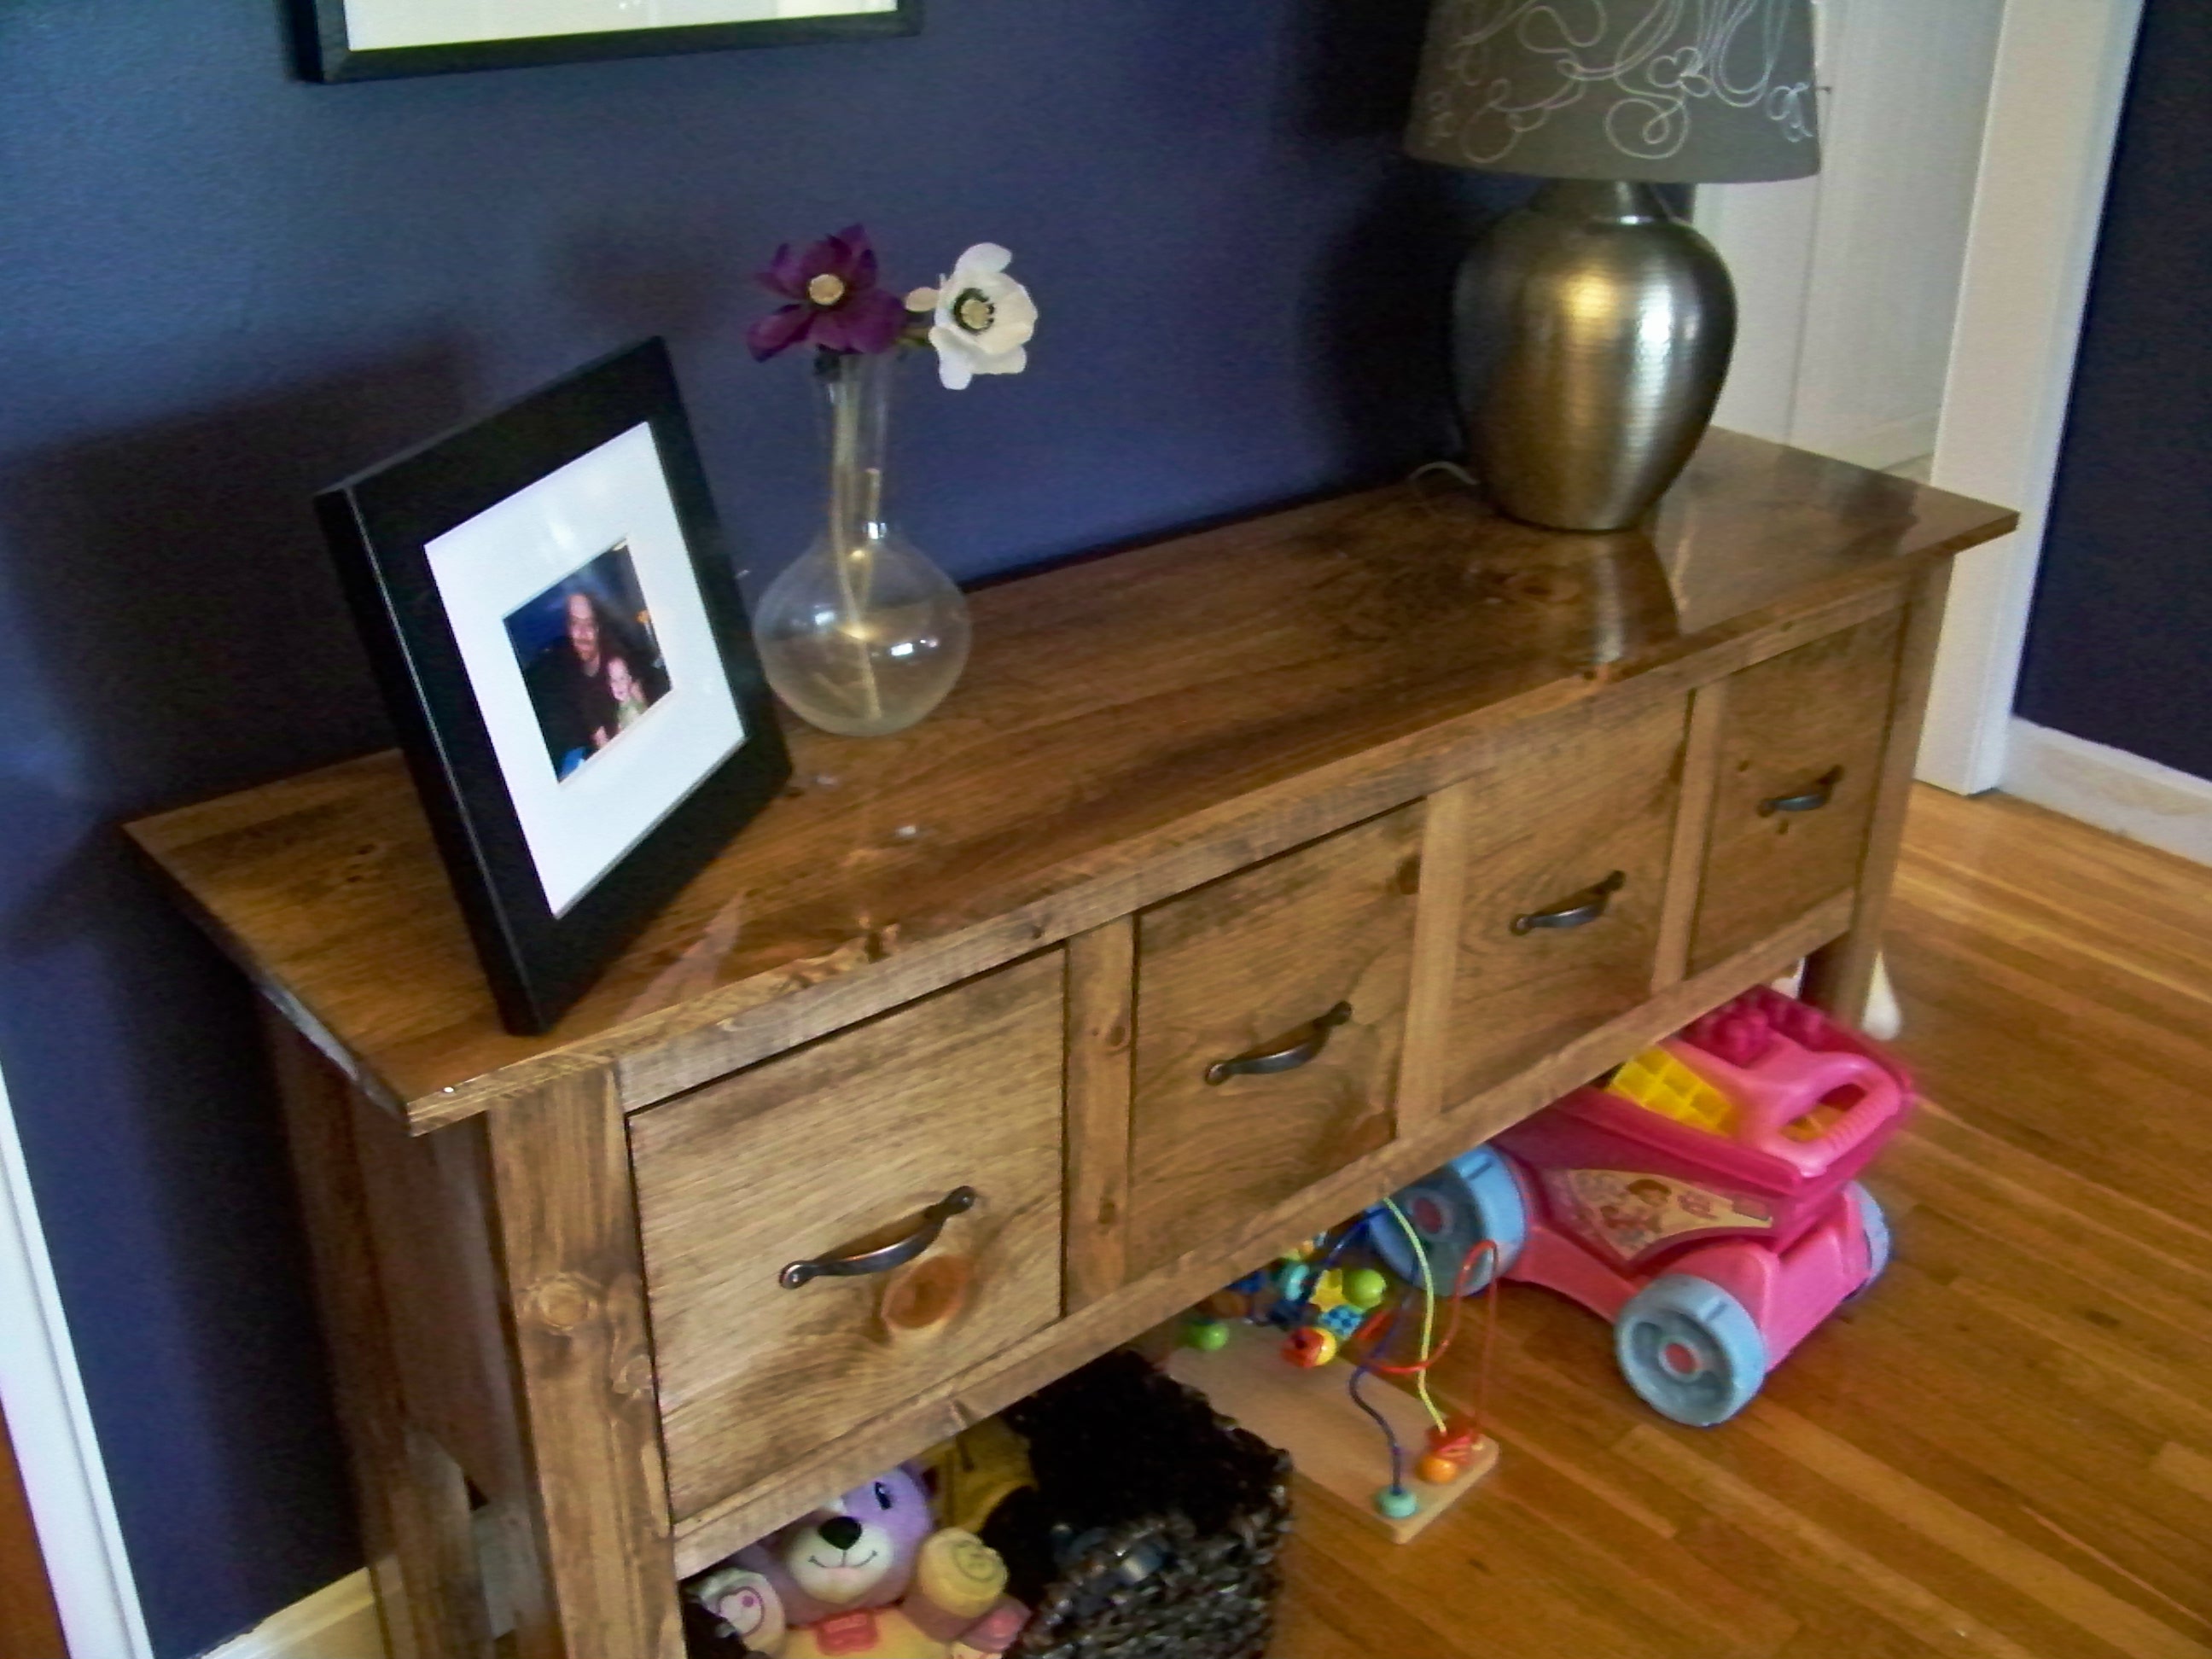
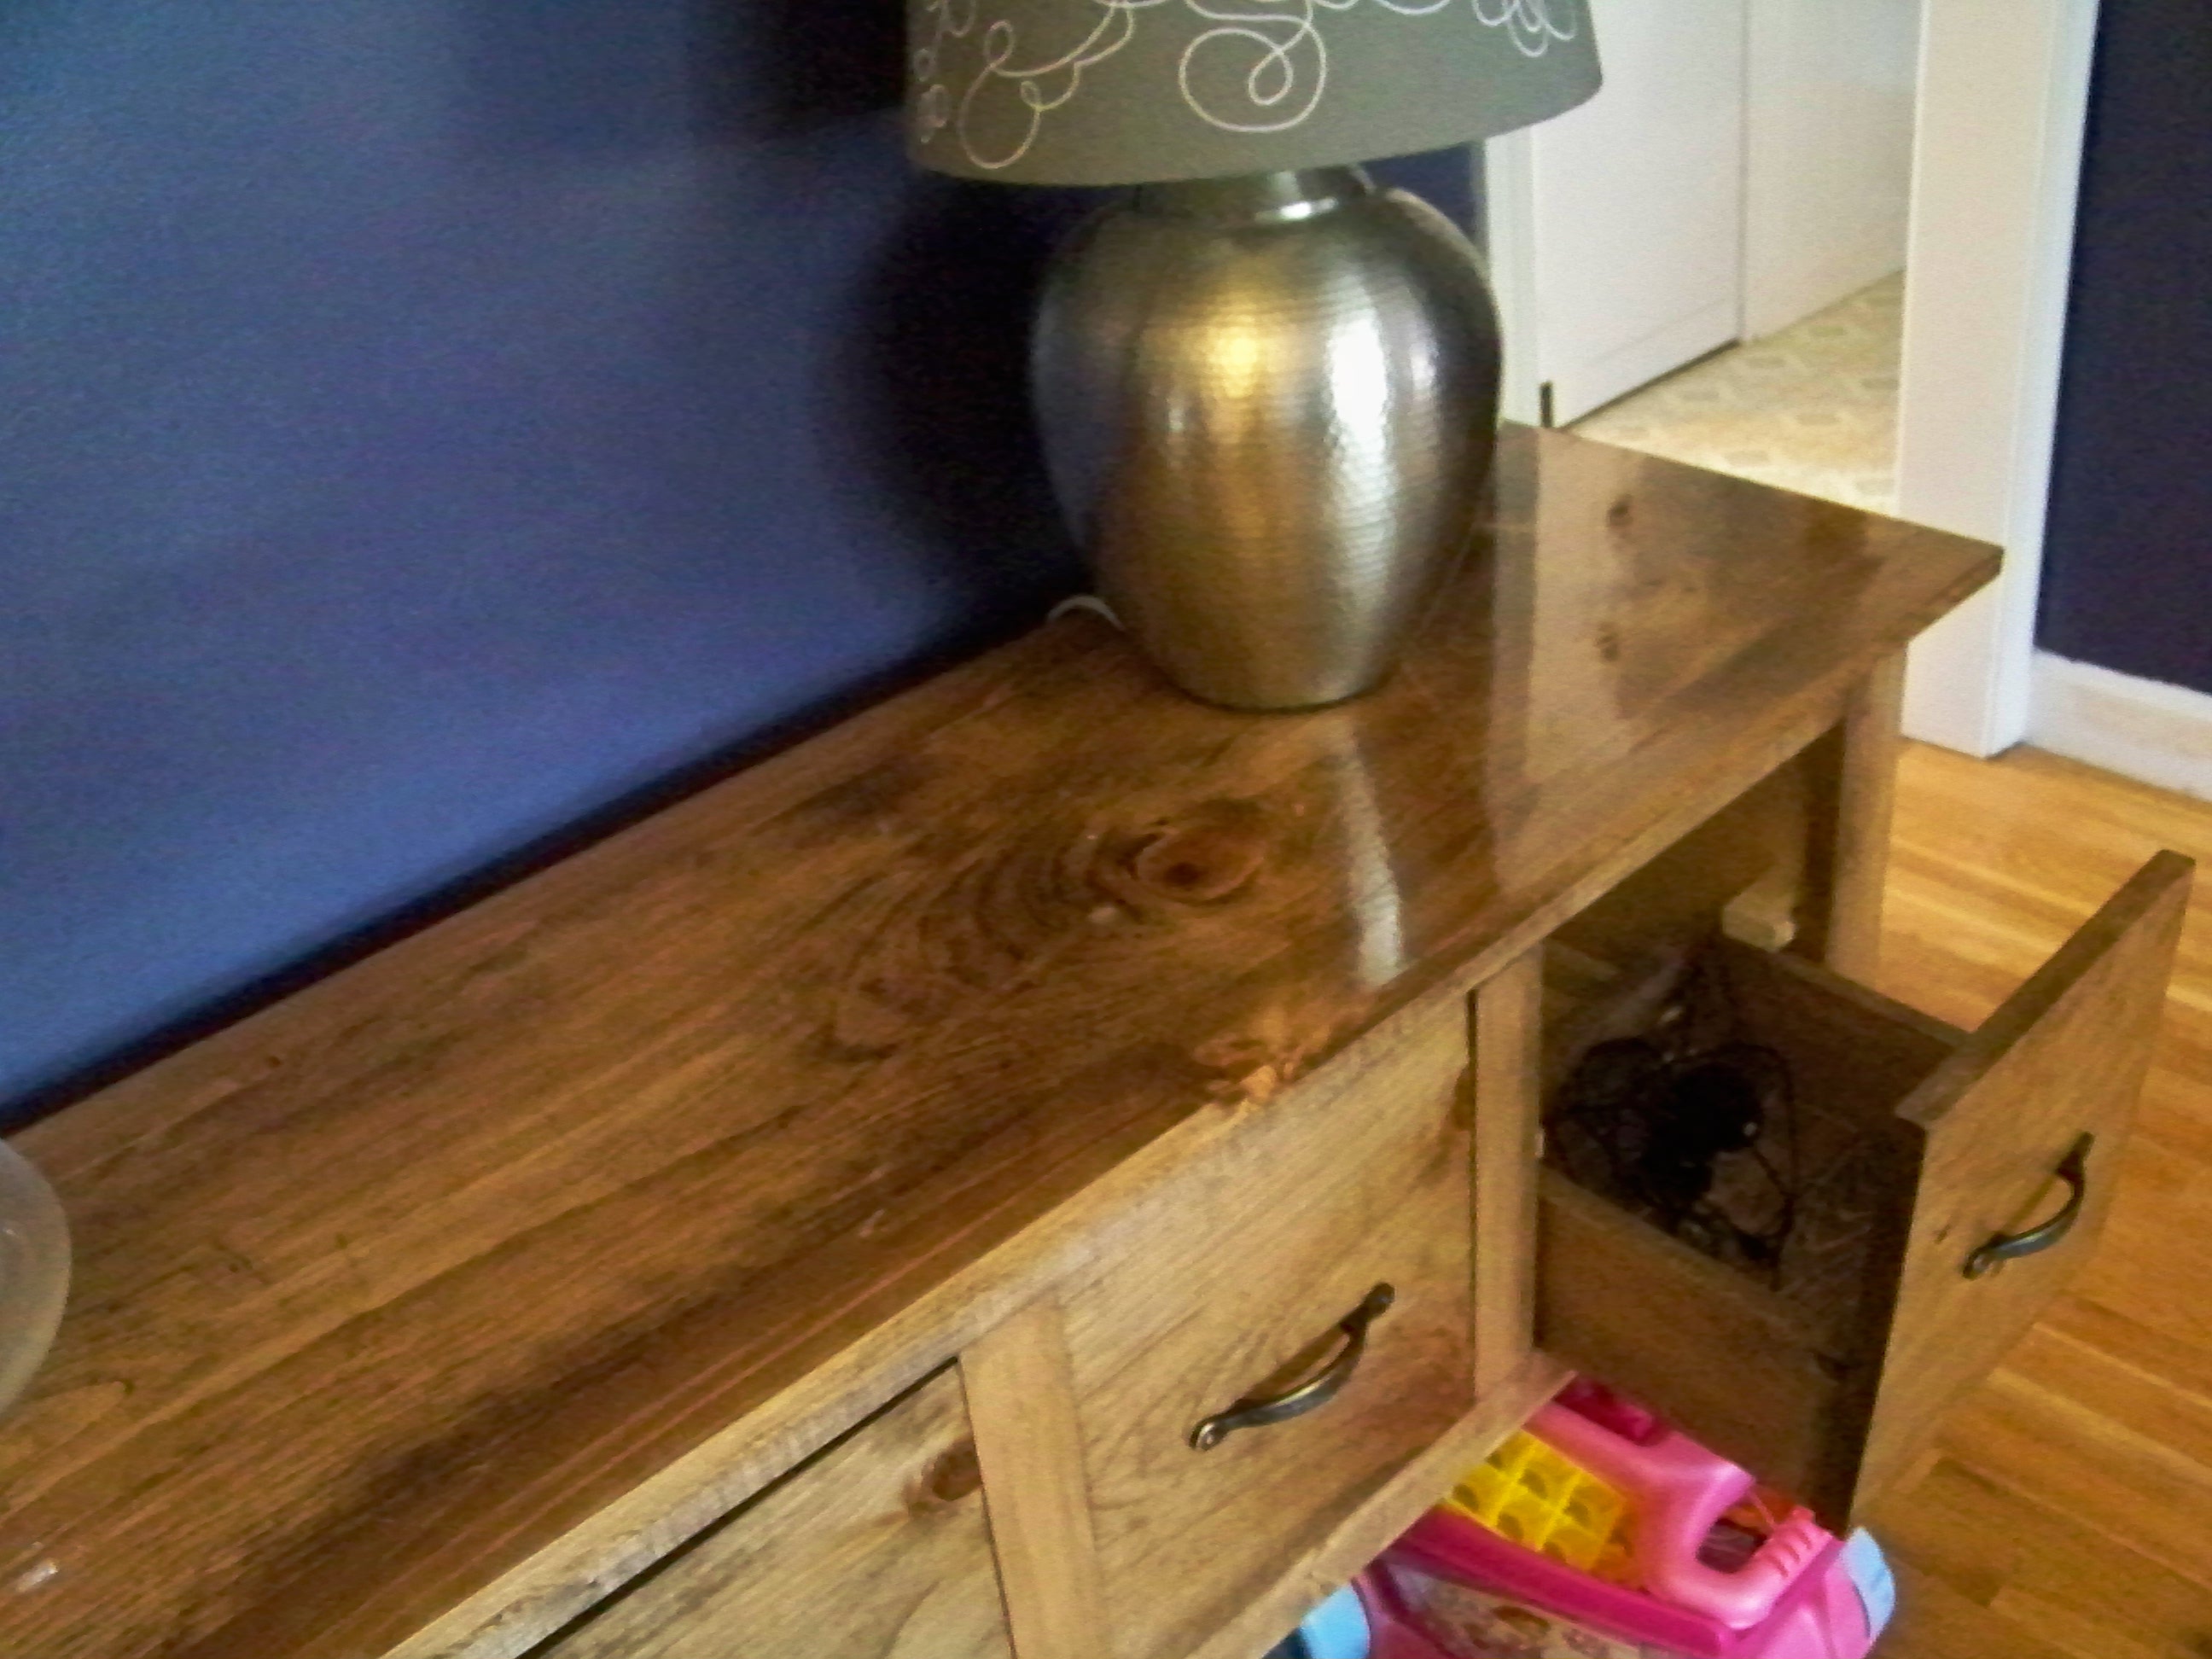
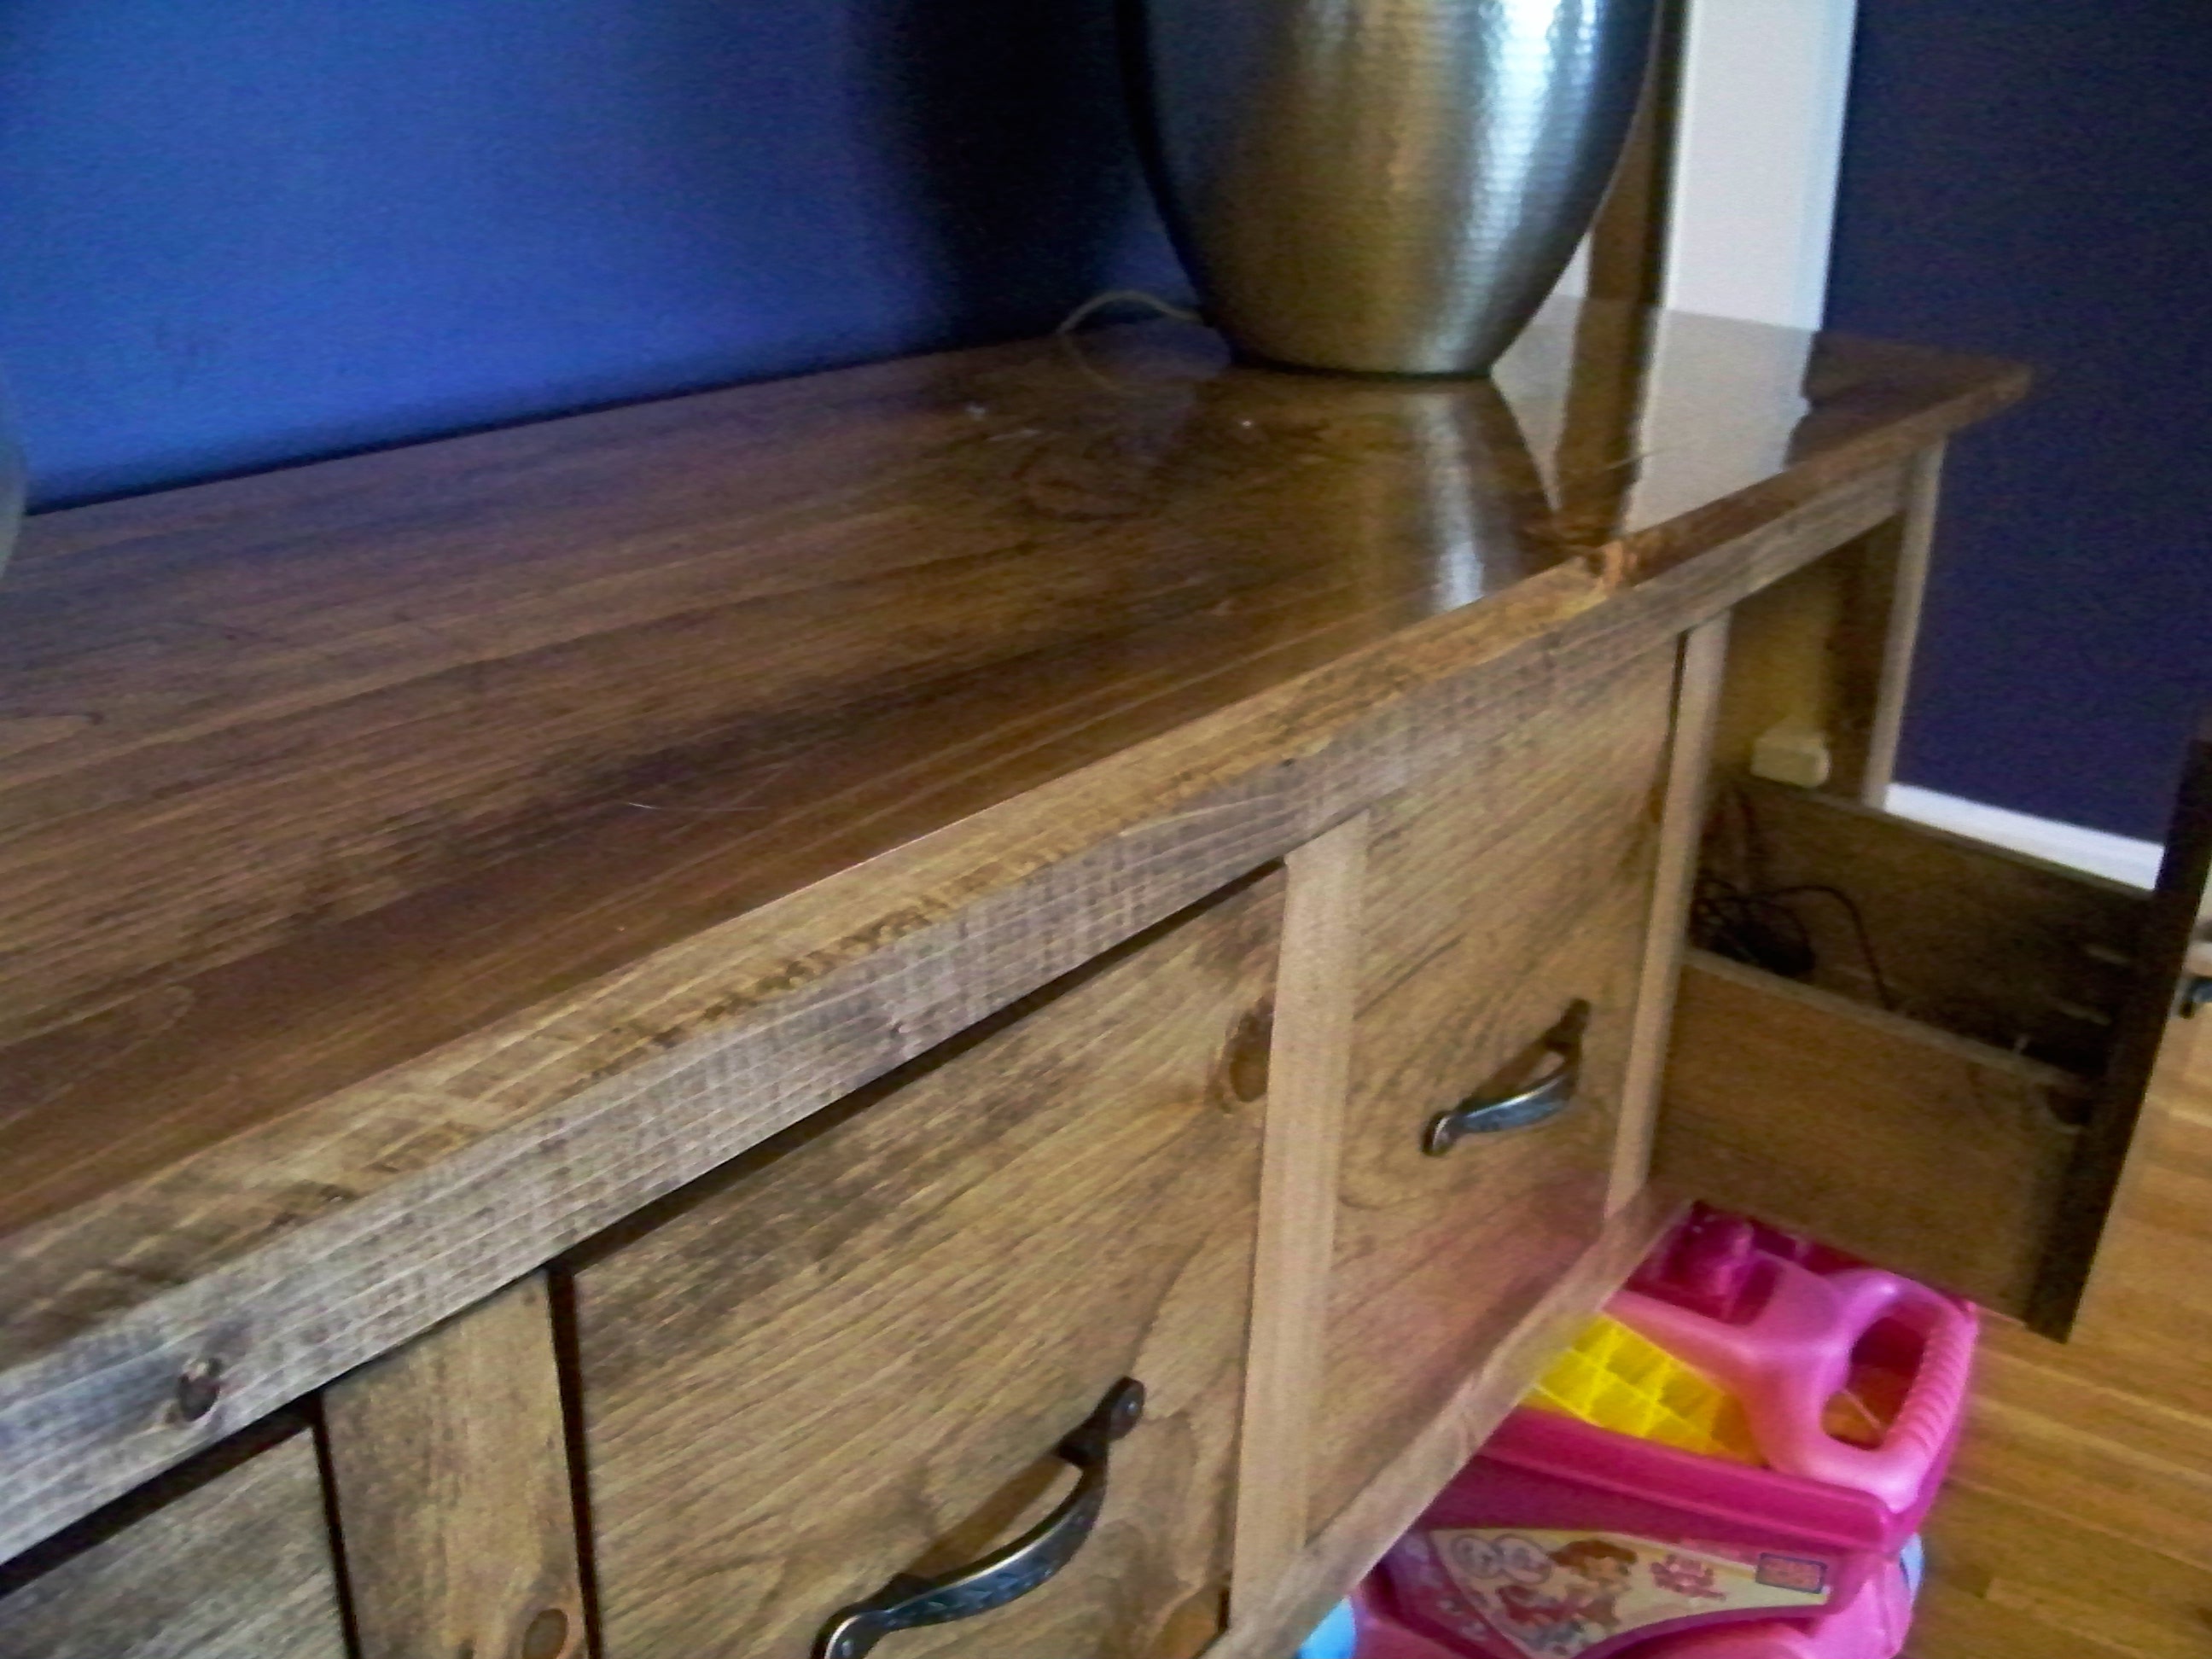
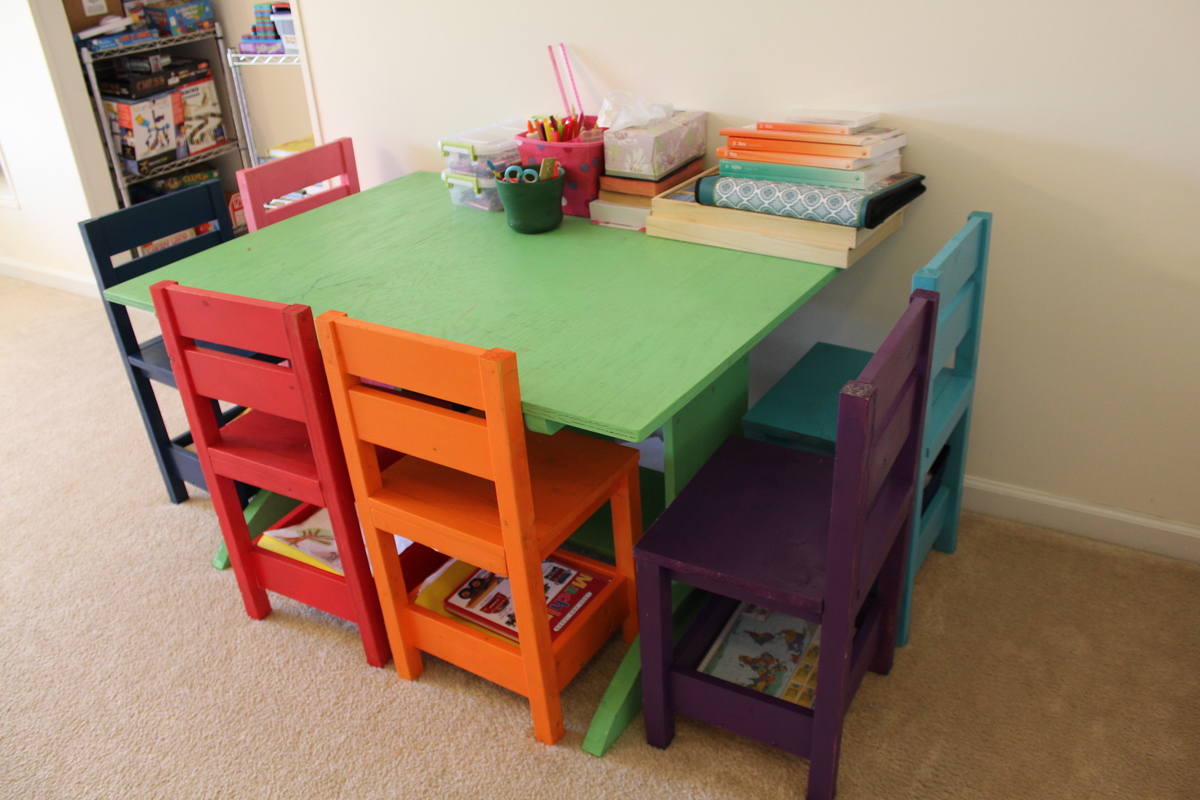
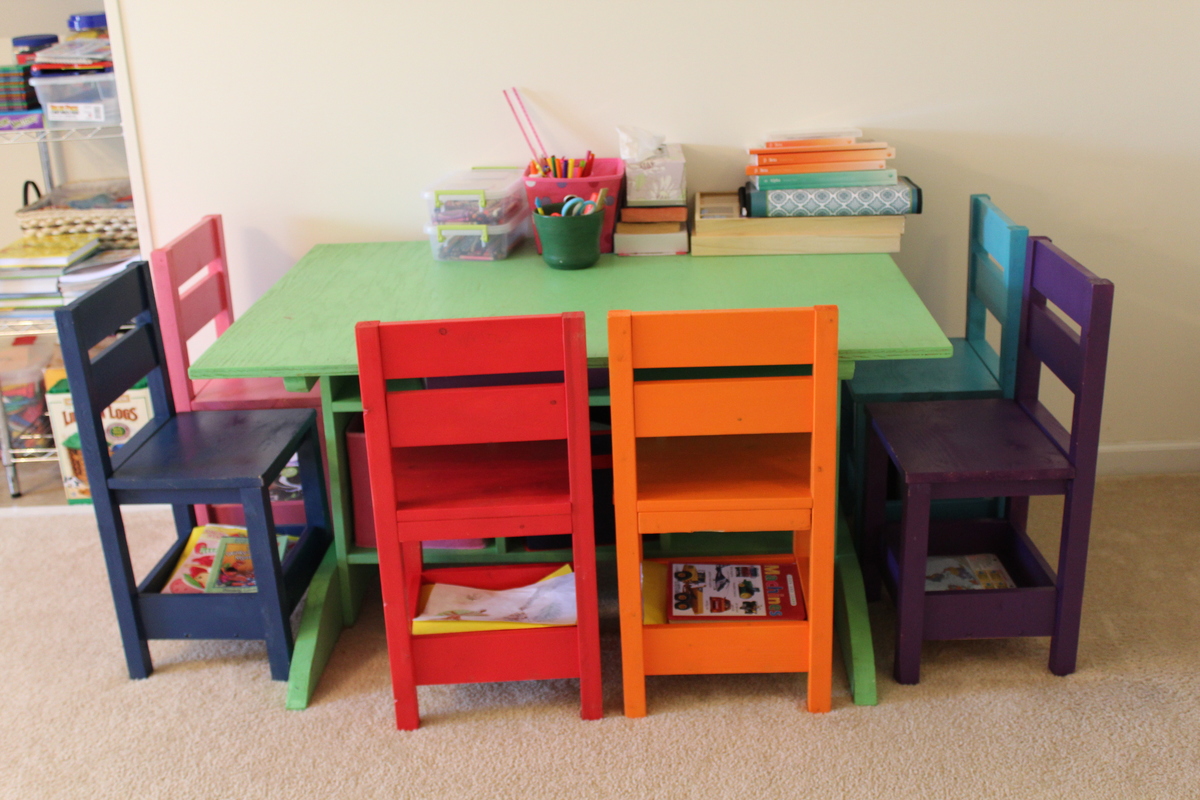
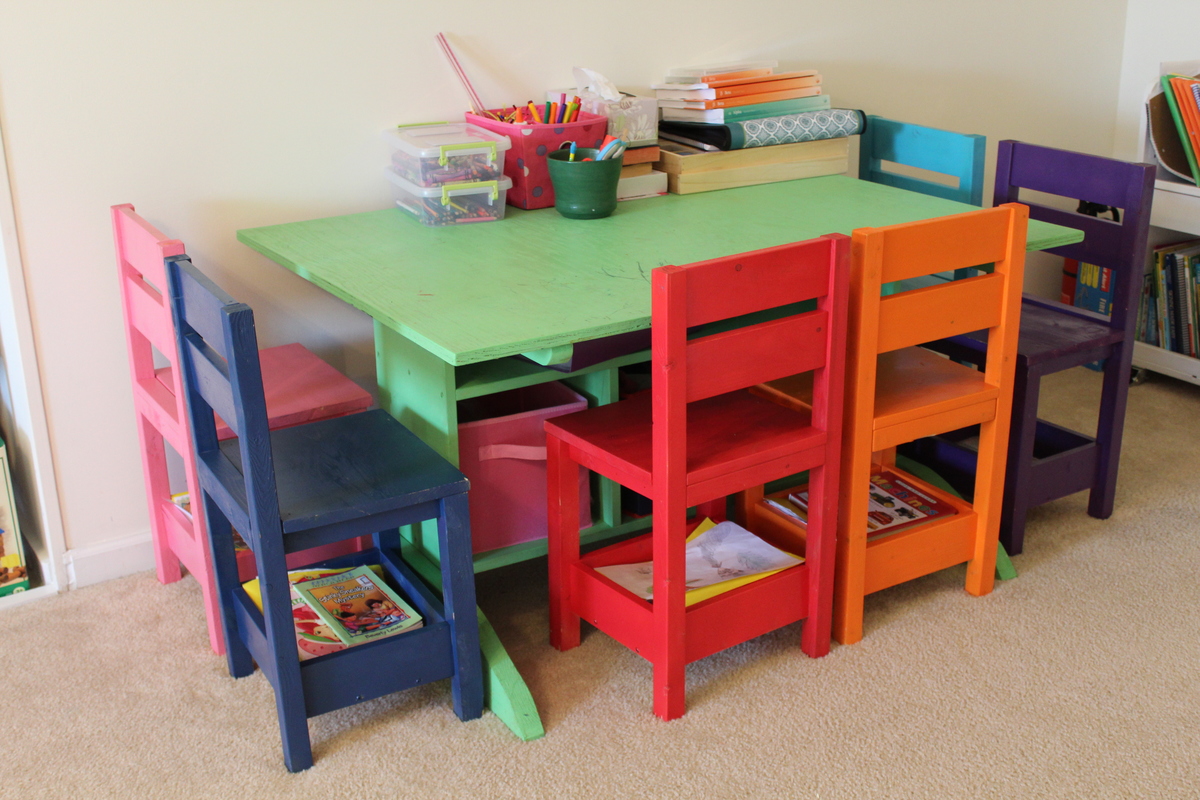
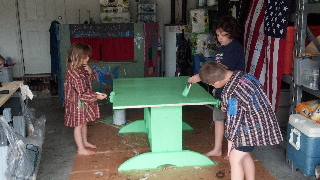
Pecan top dining table
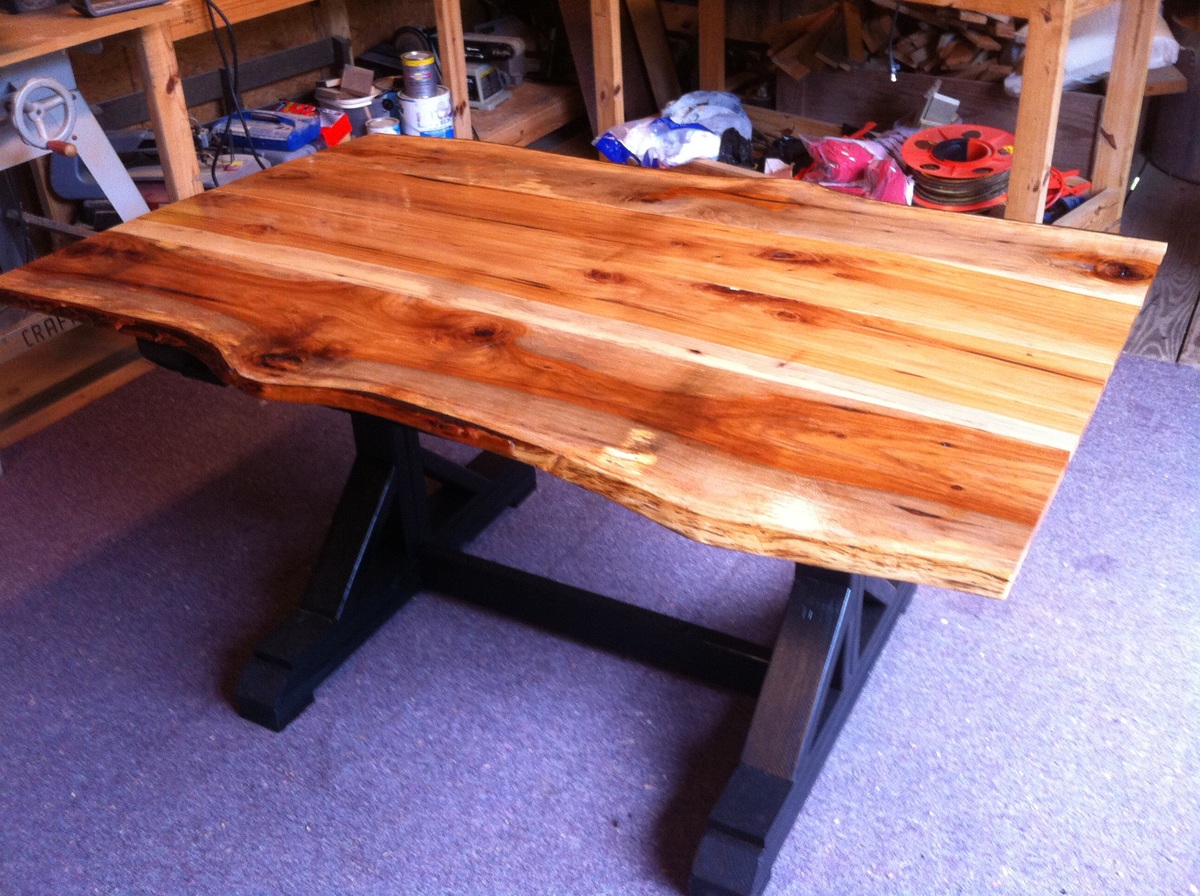
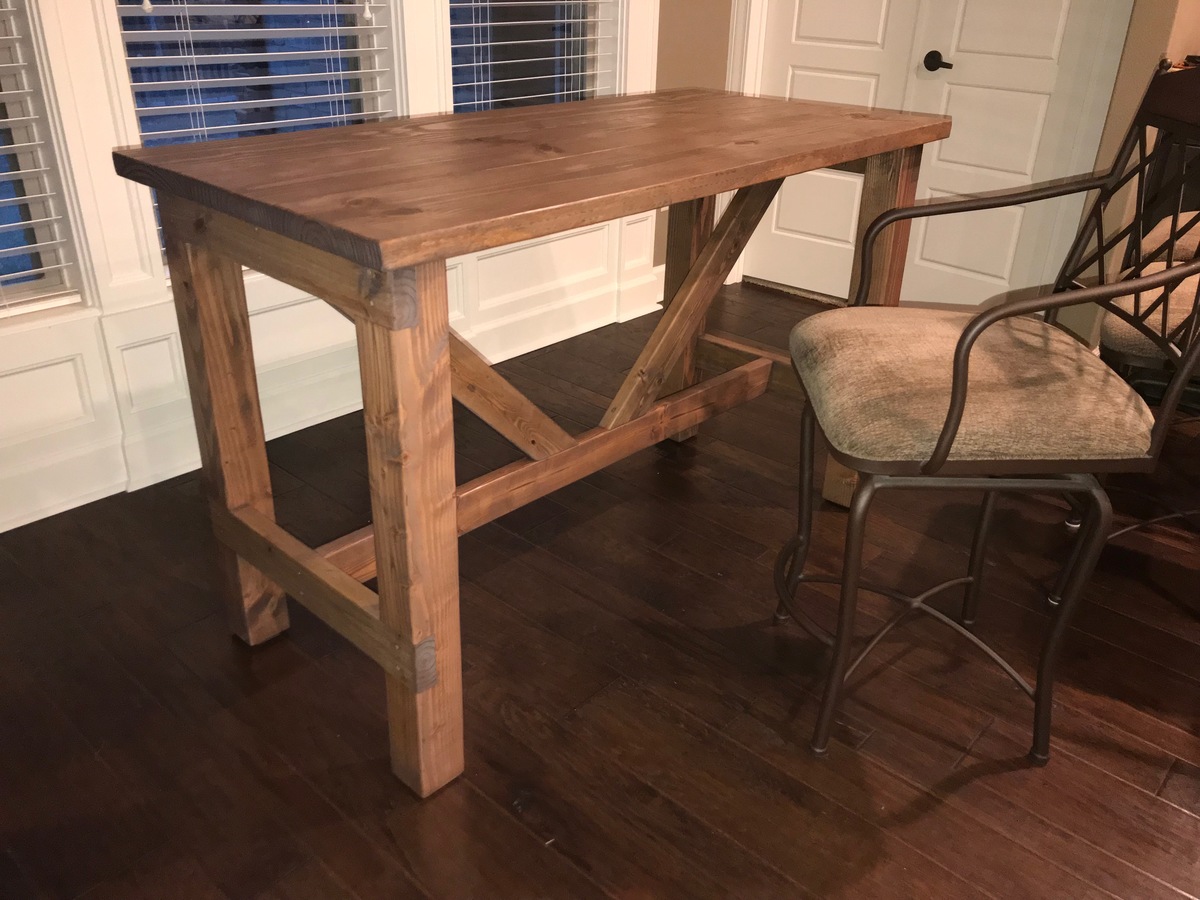
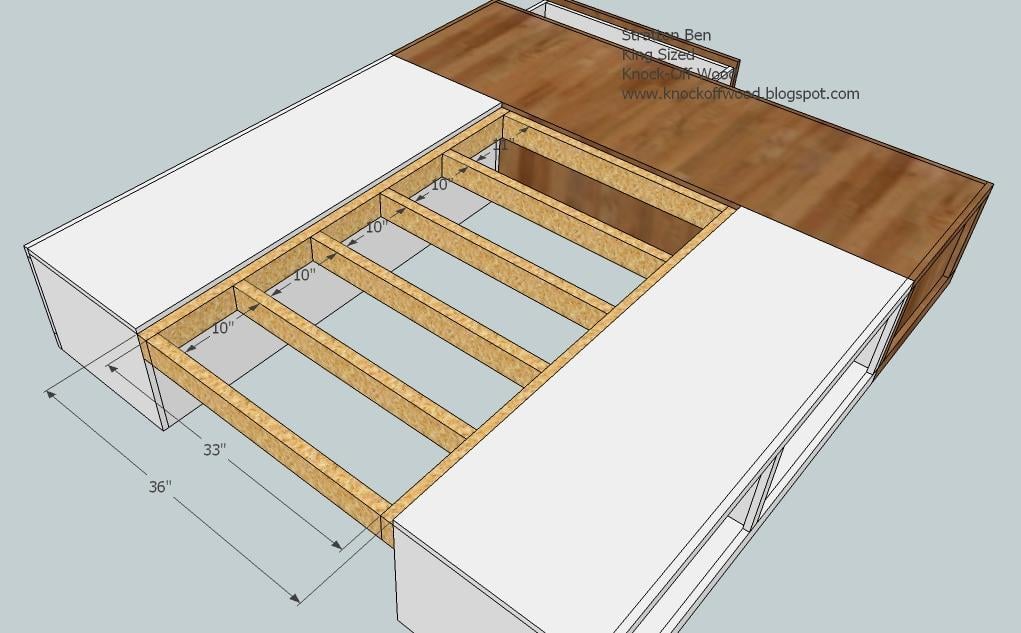
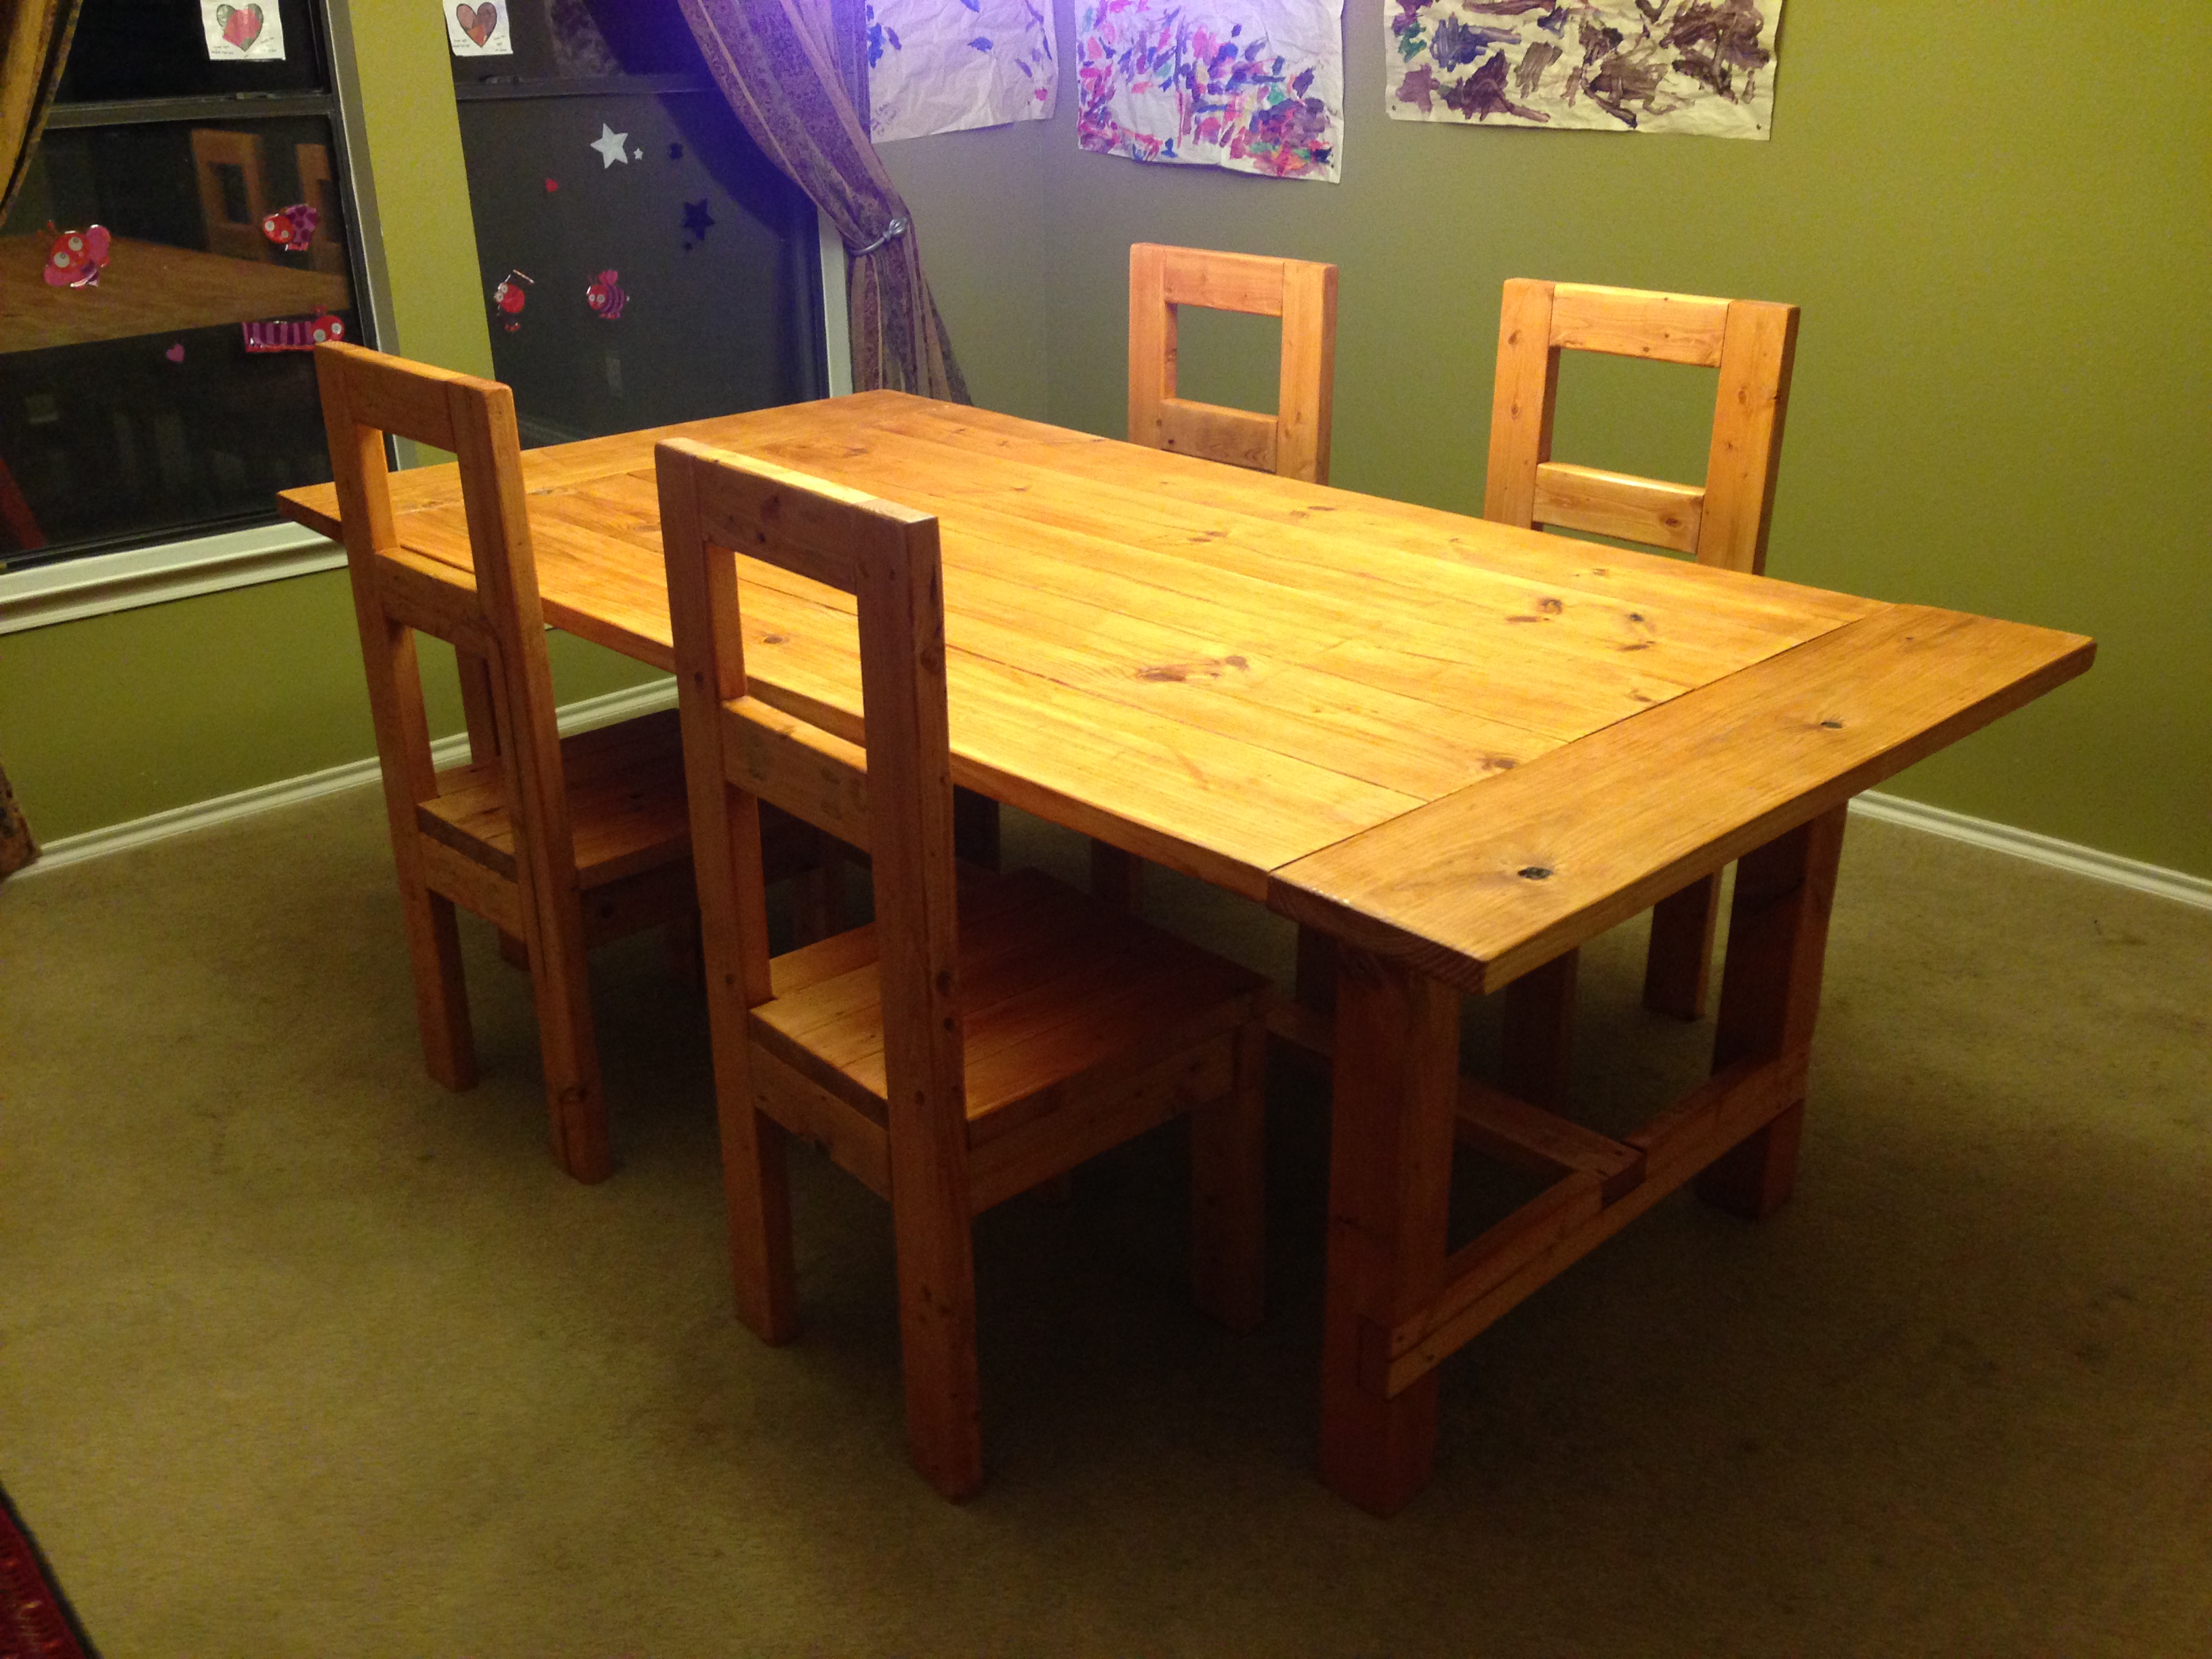
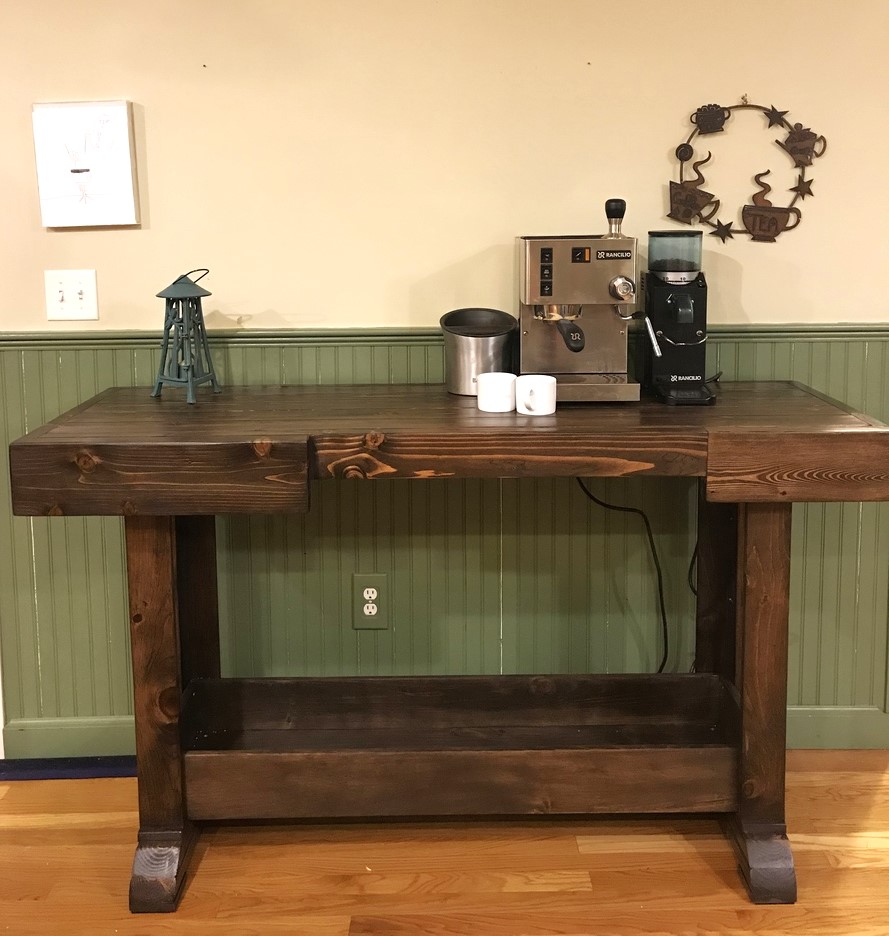
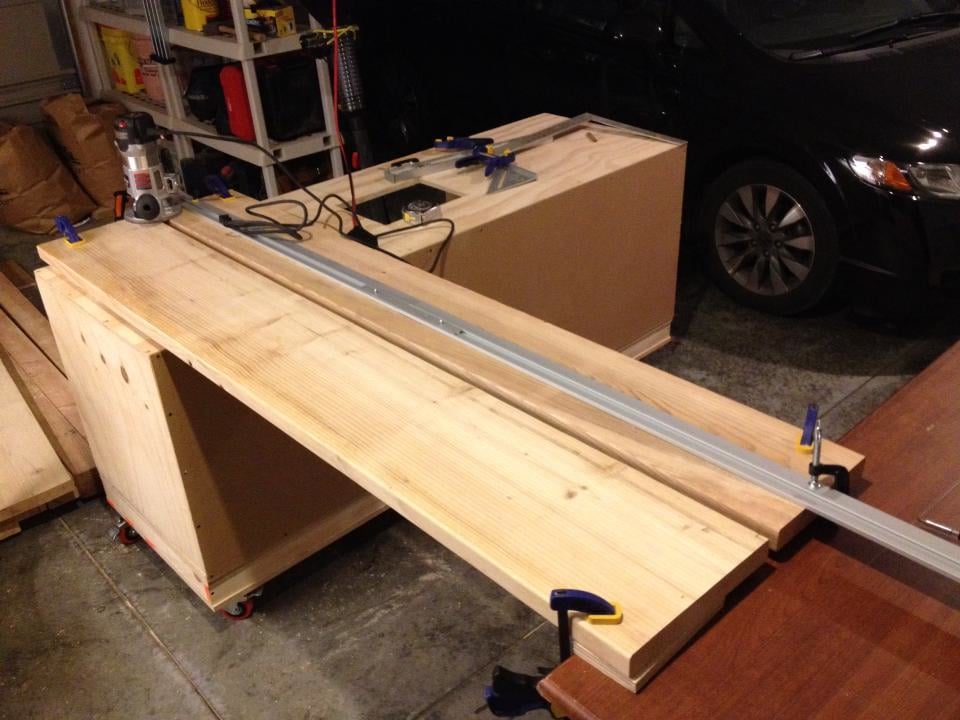
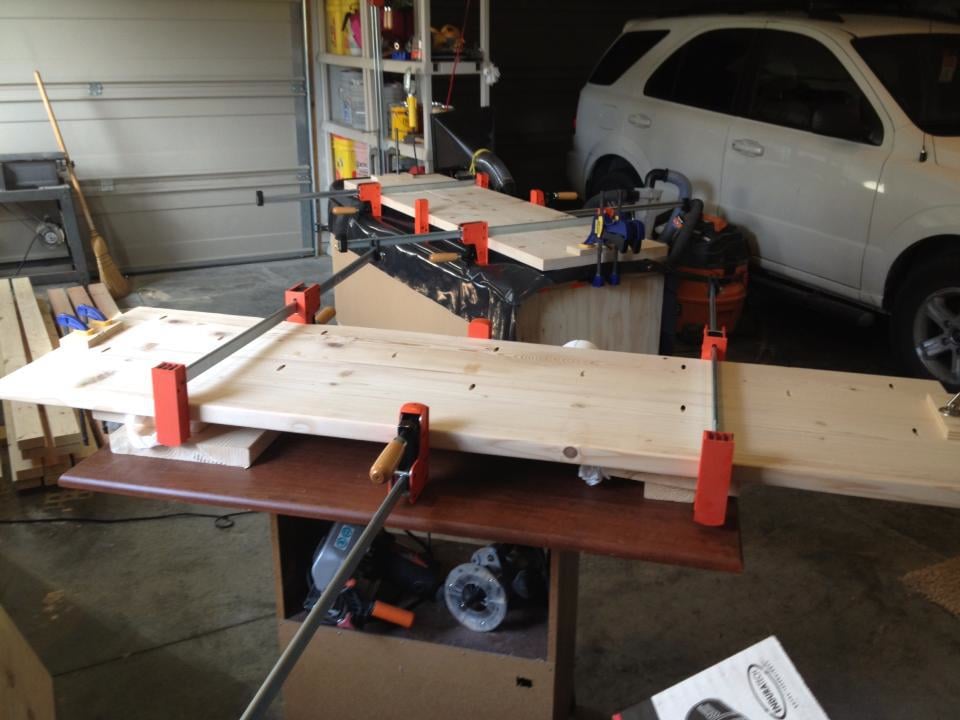
this was the second table built using Anna's fancy x plan. The first used regular 2x6 pine boards for the top and was given to my son for a housewarming gift. This second I built for my wife and changed up the top by using 1x6 pecan we had milled and then I planed down myself. The outer edges were left with a live edge to give it more rustic character. I used slotted "L" shaped metal about 6" long to secure the top of the table to the supports underneath, to allow for any expansion in the boards. I recently made a new kitchen island to match.
Built from Plan(s)
Estimated Time Investment
Week Long Project (20 Hours or More)
Finish Used
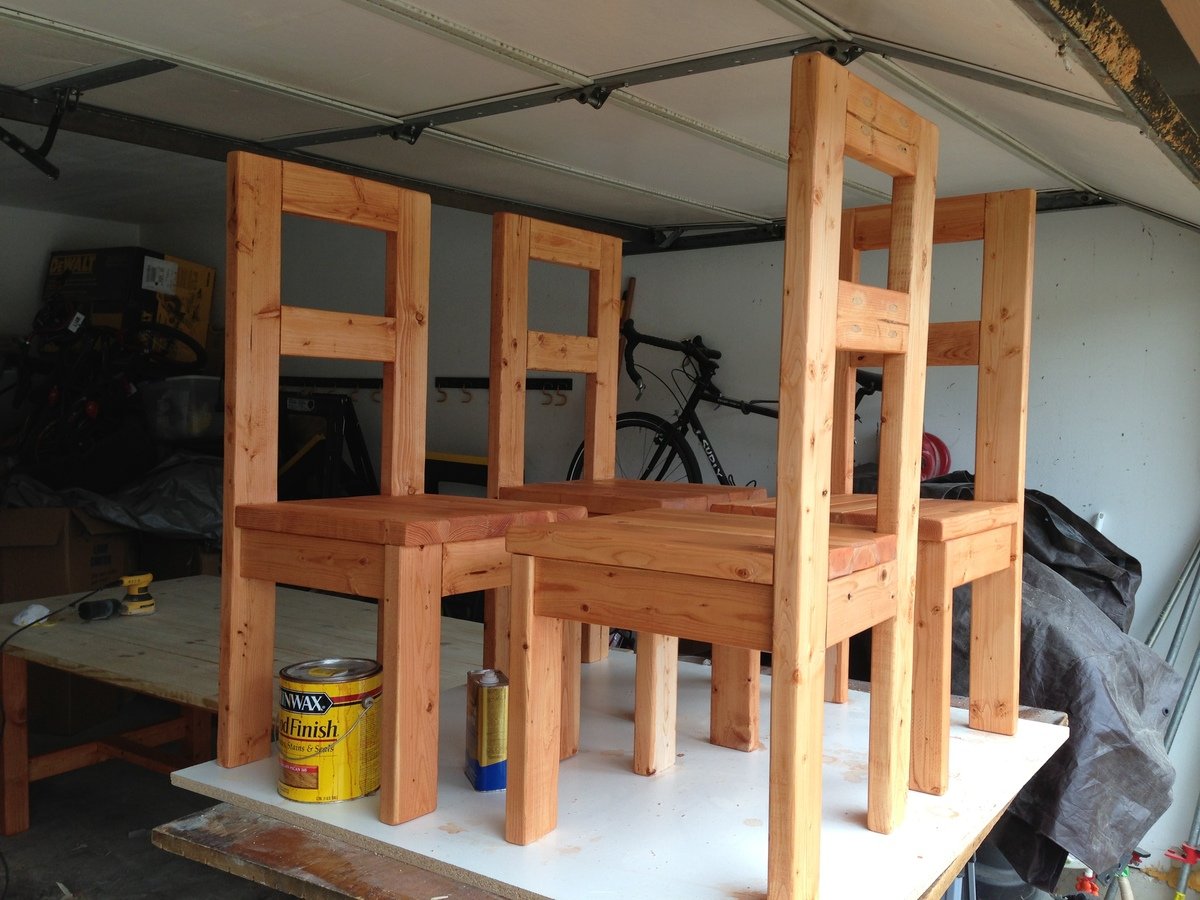
Semi gloss black paint for legs and support. Minwax semigloss polyurethane on the top.
Recommended Skill Level
Intermediate


Comments
AlexO
Tue, 08/25/2015 - 16:53
Very nice
I love working with Live edge stuff! Not this talented though! Very Nice