Community Brag Posts

Sandbox with lid

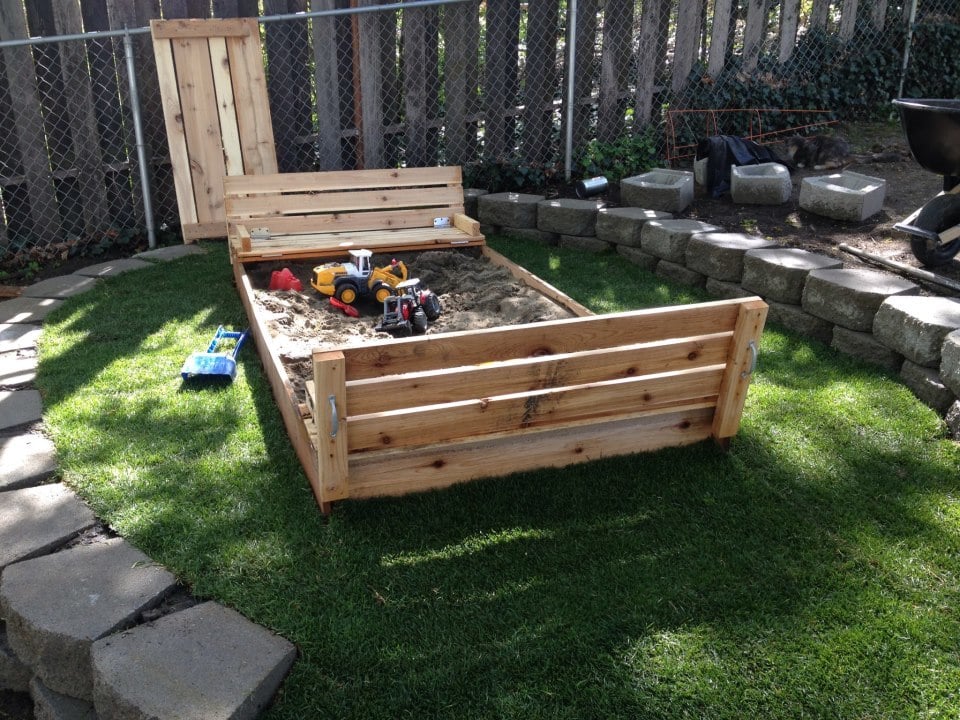
This was my first EVER wood working project.

With that being said, it took me more than just an afternoon.
I used cedar, and all the materials on the cut list had to be sanded , since I didn't like the roughness of the cedar.
I also made the box 4x8. I didn't take into account that that would require a minimum of 48 inches for the top planks. So, some of my top planks are shorter.

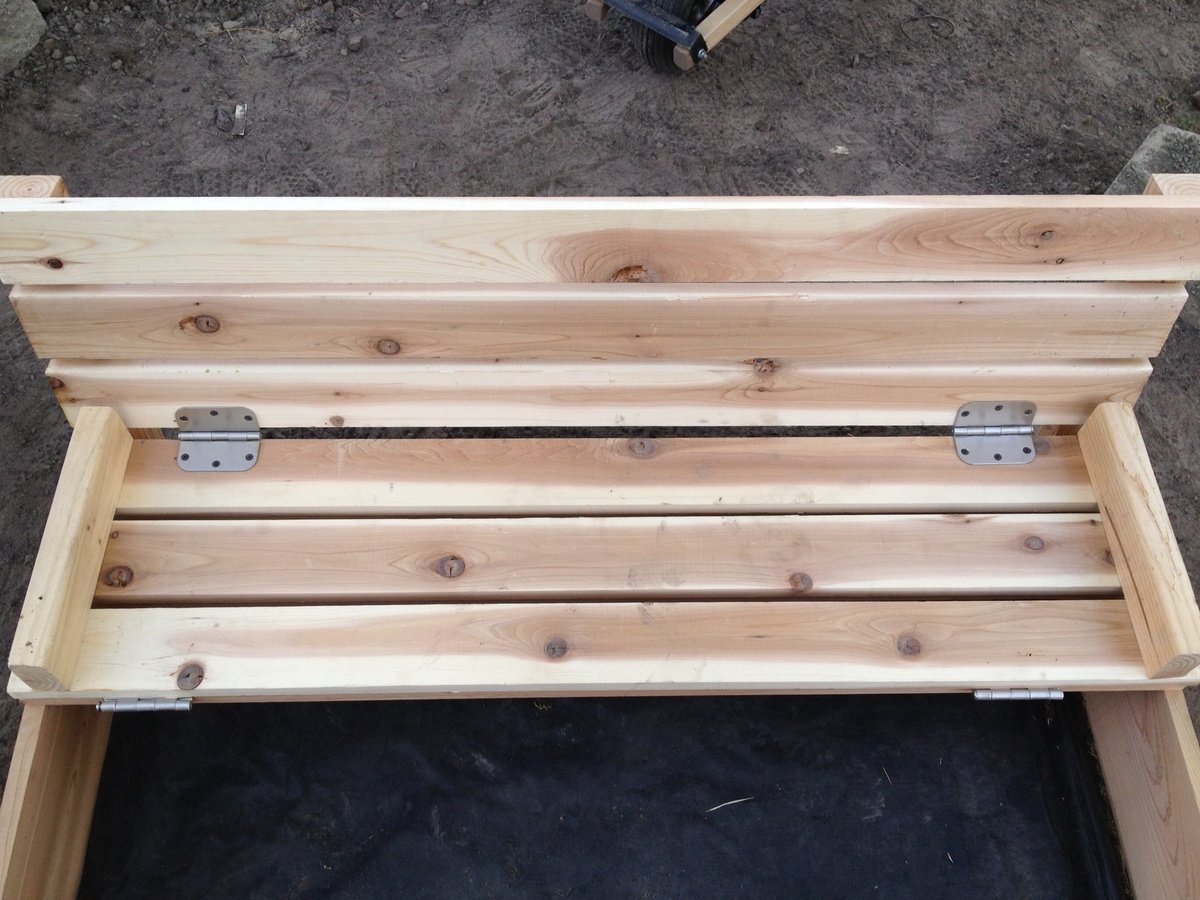
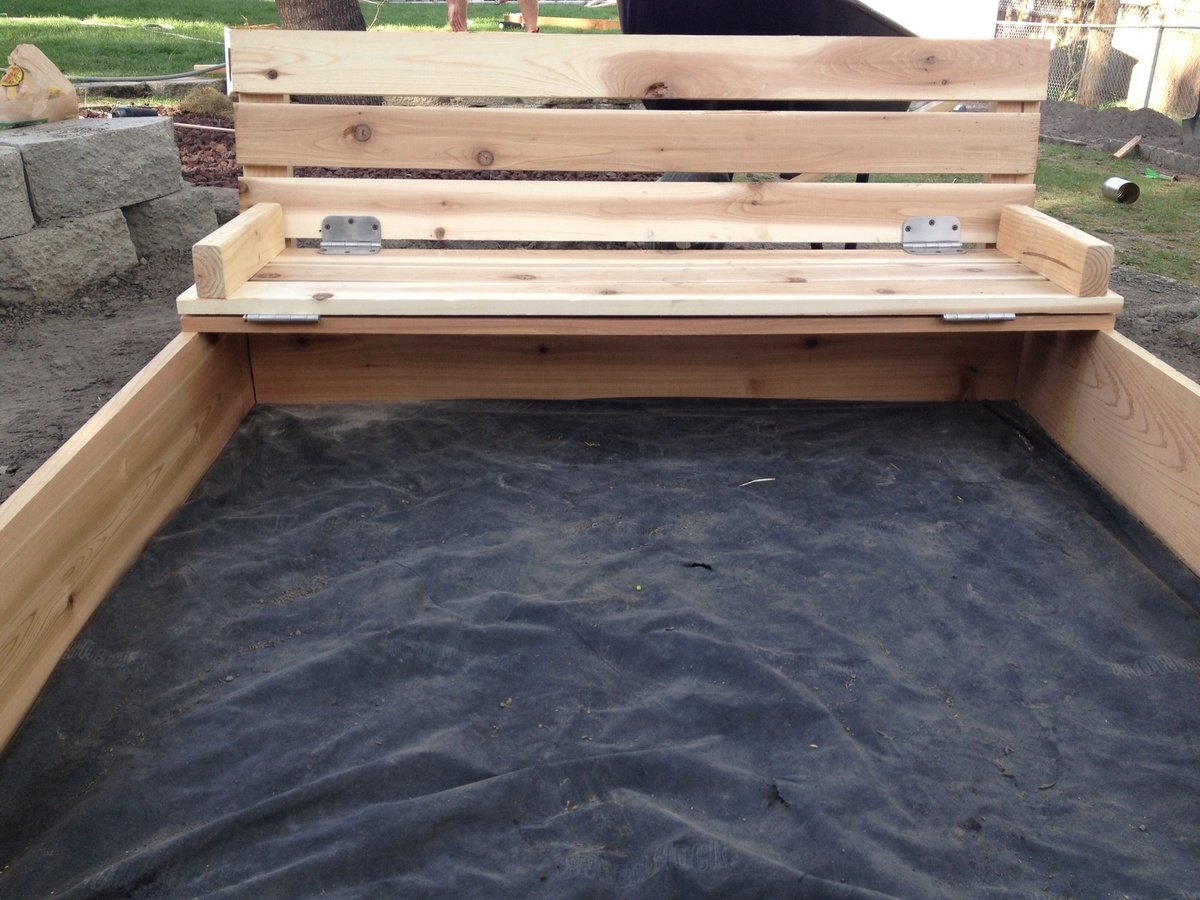
I also wished I had a little more instruction from which side to screw the screws in. May sound a little needy for some of you, but I never did anything with wood before. The instructions simply read attach top planks to arm rests (or something int that manner) and I wish it would have told me from which side to screw in (or give me a picture). Looking at some of the brag posts helped a lot.

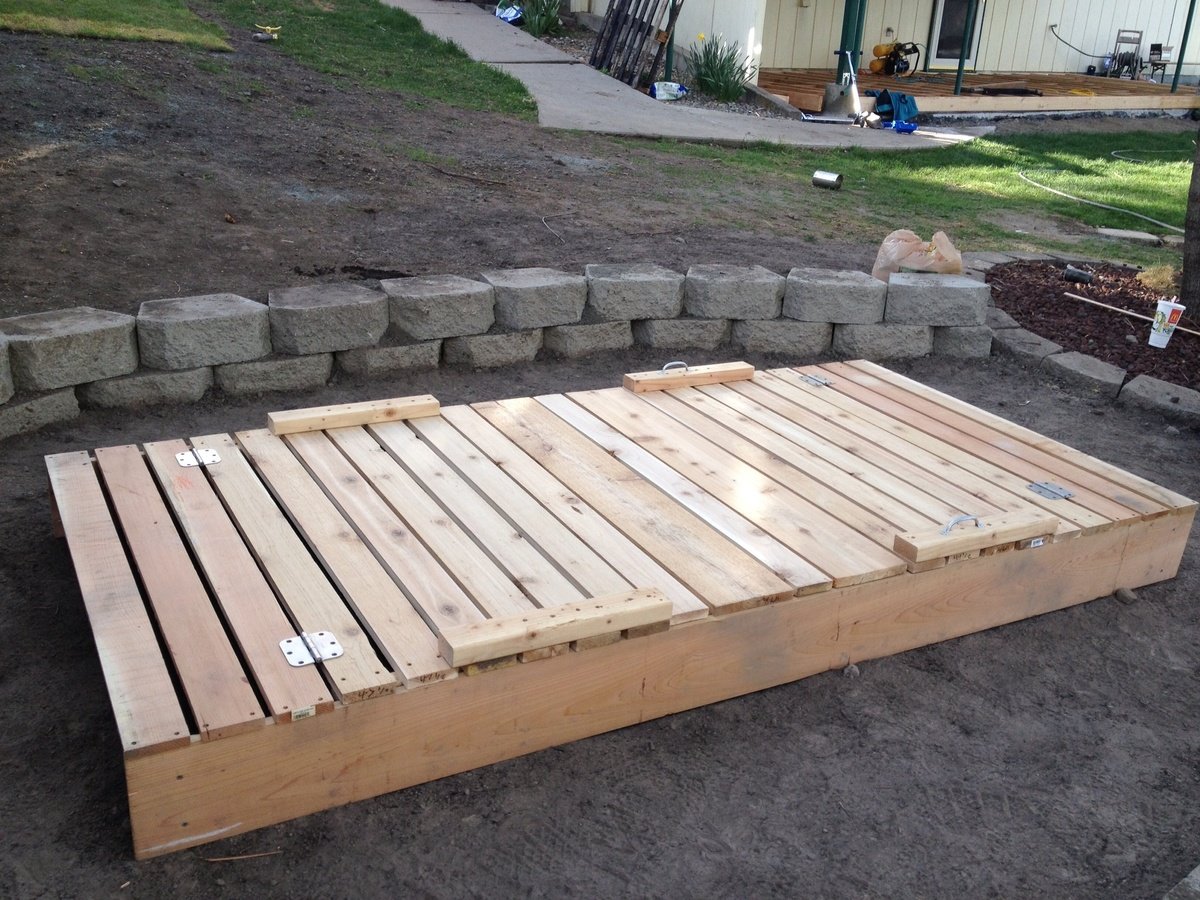
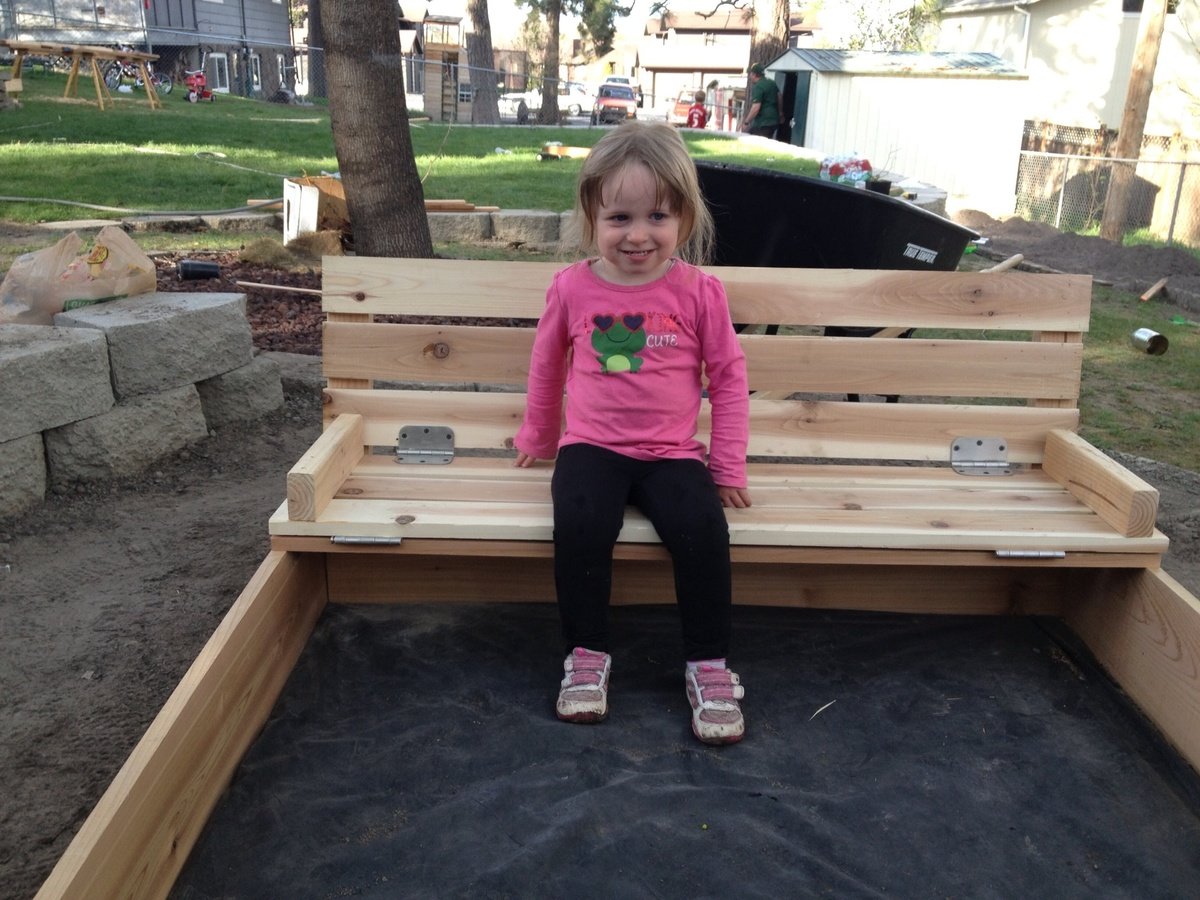
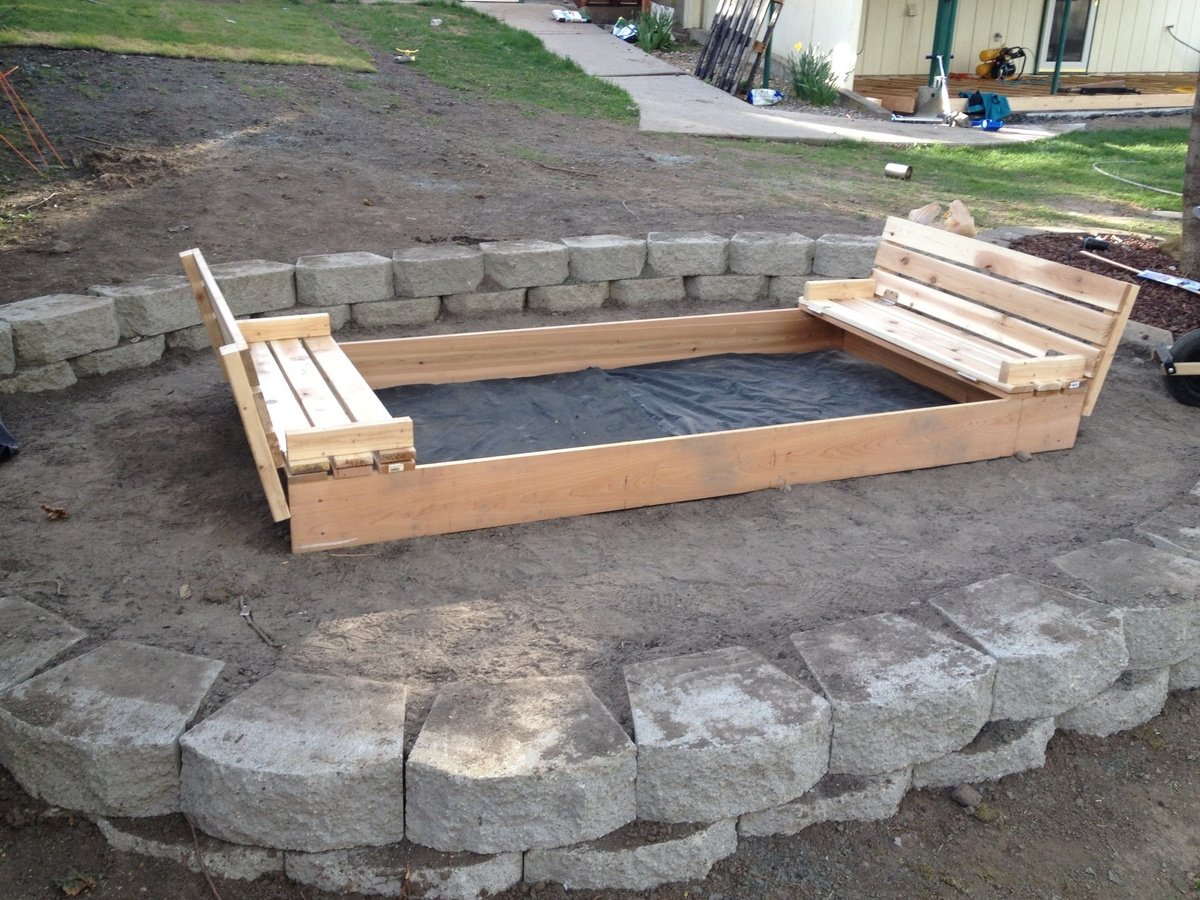
Because its larger size, I decided to make the seats 3 top planks wide (and also the back rest) and made another middle cover piece to bridge the additional gap when both seats are folded down.

Also, the cedar was VERY expensive, and all the screws, hinges, and handles almost cost me as much as the wood.

The sand to fill the box ran us another $80 (for good plays and), but that was because we made it so big.

All in all, a rather pricey sandbox, but worth it because of the large custom sizes, and the cute little seats.

Pictures show the sandbox without sand, and with some of the handles still missing. I also still need to fill the holes.

Will add a picture of finished box filled with sand when it is available.
Built from Plan(s)
Estimated Cost
$250
Estimated Time Investment
Weekend Project (10-20 Hours)
Finish Used
None
Recommended Skill Level
Beginner

Small Dresser

Submitted by Smokeydog on Wed, 03/18/2015 - 16:31

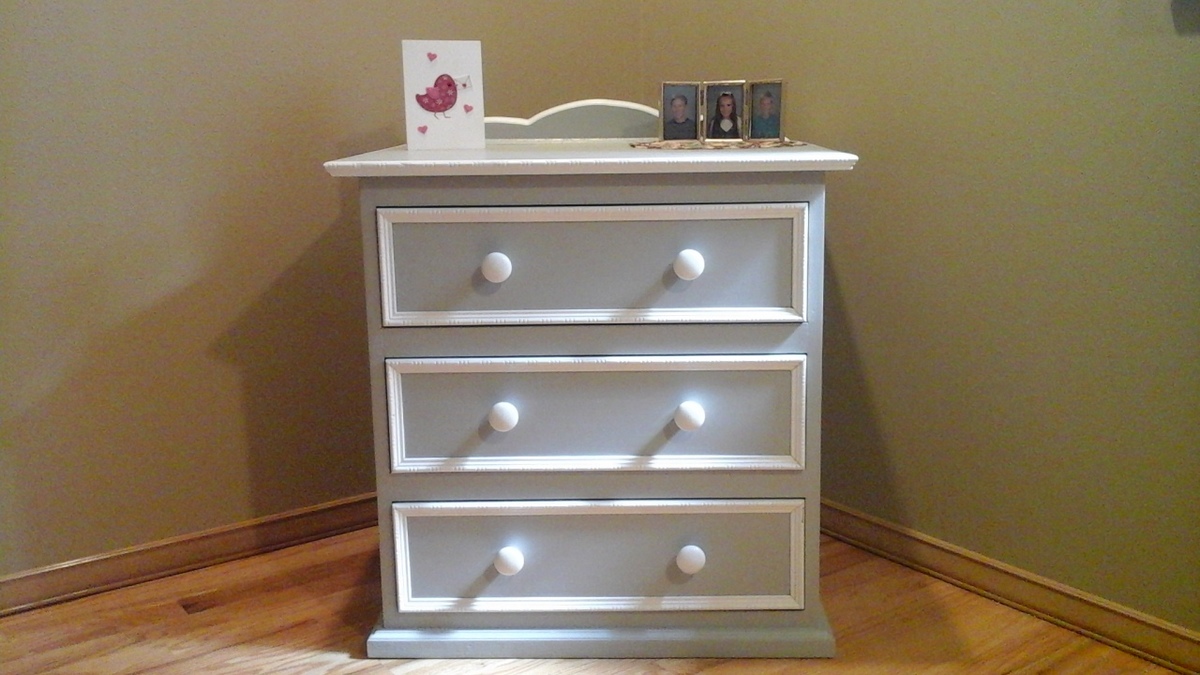
I made this dresser for a young lady who has never had any furniture unless it came from IKEA. Time to mix it up a little.  She was very delighted. The bulk of the dresser is poplar plywood with decorative birch trim.  I had trouble matching the paint color she wanted so I experimented by buying paint as close as I could find to the shade of grey she wanted and then mixed it with paint I had in the shop until I got the desired result.  I'm  no master at mixing paints.  I simply got lucky.  I traced out the decorative top using my wife's China serving platter and then routered the edge. Turned out OK and my wife was none the wiser.


Built from Plan(s)
Estimated Cost
130.00
Estimated Time Investment
Weekend Project (10-20 Hours)
Finish Used
Satin Paint
Recommended Skill Level
Intermediate

Comments

pde00311

Thu, 03/19/2015 - 13:00

The finish turned out amazing. How did you get the two toned effect on the drawers? Did you paint the grey face and the white molding separately? Also, is the molding flush with dresser frame?

Smokeydog

Thu, 03/19/2015 - 14:04

Thank you for your nice comment. The drawer face and trim were painted separately. The drawers are flush with the frame but the trim is not. The trim is attached to the drawer face and protrudes out from the frame. I liked the shadow effect that this created. I also decided to put white quarter round on the base of the dresser. This additional trim really makes it pop! I'll update the photo when this is completed.

Thanks again!

Farmhouse x coffe table without the x

Submitted by Anonymous (not verified) on Sat, 06/17/2017 - 07:18

We loved the look of the farmhouse x table but my wife liked the slatted look of pallet furniture, so I replaced the 1x12 boards on the bottom with 1x4 cross pieces. I also changed the dimensions somewhat to fit in the space intended for the table so I got rid of the x frames on the ends because their angles changed with the dimensions of he table. Now our cabin looks even more rustic!

Built from Plan(s)
Estimated Cost
$65
Estimated Time Investment
Weekend Project (10-20 Hours)
Finish Used
Minwax dark walnut with tung oil finish
Recommended Skill Level
Intermediate

Slide out pot rack

Submitted by Anonymous (not verified) on Wed, 09/01/2021 - 11:07

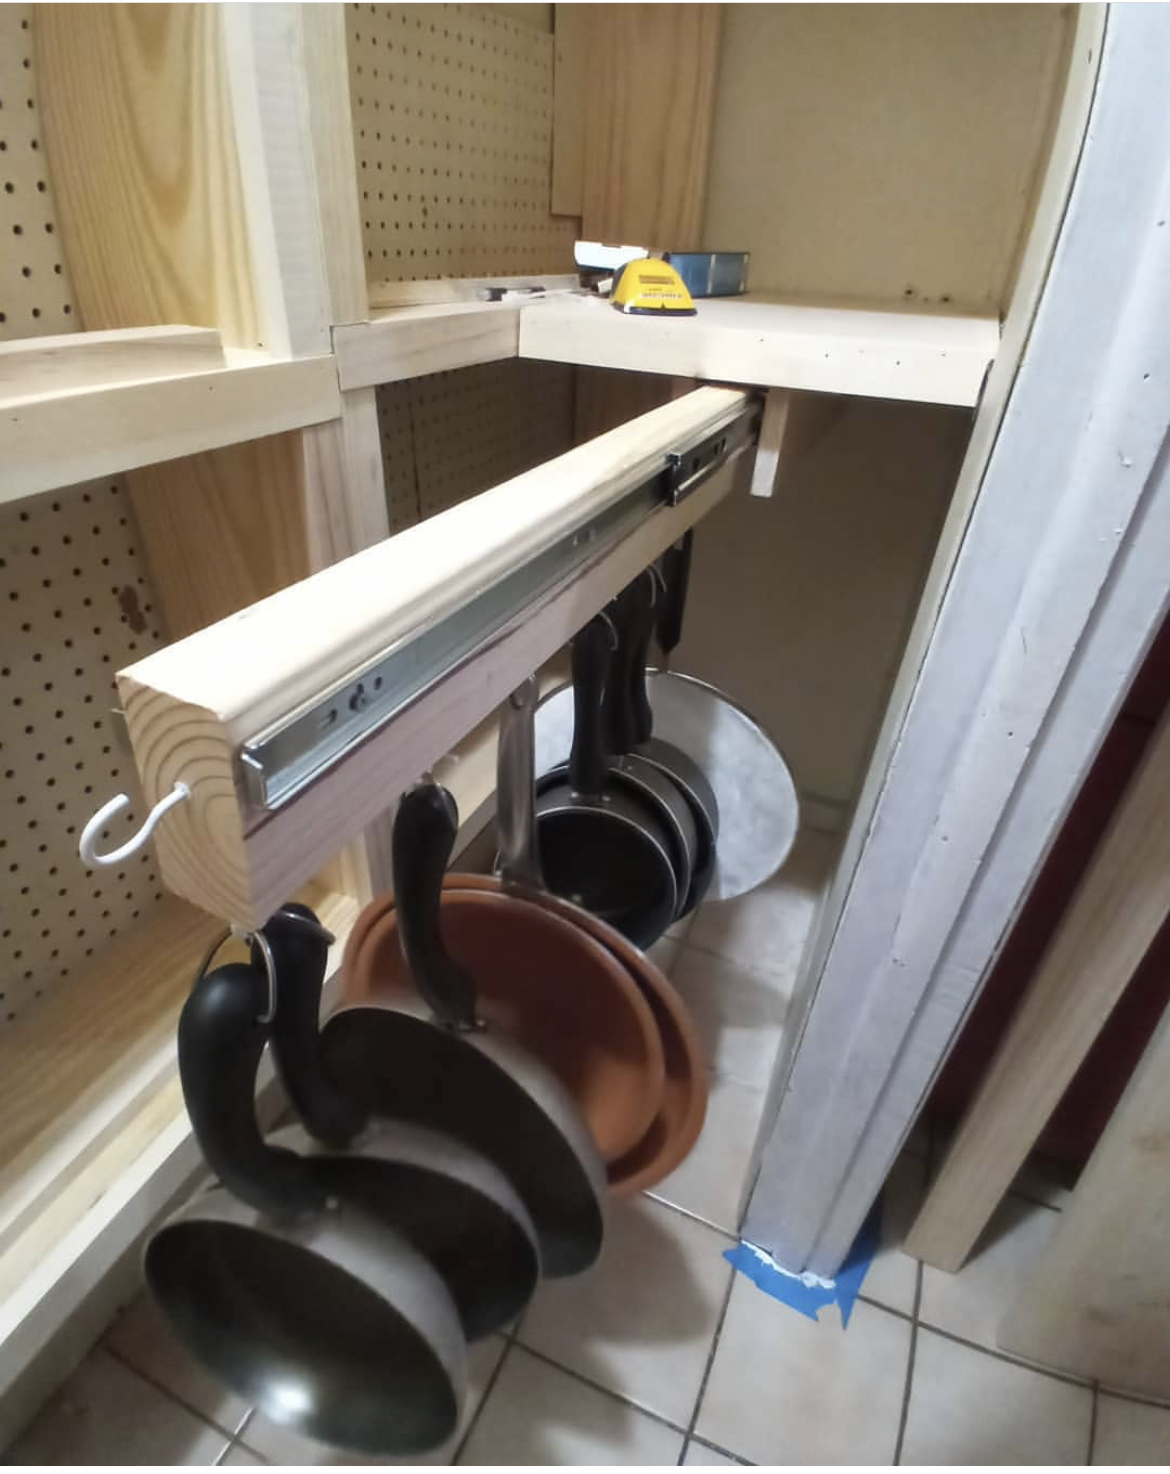
Built my in-laws a new pantry closet. I wanted to give them as much pantry storage as possible so I followed Ana White’s slide out pot rack plans. My mother in-law loves the new space saver for her pots!

Built from Plan(s)

My First Ana Project (Simple Outdoor Bench)

Submitted by Marcie89 on Mon, 04/29/2013 - 19:38

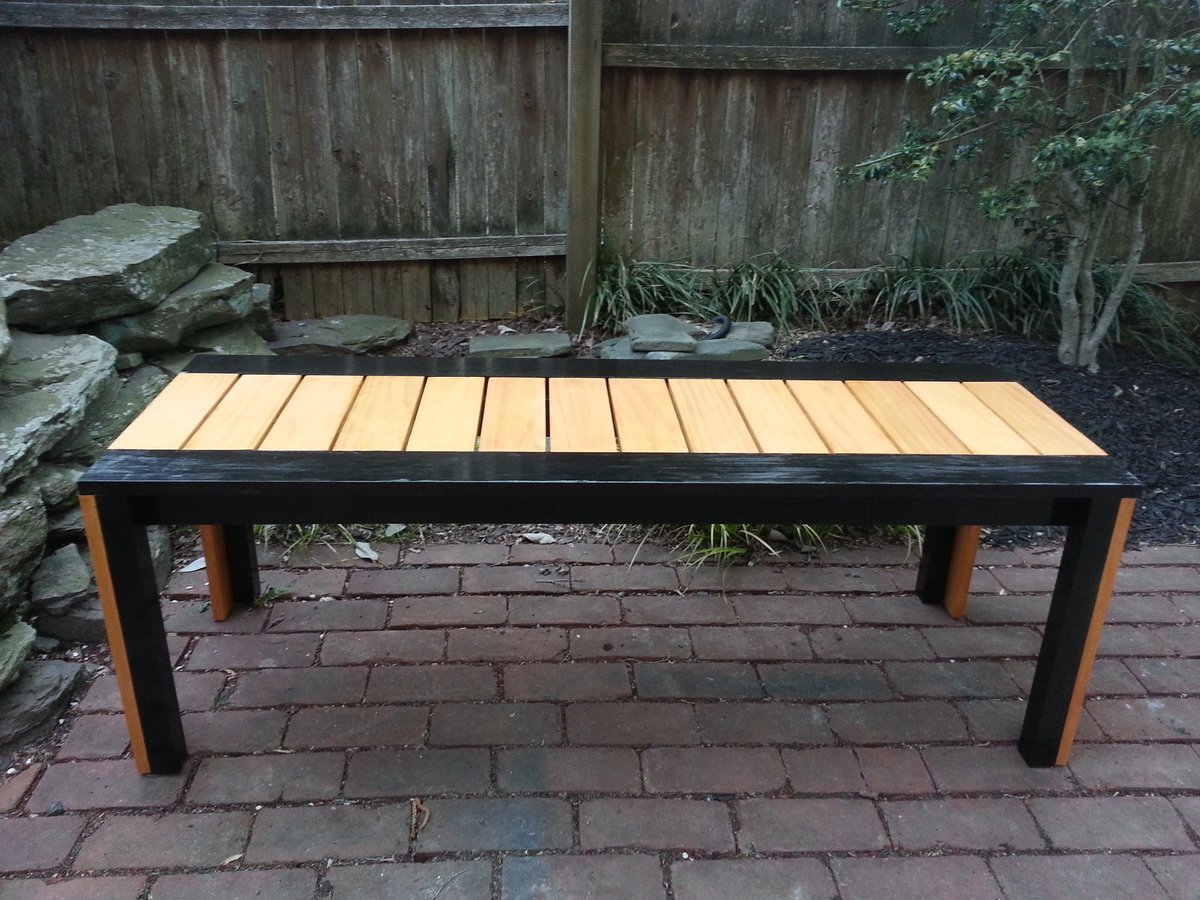
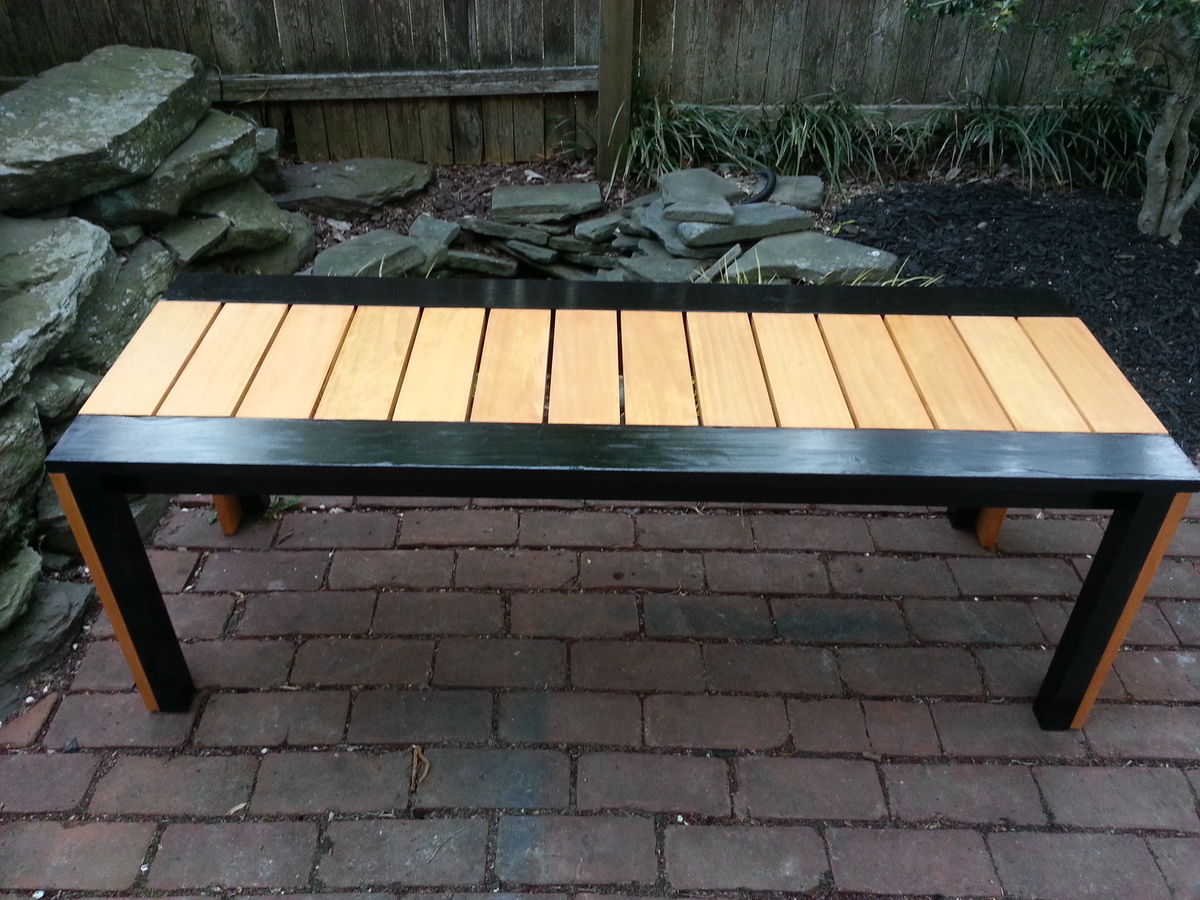
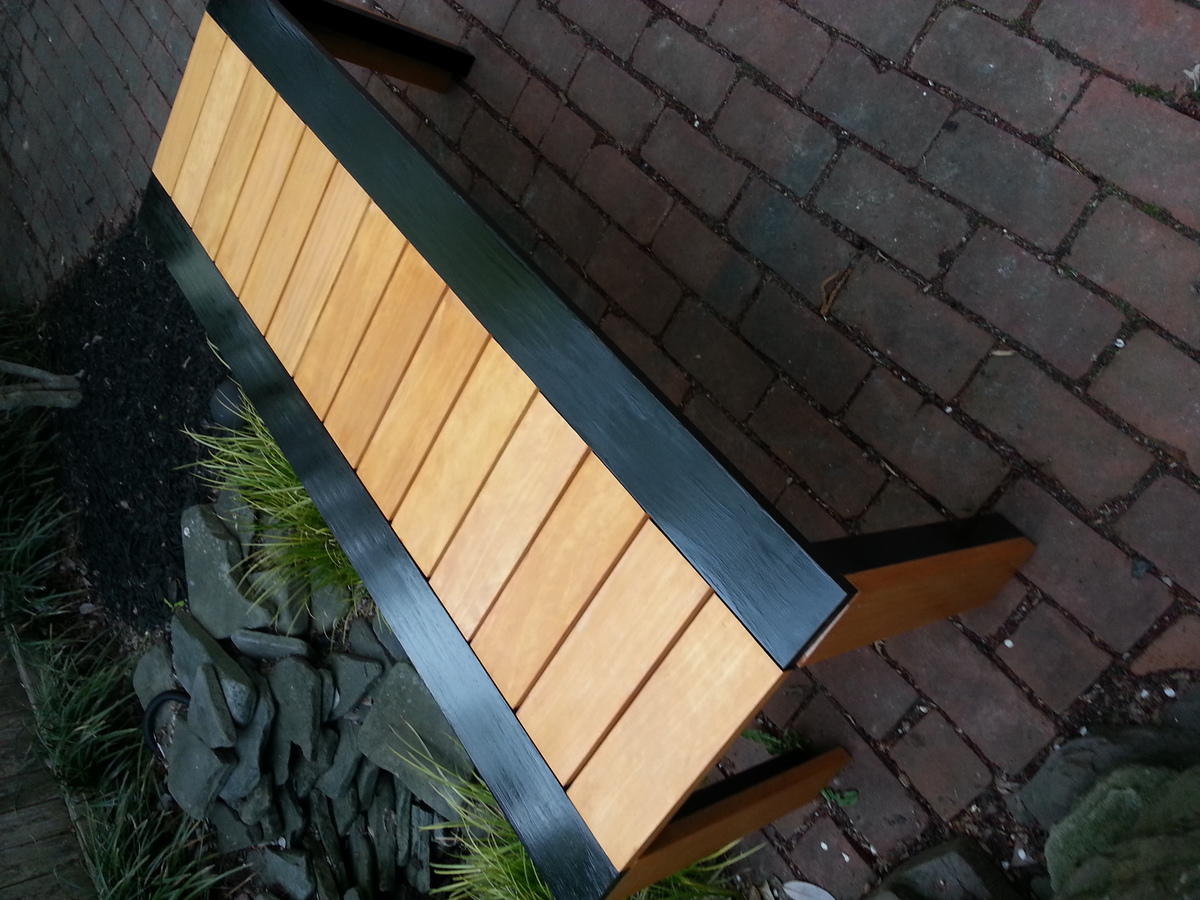
This bench is the first project I have built from Ana White's plans, and I love how it turned out! The cutting list and instructions were very easy to follow. The most difficult thing about this project was the staining and painting, which I admit I have never been great at. I built this bench because my fiance and I needed additional outside seating on our patio for a party we threw, and I literally built it the day before! A week after the party I gave it to my fiance's daughter who wanted it as an indoor hall bench for her house. At first I was sad to give it up, but I figure I can easily make another! Thank you so much, Ana, for the fabulous plans you provide!!

Estimated Cost
$100.
Estimated Time Investment
Day Project (6-9 Hours)
Finish Used
Olympic wood sealer/toner in Canyon Brown
Helmsman Clear Wood Sealer
Black Latex Paint
Recommended Skill Level
Beginner

Dog Bowls

Submitted by tedgray86 on Fri, 03/20/2015 - 21:41

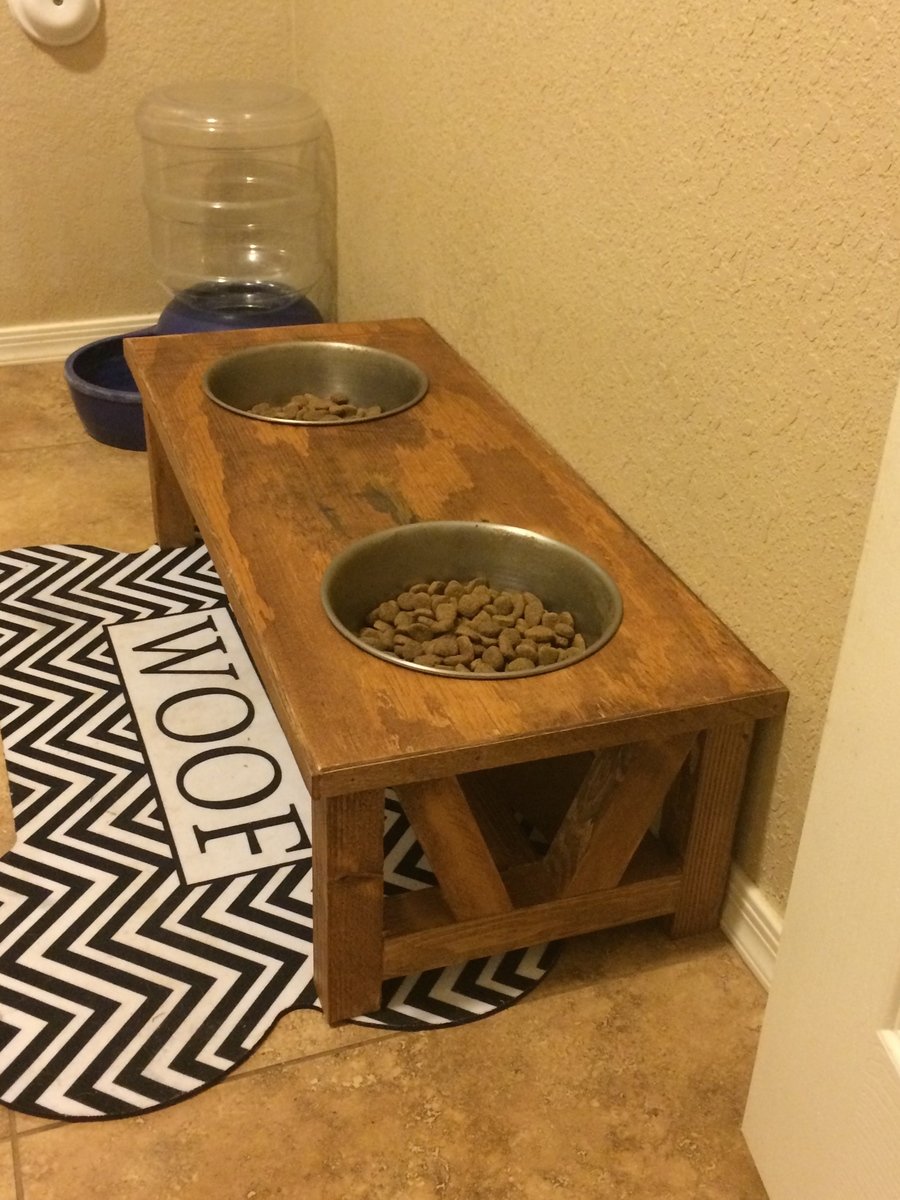
Dog bowls made from scrap wood!  Super Easy!

Estimated Time Investment
An Hour or Two (0-2 Hours)
Recommended Skill Level
Beginner

Comments

Little Cottage Loft Bed

Submitted by Anonymous (not verified) on Thu, 06/22/2017 - 05:10

Pretty happy with how it turned out. Will take our 4 year year old a bit to get comfortable with the ladder. Wish our room was long enough to add the stairs. Good plans though and thank you Ana White for making them available online.

Built from Plan(s)
Estimated Cost
$225
Estimated Time Investment
Week Long Project (20 Hours or More)
Finish Used
White flat paint we had leftover, took about 3/4 gallon for 2 coats.
Recommended Skill Level
Intermediate

Cassidy Bed with receding blocks pattern

Submitted by Kimiark on Mon, 09/13/2021 - 08:50

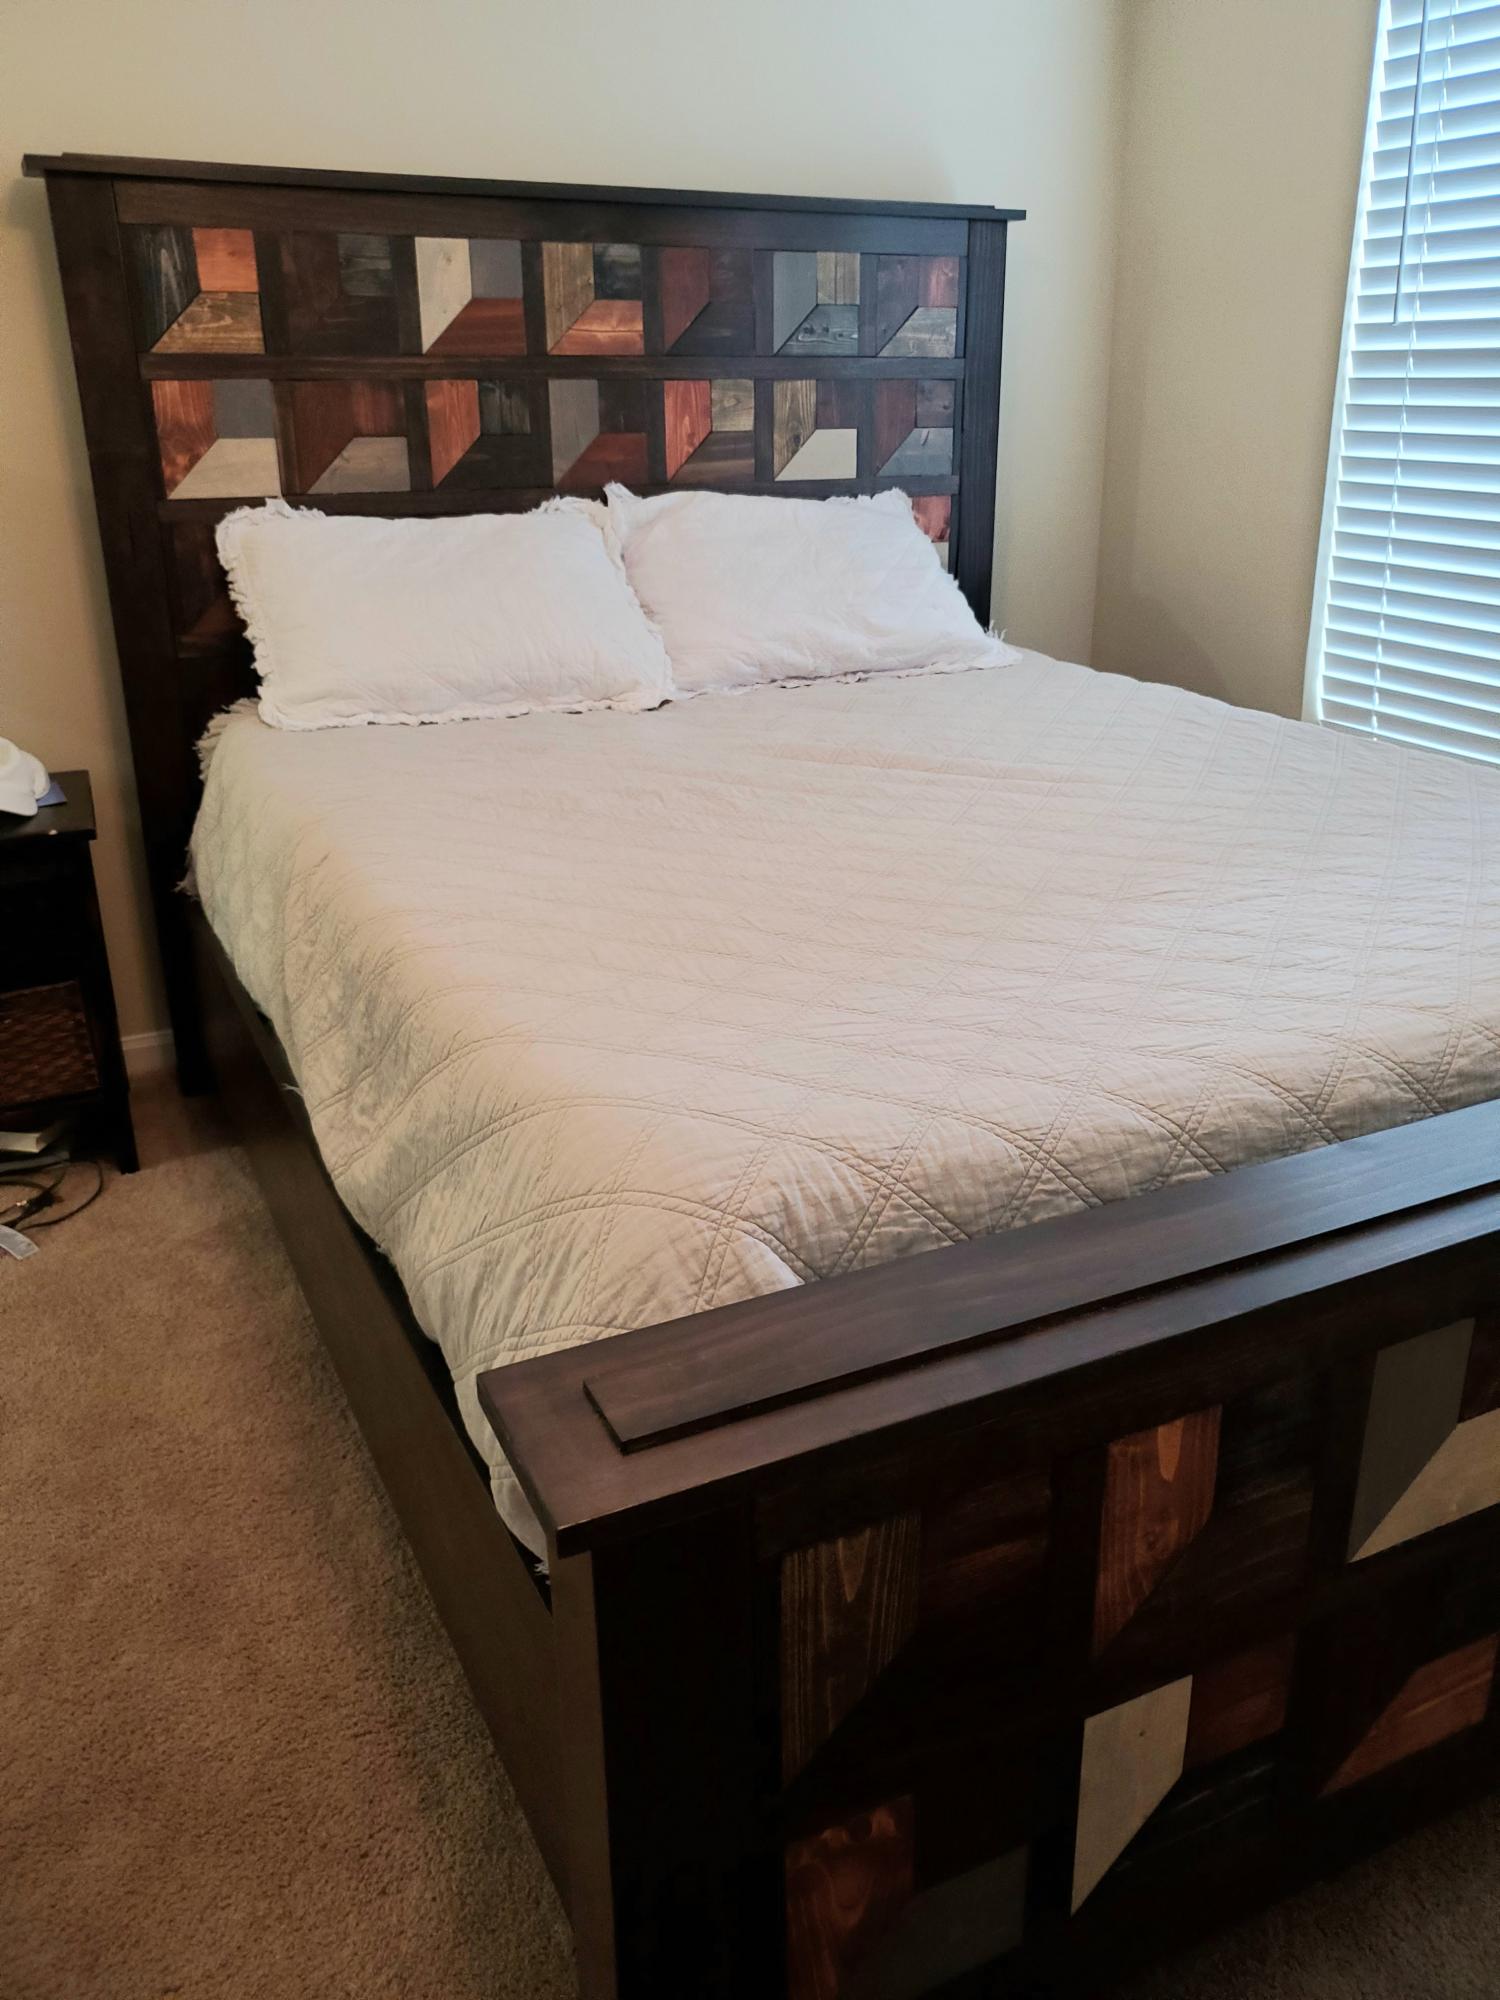
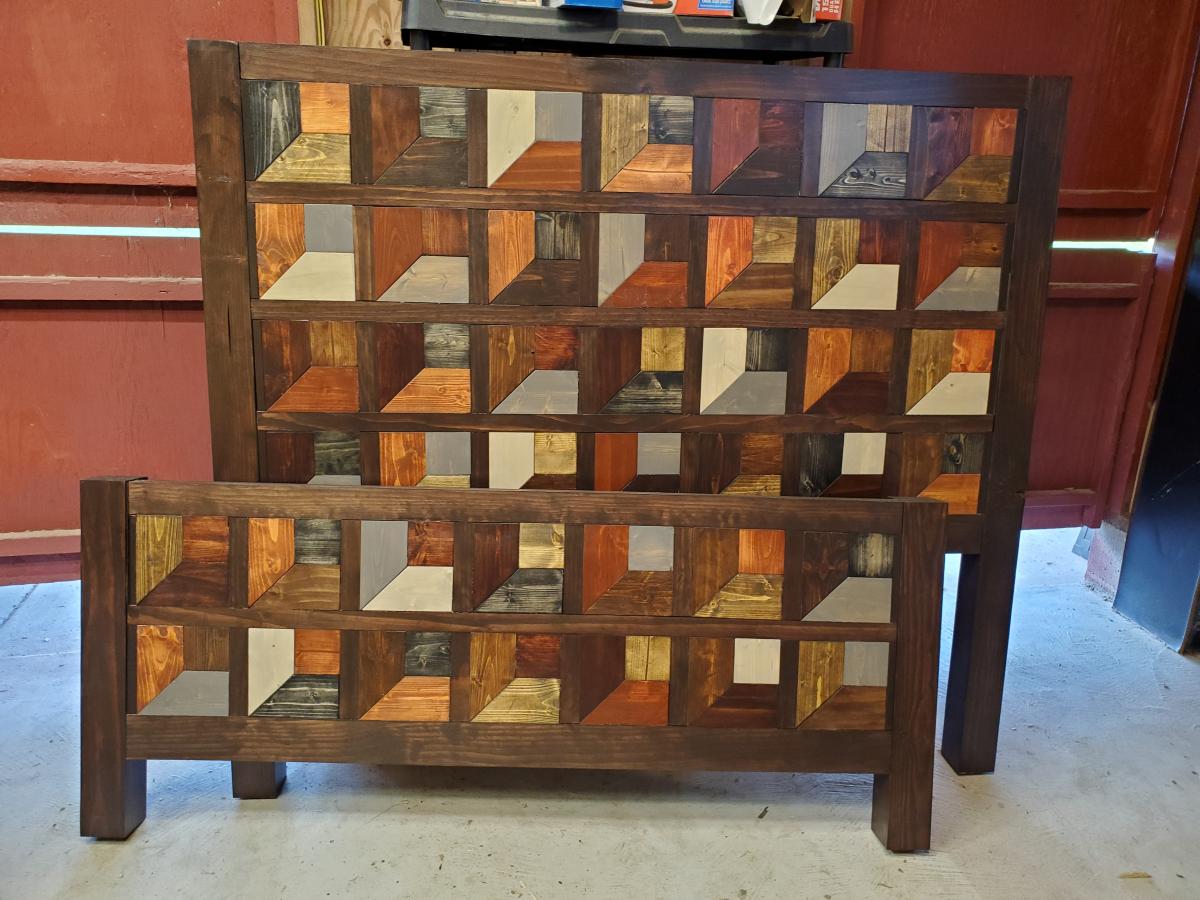
My son needed a bed for his new apartment and this is the design we chose. The cuts are 1x4 pine stained different colors. He loves the bed!

Comments

Fancy Farmhouse Double Pedestal Table

Submitted by carrmatt02 on Wed, 05/01/2013 - 20:02

This is a combination and a scaled down version of a couple different farmhouse table plans. It is 60"x43" to fit our dining room. I integrated an inlay looking piece into the top with a 1x2 and mitered the corners of the outer two layers. The thickness at the edge of the table was accomplished with 1x4's with the middle layer inset by 1/2"... chairs to match are in the process of being built.

Estimated Cost
$175
Estimated Time Investment
Week Long Project (20 Hours or More)
Finish Used
Minwax Dark Walnut and Ebony for the inlay with six coats of Minwax Wipe-on Poly.
Recommended Skill Level
Intermediate

Comments

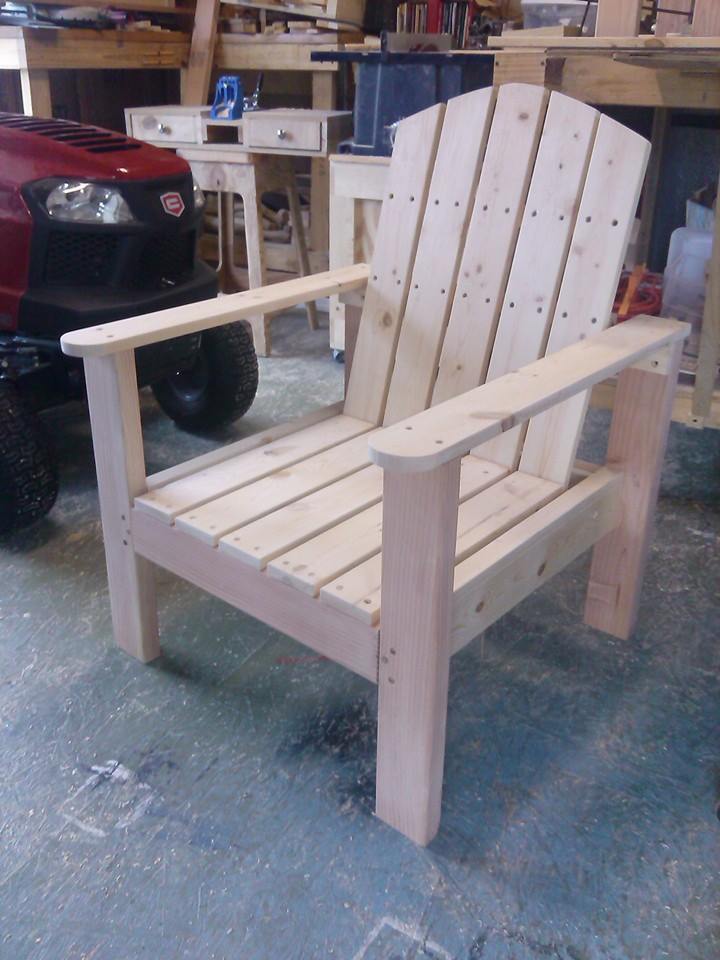
Lounge Chair

Modified the arm rest and the back to my liking. 

Built from Plan(s)
Estimated Time Investment
Afternoon Project (3-6 Hours)
Recommended Skill Level
Intermediate

Comments

gmhurley

Tue, 06/23/2020 - 08:59

Hi, are plans available for this modified chair design? I like that the seat pan appears to be flat and the Adirondack style to the back slate.

Black Cherry TV Console

Submitted by Anonymous (not verified) on Fri, 06/23/2017 - 15:55

Used the plans to build a custom tv Console for a customer. Black Cherry stain with HTP top coat. Added support pieces under the shelving.

Estimated Time Investment
Weekend Project (10-20 Hours)
Recommended Skill Level
Intermediate

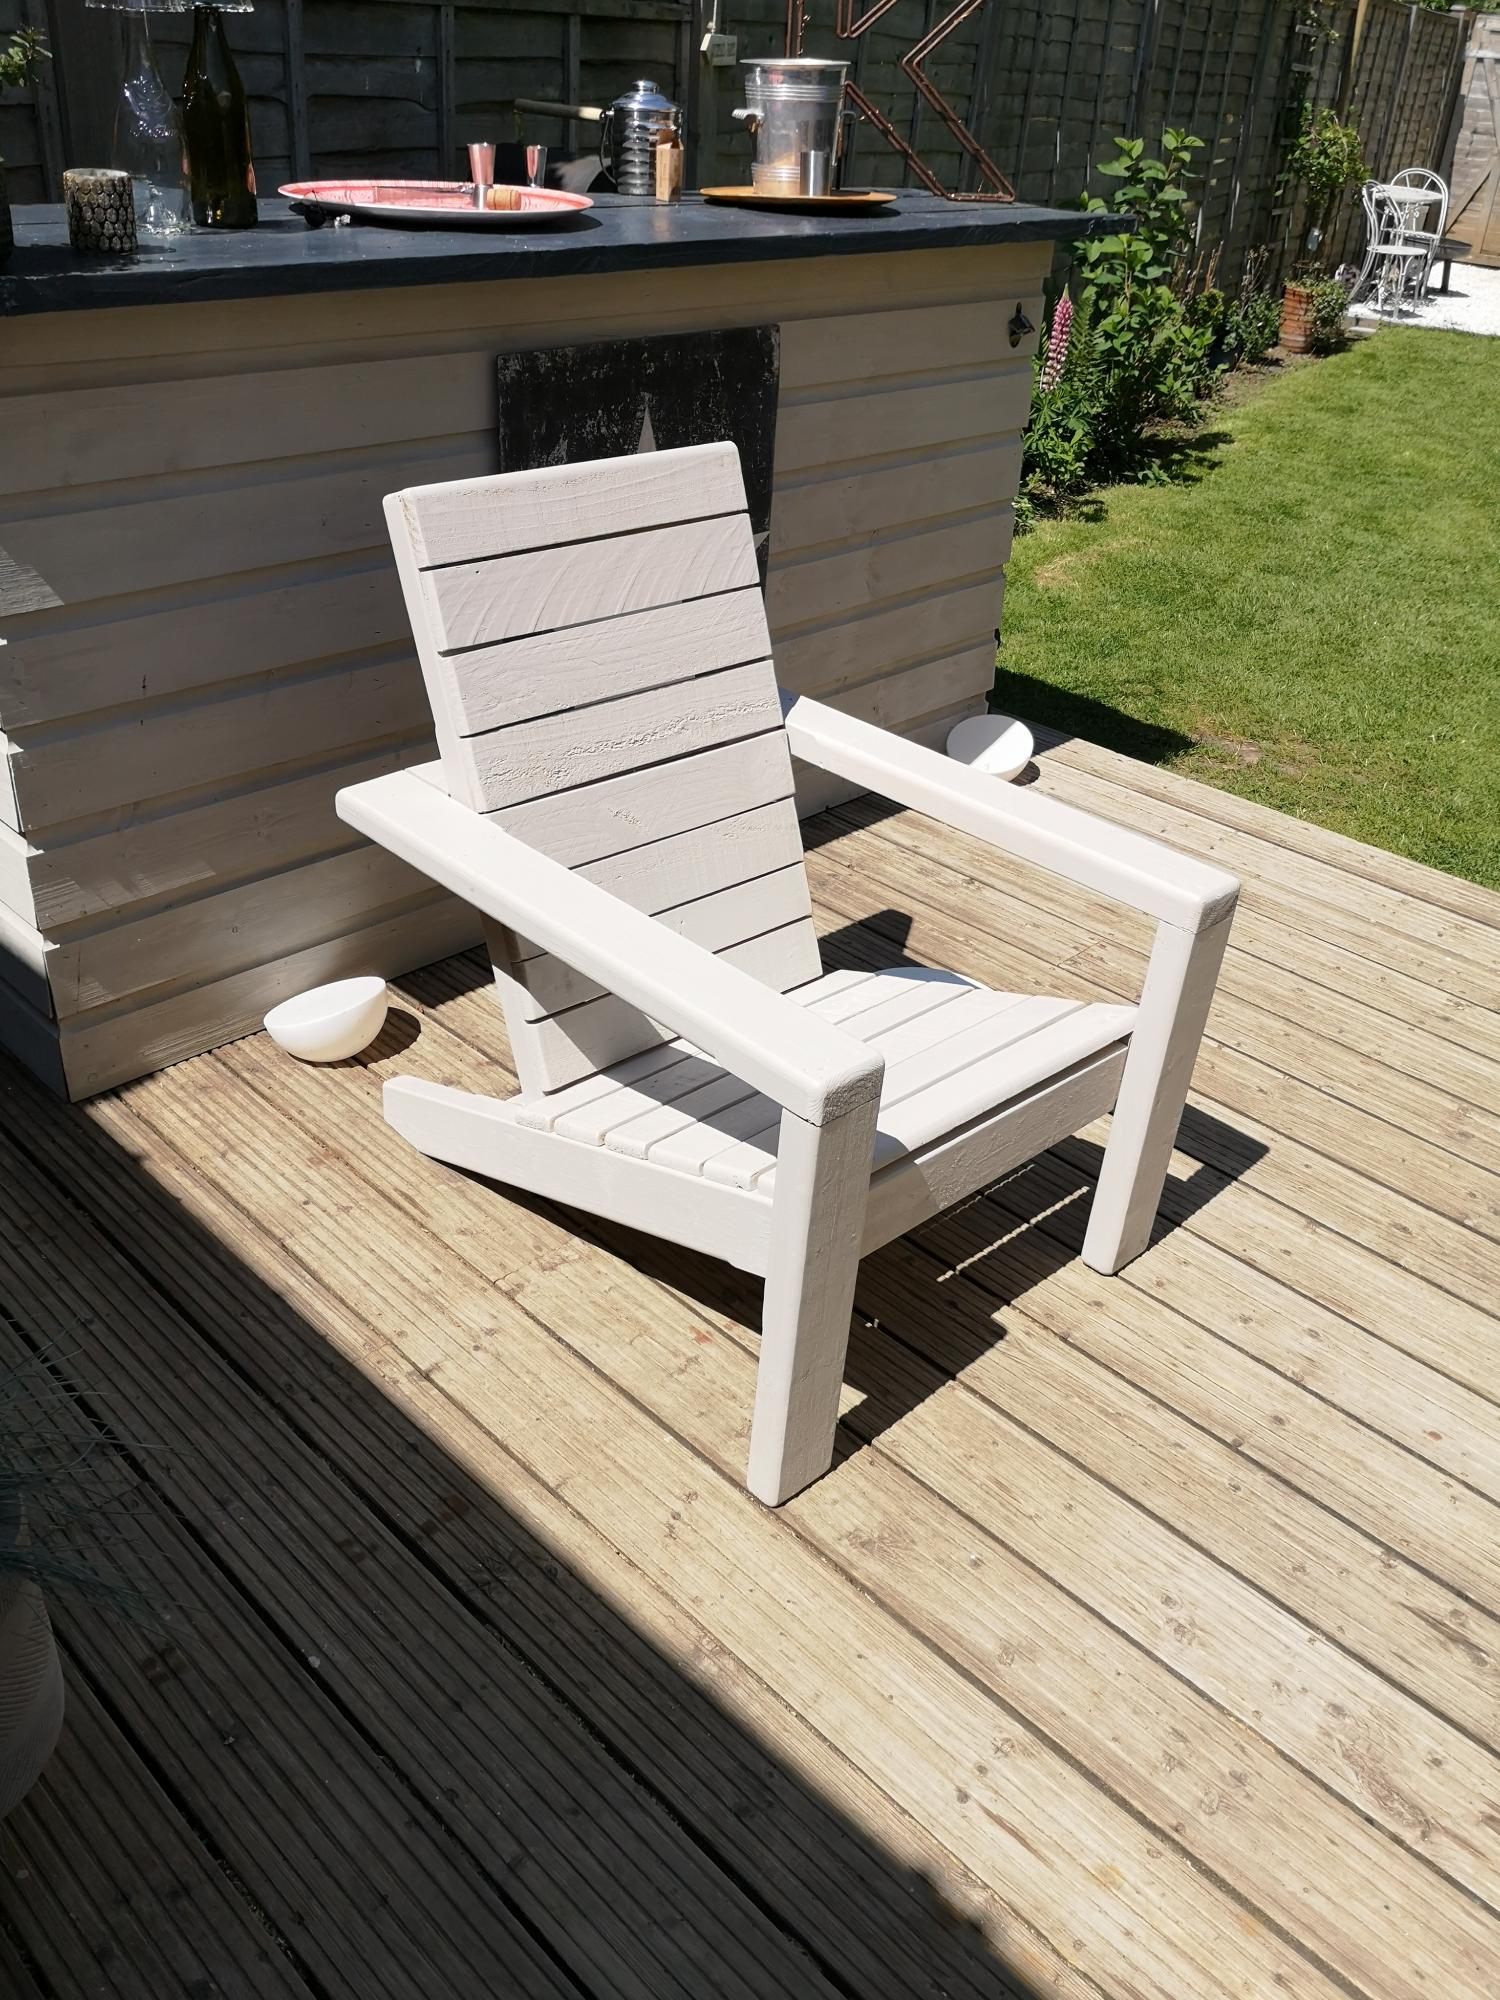
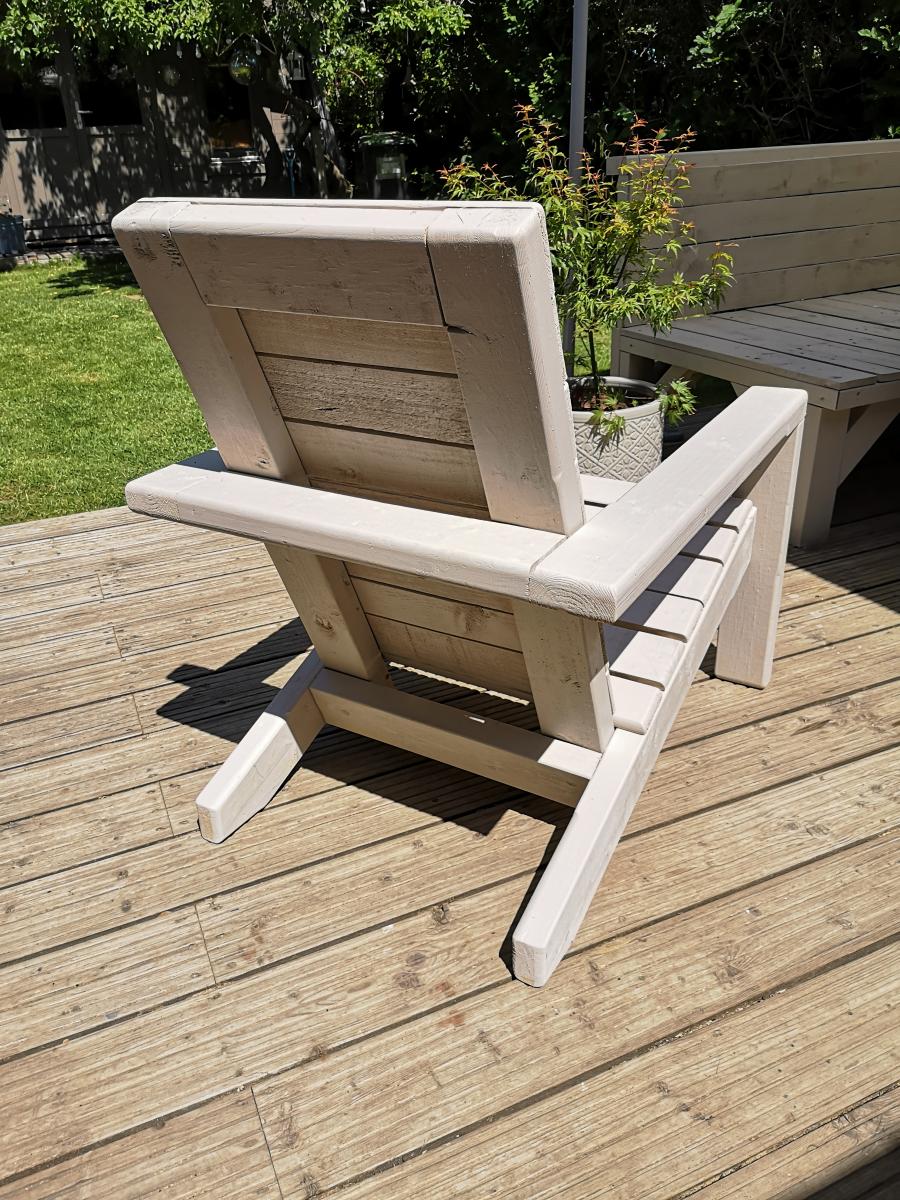
Modern Adirondack Chair

I love the way these chairs came out, thanks for the plans. I used pallet wood for the slats and rounded everything over with my router. Also added a 2x4 across the top of the back to give it a more solid look.

Comments

Child's Adirondack Chair

Child's adirondack chair. I made it mostly with wood scraps purchased at my local Habitat for Humanity Store

Estimated Time Investment
Day Project (6-9 Hours)
Finish Used
primed and painted with exterior satin
Recommended Skill Level
Beginner

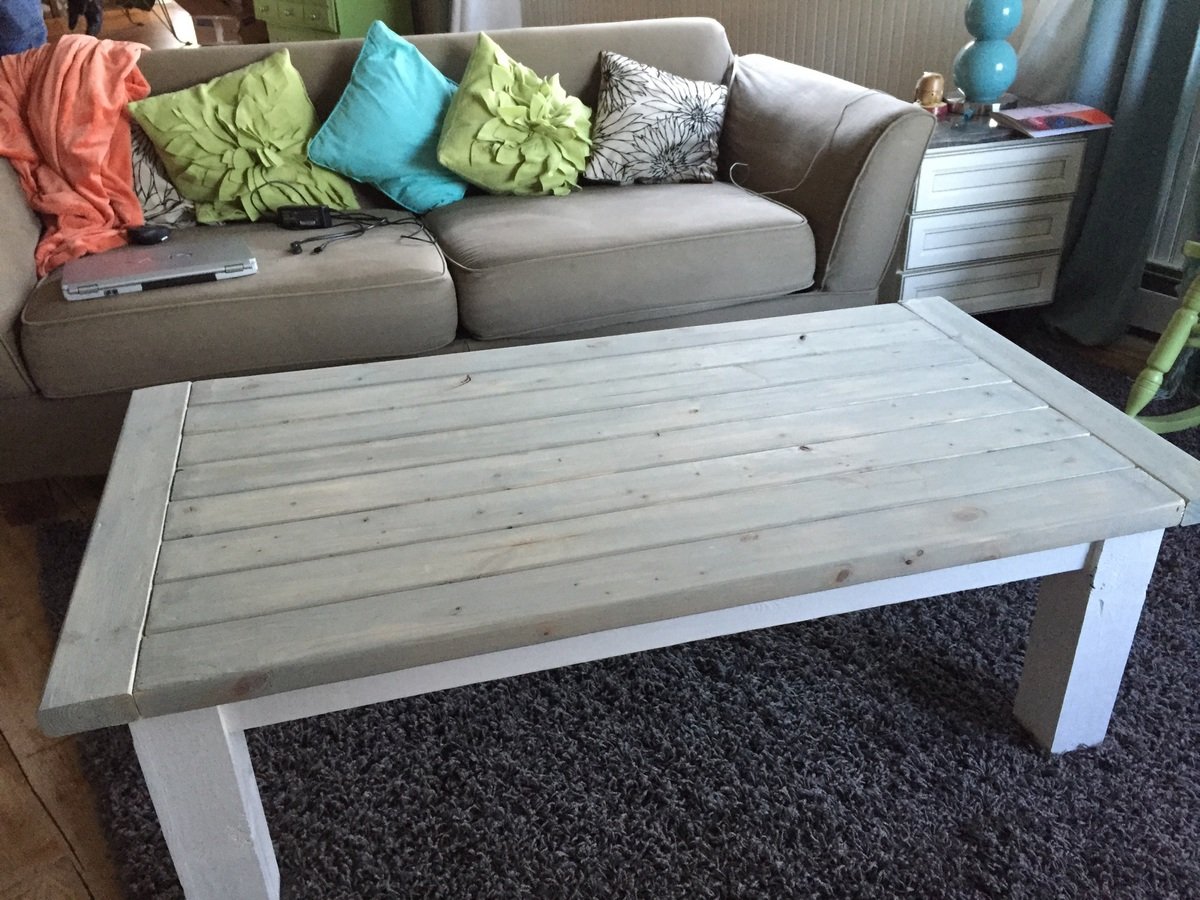
Tryde Coffee Table - First project!

My boyfriend built this for me as a birthday gift. It is absolutely beautiful, he did a great job - especially with limited carpentry experience! The top is stained with pickled white stain tinted with gray, and the bottom is painted white.

Built from Plan(s)
Recommended Skill Level
Beginner

Tiny house apothecary cabinets

Submitted by Anonymous (not verified) on Mon, 06/26/2017 - 06:37

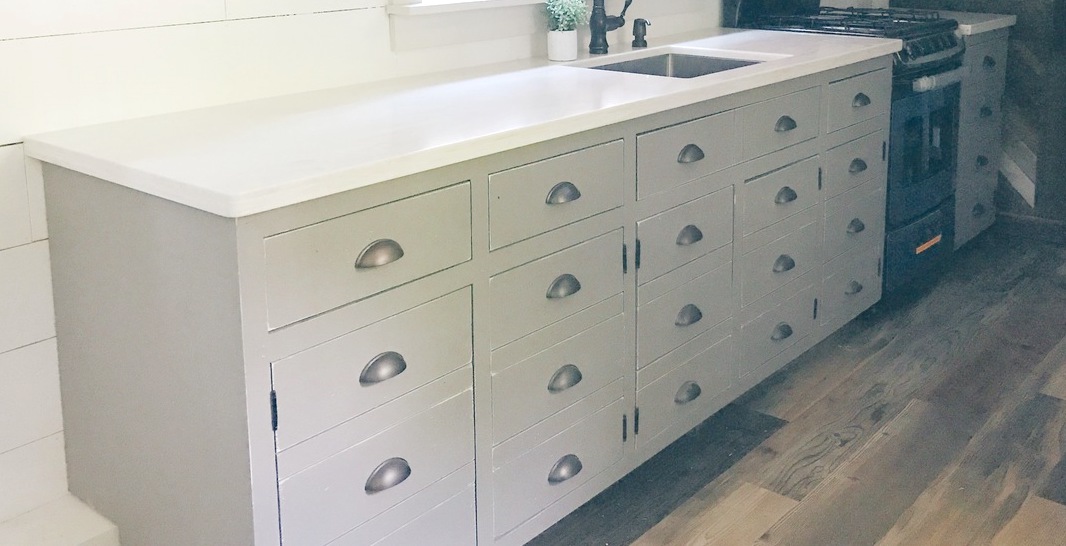
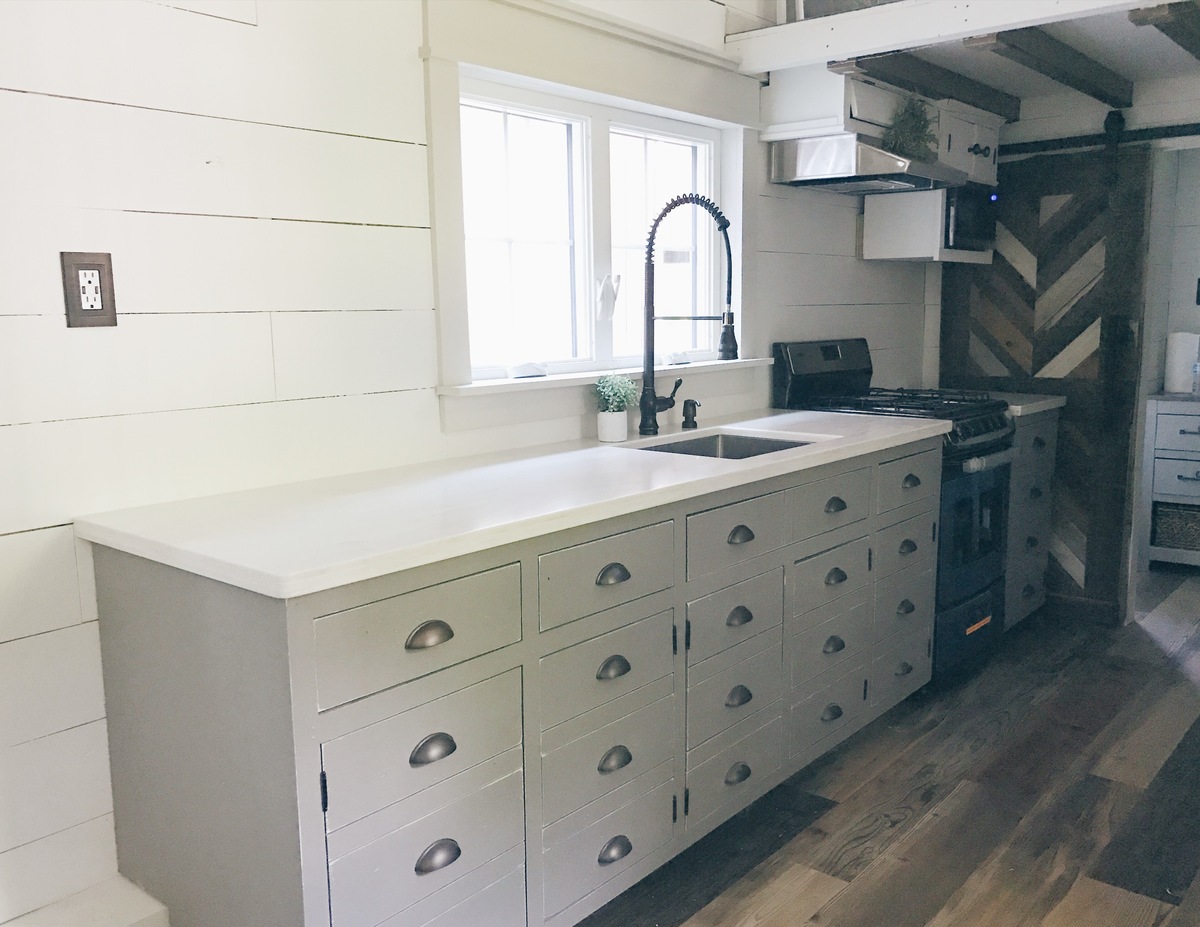
These worked perfectly for the space in our tiny house. Loved the way they turned out!

Estimated Cost
$500
Estimated Time Investment
Weekend Project (10-20 Hours)
Finish Used
Benjamin Moore Aura paint with primer. Sanded for a distressed finished
Recommended Skill Level
Intermediate

Comments

Corner bench with drawers

Submitted by Anonymous (not verified) on Mon, 10/04/2021 - 12:15

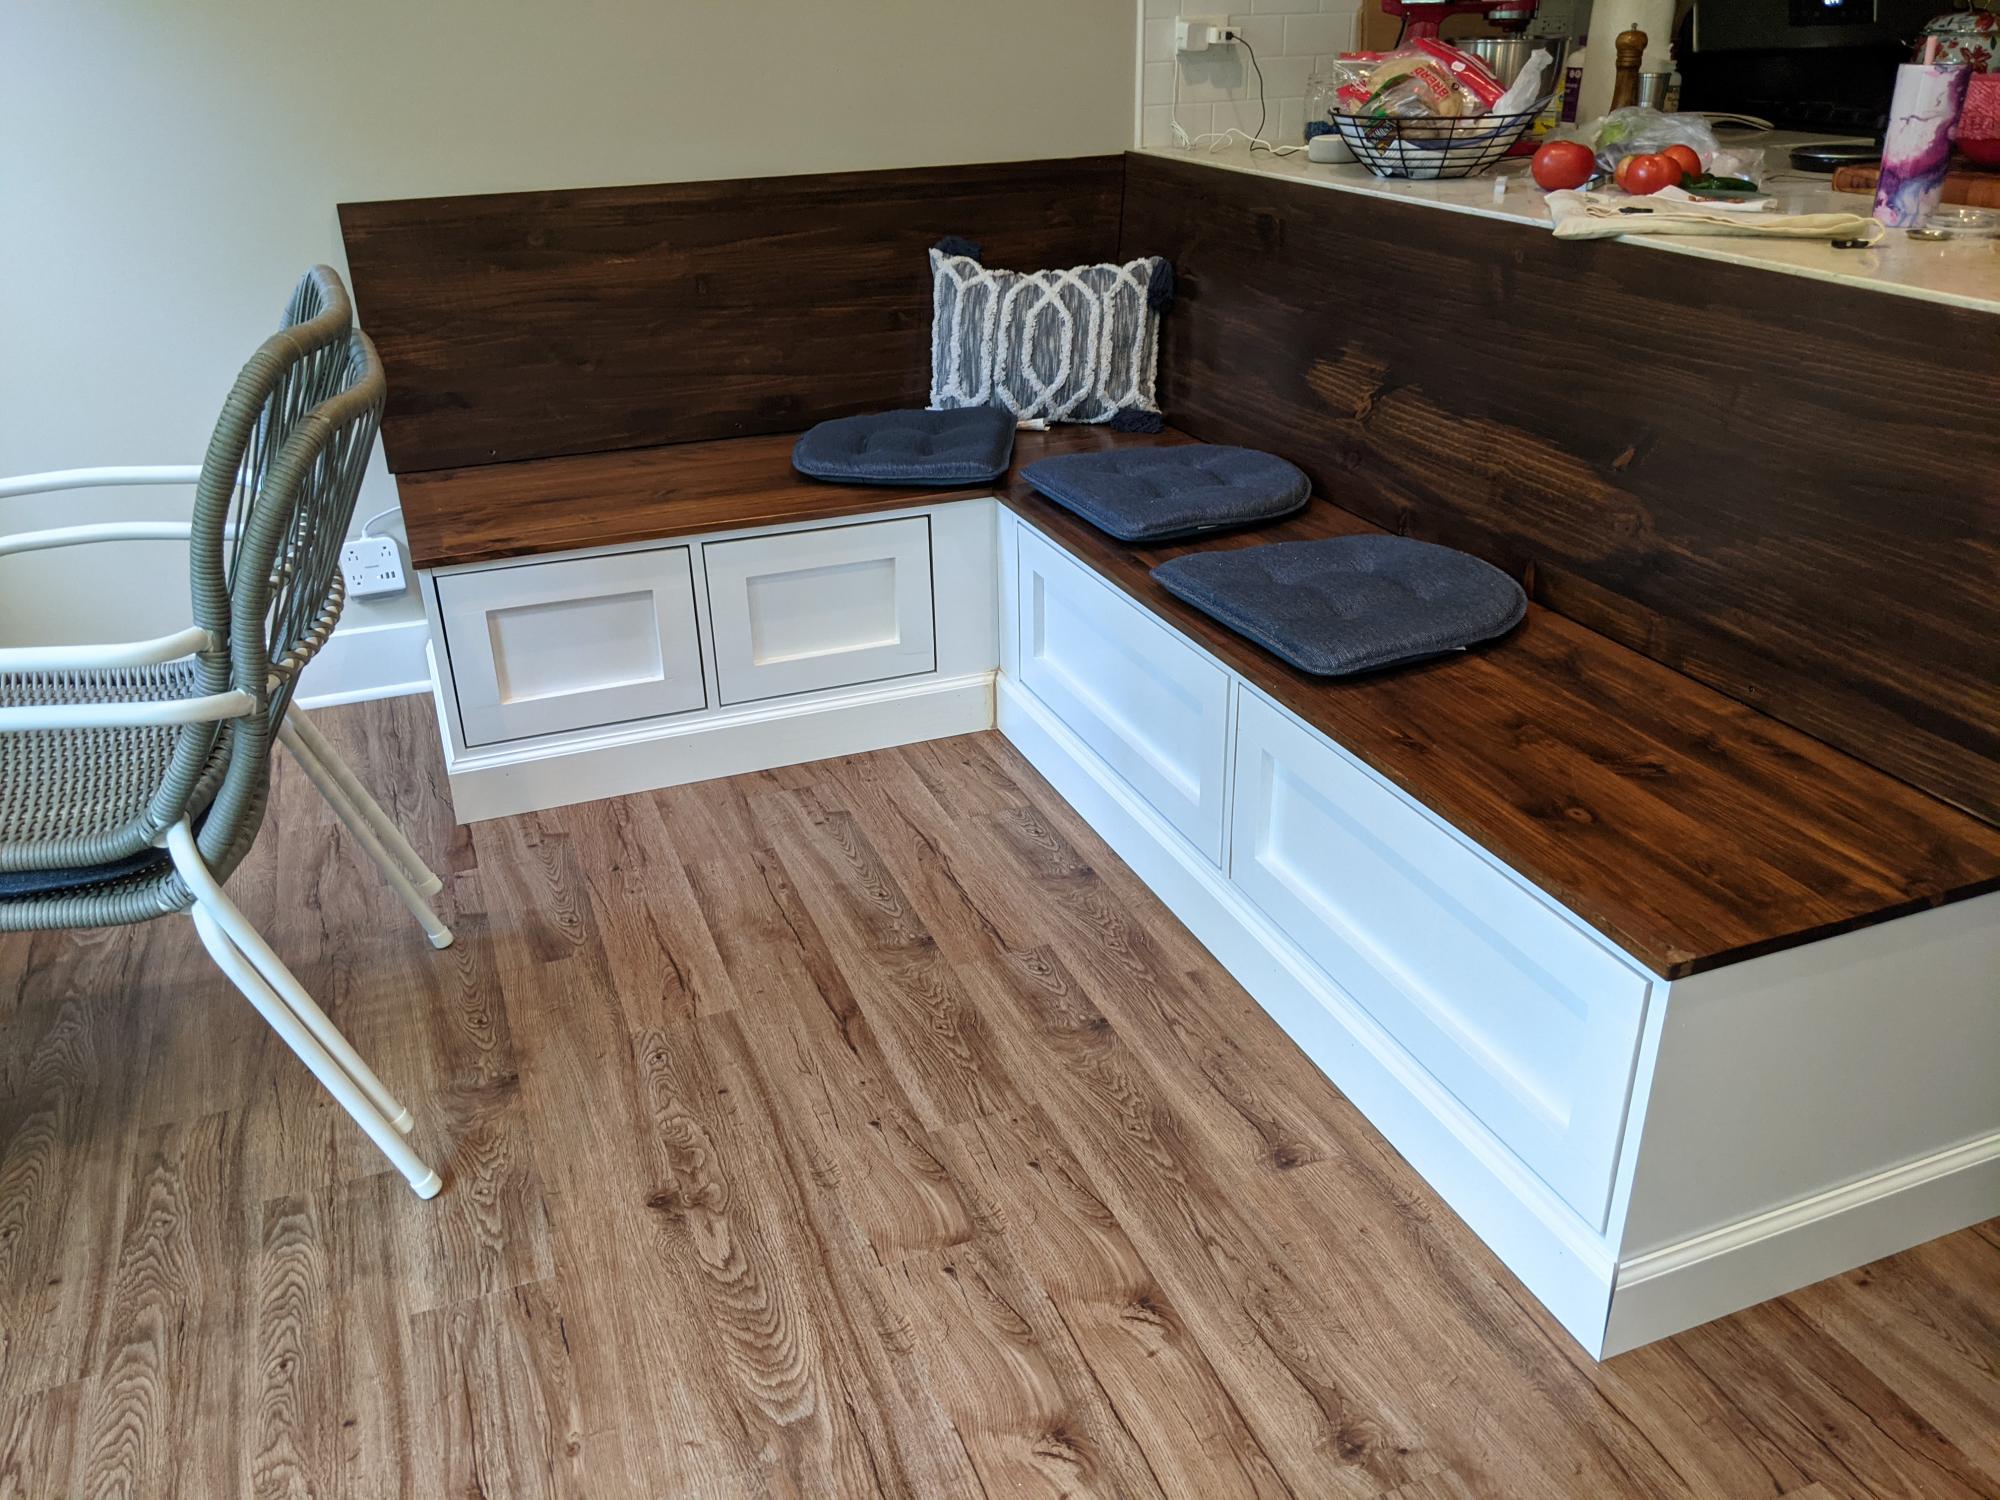
I built the above corner bench based off of the frameless drawer bench plans (they are on the shelf help site) which are very similar to the essential entryway bench plans, but the drawers are included. The long bench is 60", the shorter side 42".
For the carcass i did use the shelf help pre cut plywood.
When I started the project beginning of 2021, there was no tutorial for the corner part yet, so I was very glad to see I did the right way when the corner 'add on' came out, also found on the shelf help site).
The shaker fronts were shown in the barn door console plans, so I adopted that.
I get loads of compliments and obviously even more when people hear I built it myself.
The hardest part about this project were the drawer slides and getting them to line up and work as expected. The I broke the soft close on one of the big drawers during final assembly and still didn't bring myself to exchange the slide to a working one... 😊
But overall I'm really proud of it!

Comments

Modified Fancy X Desk

Submitted by snarl on Tue, 05/07/2013 - 10:48

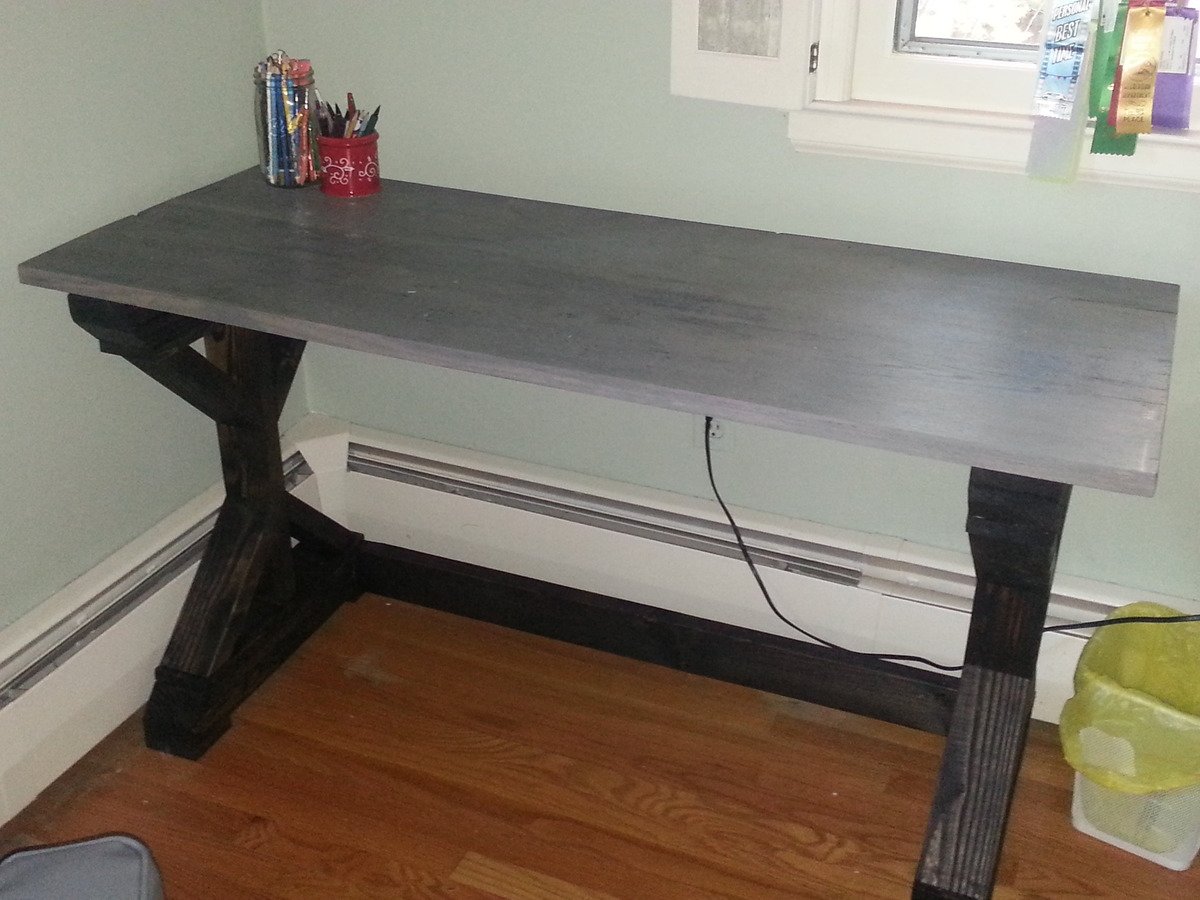
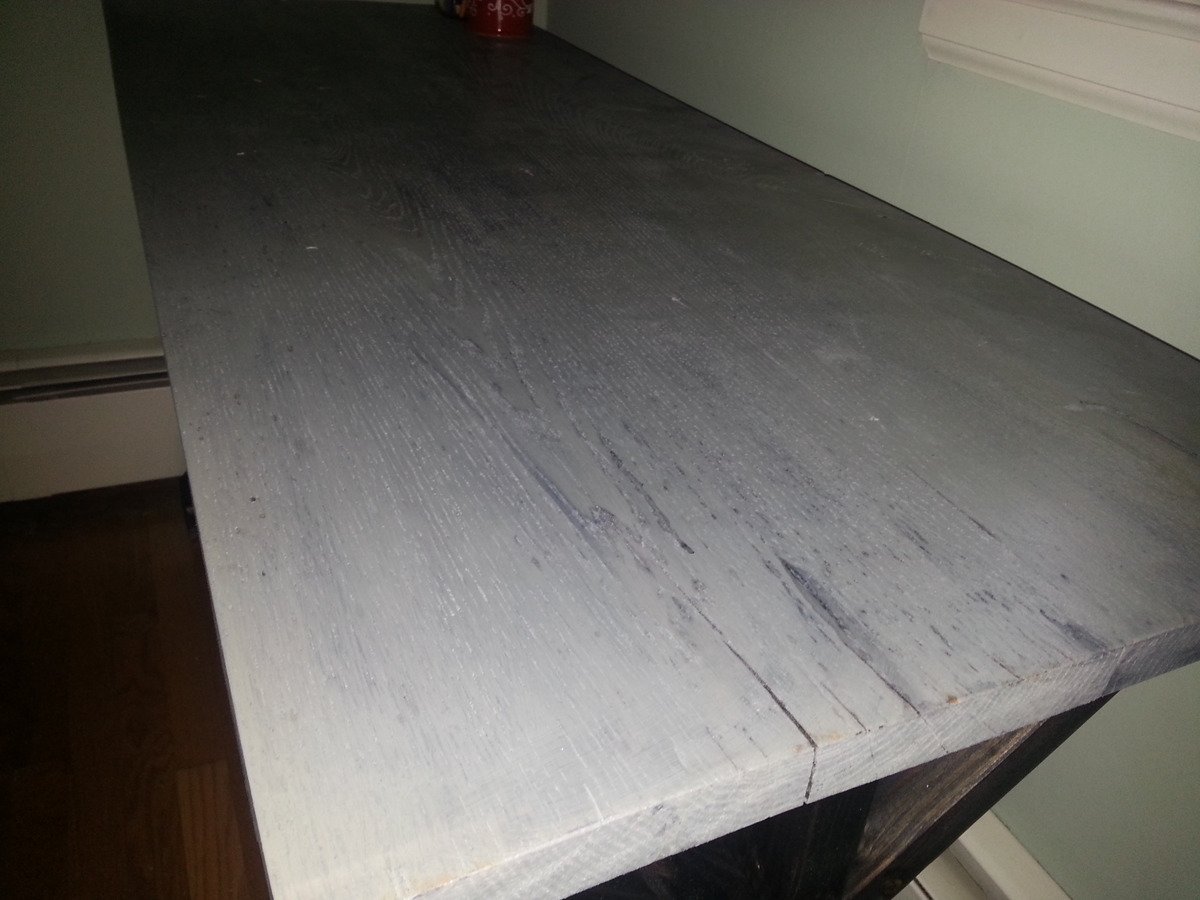
I made this based on the $55 fancy x desk plan for my daughters room. It is 18" shorter (54") so I eliminated the diagonal braces at the back of the plan. It still is very sturdy. I made the top from rough sawn oak board that I had in the yard by handplanning the top and edges. You could just buy 1x12 oak if you wanted to, although it would be pricey. If you are in Connecticut let me know I have a few thousand feet of it! My daughter loves the desk!

Built from Plan(s)
Estimated Cost
$30
Estimated Time Investment
Day Project (6-9 Hours)
Finish Used
Minwax Ebony for the base. I just followed the instructions on the can. For the top I brushed on Ben Moore Arborcoat semi solid in Chelsea Gray let it dry for about 15 minutes and then poured vinegar that had steel wool in it. I left that one for about 15 minutes and hosed it off.This gave it the dark streaks. I then let it dry completely and sprayed on Spar Urethene
Recommended Skill Level
Beginner

Nail Gun Cabinet

This week was a collaboration between me and Brad at FixthisBuildthat.com. I made a slight variation of his hanging tool cabinet to store my nail guns. More details at my website: http://www.lanebroswoodshop.com/2015/03/nail-gun-cabinet.html

YouTube video: https://www.youtube.com/watch?v=BUHnkjojlWc

Estimated Cost
$100
Estimated Time Investment
Weekend Project (10-20 Hours)
Finish Used
Wipe on Poly
Recommended Skill Level
Intermediate

Great DYI platform bed!

Submitted by Anonymous (not verified) on Wed, 06/28/2017 - 19:31

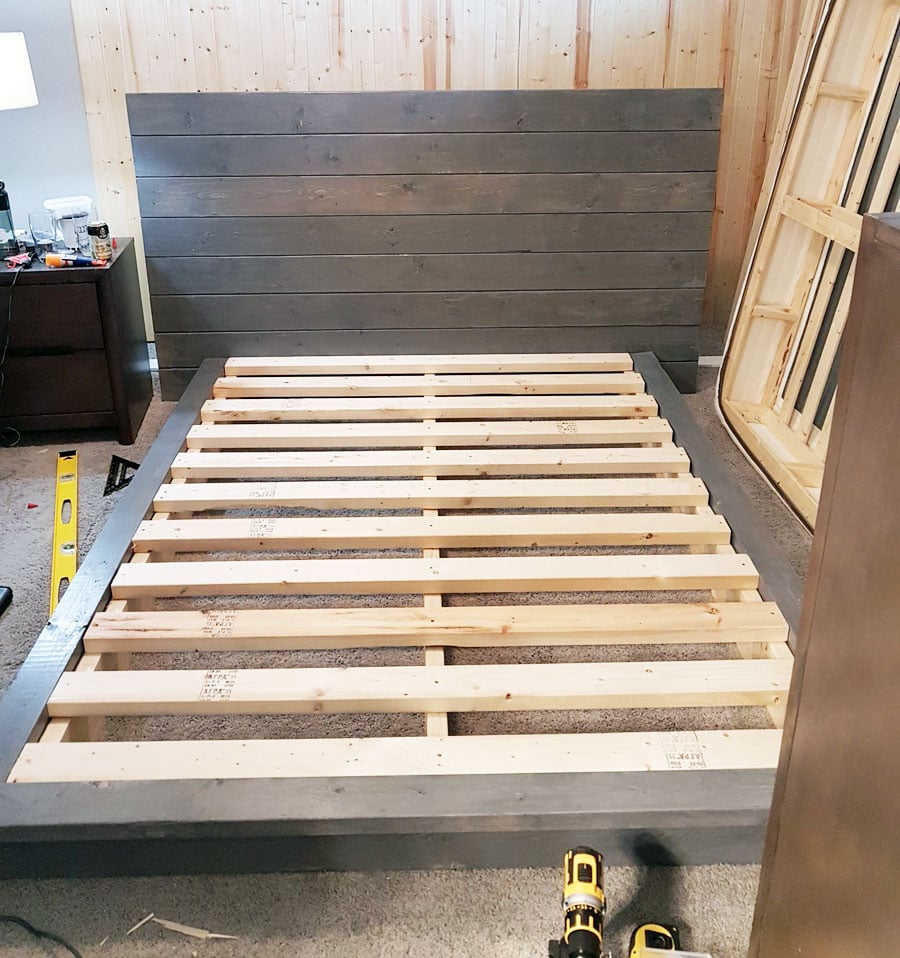
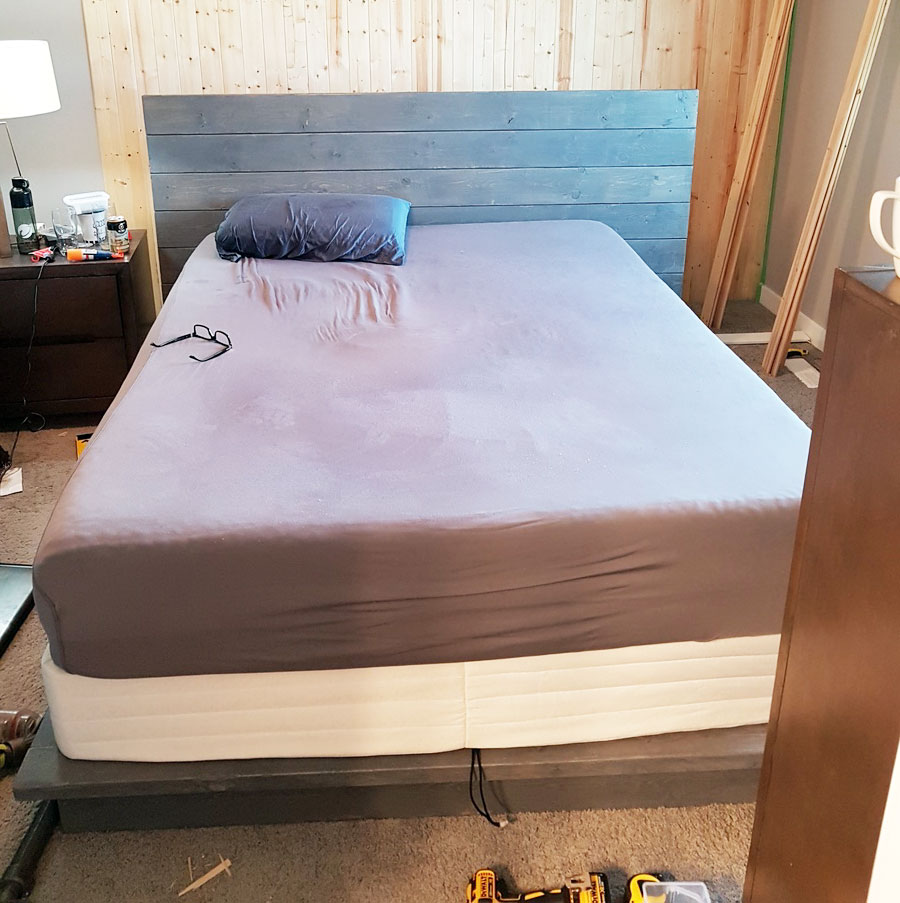
The bed in grey, also made the backboard taller (and doubled support on back) because the bed will have a box spring (photo 2).  Awesome plans, love the look already.  Excuse the background mess.  The back wall is part of the same project! Thanks again for the plans!!


Note to future builders, learn from my one fatal mistake, be really picky on your quality of wood.  I had some slight frame issues because on a bad board that resulted in about a 1/4 inch bow on one side.  My slats are all use rival but you can see some done touch both sides...that is the bow.  Still no one will likely notice but me.


Second, there was no info on spacing along the frame for attaching the 2x4 to the 2x6.  I used 12", maybe overkill.

Estimated Cost
Excluding the Kreig jig that I did not have materials cost about 200. I had the 2x4 already and I uses more 2x6 to raise the backboard higher so this is estimate.

Remember to account for time to:
Let wood acclimate (min 48 hrs), dry times between coats. I did 2 coats then a sealant with a day inbetween each. Also I was solo on this so 2 people could be even quicker.
Estimated Time Investment
Day Project (6-9 Hours)
Finish Used
Grey varnish sanded a bit to look work then sealant.
Recommended Skill Level
Beginner

Dining room table

Submitted by Anonymous (not verified) on Mon, 10/04/2021 - 12:55

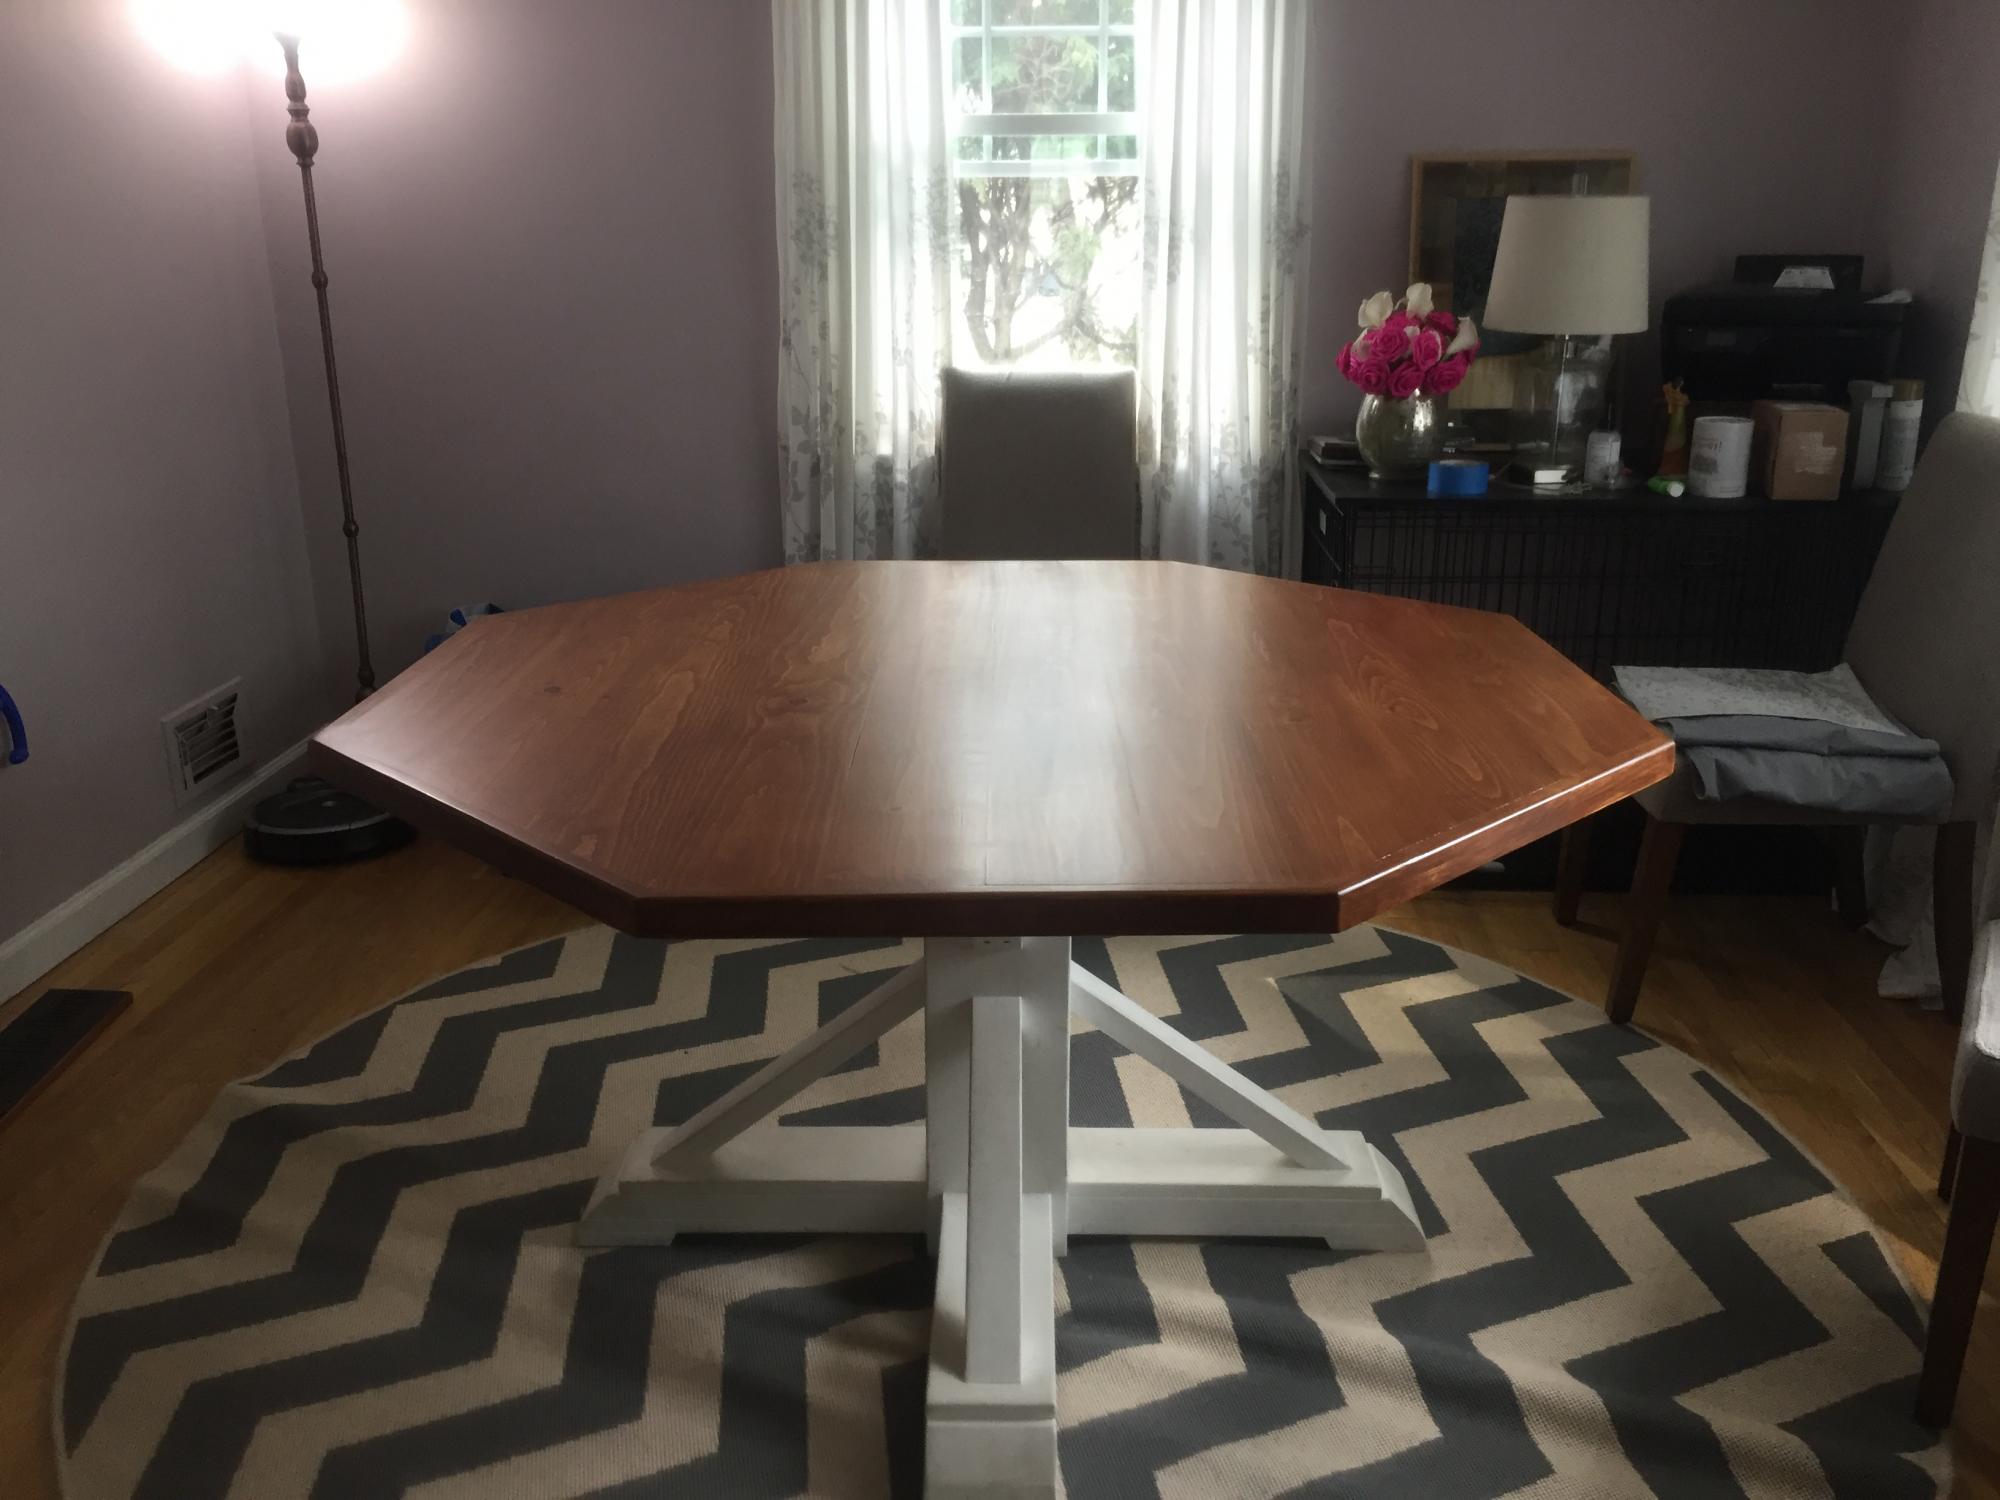
I built it. My wife stained and polyester it.

Comments

Smurf Blue Farmhouse Bed with Guardrails

Submitted by community-cont… on Fri, 02/25/2011 - 10:25

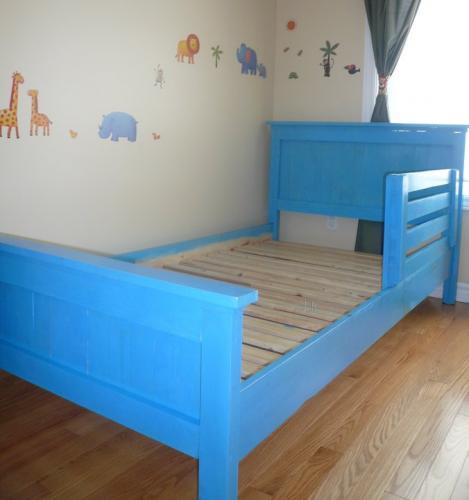
Just finished the Twin-sized Farmhouse bed, I love the easy to do plans. The only power tools I used were a jigsay & drill.

Built from Plan(s)
Estimated Cost
$100
Estimated Time Investment
Weekend Project (10-20 Hours)
Recommended Skill Level
Beginner