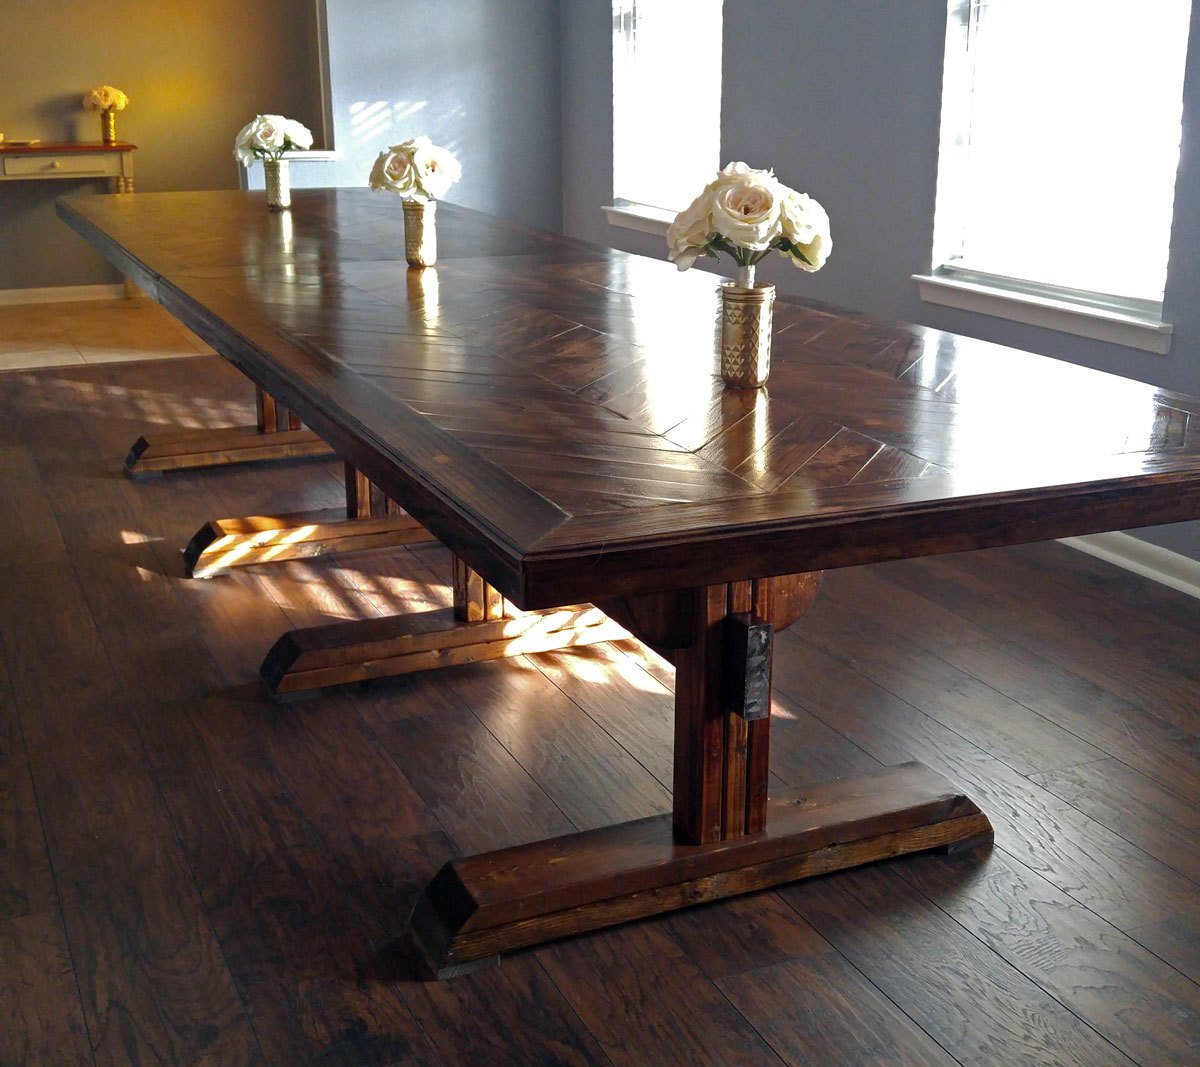
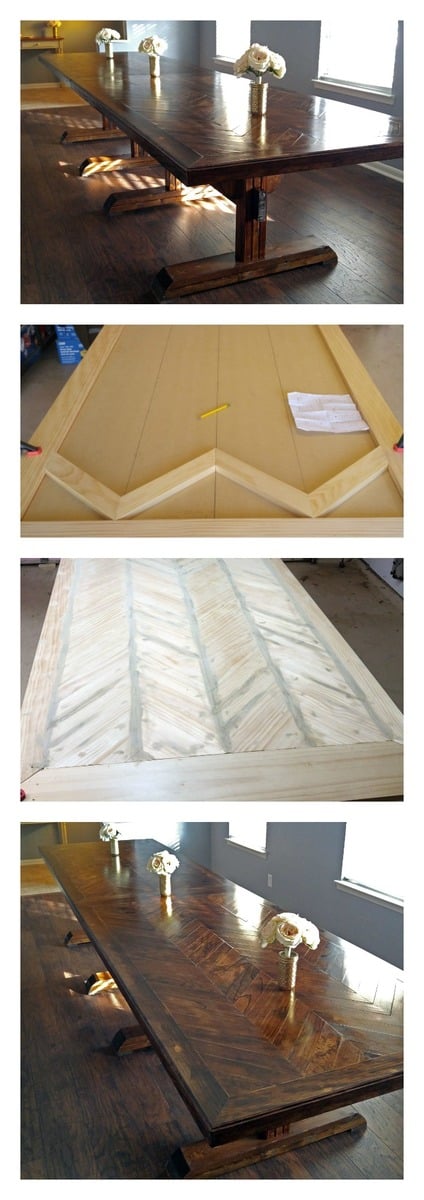
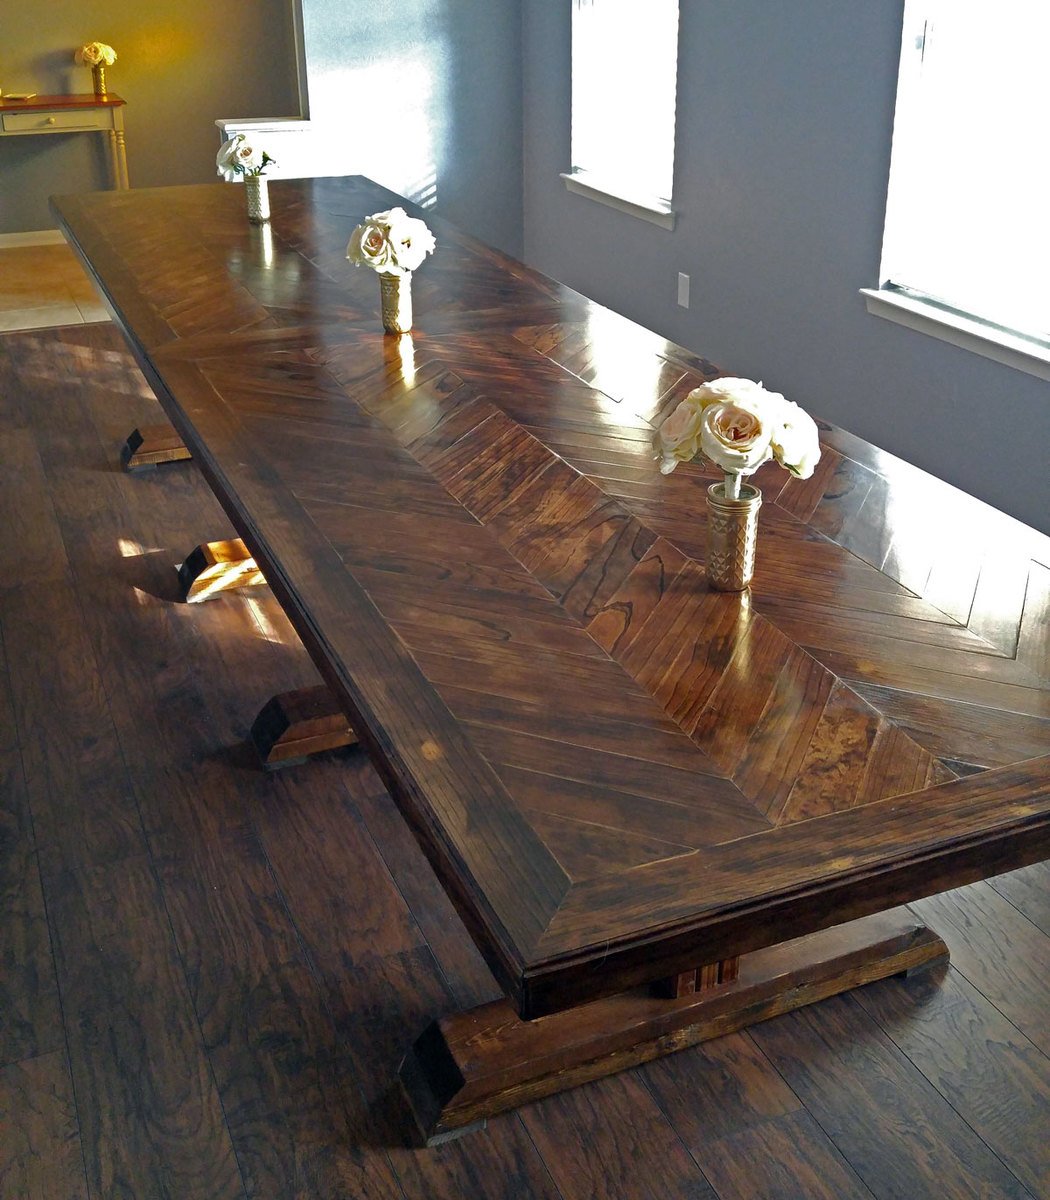
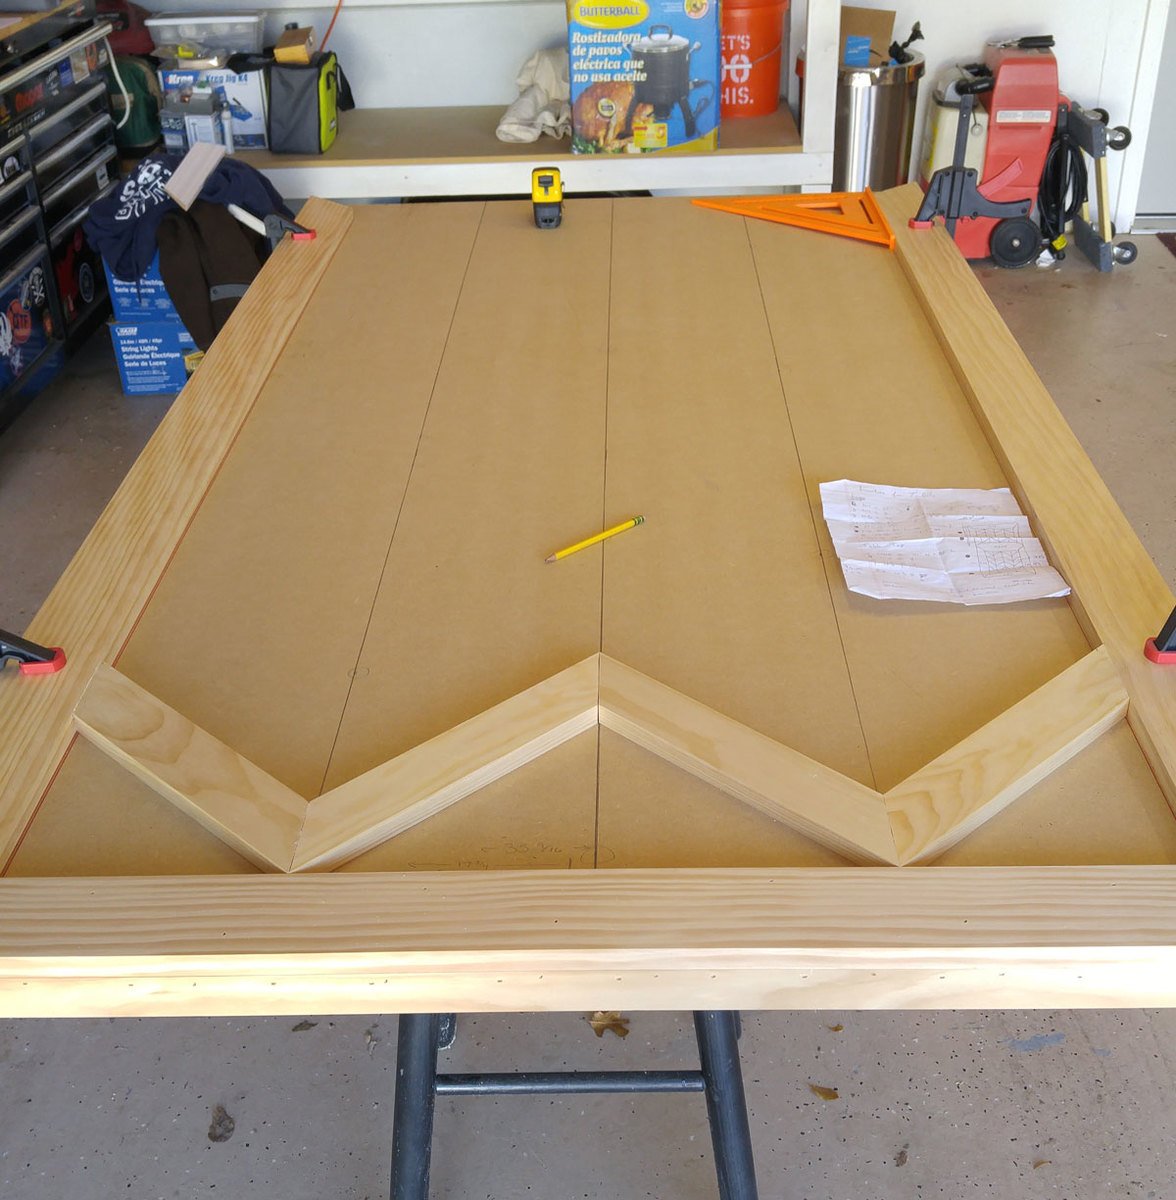
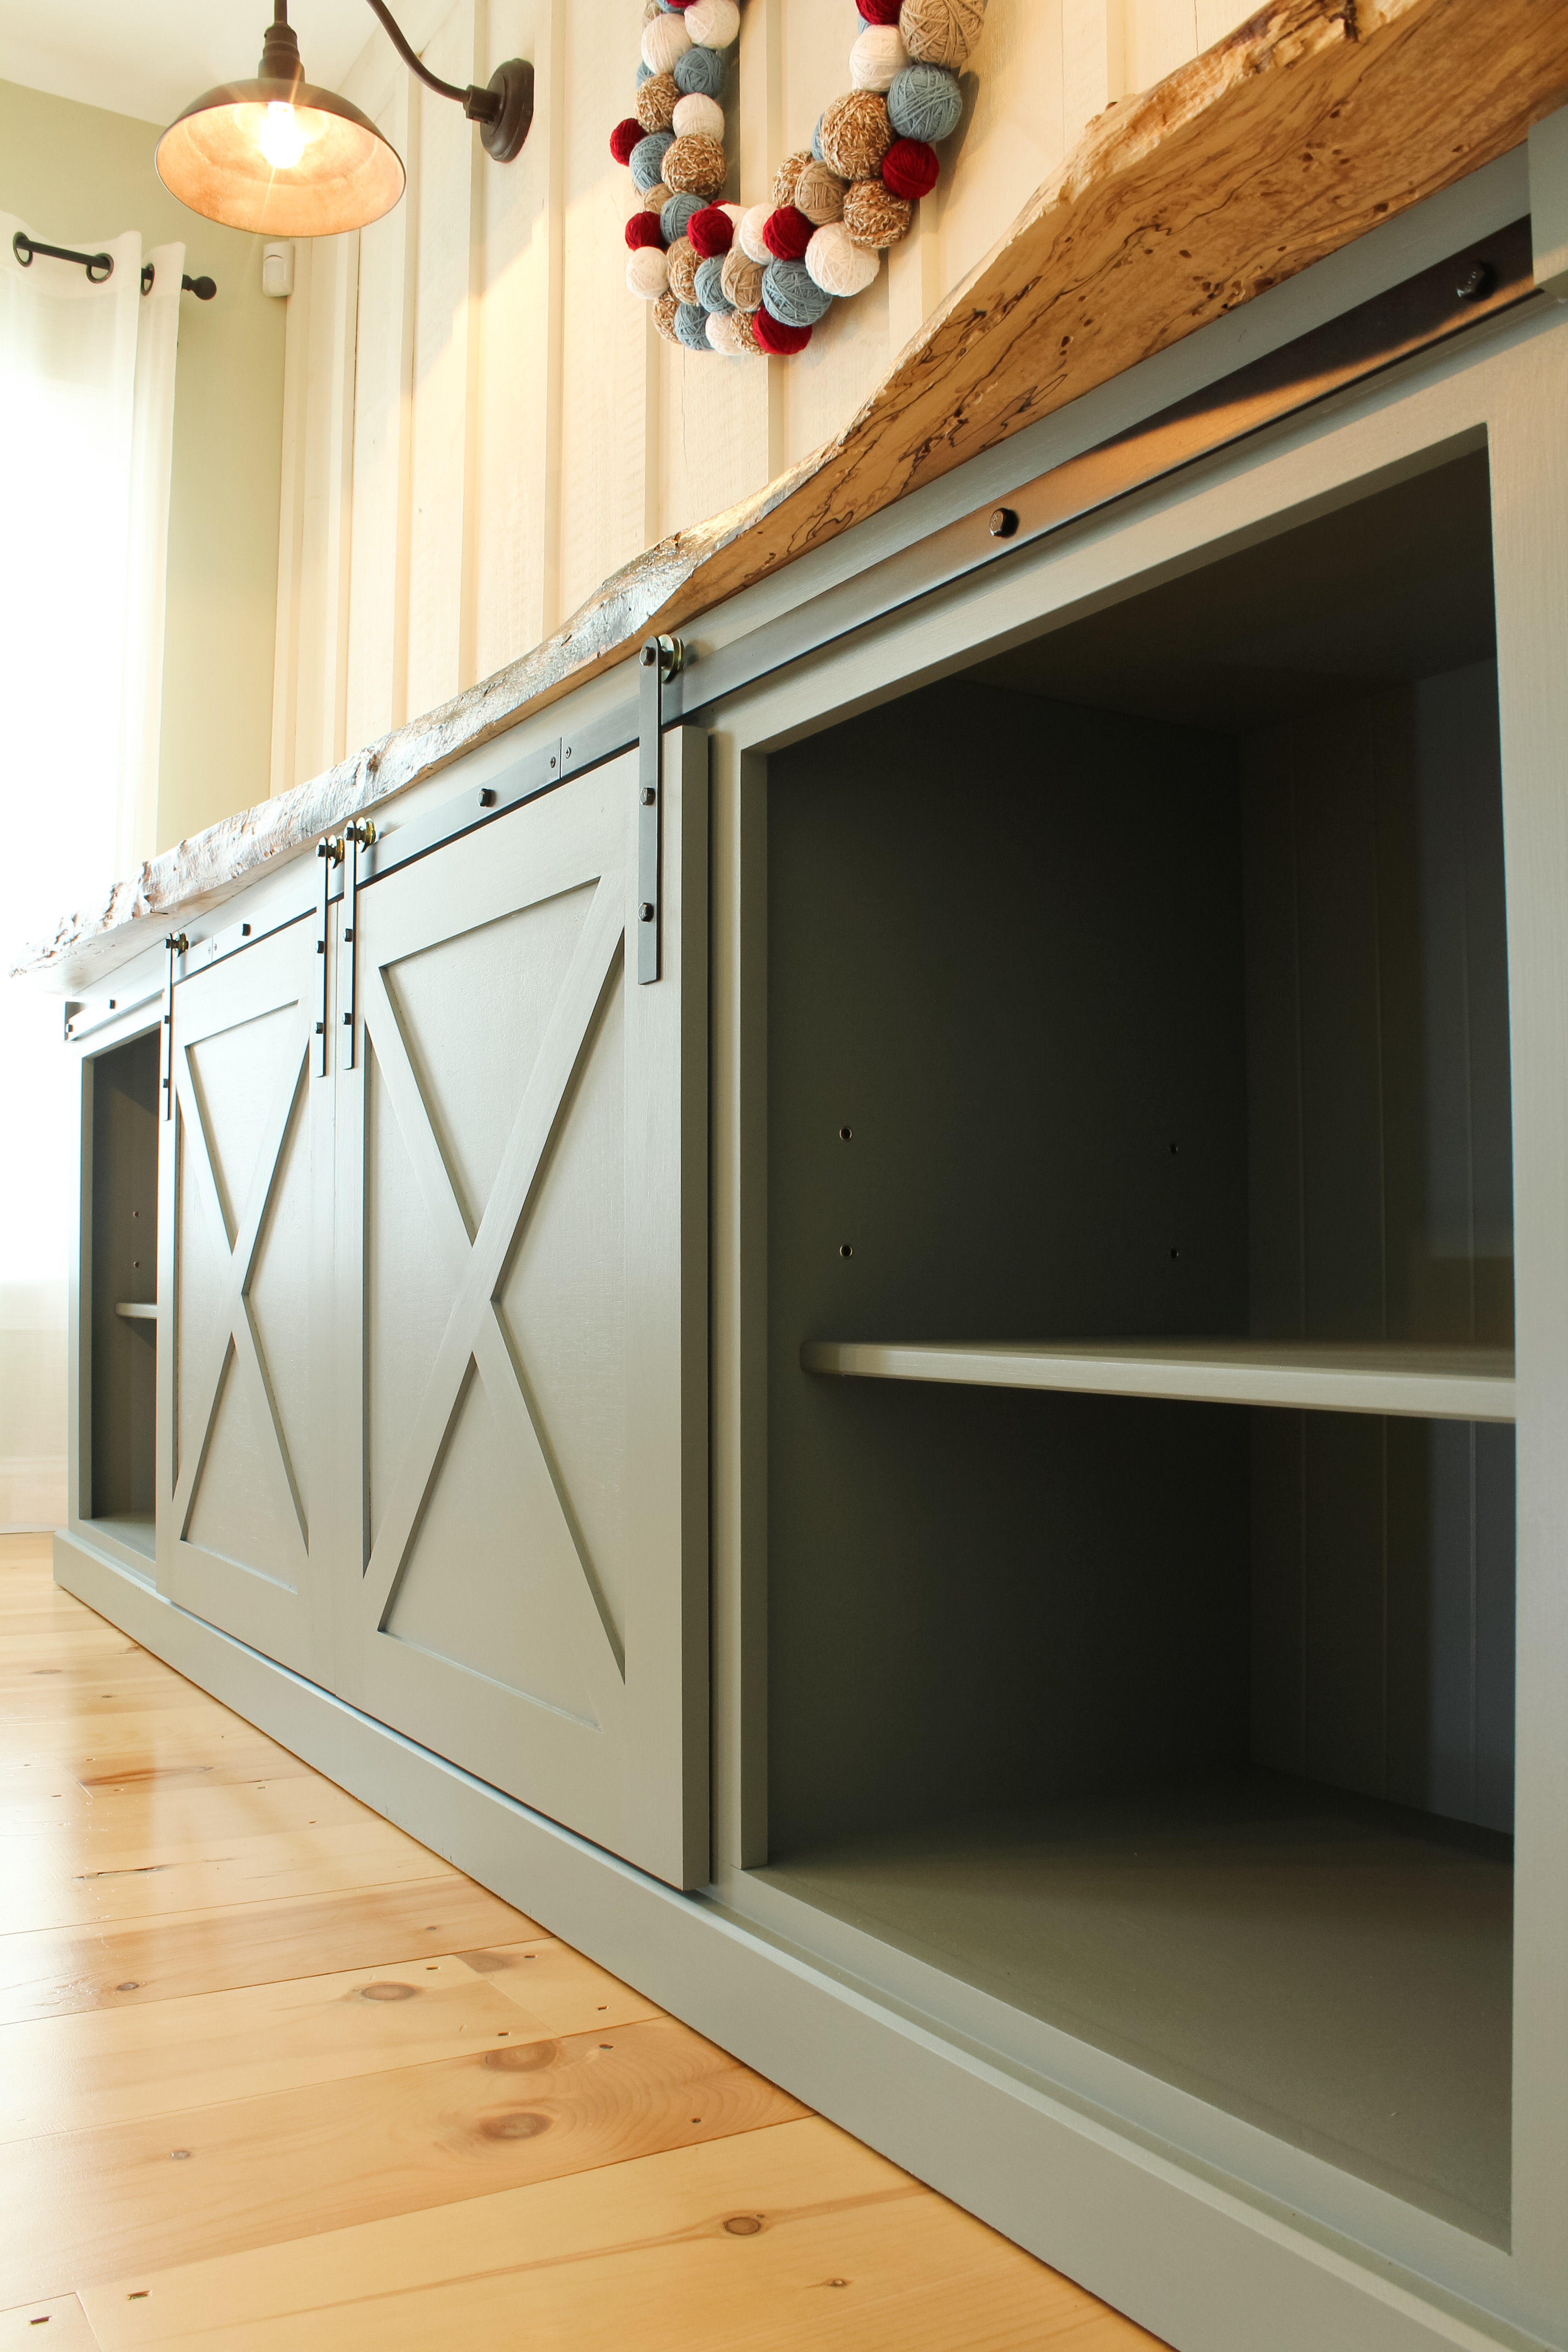
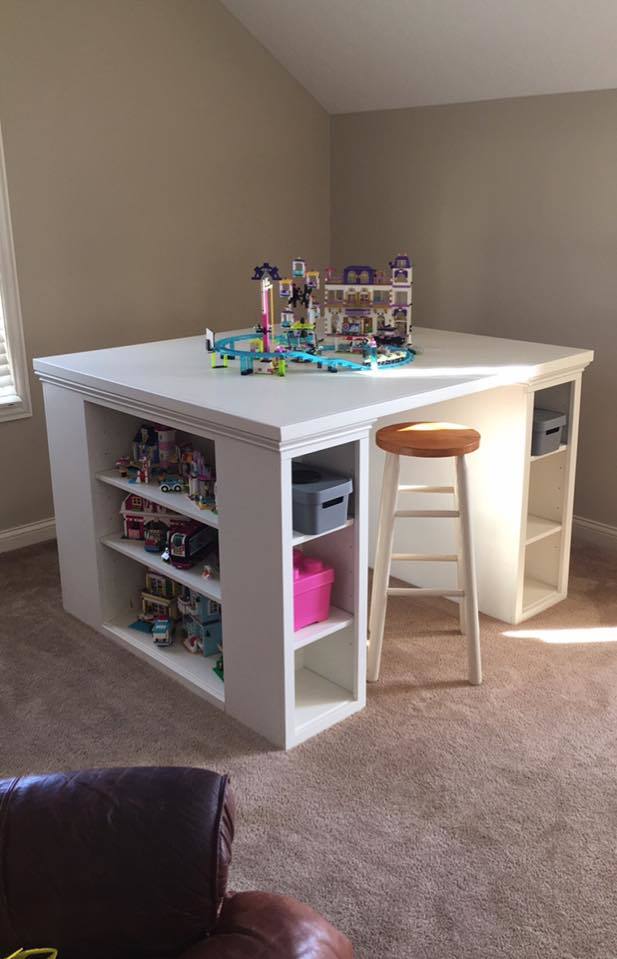
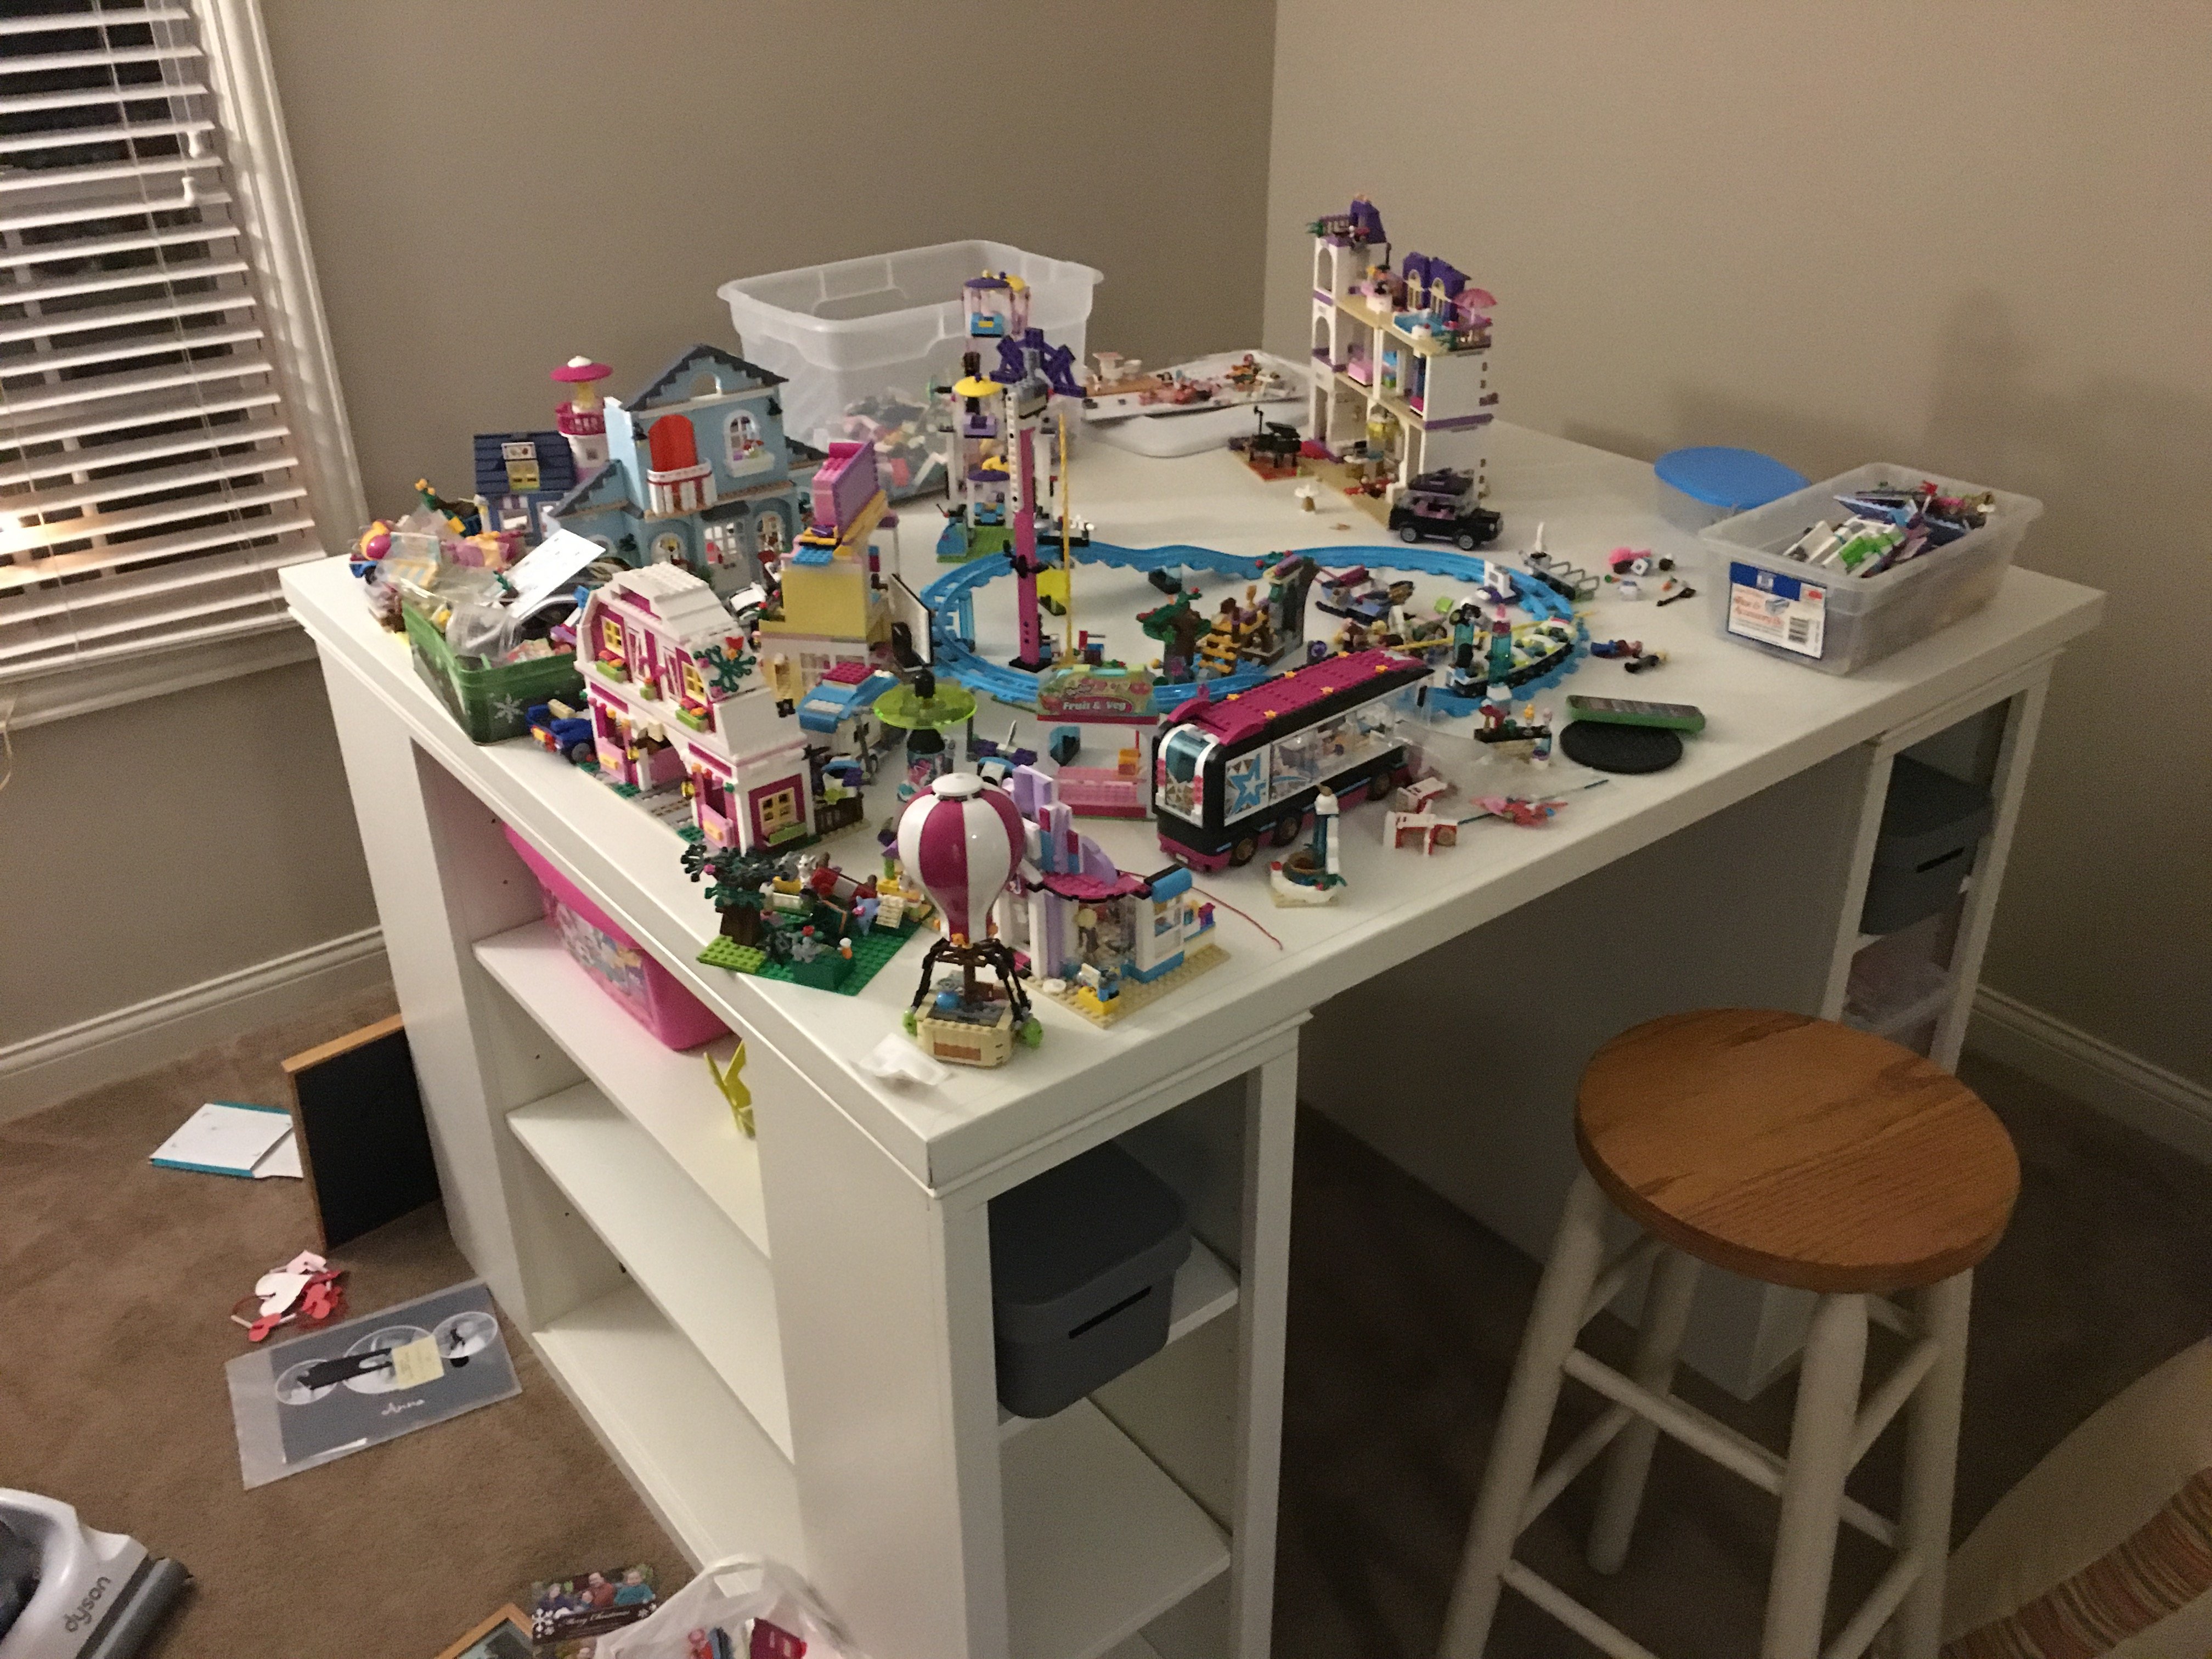
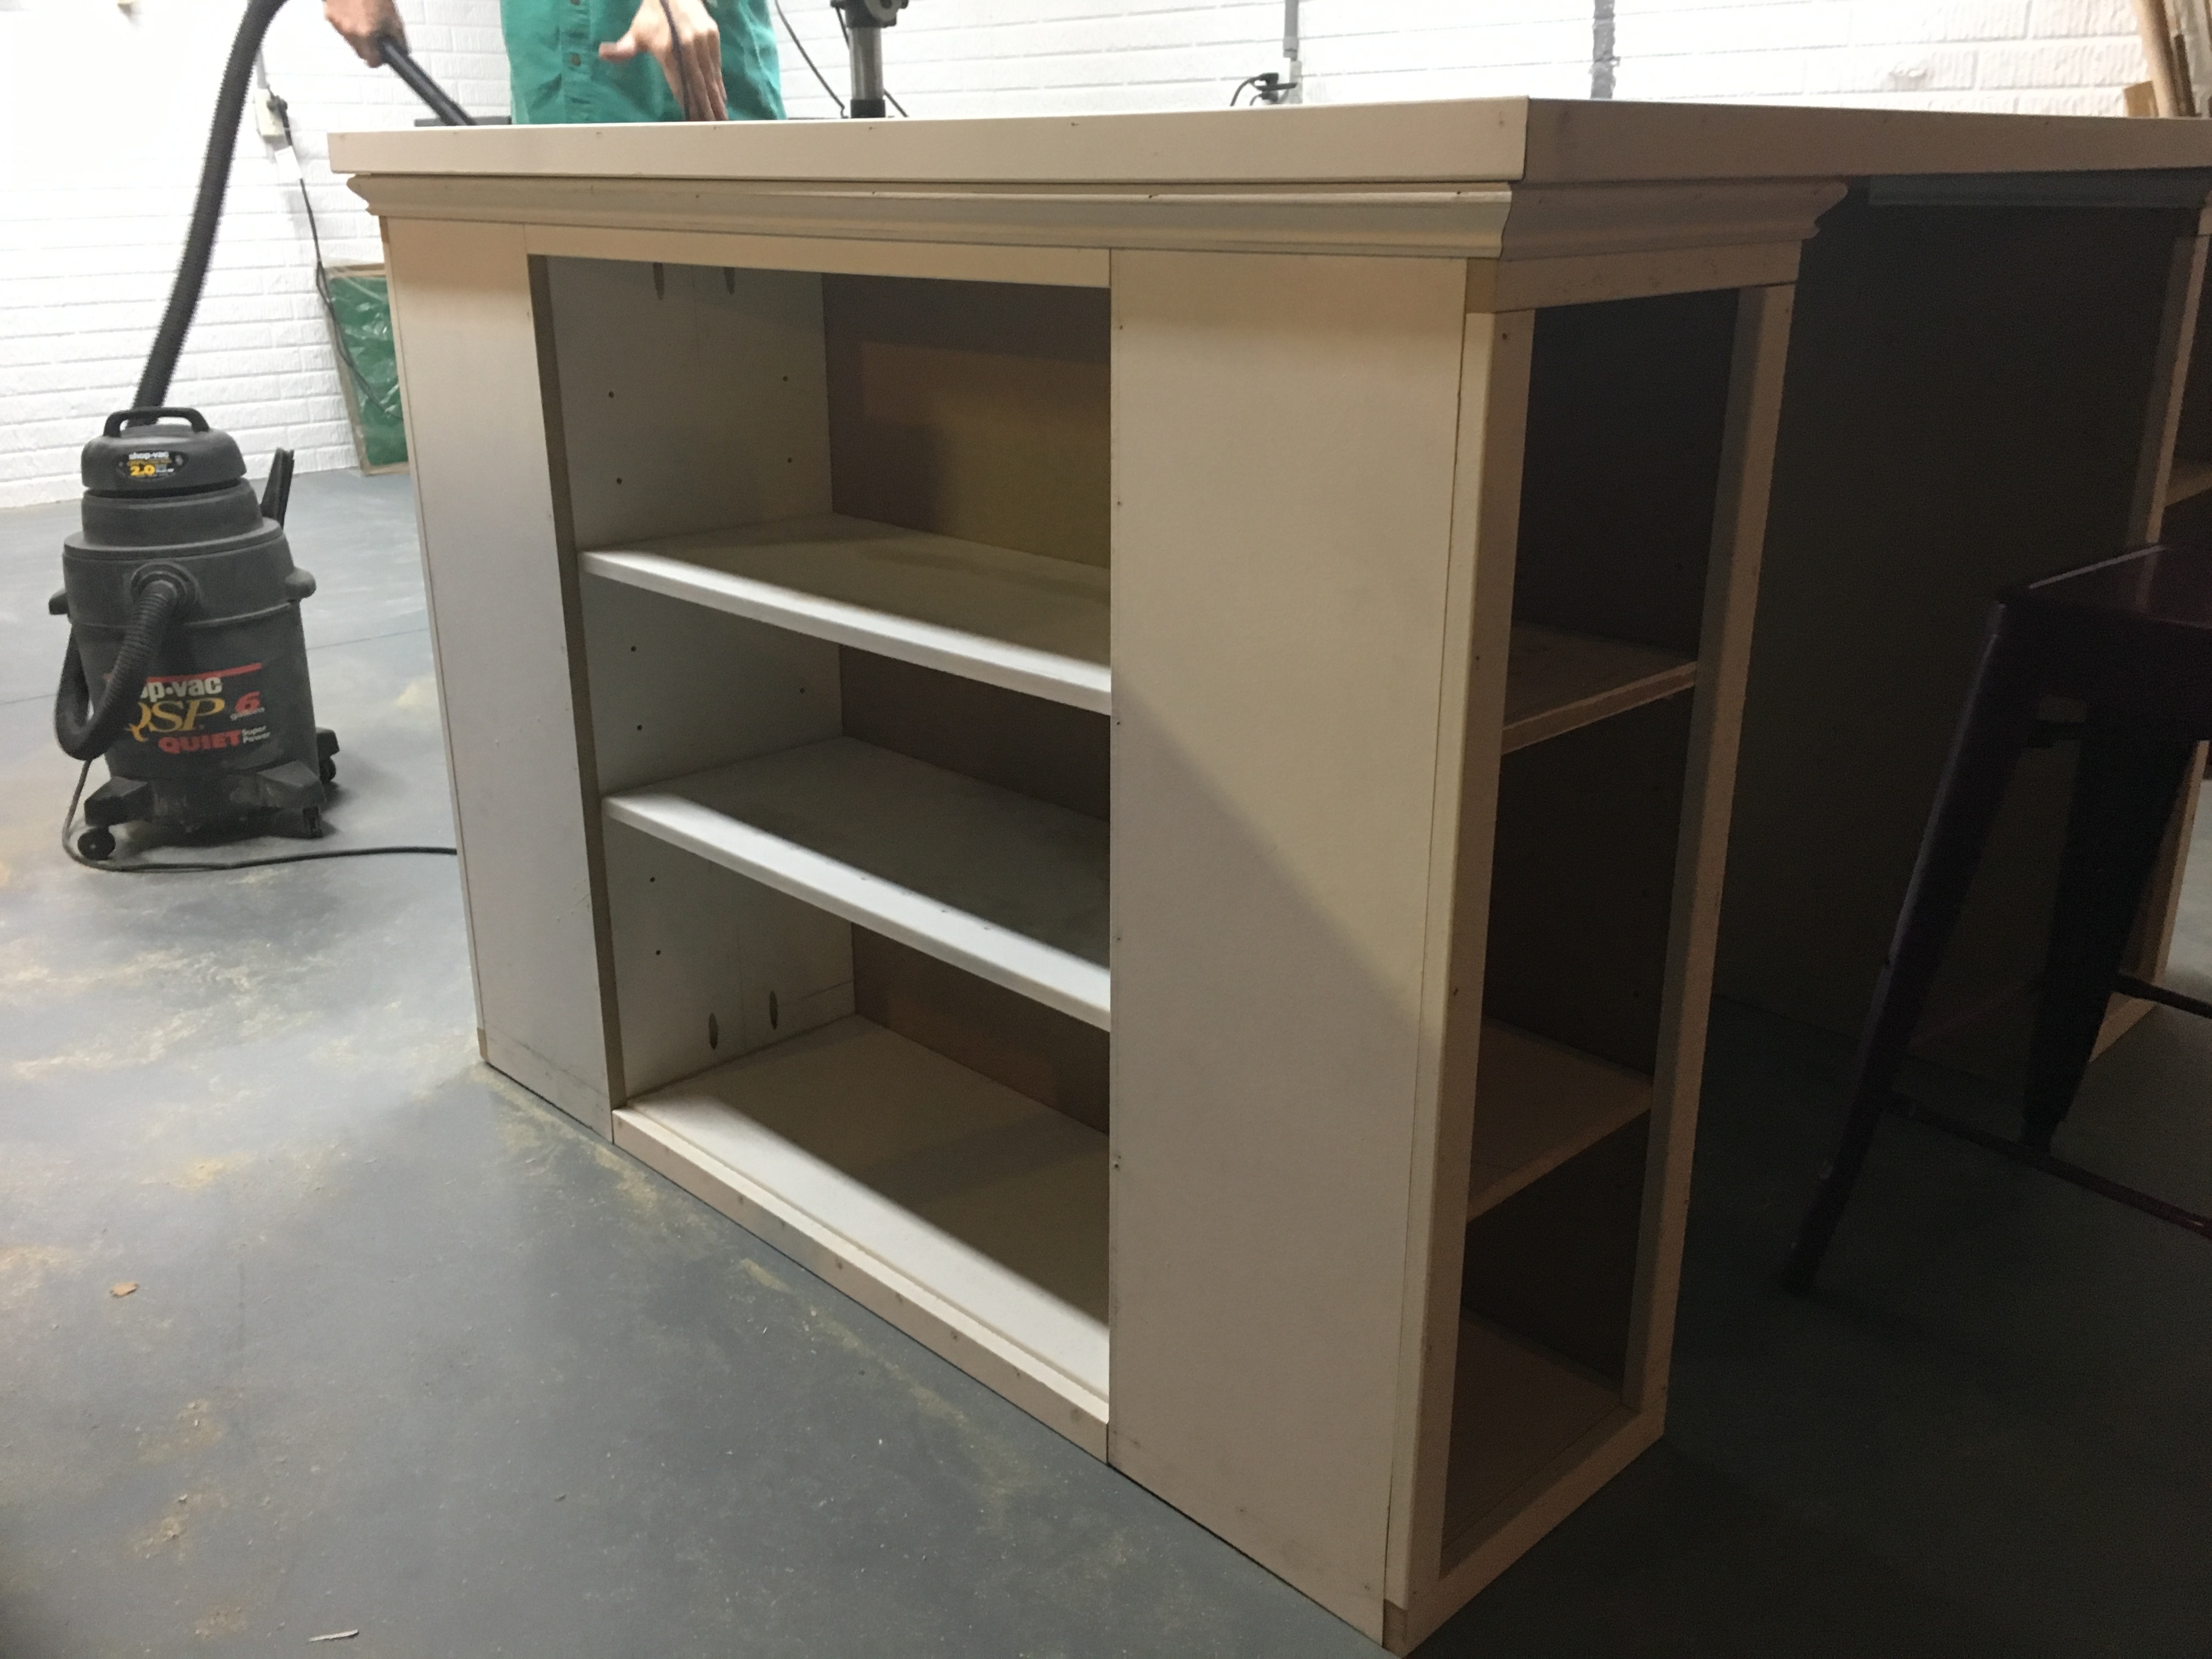
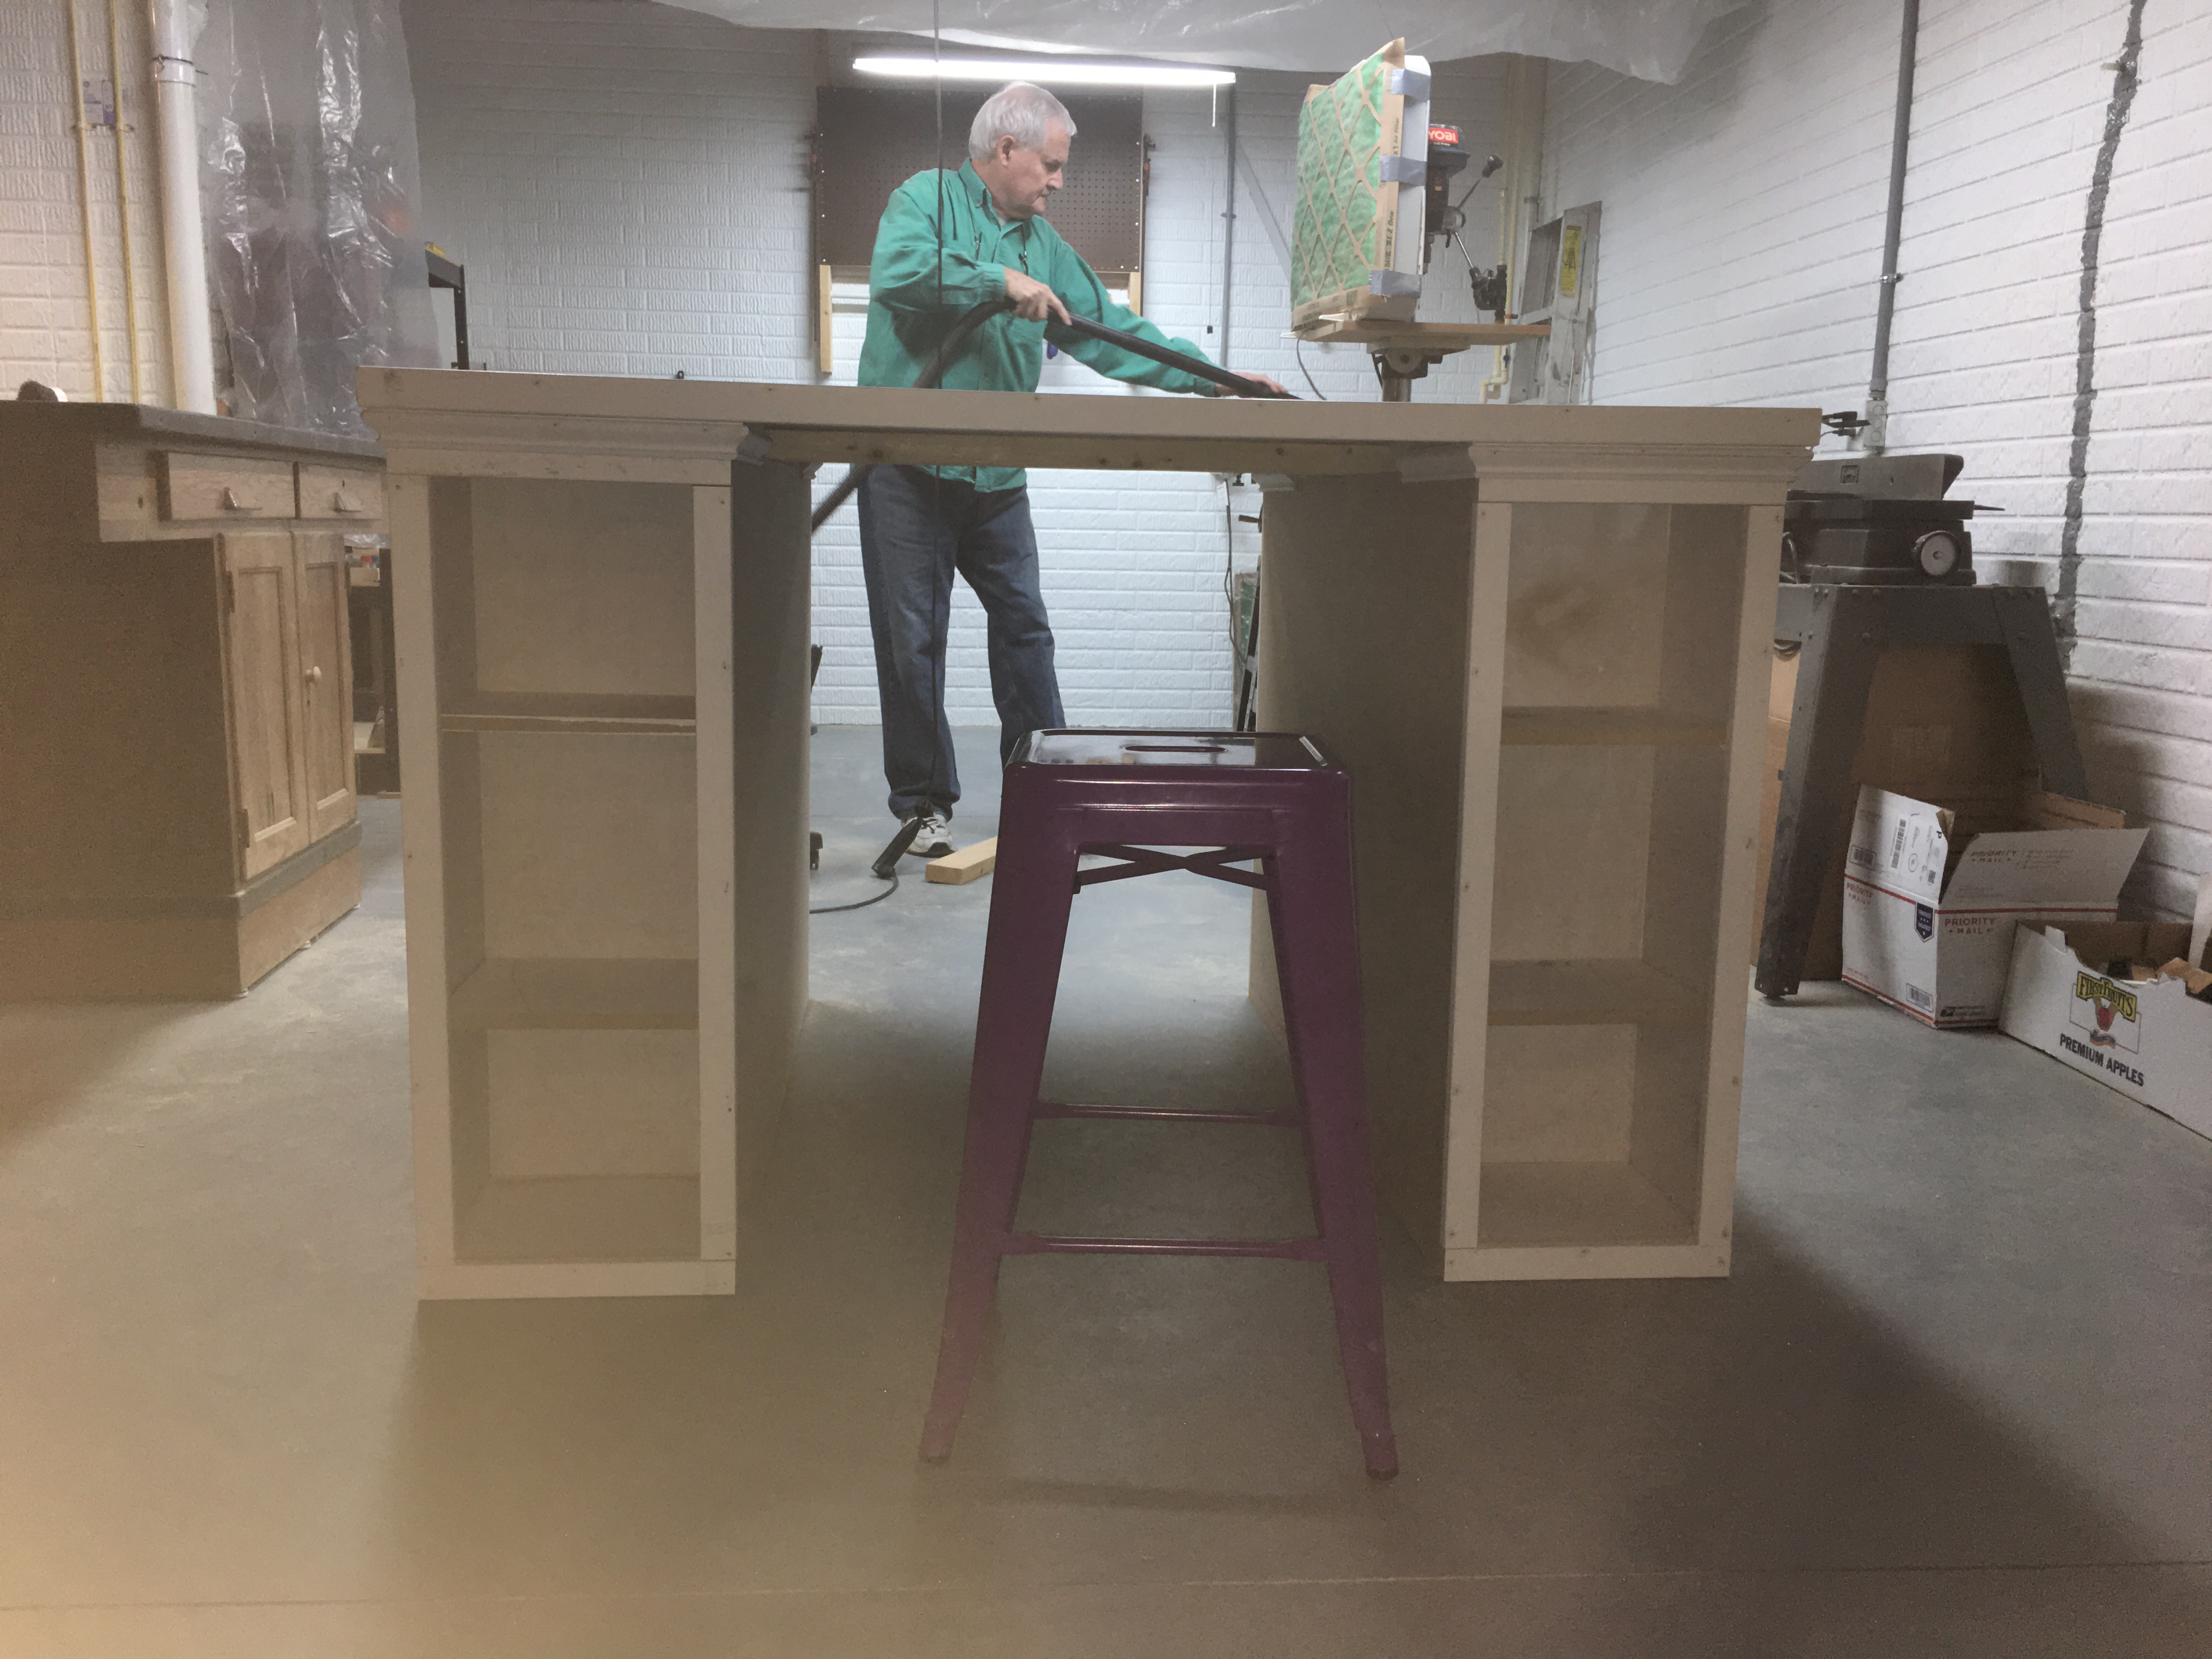
Modified Media Cabinet

I modified this project to fit my space. I'm pretty new at woodworking but everything was fun to do. One of the hardest parts for me were the legs so I opted for cabinet feet from Ikea. I've gotten so many compliments so far!
Estimated Cost
$120
Estimated Time Investment
Weekend Project (10-20 Hours)
Finish Used
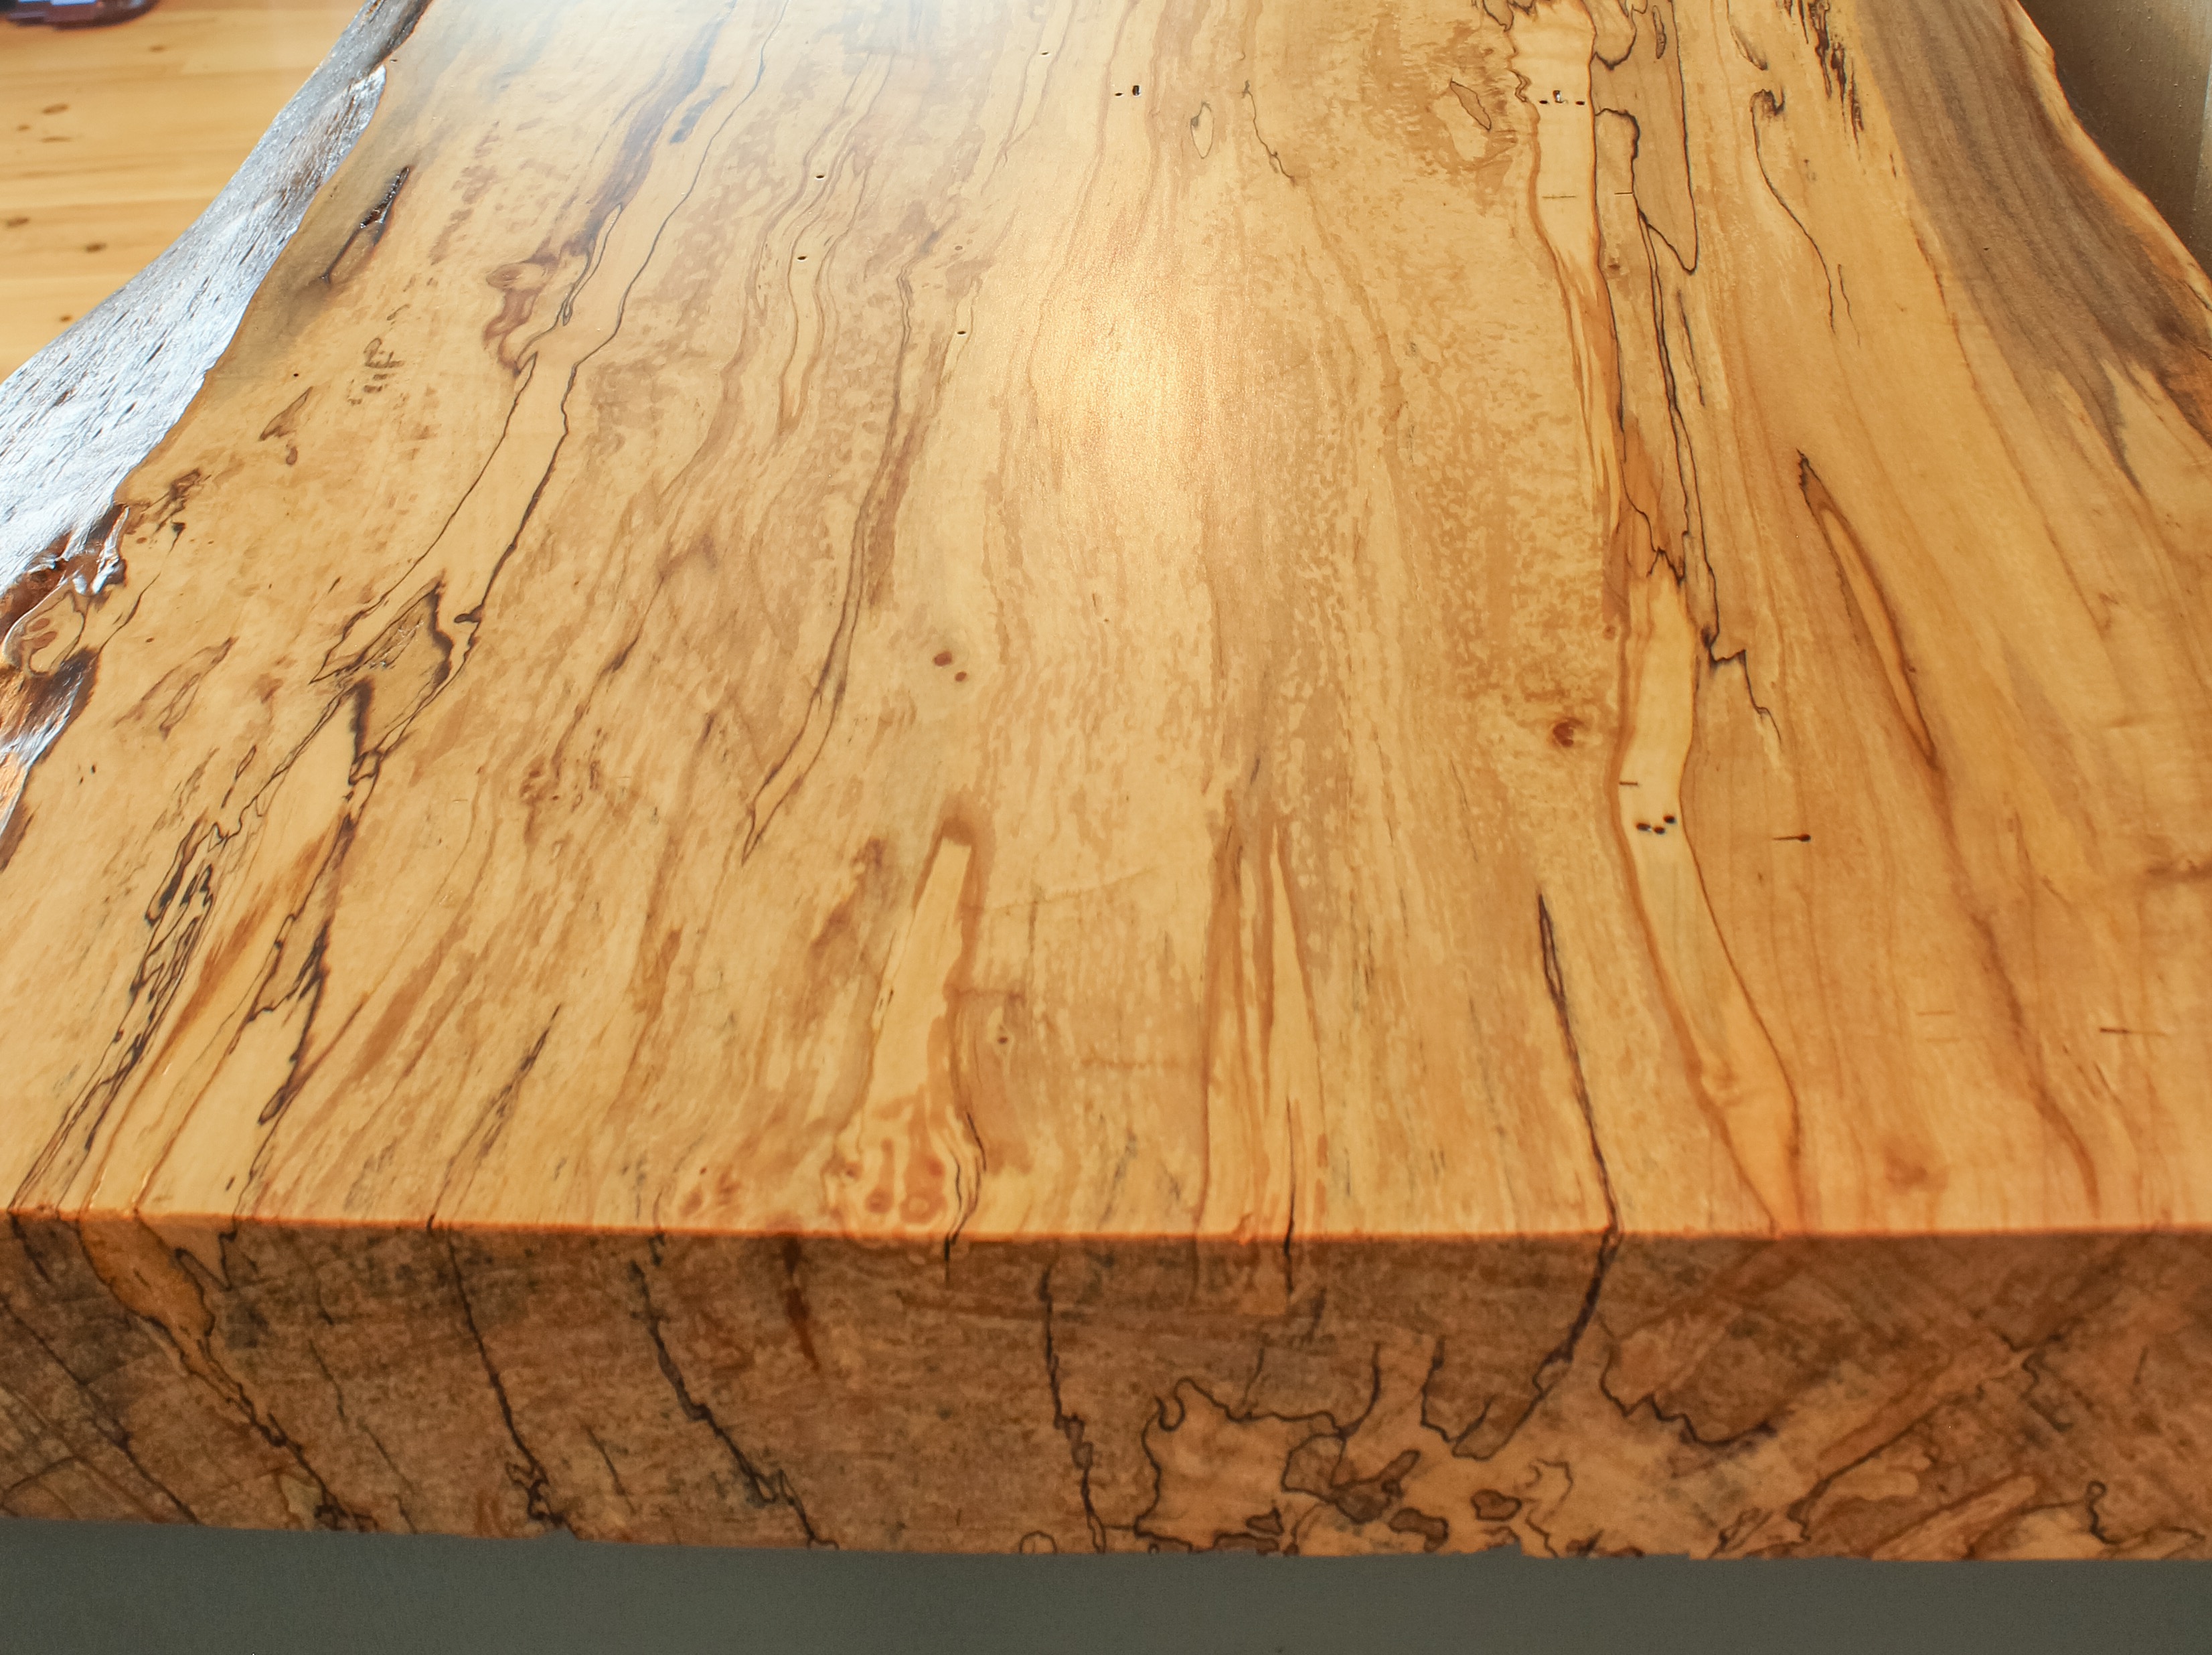
plywood birch
Recommended Skill Level
Beginner