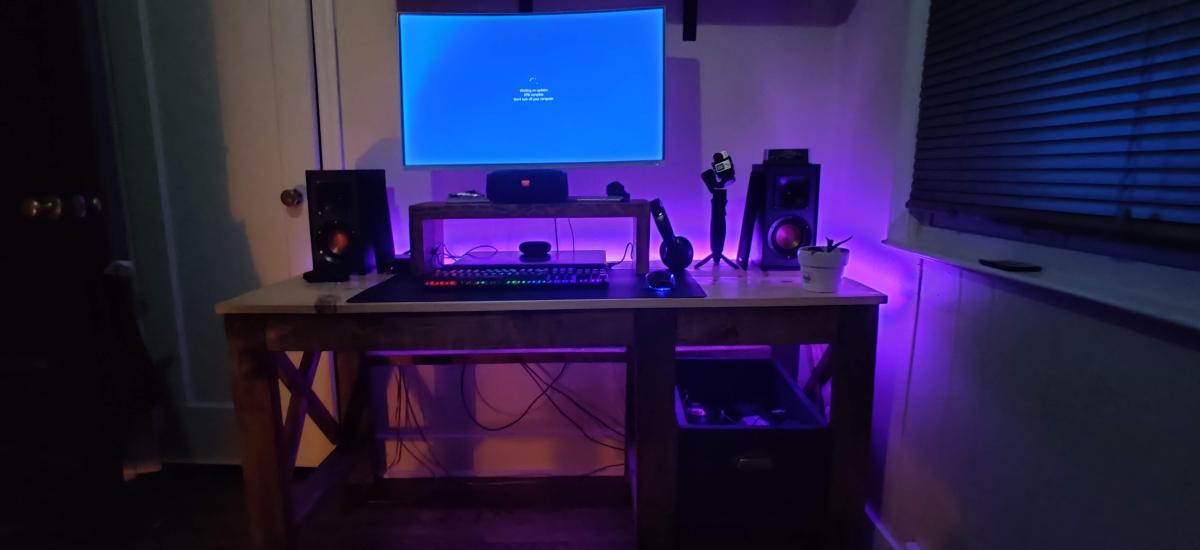
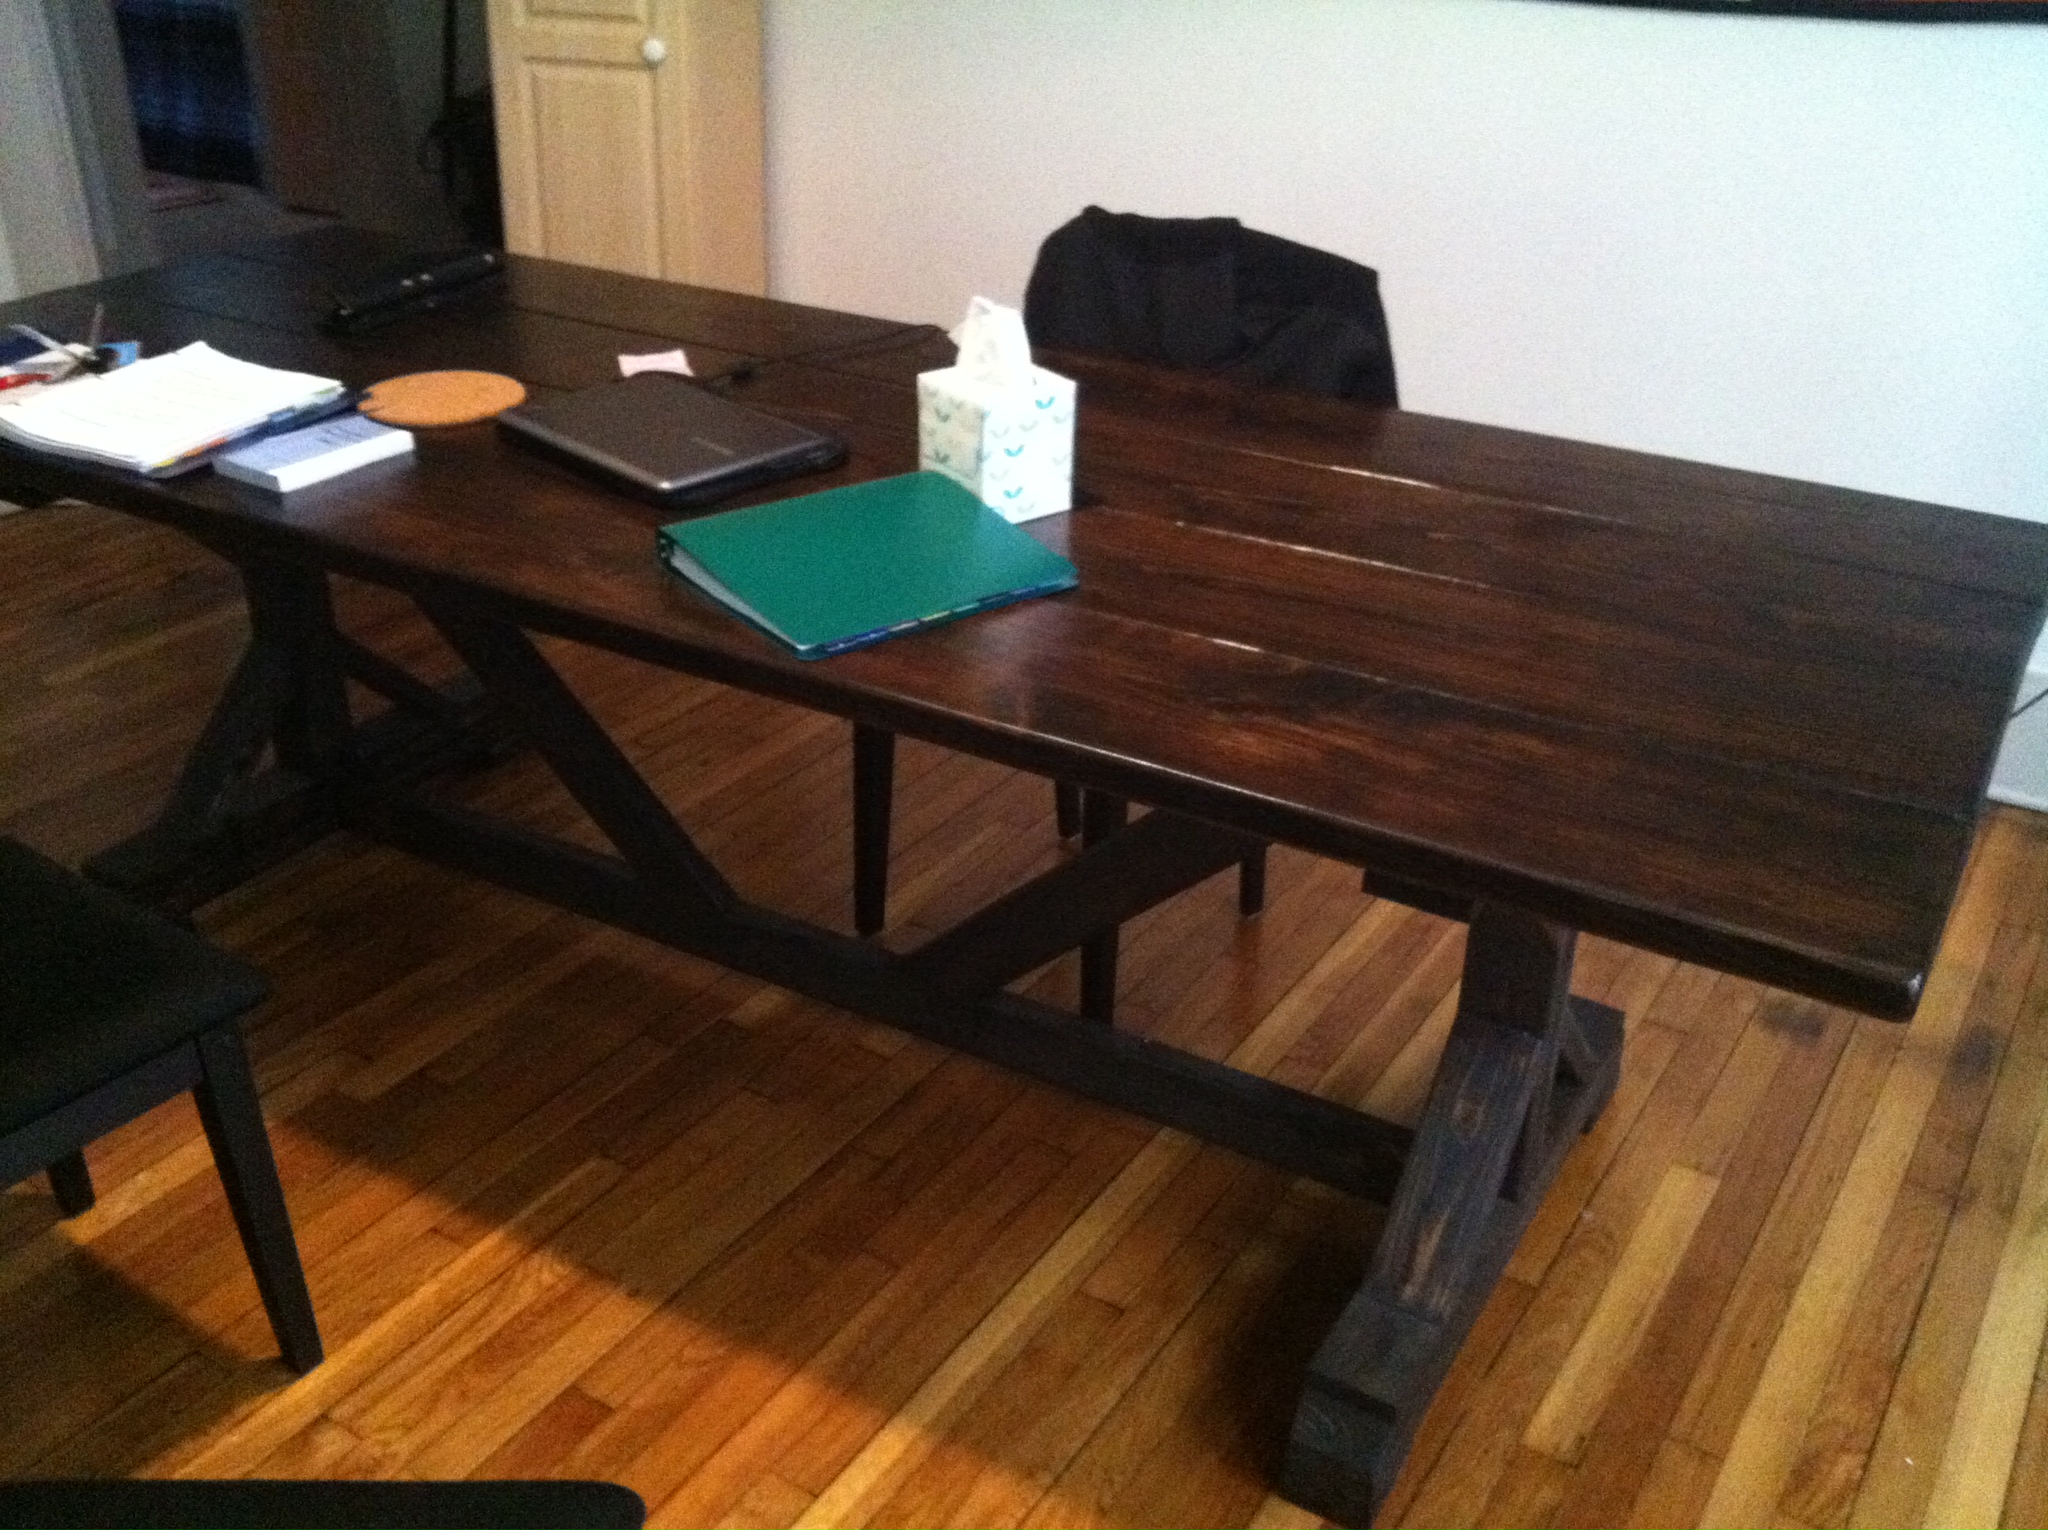
Lit Rustic X Desk

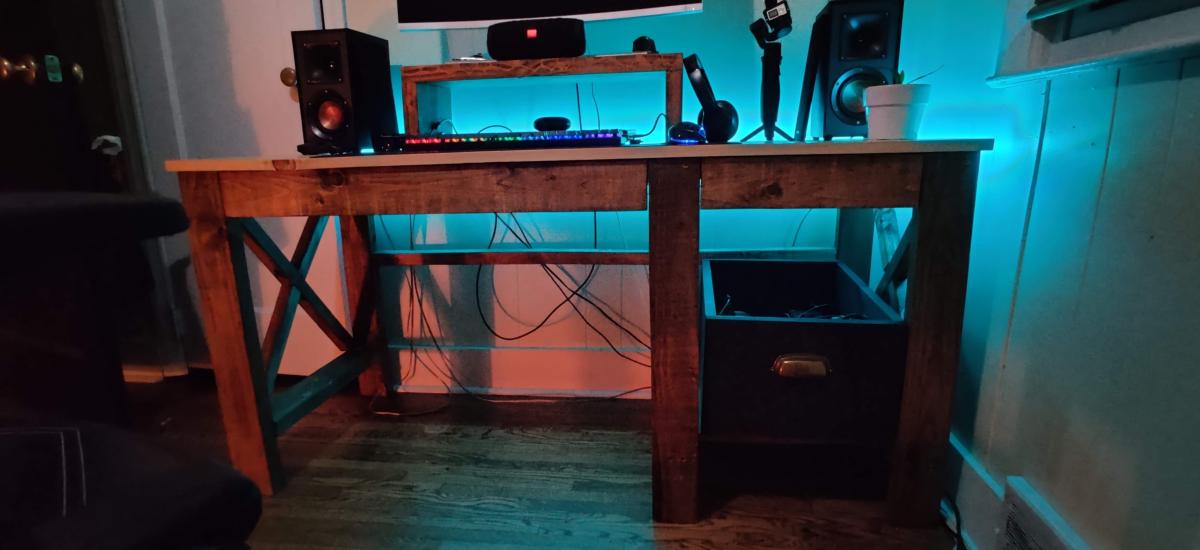
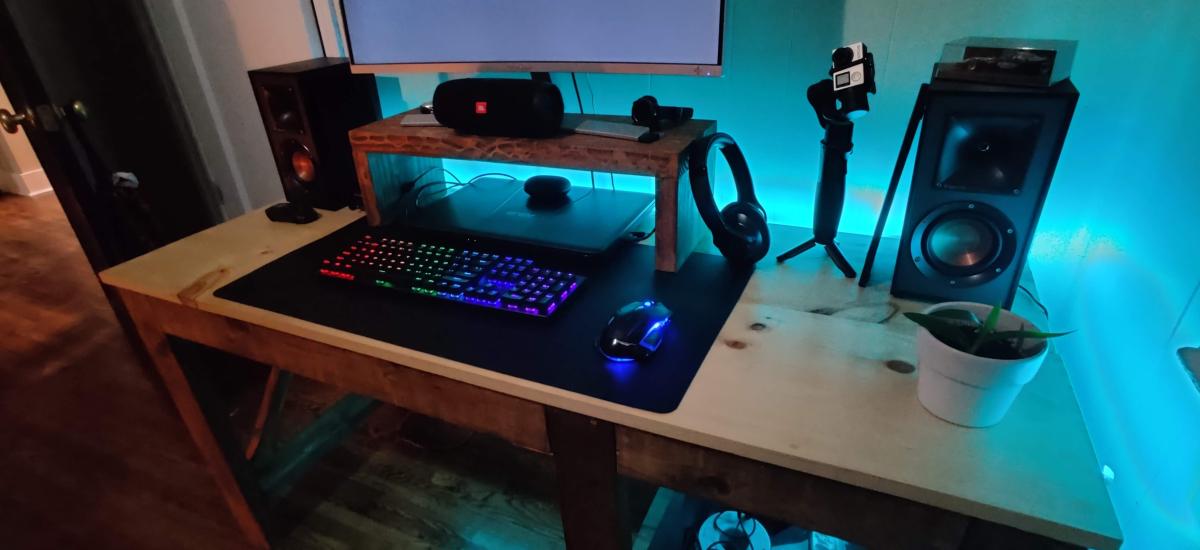
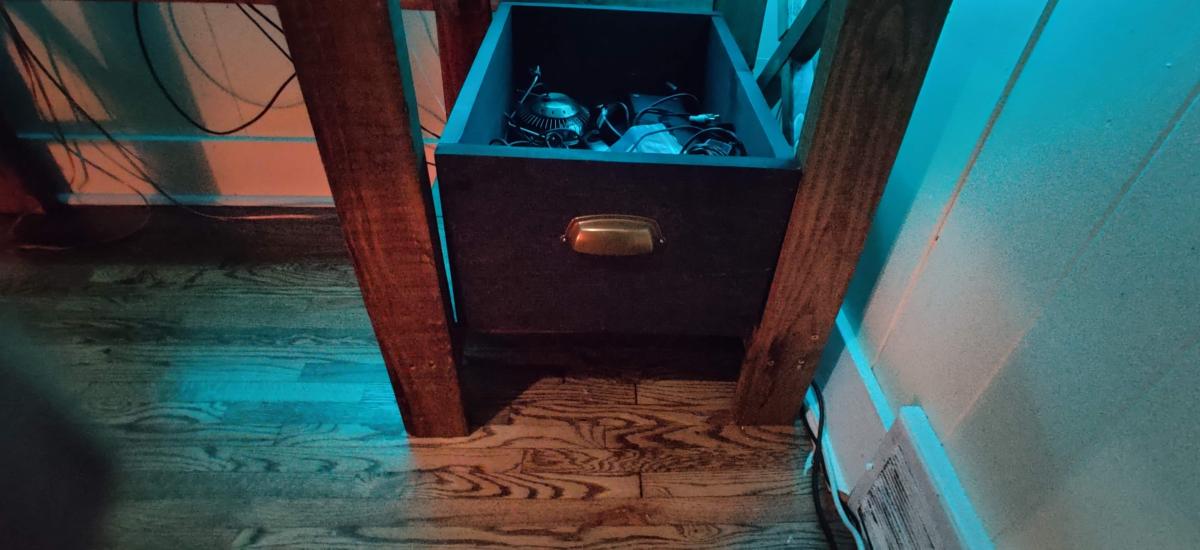
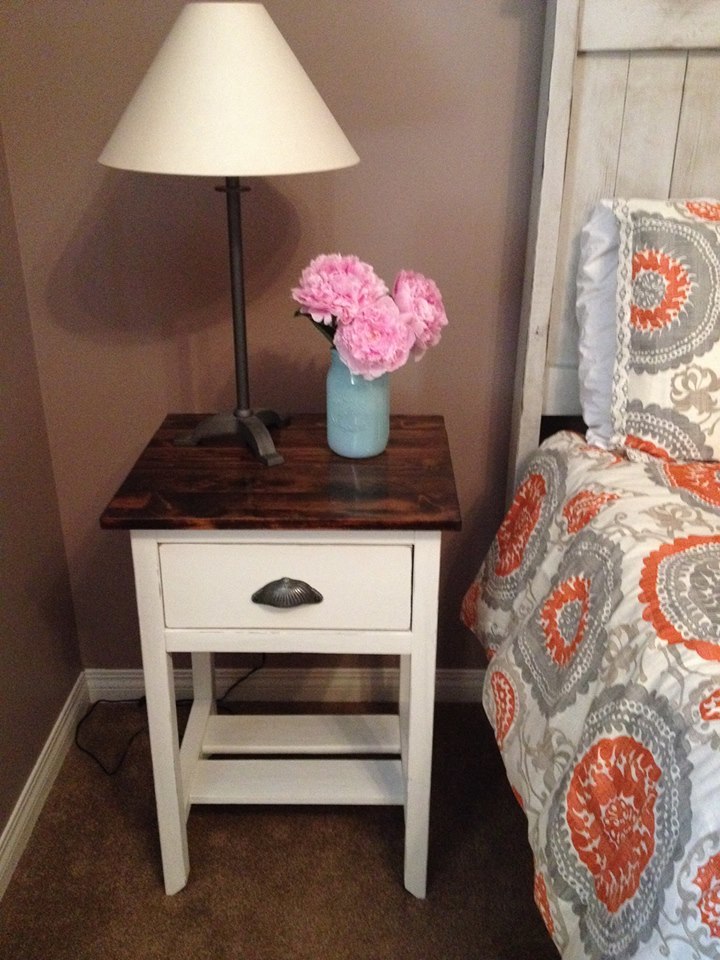
Rustic X Desk with LED lights and slide-out wood crate drawer w/ antique copper handle. Mix of old and new. 58" across gives me tons of space!! Thank you Ana White for the plans and ideas xoxo
Built from Plan(s)
Rustic X Desk with LED lights and slide-out wood crate drawer w/ antique copper handle. Mix of old and new. 58" across gives me tons of space!! Thank you Ana White for the plans and ideas xoxo
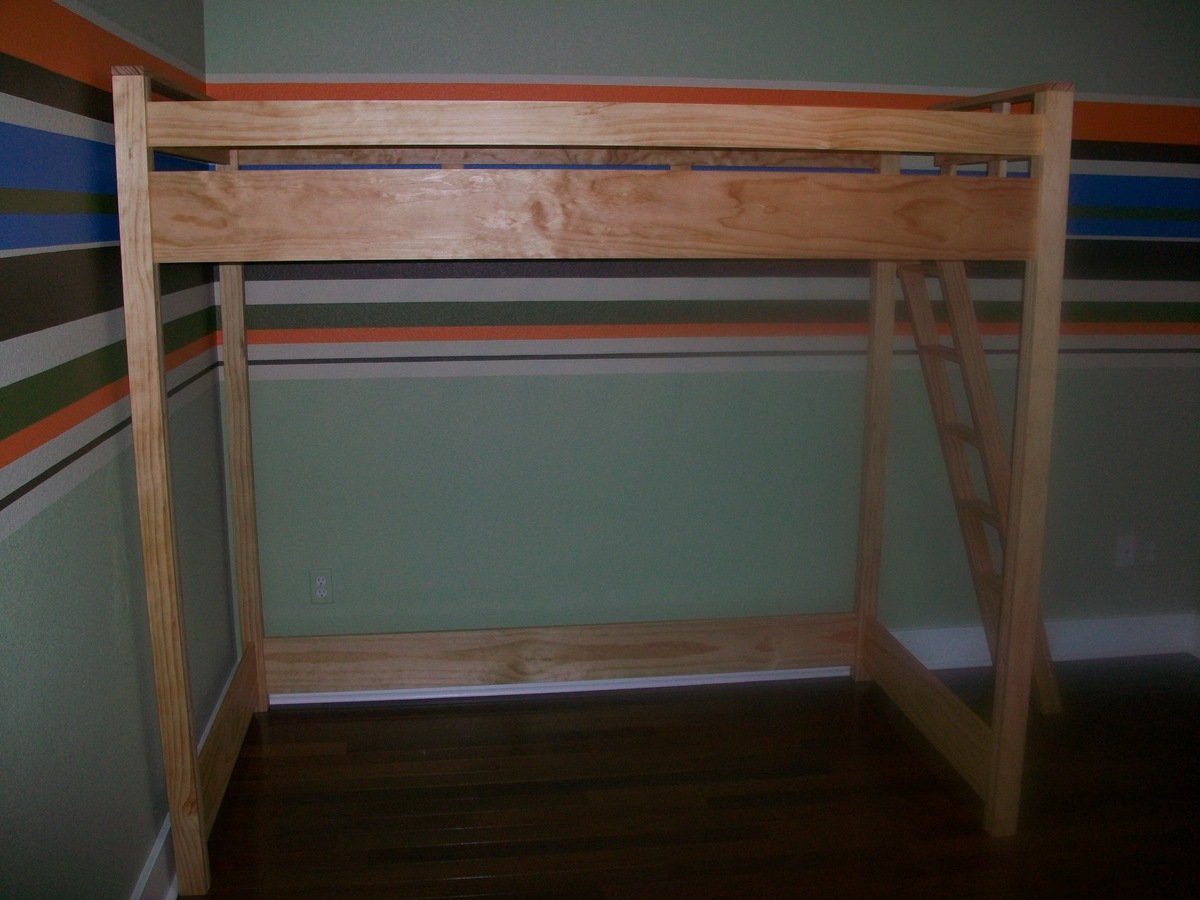
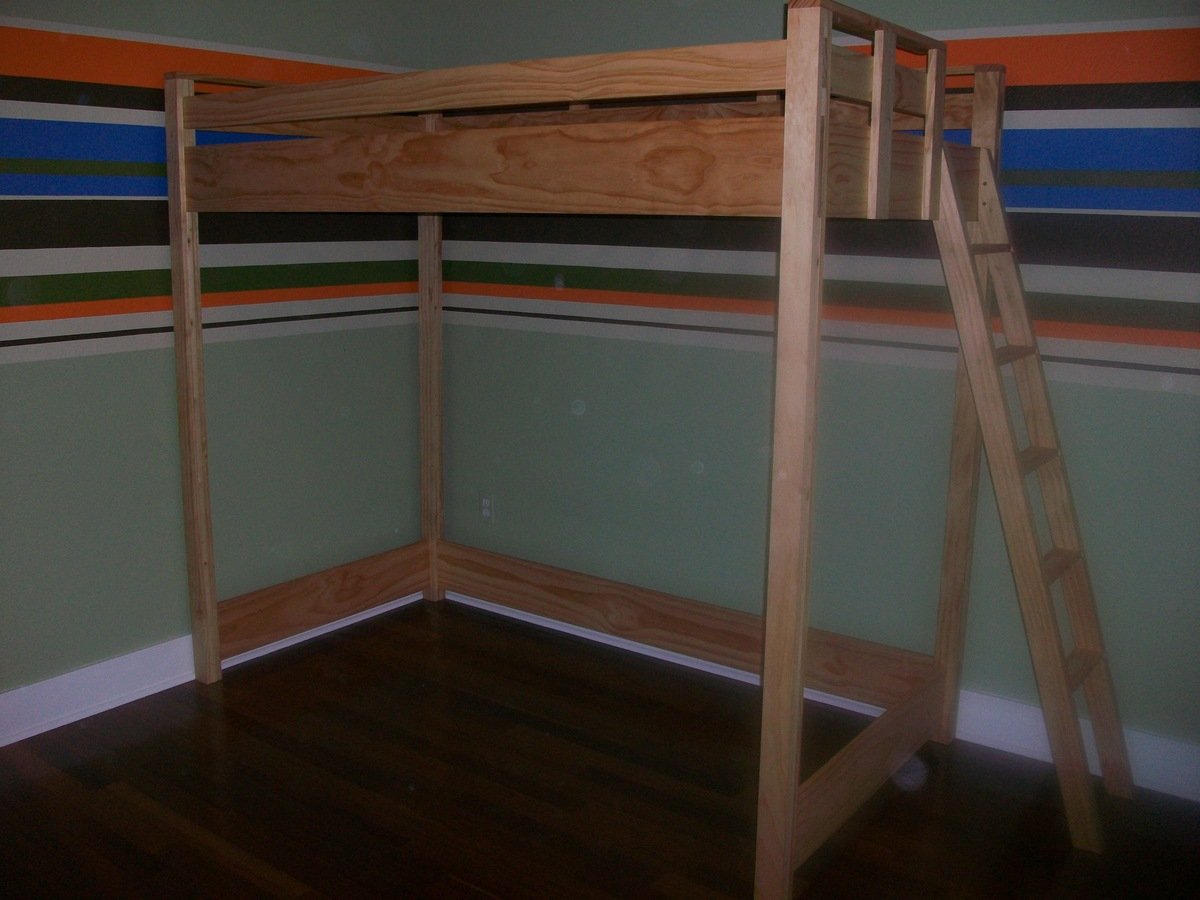
Project and plans were easy to follow. Decided to move the ladder to the foot of the bed so we can make a roll-out desk/table underneath. Also flushed a 1/8" panel board underneath to cover the slats and make it look cleaner. It was a fun first big build, with more to come. Our son loves it!!
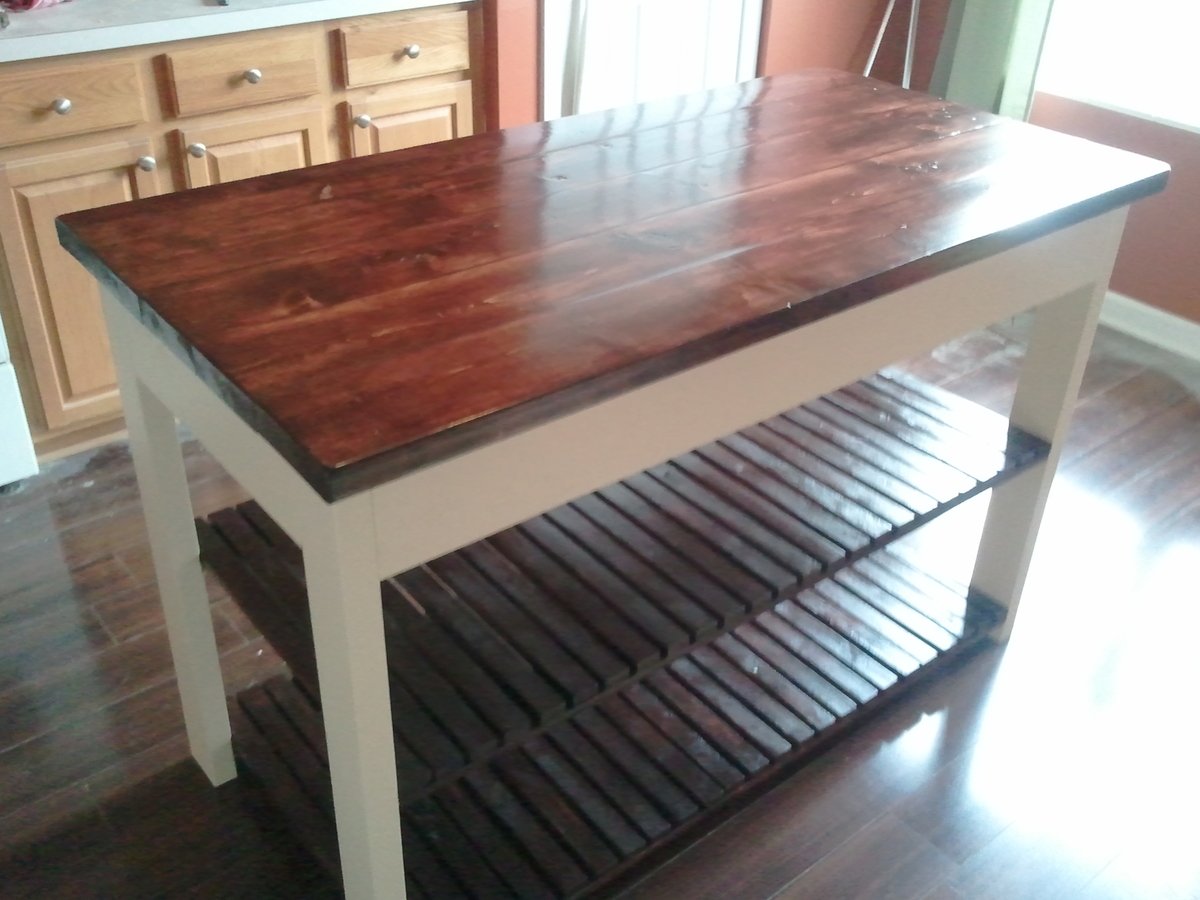
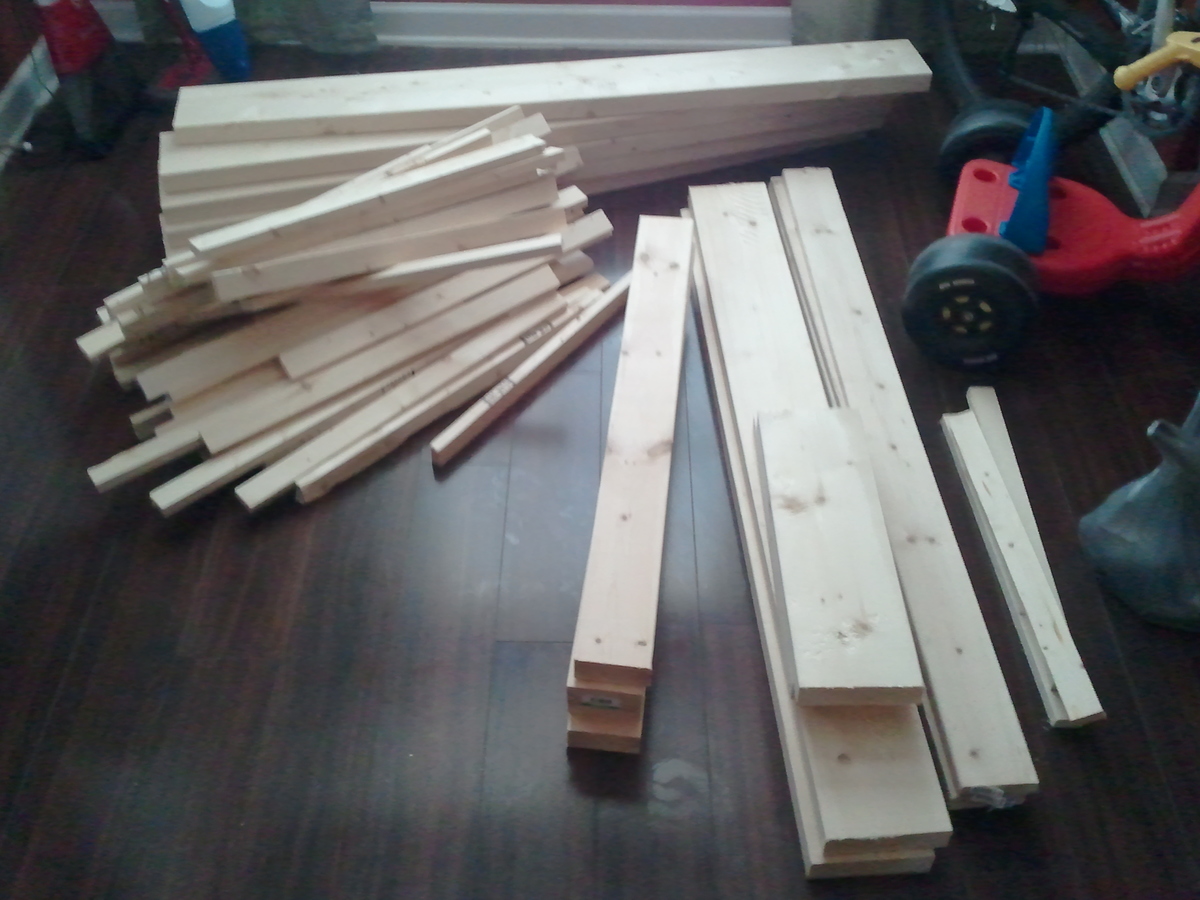
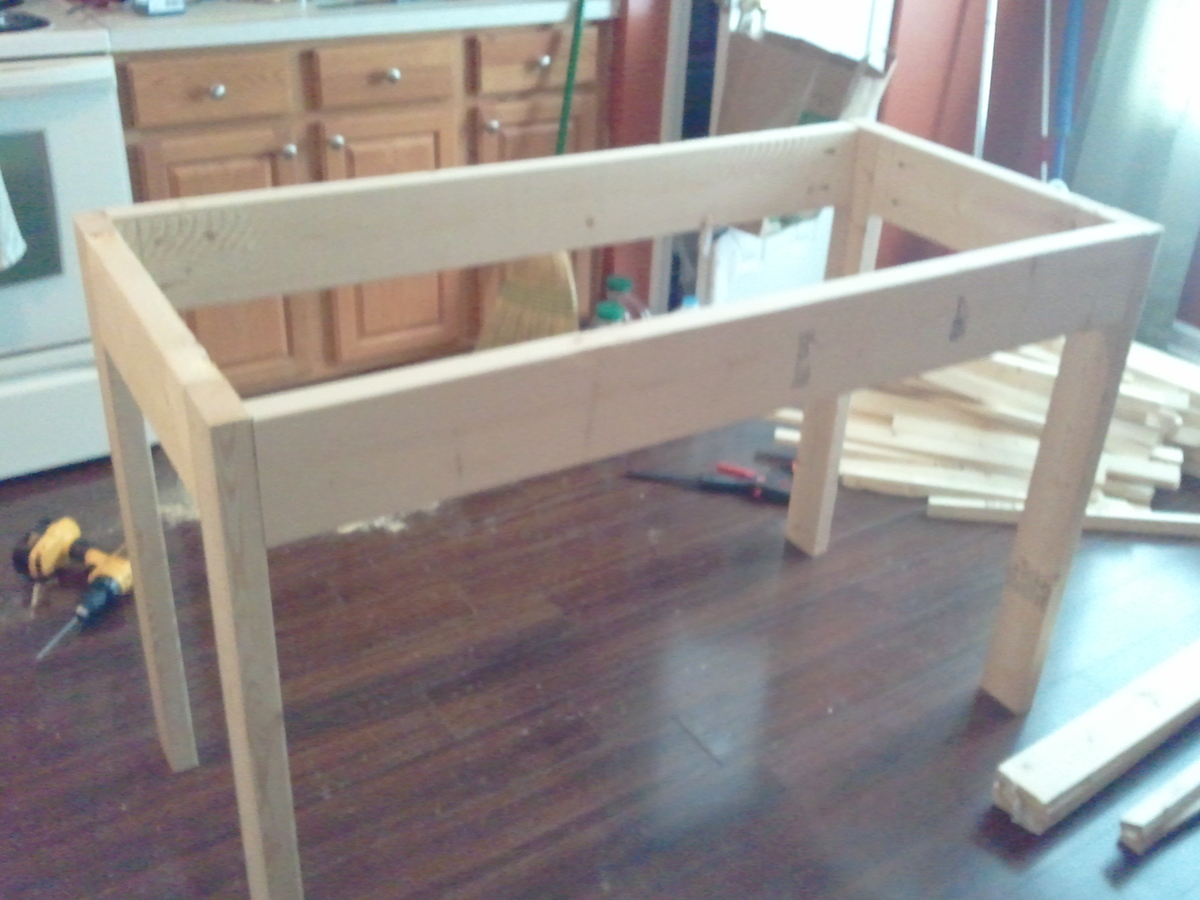
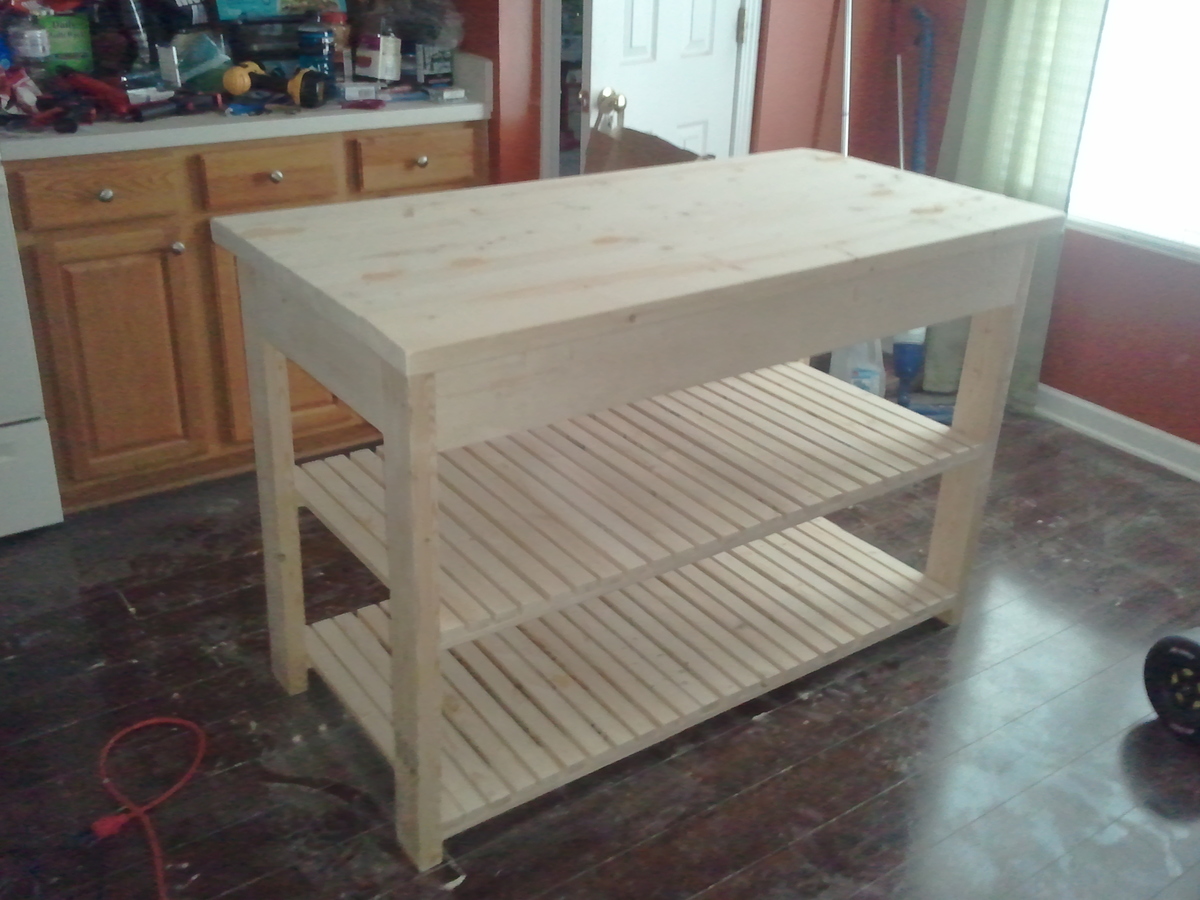
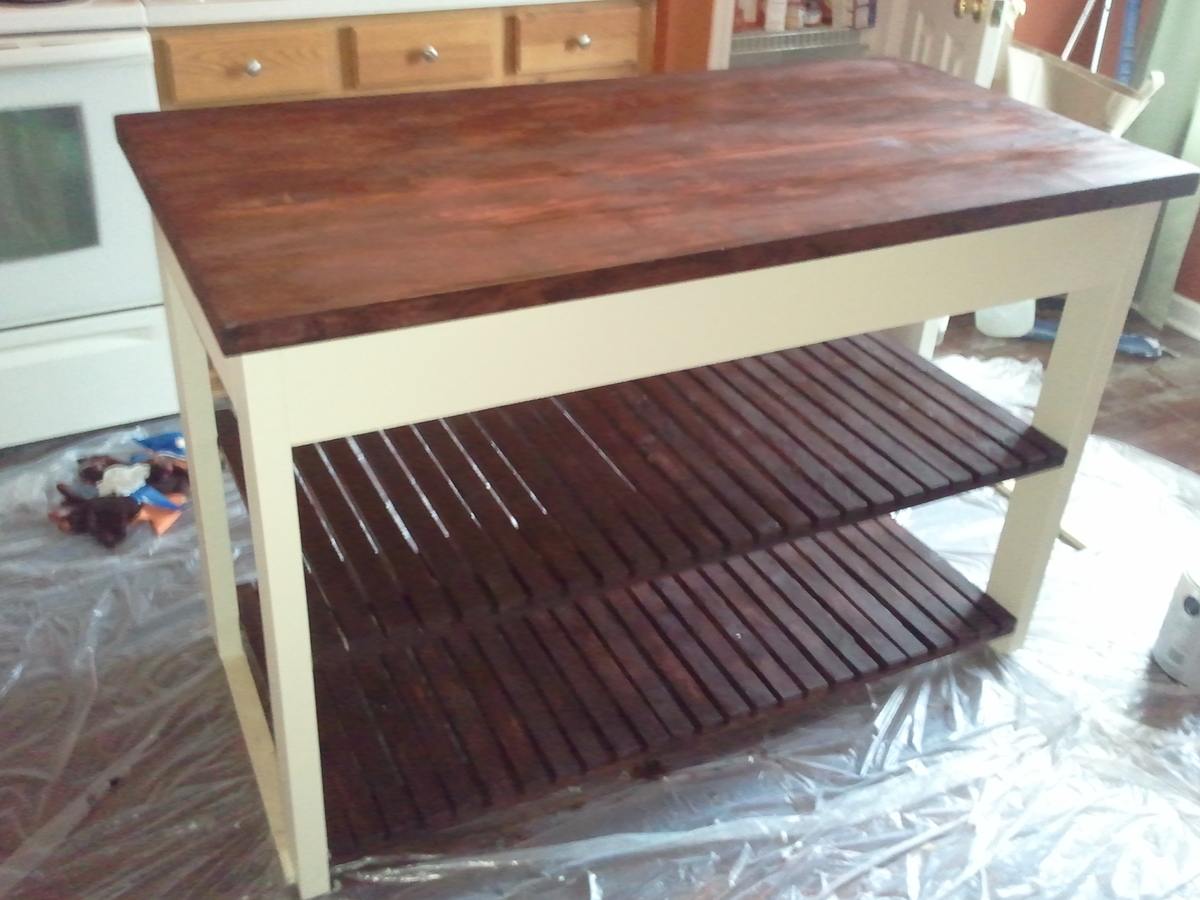
Needed a kitchen island and loved this plan when I found it on your website. I have tools to cut the lumber but thought I would let Lowes cut the lumber to save me some time. Ha! Made small corrections with what you need like just 2 2x4s to make the 4 legs. Like Ana said, it's all about math. Thank you for the plans. Friends already wanting me to make one for them, ha. Ps...my dad is sold now on the kreg jig!
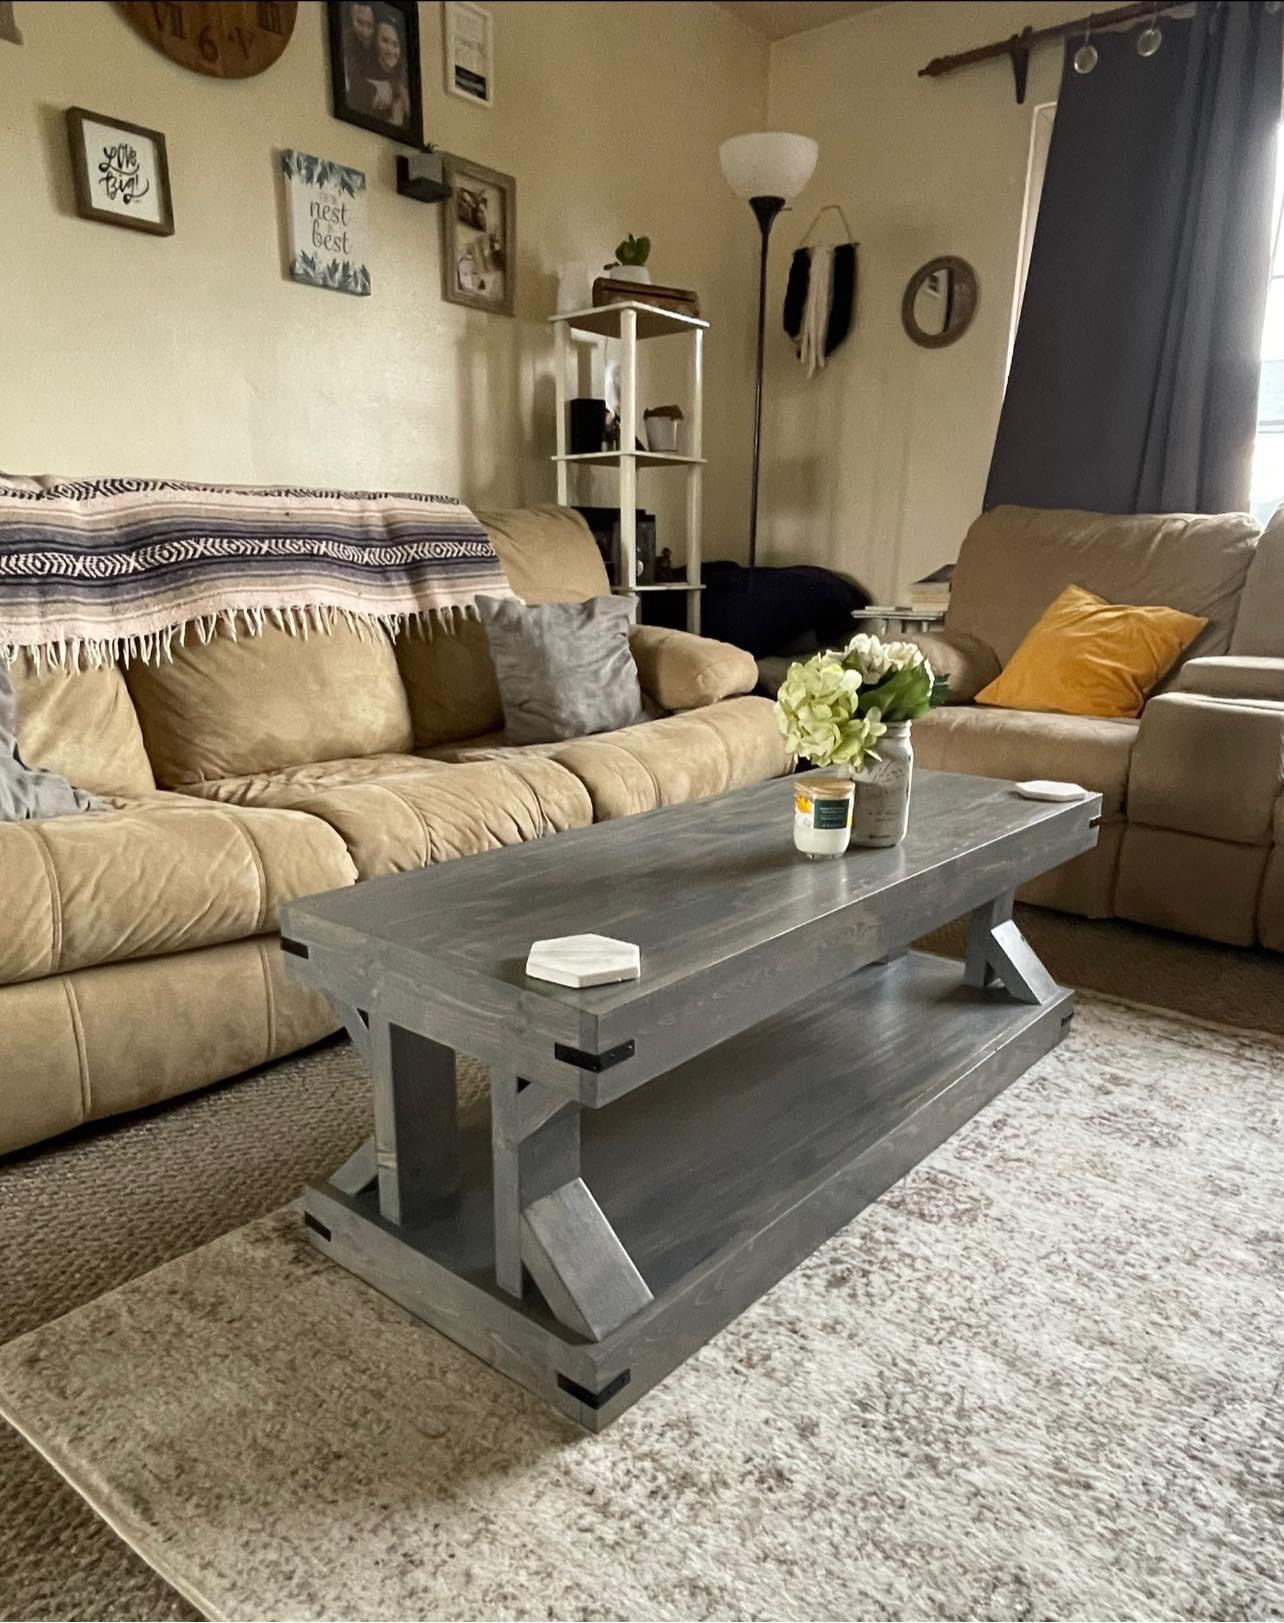
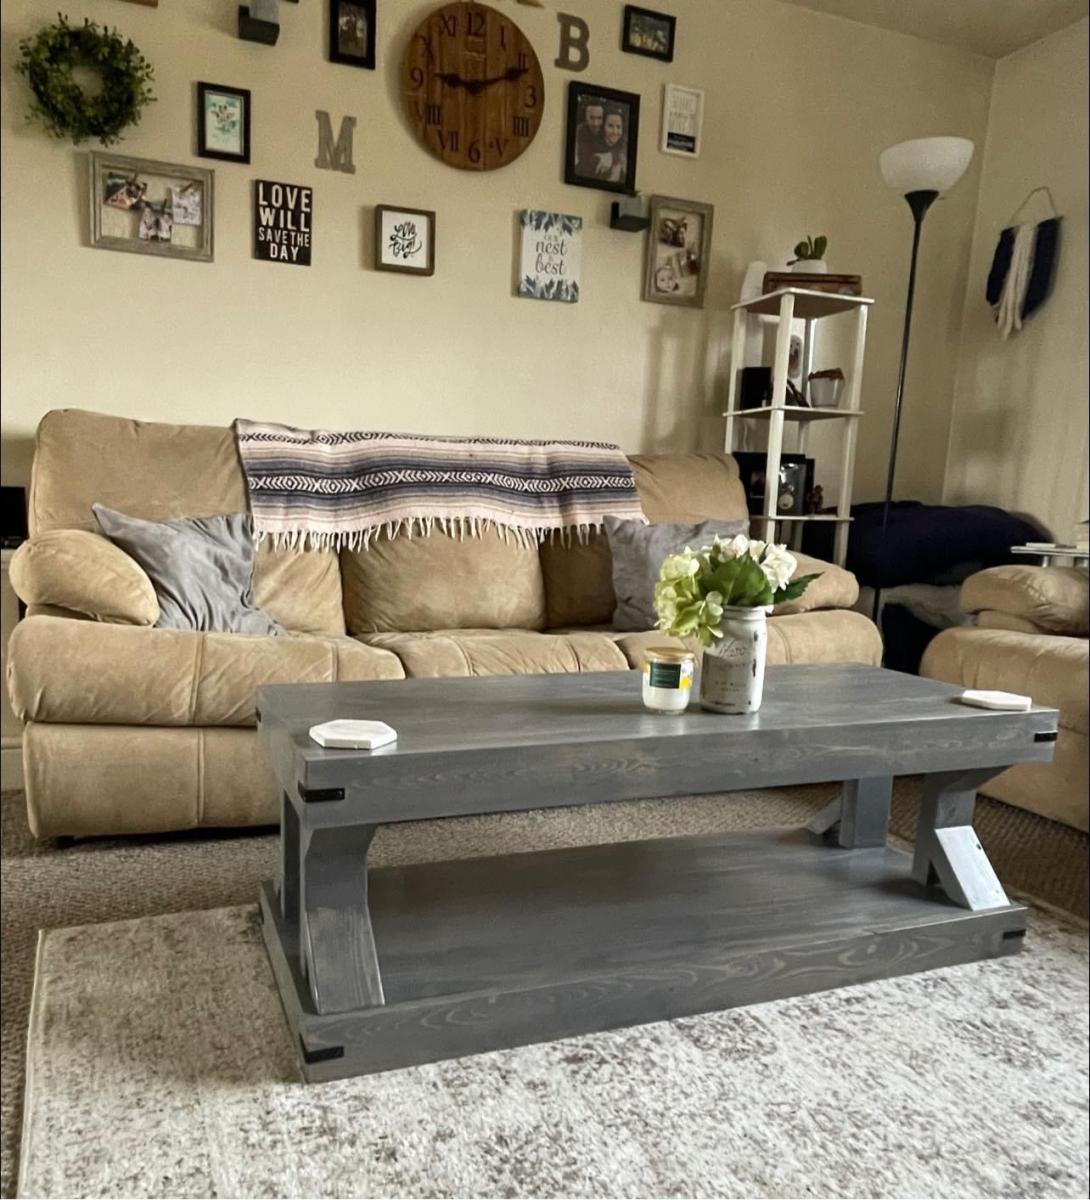
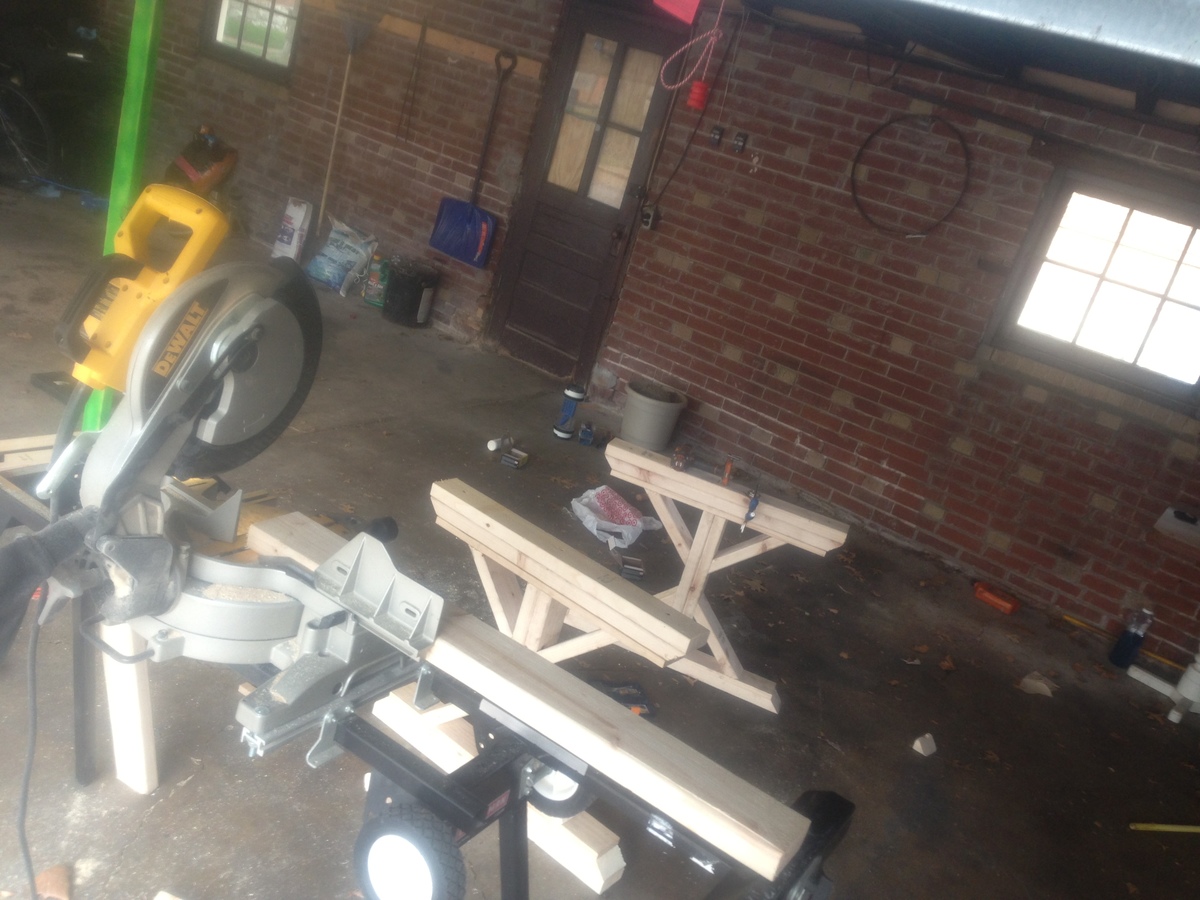
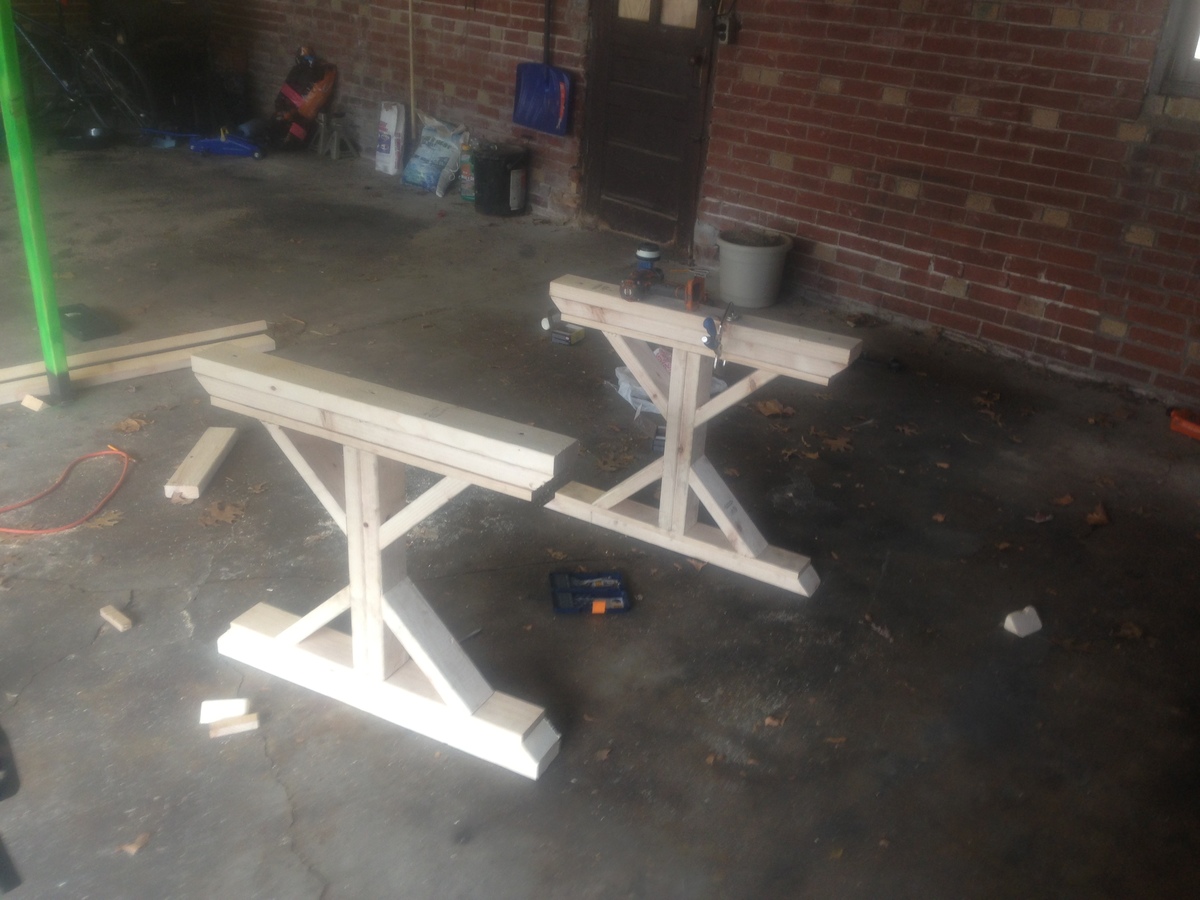
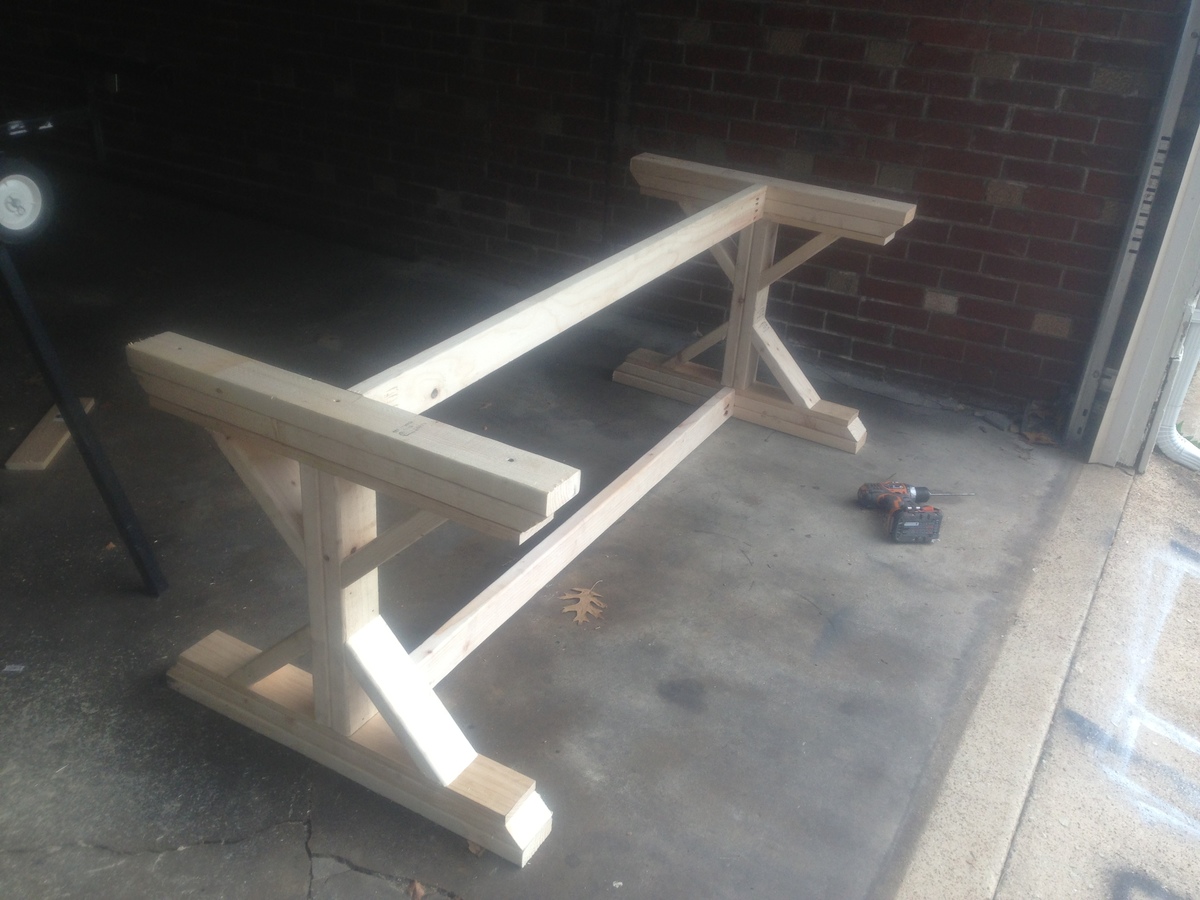
The most difficult part of this design are the beveled pieces that creae the truss. The angles have to be exact
Thank you for your video and free plans. You are amazing. Took me 6 hours and I had it complete. I did have trouble with the two too back pieces, the pocket holes would not go in, so I screwed the back. I retired and took on wood working and by far…you make everything so simple….thank you
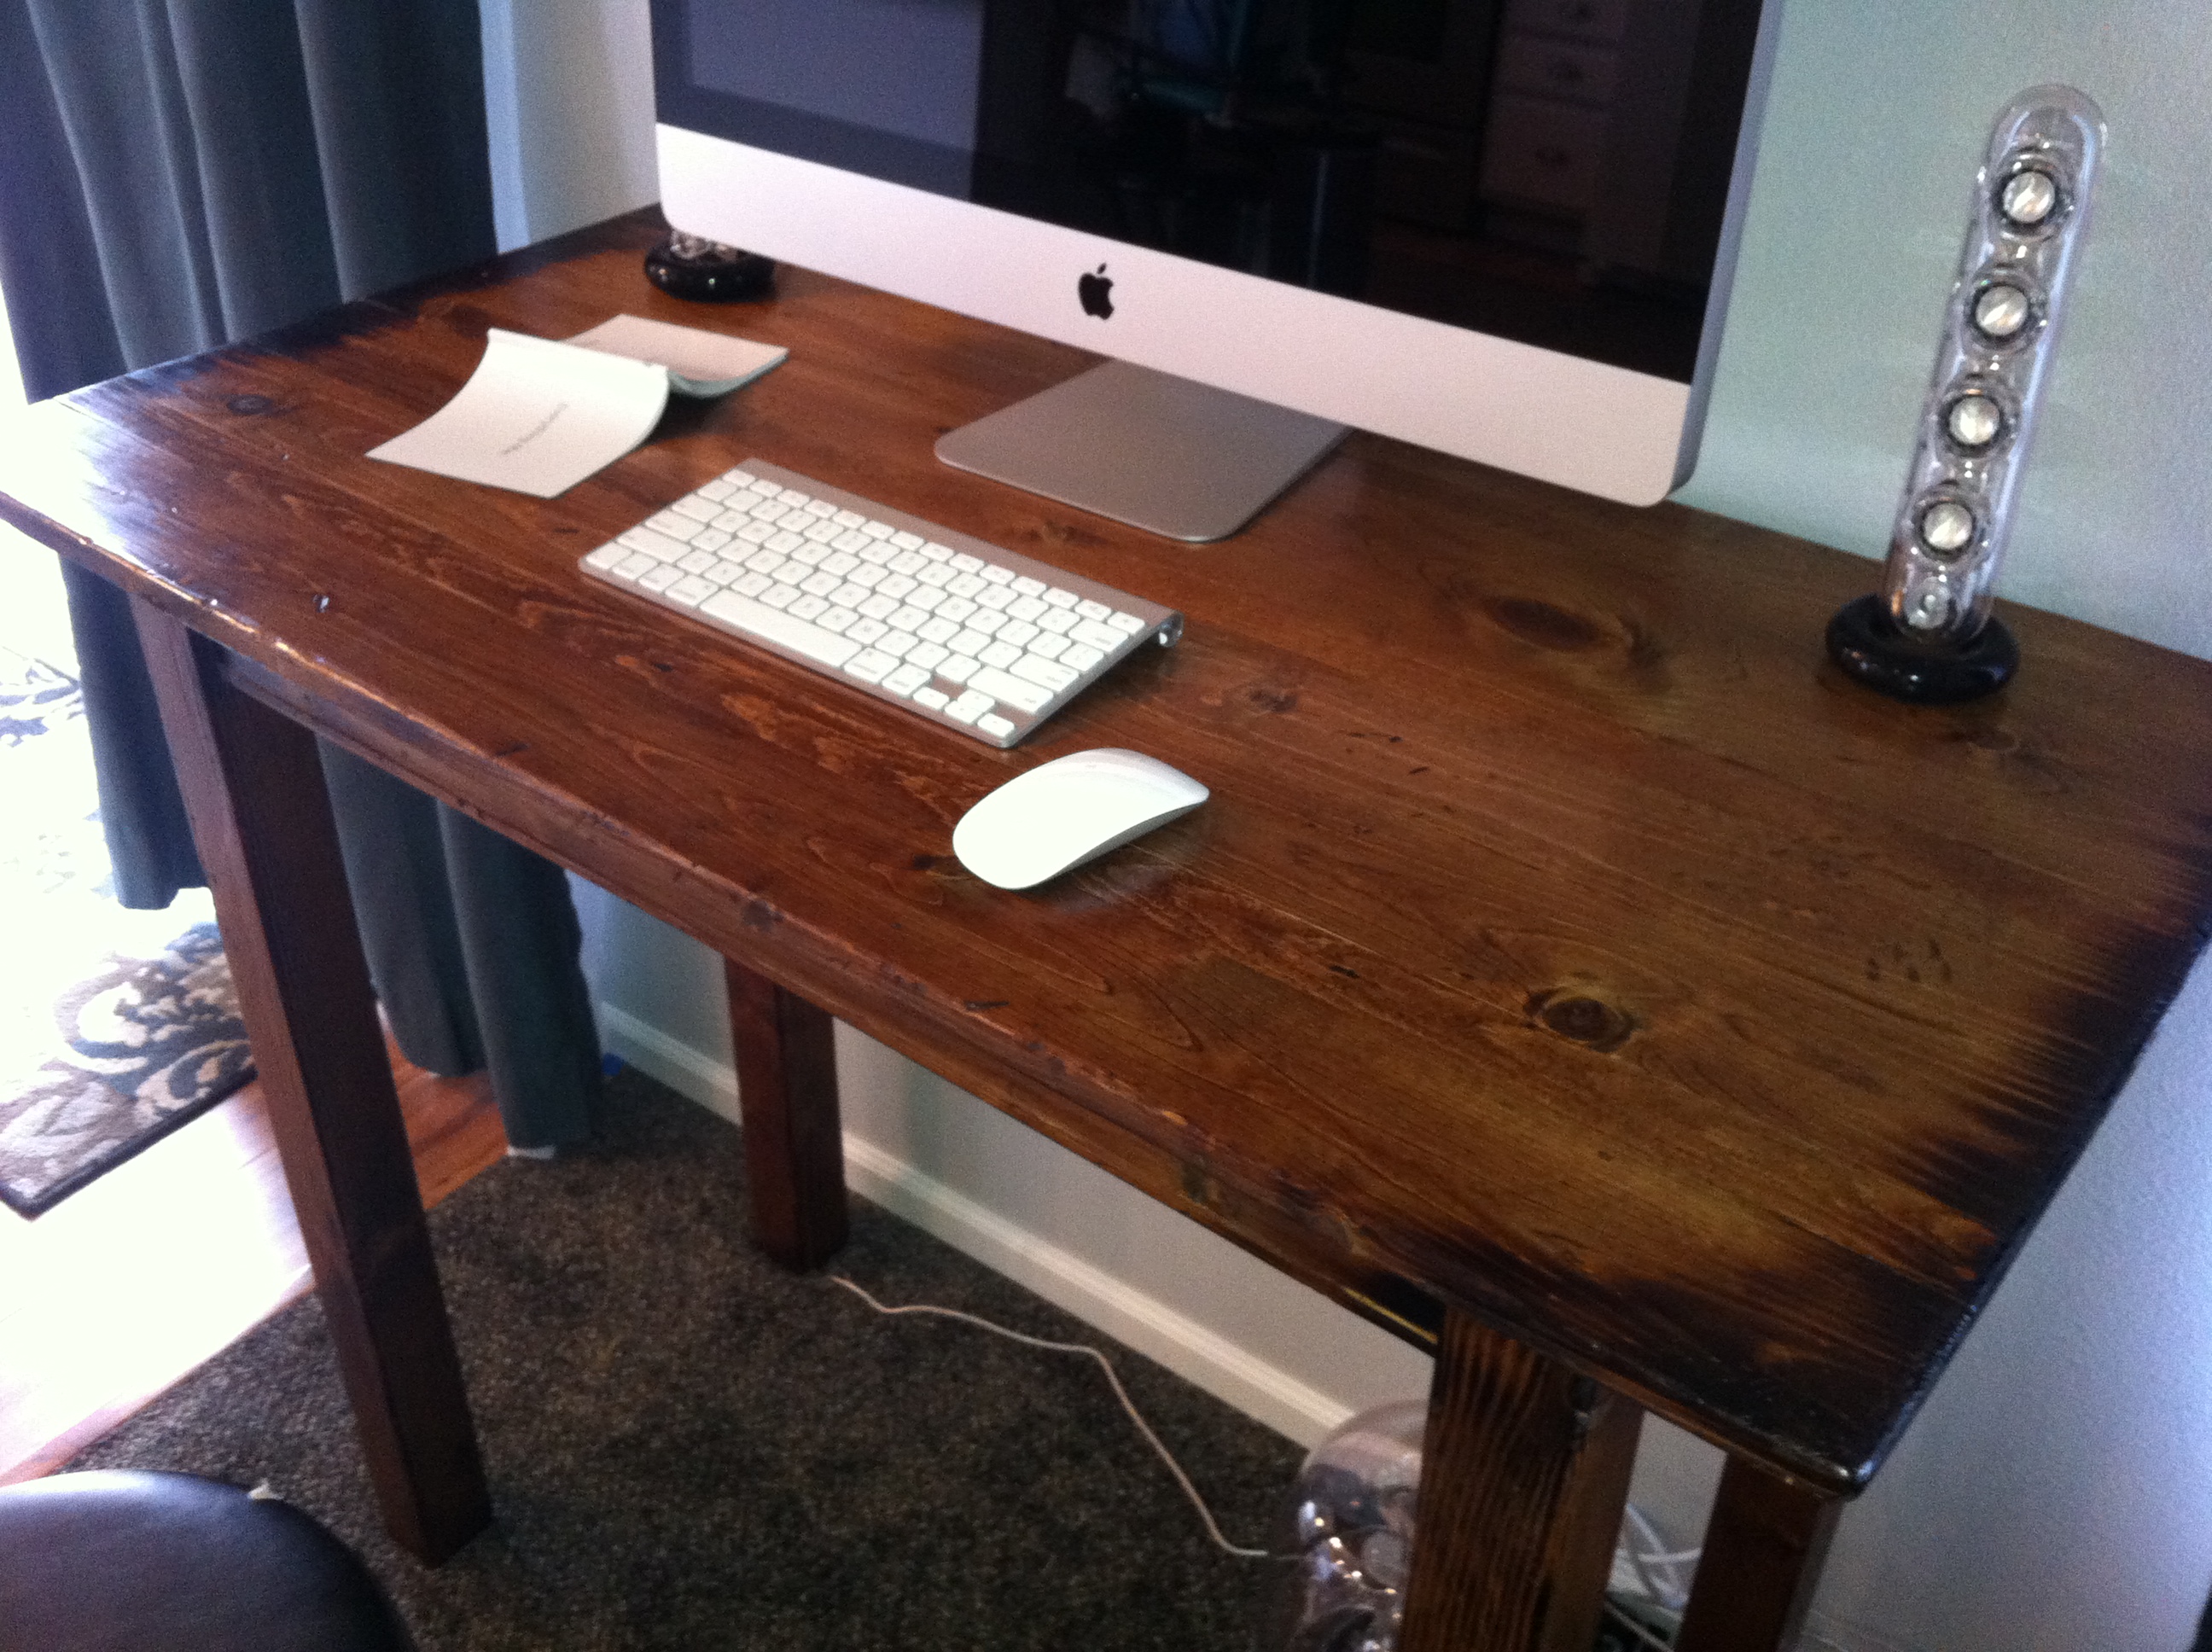
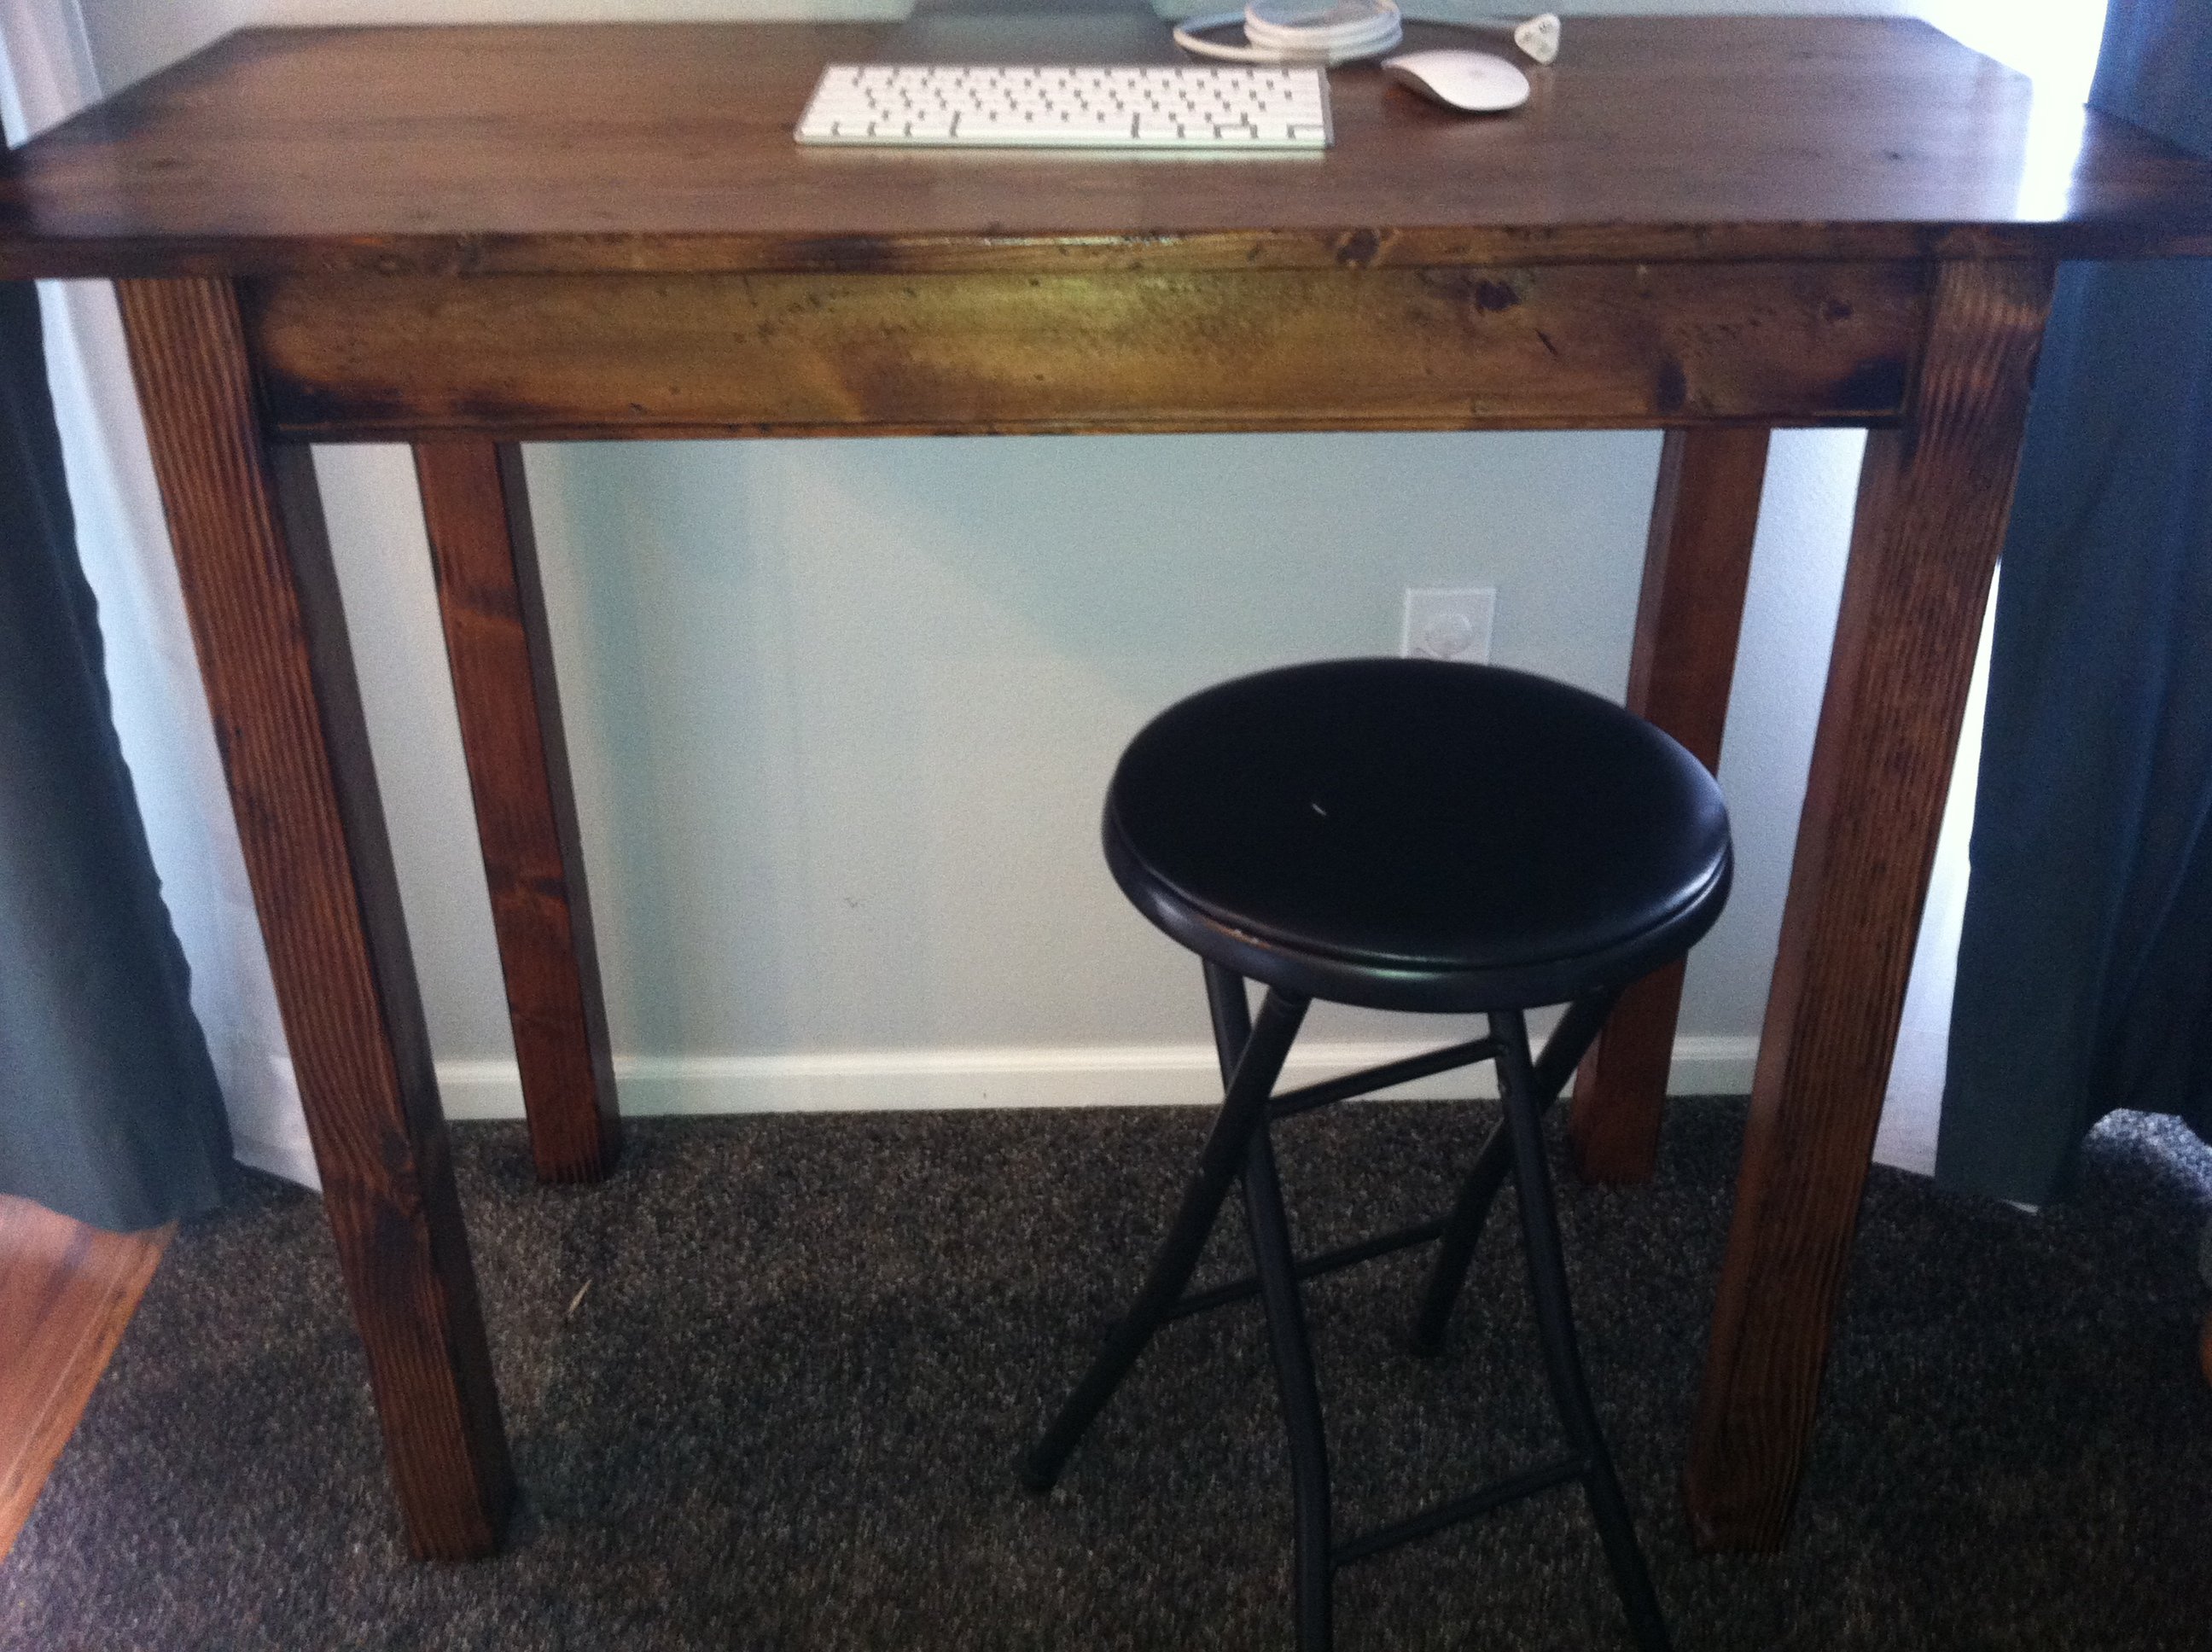
We needed a narrow, tall table for our computer. I used the tryde coffee table plans and altered it to our specifications. I wanted more narrow legs, so we cut the 4x4's to 2 1/4 x 2 1/4 and made them longer so our computer is at standing height. I also chose to eliminate the pieces at the "heads" of the table. Instead of using 2x4's I used 1x2's, 1x4's and 1x6's. It's perfect for our small space! We love it.
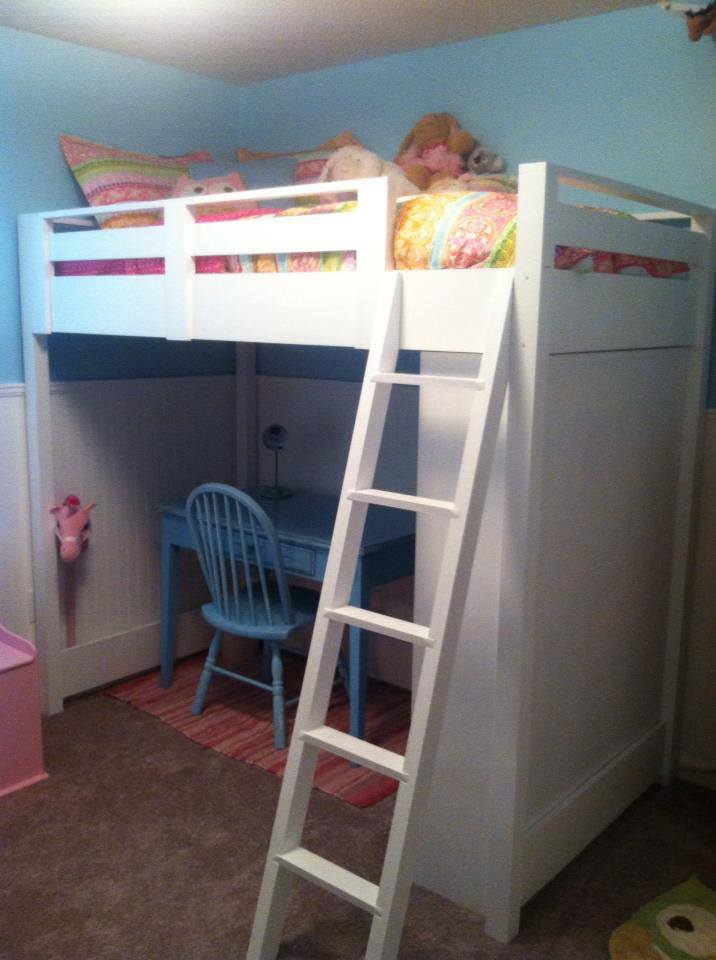
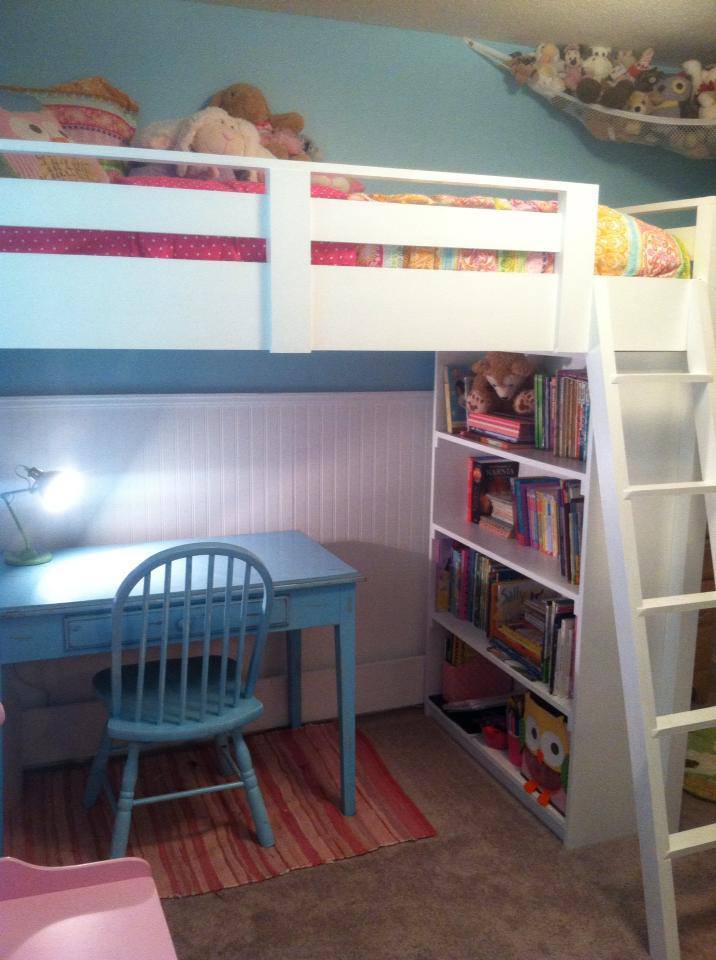
My husband and I just bought our first house, and we realized that our daughter's full sized bed just wasn't going to fit in her 11x10 bedroom (neither was a twin bed--not with the rest of her furniture). So I enlisted my father-in-law, who I've learned is quite handy, to build this loft bed. It is so perfect in my girl's new room, and I know she's going to have it for years to come! Underneath is the perfect spot for her desk, and the shelves house all of her books perfectly (and she has A LOT!). I'm so excited that my ideas and dreams for her room have come to life!
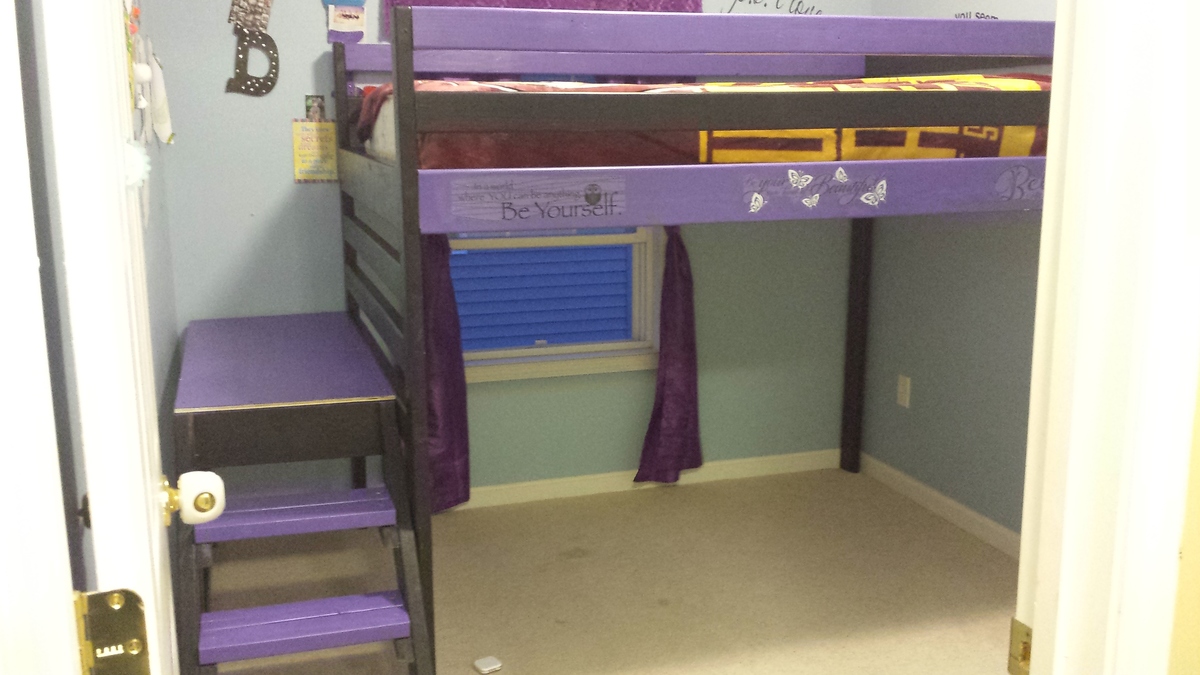
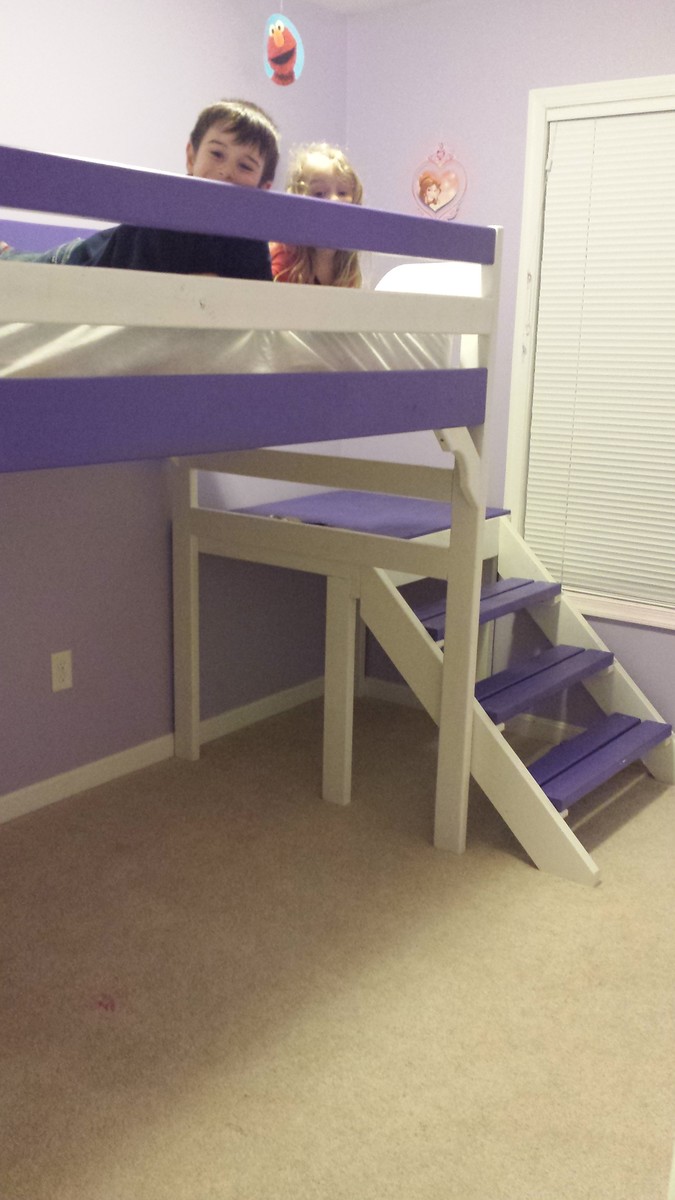
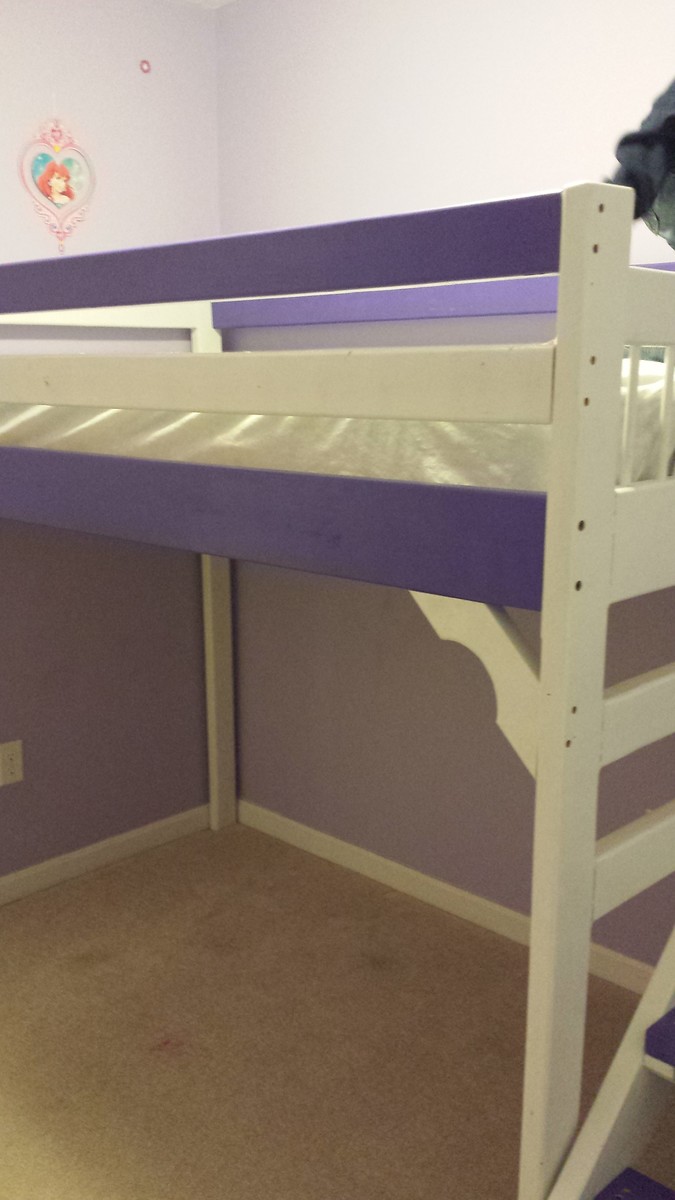
The first picture is of our oldest daughters bed (purple/black). We took the original design and increased measurements to fit a full size mattress and adjusted platform to fit room size. The remaining pictures are of our youngest daughters be (purple/white), which is only a twin.
Some of the tweaks we made were:
* building for a full size bed
* adjusting platform and stair width so the entire bed went from wall to wall
*adding brackets in all 4 corners for extra support (not shown in purple/black bed - weren't added at time picture was taken, just used triangle pieces of extra wood for brackets)
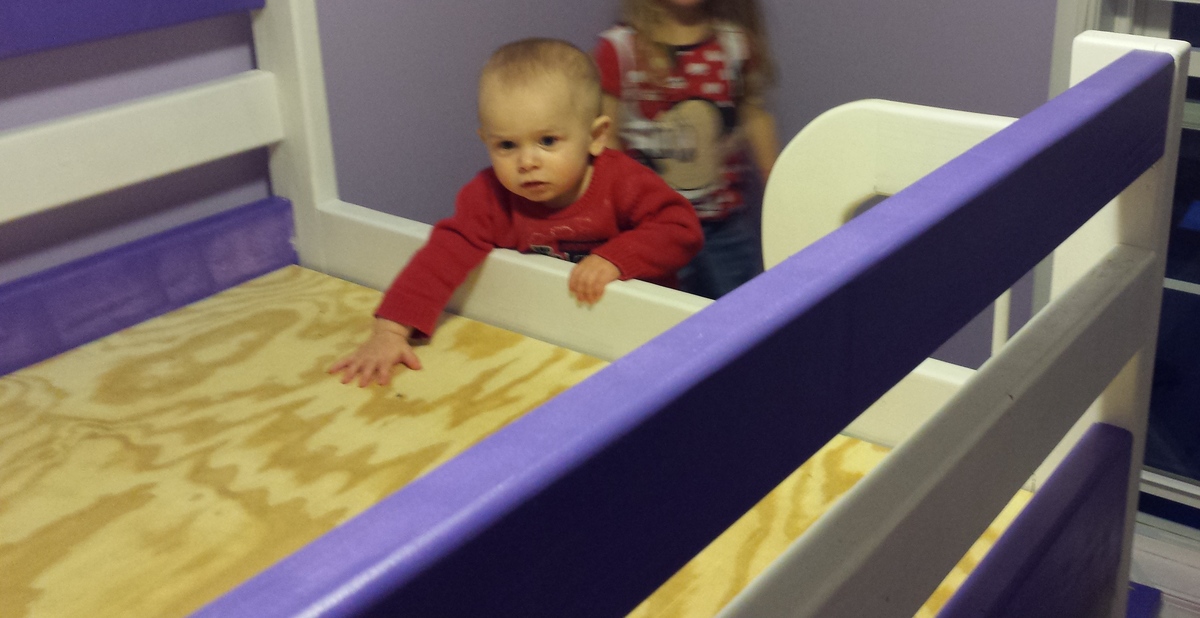
* Used plywood as bunkie board for both beds. Twin - 1 sheet just layed on top of cleats, fit perfect; Full - 1 1/2 sheets, used 'H' clips to hold the two pieces together when on frame and screwed down onto the cleats.
* shortened platform on purple/white bed bringing the stairs back a little to go under window
* added design element at end of purple/white bed to ensure entry on and off the bed would be safe and always on platform since it was shortned
One thing we did that wasn't mentioned in original plans, unless I either overlooked them or is a standard procedure when working with wood (seeing as I am a complete novice) all the wood we purchased need to be checked for quality - needed straight boards with minimal cracks and all the wood needed to be sanded down. Overall the project wasn't difficult, but I was guided by an expert. It took us about 20hrs over a period of three weekends to finish both beds from purchasing material to setting up in room. But that was due to emergencies, work schedules and traveling to the workshop we were using.

I'm building a doll bunk bed from Ana's plans later on for a friend's daughter. I figured that since I had all the materials to do the linens, I would get that finished now. I used the plans from Ana's 18" doll mattress instructions and created these two sets of beds - they're "sisters" but not twins, since I ran out of materials to make 2 quilts. Since it's going to one recipient, I figure she won't mind having 1 quilt and 1 blanket that coordinate. The mattresses were SUPER easy to put together, and I opted to keep them plain without buttons, in case I want to make fitted sheets at another time. Took me about 10 minutes to make each mattress.
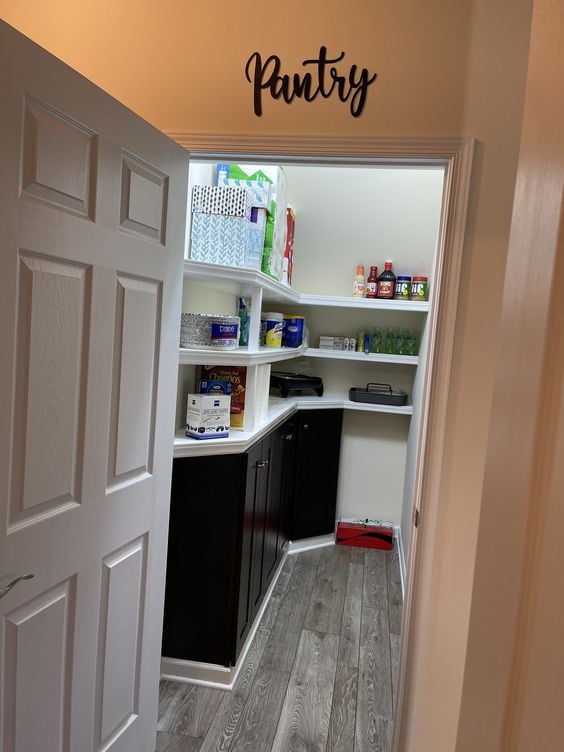
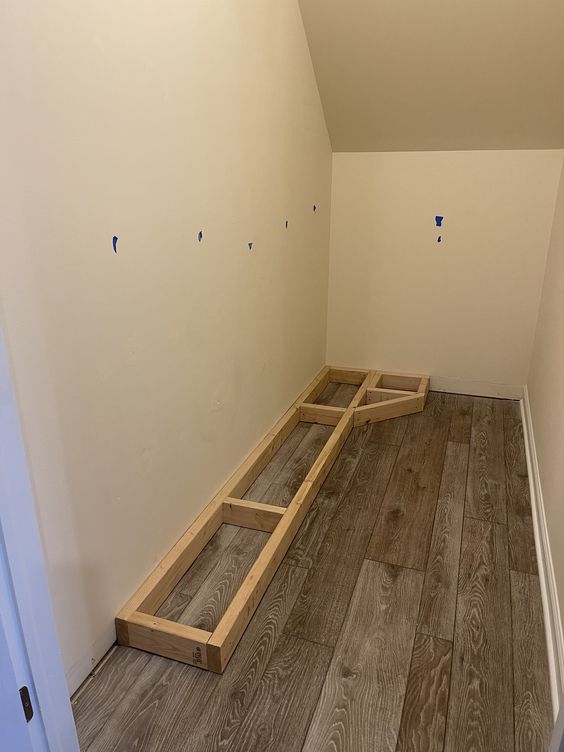
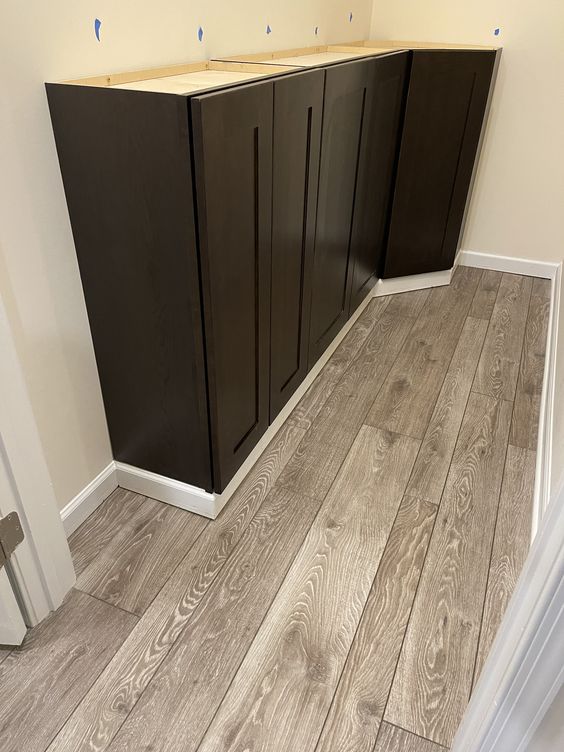
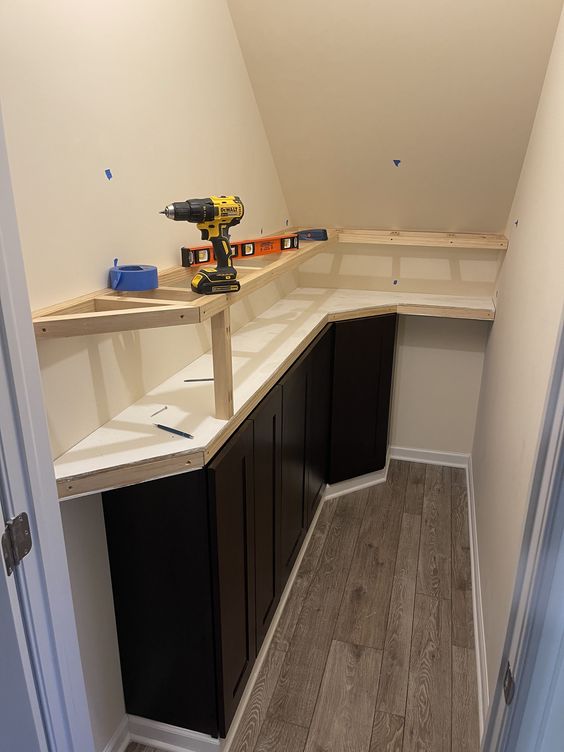
Convert understairs closet to Pantry using 3 upper kitchen cabinets as lower cabinets with basic 2x2 shelves.


Sun, 03/06/2022 - 10:20
This is so clever and it looks fantastic! Thank you for sharing:)
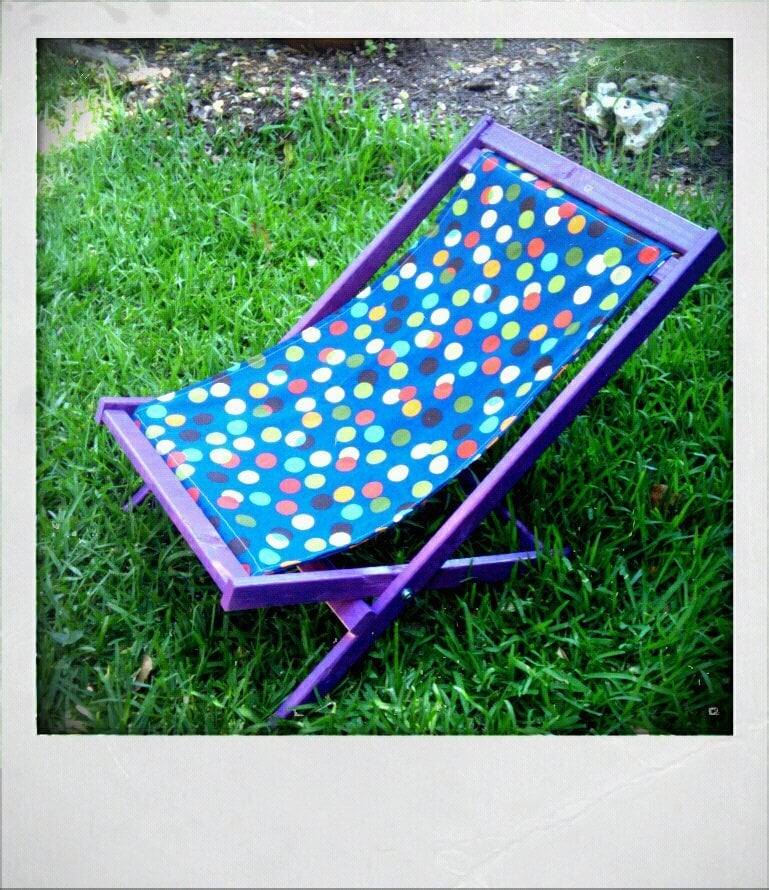
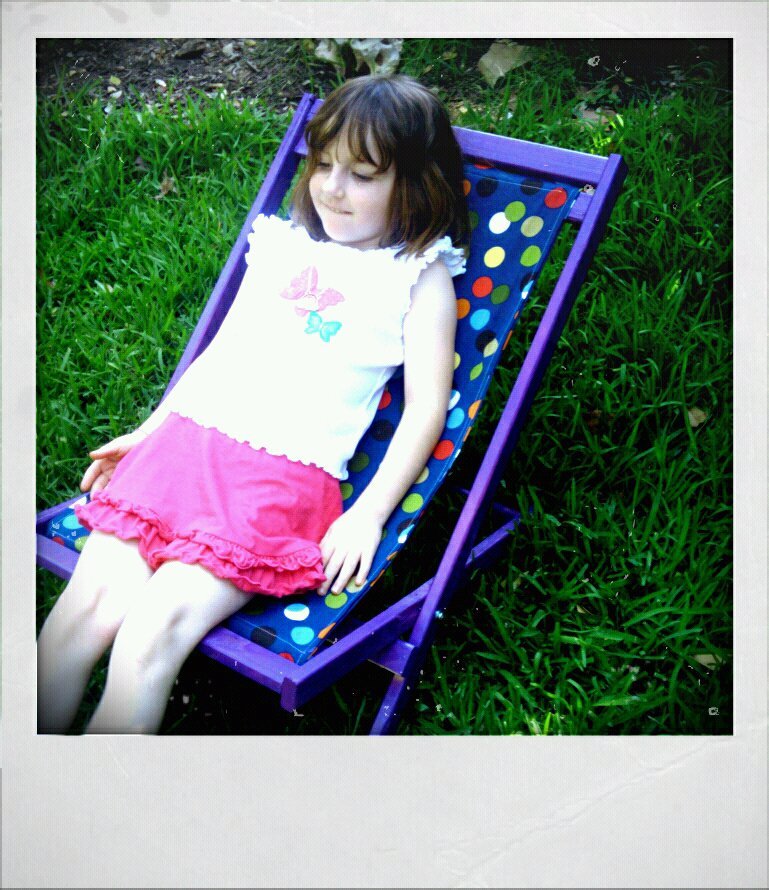
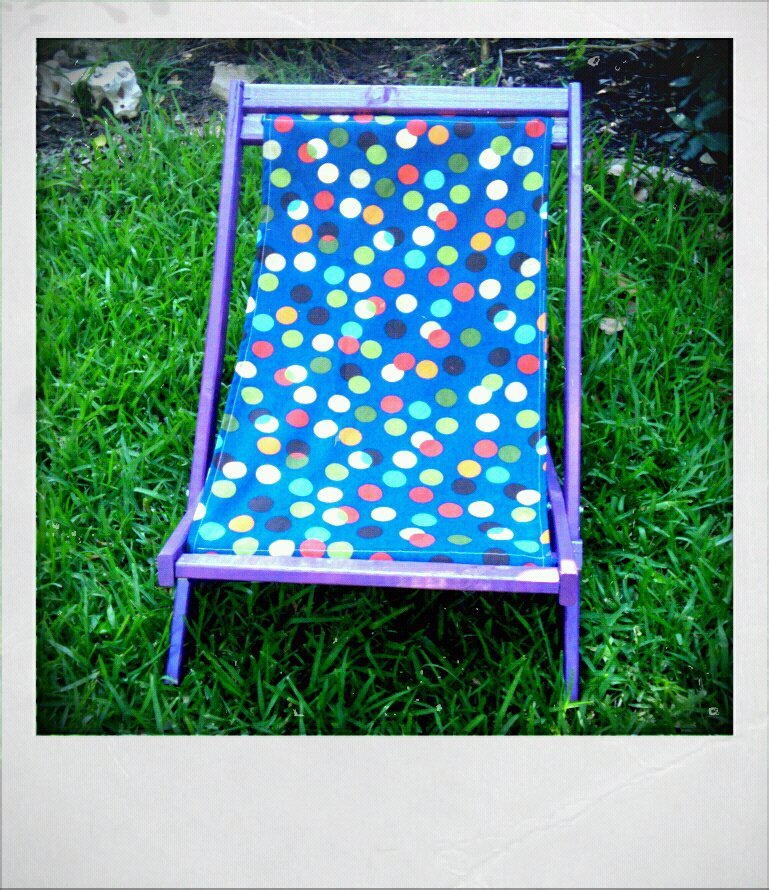
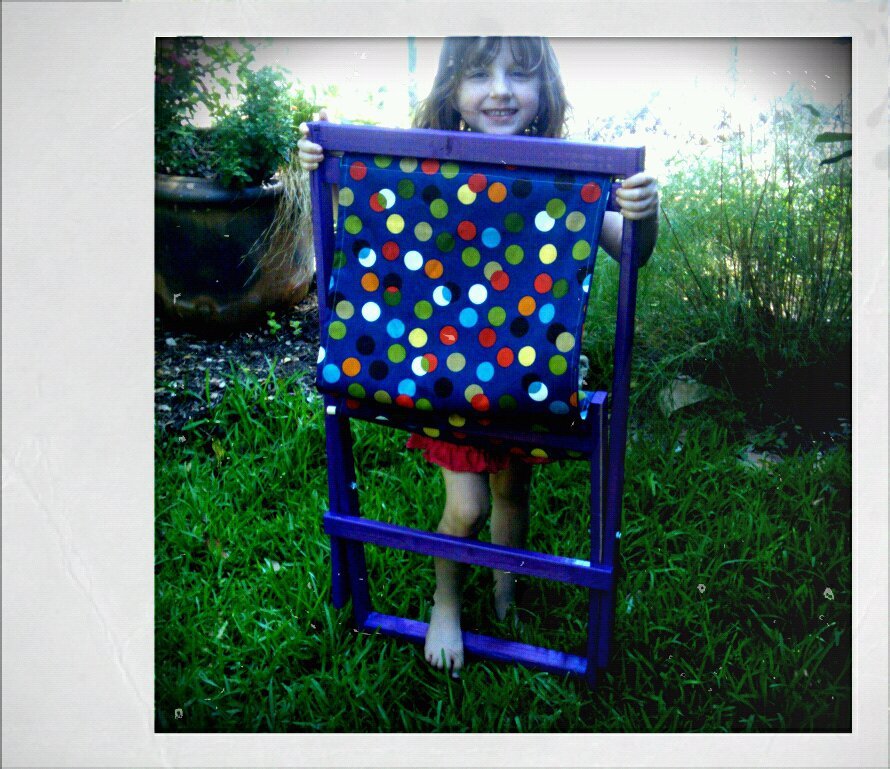
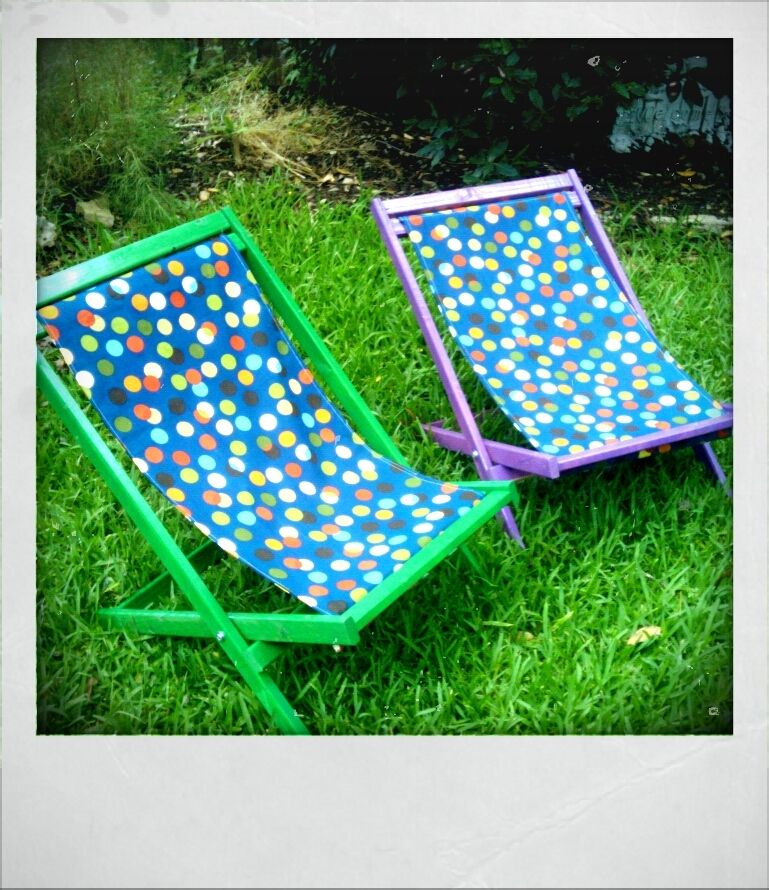
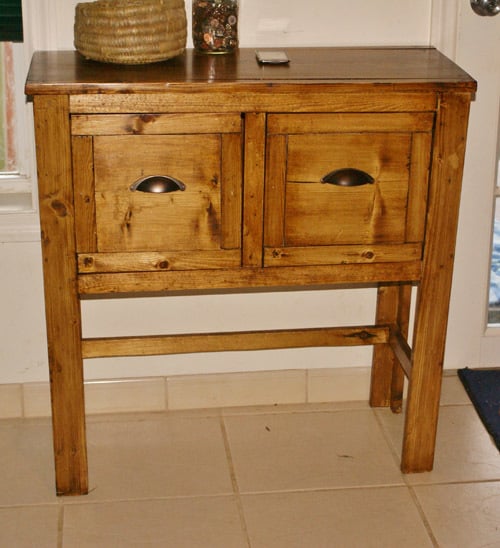
I love Ana White and her designs. I love that she makes the plans easy for a novice like myself to create something functional and beautiful. I love that this project cost me a total of $8.00 for all the supplies, including fabric which was a thrift store score. I love that my Xi loves it. I love that Farm Girl wants one for herself in green. This was a fun project.
Edited to add the green chair for Farm Girl. She was very happy...
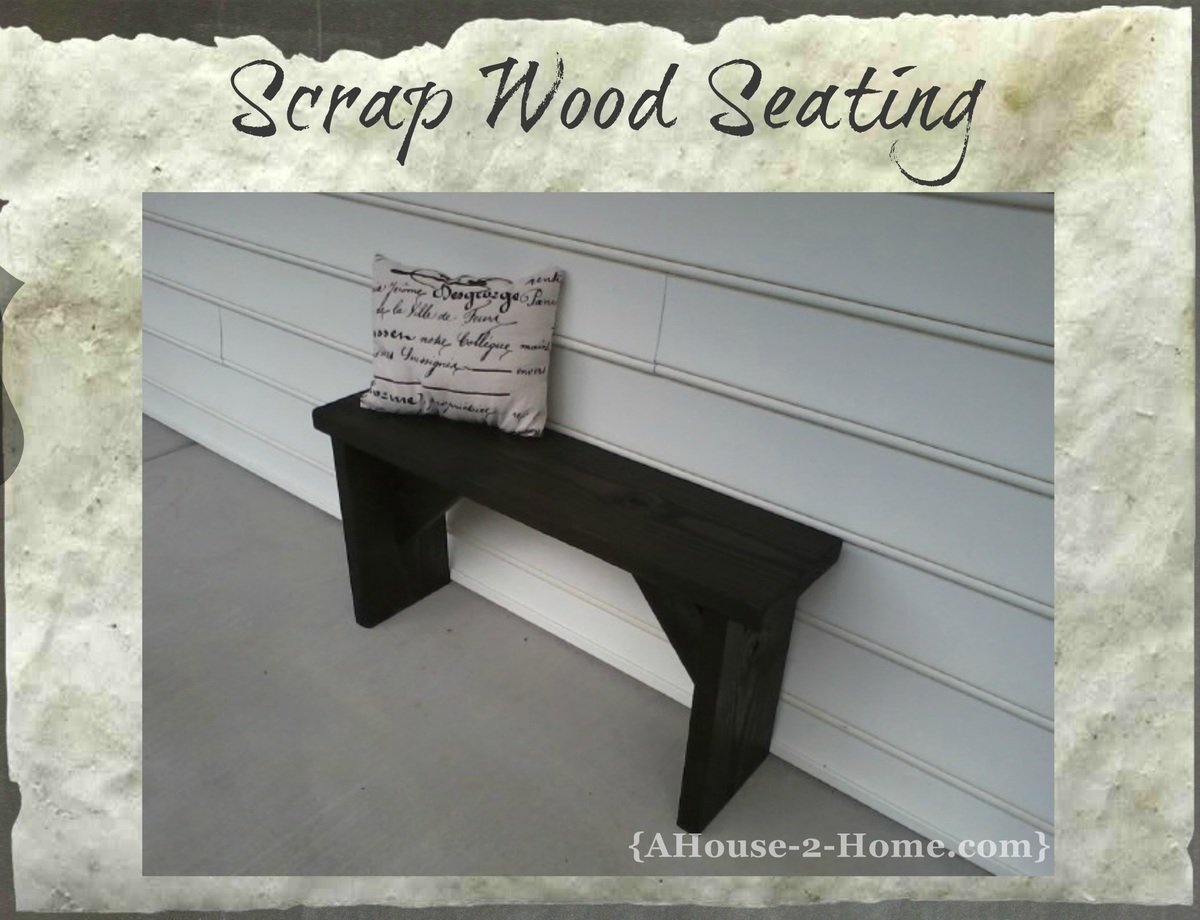
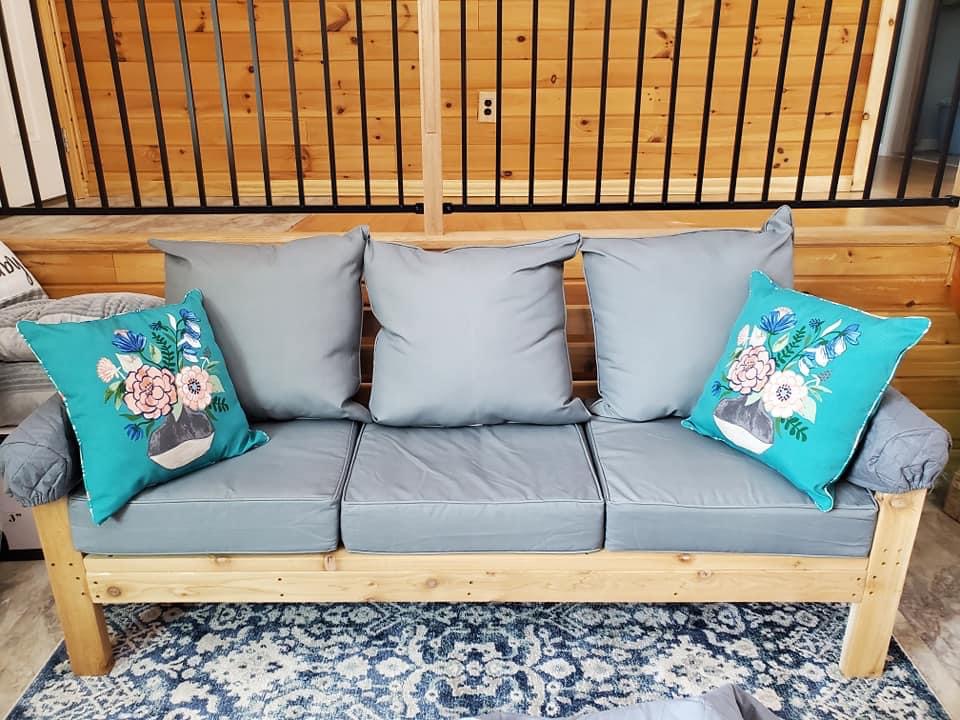
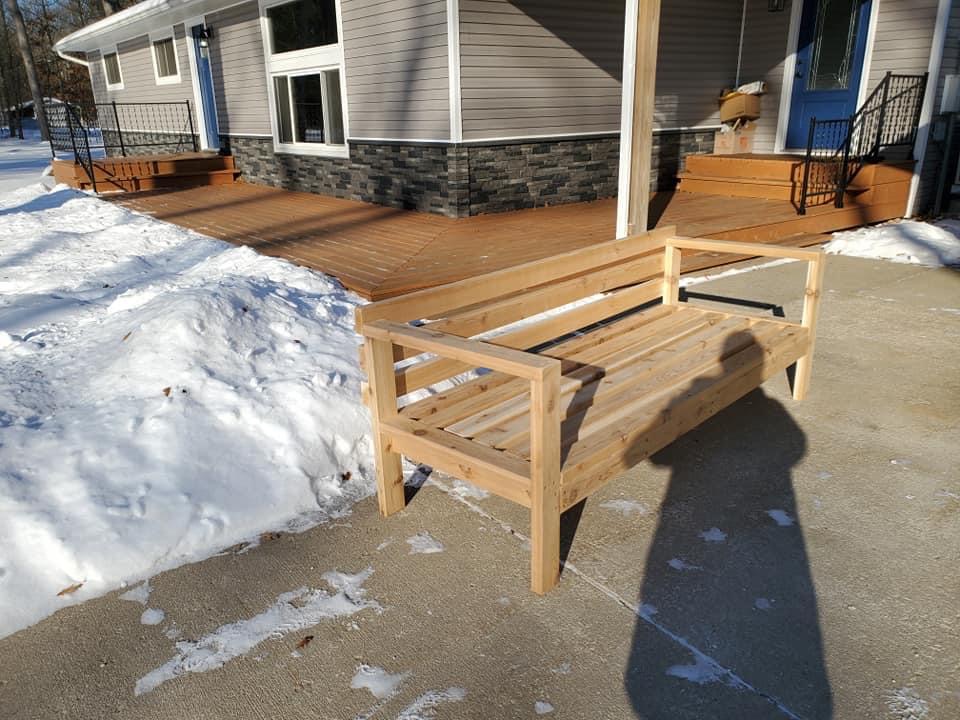
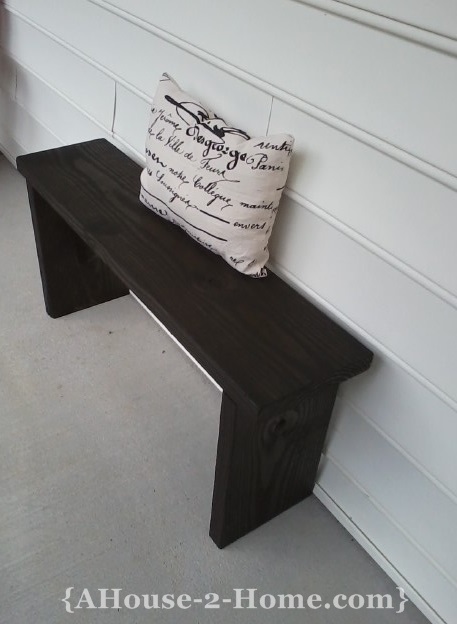
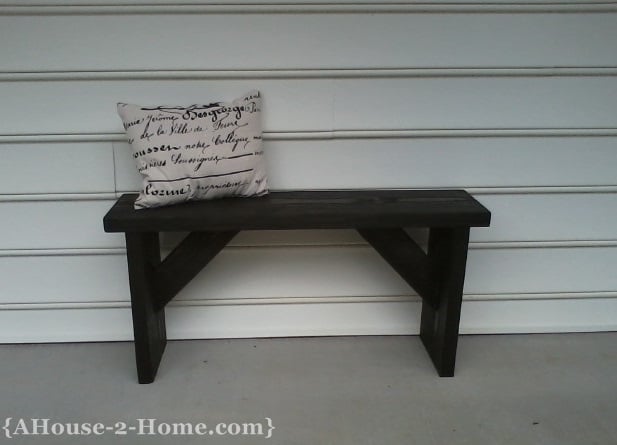
A great beginners project. I put this simple bench together with scraps I had. For a full tutorial come over and check it out
http://www.ahouse-2-home.com/2013/07/17/scrap-wood-seating/
... If you have any questions be sure to leave us comment.
Happy Building!
Vanessa
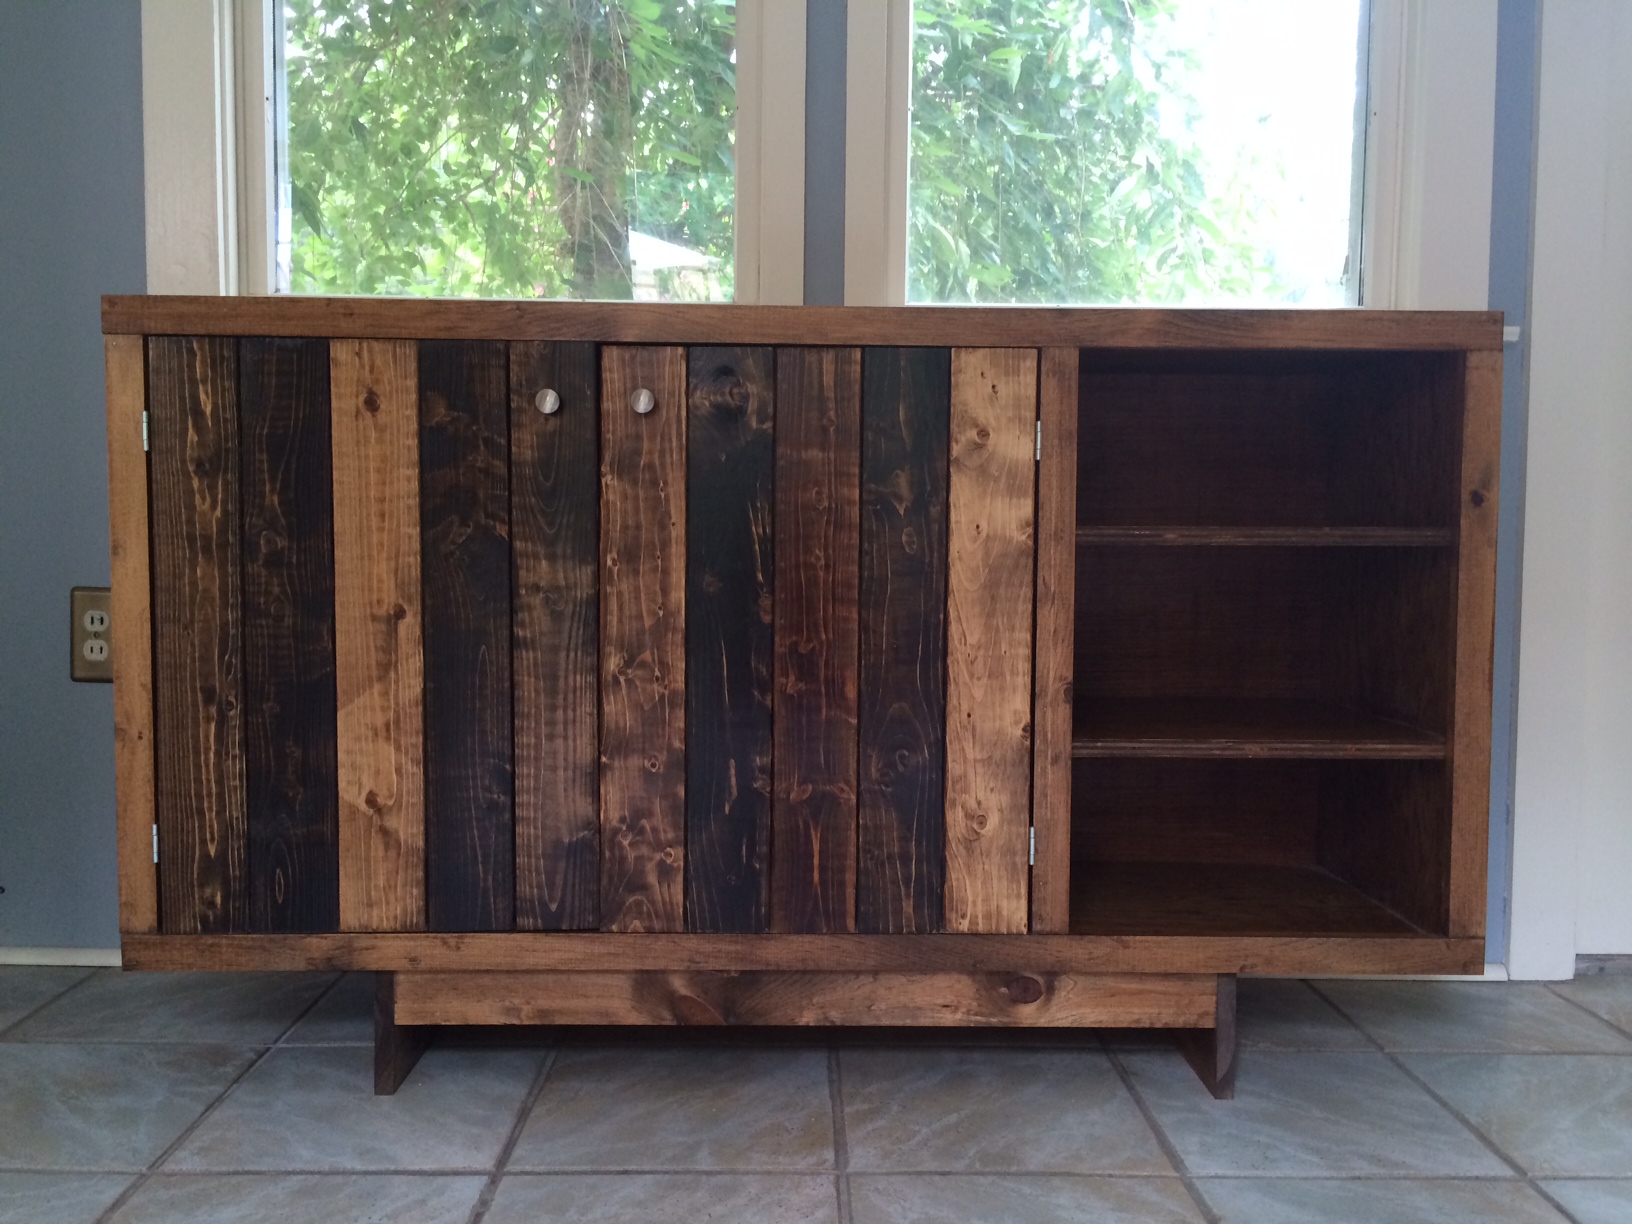
After unsuccessfully searching for the perfect sideboard for my office space, I got up enough courage to make one myself. I am so thrilled with the finished project!!

I needed a new desk and found some plans on Ana's website.Made a little modification to it for a little more work space. Turned out great I thought. Had never used pocket holes before, I think I'm hooked now.
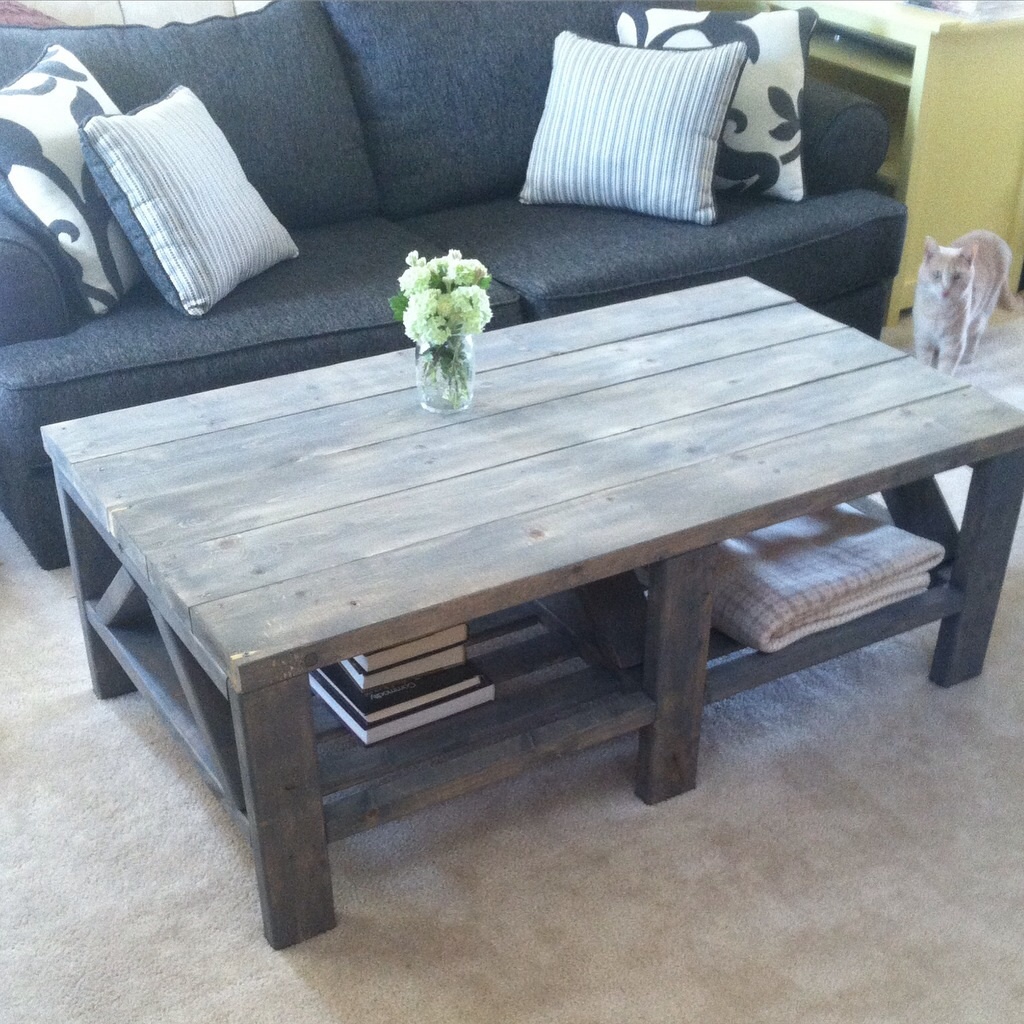
Easy plans for a cool table.
Thu, 03/24/2022 - 09:47
Thank you for sharing! Great build and love the color choice:)
Loved Ana's Balin Console, but the space I had available for this piece was only big enough for two drawers, so I attempted to change it. A few minor mistakes called for a few other modifications as well (the drawer fronts), but overall I am still happy with the product. The first nail and hammer only project I've completed (other than the ten dollar ledges). The passion for this new-found hobby continues, THANKS ANA!
I think that this is my favorite project so far! It was a daylong project for the build and then another full day of sanding and finishing. My girlfriend needed a new table for a big dining room in her new place so she got this. She is happy it looks great and is extremely functional. I will add the bench that I made to match as soon as I get the pictures. I am available to do builds for people who like what they see and dont want to pay retail price for this stuff. check out my profile
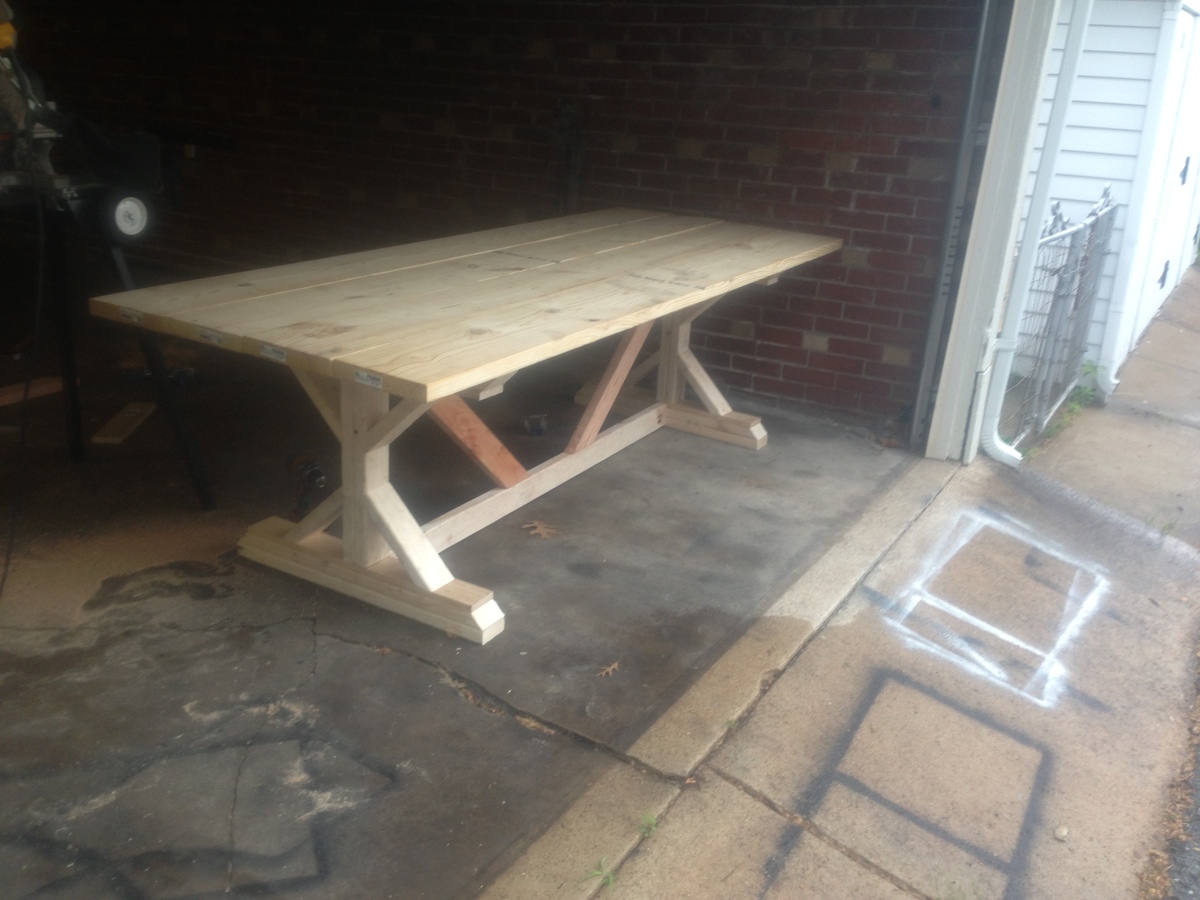
I made two of these tables for a friend. She was very happy with them. One of my first projects.
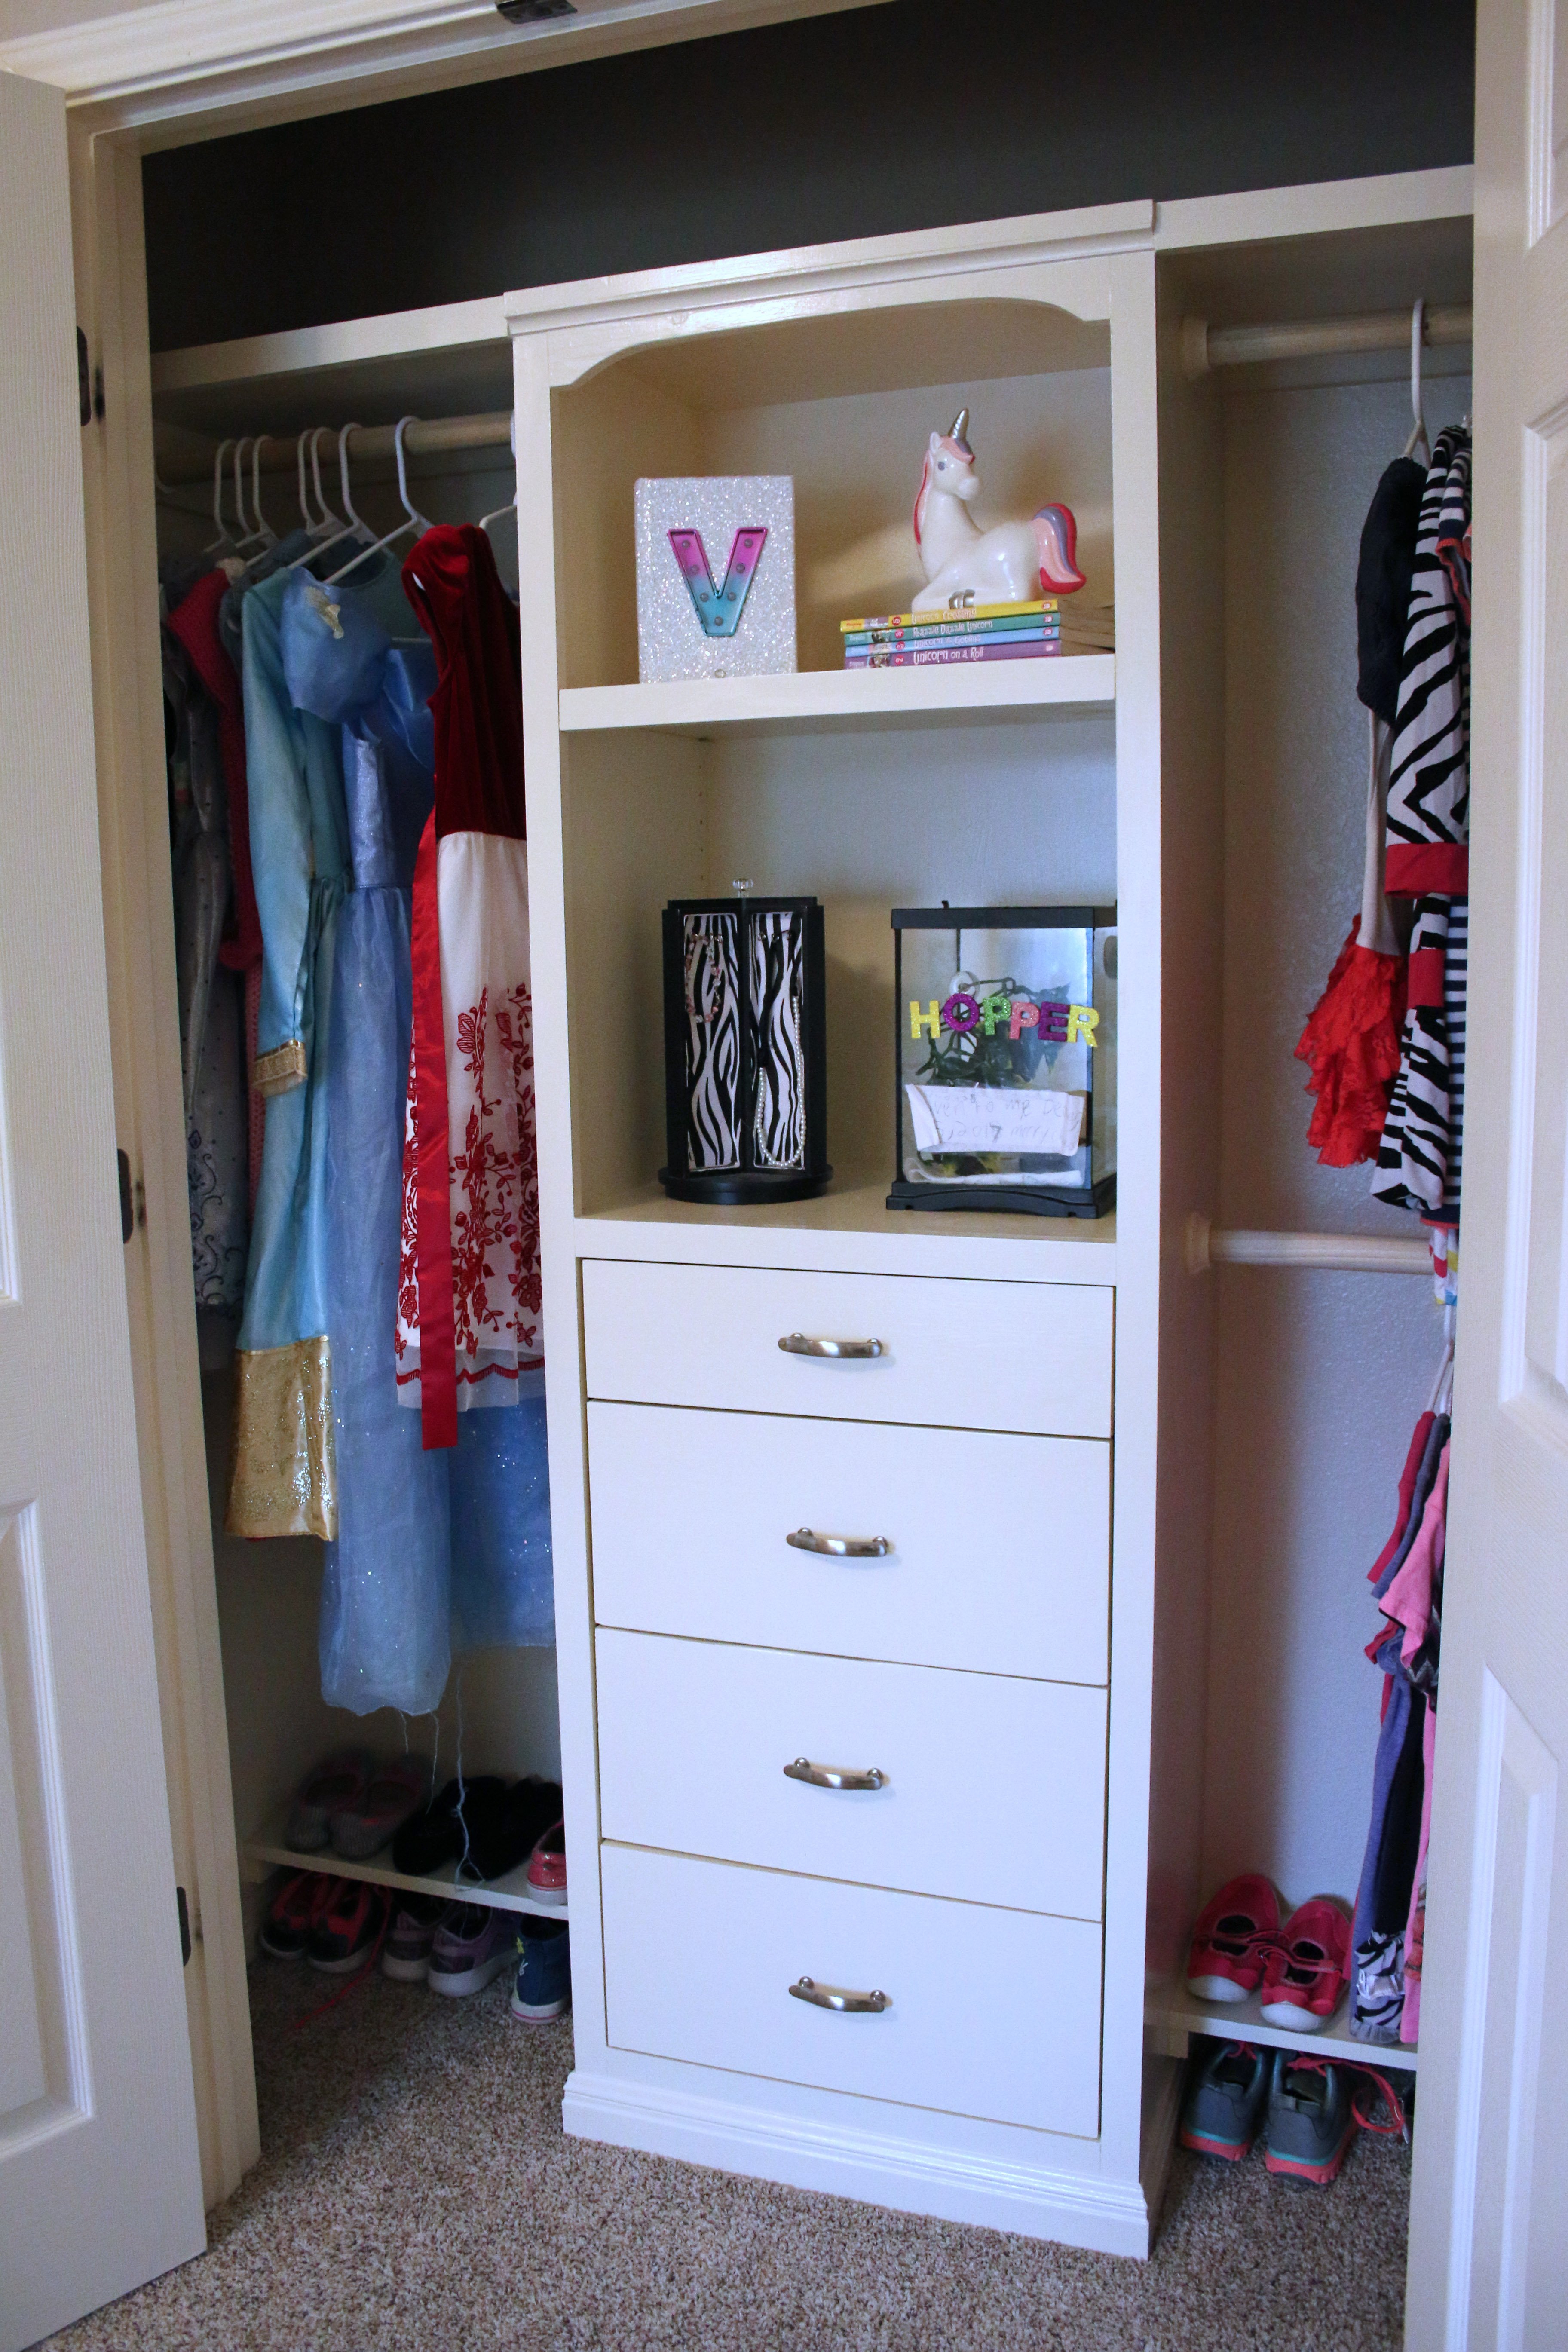
My daughter's room needed more storage and the closet was the perfect place to add some! Visit the blog link for more pictures.
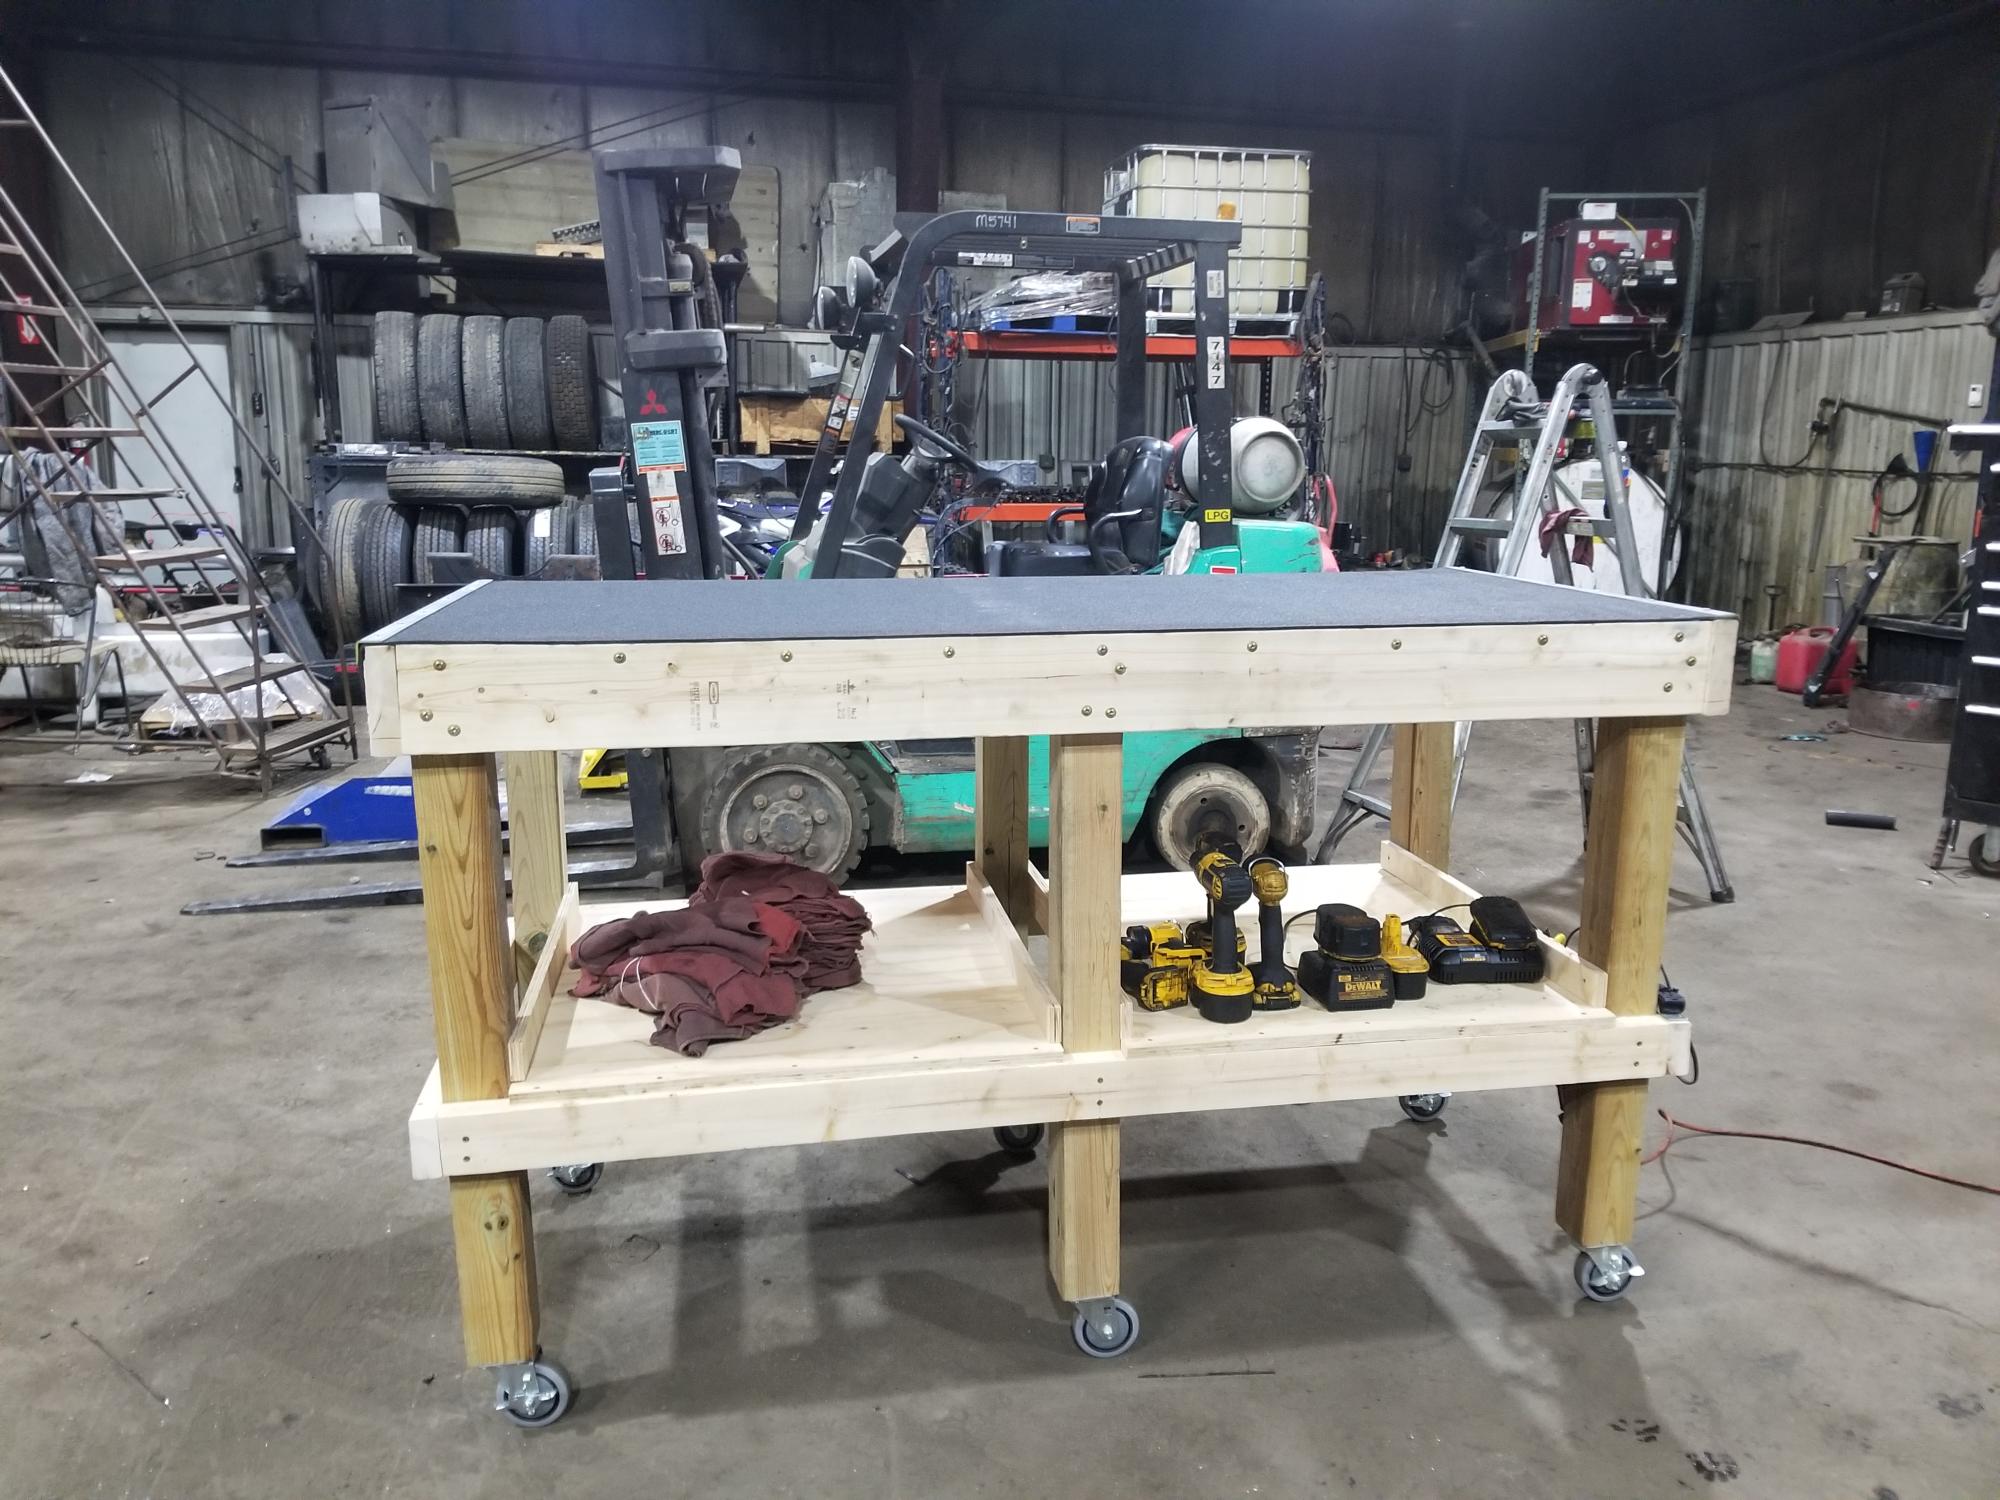
Awesome mechanic's workbench with sweet mods!

Comments
Ana White Admin
Thu, 01/27/2022 - 07:19
Sweet desk!
Wow that looks amazing, thank you so much for sharing!