Simple Wine Hutch
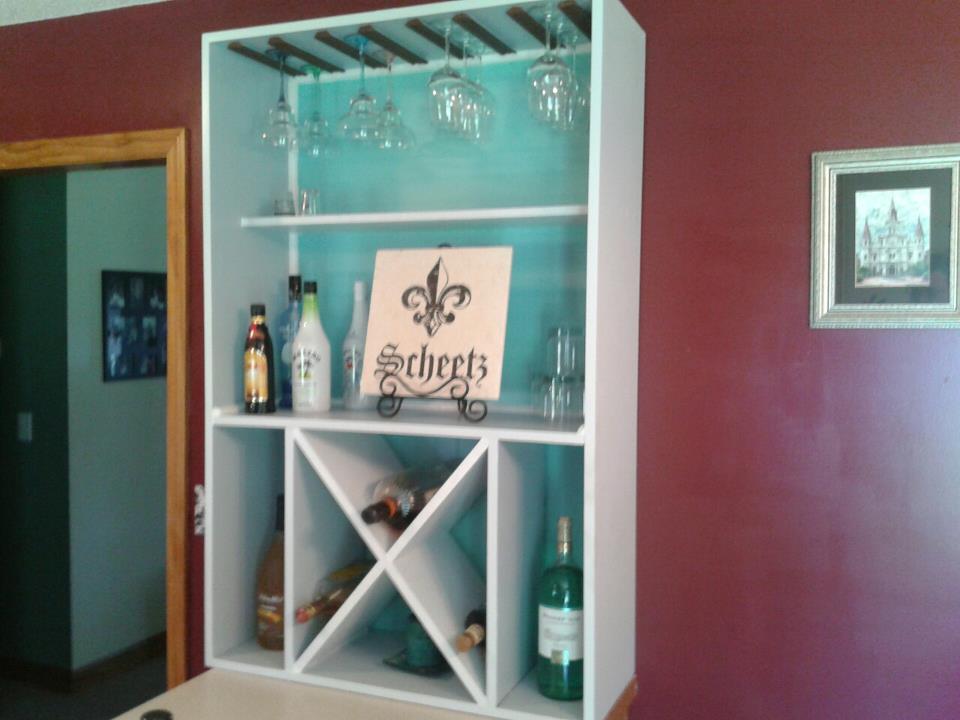
Made from Pine and great for Wine! A couple lengths of pine, some bead board, and coastal accent paint and ...Boooom! Show it off to all your friends and family.

Made from Pine and great for Wine! A couple lengths of pine, some bead board, and coastal accent paint and ...Boooom! Show it off to all your friends and family.
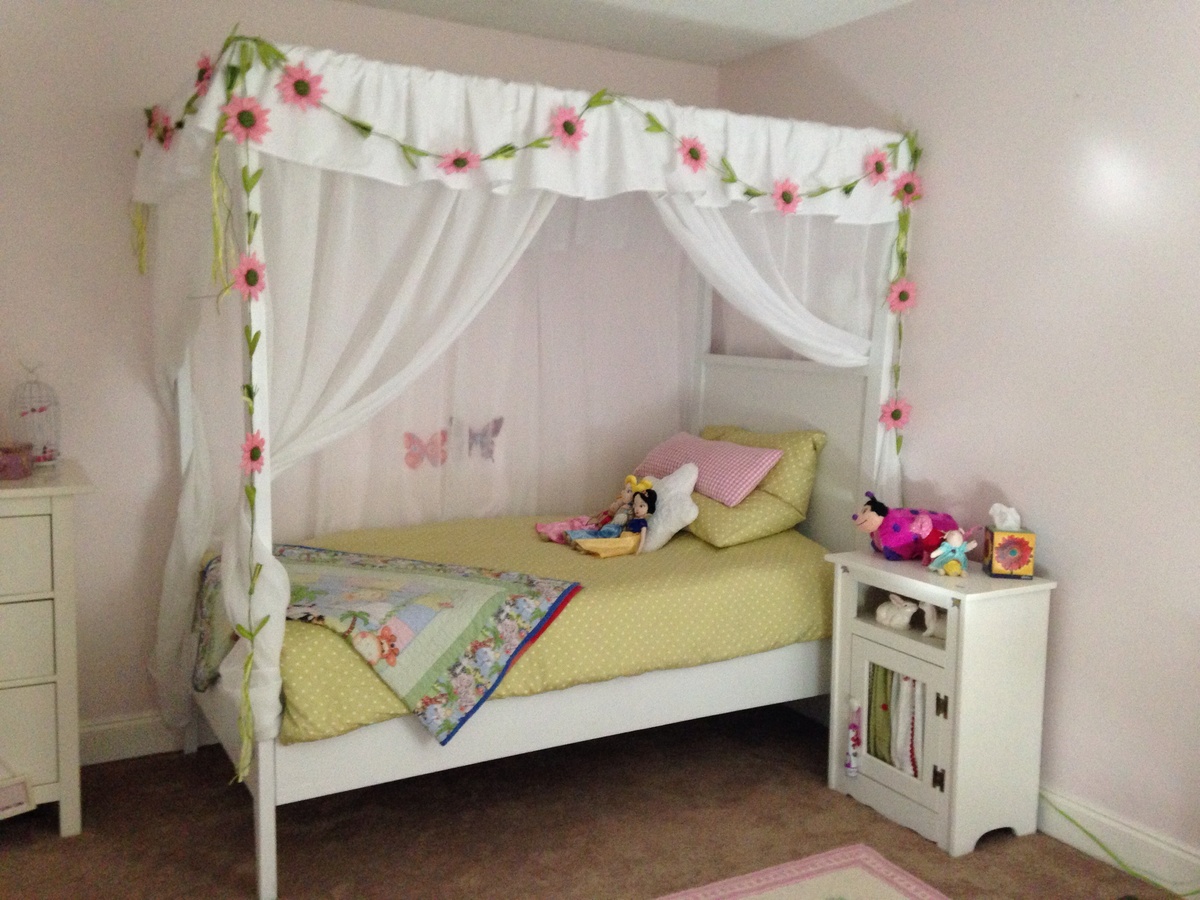
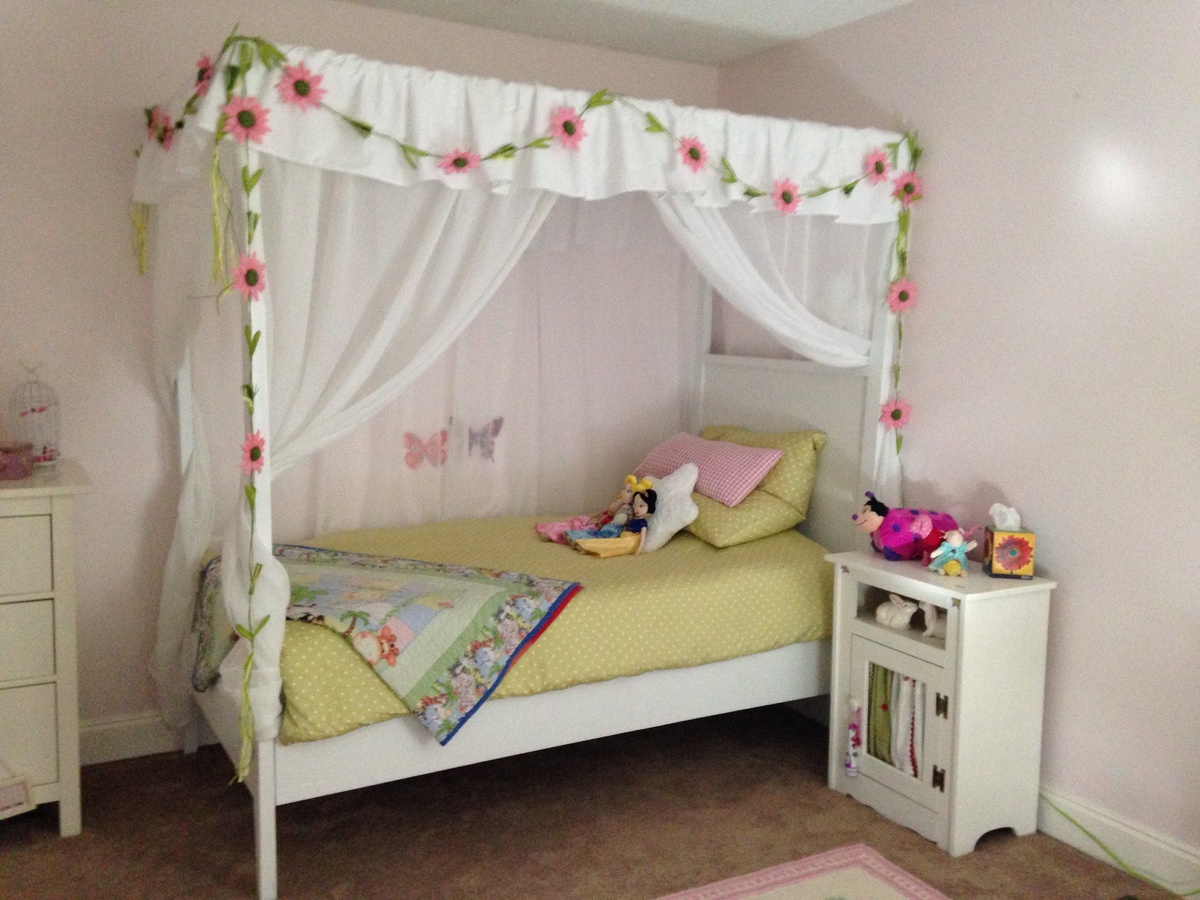
My first ever furniture making attempt . My 5 year old daughter Delilah really wanted a princess canopy bed and we found the perfect one on this site , thank
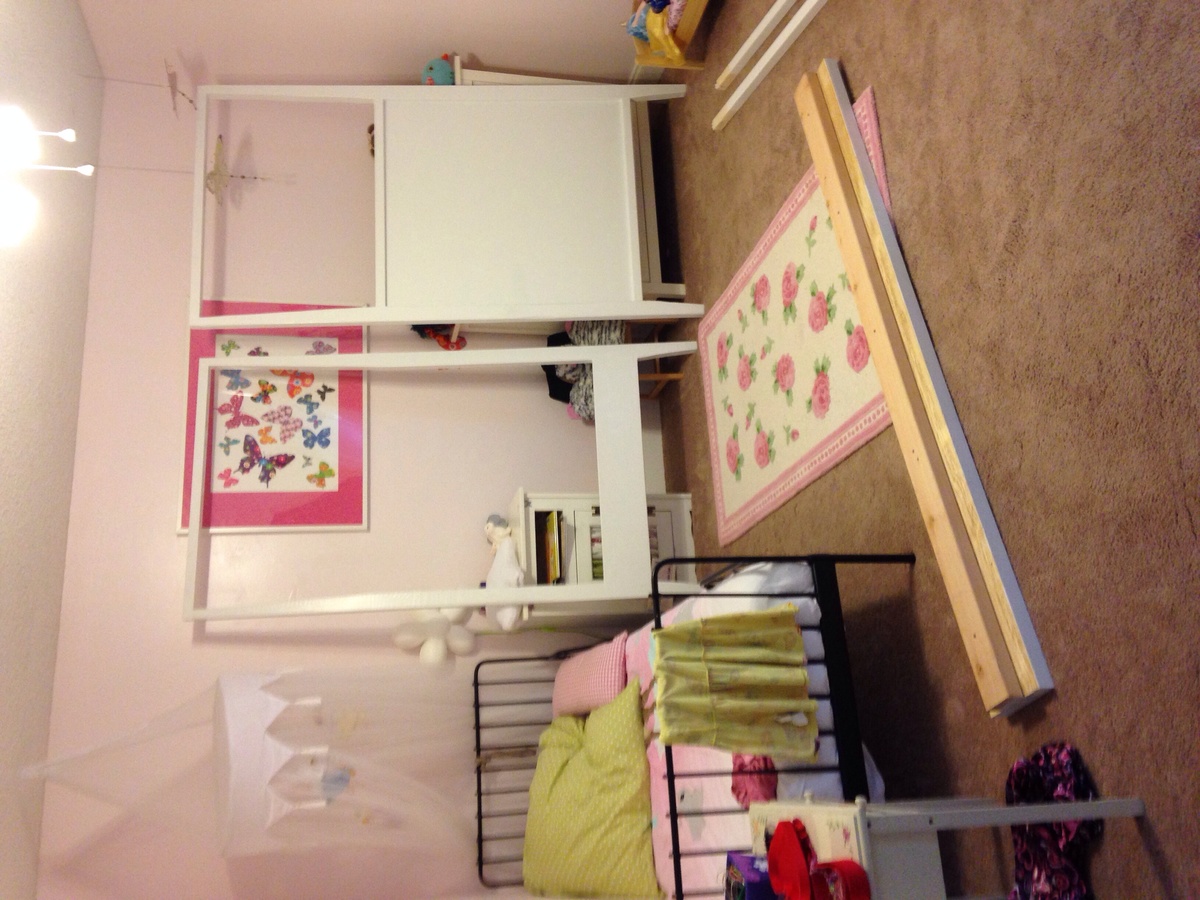
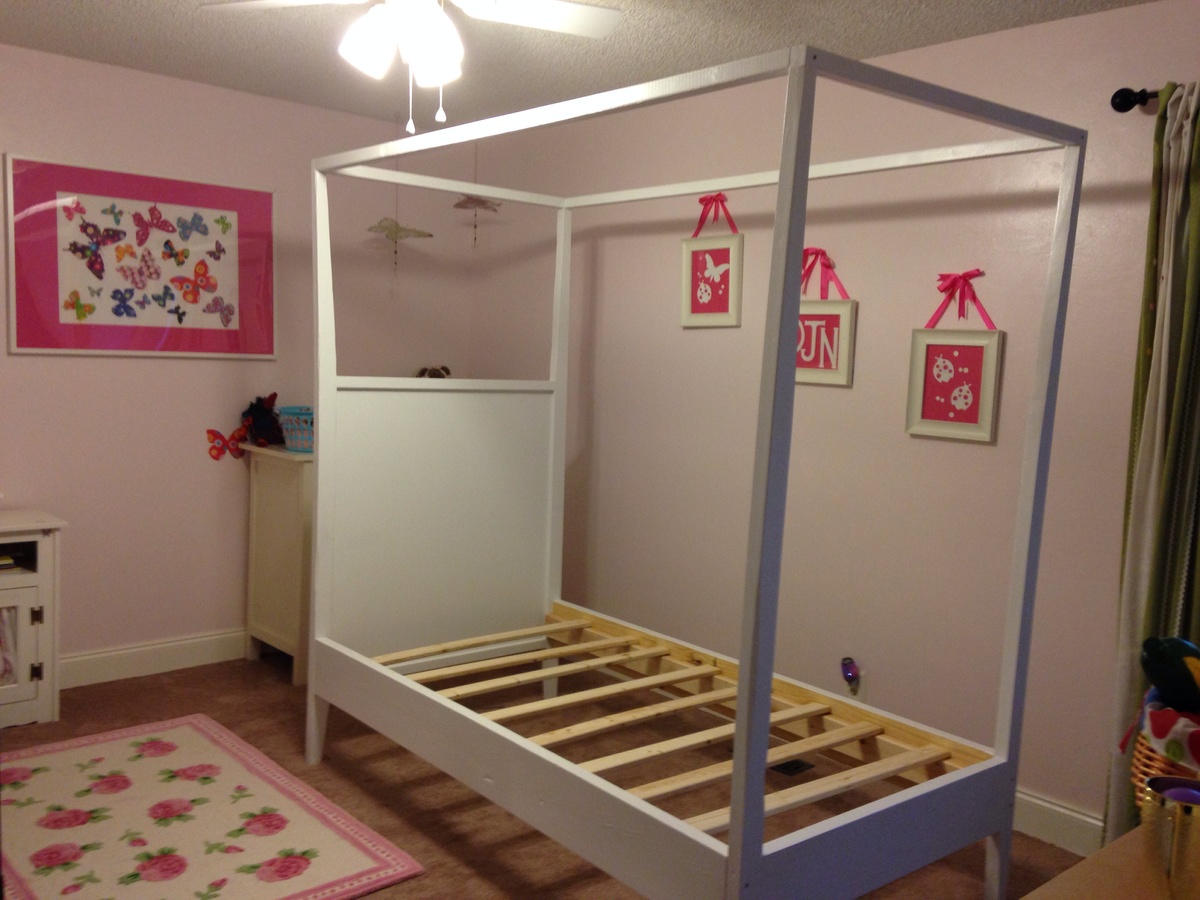
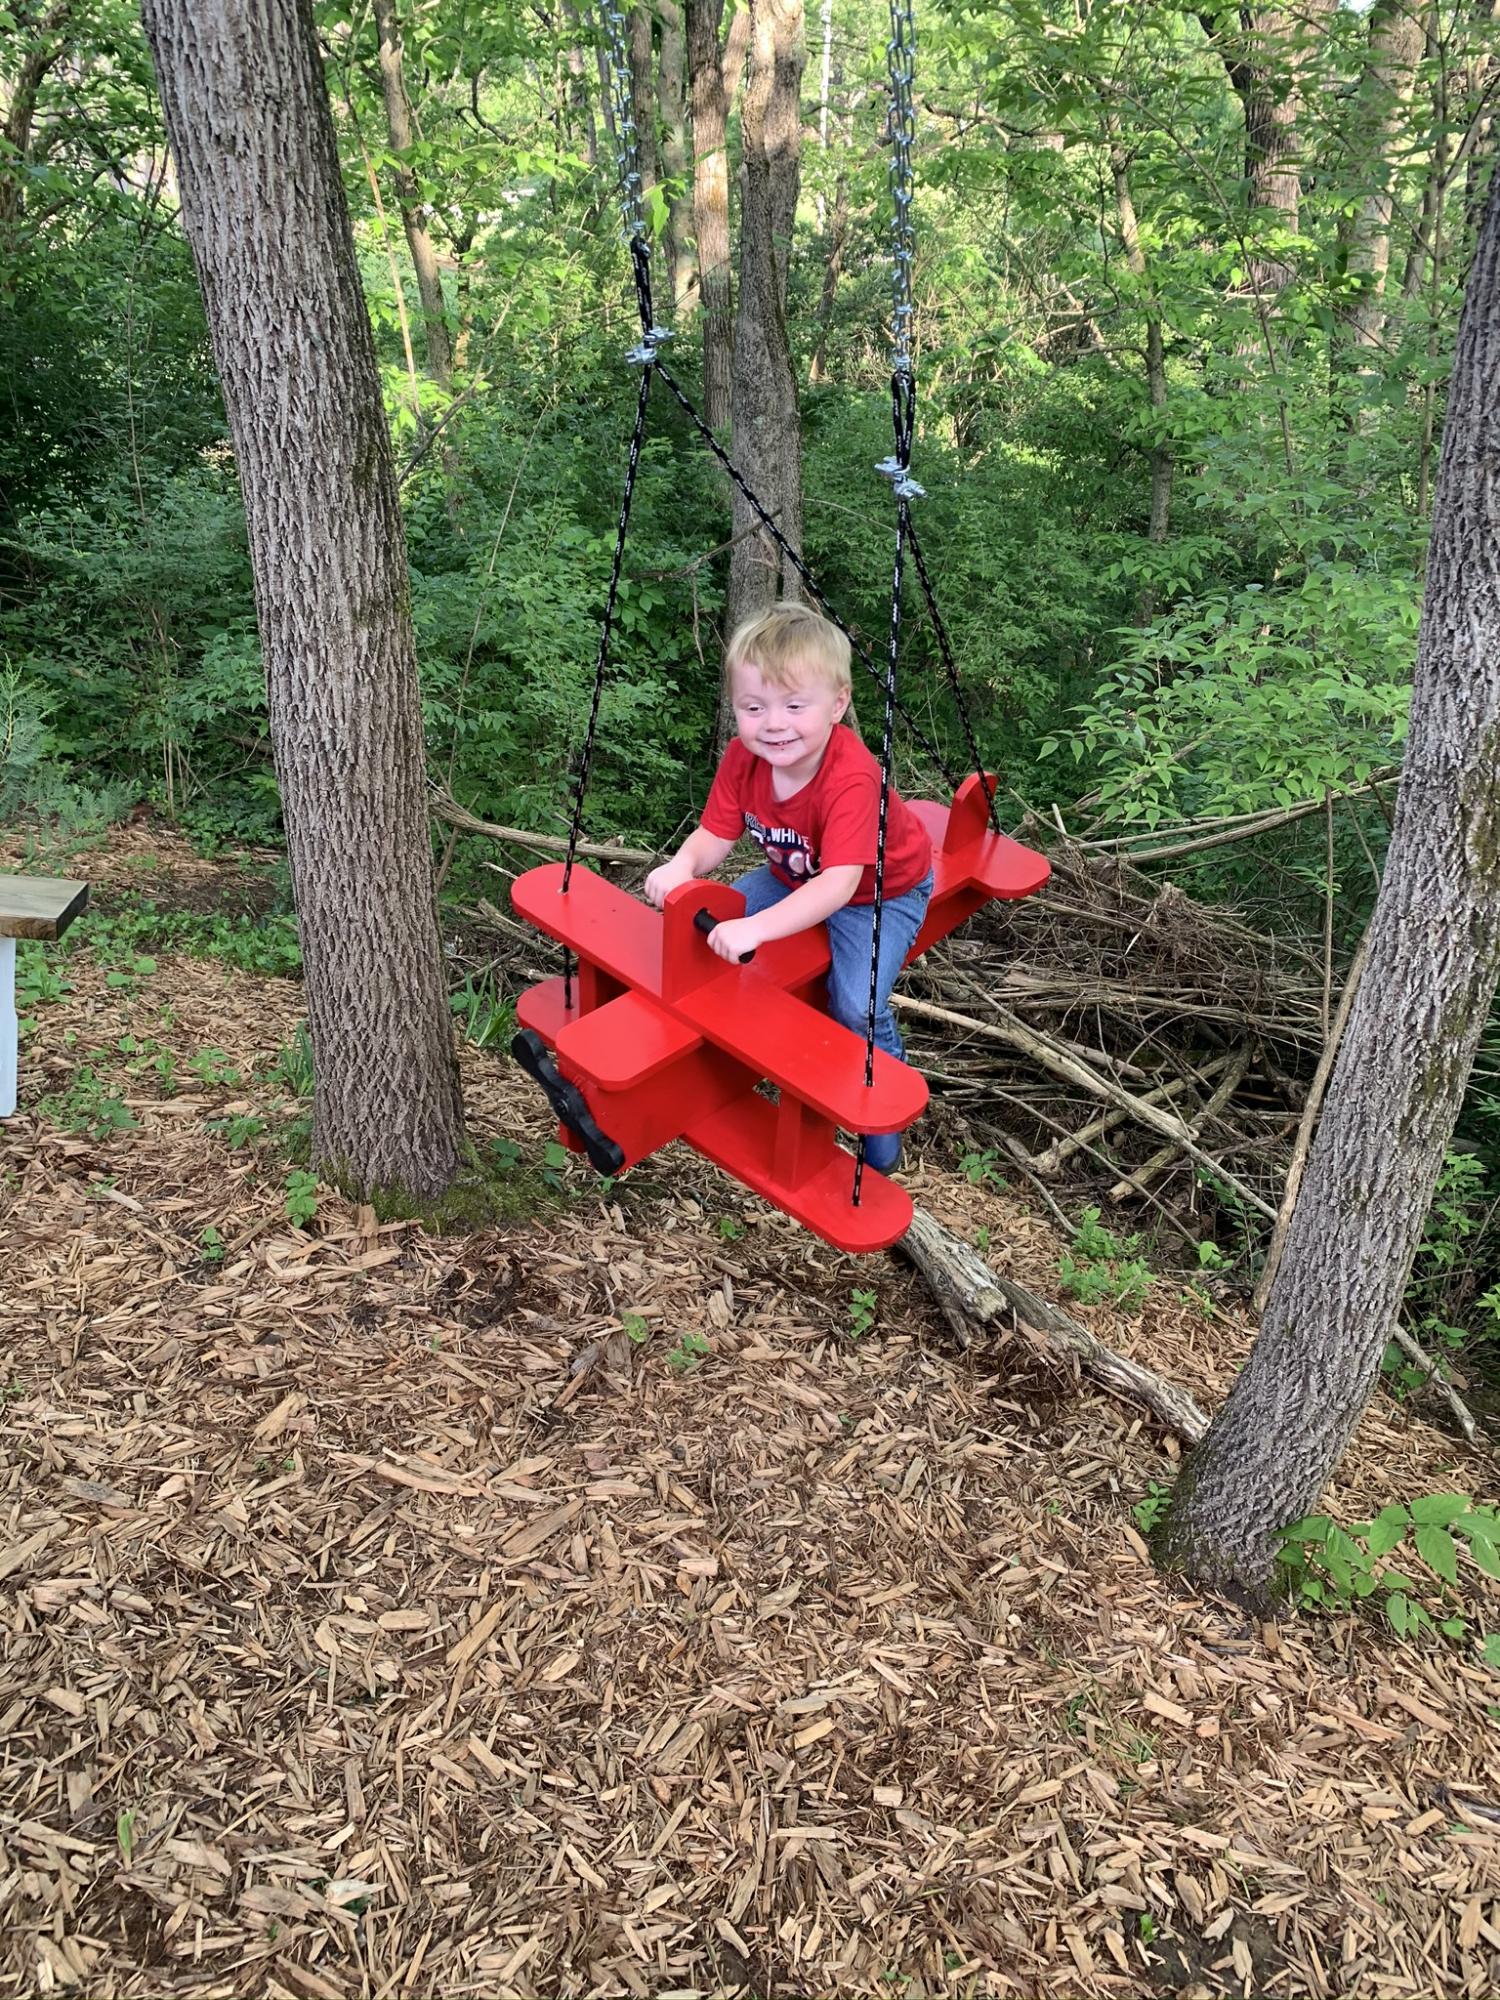
Super fun swing for my son
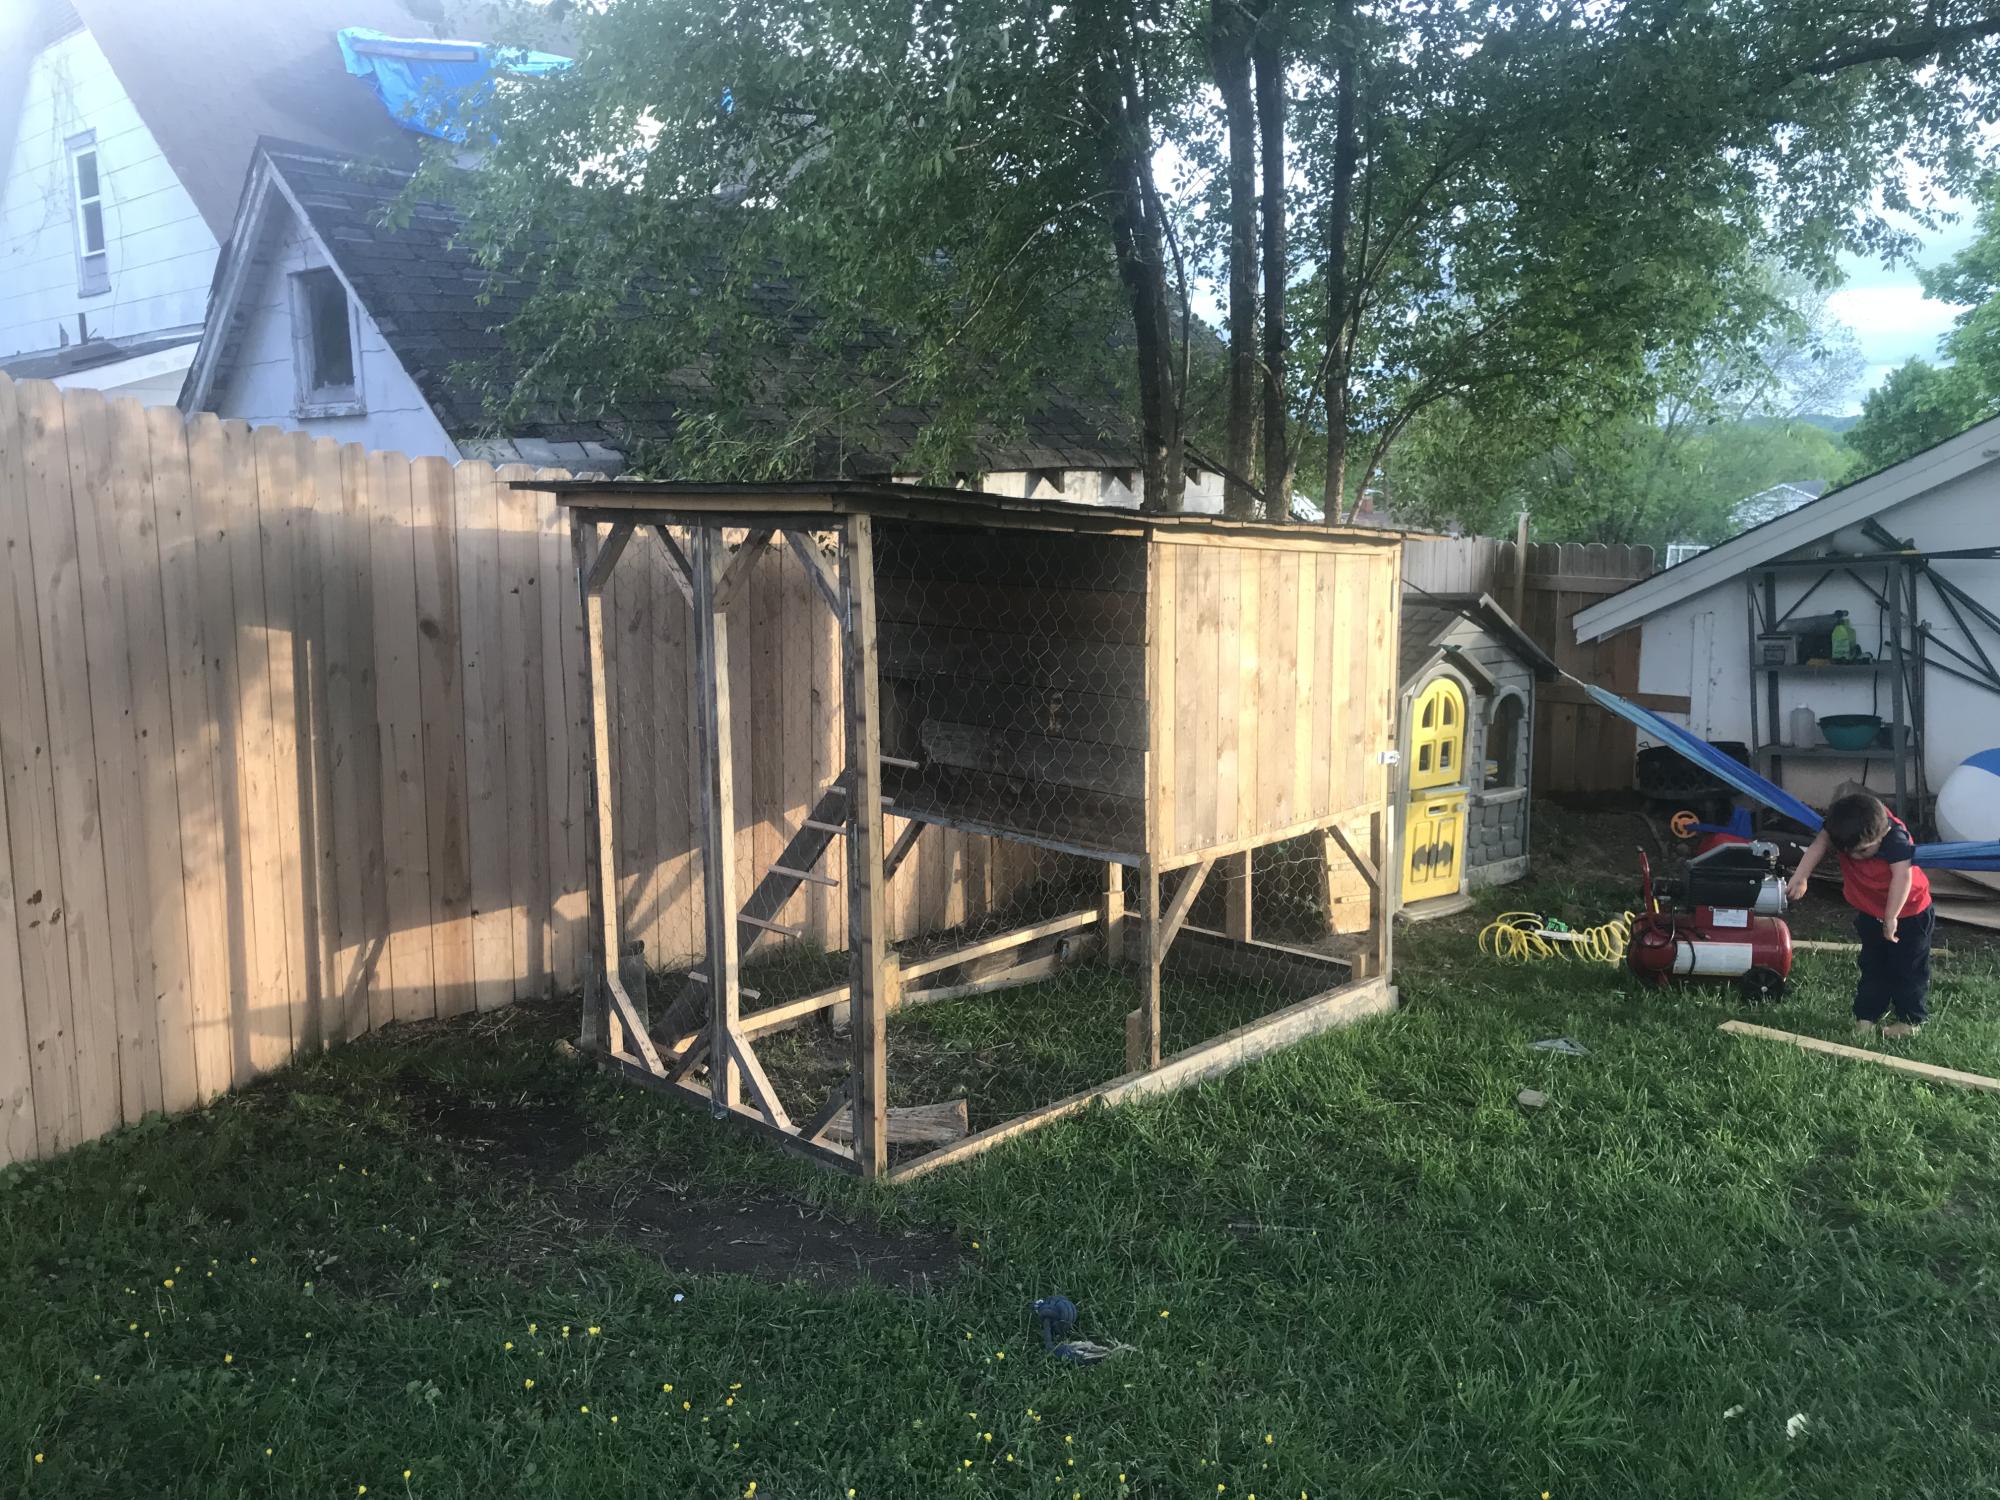
Thank for the plans!
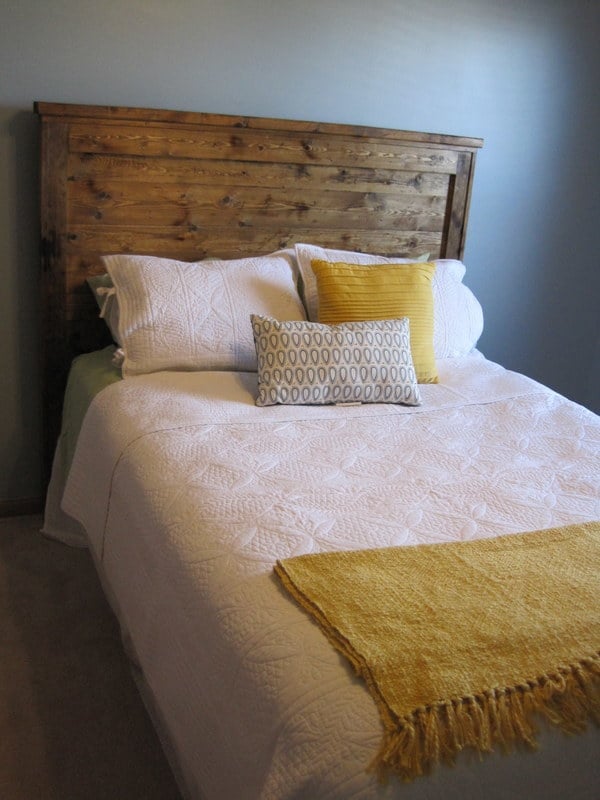
My husband and I had been looking for a great headboard for a bed in our guest room. We found ones we really liked but didn't like the price tag of 800-1500 dollars (not even including shipping!) We stumbled on this site and absolutely fell in love with the reclaimed wood style headboard. It was exactly what we were looking for. Building it just took a few hours. After we distressed the wood using a chain I found at the hardware store (only $1.60), a drill, a creme brulee torch and a hammer, we prepped the wood (sanded and primed), stained and clear coated. I highly suggest not only vacuuming off the wood but also using a tack cloth (so cheap but it makes such a difference) to make sure all of the dust was off. We bolted the headboard into the bed frame. It will be heavy but it is really sturdy and looks great! A good tip is to decide early what you want the front to be - you can chose the best sides of the wood that way!
Thu, 10/03/2024 - 02:38
Hello! Thank you very much for your useful information. I also have a website about home decoration, specifically curtains. If you are interested in this topic, you can visit our website for reference
https://www.dinhthanhphat.vn/man-cua-binh-duong-dep-mau-moi-nhat-2024/
thank you
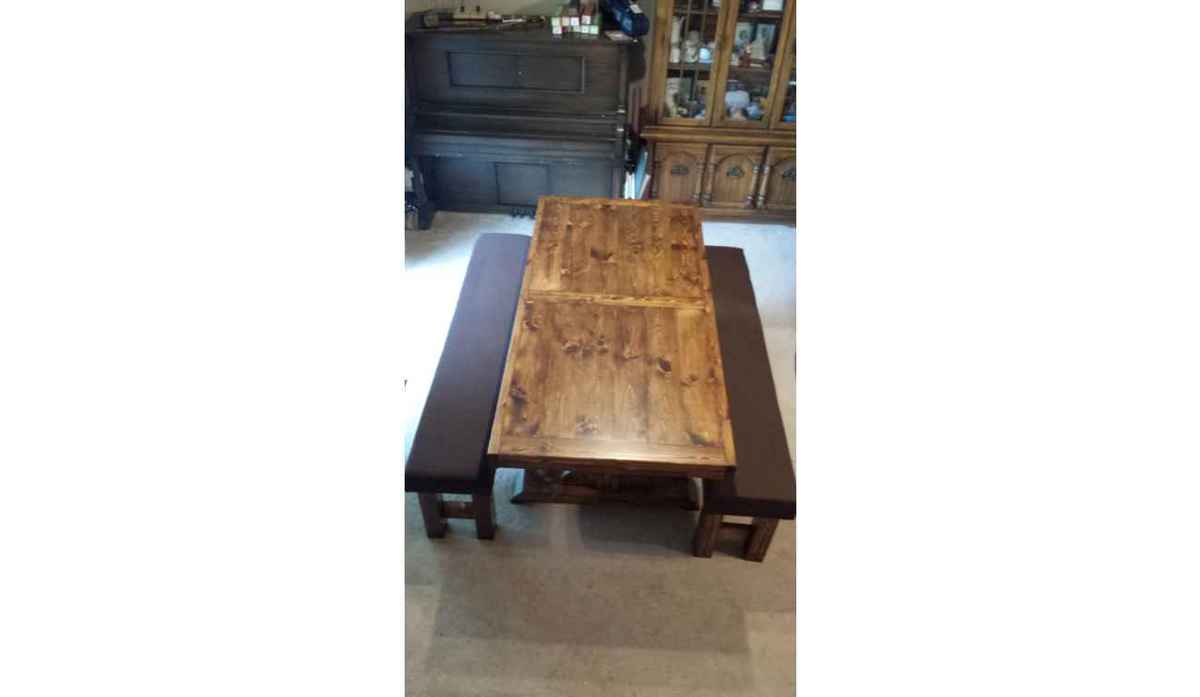
I modified this plan by removing 1/3 of the table so it would fit our dining room. I used the farmhouse bench plans and "upholstered" them. This is the result. I used construction grade pine. Some of the table was altered by mistake, other bits on purpose. This project took me 40+ hours to complete. Weekends, a afterwork.
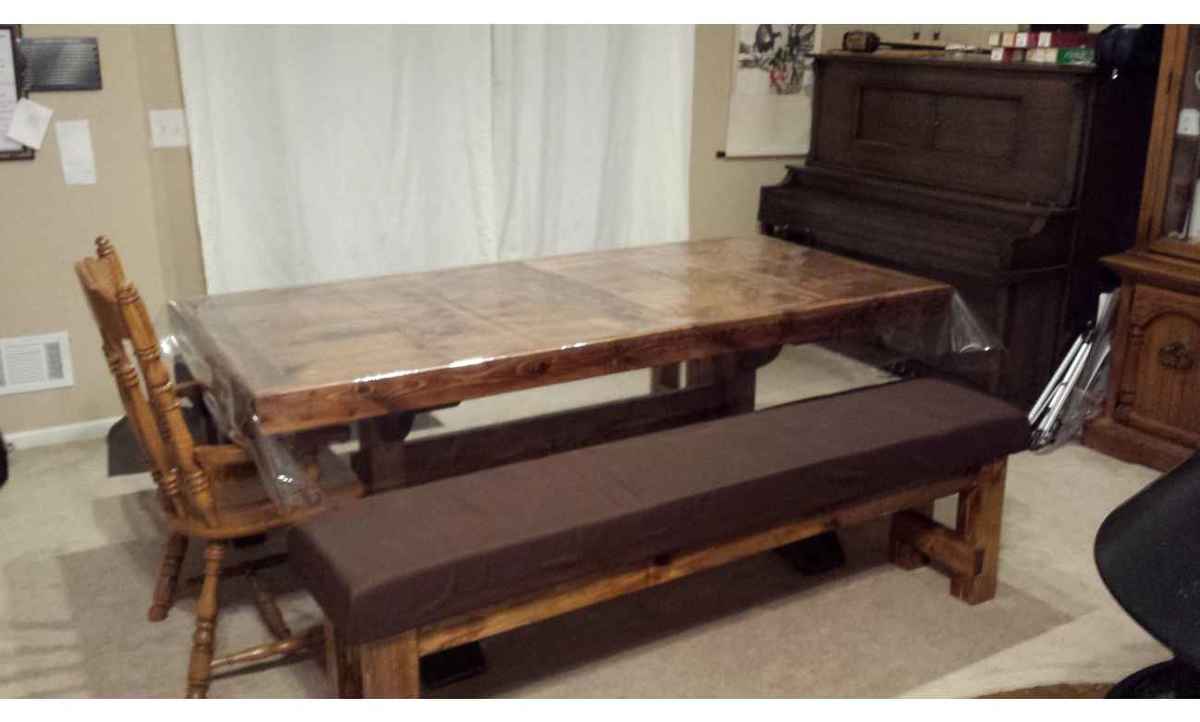
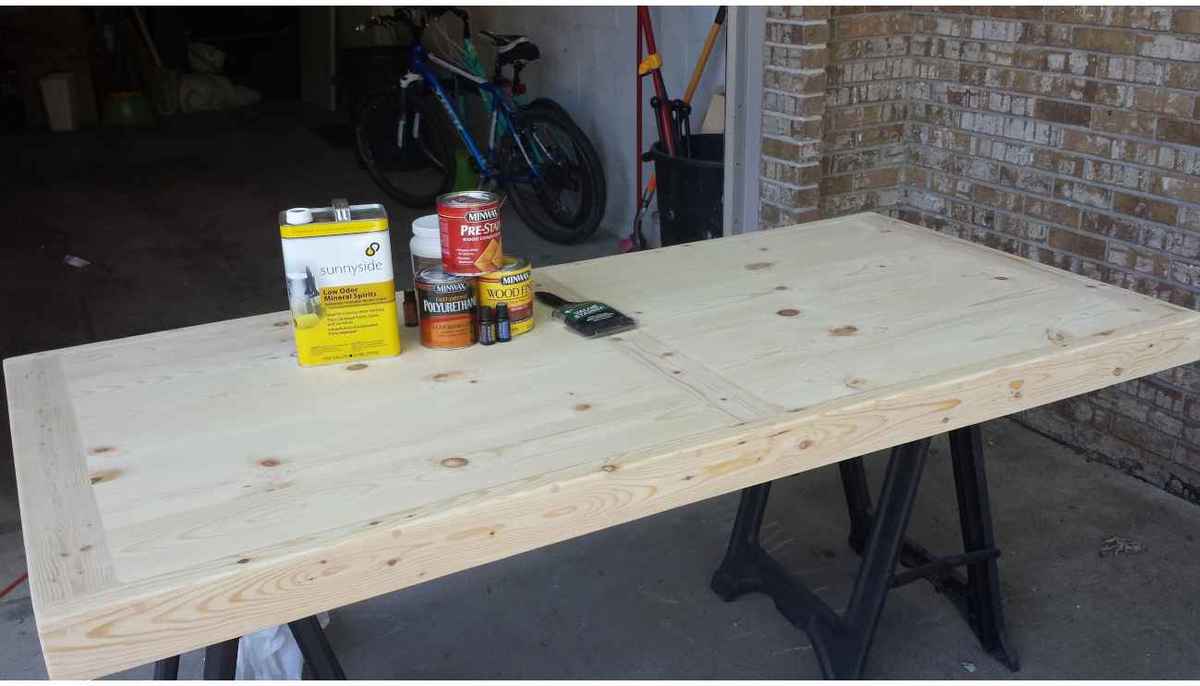
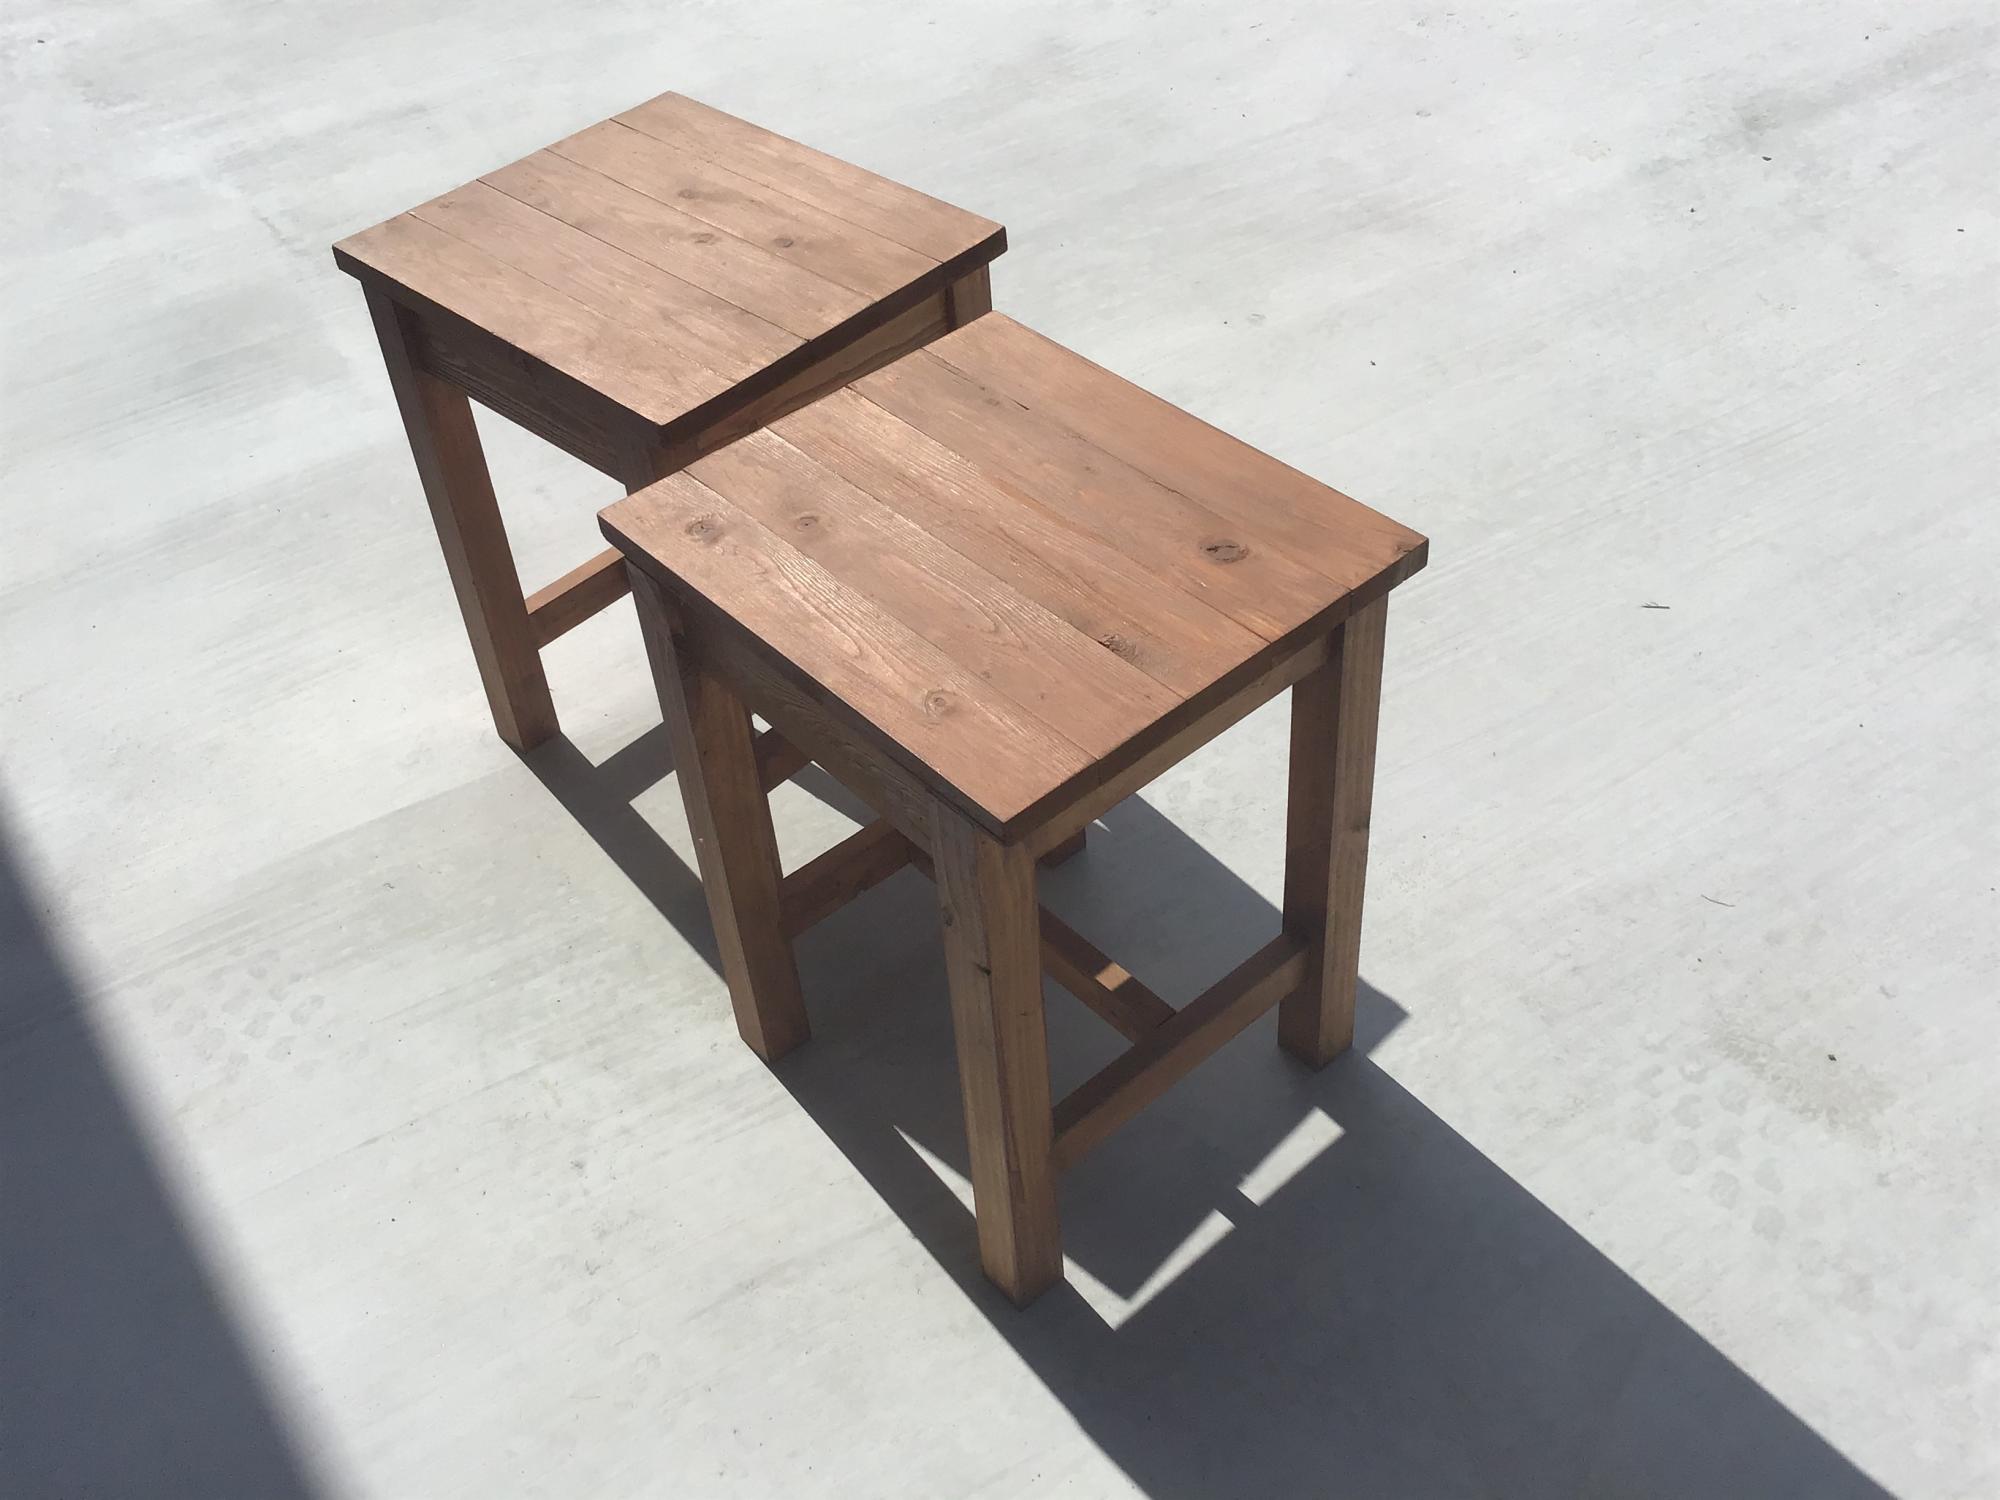
My first wood project.........

Hello everyone,
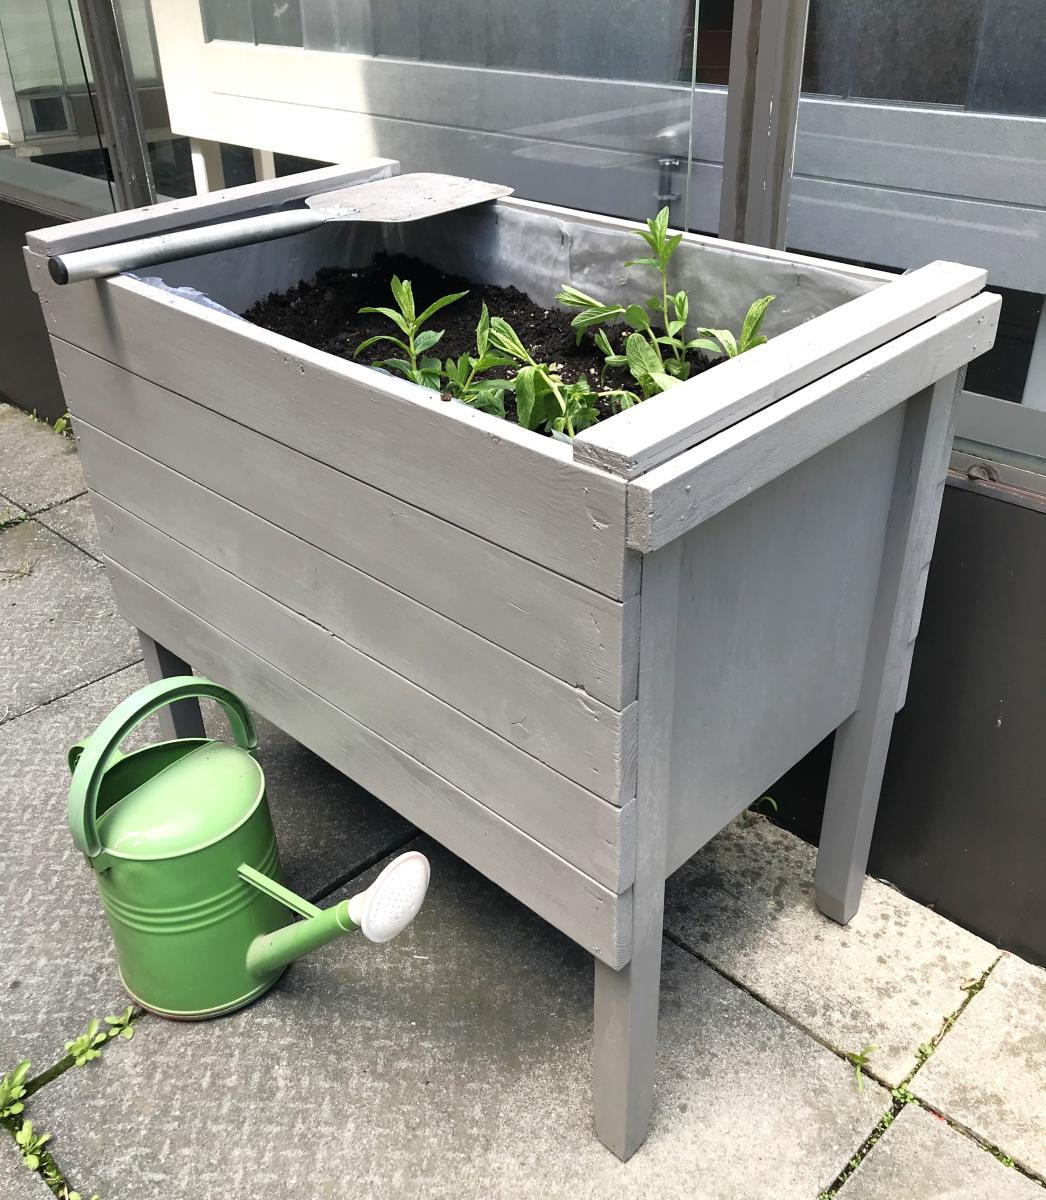
I collected unwanted wood and I put them in a good use. Transform them into planters . Many people throw excellent wood . Either, they aren’t aware or they purchased new furniture.
Thank you Mrs. Anna . She has inspired me with her excellent ideas. God bless you
Jean Abinajem
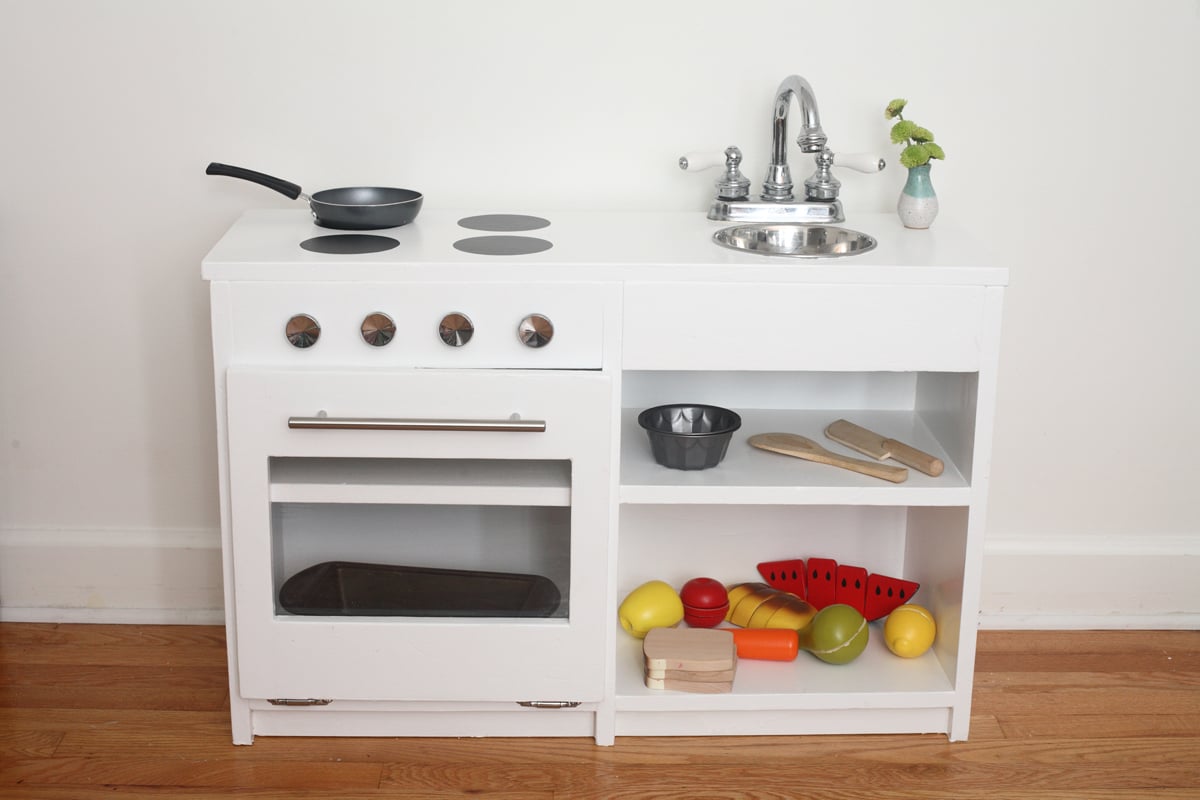
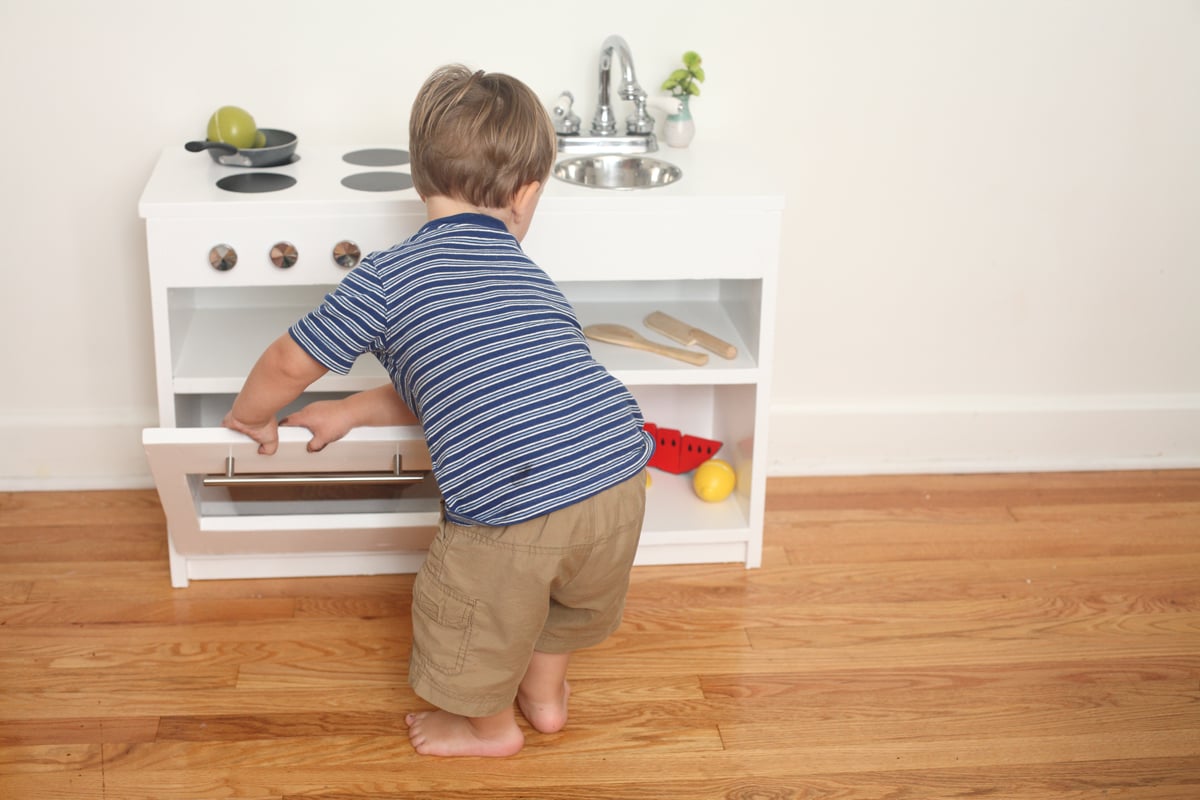
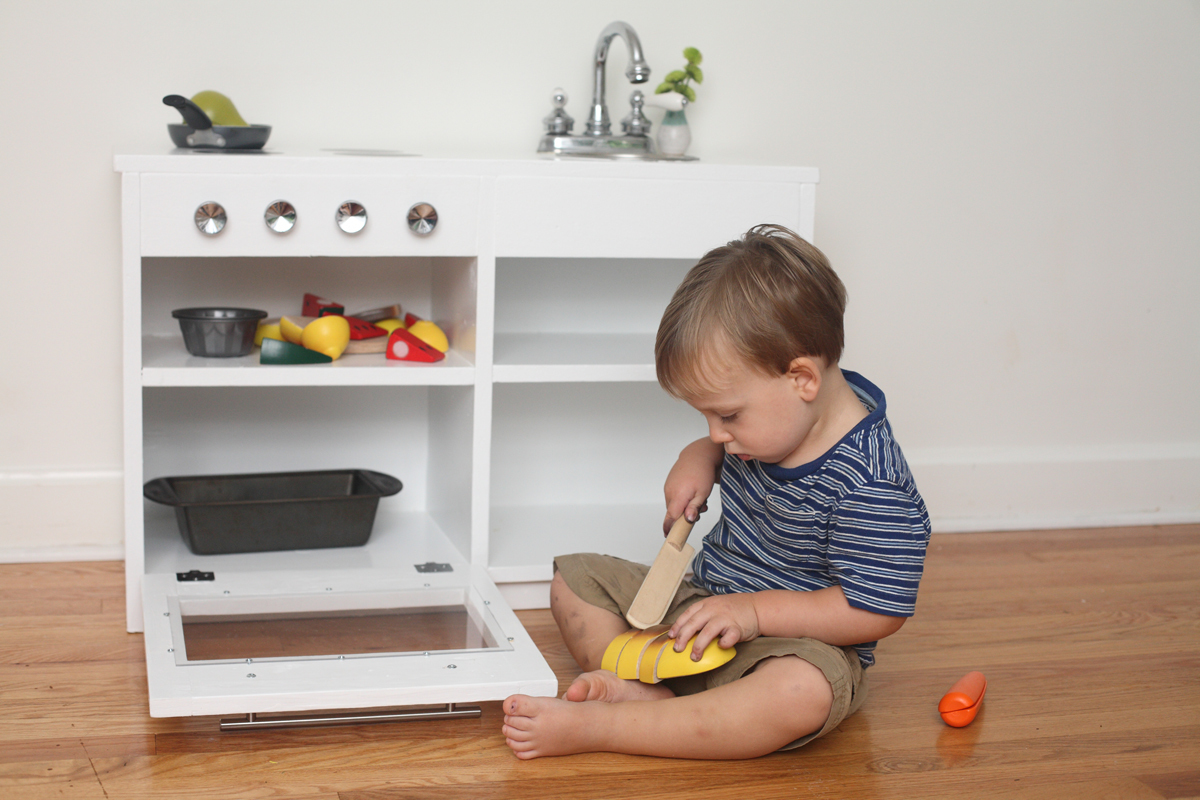
I combined the play sink and play stove into a one-piece kitchen by having them share a side. I found a bathroom faucet at my local Habitat ReStore for $15 (and that included a sink I didn't even need!). Time investment does not include painting. Here's my cost breakdown. Lumber: $25 (I used some scraps.) Faucet: $15 Dog bowl: $7 Hardware: $13 Primer and paint: $19 Screws: $4 Sandpaper: $5 Plexiglass: $3 Prepping dinner while my toddler works in his play kitchen beside me: Priceless.
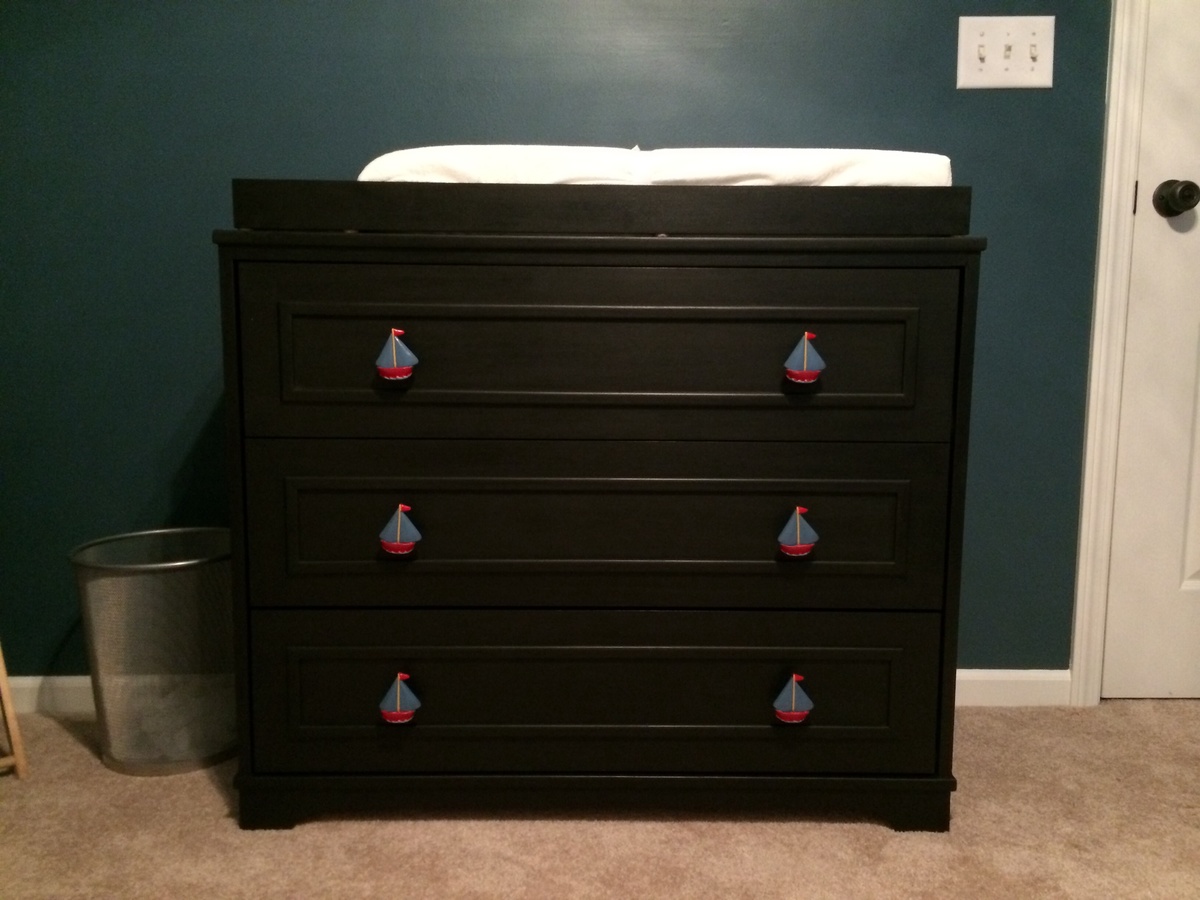
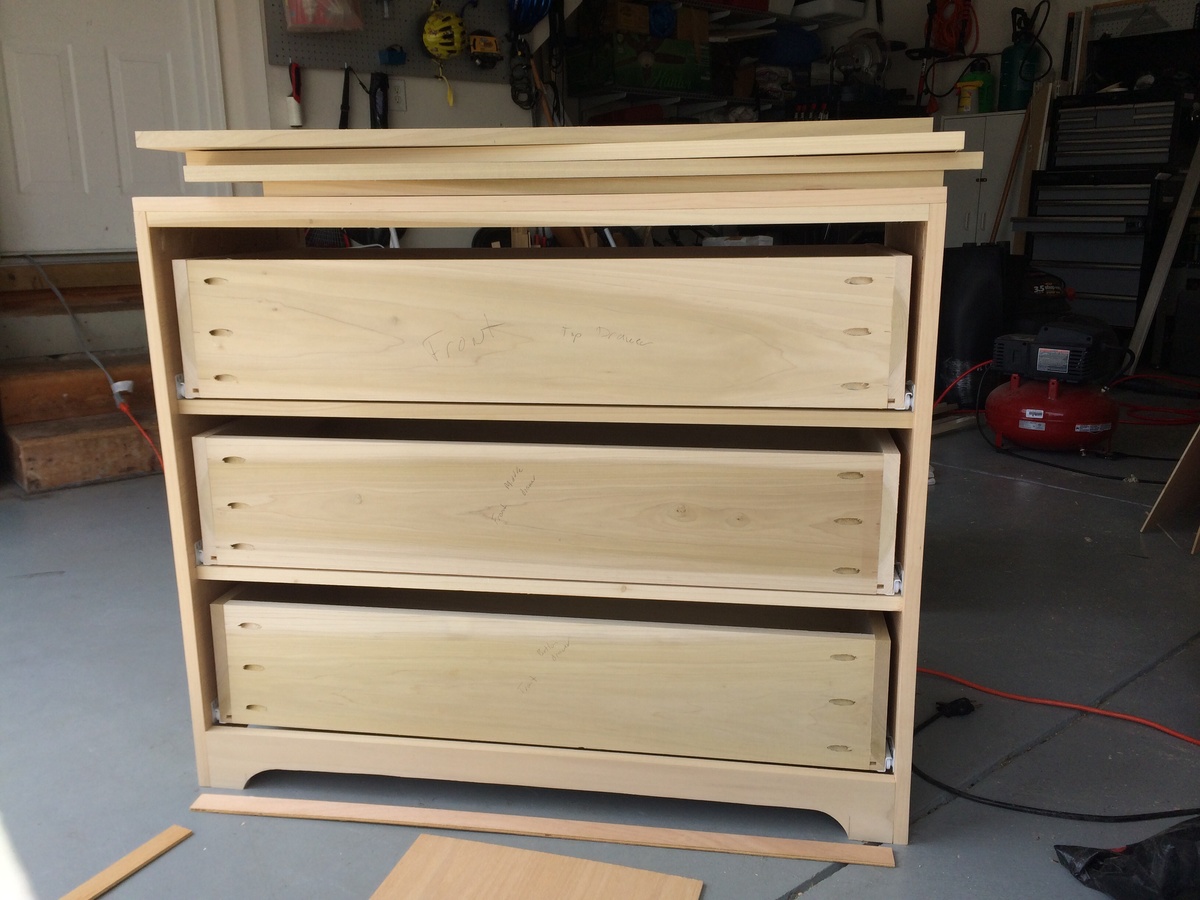
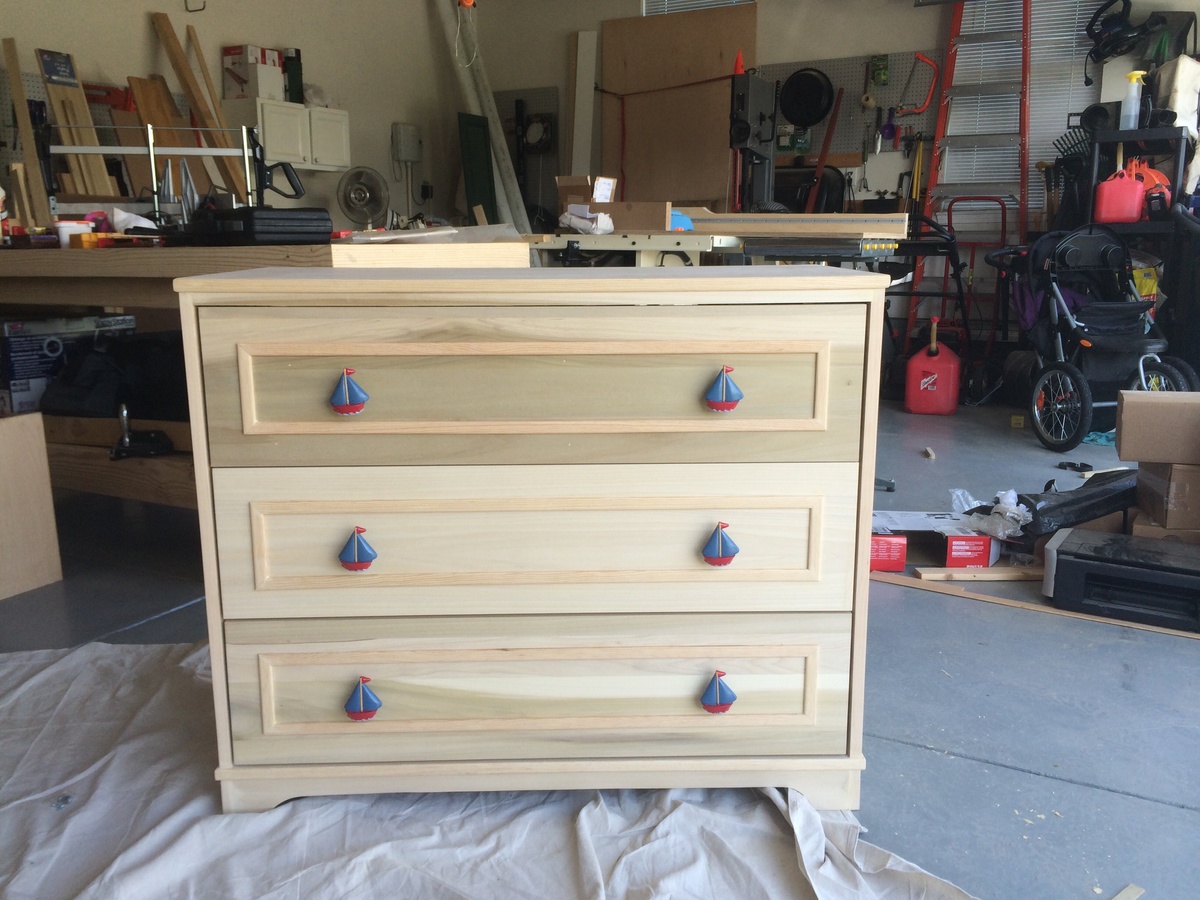
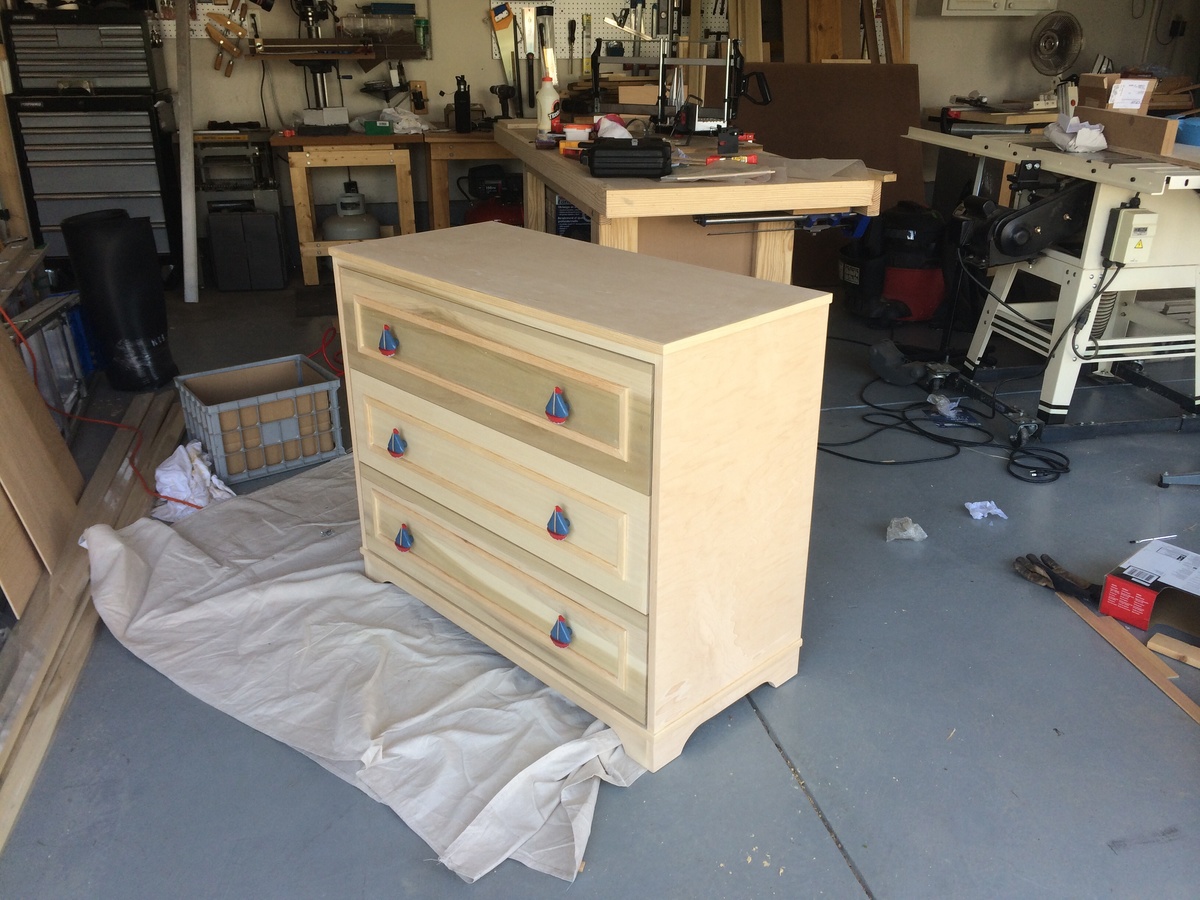
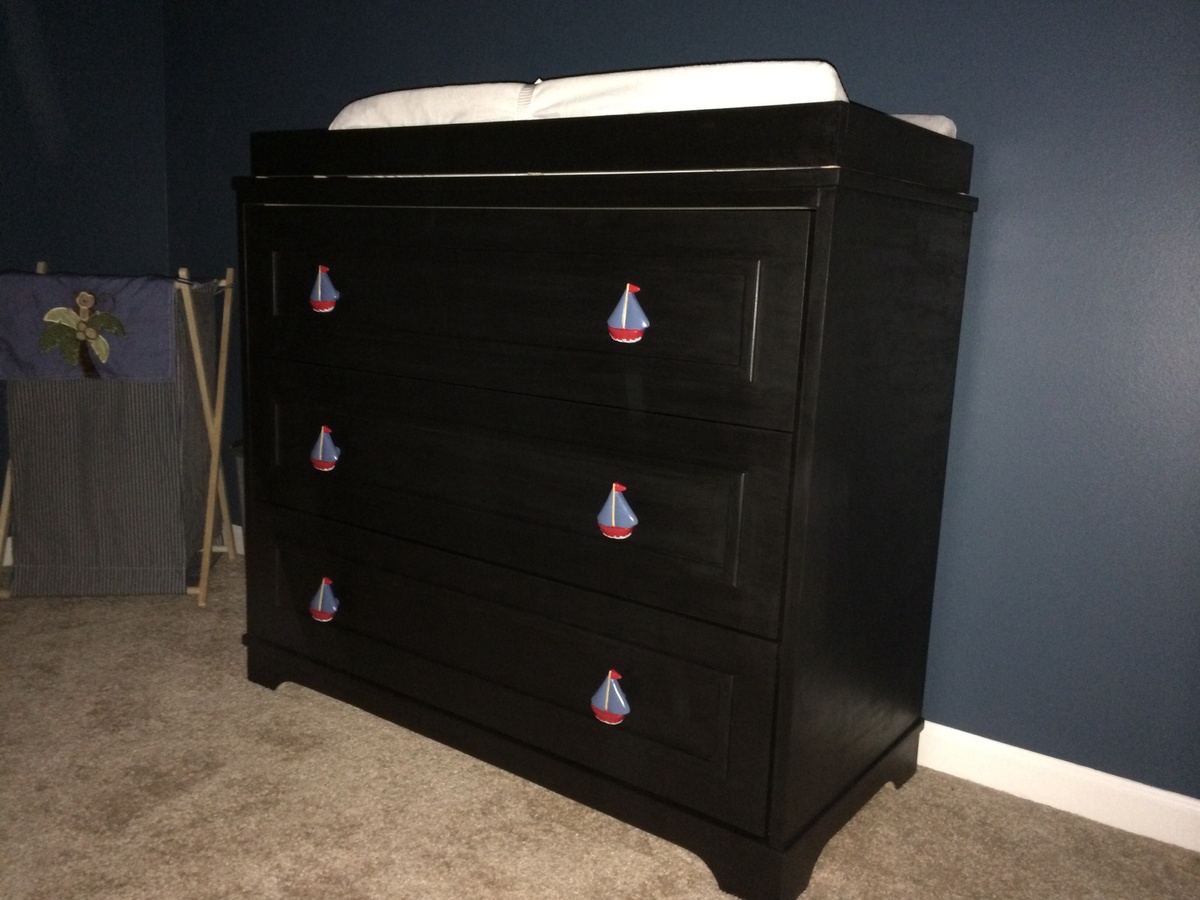
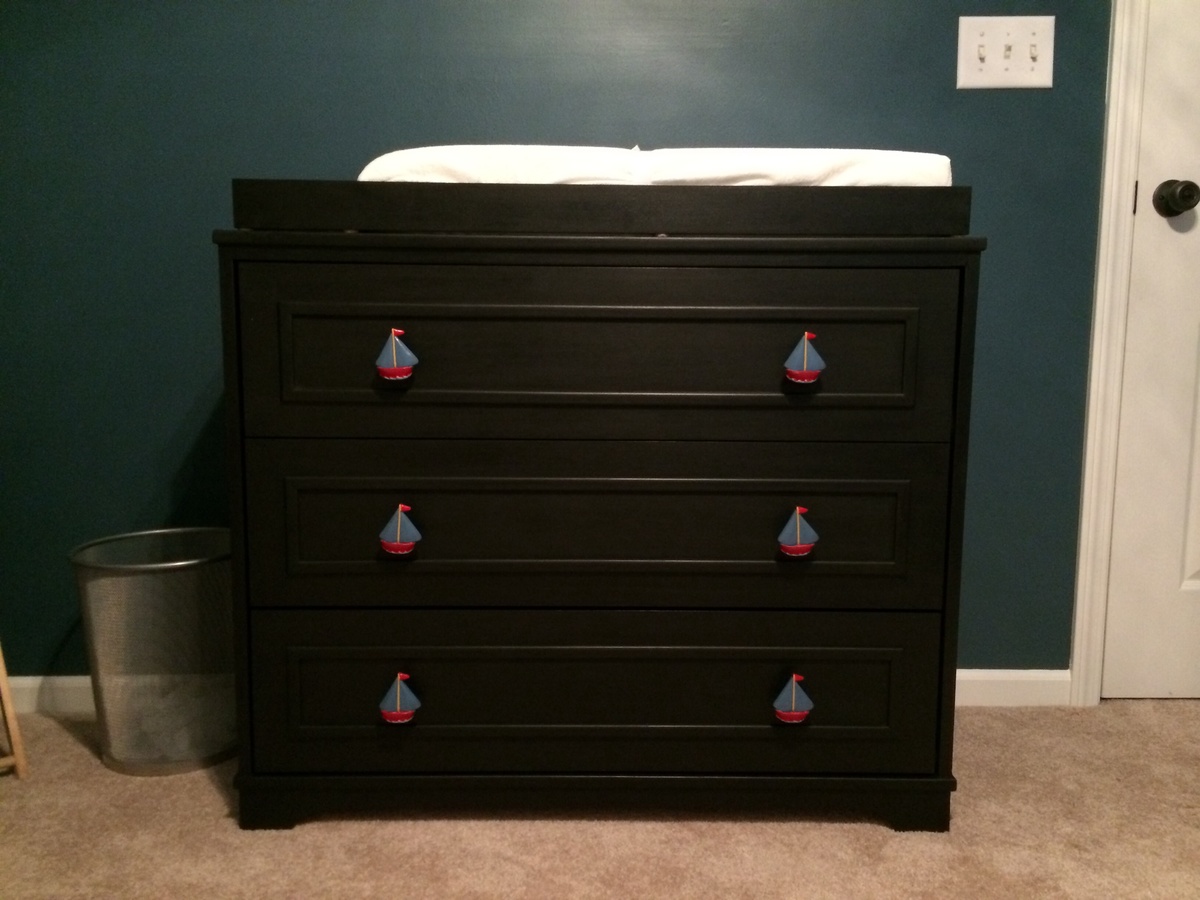
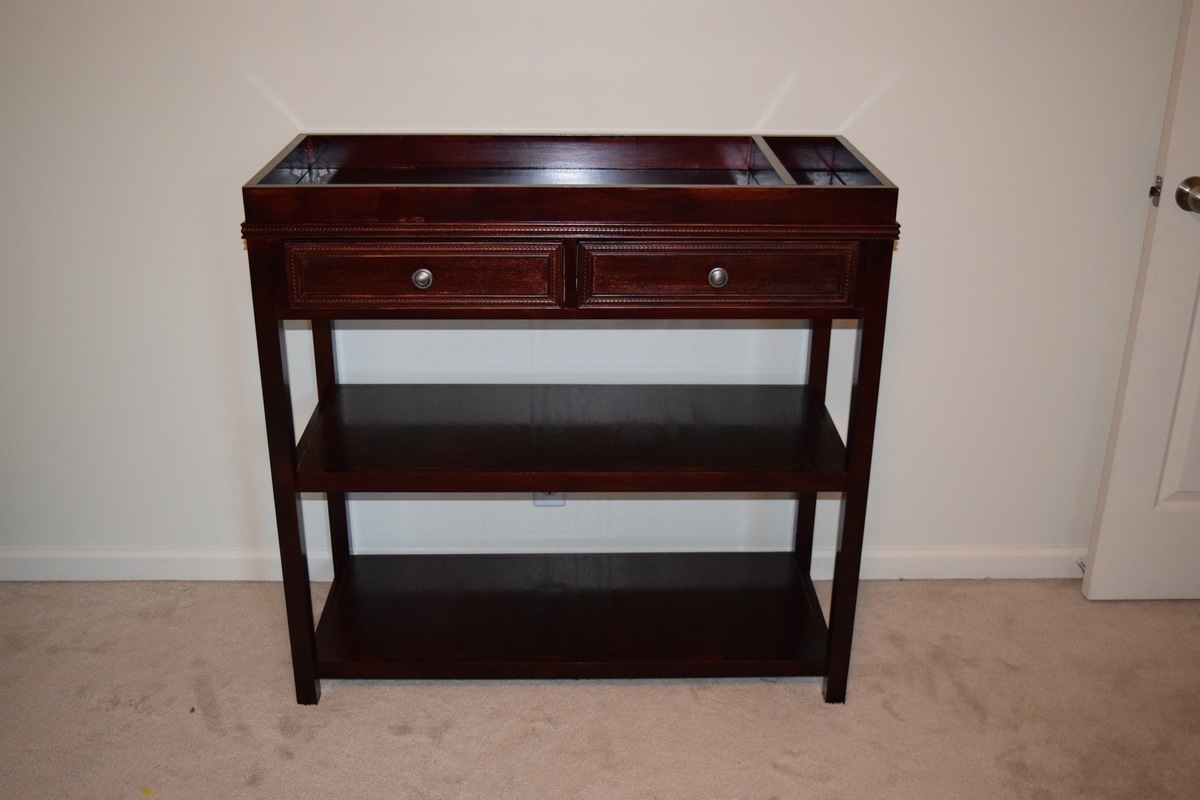
Needed a dresser/changing station for our baby boys nursery. After pricing the "cheap ones" at target ($225). Decided I could build one for much less and much better quality. Found the Fillman Dresser/Changing station plan on Ana's site and felt that was the plan.
One modification I did to make the drawer bottoms stronger was to route a ¼" rabbit ⅜" from the bottom of the drawer to help hold the ¼" plywood.
This was my first time using milk paint and after the first coat I felt I ruined the project because the color was so uneven. Thank goodness for the internet because when I looked milk paint up every site had a "don't panic" paragraph about the first coat going on uneven. Quick sanding and a second coat Made me a believer.
As this was my first project I am very pleased with how it turned out. I learned a number of things to avoid and look forward to my next project.
Thanks Ana for all of the inspiration and ideas.
I love how my fireplace turned out!! It took a whole day to make and I did end up scaling the design up to make it a lot bigger. Love how it turned out!!
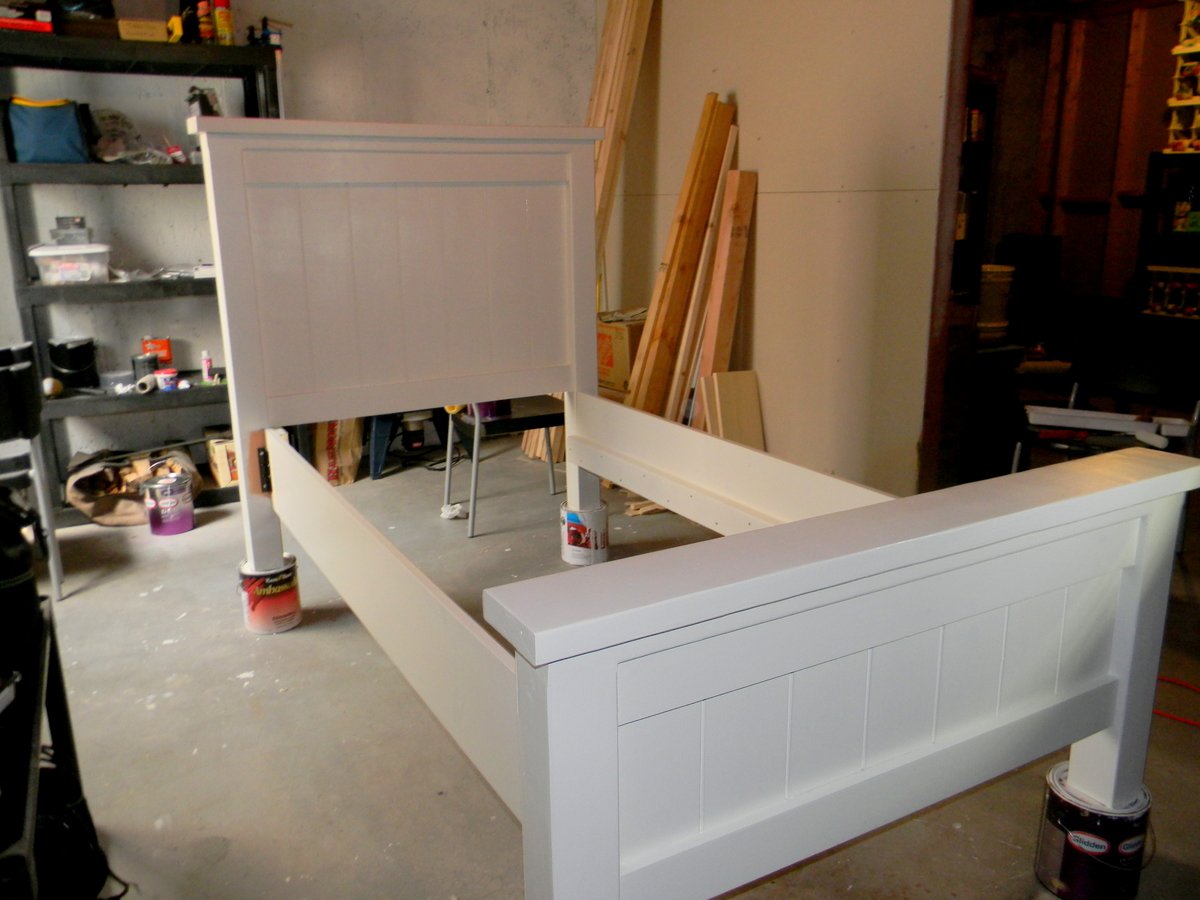
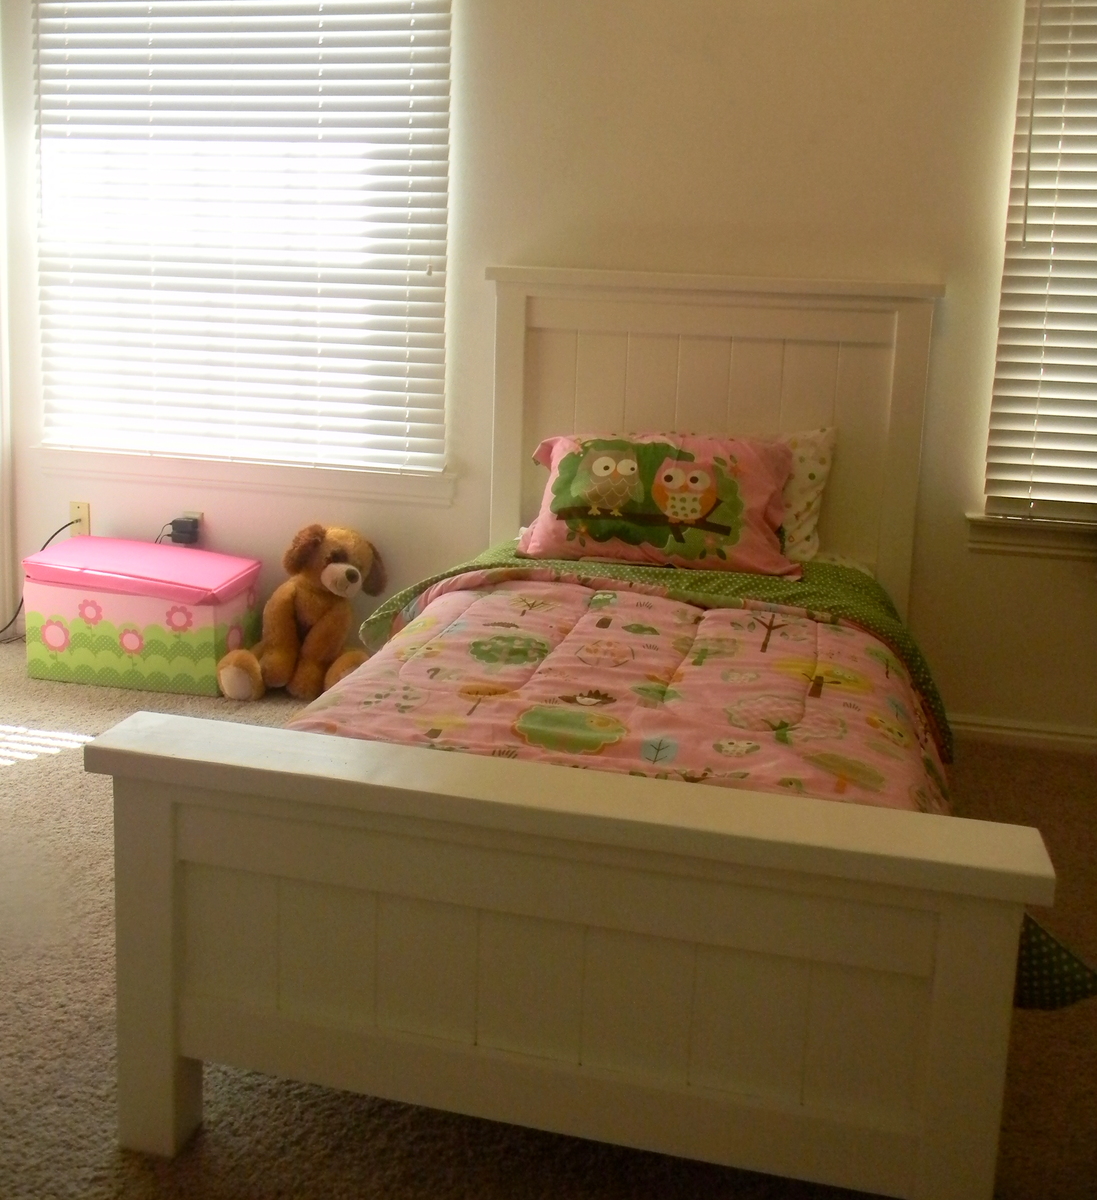
The hubs and I built this for our two year old daughter. It was pretty straightforward, and wasn't a huge time commitment. We had taken her out of her crib a few months back, but she had been sleeping in a twin mattress on the floor, so she could get used to not being in a crib. She was so excited for her new bed.
Note: we used rockler brackets to attach the rails to the headboard and footboard, so its not just one huge piece, and when we move we can take it apart. They worked Great!!
Also, because she is two, and we wanted to keep her lower to the floor, we decided not to use a box spring for now, so we took 9 inches off the bottom of thr headboard 4x4s. this ensured there was not a gap between the top of the mattress and bottom of the headboard. If we choose to use a box spring mattress later, it will still work out fine and look great.
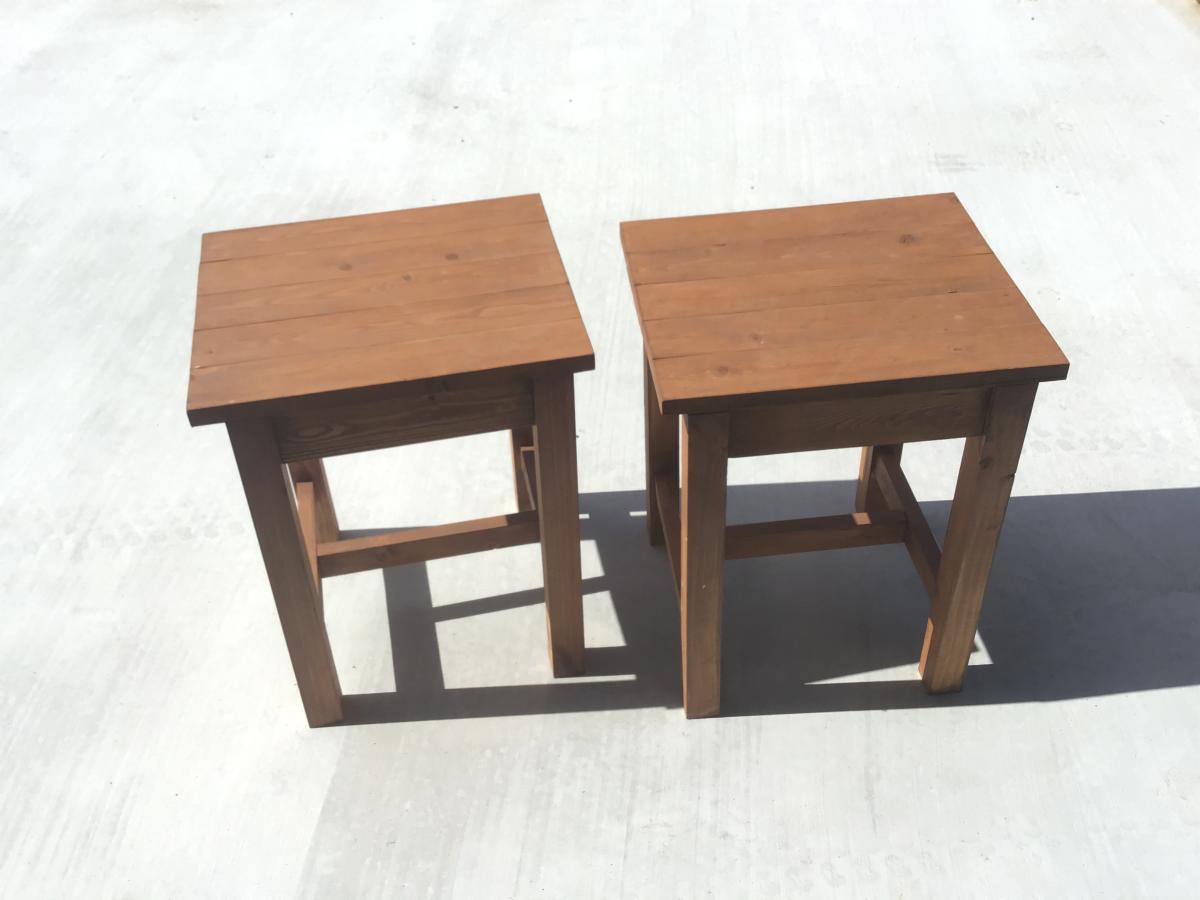
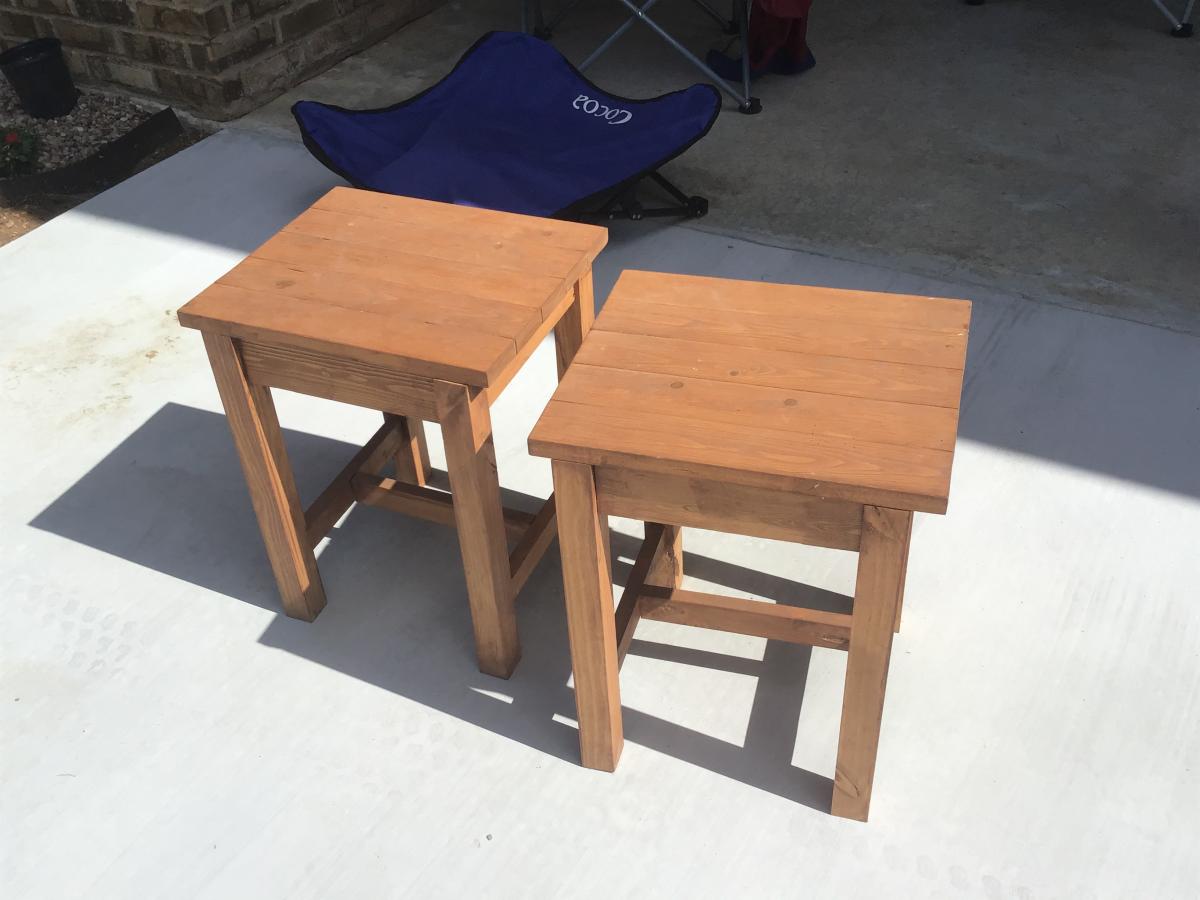
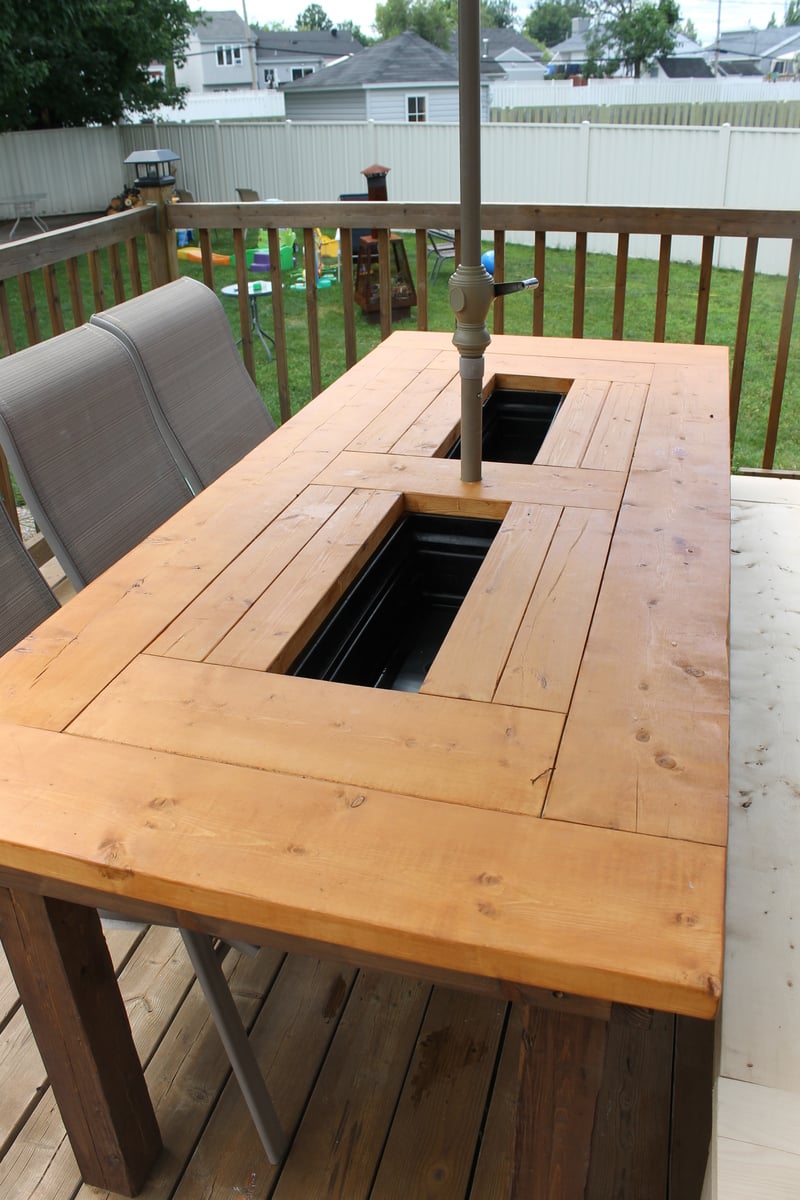
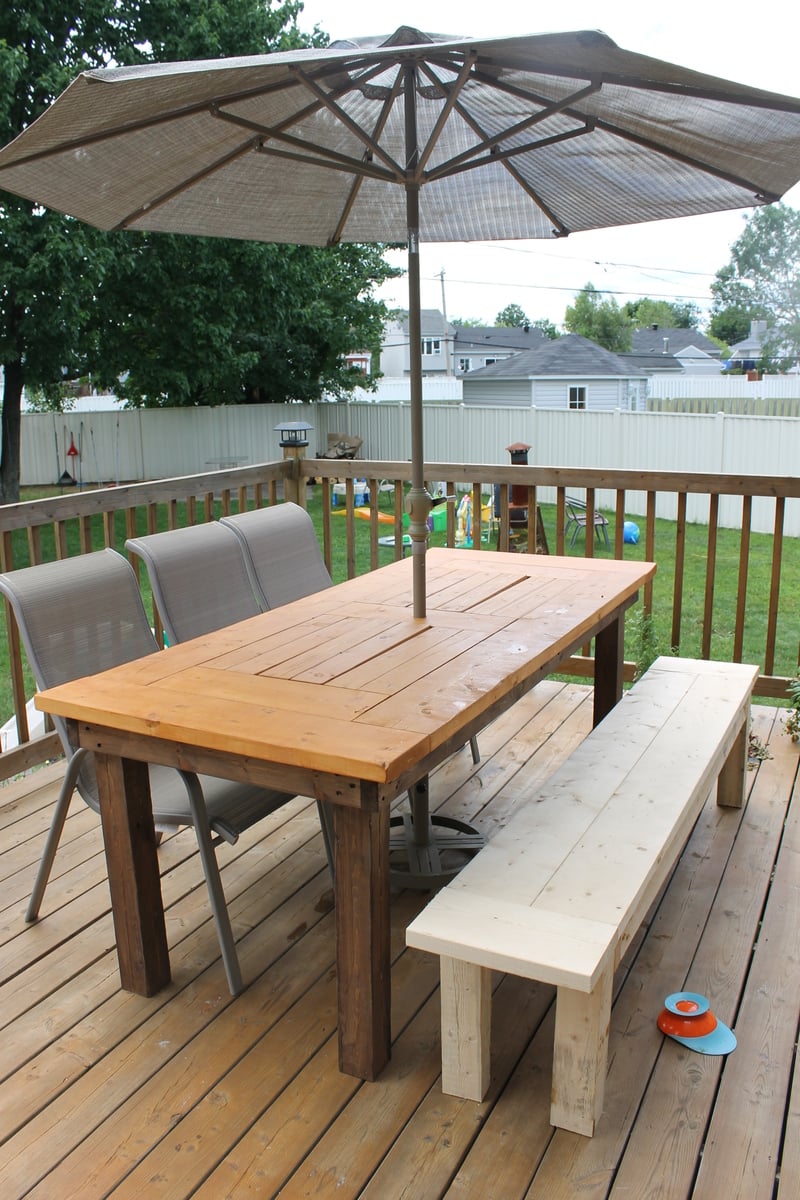
My sister was in love with my 4x4 truss table i made and needed a patio table so we decided to take one day to make 2 tables, one for each. We convinced both daddys to take care of the kids while we made the table by telling them the tables were gonna have beer coolers inside! Attaching the to of the table was a lot a job. If you plan of doing this you really want to have a kreg jig. It works well, we love it. I made a bench to go with it. I made my how plan for it.
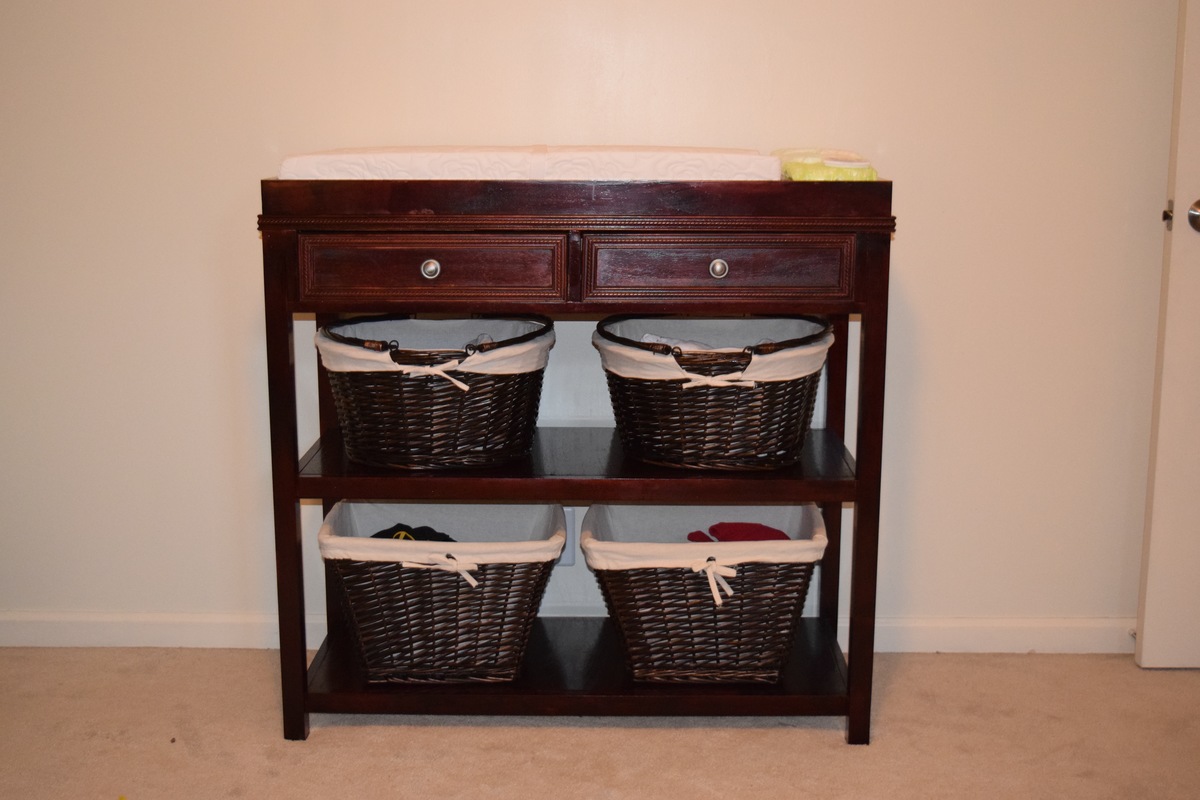
Only minor modifications from the detailed plans ont he website. Used 36" legs, as my wife and I are on the taller side. Also added trim around the outside of the drawers and around the top. The trim was raised 1/2 over top edge of the table to make a lip as a hard stop for the topper.
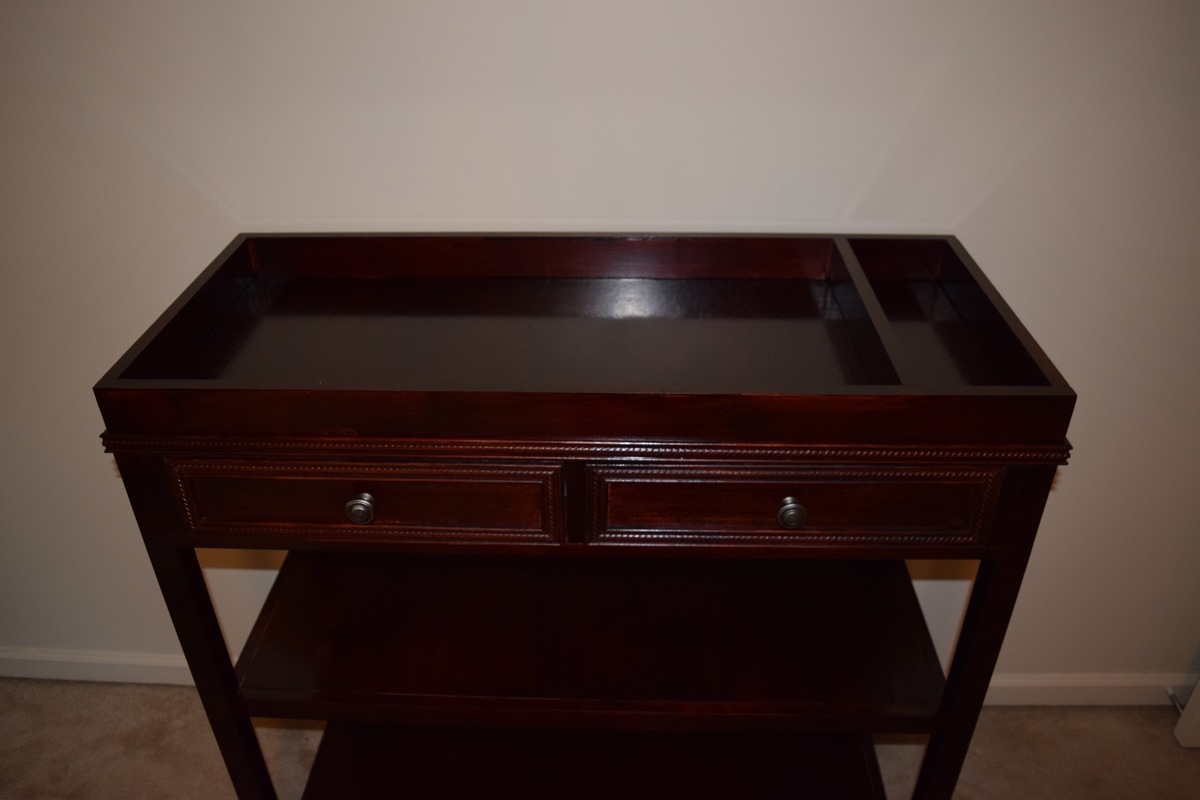
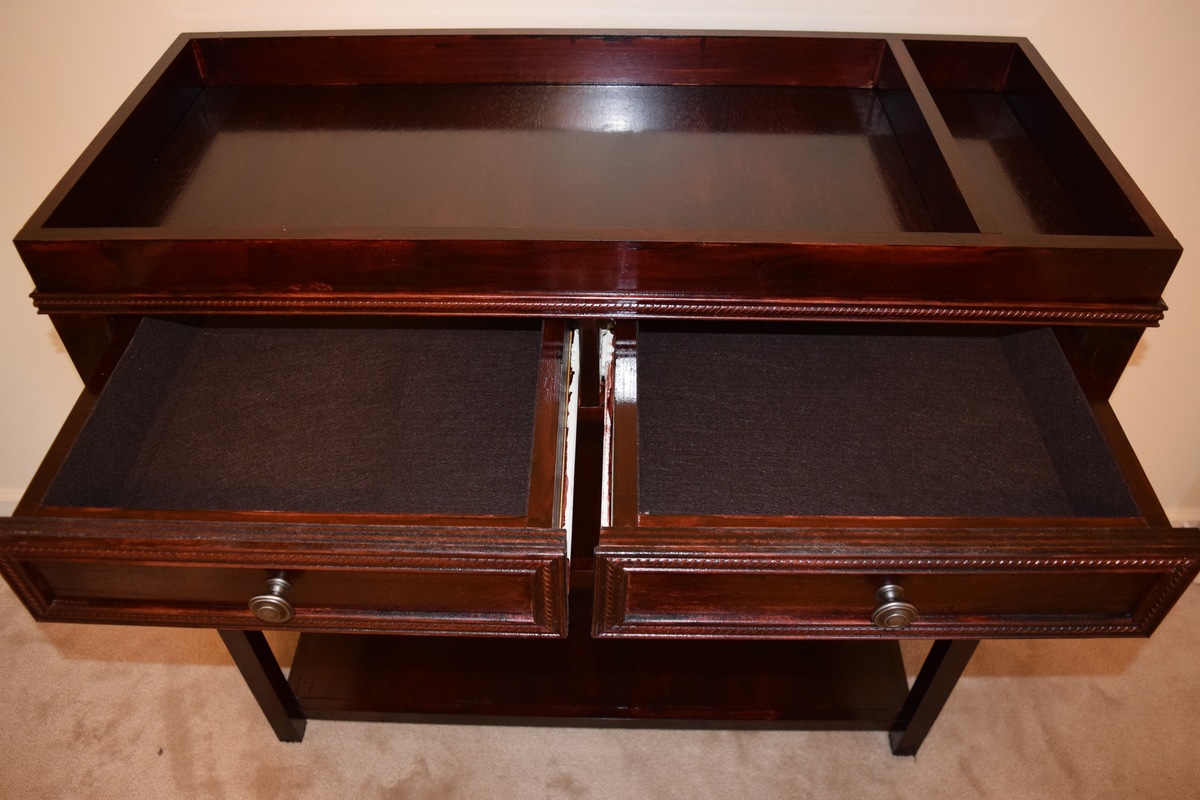
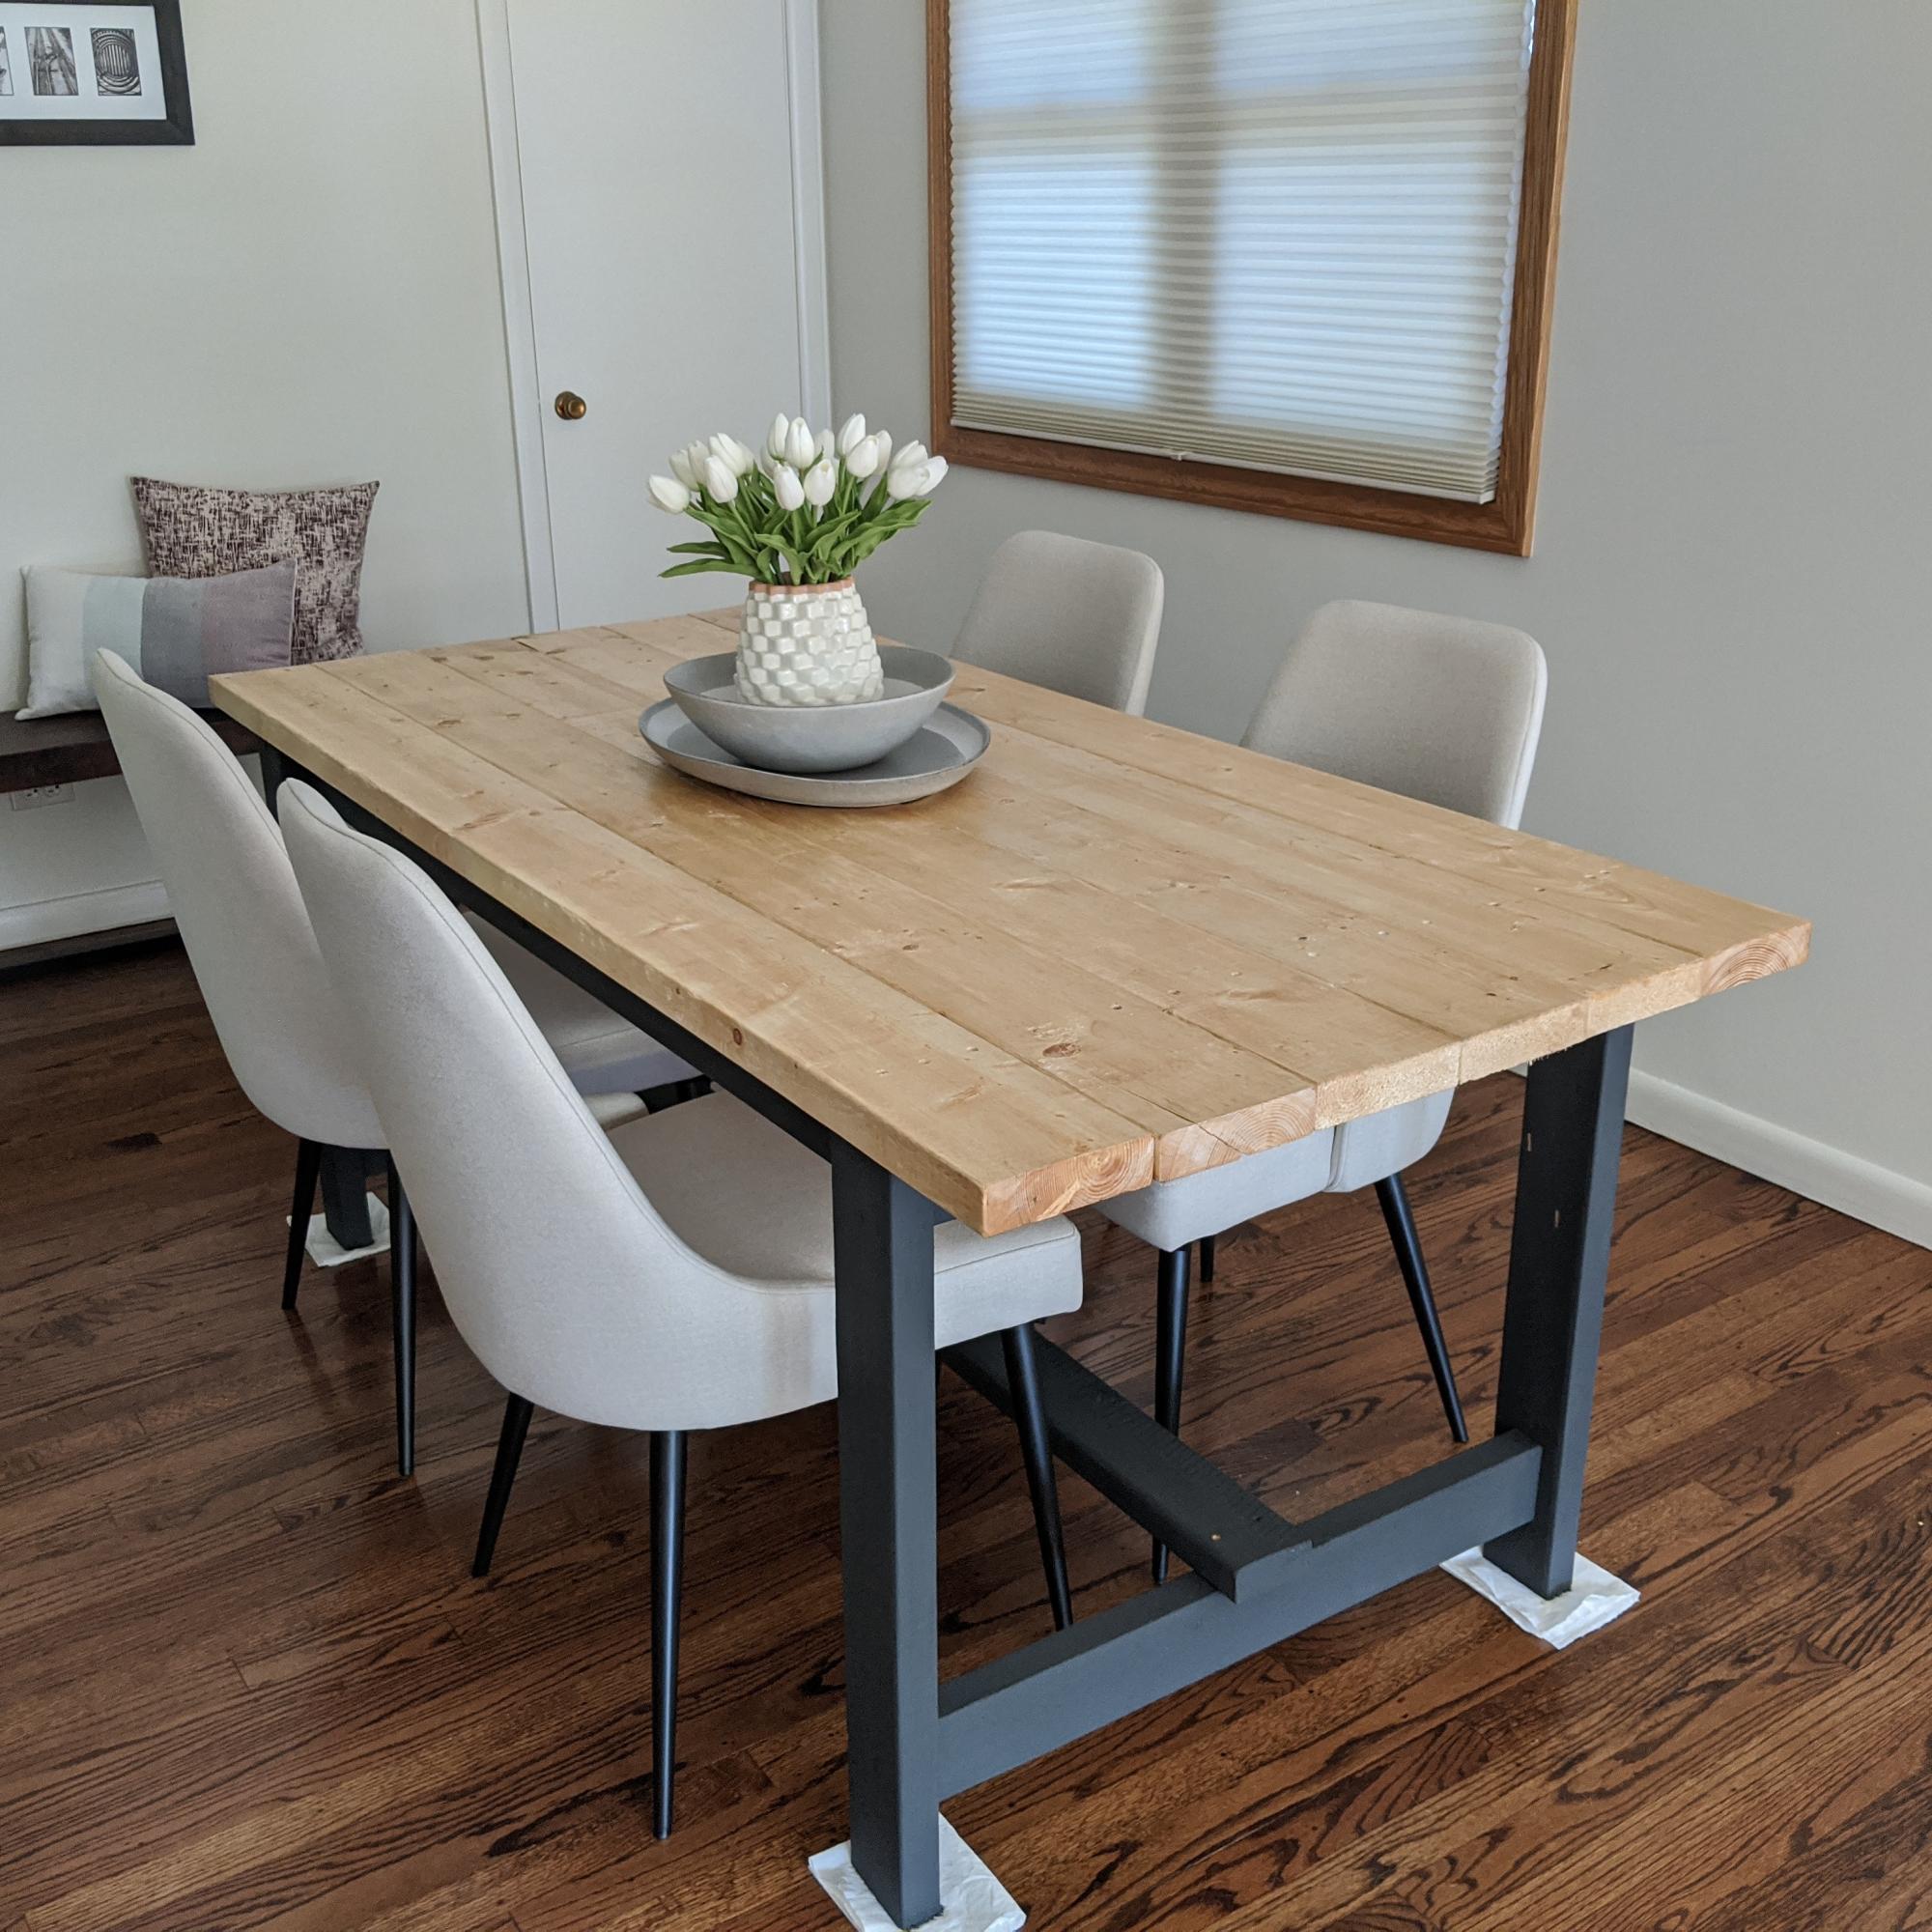
Wood - common pine Stain - Danish Watco Oil Light Walnut - 4 coats Top of table Sealed - Minwax Polyurethane Clear Satin - 2 coats Legs painted with Rust-Oleum Chalked Charcoal - 2 coats
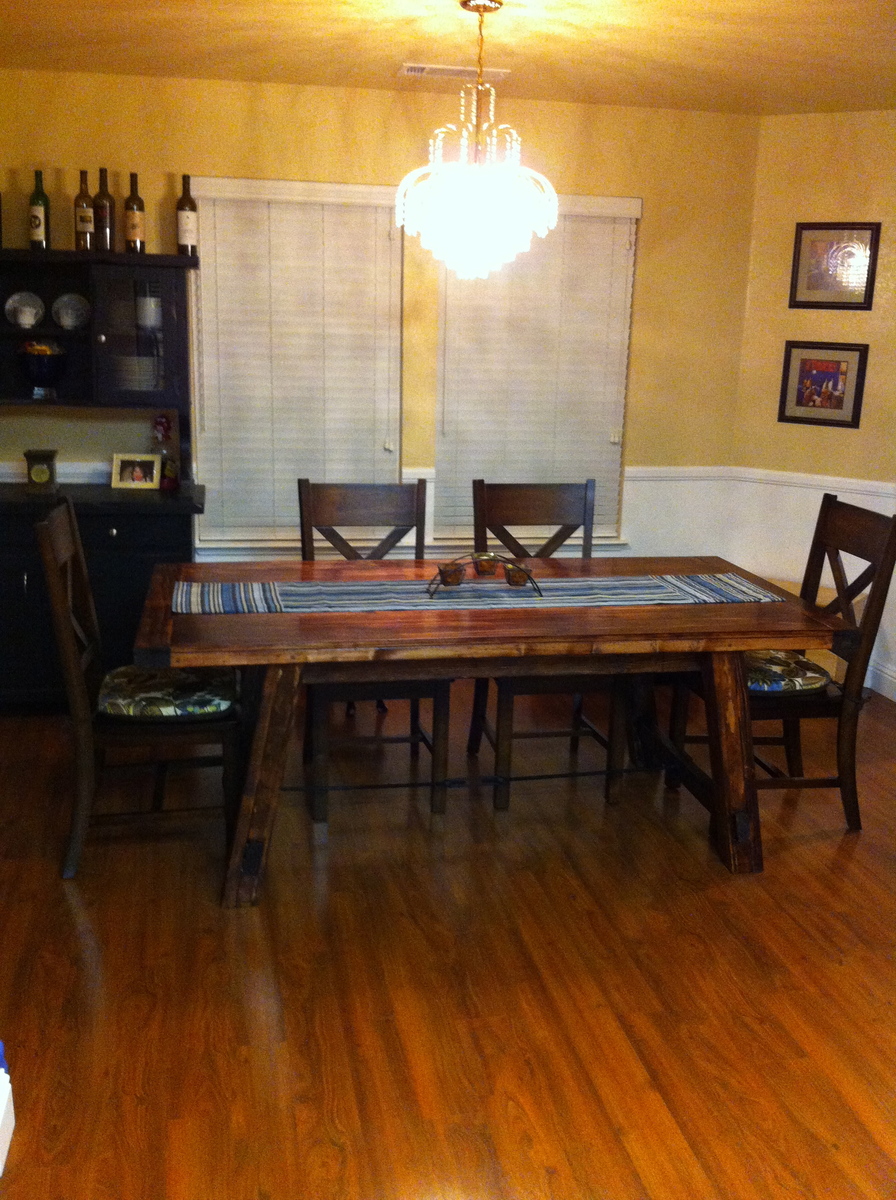
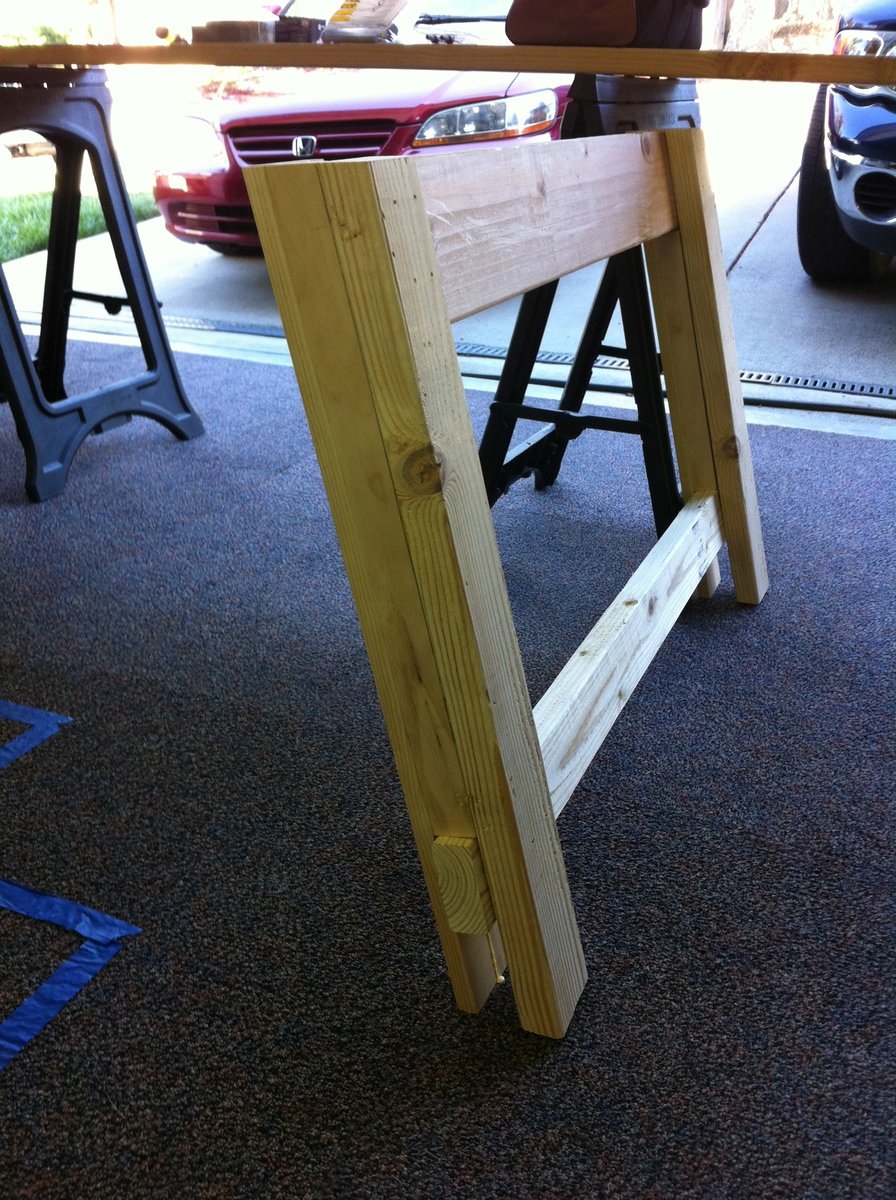
A lot of hard work went into this table, but Im so happy with the result. I followed Ana whites plans closely and read all the Blog comments to help out. I made the table one 1x6 board wider and 4 inches longer to fit my space better. I also used a turnbuckle and threaded pipe for the stretcher to make it look a little more like the Pottery Barn Table. I think it gives it more of an industrial look. I used a red mahogony stain and plenty of polyurethane finish. I still have to build the bench, and i'm looking forward to using the plans from this site.
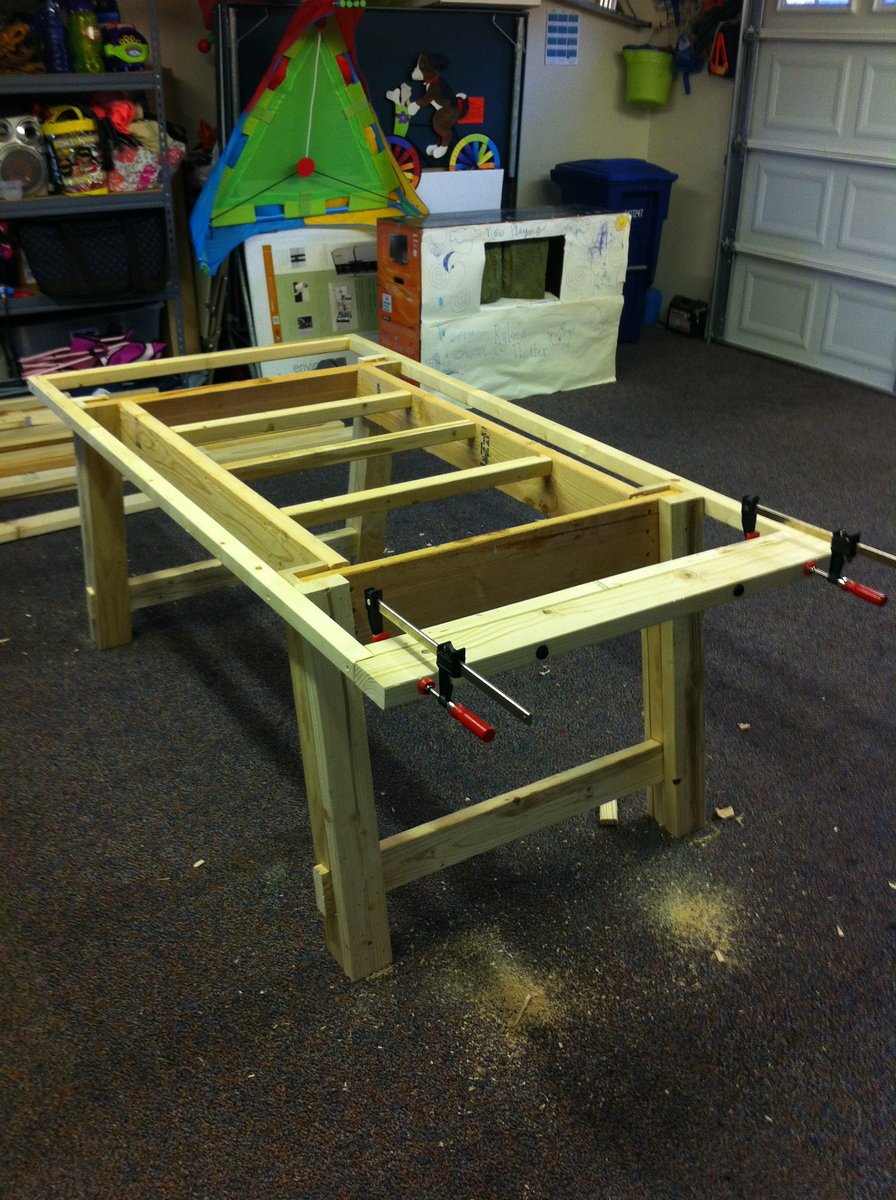
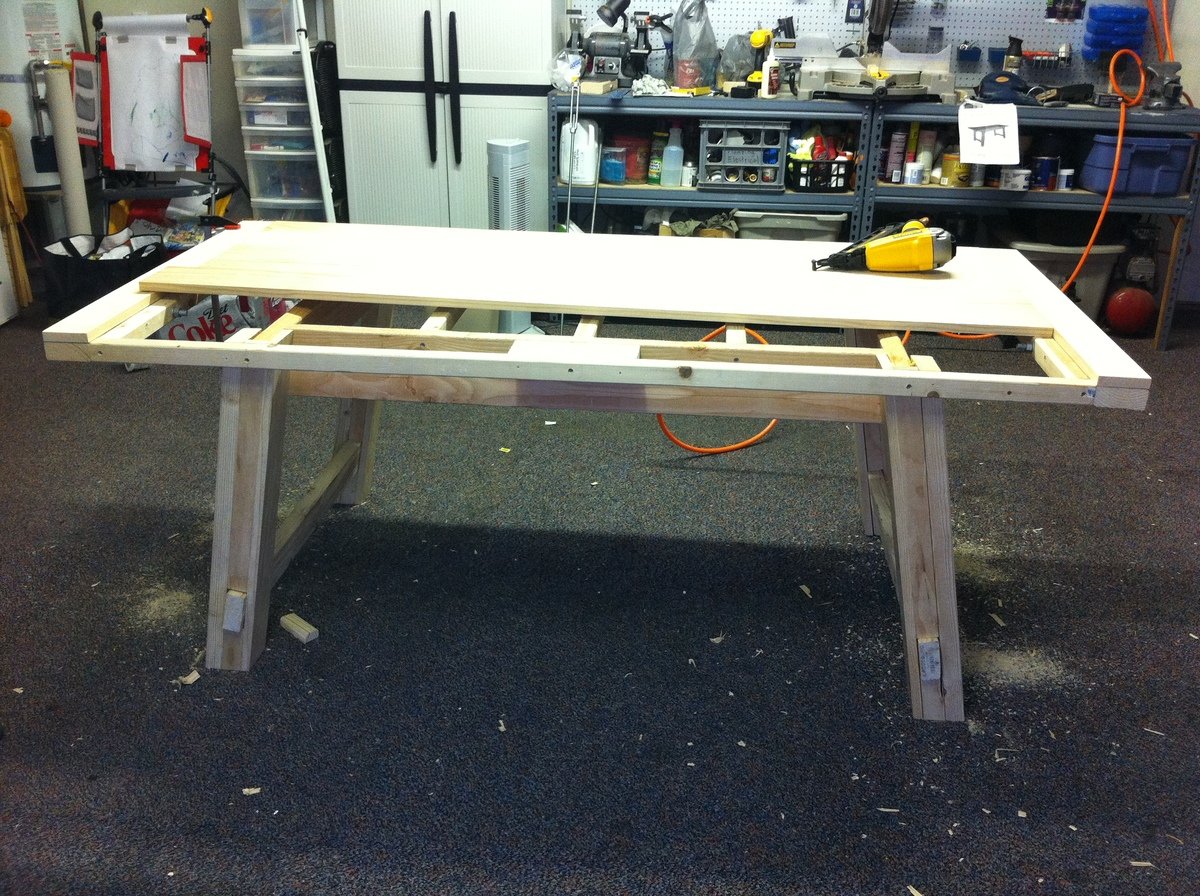
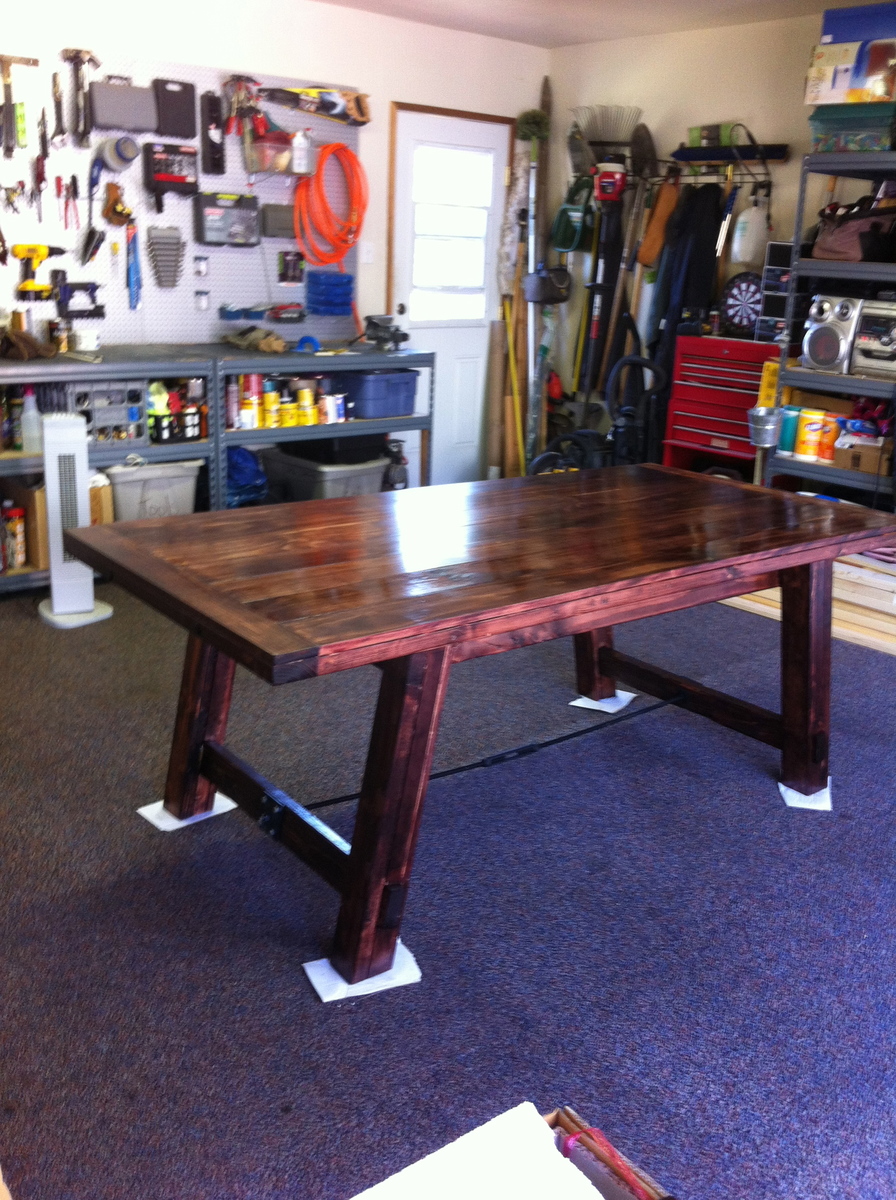
Mon, 09/10/2012 - 17:44
This looks amazing! And I thought making the farmhouse table notches were tough :)
Mon, 09/10/2012 - 18:47
Thanks...it was a lot of work, but well worth it. I have to tackle the bench next.
Mon, 11/12/2012 - 05:29
Just one question... I like your chairs as well. Where did you get them? Yes also got to have that lovely bench to match! awesome job!
Mon, 11/12/2012 - 13:49
Thanks, the chairs are from Cost Plus World Market. They are the verona chairs. Funny you should mention the bench...I'm building it today. I will post it when I'm done.
Mon, 02/25/2013 - 20:45
Did you make just the tabletop 4 inches longer or did you adjust the plans 4 inches longer for both the table top and base?
Wed, 09/03/2014 - 21:24
The turnbuckle I got from a place called tractor supply and I ordered the pipe from an online hardware company, only because one side is reverse thread and I couldn't find it at a local hardware store
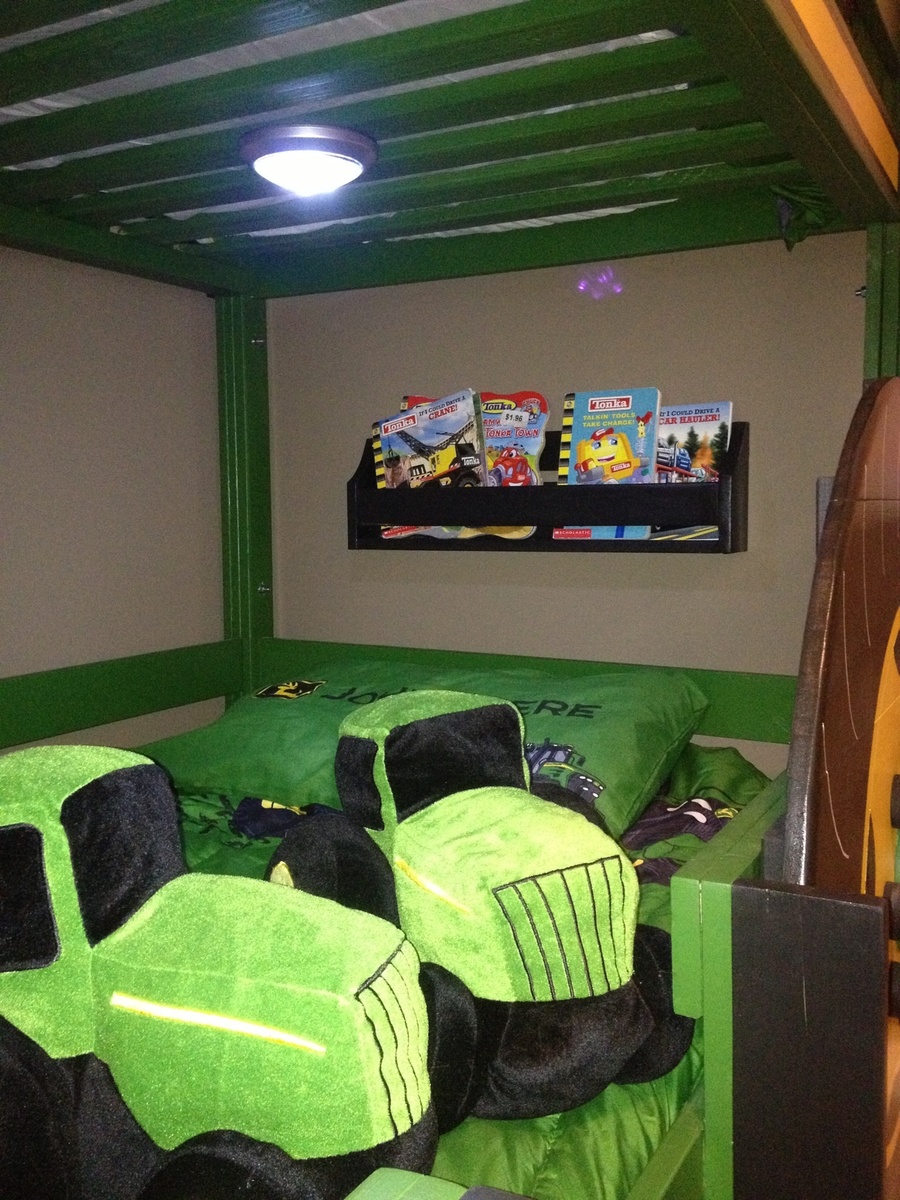
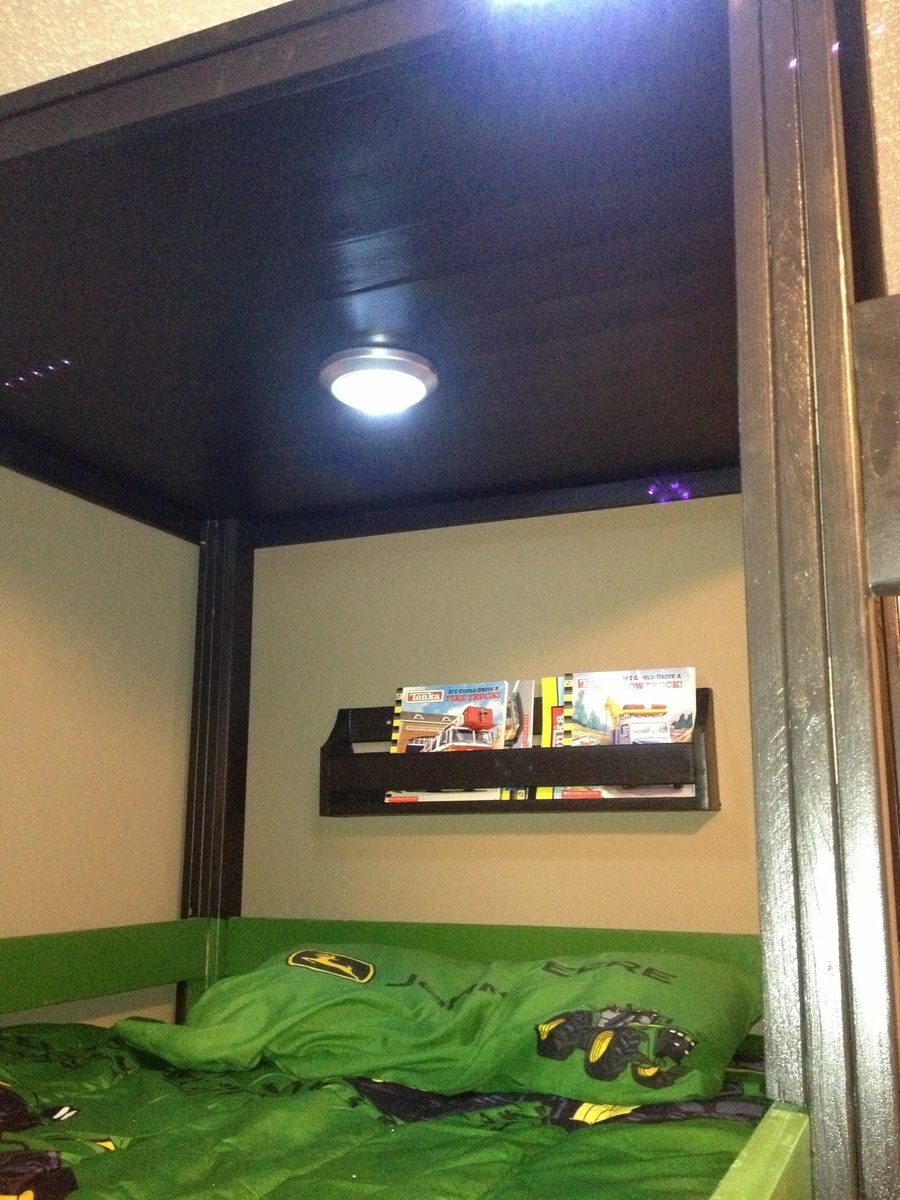
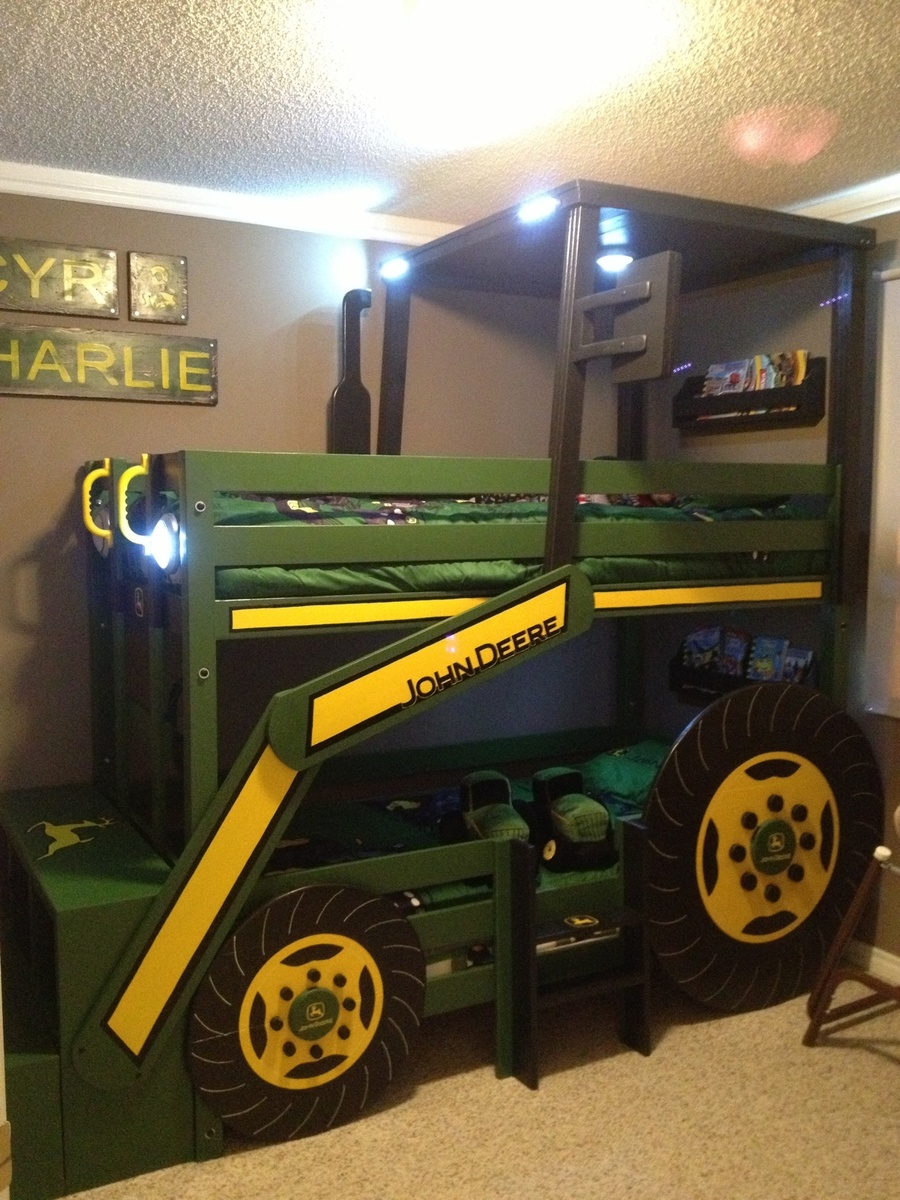
These flat wall bookholders are the perfect little shelves to add storage for books to my boys' new tractor bunk bed. What a great simple plan!
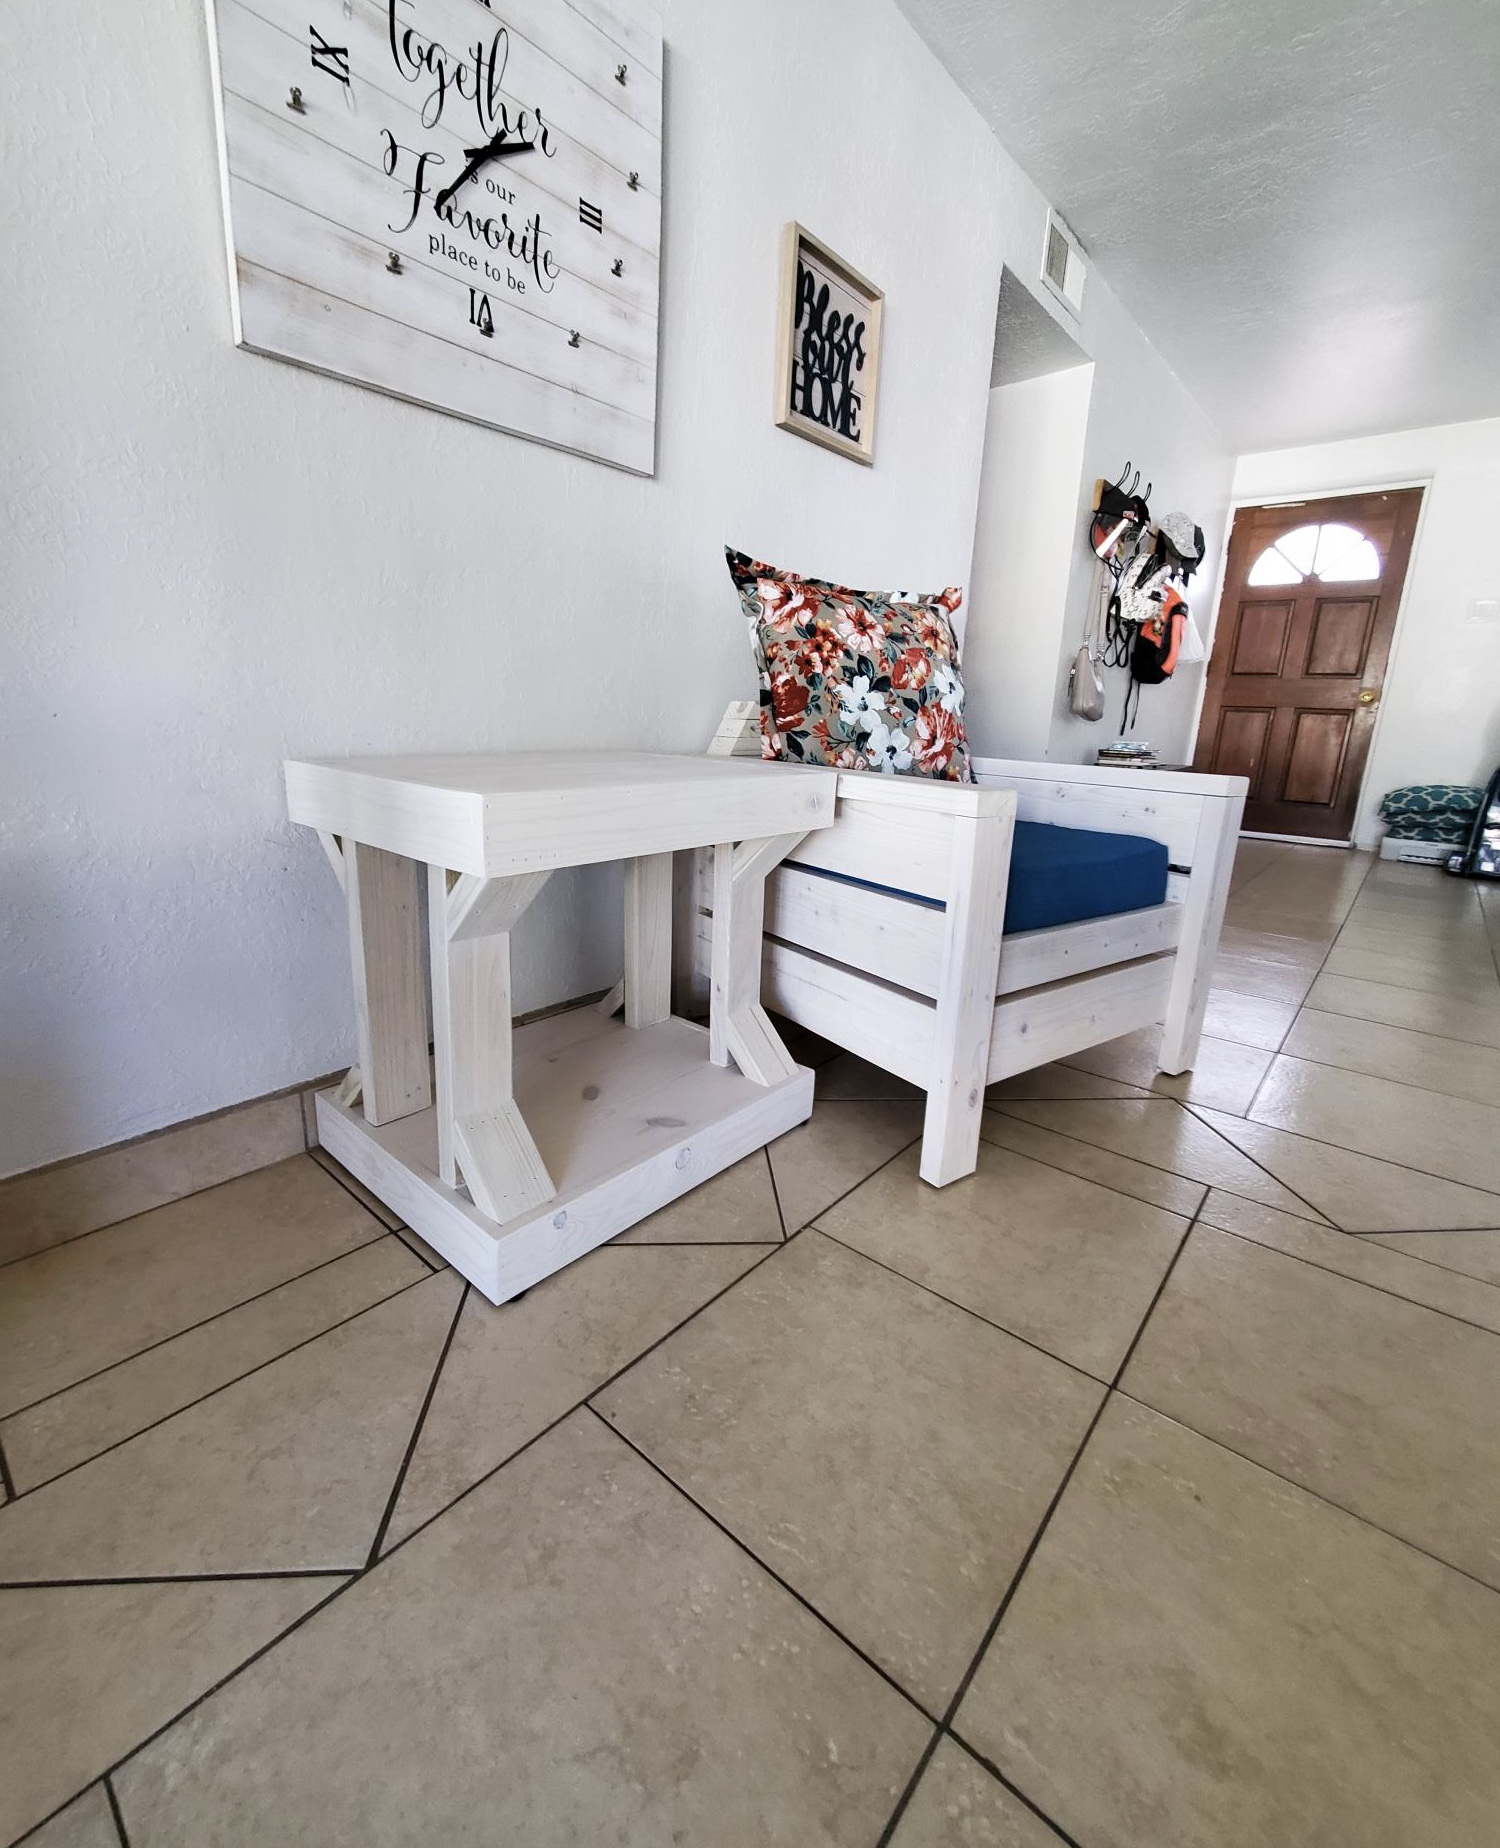
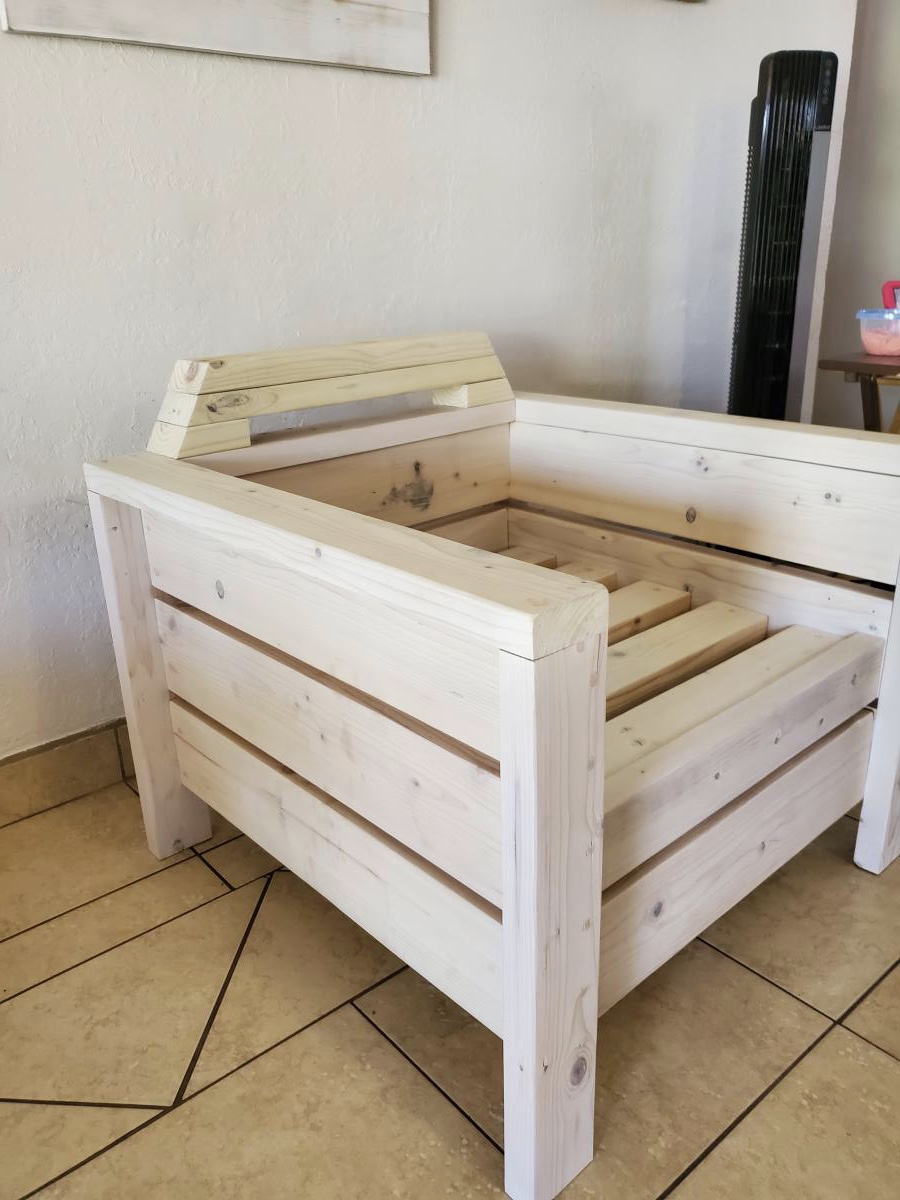
I built this modern chair and end table. I will be building one more chair to complete the set.
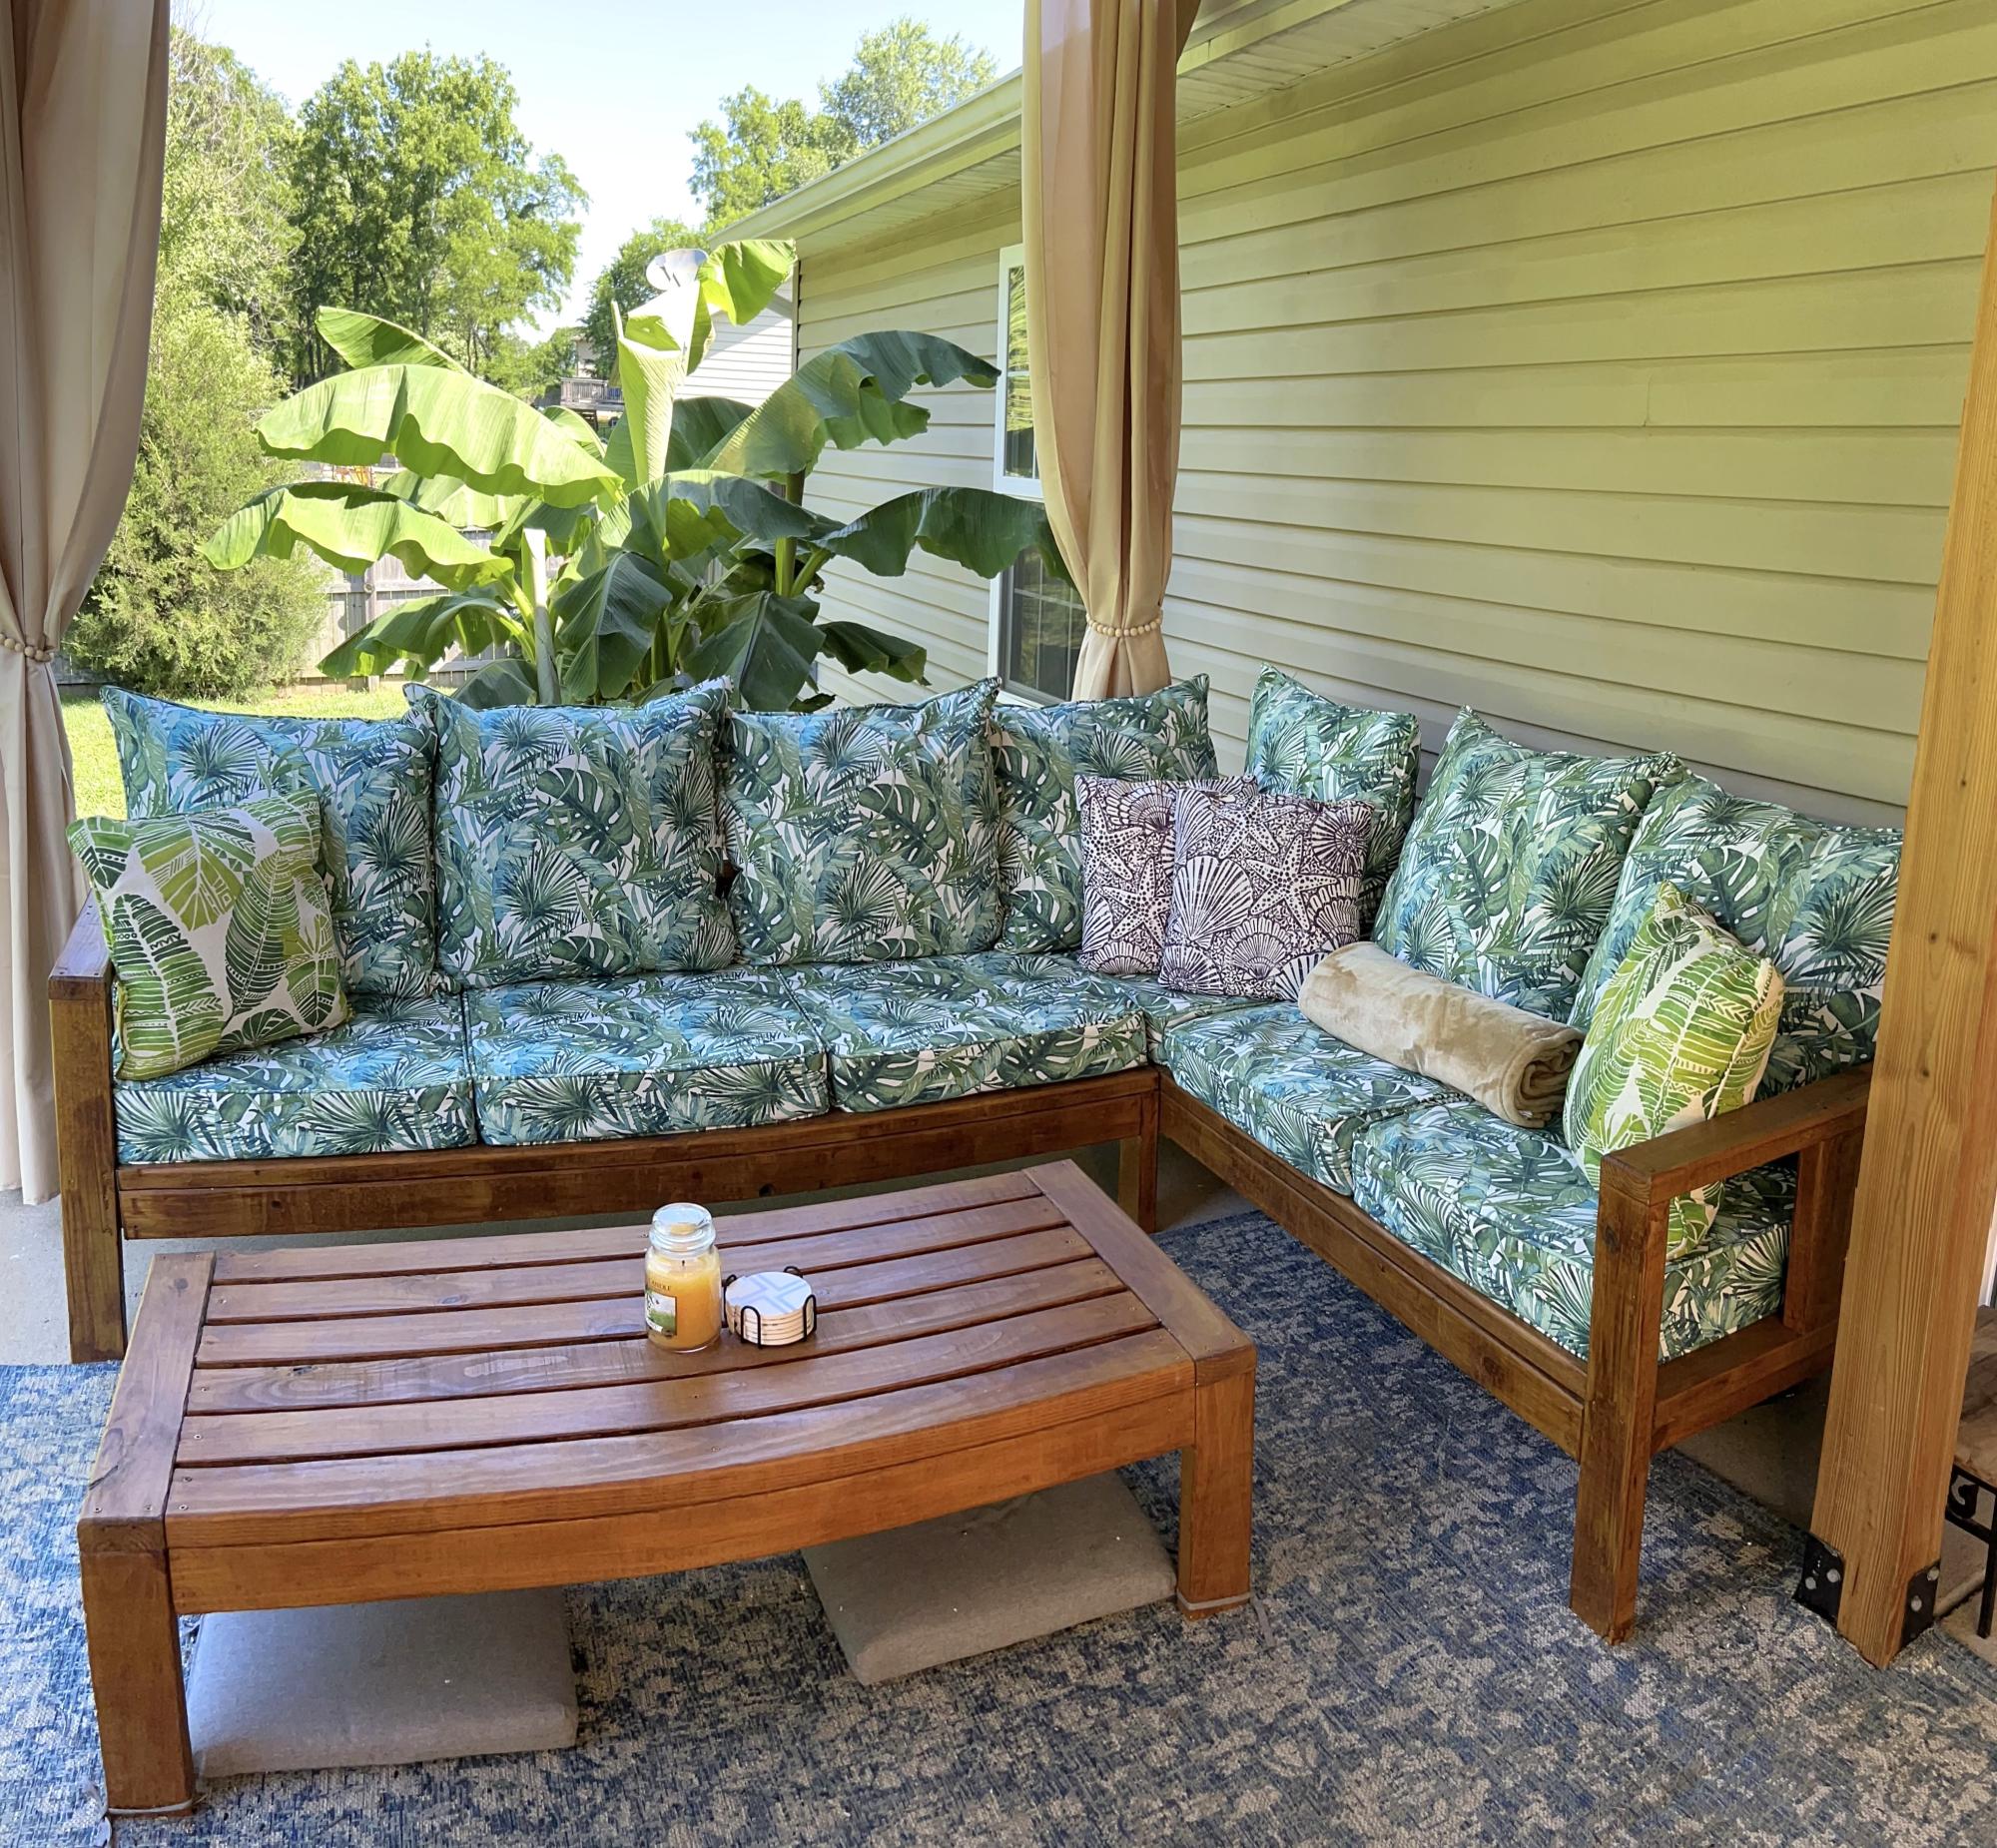
Outdoor sectional and coffee table.
Austin Spencer
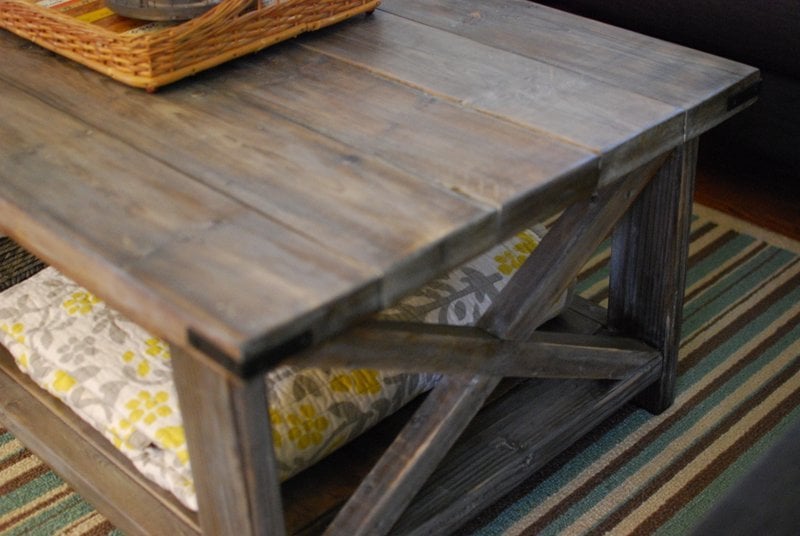
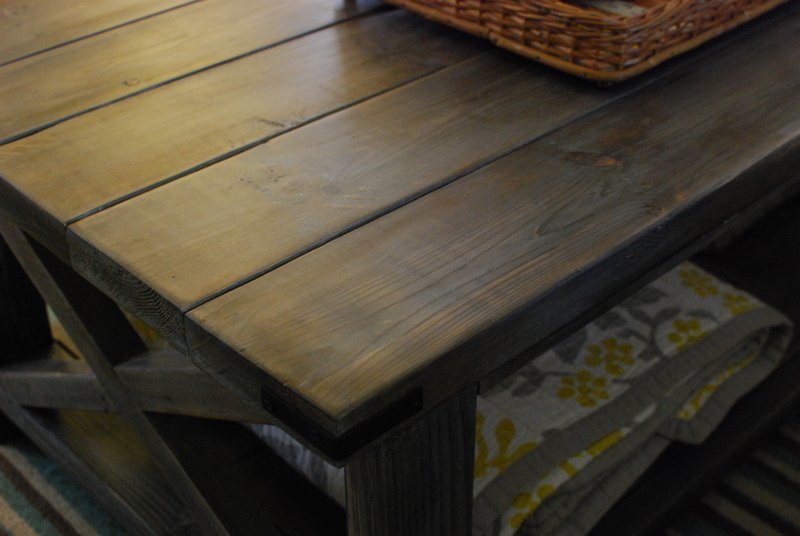
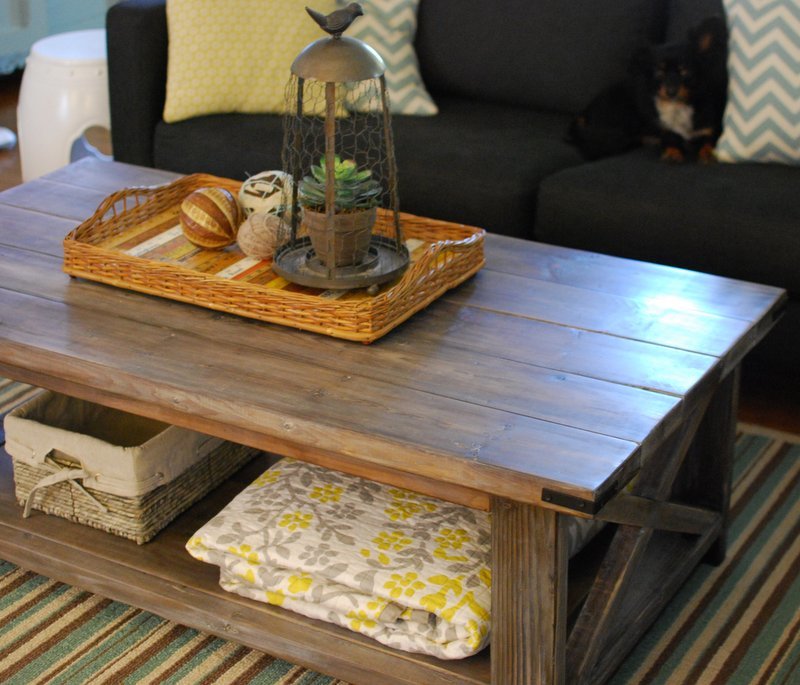
Thanks to the beautifully written as well as the example build post by Hilary, I found this project easy to build for a beginner like myself. I followed the plan as written and can't wait to start my next project.
Sun, 03/08/2015 - 14:24
Hi,
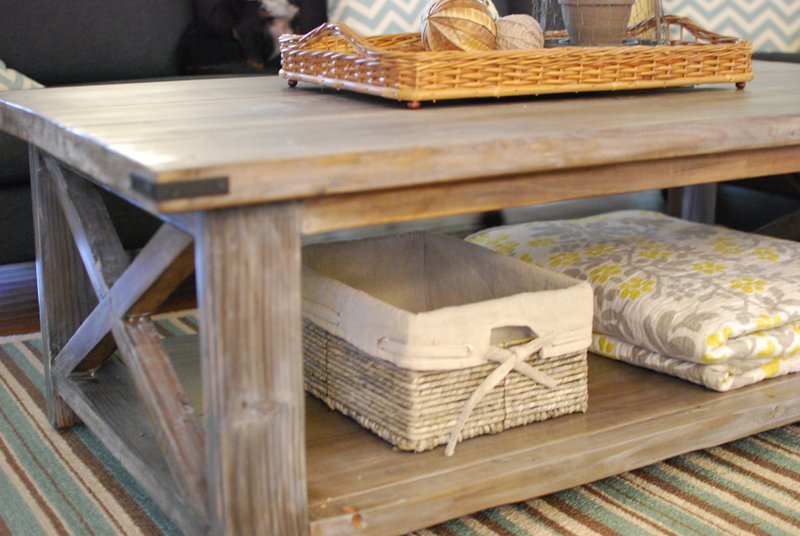
I was wondering what the metal accent pieces are and where I can purchase them.
Thanks!
Brooke
Comments
sgilly
Fri, 08/31/2012 - 09:44
very nice
Good job - how nice to have a pretty, handy spot for your wine!