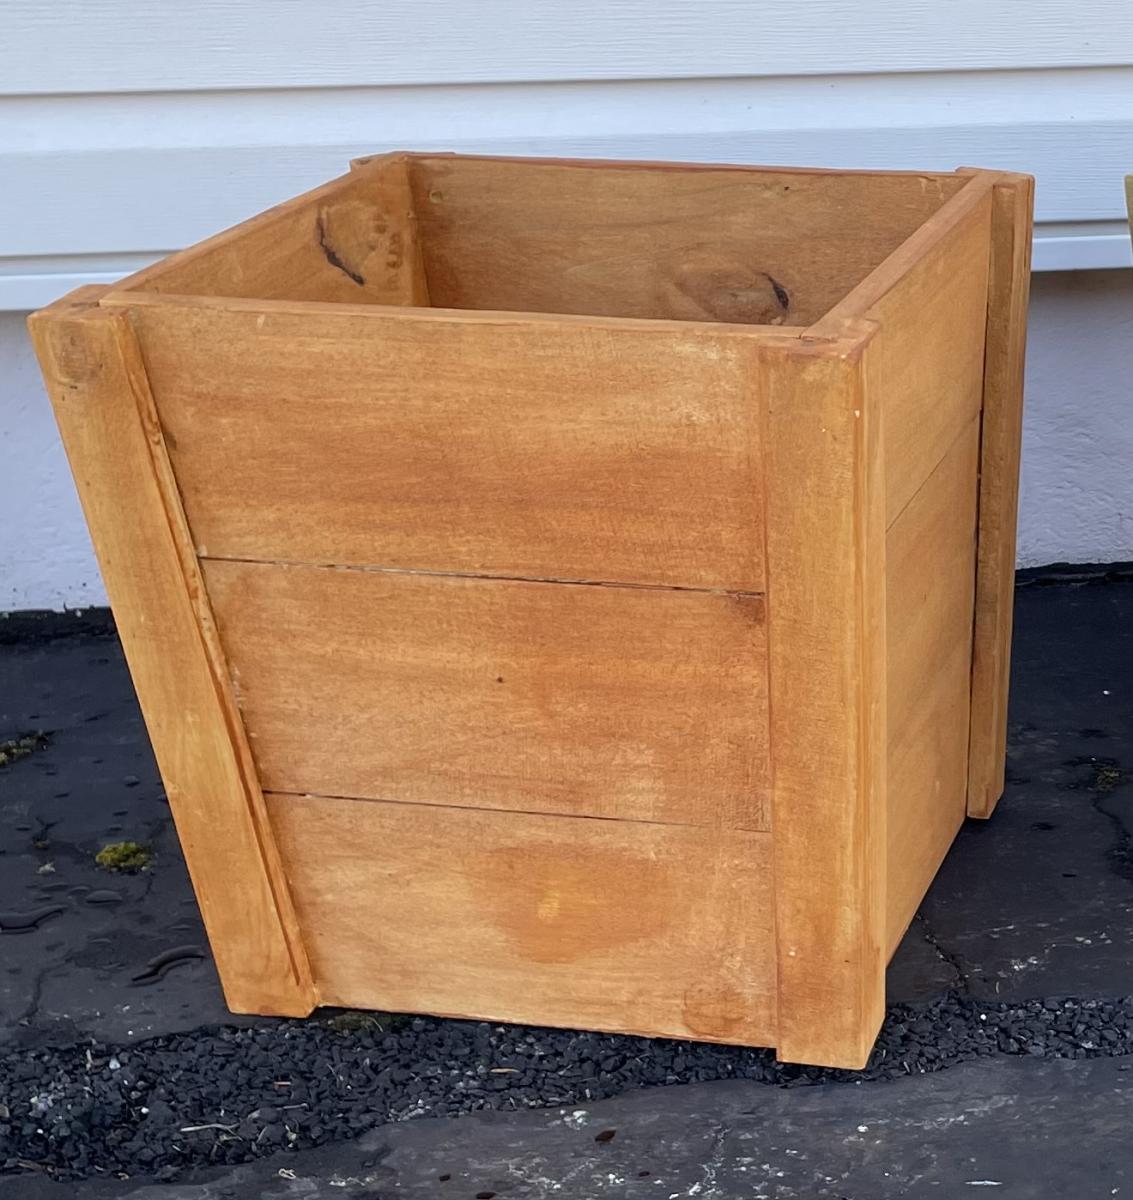
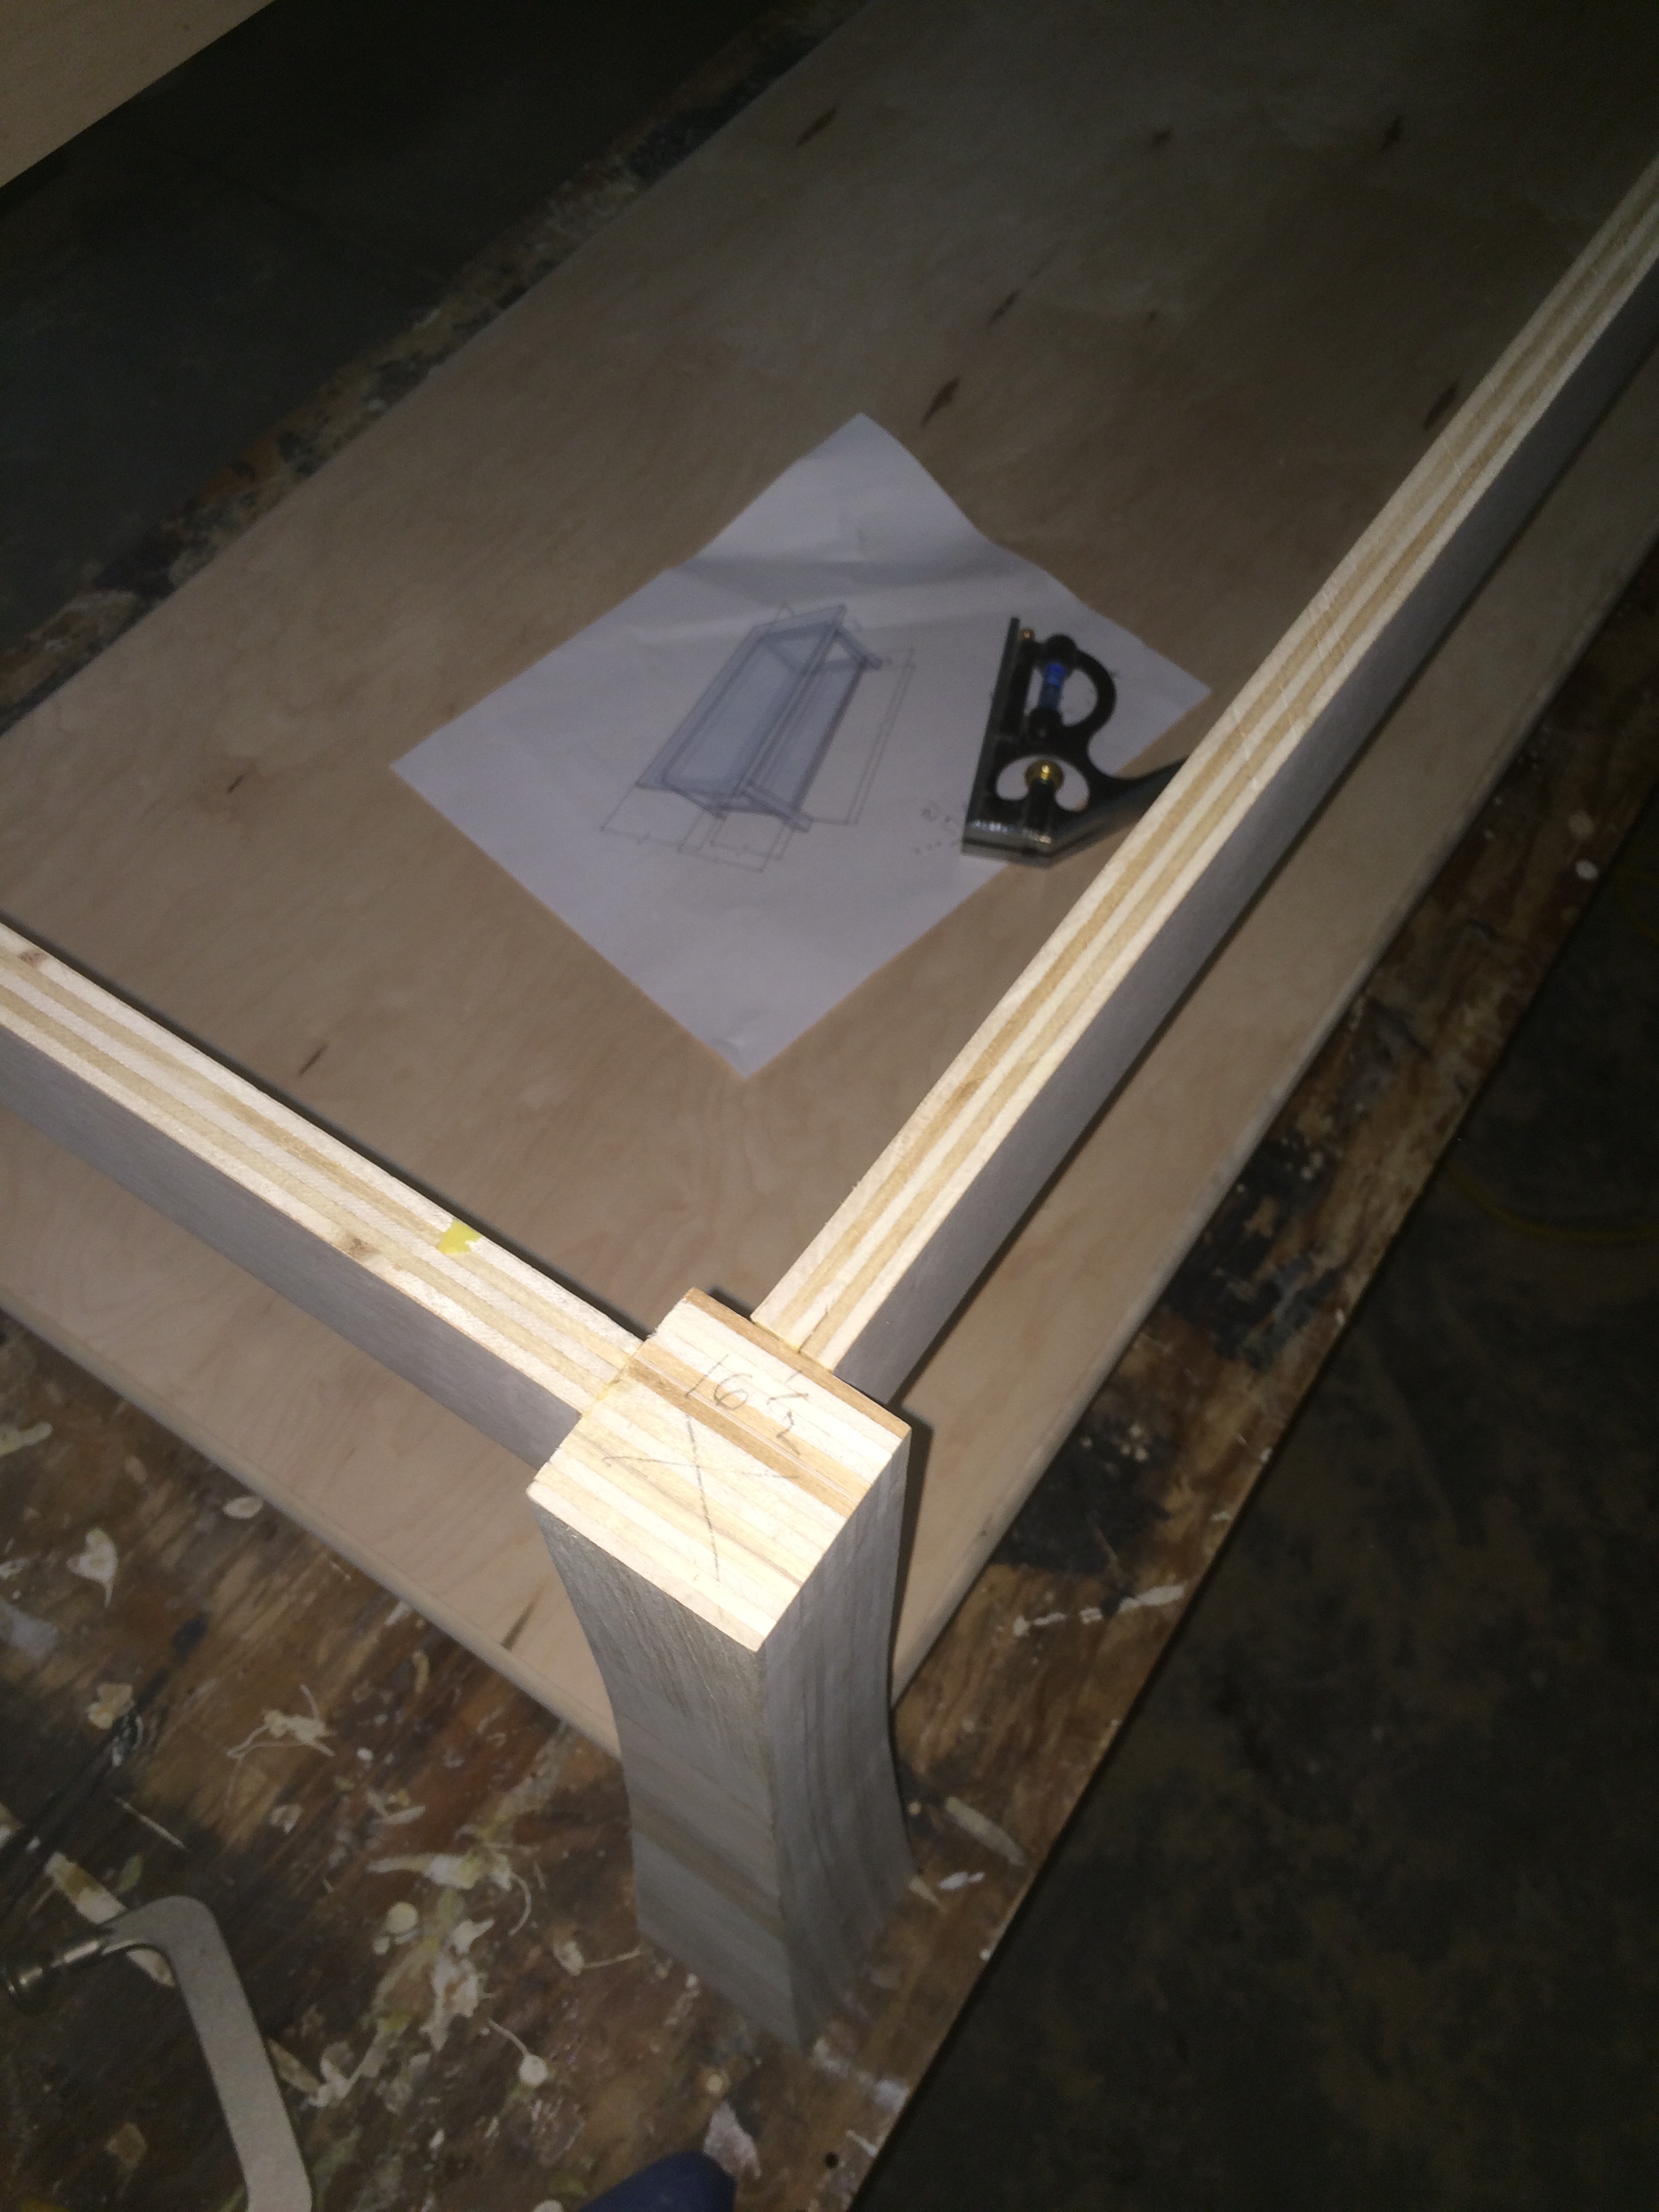
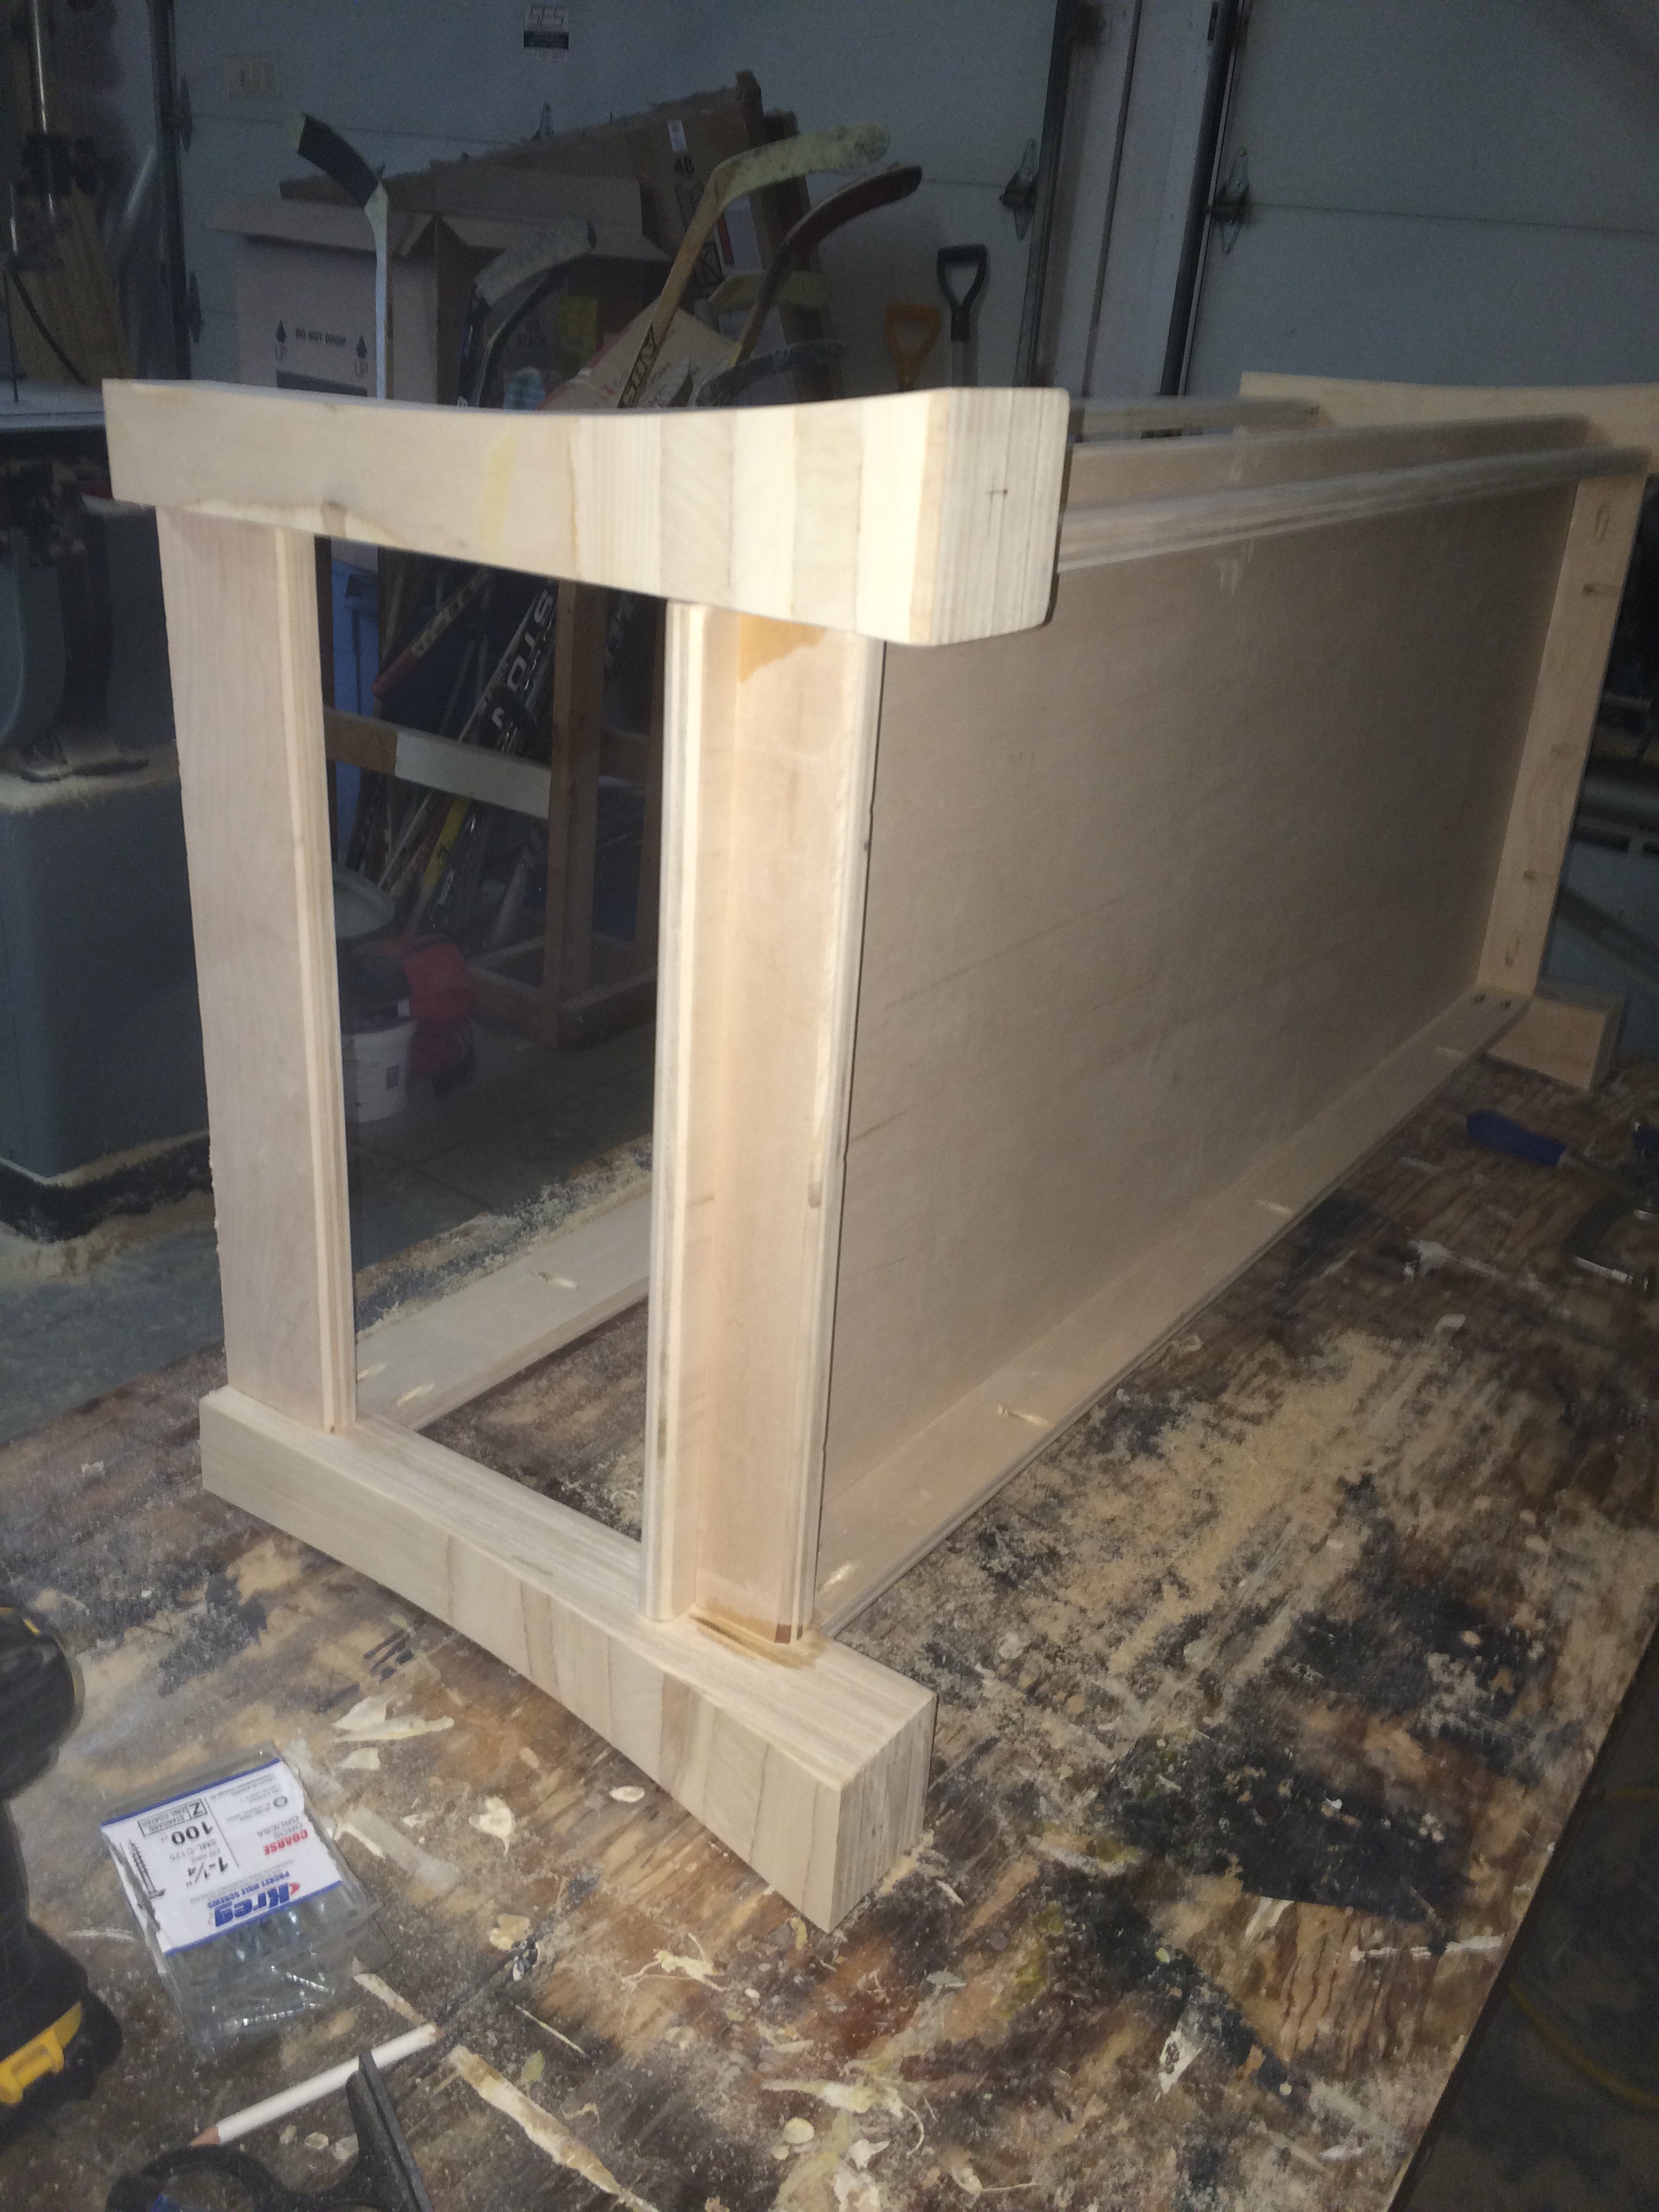
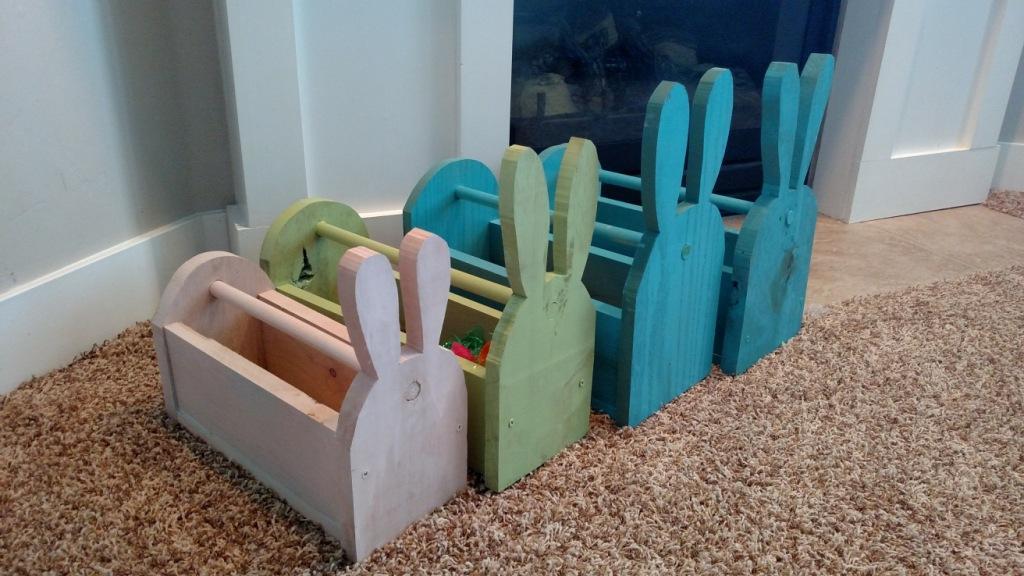
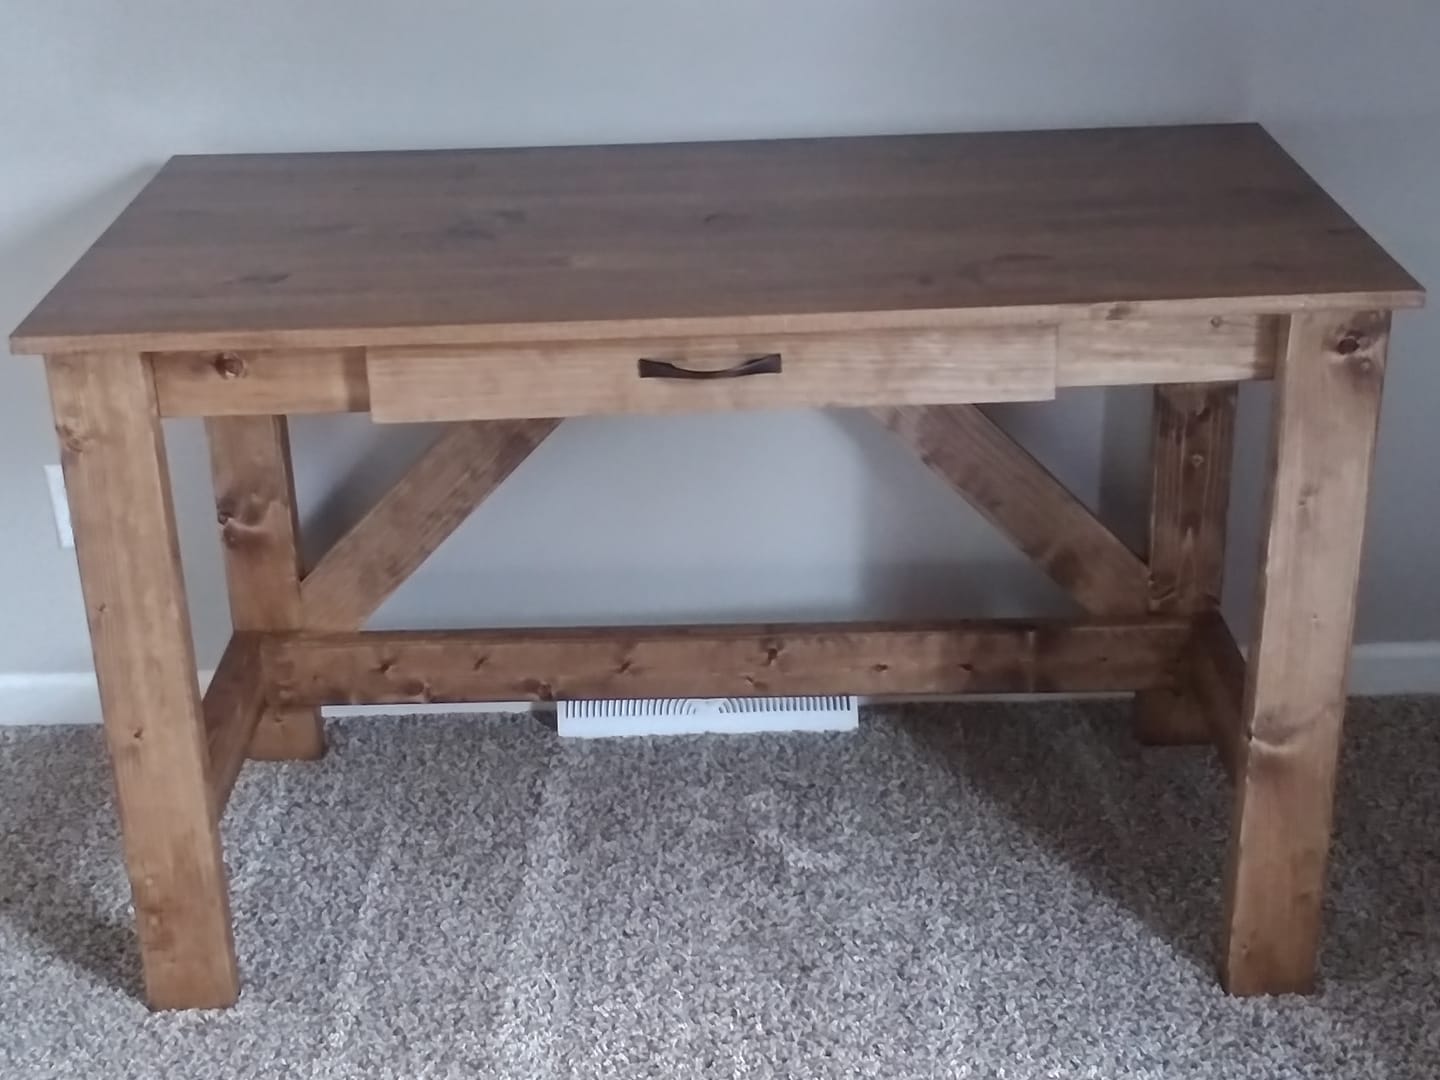
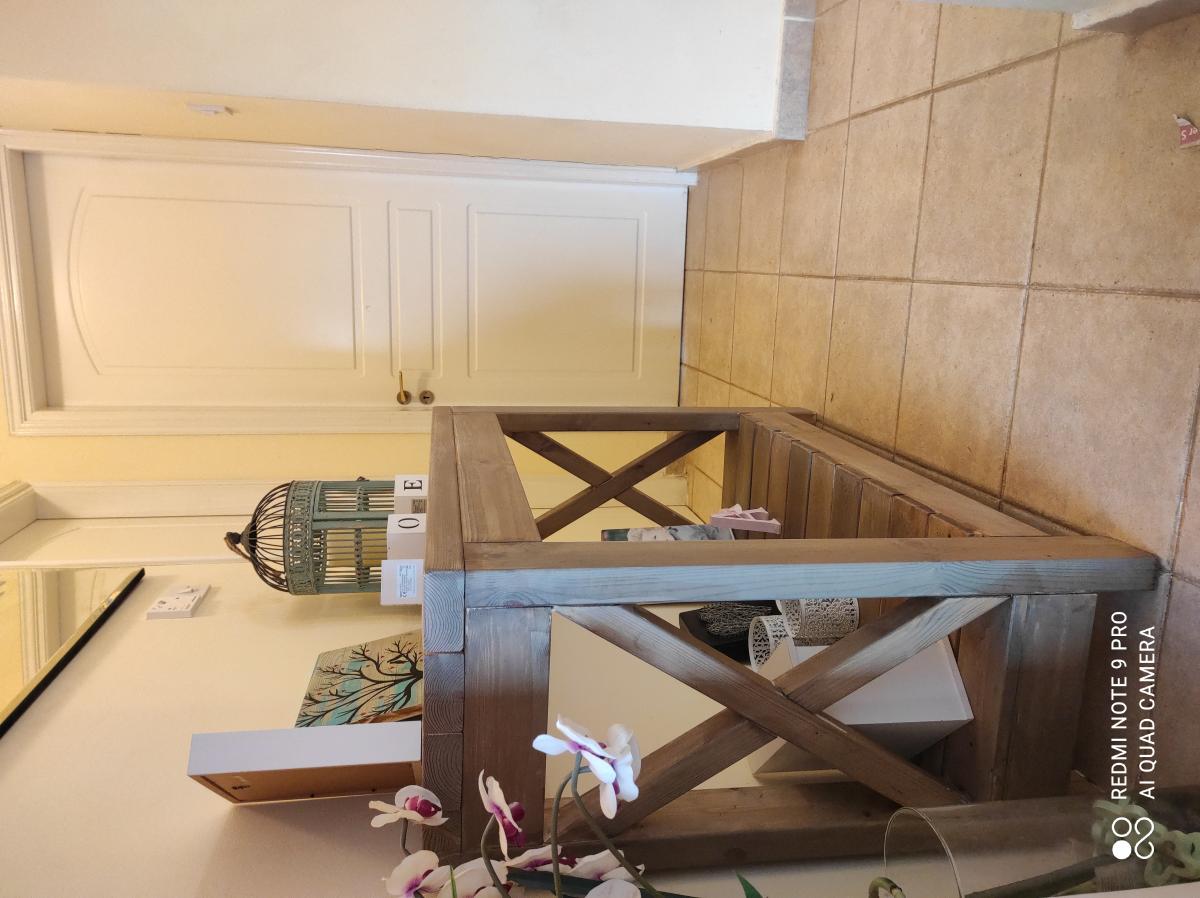
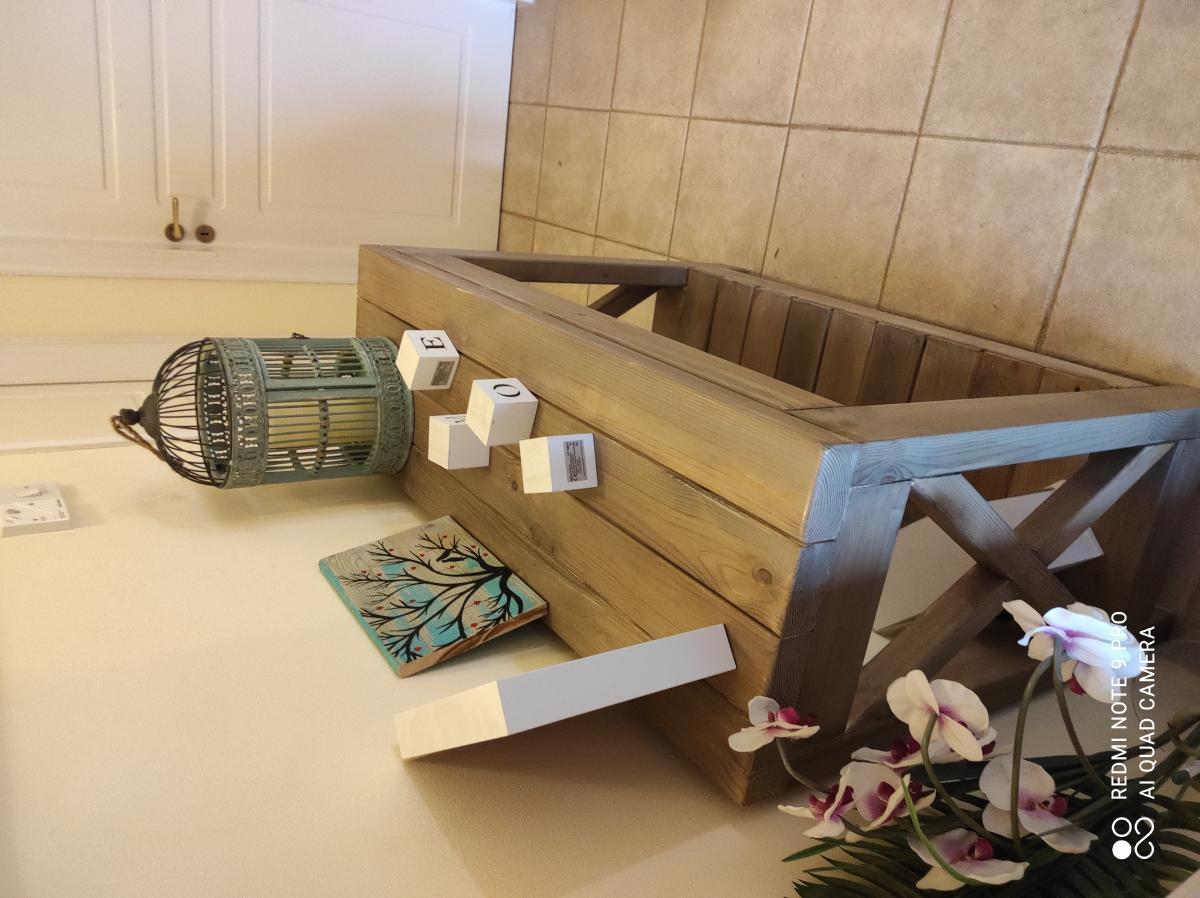
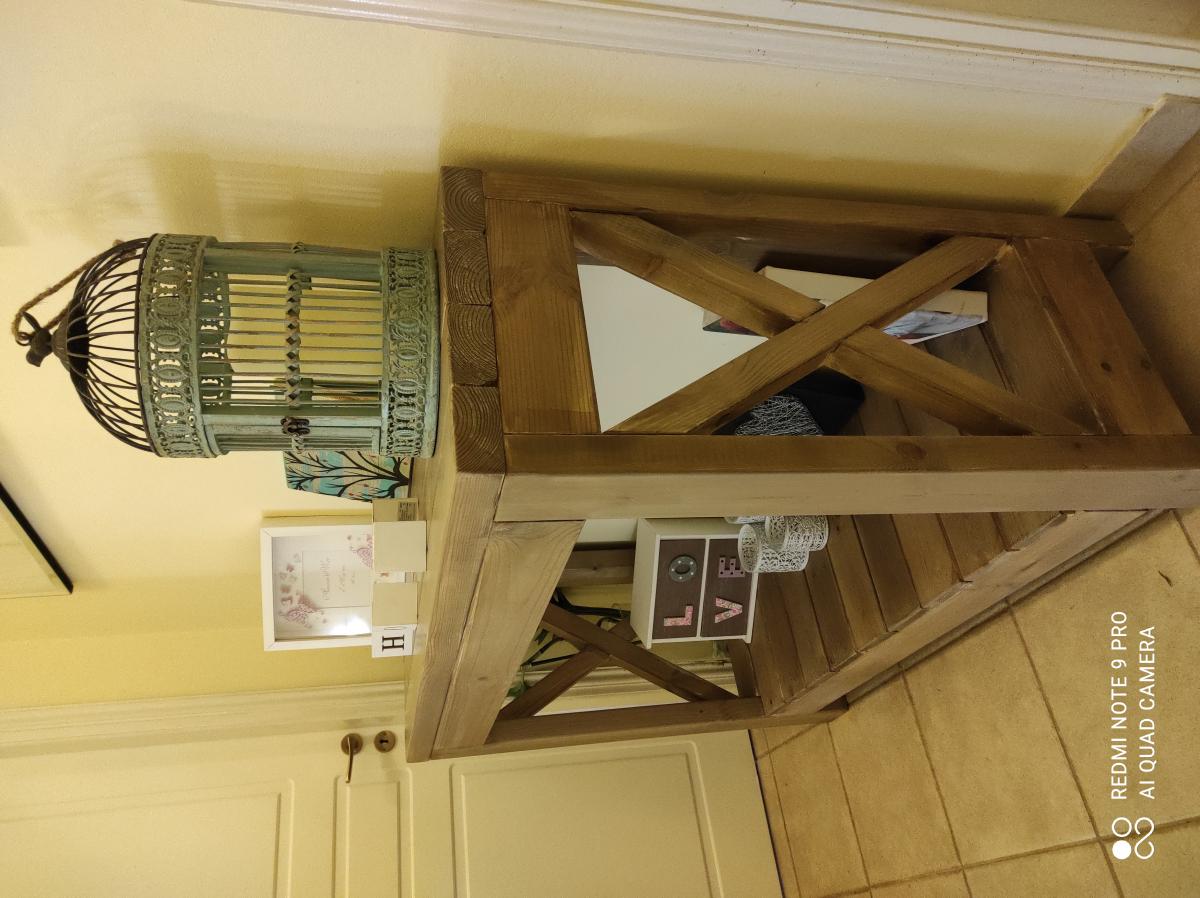
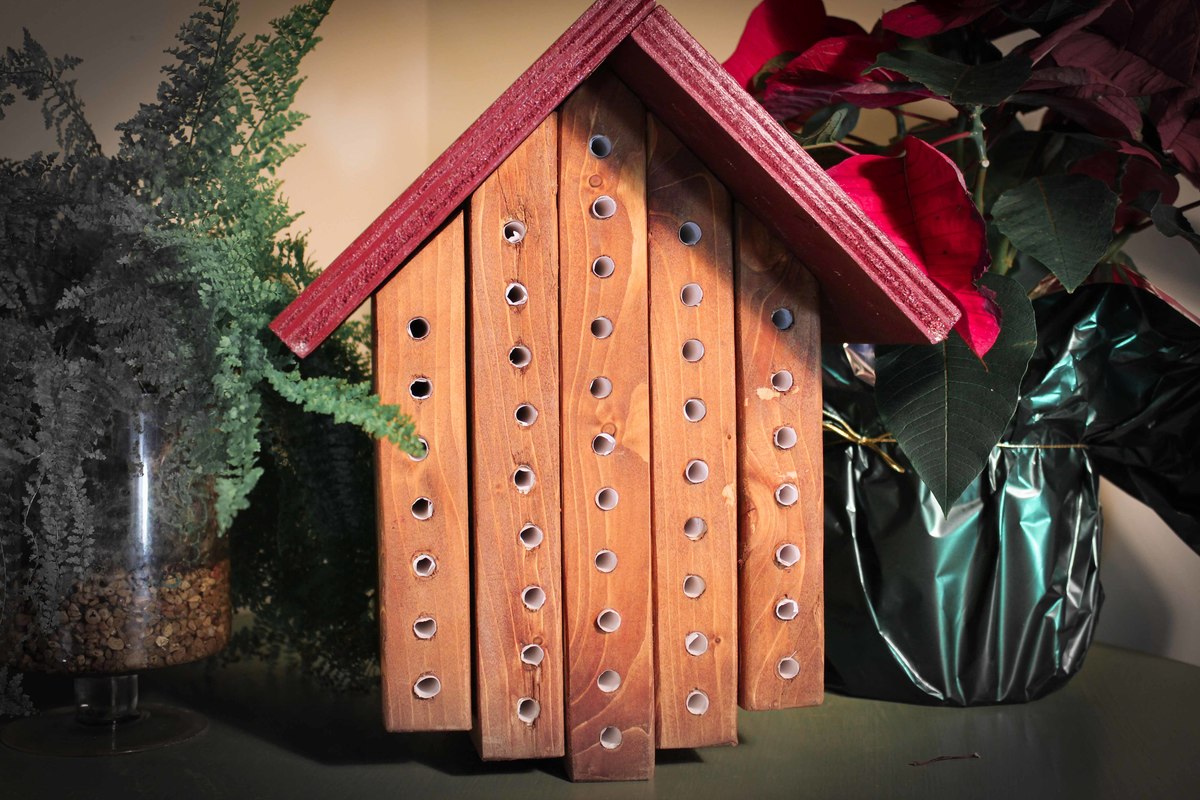
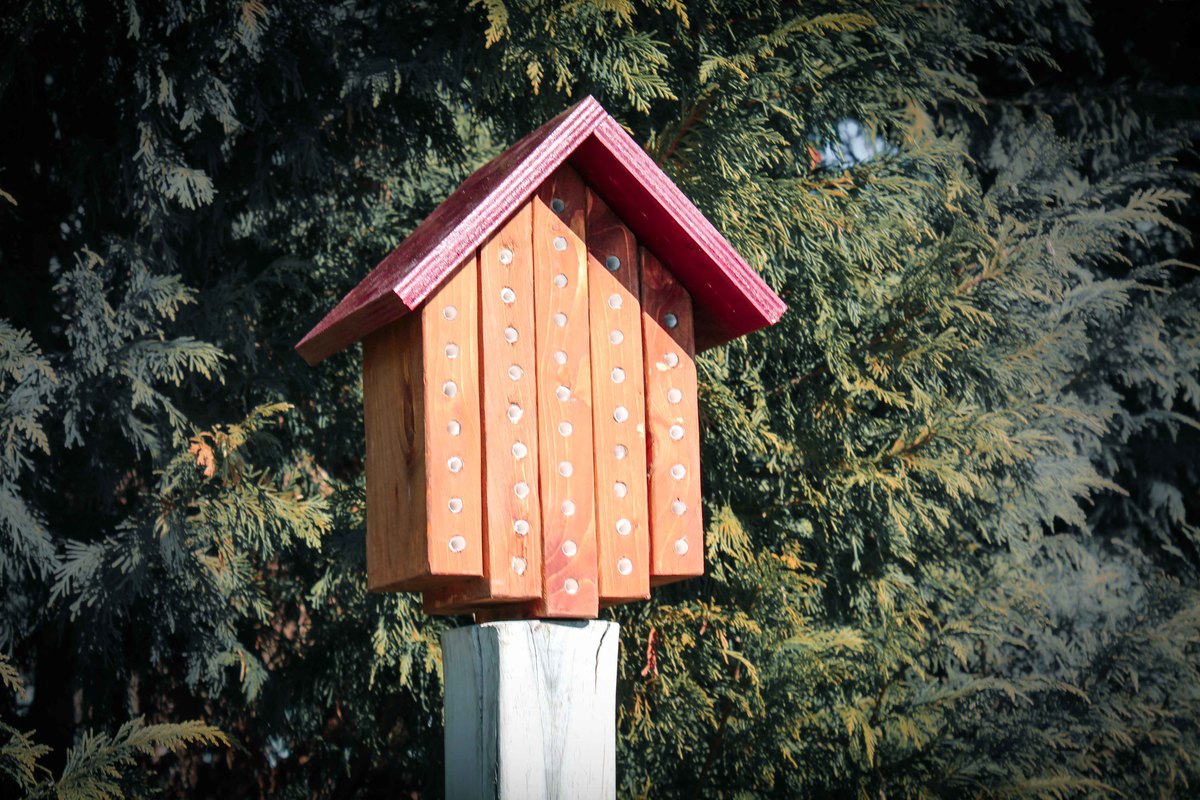
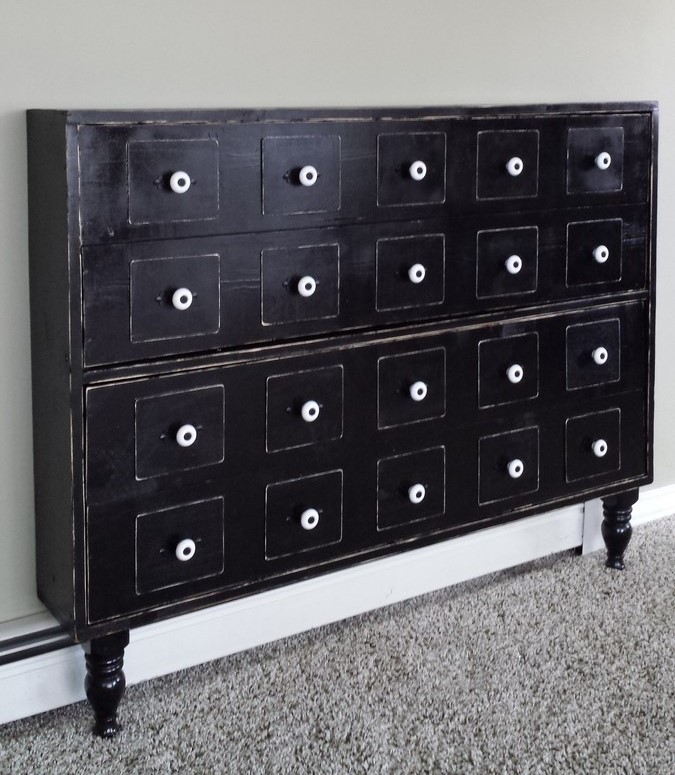
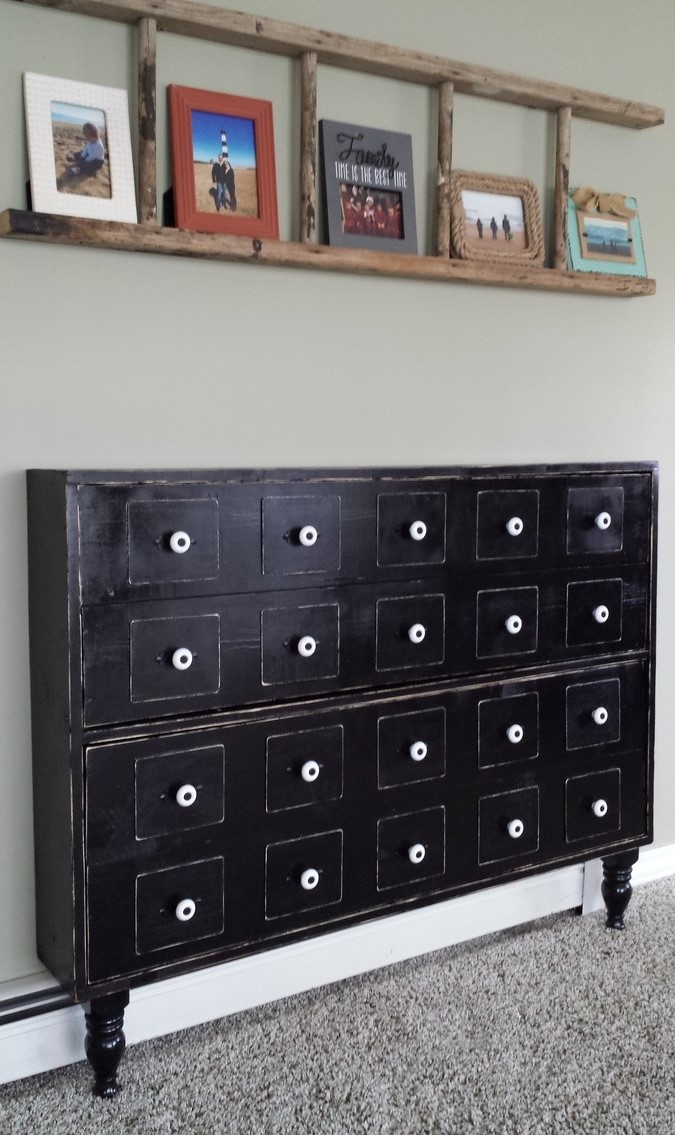
Kitchen Island Trolley
Kitchen Island Trolley.
Base was made from recycled timber and the top was made with new pine.
The rails were made from curtain rails.
One end has wheels for easy moving.
Kitchen Island Trolley.
Base was made from recycled timber and the top was made with new pine.
The rails were made from curtain rails.
One end has wheels for easy moving.
I built a couple of farmhouse tables per the plans. However, I had person who wanted three narrow, 15", display table for her craft store. I followed the plans but just changed the width to 15".
These are my triples!
My Grandson will be born any day now so I want to create a cozy environment for him. We still haven't put the bed up or added any of the decorations, but at least the changing table is finished . Painted walls, added new flooring, still have to customize the closet, but with Ana's help that will be a snap. I would have never gotten the courage to do some of the builds I've done without Ana's site. Thank You Ana!!!
I love this design and I constantly get people requesting tour of the house just to see this table. Simple and beautiful.
My husband and I made the table and chairs for our screened porch. We really like how the project turned out. Many more Ana White projects on the our list!
I made this based on the $55 fancy x desk plan for my daughters room. It is 18" shorter (54") so I eliminated the diagonal braces at the back of the plan. It still is very sturdy. I made the top from rough sawn oak board that I had in the yard by handplanning the top and edges. You could just buy 1x12 oak if you wanted to, although it would be pricey. If you are in Connecticut let me know I have a few thousand feet of it! My daughter loves the desk!
Finally our 3 year old is out of her cot. Her long awaited bed finally got made! It took about 3 days to build (working around naptimes and school runs) and another week to paint it. I modified the plans slightly, using 70mm posts (instead of 90mm). I used 19x140mm for the rails so that more of the mattress was exposed (so we don't hit the rails when we sit on the edge of the bed) and also took quite a bit off the height of the headboard. I used bed brackets which made joining the rails very easy. Very impressed with how it turned out. The plans were really easy to follow and easily modified to suit our needs. A matching doll bed is in the works and her older siblings are also putting their orders in...
Mon, 08/03/2015 - 17:16
we made a toddler size bed a few years ago recreating this farmhouse plan, and are wanting to make the regular twin size now. I LOVE your changes. Any chance you could post a picture 1) a close up of the bracket (I'm wanting to do the same), and 2) how it looked from the inside, but pointing to the footboard? I want to copy YOUR bed! :D
Cheers!
Mon, 08/03/2015 - 17:31
also, how high/low does the bottom of the plank sit on the headboard? I see it's different than the plans (I prefer yours)
This took me about a month to build. Ana's plans were great. Installing drawers was the toughest part.
Love, love, love your projects. I have made 3 of the modern 2 x 4 chairs, with a modification. I had purchased both seat and back cushions for my chairs and the back cushion had nothing to lean back on, so I added some height and personality to the chair.
Your plans are easy to follow and make very nice, heavy furniture that I know will not blow away and end up in the field next to my house. Keep those plans coming!
We bought the house my husband actually grew up in. In the garage, on the wall, is theire family's height chart. When they moved taking it with them wasn't really do able. So, for Mother's day we wanted to give his mom a NEW (relocatable) height chart for her grandbabies.
One long board, another small board to insert at each foot mark, some house address numbers, and two different colors of stain, and we had what we wanted.
My husband made this in no time.
Thanks for the plans. Love the table
I wanted to try attempt the beam table and my son's wedding rehearsal dinner was the perfect reason. My wife liked the table so much, she asked me to make three more. Because they will be used in our new wedding venue business, I wanted them to to withstand the weather. The materials were quite a bit more expensive as I used 10 ft x 3 ft x 2 3/8" thick redwood butcher block planks for the tops and cedar 4 x 4's for the bases. Stained and sealed with Cabot sealant. What do you think?
This was a gift for my goddaughter along with a keyboard for her third birthday! I love the way it turned out, and it fits perfectly in with the animal theme in their playroom!
don’t know when I first stumbled across Ana’s site. But – when I started printing the plans that I wanted, and I printed a whole 2 inch binder – I knew I was addicted.
It was November and I wanted to build the whole kitchen, the hutch, fridge, sink and stove. (I get obsessive about things) That was a lot of building! Being the numbers dork I am, I ran to my excel sheet – planned out all the cuts to use as little MDF as possible. I used three sheets of MDF – which totaled about $90, the accessories and flat black paint ran a little under $30, so in total the four pieces were $120, for all 4 pieces! My full story of my husbands blizzard drive to the depot, and 120 cut’s later are in my blog: http://mycreativeescapes.blogspot.com/
I work full time and I have three kids 4 and under, so I had NO idea when I was going to do it, but – I knew I was going to do it – and as a christmas present!
My dad helped me with the first two pieces, and I finished it up. It secured my love for building!
Overall the building was super easy – after a few popped nails, I got the hang of the nail gun. After the first piece, I figured out the tricks to be able to build it myself. Clamps are my new best friend!
The finishing – ahh good times, nothing like the wife wanting to use the power tools, and the husband wanting to do the paining. He insisted! We had flat black paint, so we did most of it in flat black. We wanted to do “Stainless” but the chrome didn’t look very good because we painted on the primer with a brush – we didn’t spray it, so when we sprayed on the Chrome spray paint – you could see the brush strokes. So we ended up painting most of it black as you can see in the picture.
This is what the project looked like pretty much done, just drying. My plans are resting on each piece, the clamps are holding the oven door together. And the plastic bin is my sink!
Ana – you truly are an inspiration! Your plans are awesome, and your generosity is amazing! I seriously have a binder full of your plans, and I am going to guess about every other blog post will be featuring your work. My first project was a simple bookcase, then the entire kitchen set, then the bench with the butterfly hinges that revealed storage for my mom (for christmas, it made her cry!). I can’t wait till the weather is warmer so I can build more! Thank you from the bottom of my heart! Next – I will post some pictures of my three little nut bags playing with there new kitchen from Santa, and my two girls and my niece sitting on the bench I built my mom.
My wife and I love this table: http://www.woodlandcreekfurniture.com/graphics/DT00100NEW.pdf so I took the Farmhouse Table plan and modified it just a little bit. I used pocket screws to join the table top and eventually wound up installing 2x4 runners on the underside to sturdy the top even more. I also used my son to help keep the boards flush while I screwed them together. He though it was wonderful to help his dad out this way.
For the table frame I used a 1" straight bit in my router to put a little "flair" on the rail. The leg bracing is 1x1 scrap that I had left over from ripping the rail to size. I used my drill press on the bracing to make the recessed hole for the screws at the correct angle. I then covered the screw hole with a 5/8" red oak dowel.
I decided to go a little more traditional on the breadboard end just to see if I could do it. Its really not that hard just more time consuming. I used a 5/8" red oak dowel that I bought at the hardware store for joining the breadboard to the rest of the table top.
My table is made of a mixture of pine and spruce. I used shellac to seal the wood before staining. Shellac keeps these softwoods from splotching when they are stained. I then used Minwax Red Oak stain. I let the stain sit for about 15 minutes before wiping it off. The color turned out great. I used my Christmas money to buy an LVLP spray gun to hook up to my pancake compressor. I used the Spray-It 3000 to apply polyurethane. I put 5 coats on the frame and 10 coats on the top itself. In between each coat I used 0000 steel wool to buff the surface. The very last coat I left alone so it would shine. It left it with a little bit of an "orange peel" finish but I thought it made the table look more rustic so I left it alone.
All in all it took me about 60 hours over a 6 month period to get the table done. When you have a real job, kids, and a house to take care of it takes a while to do stuff like this.
I've got a plan for some chairs so I think I'm going to try chairs next. They say if you can build chairs you can build anything. I've built just about everything but chairs so maybe this saying will work in reverse. If the chairs go as fast as the table did, it might take another 6 months to get one done.
The wood for this table I got for free. My brother-in-law works in the lumber business and this wood was the throw away that none of the contractors wanted. All of it had been sitting in the sun and was warped, gray, and cracked. A friend from church who does woodworking for a living planed and jointed the boards straight and square for me. The lumber is construction grade pine and spruce. Most of the money I spent on this was for the spray gun, the finish, and the hardware that I used for joining the tabletop to the frame.
A help hint I found out after the fact. If you're sanding pine and spruce with a random orbit sander or any electric sander you are going to leave little "swirlies" throughout the wood. Either sand the wood by hand to prevent the "swirlies" or learn how to use a card scraper so you don't have to mess with sandpaper. The "swirlies" showed up when I applied the stain. Before then I couldn't see them. My wife thought the "swirlies" added to the rustic-ness of the table, so I left them alone.
Sat, 05/11/2013 - 07:31
I forgot to include this in my post. I used Devcon 5 minute epoxy to seal all of my knot holes.
Made from entryway console plans and got the concrete top idea from DIY Pete's web and found a cool way to faux finish top with concrete stain I bought at sherwin Williams. Used a buff color dye added to top when mixing concrete
Our version of the outdoor sectional. We couldn't find 24" wide pillows so we modified the design to accommodate 22"x24" ones. We also added a 1x8 held on with pocket screws to provide some additional support on the back and help keep the pillows from falling through.
Wood was cut at Lowe’s for this one. We built it in the living room because it was seriously 10 degrees in the garage. It got moved upstairs, where we shimmed it, removed the molding off the wall, and painted it. Then we secured it, installed some rods, bought some bins (all from Target), hung a curtain, and called it a day. I reccomend you save all the scraps from this one, because they make for a free laundry basket dresser, that we also built.
I would love to see someone do this in birch plywood, and stain it for an elegant look!
This project only took a day to build and not the whole day. The painting took a bit I had to do first coat at night then the second one in the morning and flipped and did other side twice...
Comments
Lisa Dittamo
Sat, 02/06/2021 - 10:47
Cucina Island
Cucina Island