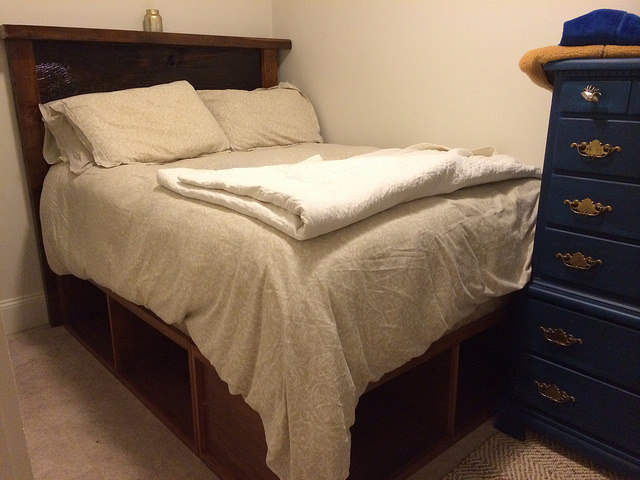
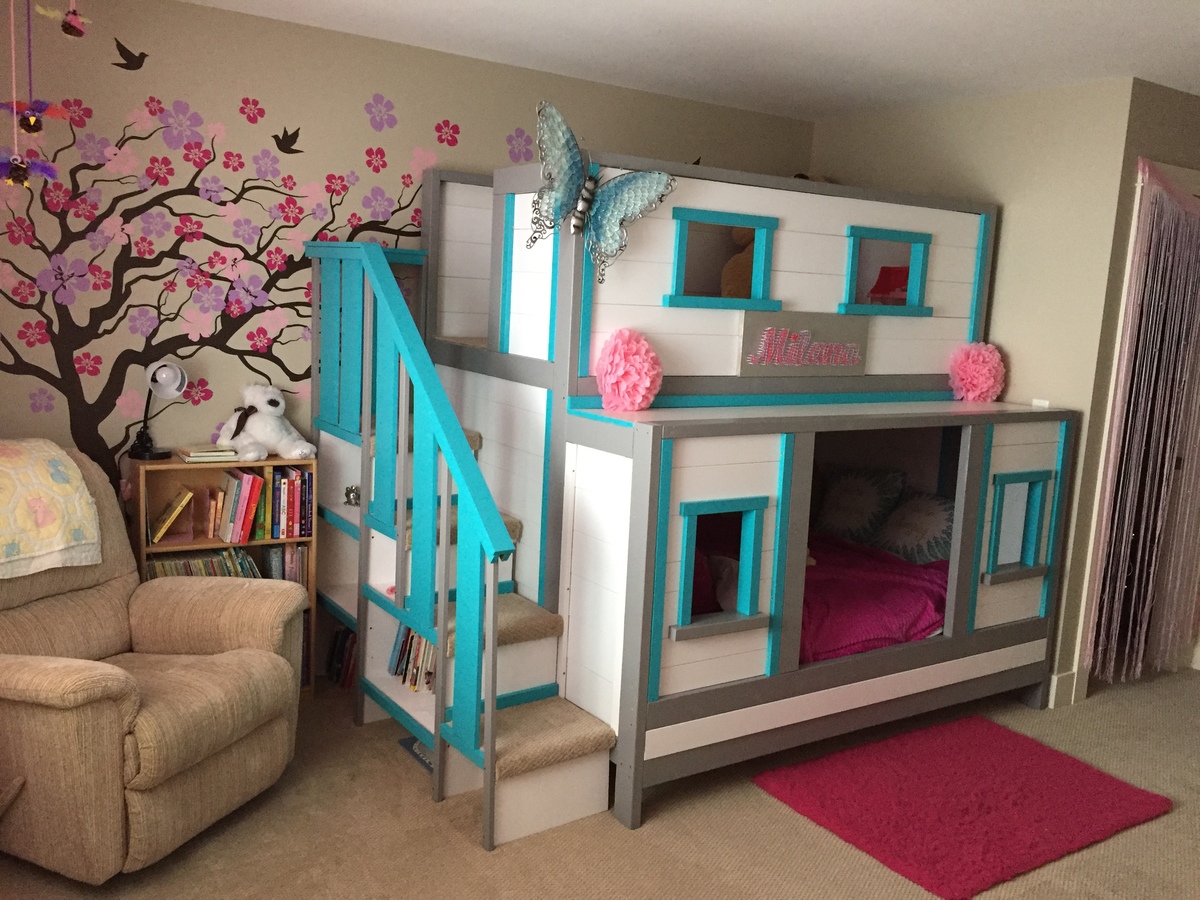
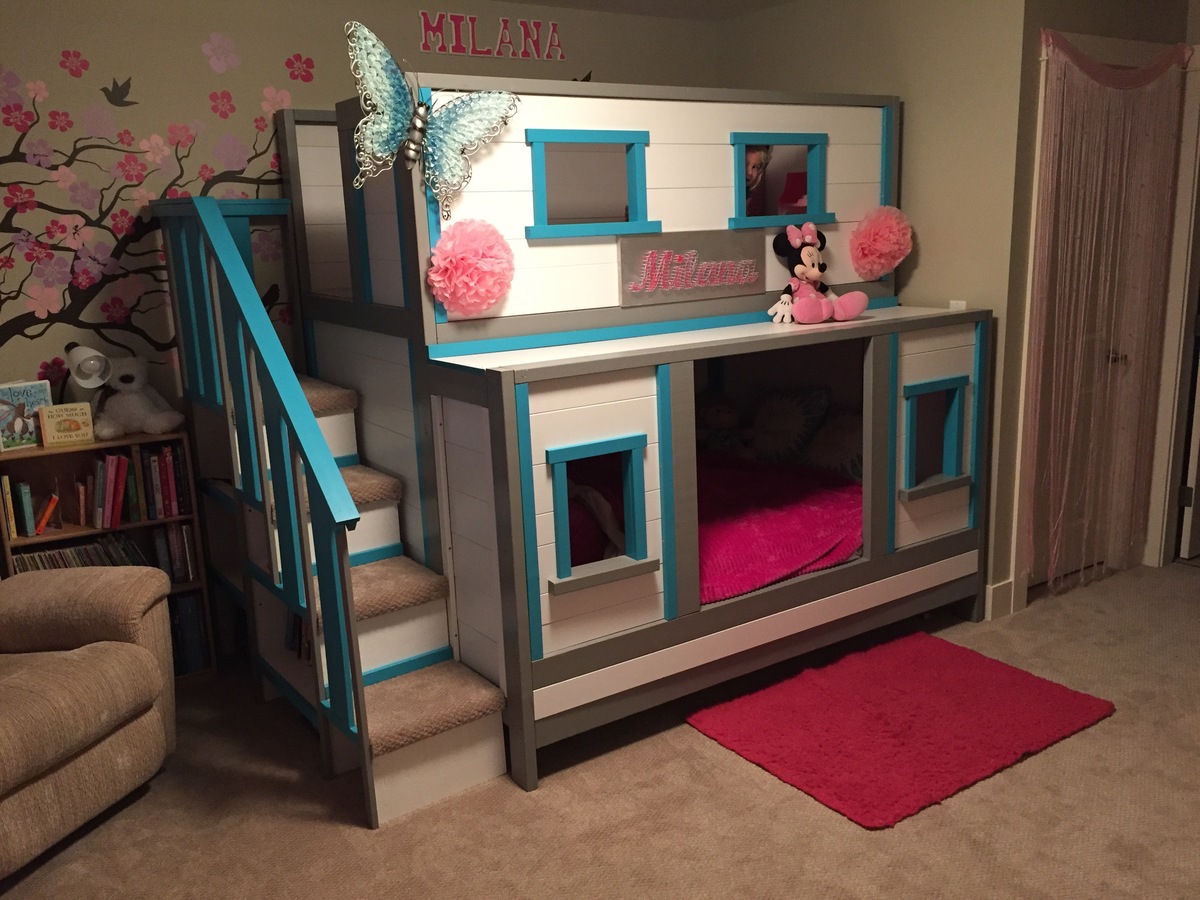
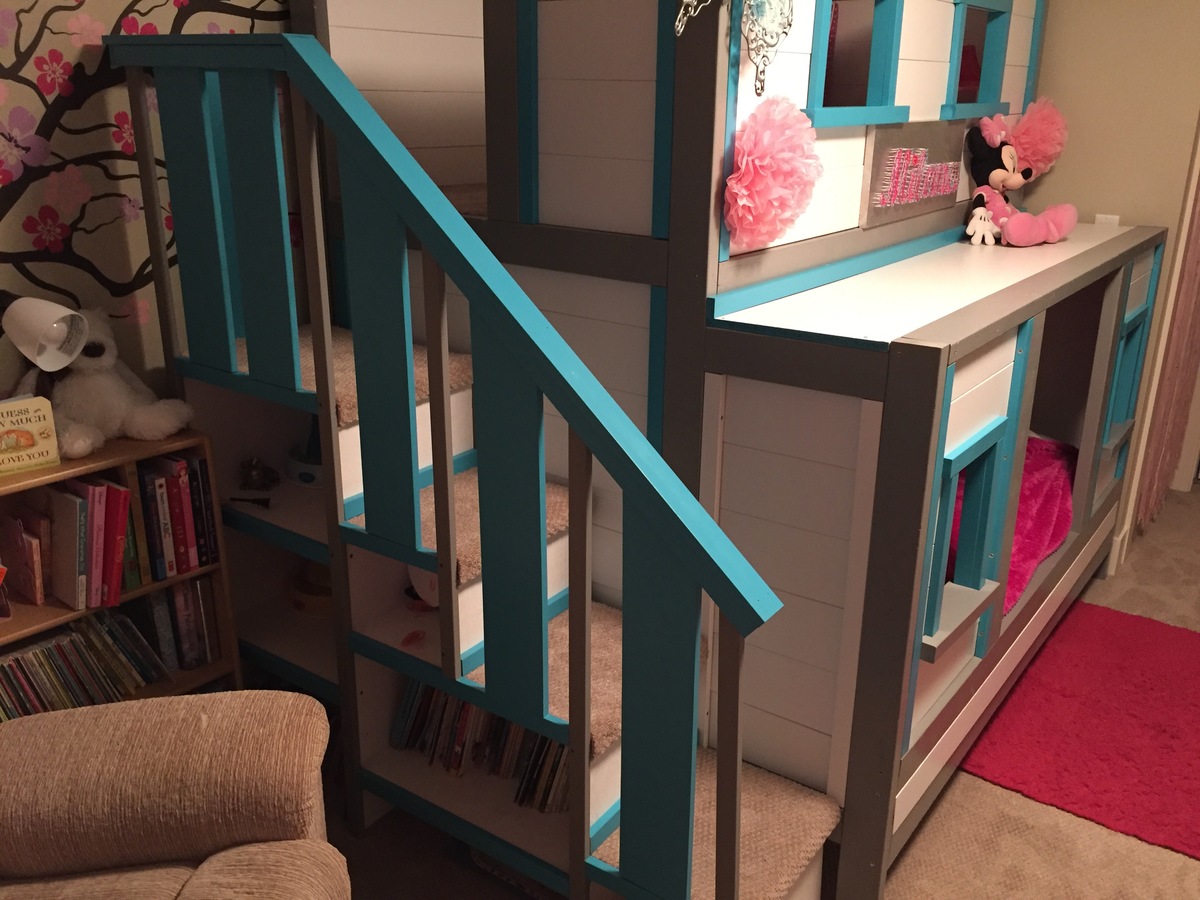
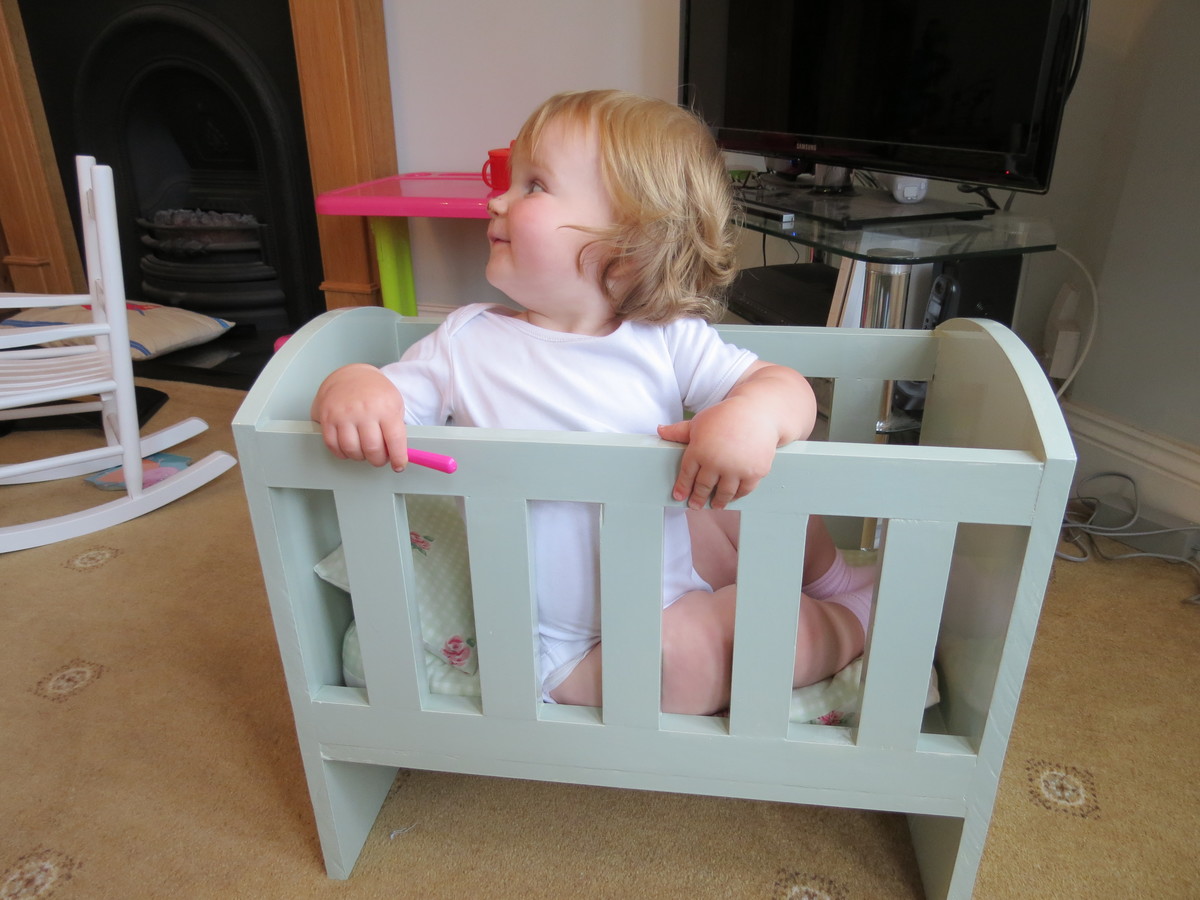
Toddler Farmhouse Bed
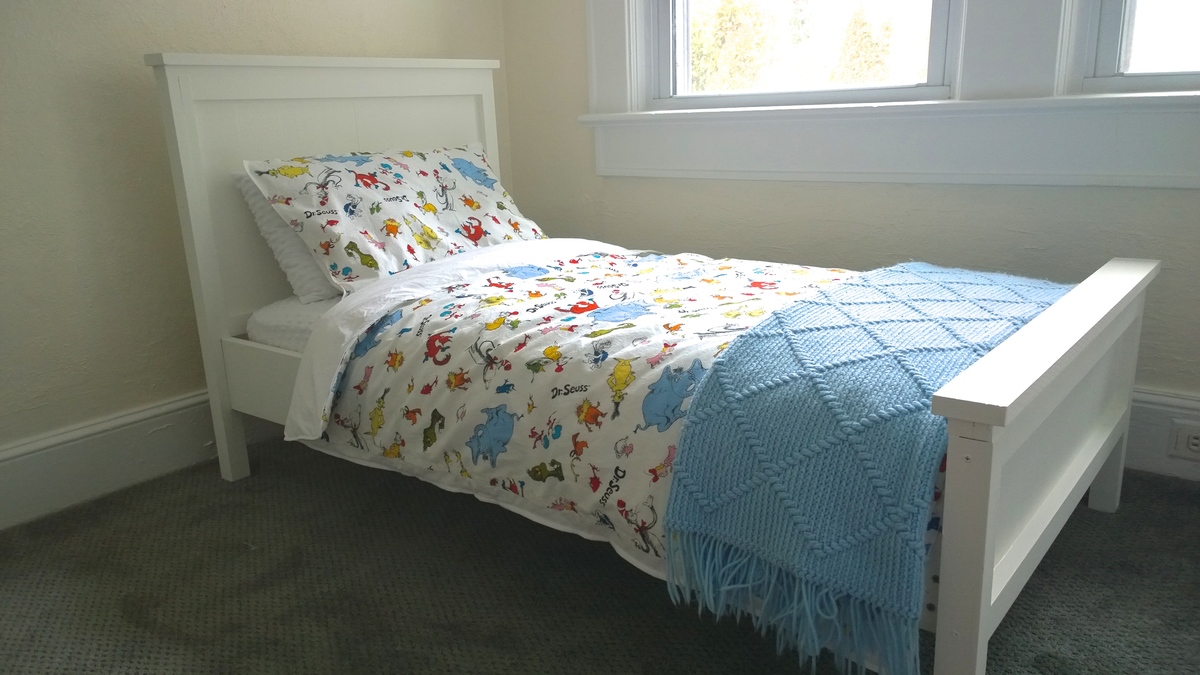
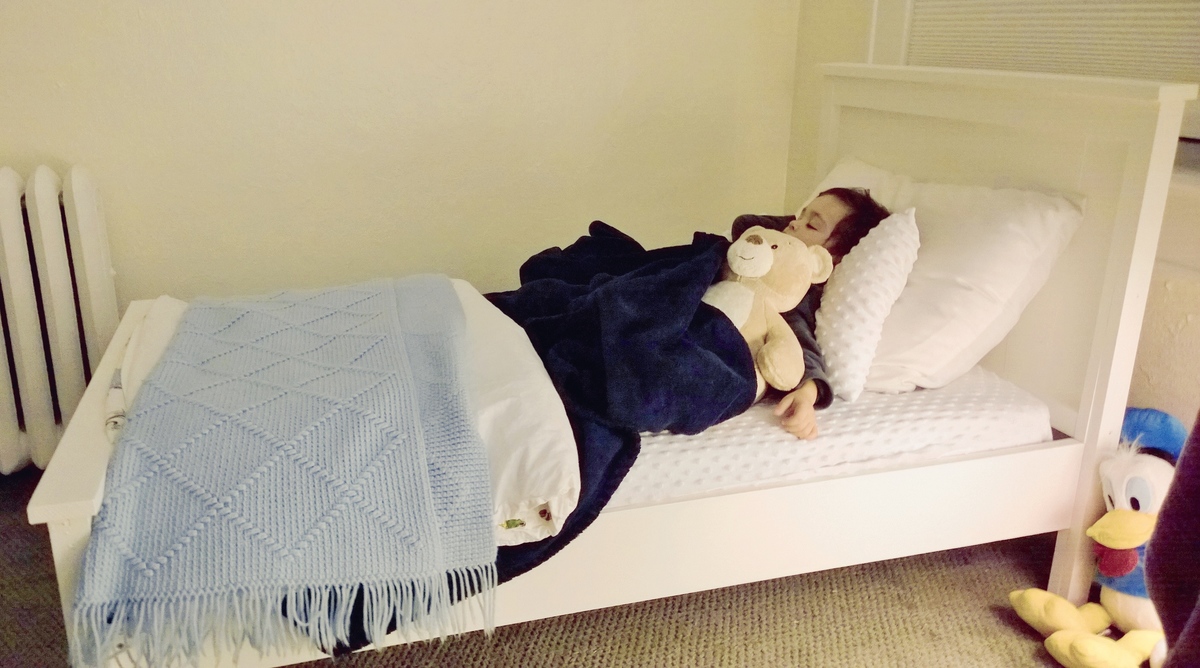
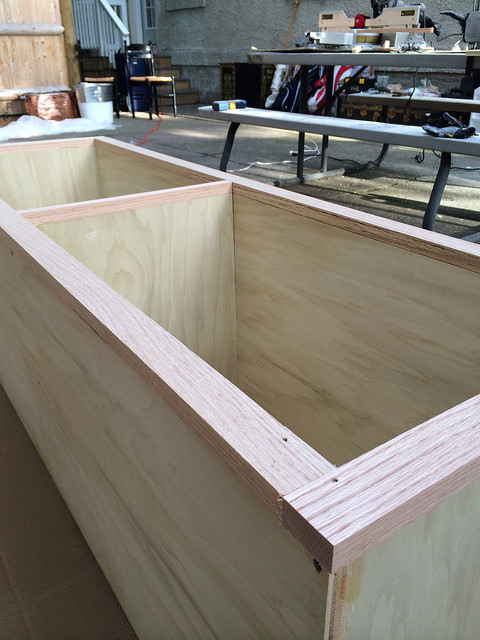
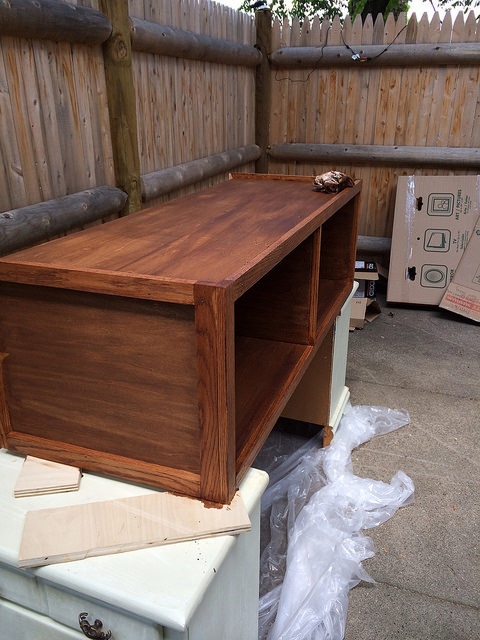
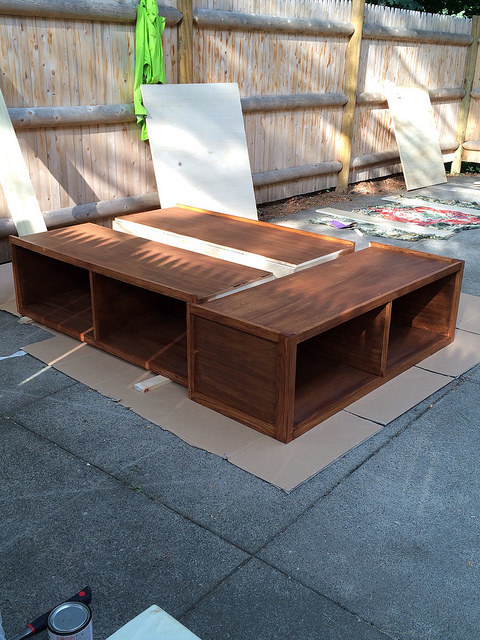
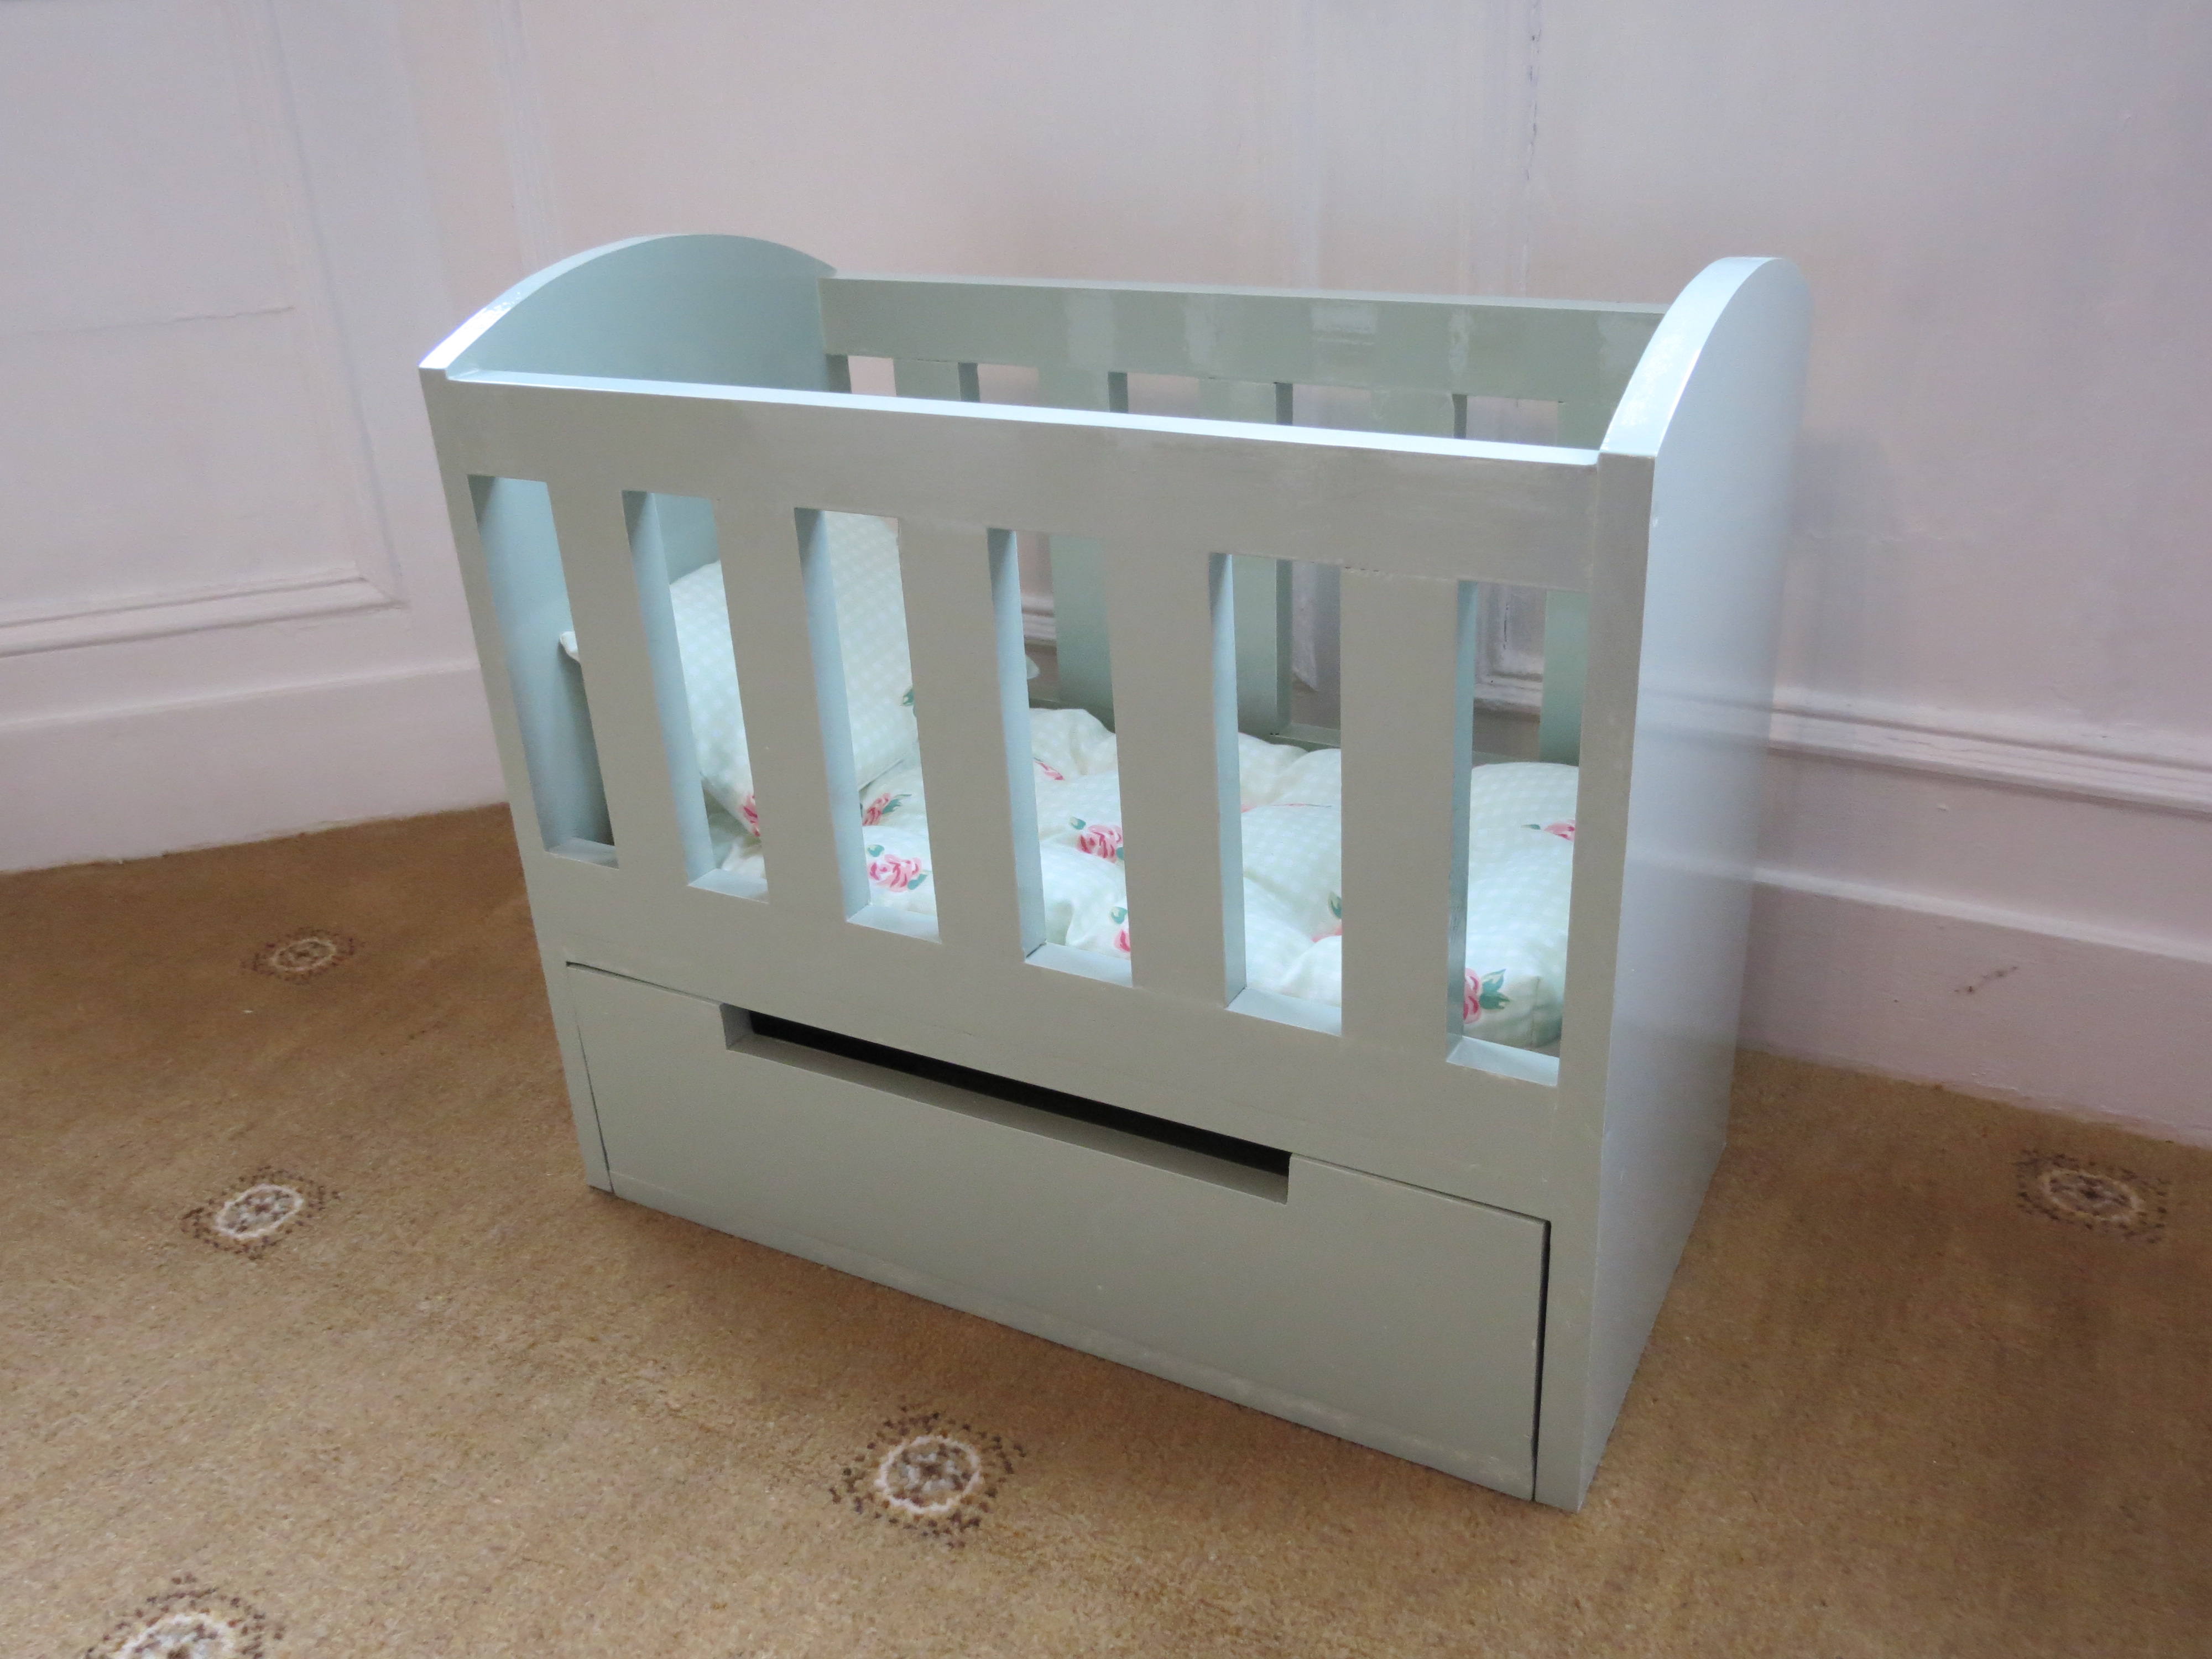
I gotta be honest, I'm kind in love with the farmhouse collection and when i saw this little bed i knew i had to build it for my 2years old and he loves it. It is so perfect for him, not too big and not too small. The bed was very easy to build, affordable and very strong ( trust me, my son makes me lay down there with him sometimes so he can go to sleep) . I changed the plans for a 28" wide crib mattress after reading all the comments, but it was really easy to do. I'm very happy how it came out.
Thank you Ana for sharing all the amazing plans with us and i'm looking forward to start building more furniture soon, my to-do-list is just getting longer and longer lol.
Thank You Ana XOXOXO
Estimated Time Investment
An Hour or Two (0-2 Hours)
Recommended Skill Level
Starter Project


Comments
booksnotbombs
Wed, 08/06/2014 - 07:17
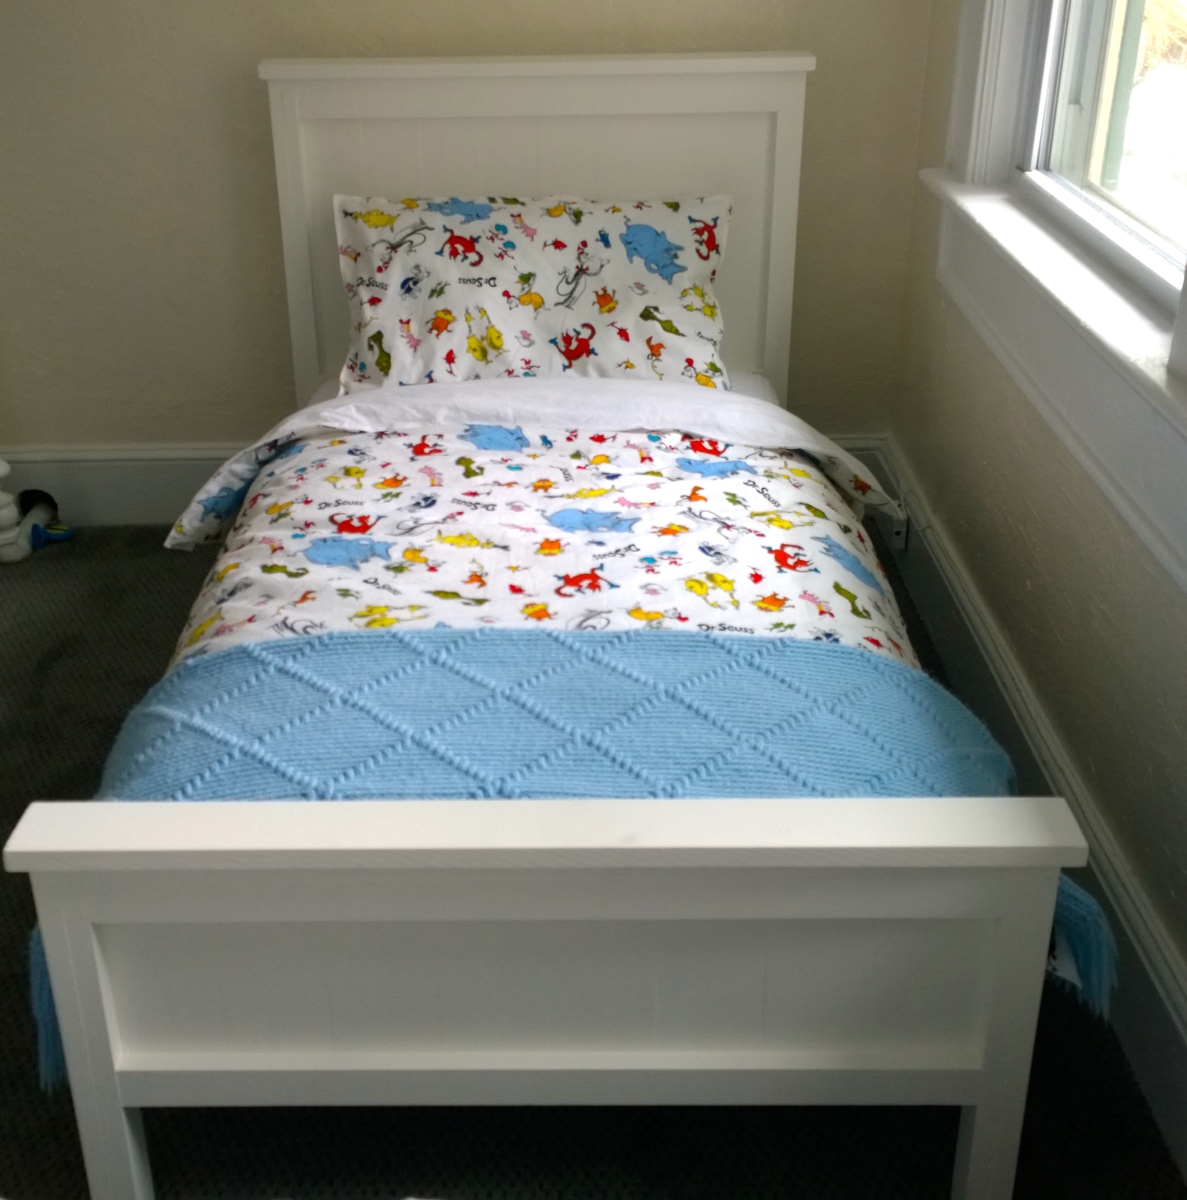
It's beautiful. :) You did a
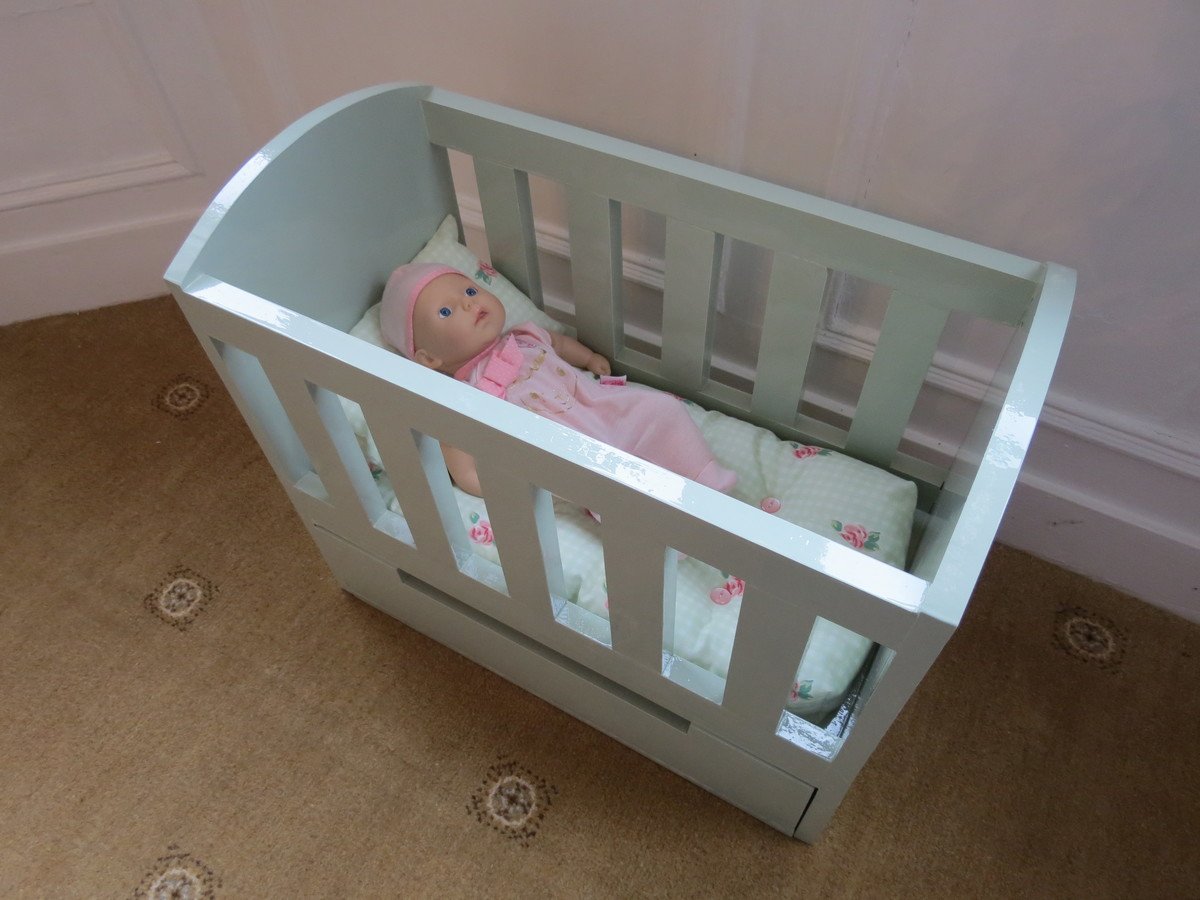
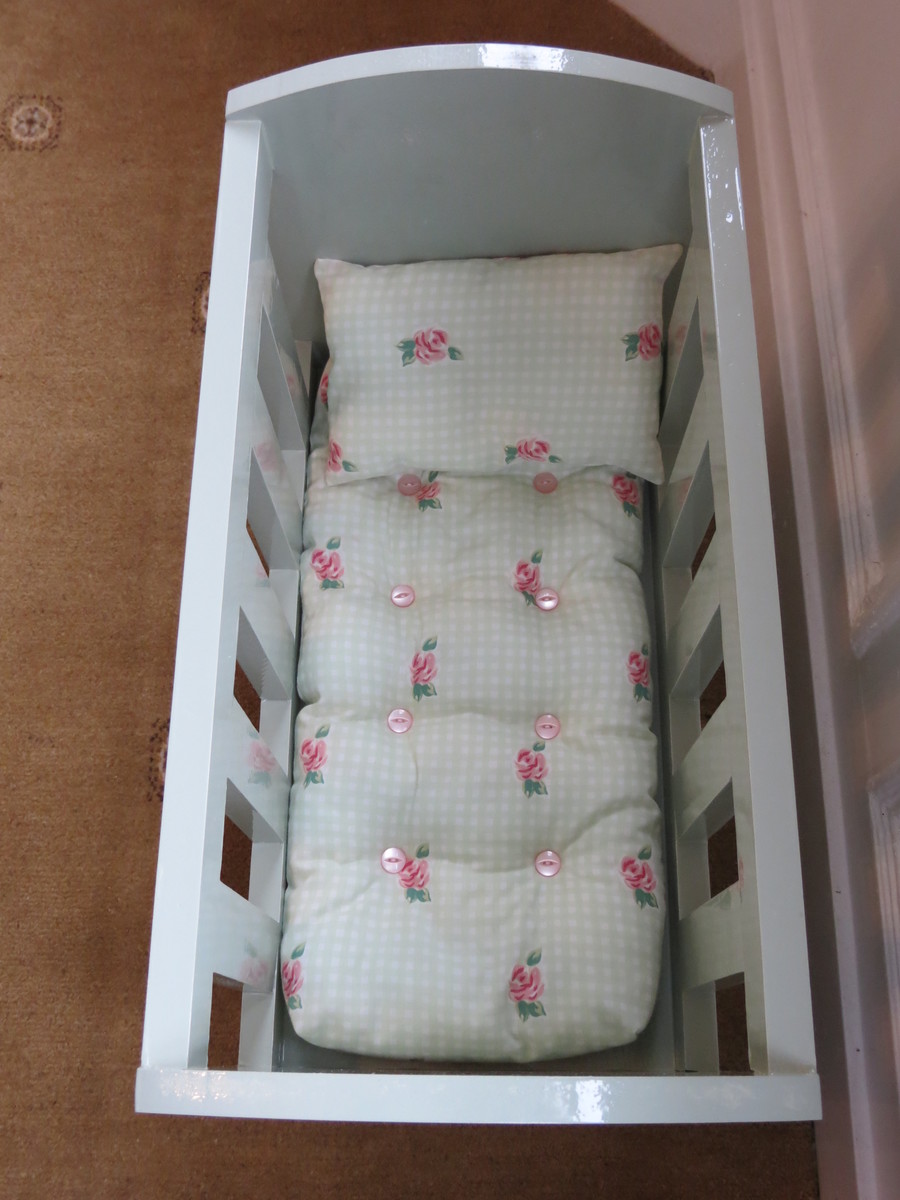
It's beautiful. :) You did a great job! I love the comforter.
In reply to It's beautiful. :) You did a by booksnotbombs
Faithvalle
Wed, 08/06/2014 - 17:43
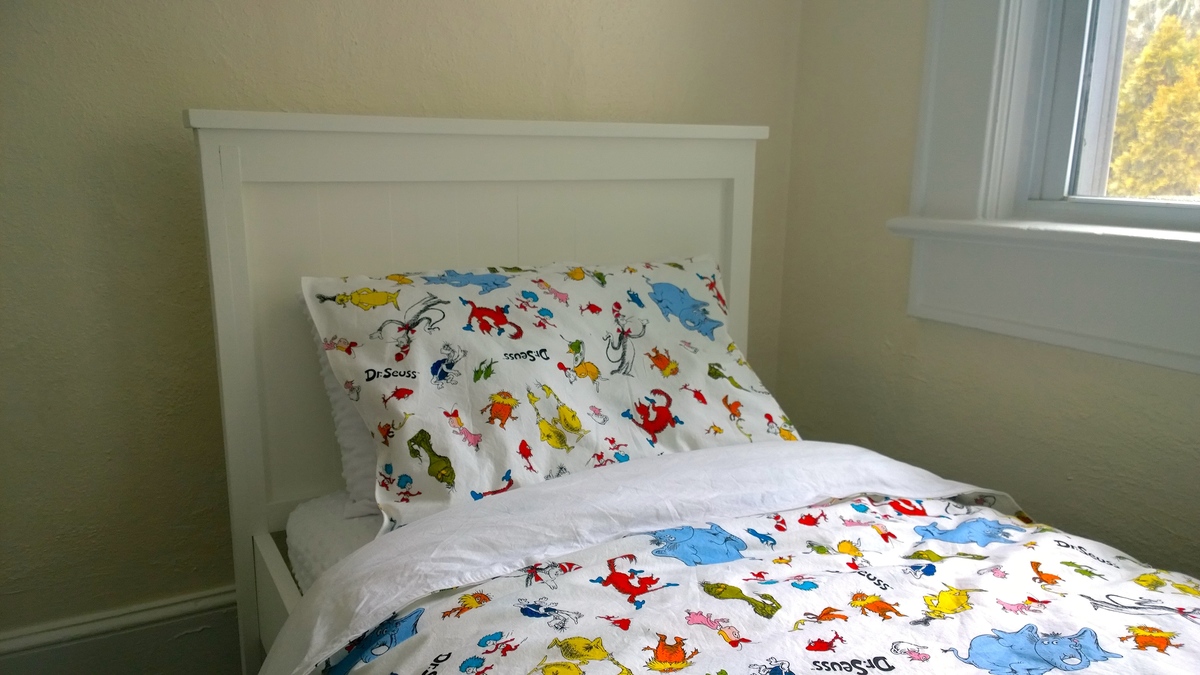
Thank you @booknotbombs
Thank you, i was looking for a Dr Seuss bedding and i saw this fabric, i made it myself, i think it looks nice.