Little Cottage Loft Bed
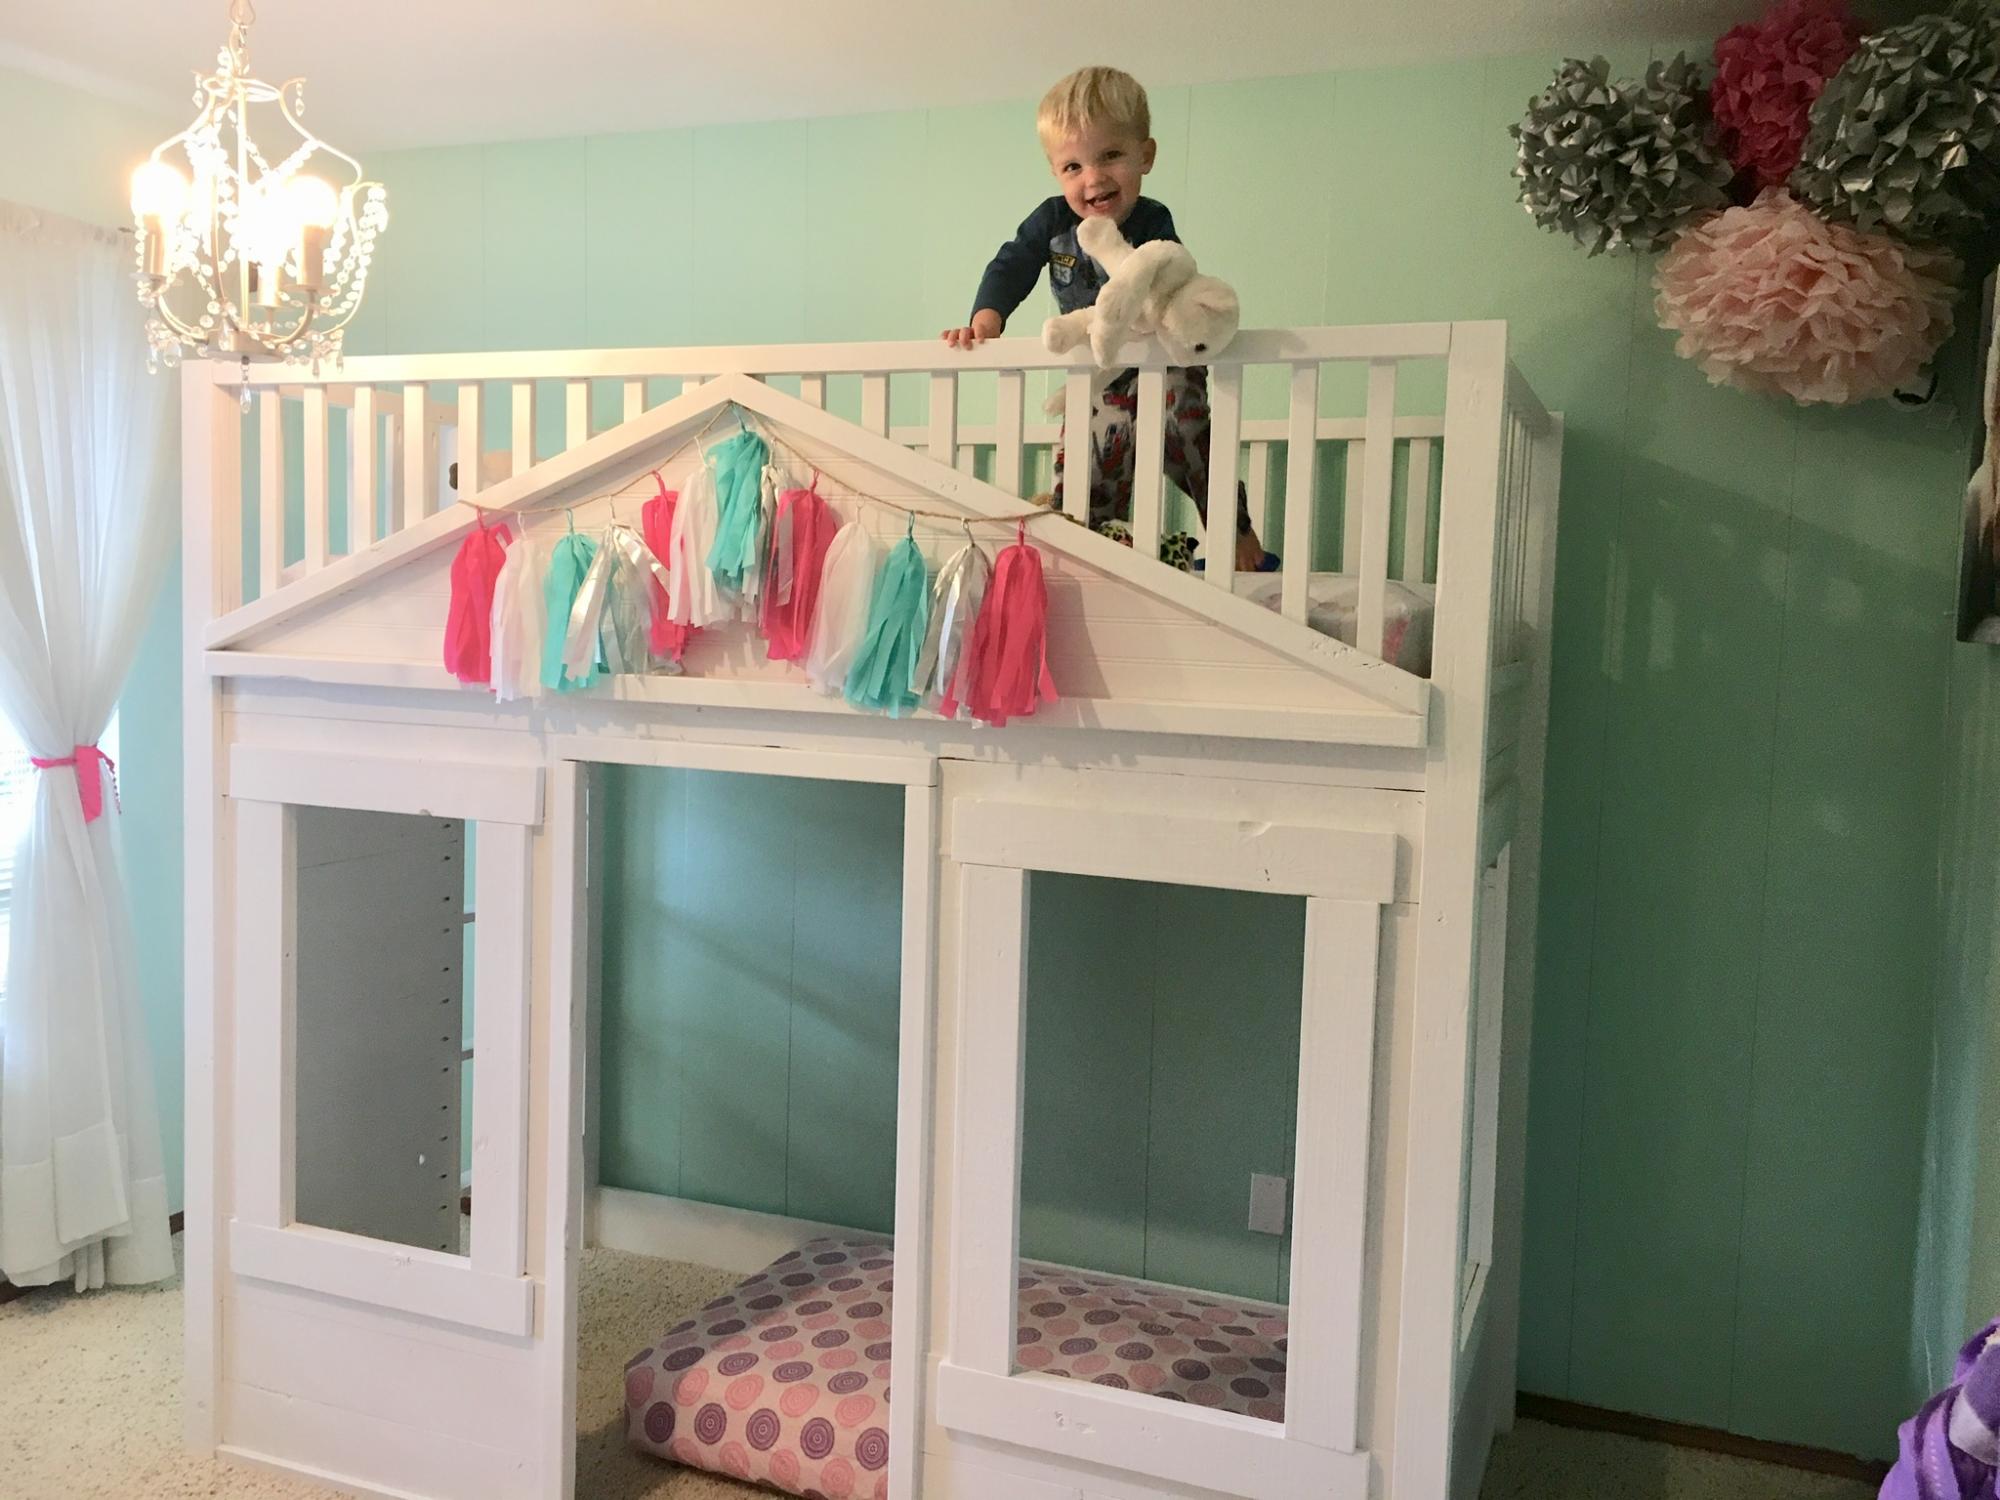
This was such a fun build. Thank you for the great plans. My daughter loves it

This was such a fun build. Thank you for the great plans. My daughter loves it
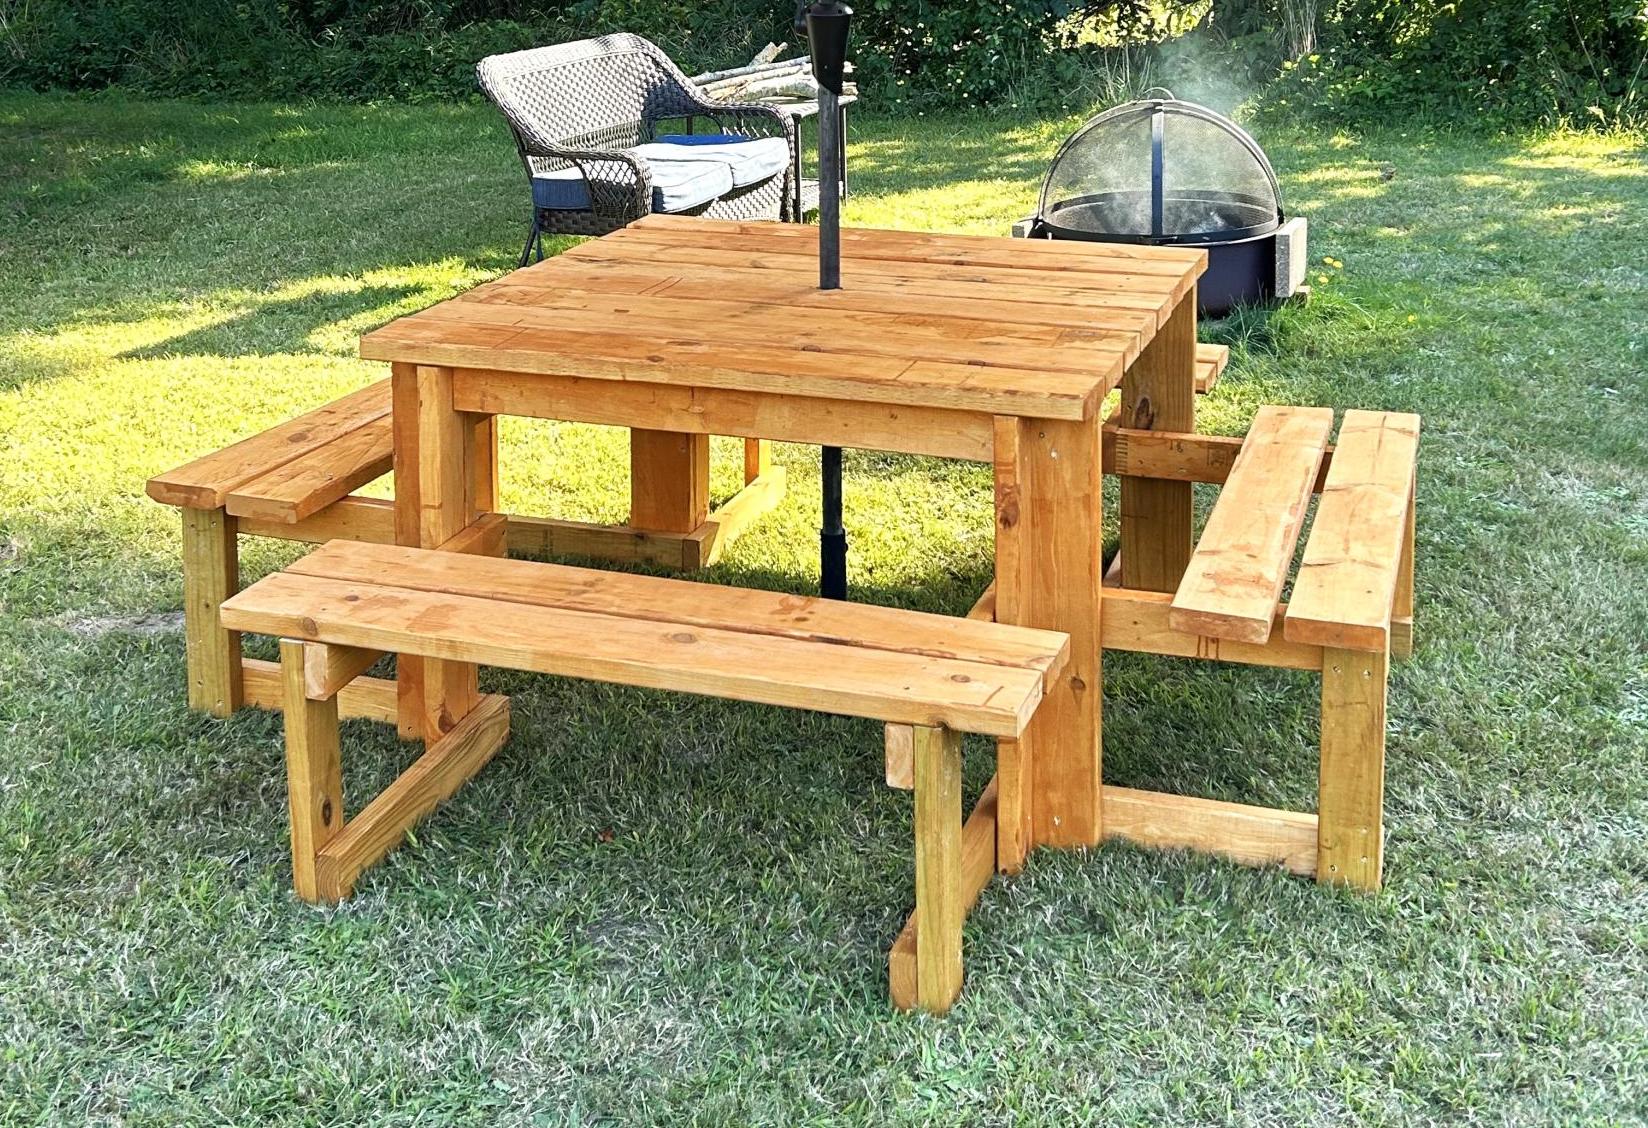
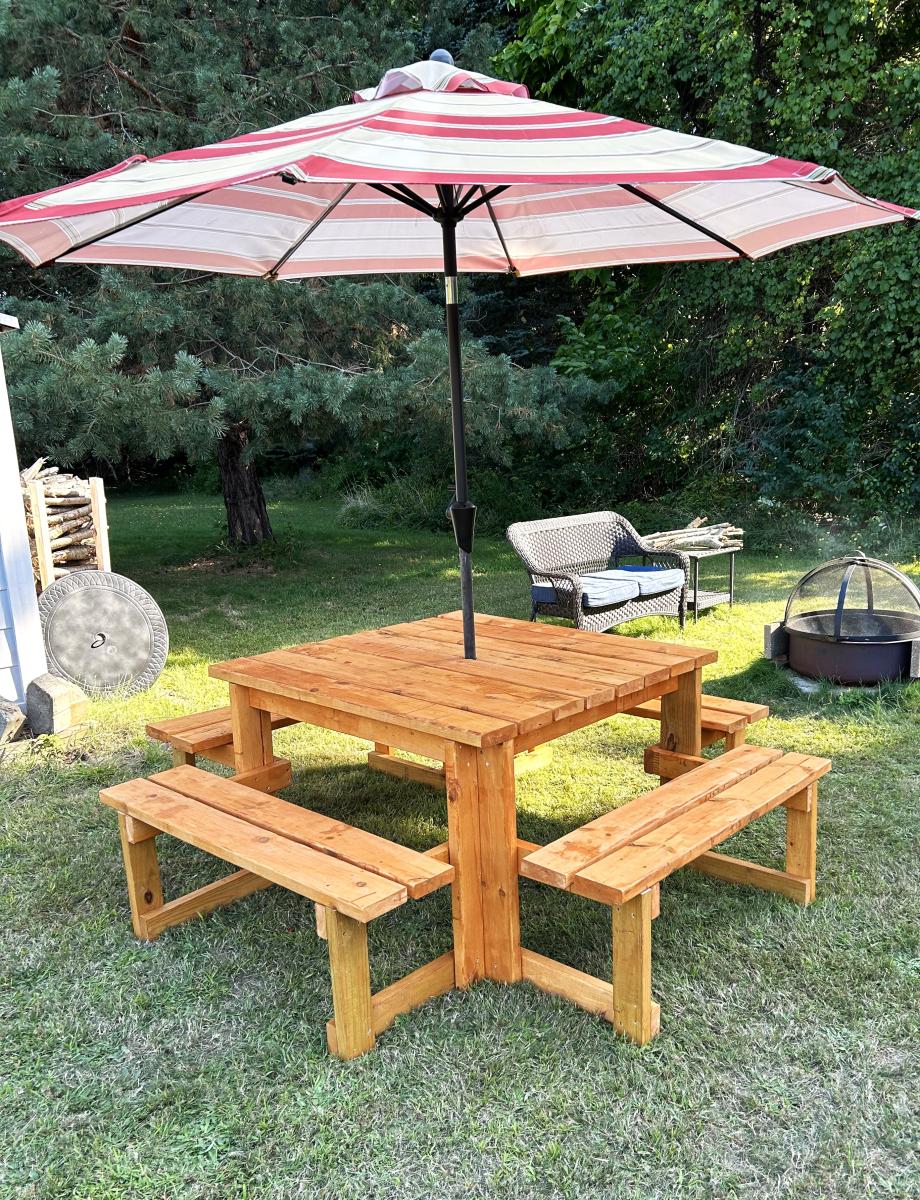
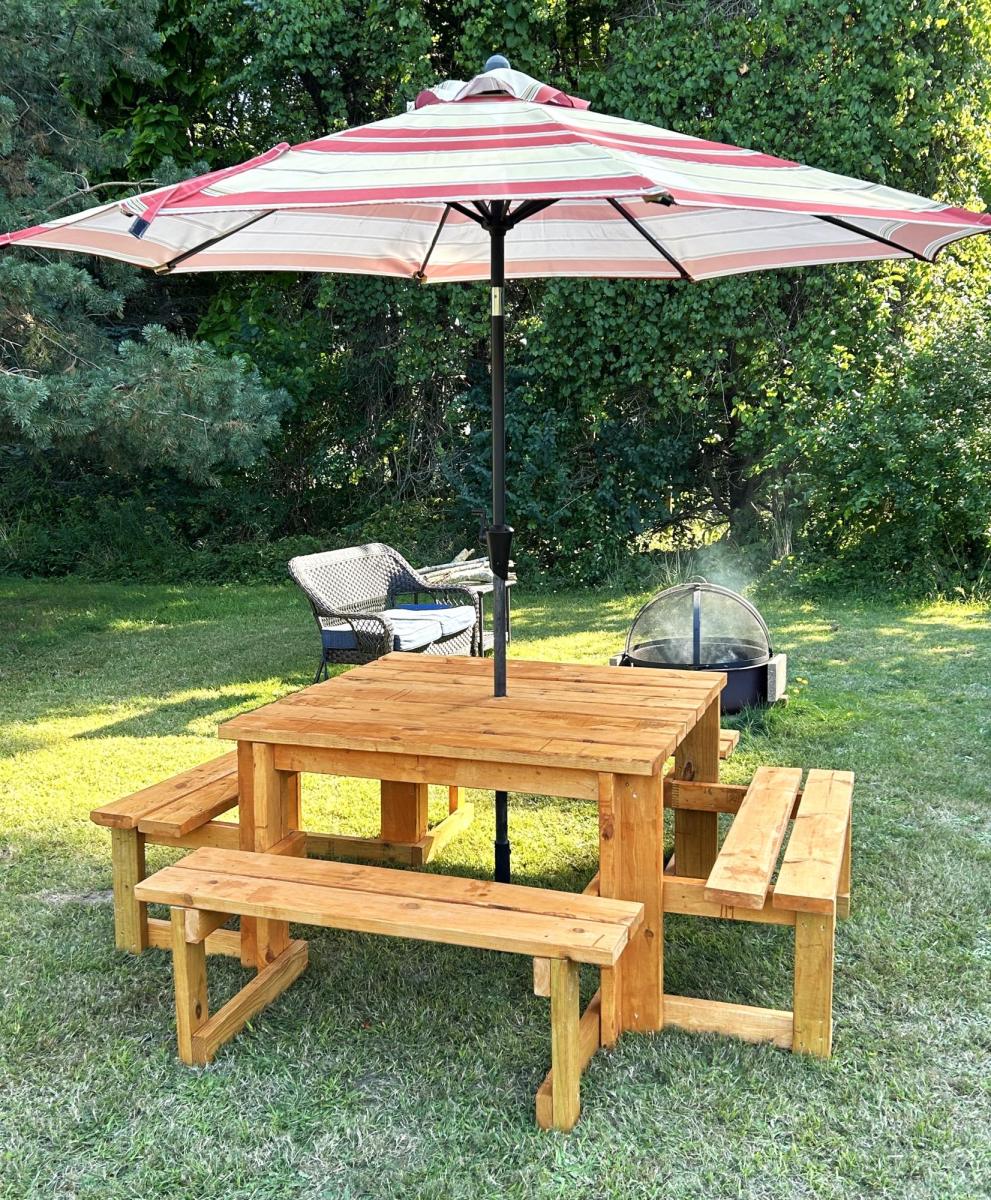
Picnic table with slight modifications. Assembled with the help of our five grandsons. A day to remember.
Kerry Still
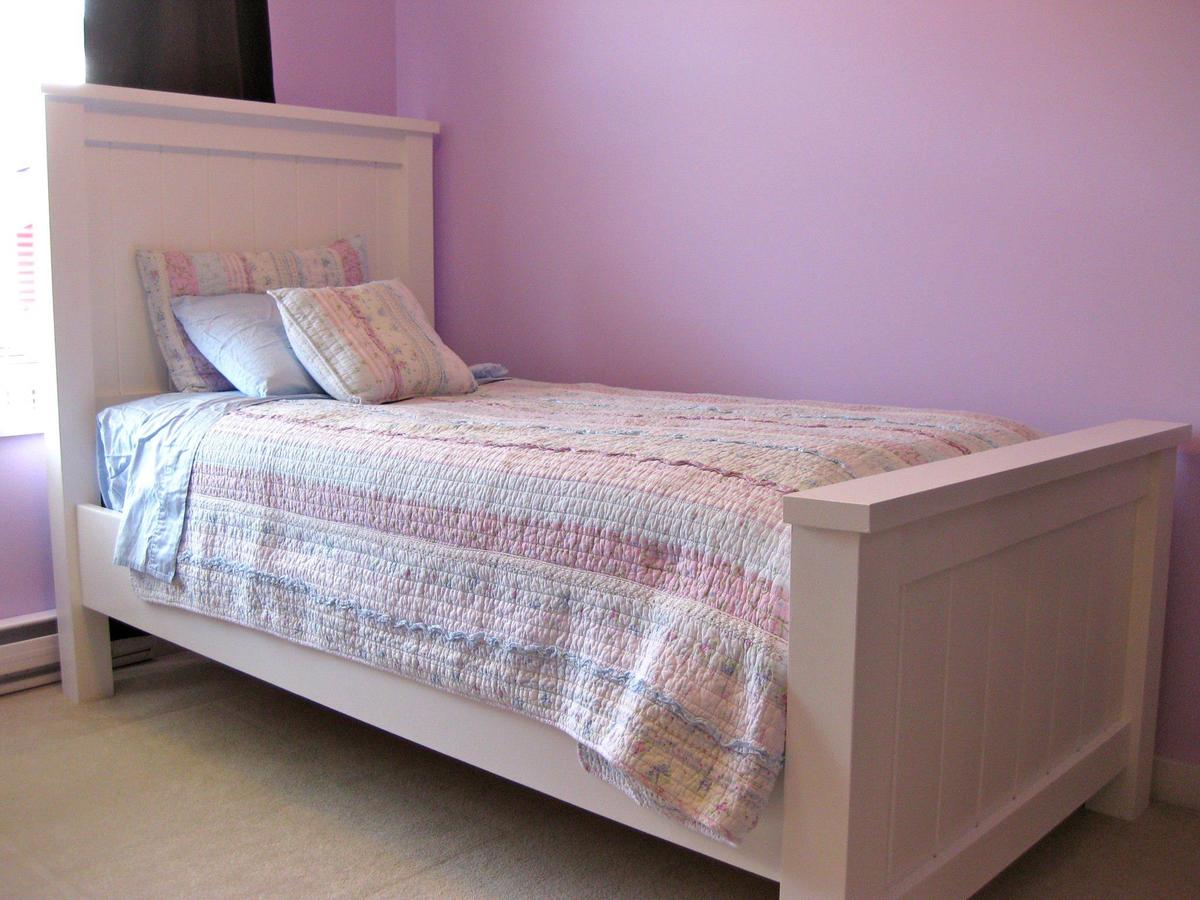
My handy Dad built this for my daughter using the awesome Plan as a base. Made a couple minor modifications (raised it up so more space under the bed; added brackets so the siderails can easily be removed; etc). Turned out perfectly!
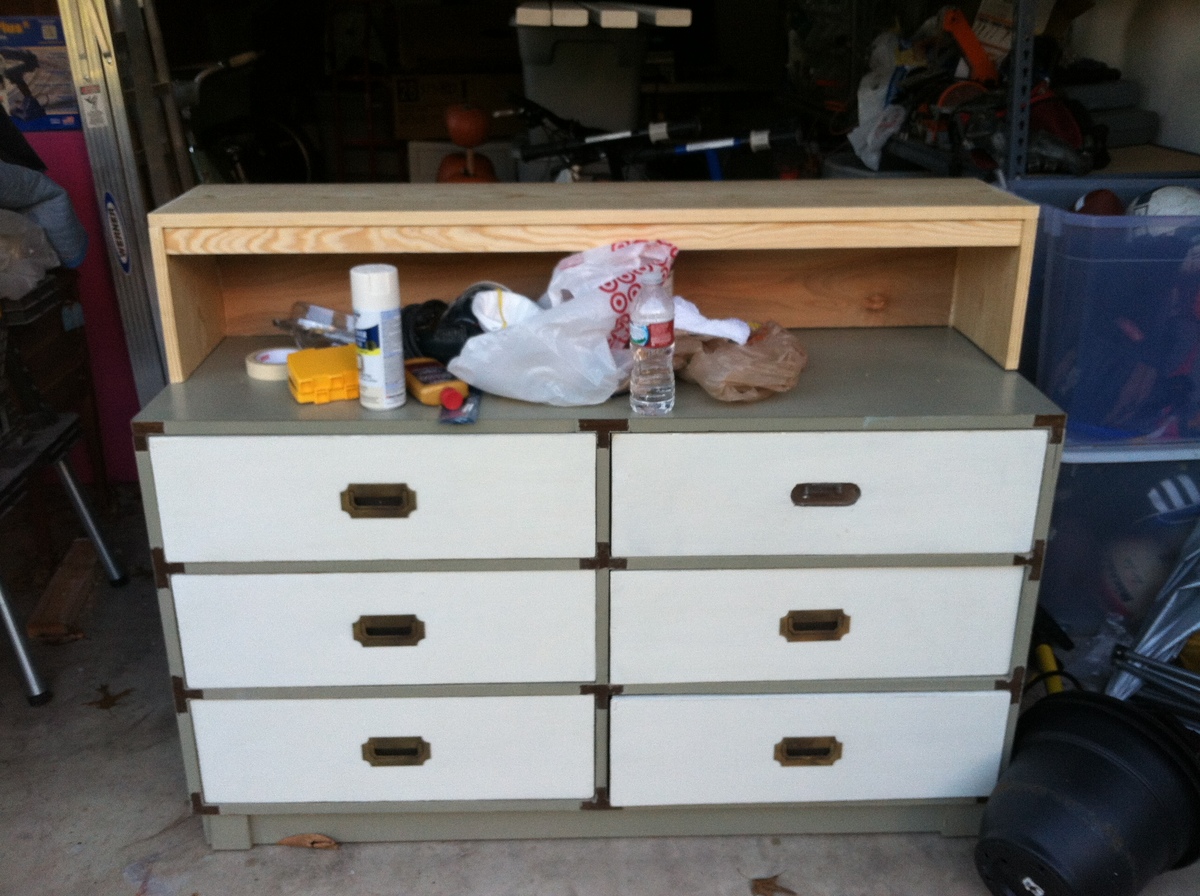
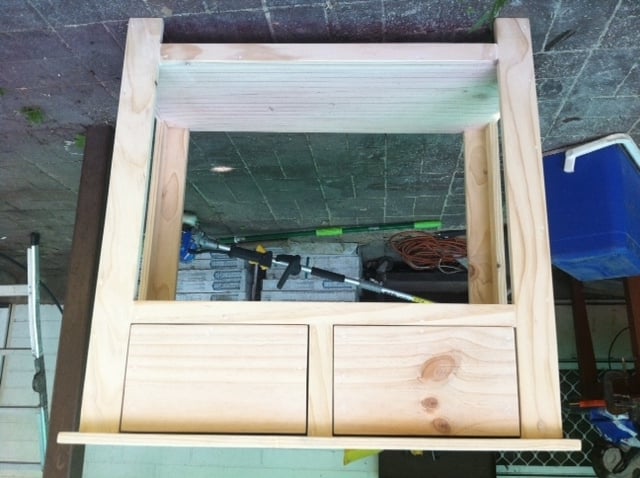
I bought a campaign dresser off of CL that I wanted to use as a TV stand, but it was too short. I searched Ana's plans for "Hutch" and figured out how she builds hutches, and made a simple hutch for the dresser. That's my favorite part about Ana's site...I'm gaining knowledge and experience to be able to build whatever I want!! I used 1 x 10 boards for the body of the hutch, 3/4" plywood for the back, and a 1 x 2 for the trim.
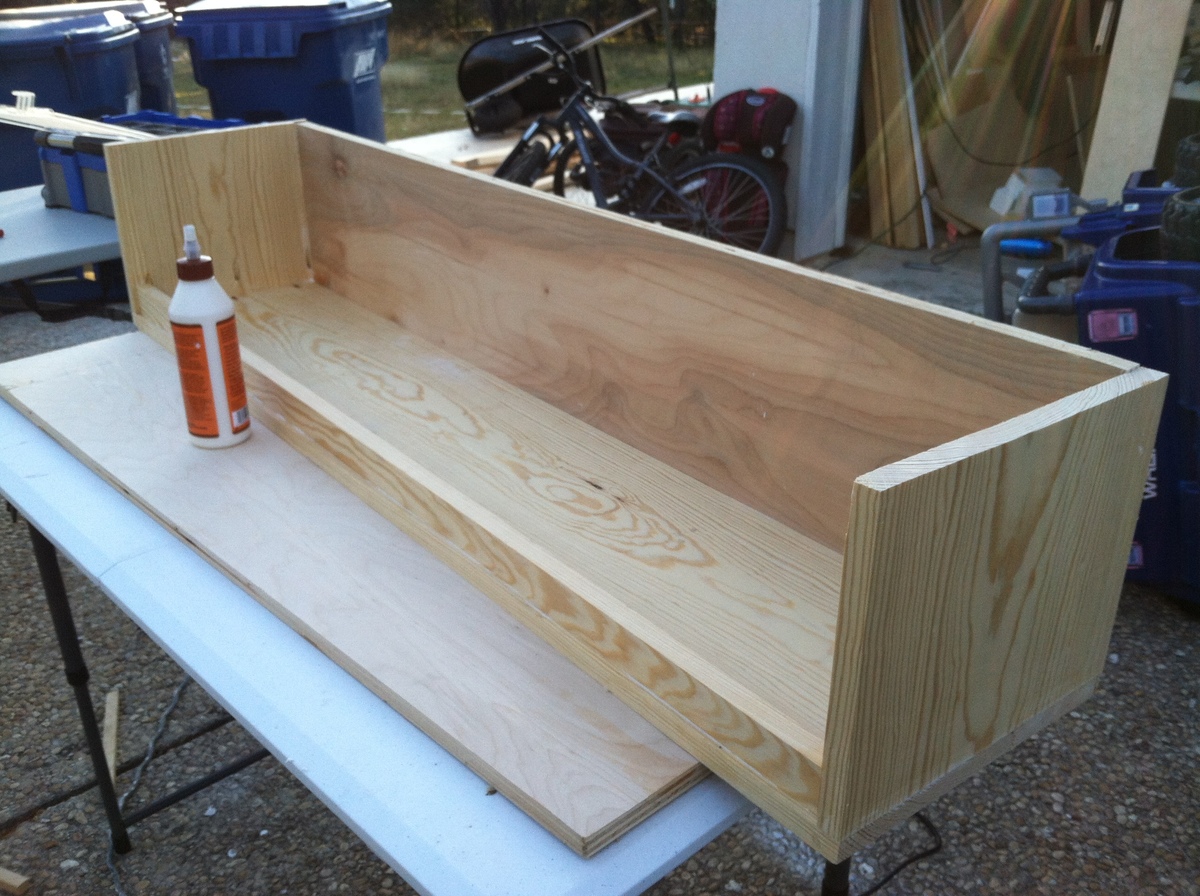
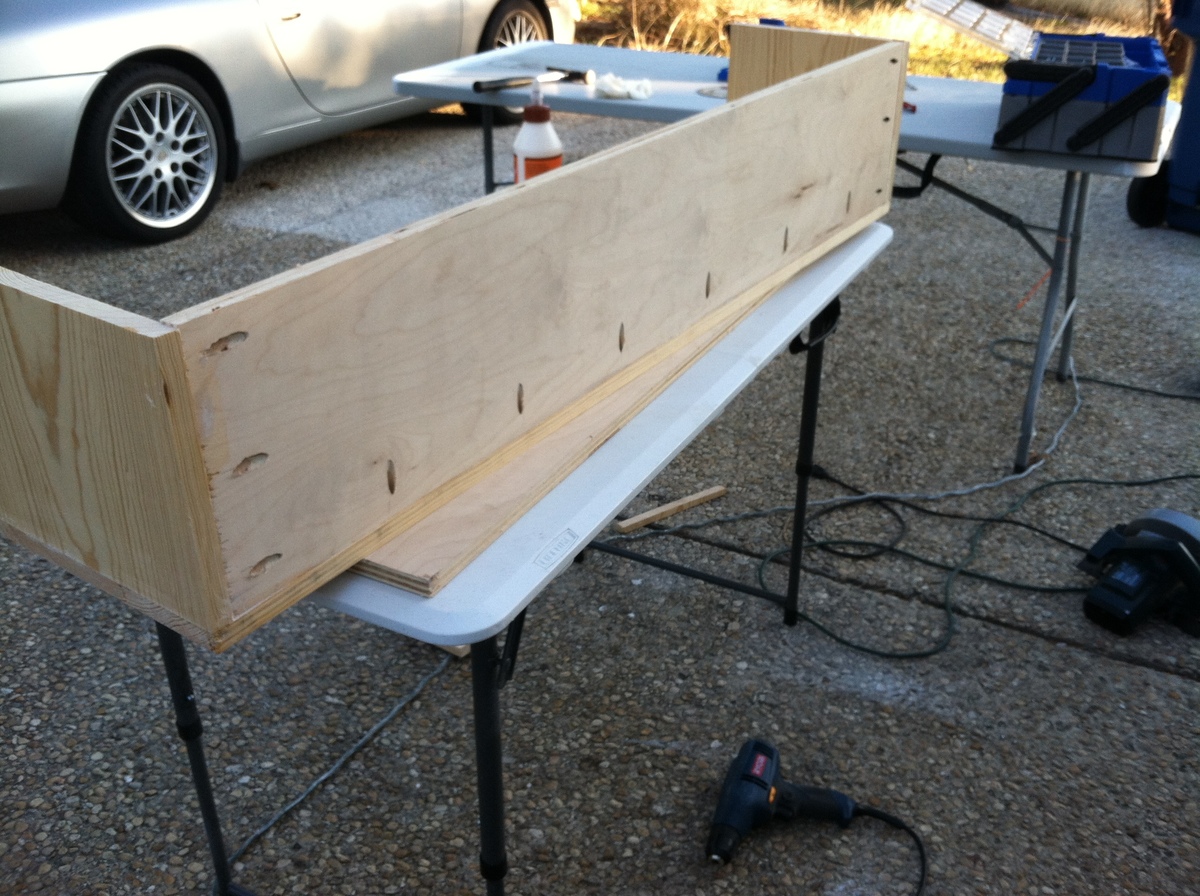
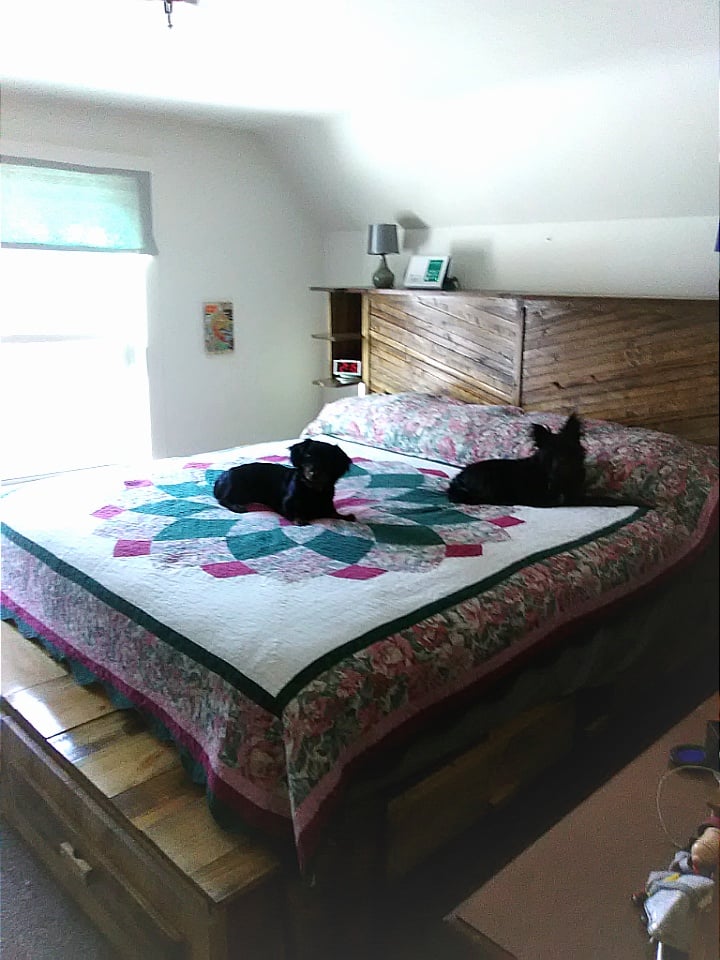
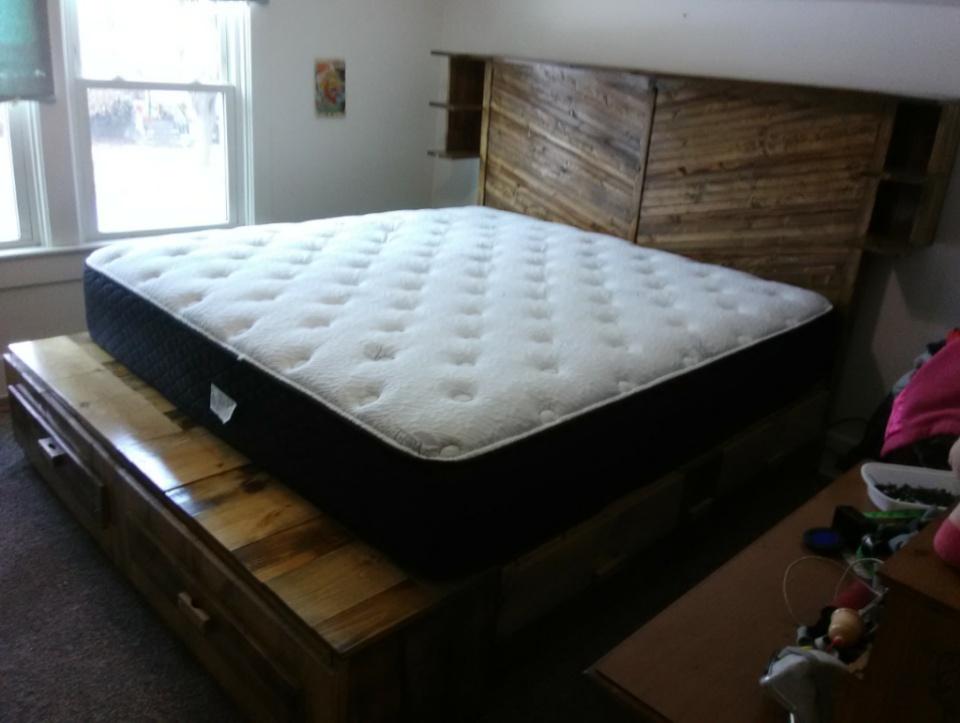
Even with having severe disability's with my hands and a lot of help from my wonderful husband, this plan was perfect for me. I did add a head board with selves and extended the length of the sides to allow for a bench seat. I am so proud of this beautiful bed, Rebel and Zeus love it too. Thank you, Ana White.

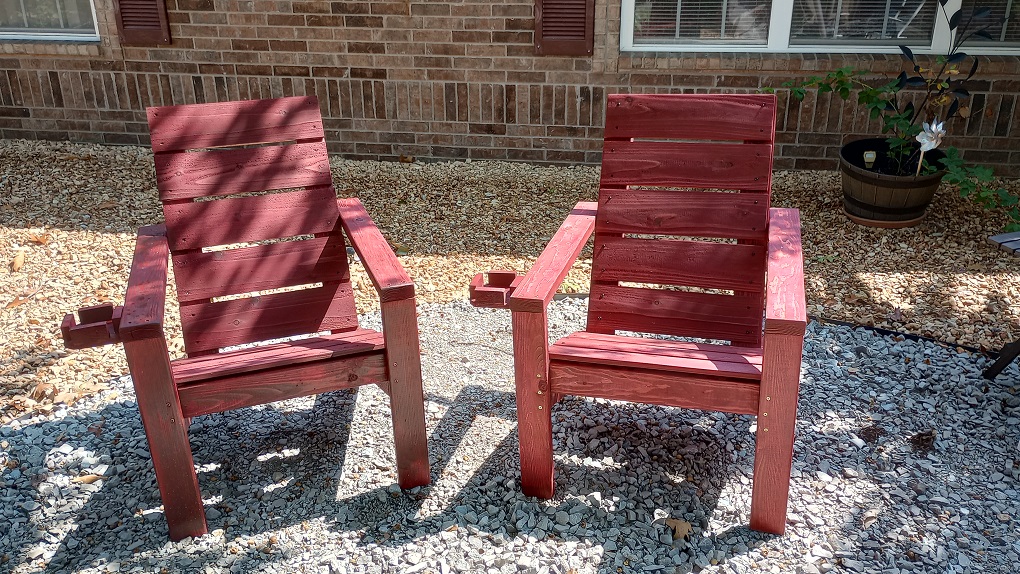
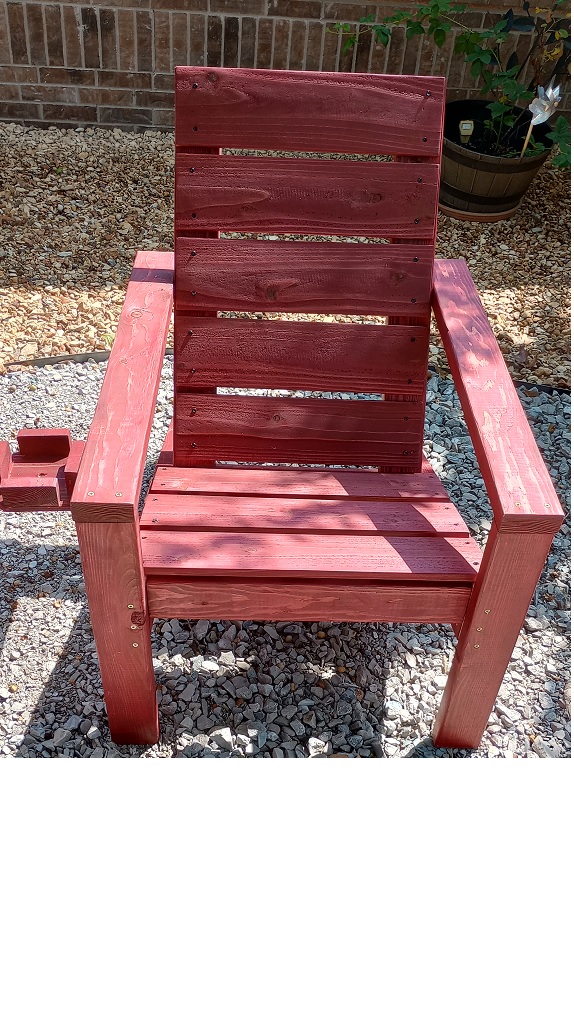
I modified the design to better suit my senior body.
I added 3 inches to the seat height by using 2x6s, made it 1 inch wider, and added clunky drink holders.
I also used cedar fence boards for the seats and backs because I like the look.
I went with Barn Red Stain and Thompson's Water Seal for the finish.
Thank you for this design. They are quite comfortable.
The cost was less than $40 each.
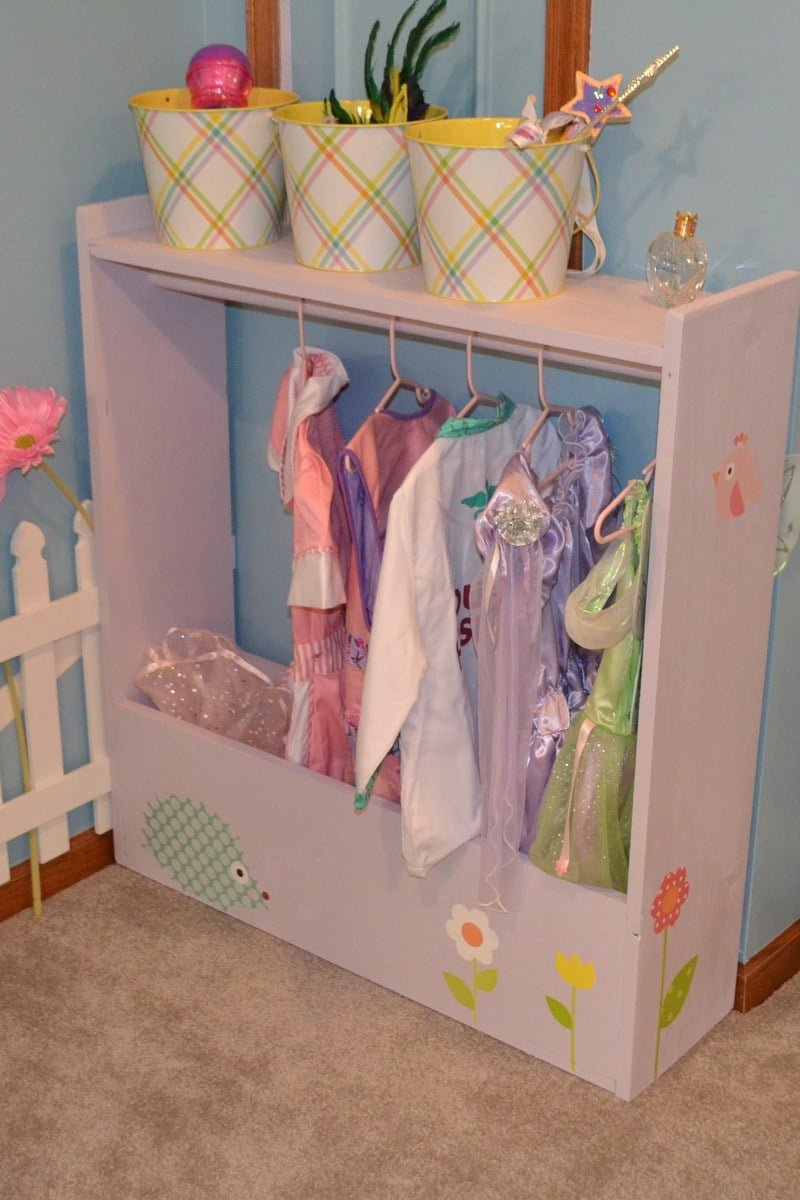
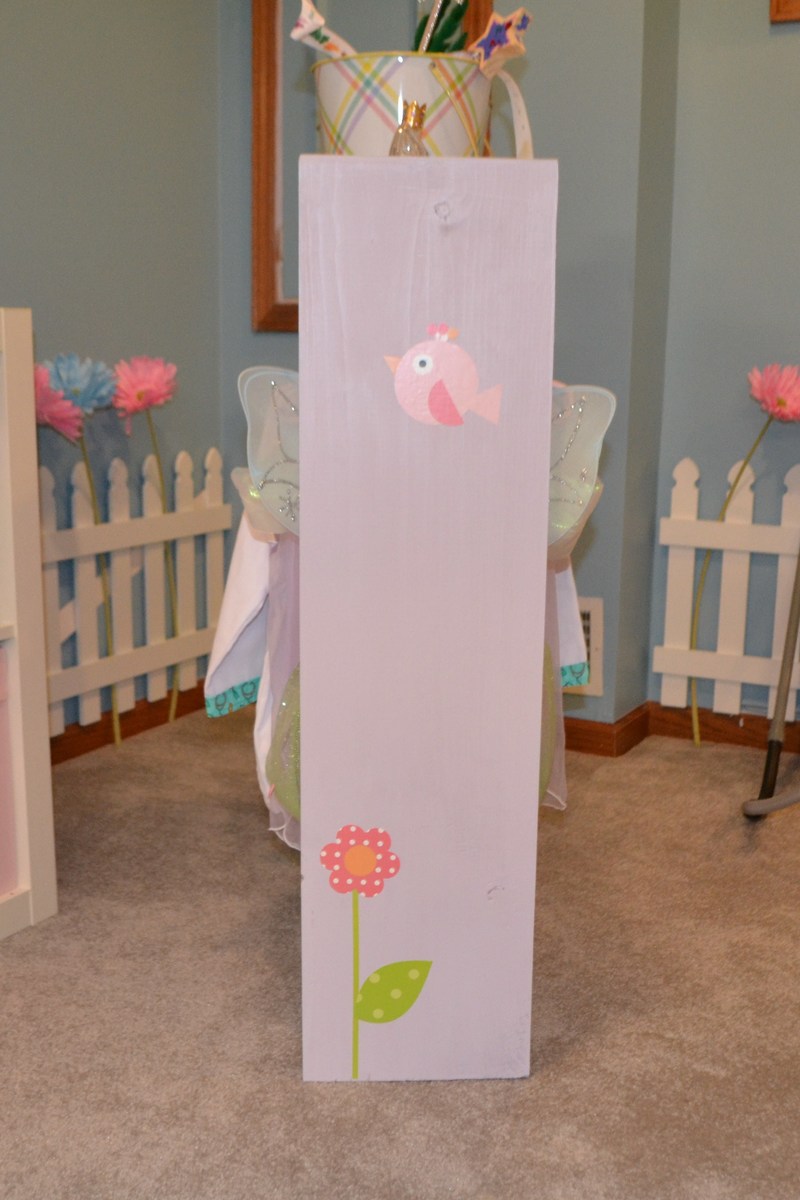
This was my first woodworking project, so I kept it simple. The one modification I made was to square the edges at the top, rather than rounding them out, as I just prefer clean lines. I used some leftover paint (Behr Foxgloves) and added a few vinyl wall decals that match the decal on the main wall of the play area. A few buckets on top store her jewelry and accessories.
I didn't add casters because we have rather thick carpet in the basement, but won't rule it out for the future.
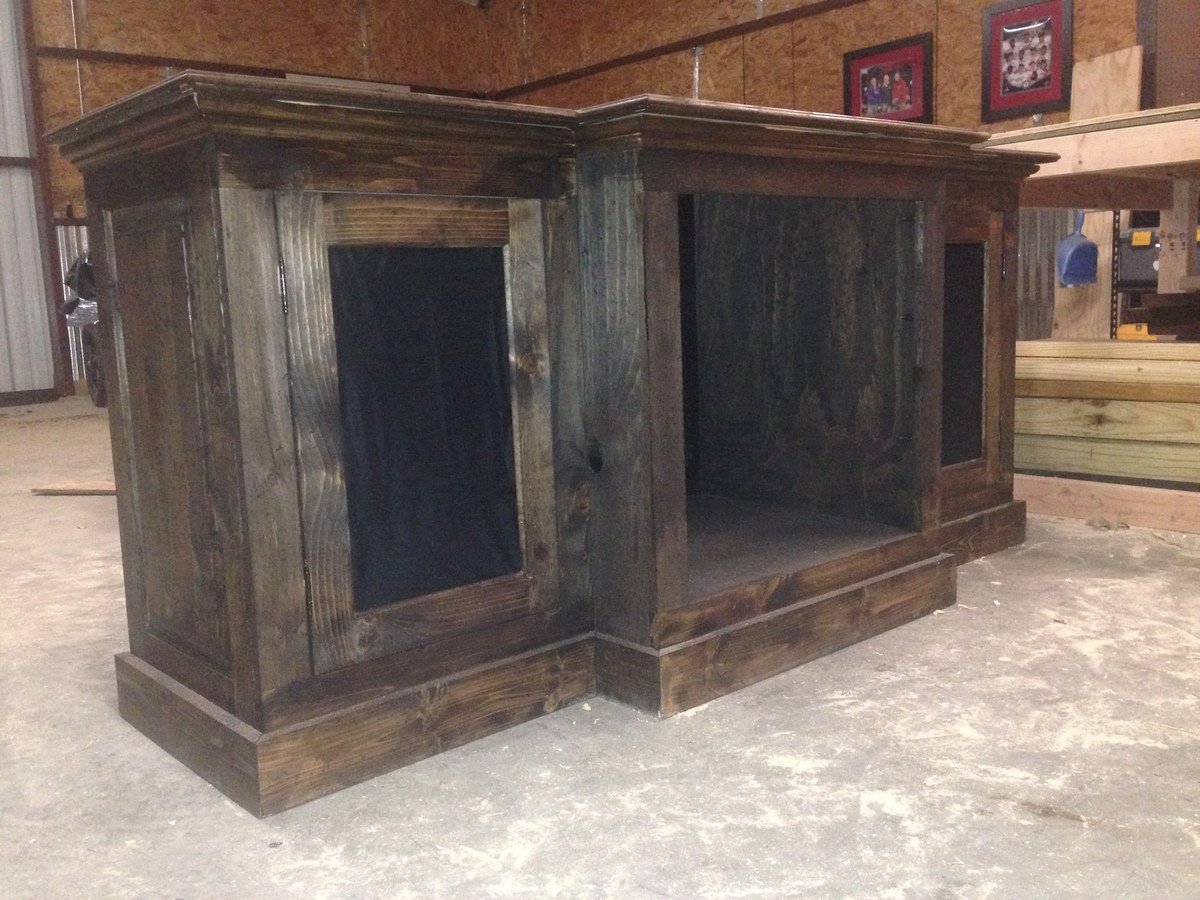
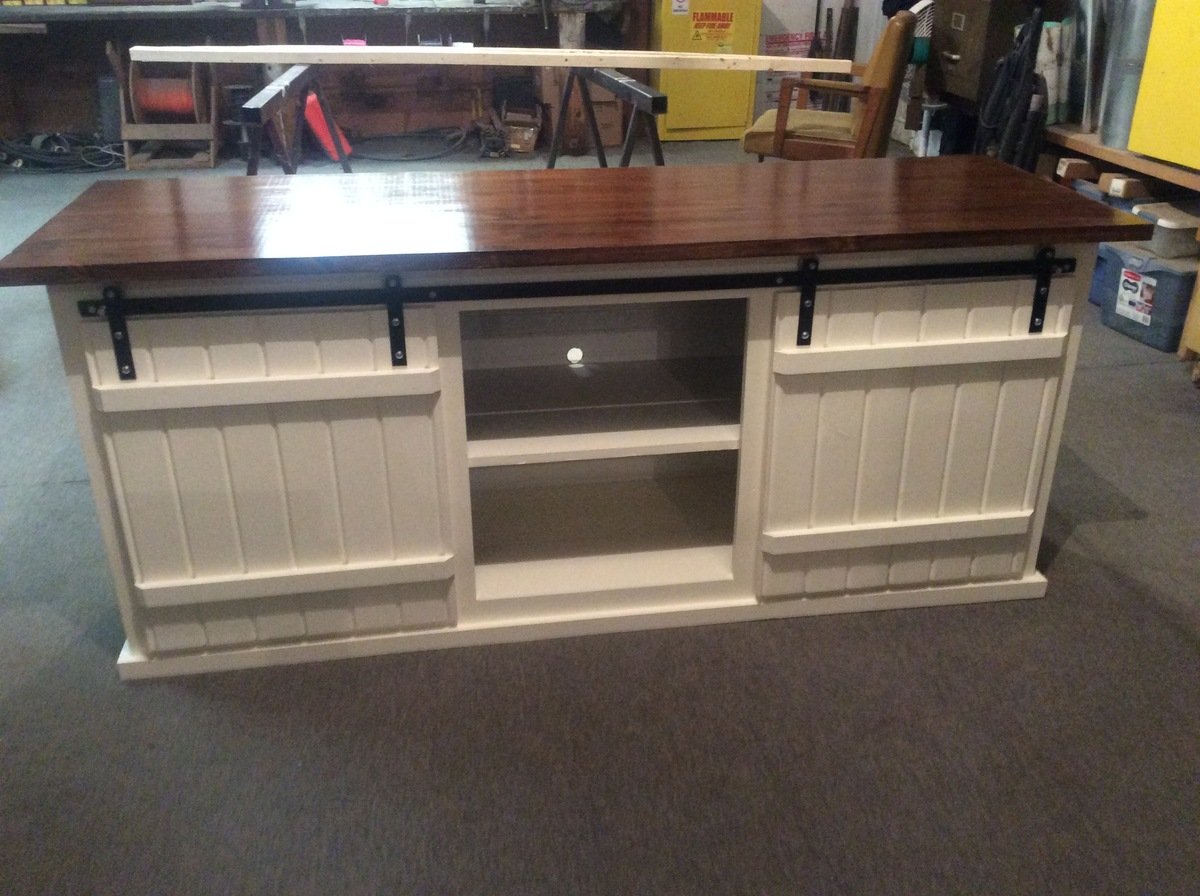
We got some new furniture and realized that the TV stand we currently have just wasn't going to work. We found a media console at Restoration Hardware that we really liked (http://www.restorationhardware.com/catalog/product/product.jsp?productI…). Well, we liked everything but the $1,300 price tag. With a couple sheets of 3/4 plywood, some 1x3's, 1x4's and 1x6's we built this for a fraction of the price. We even modified it so the two side doors have speaker mesh instead of solid panels so we can enjoy the sound without the eyesore of the speakers.
The stain is still drying so I don't have a final installed photo.
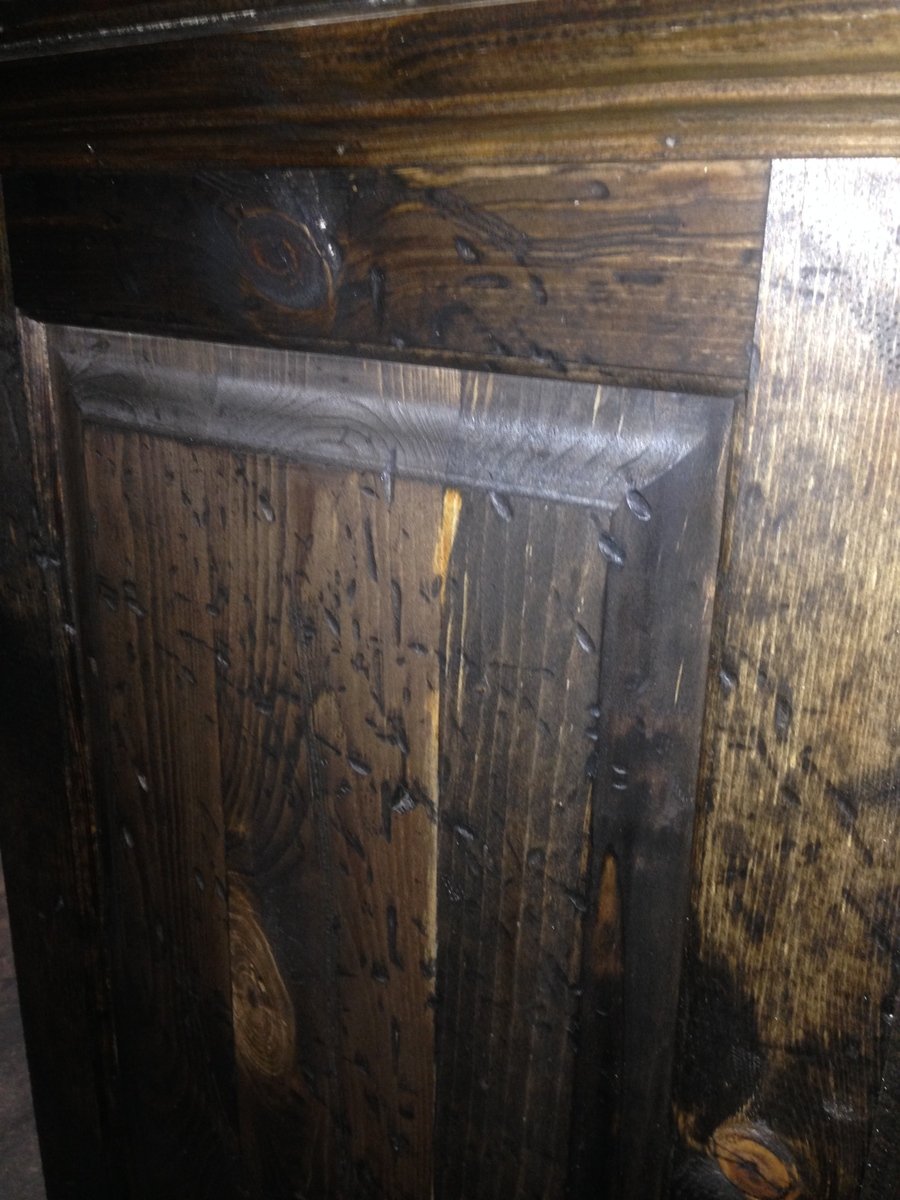
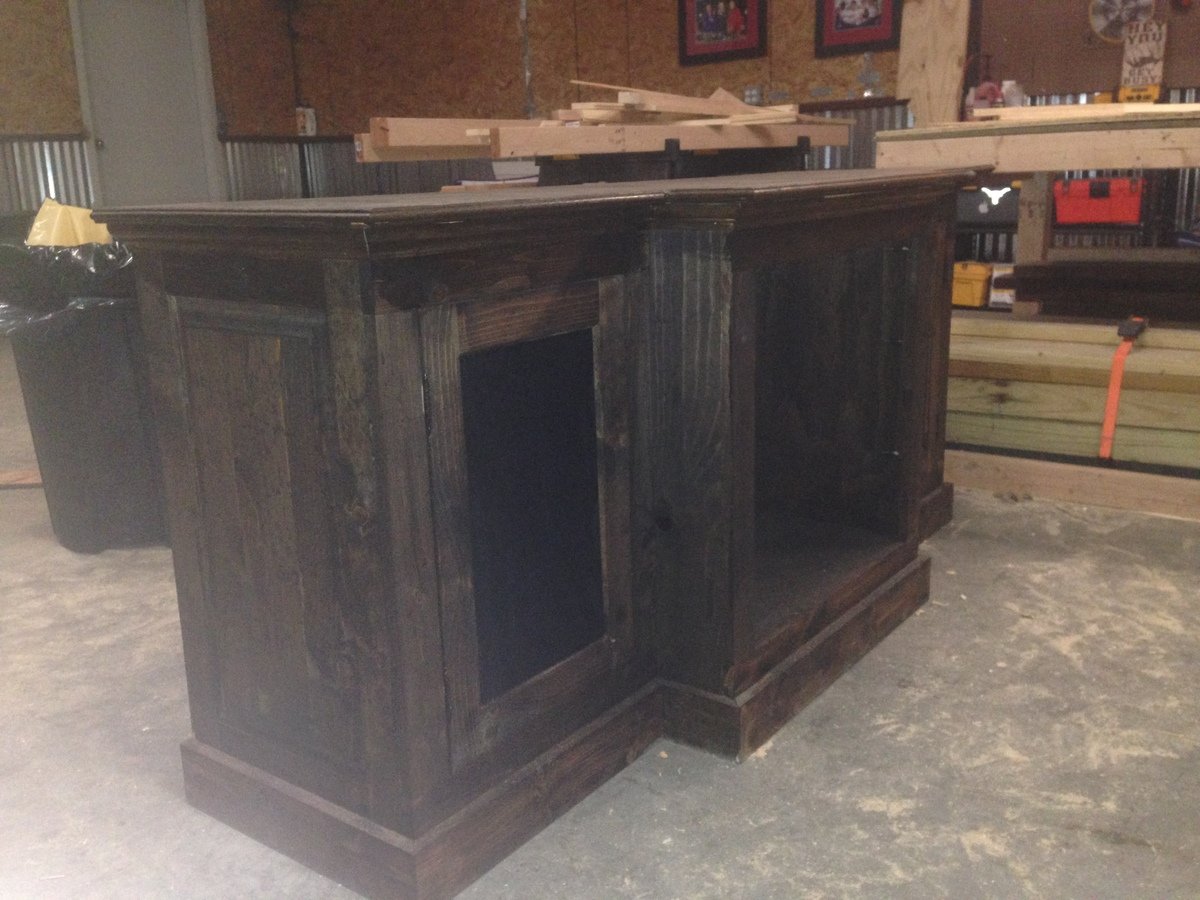
Fri, 09/05/2014 - 11:23
I was curious if you had any kind of plans for this peice or if you could at least tell me what sizes of wood you used. I am very interested in building this!
Thnak you,
Meghan
Wed, 02/11/2015 - 10:25
I would also love plans if you are willing to share them. Great work!
Sat, 03/14/2015 - 08:18
I am trying to build a similar style cabinet with the middle part coming out. Could you please let me know, since the middle section of the cabinet comes out, is the bottom and top cut out of one piece of wood? You can email me at [email protected]. Any help would be greatly appreciated. Thanks so much! Erika
Sun, 10/16/2016 - 20:00
Hello! This is a beautiful piece. Would love to see the plans, if they are available. Please let me know! Thank you!
I used the Camp loft bed with stair plan. I raised the height by 4 inches to accommodate taller items being pushed under it. I also added the "railing" due to not being pushed up against the wall on the stair side.
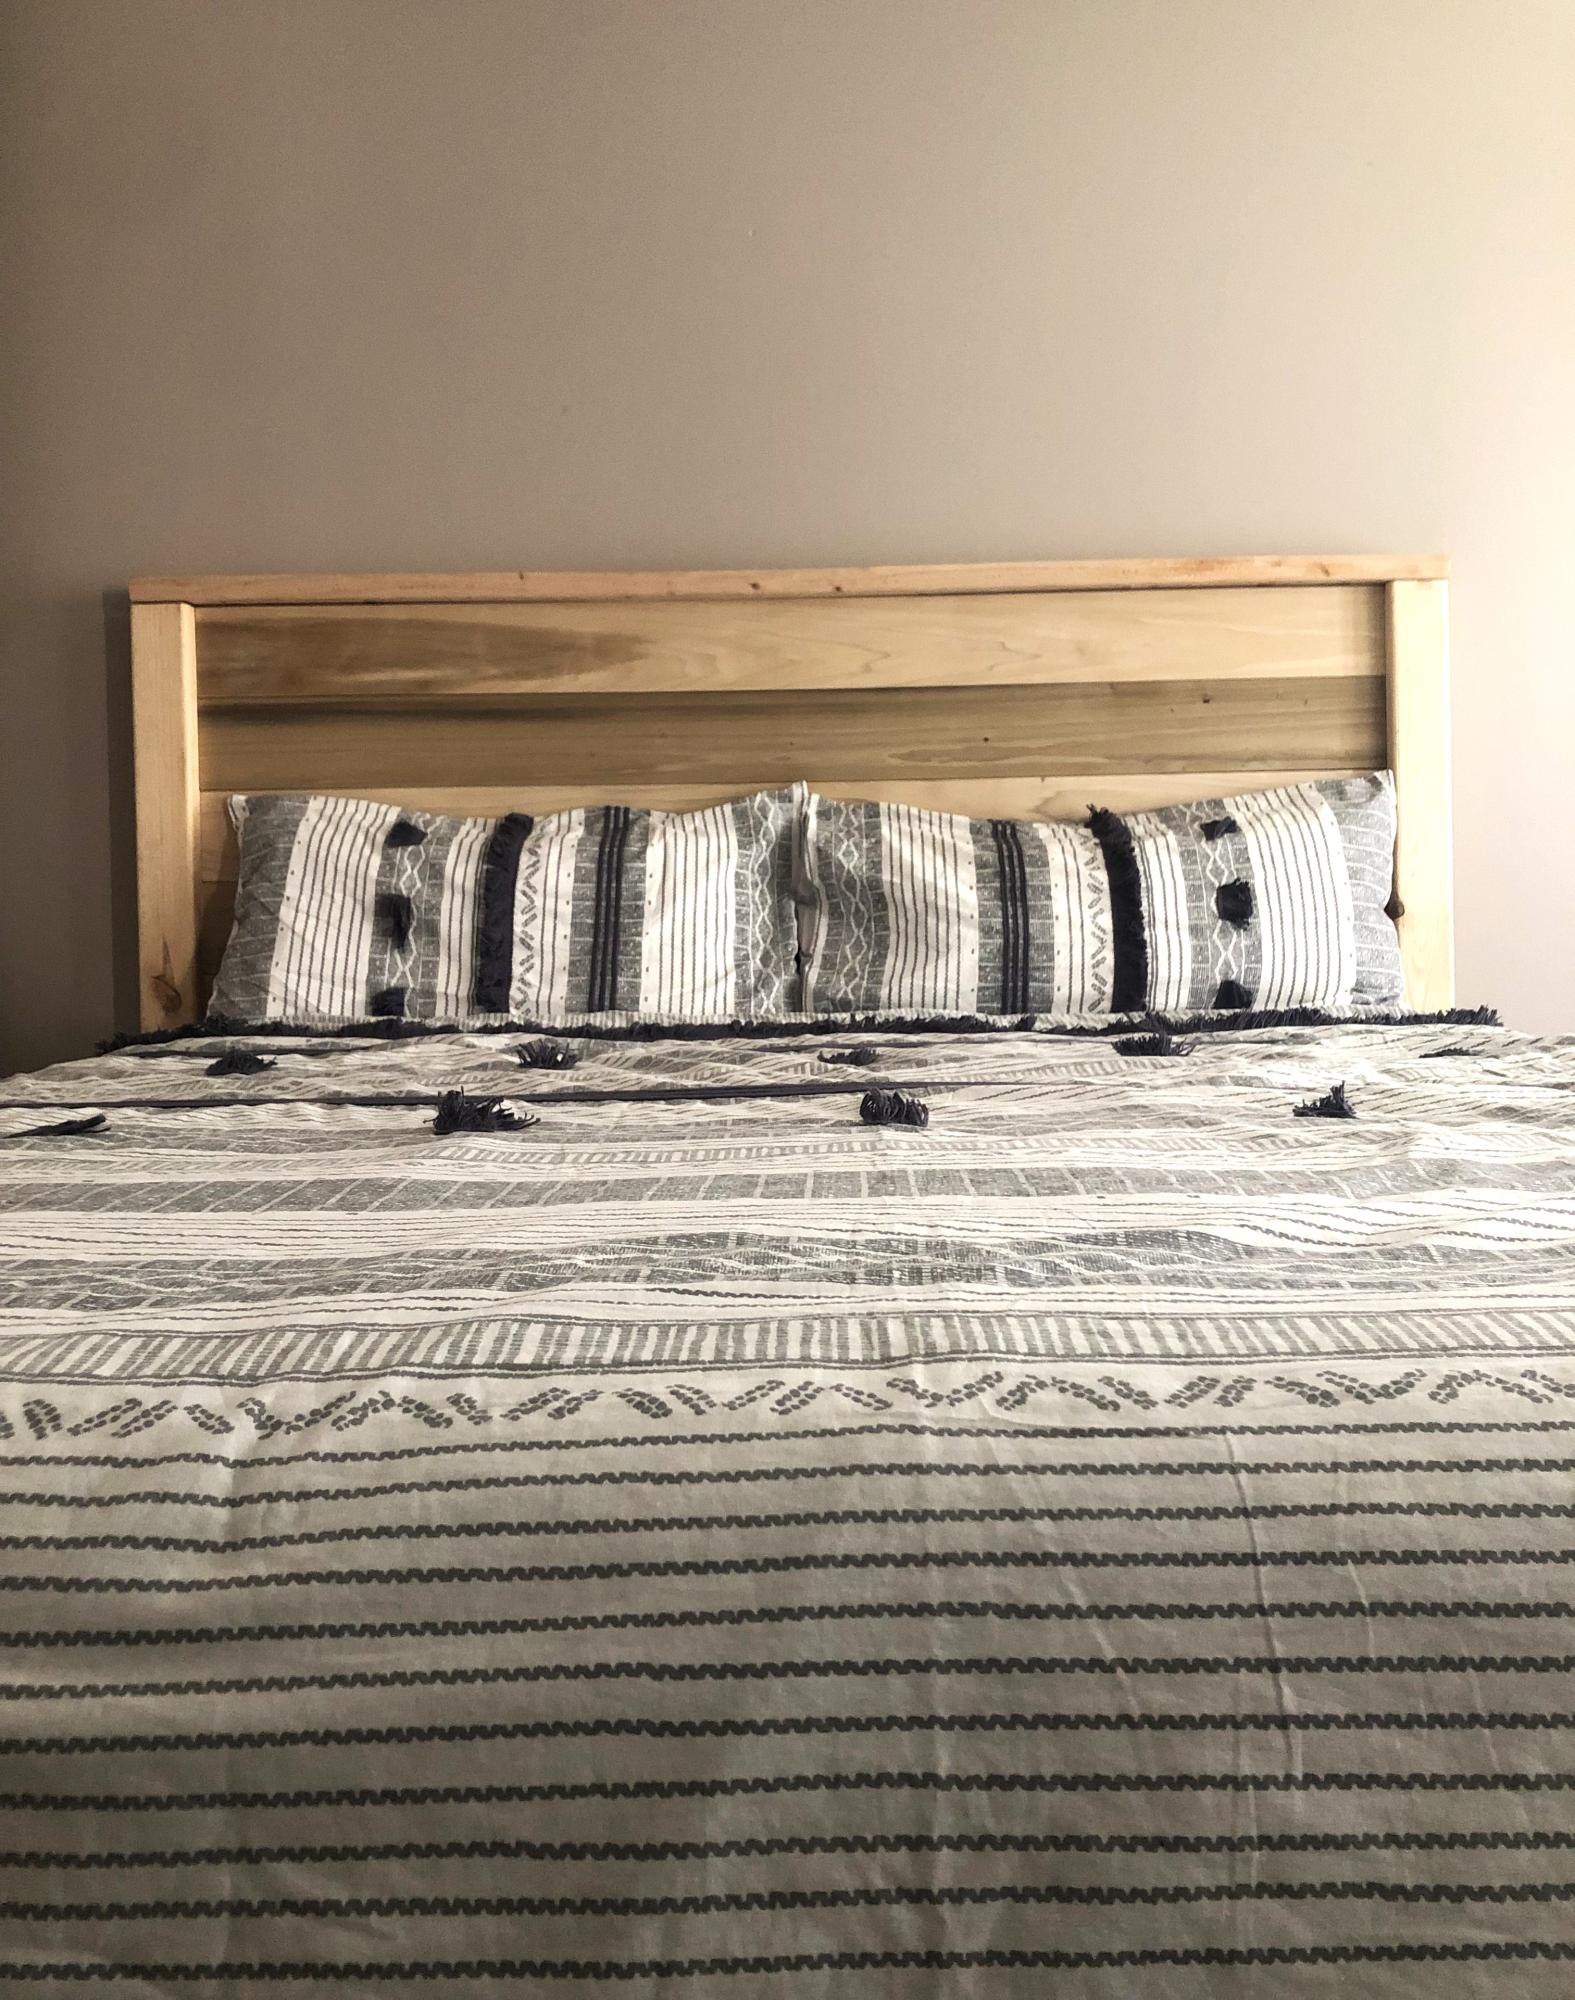
Modern Farmhouse Cal-King.
Marnie
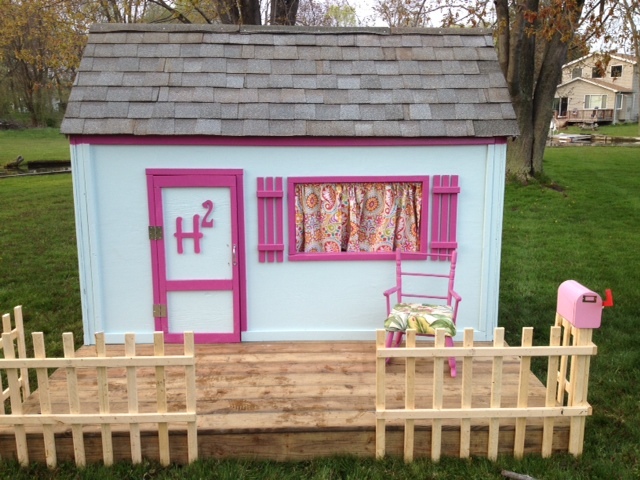
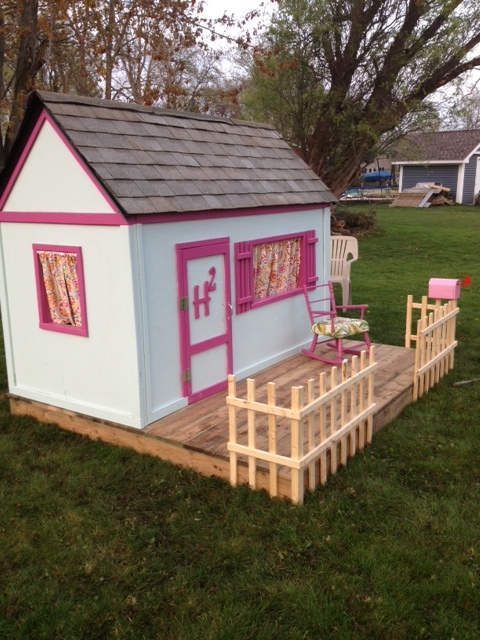
This was our first project and it was pretty simple! We are really happy with the results. We went a little further and lined the inside ceiling and used outdoor carpet inside as well. We saved money by using reminant wood for the deck and some old shingles that had been lying around. It was our first time roofing so it is far from perfect but it should stay dry. Overall our two little girls LOVE it.
Wine rack made from discarded pallet, with slots to hang glasses
Fri, 01/31/2014 - 08:57
How did you add the wine glass holders on the bottom. I didn't see that in Ana's plans. Please share.
Sun, 01/22/2017 - 11:33
Umm where is the actual instructions
Sun, 01/22/2017 - 12:22
Hi, this is a guest submitted post based off this plan http://www.ana-white.com/admin/structure/views/view/blog/edit Perhaps try this tutorial for the stemware holder http://twineandvines.com/diy-to-try-pallet-wine-rack/
This was an easy project. It took longer to paint and stain than the construction.
Thanks for the plans, this web site is awesome.
Made several modifications to this plan. Wanted the bed to be easy to change sheet, reduced overall height to 48in. The mattress is fairly thick so I increased the rail height to 18in by adding another row on the side rail. The ladder can be located on either end. My munchkin now has a new bed and with some curtains, a new hideout.
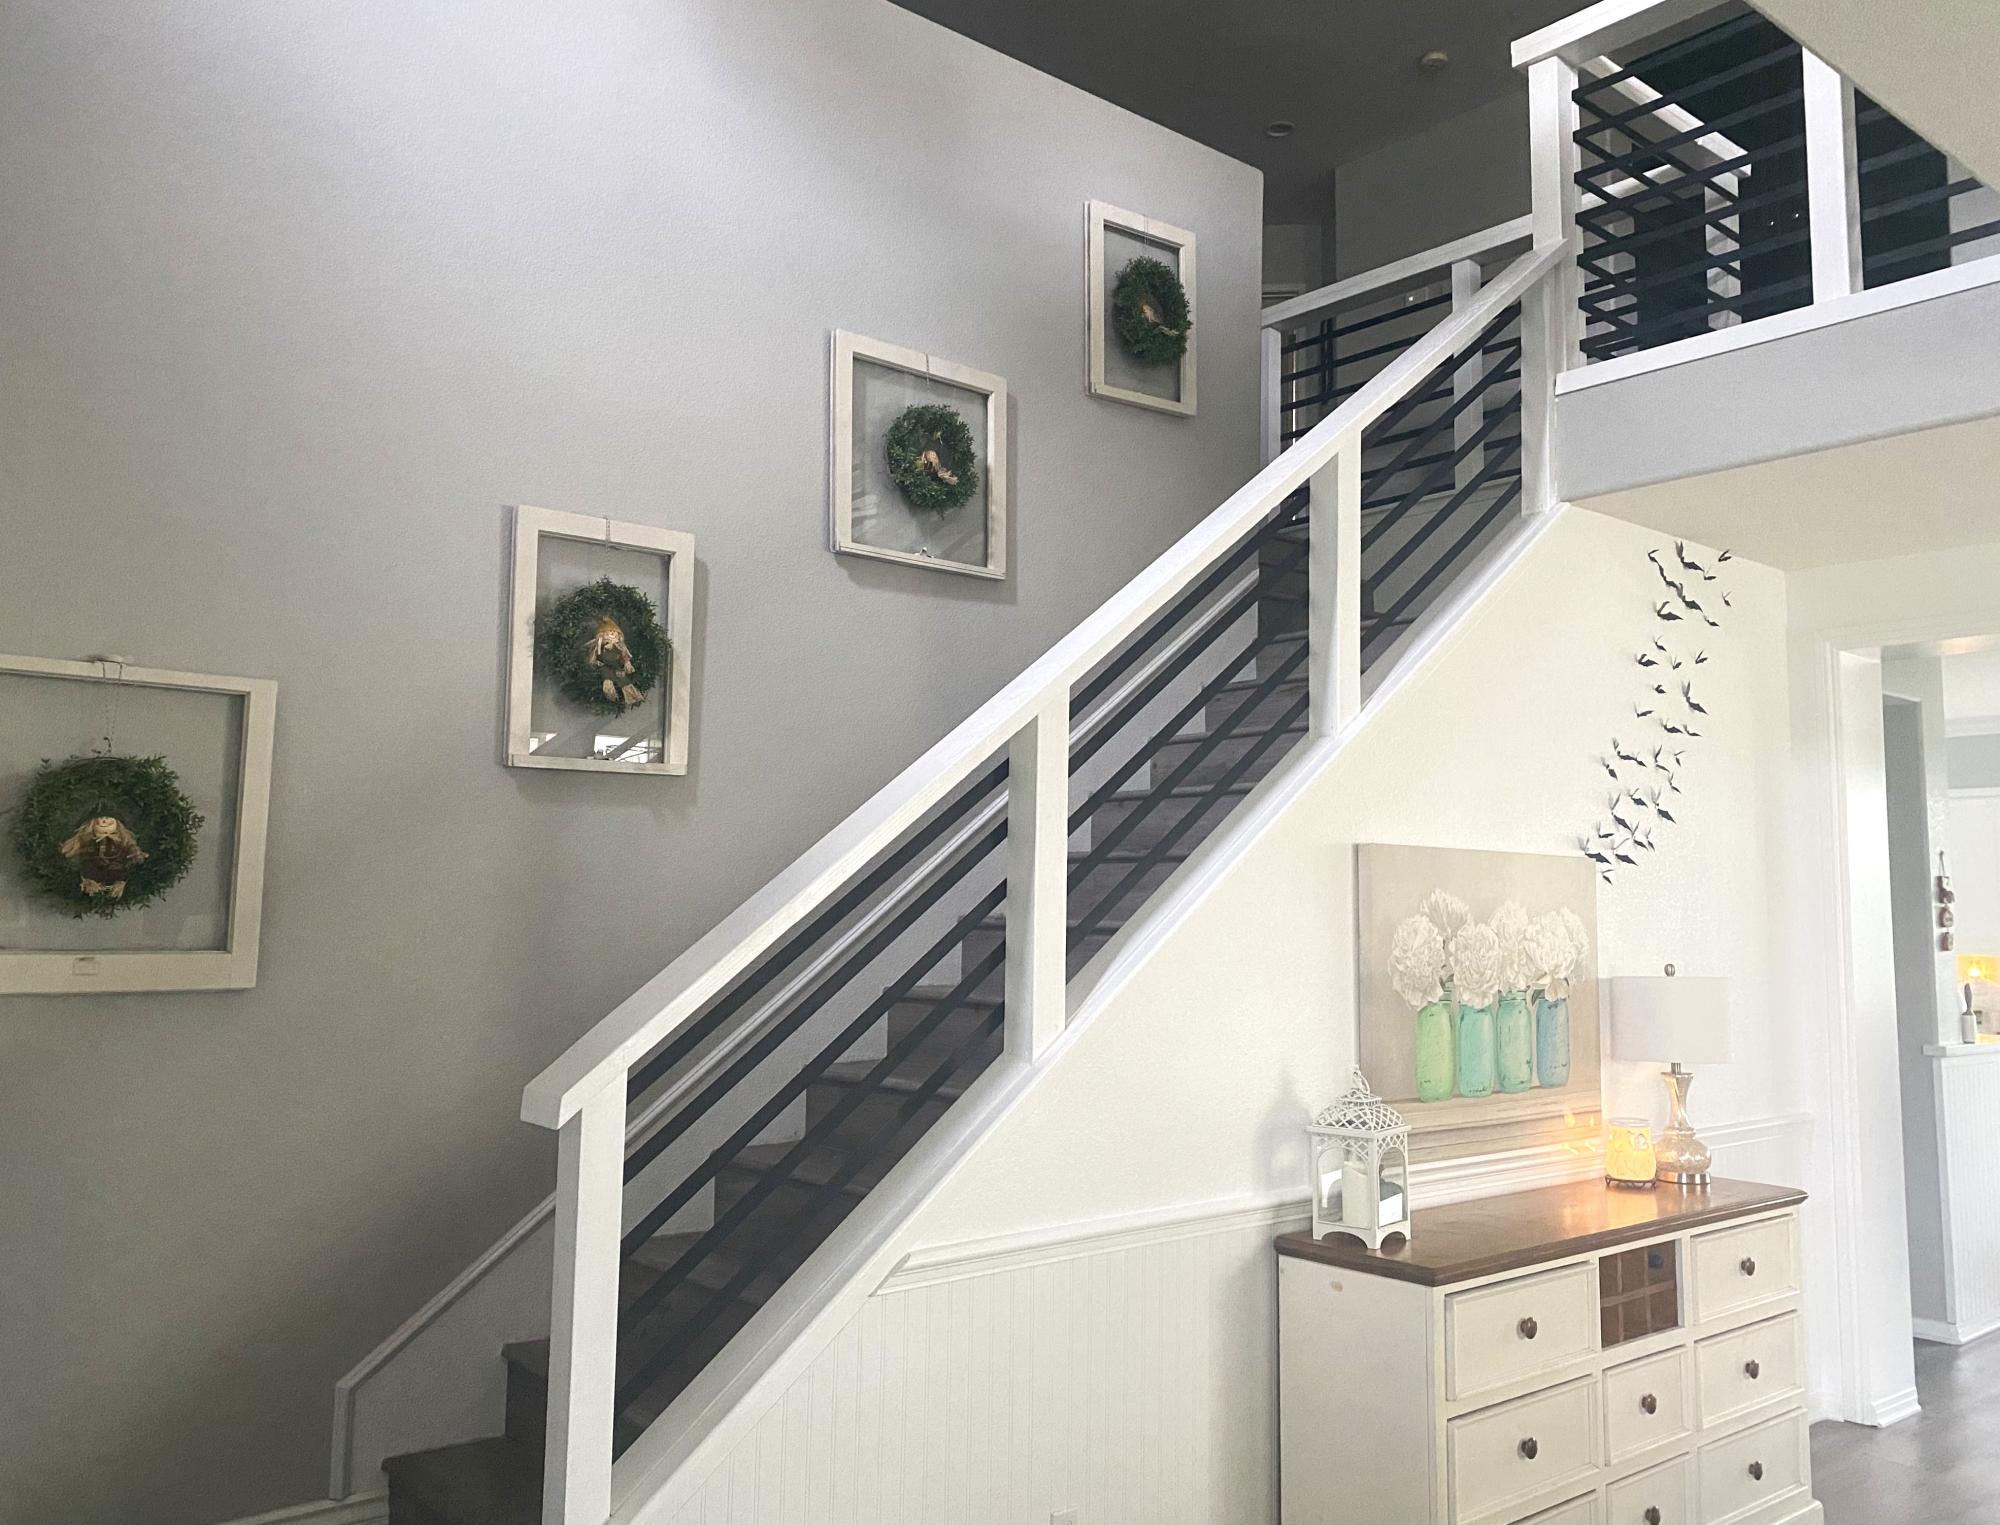
During a home renovation we found out part of our stair rail would need to be replaced and the quote from the contractor floored us. We were searching for an economical way to DIY the stairs and come across your idea. I immediately loved it and we worked to figure out how we could put it together with our limited construction knowledge. The end result exceeded my expectations. I totally love it!
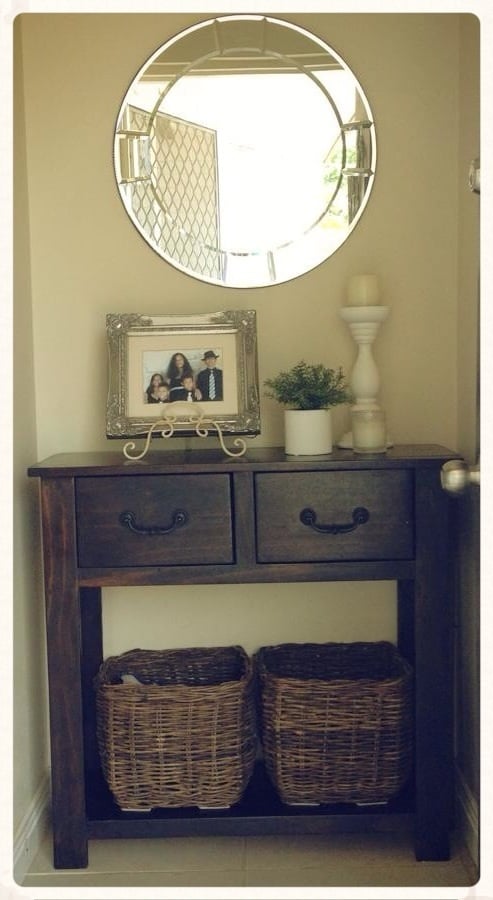
I used the Cottage Media coffee table plans and modified the length and height to suit for the space I needed. Ana's plans were super easy to follow and am pleased with the end result.
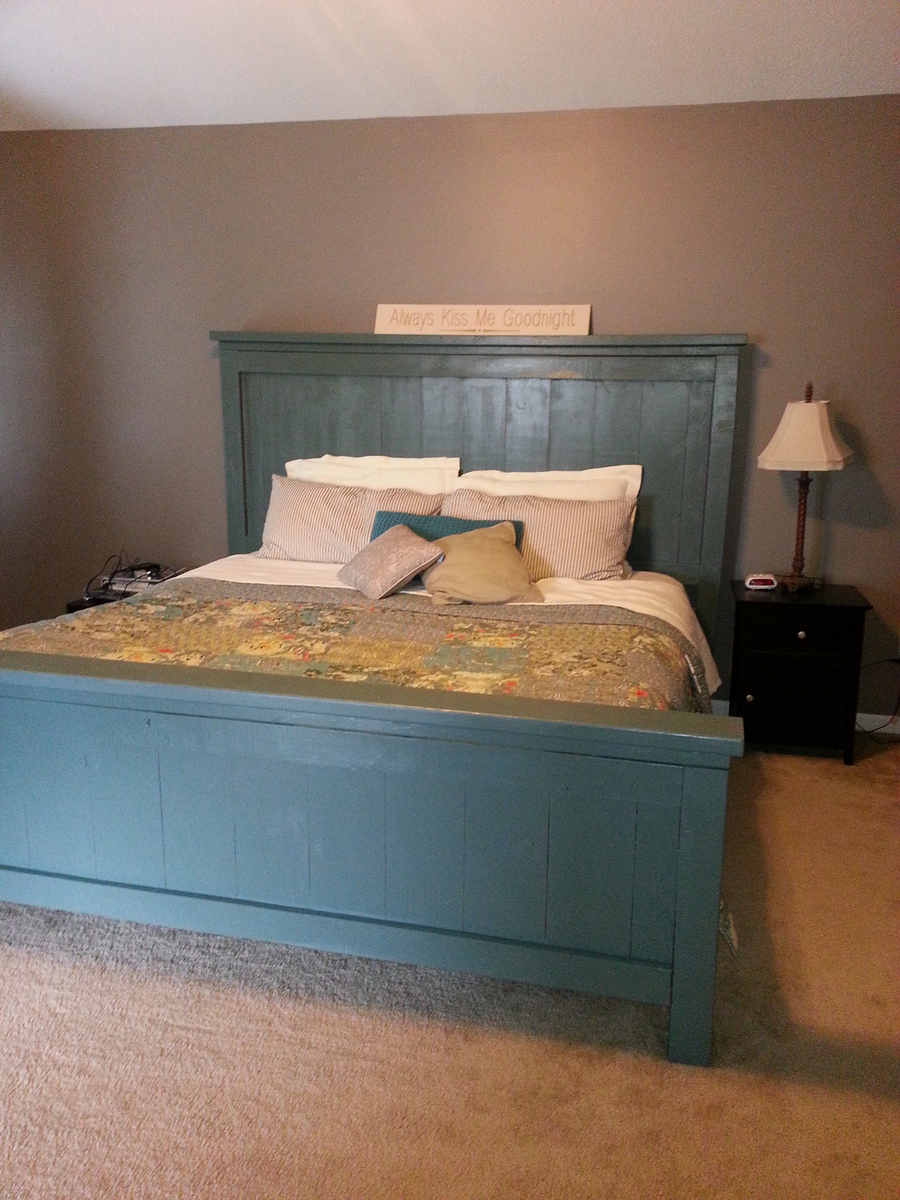
My husband and I built this bed as our first ever project. It was so easy. It took about 8 hours plus painting time. I modified the original King plans by raising both the headboard and foo board 6 inches. This meant every vertical measurement was changed by 6 inches. I am also using a metal bed frame with box spring. We are next going to make the matching nightstands! Super excited to continue building my own furniture!

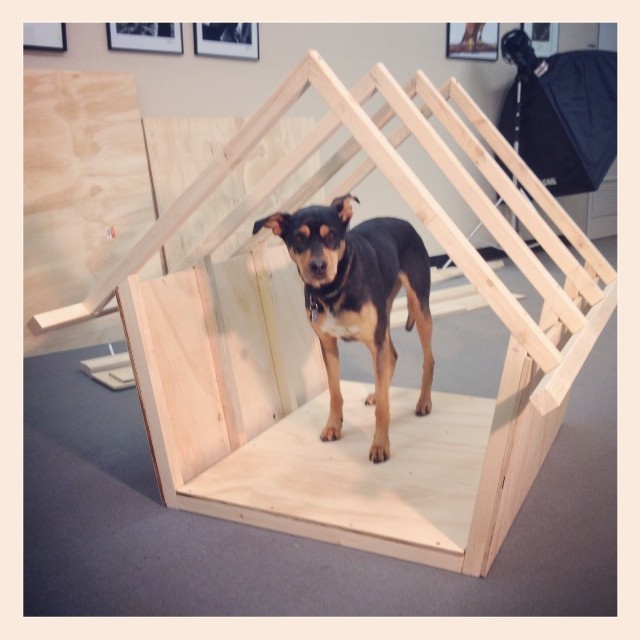
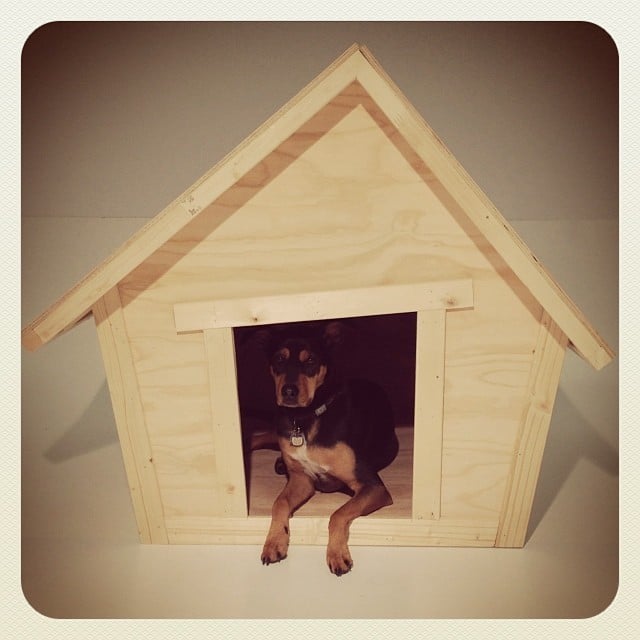
A few years ago I was looking for plans for a dog house to be used as a prop for a seasonal photo promotion. I found these plans and made the house, it was perfect! The promotion was to get a holiday photo of your dog in exchange for a donation of dog food, which was donated to a local food bank. The project brought in over 500 pounds of food!
The plans were super easy to follow and the structure was very soild.
Thanks for all you do!
Ken from Canada
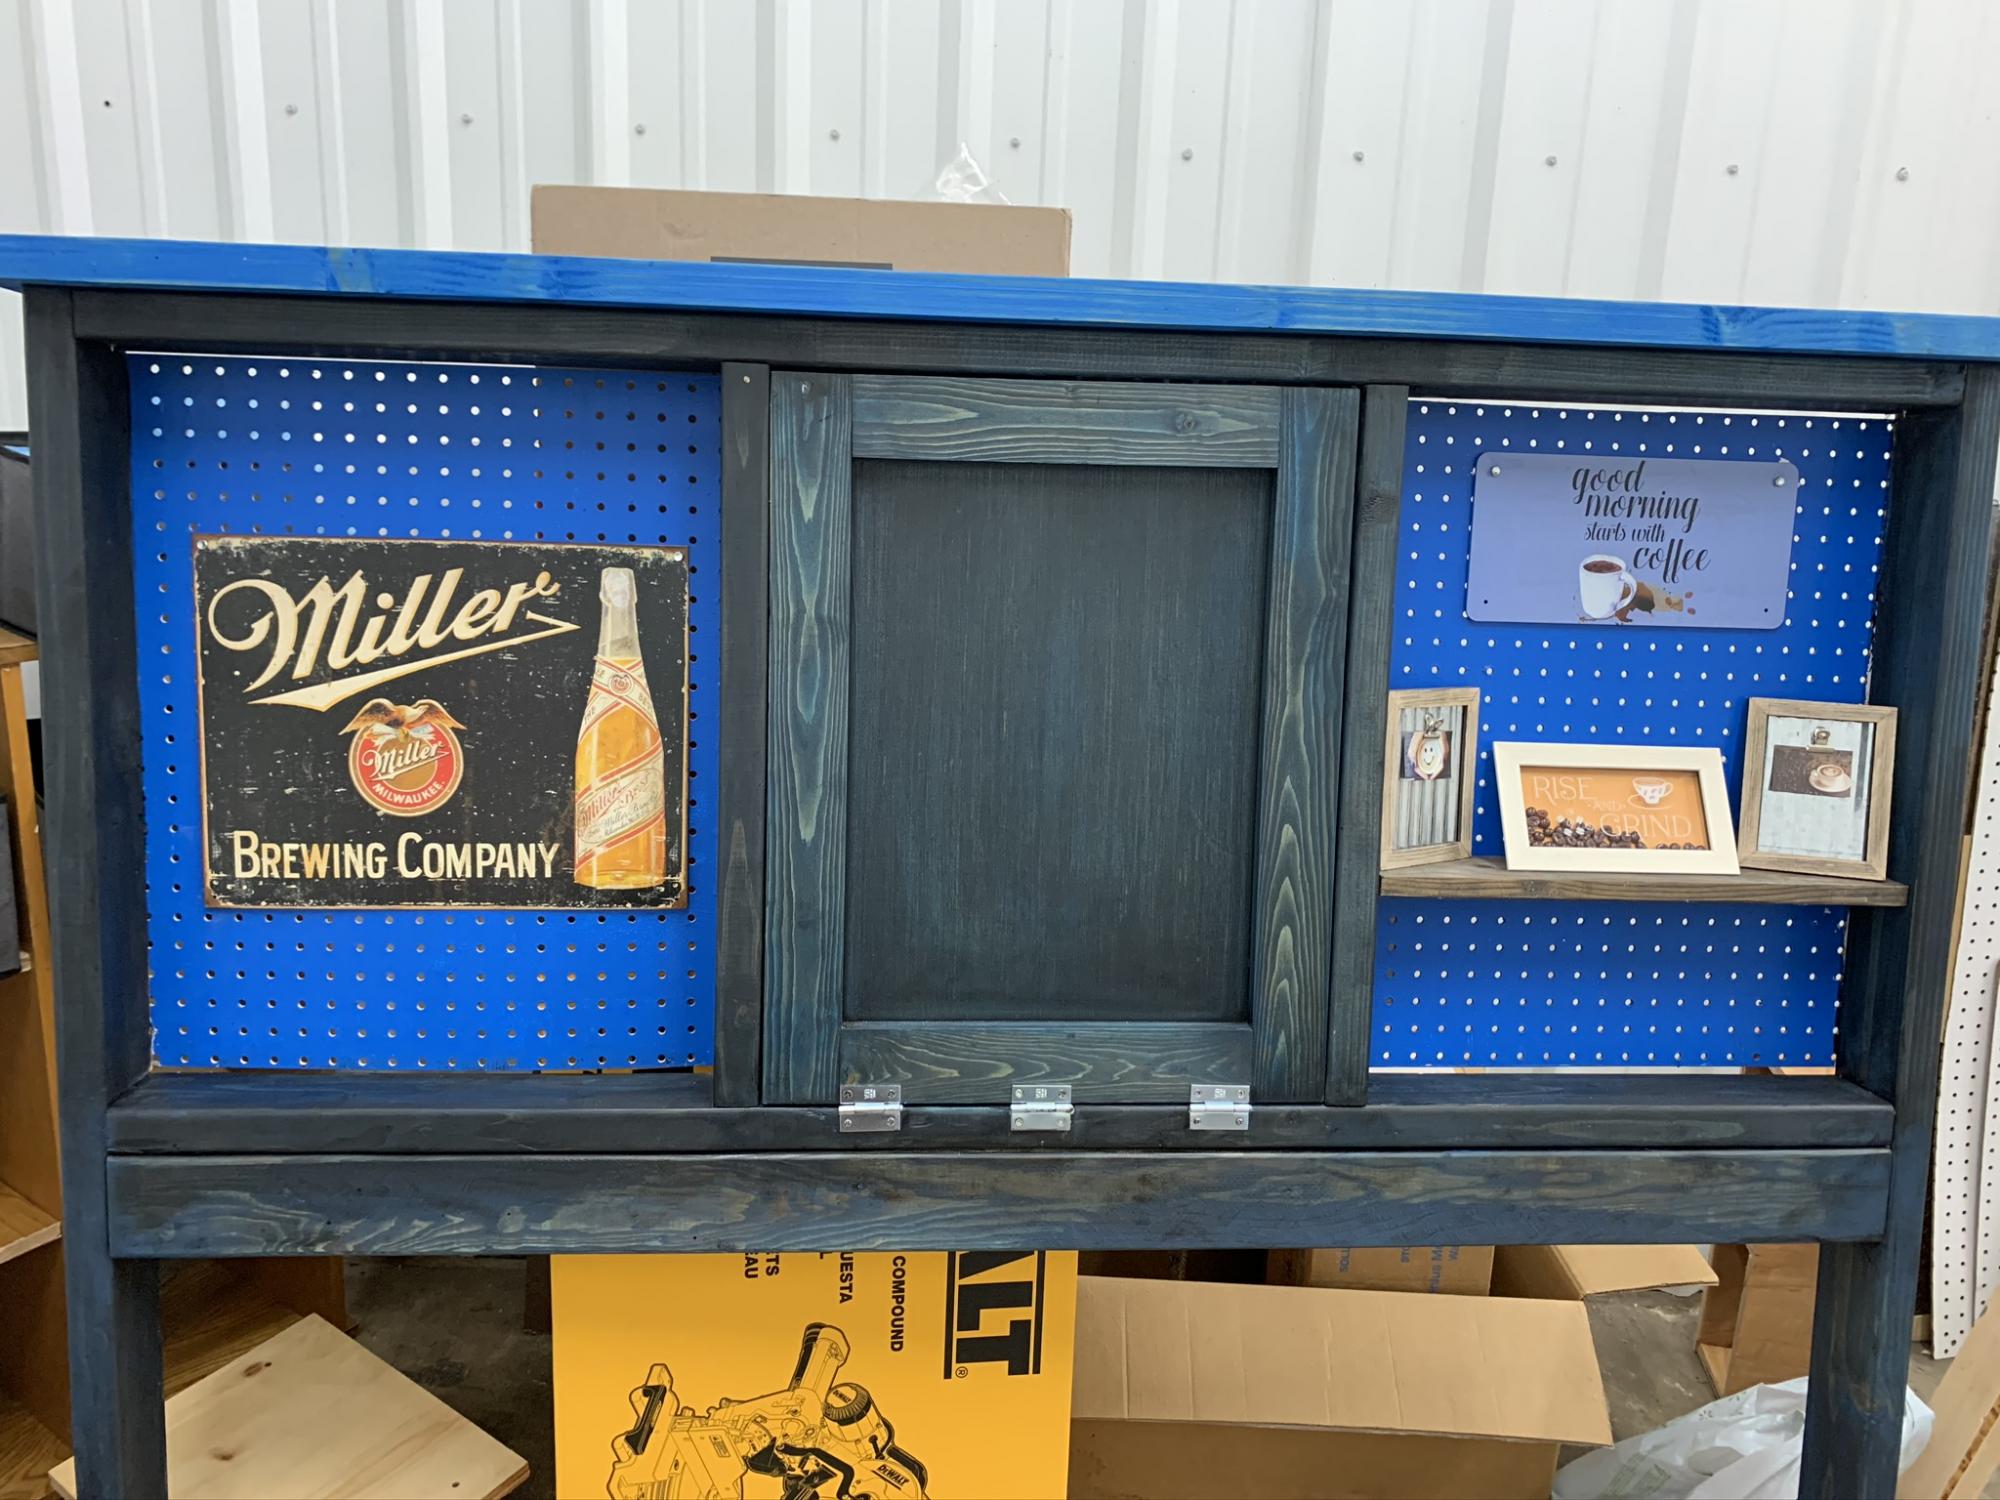
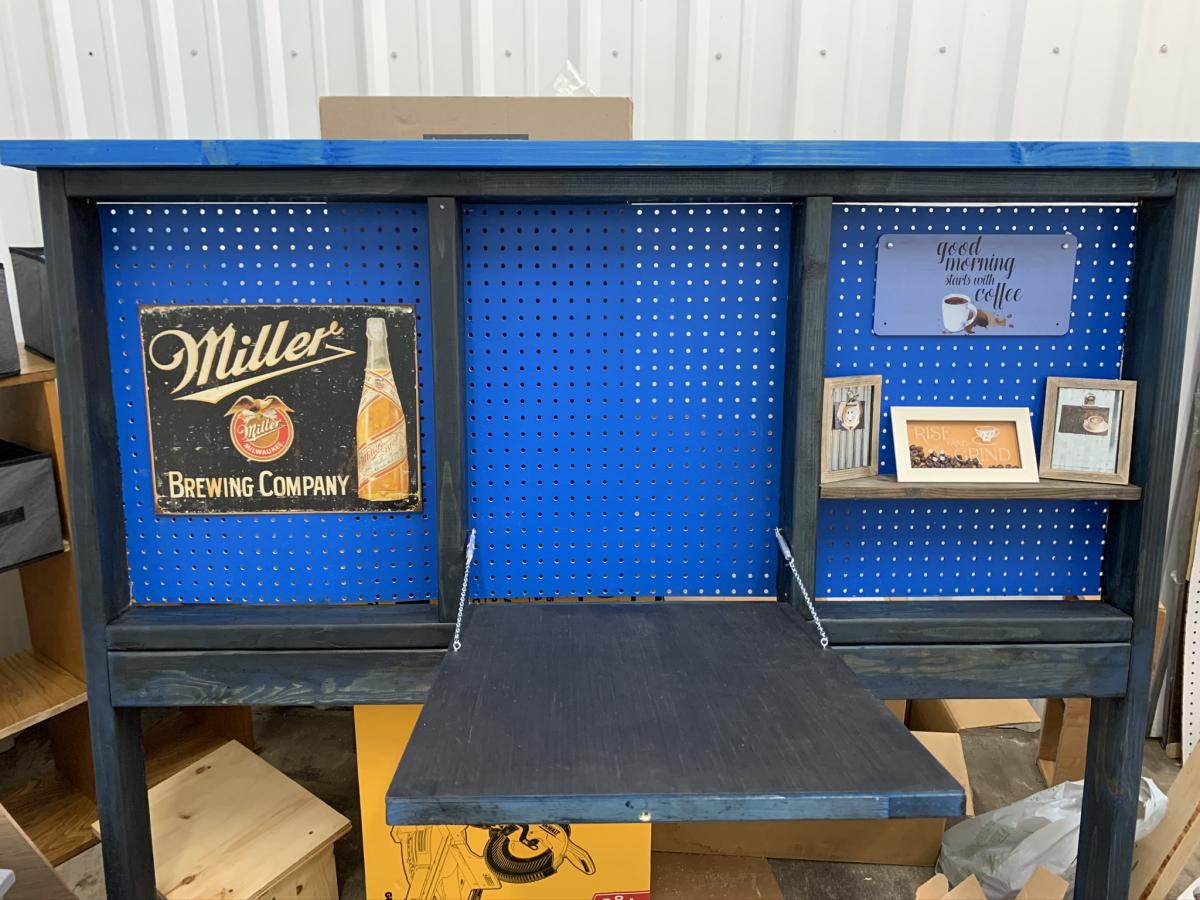
Wow, my 2nd piece of furniture I attempted. A lot of wood filler was involved. My shelves seemed too big, so I just did one, then my back board accidentally got used in “open shop” so I used some left over pegboard. I had fun but spent a lot of time fixing “oops, that doesn’t seem right”. Peg
