Laundry Basket Cabinet
Laundry Basket Cabinet!
by Bob
Built from Plan(s)
Laundry Basket Cabinet!
by Bob
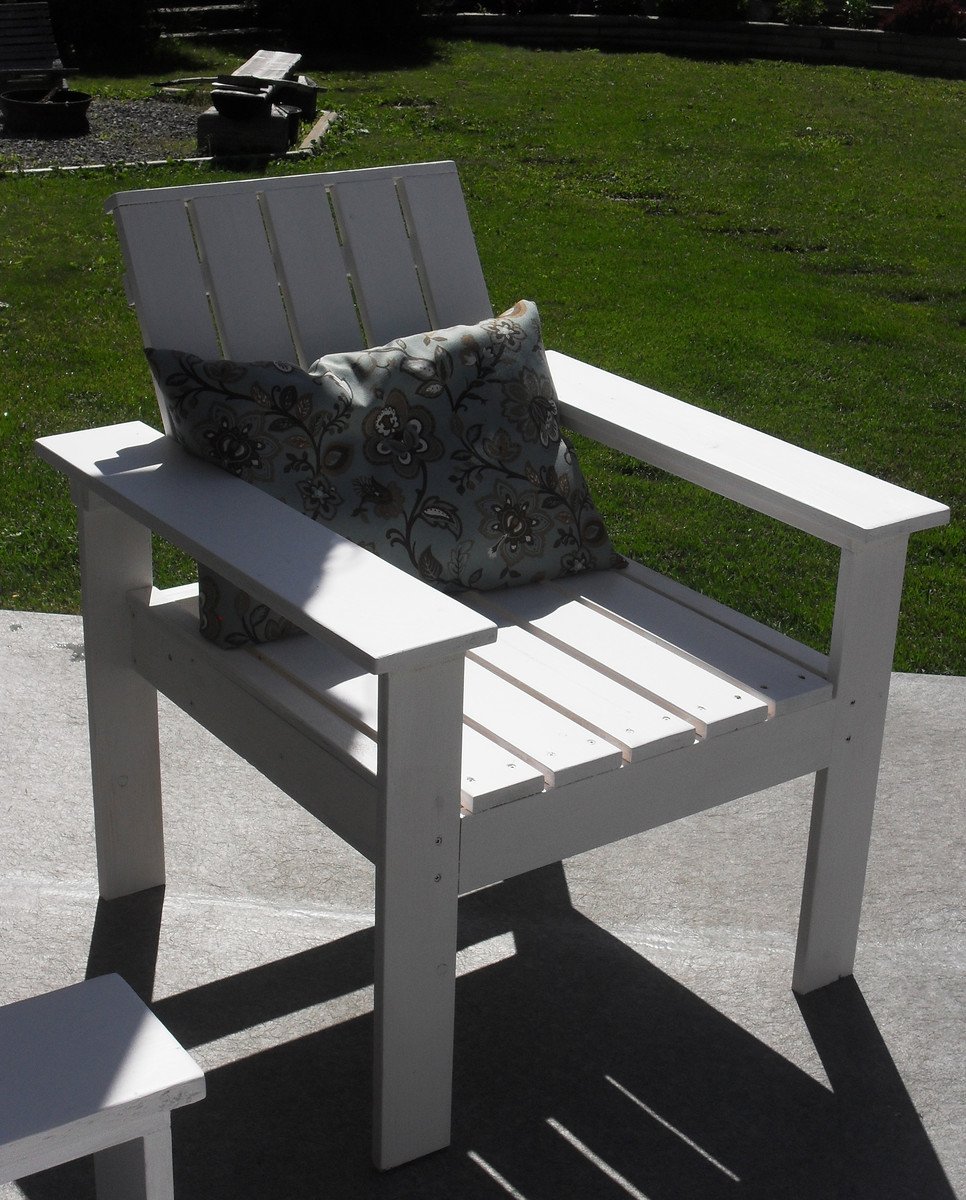
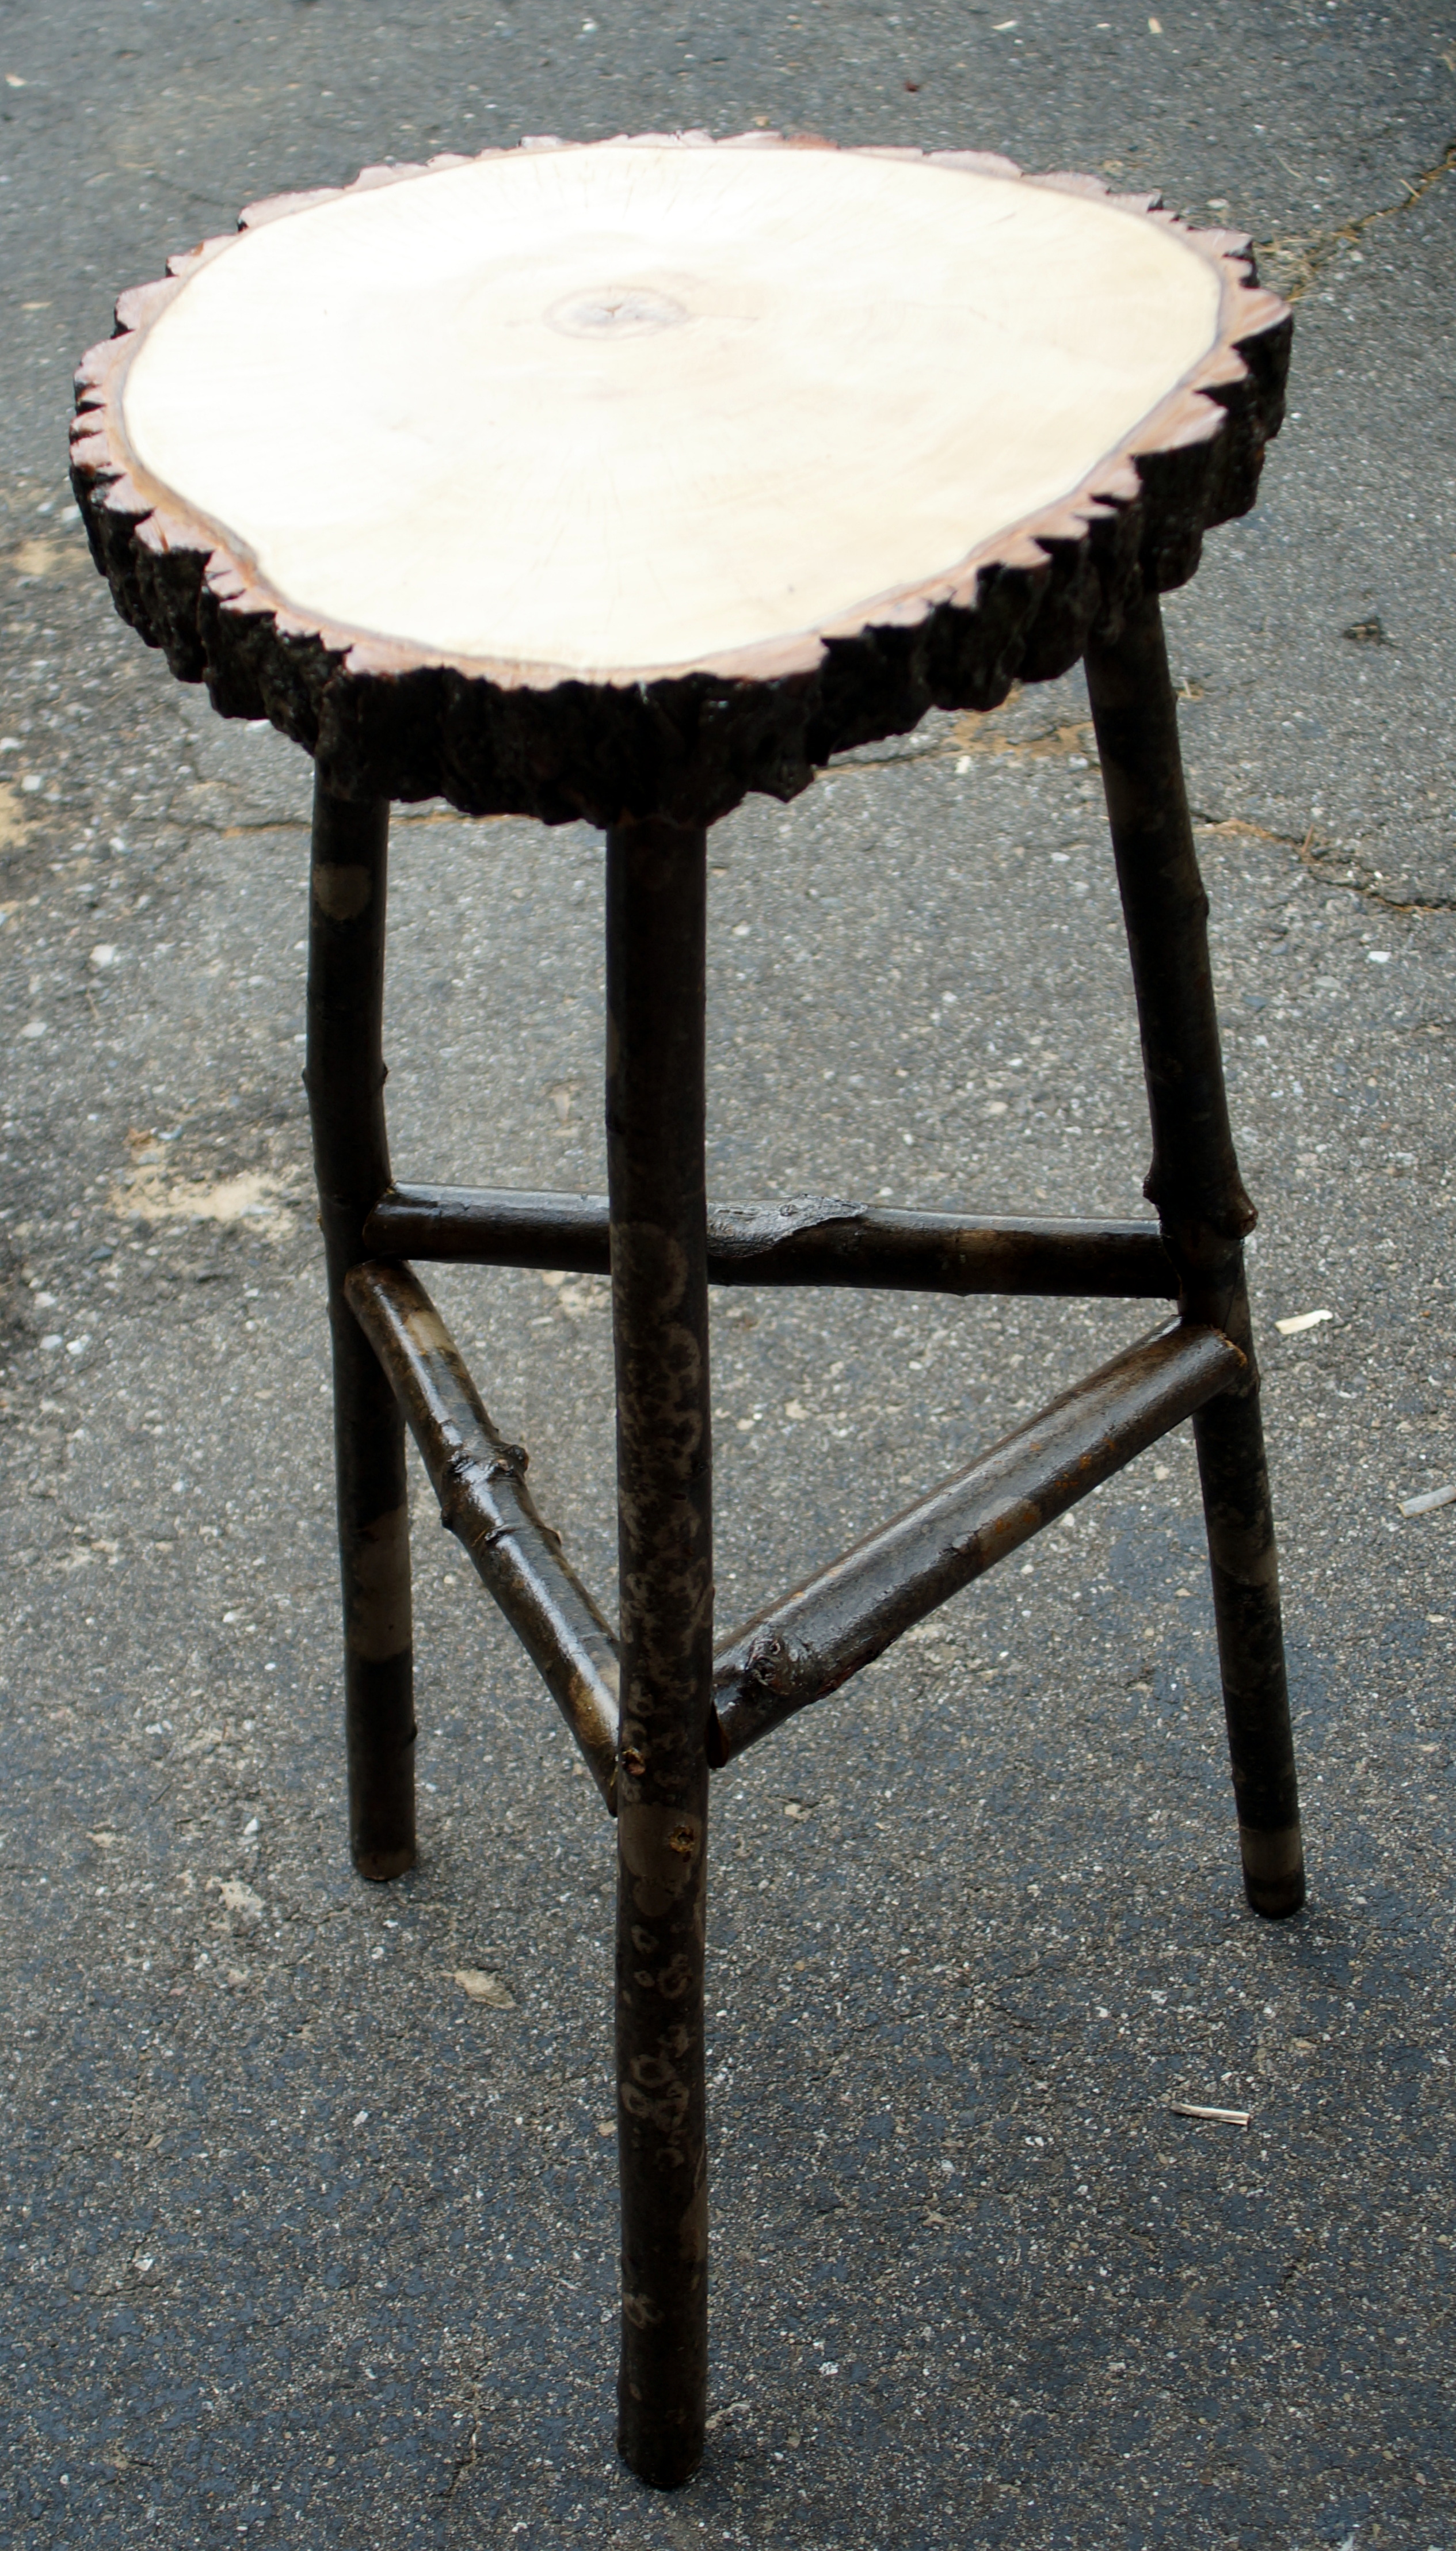
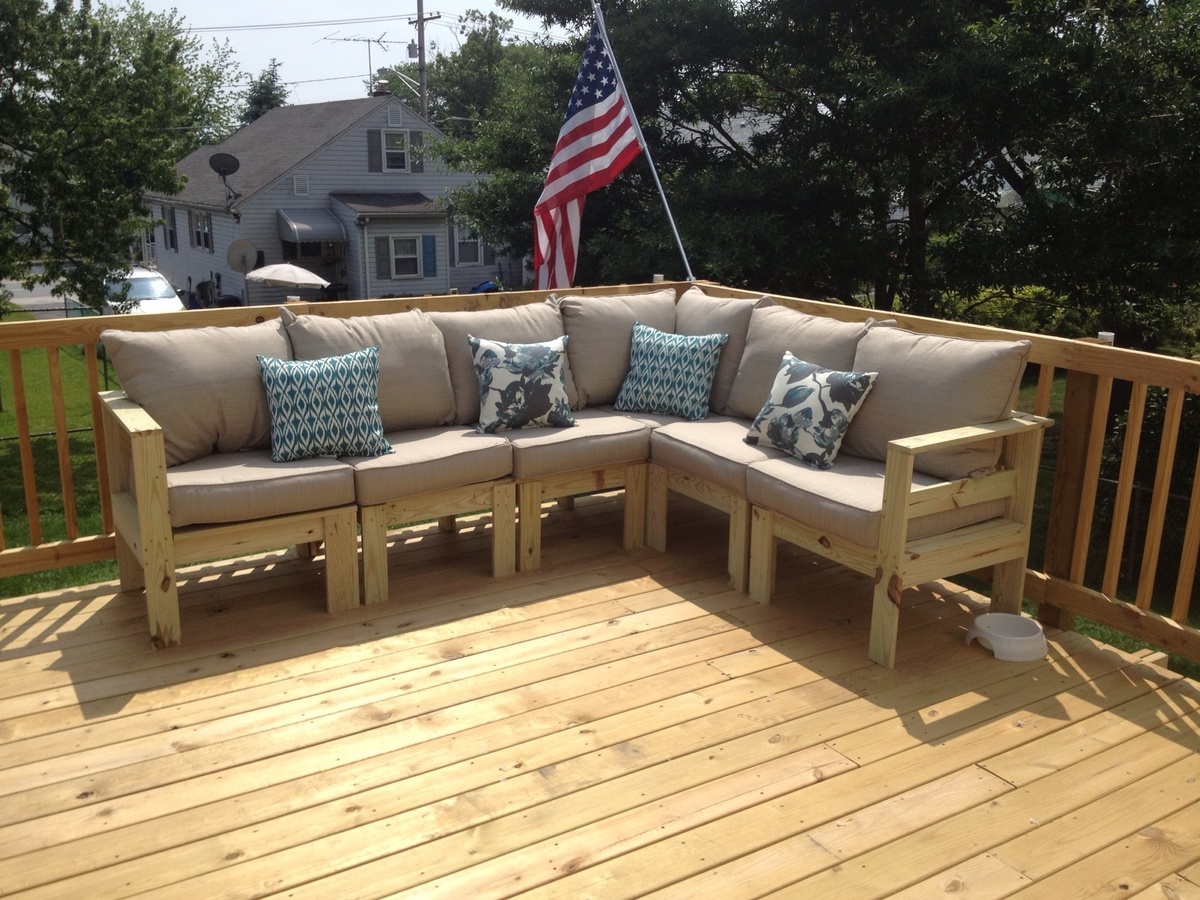
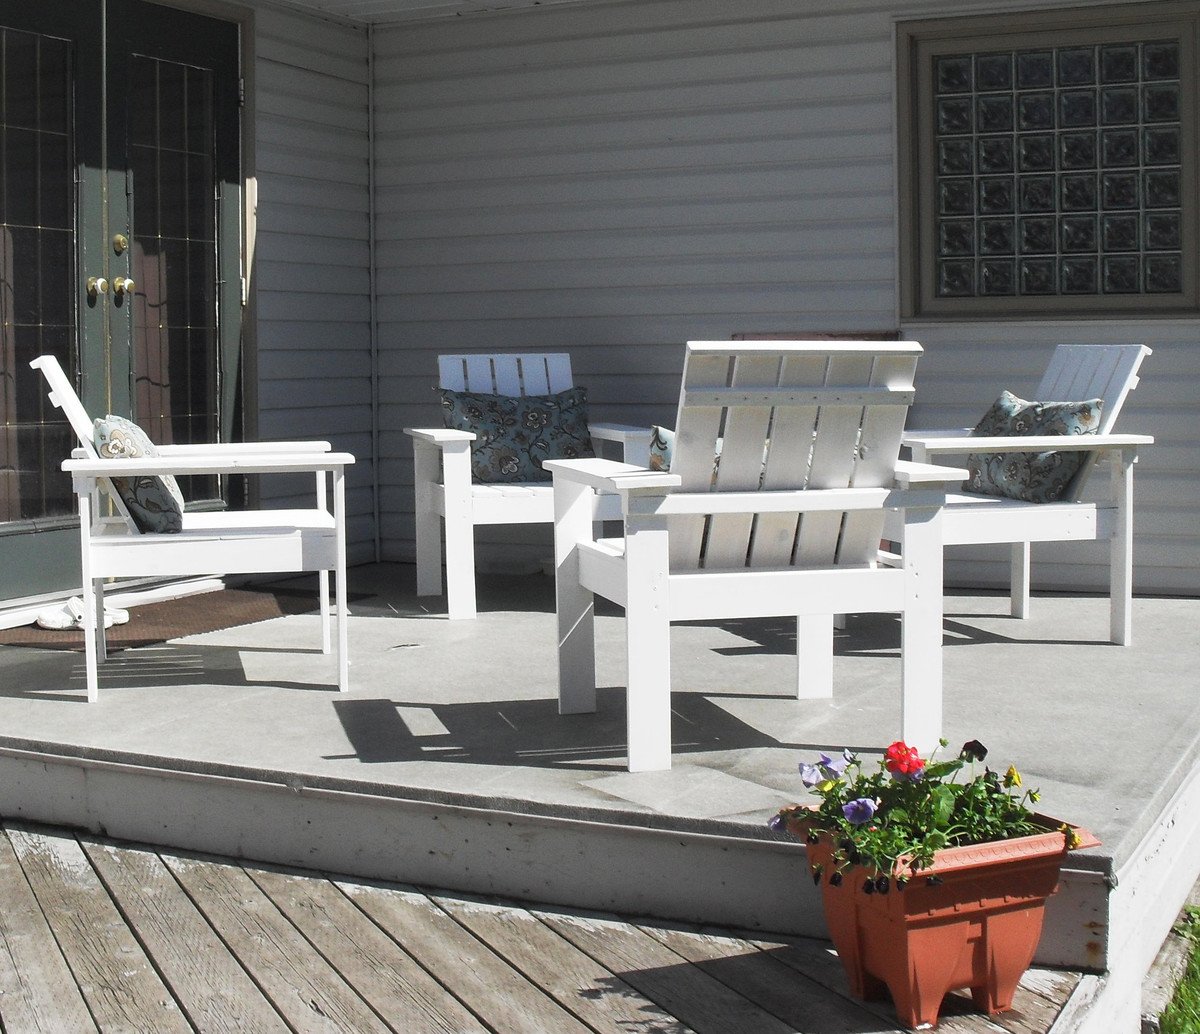
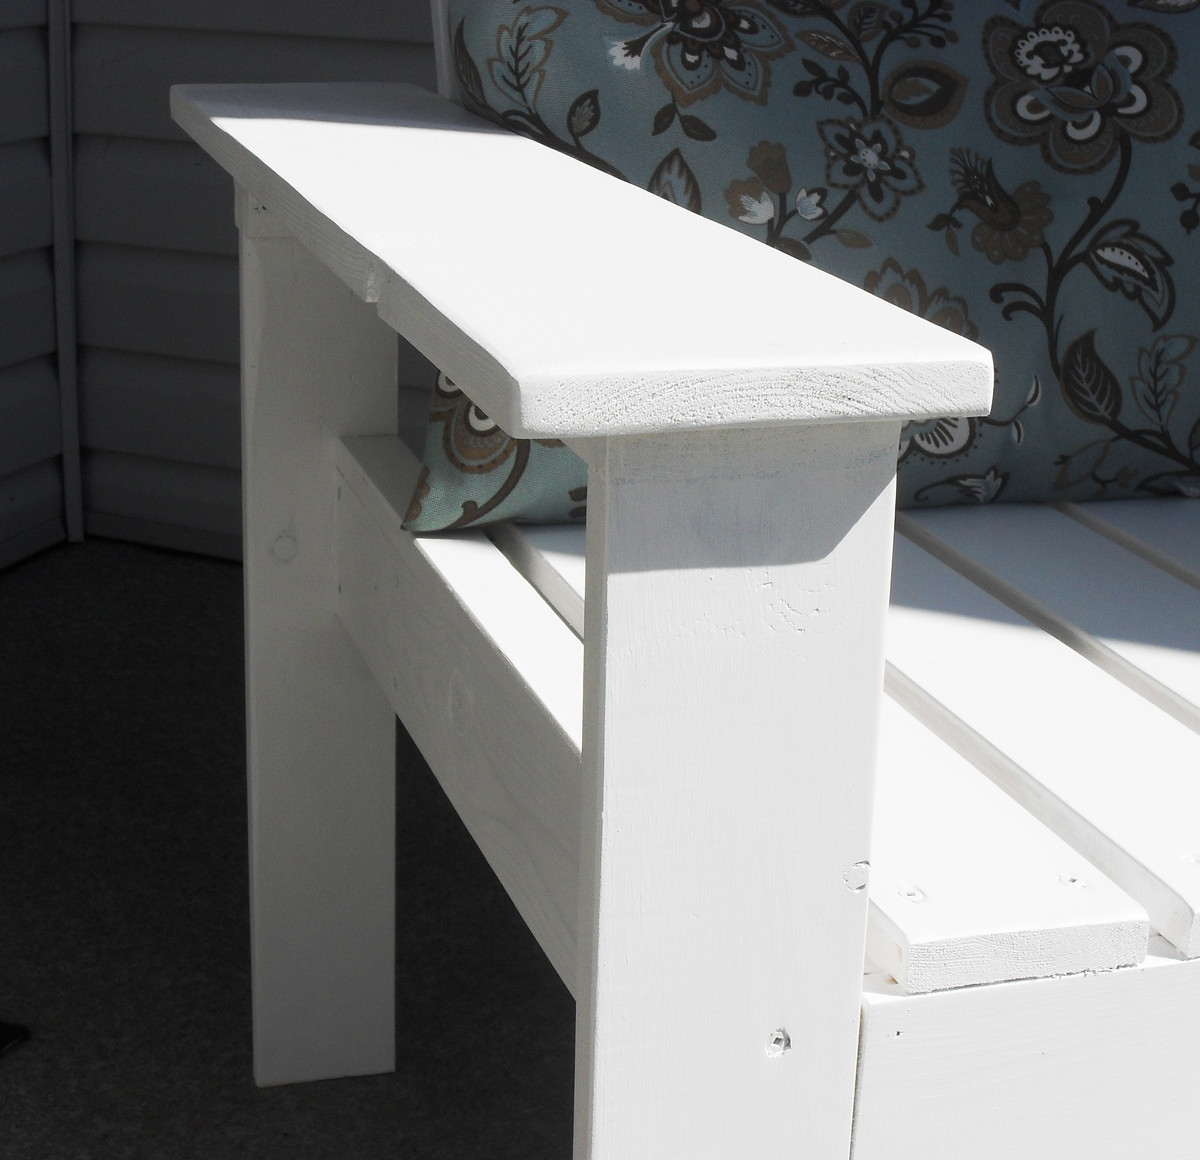
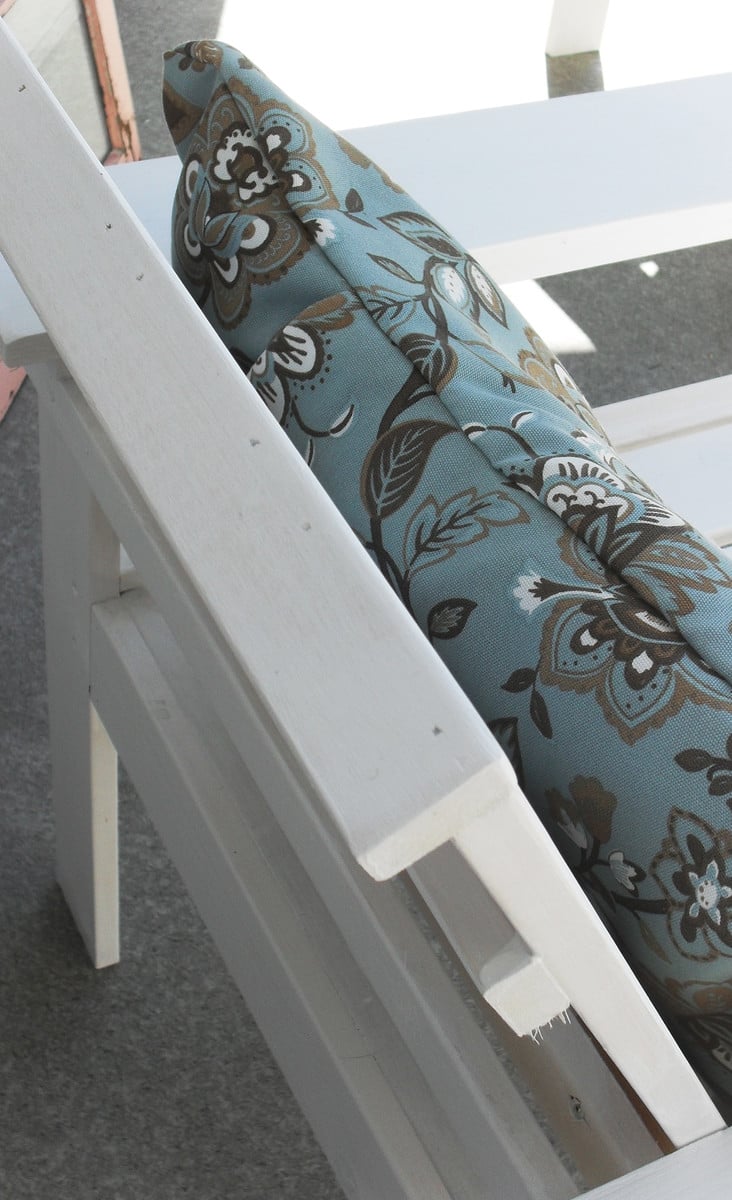
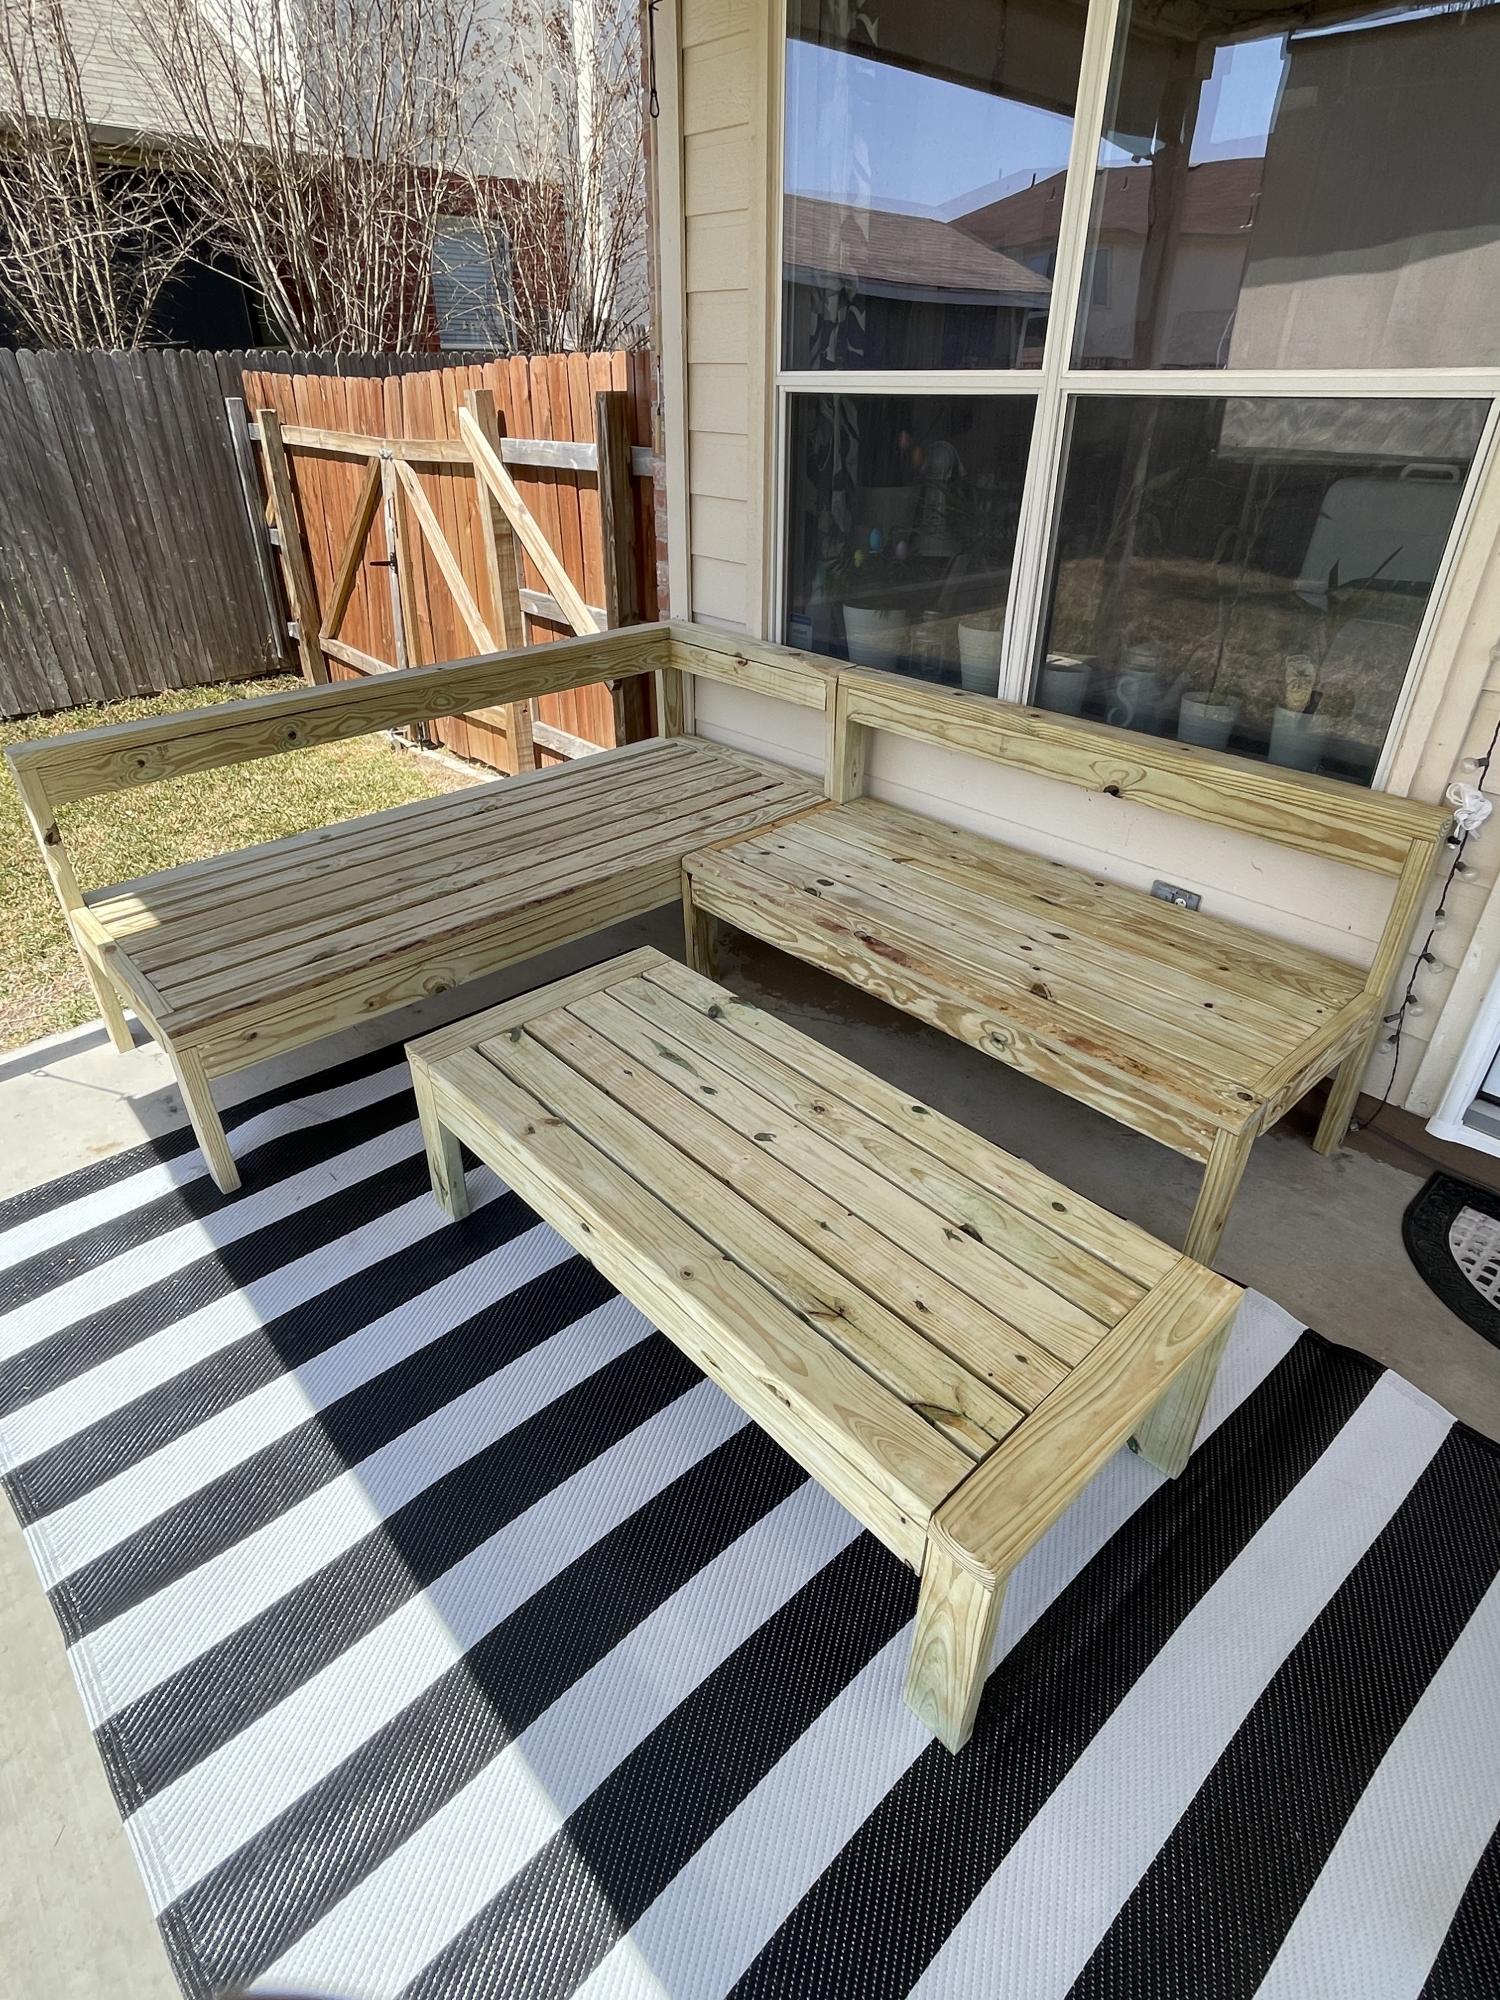
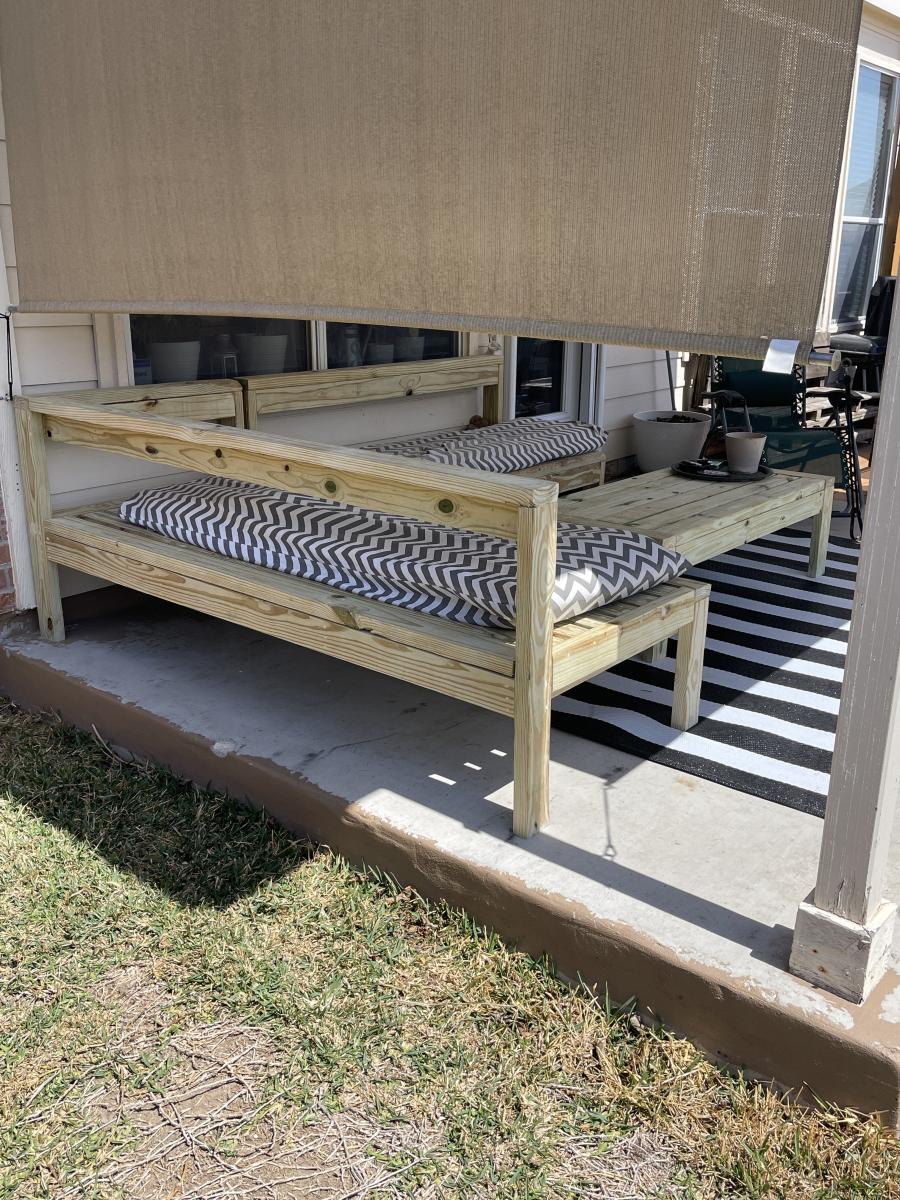
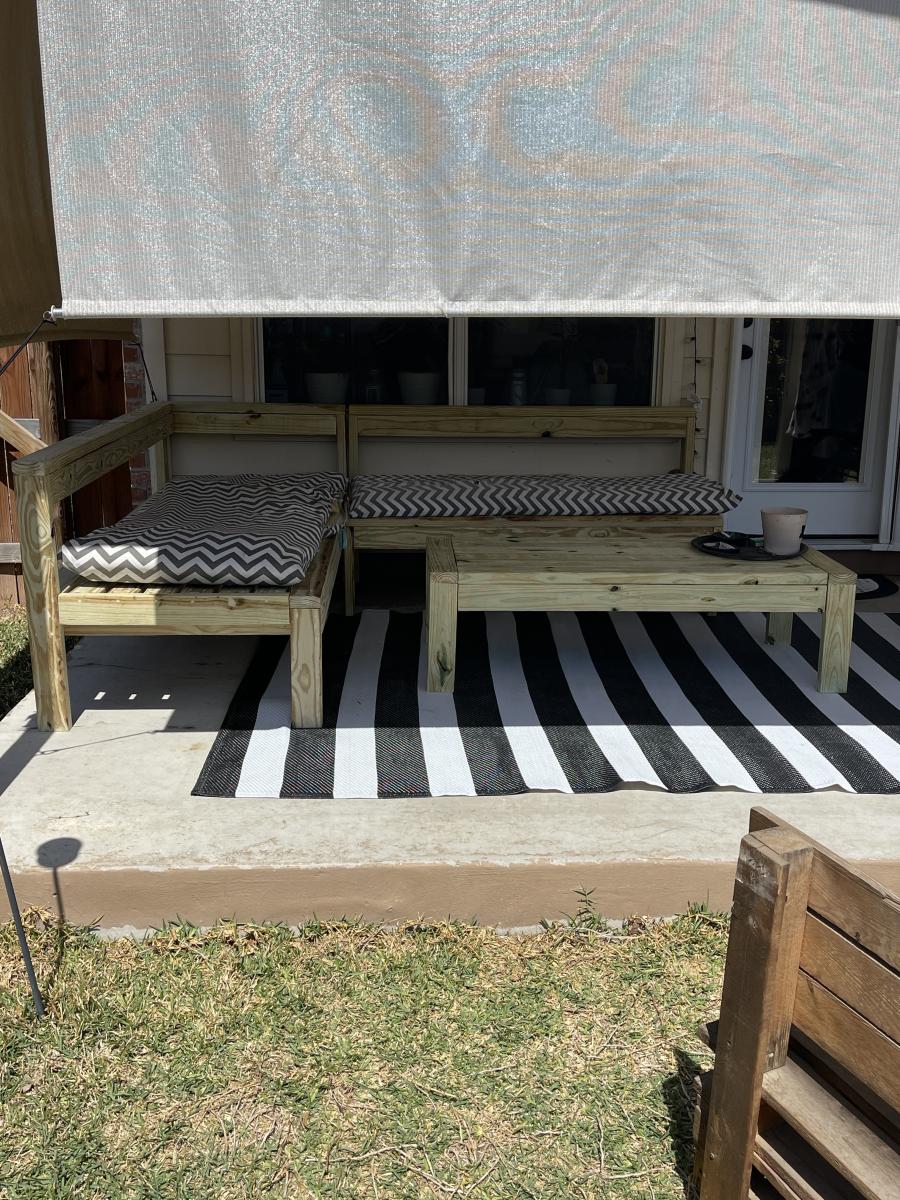
This was a fun, easy and inexpensive project. Ana's instructions are very easy to follow. I modified her plan, only slightly, by adding 1X6 to the arms of the chairs, as well, I added a 1X2 cap to the top back of the chair. I also built four (4) accent tables (not stained yet) and a bench. Now I have a great set of outdoor furniture for my deck!

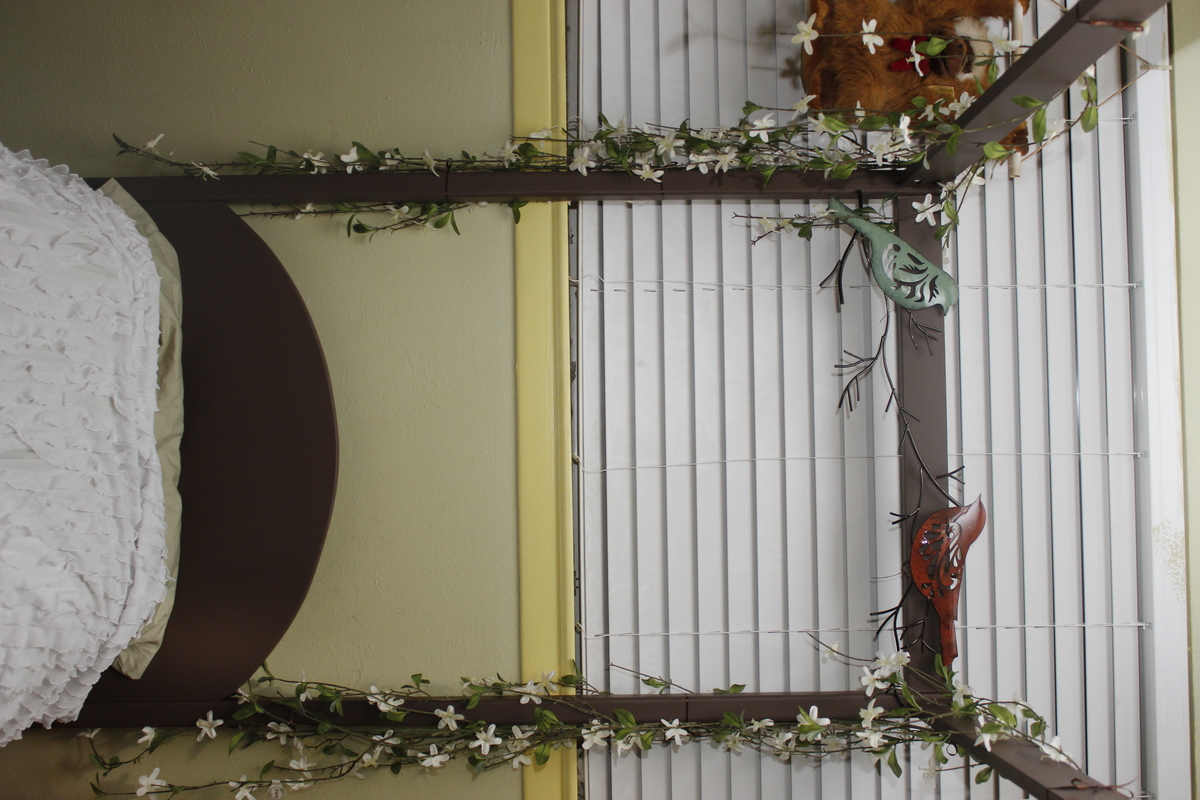
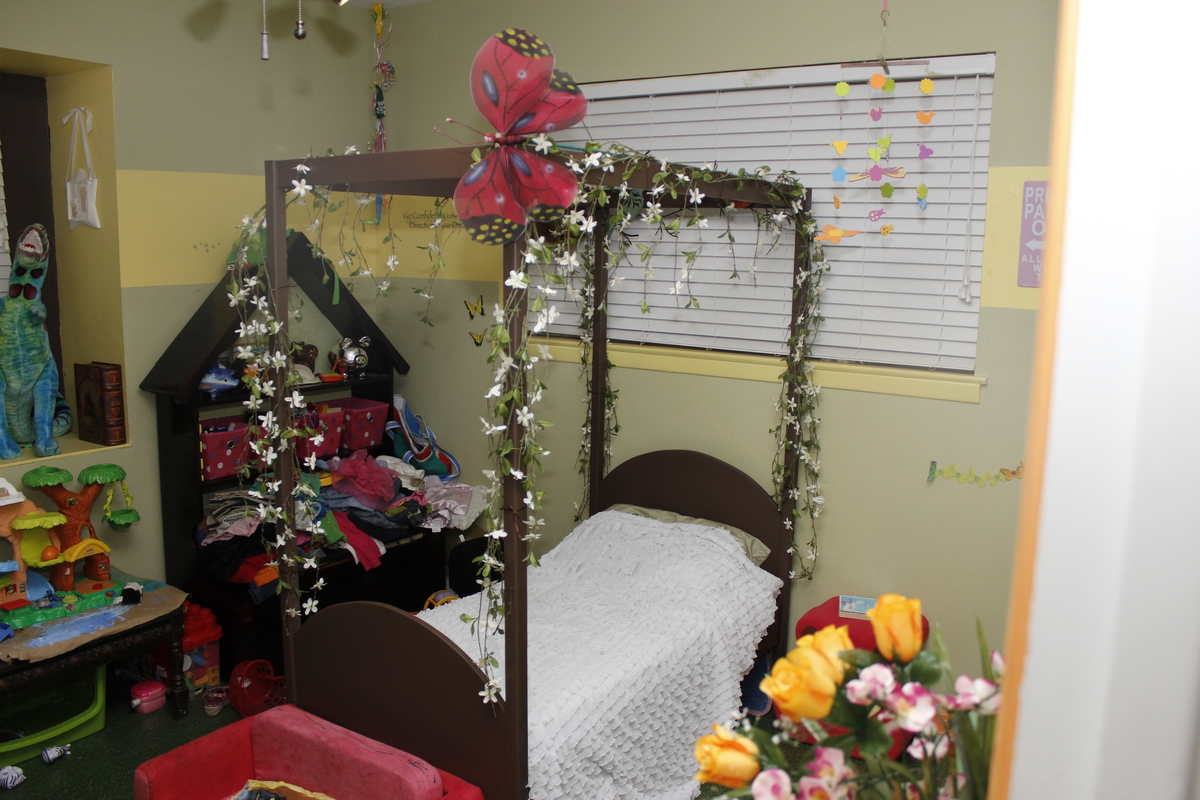
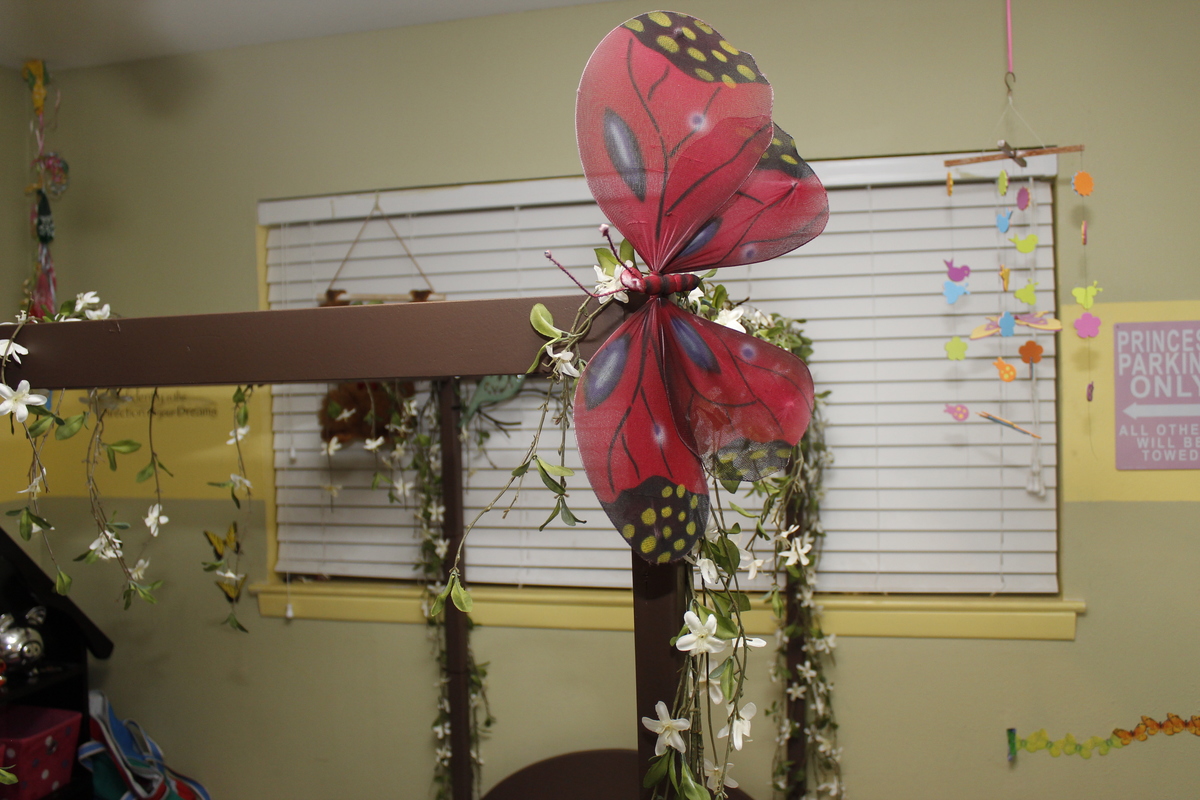
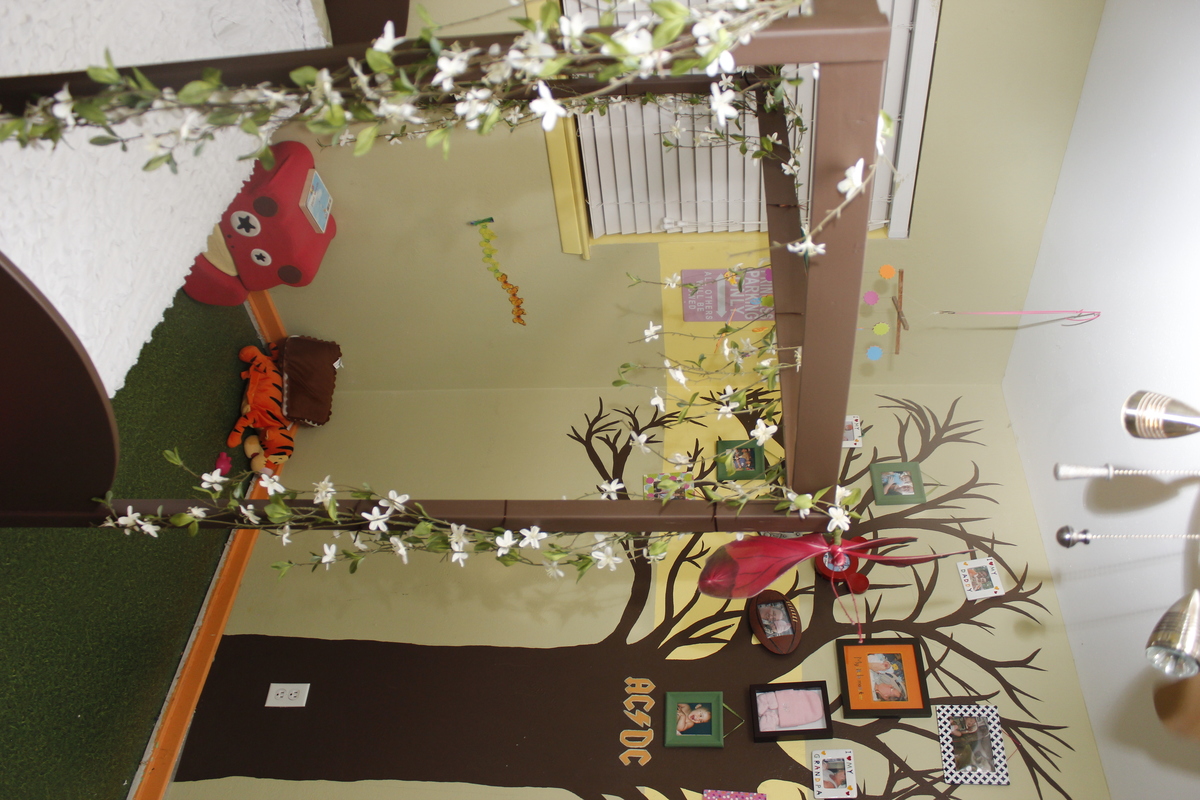
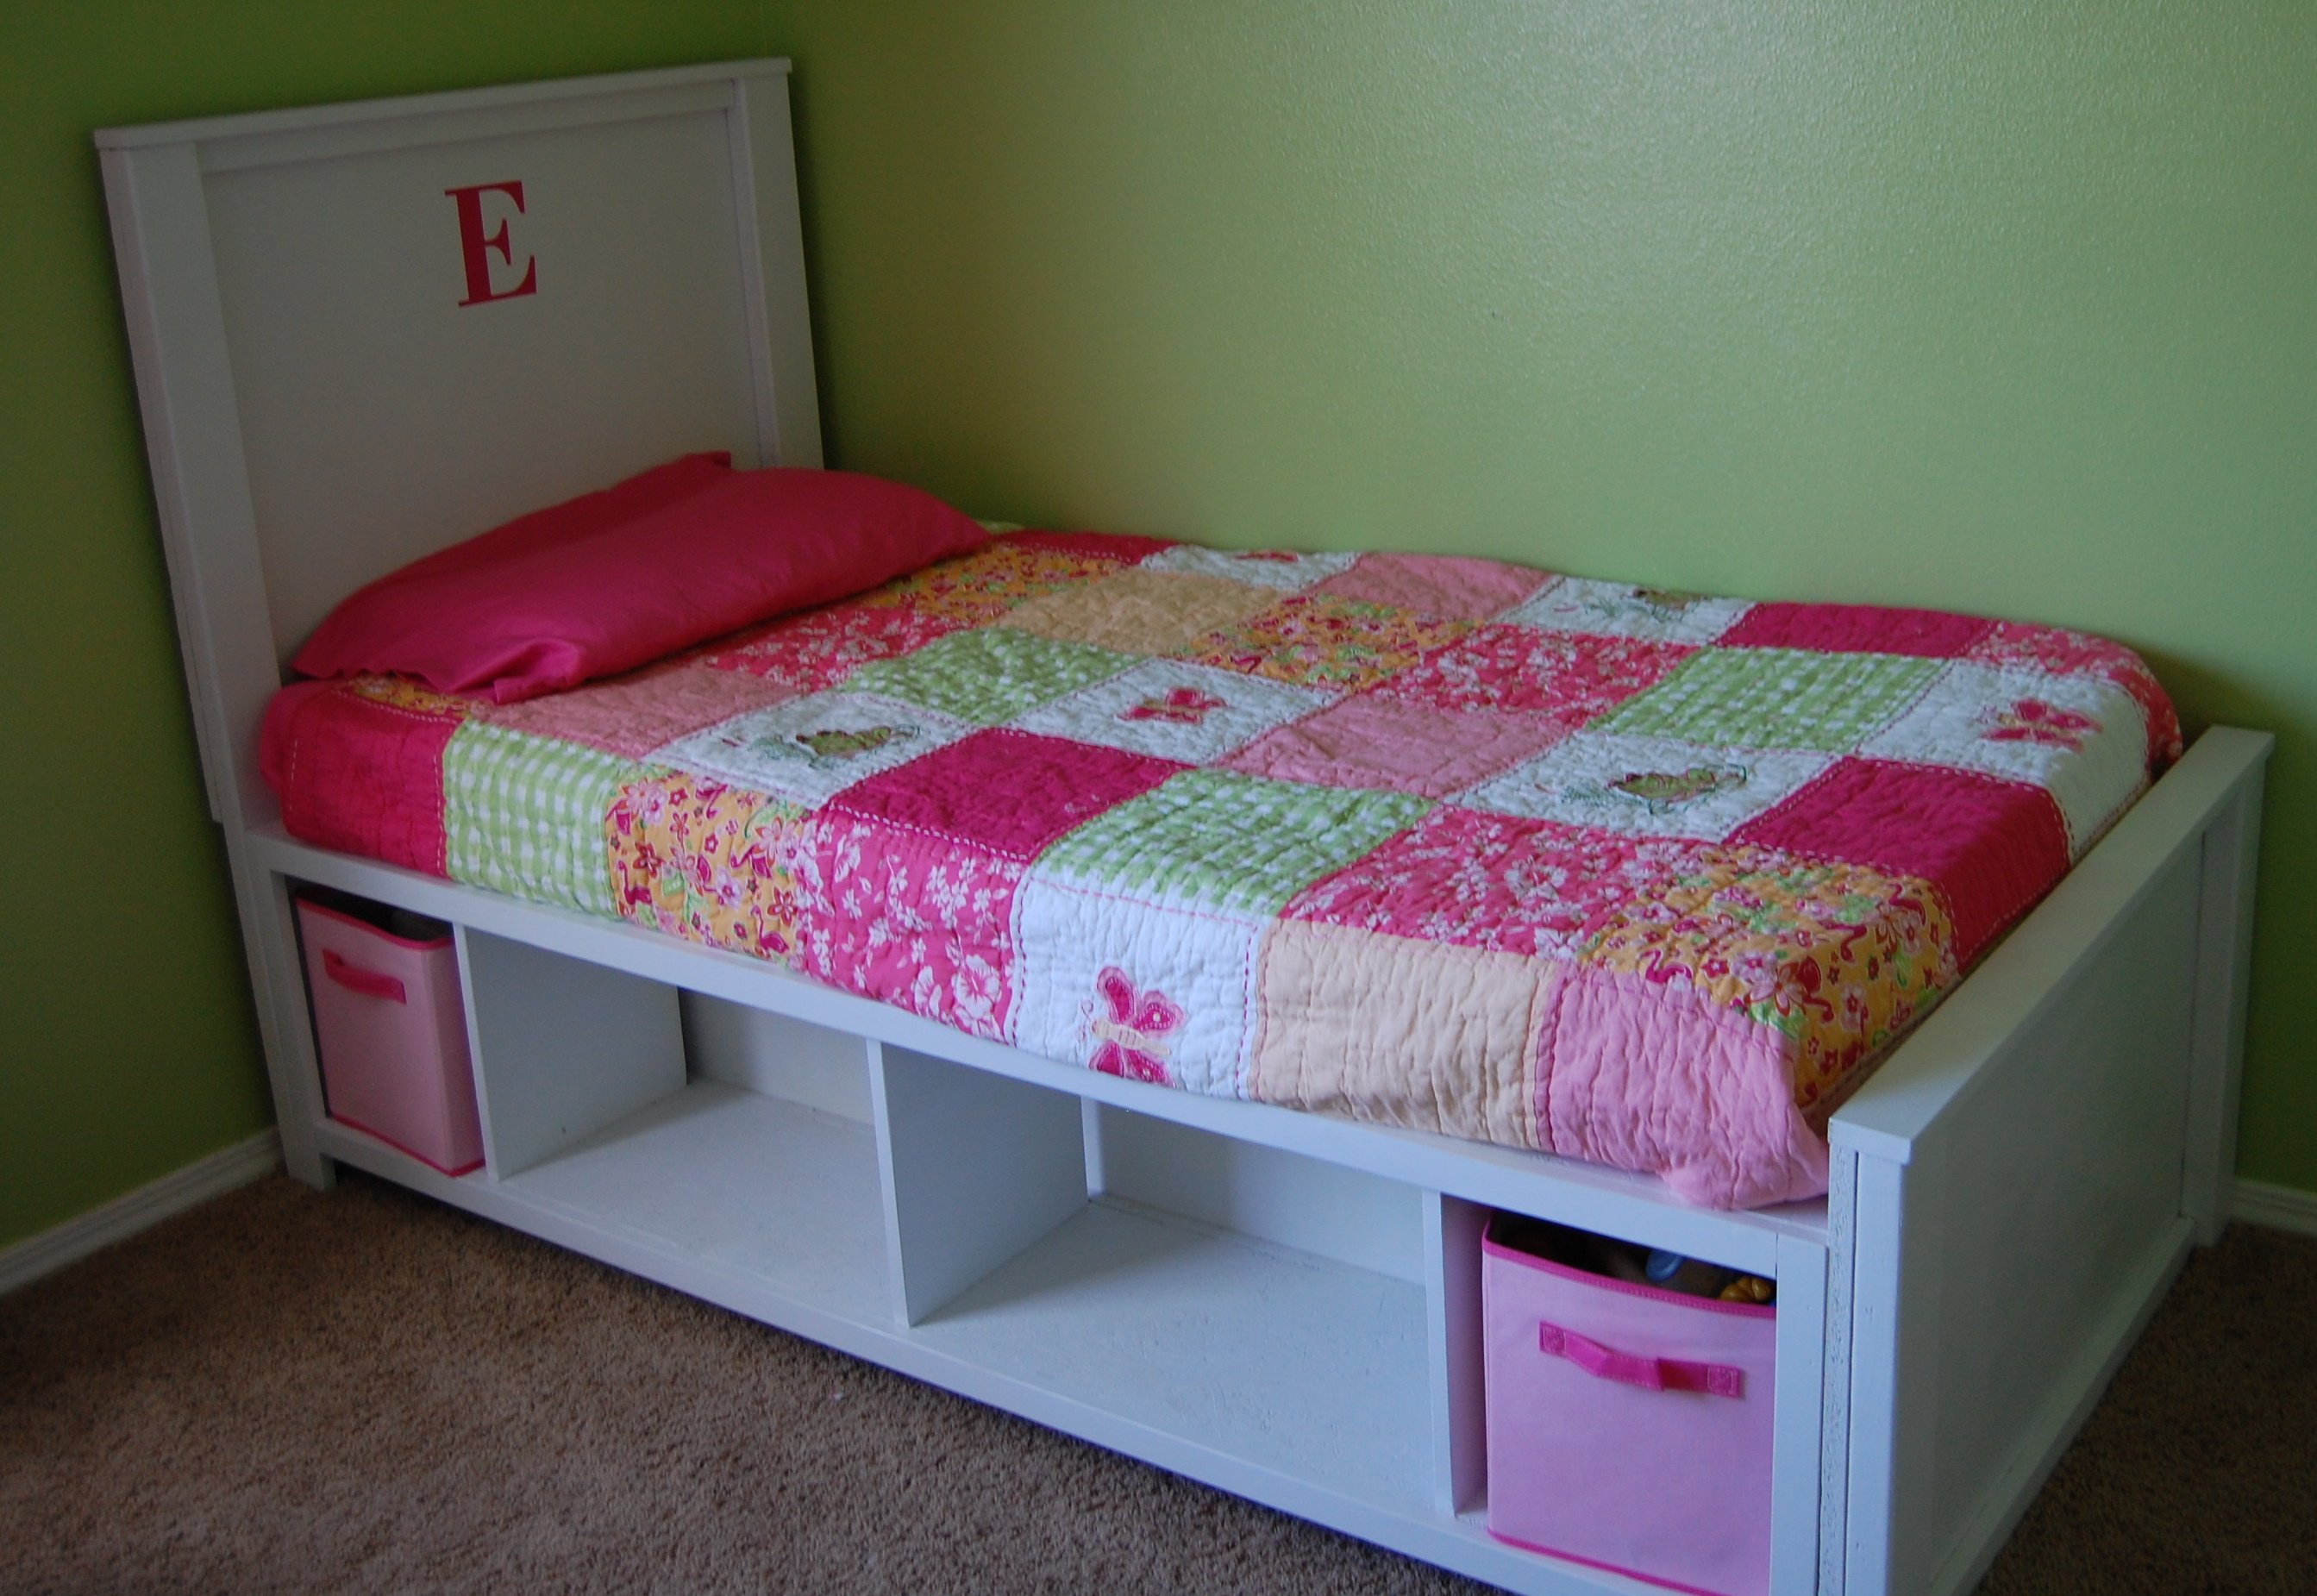
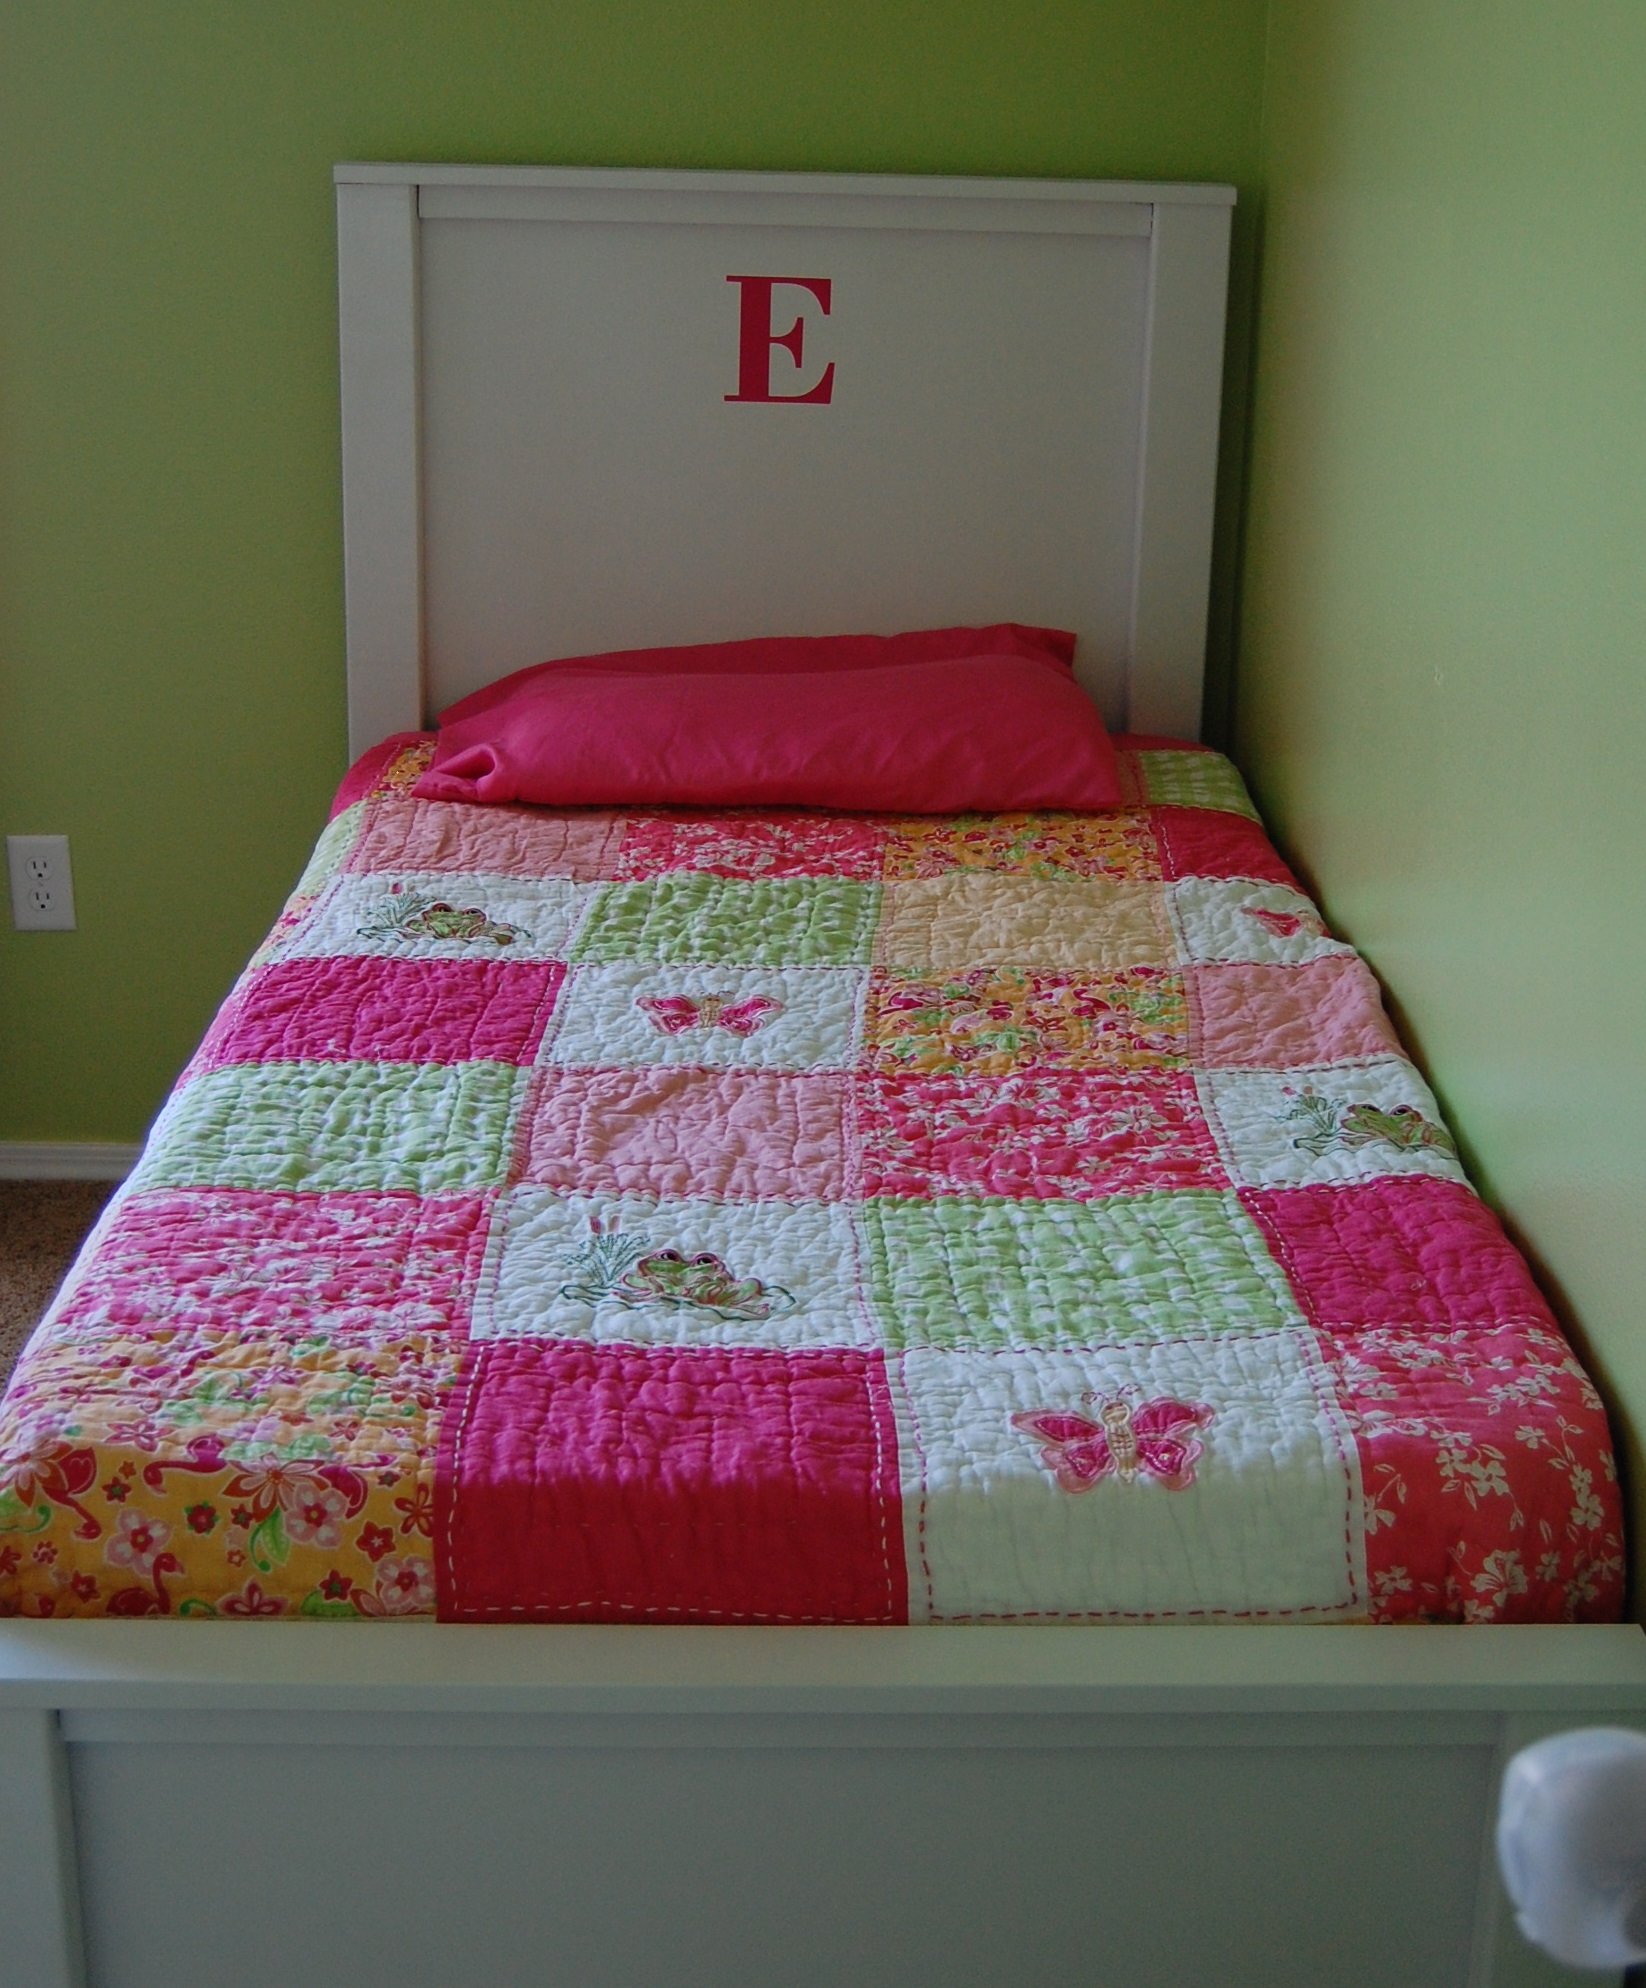
I built this for my daughters 3rd birthday. Because my wife works weekends i was only able to spare a few hours a day Monday-Friday. And because i did it in summer under the Texas heat it took longer than i would have liked. The flowers and birds came from Hobby Lobby. My daughter flipped out when she opened her room and saw it, as a father I've never felt prouder than to build this with my own 2 hands just for her.
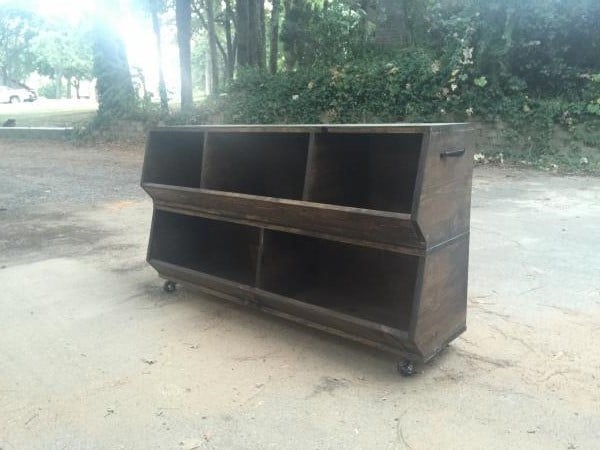
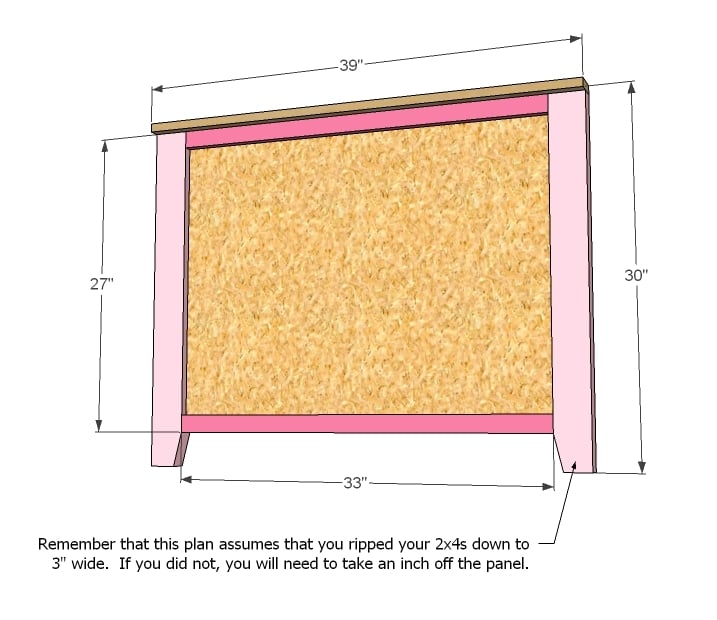
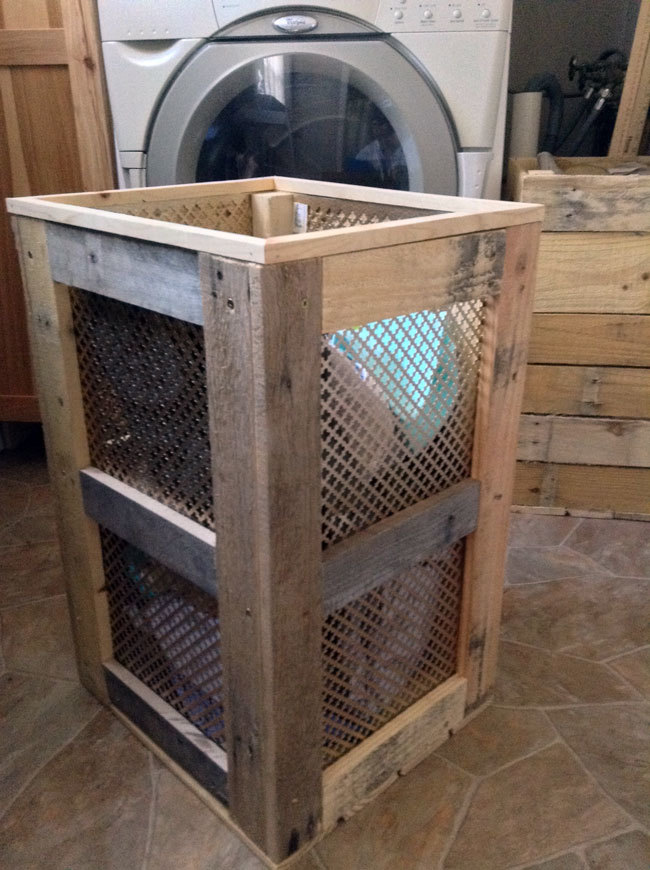
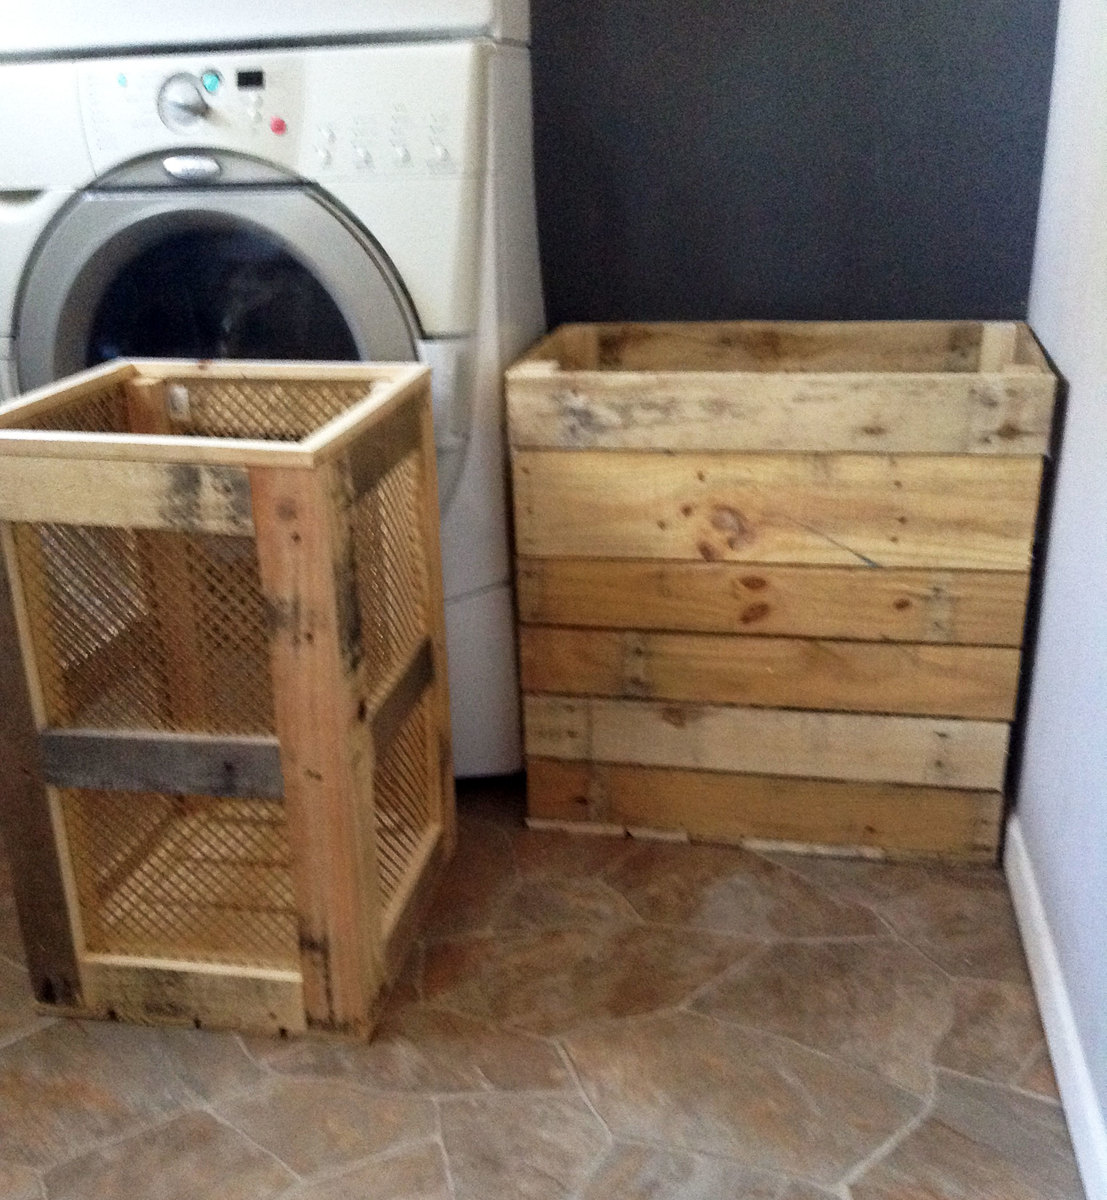
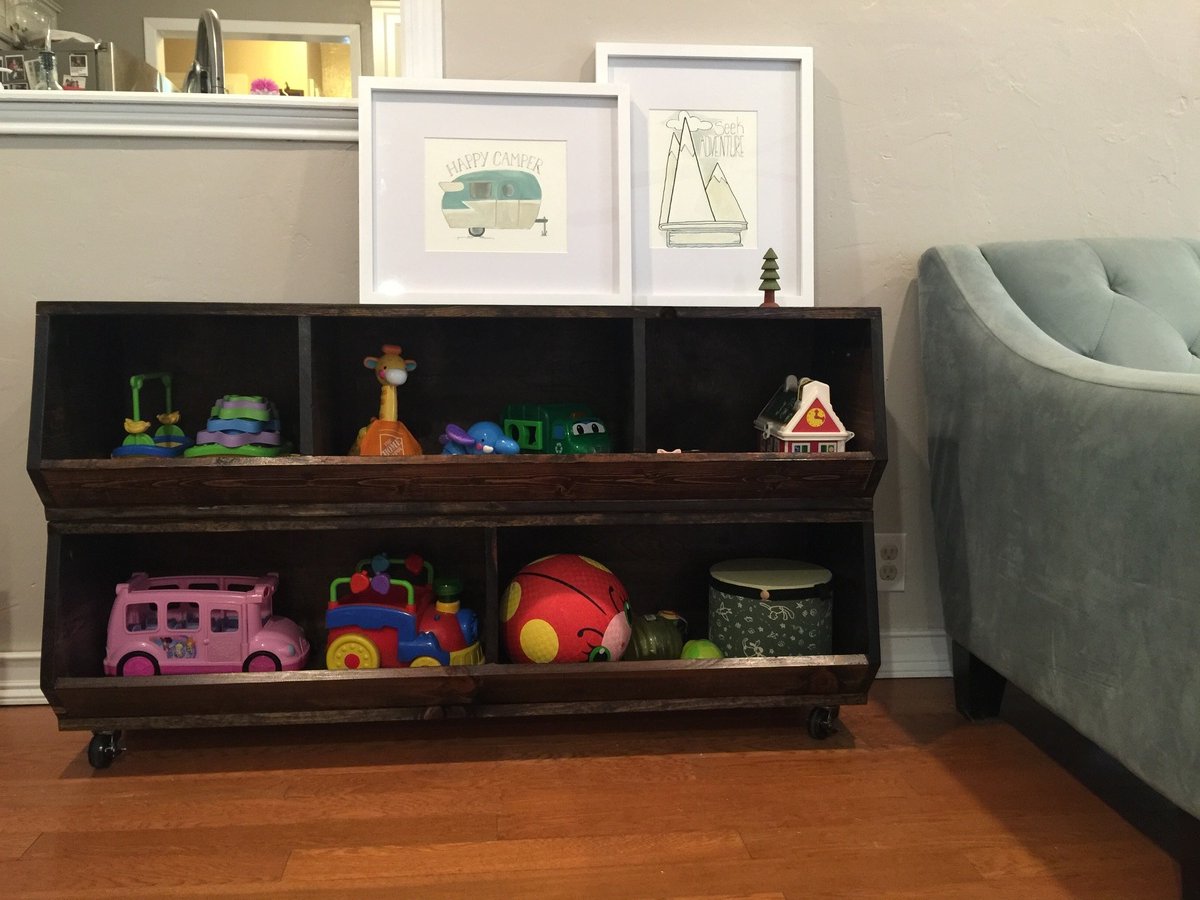
Such a worthwhile build. I had to adjust the angles for the center/ interior dividers since these sit behind the front board. That causes the angles to be different. I also used Luanne for the backing, installed locking wheels and handles.

Tue, 11/01/2016 - 20:12
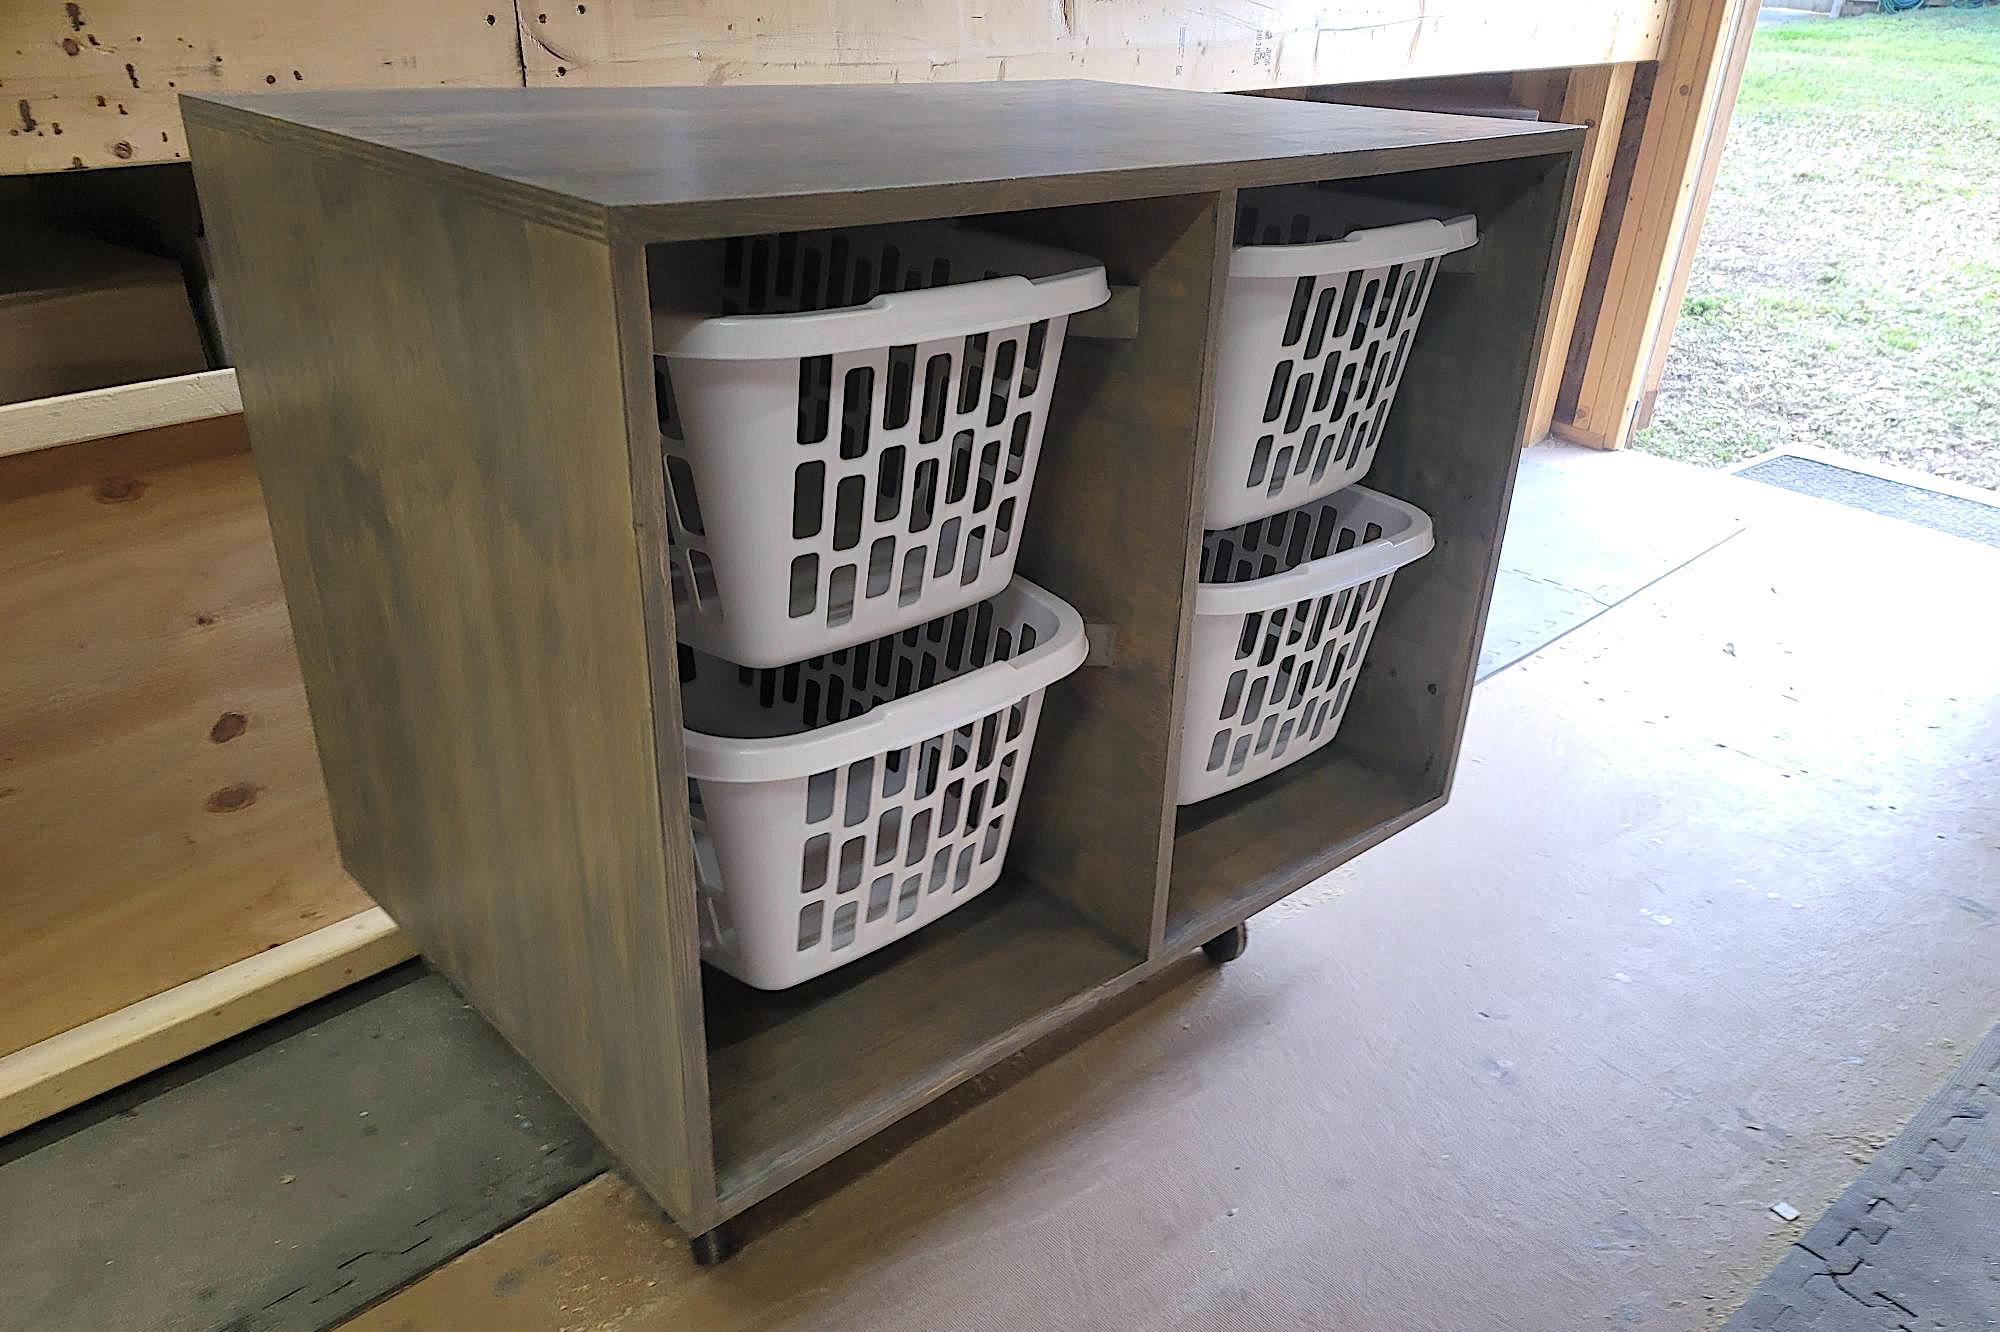
Hello, I clicked the provided URL for the plans you adapted your build version from, but was wondering if you could include your plans. I prefer the look of yours versus the linked plans. I am assuming yours is one unit based on the handle placement and the fact that it is on wheels and am interested in how you accomplished this. Thanks so much!
Hi friends!
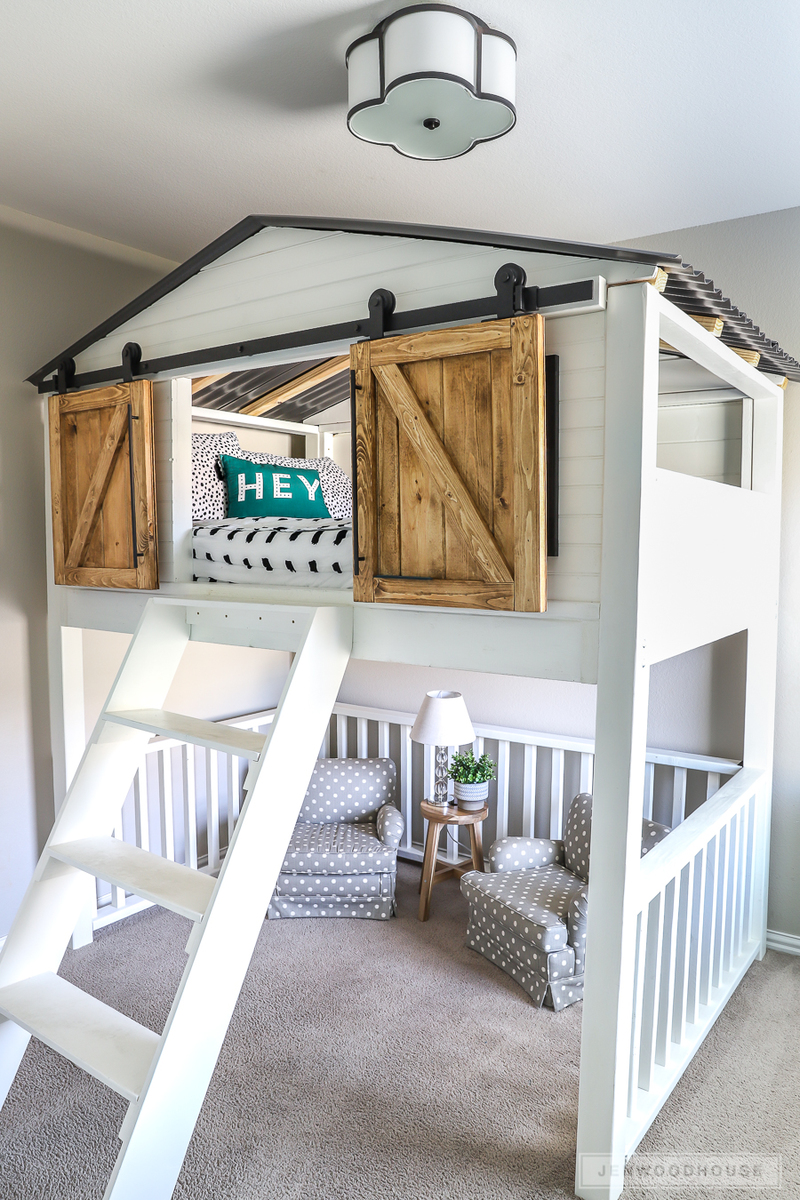
Jen Woodhouse here, super excited to share our latest DIY project with you - a Sliding Barn Door Loft Bed! We built this full-size loft bed for our 7-year-old daughter because we wanted to make the most of her small bedroom. And as an Army family, we move around every two years or so, so I drew up the plans so that the bed can be easily disassembled. We all love it so much and hope you do too! I'd love to see you build one for your kiddos (or yourself - no judgement!). Be sure to tag me @jenwoodhouse if you share photos of your build on social media!
And because some people have asked:
Get all the details and the plans on JenWoodhouse.com!
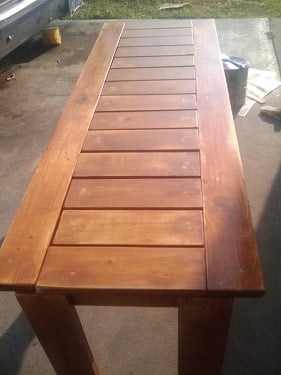
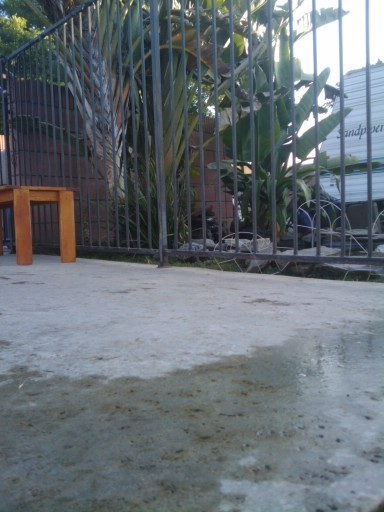
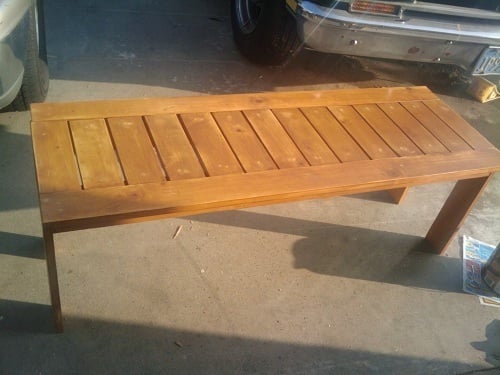
First Anna project, I needed a bench by the pool, so I did waterproof it, which is holding up well, and it's extremely nice even with my limited skills. Definately worth the time and sanding.
Things I learned, need to measure each cut out. I didn't, so my slats are not all the same length. Still works really good, but I should've measure, cut, measure, cut, because I didn't take into account the width of the blade. I wouldn't use so much wood filler. I really glopped it on there. The sanding and staining pre, good call.
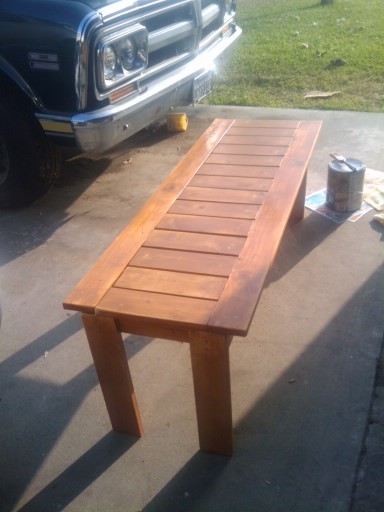
I would've used 2 pieces of wood for each leg.
Well, next one. I've already learned so much from making it and had a great time making it. Can't wait to get started on the table to match!
Mon, 02/20/2012 - 11:11
Love this beginners bench! Saw this on pinterest...will be repinning for future reference! Amazing stuff on your blog!
Mon, 02/20/2012 - 11:12
Love this beginners bench! Saw this on pinterest...will be repinning for future reference! Amazing stuff on your blog!

Wed, 02/22/2012 - 23:37
Thanks! First thing I ever did. Teaches you a lot
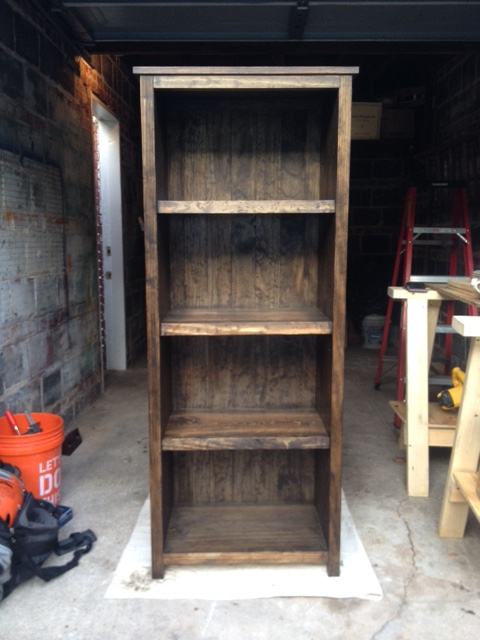
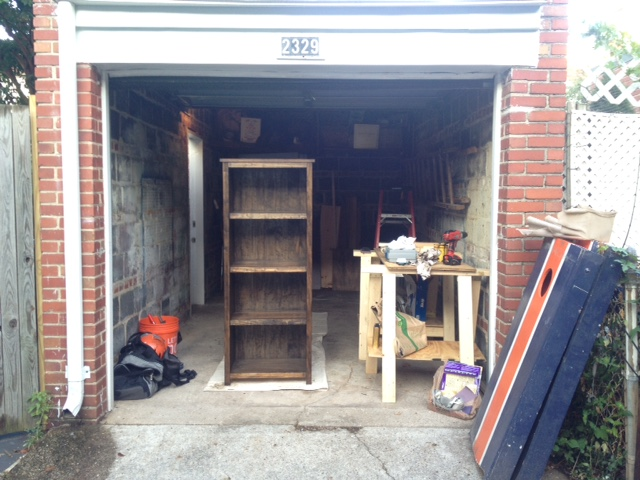
I built this bookshelf for my girlfriend, Julia over the course of two weekends. The kreg jig helped a ton. Staining, using the rubbed on polyurethane finish, and sanding down--plus all the drying time required--took the most time. This is a very sturdy and finished-looking bookshelf plan. Overall, the projectturned out nicely.
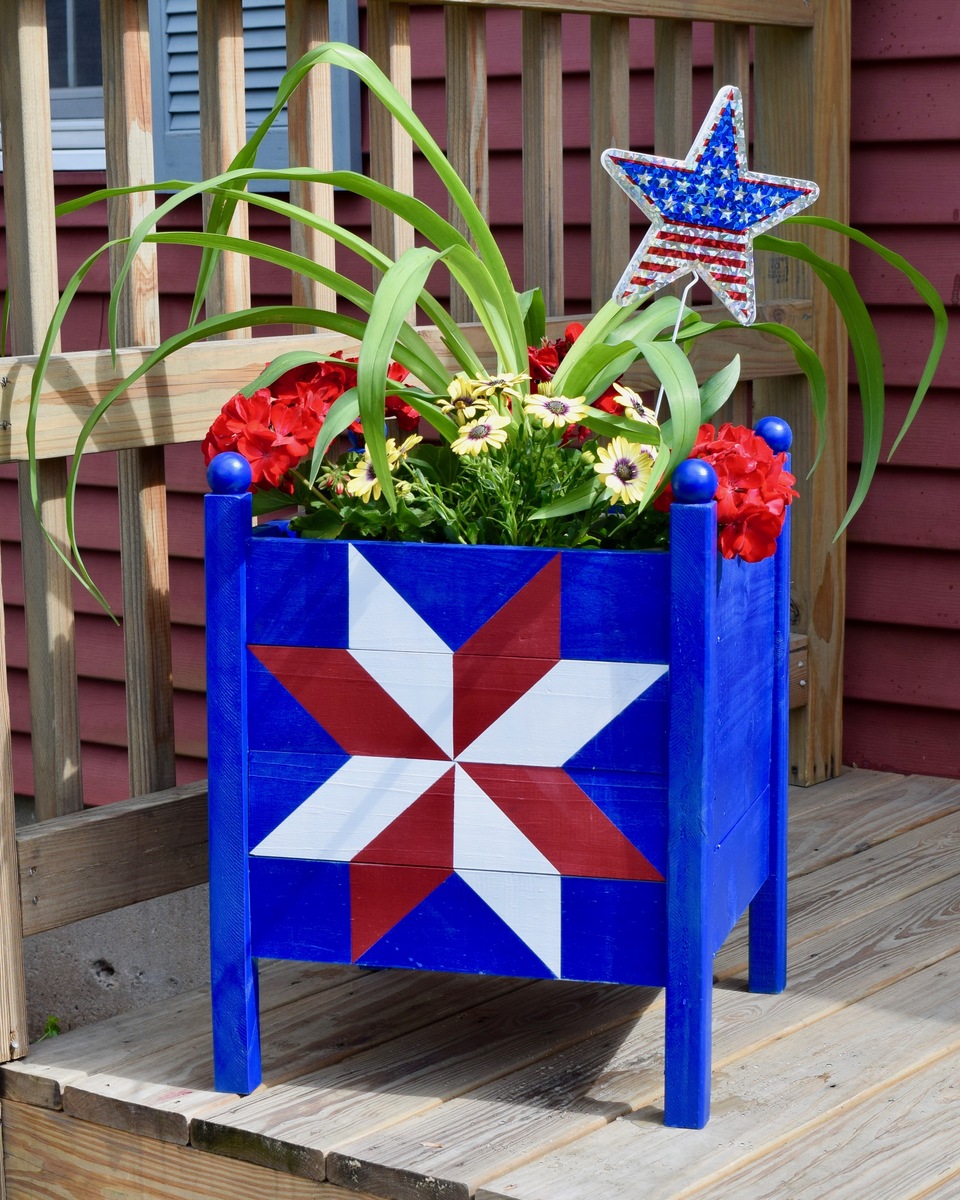
I loved the design of this planter and have been making wood quilts. This was a natural combination, incorporating a red, white & blue Americana quilt design into the front panel. The only modification I made was that the boards were 14" long instead of 15 3/4". This way the 1x4 boards could create square sides. I also made the 2x2 corner posts 20" high.
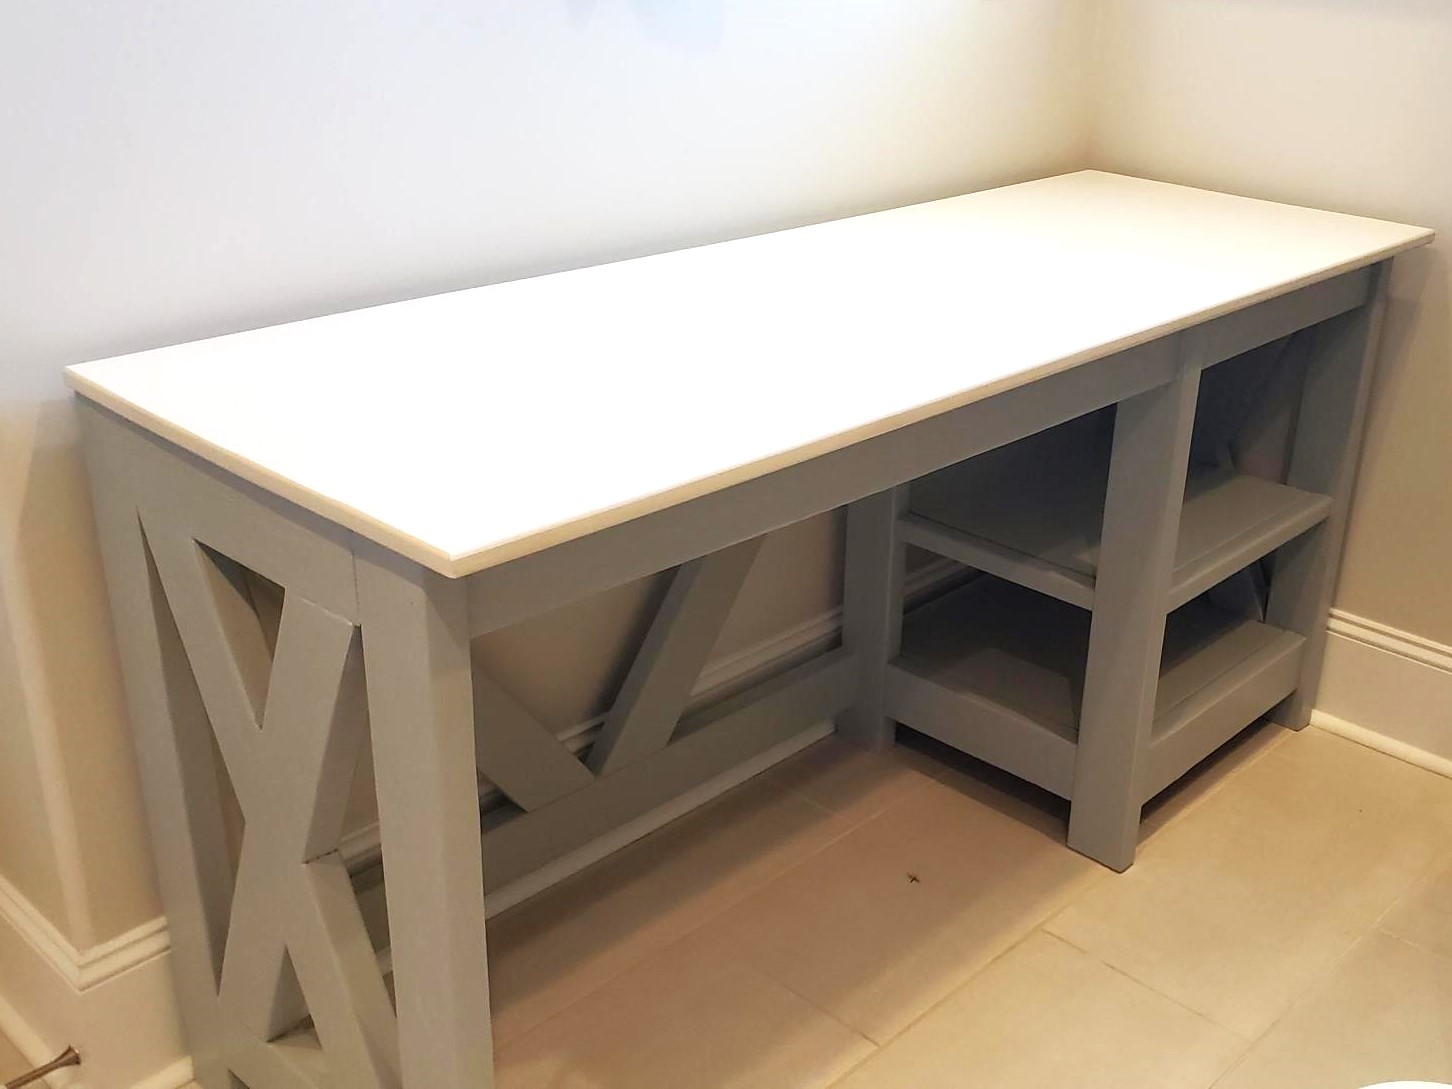
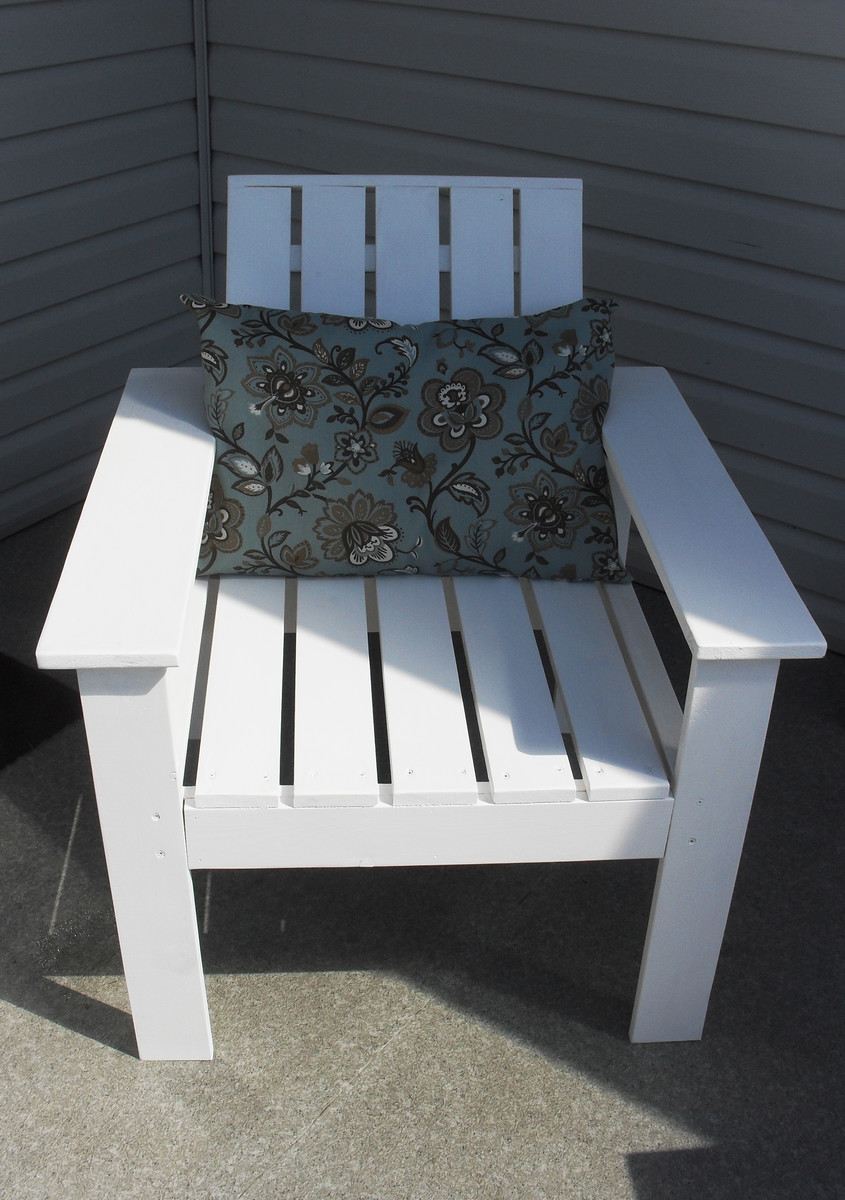
My wife wanted a patio set and I initially made a set using pallets but I knew I could make a better one so after seeing one Ana made on Pinterest I went to work. I have now painted it white and my wife will be make the cushions for it as I made it a little wider than the actual plans called for.
My husband and I were able to put this together over the course of two weekend days. Then it took me an eternity to paint/finish it. But we love it now and so does our little girl!
Wed, 12/28/2016 - 15:12
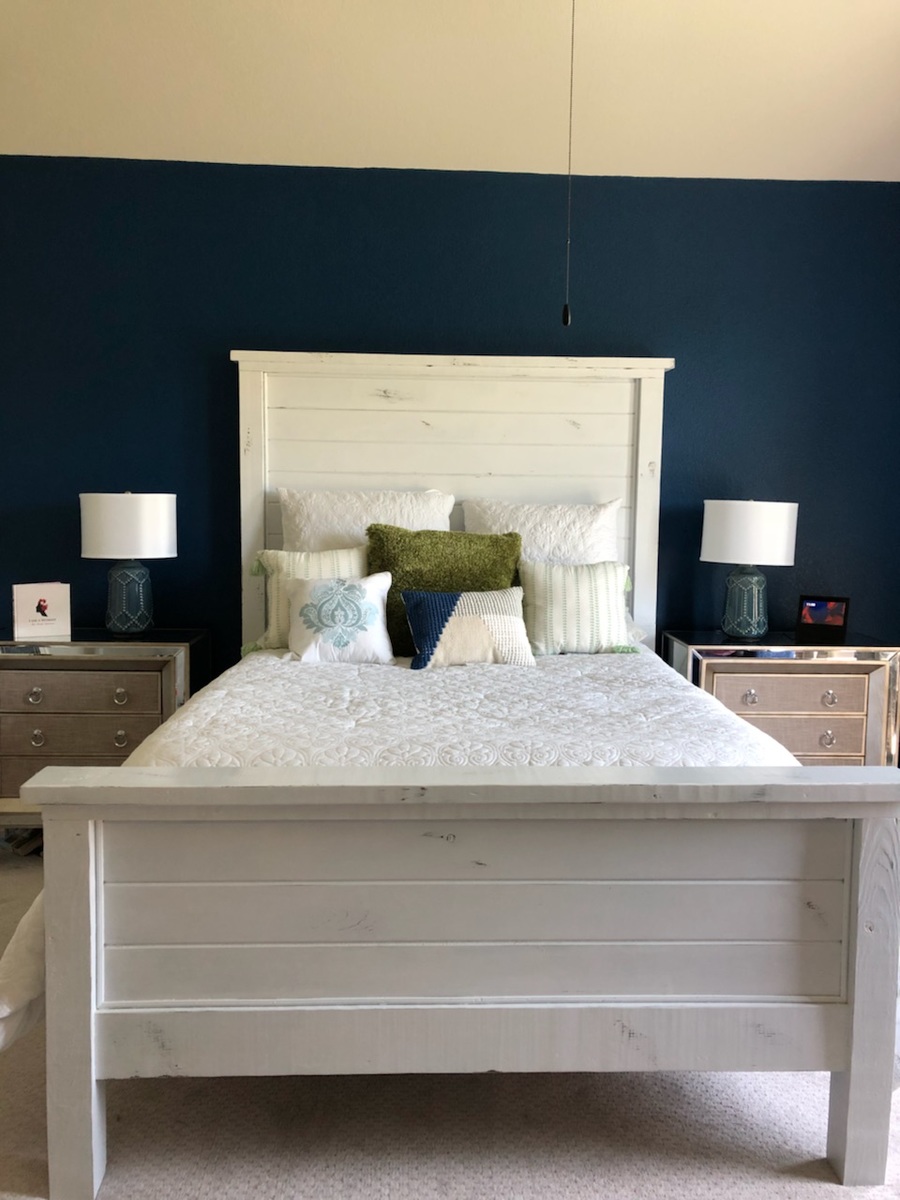
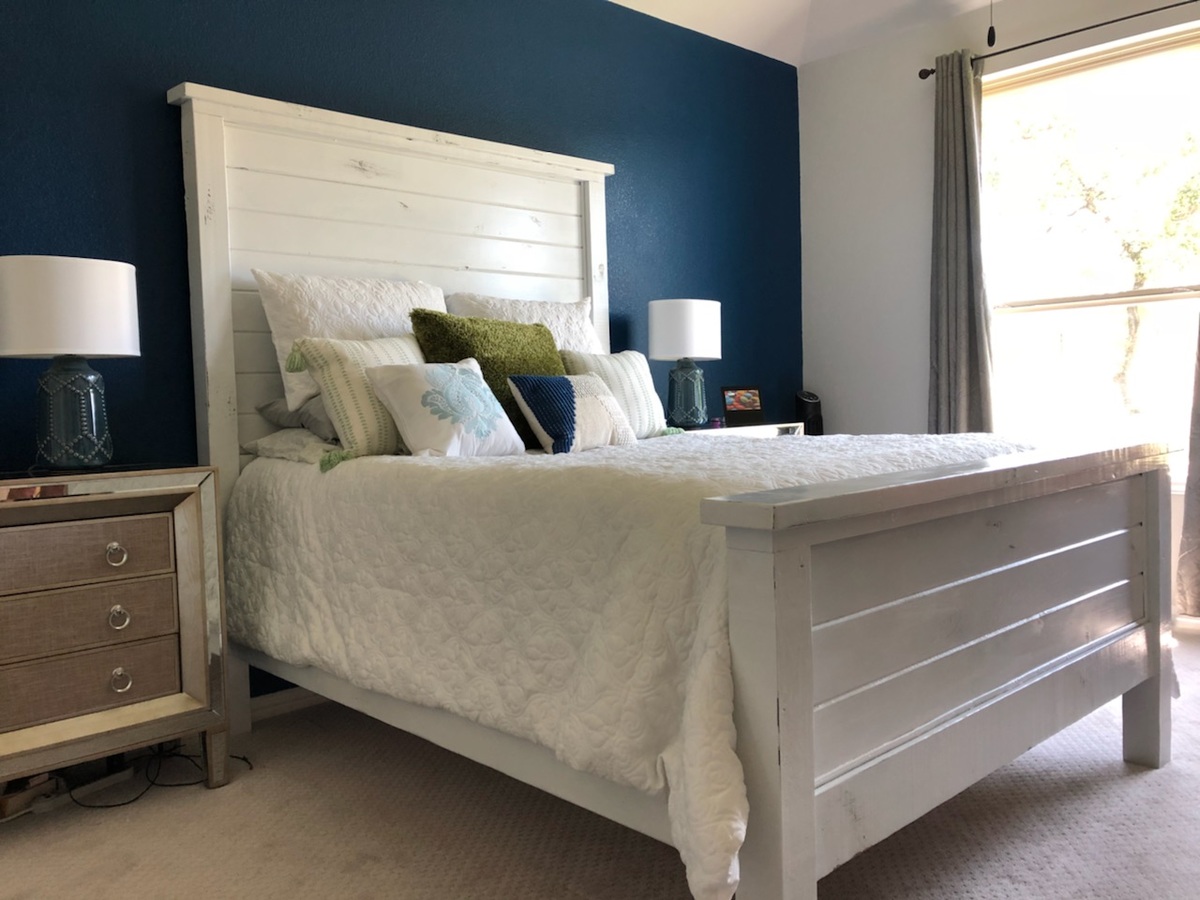
This was an easy two day project that turned out great. My daughter loves it. I made the foot board taller to keep the mattress from sliding off. Thank you for the plans.
Thanks for the plans Ana!
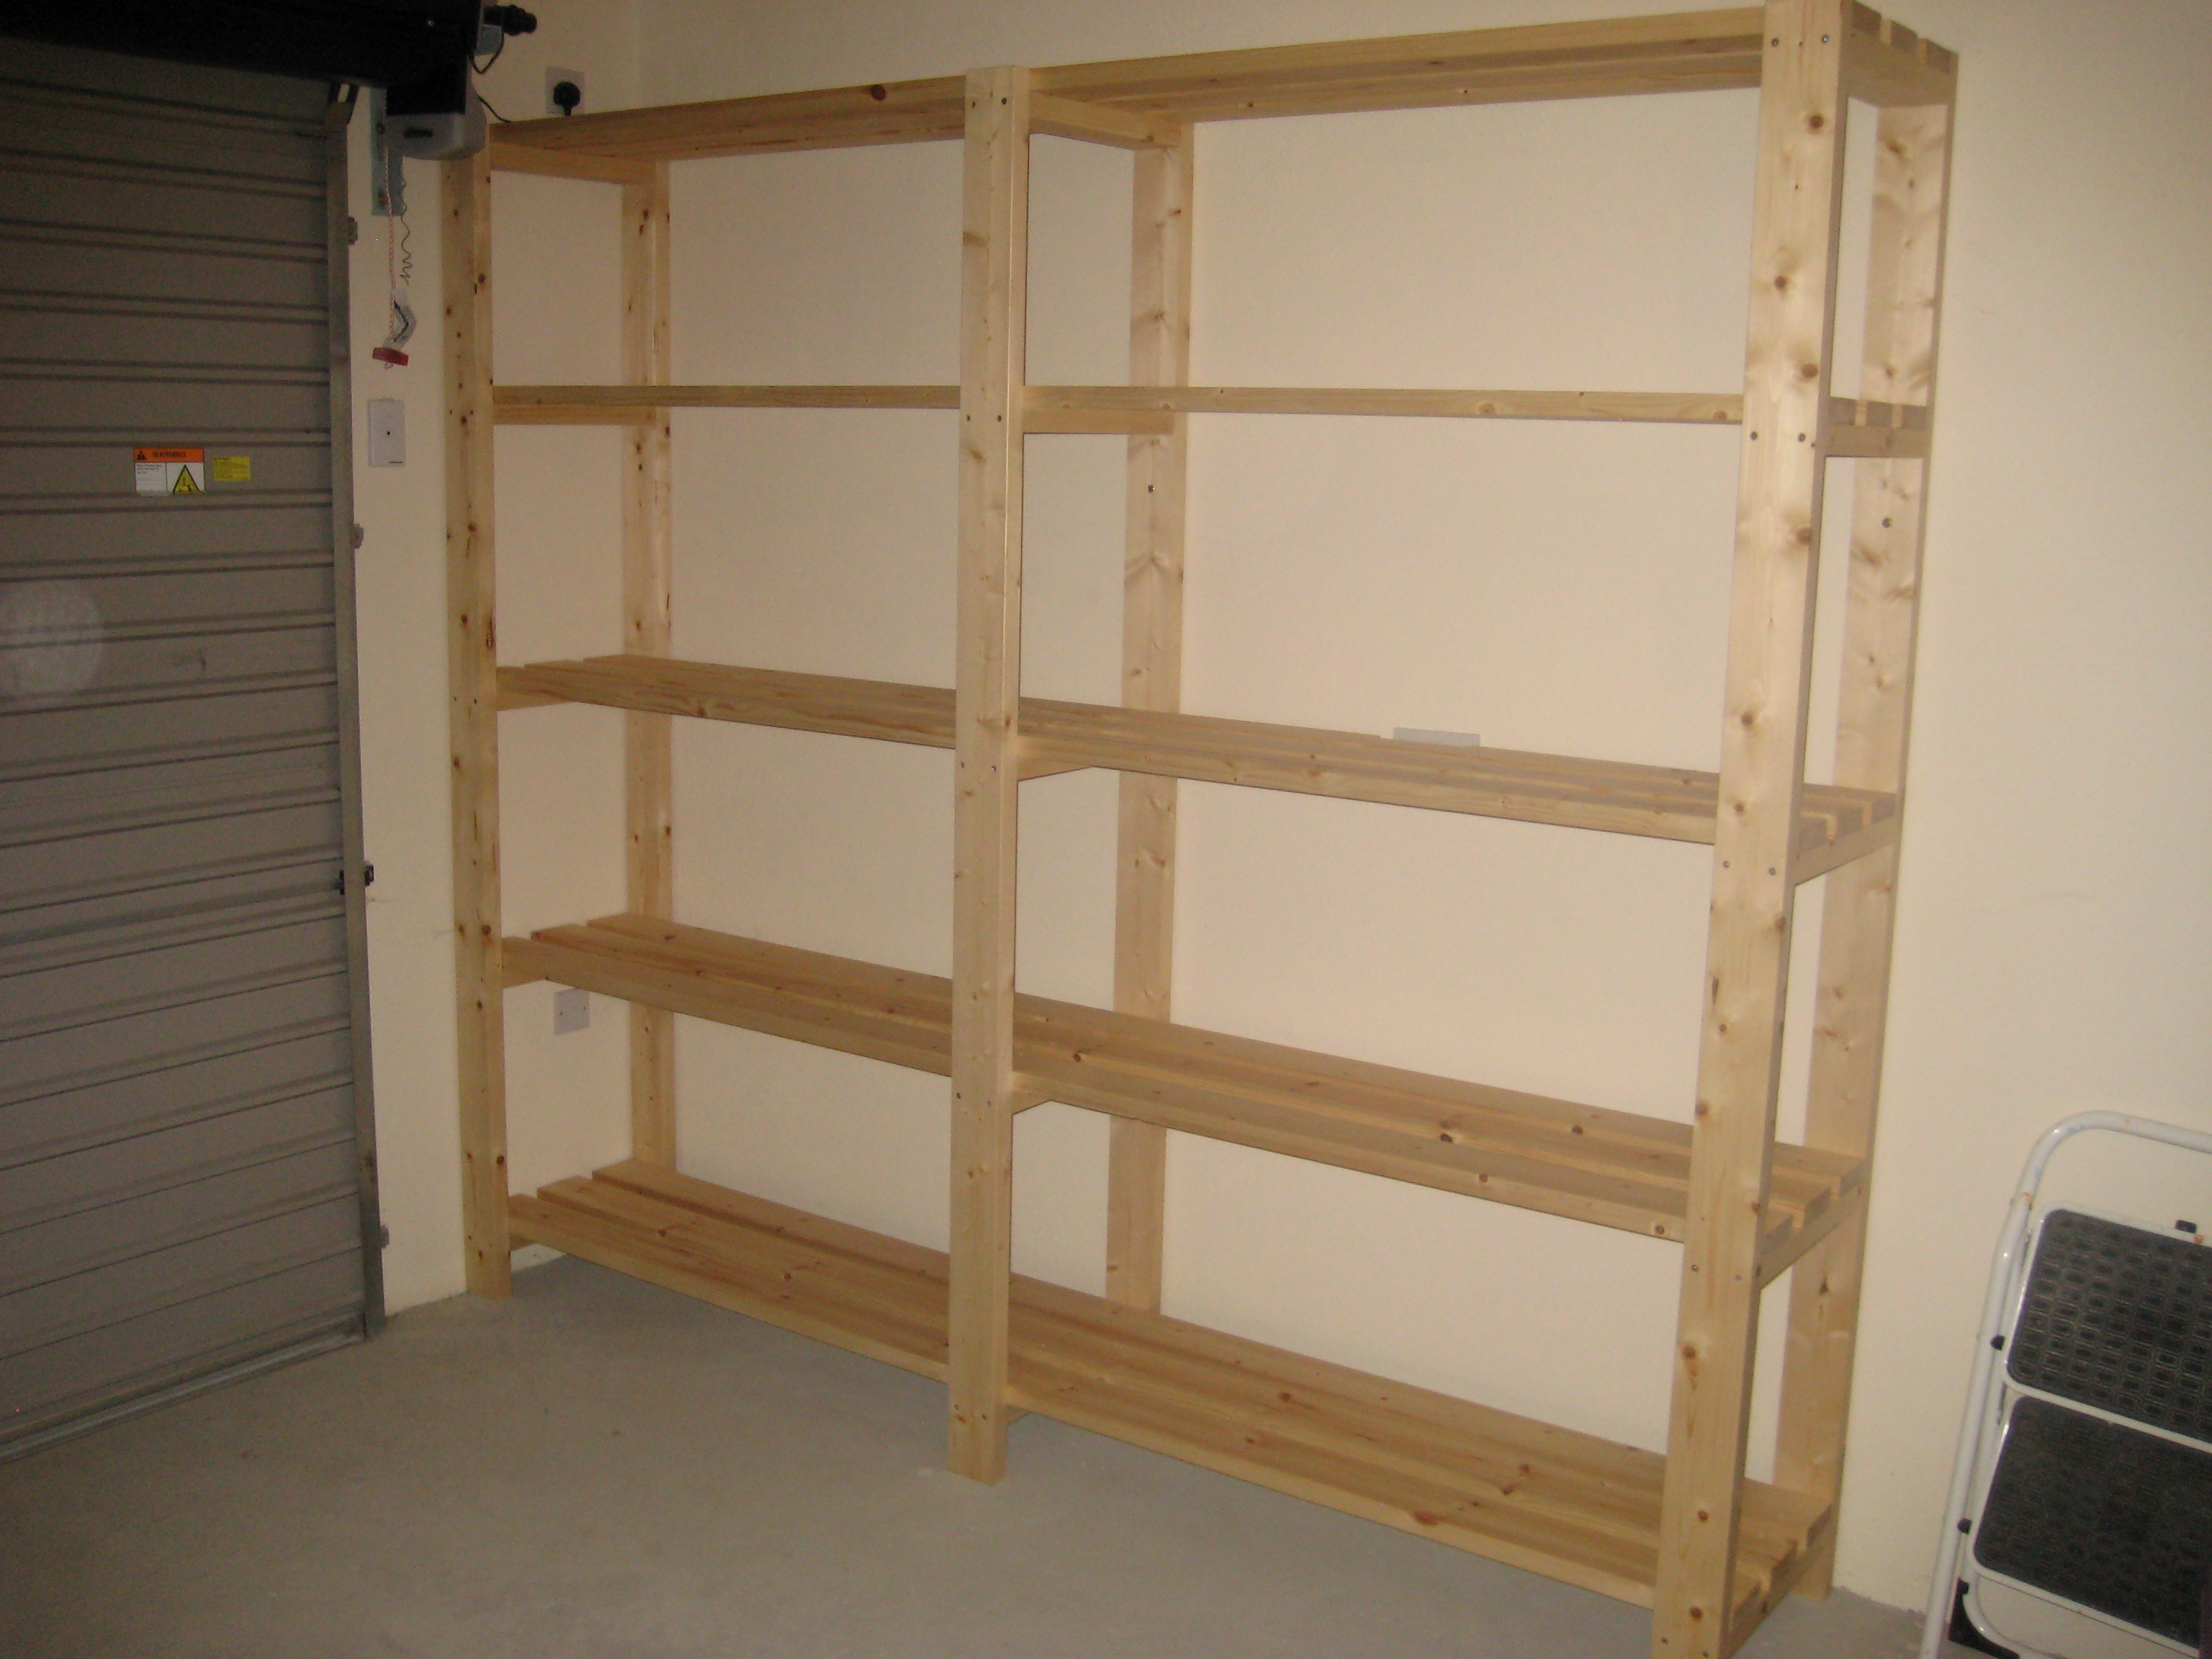
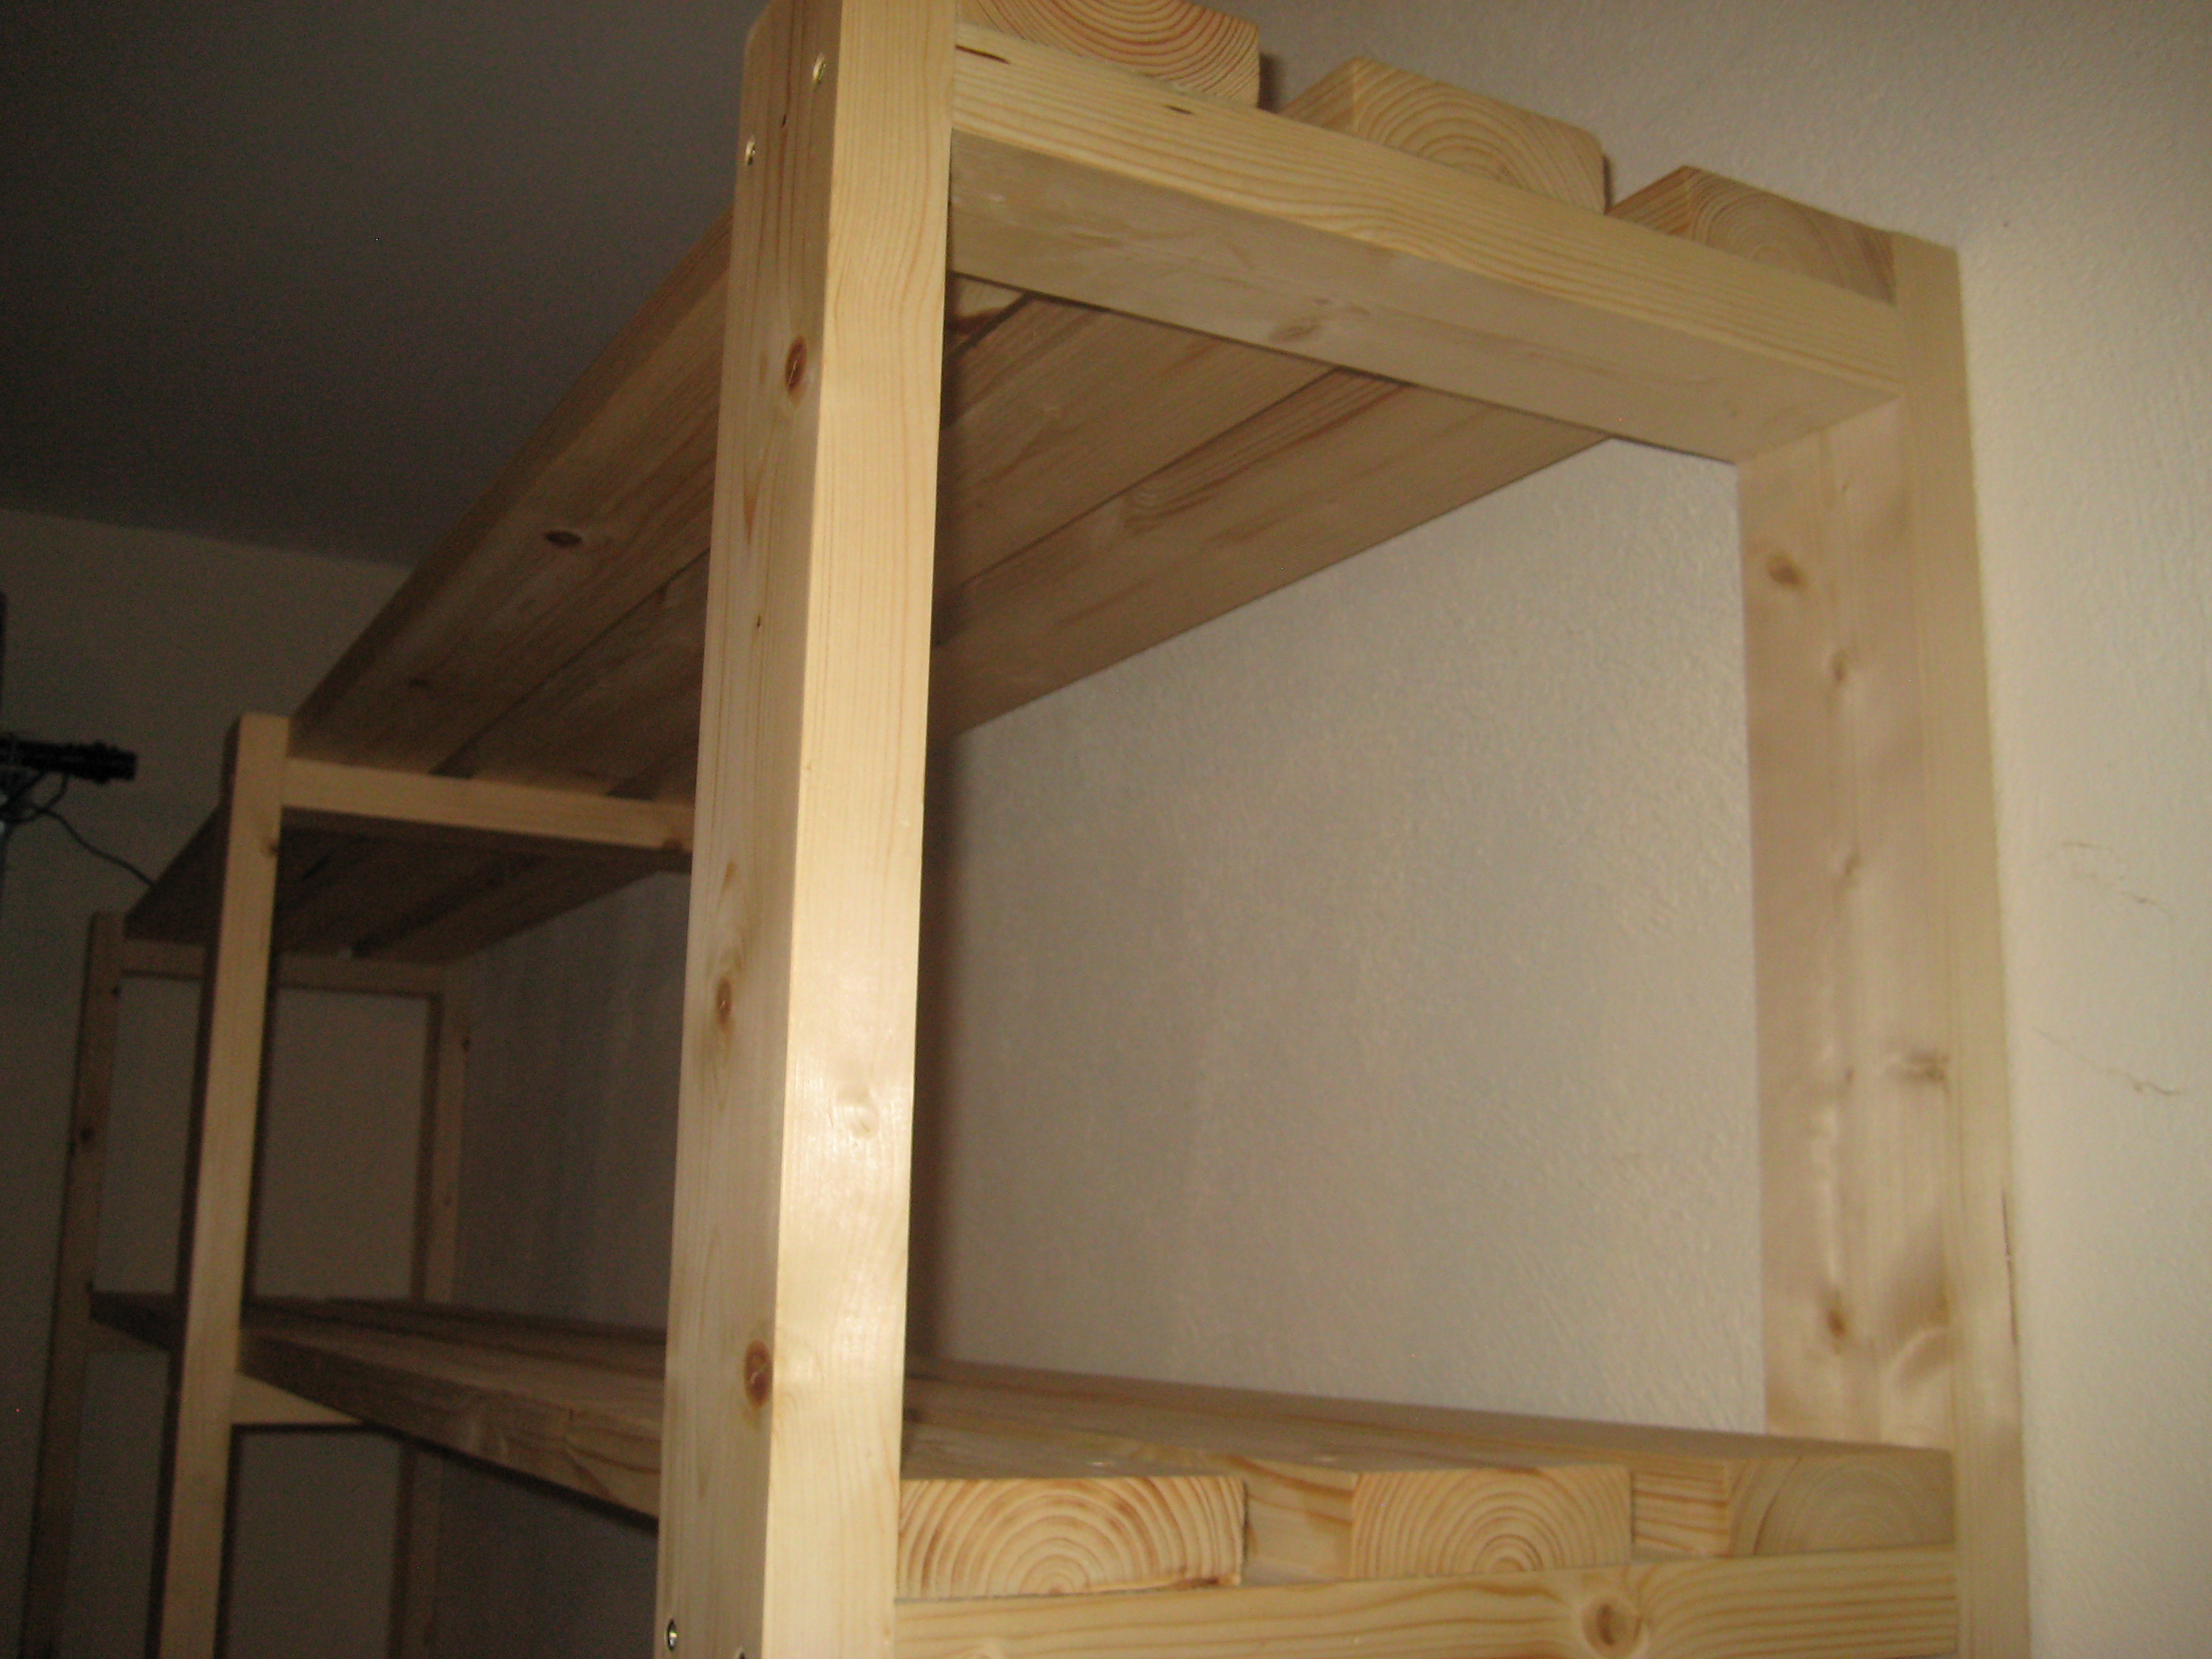
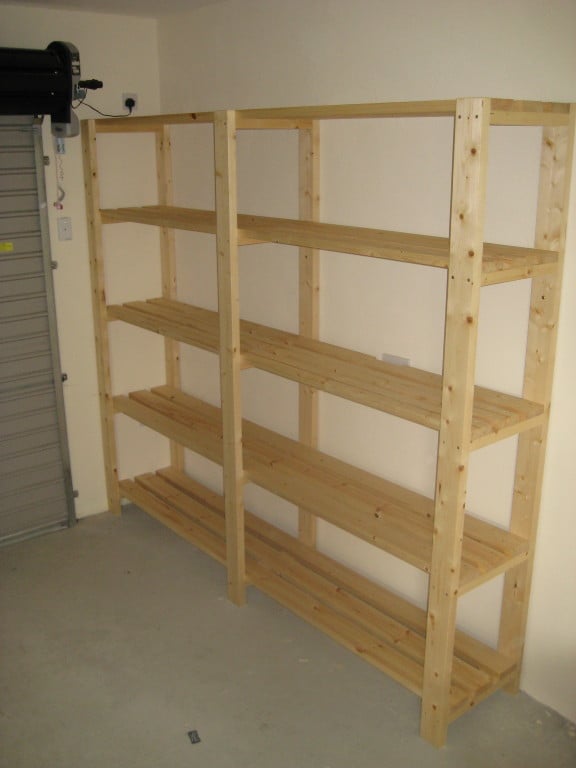
I stuck to the design but changed the dimensions to suit the space and the boxes we intend to store. This made the shelves 7.5 feet high by 8.5 feet wide. The timber was supplied in 17’ lengths so this also meant very little wastage. The frame is composed of 2x4’s, the shelves are 4.5 x 1.5’s - as I wanted the shelves slightly shallower this meant I could get away with three boards for each shelf instead of 4 as on the plans.
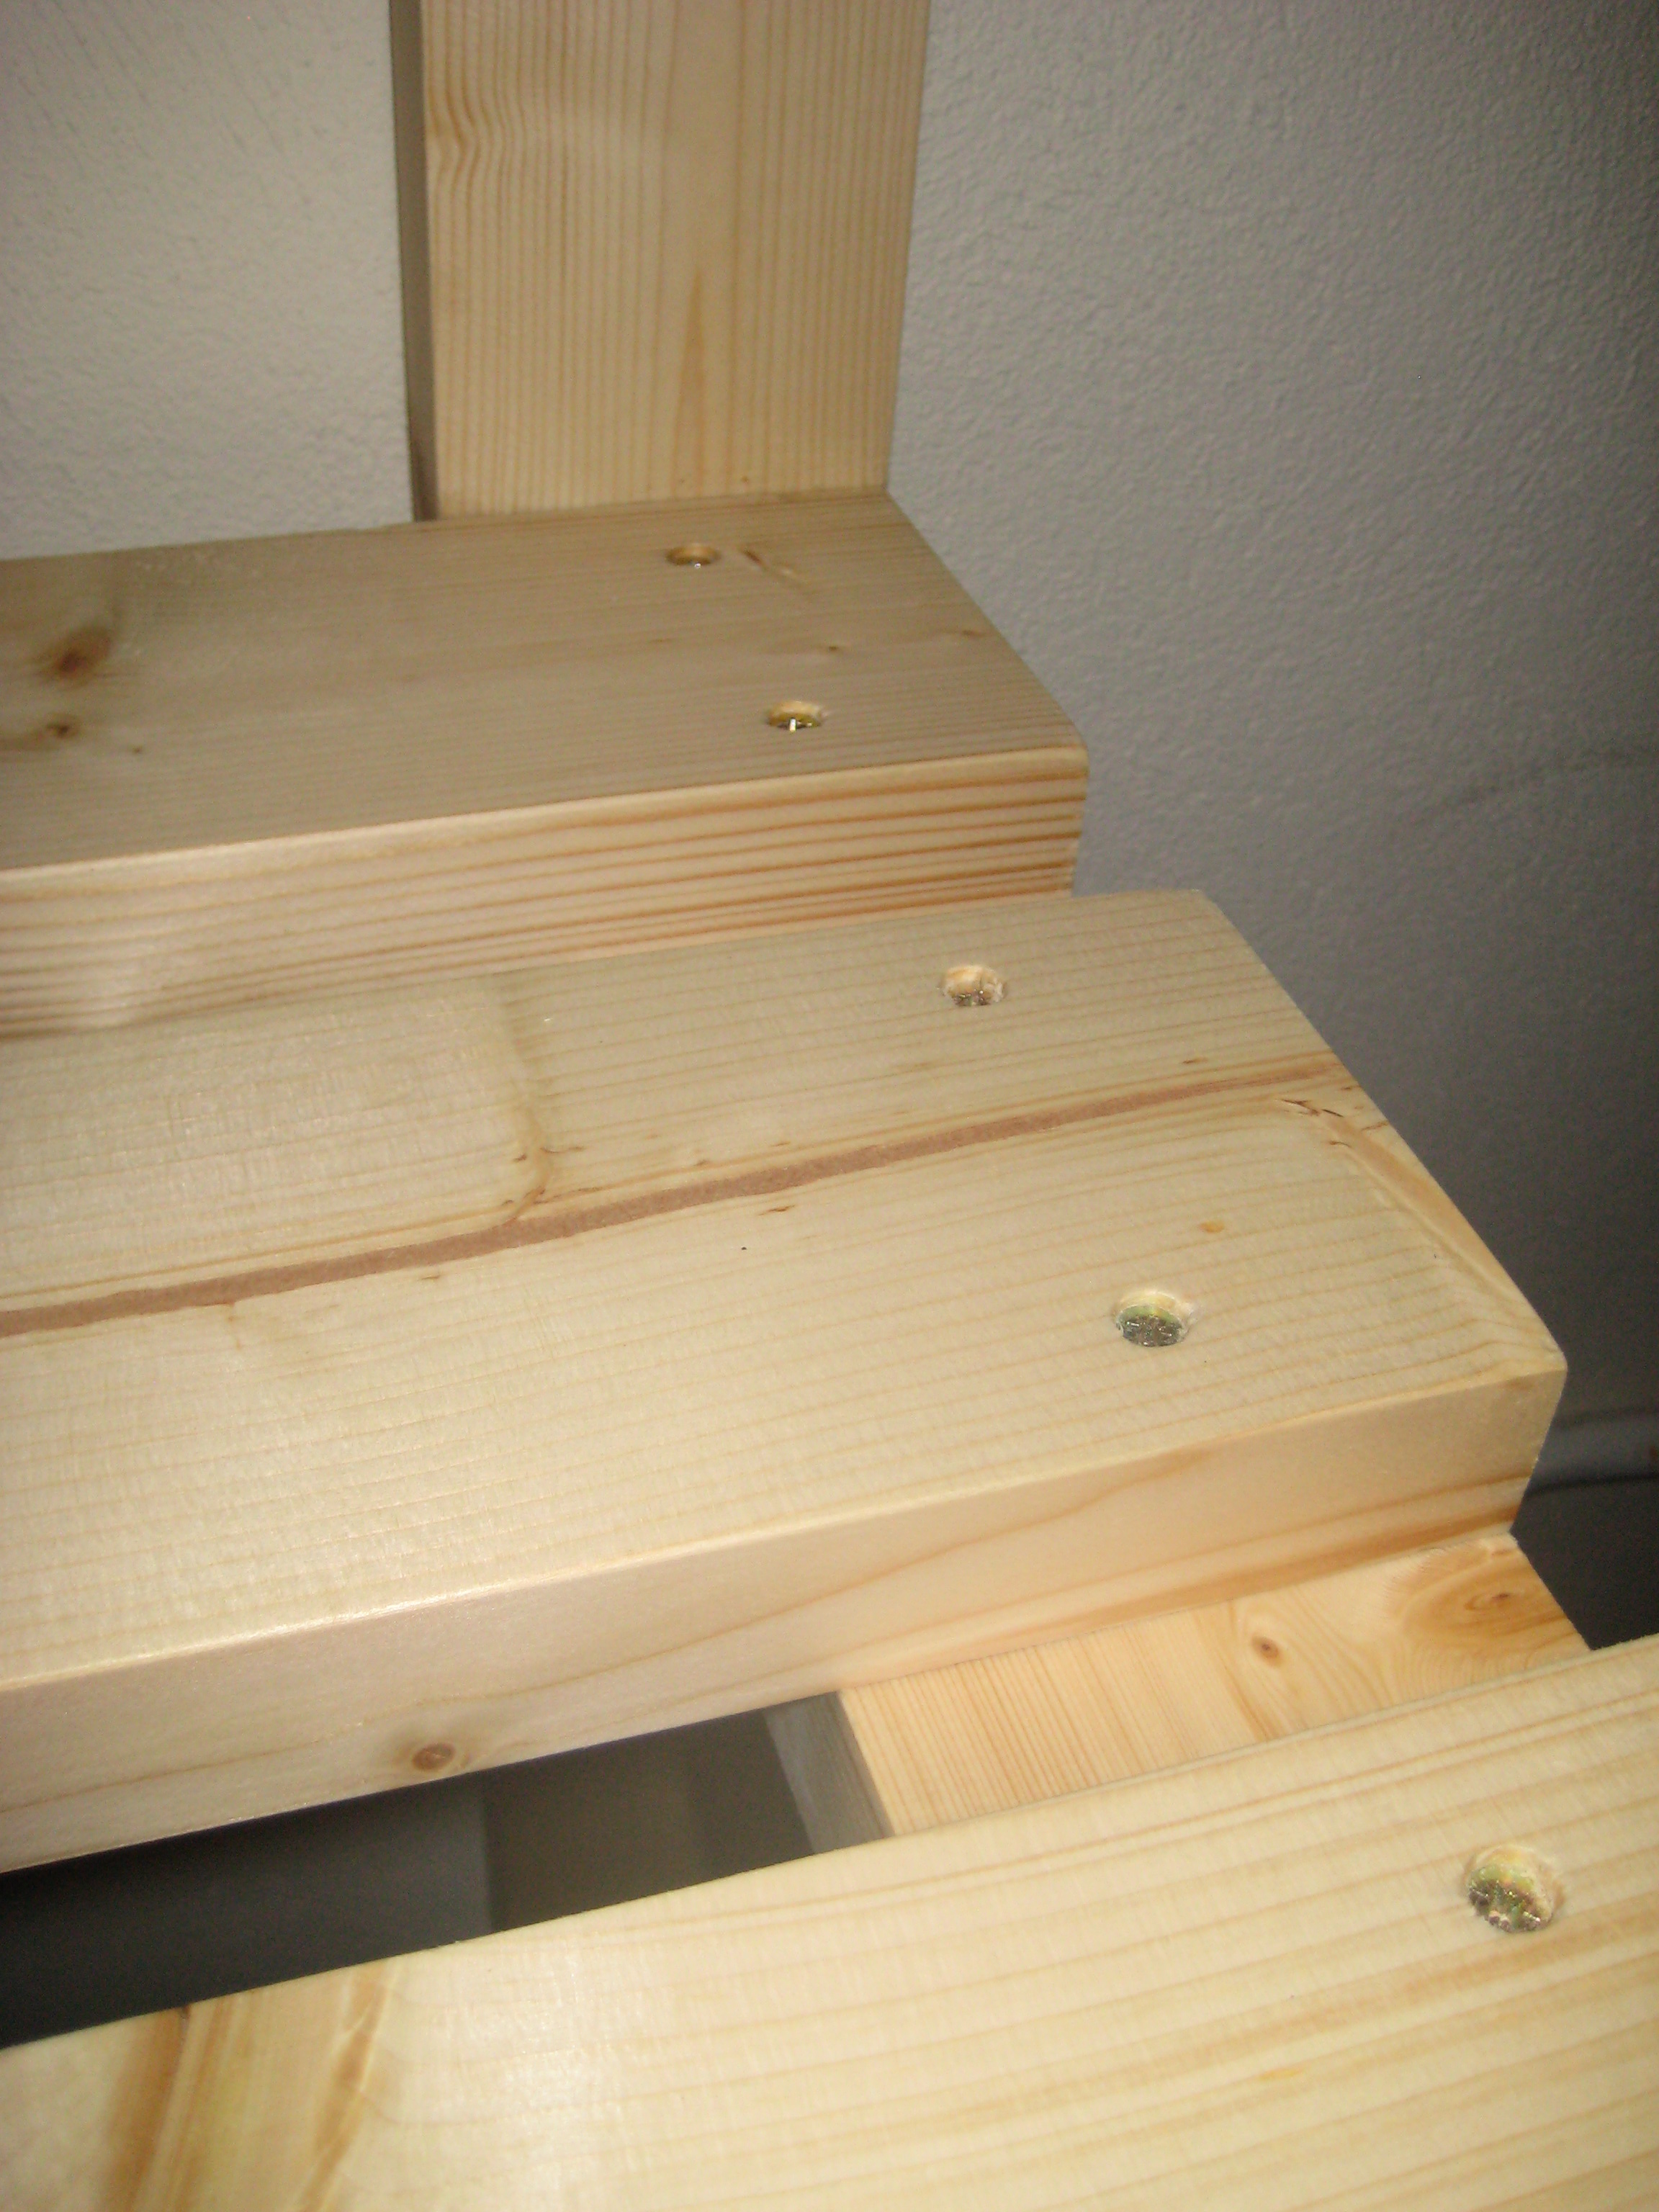
For the short cross pieces I used woodglue and screws – to attach the long shelf pieces I just used screws. I predrilled holes in the first piece for each of the screws, but I didn’t drill a pilot hole in the next piece, the screws were self-tapping and didn’t need one.
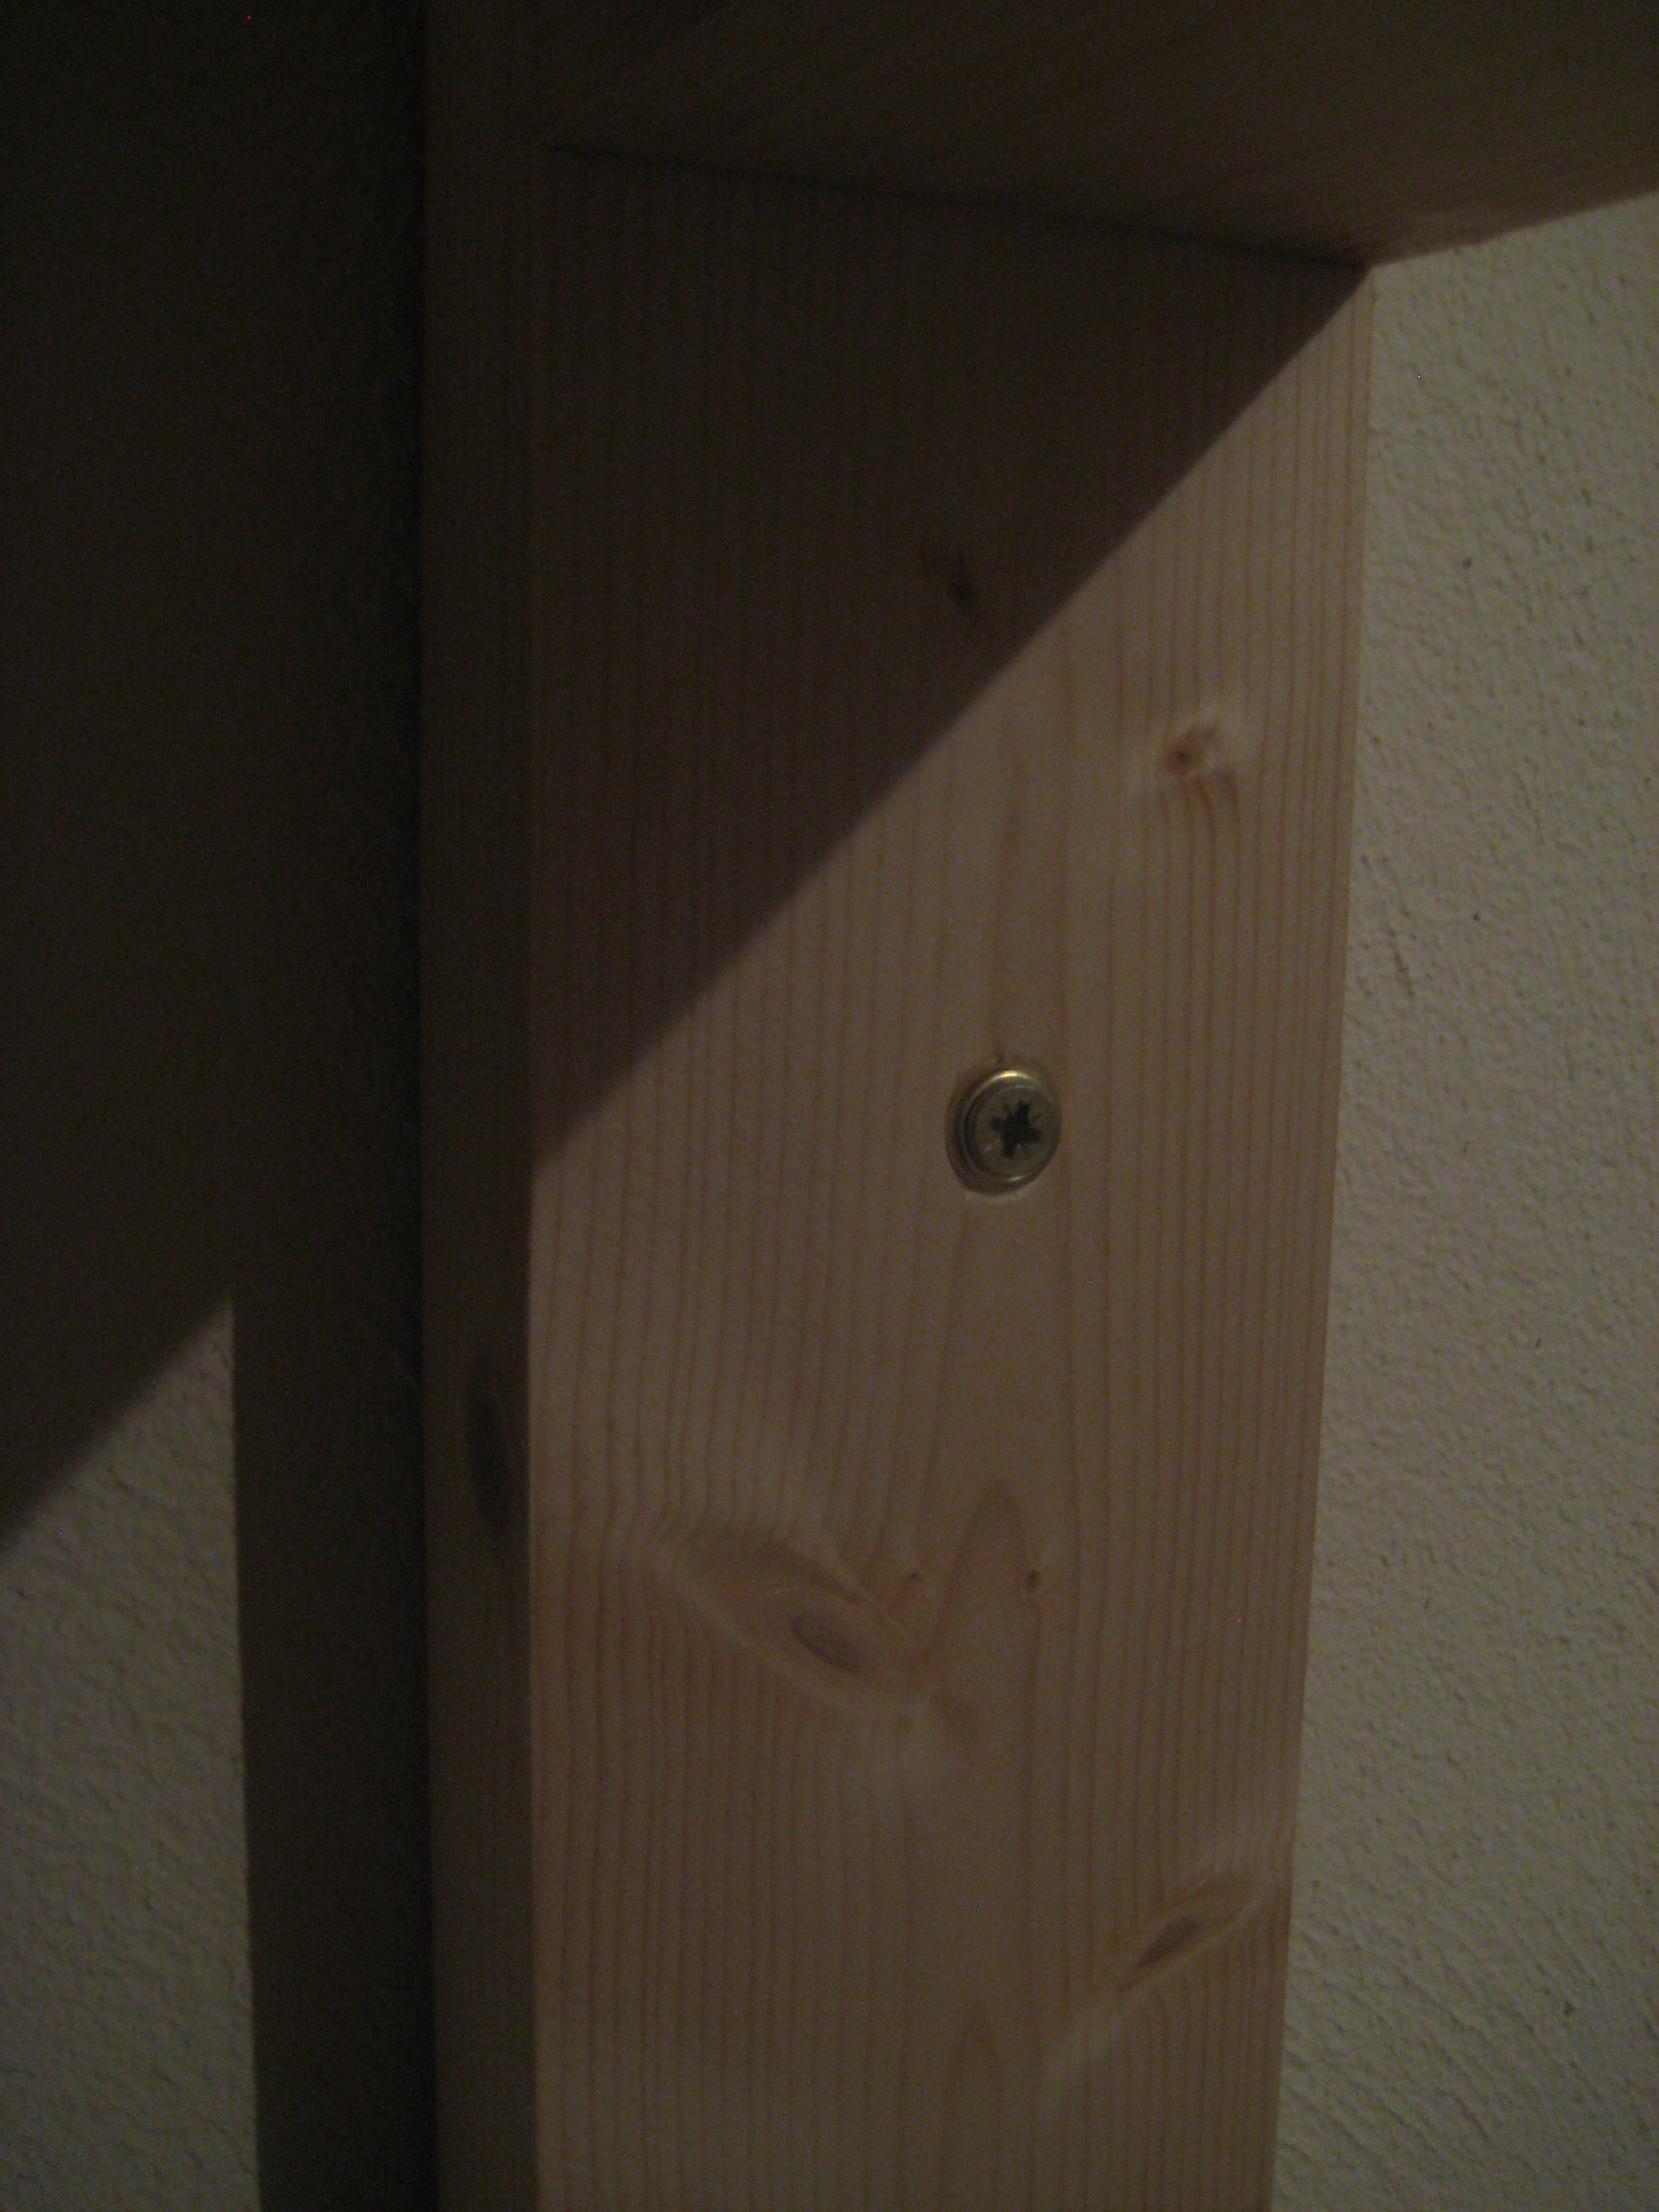
The back wall is concrete block and I screwed each upright to the wall using wall plugs and screws. I’ve 2 young children and as the shelves are quite high I was afraid they might climb on them and tip them over otherwise. The attachment to the wall definitely makes the whole thing feel much sturdier – the structure is completely rigid.
The only real issue I encountered was that some of the boards were slightly twisted or warped – and I had to apply some force to keep everything square when I was gluing up. Overall I’m very happy with the end product, and found it reasonably easy to put together. Now its time to put the shelves to good use and start tidying up the garage!

Both of my children have moved into new homes within the past year. So it looks like I will be busy building things they need for them. Enjoy being able to do this for them! Thanks, Ana for the inspirations!

Wed, 07/04/2018 - 14:46
This is gorgeous! Love the taller headboard height and the wall paint! Thank you so much for uploading a photo, can't wait to see more!
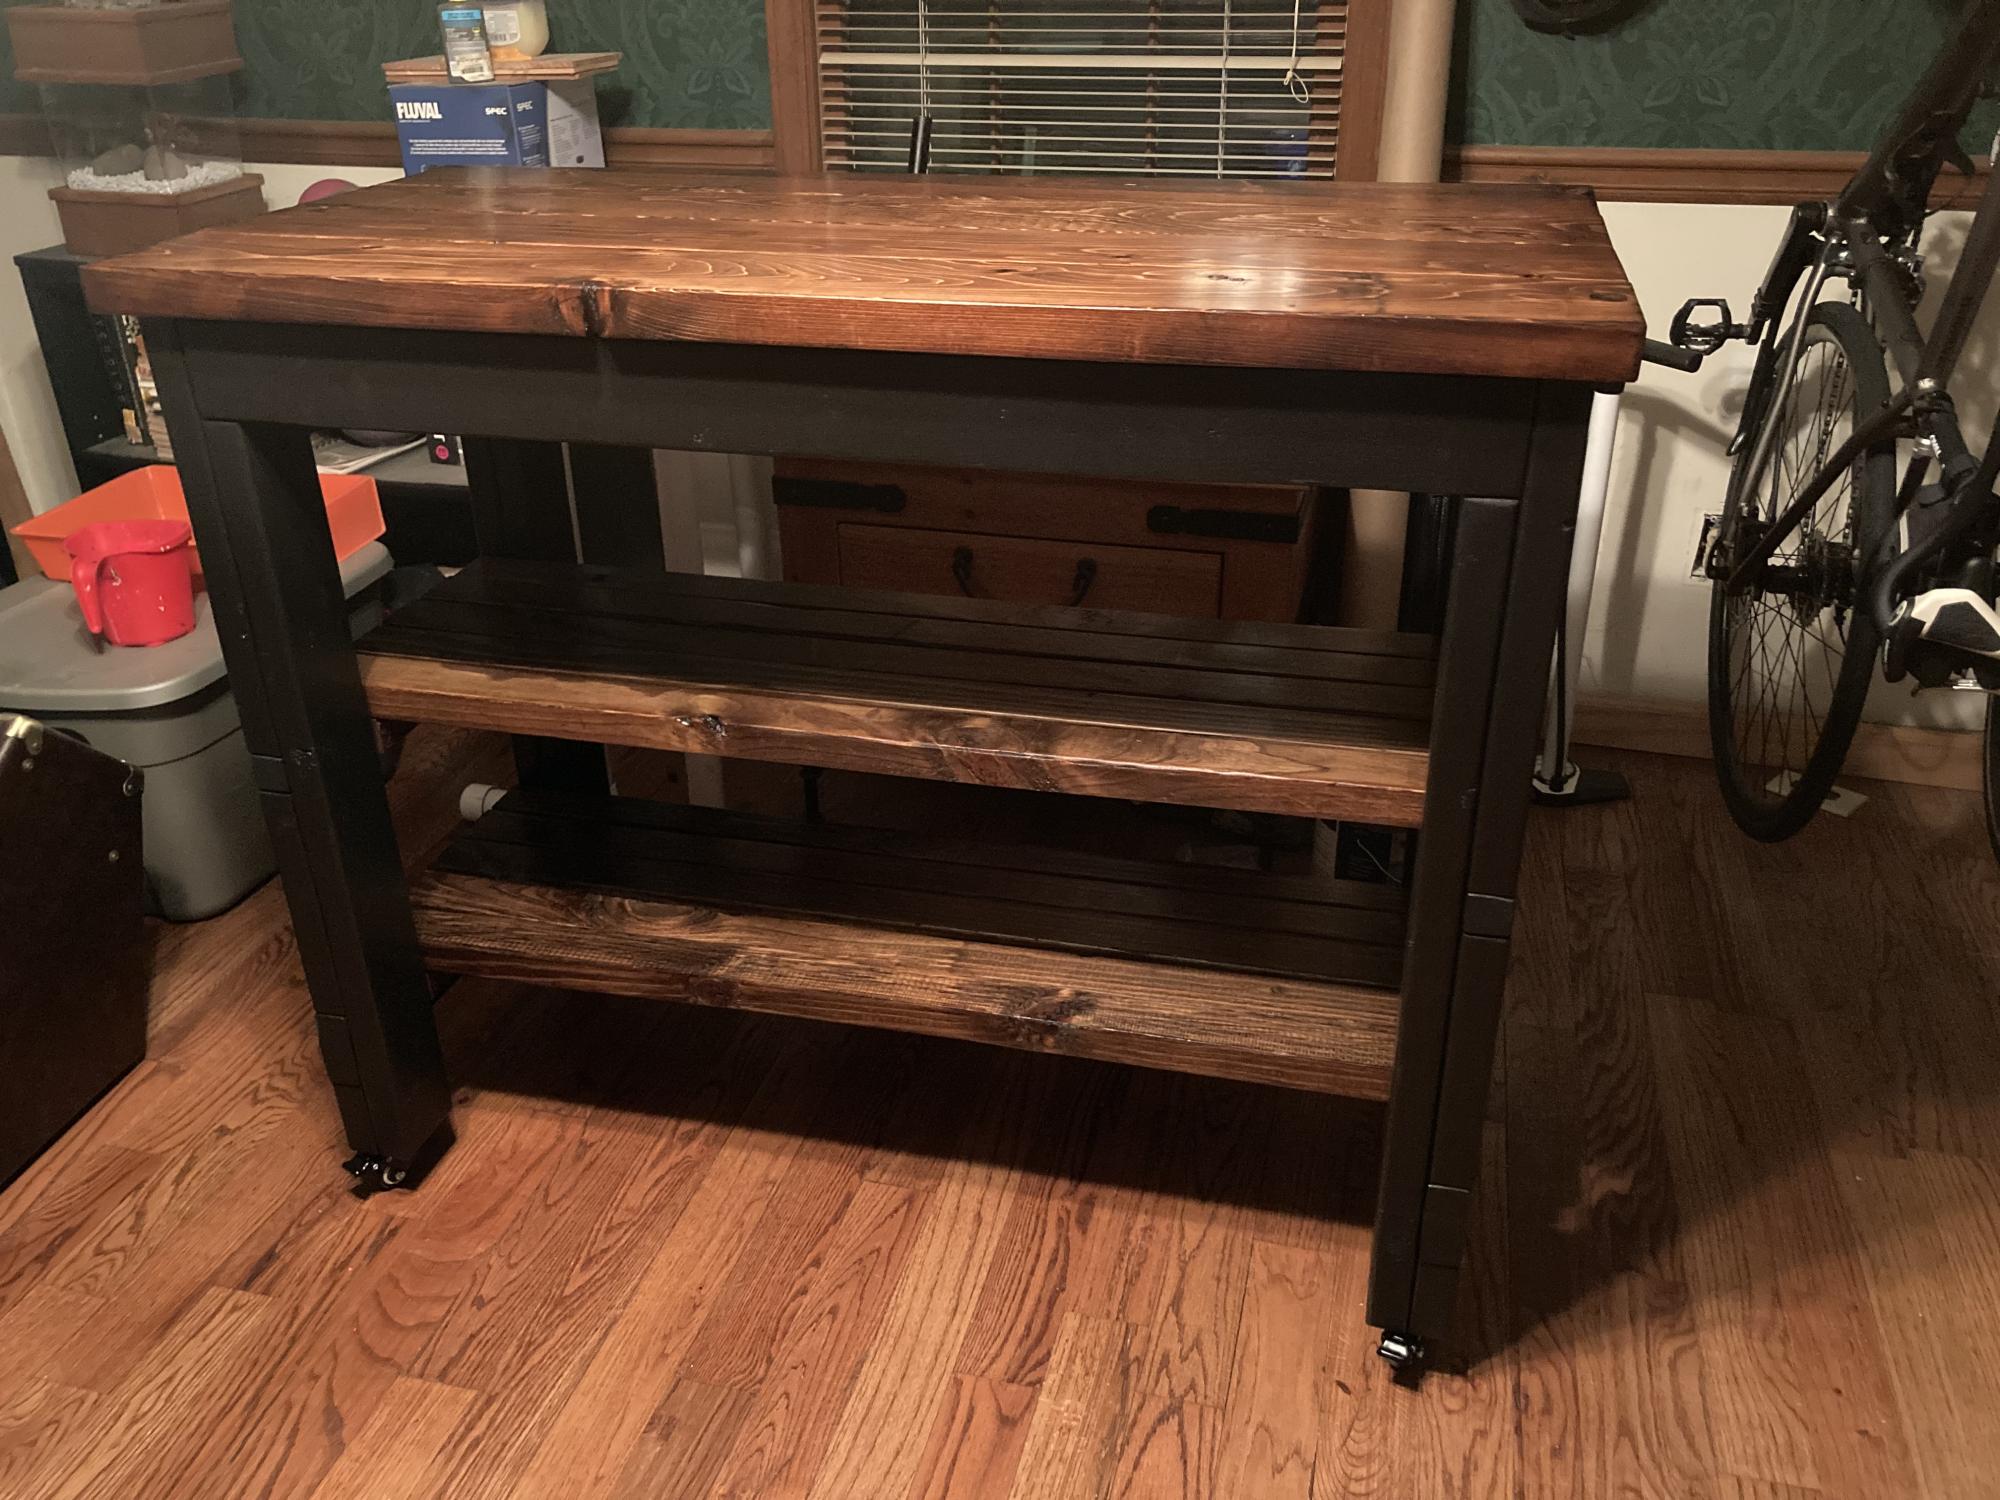
I built this for a friend so it will work for his kitchen….and he just loves it!
Very quick to do. I made a few modifications to the plans as you can see. I also stained the pieces before gluing and screwing together. My boys LOVE this one...
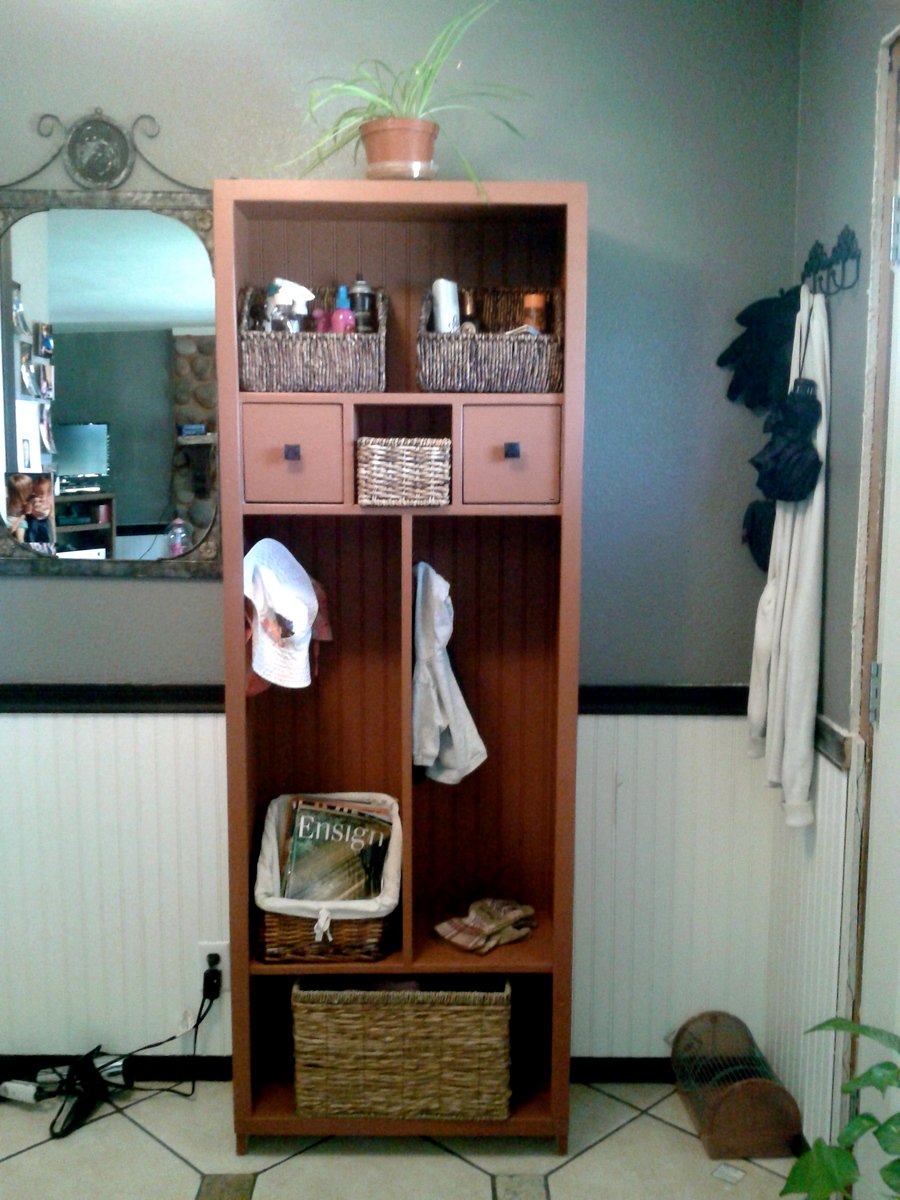
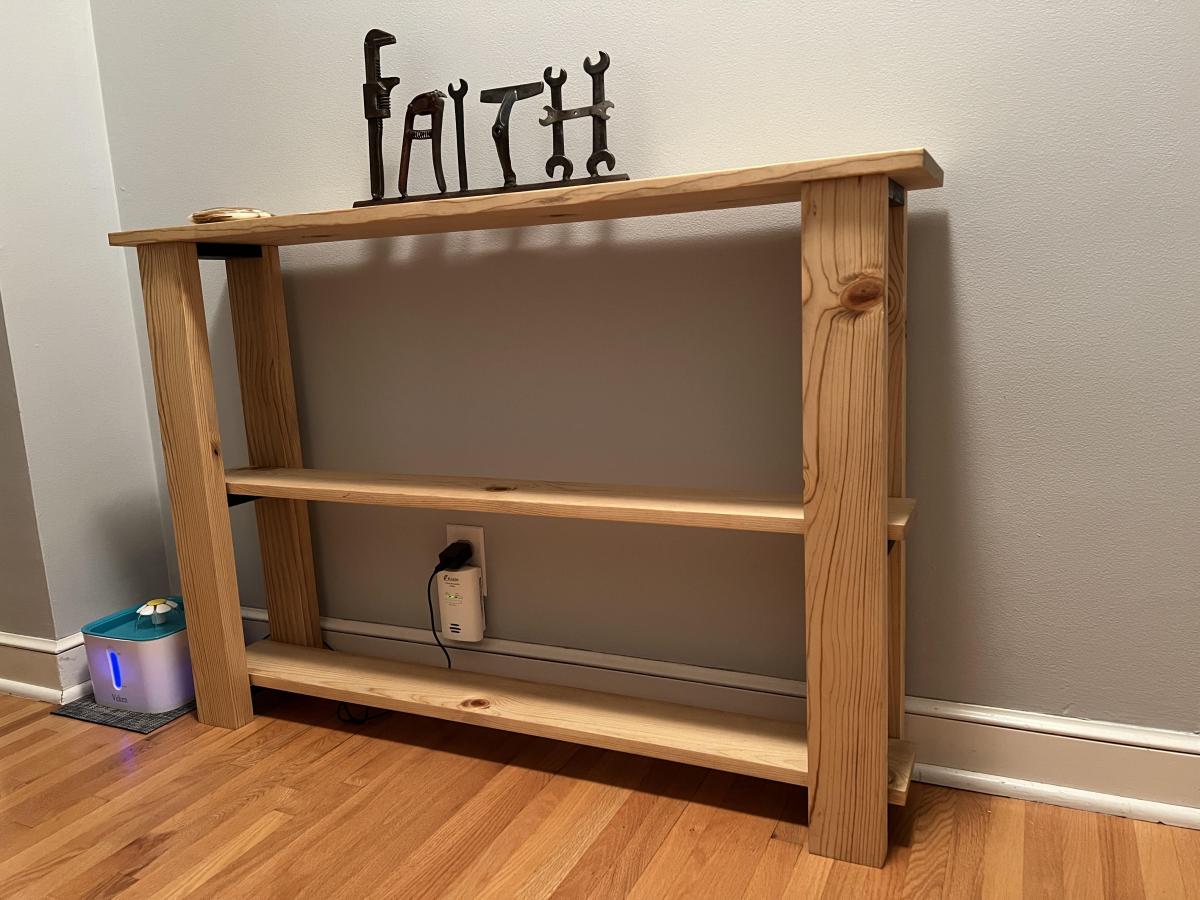
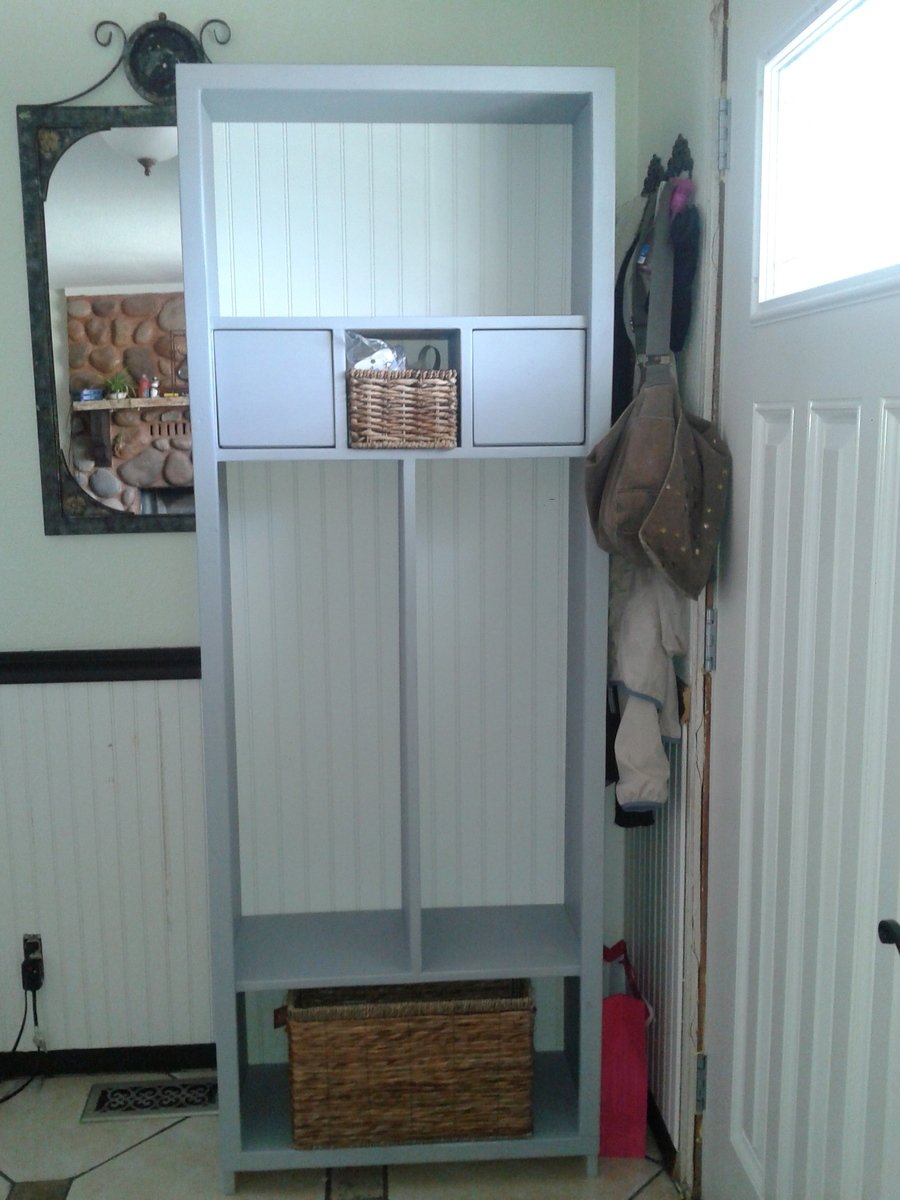
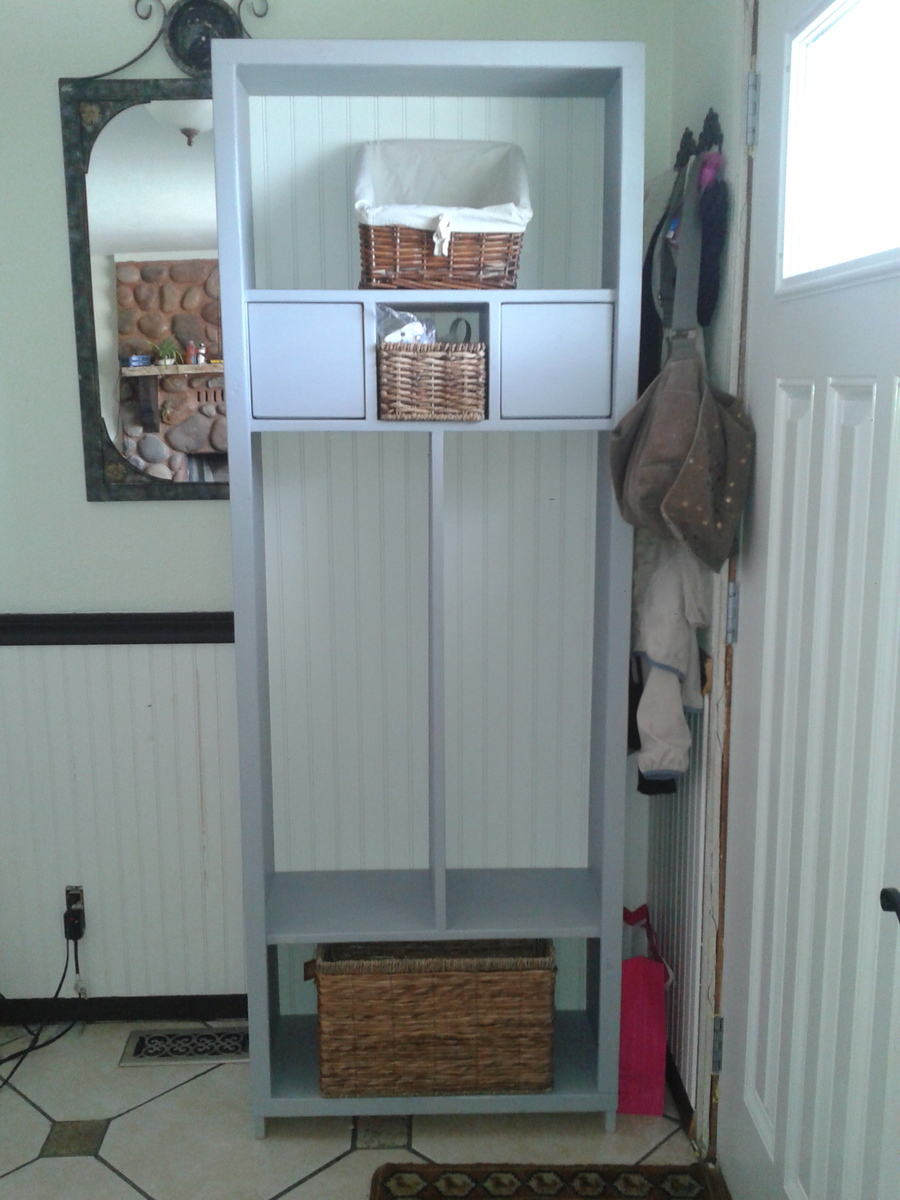
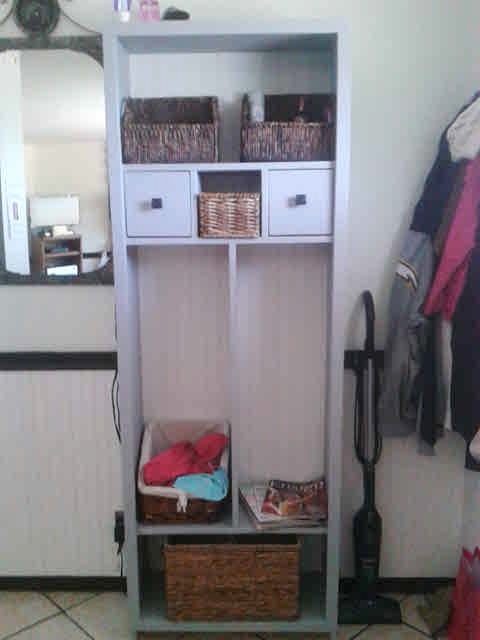
This was a first project choice when I needed to figure out what to do for some entry way furniture. Everything was so expensive in the stores and with my creative sense, I was influenced by the simplicity of some of the furniture featured at Hobby Lobby and told myself I could build that myself!! I looked through pinterest to gather ideas to build my own piece and came across a pin (hillary locker) and stumbled upon Ana-white.com where I found not only an inspiration but a whole how-to and blueprint to build with! Without counting the time spent trying to get home depot to cut all the pieces correctly the first time and chucking pieces with the saw blade they were cutting across the store almost hitting myself and my husband, saving up for the table saw so it would not happen again, and stopping to stay at my post as mom, I would say the project being worked on took 6-9 hours. there was a lot of stages like letting wood filler dry before sanding, letting primer and paint steps dry before continuing so it took time for stages. First project and time getting used to the new saw and kreg jig that I purchased but learned rapidly. I do suggest the kreg jig!!! It made the furniture so solid and professional. I suggest making sure the cuts are right on because it made the whole difference!


In reply to Great job! The beadboard by AnnieGetYourDrill
Sun, 08/11/2013 - 22:27
Thank you!!
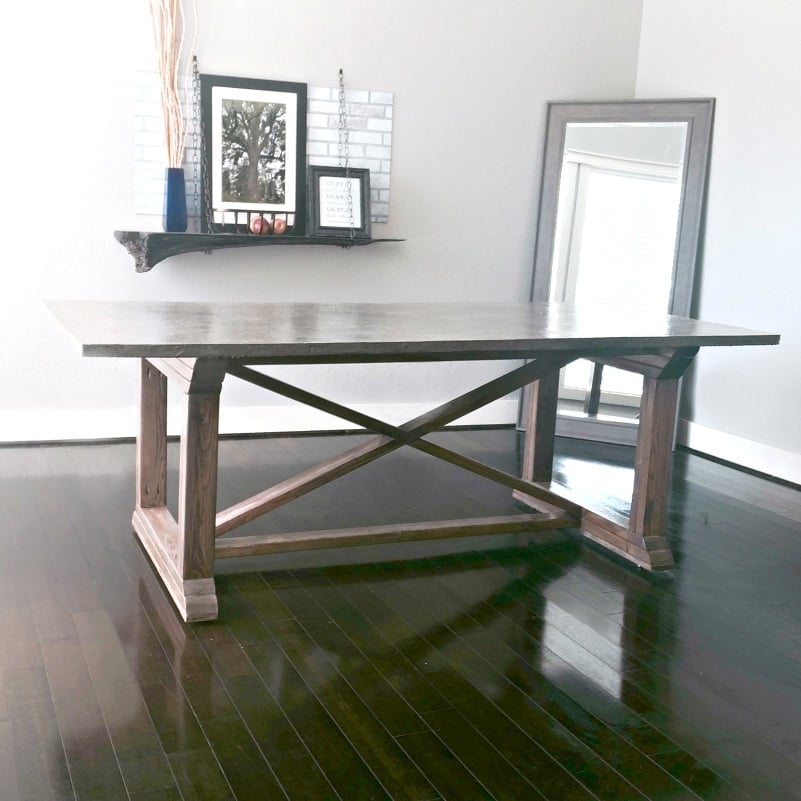
I built this dining table with a concrete top and a base using the Rekourt Dining Table plans.

In reply to Gorgeous! by Ana White Admin
Tue, 09/08/2015 - 19:41
Thank you so much and thanks for the feature today!
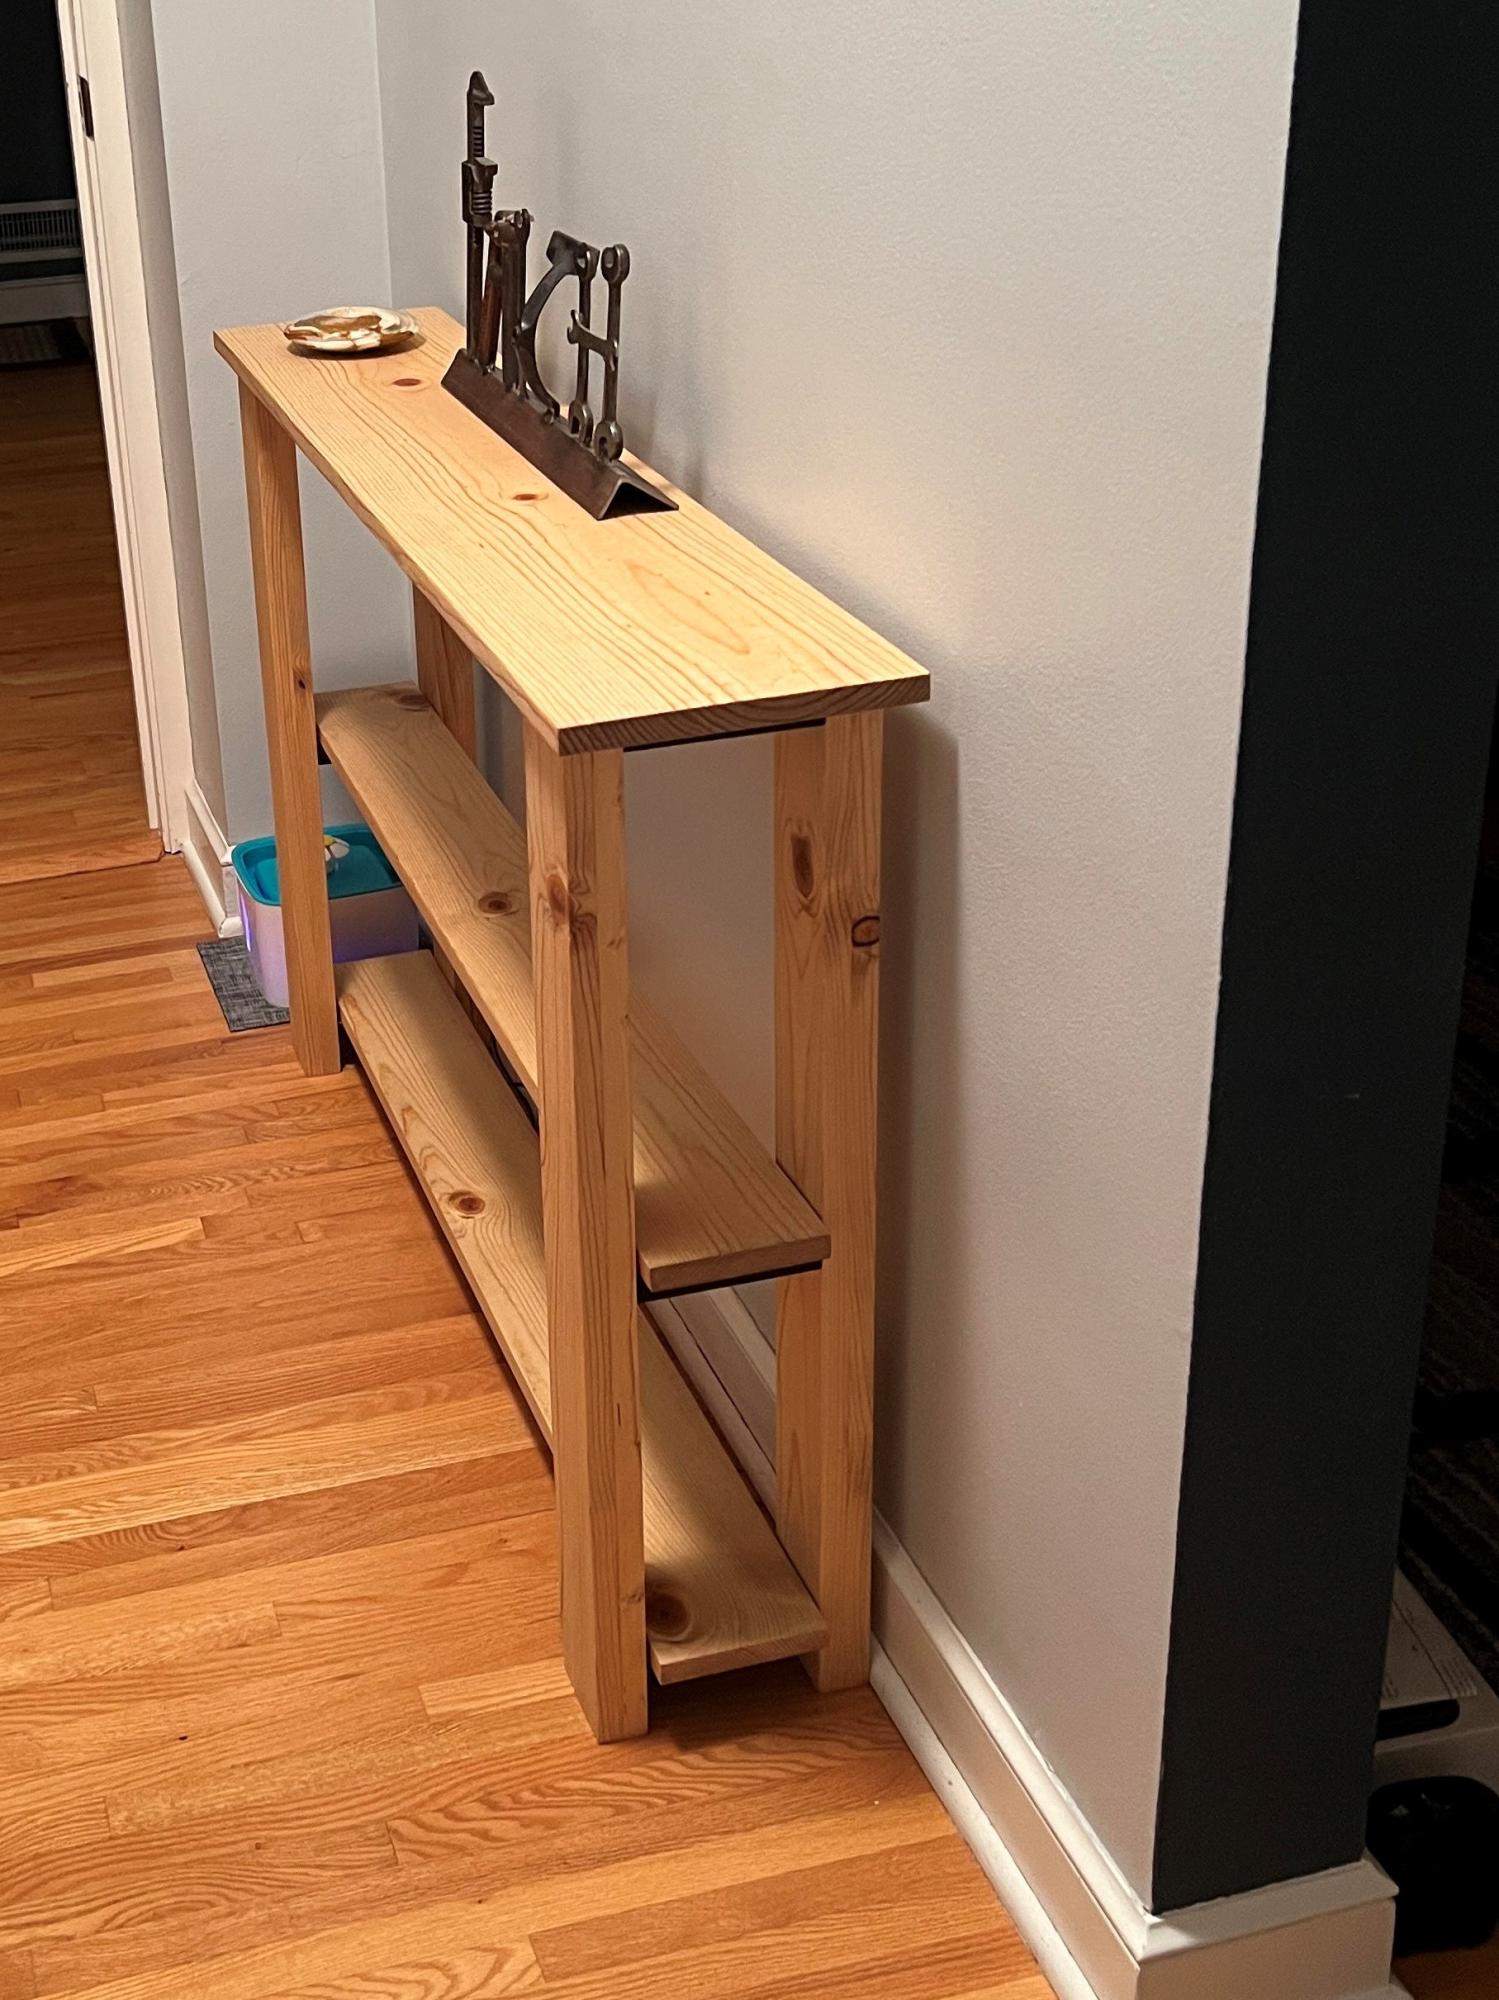
I used dimensional lumber for a little nicer look and laminated two boards for the legs. I used light walnut danish oil to finish. I adjusted the width and got It the perfect width for my hallway.