Community Brag Posts

Birthday Kitchen

Submitted by katrinaj55 on Sat, 06/27/2015 - 00:01

This was a pretty good and at times challenging project but it was fun and totally worth it when I saw the look on my daughter's face

Built from Plan(s)
Estimated Cost
$50
Estimated Time Investment
Weekend Project (10-20 Hours)
Finish Used
Polyurethane
Recommended Skill Level
Beginner

Door Spice Rack

We just moved into our newly built home, I love to cook, and realized really didn't have a good spot in the pantry for all the spices. This was my first project and in doing internet search for ideas came across Ana White's website, not only did I find the spice cabinet plan I was looking for, but a treasure trove of other projects and ideas. New to this so I have found Ana's site to be such a blessing. Yes, this made me a hero to my wife!

Built from Plan(s)

Market Stand

Submitted by Anonymous (not verified) on Sun, 01/16/2022 - 06:17

Plans were easy to follow and we were able to build it using scrap and salvaged wood, and leftover paint. Only had to buy screws and the chalkboard sign materials, so very affordable to make. Birthday boy LOVES it! We set it up with some bakery toys, but the dramatic play options are virtually endless. This is one of those type of toys that will be part of all kinds of play with kids of all ages. The size is great for him at 3 years old but I expect it will be usable for many years before he outgrows it. Well worth making.

Built from Plan(s)

Comments

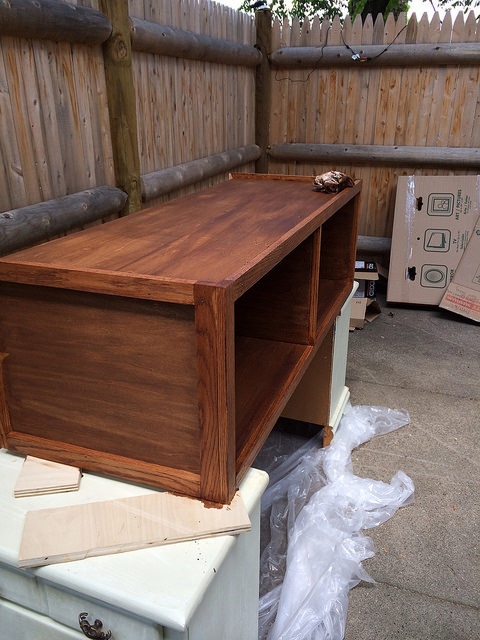
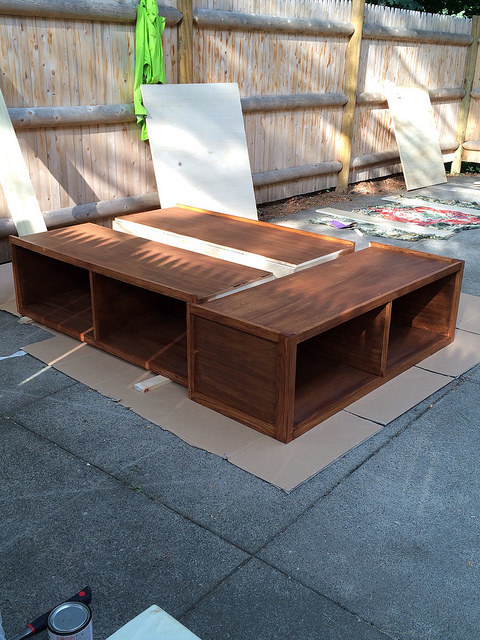
Fancy arch bed

Submitted by Rdw0711 on Sun, 02/04/2018 - 07:35

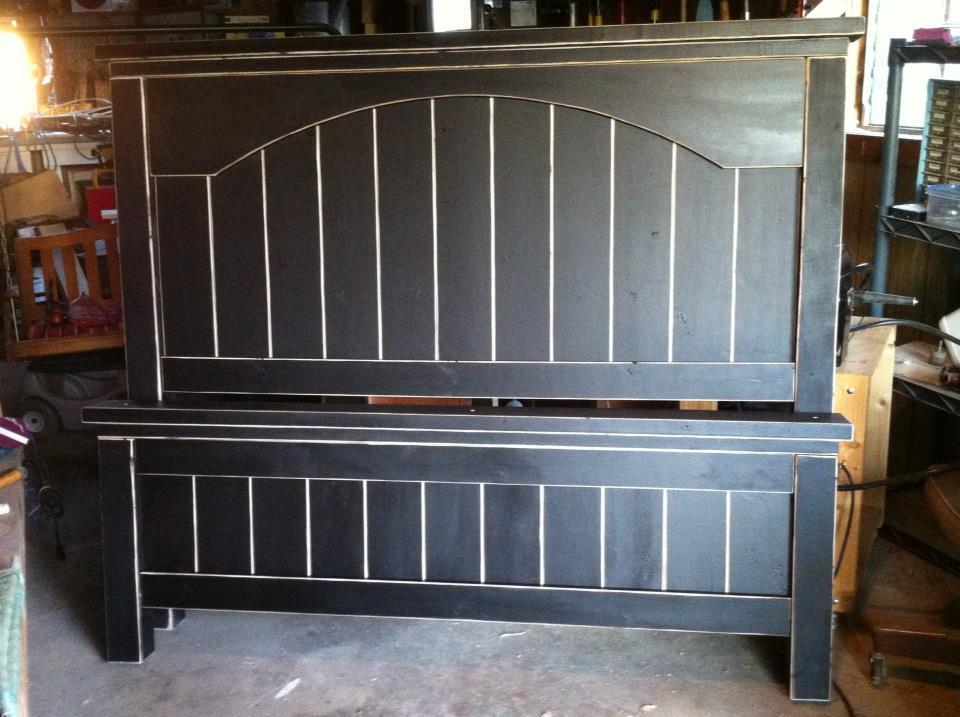
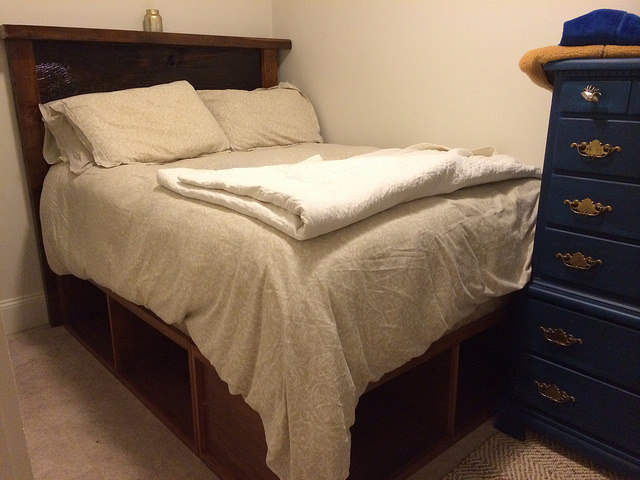
Beautiful bed. Arches were a little difficult to achieve symmetry. 

Built from Plan(s)
Estimated Cost
$120
Estimated Time Investment
Weekend Project (10-20 Hours)
Finish Used
Jacobean stain
Recommended Skill Level
Intermediate

Modified miter saw cart

I love having this new addition! Freed up space in my small shop and now it’s more functional and organized. I followed the plans with modifications in the leaves using scrap 1x’s (which I may decide later to change to 2x4s but I had 1x’s on hand) instead of the brackets and then the extra 1x’s holding on the leaves so they would fall flat to the sides. Love it!

Built from Plan(s)
Estimated Cost
Under $75 (don’t remember exactly)
Estimated Time Investment
Weekend Project (10-20 Hours)
Finish Used
Didn’t finish
Recommended Skill Level
Beginner

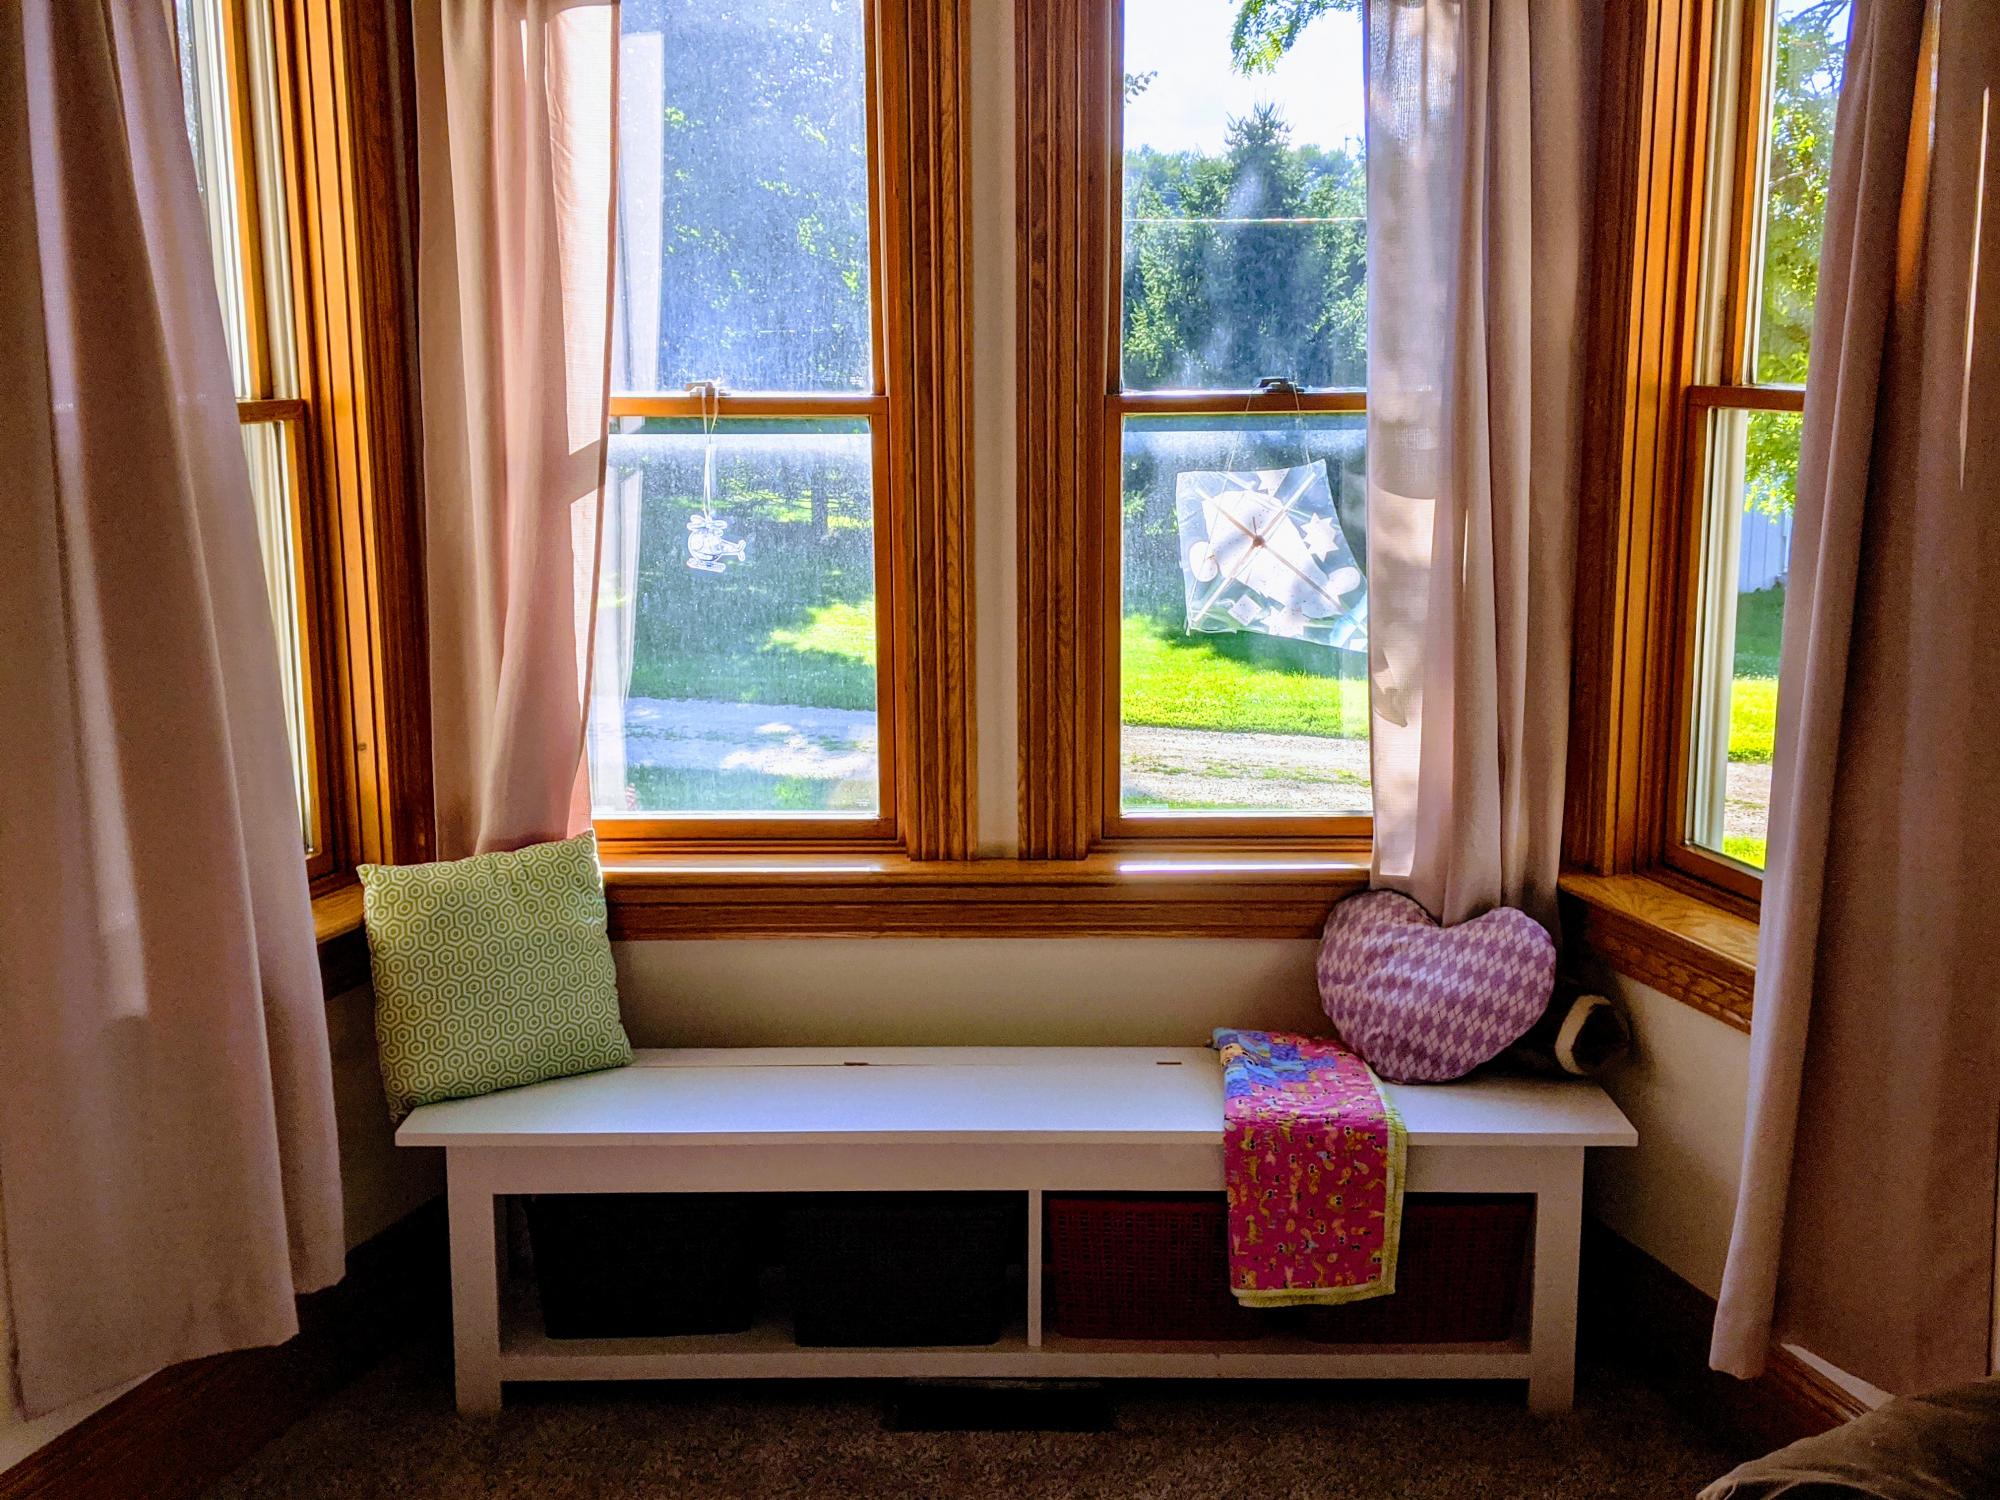
Book ledges

Submitted by Anonymous (not verified) on Mon, 04/04/2022 - 14:54

I took your plans for the beginner book ledges and modified them for our 90 degree space. I had to learn about mitre and bevel cuts so that was fun.

I also learnt that when the wood is slightly warped it pays to be attentive to the eventual install and how stress will flow through the work.

Built from Plan(s)

Comments

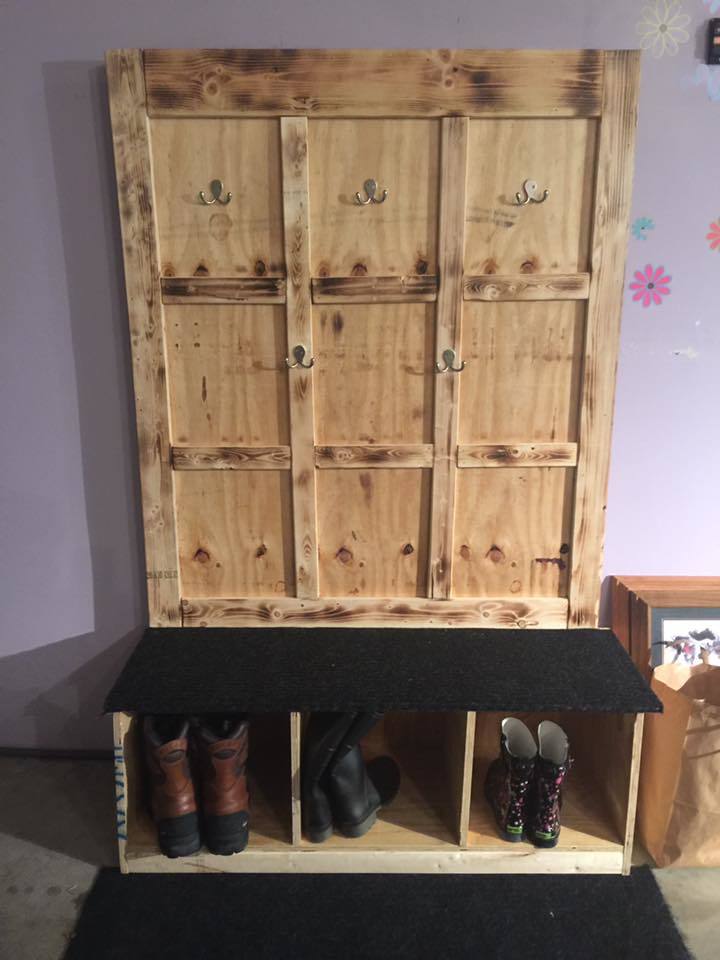
Shoe organizer

Submitted by Liz H. on Wed, 06/01/2011 - 21:26

I took the 25 cubbies plan and changed the dimensions to fit shoes. I made a simpler version for my husband too. This project went together quickly and was so fun to build.

Estimated Cost
$10
Estimated Time Investment
An Hour or Two (0-2 Hours)
Finish Used
White paint
Recommended Skill Level
Starter Project

Pantry shelves adapated from Garage Shelves

Submitted by Anonymous (not verified) on Sun, 04/17/2022 - 06:07

Thanks for the plans, adapted it to new pine standers but was able to obtain beautiful cherry tree panels from a defunct wood worker in the next village over. Planed those and used those to make a slightly more 'posh' version of your basic model. The supports on the wall you see are from the previous formica shelves. I left them in case the cherry starts rounding down.

Comments

Farmhouse Table Brag!!

I just bought a new house and this table was my first project for it. I'm so happy with how it turned out!!!! Thank you for the plans!
Estimated Cost
106
Estimated Time Investment
Weekend Project (10-20 Hours)
Finish Used
2 coats of Minwax polyshades "stain and polyurethane in 1 step" Bombay Mahogany Satin stain (#380)
Recommended Skill Level
Intermediate

Comments

Ana White

Wed, 06/08/2011 - 14:00

Thank you for the smile! I see we have share some web browsing habits! Congrats on the house and love the table finish! Great first project, really appreciate you sharing! Ana

Dog kennel

This was my first project with the kreg jig and I love it. Pretty easy once I got the hang of it. I used beadboard in place of 1/4 ply to dress it up a little but more. The hardest part was attaching the sides to eachother, I used 'L' brackets so it could be taken apart.
My dogs love this kennel! It is large enough for my weimaraner and my lab/pitbull mix to stay in it together. Most mornings they are laying in there waiting on us to lock the door.
I purchased a vinyl covered stress mat from 'Blue', it fits really well inside and just pulls out to be wiped down. I haven't needed to but it can be hosed down also.

Built from Plan(s)
Estimated Time Investment
Day Project (6-9 Hours)
Finish Used
Walnut stain then lacquered.
Recommended Skill Level
Intermediate

Comments

scribble

Wed, 05/02/2012 - 06:57

I am wondering what type of latch's those are and were you got them. I am also wondering were you purchased this mat from. I tried searching blue but could not find anything?

My Garden Shed

Submitted by jimavera on Tue, 03/13/2018 - 09:07

I used these plans of this project. Only differences are I used 2X3 studs. I also made the shed longer,, its 3ft X 8ft.. Also on the back I used two siding sheets since it wouldnt be seen. Did it over the weekend. Just needs shingles and stain. Anyway I love it. Had a spot behind the house where it fits perfectly. Thanks

Built from Plan(s)
Estimated Time Investment
Weekend Project (10-20 Hours)
Recommended Skill Level
Intermediate
Seasonal And Holiday

Handmade by Tim

Submitted by Tjmac924 on Tue, 08/25/2015 - 17:36

Really handy for getting more storage space without taking up extra floor space

Estimated Cost
$500
Estimated Time Investment
Week Long Project (20 Hours or More)
Finish Used
MinWax Dark Walnut,
Recommended Skill Level
Advanced

Comments

Tjmac924

Tue, 08/25/2015 - 17:39

A plate (biscuit) joiner is really helpful for building the cabinets, especially if you're going to have the drawers. 

Utility room storage modified for skis and a freezer

http://www.ana-white.com/2014/09/free_plans/easy-economical-garage-shel…

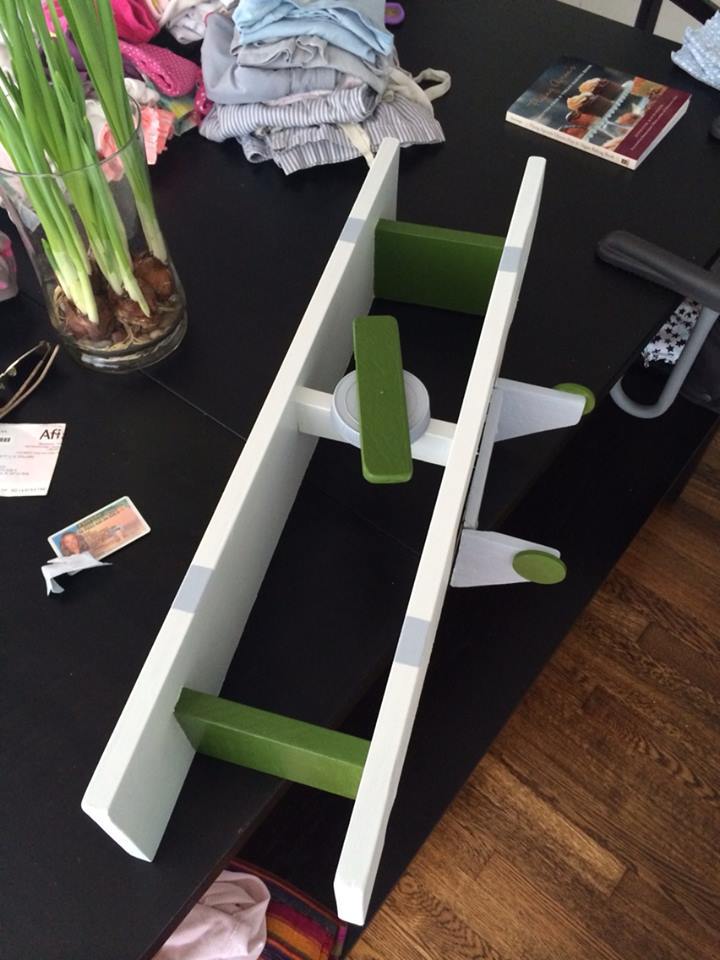
This is the garage shelving construction method, but modified because we needed room for the freezer, there is a steel support column, and skis needed to be hung.

It's really three "ladders" of 2x4s, nailed with my framing nailer.  The rungs support the shelves.

  • The only dimensions I measured were to reserve space for the freezer, and the height of the support for the ski rack pegs.  The rest was based on the height of the things I wanted to store (coolers, etc), the width for the shelf unit was "as wide as possible" and the depth was "as deep as possible without covering the power outlet". 
    Cut to fit.
  • The ladder pair at the rear of the photo makes one shelf unit. 
  • The third ladder has rungs on both sides of the support column to stabilize it, keep the skis from banging into the freezer, and to provide a place to put the ski hanging pegs. It is also has one support for the shelf over the freezer.
  • The shelf over the freezer area stabilizes the unit side to side.  It's a good place for bulk paper storage because that is light and not heat sensitive.
  • The only truly new pieces of lumber were the 6 2x4 studs for uprights and some of the rungs.  I used all the suitable scrap 2x4s I could find before I cut into new wood.
  • Shelves were made of scrap plywood from another project, and some salvaged wood from the garden shed.  Some were previously part of my truss shelves, which were no longer needed after the workshop storage improved.  (yes, I recycle my recycled and reclaimed wood.
  • Shelves are nailed in place with finish nails to keep them from slipping.
  • You can't see them, but each shelf has a 1x4 or 1x6 board nailed to the ladder behind it to keep things from falling through the gap.
  • Ski storage is dowels inserted into a 2x6.  The paired dowels are far enough apart that the ski bindings won't whack into each other.  After the picture was taken I put an over-the-door coat hook between the skis to hang the poles.
  • The space for the folding stepstool was 100% accidental! 

It's CHEAP and EASY storage.

Two reasonable skilled people could do it in an afternoon.

Estimated Cost
$20 in new wood
Estimated Time Investment
Day Project (6-9 Hours)
Finish Used
None. I left it bare.
Recommended Skill Level
Beginner

Comments

Night Stand

this project it was nice and easy to do it I had make the farm house bed then I saw this night stand and I had to have it

Built from Plan(s)
Estimated Cost
$70
Estimated Time Investment
Afternoon Project (3-6 Hours)
Finish Used
multiple colors
Recommended Skill Level
Beginner

Comments

Wife's Kindergarten Classroom

Been a while since I had time to actually build anything worth posting about! My wife wanted some items for her Kindergarten classroom this year, so built several items, most inspired by the Farmhouse family.

Estimated Time Investment
Day Project (6-9 Hours)
Recommended Skill Level
Beginner

2x4 Sectional & Handmade cushions - LOVE!

Submitted by Anonymous (not verified) on Thu, 05/26/2022 - 21:46

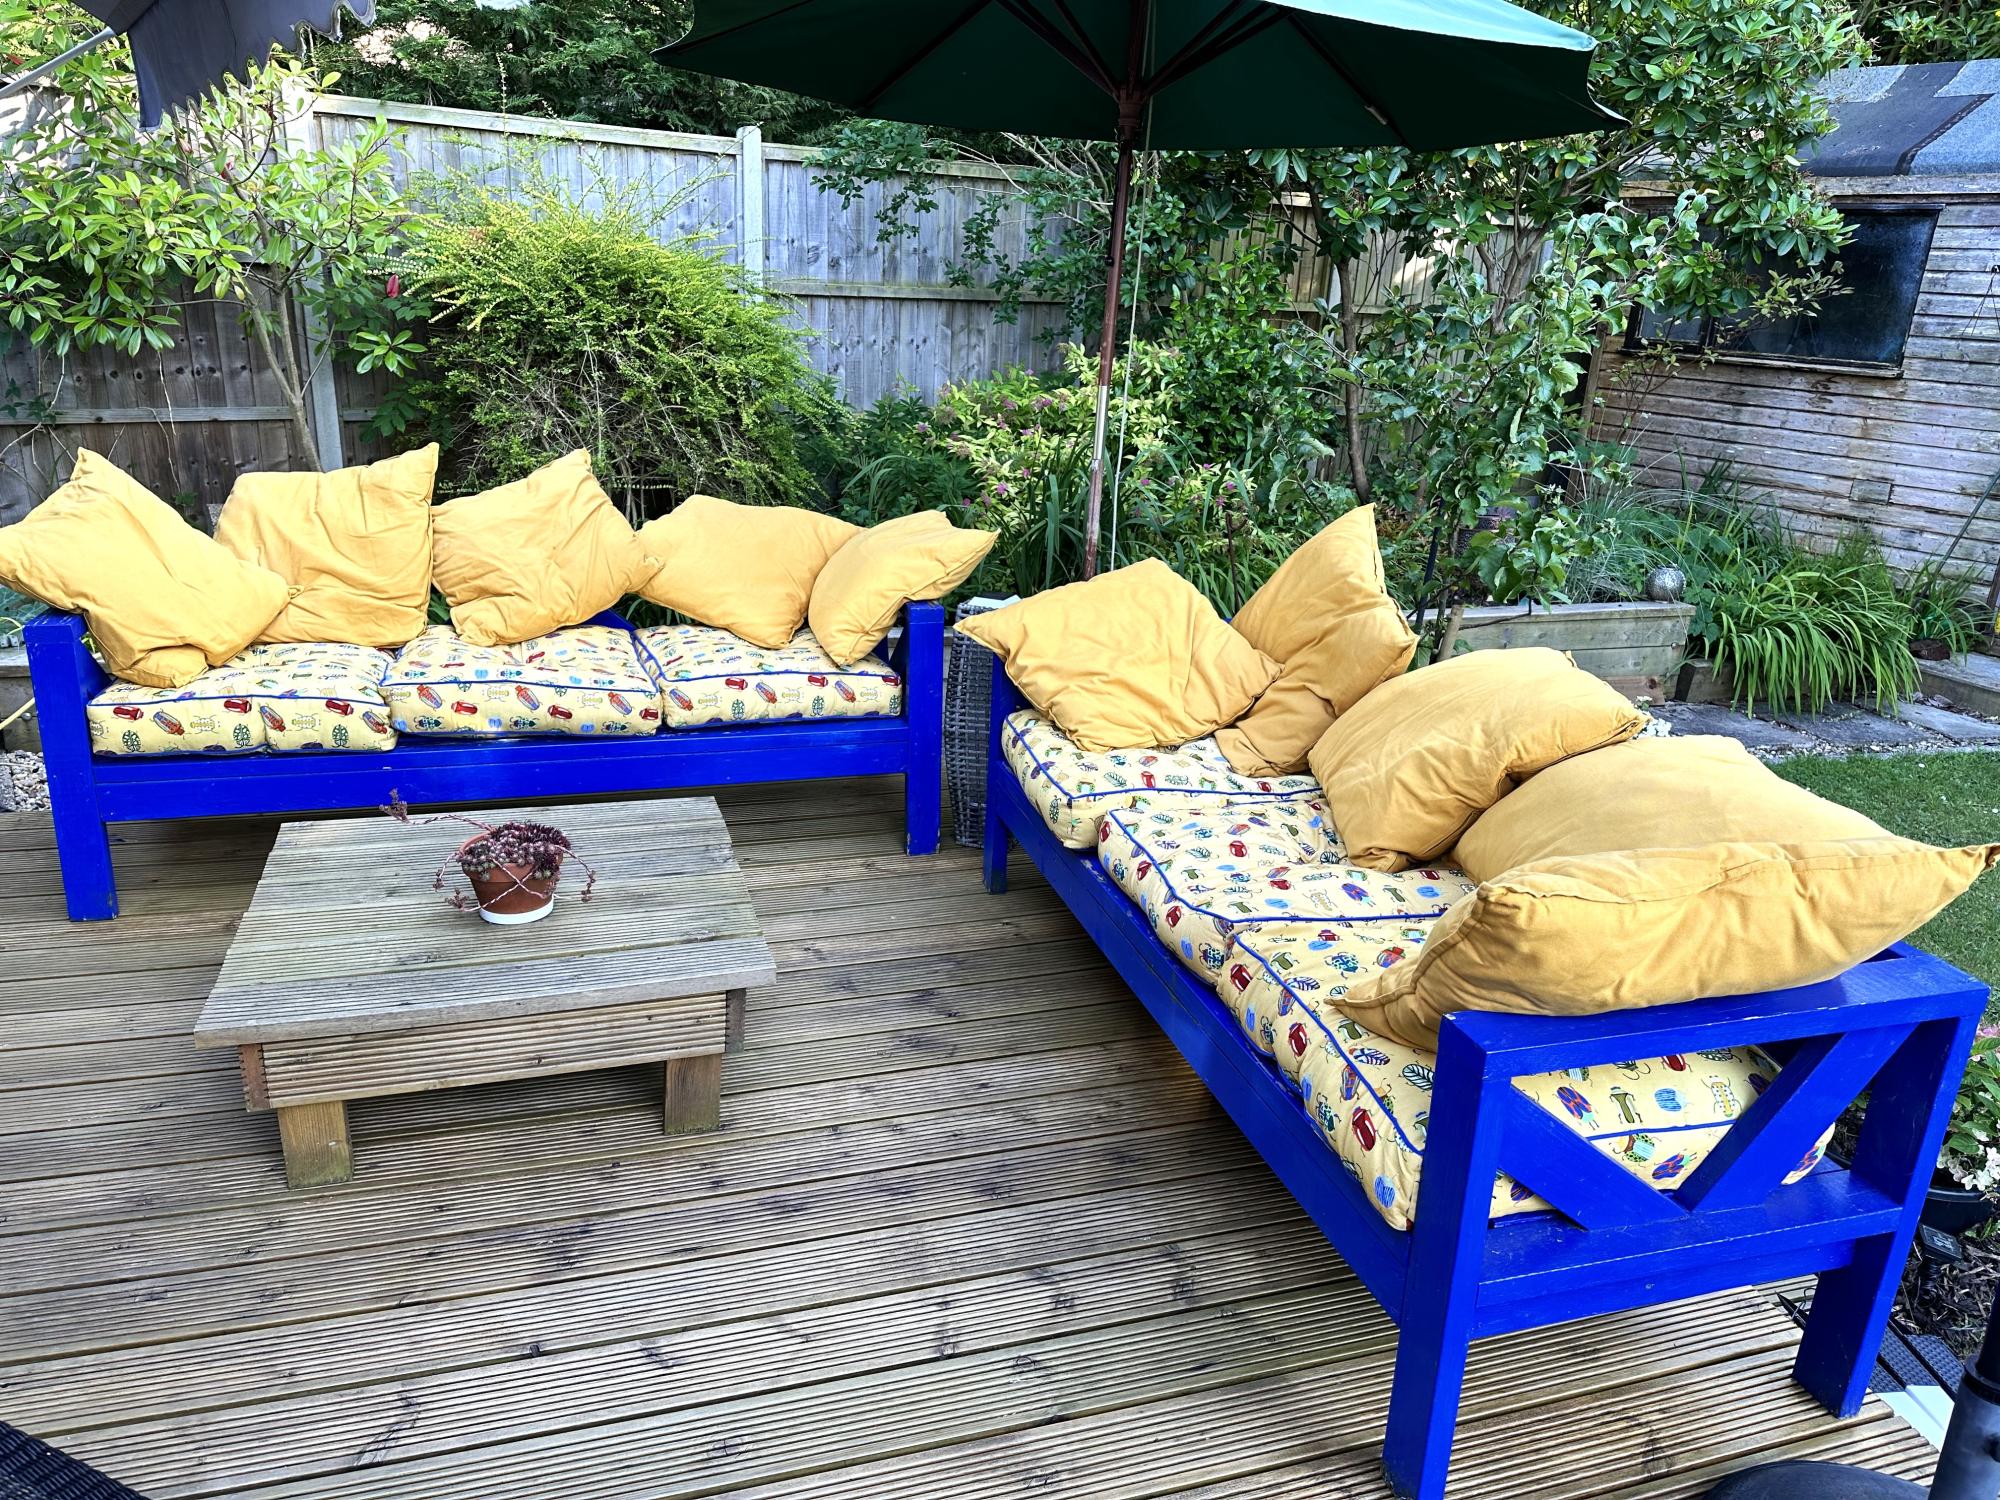
Building this project and sewing the cushions was like a love letter to my family. I made them a year ago while on a high dose of Prednisone for my asthma and chronic pain (so helpful!). I finally felt capable of doing something that would bring our family together outside. A year later it continues to serve us well.

The instructions for the sectional were very well done. Super friendly and made me want to keep going! I used black analin dye to stain the wood. Swoon!

For making the cushions:
- I relied heavily on Sailrite's resourceful web site & tutorials for their thorough and detailed instructions on making cushions, cutting foam and sewing piping.
- Home Depot has the best pricing on foam.
- Used the brand 'Cushion Qwik' Silk Film (Amazon) to wrap the foam so they can withstand PNW rain.

Comments

Craftsman Style Playhouse

Submitted by aerialc on Fri, 10/02/2015 - 11:57

I mainly followed ana's plans for this playhouse. Instead of a plywood roof I used cedar shingles. I also added plexiglass to the windows.

Built from Plan(s)
Estimated Cost
$450, including deck.
Estimated Time Investment
Weekend Project (10-20 Hours)
Finish Used
Ready Seal - Dark Walnut
Recommended Skill Level
Intermediate

Comments

Deck Chairs

Submitted by mgb11184 on Thu, 07/21/2022 - 19:54

I made a couple of additions/modifications

I also made a couple of side tables and foot stools for the chairs. A total of four chairs, two tables and two foot stools for the deck set.

Comments

My Modern Outdoor Patio Collection

Submitted by hannahclou on Tue, 08/09/2011 - 12:43

It's summertime and I wanted to be able to sit on my screened in porch with my husband with a cold drink and enjoy the nice weather. But...we had a less than cheery porch and not to mention no porch furniture. So, I started a mission to bring a little excitement to our porch and give us an outdoor area to entertain and enjoy! With some bright-colored paint, my carpenter's square, and a little patience okay..a lot of patience, I think I nailed it! I made 2 accent/ottoman tables, 2 outdoor lounge chairs, an outdoor lounge love seat, and the Hudson Outdoor table. I also bought 4 cushions on sale at Walmart in colors that match my bright patio set perfectly!

I modified the outdoor lounge chair in to a love seat by doubling the dimensions of the: back tie-in, seat frame supports, front and back aprons, seat back supports and seat back bottom support, using a 1x4 back tie-in instead of the 1x2, adding an extra seat frame support in between the front outside and inner support, and used 10 back boards and seat boards instead of 5.

I think now I'll go back to the porch and enjoy the afternoon with a nice cool iced green tea and finally get to relax on a porch with furniture on it!

Estimated Cost
$80 wood + $ 40 paint + $ 60 cushions = $ 180 patio set!
Estimated Time Investment
Week Long Project (20 Hours or More)
Finish Used
Rustoleum Apple Red and Sun Yellow and a Rustoleum Clear Gloss sealant
Recommended Skill Level
Intermediate

Comments

Shim Queen and Side Tables

Submitted by Anonymous (not verified) on Wed, 12/26/2018 - 19:07

I used a six inch reveal of the shims on the head and foot board.  I used a nail on the hidden shim end and glued the thick or visible end to avoid having holes.  It was completed a year ago and is holding up very well.

Estimated Time Investment
Week Long Project (20 Hours or More)
Finish Used
Minwax PolyShades Antique Walnut topped with three coats of Minwax Polyurethane Clear Satin.
Recommended Skill Level
Beginner