Community Brag Posts

Treehouse Adventure Bed (Alternate Beach Hut Bed)

I was looking for something to build for a fundraiser this year and found the Beach Hut Bed plans. I liked the idea of a little house inside a kids room but I wanted to do something a little more rustic. here's what I came up with!!!

The shopping list and cut list is pretty much the same. However, I only used one 1x3 and needed to buy 4 extra 1x4s. I lowered the bed deck about a foot and left half of the walls open for easy parent access. I sorta just winged it as I went. Turened out pretty neat!!!

Built from Plan(s)
Estimated Time Investment
Week Long Project (20 Hours or More)
Finish Used
Roof: Valspar Exterior latex paint+primer. Main structure: burned with torch, wipe on poly, high gloss
Recommended Skill Level
Intermediate

Comments

Farmhouse Bunkbeds with Stairs

Submitted by Yodannos on Sun, 06/09/2013 - 13:19

We have a rental unit and decided to fill one room with 2 sets of bunk beds. One is a twin over a full. The other is a full over full. Due to a duct running through one corner, and limited amount of space, I decided to build a set of stairs on the 17" gap. I used the simple bunk bed plans, but modified it to the style of the farmhouse. Also, I changed several of the heights of the foot/head boards. The full over full will have a ladder coming off the end and is in progress.

Estimated Cost
$450
Estimated Time Investment
Week Long Project (20 Hours or More)
Finish Used
Minwax Ebony Stain. Satin Polyeurethene.
Recommended Skill Level
Intermediate

Bookshelf Hidden Doors Over Closet

Submitted by Anonymous (not verified) on Mon, 10/23/2017 - 10:13

Hidden door bookshelves hide a furnace closet.  Built by Kraig Faulkner

Built from Plan(s)
Recommended Skill Level
Advanced

Comments

charkue

Thu, 09/17/2020 - 08:01

I'm currently working on a basement renovation project. I'm probably going to incorporate a feature like this for my mechanicals, too.

One important safety note for anyone who wants to do this: It's recommended that your furnace be a minimum of 30" away from any combustible materials. That includes walls and partitions. The image of this project displayed is right next to the furnace, which is not a good idea.

Caden Leather Ottoman (Pottery Barn knock-off)

Submitted by c11burke on Mon, 12/13/2021 - 14:51

This is a knockoff of the Pottery Barn "Caden Leather Ottoman". Made from Ash and American Walnut.

Comments

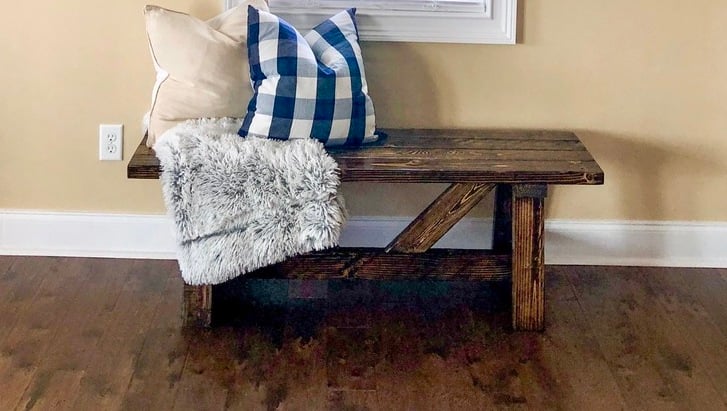
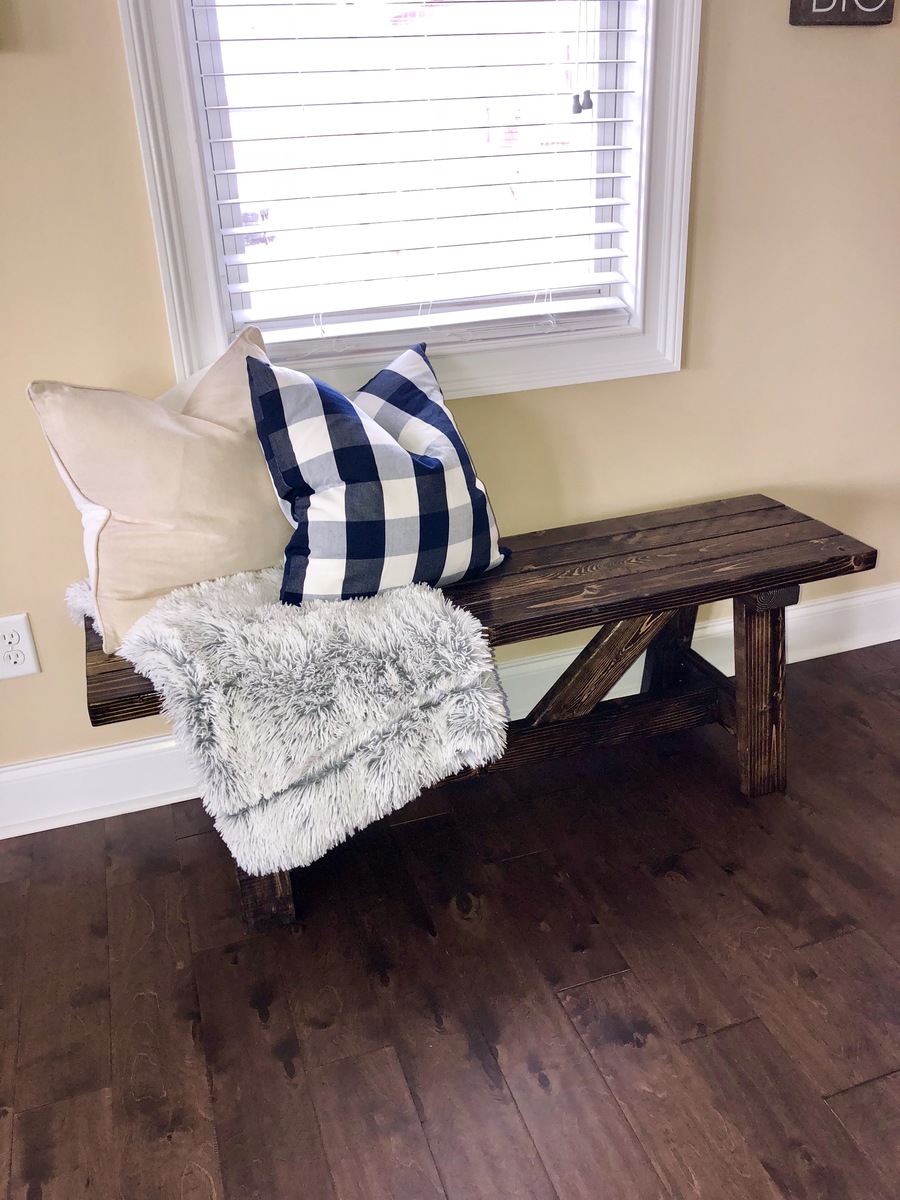
Spa Bench

My first project! A friend of my husband's came to visit for a weekend and was nice enough to show me how to use my handy dandy new air nailer. We had the bench put together in 15 minutes! And so began a beautiful friendship with furniture building...

Built from Plan(s)
Estimated Cost
$30
Estimated Time Investment
An Hour or Two (0-2 Hours)
Finish Used
dark oak polystain - distressed with hammer, nails, screwdriver, chains
Recommended Skill Level
Starter Project

Kids Table & Chairs

Submitted by jeffh on Fri, 01/19/2018 - 12:12

I washed the plans for the farmhouse table in hot water!

I modeled this kids table off the farmhouse table and then made the chairs out of 3/4" plywood with bright colours.

Estimated Cost
two 2x10s and four or five 2x4s, plus screws and stain for the table. All four chairs were made out of one sheet of 3/4" plywood. The stain and paint probably cost more than everything else put together, but I still have tons of it left. If you exclude the leftover stain, I'd guess about $75-$100 for everything.
Estimated Time Investment
Weekend Project (10-20 Hours)
Finish Used
Can't remember. Walnut was the stain colour.
Recommended Skill Level
Beginner

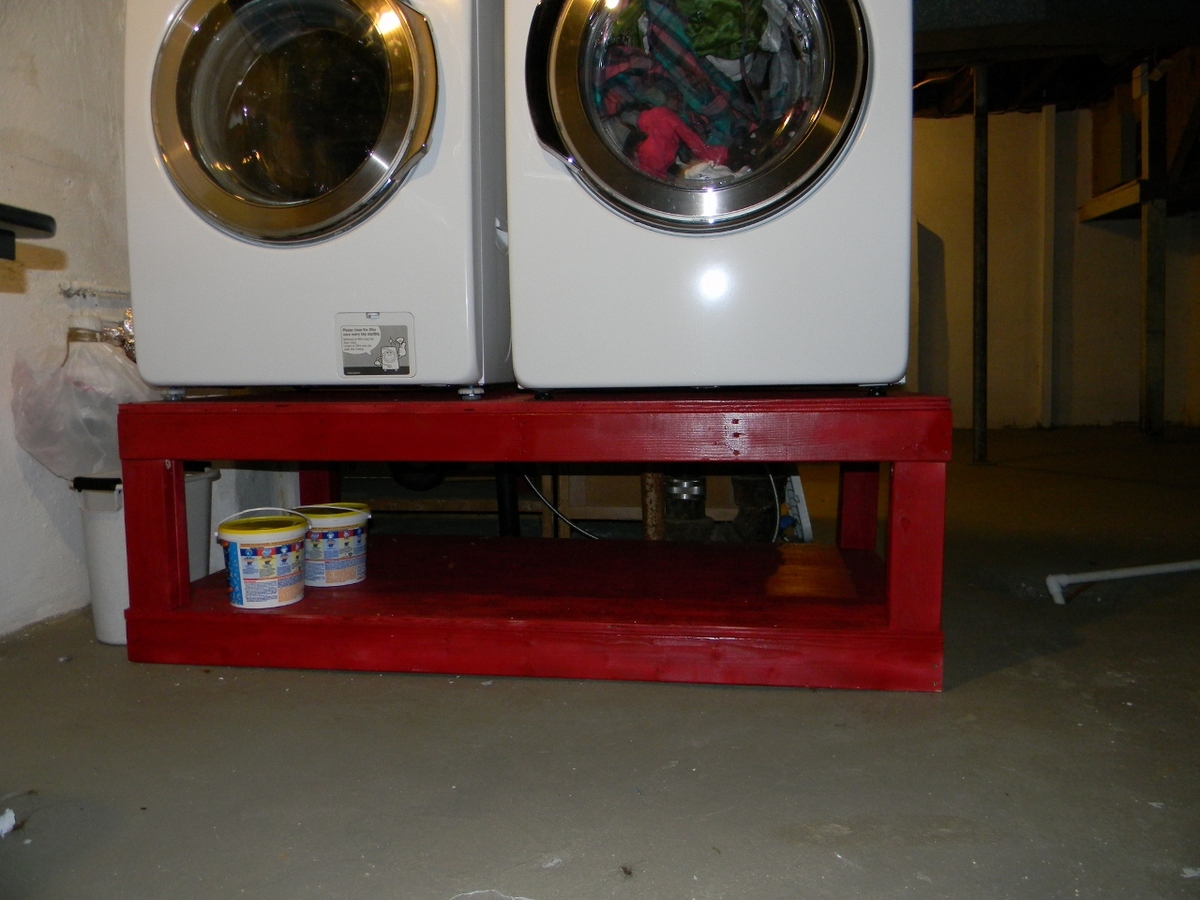
laundry pedestal

Submitted by queenmommy on Thu, 06/02/2011 - 19:19

This was my first project for our newly purchased house. I built it in the 1-car garage and patio of the duplex we were living in prior to our move. I haven't put the trim pieces on yet because it we moved and started using it the day after I got it screwed together.

Estimated Cost
$130
Estimated Time Investment
Weekend Project (10-20 Hours)
Finish Used
2 light coats of Valspar satin spray paint in Berry.
Recommended Skill Level
Beginner

Scrap Wood Cart

Submitted by Scrivman33 on Sun, 02/25/2018 - 13:45

Saw the other project and based everything off of that. I made some adjustments on the shelf side to ensure I could lay down 3 layers of 2x6's without it hanging off too far. At first I wasn't going to go with the rail shelf system, but I couldn't find anything that I liked at the store to make actually shelves. I did cut a 2* angle on the bottom and top of the shelf framing. I figured if I put enough weight on those shelves, I woudln't want it messing with the frame of the cart too much. On the bin side, I decided to just do different heights instead of angled because I know I'll have plenty of 3' plus. I chose to put a scrap bin on the end for anything smaller than a foot. Many of those joints were done with my Kreg setup, but not all of them. The last fix I did was add a 2x4 to the insde of the shelf frame. This was to move the shelf hangers in so that an 8' board wasn't just edge to edge (I found that to be a problem when I put some of the 1x4's on there...they would be on 2, but not always all 3). So moving each side in around 1.5" gives you about 3" to play with as far as 8' lumber goes. This enabled me to turn my old storage into bench and shelves and I'm ready to get moving on projects!

Estimated Cost
$200-$250
Estimated Time Investment
Day Project (6-9 Hours)
Finish Used
None
Recommended Skill Level
Beginner

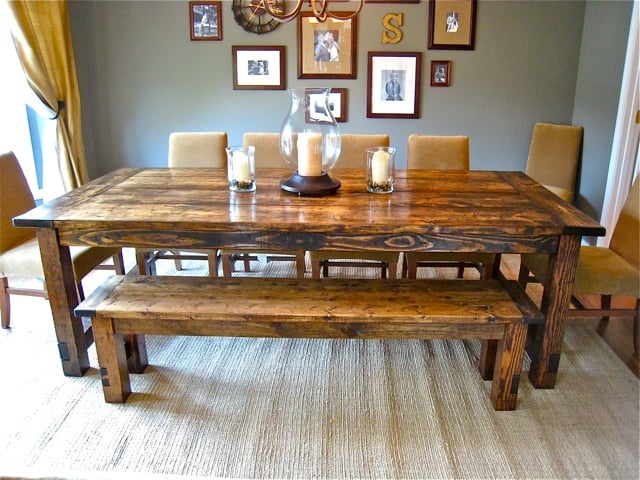
Farmhouse Table : Restoration Hardware Replica

Submitted by tsibiga on Mon, 06/20/2011 - 09:43

This is the first building project that I've tackled and it's all thanks to Ana-White. I did lots of things different than the building plan but it was definitely my inspiration and extremely useful. I loved the Restoration Hardware table and so I went to the local store to put my eyes on it for myself. Some of the things that I noticed, liked, and included in my design are; I used 4-2x12"s for the tabletop, I used 2x8"s as the breadboards, I used 4x4"s for the legs as well as the side stretcher, I used 2x4"s as the undertable supports, I built two 15" extensions using 2x8"s and 2x2"s, and I attempted to distress the wood yet stain it to match our dining room as best as I could.

www.tommyandellie.com

I've documented the build and you can check it out yourself at: http://tommyandellie.com/?p=14

I've revised the plans with even more details here; http://tommyandellie.com/index.php/2012/01/13/new-and-improved-farmhous…

Hope it helps.

Estimated Cost
$300
Estimated Time Investment
Week Long Project (20 Hours or More)
Finish Used
I banged up the wood using random things around the garage and then used a Dark Walnut Stain. Additionally, on the tabletop I did two coats of Briwax (light Brown) for a nice, shiny, and smooth eating surface.
Recommended Skill Level
Intermediate

Comments

niecey

Mon, 06/20/2011 - 15:06

This is stunning! I'm working on this table right now, but it's no where near as good as yours. I'm jealous. I love your extensions. I'd love to see a tutorial on adding extensions..

ispeakwhale

Tue, 06/21/2011 - 05:16

It looks beautiful. Did you attatch the 2x2 to the underside of the extensions and then notch out a place on the support for them to slide into? Can you please take a photo of the underside with the extensions on?

Tommy (not verified)

Tue, 06/21/2011 - 14:42

That's exactly right. Here's a link to the picture you asked for; http://www.tommyandellie.com/Site/Home/Entries/2011/6/10_Farmhouse_Tabl…

There's some more details and info specifically about the extensions on my blog at; http://www.tommyandellie.com/Site/Home/Entries/2011/6/10_Farmhouse_Tabl…

It's a super simple addition to the design and can take my table from 96" to 126"!!! Or take it from a 8-10 seat table to potentially 16 seats available for those Big thanksgiving meals.

Guest1 (not verified)

Wed, 06/29/2011 - 15:41

Hello,

I was just wondering that since your table is a bit wider than Ana's table, did you make the support for the stretcher wider? As in, did you increase the length at all (in addition to making it stick out a bit at the ends? If so, what did you extend it to? Thanks and gorgeous job!

tsibiga

Wed, 06/29/2011 - 18:49

Hello,

I followed Ana's example and allowed for a 1" overhang on both sides. So the tabletop is actually 44" wide and the stretchers are approximately 42". The long 2x4" stretcher is approximately 88".

Hope that helps. Thanks for the positive comments.

Guest (not verified)

Wed, 06/29/2011 - 20:28

I cant believe how good that looks. Great job! Out of curiosity, how did you make the notches (dados) for the 4x4 legs where they meet the table top? Really impressive table!

tsibiga

Thu, 06/30/2011 - 04:43

For the table legs, I set my table saw blade to a height of approximately 1.5". I then made a first cut at 3.5" from the bottom, then made a cut at 7", and then made several subsequent cuts in between those two cuts. After it was all slivered, I used a hammer to knock it all out, and then swirled the opening all around on the table saw (blade still at 1.5" tall) to smooth out all the cuts. I used the same technique for the stretcher as well.

Guest (not verified)

Sat, 08/06/2011 - 21:36

Hi Tommy, I tried clicking on your site and was told the site could not be found. Last week, I saw it fine and showed my hubby our next project, but now it's gone. Help!

Keri Beth (not verified)

Thu, 03/01/2012 - 07:17

What inspiring pictures! Apparently everyone agrees, because I just "pinned" one of these pictures to Pinterest and it was immediately repinned 27 times and counting. So nice work! I hope to make mine this weekend.

DES.II (not verified)

Sun, 04/29/2012 - 06:29

She and her boyfriend would like to build it using lumber i cut from my mill. They are thinking walnut, hickory or maybe ash but im not sure how that will work out with being distressed. And your extentions, do you have a 2x4 or two that slides out from under the table to help support them on each end ? Are there pics of the under side of the table as well? This is a great table and i think they will have fun as a family assemblimng and finishing it.
Thank you. DesII

Marci (not verified)

Thu, 10/11/2012 - 12:12

Where can I find the bench instructions??

James Groover

Tue, 04/14/2015 - 13:31

Hey Tommy, I saw the Farmhouse table design with extensions, I don't have Excel to open the cut list and need the buy list and cut list to complete the project, I am really short on time and need to start this project tomorrow. Please if you can, do you have a word document or a PDF that shows the page for those?

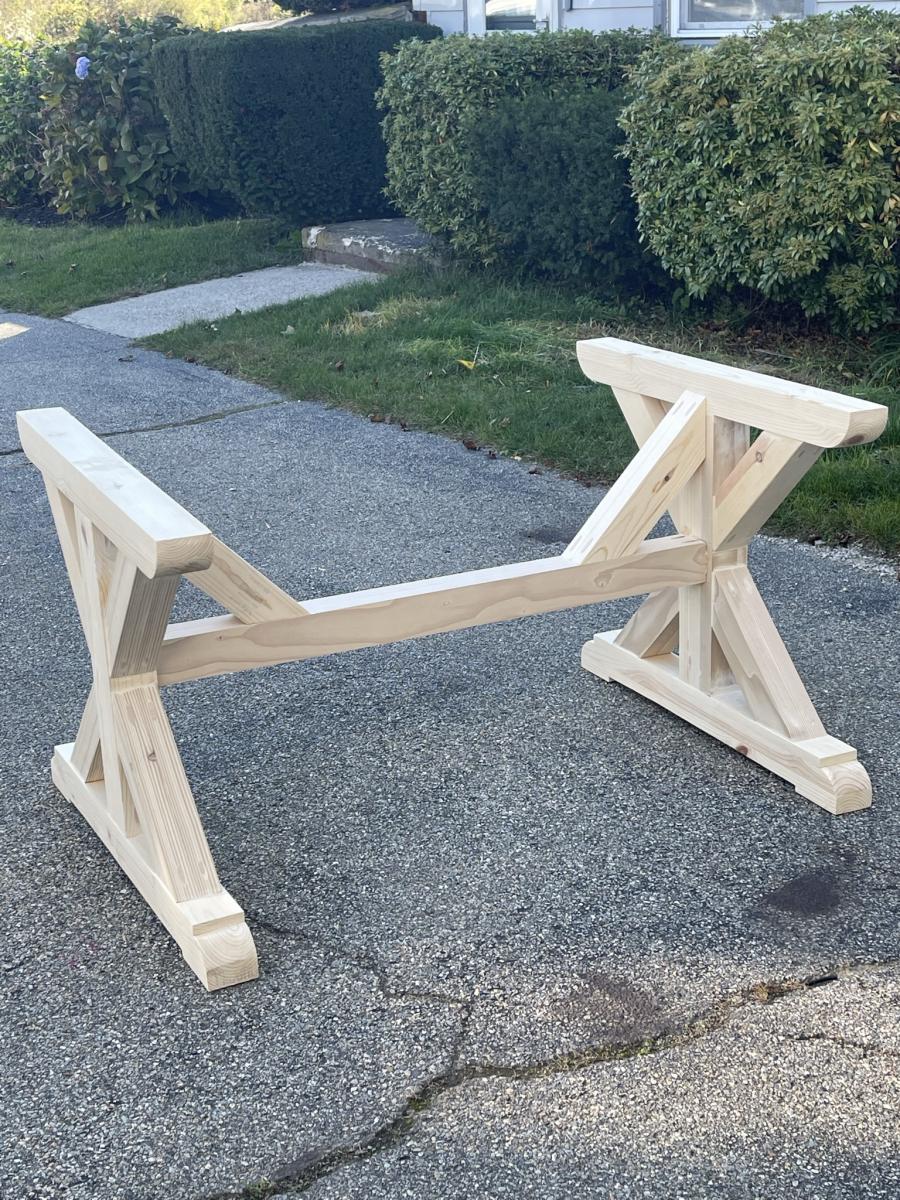
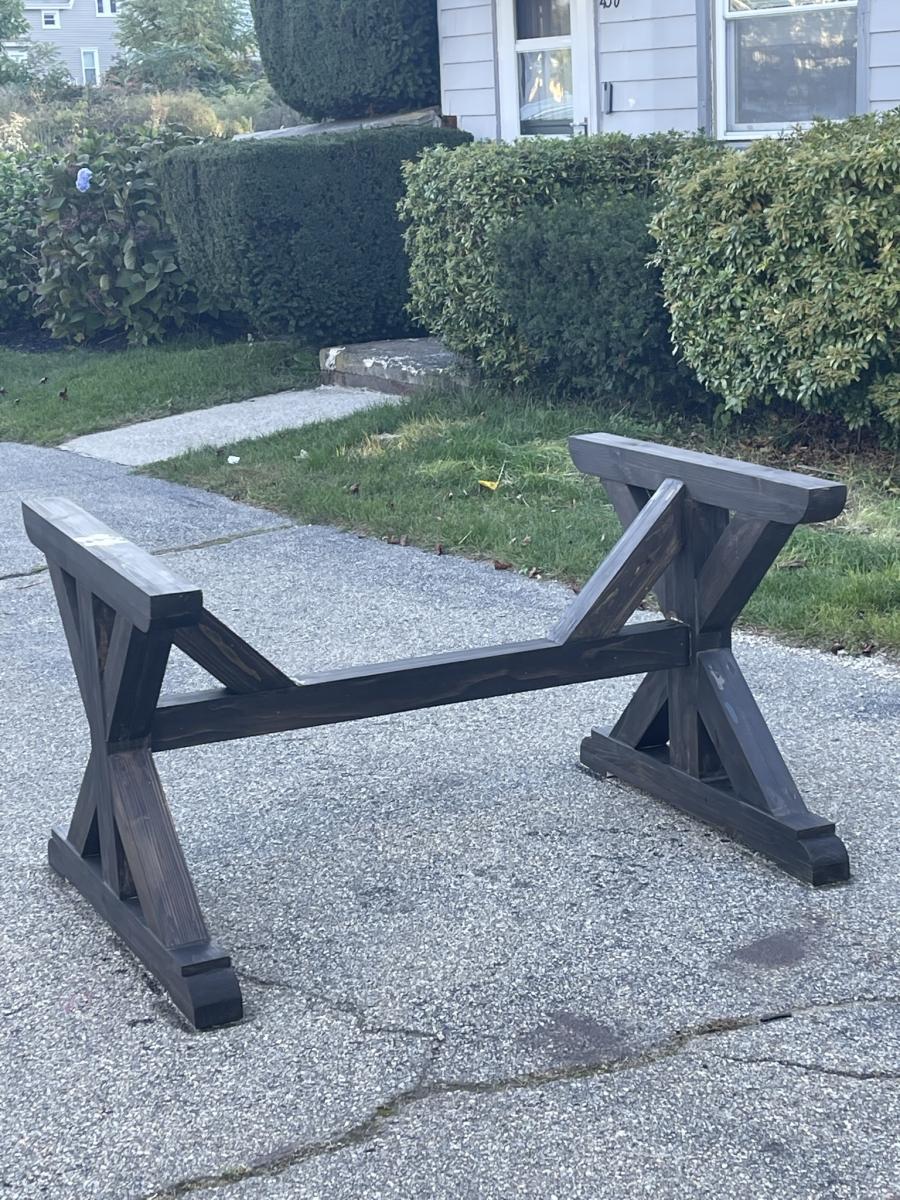
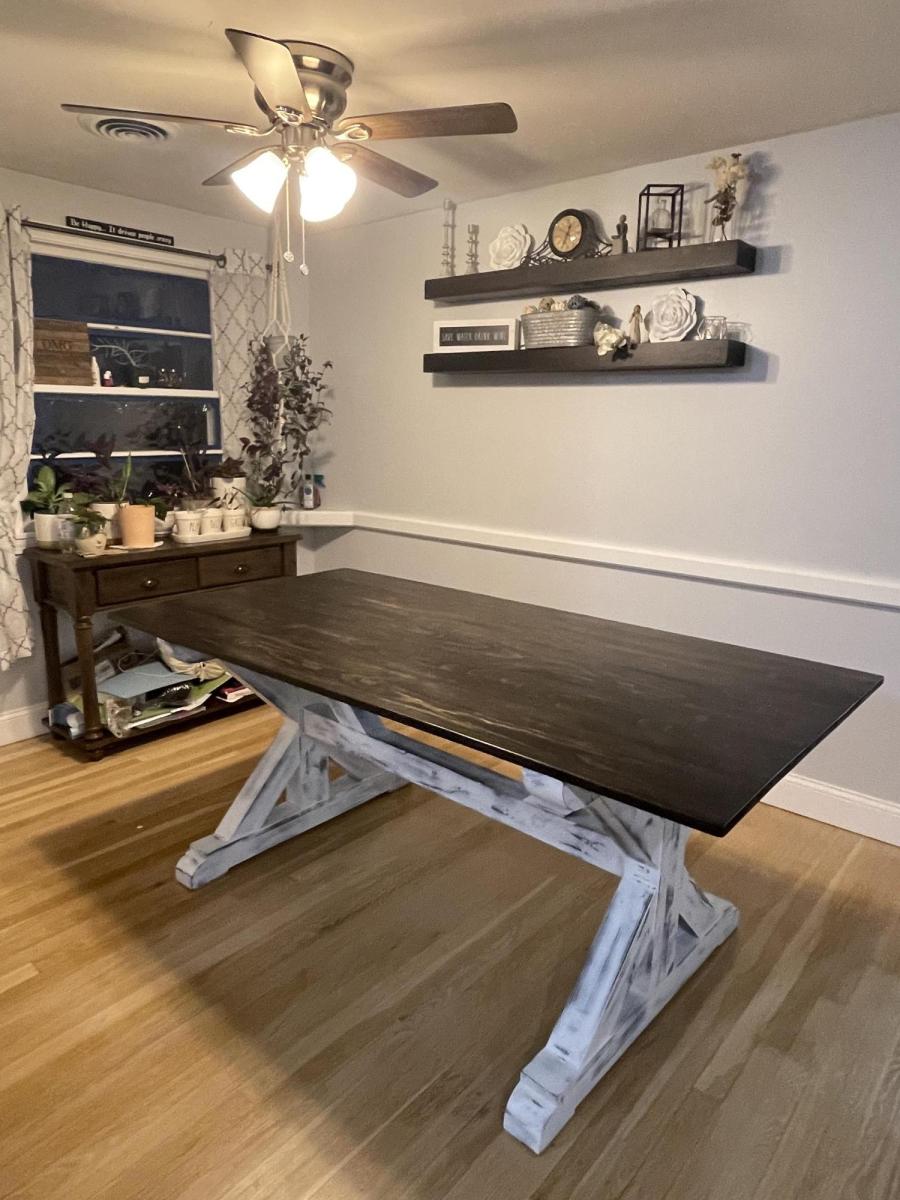
4x4 Truss Beam Table -Modified Size

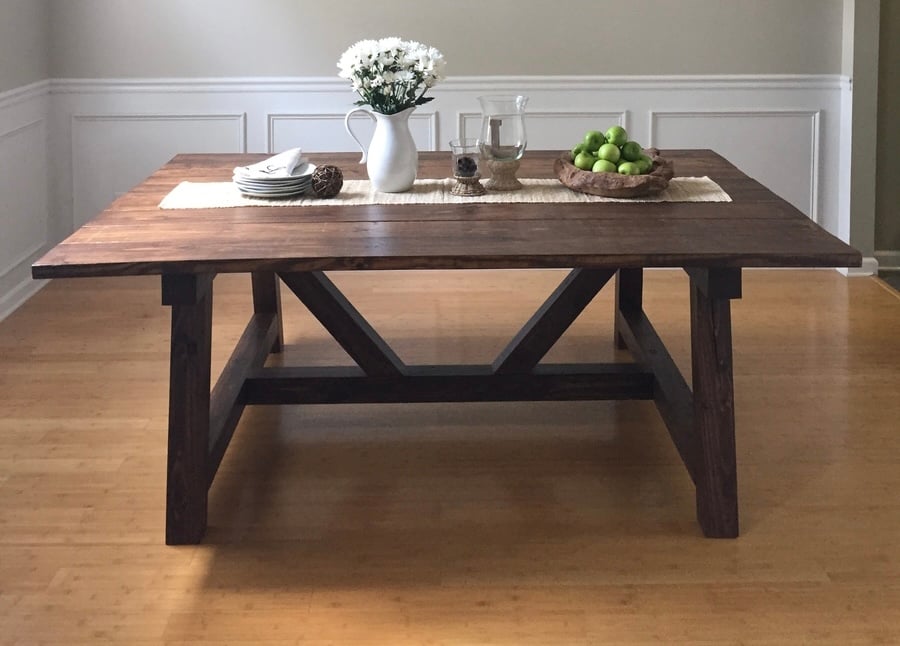
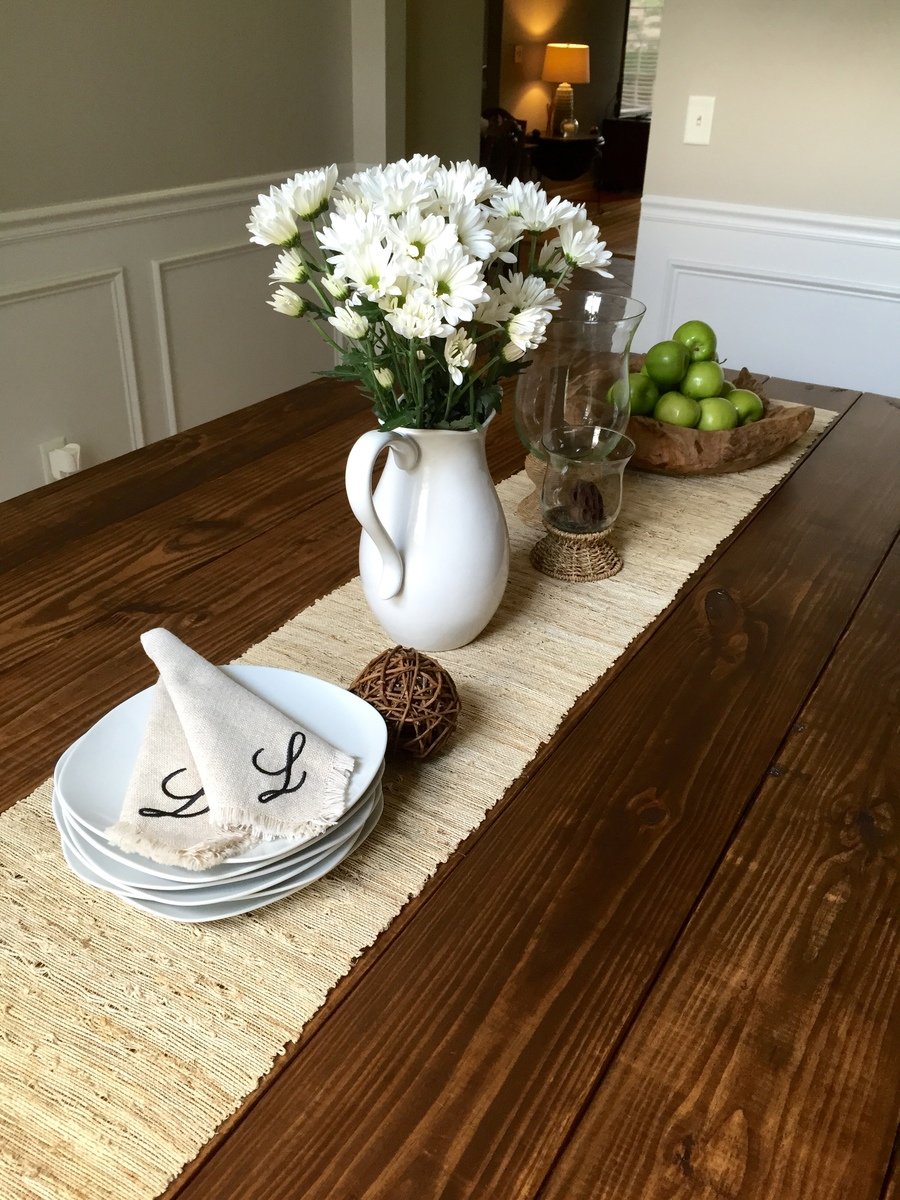
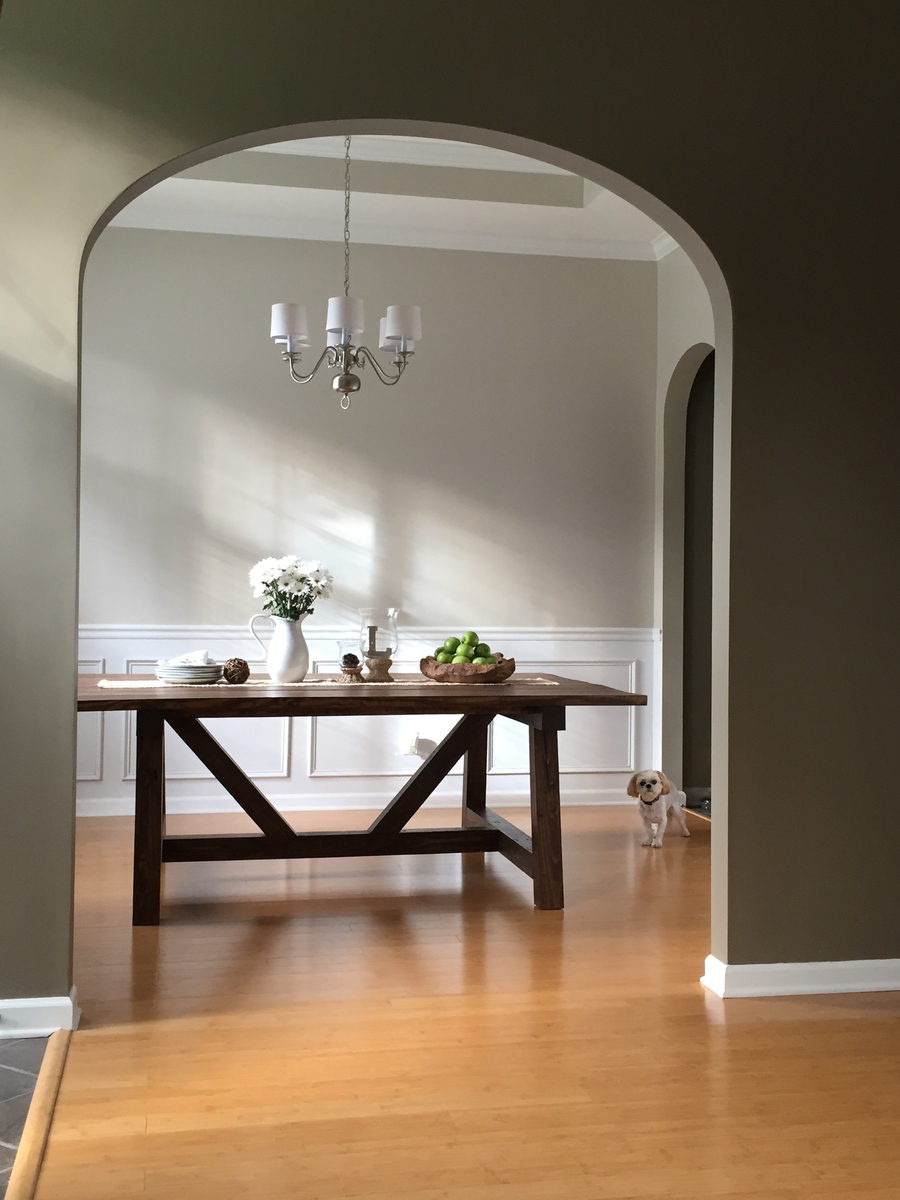
My husband and I moved in to our new house last fall and we needed a dining table that would seat at least 8. We picked this plan from Ana's site because I love the look of the 4x4 beams. I used Adobe Illustrator and my math skills to modify the size and scale to fit our dining room with exact spacing all the way around. We had difficulty finding untreated 4x4 beams but were able to special order some for a reasonable price from a local lumber company. It is more expensive than combing 2x4s but I did not like the pieced together look of the 2x4s. We stained with Rustoleum Dark Walnut and Matte Poly just like the blog post from Ana's site. We also used the Kreg Jig HD which is SO AWESOME! We love the table. Now we just need to decide: chairs vs. benches. I hate to block the beautiful truss design of the base. Its so gorgeous!

Built from Plan(s)
Estimated Cost
Around $200 including the Kreg Jig HD, screws, sandpaper, and glue.
Estimated Time Investment
Weekend Project (10-20 Hours)
Finish Used
Rustoleum Dark Walnut
Rustoleum Matte Polyurethane
Recommended Skill Level
Beginner

Comments

MrCoffee

Mon, 08/31/2015 - 14:18

I love this table.  The finish came out great by the looks.  My wife and I are moving into a house soon and I think this is going to be the design for our table as well.

jlandttc

Mon, 09/07/2015 - 06:21

What a beautiful table!  Is this table square?  We are also looking to build a table to sit 8 and love the look of yours.  Could you share your cut list or dimensions?  

Spayton821

Thu, 12/10/2015 - 06:59

I am so in love with his table. We have a family

of 7 and are looking to replace our current dining room table and this would be perfect.  Is there any way you could share your measurements. 

Jake'n'Leelo

Mon, 08/29/2016 - 06:08

Thank you for all the kind comments! I did not know that I had gotten any and had not checked back over the past year. The jump drive with my dimensions on it got damaged last year shortly after the build and I lost all of my home decor files including the AI with my cut list and dimensions. I know it had been a while since several of your comments but I will see if my husband can help me measure the table and figure out what the dimensions are and post them on here for you. Happy Woodworking!

topdowndoorsoff

Tue, 11/15/2016 - 18:01

This table really looks great!  I'm about to start making one and would love to know the dimensions you used. I also noticed that you didnt use the bread boards on either end.  How many people does this table fit?

Thanks!


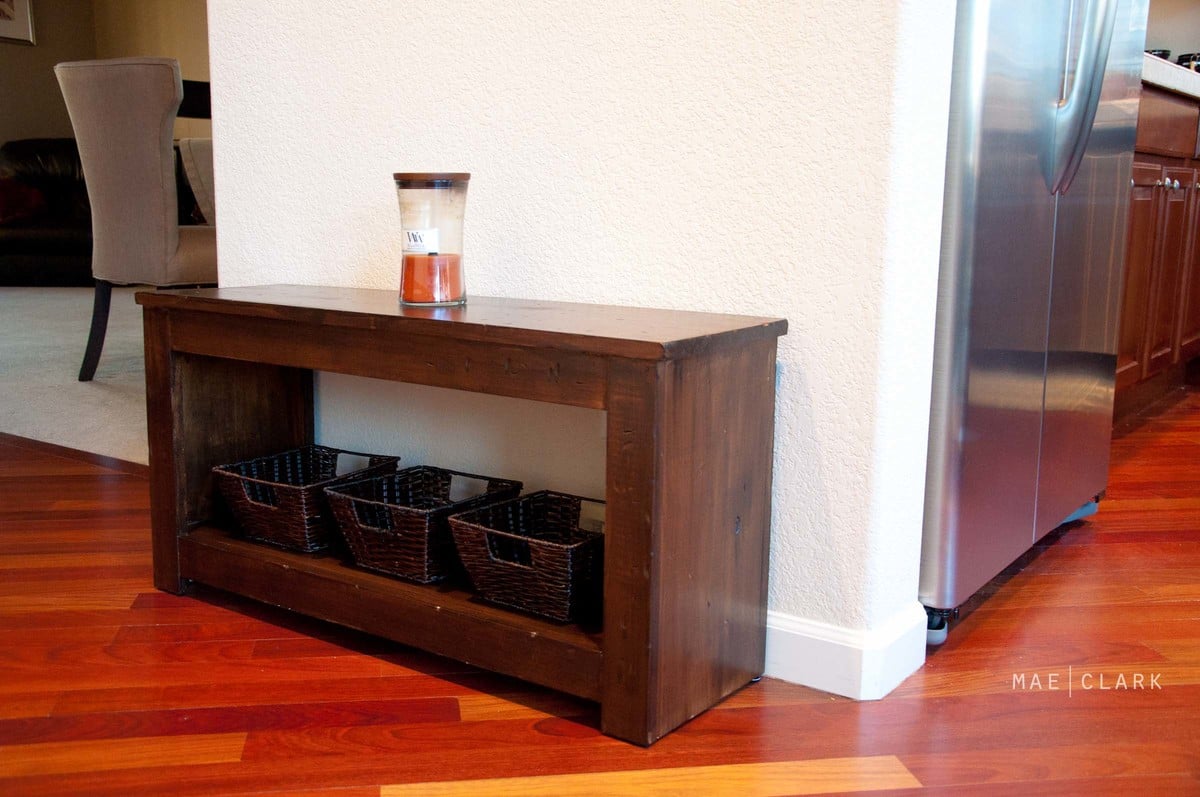
Narrow Modifed End Table

I wanted a table like Ana's narrow cottage table, except I just wanted an open shelf instead of a drawer for a basket.

Here is my version modified to fit my needs. Thanks to Ana, of course. :)

Built from Plan(s)
Estimated Time Investment
An Hour or Two (0-2 Hours)
Finish Used
Undecided...

Step by step and cut list on my blog.
http://thequaintcottage.blogspot.com/2011/07/diy-simple-end-table-for-small-spaces.html
Recommended Skill Level
Beginner

Hanging outdoor bed

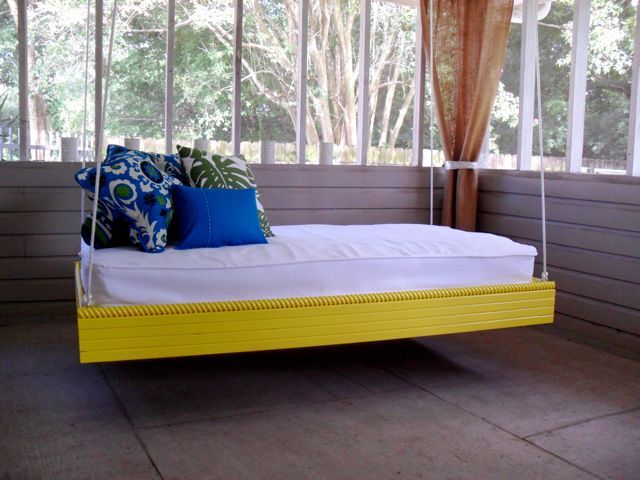
I made this hanging outdoor bed for our screened in porch using Ana's plans. This was one of the first things I've built, and the plans were very easy to follow. I wanted all of the outside trim to be decorative but it was much more expensive, so I settled for just the top piece. I love this web site and am about to tackle the Board and Batten project. Thanks Ana!!

Built from Plan(s)
Estimated Cost
$100 (not including bed, cover and pillows)
Estimated Time Investment
Afternoon Project (3-6 Hours)
Finish Used
Lemon Zest by Behr$
Recommended Skill Level
Beginner

Comments

T (not verified)

Sun, 04/15/2012 - 19:58

I love this plan! One question, does anyone have any suggestions for how to add arms or a back to it to lean against? Or what types of arms/back would look best? I can't figure out where to put them so that the ropes/chains wouldn't rub against them.

Darmel (not verified)

Sun, 07/29/2012 - 00:25

I really like this as it is so great as a relaxation element for a tranquil space.

Copy Cat Bedside Table

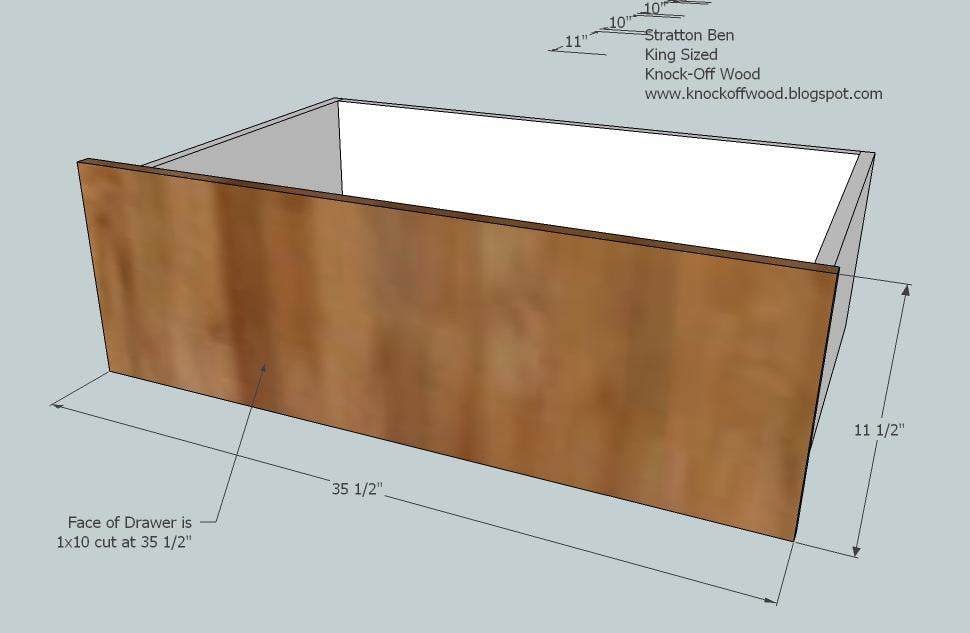
I needed new bedside tables to replace mine that were falling apart. I love the whole Stratton line at PB. I wanted to make something similar, but a bit more sturdy.

So, I made this table with a much more solid bottom shelf and a deep drawer with a full face to mimic the sides and the back panels.

Estimated Cost
Wood $20-$25, Drawer Slides $7, Drawer Handle $2
Estimated Time Investment
Afternoon Project (3-6 Hours)
Finish Used
I haven't determined yet.
Recommended Skill Level
Beginner

Comments

Final product with few modifications

Submitted by Anonymous (not verified) on Wed, 08/31/2022 - 08:22

Made few modifications. Added a 9th board to the tabletop to make it larger, horizontal aprons connecting the legs, and seat support. For stain and sealer, I used Olympic semi-transparent redwood. Overall a great project. Thank you, Anna.

Built from Plan(s)

Comments

Step Stool

Submitted by stcarroll on Fri, 08/26/2011 - 10:25

I fell in love with Ana's plan for this vintage step stool. I made three, but one has already gone to a new home (my sister's house). I used all scraps, I didn't have 1x8 for the treads, so I slatted two 1x4s. Then behind my husbands pile of scrap wood in the shop I found two planks of 1x8 oak!!!! I made the second two stools with the oak for the tread, but didn't want to cover it with paint, so I stained the top treads. This also was my first build using a kreg jig, I borrowed my sister's 'kreg jig jr.' It made the assembly so simple and quick! These have been so nice to have around the house for the kids washing and brushing and helping in the kitchen!

Built from Plan(s)
Estimated Cost
Free!!!!
Estimated Time Investment
An Hour or Two (0-2 Hours)
Finish Used
Minwax polyshades 'antique chestnut' on the all doug-fir-slatted stool. And minwax 'ebony' on the oak-tread with a mix of left over paint on the bottom. Then I sanded the paint to distress and used the ebony stain over the paint. I put several coats of poly on both of them because they will be used in the bathrooms during potty training and I wanted them to be sealed well so they don't soak-in any spills or mishaps!
Recommended Skill Level
Starter Project

Comments

LOVE!

Submitted by Anonymous (not verified) on Sun, 02/03/2019 - 12:58

This project was simple and my husband didn’t have any issues following the plan. We did have to use an extra 2x4, because we didn’t cut the long pieces first. Cut the long pieces first, use the end pieces to make the smaller ones. :)

Built from Plan(s)
Estimated Cost
35
Estimated Time Investment
Afternoon Project (3-6 Hours)
Finish Used
Jacobean
Recommended Skill Level
Intermediate

DIY farmhouse table

Submitted by Anonymous (not verified) on Wed, 12/28/2022 - 16:05

A farmhouse table I built based on one of your inspiration projects! All by hand and chiseled myself 😍

Built from Plan(s)

Comments

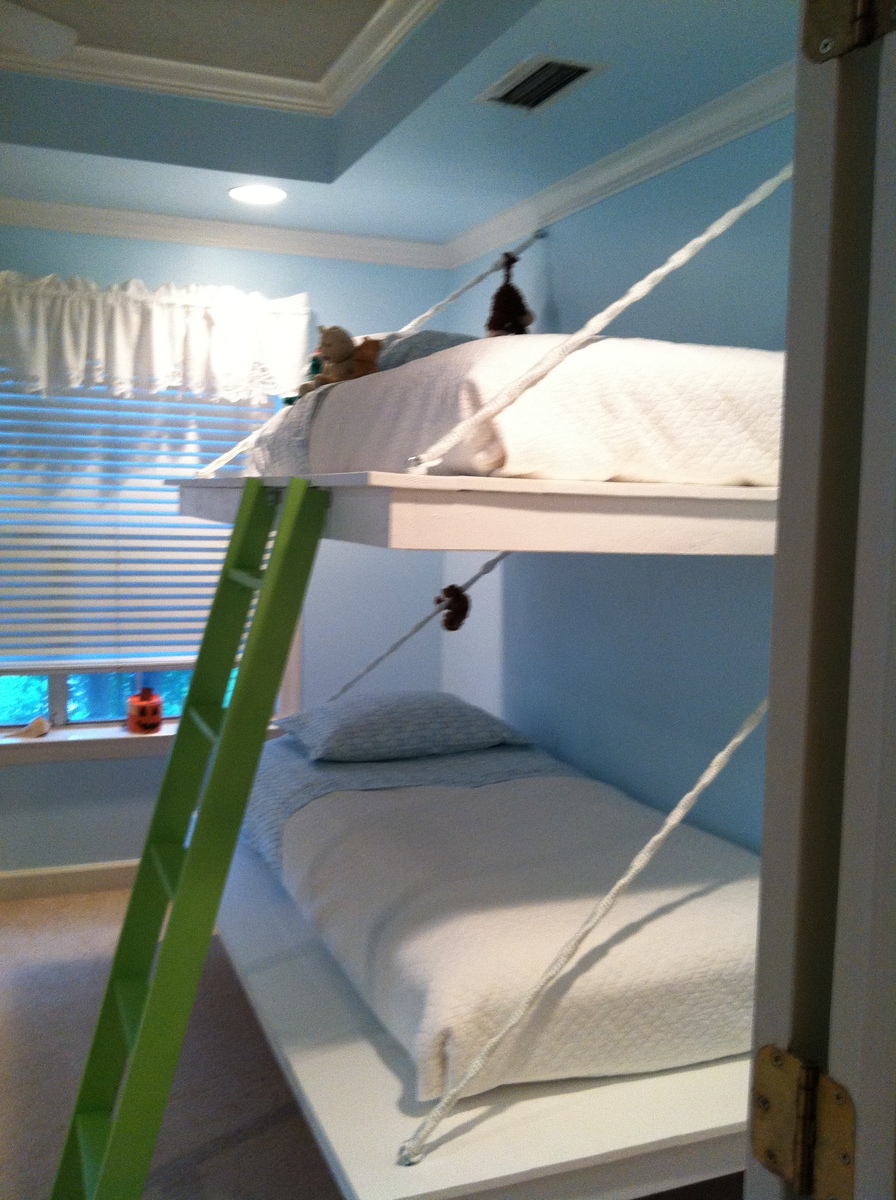
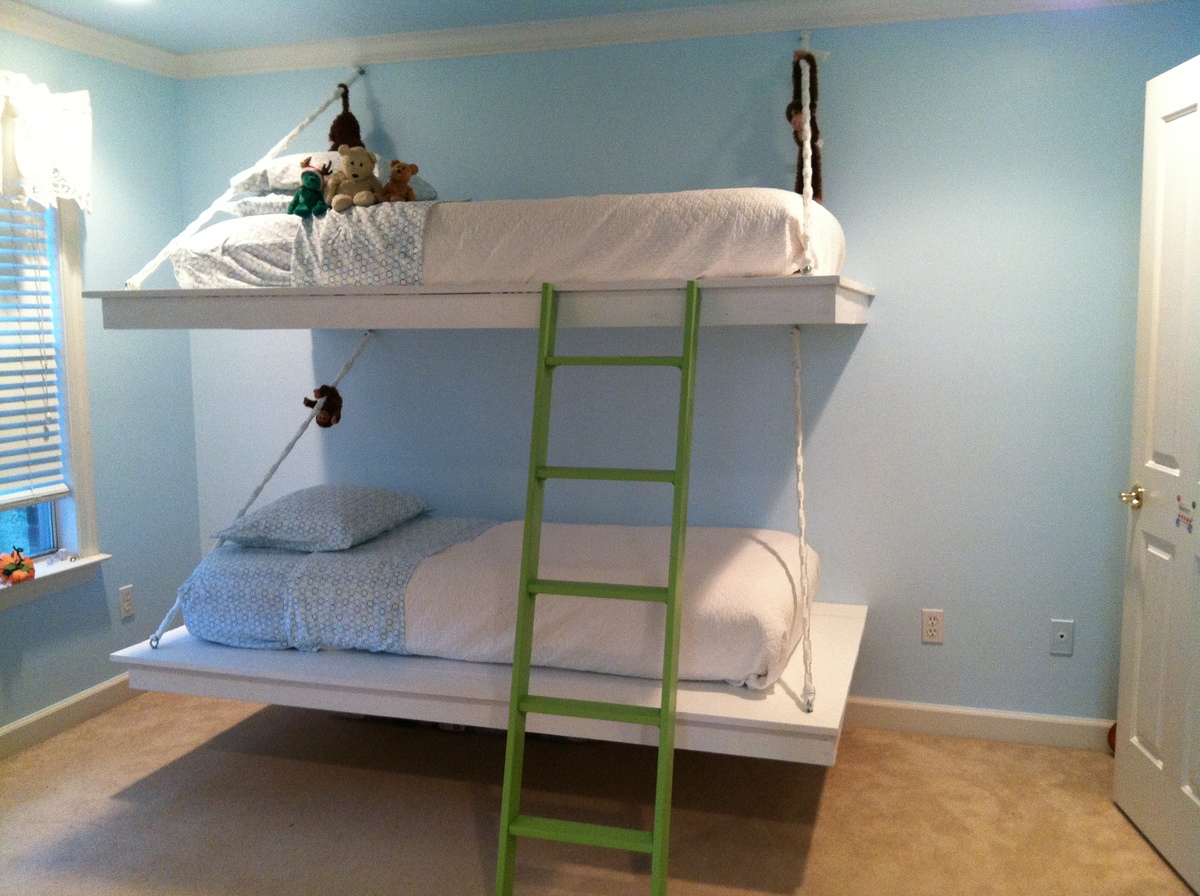
Hanging Bunk Beds

Submitted by janarae13 on Sun, 10/13/2013 - 18:01

I saw these beds featured in a Sherwin Williams paint mini magazine, fell in love w the idea, and customized them to work for my daughter's room. She loves them! Thx Ana White!!

Built from Plan(s)
Estimated Time Investment
Weekend Project (10-20 Hours)
Recommended Skill Level
Beginner

Comments

joseph.ribecca

Wed, 10/16/2013 - 18:08

What kid of wood did you us for the bed base, and you just ancored them in the wall studs, With screw hooks?

Wvchanger

Fri, 10/21/2016 - 20:39

How did you tie your rope? I made the beds but having a difficult time finding a secure way to tie the rope so it's study and won't slide

Farmhouse Table soon to be desk

Submitted by Anonymous (not verified) on Thu, 01/07/2016 - 06:32

I built a narrower version of the farmhouse table with a few modifications to be used as a temporary dining table, and eventual home schooling desk. I used 5/4 boards for the top and for the apron in order to get a smooth top and have a beefier support. I used a 4x4 for the cross brace with a half-lap to give more support to the stretcher and to stabilize the legs.

Estimated Cost
Under $100
Estimated Time Investment
Weekend Project (10-20 Hours)
Finish Used
A 50/50 mix of Minwax Provincial and Ipswich Pine, with two coats on the top and apron and only one on the legs. In the post it shows how much darker the legs were after the first coat of stain.
Recommended Skill Level
Intermediate