Community Brag Posts

Small Picnic Table - First Project

Submitted by Anonymous (not verified) on Thu, 08/15/2024 - 10:23

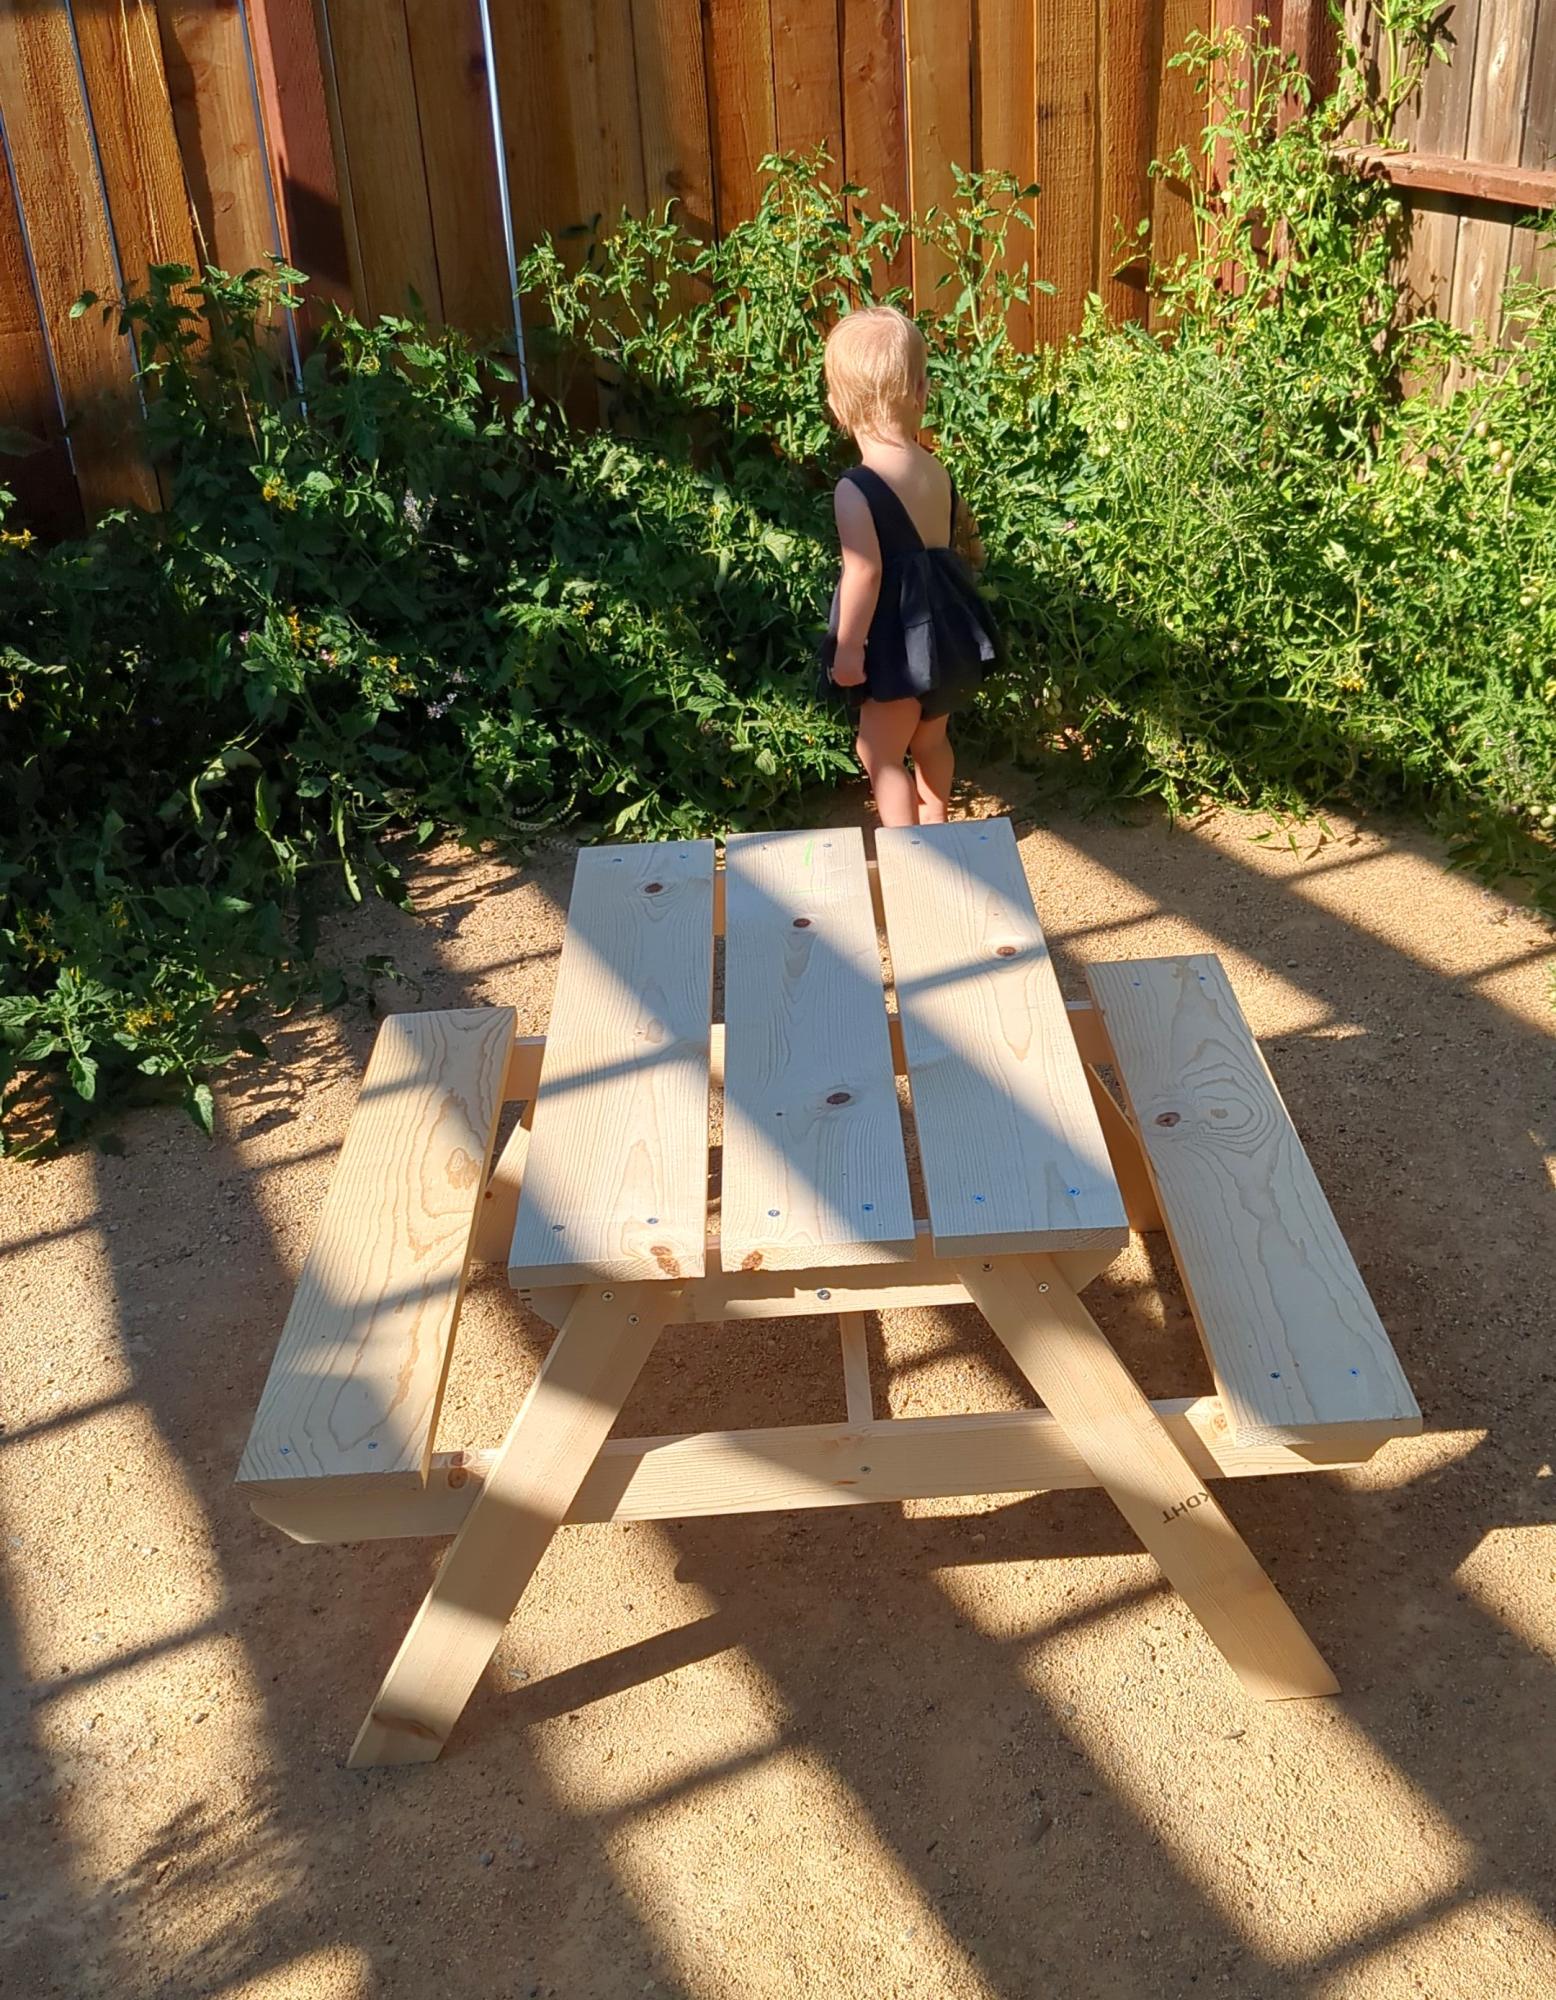
This is my first project for my little girl! We bought the common boards at home Depot where they cut them to length. I spent about $55. I used a small wood saw to cut the required angles and sanded the edges with a sanding block. I'm happy with the result even though I didn't use the wood filler or stain (yet).

Vanessa Zvanut

Built from Plan(s)

Side Street Bunk Beds (with modified ladder)

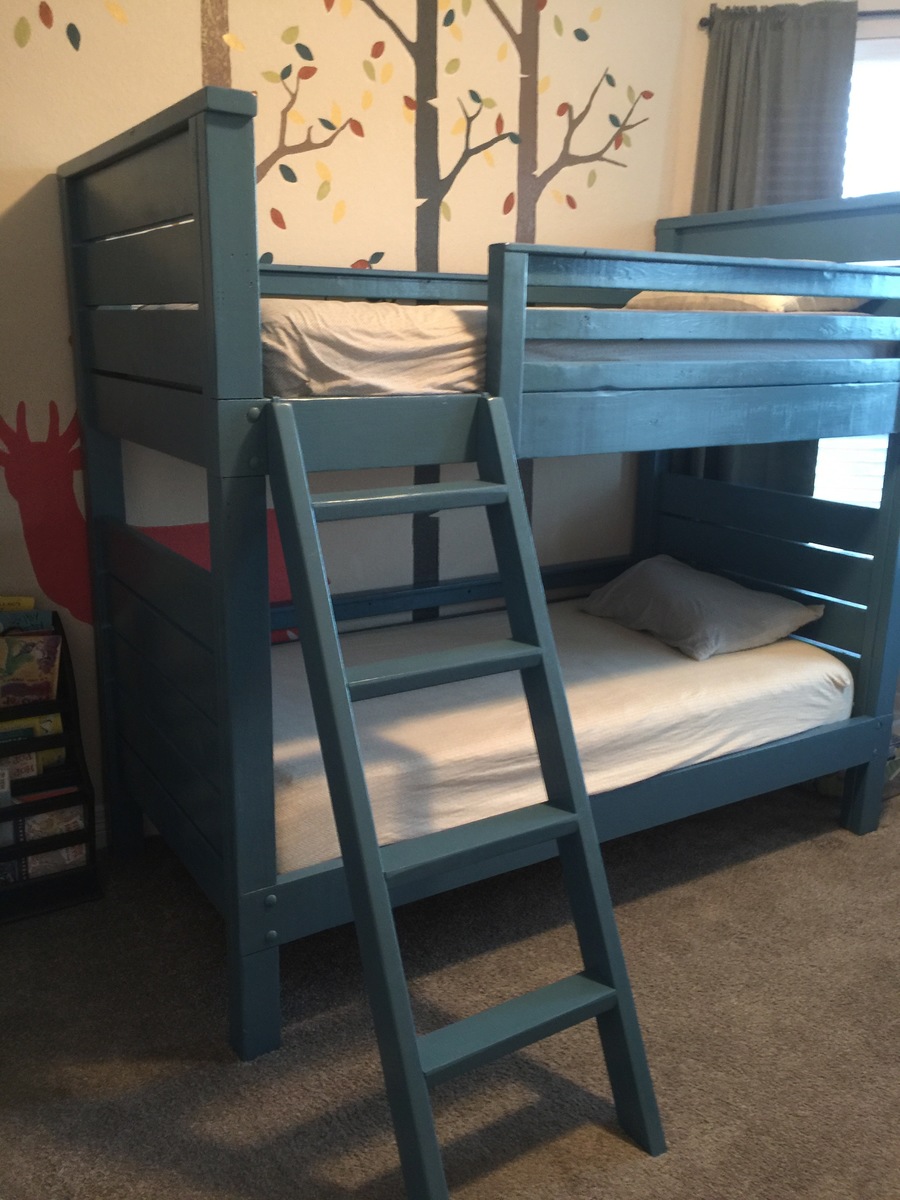
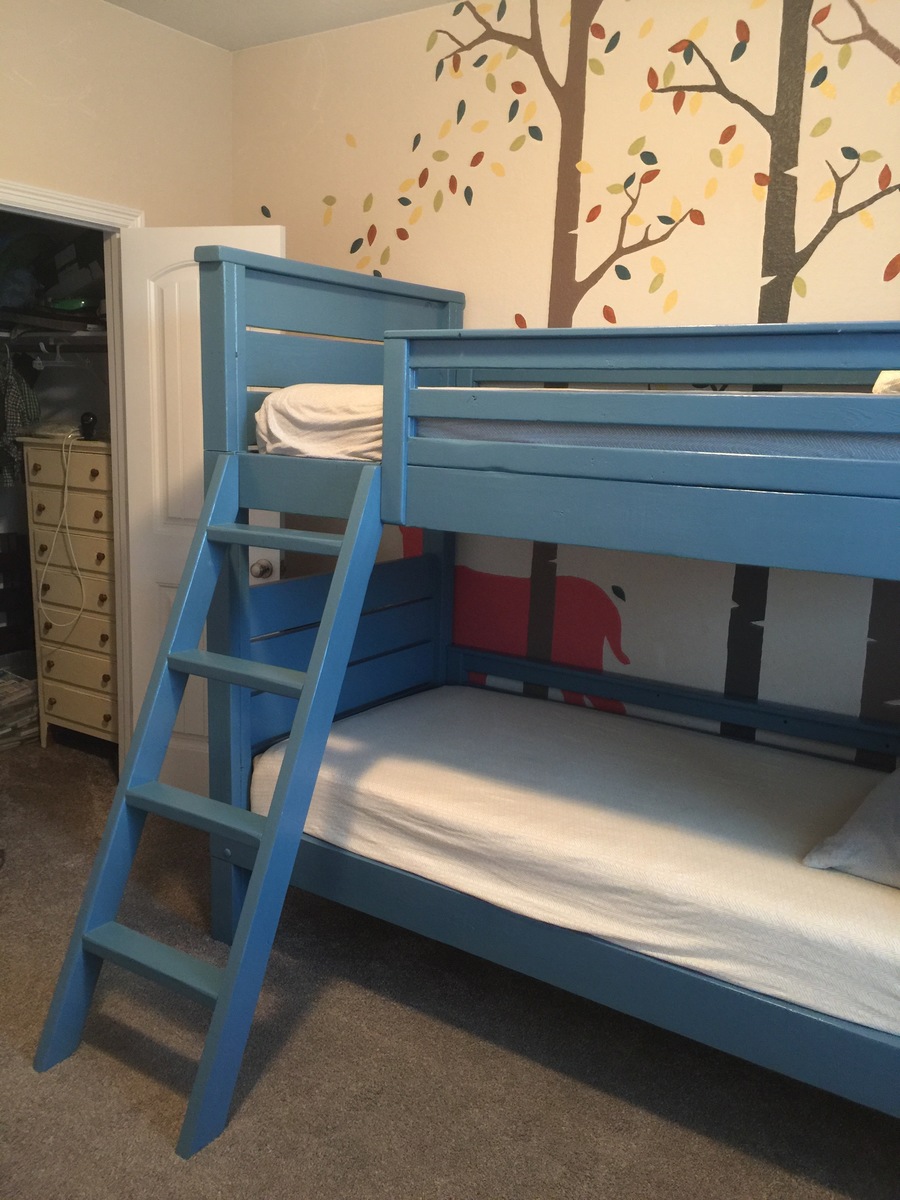
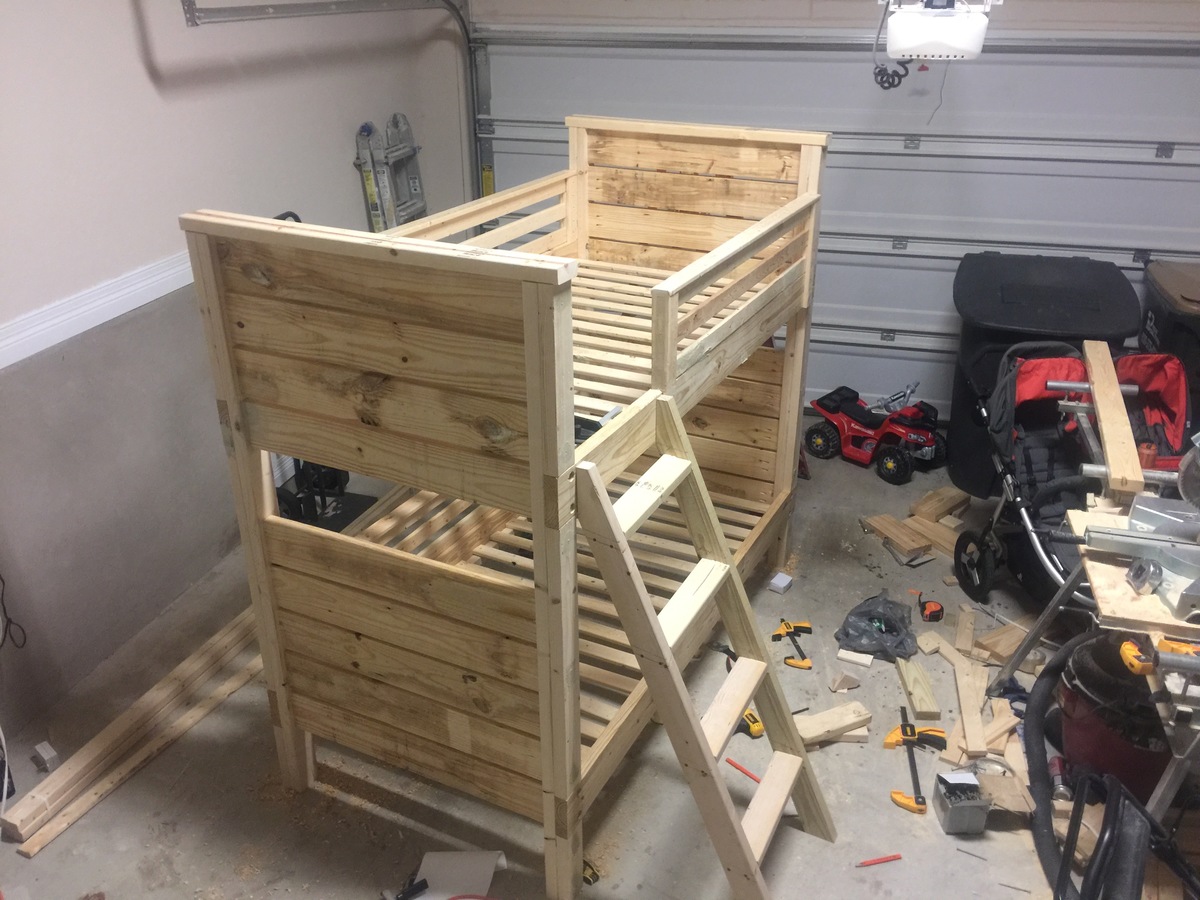
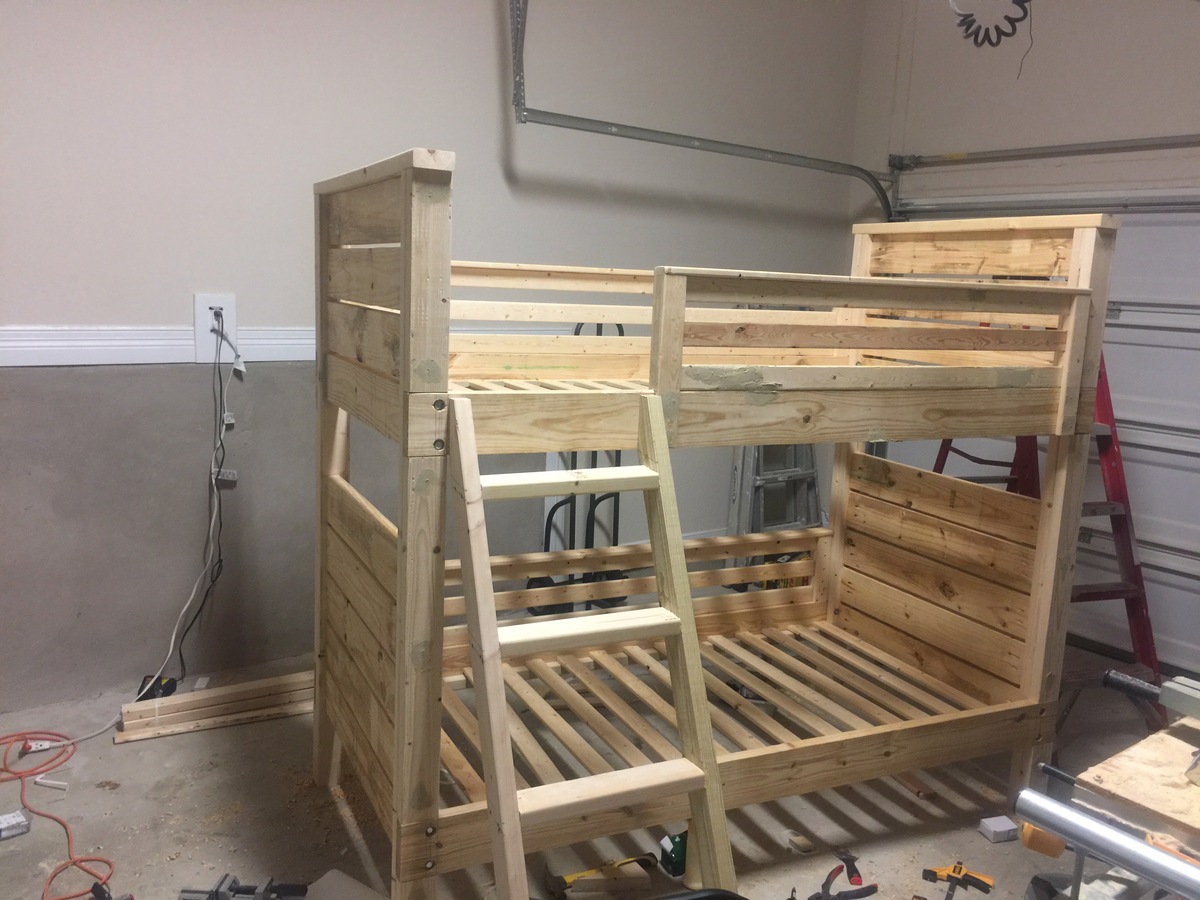
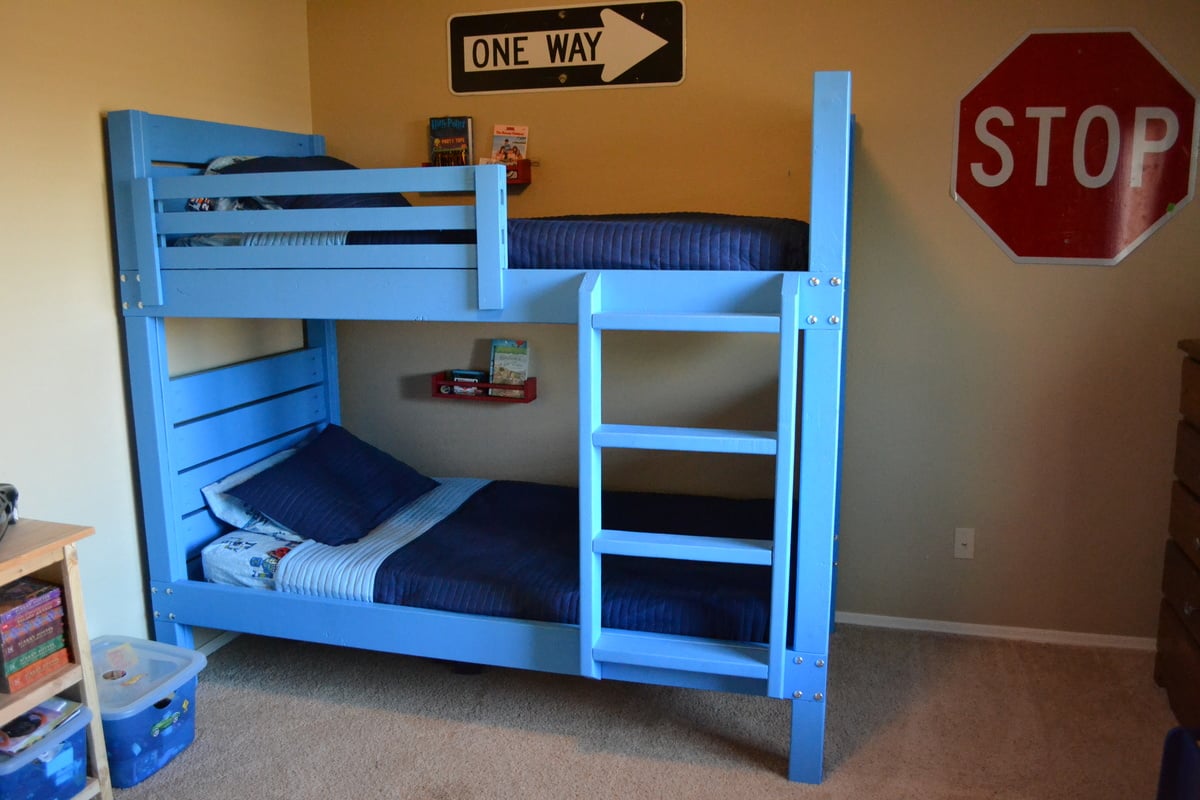
After building the playhouse loft bed, I found this project to be very easy. I built the bunk beds at 37/38 weeks pregnant, so that should tell you how simple it is to construct. The total cost came in under $300 and I was able to use some of the scrap wood I already had in my garage.

I did run into some trouble with the slanted ladder. Even though the pieces were cut to the exact measurements in the plan, the sides of the ladder were too short for the bed. Being very pregnant and impatient, I just modified the ladder so I wouldn't have to waste the pieces I'd already cut.

You may also notice that I didn't fill and sand my pocket holes on the end pieces yet. That was also me being very pregnant and impatient. I'll go back and do that later when I have more time. Despite the little bit of finishing work remaining, this was pretty much a 2-day project. Cutting and construction was fast (one day) and finishing took another full day.

I used Valspar "Blue Burst" paint from Lowe's to finish the bed. I used bolts to attach the side rails because we move frequently so I wanted the bed to be easy to disassemble. Overall, this was a very easy and fun project!
Built from Plan(s)
Estimated Cost
Just under $300
Estimated Time Investment
Weekend Project (10-20 Hours)
Finish Used
Valspar "Blue Burst" interior paint
Recommended Skill Level
Beginner

Comments

vpihoney

Sun, 11/11/2012 - 21:37

Love how you whipped this together! I stumbled upon your post as I started working on these bunk bed plans today (I can't read the dimensions on the diagrams from a printout, so i open up the plans on the iPad). I had to finish up the ladder and side rail today. I was stumped yesterday evening with the same ladder issue. Why was it coming up short? It was really annoying considering it took me a while to figure out a 60 degree angle on my miter. I decided to try changing my ladder angles to 22.5 and 67.5, as I still wanted a leaning ladder, but I thought a reduced angle would work better. Didn't have to scrap my boards either, whew. Love how quickly you put this together! Coincidentally, I'm 33 weeks pregnant, but moving terribly slow compared to you.

purpleheather79

Mon, 11/19/2012 - 07:25

I'm glad I'm not the only one with the ladder issue! I couldn't figure out what went wrong. I also tried to adjust the angle but my boards were just a tiny bit too short and I was not wanting to run to the store to get more. I do like the leaning ladder better though. Can I just say that I love that you're building this bed while pregnant too? That's awesome! :)

Puzzle Box (Unabox)

Submitted by mtairymd on Sun, 08/24/2014 - 15:03

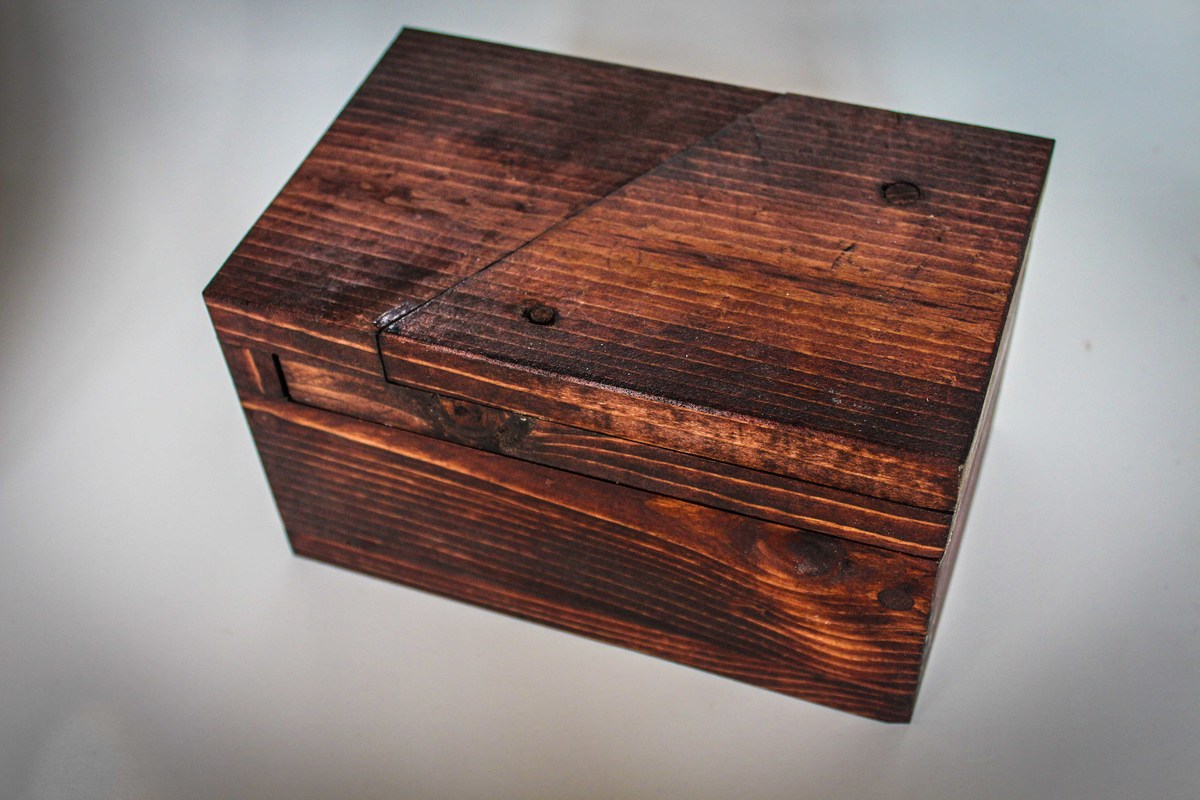
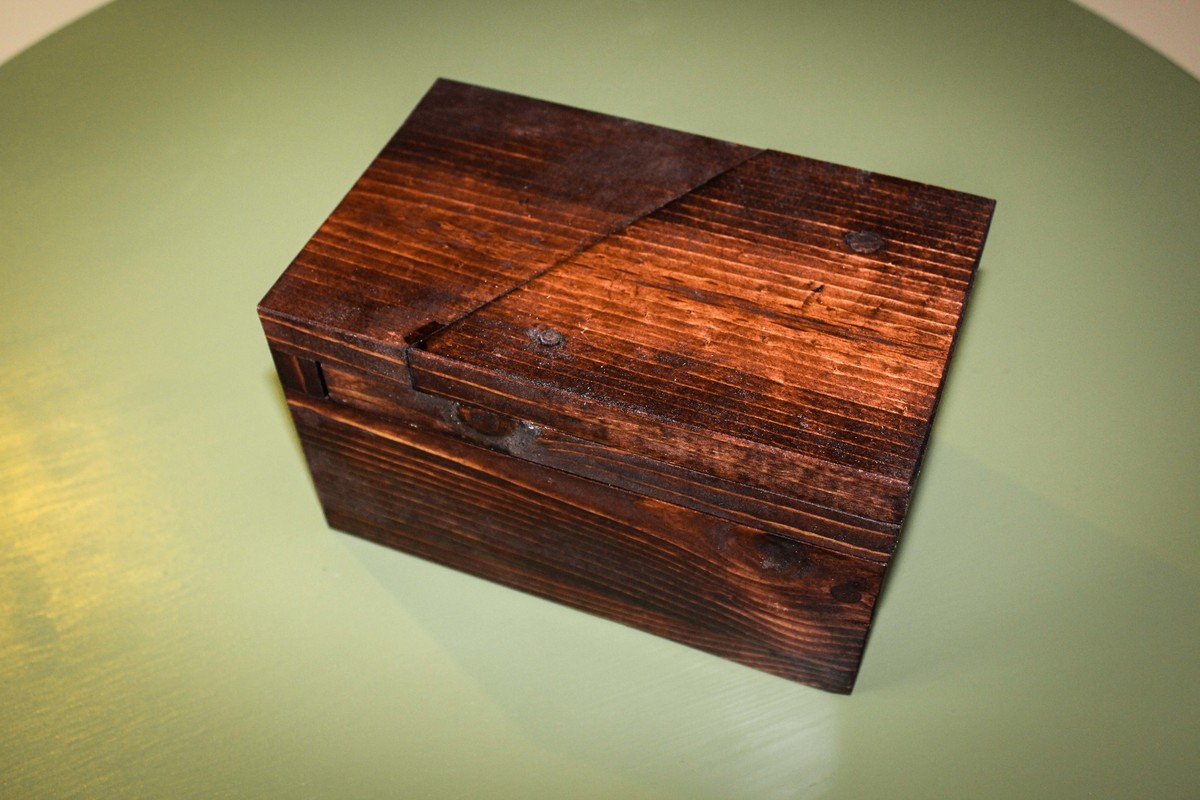
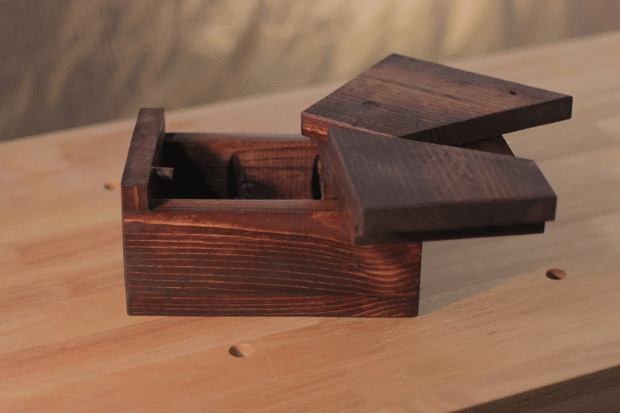
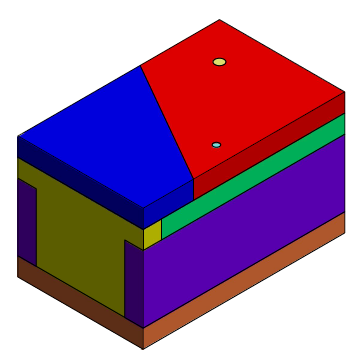
This is a simplified version of the Unabox from Make Magazine.

Build Instructions:
http://www.instructables.com/id/Puzzle-Box-Unabox/

Video:
http://youtu.be/VTaoUHsGau8

If you like this, please see my other puzzle box.
http://www.instructables.com/id/Puzzle-Box-4/

Estimated Cost
$10
Estimated Time Investment
Afternoon Project (3-6 Hours)
Finish Used
Red oak stain
Recommended Skill Level
Starter Project

Rustic Hall Tree

Submitted by Hilj13 on Tue, 08/25/2020 - 08:04

I have made several of these one for wife for our anniversary, Made another my mother for mothers day. Yes it is a easy weekend project.

Estimated Time Investment
Weekend Project (10-20 Hours)
Finish Used
Minwax Golden Oak Stain Minwax Polycrylic . Second one Killz Satin White paint and Golden oak stain.
Recommended Skill Level
Beginner

Apothecary Console

Submitted by bunni on Fri, 11/09/2012 - 16:19

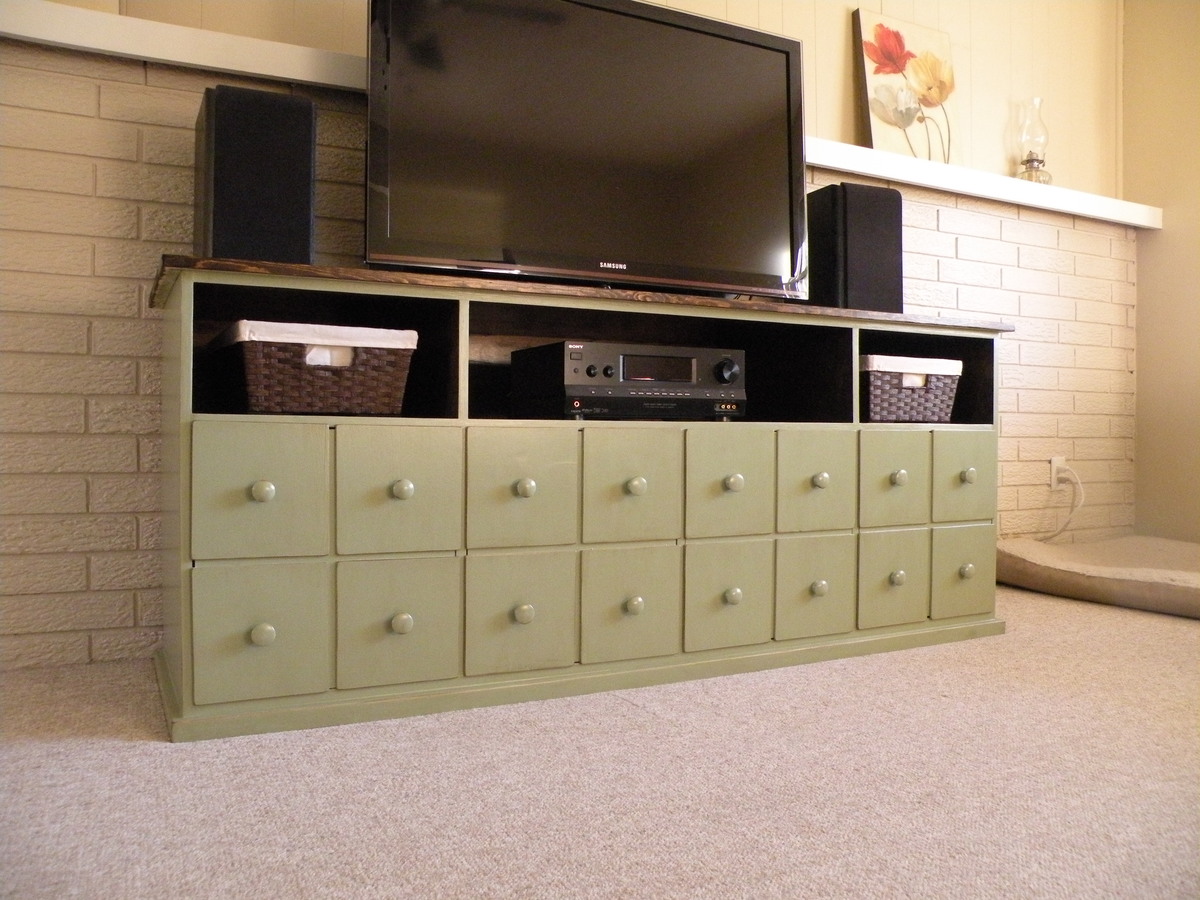
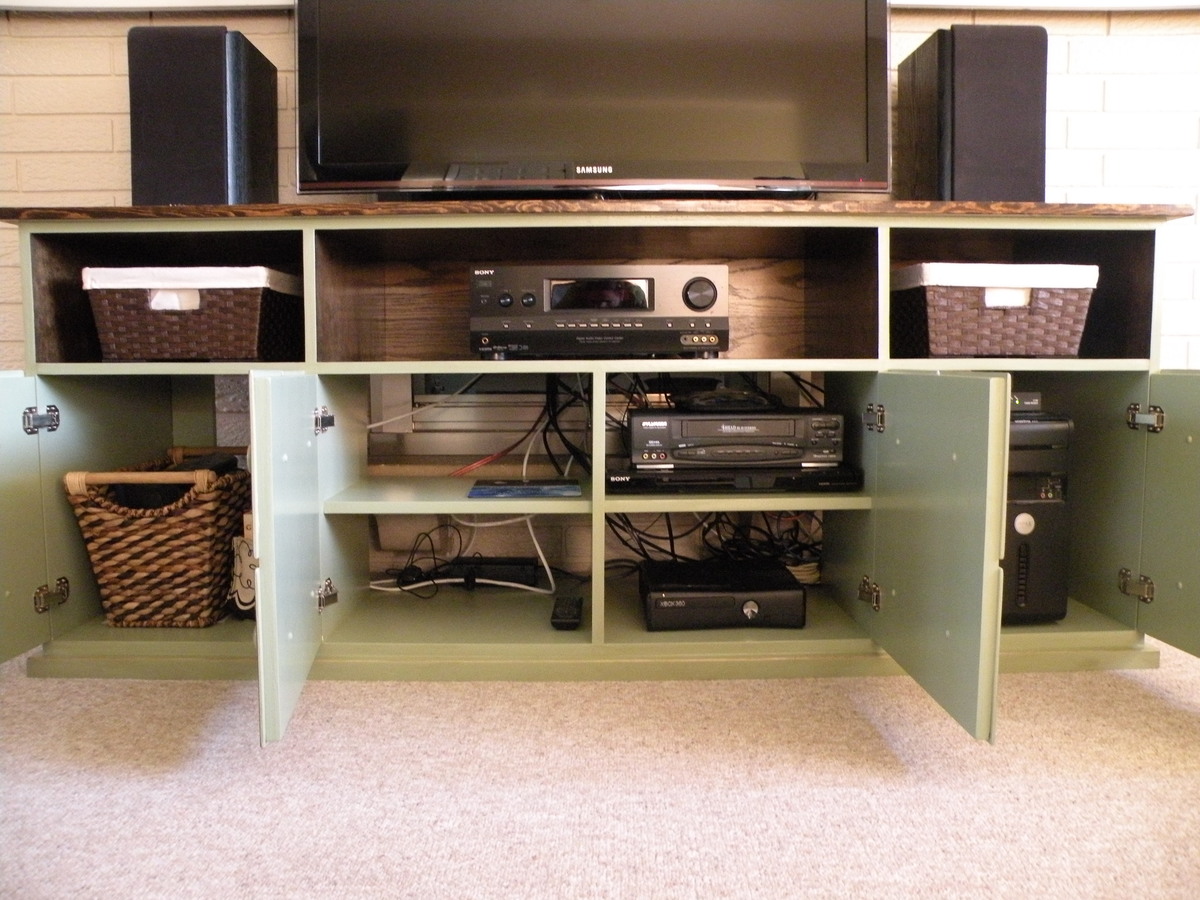
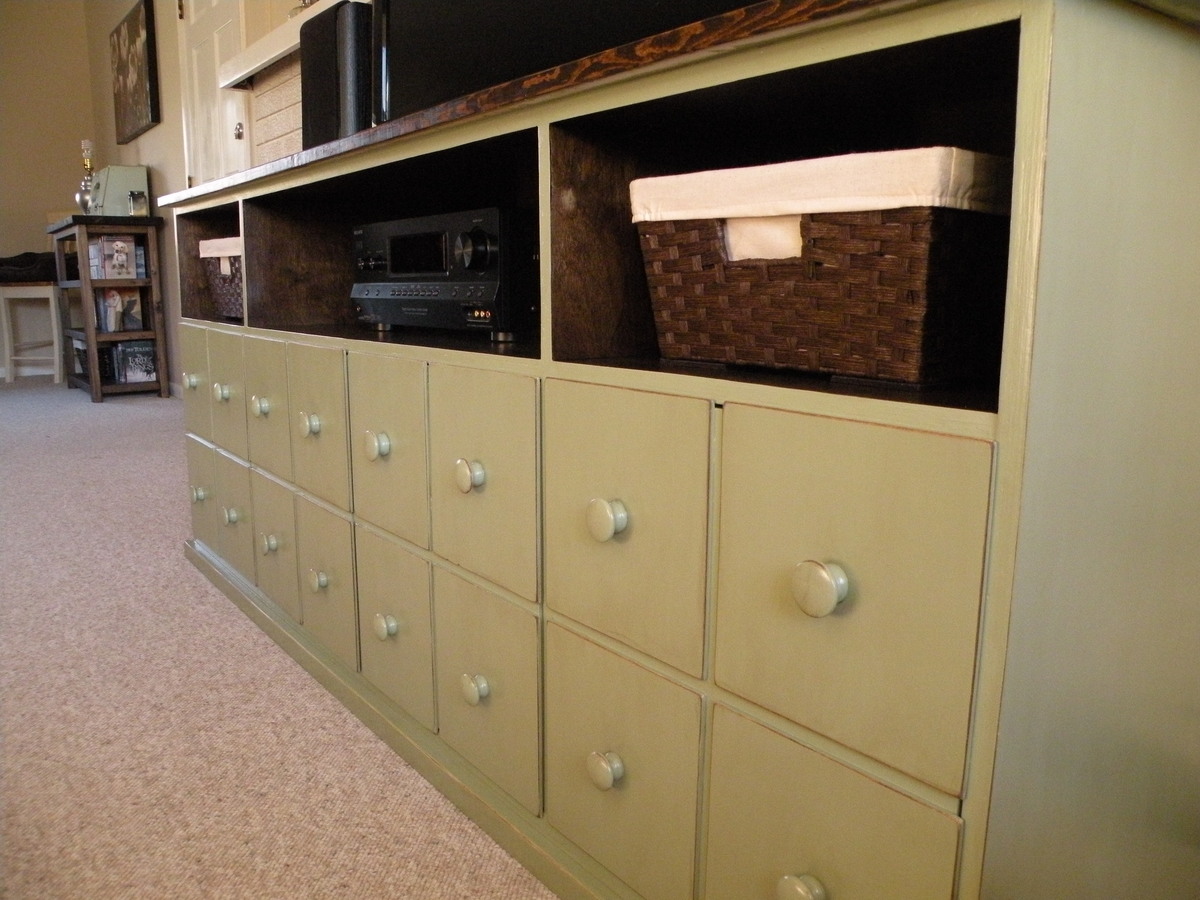
Overall this took about two weeks for me to build and finish. We modified the original plans to make it larger to accommodate a computer. It is 76" long, 30" tall, and 22" deep. We also had to customize it so we could fit it around our fireplace because space is limited in our house.

Estimated Cost
$300
Estimated Time Investment
Week Long Project (20 Hours or More)
Finish Used
Painted Section: Behr Premium Plus color Sagey, distressed edges then used Rustoleum Decorative Glaze Java Brown, three coats of Polycrylic in satin
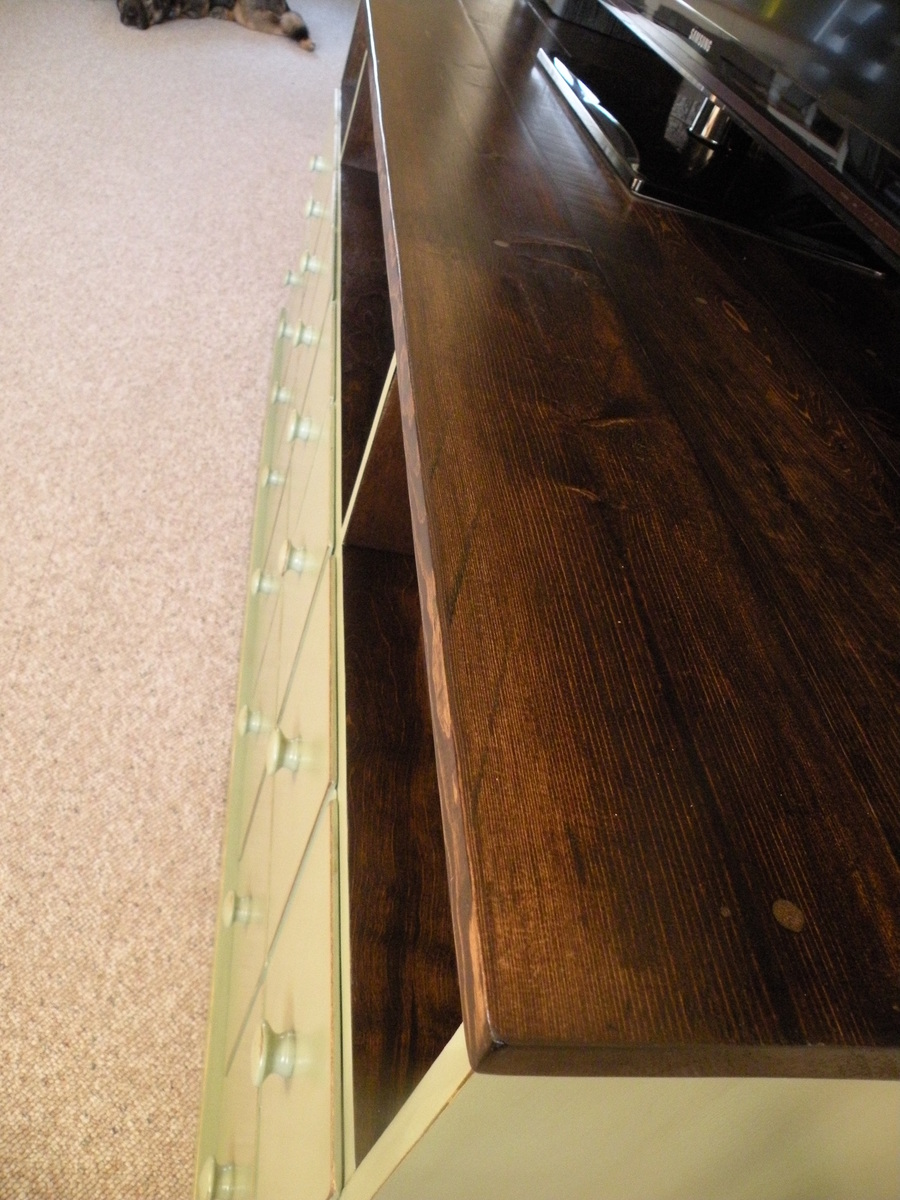
Stained Section: Minwax Dark Walnut Stain, three coats Polycrylic in semi gloss
Recommended Skill Level
Intermediate

Scrapwood Lanterns

Submitted by naomi on Fri, 08/29/2014 - 07:02

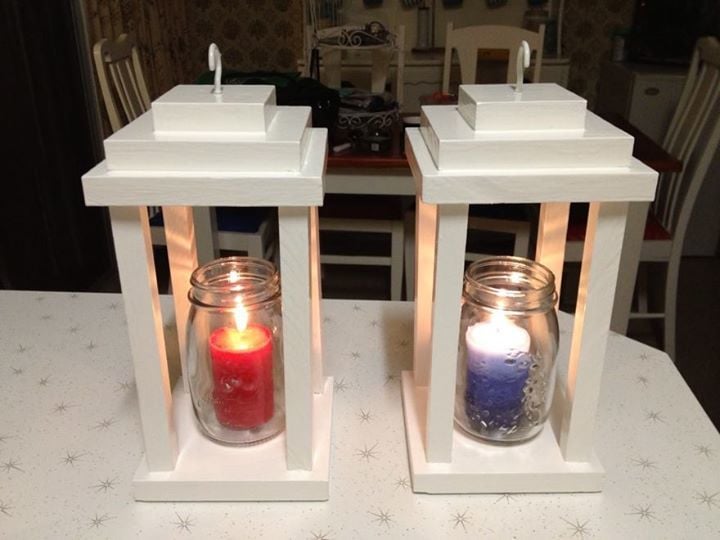
These were made from scrapwood.

Estimated Time Investment
An Hour or Two (0-2 Hours)
Finish Used
White Enamel Paint
Recommended Skill Level
Starter Project

Farmhouse bench / table project

Submitted by Anonymous (not verified) on Thu, 12/15/2016 - 16:07

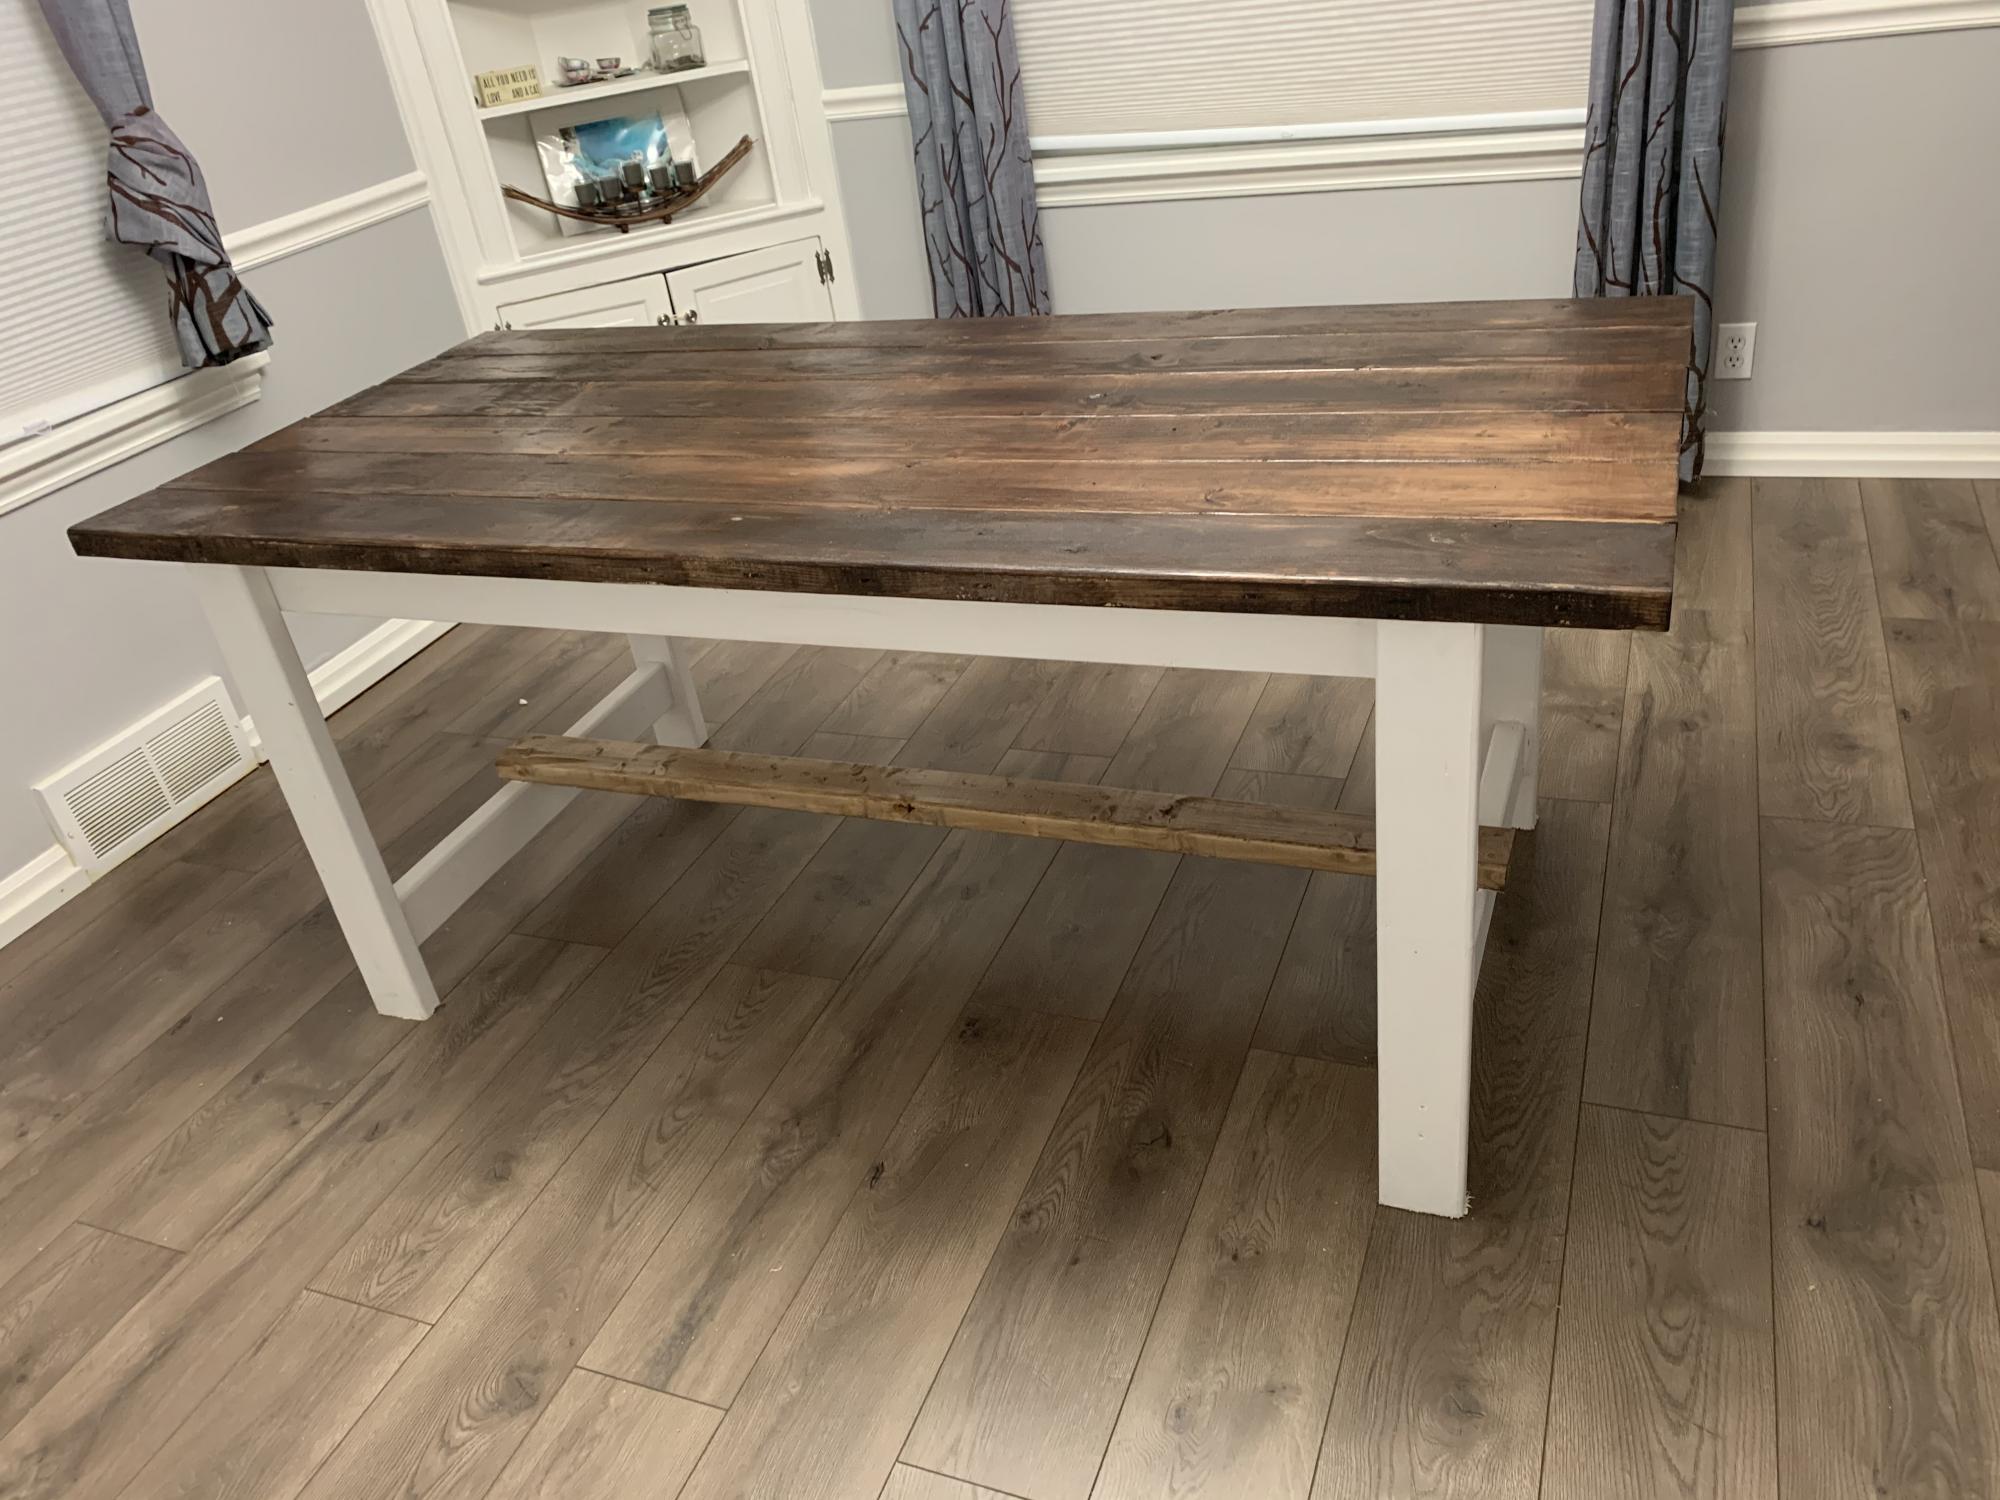
The table and bench project were awesome. I got a lot of inspiration from these, and have built 4 table so far. After posting the first one on Facebook, everyone wanted one. The one thing I would recommend is to really pay close attention to the lumber you're buying, make sure it straight and the edges are not chipped, to ensure all yourights seams match up, and your project ends up square.  A tip to alleviate all this,  is to buy everything wider than you need, and rip it straight through your table saw. What I mean is, if the table top calls for 2x10's, then buy 2x12's instead, and rip them down to 10 inches, so you're seams match up perfectly.  It may cost a tad bit more, but you will definitely be happier with the end result. 

Finish Used
Stain and white paint
Recommended Skill Level
Beginner

Completed Parsons Desk

Submitted by mawiggins on Sun, 08/30/2020 - 12:13

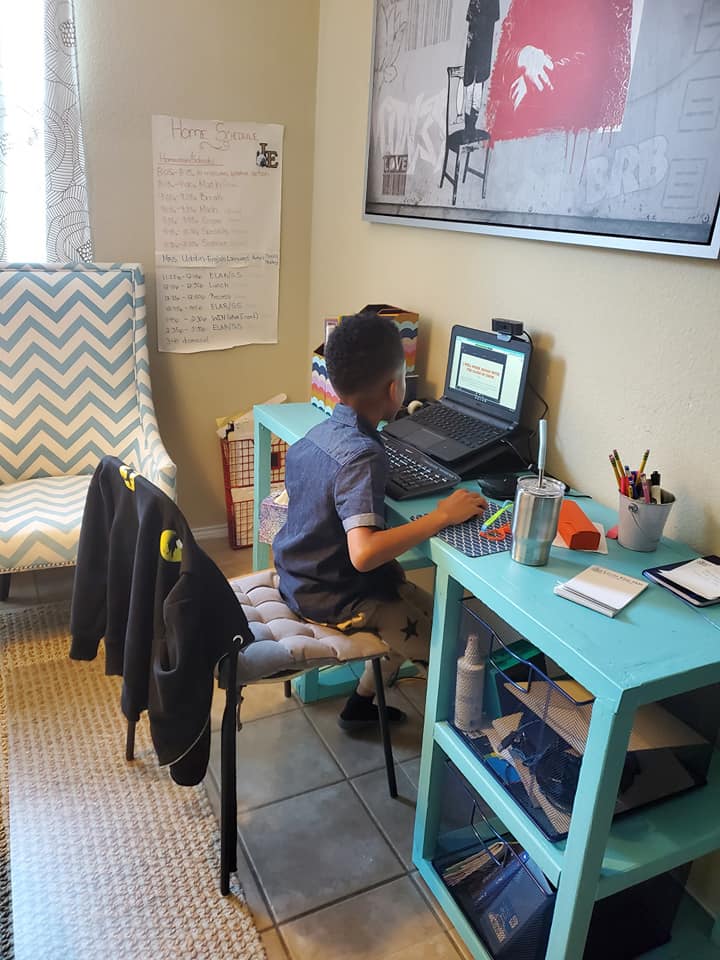
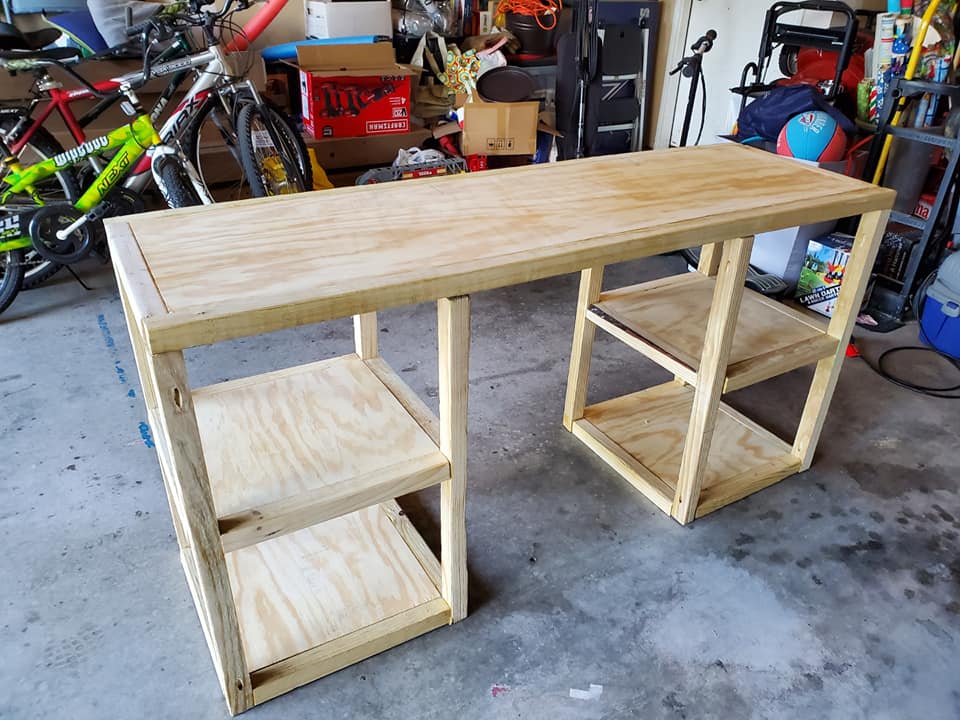
Due to Covid we had to have a desk for our son and the options for ordering were limited and costly. I love Ana White's projects and found her plan for a parson desk. While I have read many of the plans and dreamed of actually building something this was my first completed project. This was fun and my son is happy that he was able to help with the painting.

Built from Plan(s)

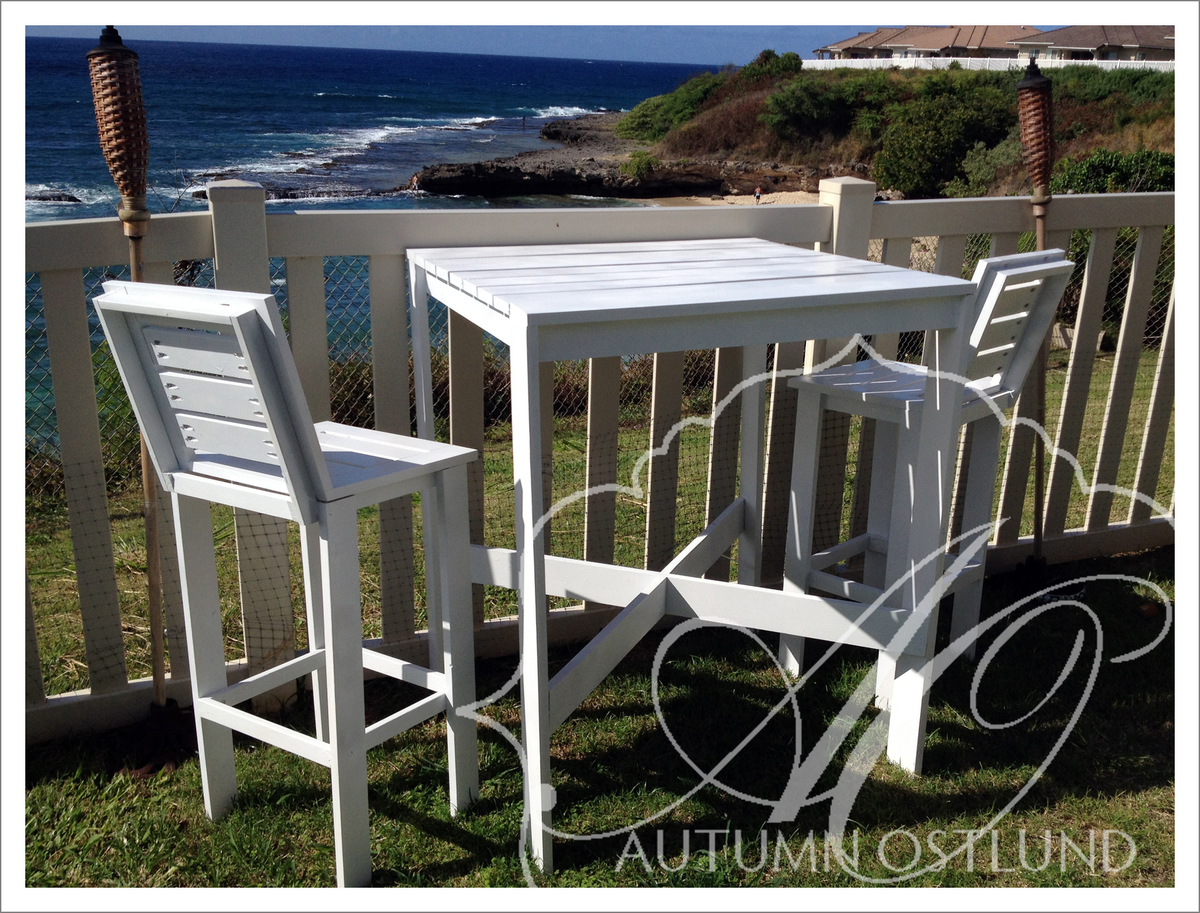
Outdoor bistro table and tall backed stools

I build the bar table with an x-base and created some stools using part of the plan. We really wanted backs on the stools so I made them up!

Estimated Time Investment
Afternoon Project (3-6 Hours)
Finish Used
Primed and painted white, sealed against the weather.
Recommended Skill Level
Beginner

Comments

spiceylg

Tue, 11/13/2012 - 05:39

That build came out really nice, but the scenic background, wow!!!!

Jake

Wed, 11/14/2012 - 18:16

Hard to believe that you are a beginner. Fantastic work. Keep it up and the whole home will be furnished.

dallynd

Sat, 04/13/2013 - 13:47

I'd love some information on the backs. My husband has a bad back and it's a necessity, but I'm a beginner and not sure how you did it/

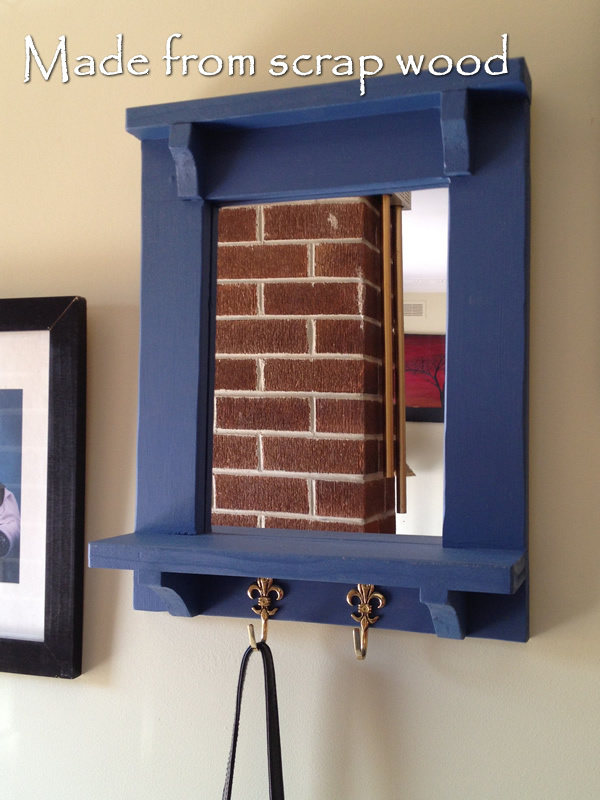
Scrap wood mirror with hooks

Submitted by naomi on Sun, 08/31/2014 - 08:14

This was made from scrap wood, a cheap $5.00 mirror and some hooks. This hangs near my front door and I hang scarves and bags on it. Always good to have a mirror to double check yourself before you leave the house. It was based on Ana White's Craftsman Frame.

Built from Plan(s)
Estimated Time Investment
An Hour or Two (0-2 Hours)
Recommended Skill Level
Starter Project

Side Street Bunk Beds

Capped railing and head/foot board for a different look. Did not like the look of the carriage bolts so sunk those in and used buttons to cover. Modified slope and added hooks to ladder so we could remove to vacuum etc. Would of added one more step if I were to do it again. My guys are little so added railings to back side top and bottom and extended railings.

Built from Plan(s)
Estimated Cost
$250
Estimated Time Investment
Weekend Project (10-20 Hours)
Finish Used
Ralph Lauren Napoleon Blue. Varathane Polyurathane
Recommended Skill Level
Beginner

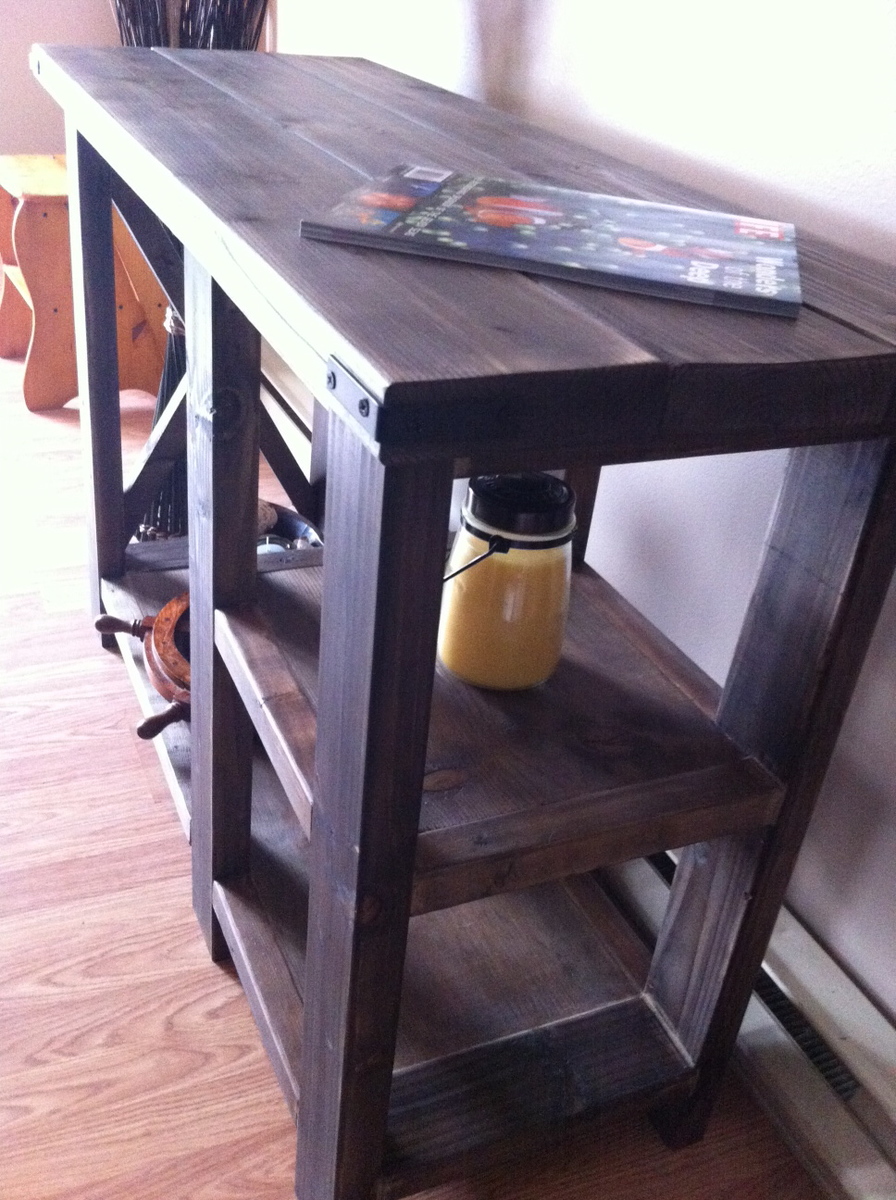
modified X

Submitted by colsen on Sat, 11/17/2012 - 10:08

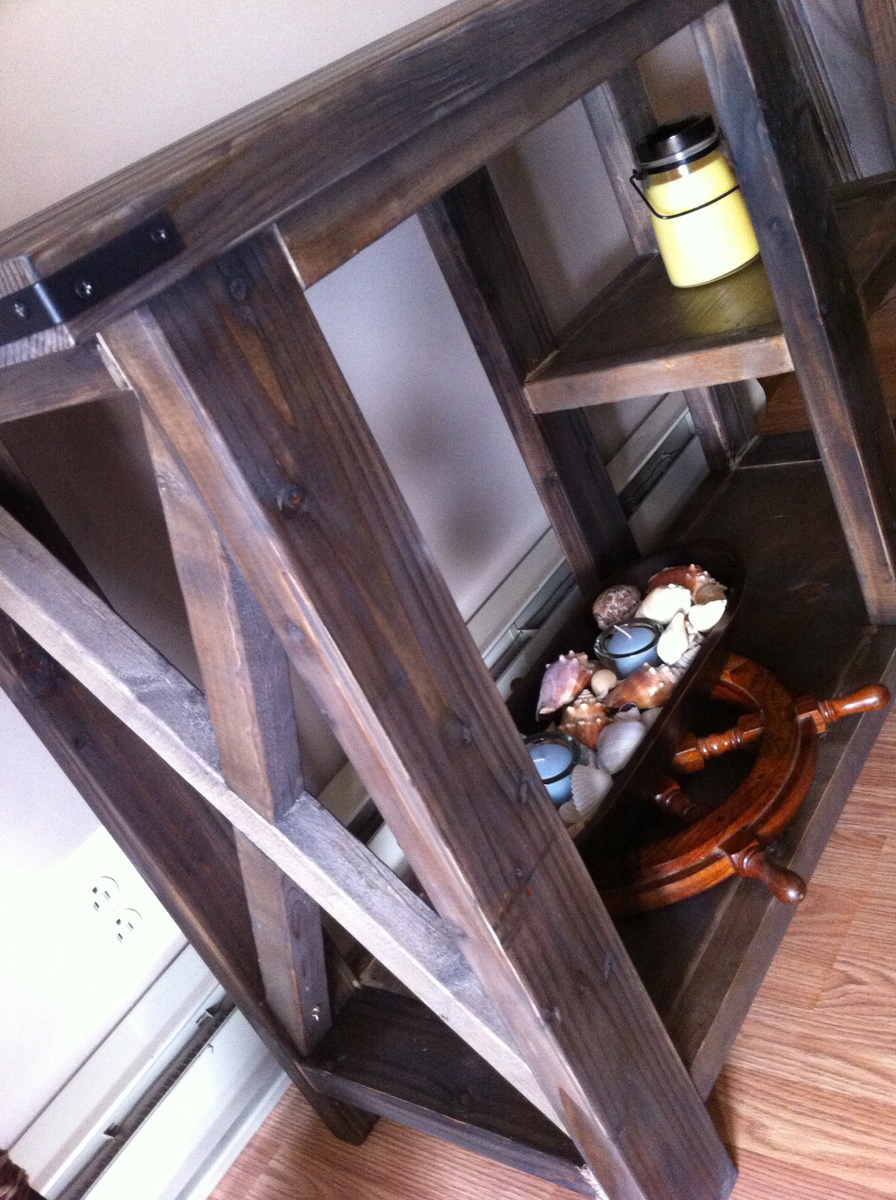
This is my very first project. Never used a saw before until a few weeks ago. I am really happy with the way it turned out.

I shortened the plan and modified the second shelf. I was planning on an "X" brace for both sides but got carried away and realized it wasn't going to work on the one side. I like the end result and don't mind that its missing.

I would have finished it sooner but was a bit intimidated by the angled cuts. My miter saw only cuts 45.

Built from Plan(s)
Estimated Cost
$75
Estimated Time Investment
Weekend Project (10-20 Hours)
Finish Used
Iron acetate, however I applied the stain backwards. I put the tea on last instead of first. Then 3 coats of polyurethane.
Recommended Skill Level
Beginner

Comments

JoanneS

Mon, 11/26/2012 - 18:17

Wow you did an awesome job on this! Congrats! Looks very professional. The modified second shelf is a great touch, I think it looks perfect without an X on that side. BTW love the shells and captain's wheel too. :)

Check out / Display Counter

I built this Counter for a new business in Chatham, Va. Will add lighting in side !

Finish Used
Black Stain/Early American highlites/Gloss poly.
Recommended Skill Level
Intermediate

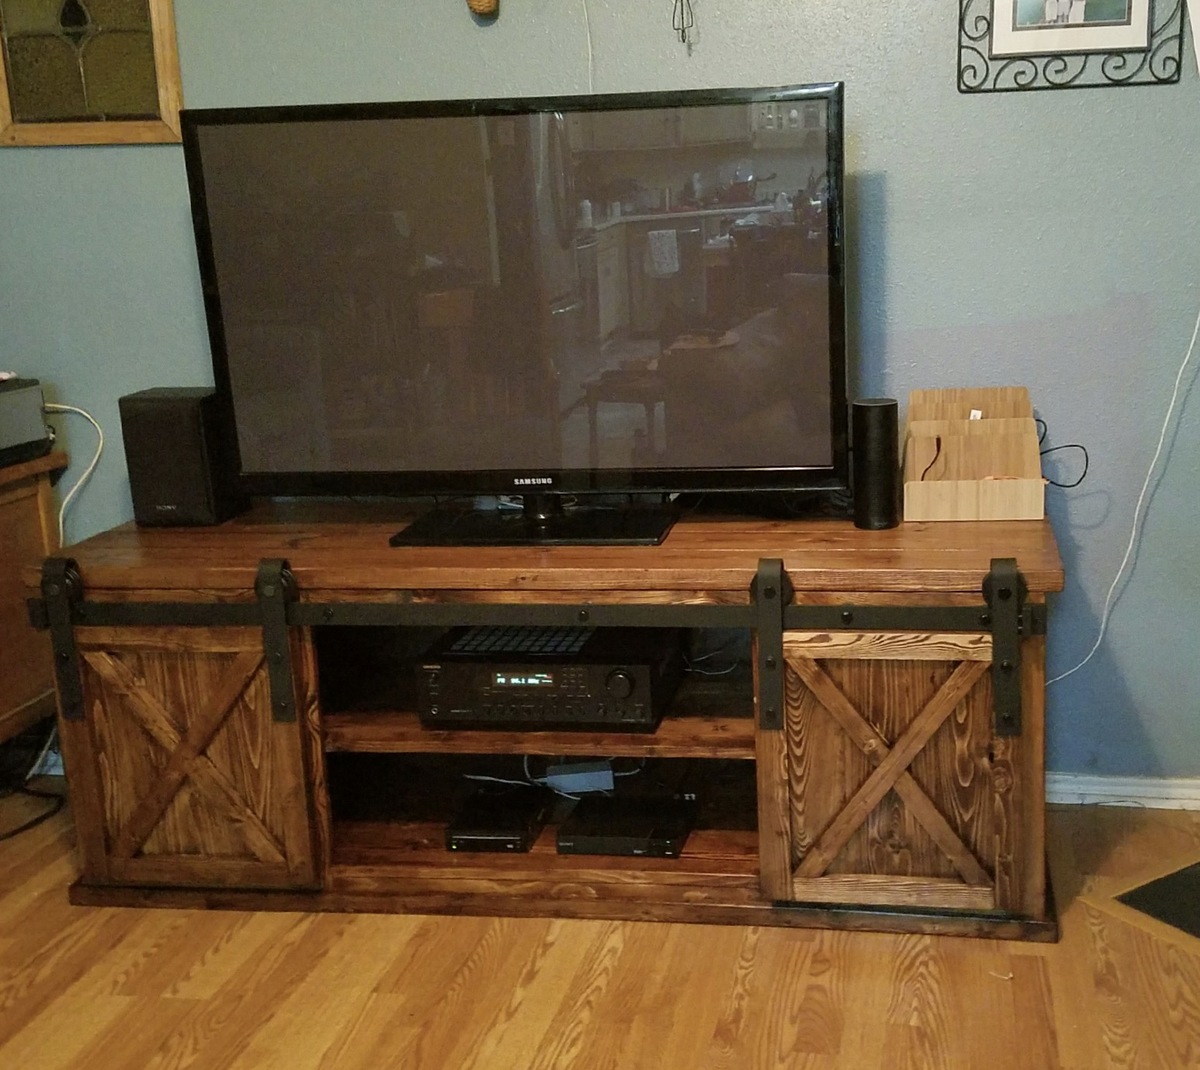
Grandy Sliding Door Console

Submitted by Anonymous (not verified) on Fri, 12/23/2016 - 17:05

Had to trim a little off the barn door track so they would fit, but overall, great project!

Estimated Time Investment
Weekend Project (10-20 Hours)
Recommended Skill Level
Intermediate

Comments

Rustic Console Table

Submitted by crazedyak on Sat, 09/06/2014 - 14:10

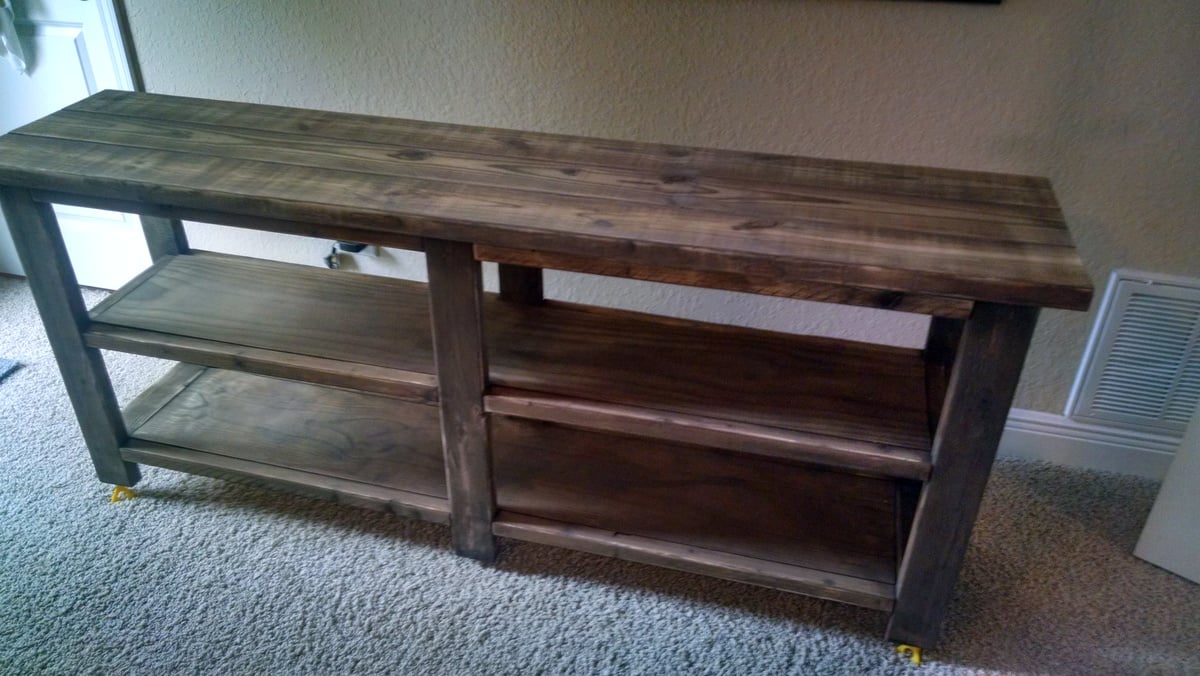
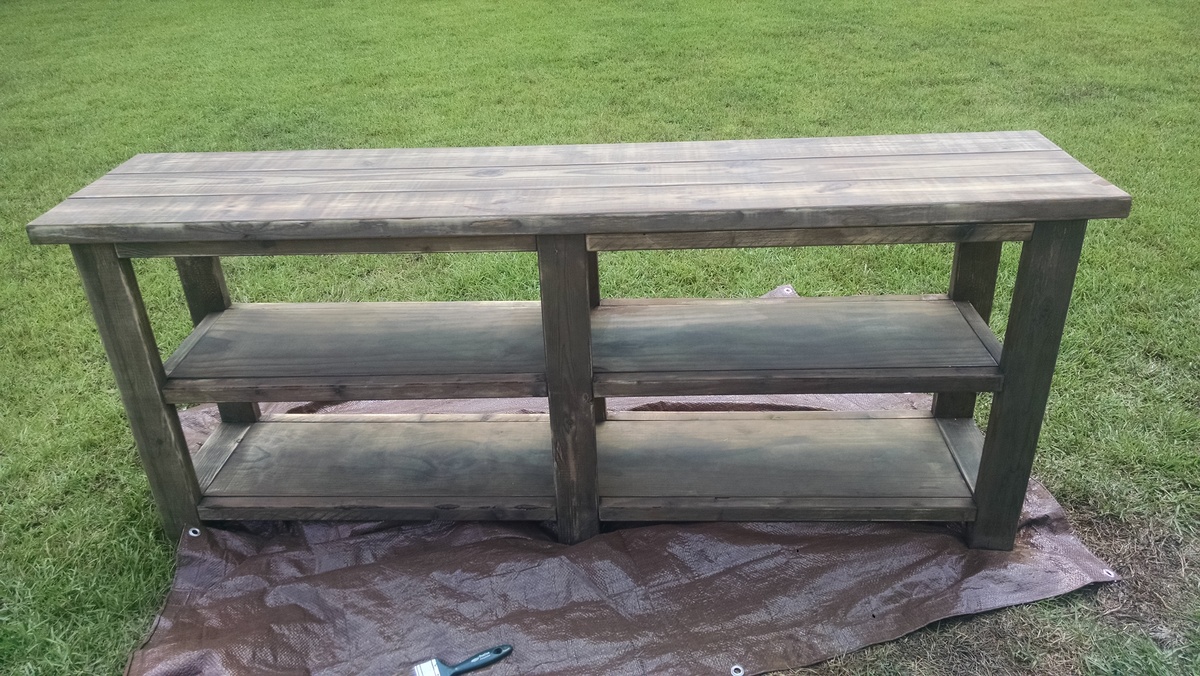
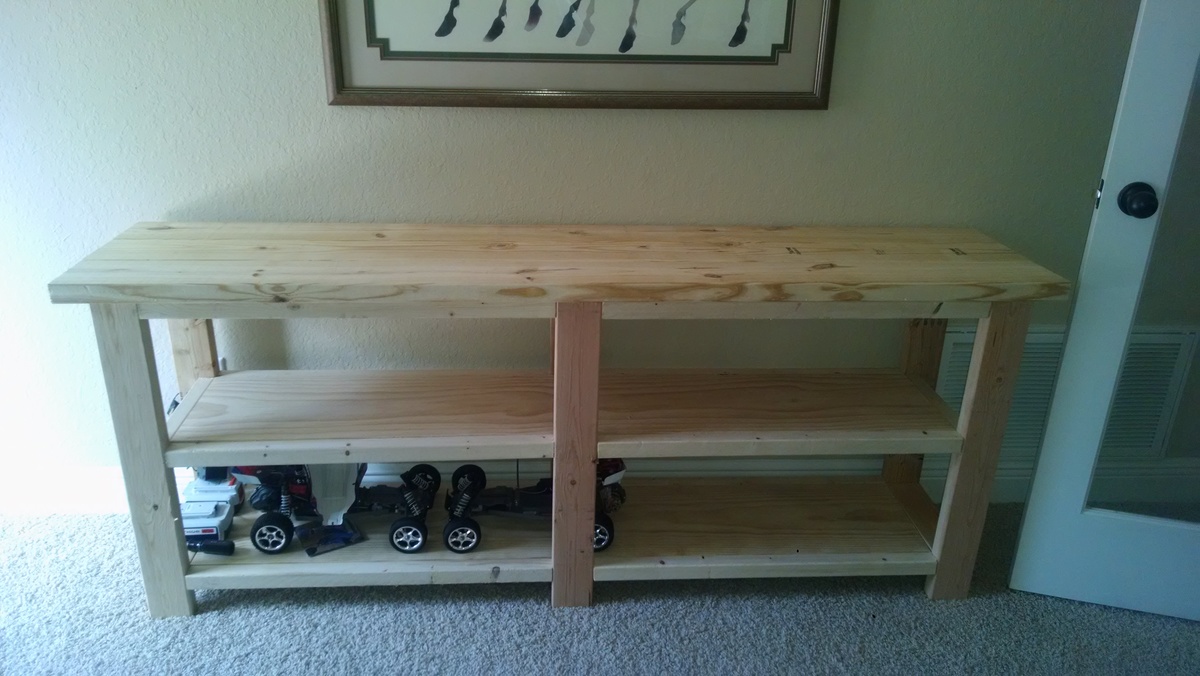
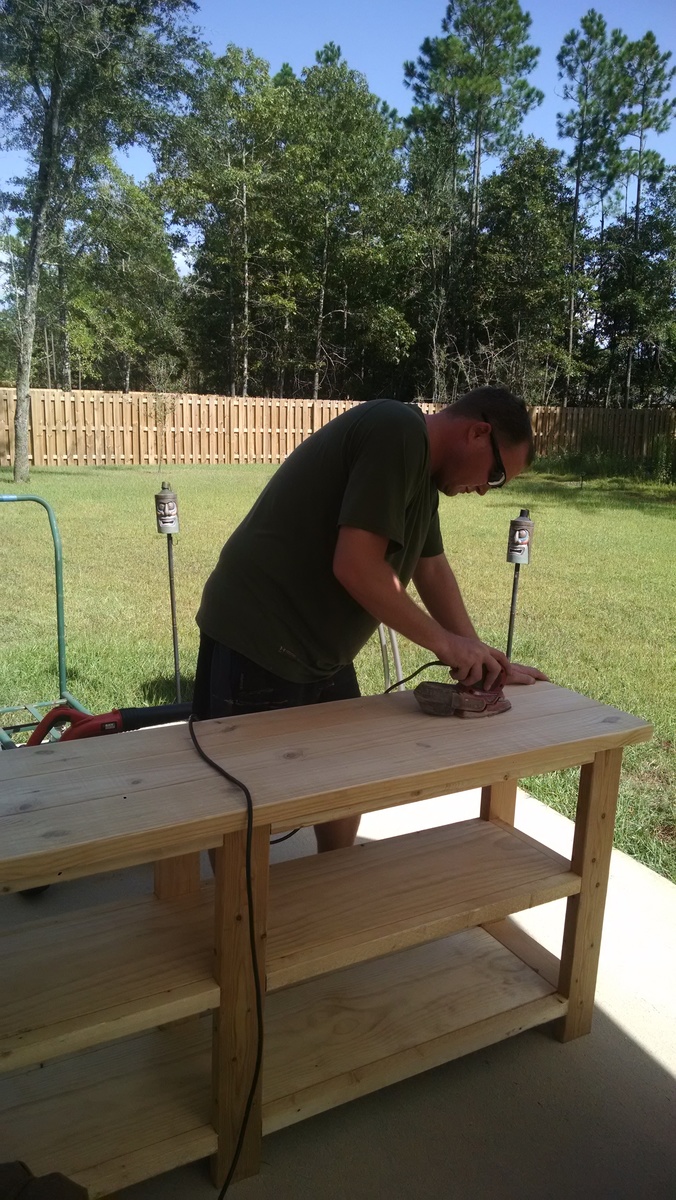
I followed the plan, and used plain pine wood.  The wood cost $106 at my local Home Depot.  The Kreg R3 Jr. Jig, Clamp and Screws I already had from a previous project. This is a weekend project.  Biggest obstacle here is to make sure the shelves stay level.  After it was built I sanded everything with 180 grit before going to the staining step.


Stain...  I made a pot of STRONG Tetly Black Tea and painted the entire table.  I decided to go with this Oxidizing Stain (http://www.sweetpickinsfurniture.com/2011/01/how-to-weather-new-wood.ht…) for the wood.  The Black Tea increases the tannins in the wood, which makes a stronger reaction in the woodgrain after you apply the oxidizing solution.  After the solution dried I sanded lightly with 180 grit again and now it's ready for Wipe-On Poly to be applied.


Just one small hint.. The Oxidizing Solution takes a few days to react, so plan accordingly.  I let mine set for 7 days before use.

Built from Plan(s)
Estimated Cost
$130
Estimated Time Investment
Weekend Project (10-20 Hours)
Finish Used
Oxidizing Solution and Black Tea
Recommended Skill Level
Beginner
Back