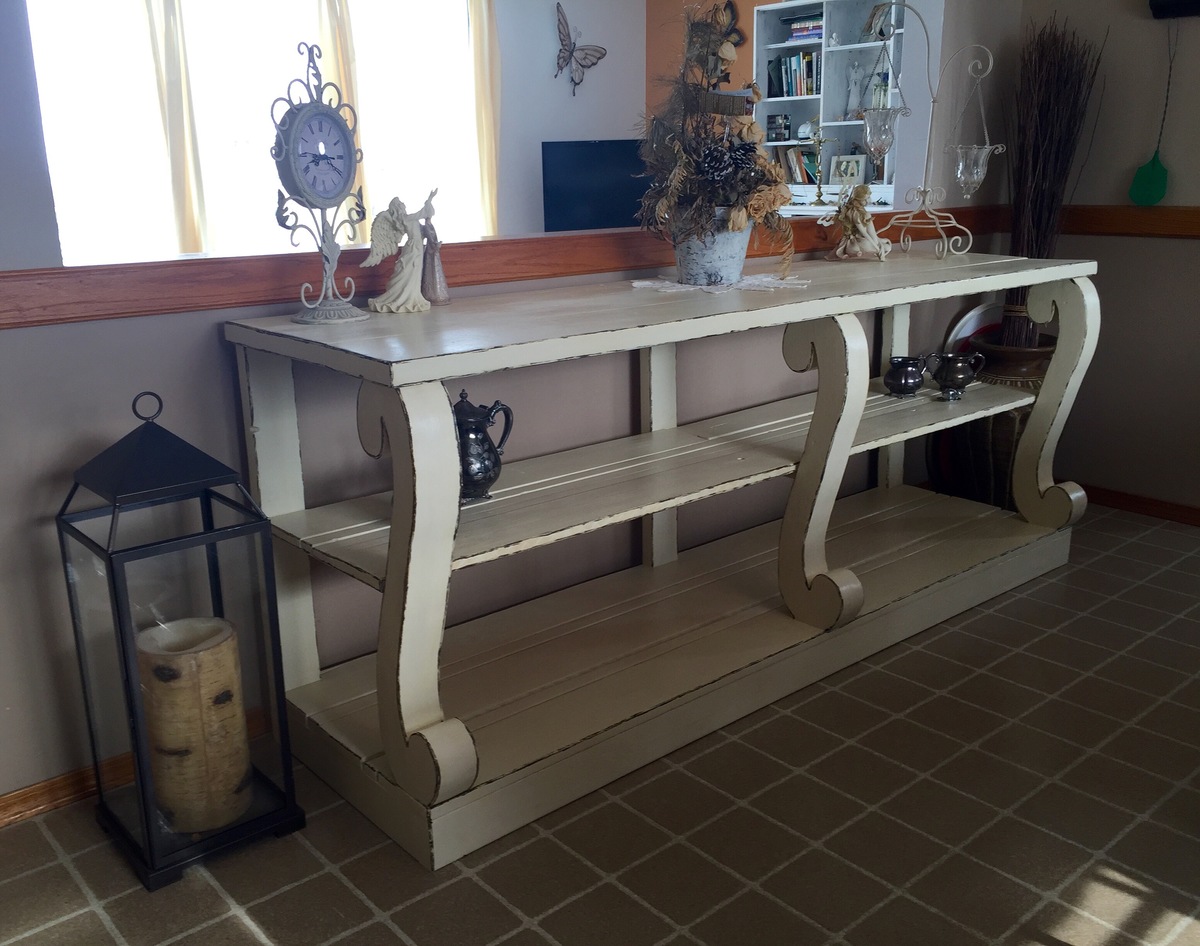
Barn Door Console
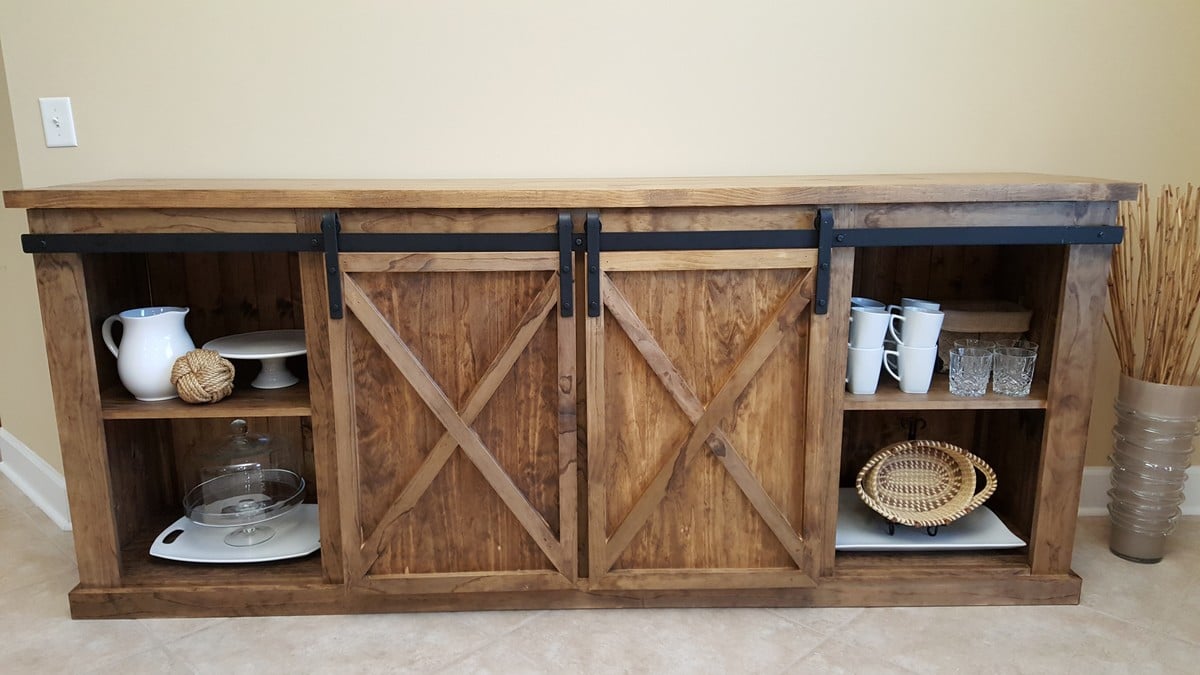
So this project took quite a while for me to finish, but I didn't cut any corners and expanded a bit on the basic plans that were offered. Some notes on changes to the project:
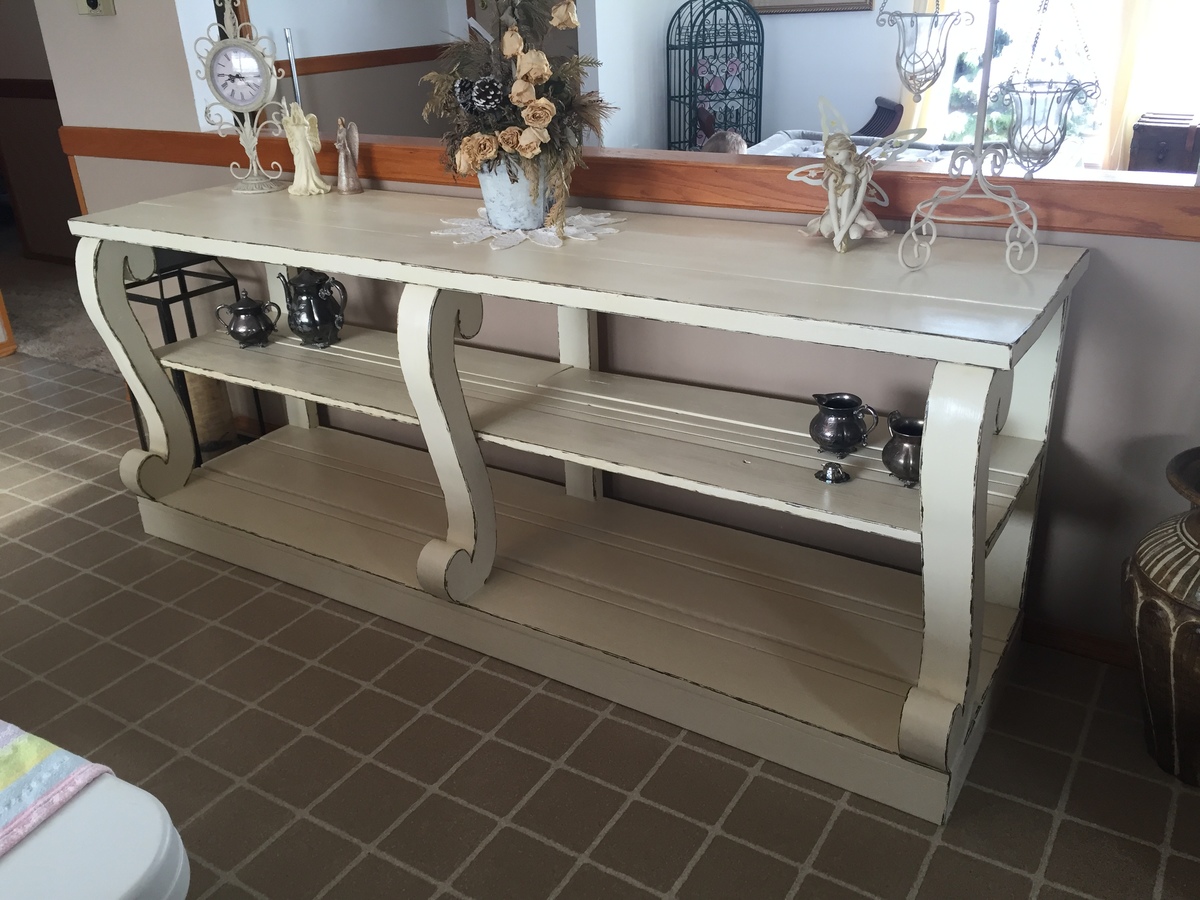
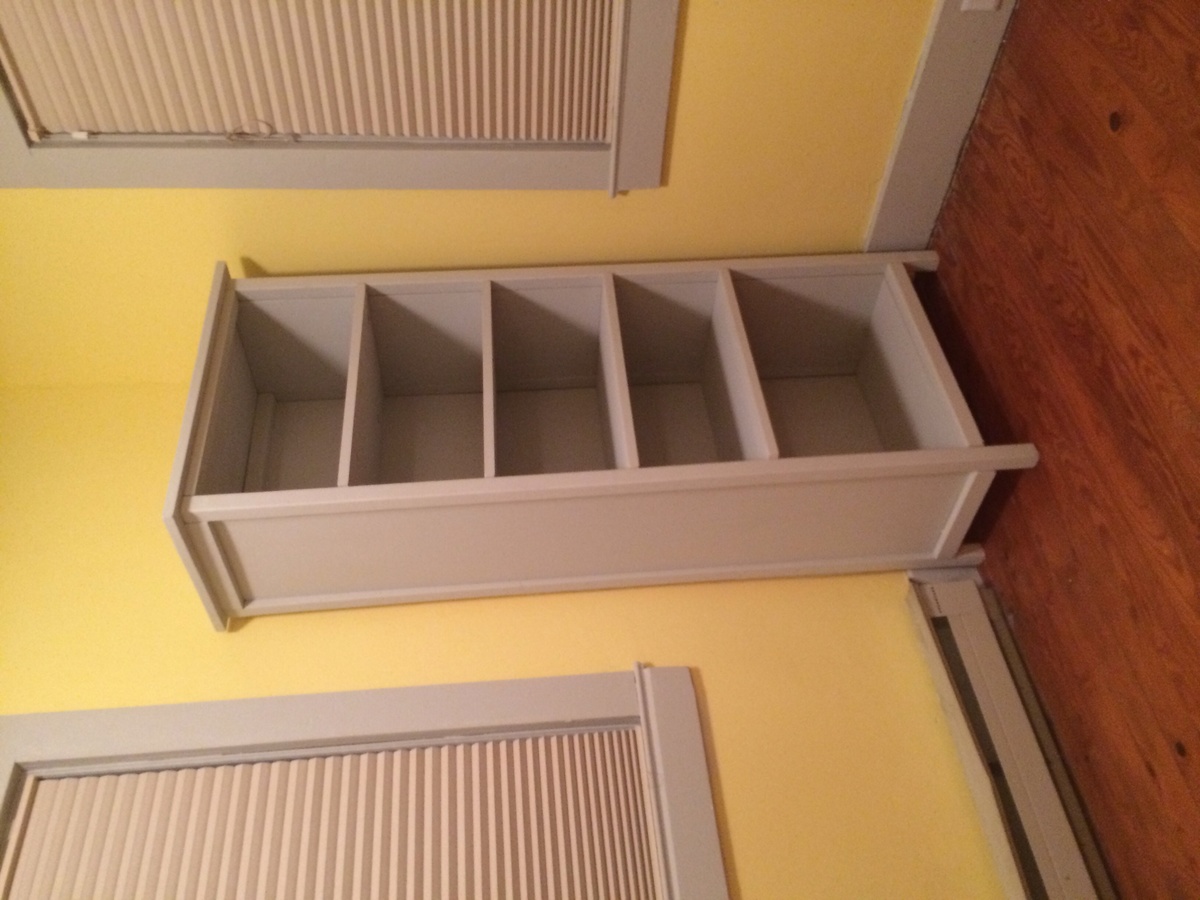
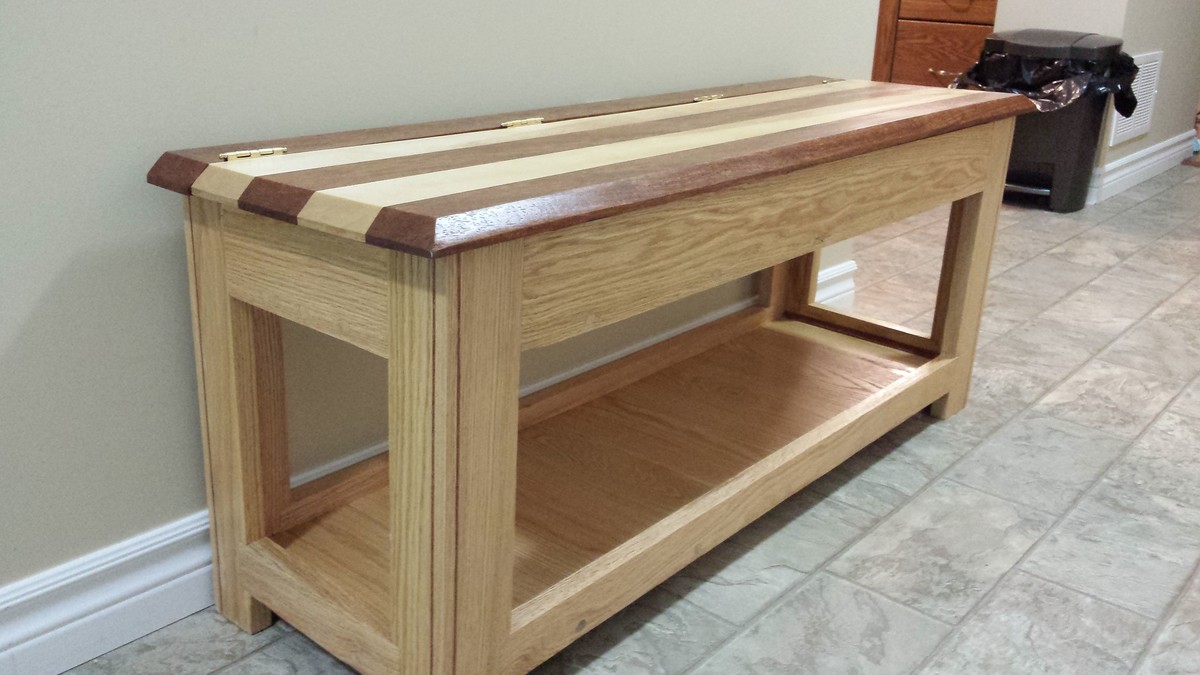
- Instead of leaving the gap in the bottom and middle shelves, I used a second 1x10 and ripped it down to the exact width I needed so that it would be flush (this was done for the bottom shelf and the middle shelf.
- I added 3 supports in Step 5 at the back to provide additional support for the middle shelf.
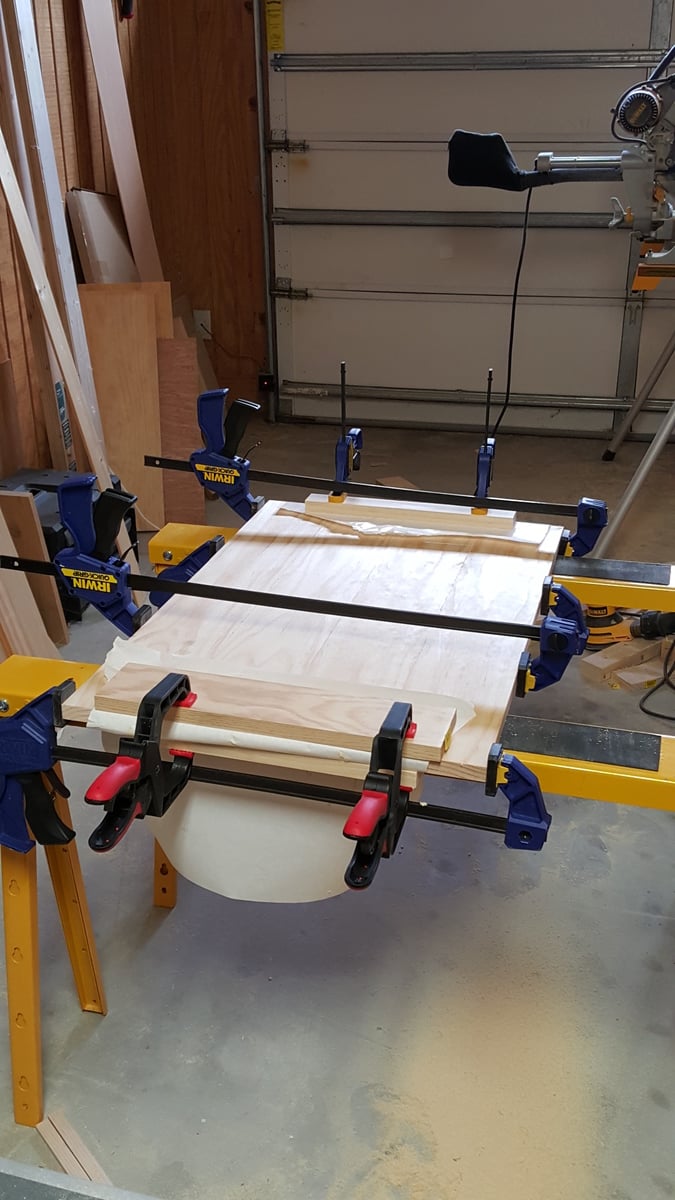
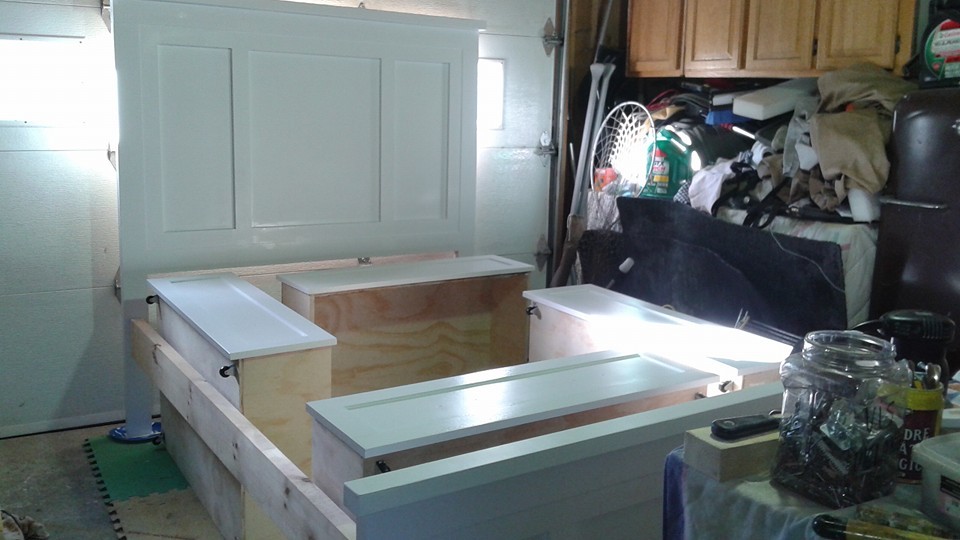
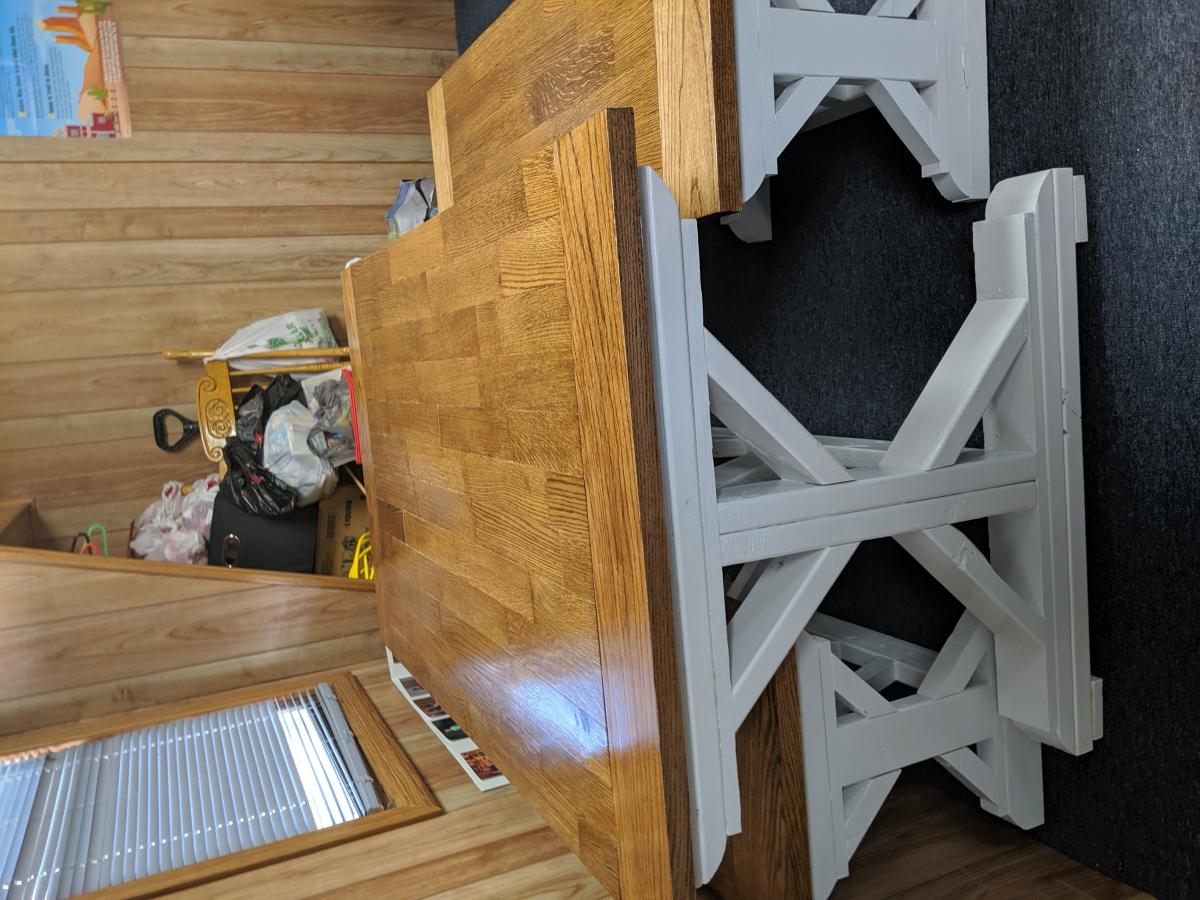
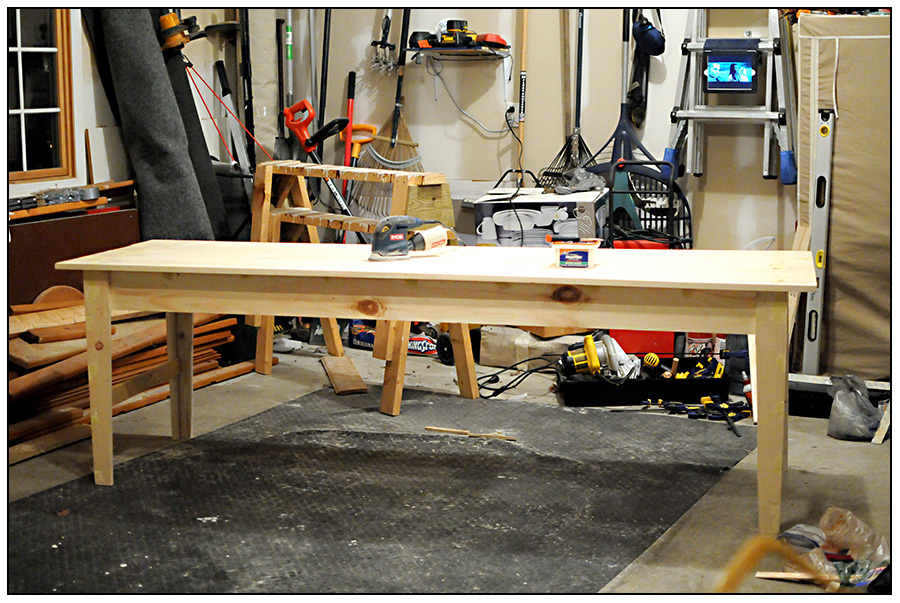
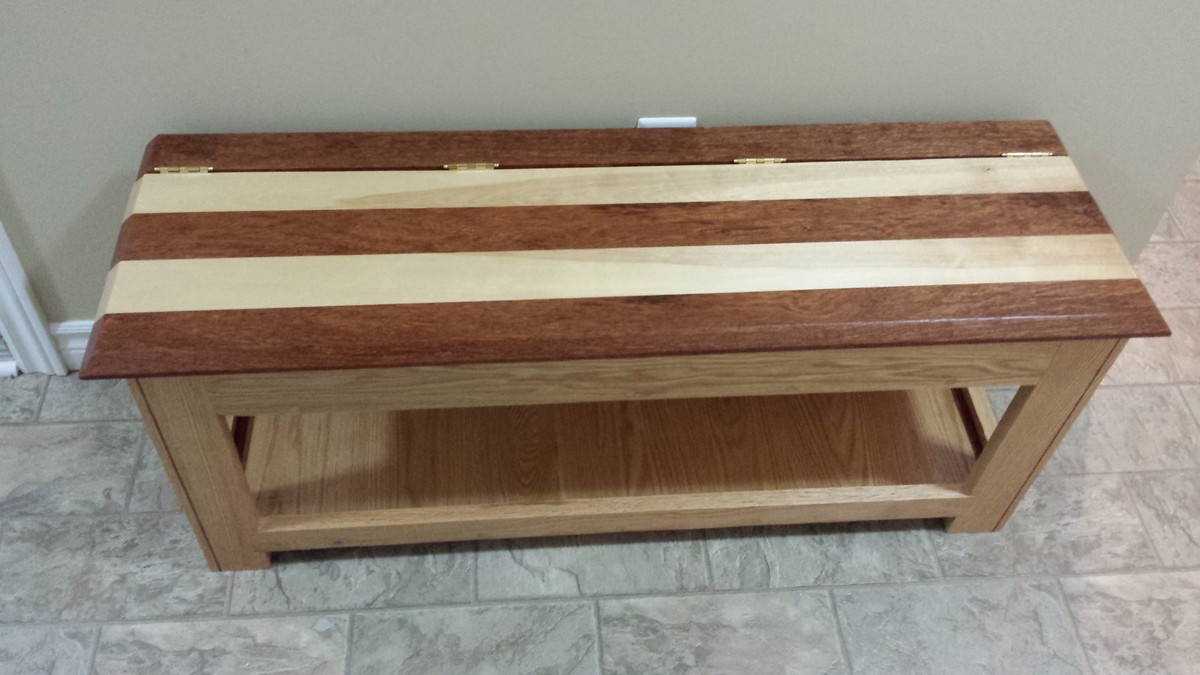
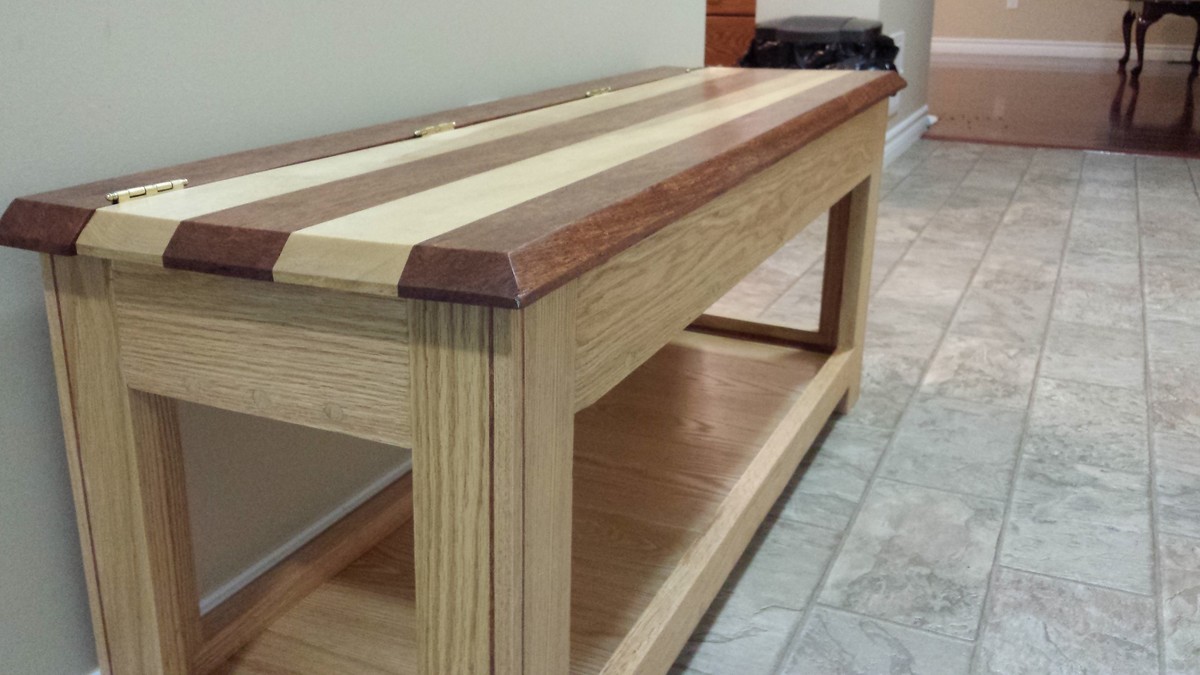
- For the top, instead of 2 2x10's, it is 3 2x8's ripped down to 6.25" each, then edge glued. A brace was then added to the bottom and used to attach the top to the main unit. See the pictures for a better description.
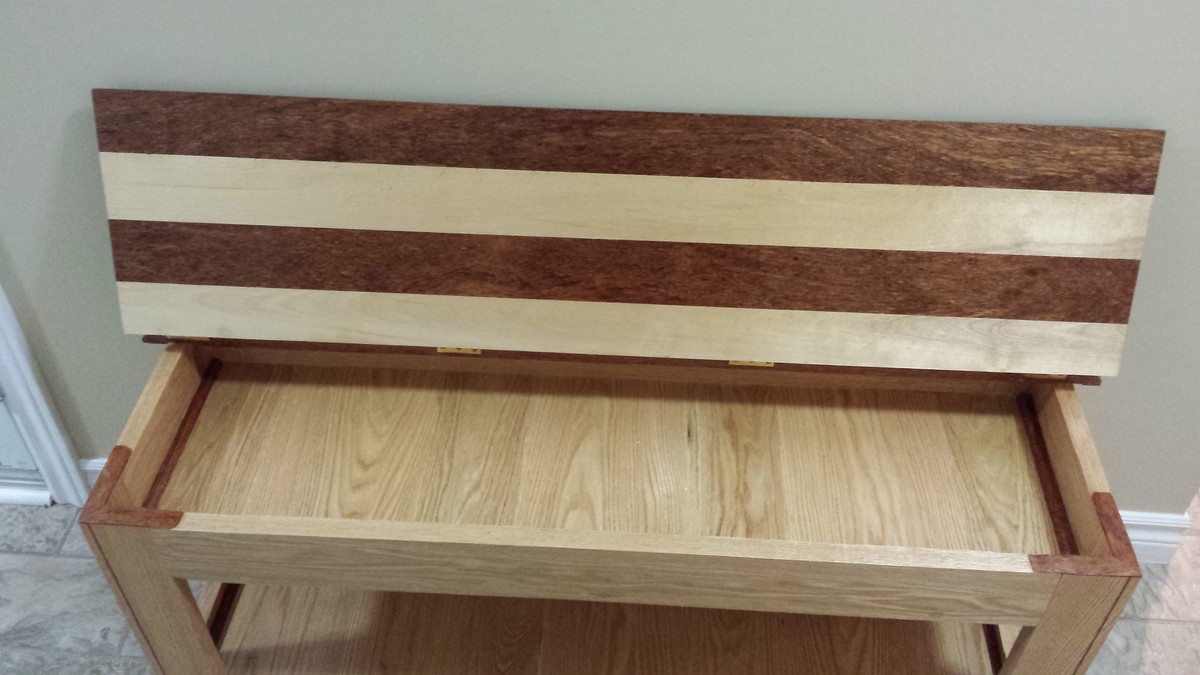
- I also edge glued the doors out of 1x6's in order to get the dimensions I wanted.
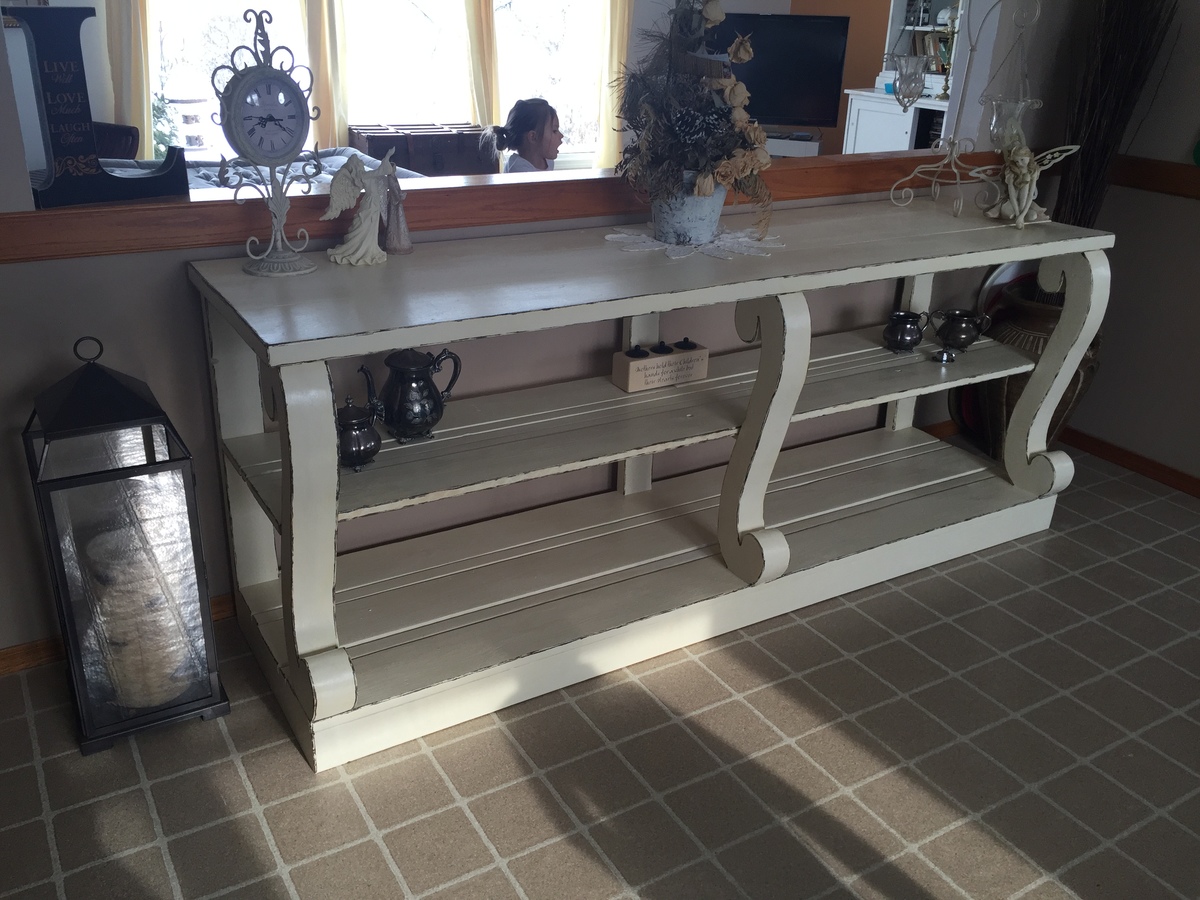
- I used a 1x3 at the bottom to give it more of a sturdy look
- OK, so the big part that people complained about the original plans were the lack of information on how to do the rails. I cheated and contacted a metal fabricator to make them for me. Pricing was consistent with what you would find online for similar barn door hardware, but it definitely turned out better than me trying to do it myself.
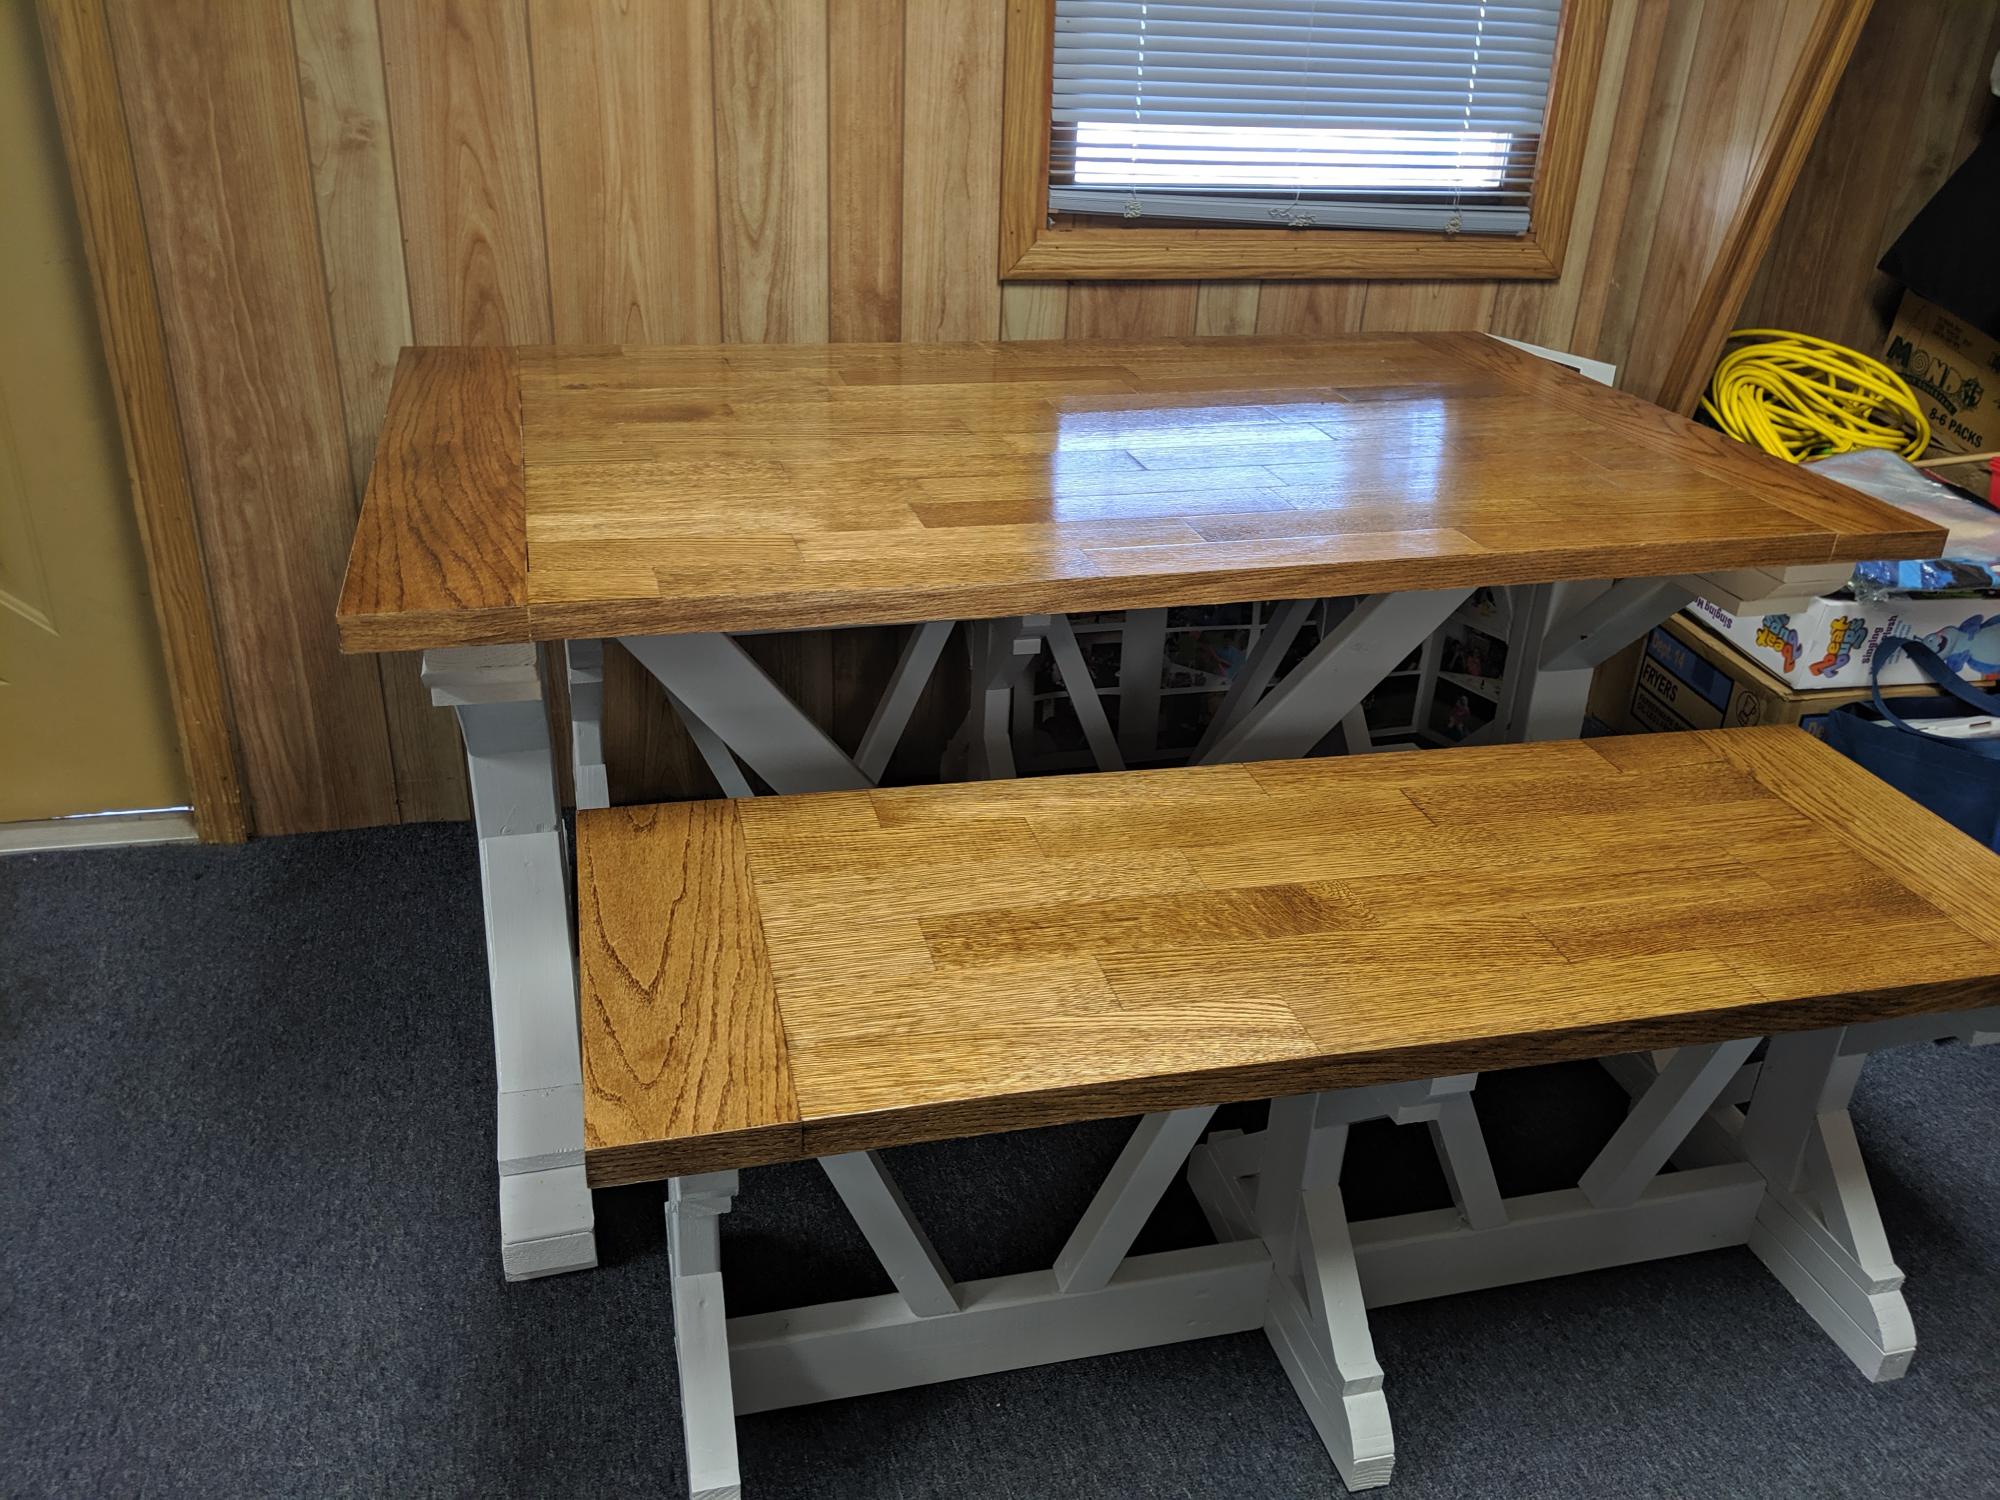
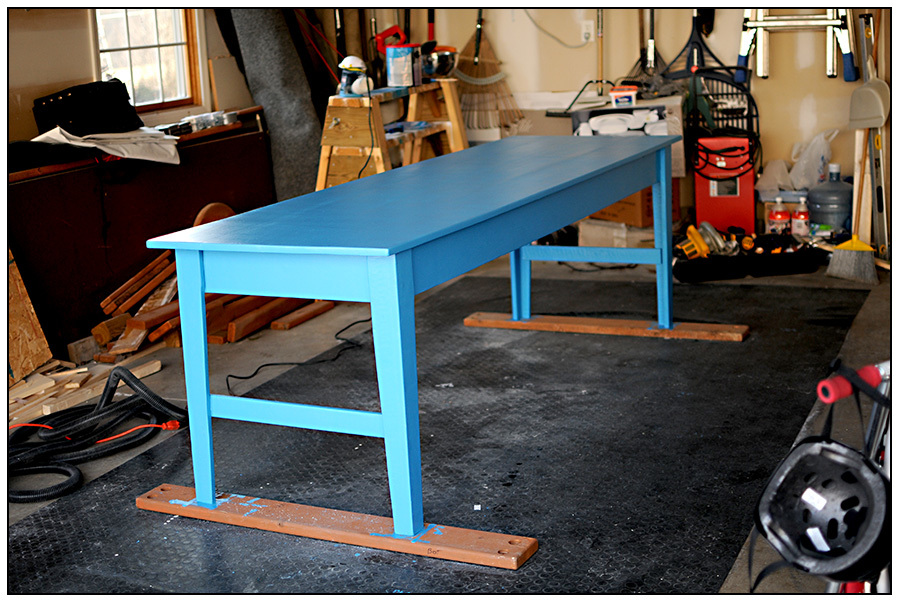
- The stain is Minwax "provincial" and I used a wipe-on poly to coat it. For the top, I used 400 grit sand paper between coatings, and let me tell you, you can see your reflection in the finished product. Turned out really well!
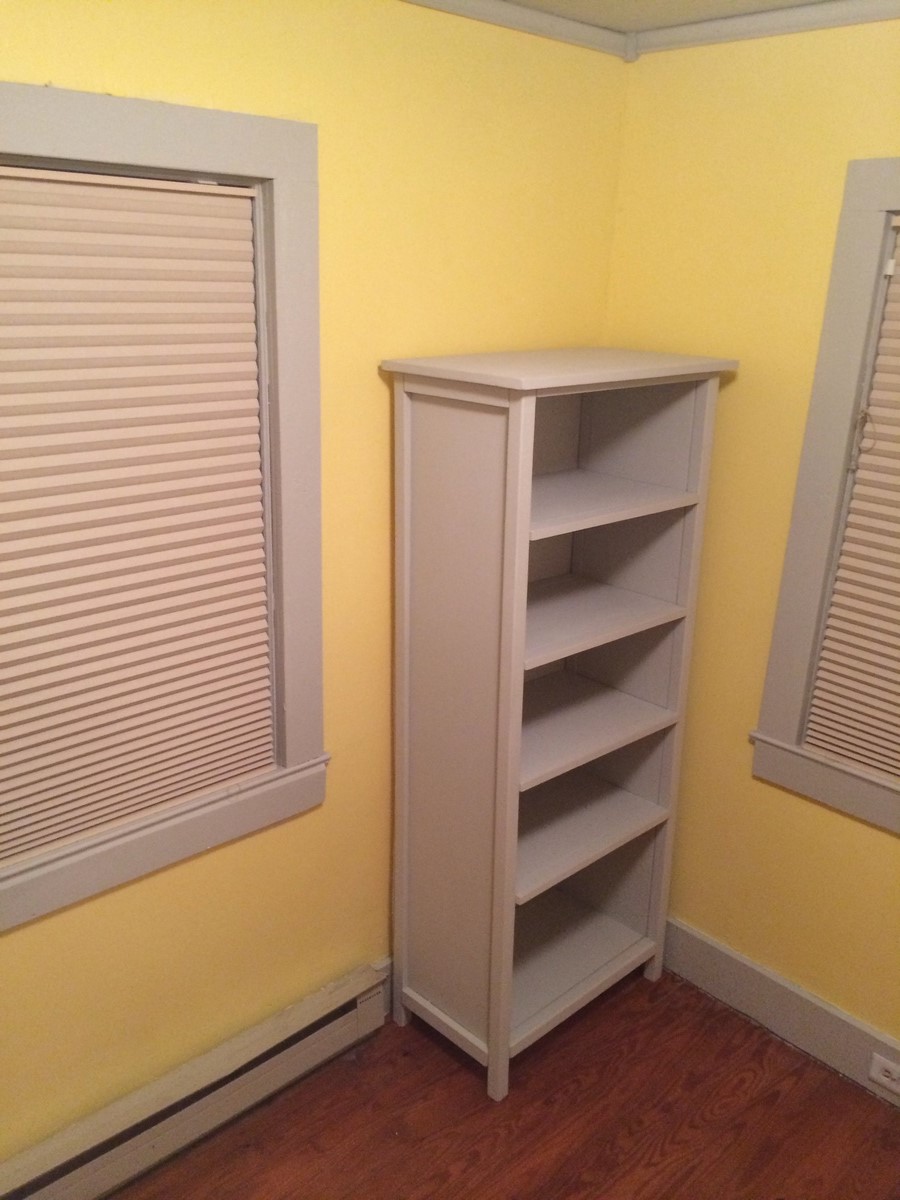
- My only regret is that I used project boards for the two end pieces, and so they don't quite match the remainder of the project. I would have edge glued them just like I did the doors given the chance to do it over.
Anyway, enjoy!
Built from Plan(s)
Estimated Cost
OK, so cost was more than I expected. I probably spent around $500 on wood, supplies, stain, etc. The metal hardware was $250. So overall, probably around $750, but still way cheaper than something comparable would have been from a big-box store.
Estimated Time Investment
Week Long Project (20 Hours or More)
Finish Used
Mentioned above, but Minwax Provincial stain. I used a rag to hand wipe it on, then wiped it off after 3-5 minutes. Three coats of wipe-on polyurethane were used, with 400 grit sand paper in between each step.
Recommended Skill Level
Intermediate


Comments
Ana White Admin
Wed, 03/02/2016 - 14:51
Superb!
That is drop dead gorgeous, love your choice of finish and decor!
Coachg24
Thu, 01/18/2018 - 20:14
What is the yellow tool you have the tabletop clamped to?
What is the yellow tool you have the tabletop clamped to?
MMLJ
Sun, 01/21/2018 - 11:49
That looks lie an sawhorse
That looks lie an sawhorse from Ace: https://tinyurl.com/y949f35q