Community Brag Posts

Wood Garage Shelves

Submitted by Anonymous (not verified) on Tue, 02/20/2024 - 08:40

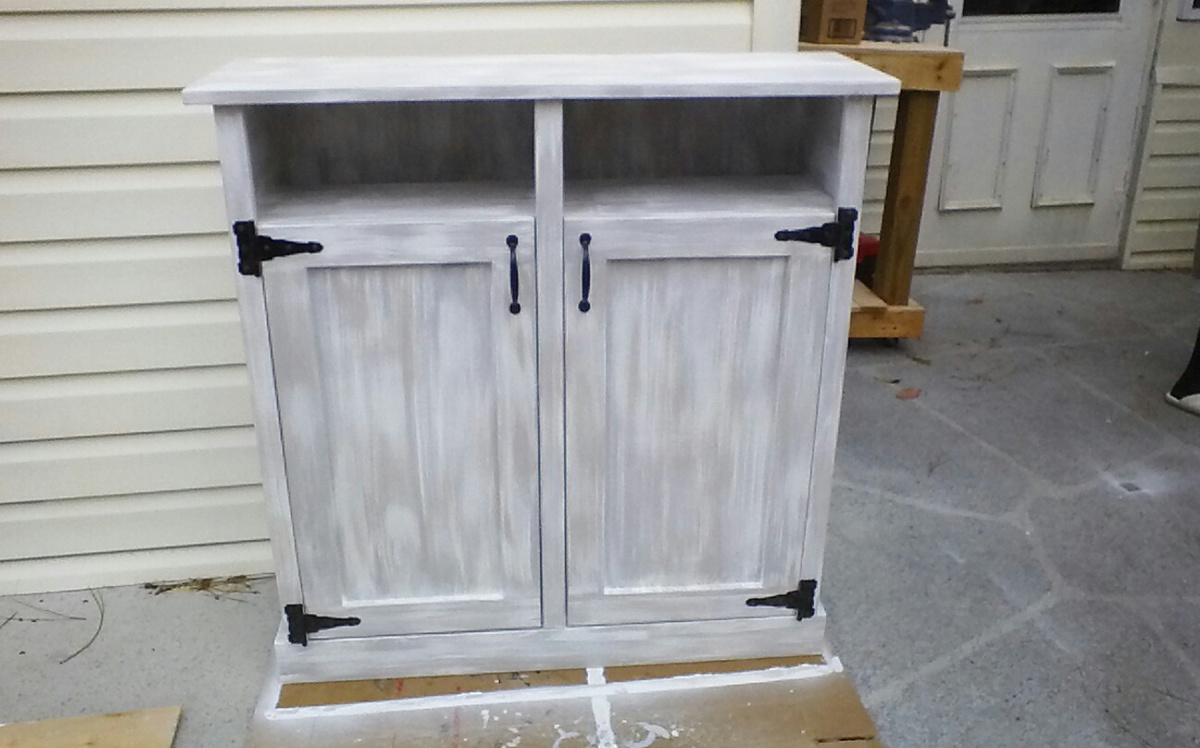
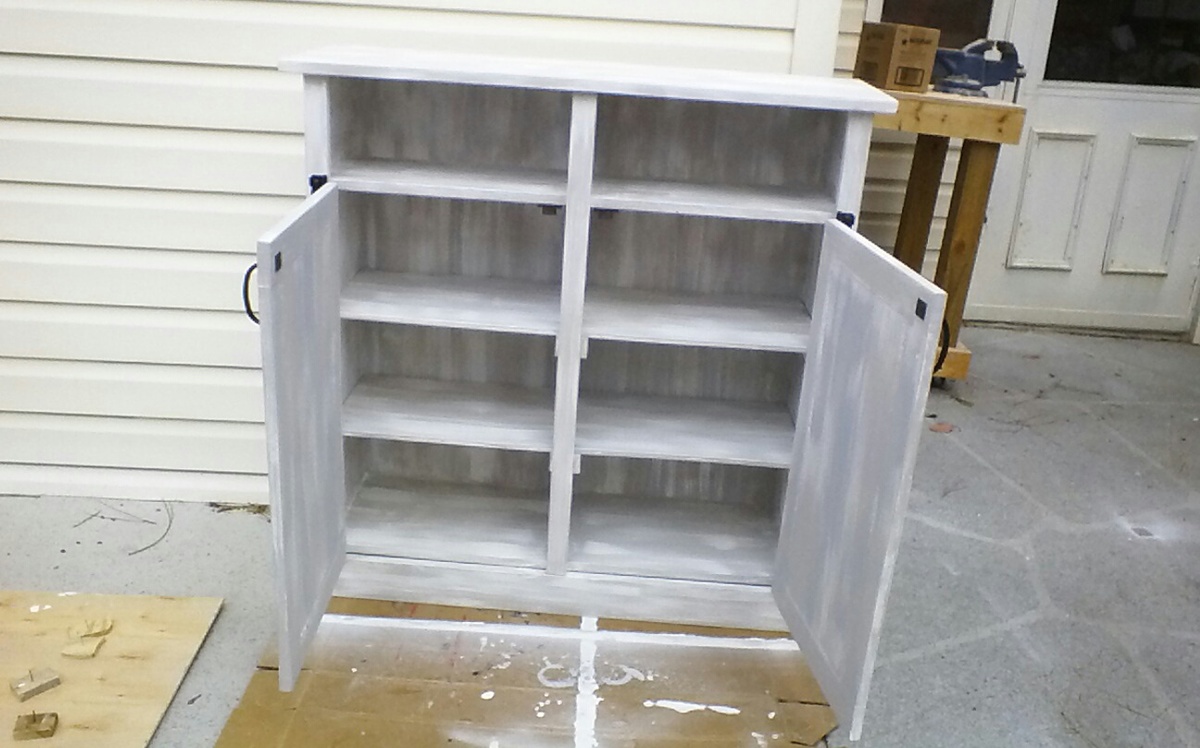
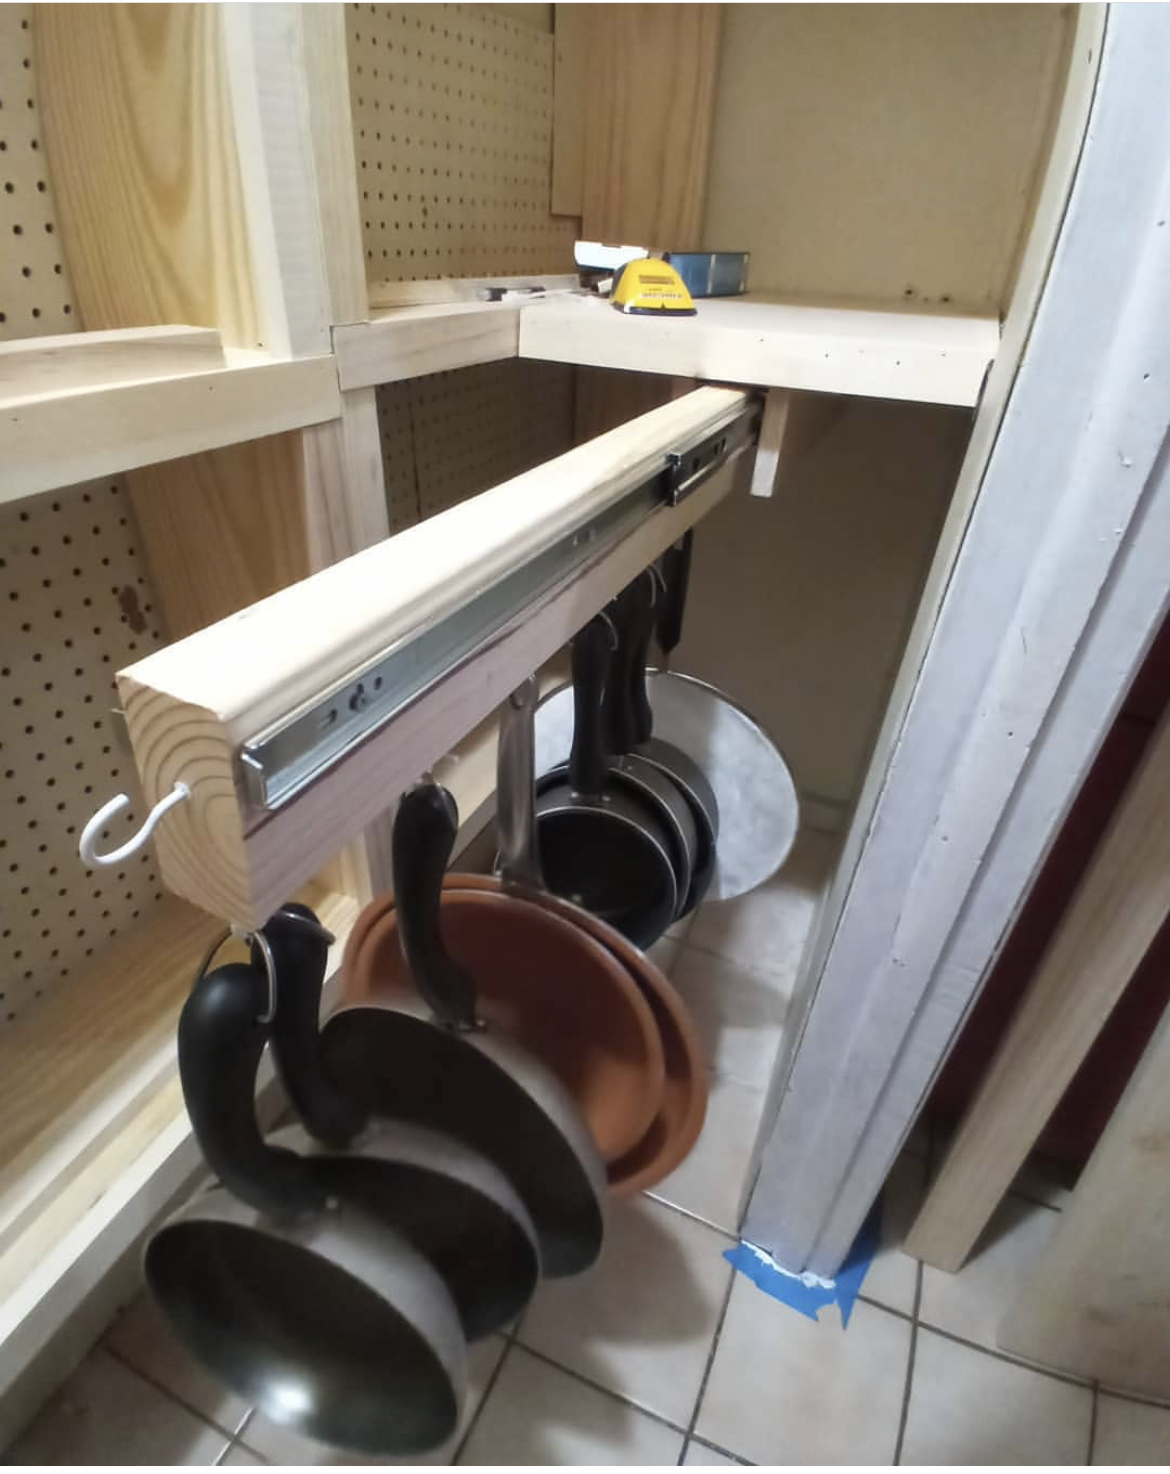
This was made using Ana's "Garage Shelf" plans. I modified it for a corner spot between two exiting cabinets, so it took a bit of thought, but the Ana's technique for the build made it so easy.
AND I used up scrap wood that I'd been hording in the garage for the build.
Thank you Ana!

Book Stand

Submitted by romanweel on Mon, 05/19/2014 - 00:37

This was a project undertaken to facilitate my current pursuit of learning how to cook, but I think it will serve me well as I study, too, holding my textbooks up. It also let me experiment a little with staining and with using milk paint (which has NO VOCs but is kinda weird to work with). And it let me put to use some scrap wood that I think I was unconsciously saving for something special.

Because I had a scrap pile, screws, a few hinges, and the finishing products, this project was Almost free...I had to buy a narrow hinge ($1.50? I think?), and I chose to buy some pretty page weights ($3 including both pendants and the chain). So...not too bad, right? For a solid book stand that has meaningful beauty to me?

Ok, so this is all scrap wood. The stained pieces are maple leftovers from my cabinet project, and the rest is a mix of pine and poplar. See the dimensions in the last photo. The paint is Miss Mustard Seed Milk Paint in Lucketts Green, and the stain is Red Chestnut oil-based stain by Minwax. I finished the whole thing with one coat of wax buffed to a soft sheen (my new favorite finish).

I used a miter saw for my cuts and a router for the kickstand grooves, but really a regular circular saw would've worked just as well (or better, for the grooves). It took me several days to finish this project, but there's no reason it should take (someone other than me) more than an afternoon.

Estimated Cost
$5
Estimated Time Investment
Day Project (6-9 Hours)
Finish Used
Milk paint, Miss Mustard Seed in Lucketts Green in a 1 to 1 ratio, single coat
Minwax oil-based stain in Red Chestnut (I applied mineral oil first as a conditioner, then the stain for a few seconds, then wiped off - it still turned a little blotchy, though)
Regular furniture paste wax, one coat
Recommended Skill Level
Starter Project

leaning bathroom shelf

Submitted by Anonymous (not verified) on Fri, 08/19/2016 - 14:05

This was a pretty easy build, always a plus when you're looking for more storage. I'm not sure about the darkness of the stain though; I usually go with a walnut to match the rest of the house and wanted to try something different. This seems like a bit much. Might be easier to build an entire second set vs re-doing the stain though...

Estimated Cost
$25
Estimated Time Investment
Afternoon Project (3-6 Hours)
Finish Used
Minwax red mahogany
Recommended Skill Level
Beginner

Workbench

An easy to build workbench to keep my tools organized in the garage.

Estimated Time Investment
Day Project (6-9 Hours)
Finish Used
Glidden Paint. Martha Stewart colors.
Recommended Skill Level
Beginner

Comments

Outdoor Sofa

Submitted by mmendoza on Wed, 06/17/2020 - 18:18

My wife wanted a outdoor sofa, so I did a lot of search for the simplest plan and cost effective for us and I ended finding your youtube post and I said what the heck...lets go for it. Although, I like your plans, I modified it a little, the seat back is a little higher and at a 15 degree angle.

Estimated Time Investment
Weekend Project (10-20 Hours)
Finish Used
Expresso Stain and satin finish poly
Recommended Skill Level
Intermediate

Laundry Cabinets - Shorter Brook laundry basket dresser with folding table

Submitted by DTeague on Sat, 08/25/2012 - 07:49

To finish my laundry room off I decided to build laundry cabinets - this laundry basket dresser is perfect! I used 8in. fold down shelf brackets (like the ones in Lady Goats Miter Saw cart). I also cut corners on the back since I was out of plywood after building my laundry cabinets. I used 3 1 X3s to support the back. I used a pine project board for the top which is only 24in deep so I did adjust the plan for that and the baskets still fit!


Estimated Time Investment
Afternoon Project (3-6 Hours)
Finish Used
Minwax Golden Oak on top and Valspar Semi-gloss white paint
Recommended Skill Level
Beginner

Comments

julie05_5

Fri, 11/21/2014 - 14:13

This laundry room looks exactly like mine! Even the paint and tile colors :) I've been wanting hamper storage as well as the folding counter forever and I love that this one can pop up or down easily. Thanks for the idea!

Cedar Outdoor Sofa

Submitted by Anonymous (not verified) on Sat, 10/08/2016 - 18:58

Made an outdoor sofa inspired by Ana White's plan. I made a few modifications including using 2x6's, hiding more of the non-pocket hole screws, using HD pocket holes in more areas and building an incline for the backrest. Cushions are Sunbrella from Lowe's.

Estimated Cost
about $550
Estimated Time Investment
Weekend Project (10-20 Hours)
Finish Used
MinWax Spar Urethane. 2 coats with sanding in between coats using 220 grit
Recommended Skill Level
Intermediate

Comments

Large Garden Enclosure

Submitted by Anonymous (not verified) on Sun, 05/19/2024 - 10:40

The enclosed garden plan.
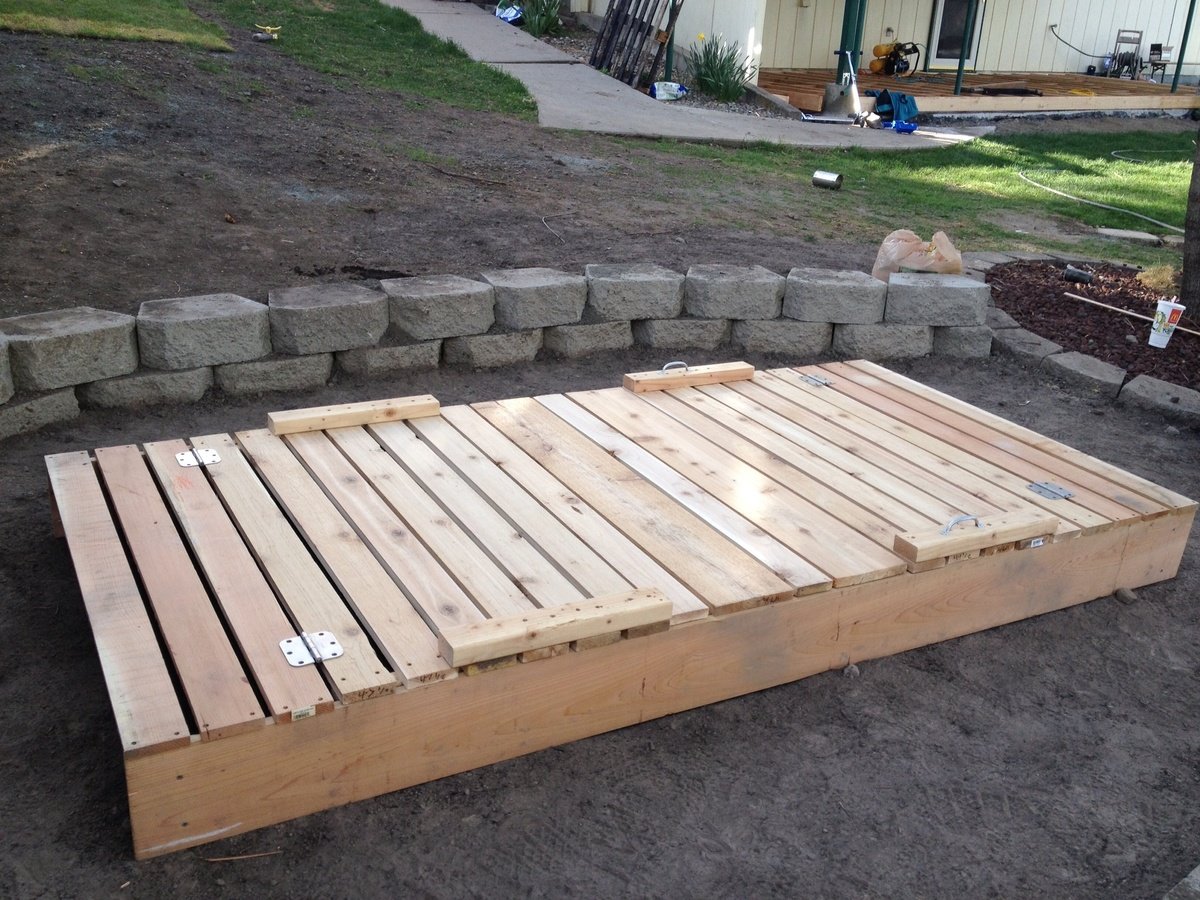
I made mine 12x12 and added a middle The instructions were very easy to follow. I also had old paver stones, sand and gravel kicking around from a project from last year so created a floor to help with weed control. I used screws and fender washers instead of staples to attach the caging. I added two tiny beds to the inside for sweet peas to grow up the caging to attract pollinators. Let the growing begin!

Barb

Built from Plan(s)
Seasonal And Holiday

Library Book Cart

Submitted by Terukosan on Wed, 09/12/2012 - 22:54

I built this book shelf for my daughter.

I made both the top and the bottom shelves an angled.
I used a finishing nail punch to emboss the name.

I mixed 3 different color stains to match the other furniture.

Used 2" caster wheels from Home Depot.

Built from Plan(s)
Estimated Cost
$55
Estimated Time Investment
Day Project (6-9 Hours)
Finish Used
Minwax wood finish (Golden Pecan, English Chestnut, Red Oak), Minwax Wipe-On Poly
Recommended Skill Level
Beginner

Comments

tommirhea

Fri, 09/14/2012 - 09:39

This is so pretty, I love the name in it! How wonderful. When you mix your stains, how do you know how much of each? Is is just a trial and error type of thing?

Terukosan

Fri, 09/14/2012 - 12:06

Hi tommirhea,

Thank you for your nice comment!

Mixing stains is just a trial and error. Pour into empty yogurt cup and mix with form brush. I like rustic looks, so, I don't care if color is not even ;-)

Have a nice weekend,

Sunny

tommirhea

Fri, 09/14/2012 - 12:14

Okay, thanks. I think I will try it on the desk I am going to make. I don't always love the color of stains, but never thought I could just dump different ones in to make my own :) I like rustic looks as well, makes it more unique.

Modern Outdoor Chair from 2x4s and 2x6s

Submitted by gooch1775 on Wed, 07/15/2020 - 19:52

Stained with Minwax Early American, and sealed with Polyurethane. In the process of completing a 2nd to make a set

Estimated Cost
About $30-40 per chair
Estimated Time Investment
Week Long Project (20 Hours or More)
Finish Used
Minwax Early American stain and sealed with polyurethane.

Applied wood conditioner prior to staining. Let stain sit for about 5 minutes before wiping off excess. Let dry overnight. Applied 2 coats of Minwax oil based satin polyurethane. Let dry overnight between coats.

I didn’t want to be poked in the rear when sitting, so I sanded everything to 120 grit prior to starting. (Reason why it took so long)
Recommended Skill Level
Beginner

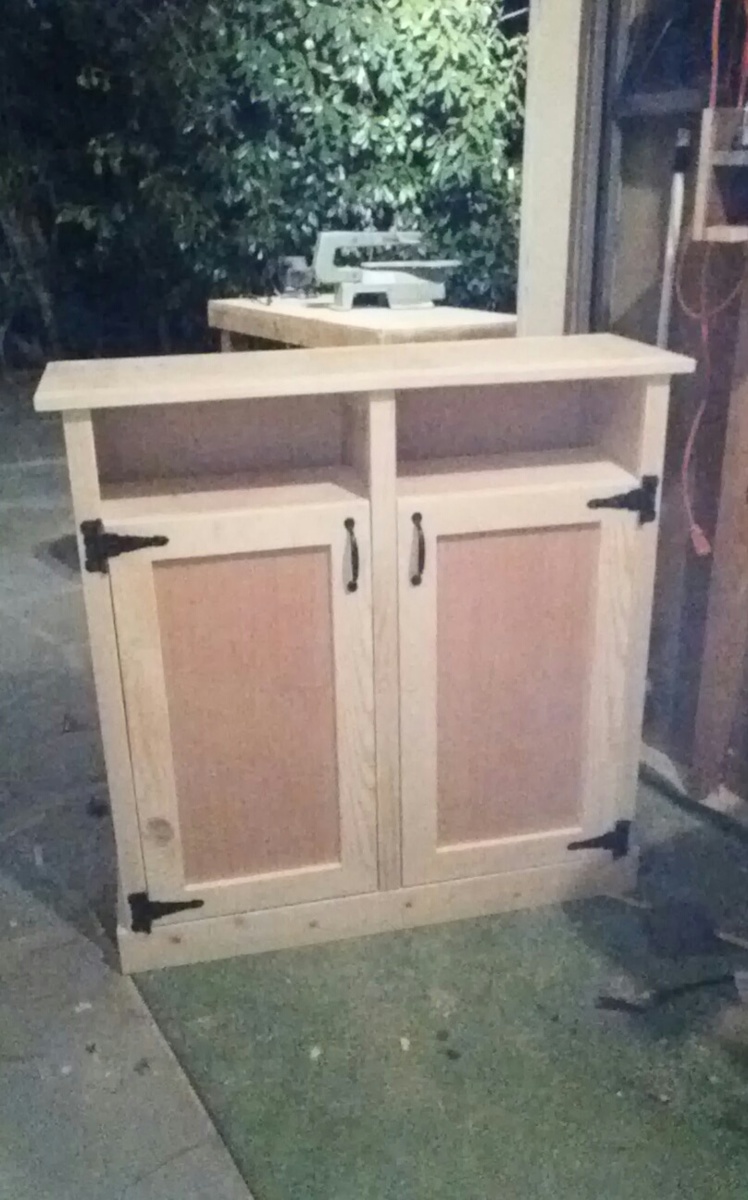
Media Storage Entertainment Center

Submitted by Beaker on Mon, 09/17/2012 - 15:21

Entertainment center with Bluray/DVD storage in the doors. Based on the Cynthia media stand by Pottery Barn. I drew it up to my personal preferences using Draftsight (free 2d cad software). Used 3/4" oak for everything except for a few trim boards. It came out great, we are very proud to call it our own.

Estimated Cost
$250
Estimated Time Investment
Weekend Project (10-20 Hours)
Finish Used
Minwax dark mahogany
Minwax clear gloss polyurethane (2 coats)

-assembled
-sanded
-wiped with mineral spirit dipped rag
-stained with a brush
-1st coat of urethane using a foam brush
-light sanding with 220 grit
-wiped with mineral spirit dipped rag
-2nd coat of urethane using a foam brush.

It has an almost mirror finish now.
Recommended Skill Level
Intermediate

My first project! Thanks Ana!!!

Submitted by Sherice on Tue, 07/15/2014 - 07:29

I recently resigned from my job to stay home with my kids. This gave me time to begin a long desired hobby! Thanks to this website and the awesome, easy to follow plans, I have been able to start practicing with some very practical pieces. I have been looking for extra tall stools for over five years, since moving to our current home, and have not been able to find any I'm willing to buy. They have to be special ordered and are ridiculously priced for the chintzy pieces they are. I had fun making these ones and they look gorgeous in my home.

It took me several days to complete all three, but for a more experienced person it would take much less time. I used the Kreg Jig for all holes possible. And with each stool I learned something, and each one was completed in less time than the last.

THANK YOU ANA!

Built from Plan(s)
Estimated Time Investment
Week Long Project (20 Hours or More)
Finish Used
Two coats of stain, two layers of urethane with sanding in between the first and second.
Recommended Skill Level
Starter Project

Night Stands

I made this project with all 2X4's and 2.5 in pocket holes. This took 8 2X4's. To add the industrial look, I added some metal casters on the bottom. I haven't finished it 100%, but will add some metal corner brackets on it as well. This project was super easy to make. Took me about 6 hours to cut and build (2 tables). And another 3-4 hours to sand, stain and finish.

Estimated Cost
$55 per table ( because of the cost of wheels, screws, and corner brackets). The wood only cost $20-$25 per table.
Estimated Time Investment
Day Project (6-9 Hours)
Finish Used
1 coat of Minwax Weathered oak. Let that dry. Then 1 light coat of minwax special walnut. After that dried, I used minwax finishing wax instead of Poly. I like the rough/natural look that it gave in the end.
Recommended Skill Level
Beginner

Olivia's Doll Crib and High Chair sets

Submitted by Linda7 on Fri, 09/28/2012 - 16:15

I have three granddaughters and four great-nieces. I was able to find vintage 50's baby doll cribs for the older two, but not for my youngest granddaughter. I was so excited when I found Ana's doll crib, realizing that I could make the beds and high chair sets for all of the girls. I wanted to use water-slip decals to make the beds look vintage like the older g'daughters', and I found this great website: www.decalcottage.com. I wanted each set to be slightly different, so for the first two sets for sisters, I followed Ana's plans exactly for one, and using the idea from another brag post, used just a rectangle for the ends.The high chair backs are also slightly different. I have since made two more sets which I'll post later, but they all have vintage lambs on the beds and high chairs. It has been so much fun!

Built from Plan(s)
Estimated Cost
About $20 per set for the lumber. I already had the paint and pocket hole screws.
Estimated Time Investment
Day Project (6-9 Hours)
Finish Used
I first primed with one coat of Kilz, then used Olympic brand white gloss spray paint and the clear spray finish.
Recommended Skill Level
Beginner

Outdoor Sofa & Coffee Table

Submitted by Ulrike on Fri, 07/31/2020 - 09:38

This project took a while. Stained everything before assembly which made it easier. Plans are easy to follow. Thank you for making them available. Our property is starting to look a lot like your website.

Estimated Cost
180
Estimated Time Investment
Weekend Project (10-20 Hours)
Recommended Skill Level
Beginner

Comments

jwood4

Mon, 08/02/2021 - 08:35

Looks amazing! What method did you use (pocket holes, dowels, deck screws, etc) to join the visible portions like the arms?

Bunk Bed Build!

Submitted by ladyj on Sat, 08/02/2014 - 12:46

I built this for my kids who are now having to share a room due to another baby on the way. These plans appealed to me because it's junior height and it had stairs instead of a ladder, both of which made the top bunk sleeper feel safer. It was my first furniture build but I do have quite a bit of building experience. I was pregnant but loved these plans and had to build it! I stained/painted each piece separately before assembling it. I also drew up my own stair plans so I could add more storage (it fits 18 cube storage bins!) and built it using 2x6s and 2x12s and galvanized steel pipes for a railing. I added a bottom bunk as well. Under the top bunk mattress, I stapled a $7 grey flat sheet, with the staples hiding, to cover up the 2x4s supporting the upper mattress. The kids love it! Thanks Anna for the inspiration!

Estimated Cost
$250
Estimated Time Investment
Weekend Project (10-20 Hours)
Finish Used
Minwax classic gray, then flat latex white ceiling paint, distressed with sandpaper, then top coated with two coats of minwax polycrylic.
Recommended Skill Level
Intermediate

Ladder Shelf DIY

Another one bites the dust. Made this out of Ana instructions for a ladder shelf. Like the way this turned out alot. Ana White knows whats up :)

Built from Plan(s)
Estimated Cost
$100
Estimated Time Investment
Day Project (6-9 Hours)
Finish Used
Minwax Wood Finsih; Classic Grey
Recommended Skill Level
Starter Project

Folding Garage Workbench

Submitted by SaraLodise on Sun, 08/10/2014 - 06:11

I wanted a good flat and level workspace to continue projects. This workbench folds up to the wall in my garage so I can still park when not working on anything. I made it pretty stout with 2x4s and 2x6s since it would need to support fairly large pieces of furniture without deflecting. It is very heavy as a result though (good core workout folding it up and down :) )

I used two folding shelf brackets on the legs to keep them from accidentally being kicked out from under the table while it's out. (http://www.woodcraft.com/Product/2001690/2615/Folding-Shelf-Bracket-8-P…)

I used four heavy strap hinges to connect the table to the 2x6 (which was lag screwed into studs). Two gate latches were used to secure the edge of the table to studs when the table is folded up.

I cut the legs approximately, and then when the table was hung I cut and shimmed them to get the table level on the uneven surface of the garage floor.

Estimated Cost
Total = $81.10 (Lumber = $33.40, Hardware = 47.70)
Estimated Time Investment
Day Project (6-9 Hours)
Finish Used
none
Recommended Skill Level
Beginner

Comments

HD

Fri, 08/15/2014 - 16:32

I really like this fold up bench design. It may be heavy, but I bet it's incredibly sturdy. I also have a really compact garage. I have pegboard on my walls, so a bench that folds UP doesn't work for me when I want to get a tool.

My own bench is more light duty. It's a sheet of 2x4' plywood attached to a frame made from dimensional lumber. It folds down so I have access to the tools at all times. It's based on a design on the Family Handyman website, although you can find the same design all over the web.

bschultz26

Thu, 02/05/2015 - 18:50

Great idea! I need to build this. Can I please get a picture of it folded up, so I can see the hinges on the legs and the latches holding it while folded?

webklob

Fri, 11/06/2020 - 13:55

Can you show another picture of the hinges you used on the legs that can fold out when lowered?

Thanks! Kate

My daughter’s first project assist

Submitted by tcorstange on Sat, 09/05/2020 - 20:05

My daughter wanted to help with building her loft bed. She handled drilling all the pocket holes, sanding, painting and some of the assembly. This was her first project. We opted to not use the landing from the plan. Increased height to 70 inches. Used 1x4’s for the mattress supports. Anchored to the wall to eliminate any shaking in the bed when climbing up

Estimated Cost
$100
Estimated Time Investment
Weekend Project (10-20 Hours)
Finish Used
Semi gloss white paint
Recommended Skill Level
Starter Project
Back