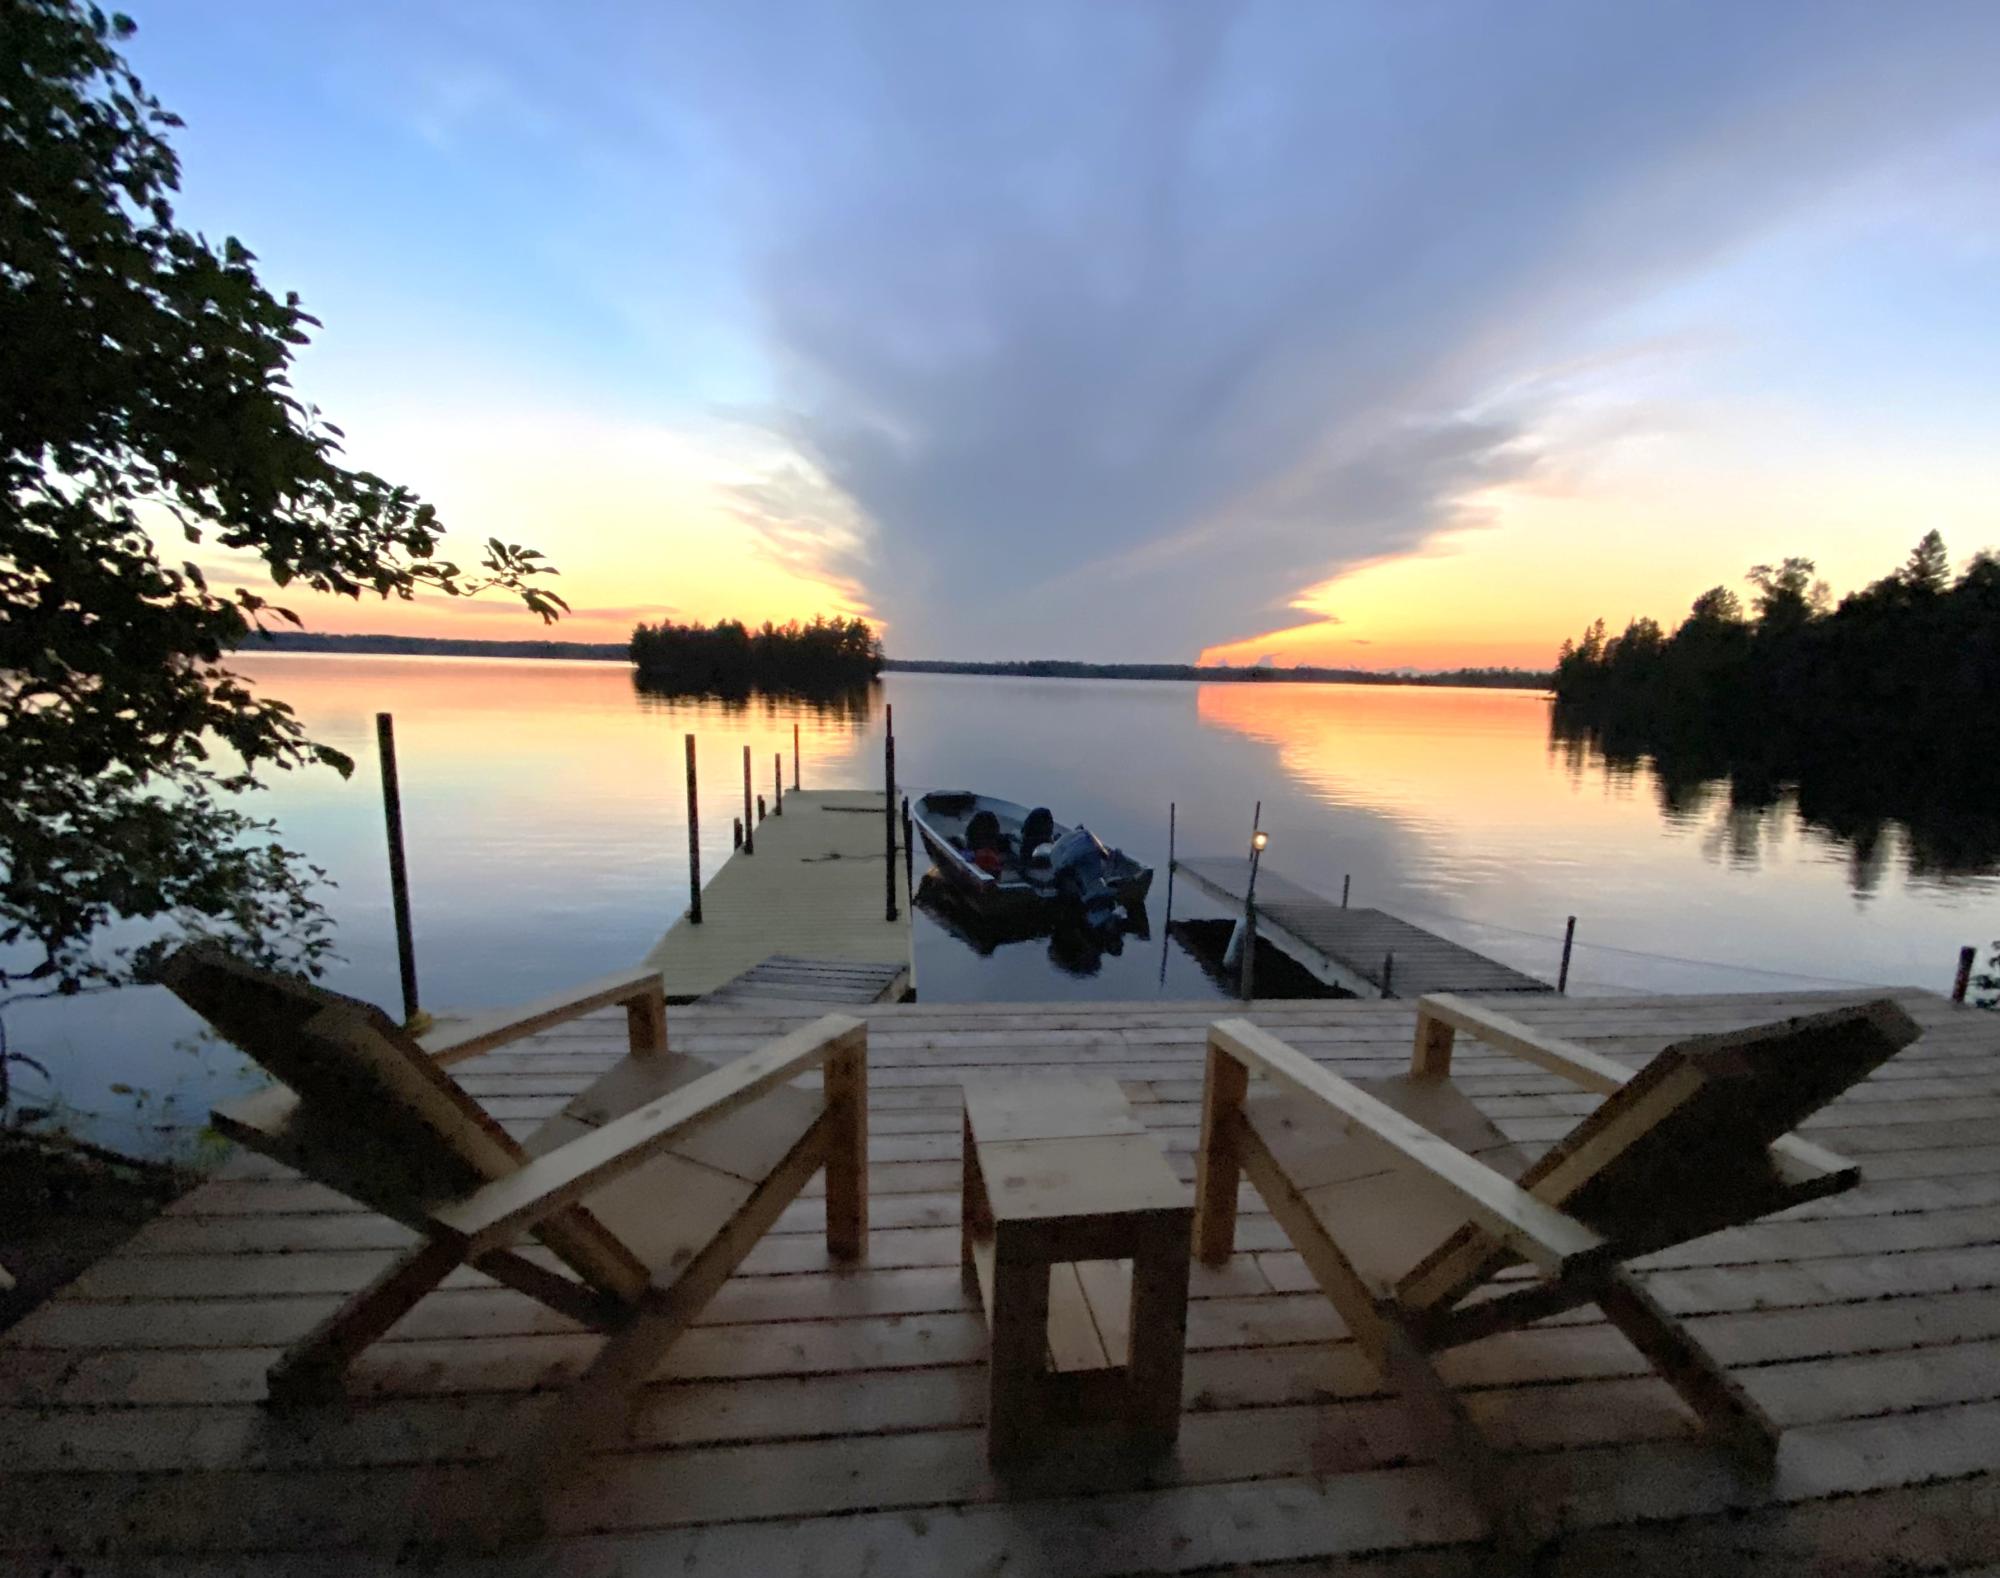
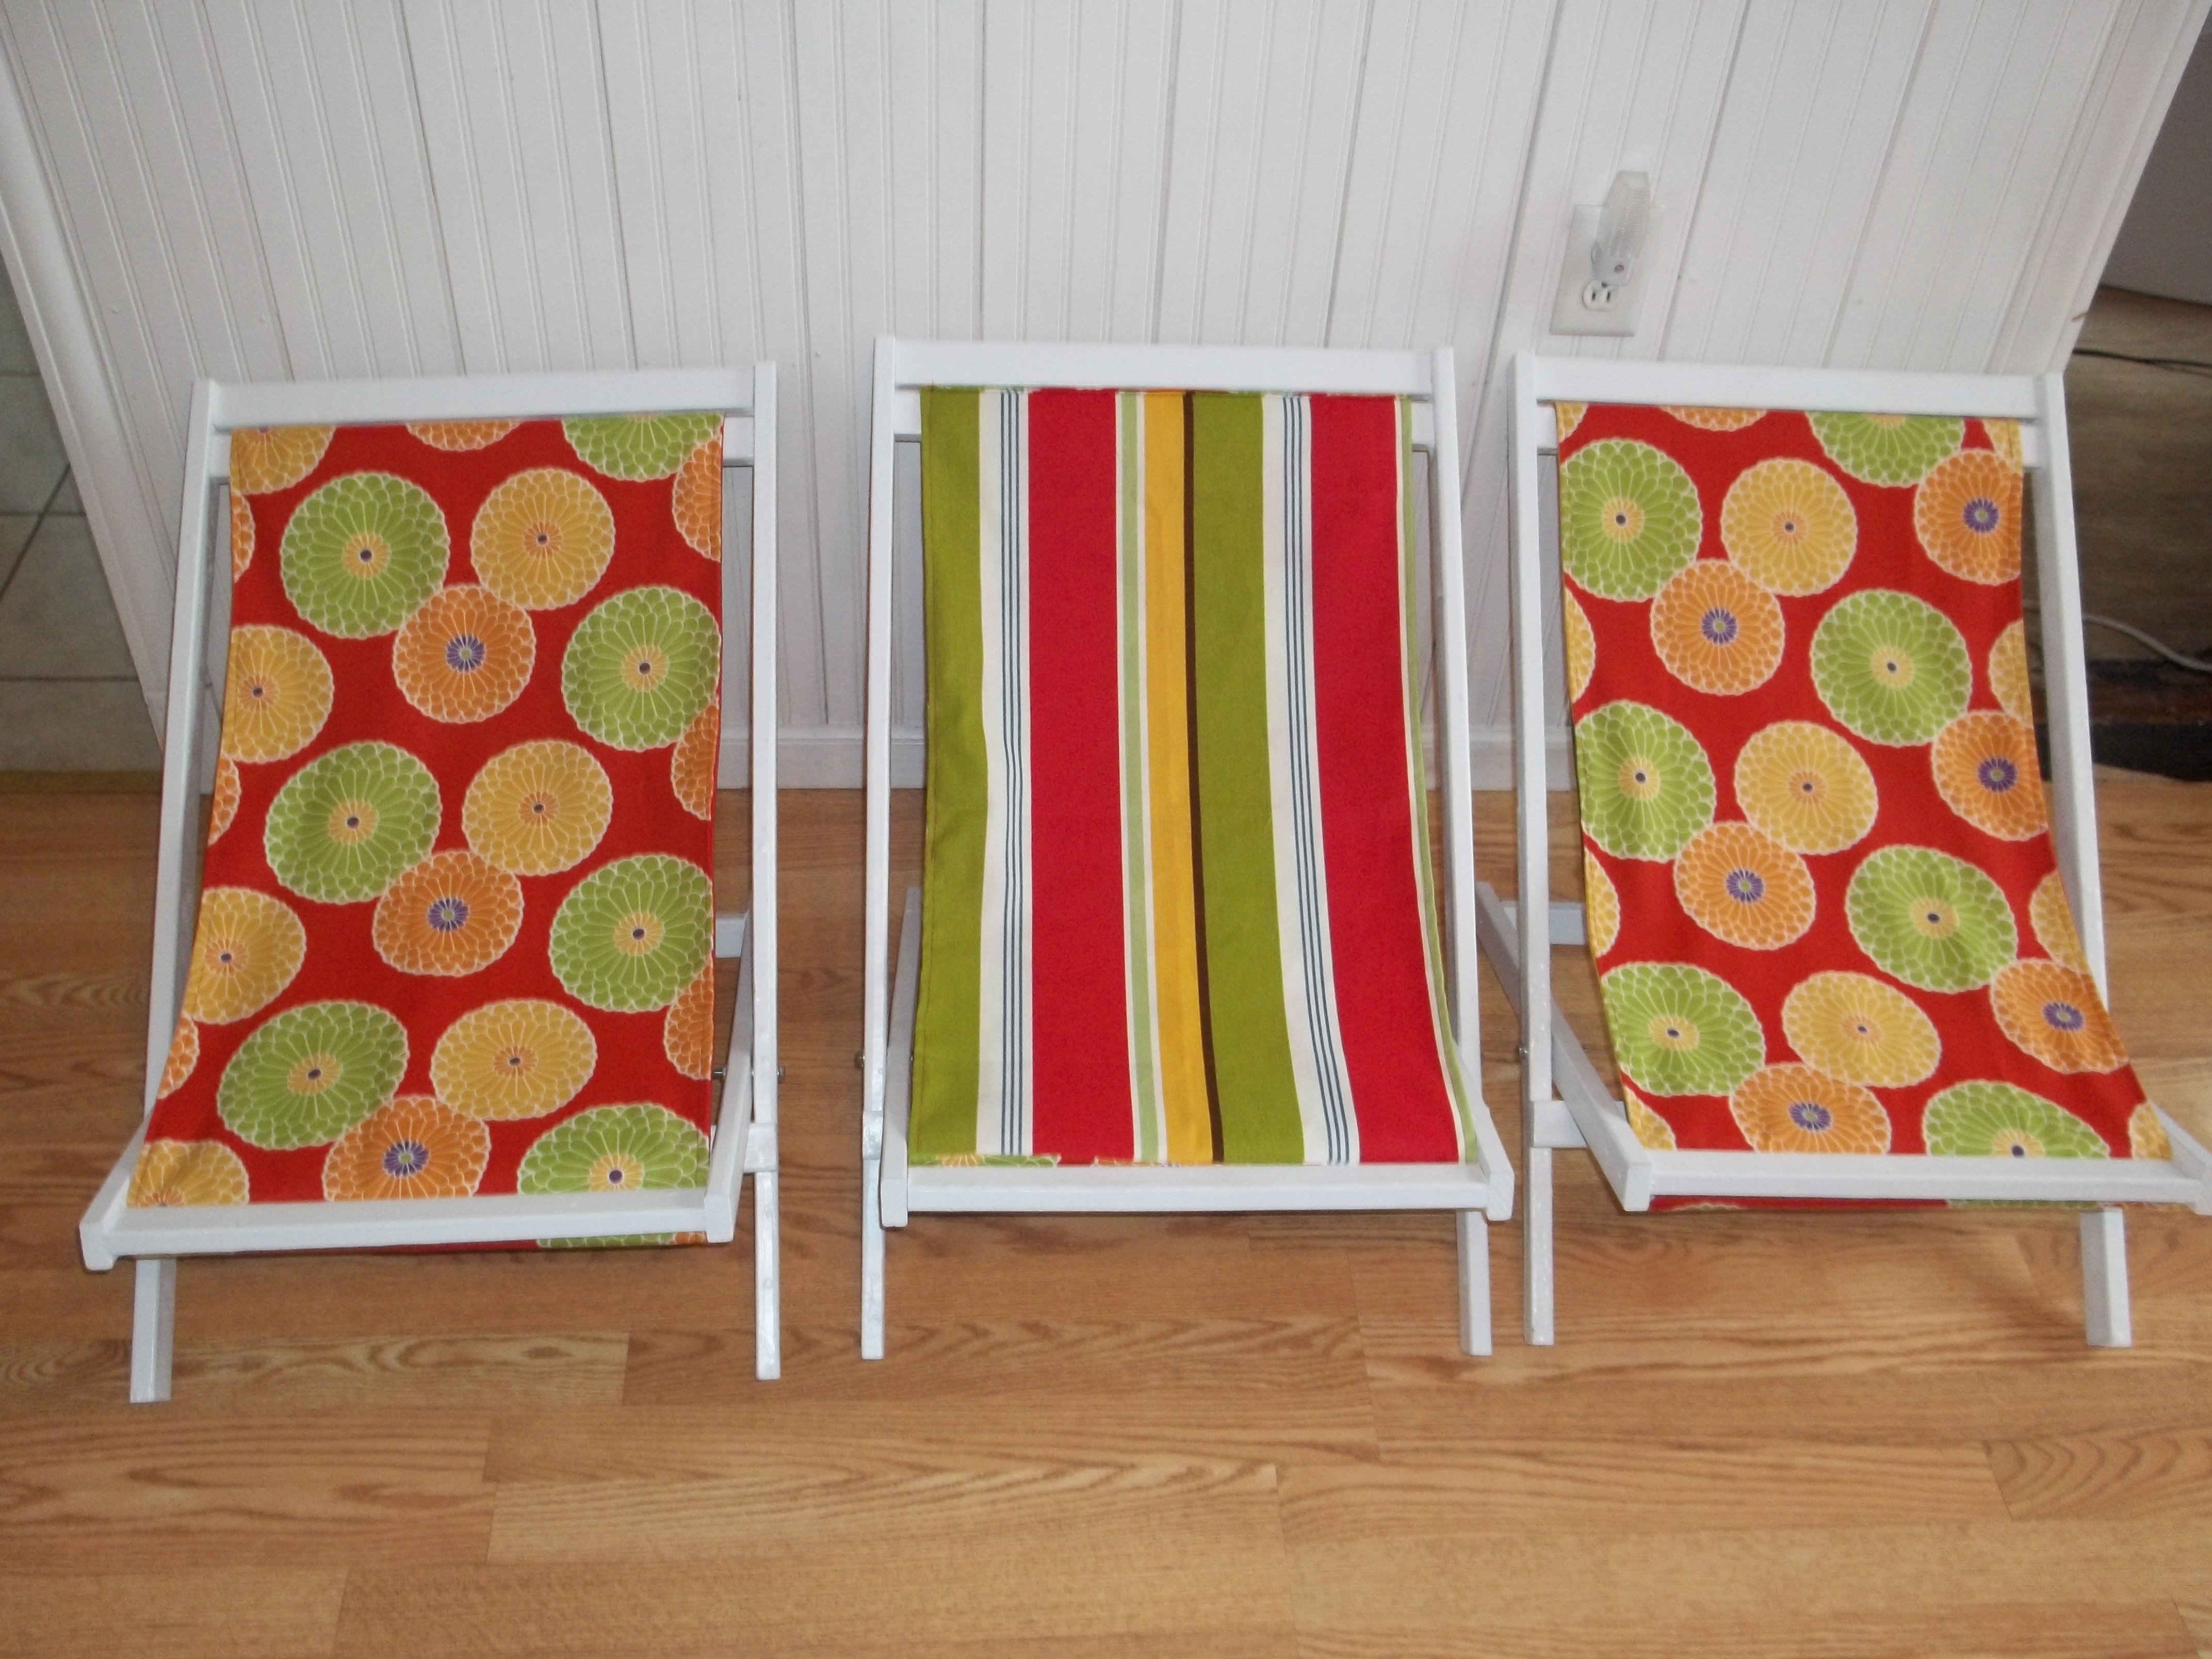
Simple Outdoor Chairs
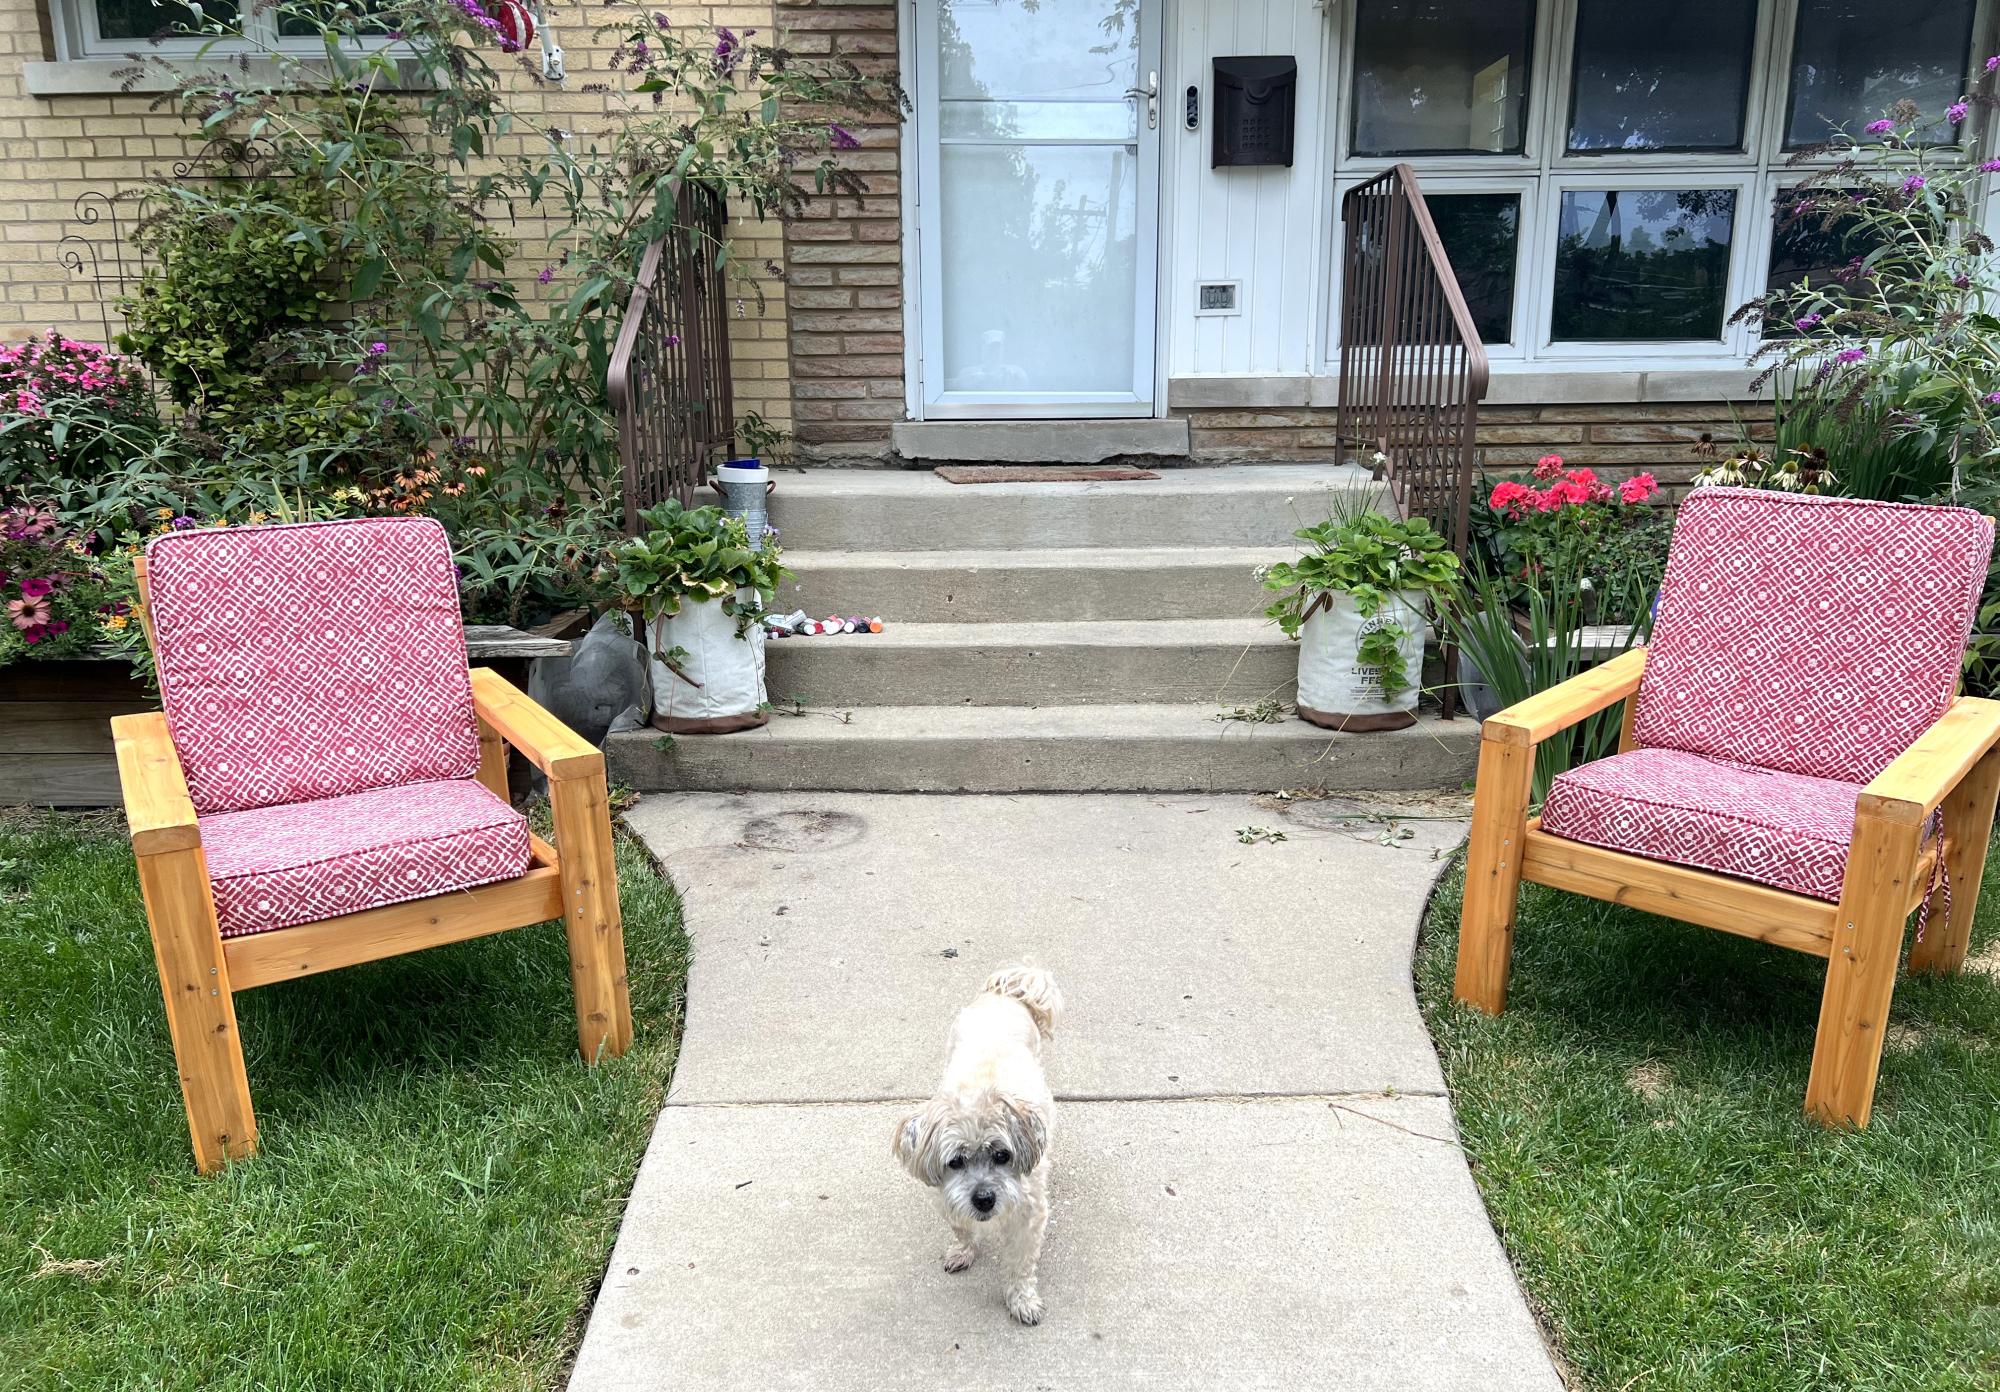
I made two of the chairs using cedar 2x4's and then stained them cedar color. The cushions were on clearance at Lowes for 6.97 each. Super excited about that as well. For the back I did the three board suggestion versus just the two for more back support and I also added an extra board for the bottom seating. Project was pretty easy and the instructions were easy to follow.
Carrie
Built from Plan(s)