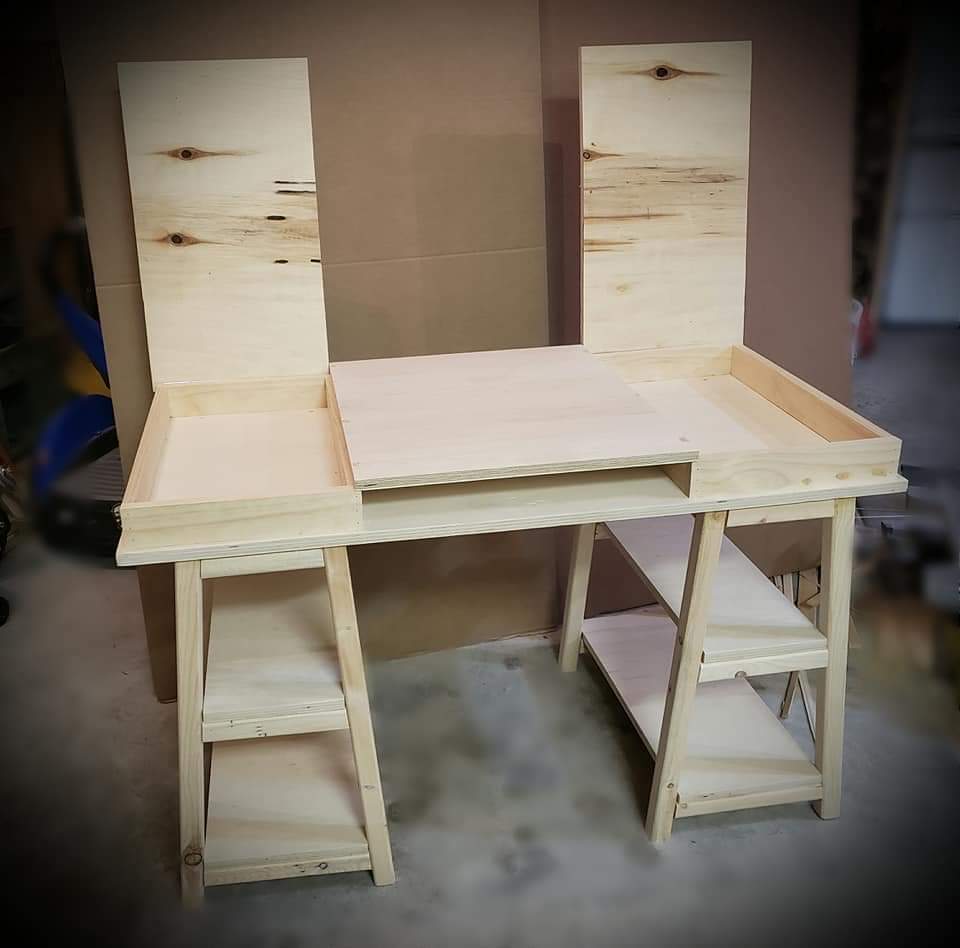
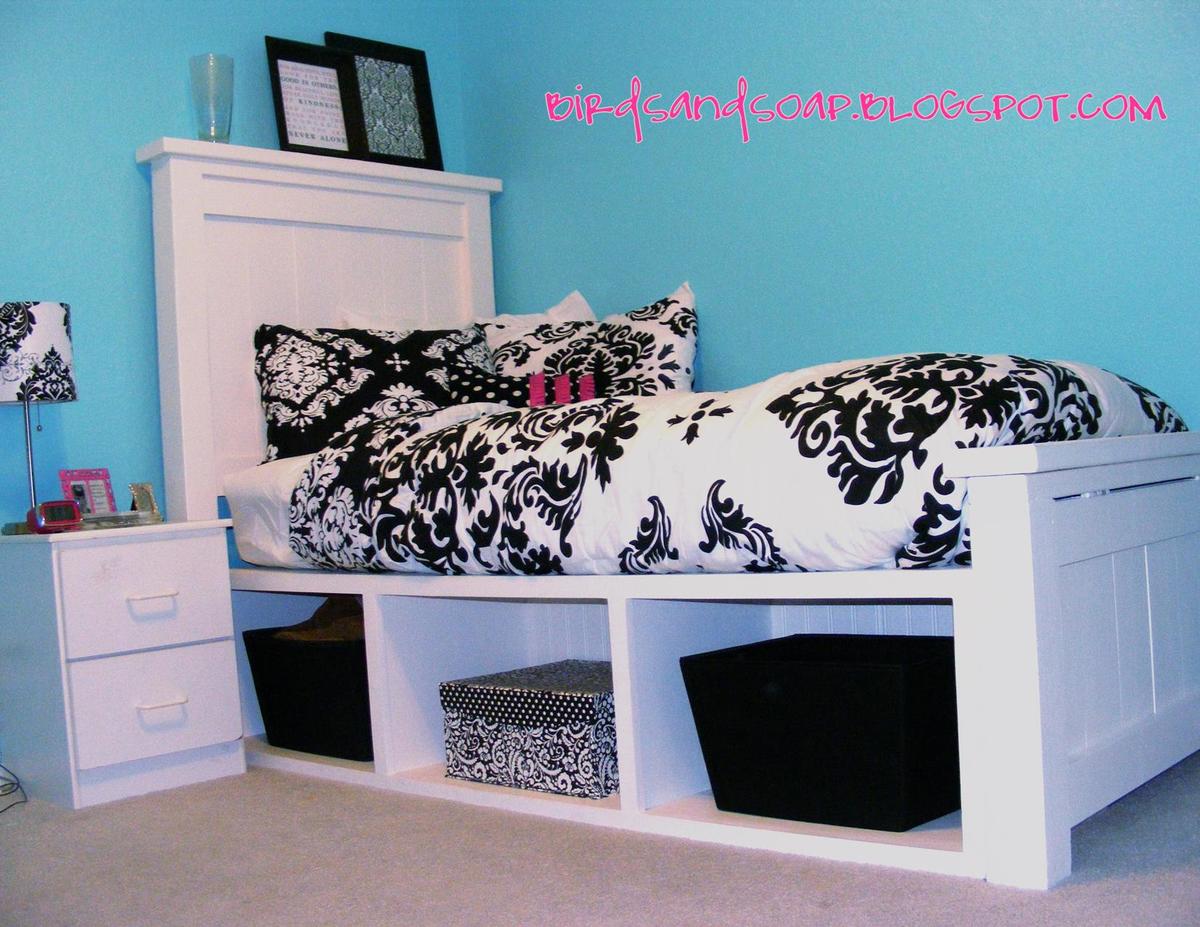
Modified Wide Cabin Dresser
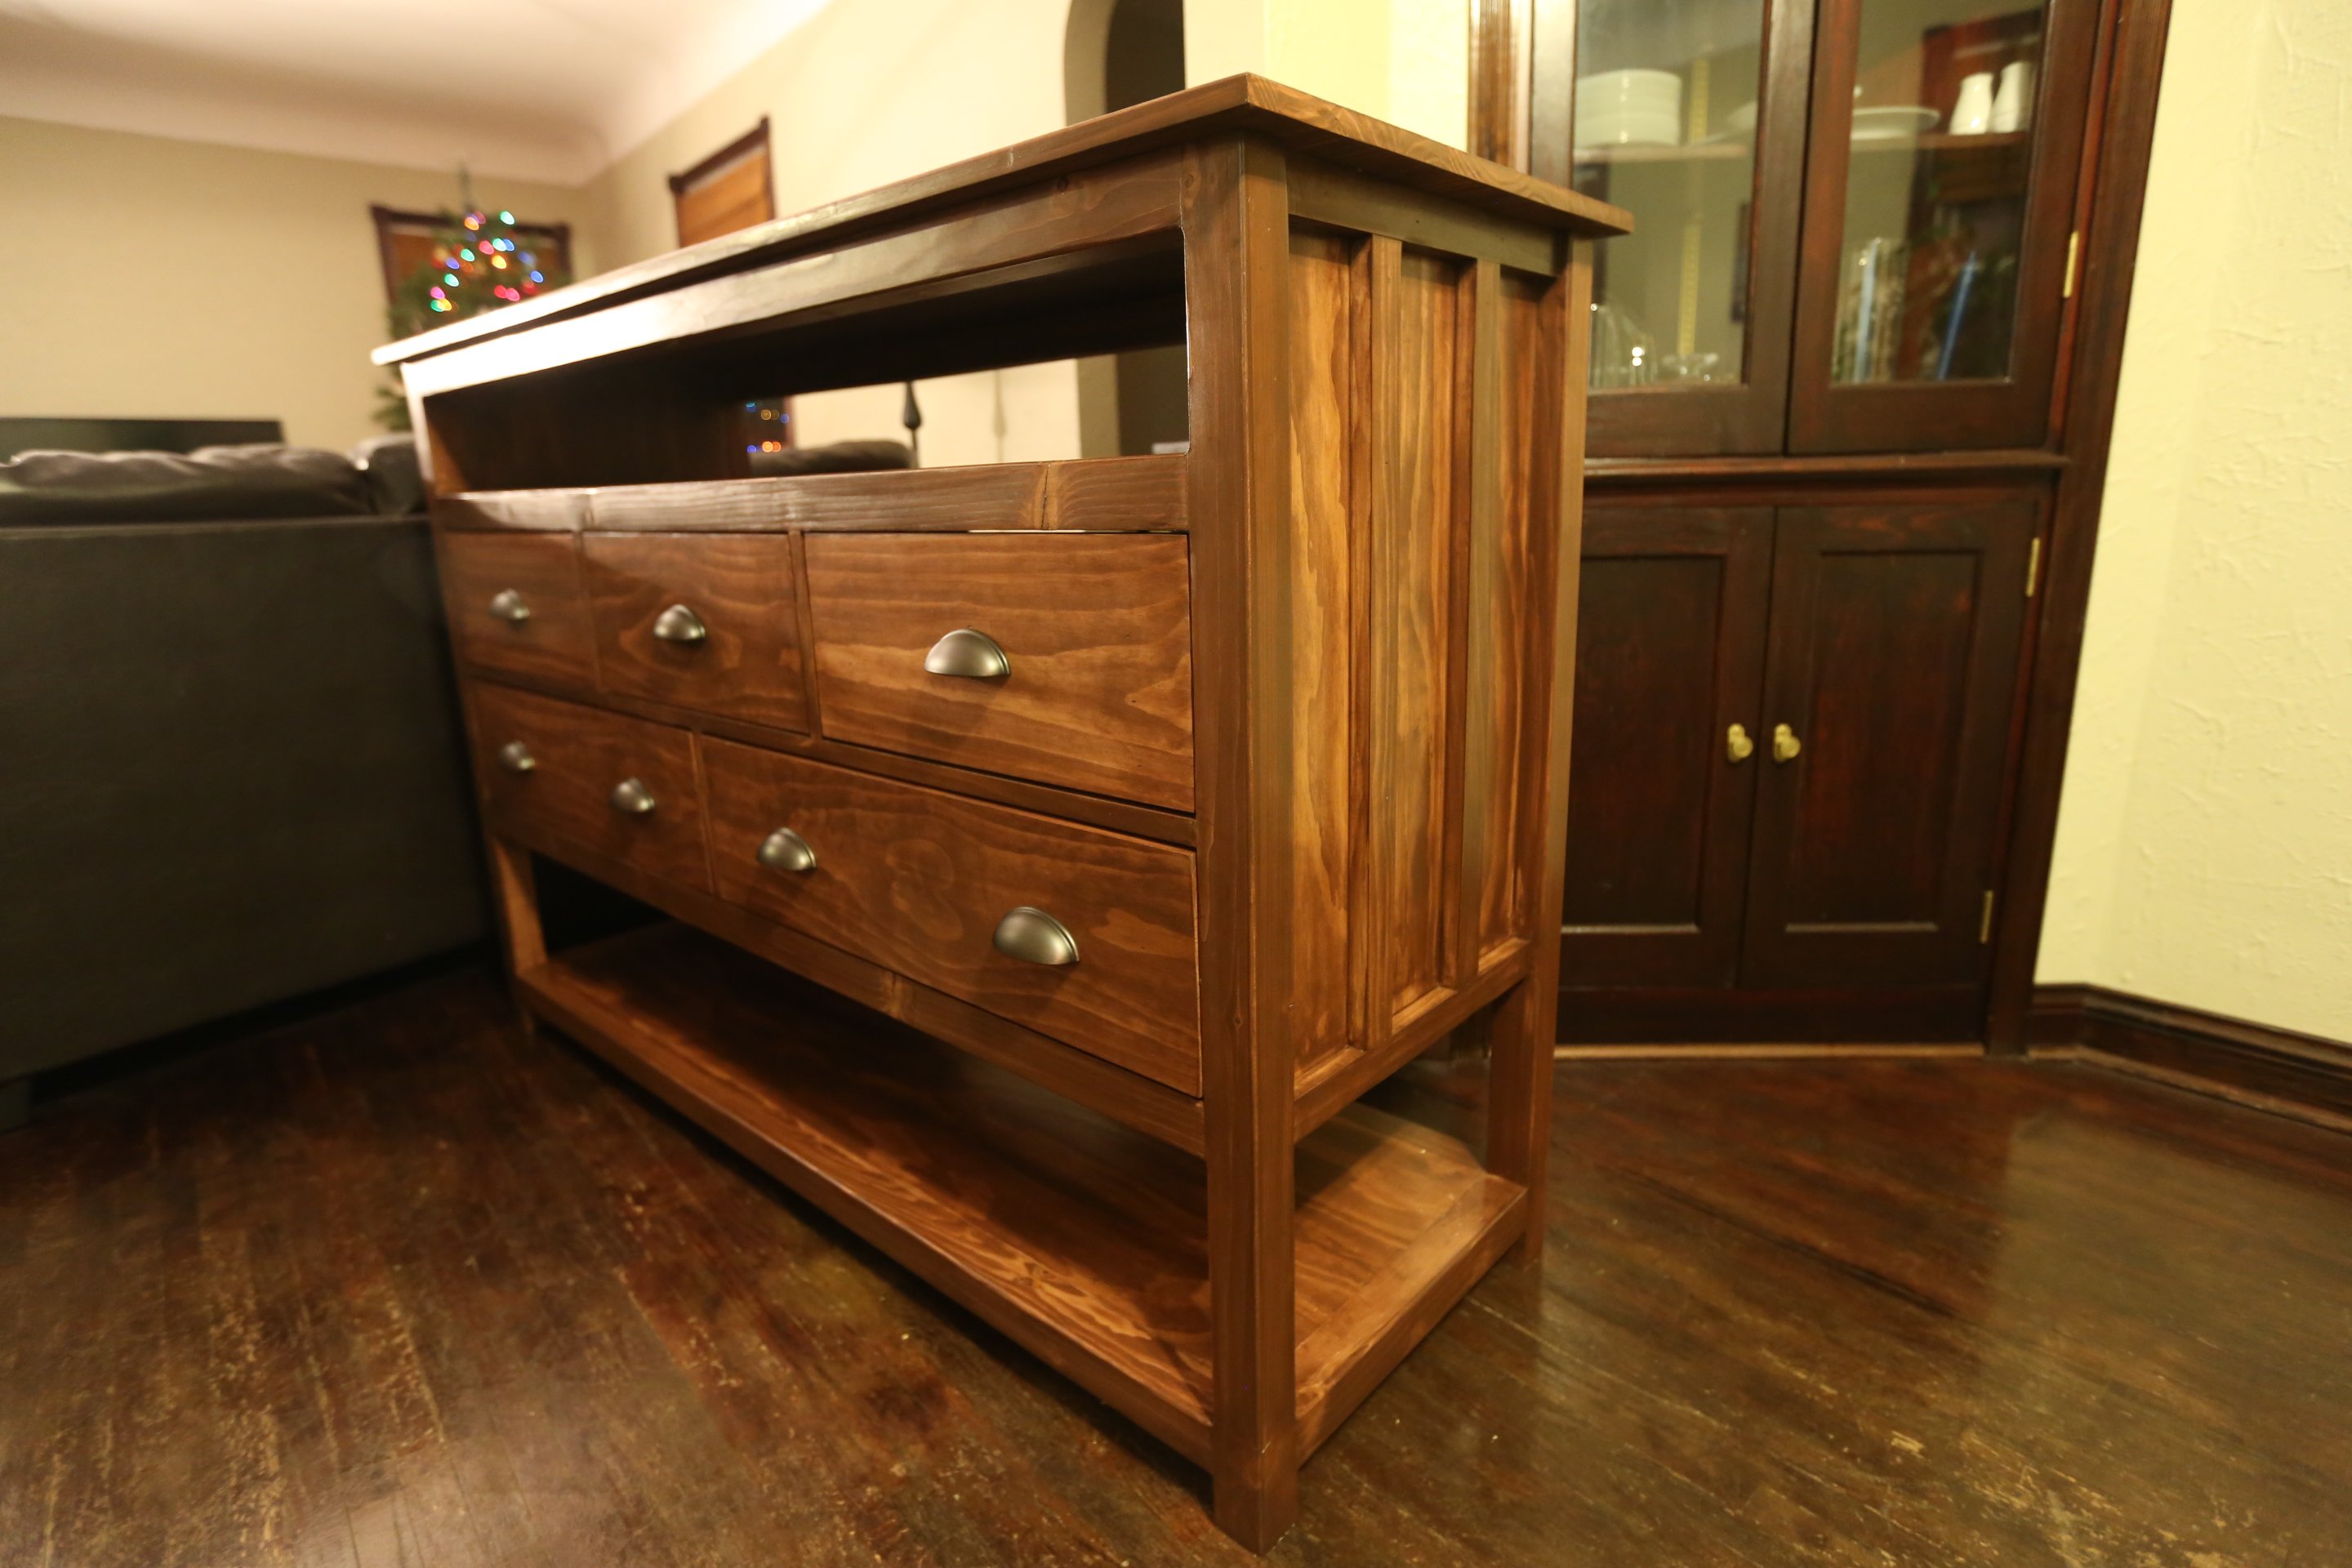
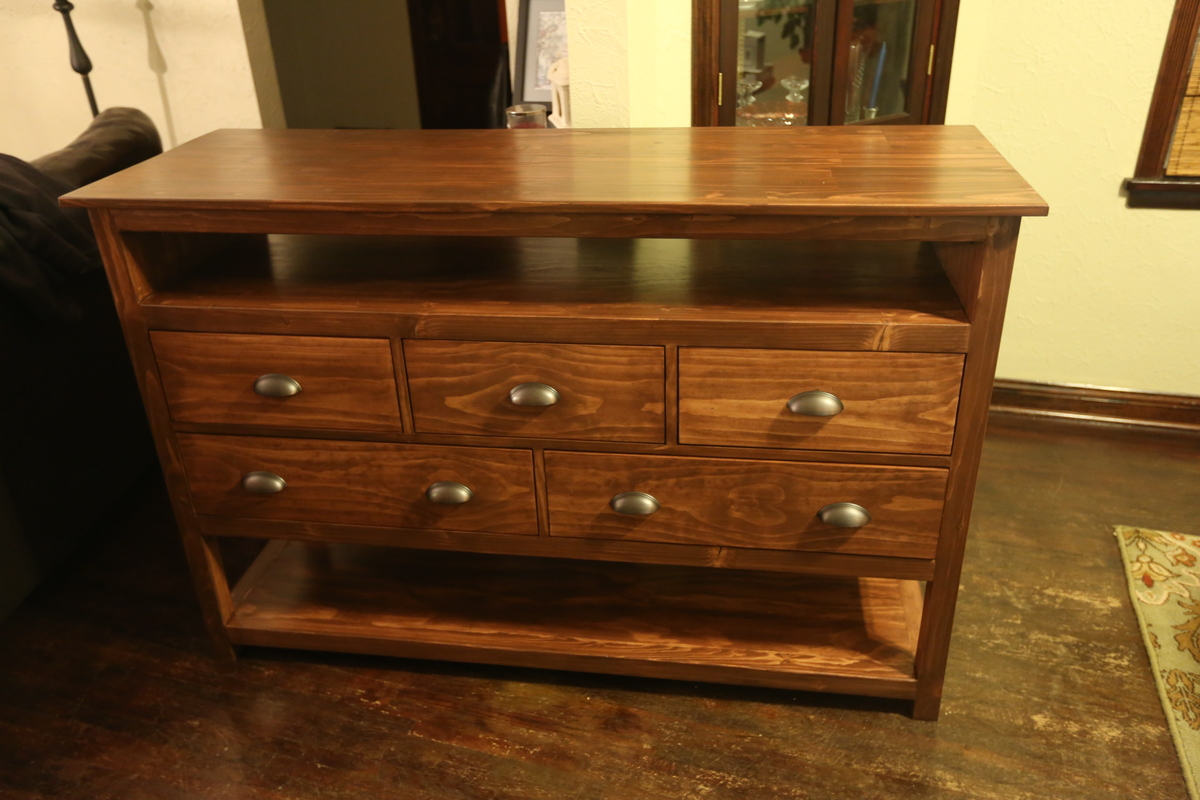
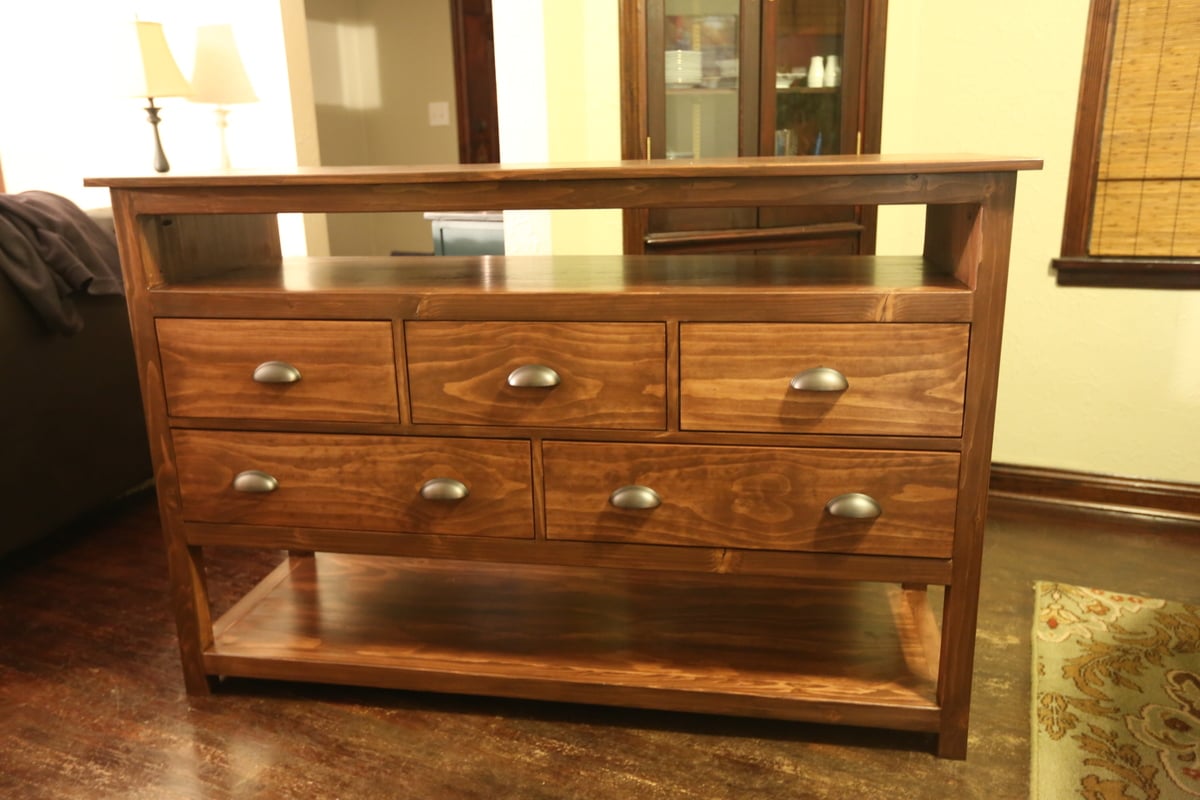
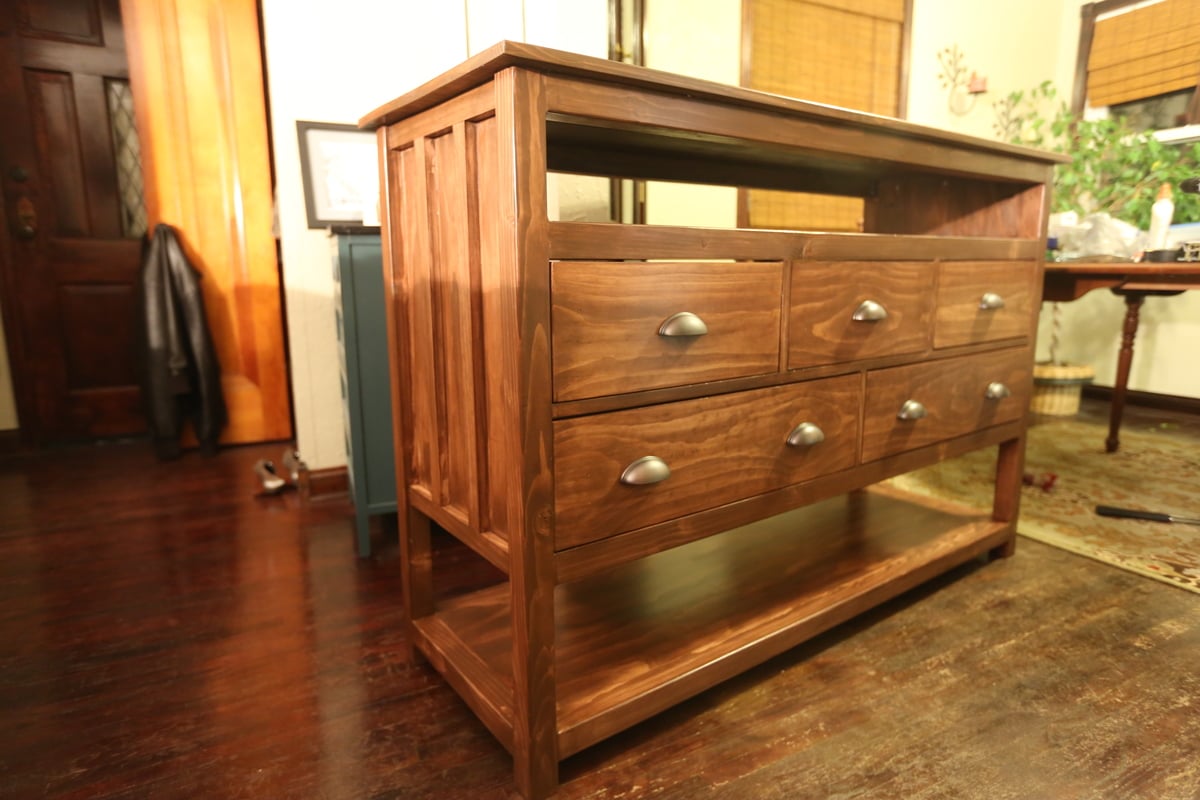
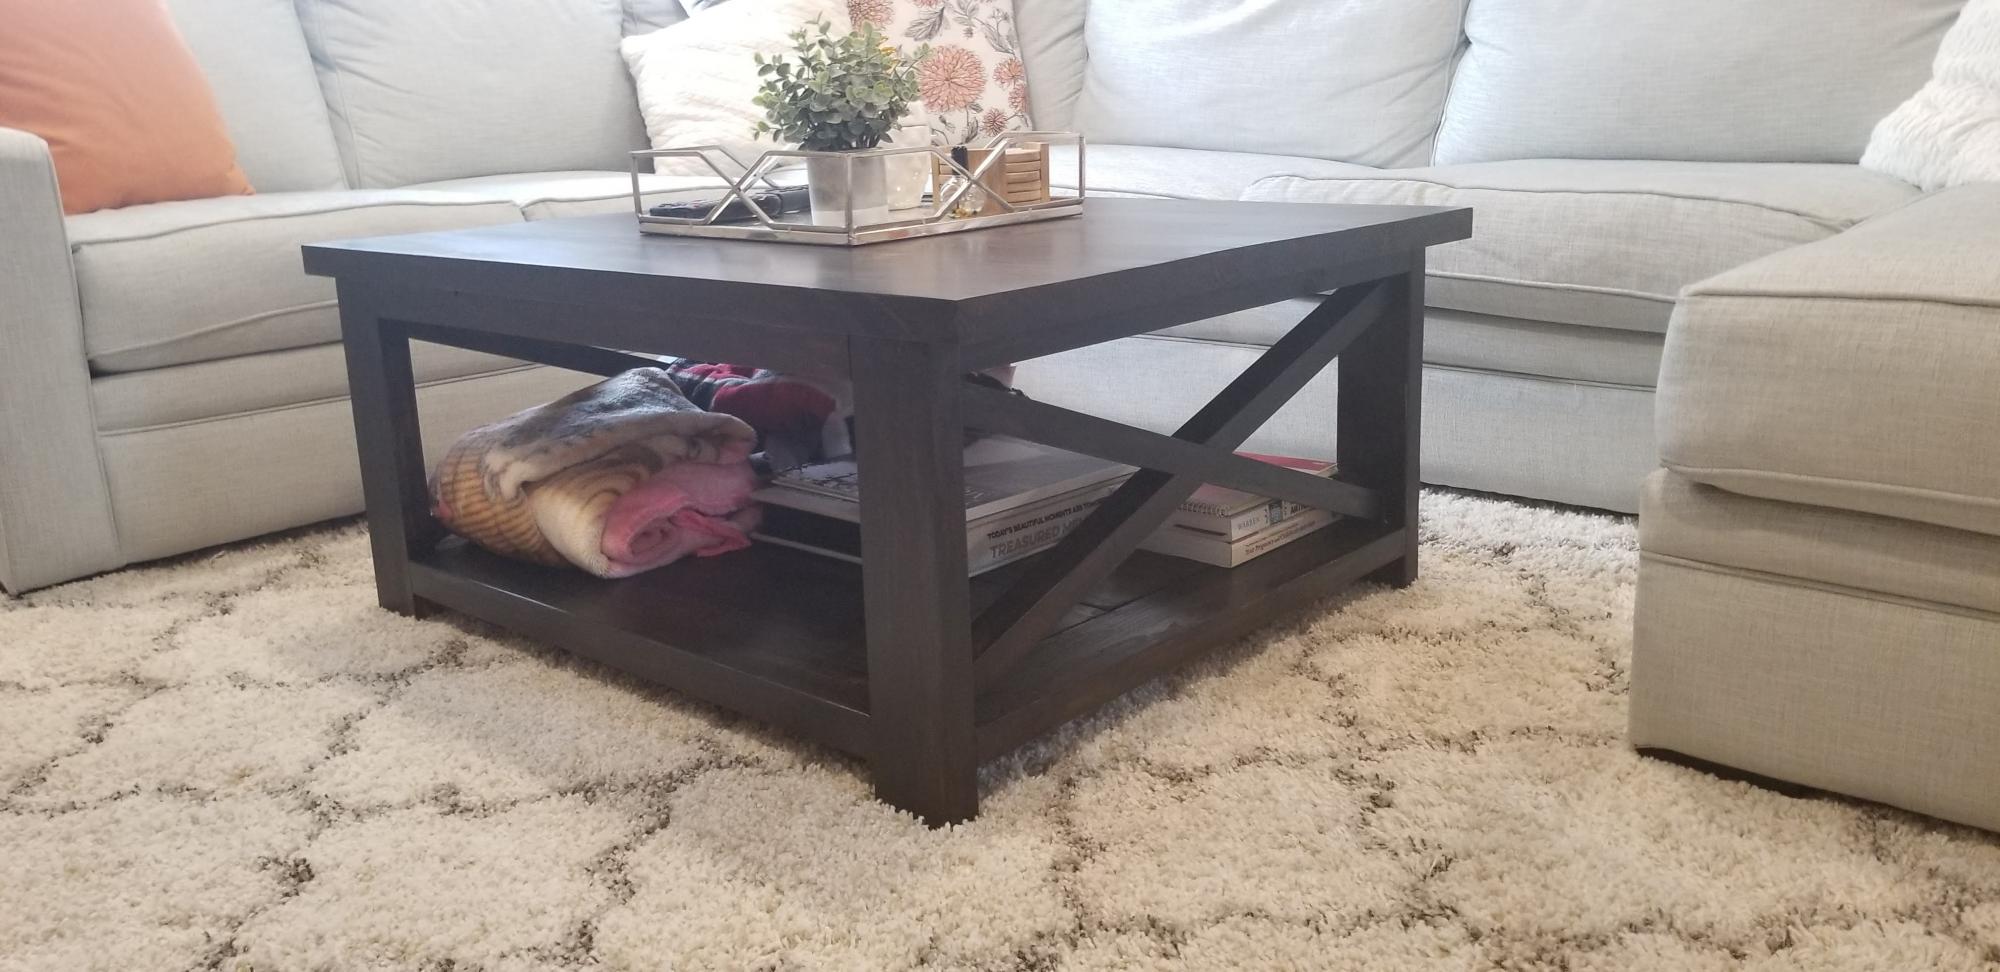
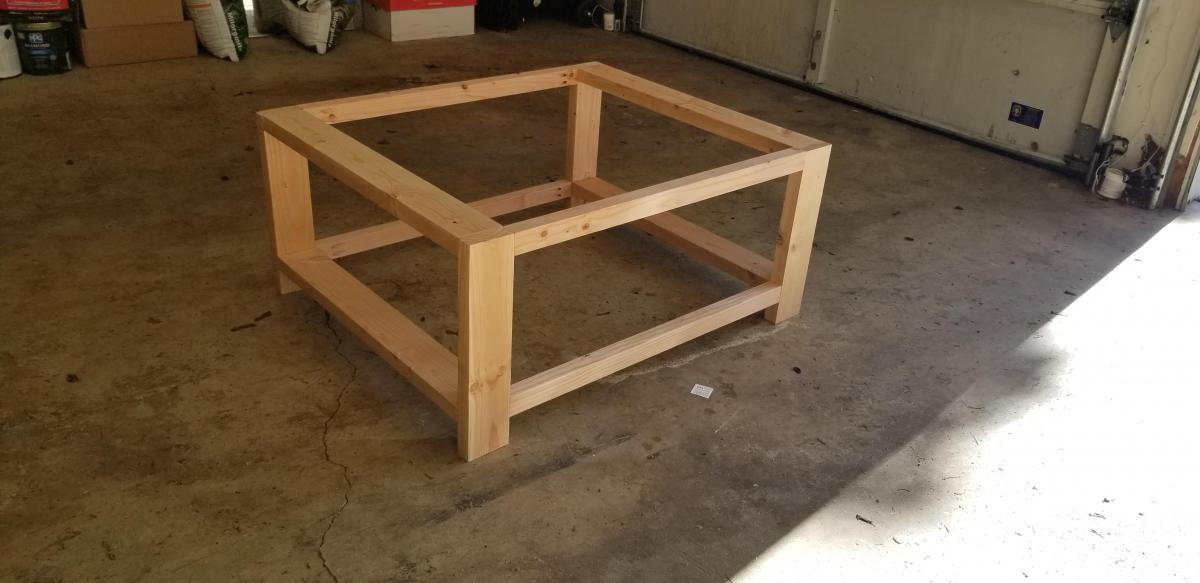
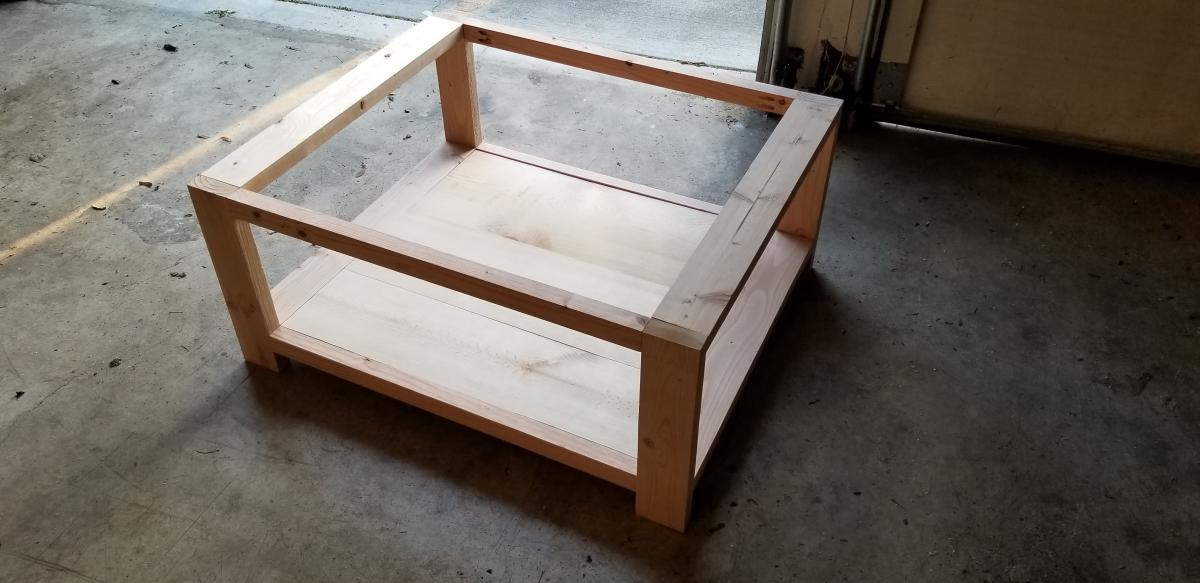
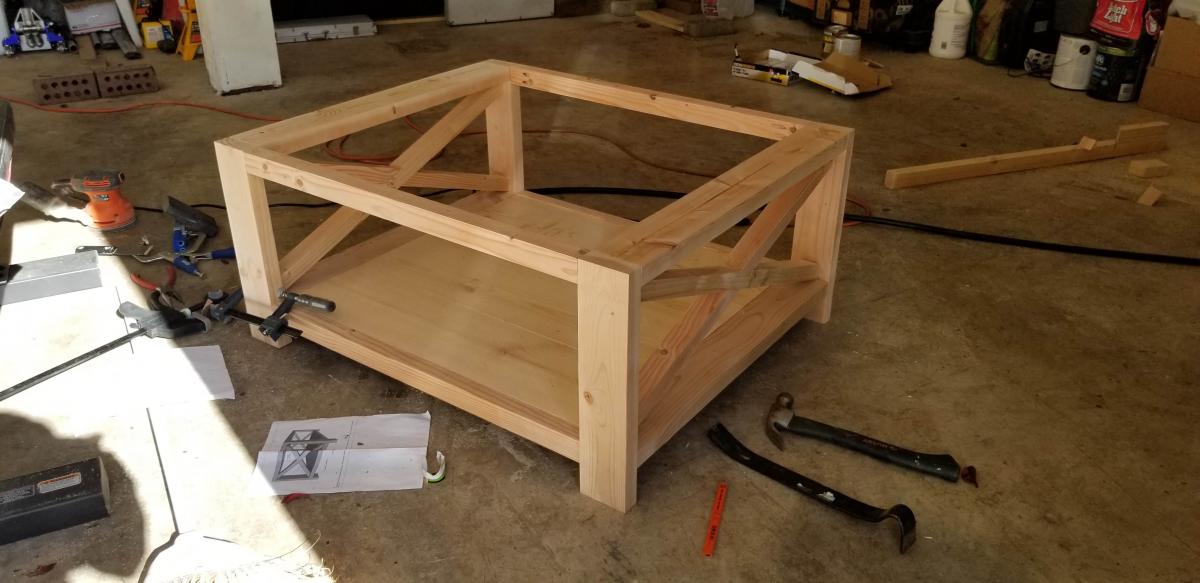
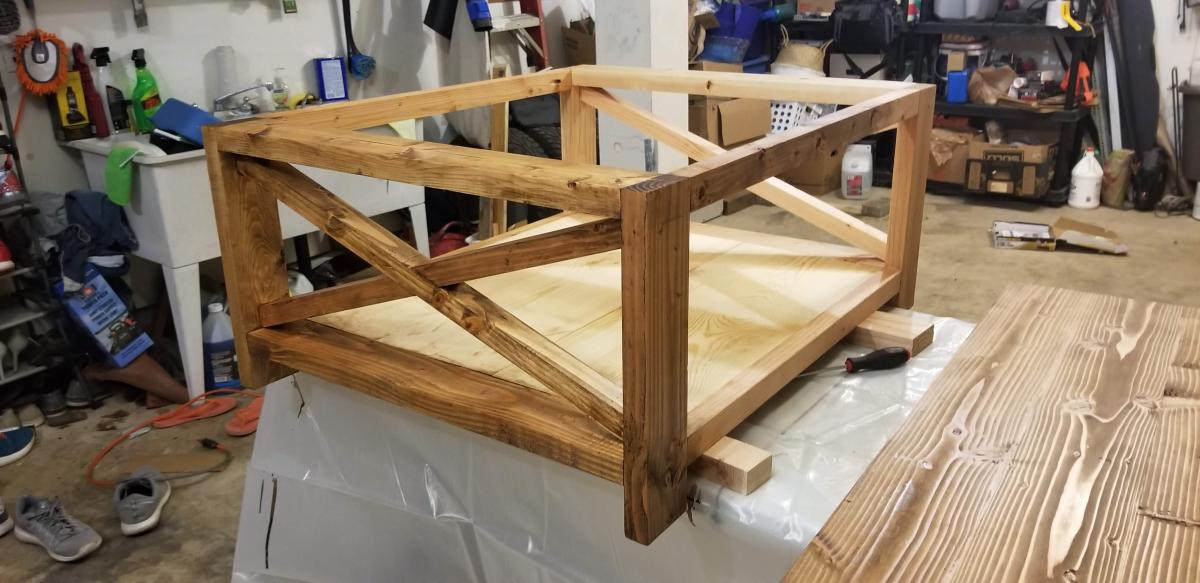
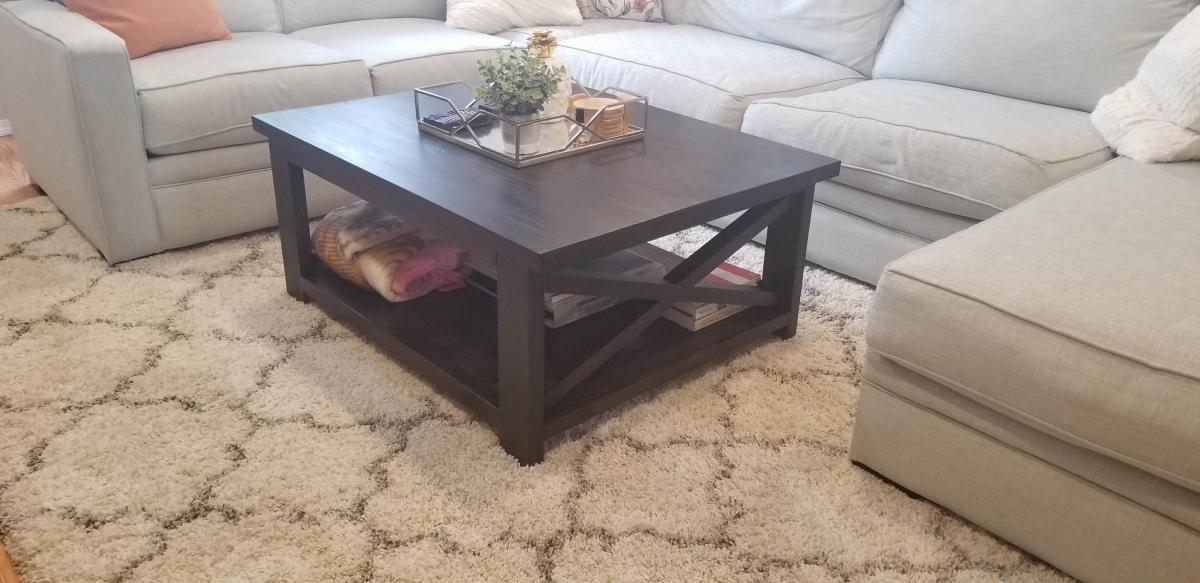
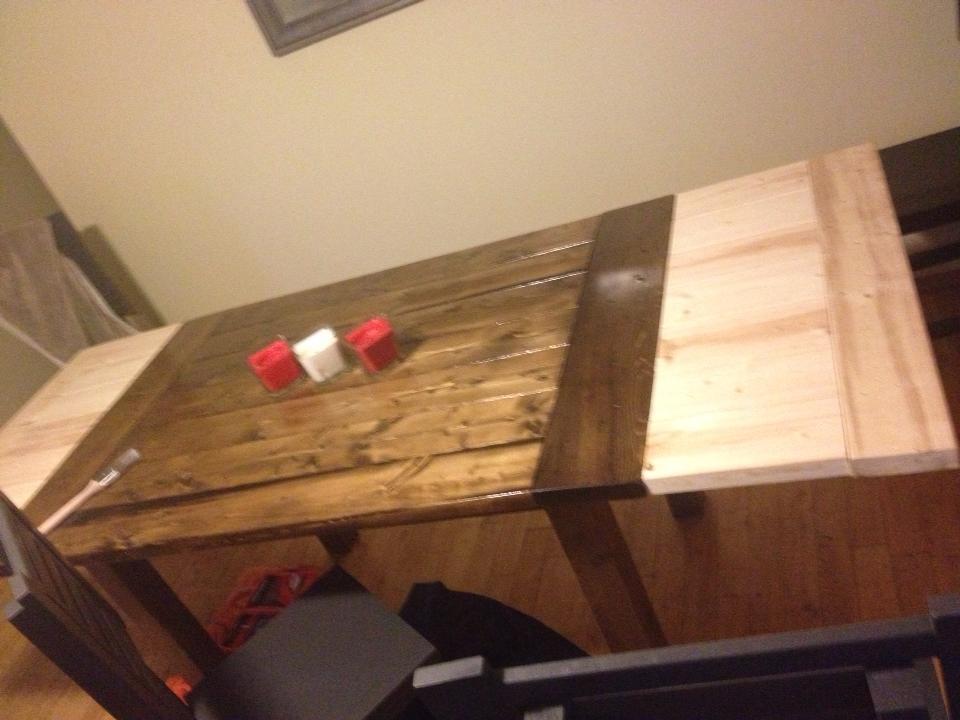
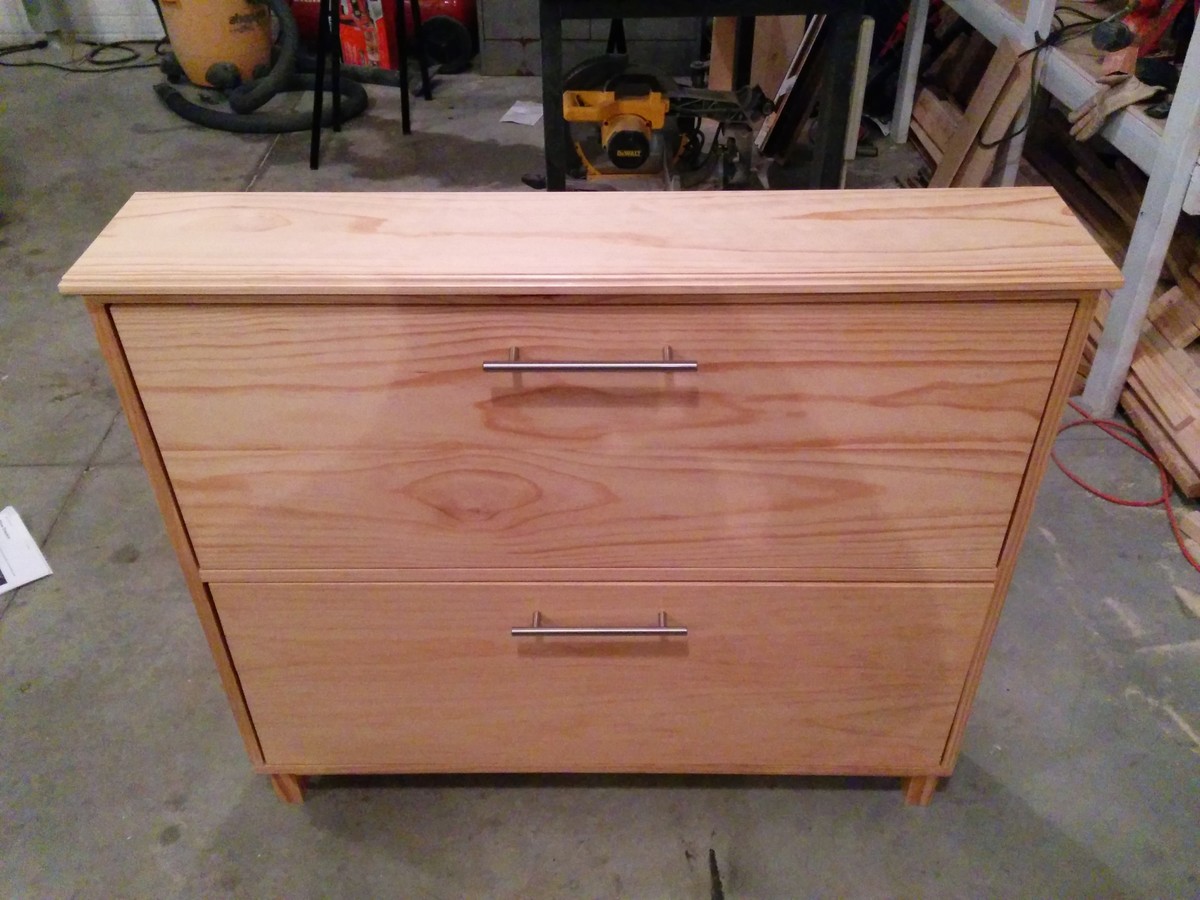
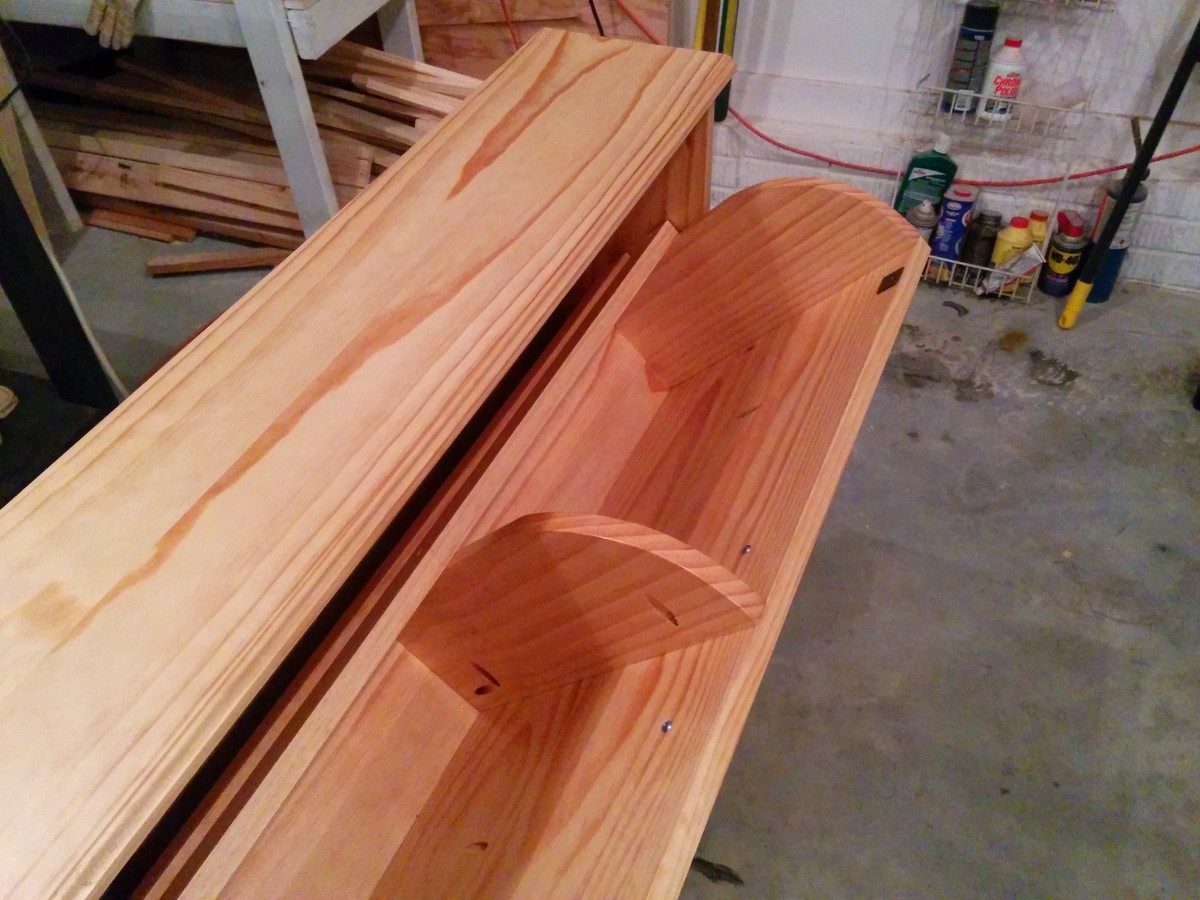
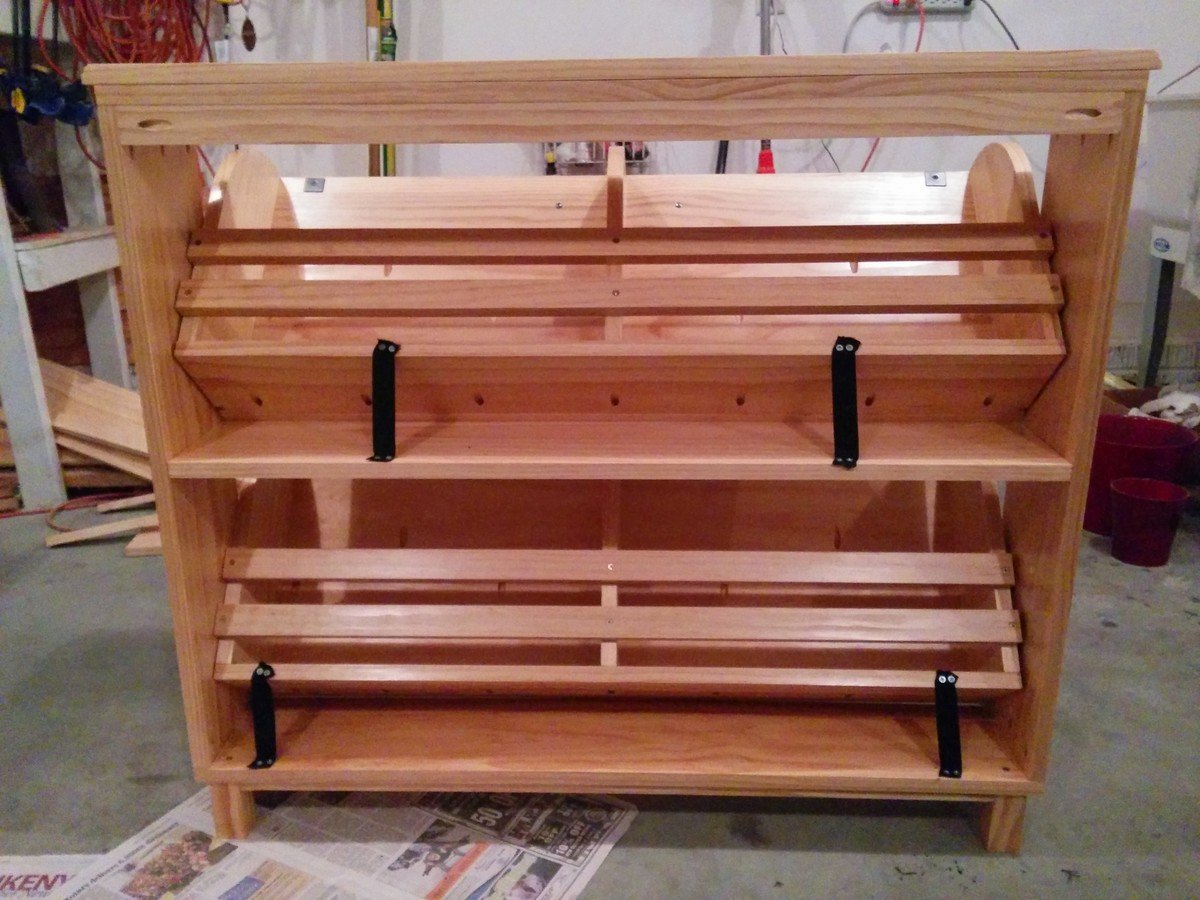
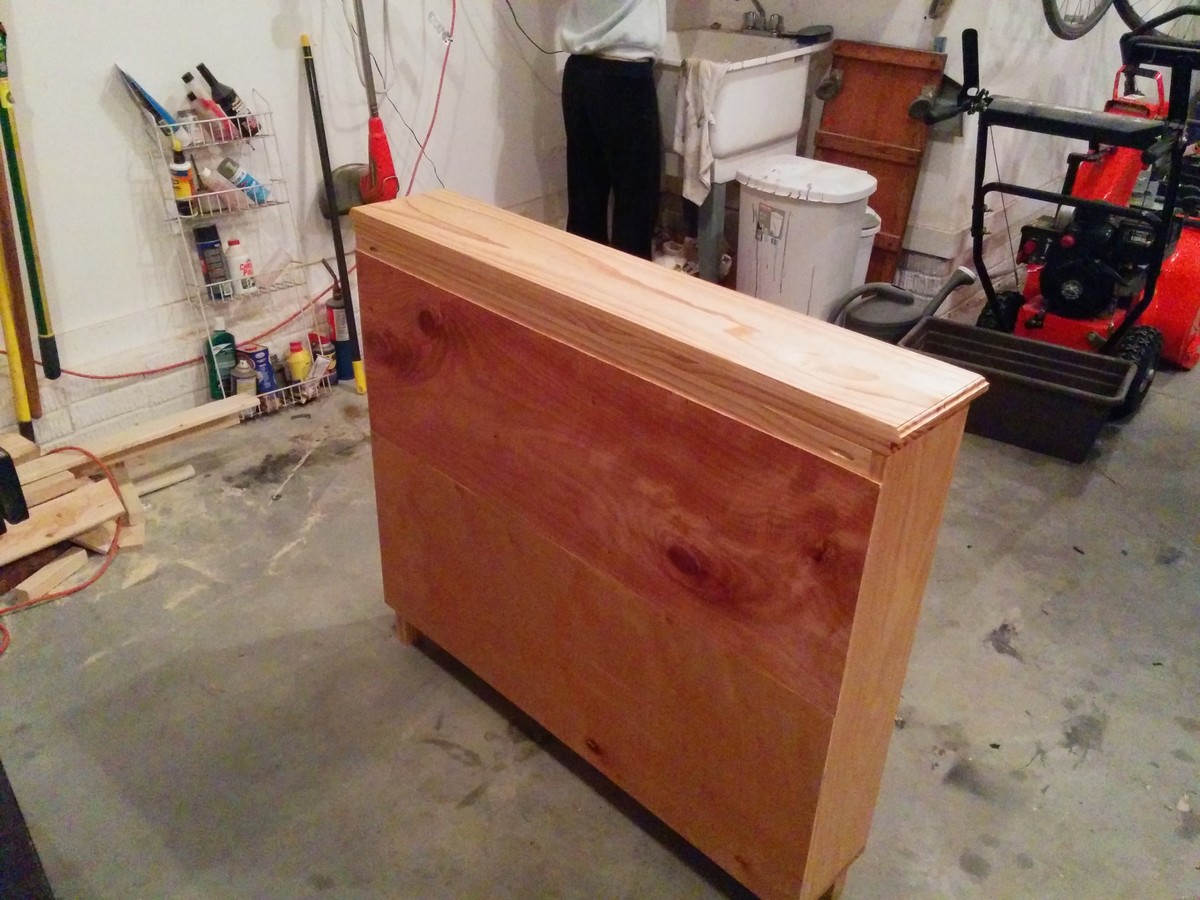
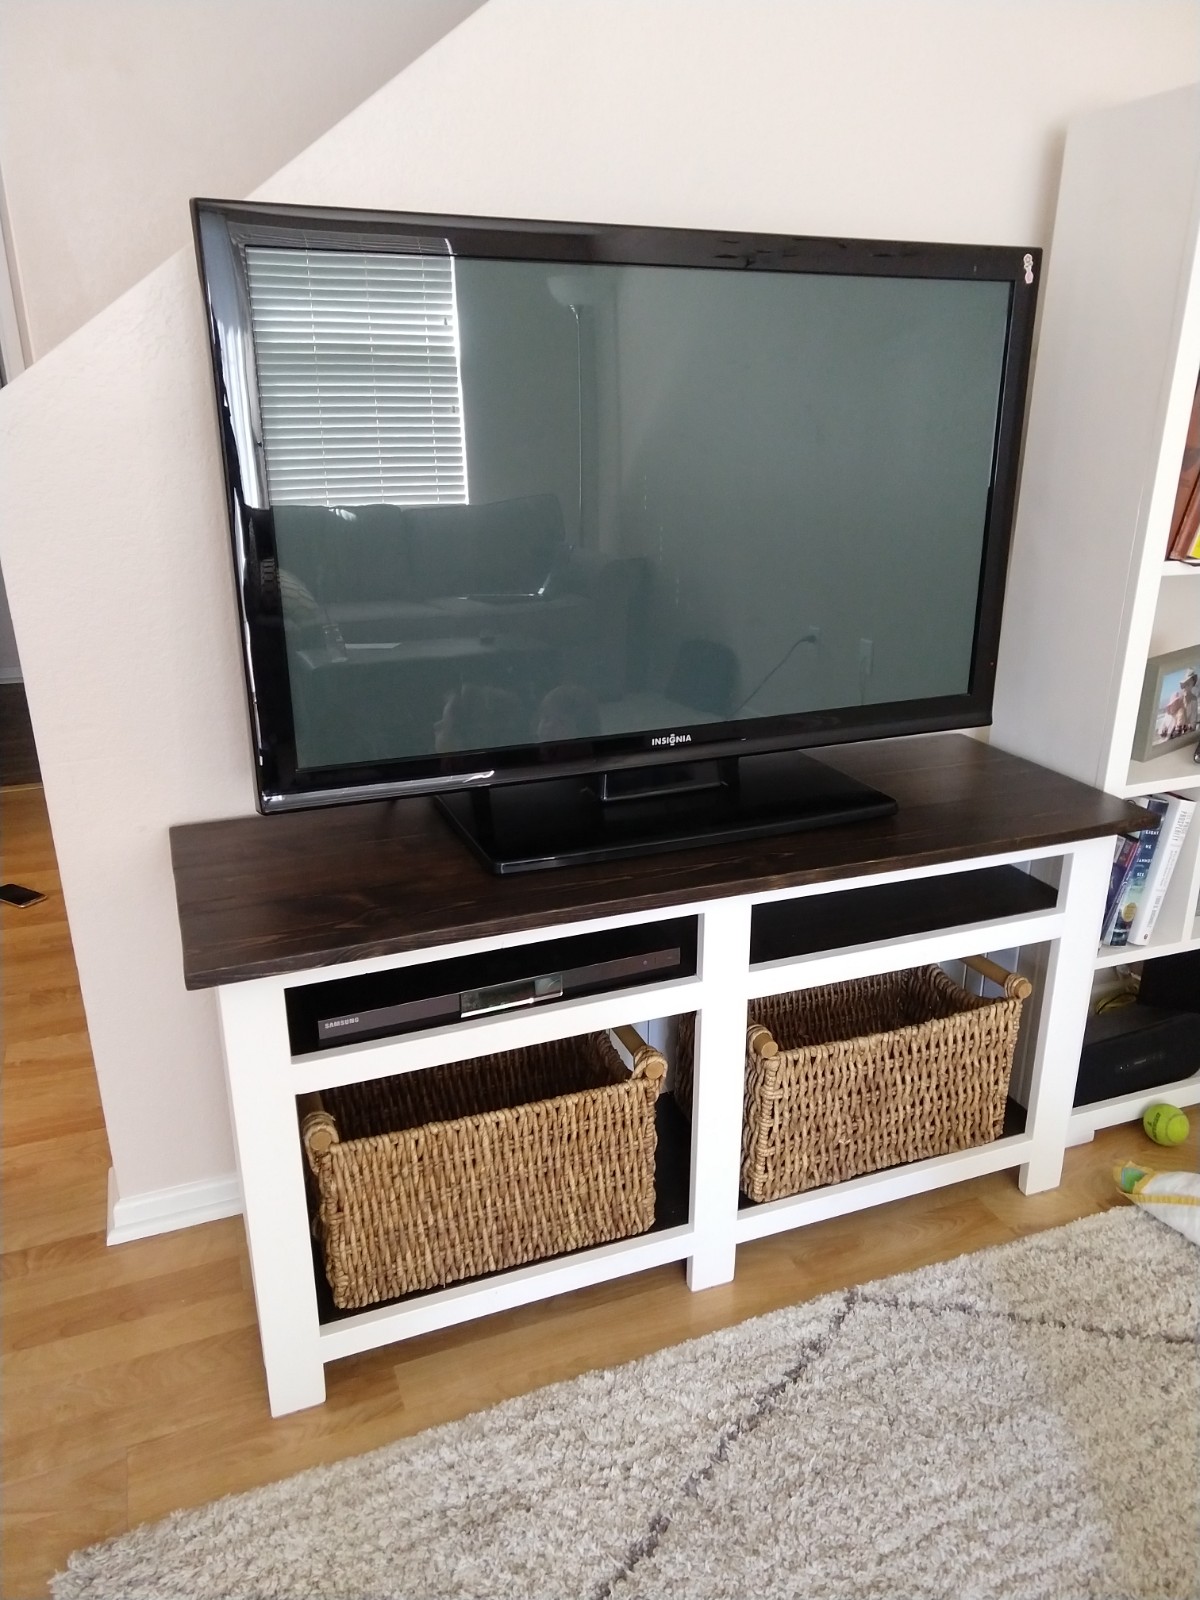
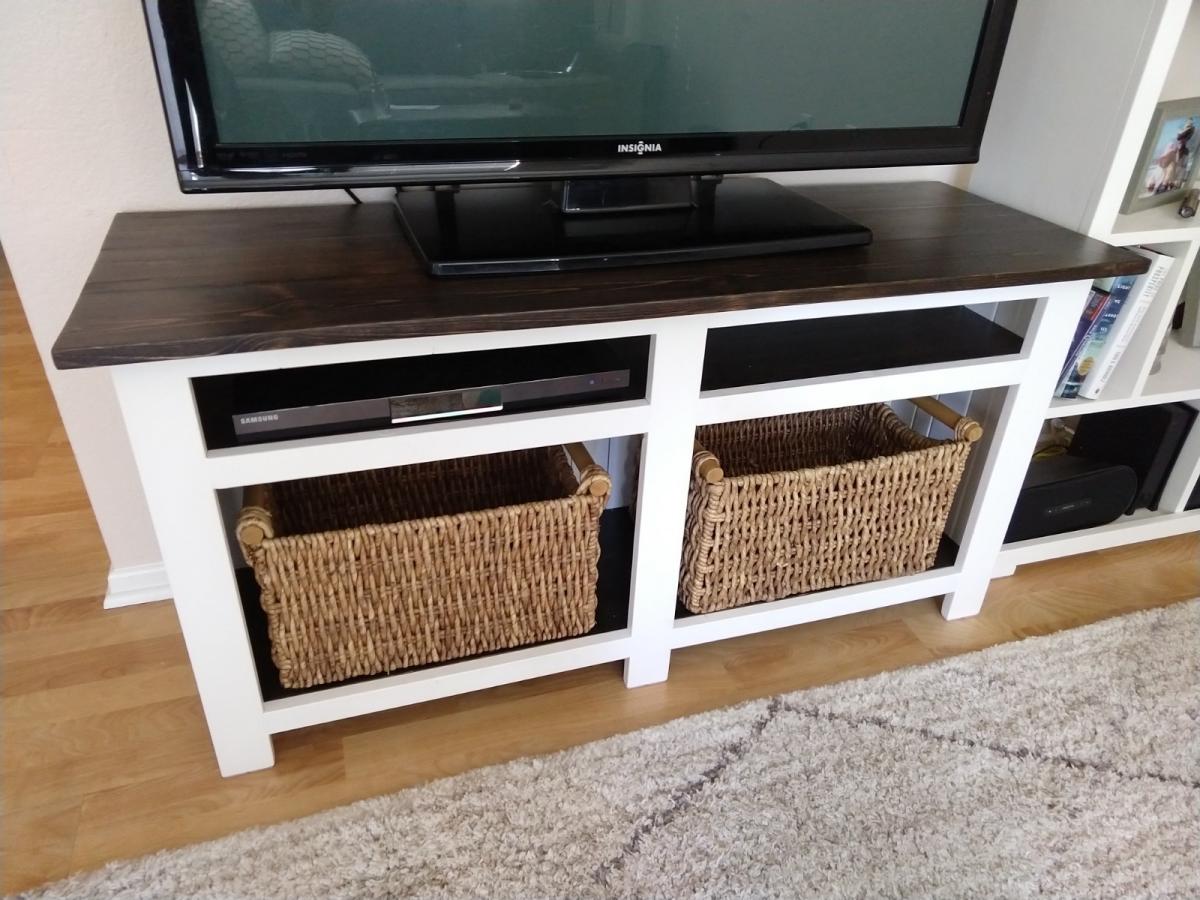
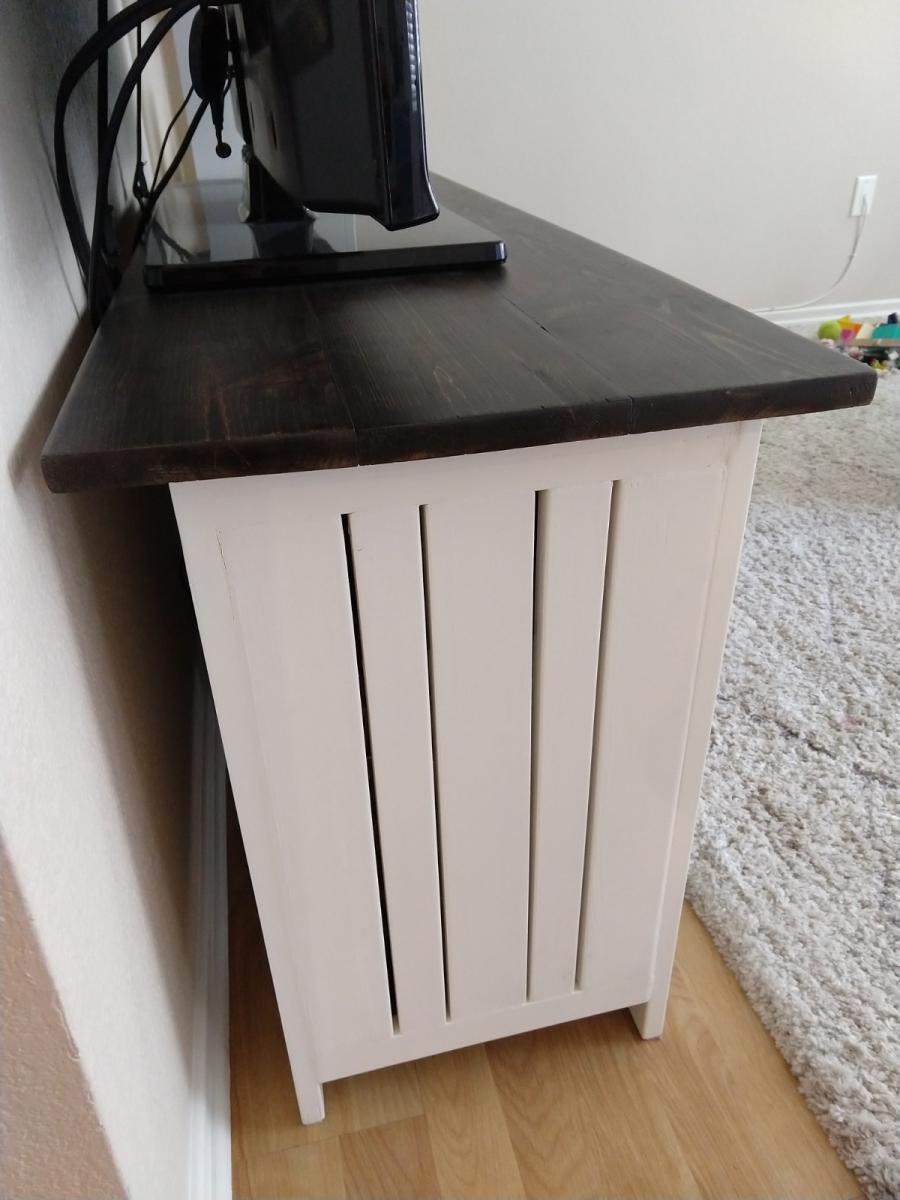
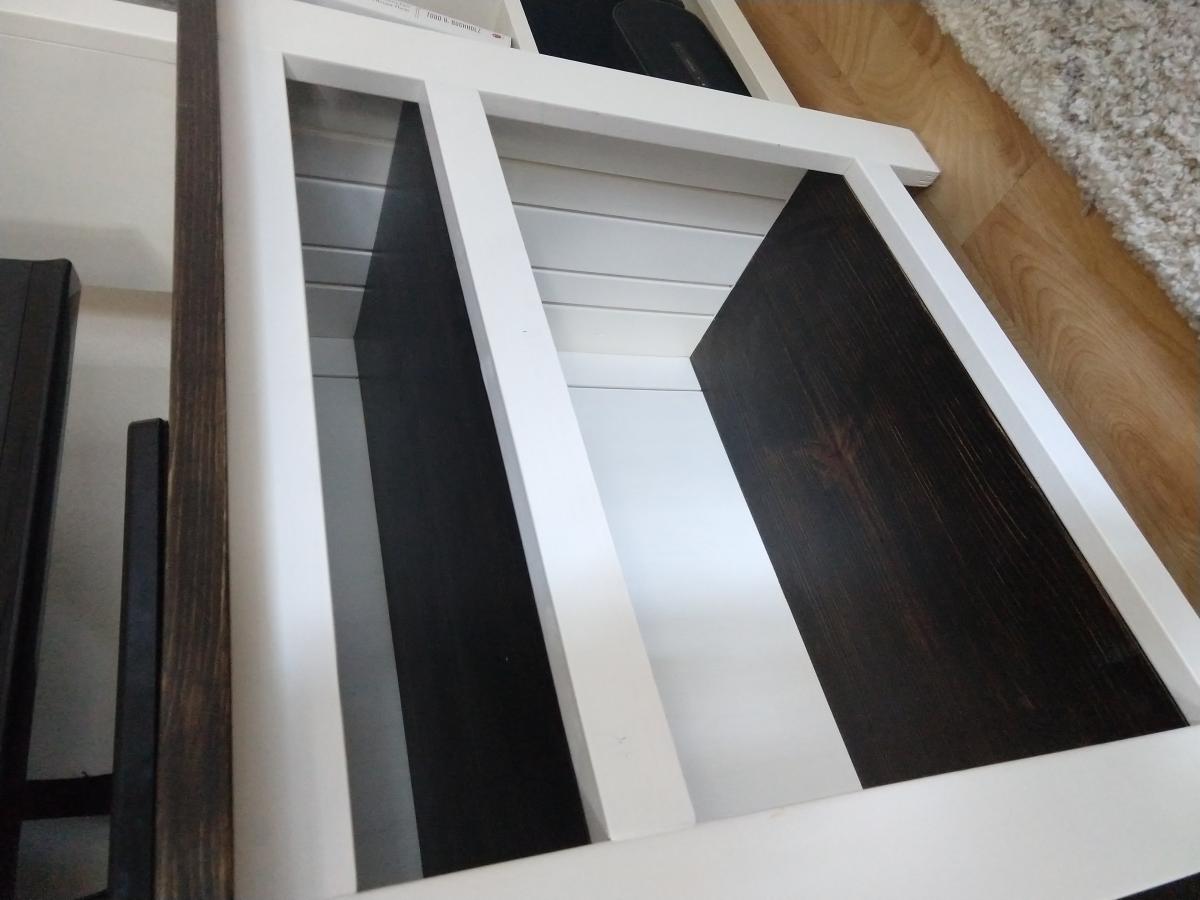
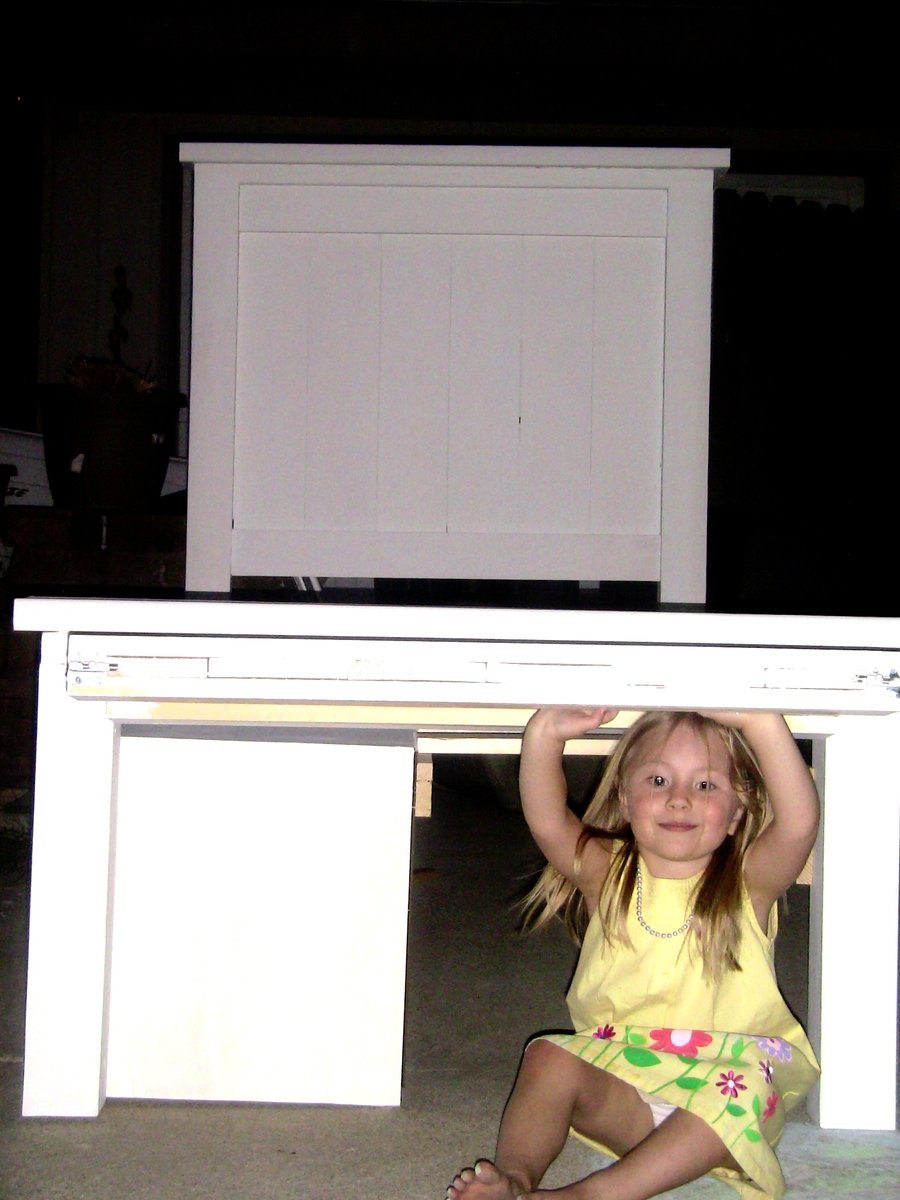
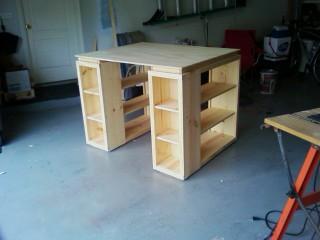
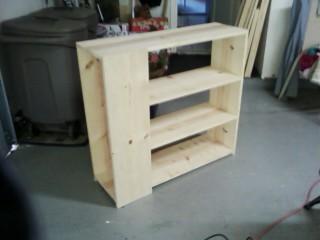
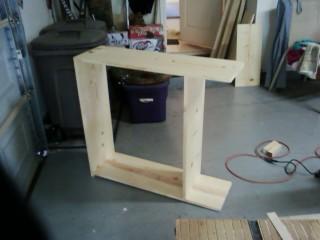
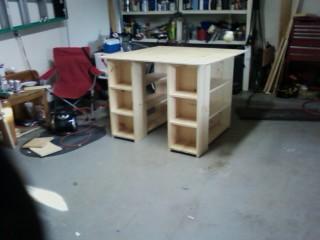
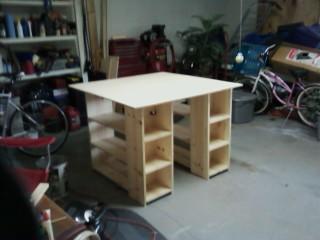
My wife saw this build about 2 years ago and fell in love with it. She decided we should try and find something we could by that was similar but just couldn't find it. Anyway after 9.5 months I finally finished the piece with a couple modifications. First, I added a second smaller open shelf for BlueRay players, video games, and cable box so the TV could be sitting on the top without any clutter.Second, I milled out the corner posts to exactly 2" X 2" square boards so there was little more presence on the side detail. I really like how it turned out and this piece will have a long time home here with. Especially after putting all that time into it!
Built from Plan(s)
Estimated Cost
$350 Dollars on Wood Alone
Estimated Time Investment
Week Long Project (20 Hours or More)
Finish Used
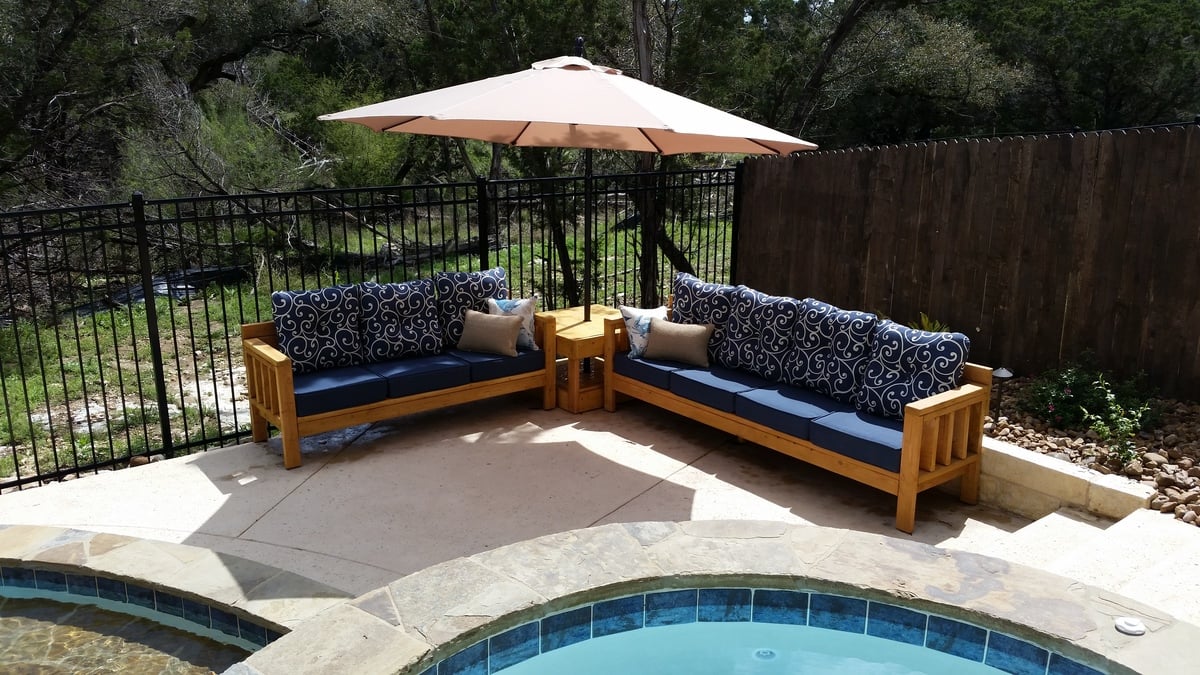
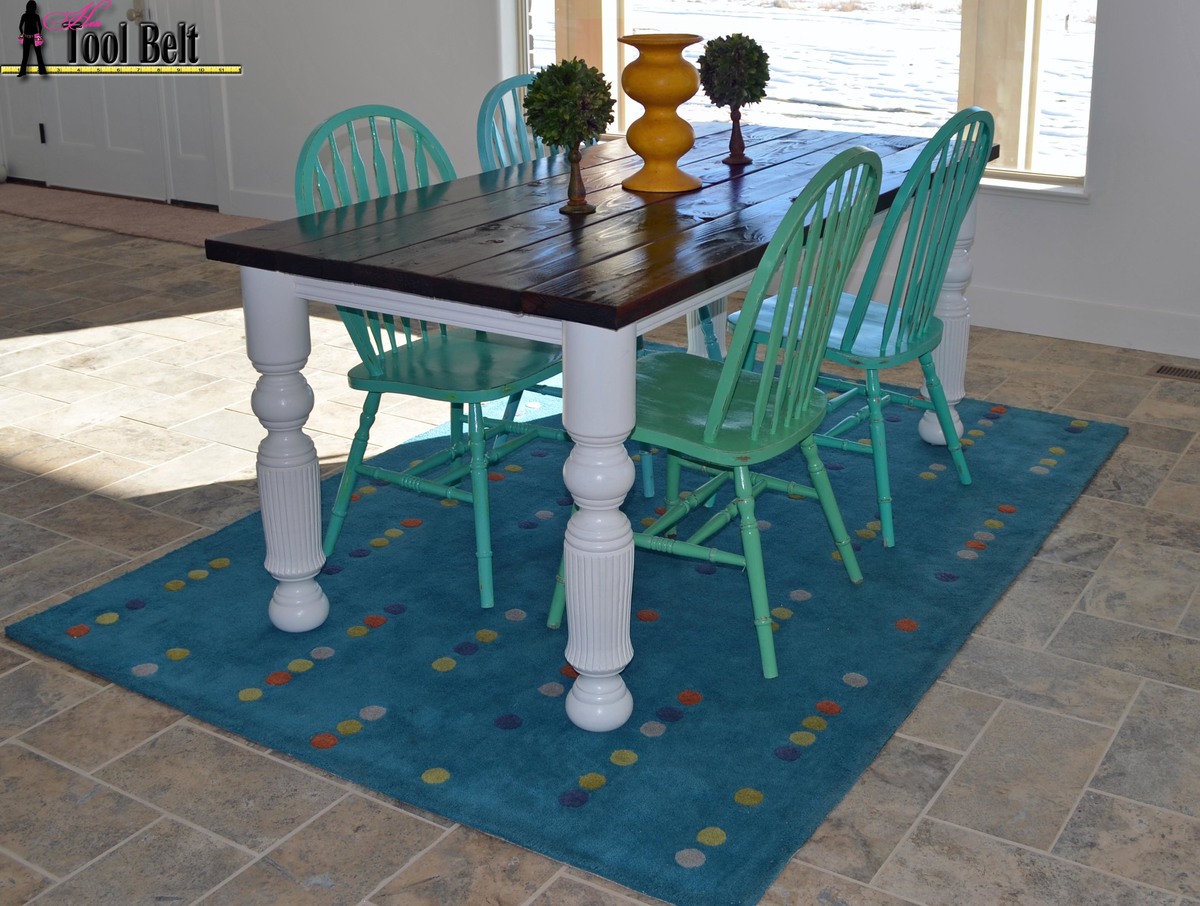
This piece will be used as a TV entertainment center.
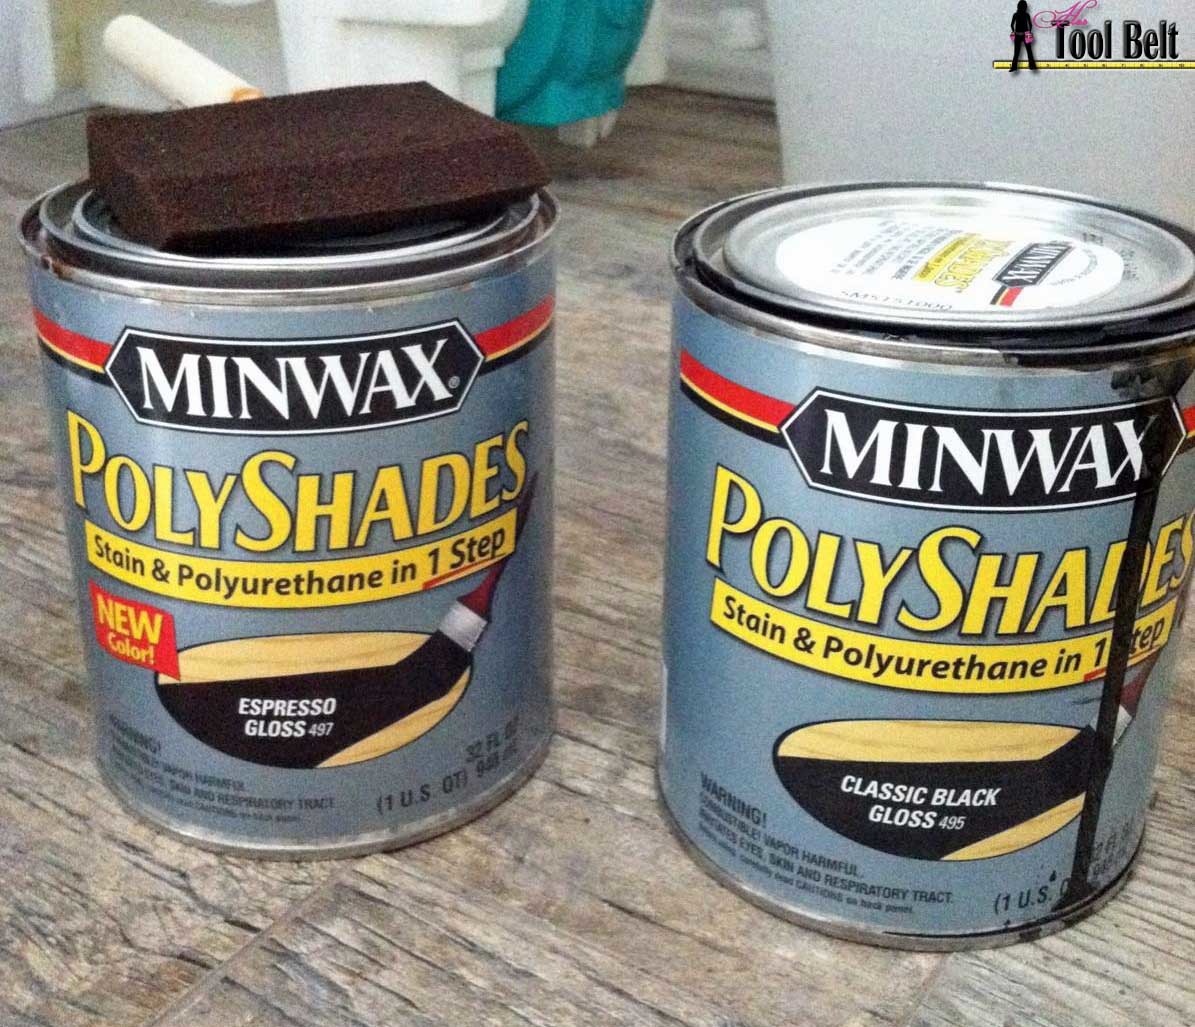
We just stained it with three coats applied with a cloth and then 2 coats of poly.
We just stained it with three coats applied with a cloth and then 2 coats of poly.
Recommended Skill Level
Intermediate


Comments
NimbleShopper
Mon, 12/30/2013 - 07:55
Gorgeous
You do good work. It looks better than store bought. Wow. Very nice.
Linda7
Tue, 01/07/2014 - 10:56
Just beautiful!
I love how you modified the plans to suit your needs. The wood grains on the sides are very attractive as are the drawer fronts; that doesn't always happen.
The finish is outstanding. I"m sure you're glad you took your time to get this build just right! Congratulations!
pcdaugs
Fri, 01/10/2014 - 15:40
Thank Linda
It certainly was a project but in the end I really like what turned out. I can also say my wife was key in getting the finish just right as I am a terrible stainer.
snogirly7
Fri, 07/18/2014 - 17:50
I so want to do this!
can you post the changes in measurements you did to make this taller? and additional wood I would need to purchase? this looks amazing, great job! I hope I can do this just as well.