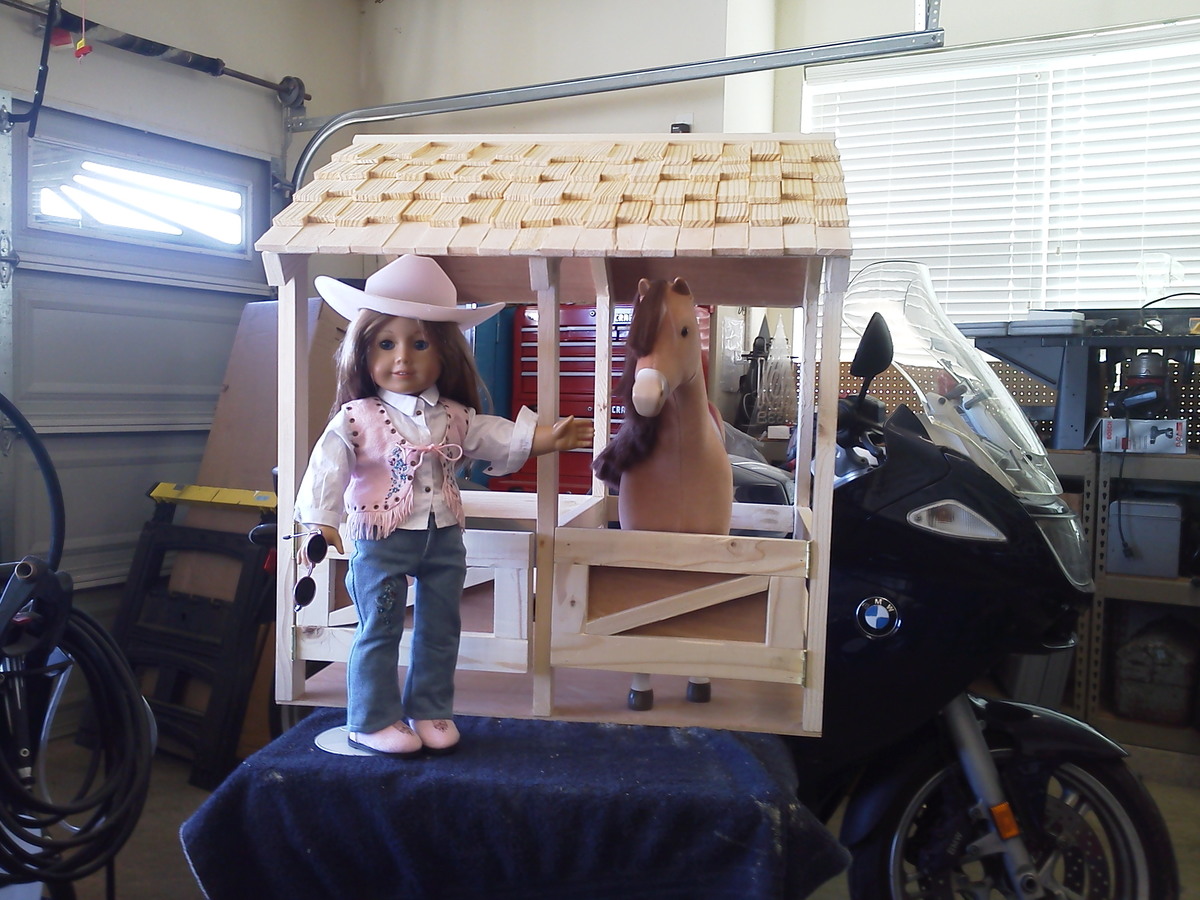
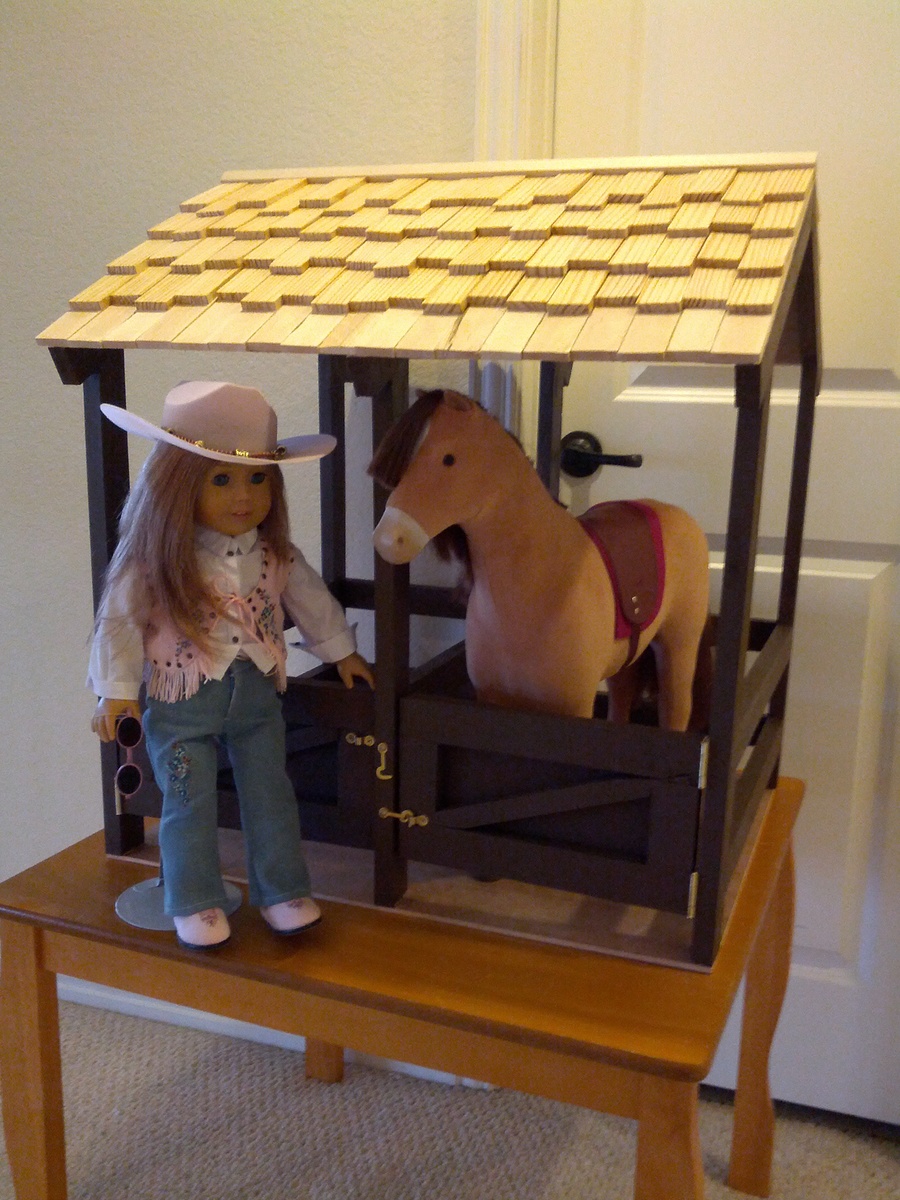
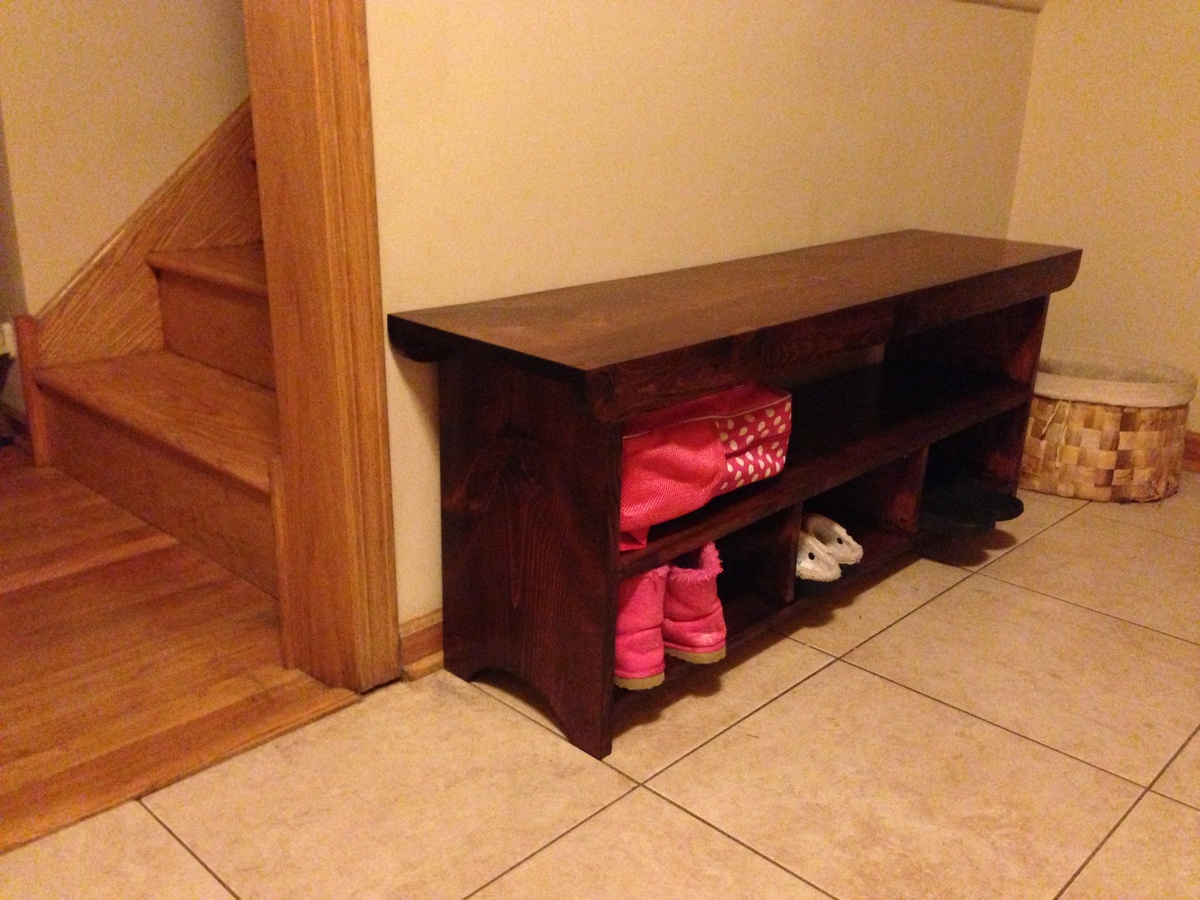
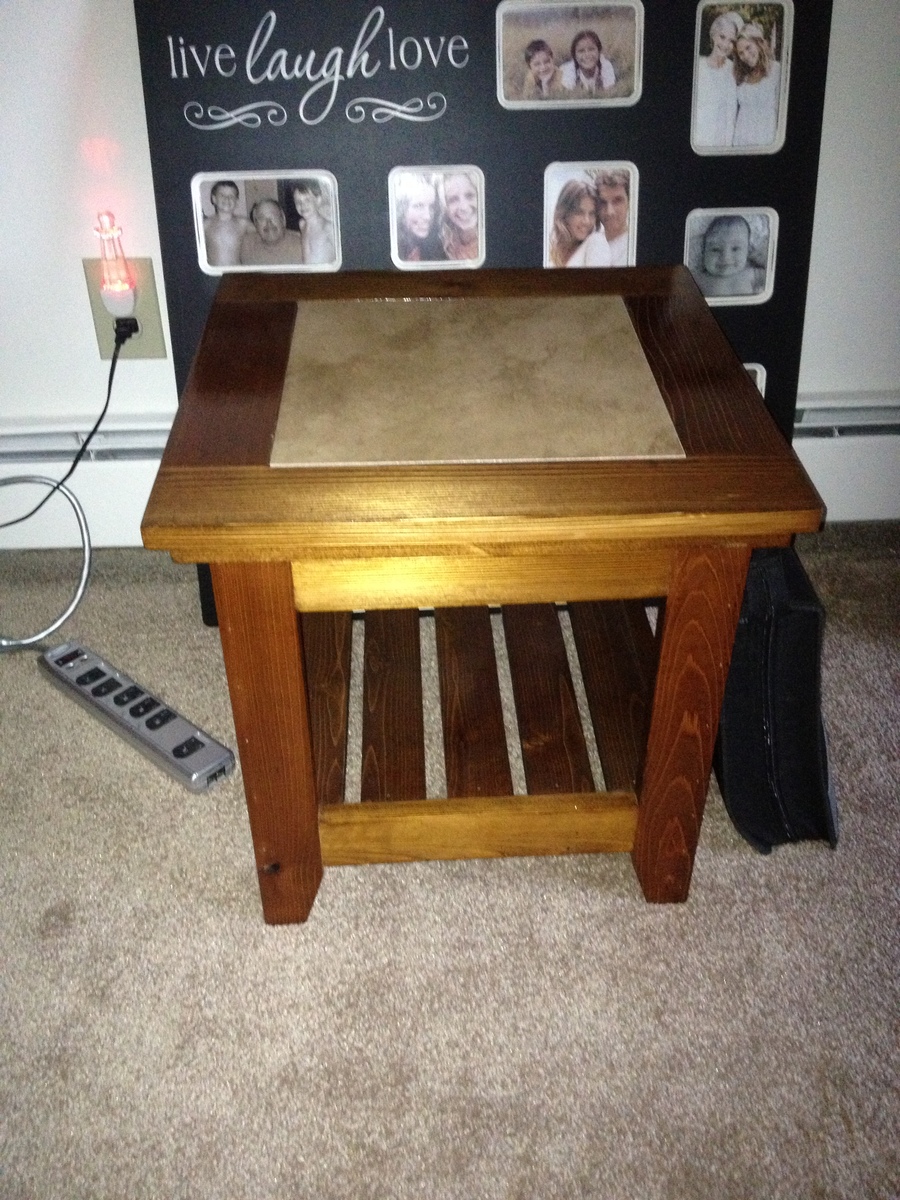
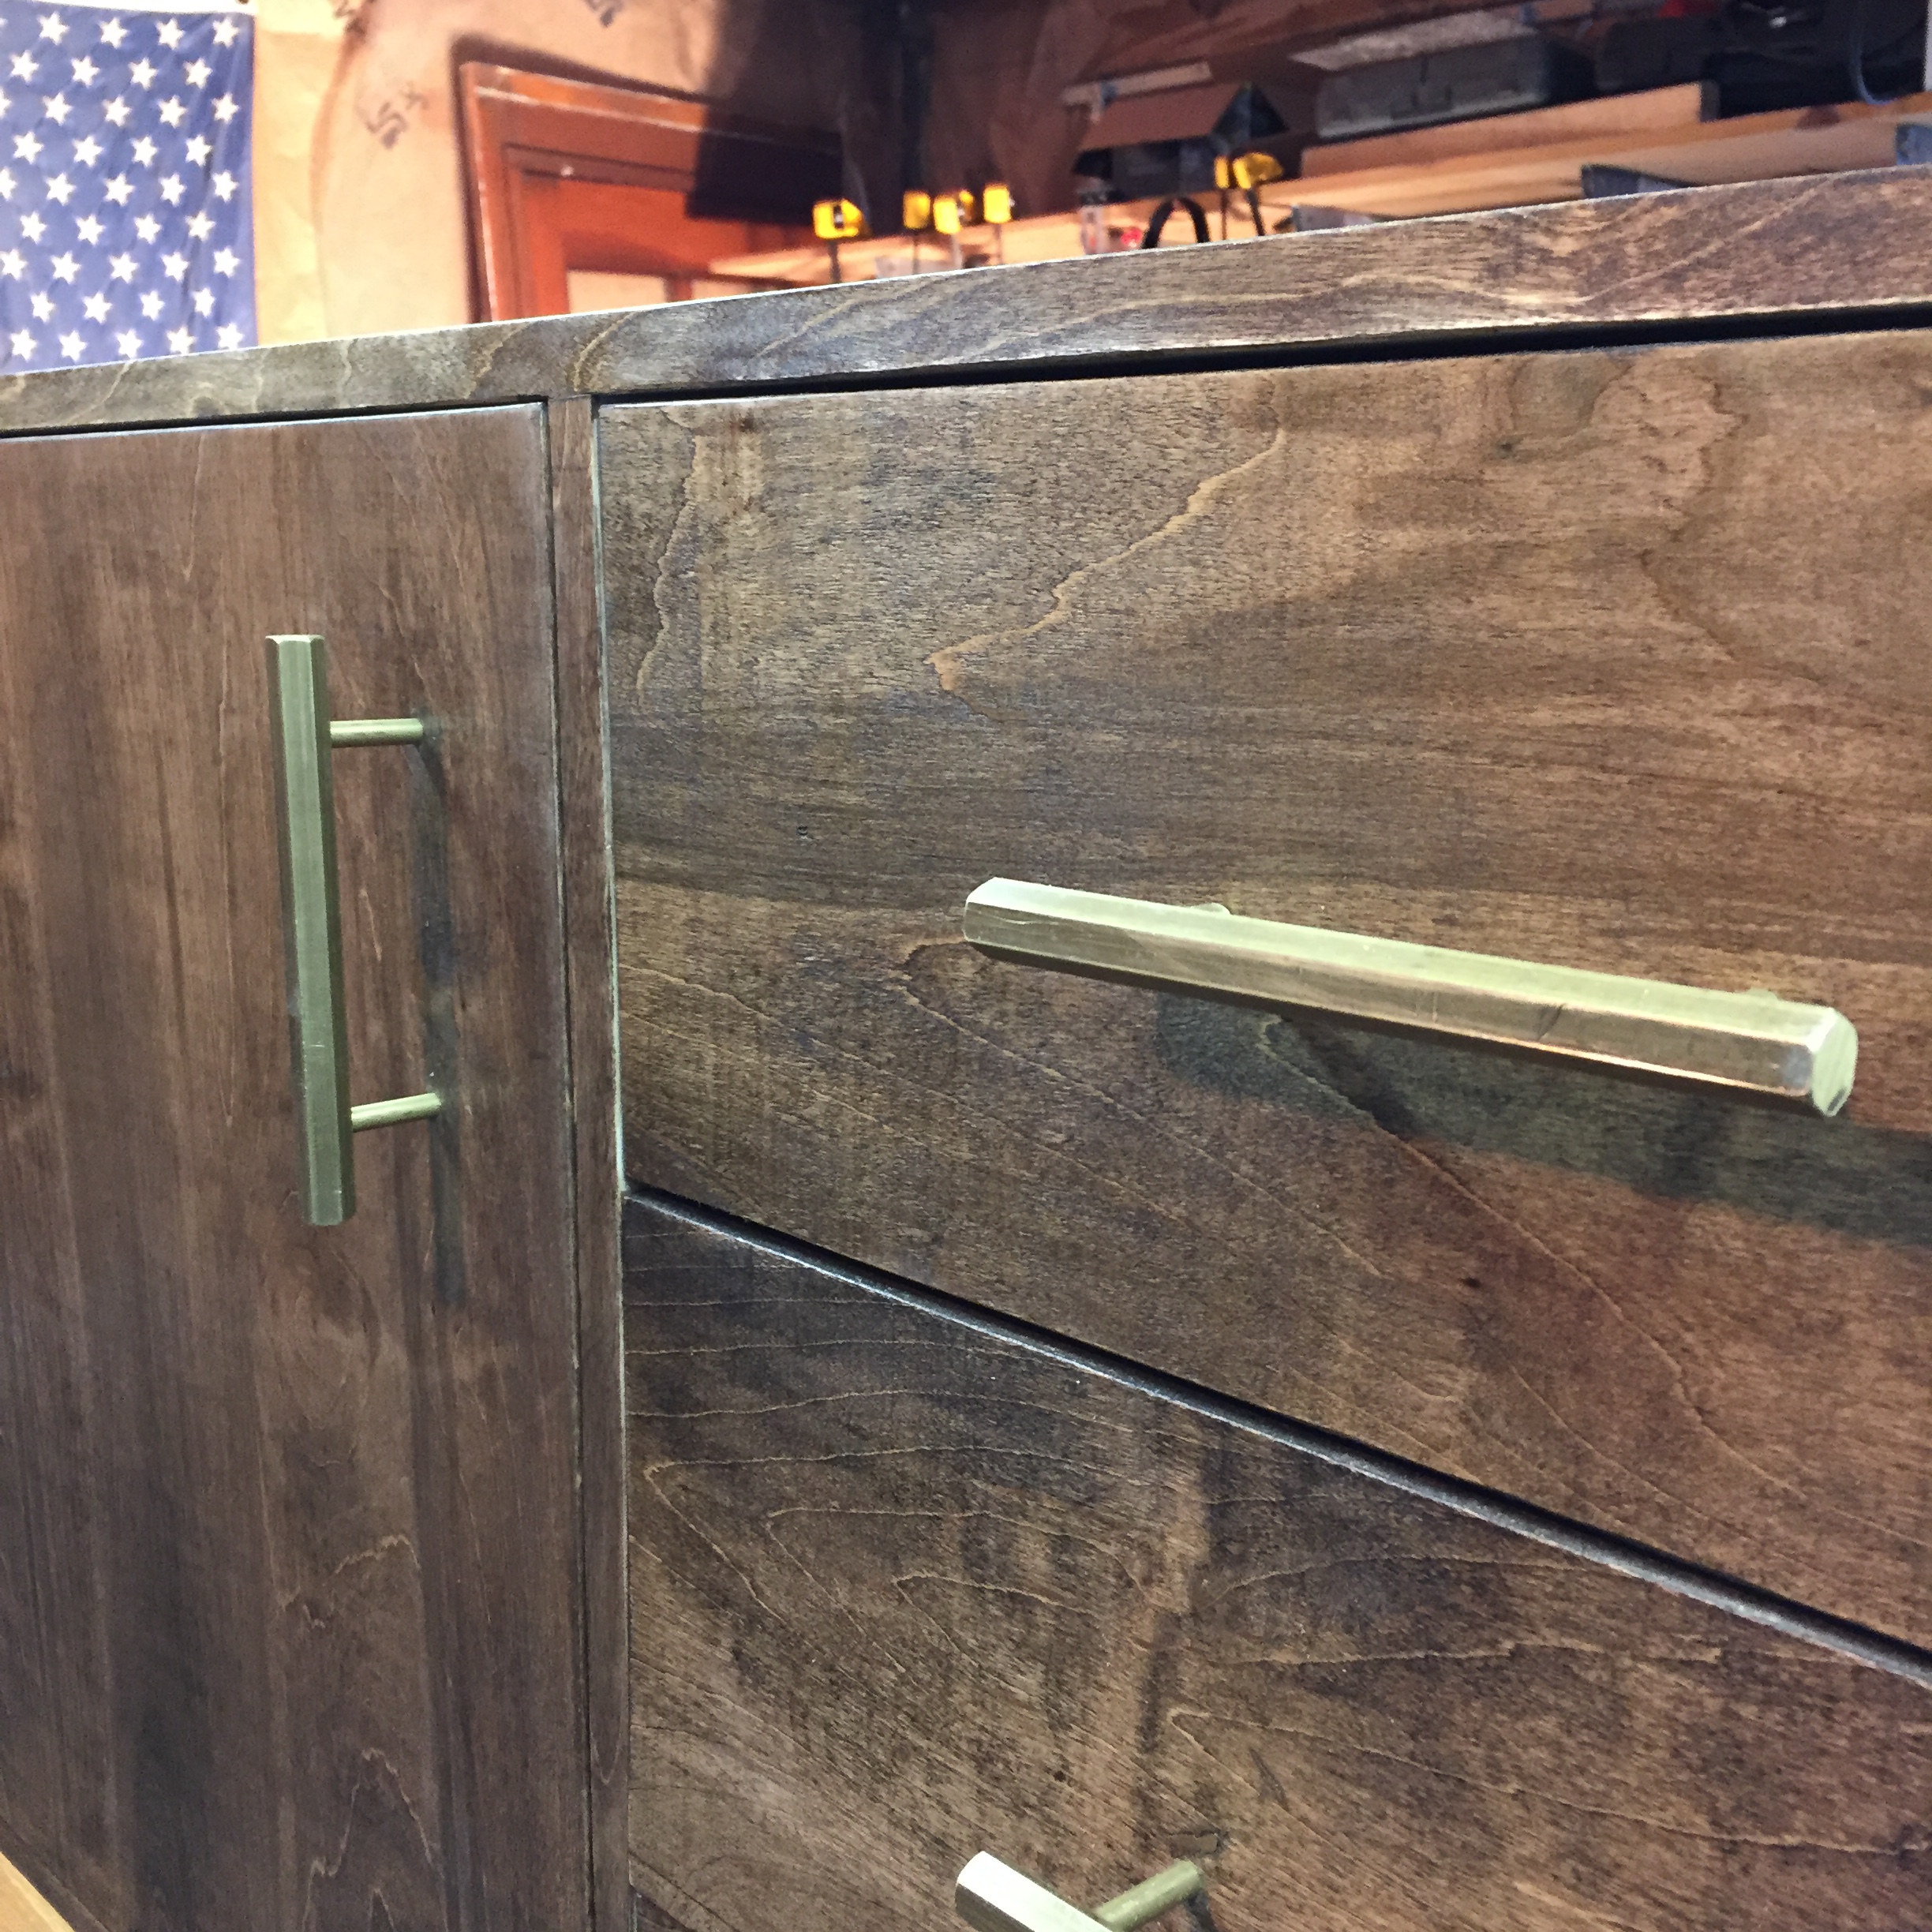
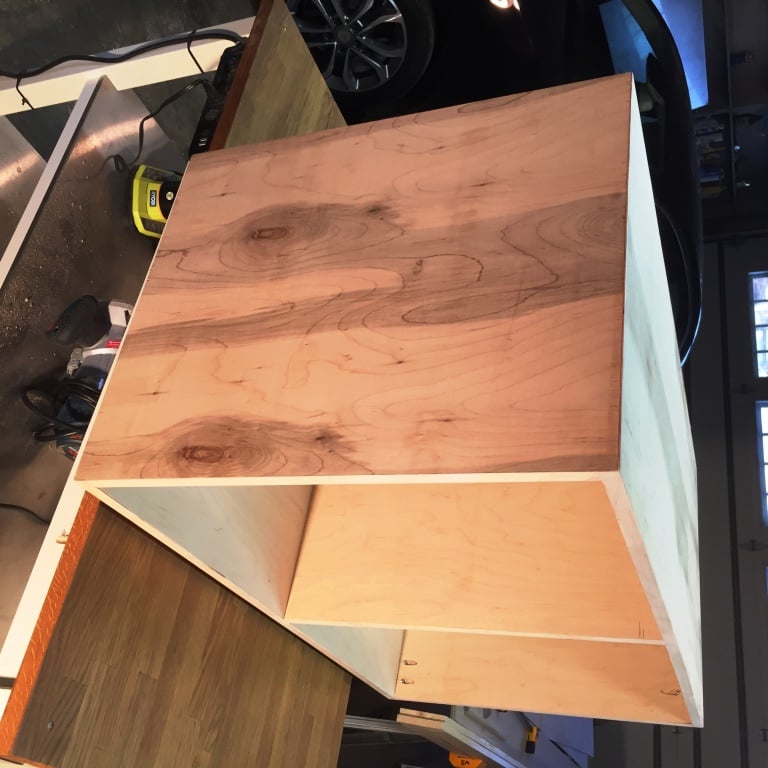
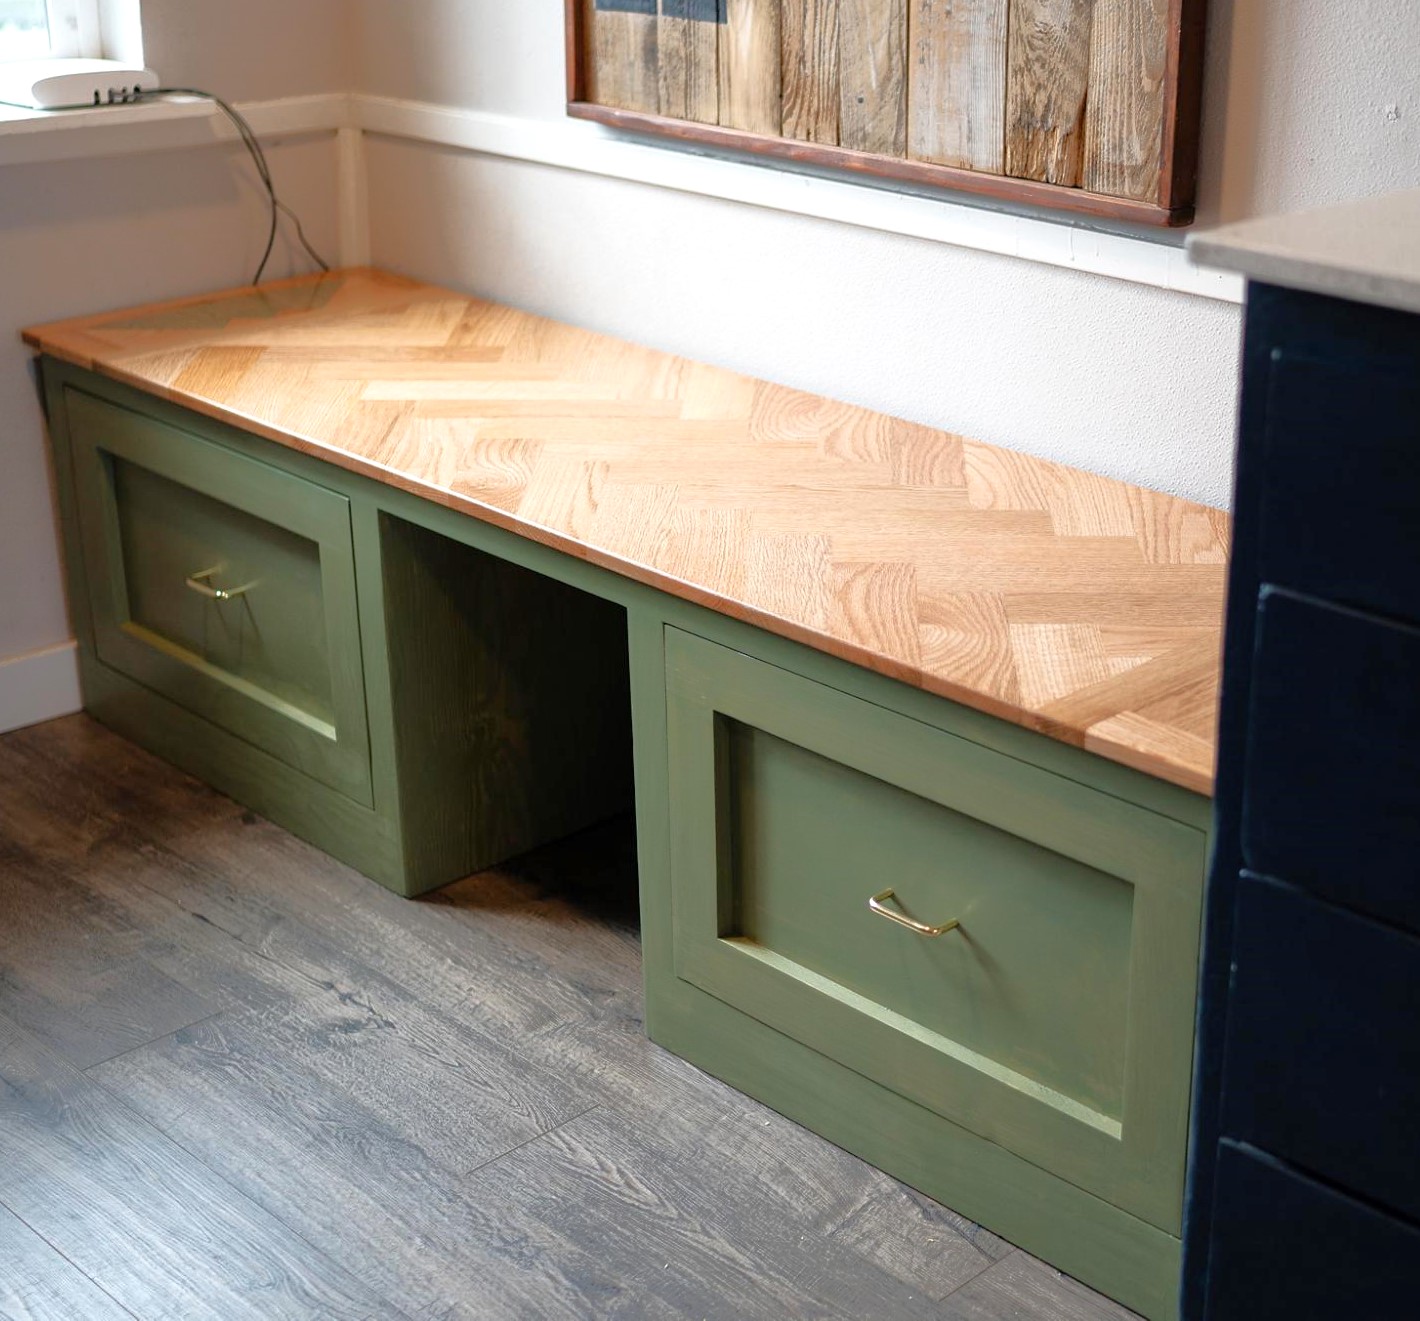
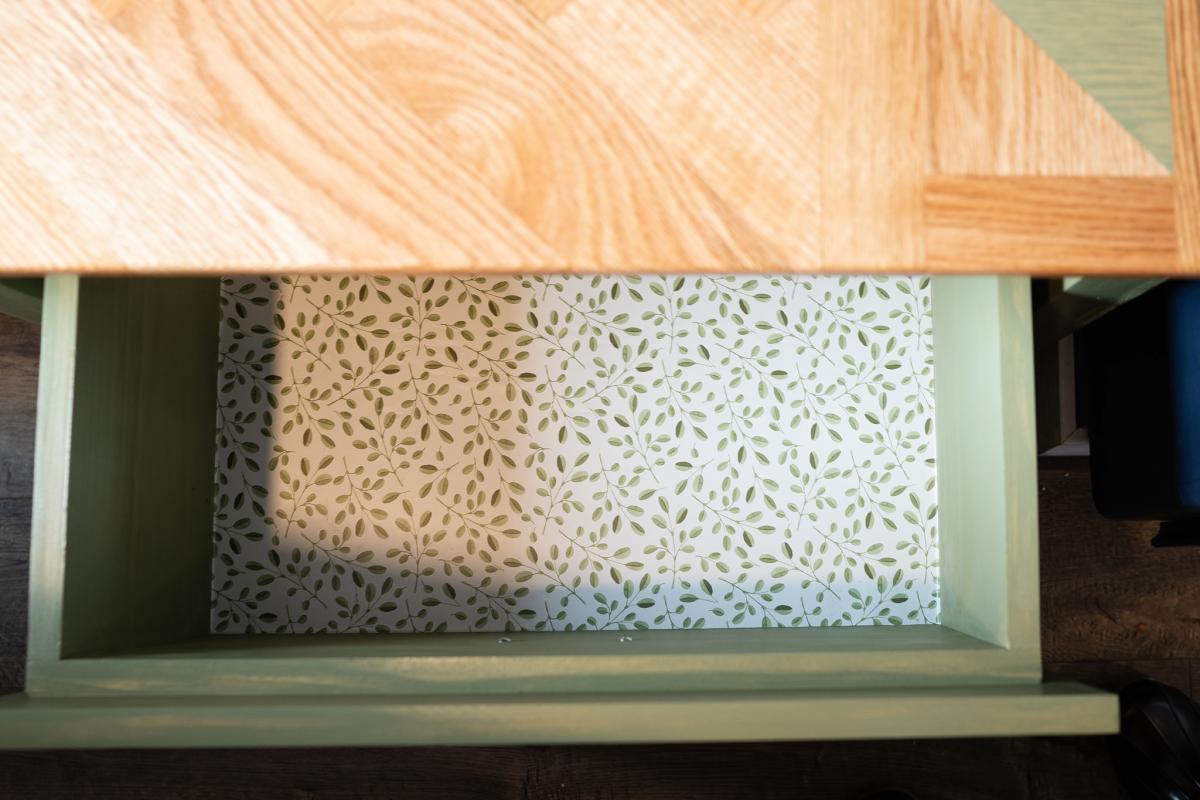
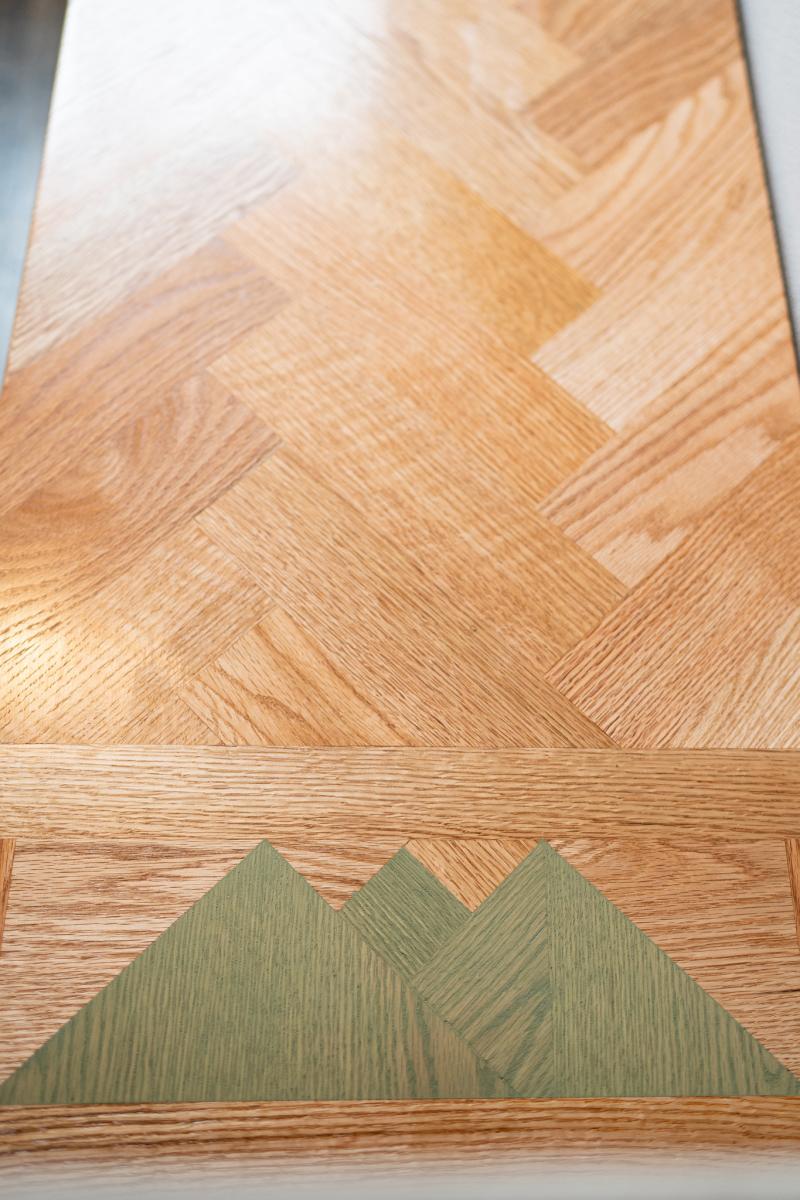
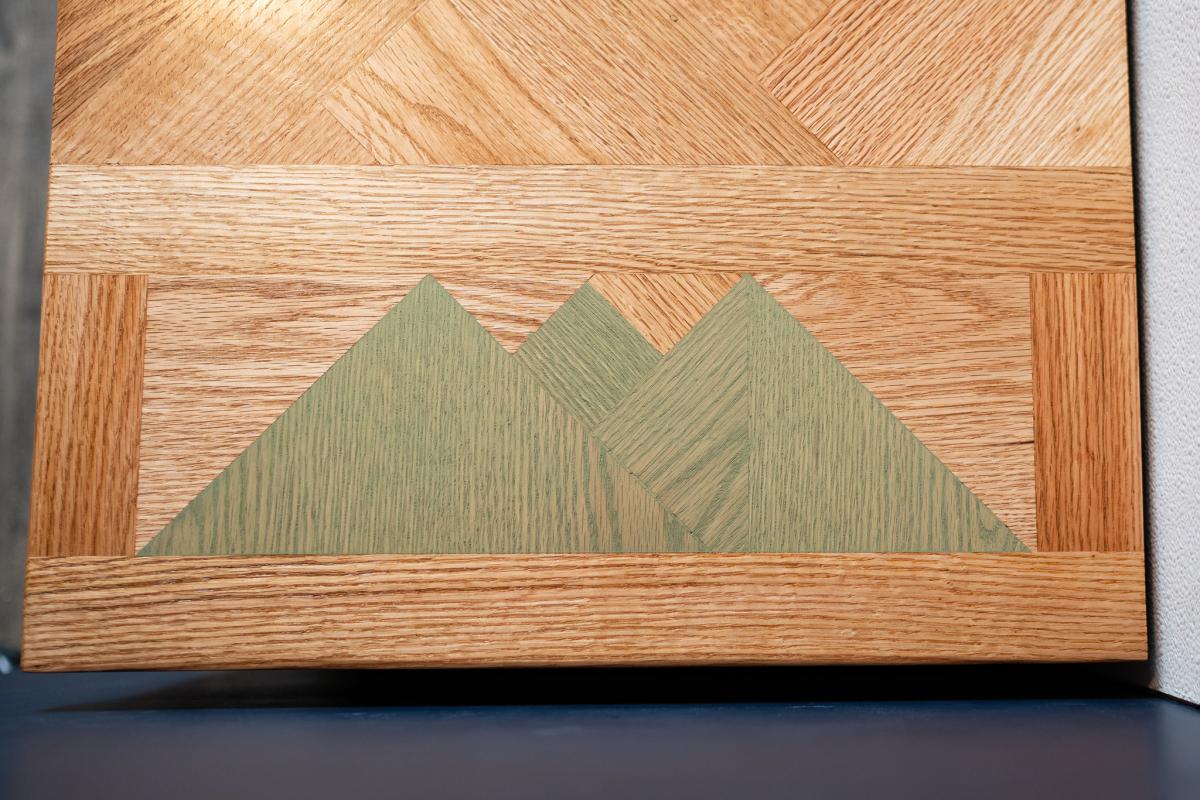
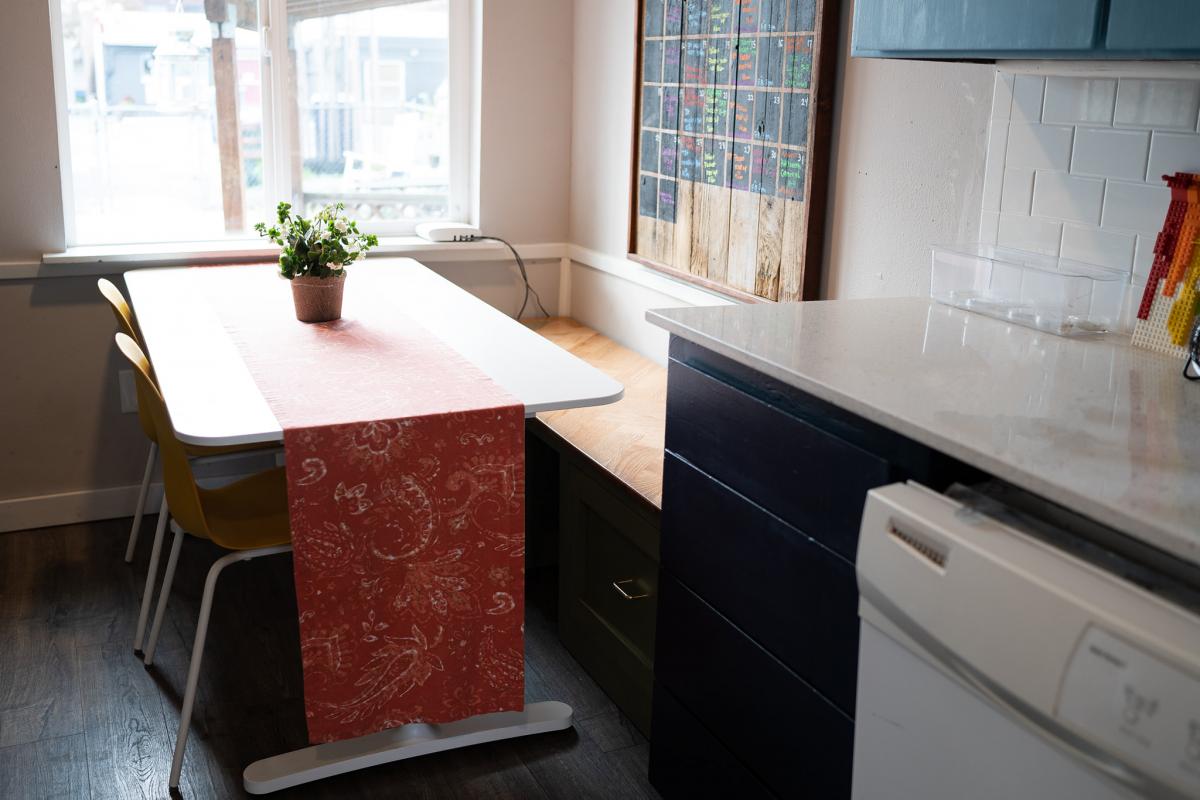
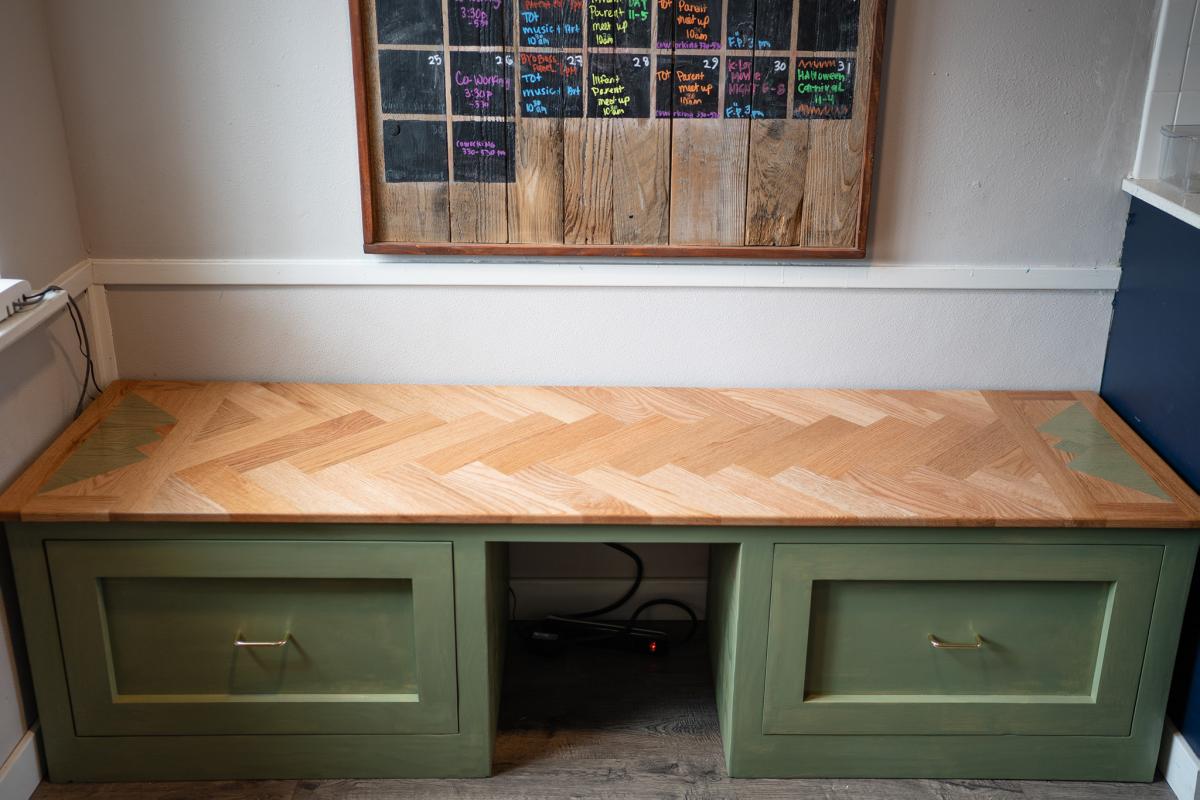
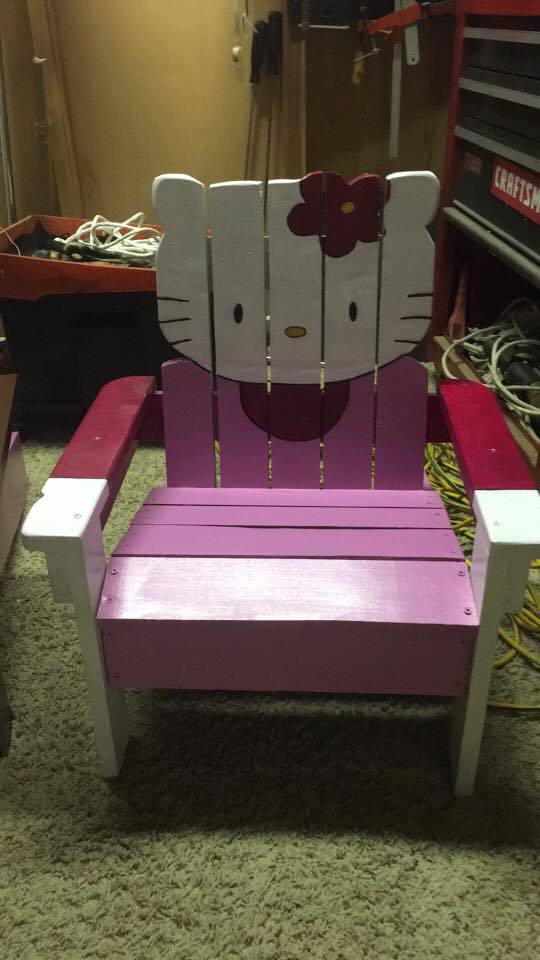
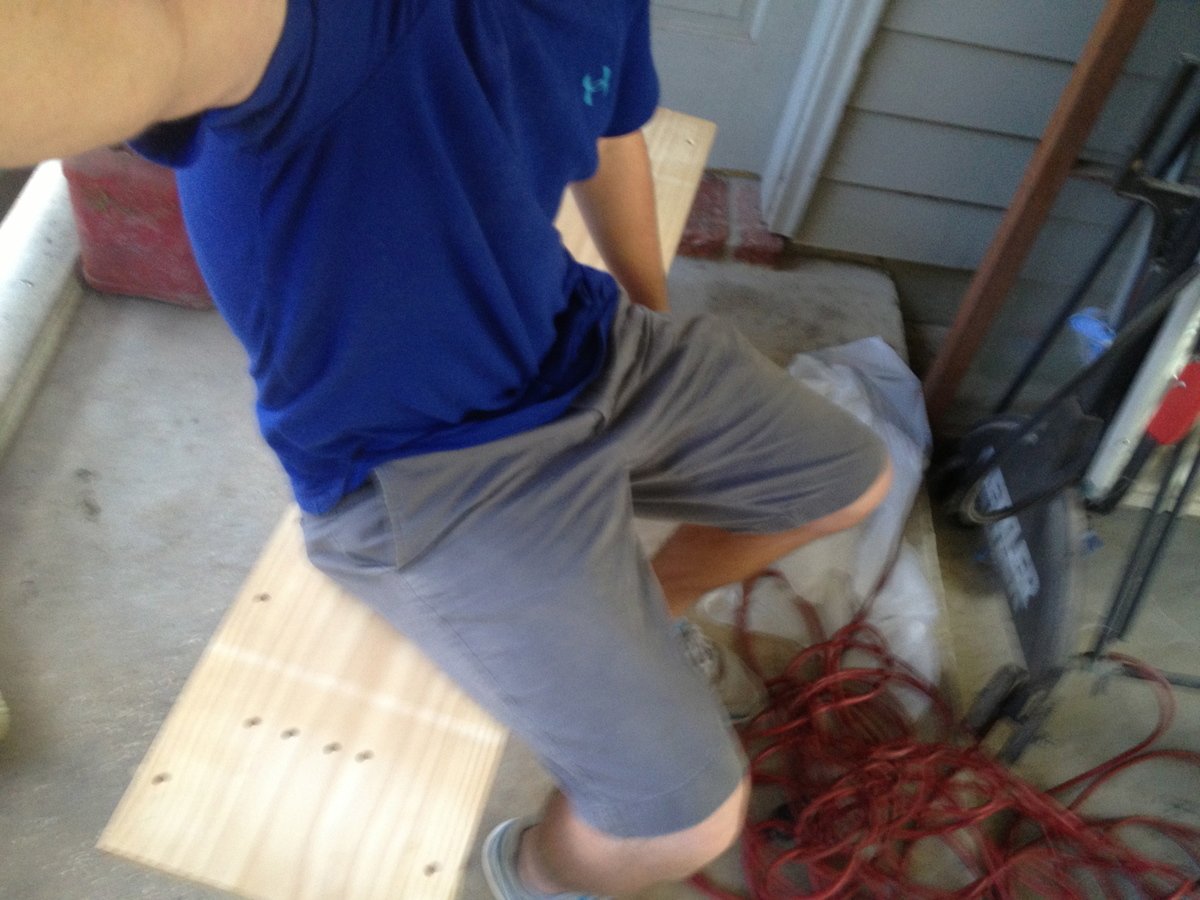
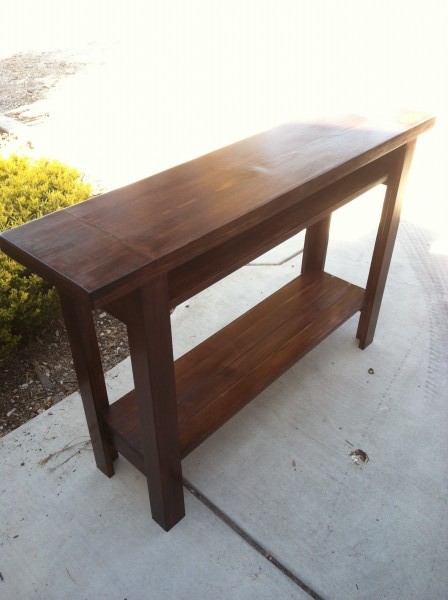
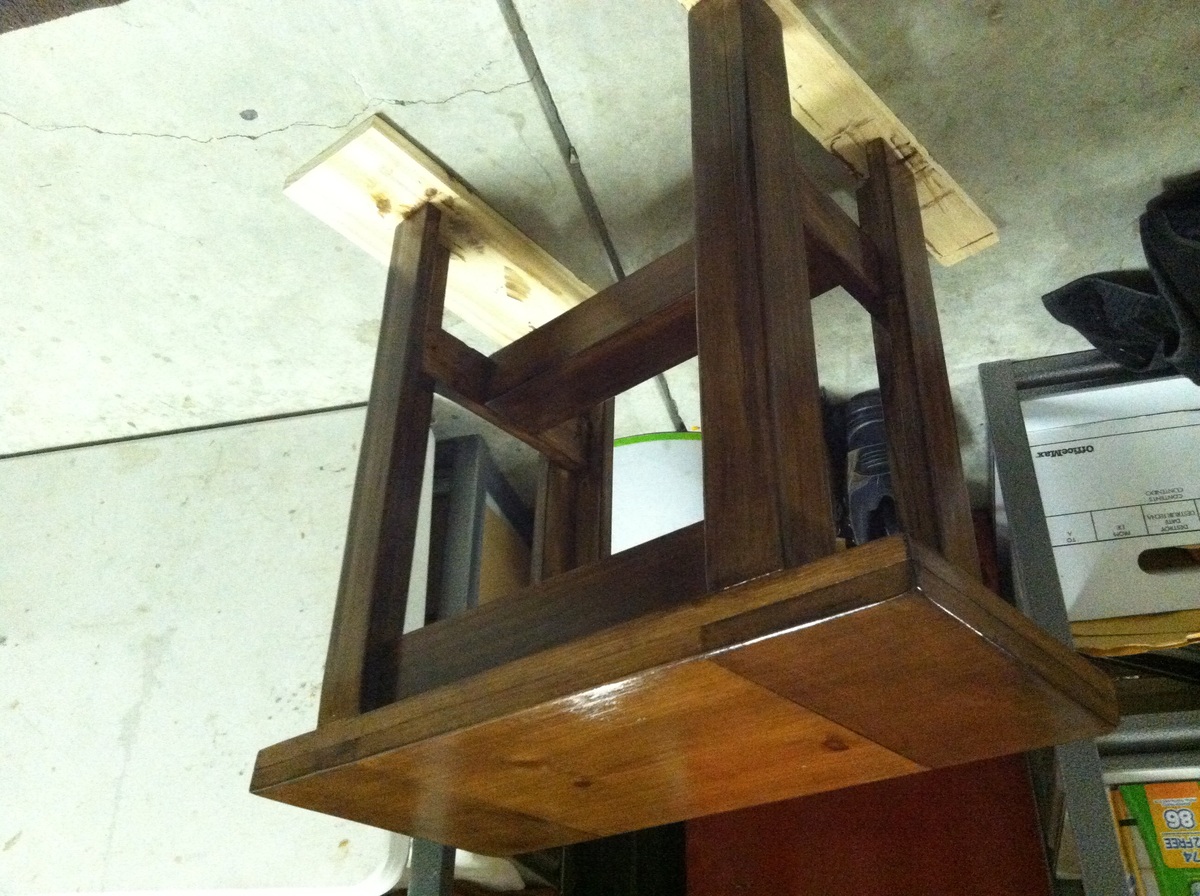
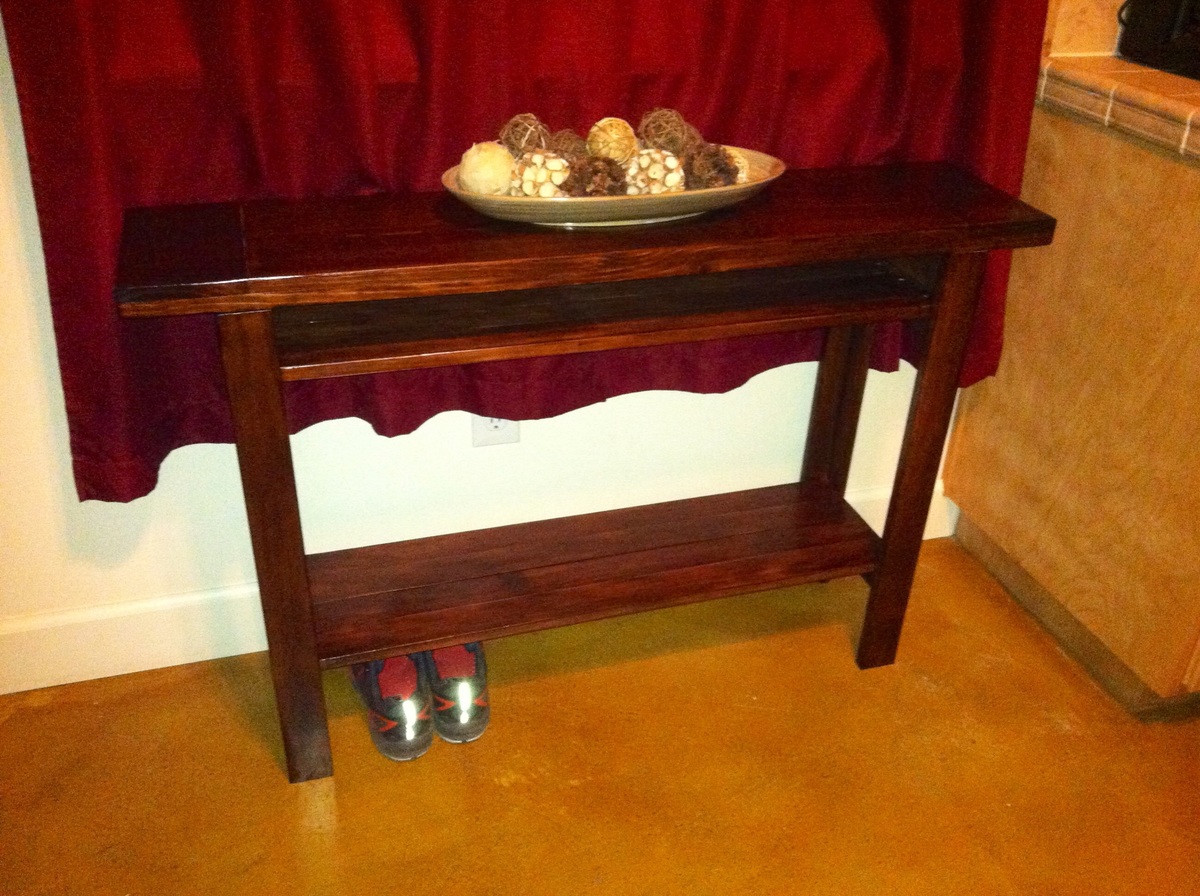
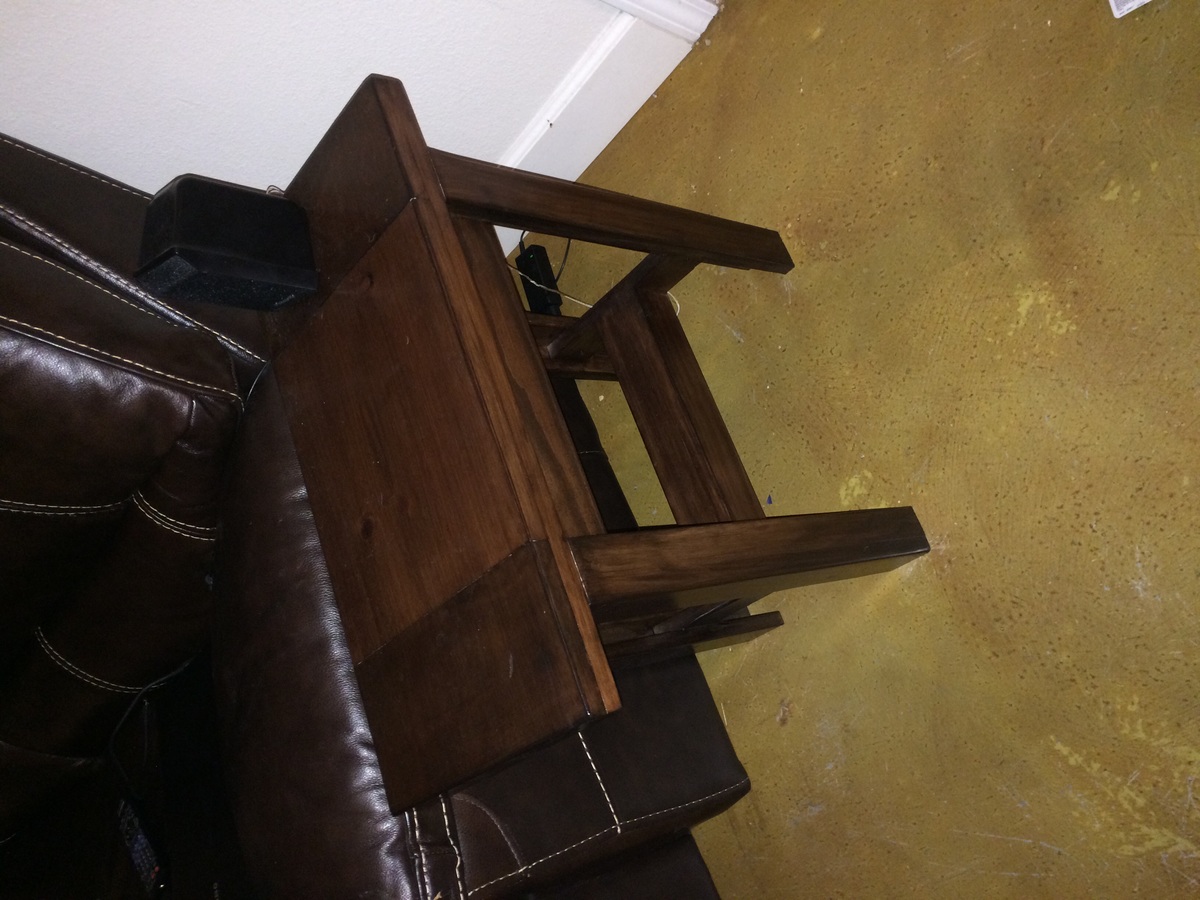
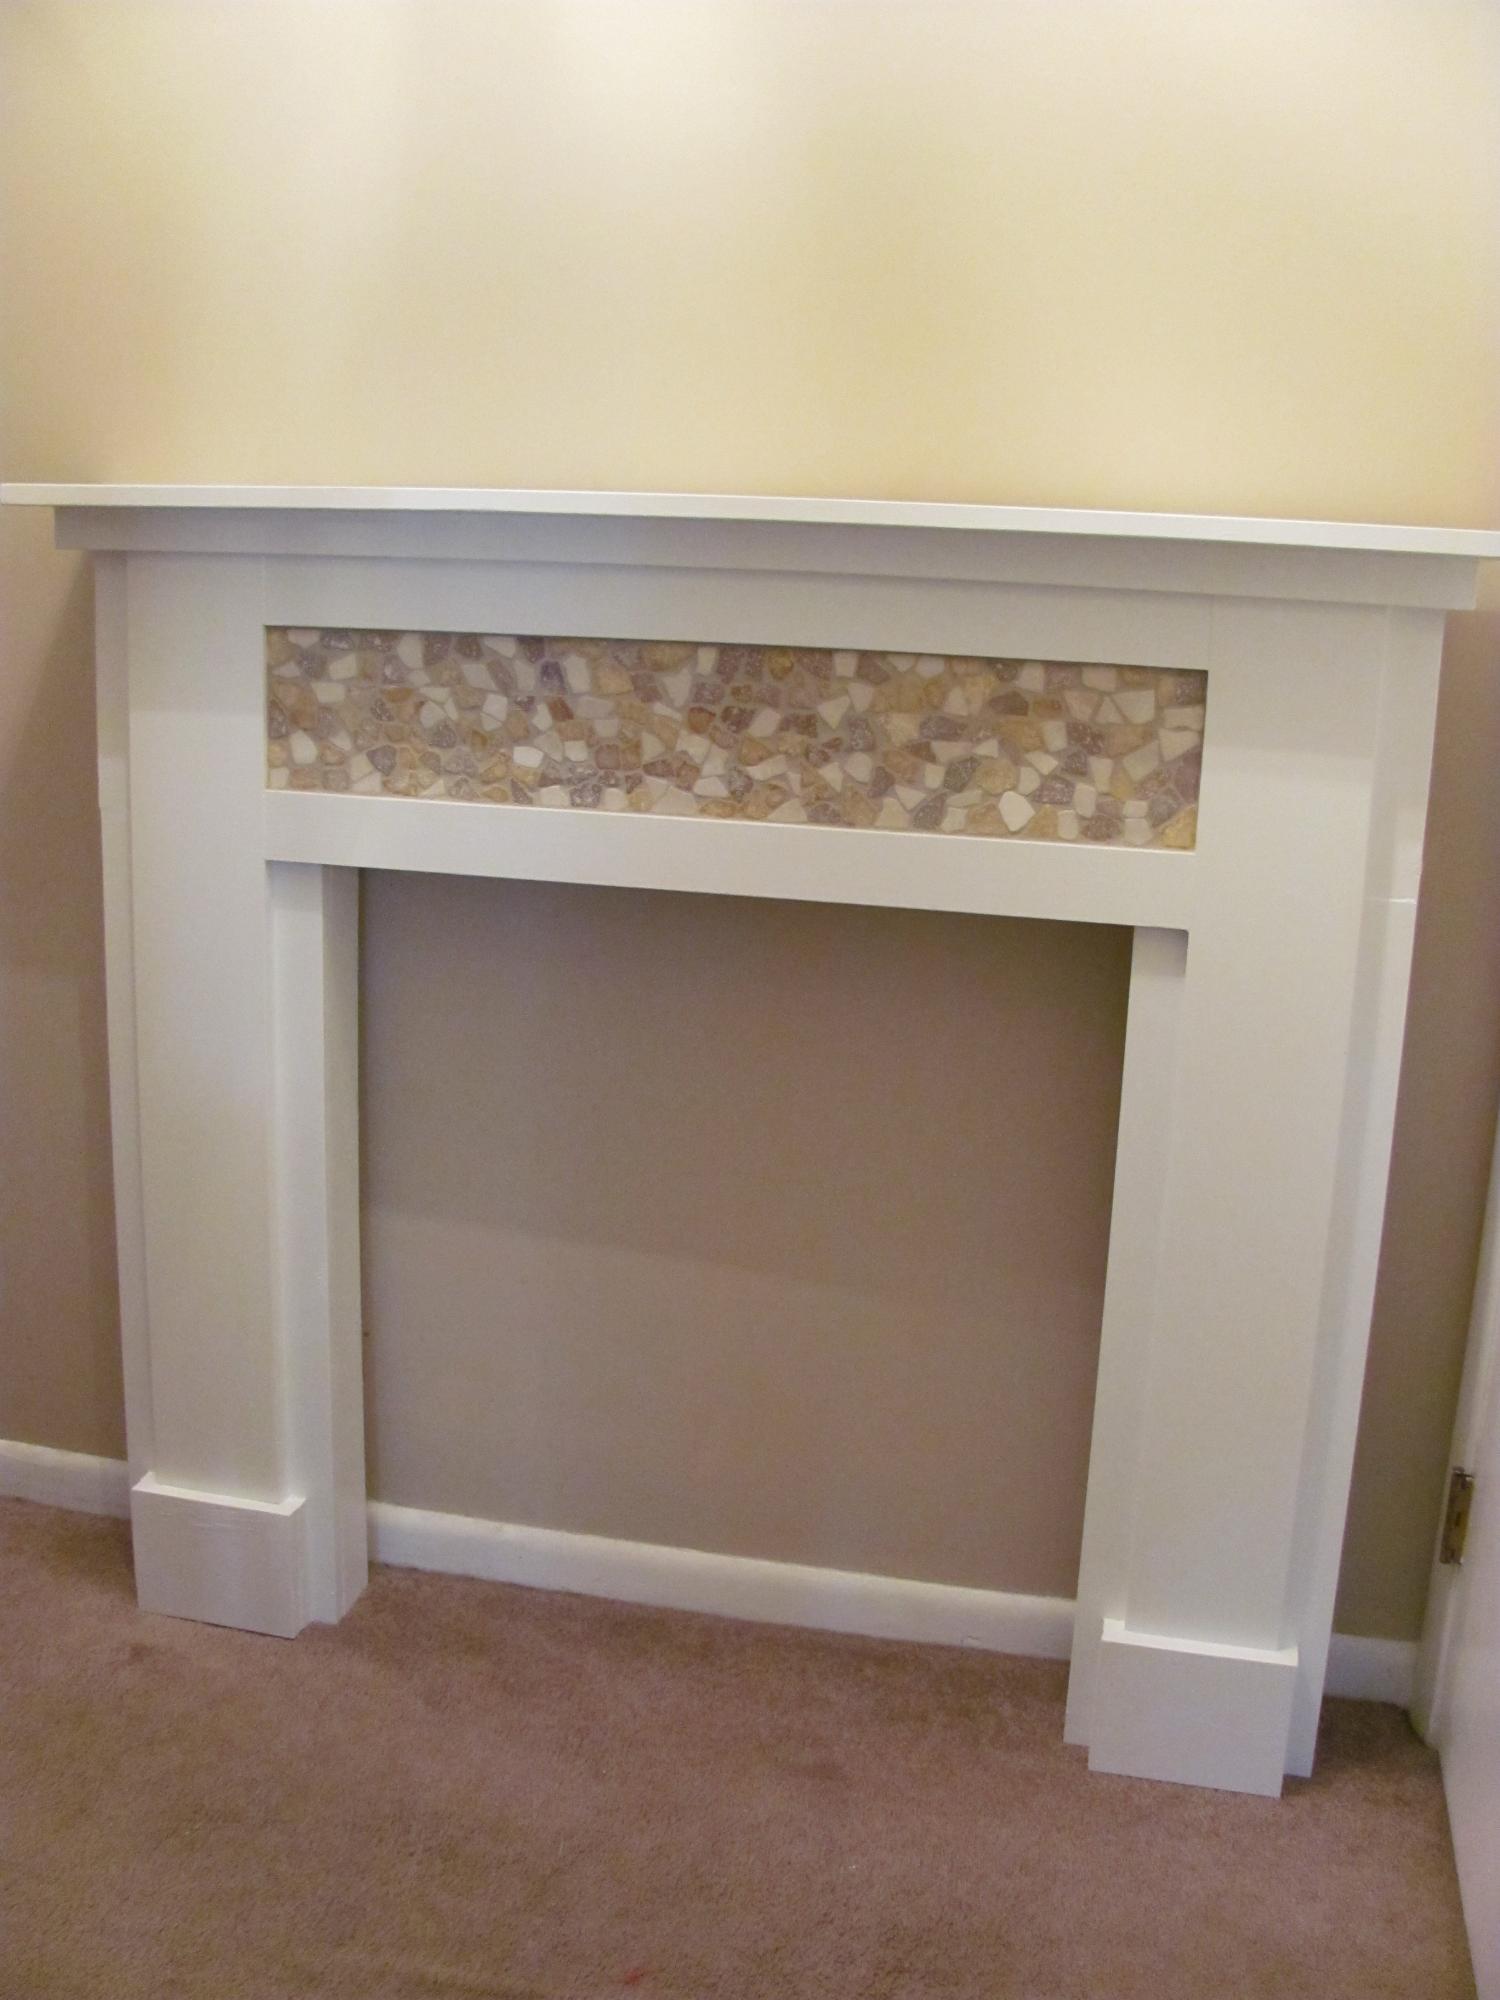
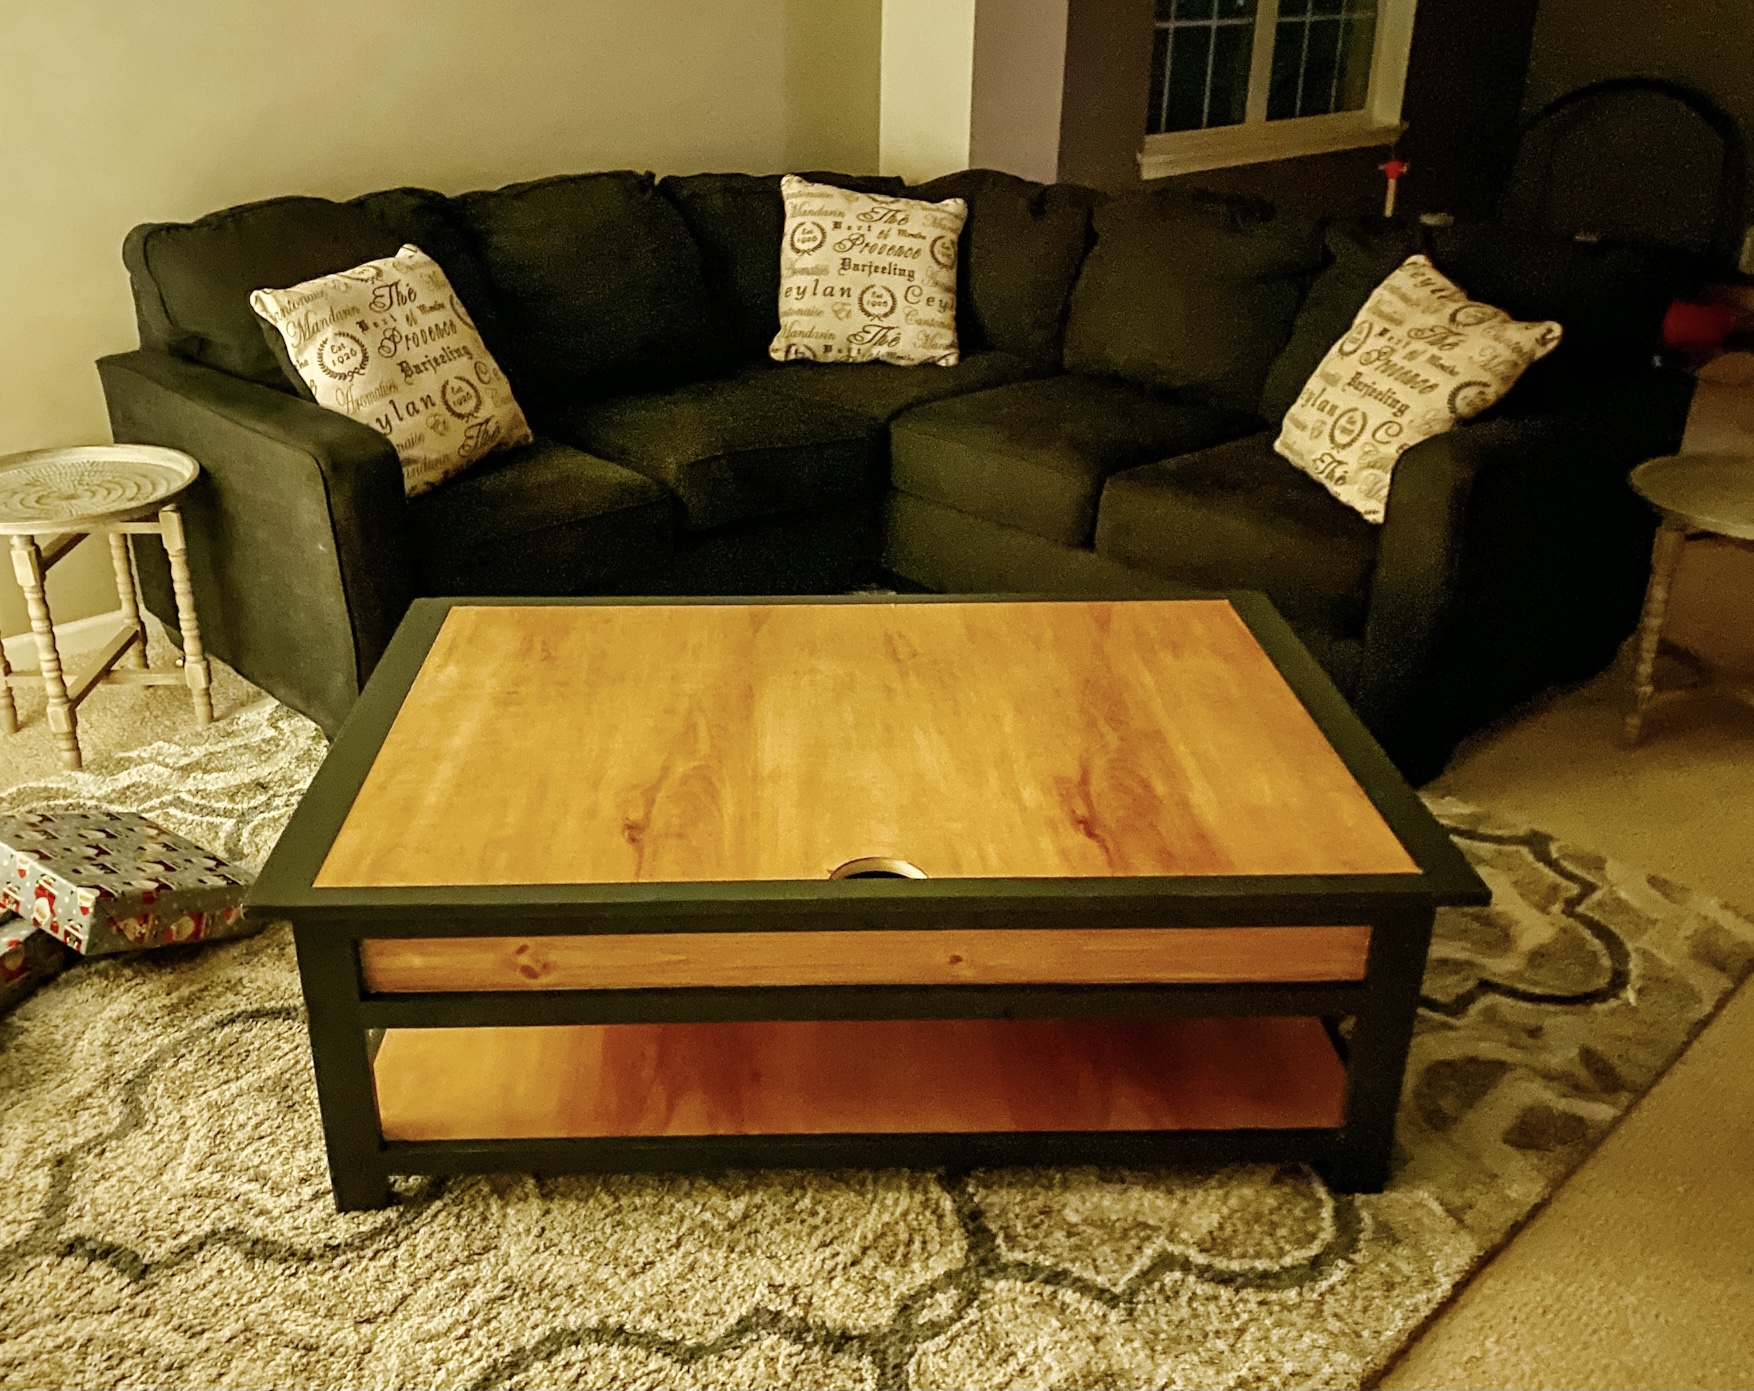
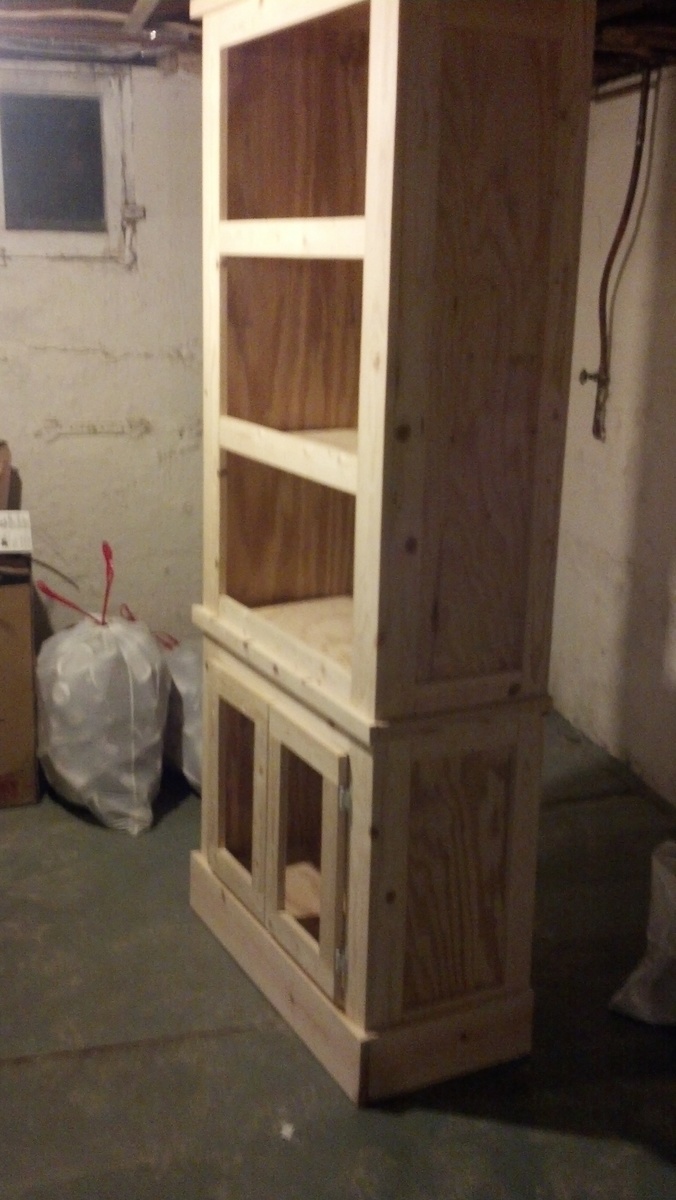
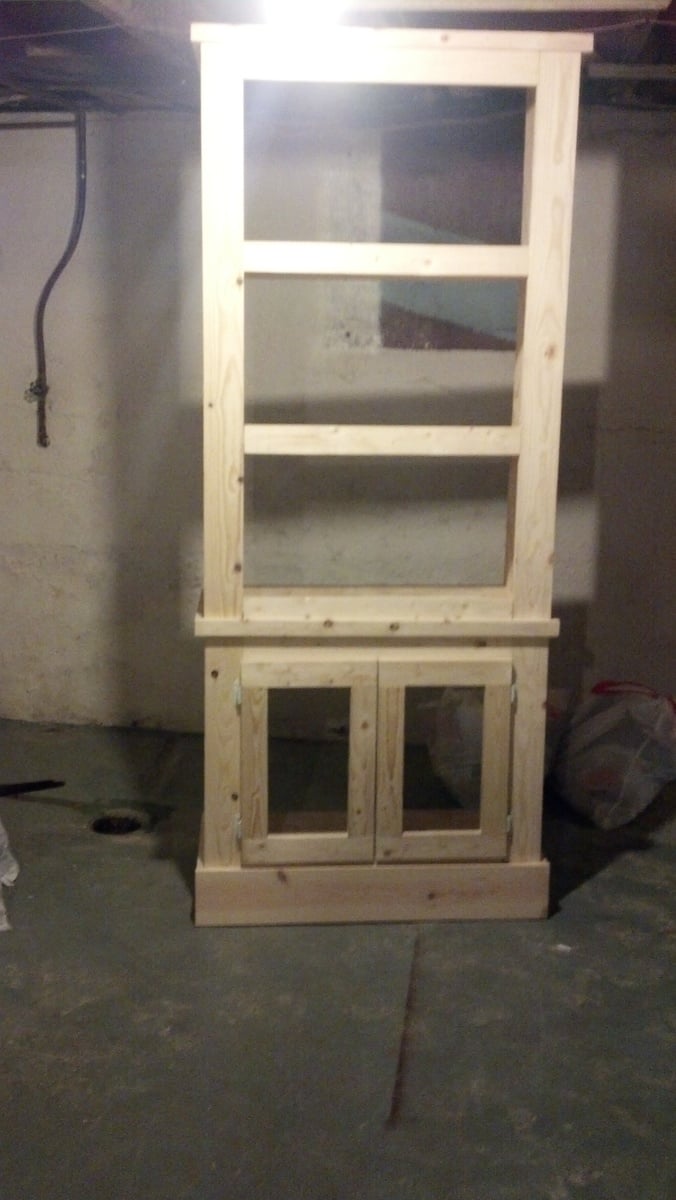
Community Brag Posts

Post Office / Bank

I used Ana's Library Base Plan and modified it slightly to include cubby holes on the bottom and an acrylic "window" at the top to create a post office for my daughter. This now also gets used as a "bank" and a "fast food window"! Lots of fun!!

Estimated Time Investment
Weekend Project (10-20 Hours)
Finish Used
Paint, Stain
Recommended Skill Level
Intermediate

Adirondack Chair

Submitted by nateDuncan on Mon, 06/03/2013 - 12:10

I had built a few of these chairs a year and a half ago similar to the red ones that you have on the step by step instructions. That was my first time at customer building and painting anything. Needless to say, my skills have improved over time.

So, I wanted to build this chair for my dad for fathers day. He had an old plastic Adirondack chair sitting in his backyard that was really gross. I wanted to replace it with something nice. So he is obviously a UK fan and I wanted to see if I could paint the logo on correctly while also giving myself the opportunity to build something and see if I can make this chair a lot better than the ones I had previously built.

So I decided to curve the back of the chair and curve the ends of the arms. I recently got a nice dewalt random orbital sander which helped out alot in getting it nice and smooth. I made my own wood putty using the leftover sawdust and glue mixed together. I also fastened the wood together using glue and polymer coated screws. Which are supposed to last alot longer than regular wood screws when using pressure treated pine.

I took my time to make sure the pieces were all square when assembled which was better than previous building projects. Also, as far as finishing the chair, I primed it and then put 3 layers of the Kentucky blue Outdoor paint with a brush (which seems like it took forever). I made the stencil by just printing the logo on a piece of cardstock paper. Then I cut out the logo with a razor, then I wrapped the paper in duct tape to make the stencil it a little stronger and to fix the areas that ripped when cutting the card stock paper. Then I cut out the duct tape where the logo is. I made a couple of test paints using the stencil on some scrap to make sure my technique was good. Then once I felt comfortable, I painted 4 coats of very thin paint on the chair where the logo is. After all was dry, I did a light by hand sanding to make it smooth and then sprayed some clear coat on it for an extra level of protection and to make it shine a little.

It was a fun project and my dad really liked it.

Some things I would have done differently for next time would be to use a router to flush cut the seat slats and also use the router to give a nicer rounded edges for the arms and all of the slats as well. Also, It would be nice to mount a stainless bottle opener to the chair to open your drinks (maybe on the outside of the arm of the chair.

Thanks for the plans. I check your site all the time for ideas.

Built from Plan(s)
Estimated Time Investment
Weekend Project (10-20 Hours)
Finish Used
primer, paint, clear coat
Recommended Skill Level
Beginner

Pipers Farmhouse Bed

Submitted by Plug5 on Tue, 06/04/2013 - 16:25

My wife, and I wanted to upgrade my 5yr old daughters bed. Hopefully this will give her enough encouragement to actually sleep in her room!

The bed turned out great, and my daughter loves it!

This project took a little longer than usual, because with the exception of the couple pieces of plywood all the parts are made from rough maple lumber. The longest part was planing, and gluing all the parts up.

Estimated Time Investment
Week Long Project (20 Hours or More)
Finish Used
Dura Clean Satin Paint with sprayed on white primer.

I used a 4"mini roller with a slight texture for the finish.
Recommended Skill Level
Beginner

Cute Vegetable Cupboard

Submitted by kristyzed on Sun, 10/01/2017 - 15:33

I made this cupboard to hold all of my onions, squash, and potatoes that were previously sitting in piles on the laundry room floor.  This little tower has the perfect amount of storage.


Built from Plan(s)
Estimated Cost
$75 CAD
Estimated Time Investment
Day Project (6-9 Hours)
Finish Used
I finished this off with 2 coats of primer, 2 coats of Trim White by Sherwin Williams, and 2 coats of clear coat. All coats were done with disposable foam brushes.
Recommended Skill Level
Beginner

Modified Easy Bench

Submitted by wkilmer23 on Sat, 04/02/2011 - 08:03

Sorry for the poor photo.  I will take a better one when I find my camera.  We made this bench for our little shih tzu but it soon became a bench for everyone to test out.  If I had to repeat this project, I would probably keep the legs from the original plan.  These store bought legs don't seem sturdy enough.

Built from Plan(s)
Estimated Time Investment
An Hour or Two (0-2 Hours)
Finish Used
My wife bought the fabric at Jo-Jos and the legs are from big blue.
Recommended Skill Level
Beginner

Fireplace Wall Remodel

I needed a solution to my shelving problem. I wanted something clean looking, modern, and white to flank both sides of my fireplace. Count on Ana White to come up with a plan. Within seconds of sitting down to surf her site, I found that perfect plan to build four floating shelves.

Built from Plan(s)
Estimated Time Investment
Day Project (6-9 Hours)
Recommended Skill Level
Intermediate

{mini} ten dollar ledges

I knew I wanted some of these shelves in my daughter's room but it seems bedroom sizes in Australia are quite a bit smaller than the US! I couldn't spare a long wall to fill with books so chose this narrow space to the side of the window.

The length of time I took for this project was for several reasons:
* I was a total beginner!
* I had to cut all of the lengths of wood with a hand saw & sand with sandpaper wrapped around a block of wood.
* It took about 5 coats of paint to cover the wood properly.

I adjusted the measurements from Ana's plans to fit the smaller space & while daunted at first at the prospect of attaching things to walls, I was so thrilled with how they turn out. I'm looking forward to challenging myself with something a little more complex next (perhaps with some power tools this time to assist!).

Built from Plan(s)
Estimated Time Investment
Weekend Project (10-20 Hours)
Finish Used
Paint
Recommended Skill Level
Starter Project

Comments

Birthday Kitchen

Submitted by katrinaj55 on Sat, 06/27/2015 - 00:01

This was a pretty good and at times challenging project but it was fun and totally worth it when I saw the look on my daughter's face

Built from Plan(s)
Estimated Cost
$50
Estimated Time Investment
Weekend Project (10-20 Hours)
Finish Used
Polyurethane
Recommended Skill Level
Beginner

Door Spice Rack

We just moved into our newly built home, I love to cook, and realized really didn't have a good spot in the pantry for all the spices. This was my first project and in doing internet search for ideas came across Ana White's website, not only did I find the spice cabinet plan I was looking for, but a treasure trove of other projects and ideas. New to this so I have found Ana's site to be such a blessing. Yes, this made me a hero to my wife!

Built from Plan(s)

Market Stand

Submitted by Anonymous (not verified) on Sun, 01/16/2022 - 06:17

Plans were easy to follow and we were able to build it using scrap and salvaged wood, and leftover paint. Only had to buy screws and the chalkboard sign materials, so very affordable to make. Birthday boy LOVES it! We set it up with some bakery toys, but the dramatic play options are virtually endless. This is one of those type of toys that will be part of all kinds of play with kids of all ages. The size is great for him at 3 years old but I expect it will be usable for many years before he outgrows it. Well worth making.

Built from Plan(s)

Comments

Fancy arch bed

Submitted by Rdw0711 on Sun, 02/04/2018 - 07:35

Beautiful bed. Arches were a little difficult to achieve symmetry. 

Built from Plan(s)
Estimated Cost
$120
Estimated Time Investment
Weekend Project (10-20 Hours)
Finish Used
Jacobean stain
Recommended Skill Level
Intermediate

Modified miter saw cart

I love having this new addition! Freed up space in my small shop and now it’s more functional and organized. I followed the plans with modifications in the leaves using scrap 1x’s (which I may decide later to change to 2x4s but I had 1x’s on hand) instead of the brackets and then the extra 1x’s holding on the leaves so they would fall flat to the sides. Love it!

Built from Plan(s)
Estimated Cost
Under $75 (don’t remember exactly)
Estimated Time Investment
Weekend Project (10-20 Hours)
Finish Used
Didn’t finish
Recommended Skill Level
Beginner

Book ledges

Submitted by Anonymous (not verified) on Mon, 04/04/2022 - 14:54

I took your plans for the beginner book ledges and modified them for our 90 degree space. I had to learn about mitre and bevel cuts so that was fun.

I also learnt that when the wood is slightly warped it pays to be attentive to the eventual install and how stress will flow through the work.

Built from Plan(s)

Comments

Shoe organizer

Submitted by Liz H. on Wed, 06/01/2011 - 21:26

I took the 25 cubbies plan and changed the dimensions to fit shoes. I made a simpler version for my husband too. This project went together quickly and was so fun to build.

Estimated Cost
$10
Estimated Time Investment
An Hour or Two (0-2 Hours)
Finish Used
White paint
Recommended Skill Level
Starter Project

Pantry shelves adapated from Garage Shelves

Submitted by Anonymous (not verified) on Sun, 04/17/2022 - 06:07

Thanks for the plans, adapted it to new pine standers but was able to obtain beautiful cherry tree panels from a defunct wood worker in the next village over. Planed those and used those to make a slightly more 'posh' version of your basic model. The supports on the wall you see are from the previous formica shelves. I left them in case the cherry starts rounding down.

Comments

Farmhouse Table Brag!!

I just bought a new house and this table was my first project for it. I'm so happy with how it turned out!!!! Thank you for the plans!

Estimated Cost
106
Estimated Time Investment
Weekend Project (10-20 Hours)
Finish Used
2 coats of Minwax polyshades "stain and polyurethane in 1 step" Bombay Mahogany Satin stain (#380)
Recommended Skill Level
Intermediate

Comments

Ana White

Wed, 06/08/2011 - 14:00

Thank you for the smile! I see we have share some web browsing habits! Congrats on the house and love the table finish! Great first project, really appreciate you sharing! Ana

Dog kennel

This was my first project with the kreg jig and I love it. Pretty easy once I got the hang of it. I used beadboard in place of 1/4 ply to dress it up a little but more. The hardest part was attaching the sides to eachother, I used 'L' brackets so it could be taken apart.
My dogs love this kennel! It is large enough for my weimaraner and my lab/pitbull mix to stay in it together. Most mornings they are laying in there waiting on us to lock the door.
I purchased a vinyl covered stress mat from 'Blue', it fits really well inside and just pulls out to be wiped down. I haven't needed to but it can be hosed down also.

Built from Plan(s)
Estimated Time Investment
Day Project (6-9 Hours)
Finish Used
Walnut stain then lacquered.
Recommended Skill Level
Intermediate

Comments

scribble

Wed, 05/02/2012 - 06:57

I am wondering what type of latch's those are and were you got them. I am also wondering were you purchased this mat from. I tried searching blue but could not find anything?

My Garden Shed

Submitted by jimavera on Tue, 03/13/2018 - 09:07

I used these plans of this project. Only differences are I used 2X3 studs. I also made the shed longer,, its 3ft X 8ft.. Also on the back I used two siding sheets since it wouldnt be seen. Did it over the weekend. Just needs shingles and stain. Anyway I love it. Had a spot behind the house where it fits perfectly. Thanks

Built from Plan(s)
Estimated Time Investment
Weekend Project (10-20 Hours)
Recommended Skill Level
Intermediate
Seasonal And Holiday

Handmade by Tim

Submitted by Tjmac924 on Tue, 08/25/2015 - 17:36

Really handy for getting more storage space without taking up extra floor space

Estimated Cost
$500
Estimated Time Investment
Week Long Project (20 Hours or More)
Finish Used
MinWax Dark Walnut,
Recommended Skill Level
Advanced

Comments

Tjmac924

Tue, 08/25/2015 - 17:39

A plate (biscuit) joiner is really helpful for building the cabinets, especially if you're going to have the drawers. 

Utility room storage modified for skis and a freezer

http://www.ana-white.com/2014/09/free_plans/easy-economical-garage-shel…

This is the garage shelving construction method, but modified because we needed room for the freezer, there is a steel support column, and skis needed to be hung.

It's really three "ladders" of 2x4s, nailed with my framing nailer.  The rungs support the shelves.

  • The only dimensions I measured were to reserve space for the freezer, and the height of the support for the ski rack pegs.  The rest was based on the height of the things I wanted to store (coolers, etc), the width for the shelf unit was "as wide as possible" and the depth was "as deep as possible without covering the power outlet". 
    Cut to fit.
  • The ladder pair at the rear of the photo makes one shelf unit. 
  • The third ladder has rungs on both sides of the support column to stabilize it, keep the skis from banging into the freezer, and to provide a place to put the ski hanging pegs. It is also has one support for the shelf over the freezer.
  • The shelf over the freezer area stabilizes the unit side to side.  It's a good place for bulk paper storage because that is light and not heat sensitive.
  • The only truly new pieces of lumber were the 6 2x4 studs for uprights and some of the rungs.  I used all the suitable scrap 2x4s I could find before I cut into new wood.
  • Shelves were made of scrap plywood from another project, and some salvaged wood from the garden shed.  Some were previously part of my truss shelves, which were no longer needed after the workshop storage improved.  (yes, I recycle my recycled and reclaimed wood.
  • Shelves are nailed in place with finish nails to keep them from slipping.
  • You can't see them, but each shelf has a 1x4 or 1x6 board nailed to the ladder behind it to keep things from falling through the gap.
  • Ski storage is dowels inserted into a 2x6.  The paired dowels are far enough apart that the ski bindings won't whack into each other.  After the picture was taken I put an over-the-door coat hook between the skis to hang the poles.
  • The space for the folding stepstool was 100% accidental! 

It's CHEAP and EASY storage.

Two reasonable skilled people could do it in an afternoon.

Estimated Cost
$20 in new wood
Estimated Time Investment
Day Project (6-9 Hours)
Finish Used
None. I left it bare.
Recommended Skill Level
Beginner

Comments

Night Stand

this project it was nice and easy to do it I had make the farm house bed then I saw this night stand and I had to have it

Built from Plan(s)
Estimated Cost
$70
Estimated Time Investment
Afternoon Project (3-6 Hours)
Finish Used
multiple colors
Recommended Skill Level
Beginner

Comments