Community Brag Posts

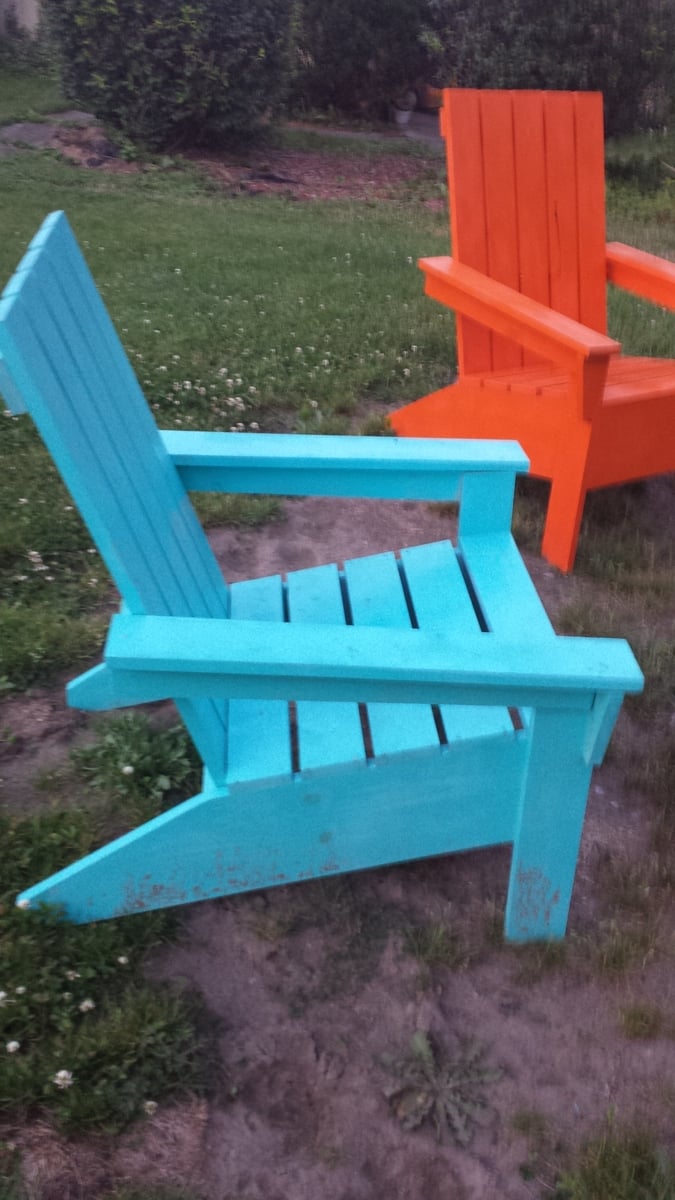
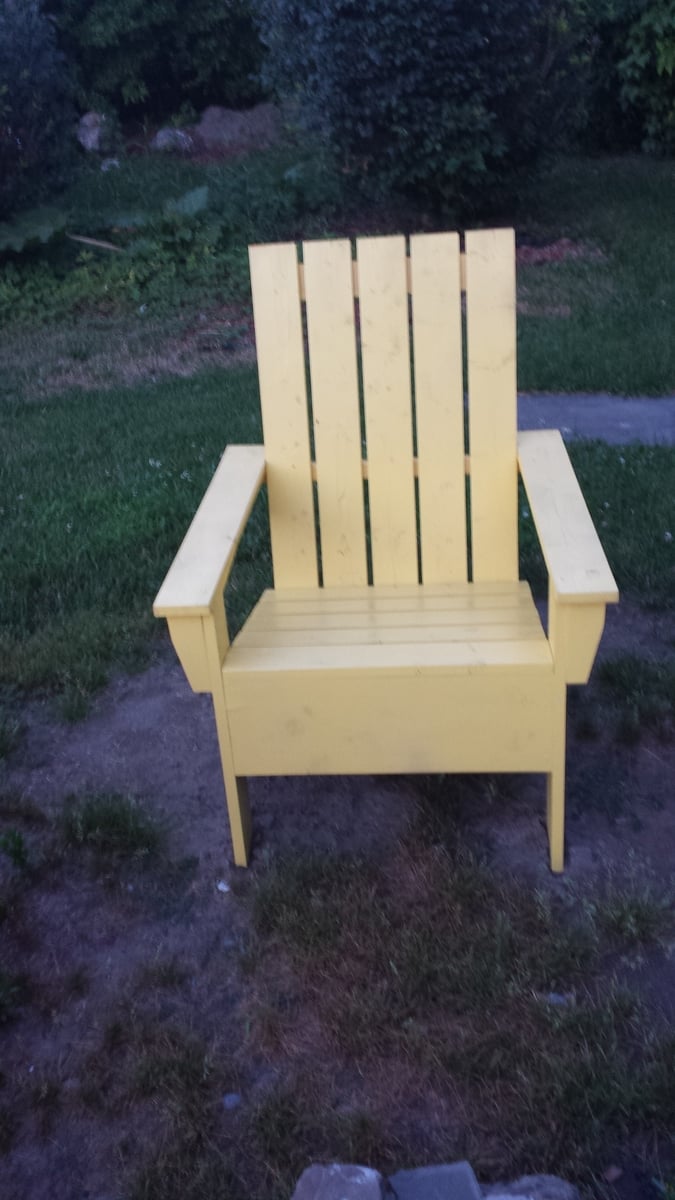
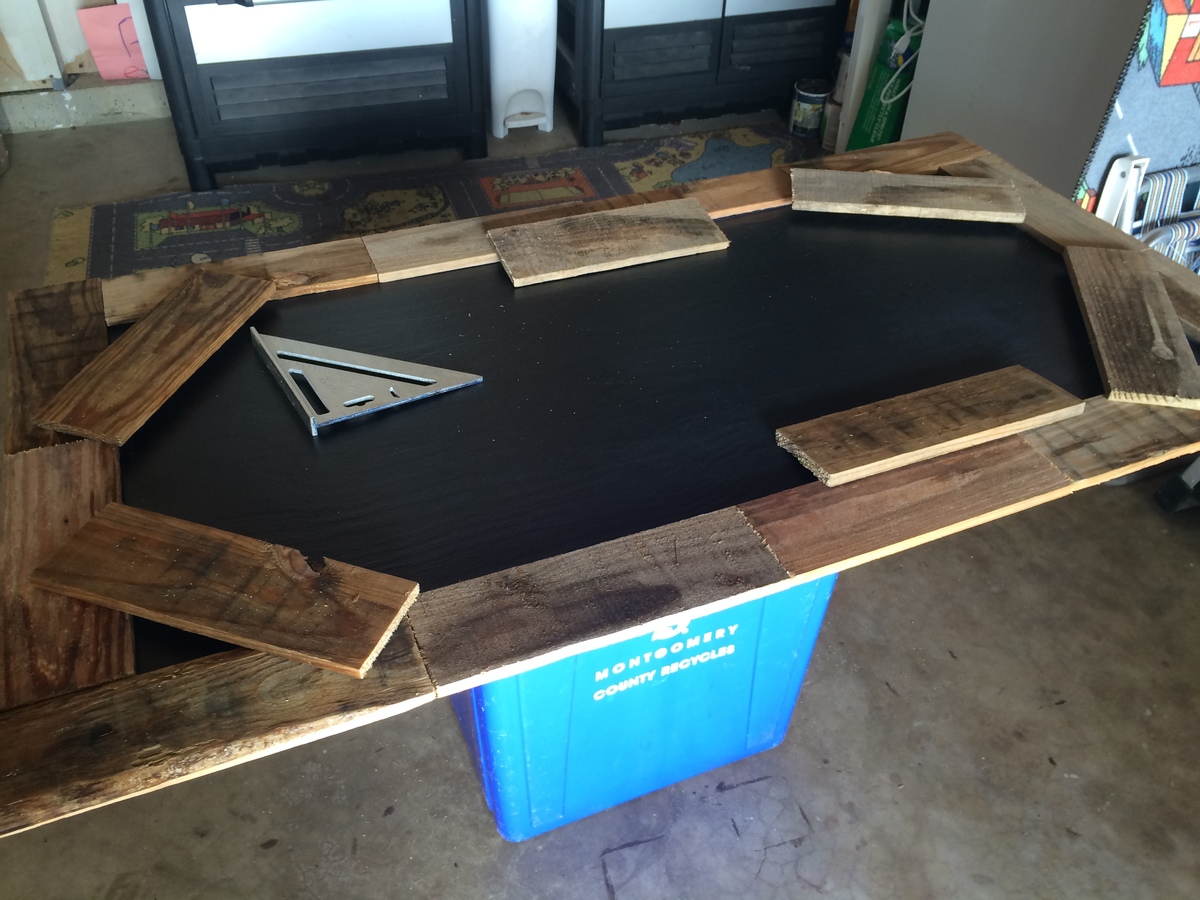
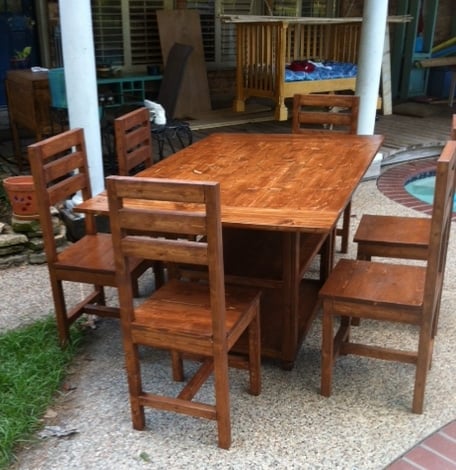
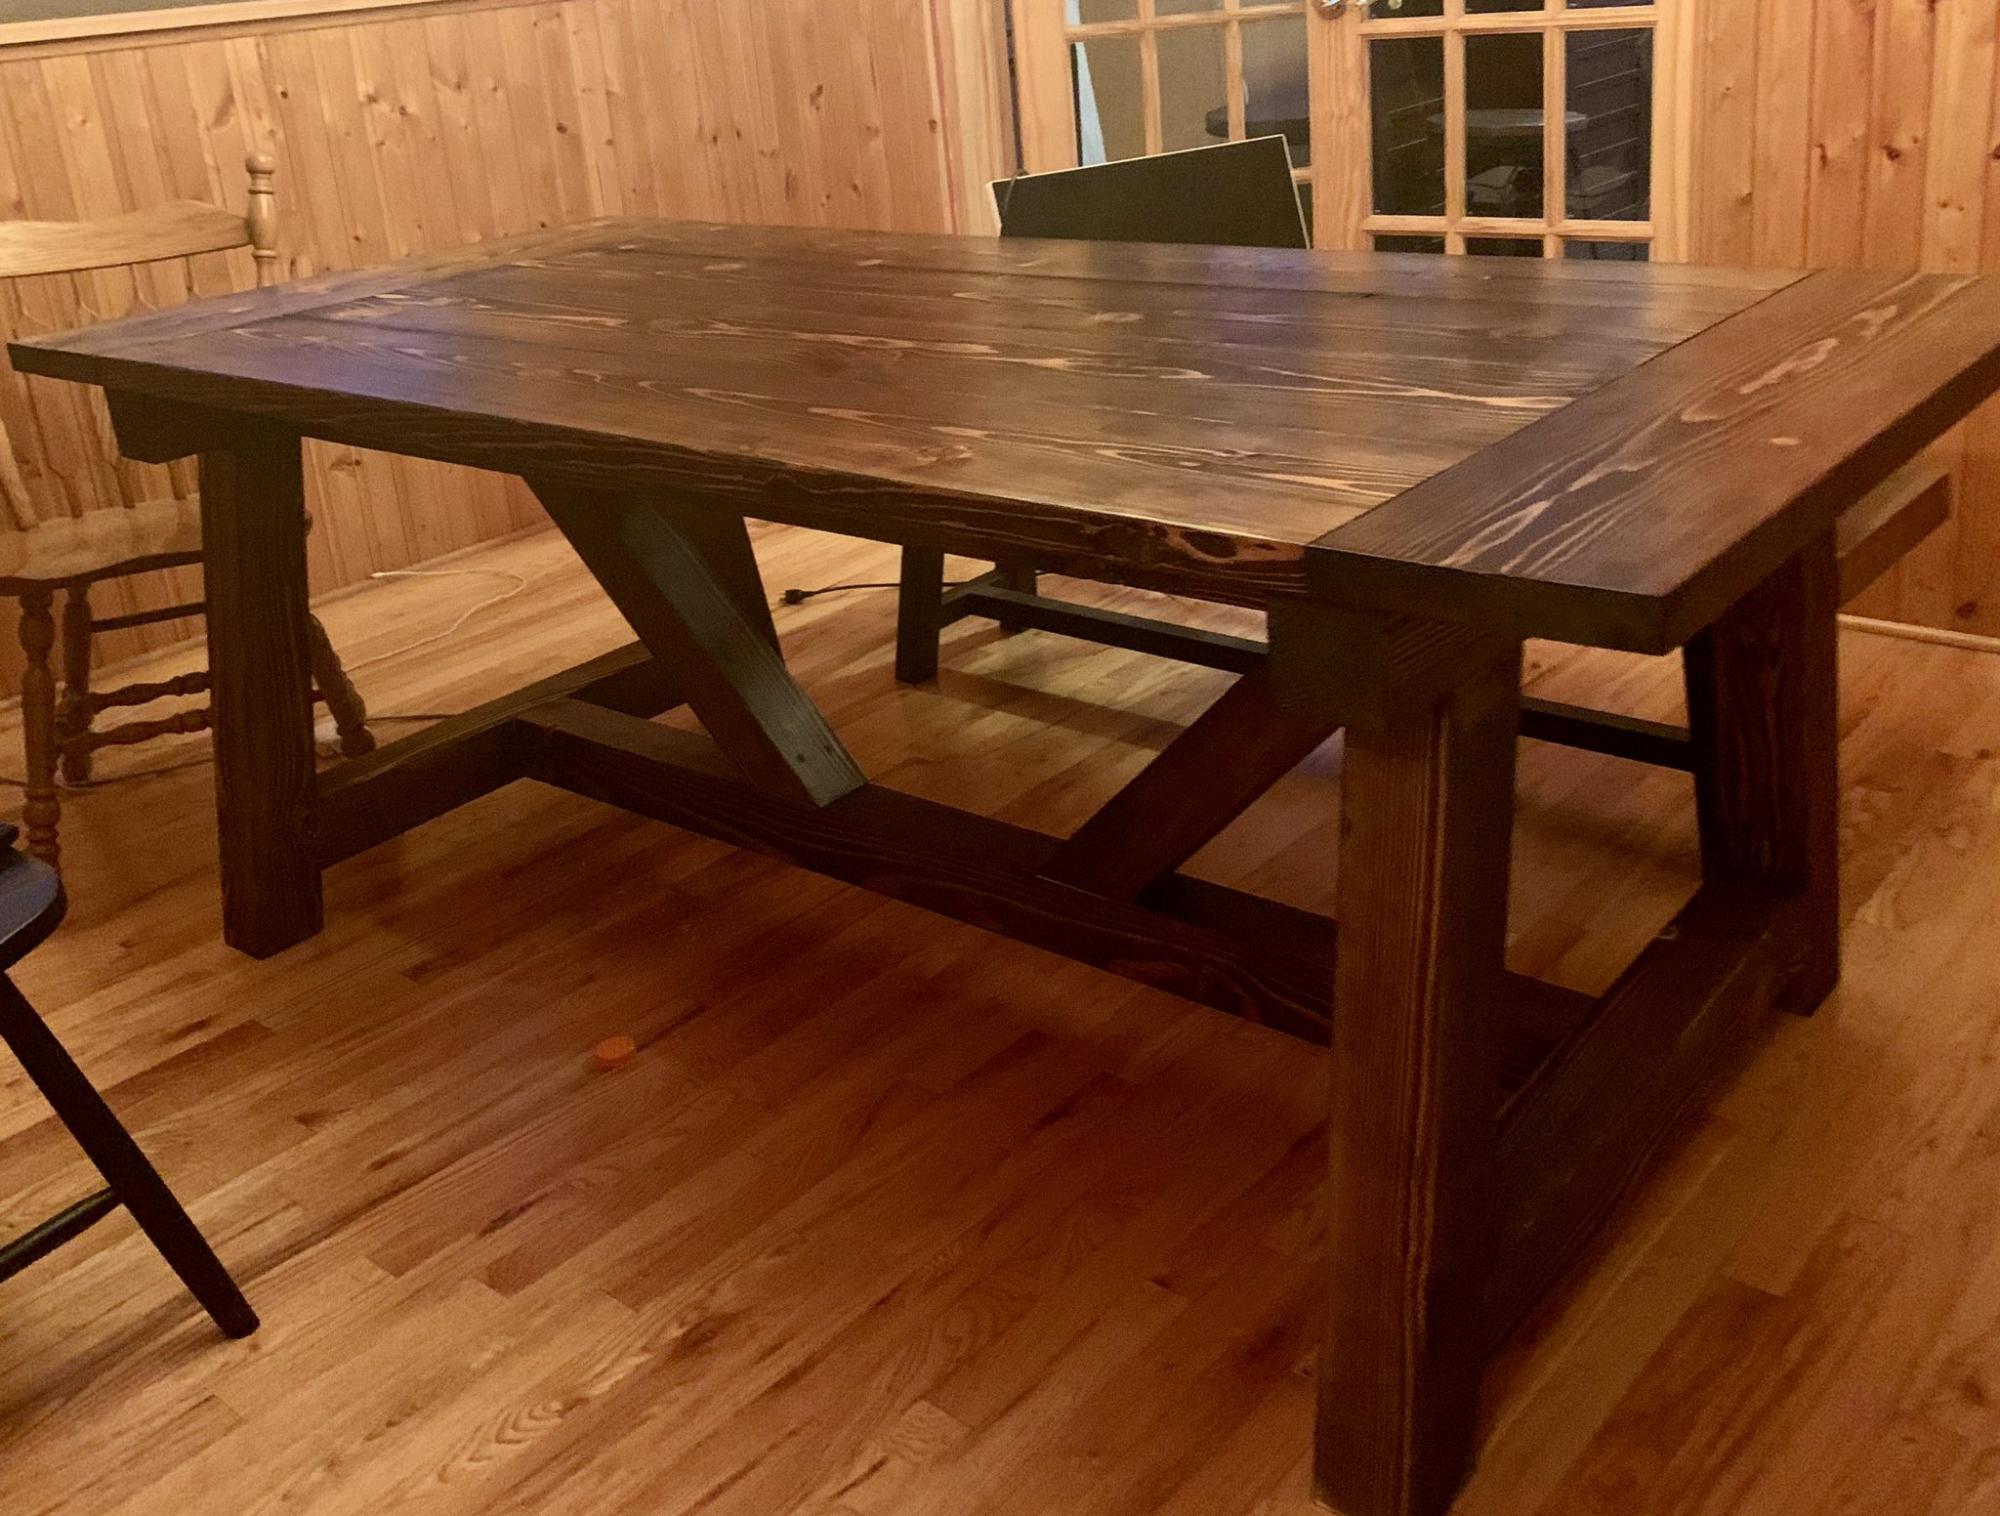
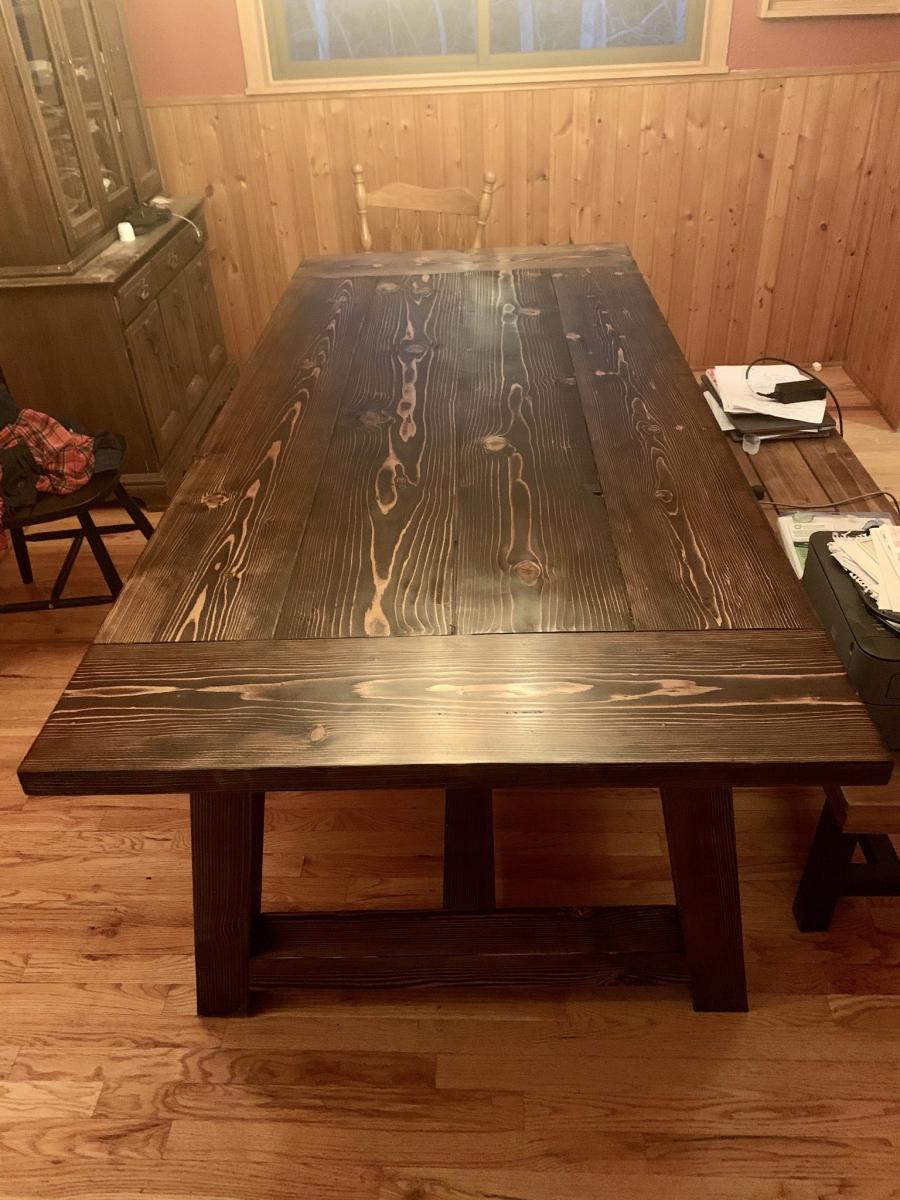
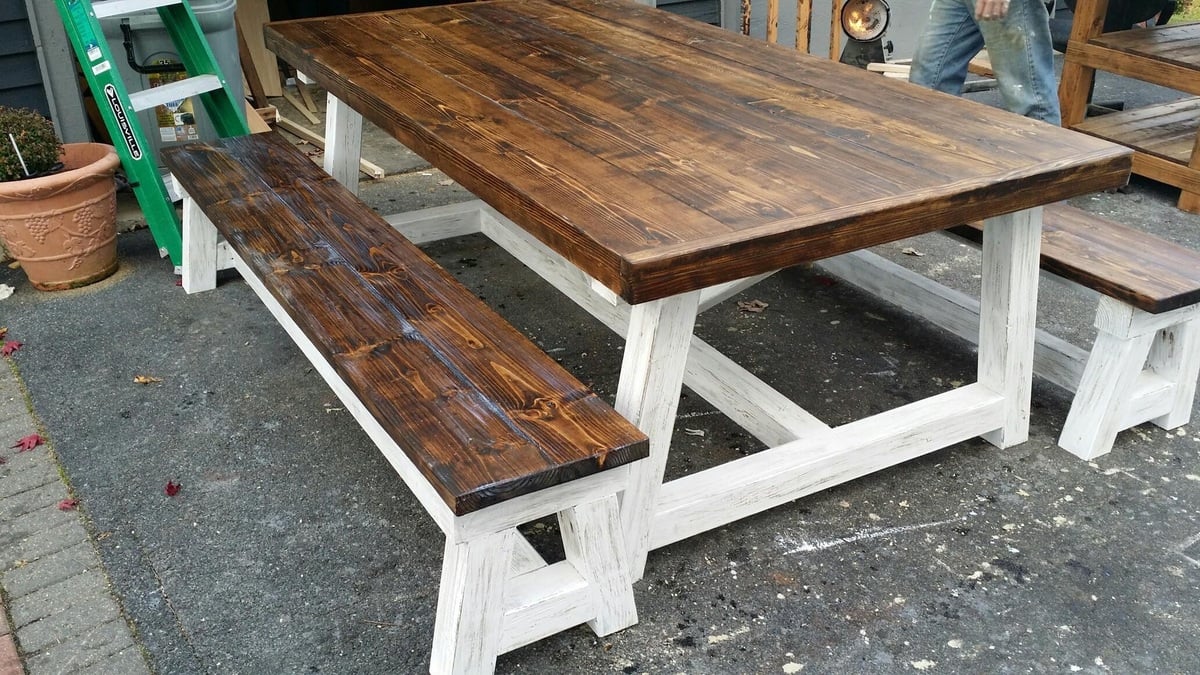
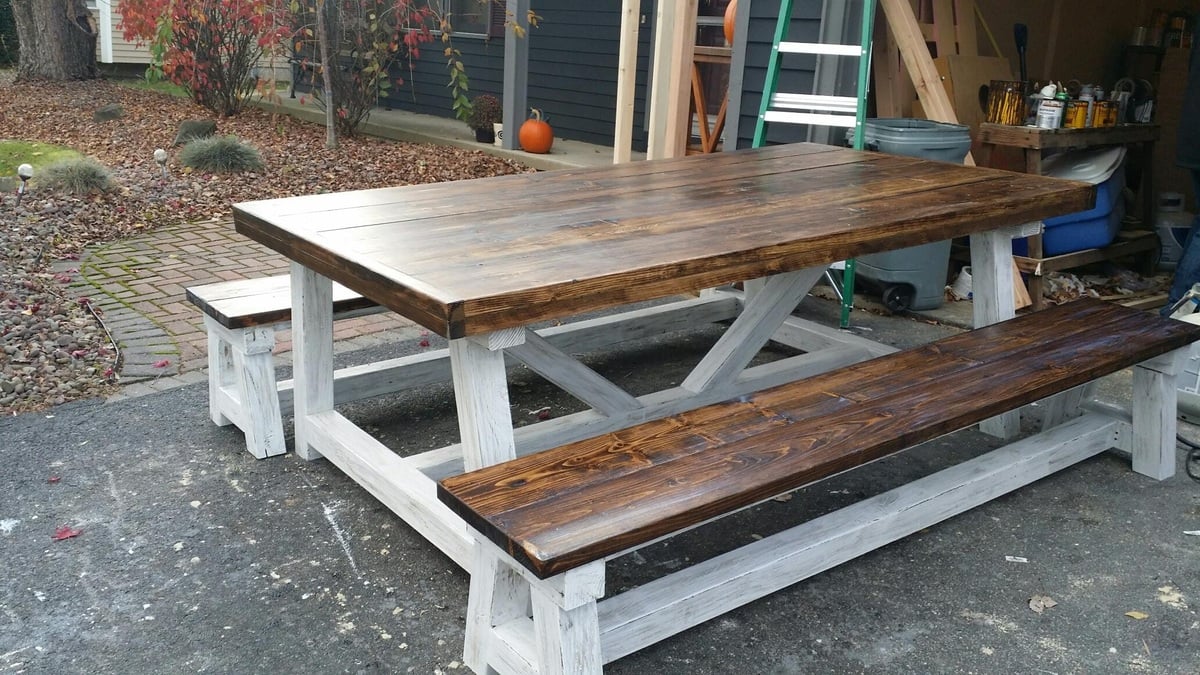
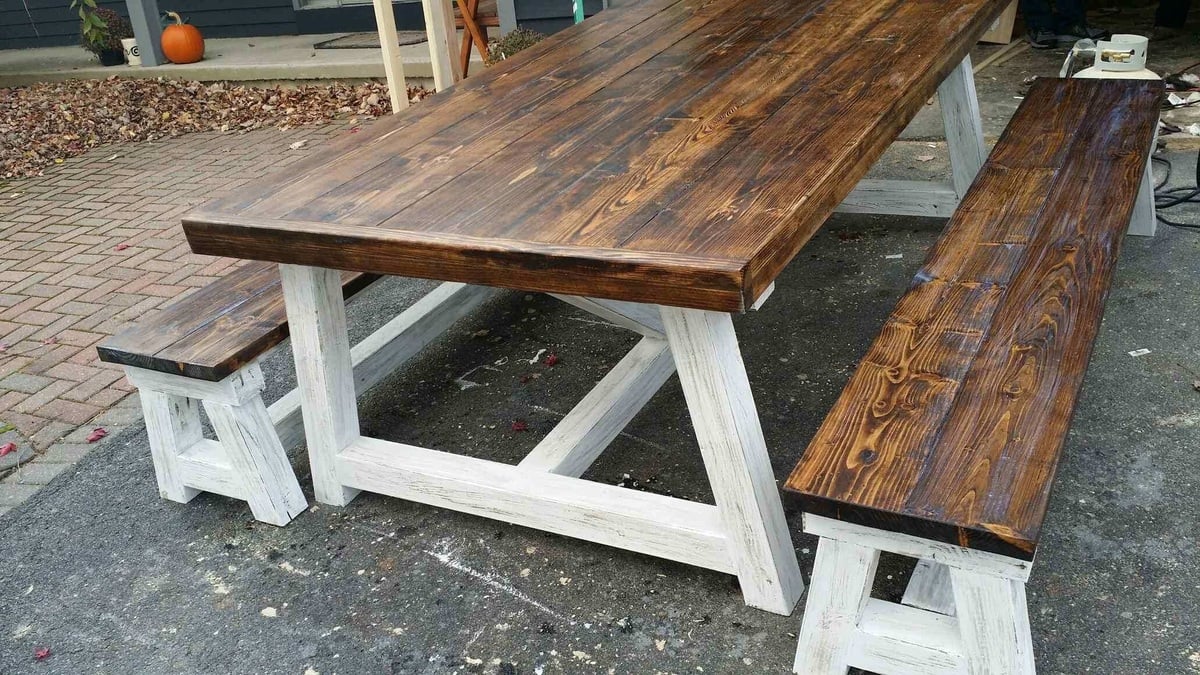
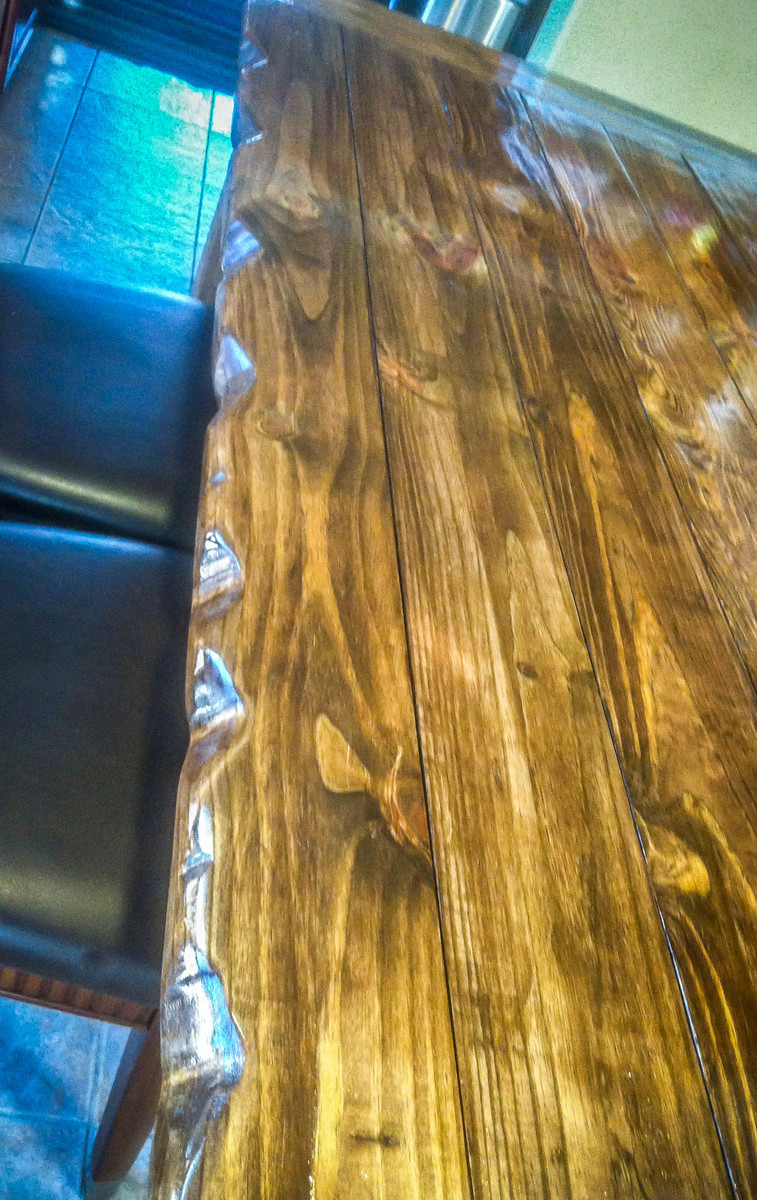
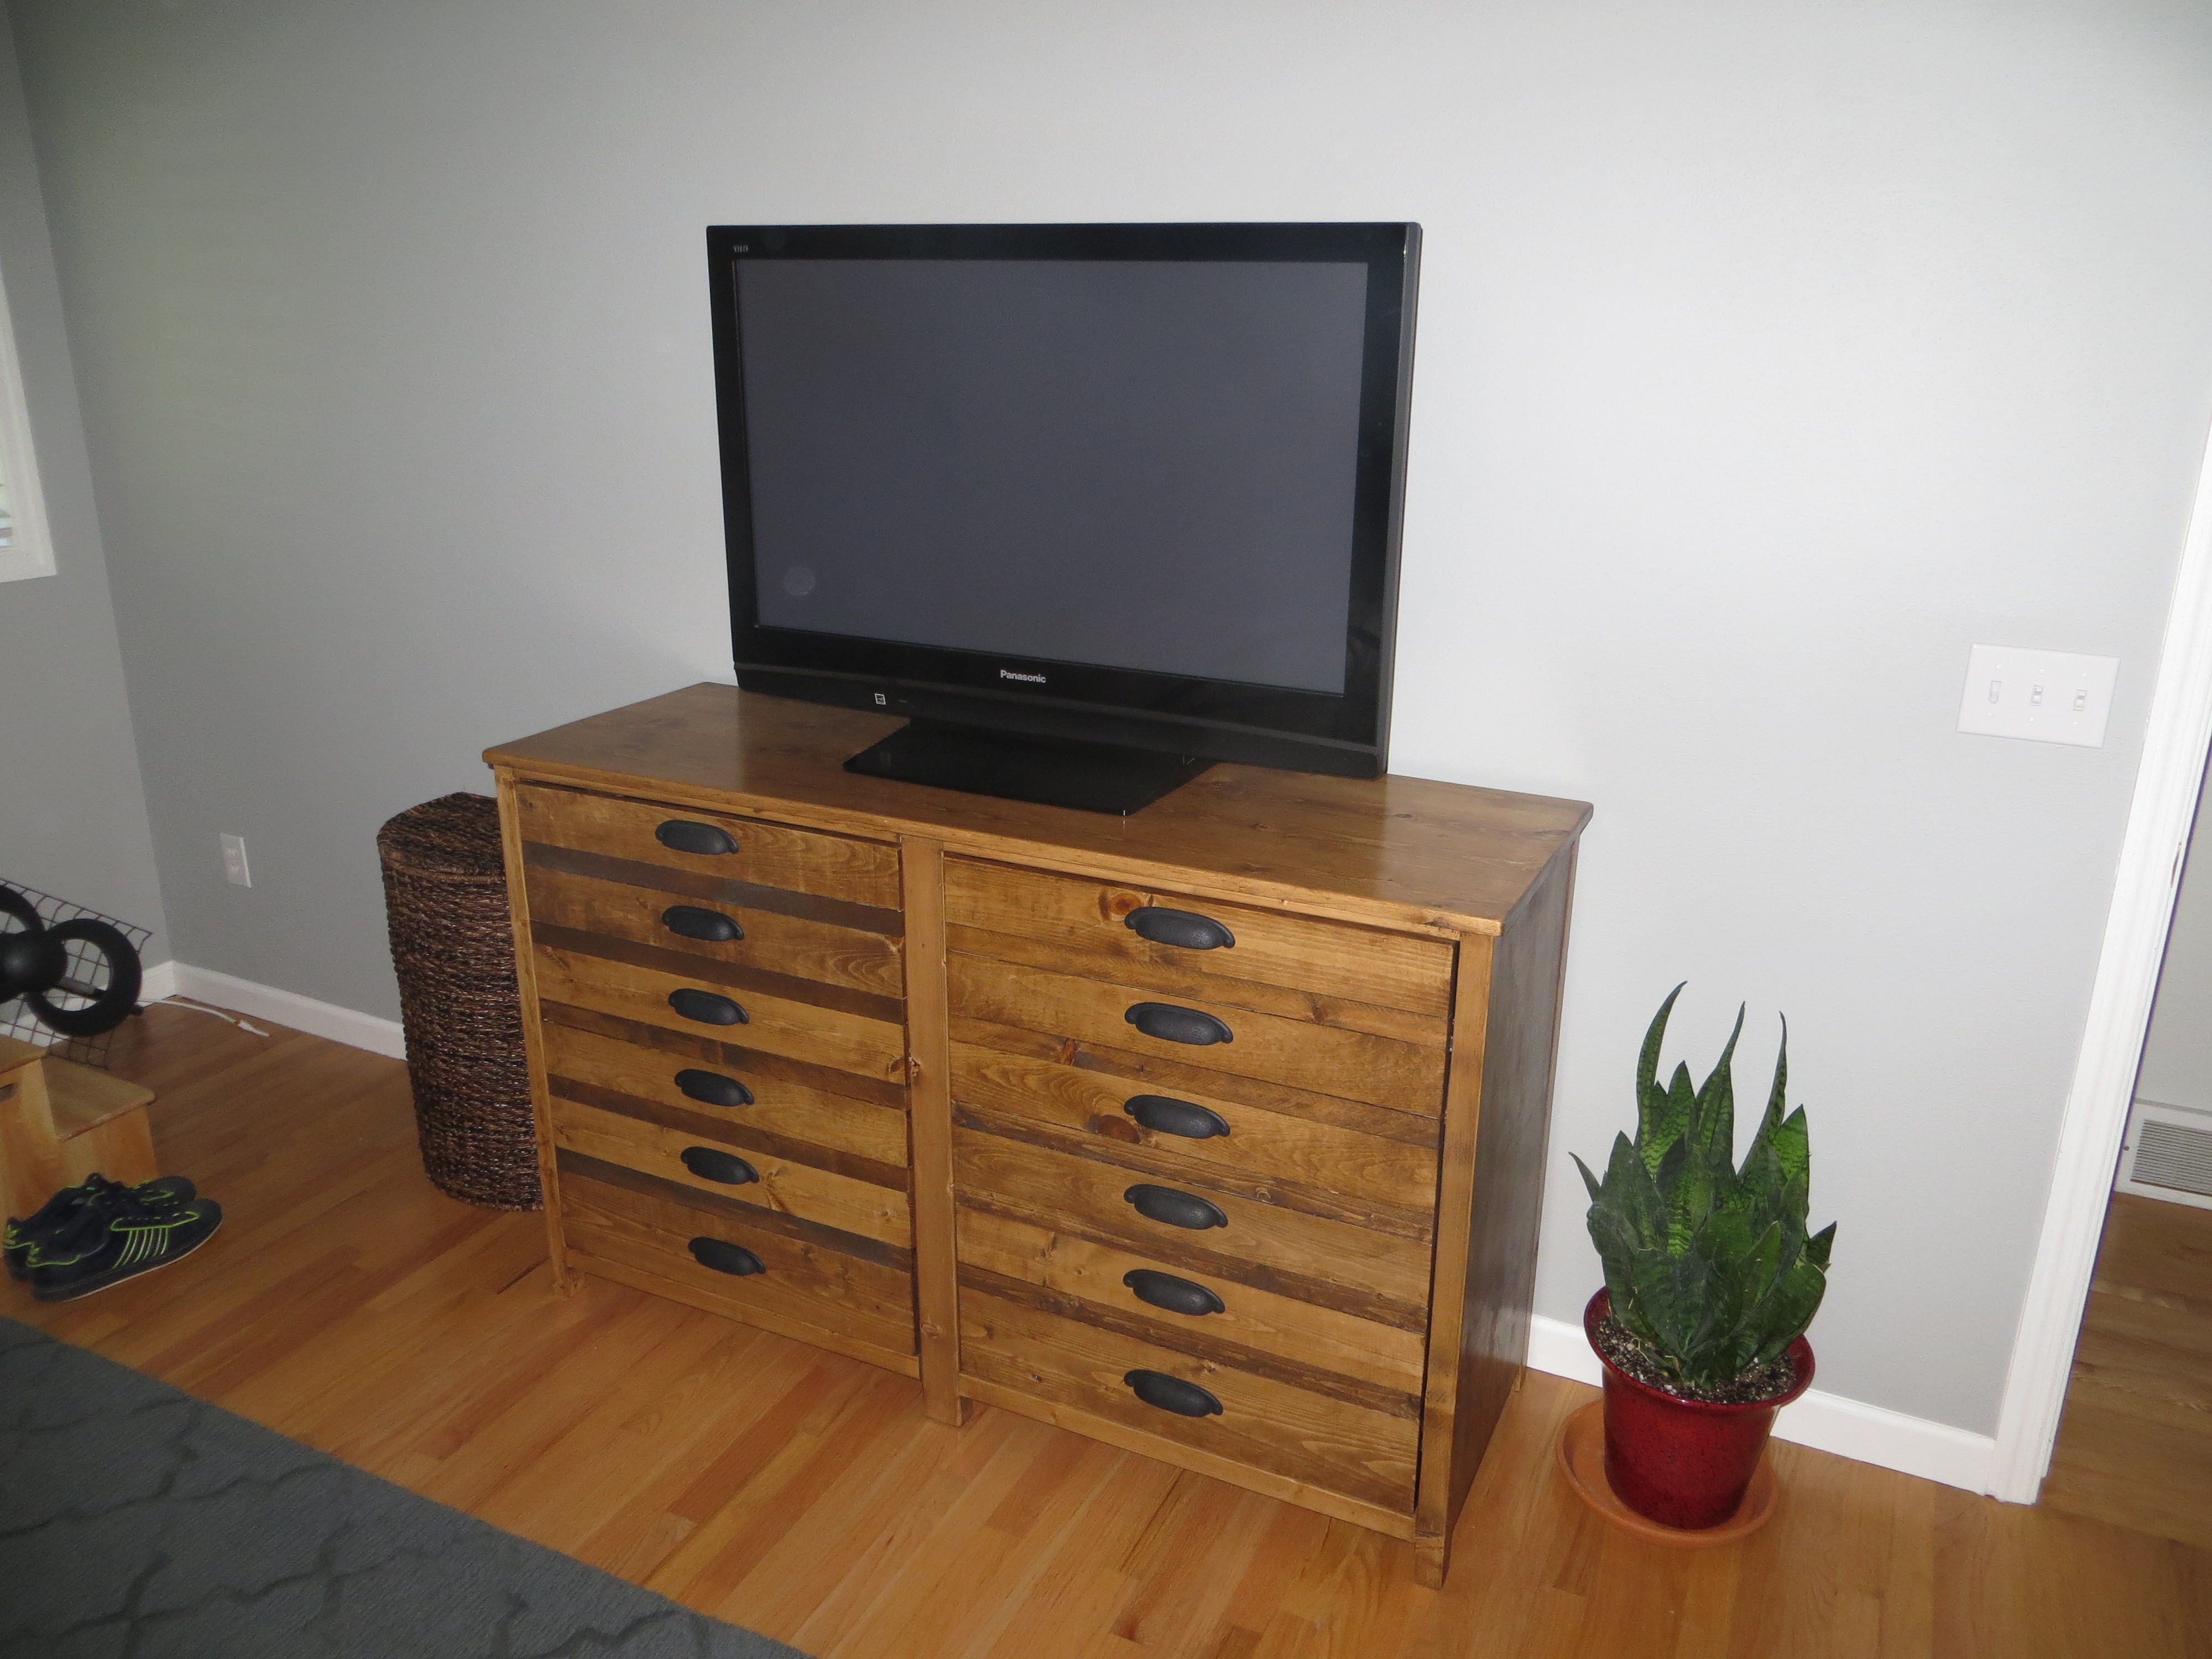
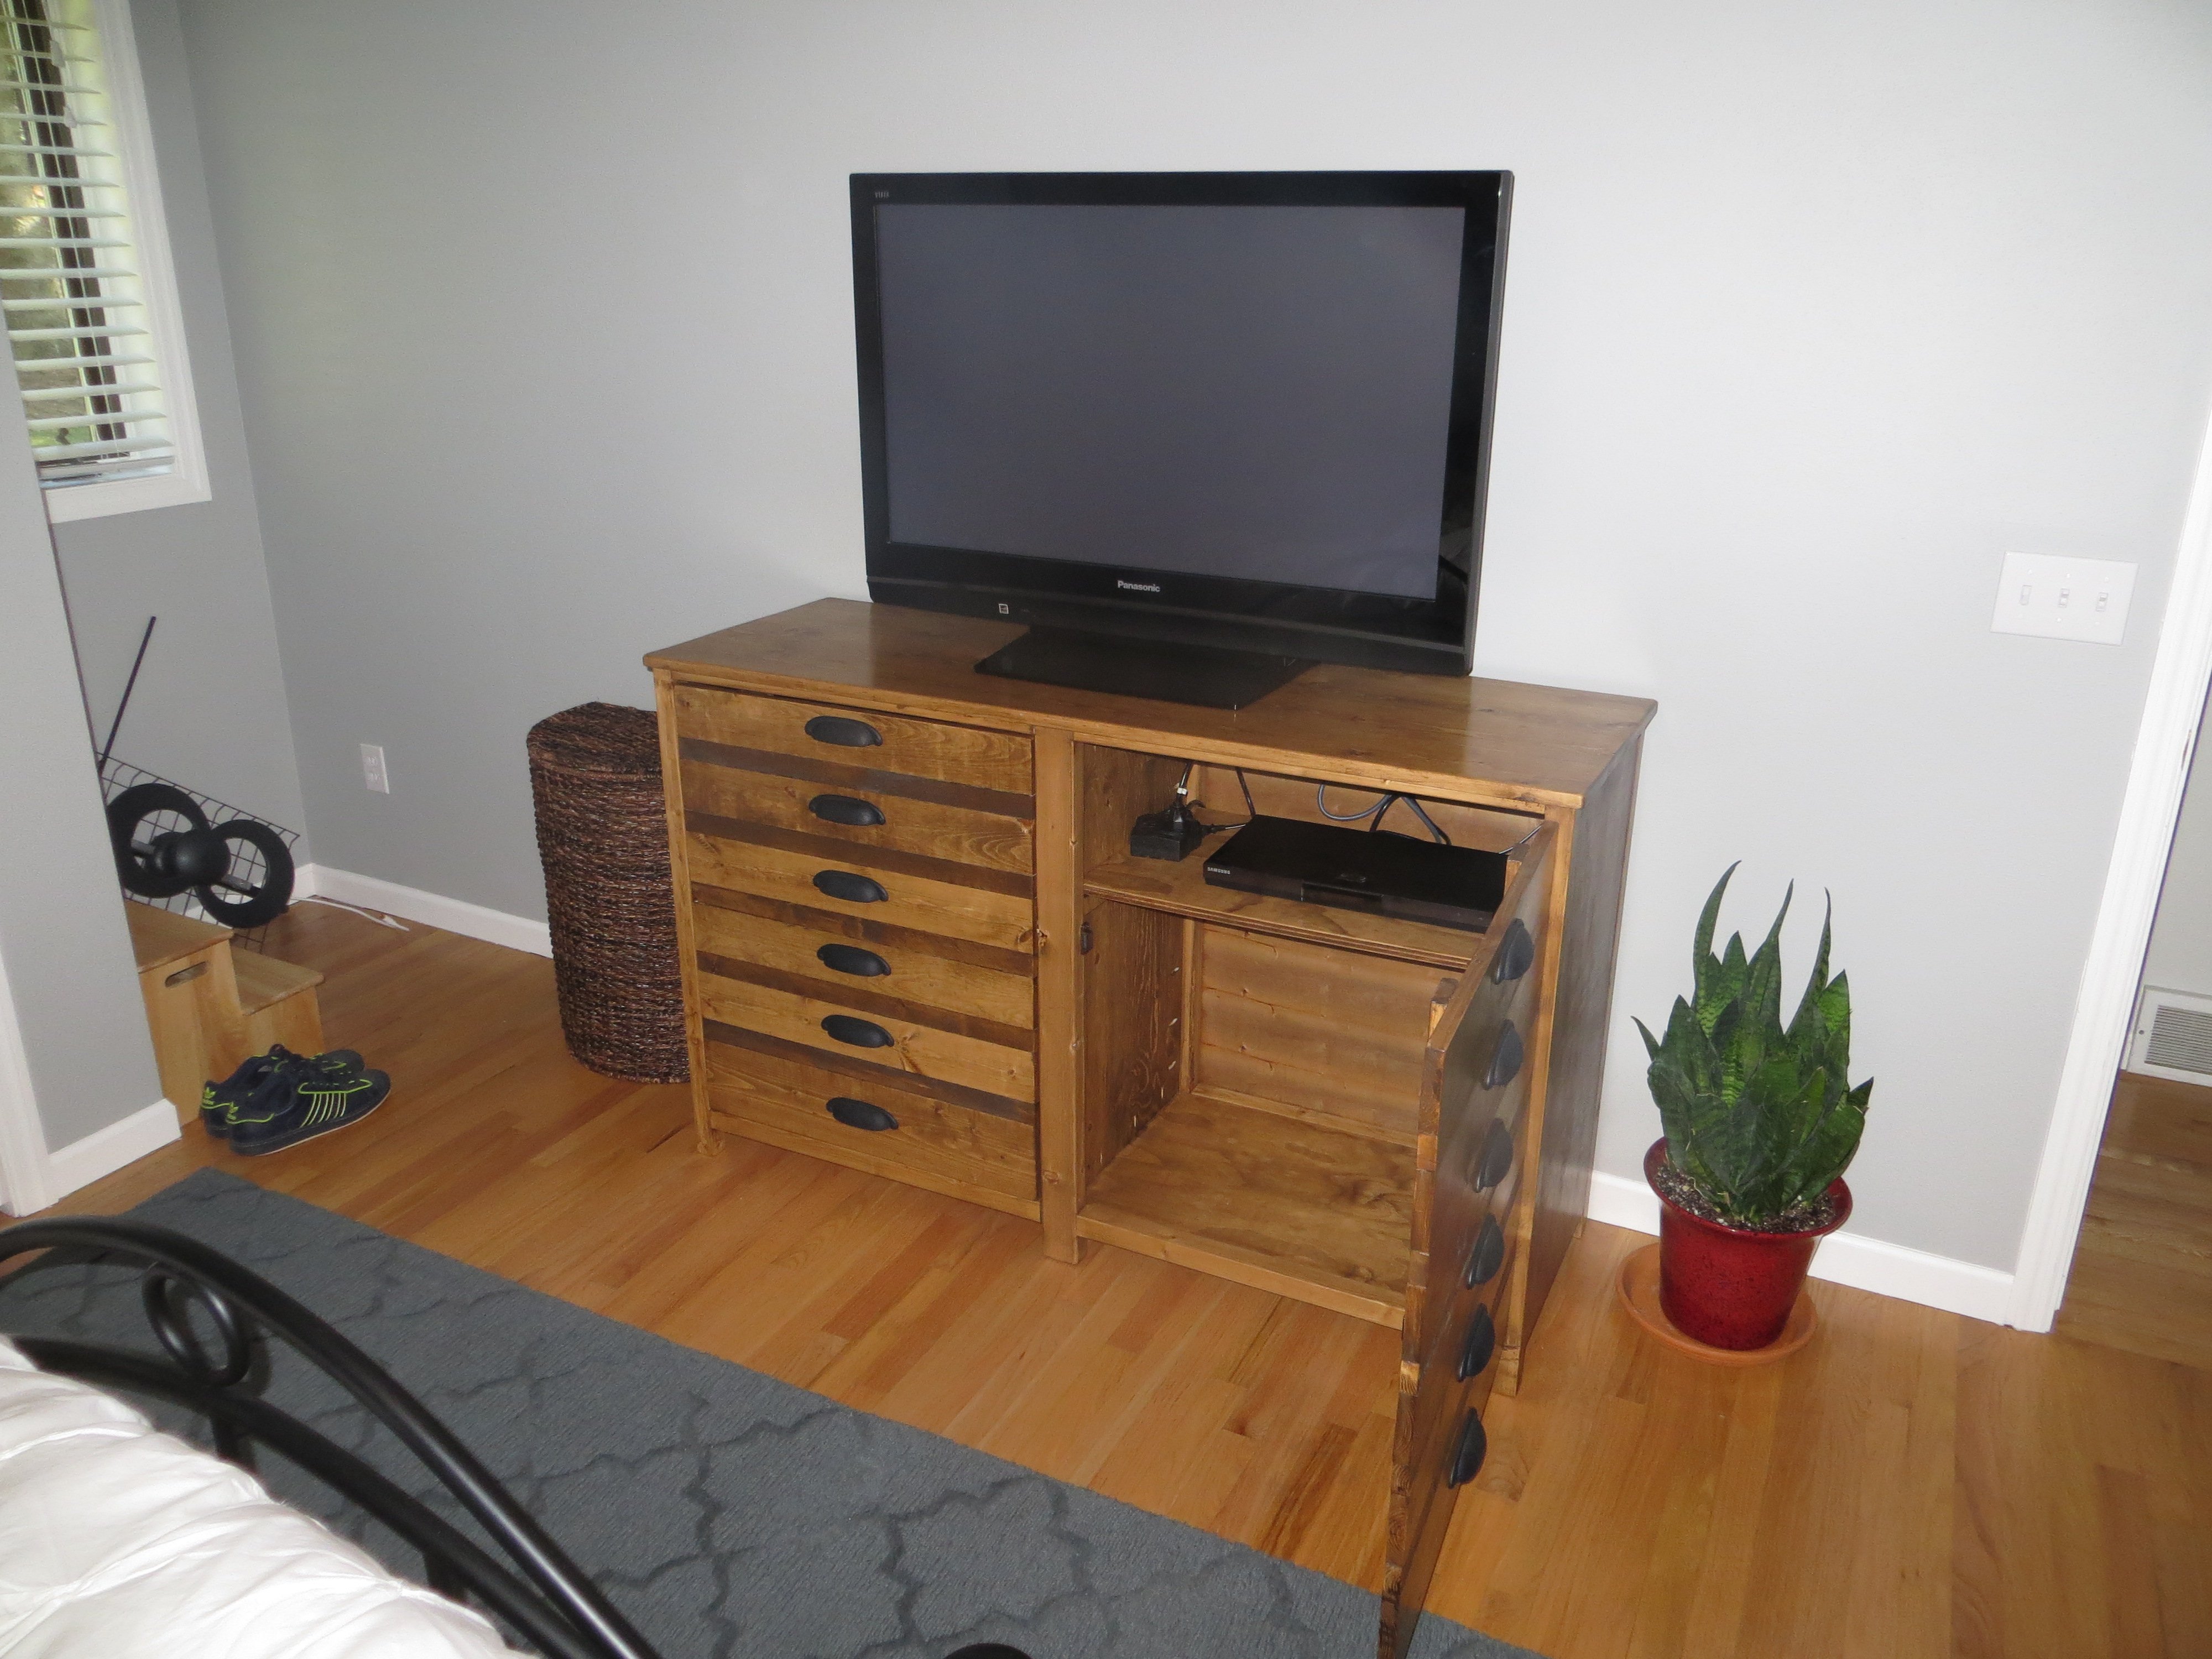
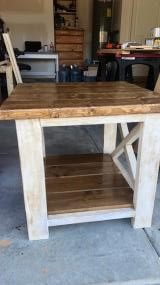
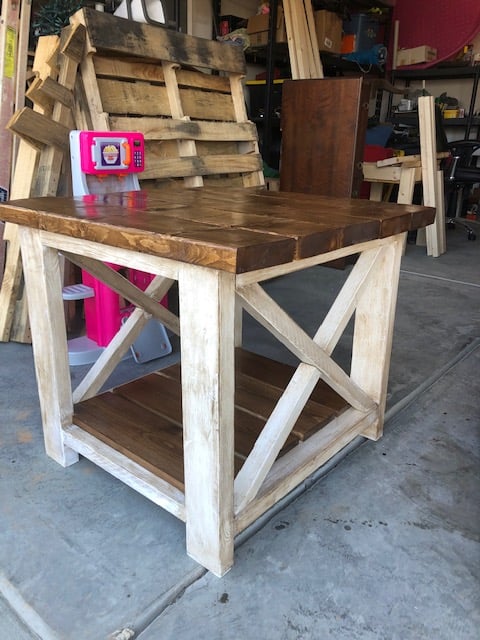
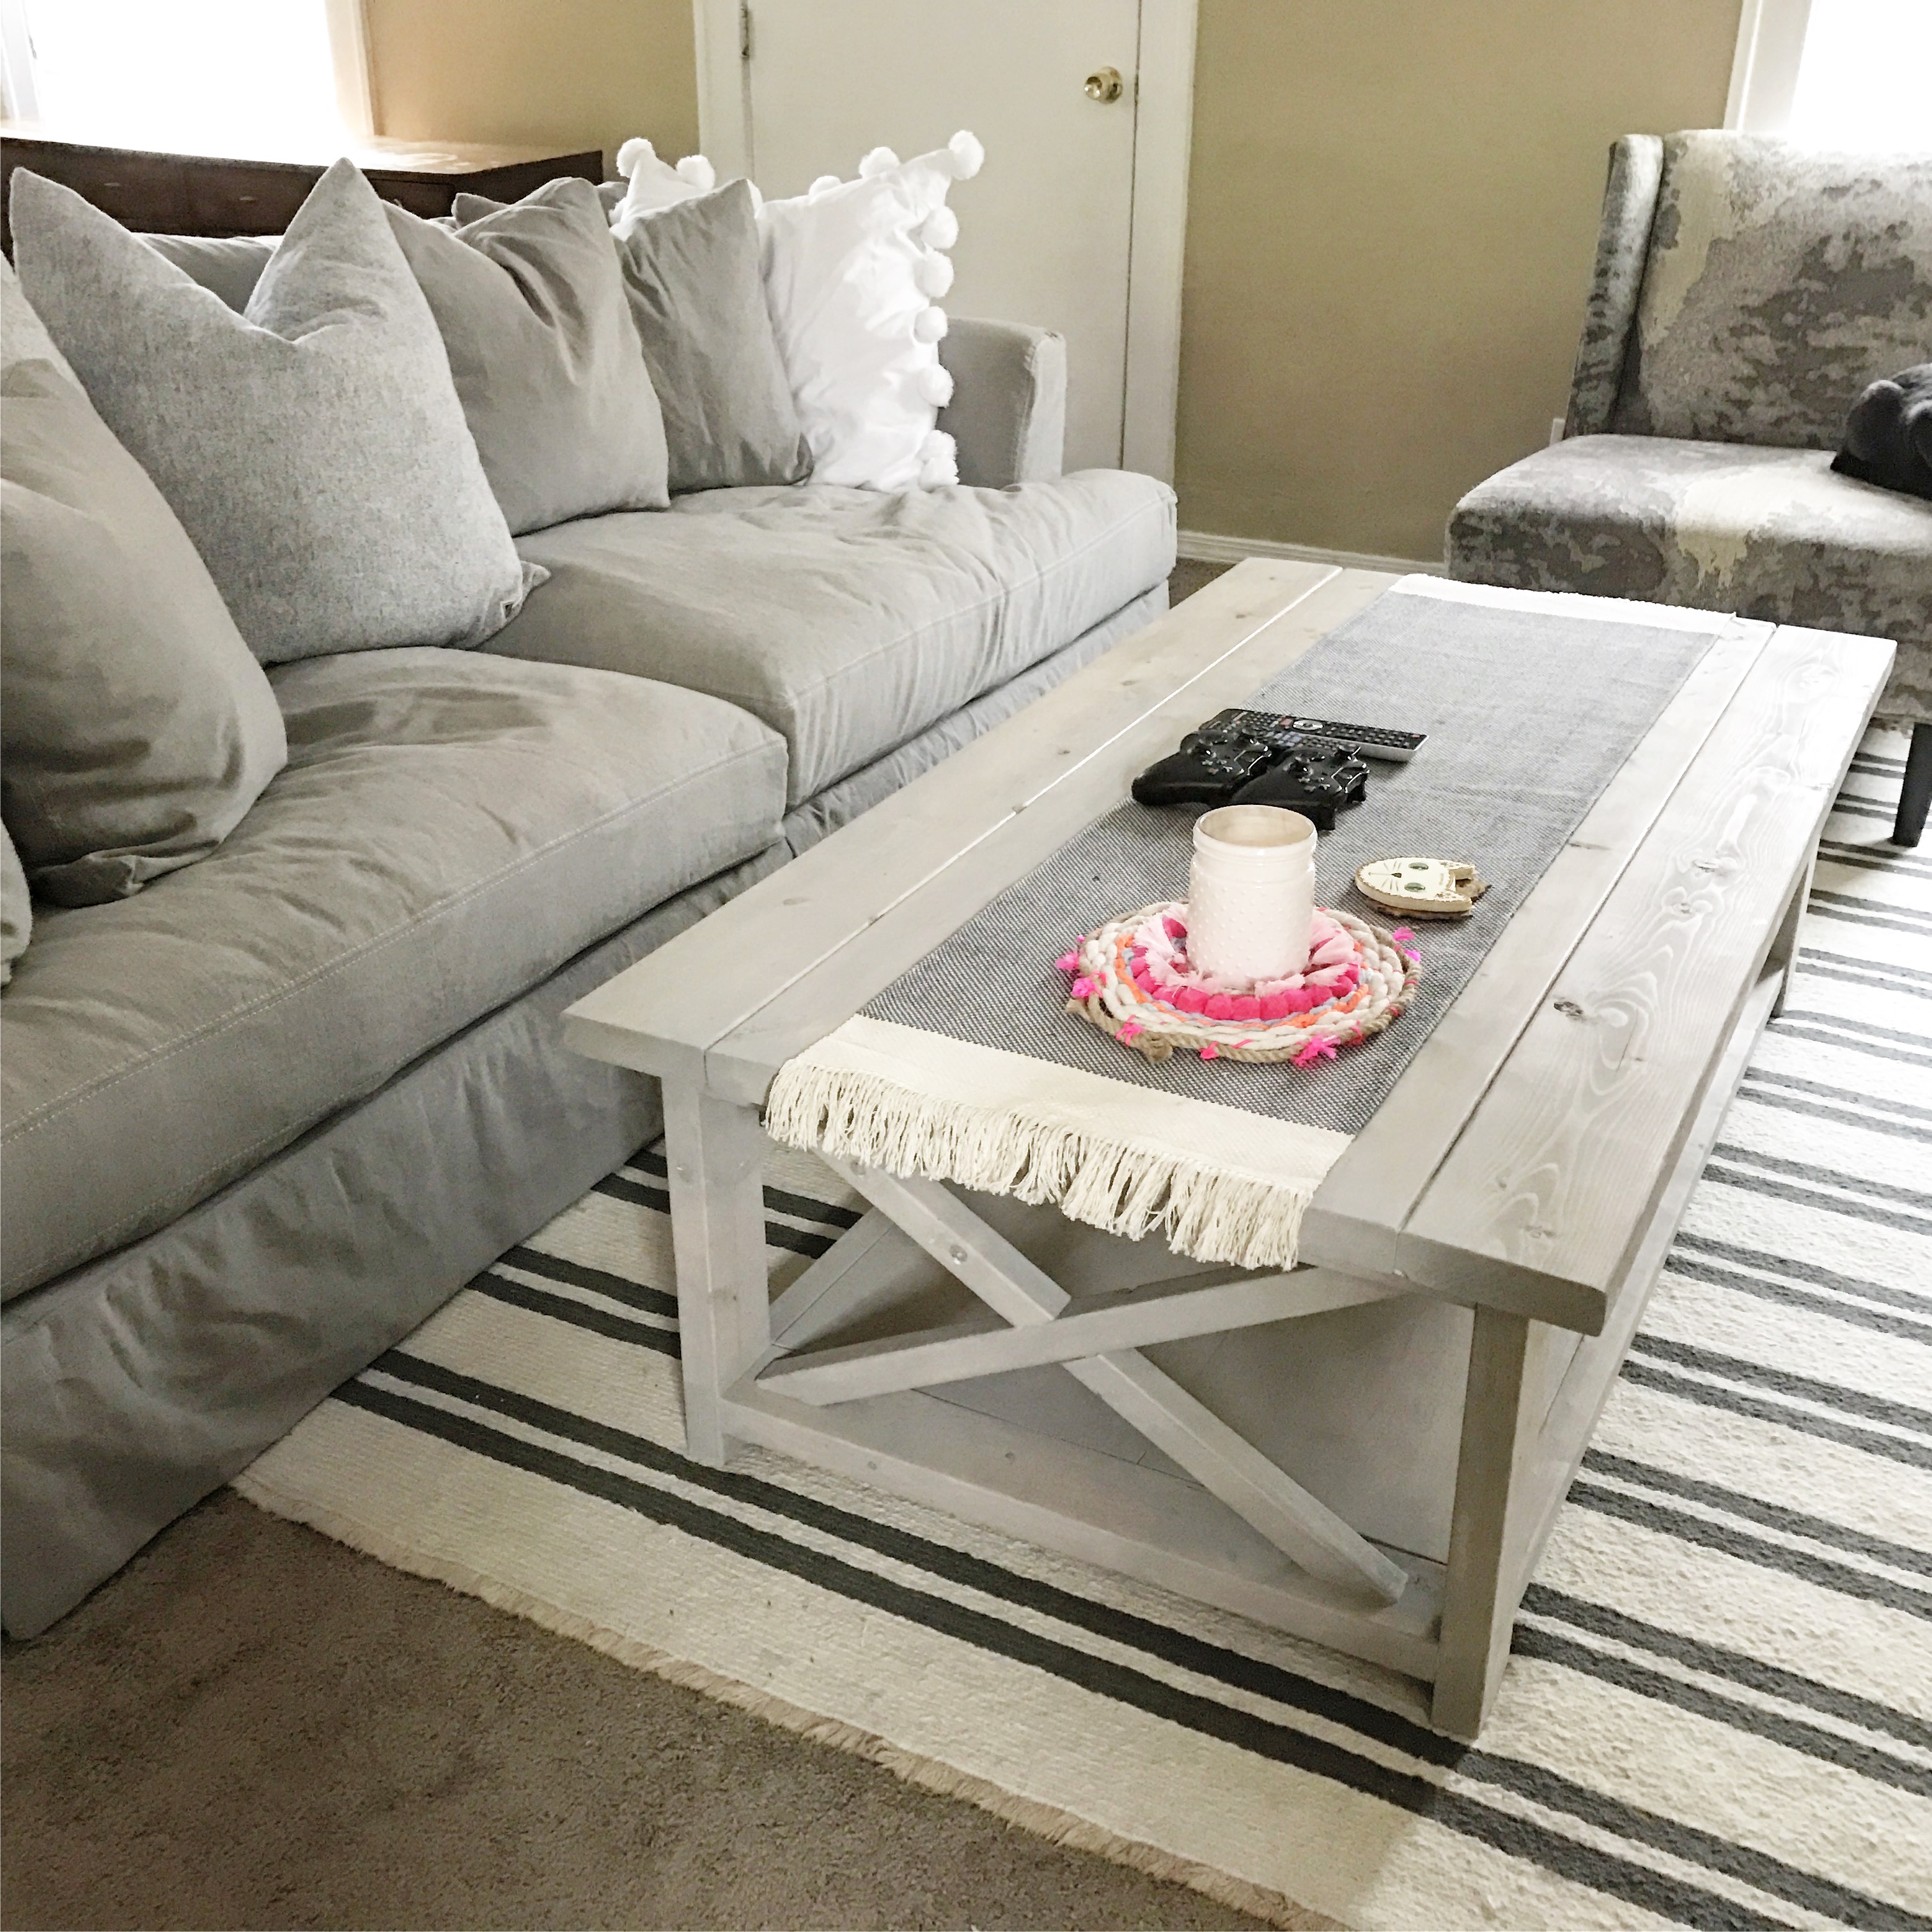
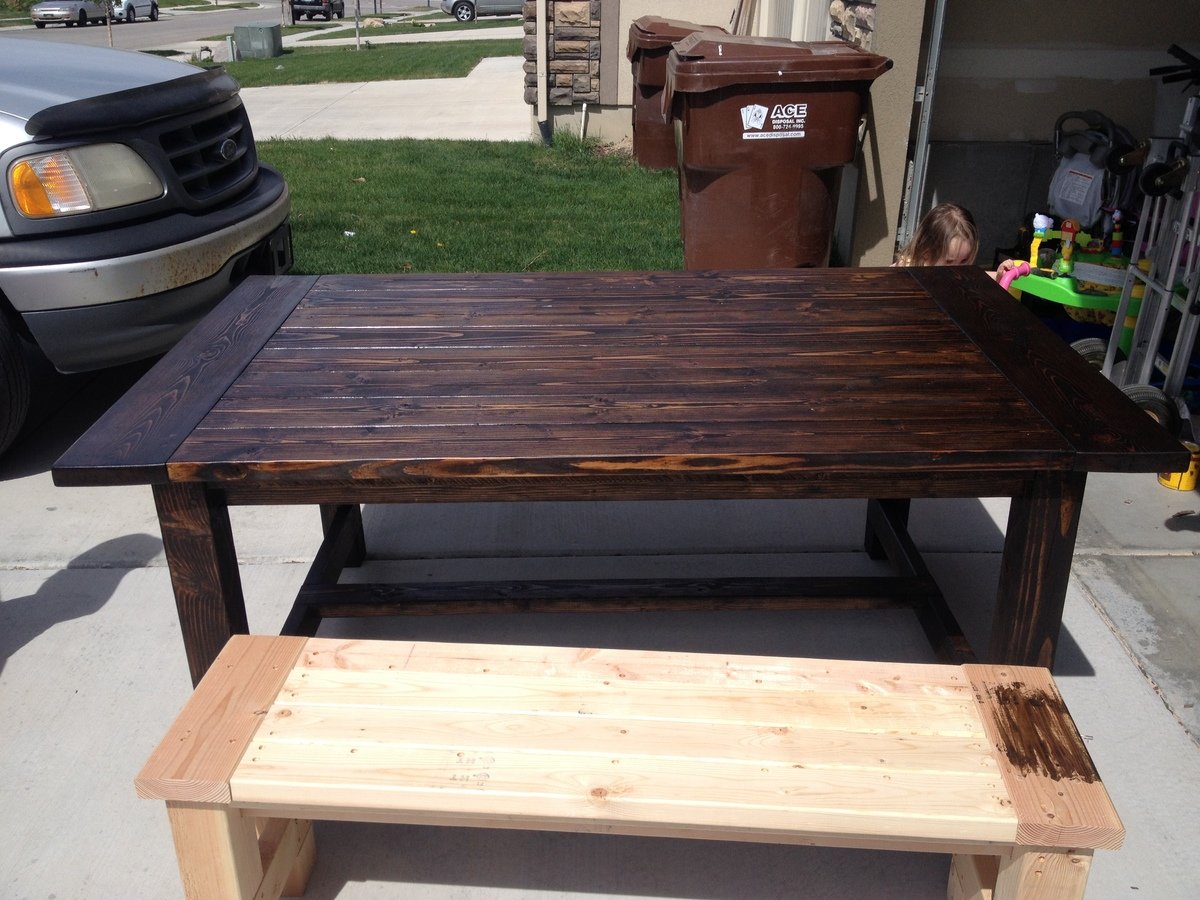
Farmhouse Table and Bench

Submitted by SNukem on Thu, 07/03/2014 - 21:10

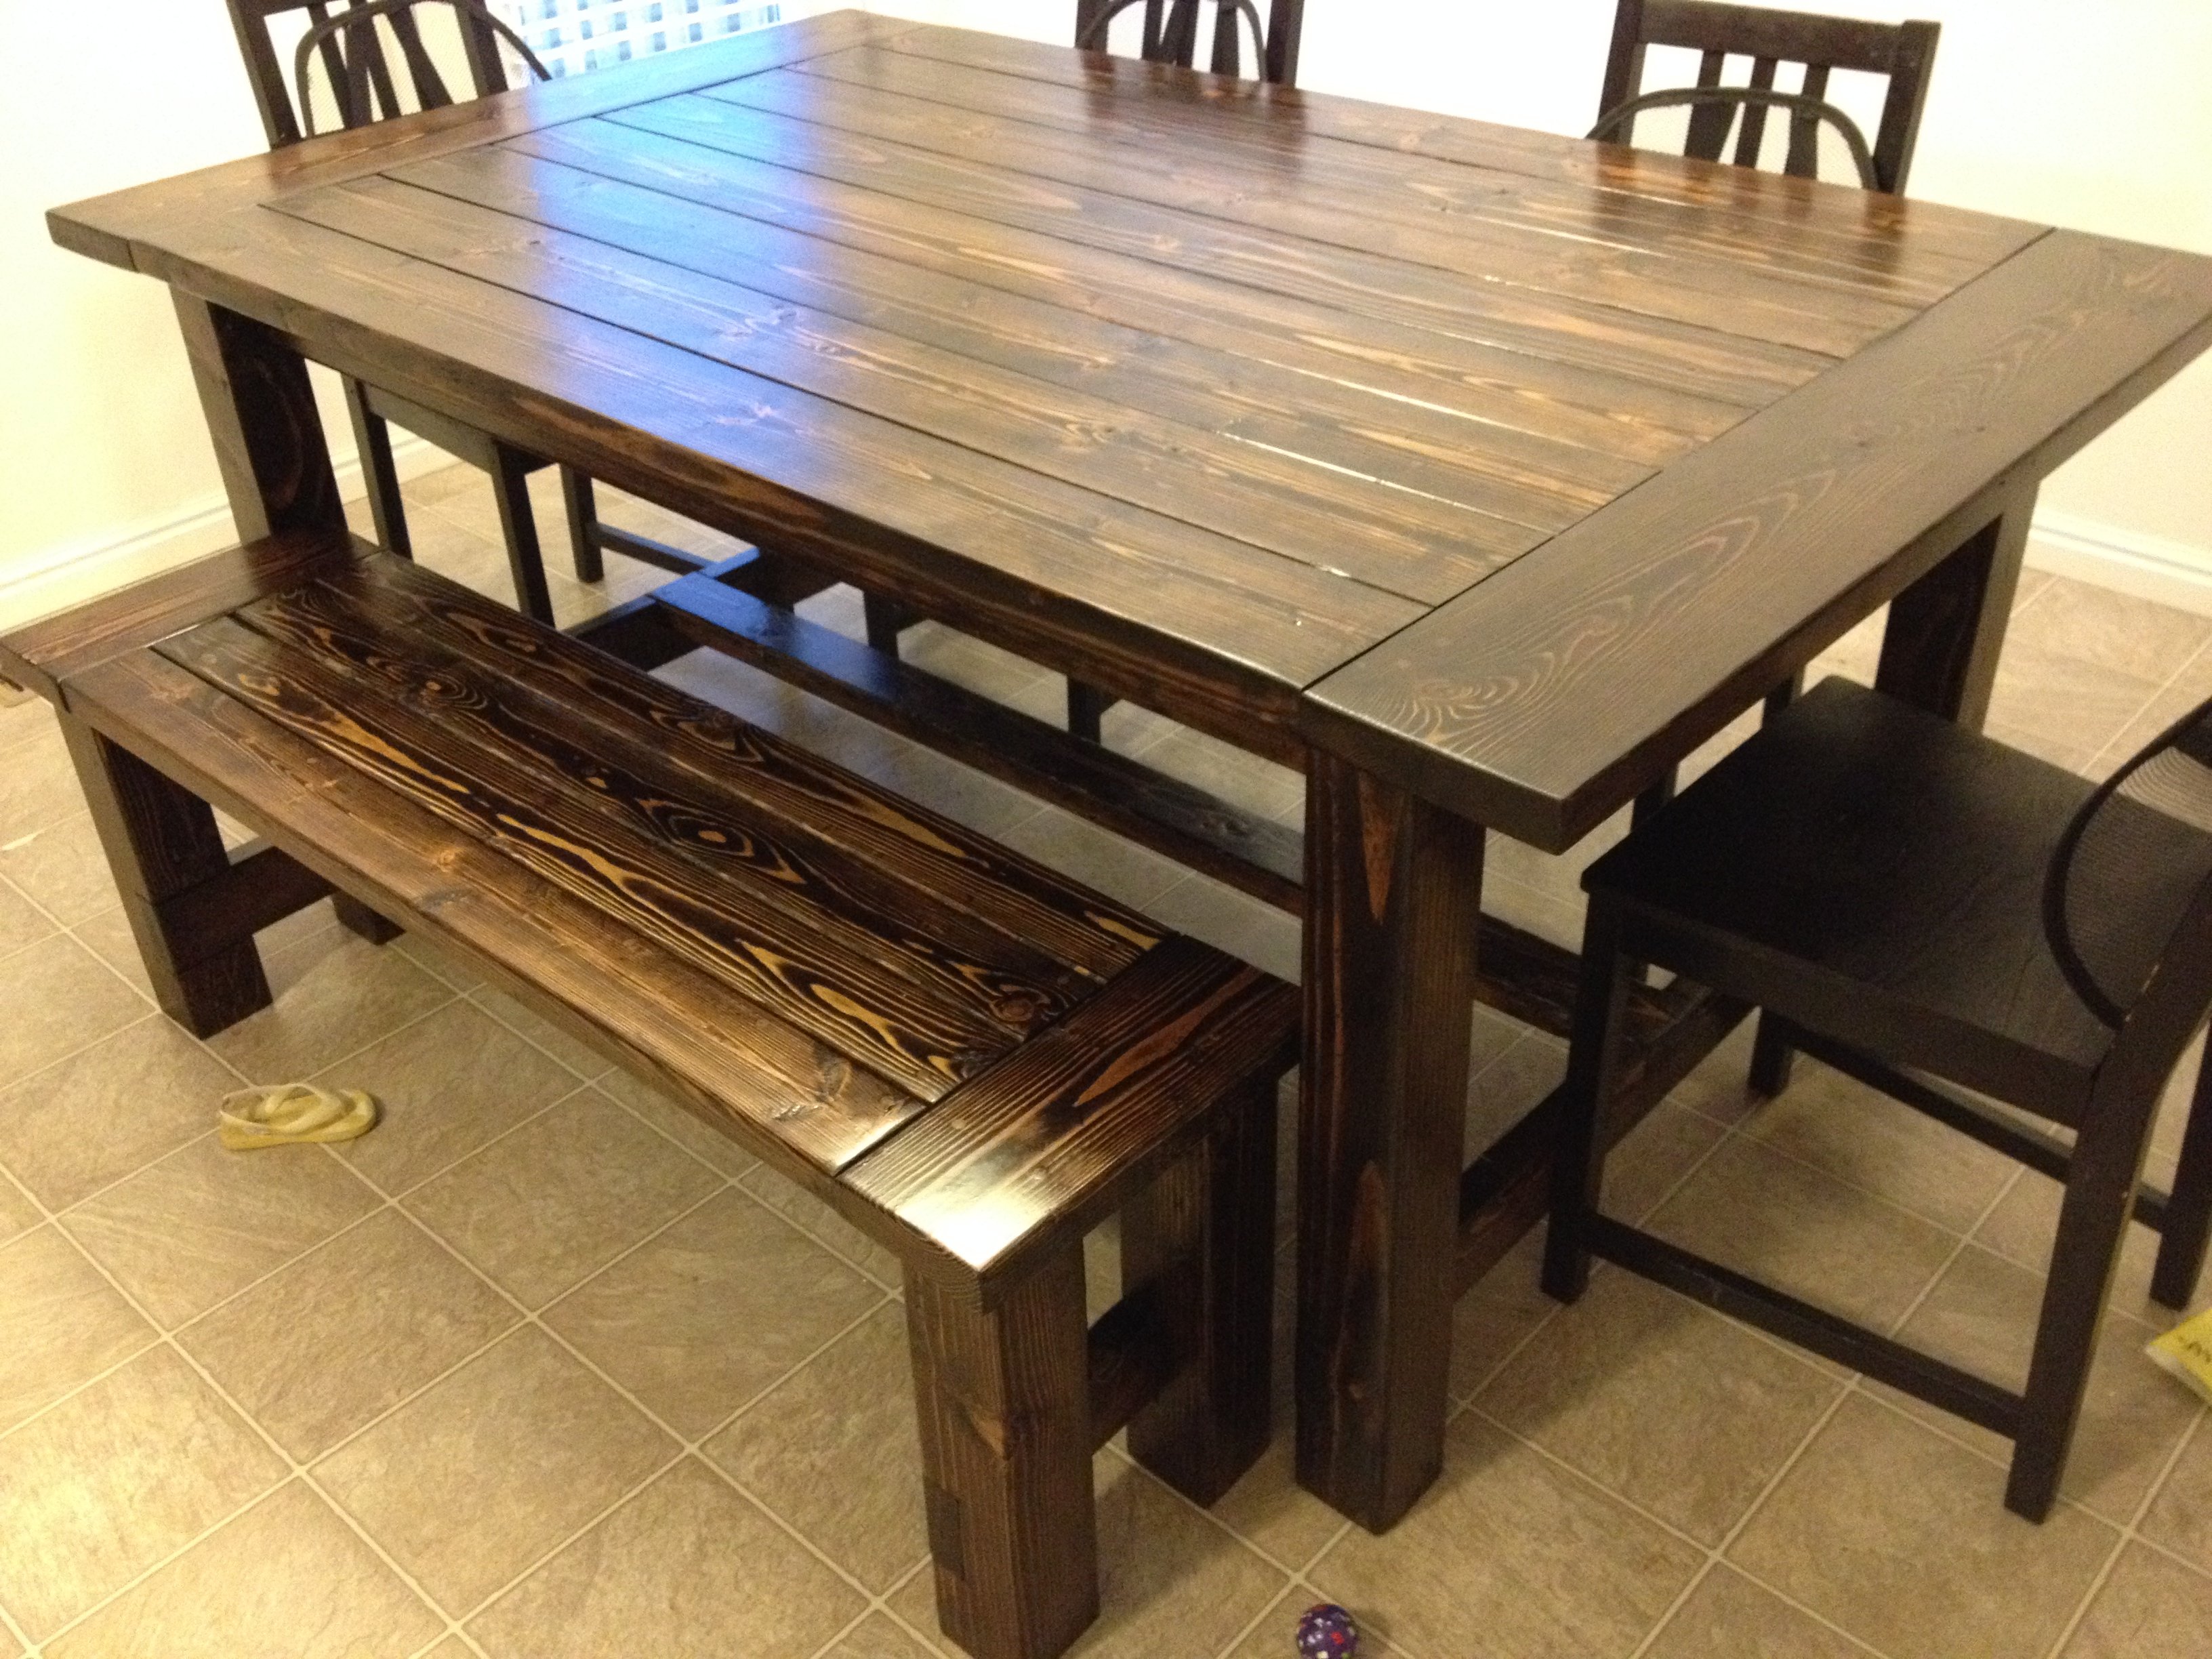
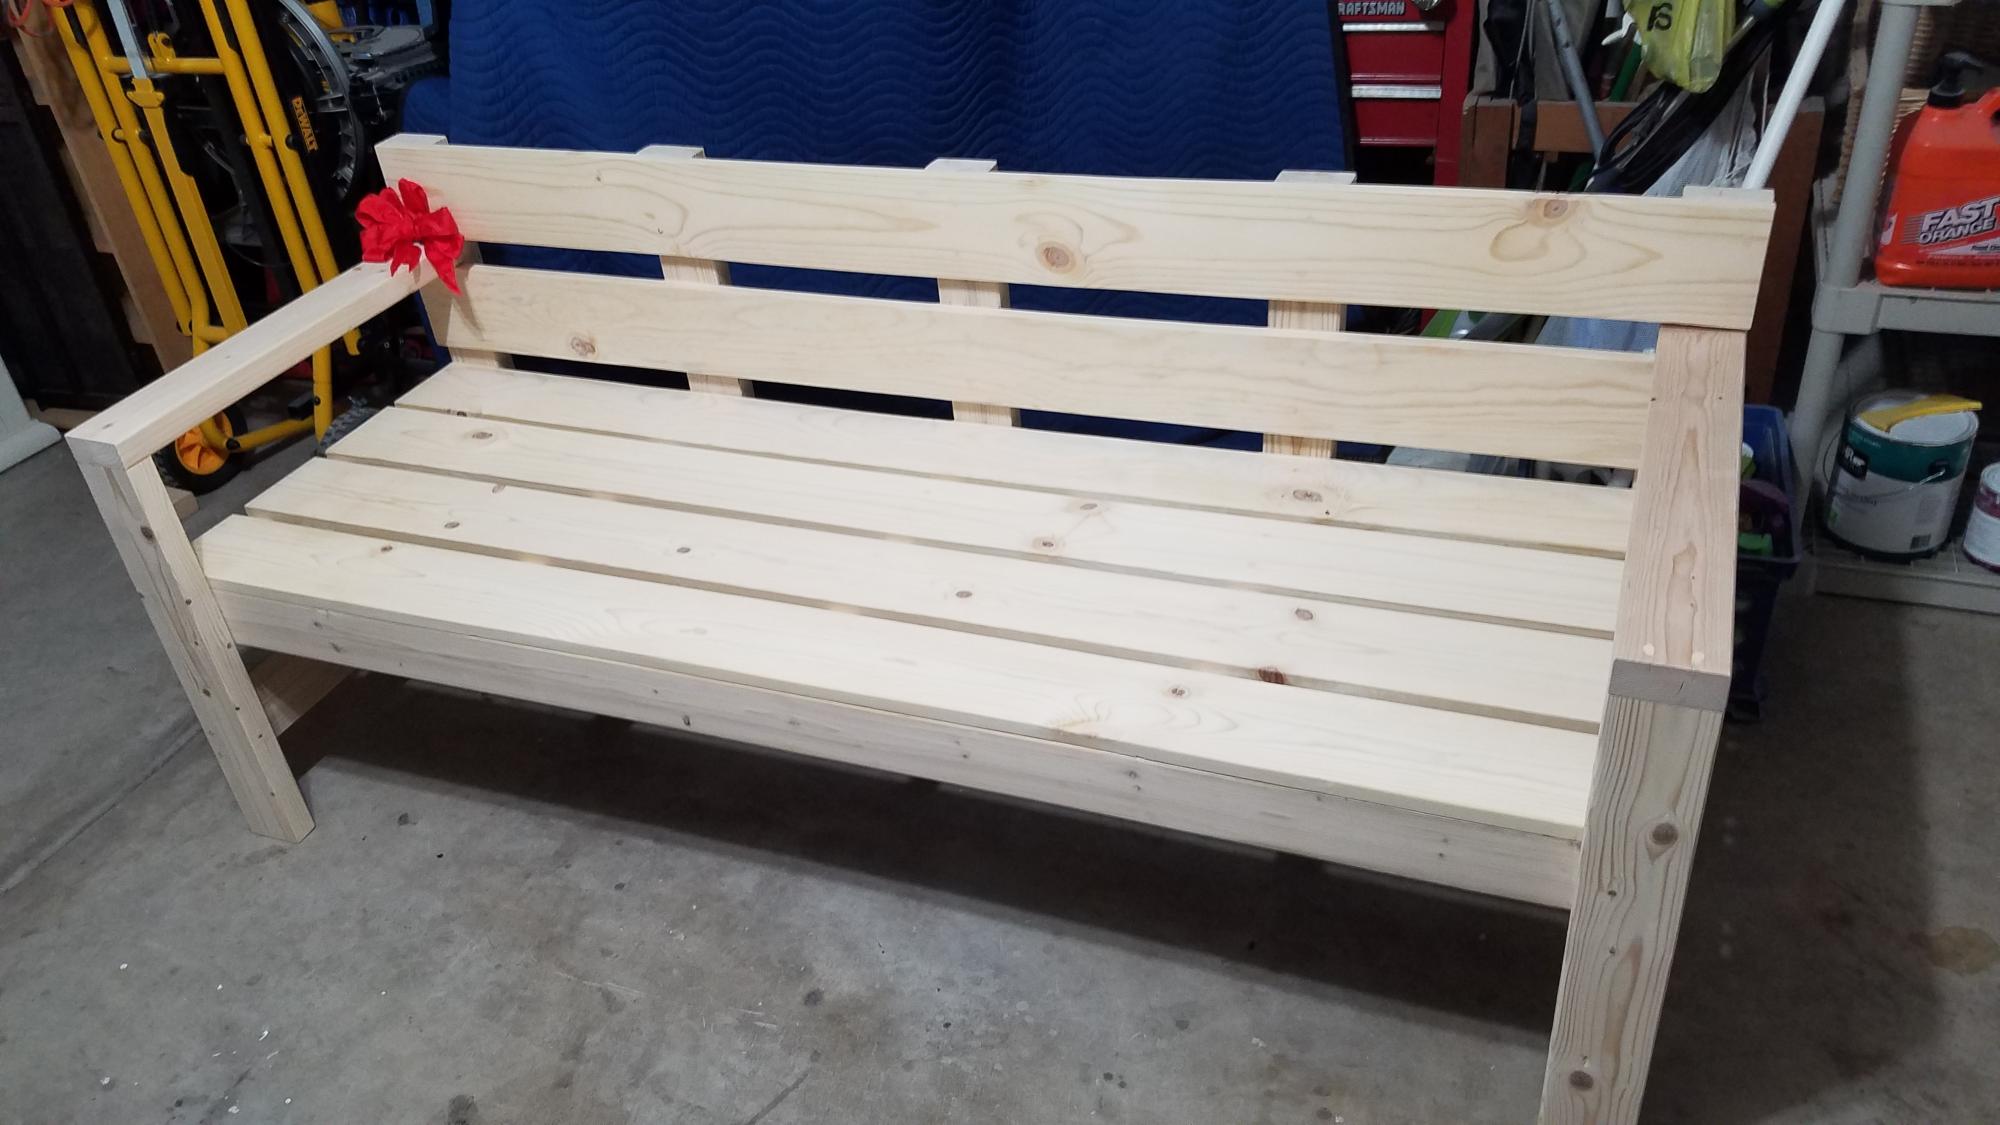
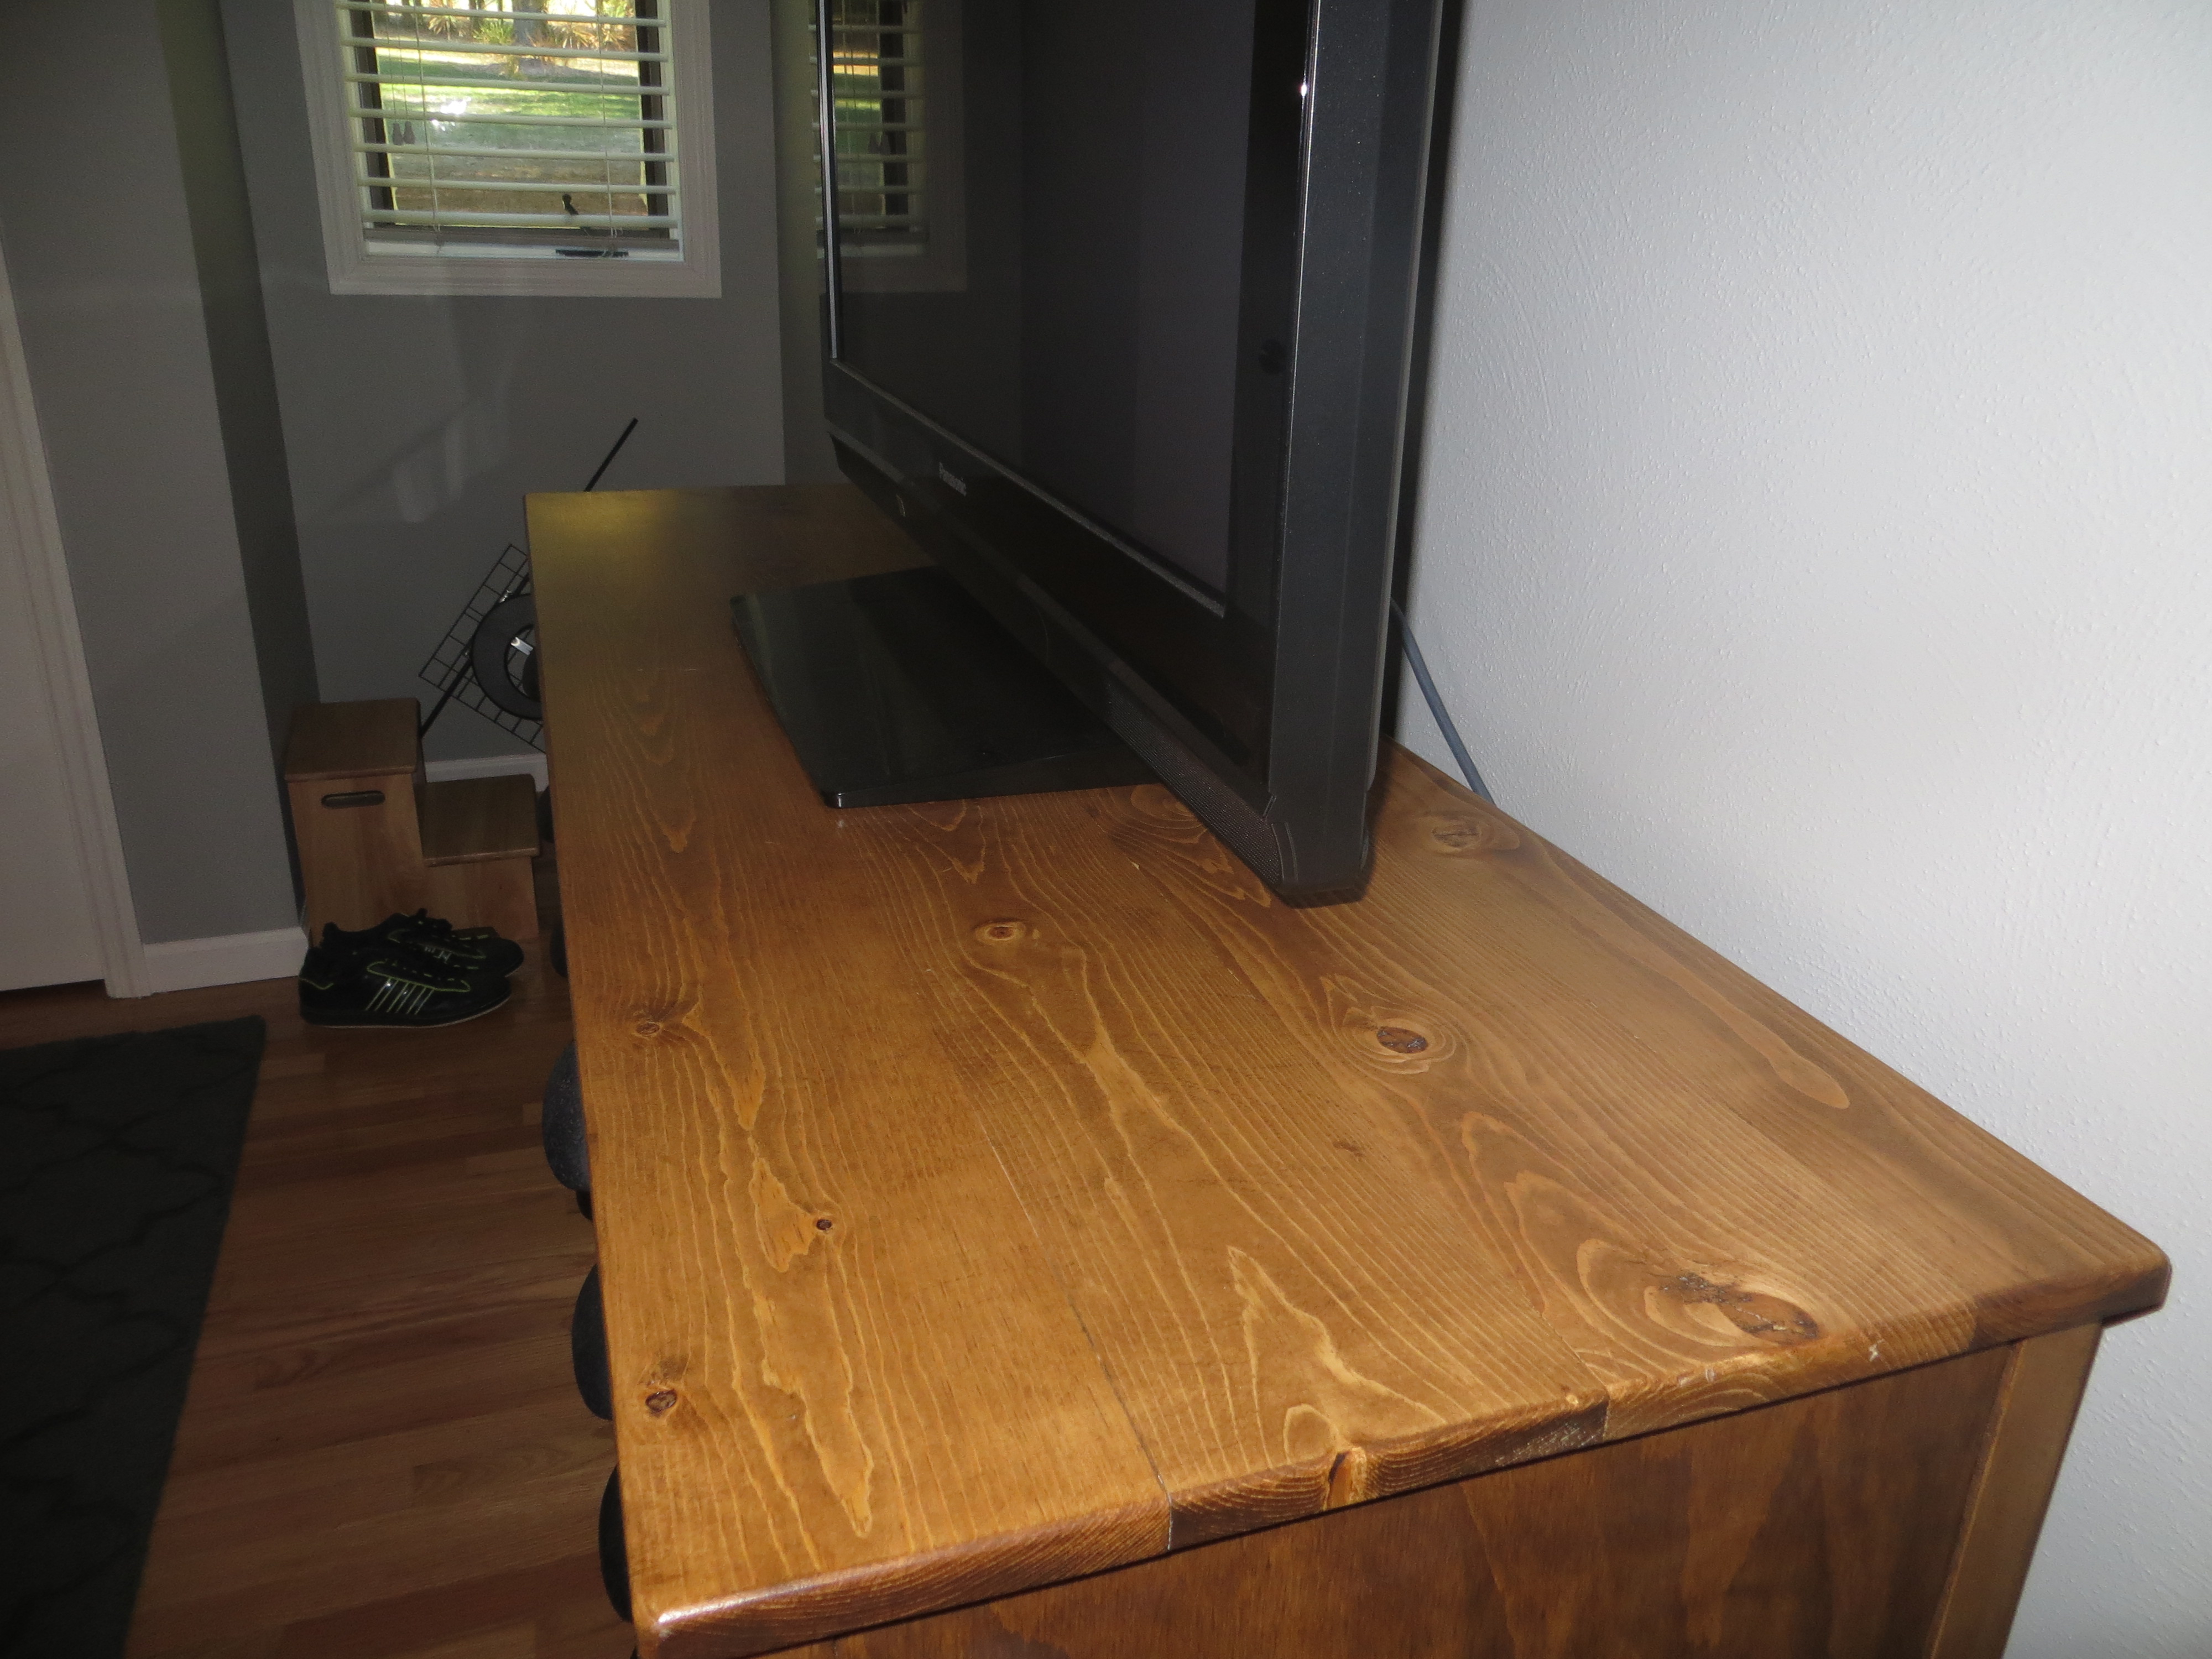
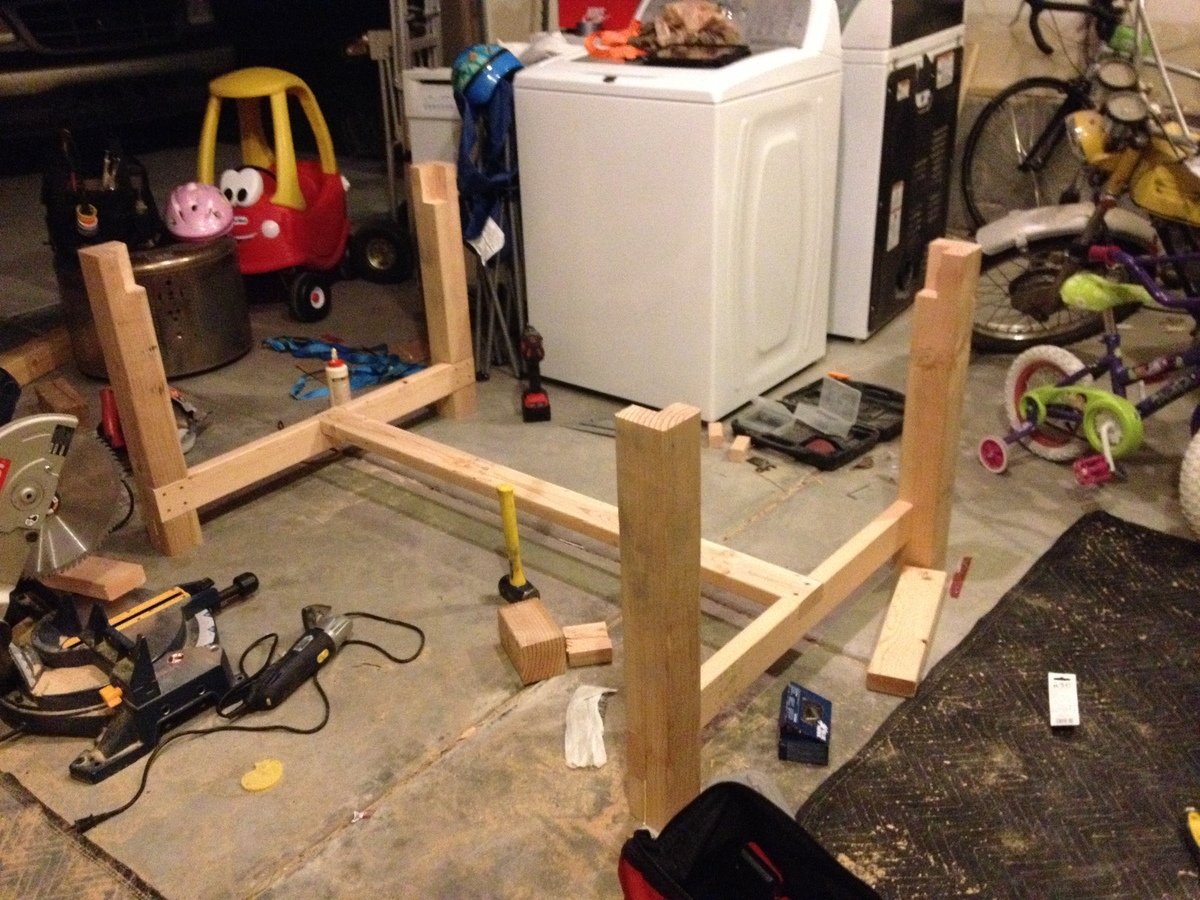
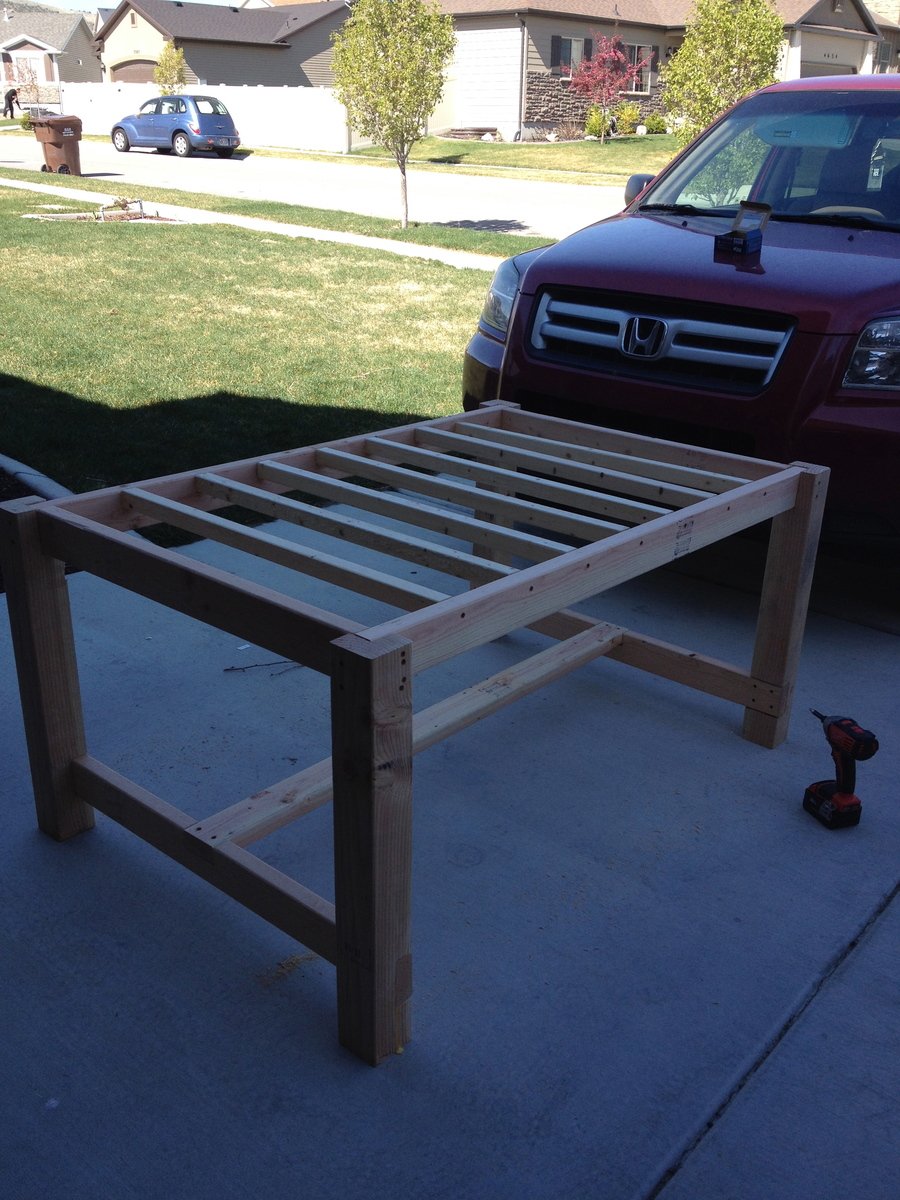
This was our first furniture building project. It took us about 20 hours to complete and we couldn't be more happy with the results. We used 4x4's instead of 2x4's for the legs. We also changed the dimensions of the table so that it was the perfect size for our kitchen. After completing the table we decided to build a bench as well. It is the same plan as the table, just miniaturized. We used Minwax Jacobean stain on the table and then topped with a clear coat. It is a very heavy, sturdy table.

Estimated Cost
150
Estimated Time Investment
Weekend Project (10-20 Hours)
Finish Used
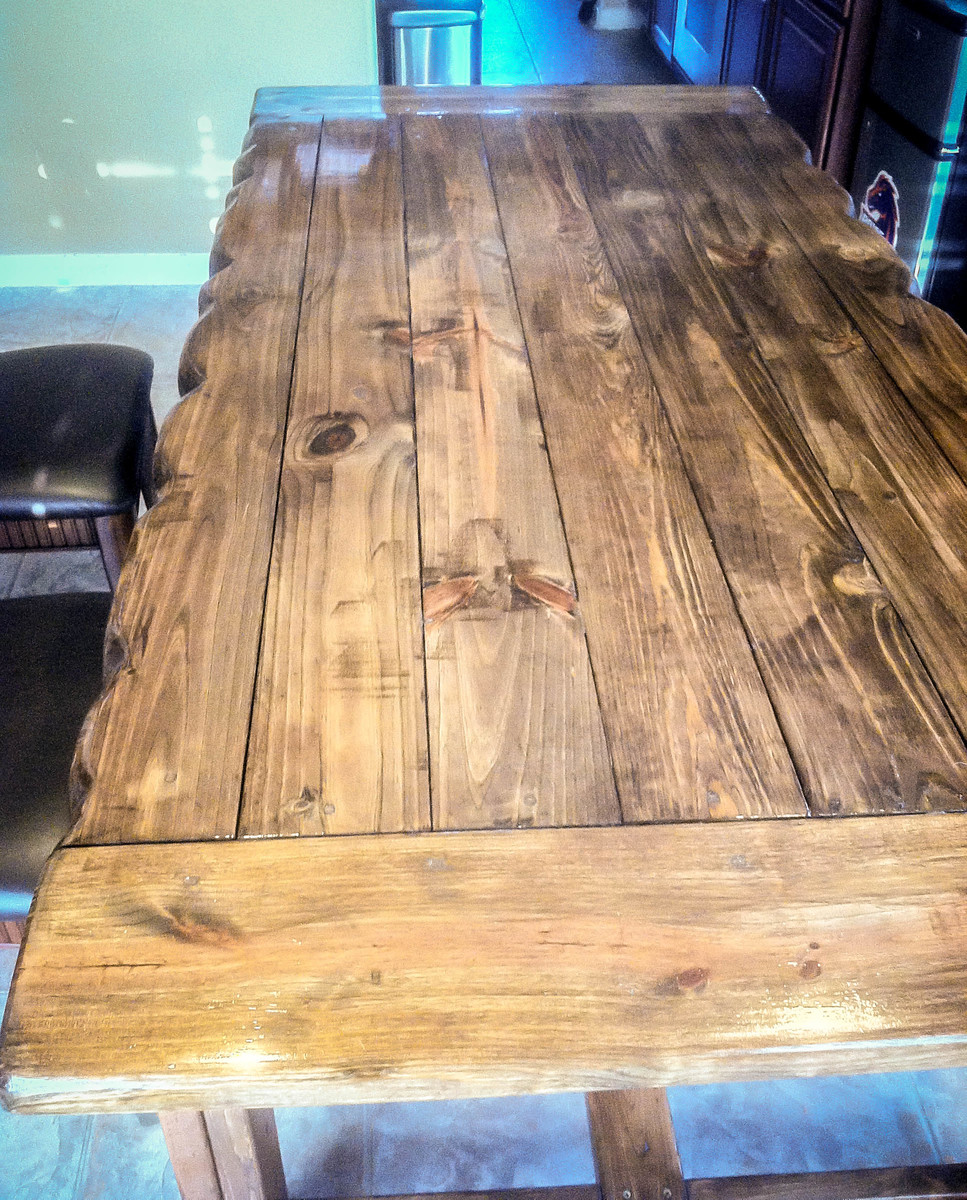
Minwax Jacobean stain - 1 coat applied with rag, We didn't wipe any of the excess off.
Minwax Fast-Drying Polyurethane in Satin - 3 coats applied with a soft brush, light sanding in-between each coat.
Recommended Skill Level
Starter Project

Ana's Adirondack Chairs

Submitted by Tbecker on Fri, 07/11/2014 - 20:12

I built these chairs last summer, they came out amazing! Everybody loves them! Thank you Ana. I also built the sofa for my sun room. Pictures to come.

Estimated Time Investment
Week Long Project (20 Hours or More)
Recommended Skill Level
Beginner

Comments

elfi

Sat, 05/04/2019 - 08:18

My husband made 4 of these with some slight modifications like rounded arms and back.
However the best function he added were 2 wooden wheels he attached to the back legs, we now can move these chairs easily on our deck.
Our goal was to make them look like well worn beach chairs, we used milk paint for that effect. It still lets the grain show through.

Pallet Wood Chalk Board, Shower Wall and Shower Mat

Submitted by kdins31 on Tue, 08/05/2014 - 06:13

As part of my backyard overhaul I've added an outdoor shower and chalkboard against the wall of the house. There's also a small sand pit and deck area, so the shower comes in handy to wash the dirty feet. I had a few pallets sitting under the deck for years and finally put them to use. Some cuts here and there and some sanding and they look great. For the floor mat I just cut the pallet piece you can see in one of the photos in half and framed it with treated 2x4". The chalkboard is a plain sheet of 2x4' project board primed and painted several coats with flat black exterior paint. I used this over the 'chalkboard' paint because it's exterior grade. It works great, even better than chalkboard paint imo. The frame is made of the cut slats of the pallet, just glued and nailed on. The fence also is a cut pallet. I just made random cuts about half way through on varying angles which resulted in two mirrored halves of the pallet. They fit the space perfectly. I love the random look of it and may give it some paint eventually.

Estimated Time Investment
Afternoon Project (3-6 Hours)
Finish Used
I used flat black exterior paint for chalkboard, over several coats of primer to protect the wood in the elements.
Recommended Skill Level
Beginner

Rustic table with storage and chairs

The table top is modified from Ana's farmhouse table, the base is modified from the storage table and the chairs are modified from the extra tall bar stool. This project took me the weekend to complete, because of those darn chairs!!!

Estimated Time Investment
Weekend Project (10-20 Hours)
Finish Used
Cabot pecan stain and semi-gloss Poly
Recommended Skill Level
Intermediate

Comments

In reply to by patrickhosey

little stuf

Sun, 11/04/2012 - 06:52

For the ladder I used straight 2x2s and 2x3's. I like the look of the straight back. I didn't want pocket holes on either side, so I used 3" screws through the legs into the 2x3s. I used a scrap 2x3 as a spacer.

Modified Rustic pottery barn inspired Mason bedside table

I had made this bedside table before, but this time the bottom two drawers just wouldn't work out. I fiddled with them and cut out and made 6 box drawers before I finally just decided on shelves. I used 1/4 inch plywood and 18 gauge brad nails to secure it. Once all this was done ,I found 2 basket "drawers."

Estimated Cost
$35
Estimated Time Investment
Weekend Project (10-20 Hours)
Finish Used
primer, antique white acrylic latex from sherman williams, sanded, glazed with burnt umber acrylic paint added to Martha Stewart glaze and wiped off, Matte finsih Rustolem
Recommended Skill Level
Beginner

Fancy Jewelry Box

Submitted by JoanneS on Sun, 11/11/2012 - 17:37

12/16/14 UPDATE:  Posted a plan for this project, linked in this brag post

This is a variation of the Easy Jewelry Box plan. The completed measurement is 11” wide, 14 ½” high, and 7 ½” deep. This one has a center “tower” with 5 drawers 5 ½” wide, and a wide overhang on the top and bottom, which covers the 2 side doors that open out for hanging necklaces. The drawers are lined with embossed felt, and the drawer bottoms and insides of doors are covered with sticky-back felt. The 2 removable ring drawer inserts are some scraps of 1” foam, covered with scraps of the sticky-back felt, with slits cut into the foam with a utility knife (cut the slits into the felt first, attach it to the foam, then cut the slits into the foam). Cost breakdown: antique brass knobs: $28, sticky back & embossed felt: $14, hooks: $15, wood: $35, hinges: $7, paint: $5. (already on hand: finish nails, glue, sandpaper, left over stain & poly) . I worked on this a few hours a day over a long weekend, probably about 12 hours total. Finishing took most of this time, the build was actually only a couple of hours.

Built from Plan(s)
Estimated Cost
$104
Estimated Time Investment
Weekend Project (10-20 Hours)
Finish Used
Box and doors: 3 coats Benjamin Moore “Harmony”, sanded between coats, and 1 coat Minwax water based wipe on poly. Top and drawer fronts: 1 coat Minwax Express Color in Walnut, and 1 coat Minwax water based wipe on poly.
Recommended Skill Level
Beginner

Comments

jgg2006

Tue, 12/16/2014 - 00:43

Hello,

Can you please email these plans even if it is just a sketch up drawing

Captain America for Grandson #2

A fun project to make ending with a functional product to boot!  I went all out making sure that each truck/shelf would coordinate with each grandson's theme/decor in their bedrooms.  Chase, who will turn one next month, has a super heroes/comics theme for his room.  Therefore, I selected Captain America as the star of the big rig shelf.  Red, white & blue paints, some wooden shapes and some creativity and Captain America was ready for Mr. Smiles.

Built from Plan(s)
Estimated Cost
$75 ~ supplies on Ana's suggested list plus the extras I purchased to create my 'star'
Estimated Time Investment
Weekend Project (10-20 Hours)
Finish Used
Rustoleum apple red and navy blue and crafter's choice snowfall (white)
Recommended Skill Level
Beginner

Love our new greenhouse!

With the help of friends and family, we managed to build this greenhouse rather easily. We had to start with the foundation since the spot we chose was not an even grade. We did this by filling sono tubes with cement and leveling each off so the greenhouse would have a solid place to sit. We then built out a frame around the outside of the cement tubes with some reclaimed 6x6's. After that, we filled the space with 5 tons of river rock and then got to work! After the foundation was ready putting the rest of the house together was a piece of cake. The frame was so easy to put together. We had a few minor kinks to work out here and there, I won't say this house came out 100% perfectly, BUT I am so happy with the end results. We chose to paint it a deep green color as a final touch. So far we just moved a few potted plants from our deck to the greenhouse for the winter. It has been working very well to keep the plants cozy during the colder days we've had. Eventually, I plan to build a potting station, shelving, and most likely a garden bed for winter harvests.

Built from Plan(s)
Estimated Cost
$2000
Estimated Time Investment
Weekend Project (10-20 Hours)
Recommended Skill Level
Intermediate

Comments

Ana White Admin

Mon, 11/09/2020 - 09:52

The foundation looks great the greenhouse looks amazing! I'm sure fun was had building it too:) Thanks for sharing.

Seasonal And Holiday

Truss Dining Table

Submitted by omnia on Fri, 11/13/2020 - 10:55

Followed the plans pretty closely other than making it a tiny bit shorter to fit in the living room. The hardest part was just smoothing out the top because I could not find straight boards. ended up using a hand planer and a ton of sanding after it was put together.

Feels very solid.

Built from Plan(s)
Estimated Time Investment
Weekend Project (10-20 Hours)
Finish Used
Minwax dark walnut and polyurethane
Recommended Skill Level
Beginner

Triple Doll Bunk Bed

Submitted by dananryan on Sun, 01/13/2013 - 21:18

My friend's 7 year old daughter custom ordered this bunk bed! She asked for a bunk bed for her 3 dolls and she even picked the color! I had a lot of fun building it and learned a lot in the process. As usual, finishing took longest. Lucky for me, my hubby likes spray painting :-)

Estimated Time Investment
Weekend Project (10-20 Hours)
Finish Used
3 coats of Rustoleum Berry Pink spray paint, sanding btw. coats.
Recommended Skill Level
Beginner

Comments

Two-Toned shabby chic 4X4 Truss dining Table and Benches

4c4 truss with dark walnut top 4" thick, base stained dark walnut with white wash and shabby etching.

Estimated Time Investment
Weekend Project (10-20 Hours)
Finish Used
Dark walnut, white paint, matte pily
Recommended Skill Level
Intermediate

Comments

thewoodbuilder

Tue, 11/18/2014 - 04:55

I know right, i think looks even more amazing when seen in person.  I did 2 chairs to match as well. which i will load up now.  :0)

Modern Park Bench - Son & Daughter In-law Christmas Gift

Submitted by mballway on Fri, 12/25/2020 - 14:13

A first for me in many years, over 40+. Not really since basic wood shop projects in Middle School. Anyway, my son (and daughter in-law, but she doesn't know) had asked for a backyard patio bench for Christmas this year (2020) so what could go wrong. Anyway, the plans are straight forward in this design. He saw the picture of a stained version on YouTube and said that would be perfect. The project took me three late afternoons/evenings as my day job took priority. After making all the cuts and beginning assembly I could really see this coming together nicely once the four legs were attached. Between wood fill and sanding I asked what finish they preferred and was told he would finish that part. So I sanded the exterior on it and glad for having him finish the coatings as I was just finished it that point on Christmas Eve Day. The red bow is also first for me.

Built from Plan(s)
Estimated Cost
< $100.00
Estimated Time Investment
Afternoon Project (3-6 Hours)
Recommended Skill Level
Intermediate

Farmhouse Table

The table is one that I have been waiting for my husband to retire from the Marines to make me. We moved so often while in the military that I knew there was no need to buy expensive furniture just to get damaged. When I found the plans for this I was thrilled.

The edges of the table have been sanded to resemble the worn weathered look.

Please forgive the pictures. I will retake soon.

Estimated Cost
$150.00-200.00
Estimated Time Investment
Weekend Project (10-20 Hours)
Finish Used
Stain is the Special Walnut then coated with three coats of poly.
Recommended Skill Level
Beginner

Comments

ClubHouse FORT

My sons awesome fort. It took some time to complete, as I was doing it on my own. The balancing and juggling act when attaching a few pieces would of made some priceless videos. I used plans from " Clubhouse Bed" as a general guide.

Built from Plan(s)
Estimated Cost
400.00
Estimated Time Investment
Week Long Project (20 Hours or More)
Finish Used
Outdoor Paint
Recommended Skill Level
Beginner

Comments

Linda7

Fri, 02/08/2013 - 17:39

You did this all by yourself??? This is just fantastic...lucky little boy!!

spiceylg

Mon, 02/11/2013 - 06:28

I'm seriously impressed you did this by yourself. Not that you aren't able, but the fact that there are so many big pieces which would have been really awkward and cumbersome with just one person. Beautiful job! Love the screen name, too, definitely fits!

spiceylg

Mon, 02/11/2013 - 06:28

I'm seriously impressed you did this by yourself. Not that you aren't able, but the fact that there are so many big pieces which would have been really awkward and cumbersome with just one person. Beautiful job! Love the screen name, too, definitely fits!

Kateglez

Wed, 09/25/2013 - 08:36

You did a great job, mom! Are there any plans available? I would like to try and build this for my 10 yr old grandson. Did you sink the posts, or are they only attached to the blocks?

Printer's Console

Submitted by bRick on Thu, 12/18/2014 - 18:28

Followed the plans pretty close on this one. 

Built from Plan(s)
Estimated Cost
$150
Estimated Time Investment
Weekend Project (10-20 Hours)
Finish Used
stain, poly
Recommended Skill Level
Intermediate

Comments

Rustic X end tables

Submitted by Anonymous (not verified) on Tue, 01/19/2021 - 16:35

My first end tables, used the Rustic x plan except for the bottom shelf. I used a white chalky paint, with a brown wax to give it the rustic look, and stained the top walnut stain. Working on the coffee table to finish the set.

Built from Plan(s)
Estimated Cost
150
Estimated Time Investment
Weekend Project (10-20 Hours)
Finish Used
Top is walnut
Recommended Skill Level
Intermediate

Finished the table!

Submitted by Anonymous (not verified) on Sun, 03/26/2017 - 10:16

We struggled with the angles because we made the table bigger than this tutorial suggests but all in all, awesome build.

Estimated Cost
$80
Estimated Time Investment
Weekend Project (10-20 Hours)
Recommended Skill Level
Intermediate