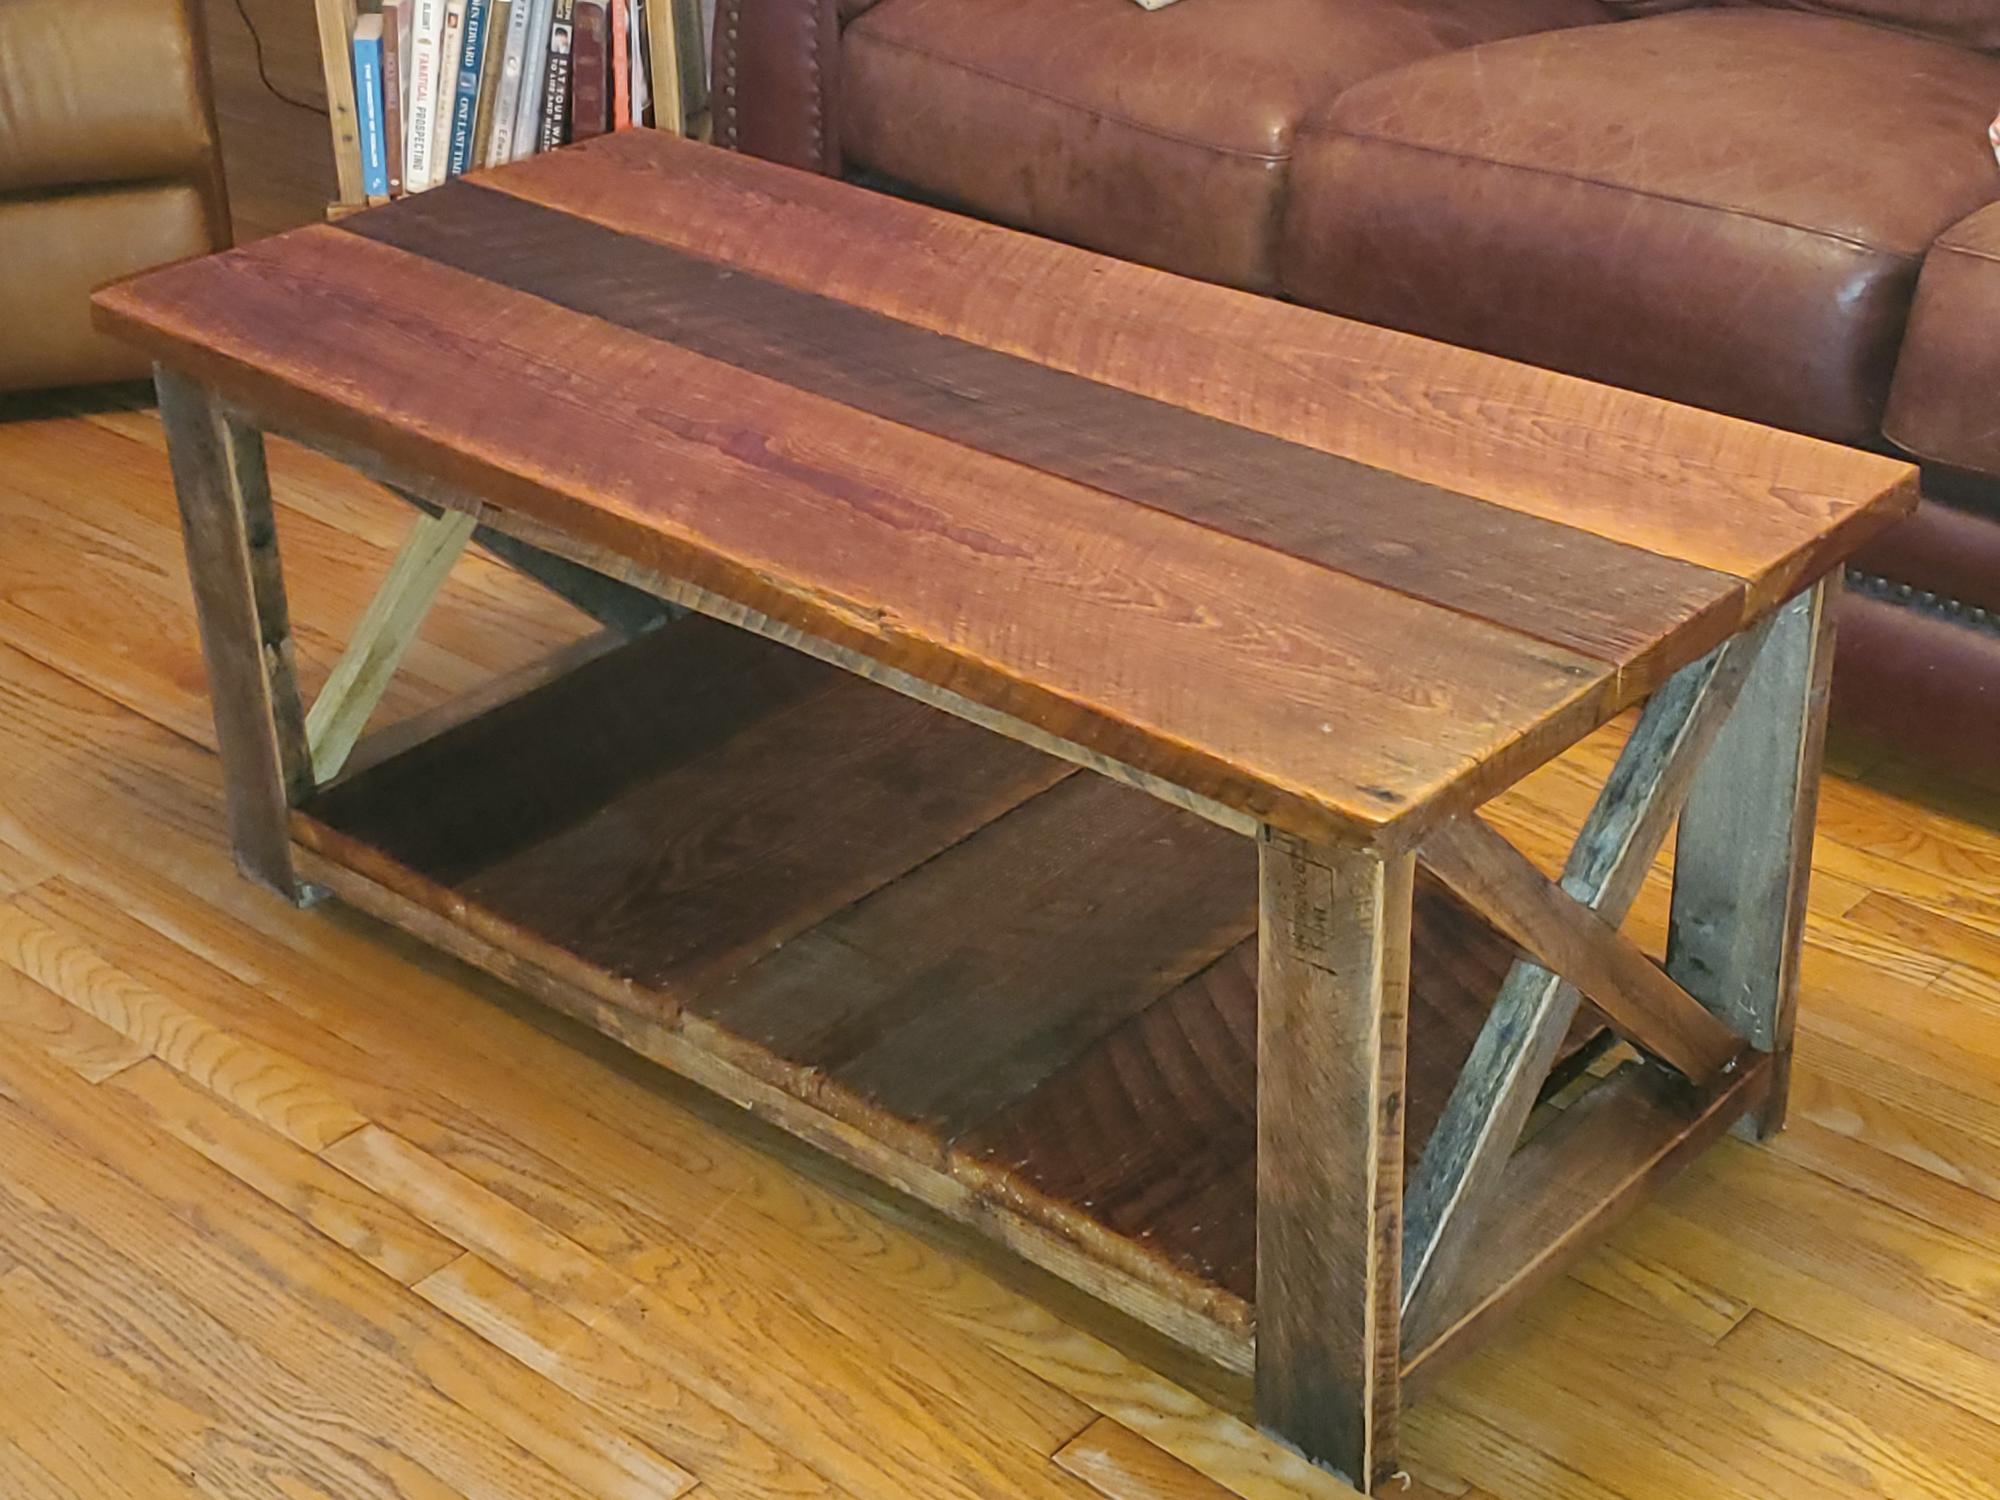
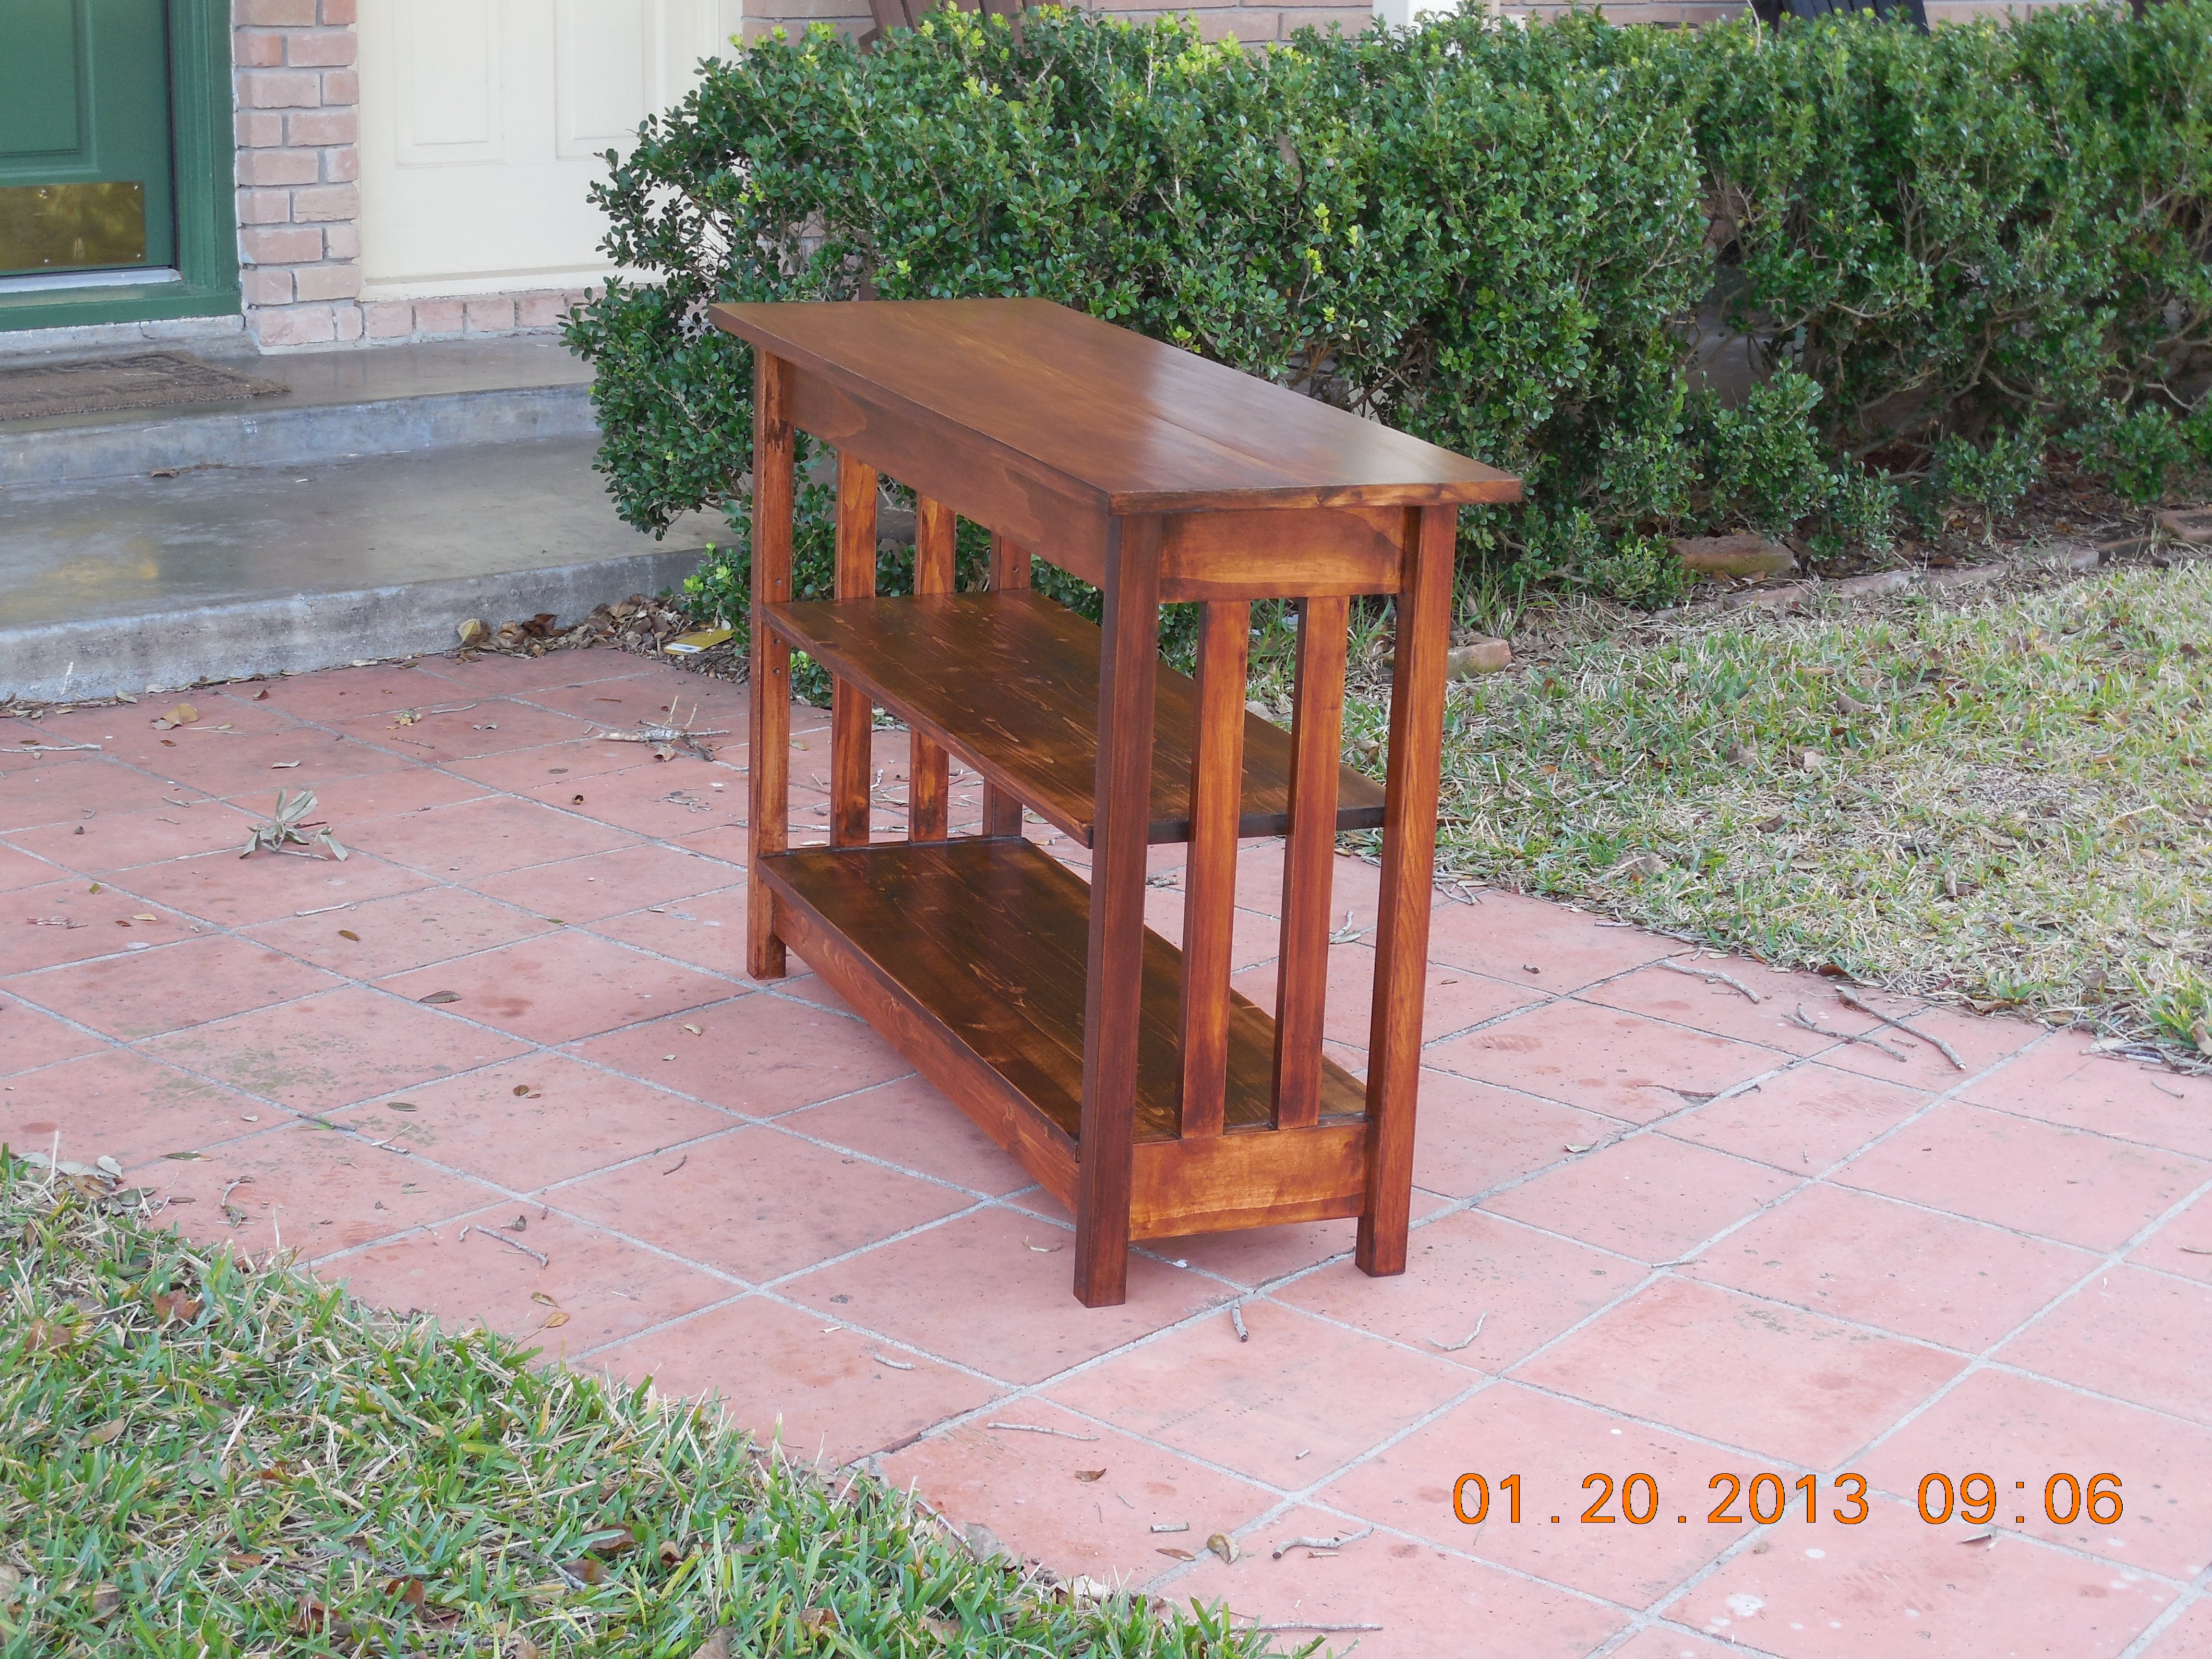
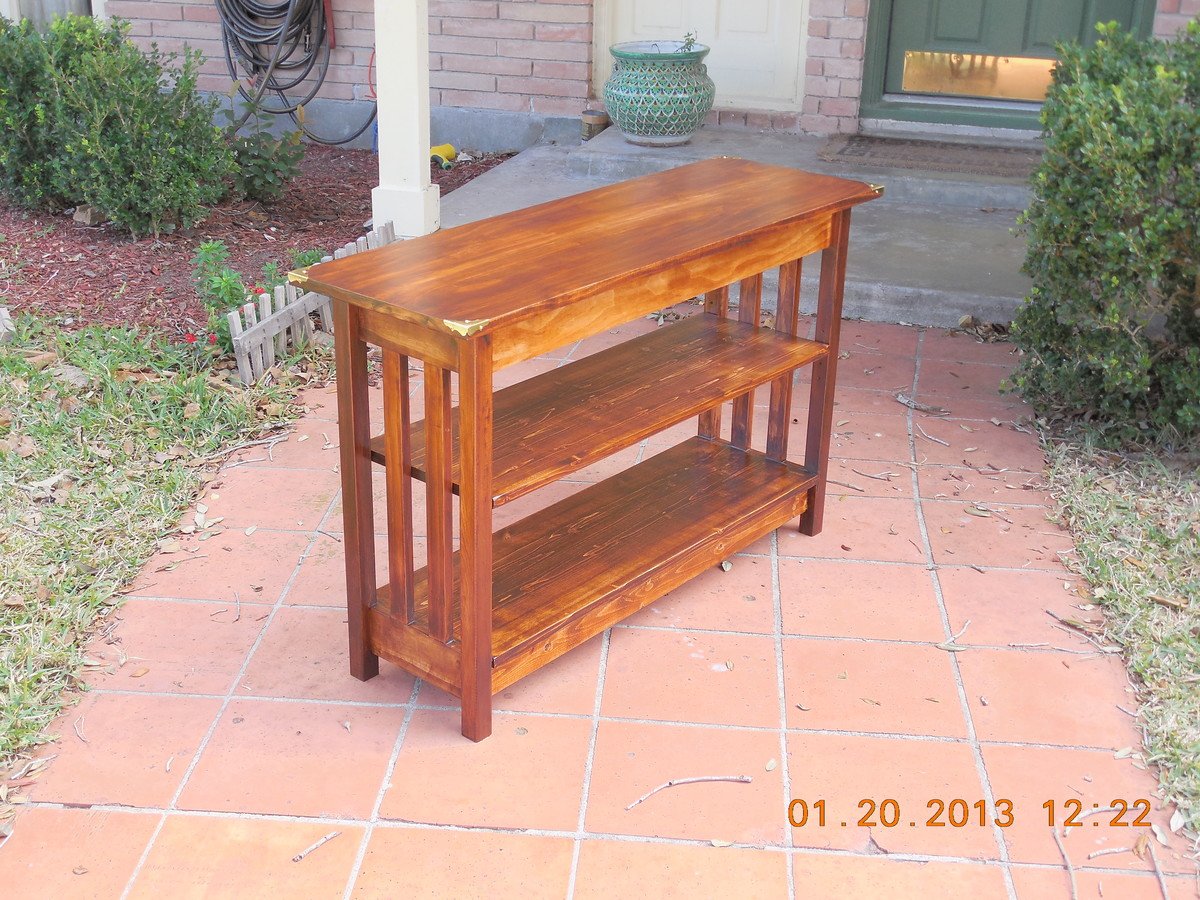
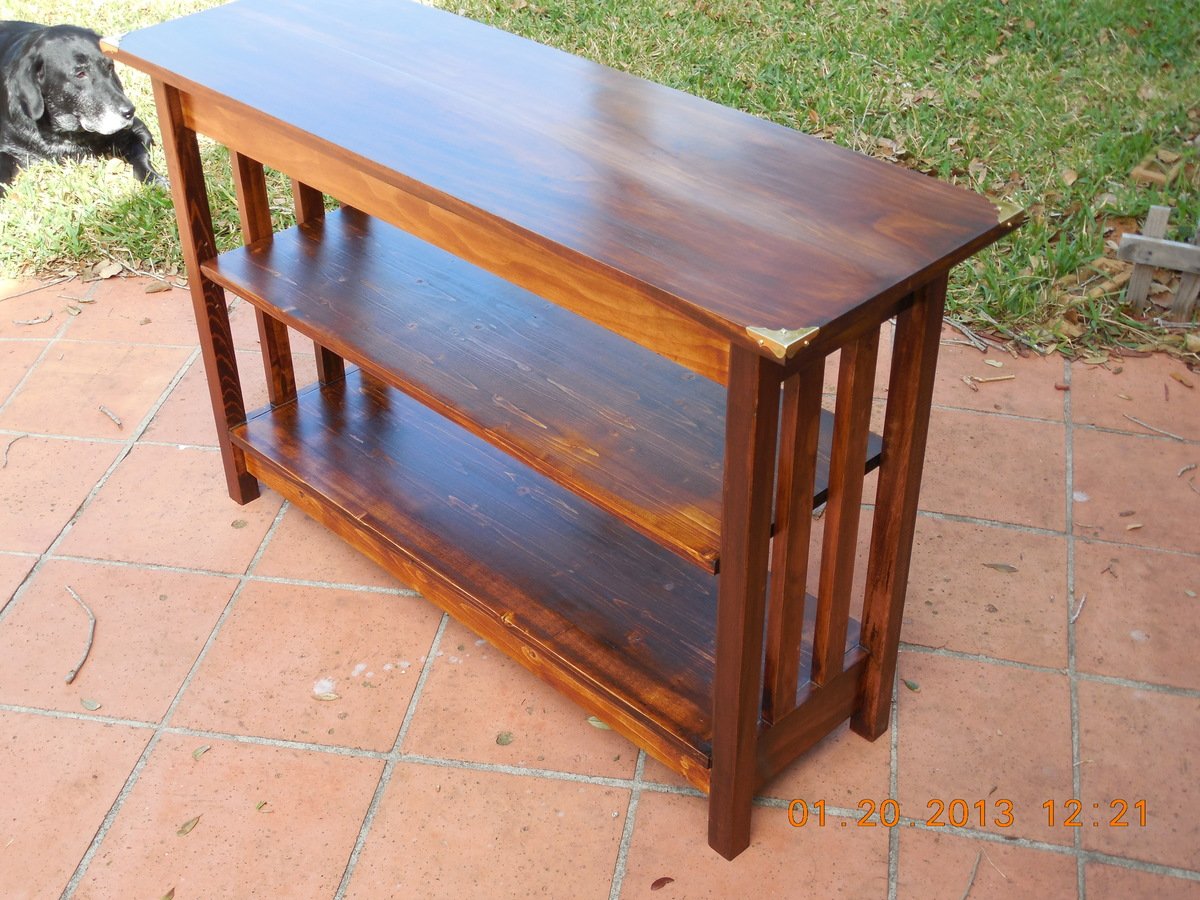
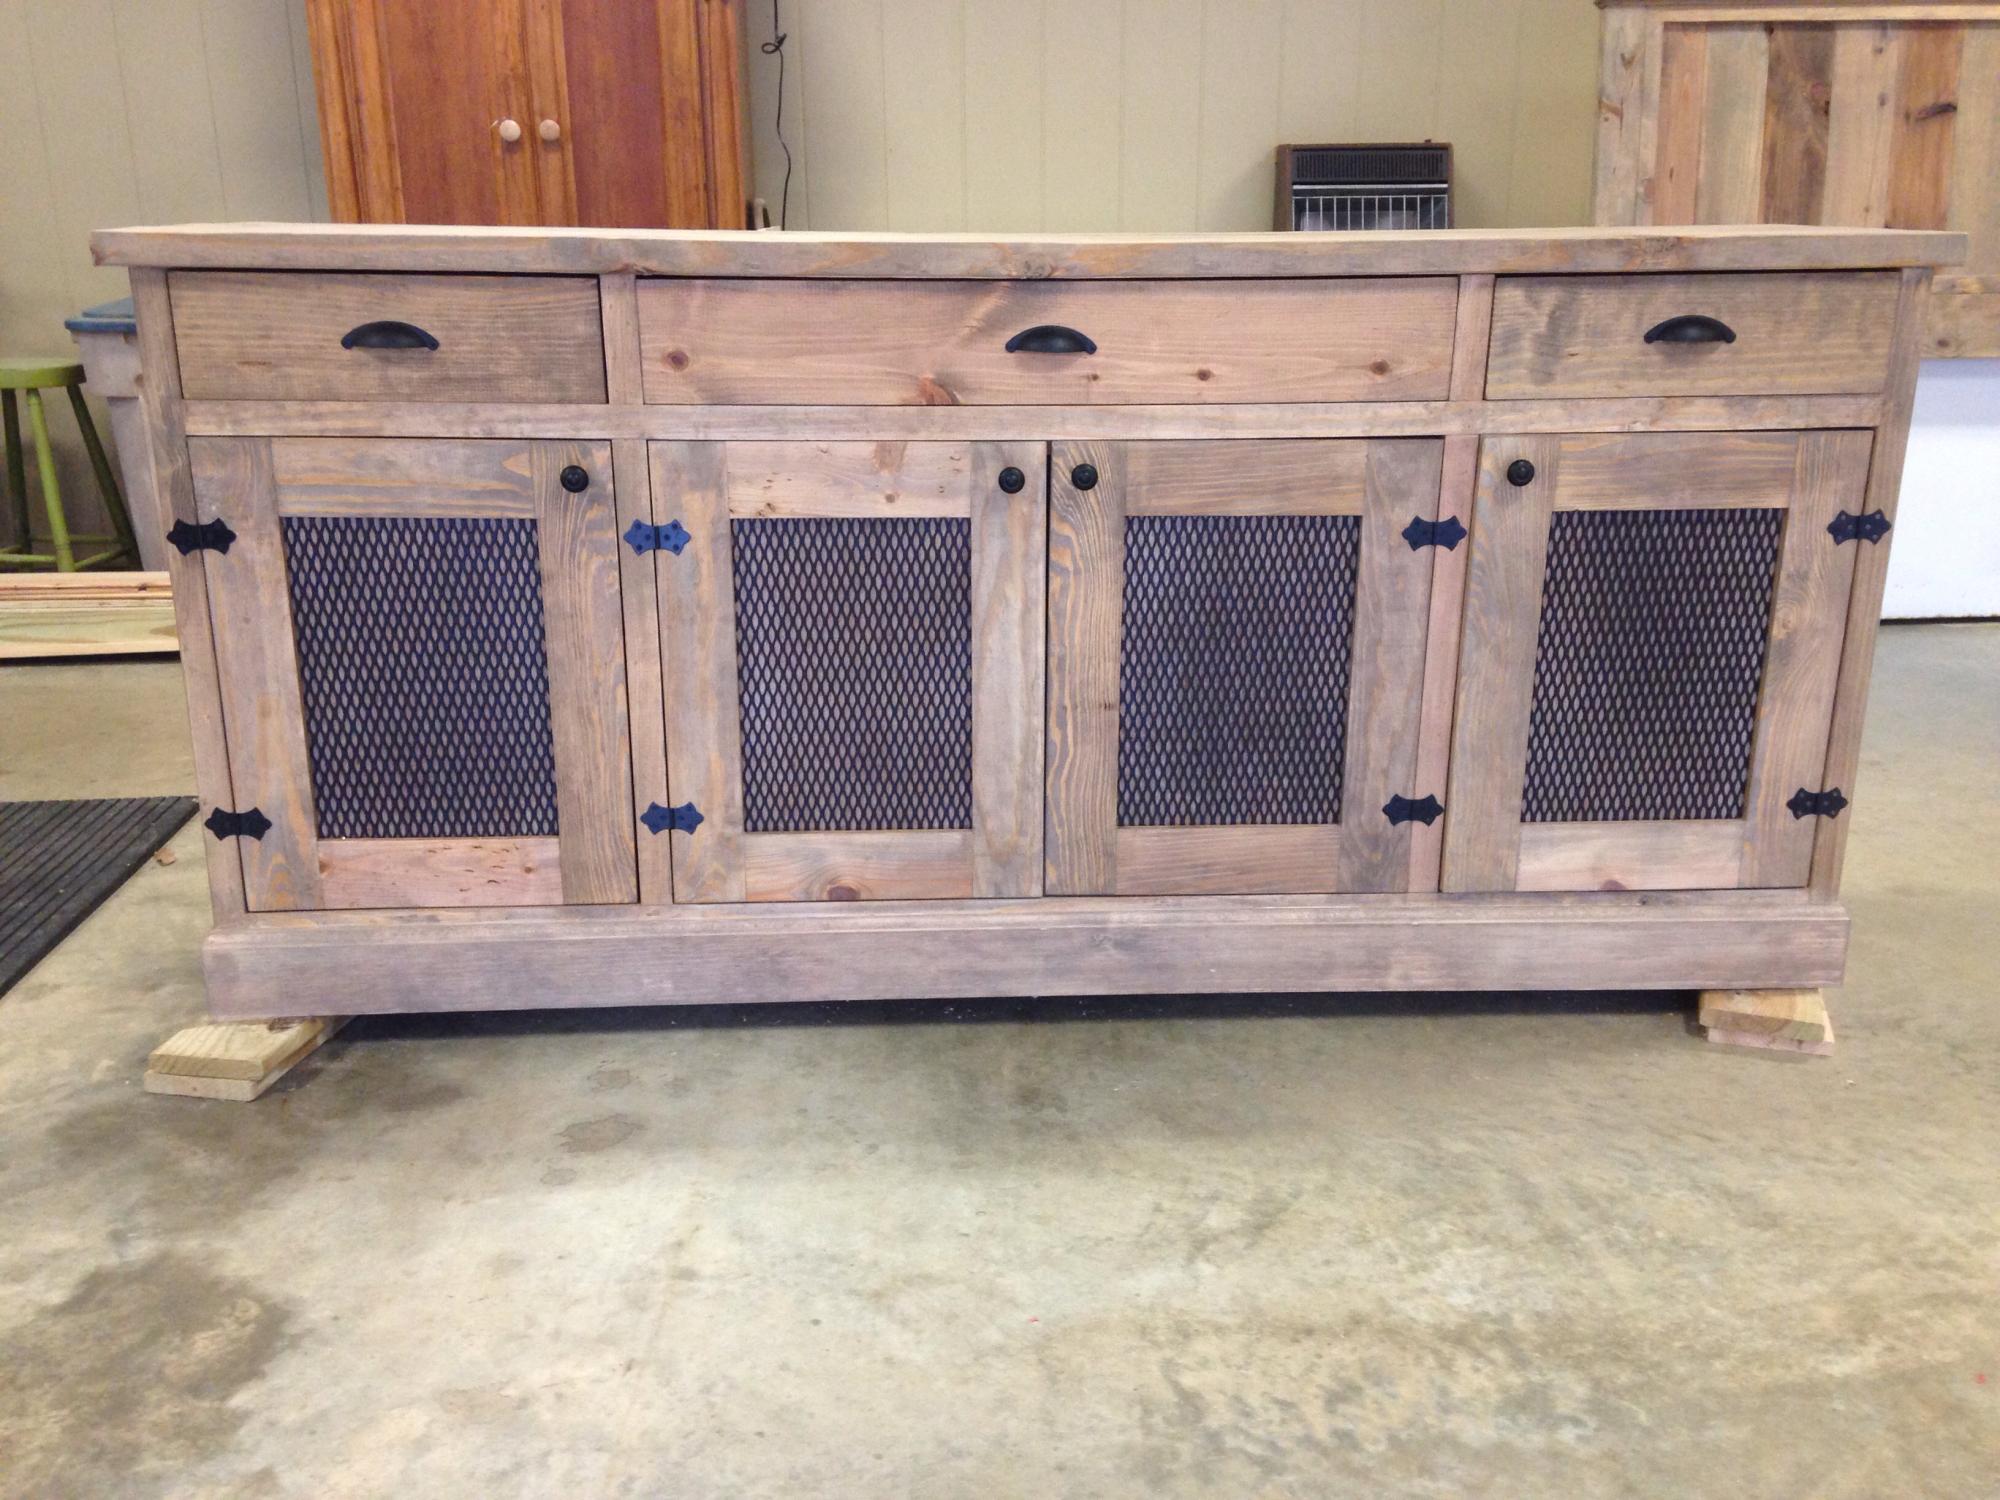
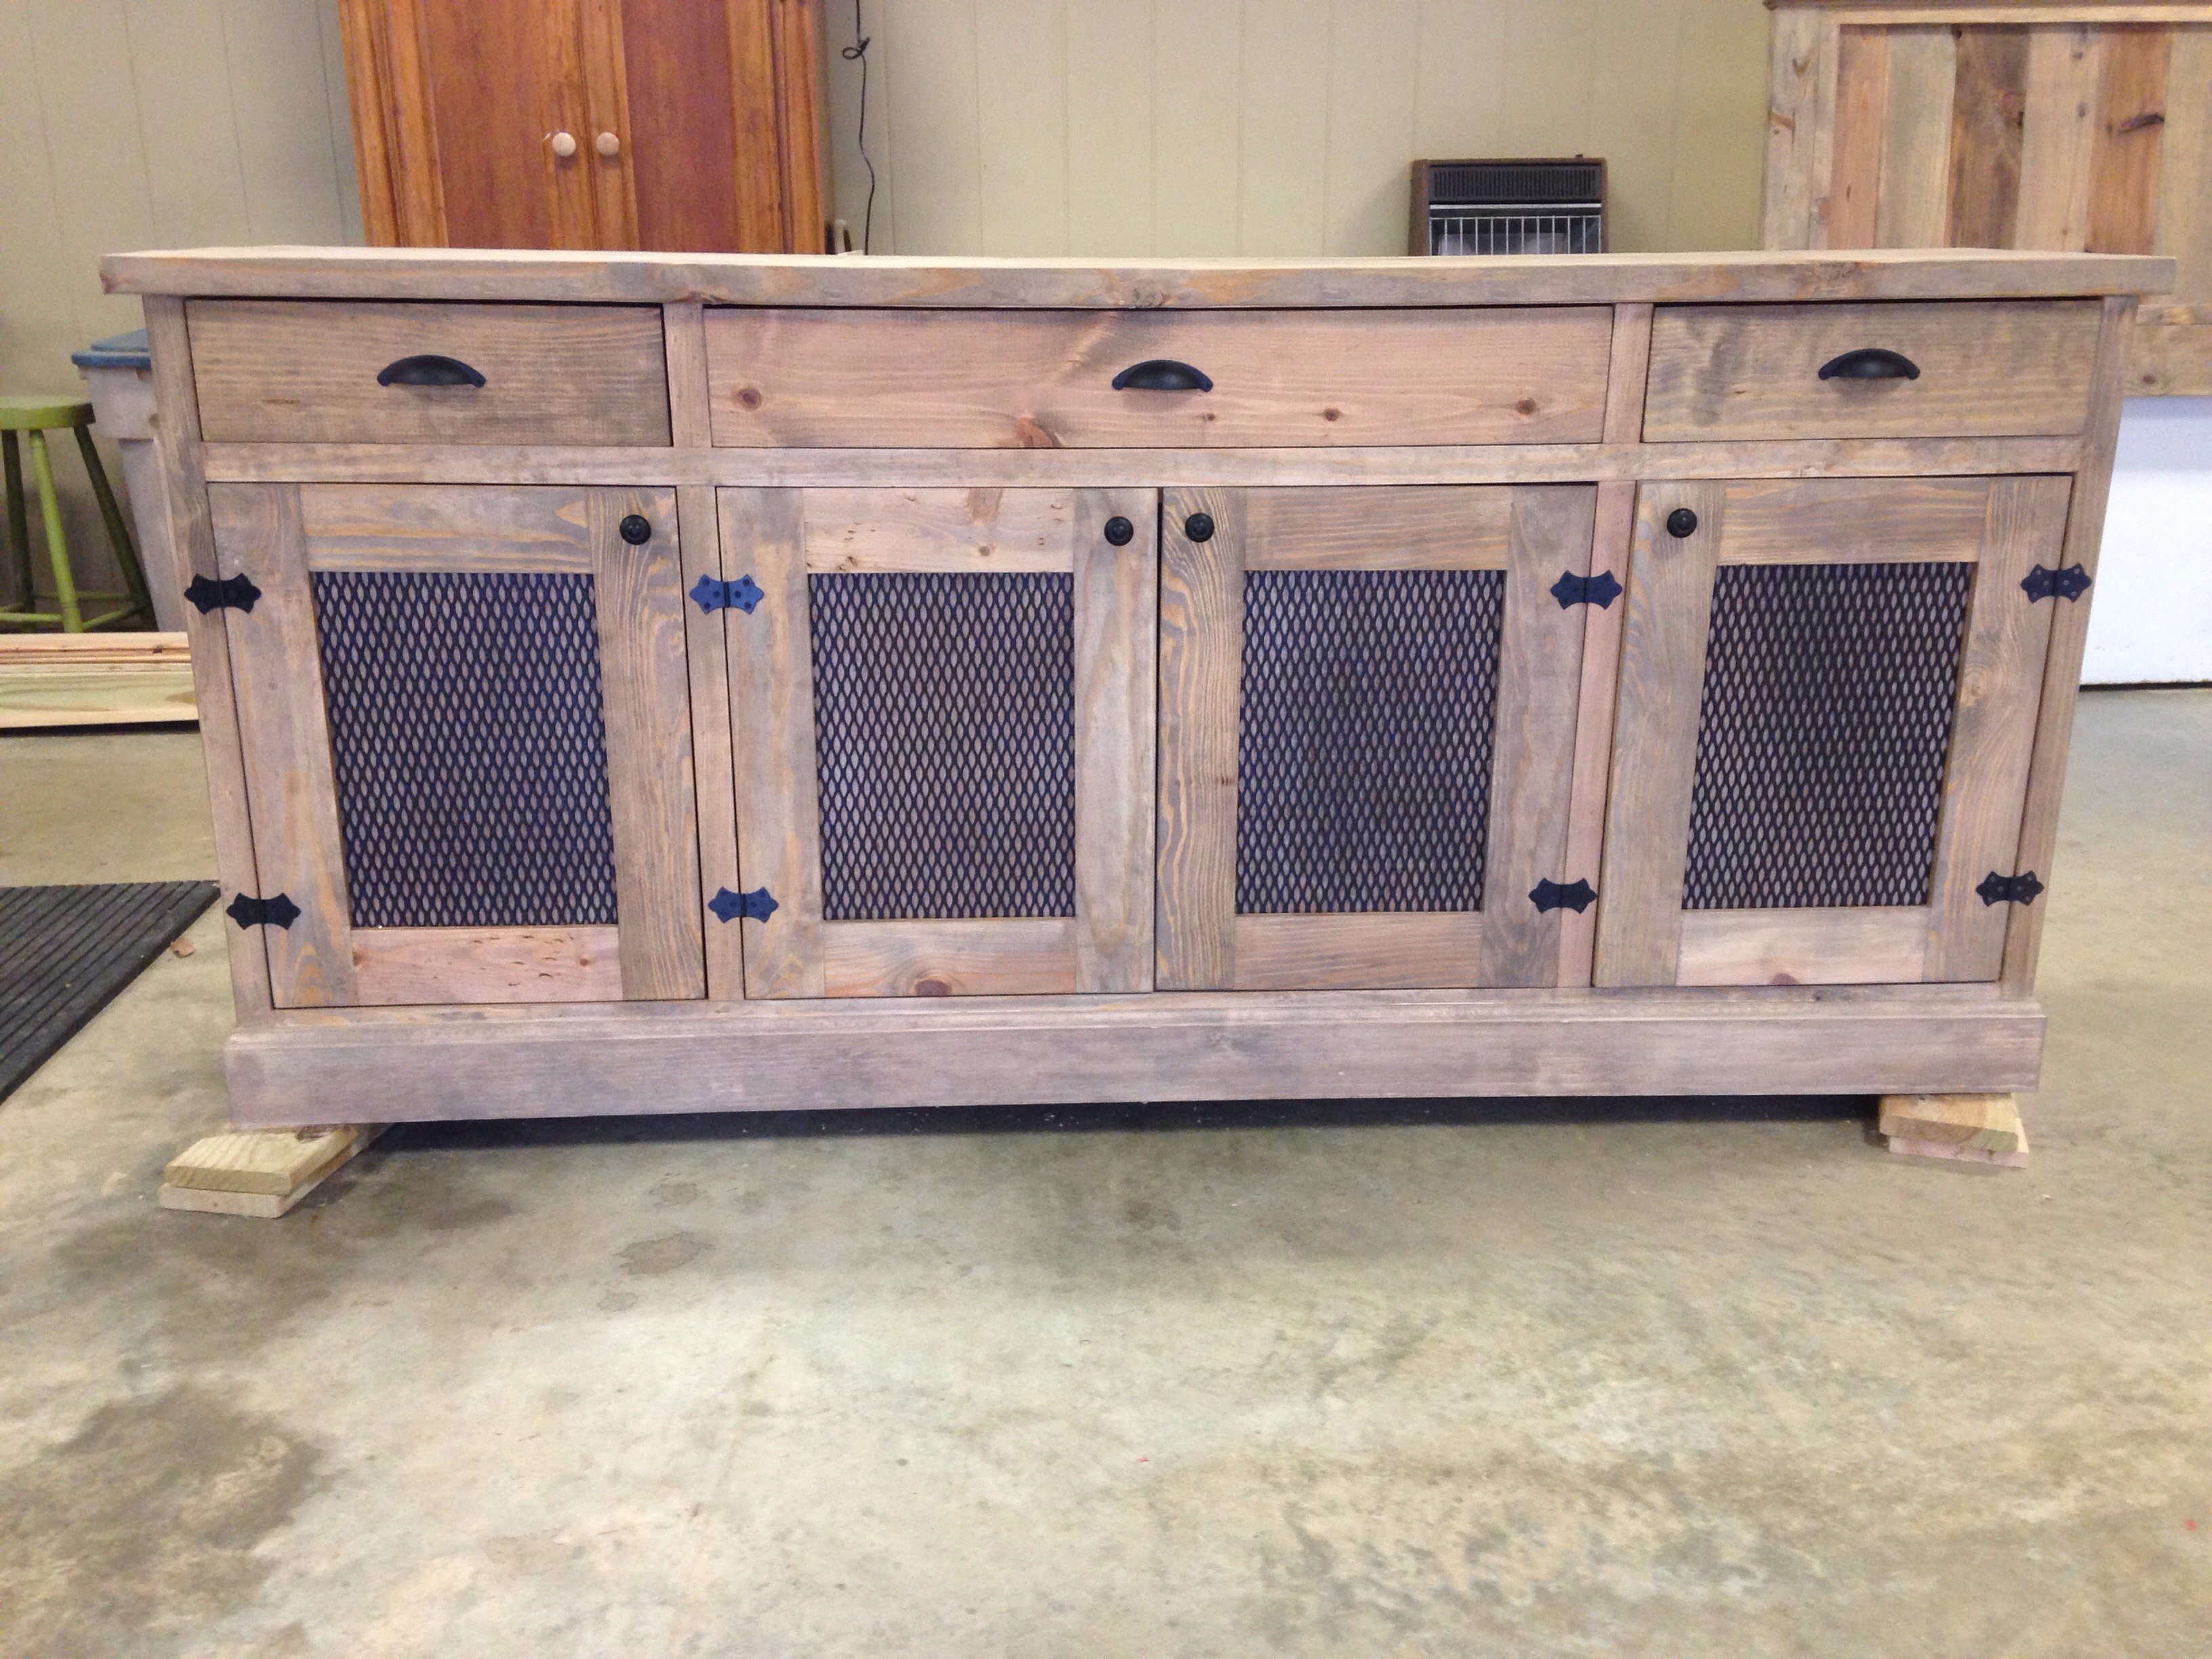
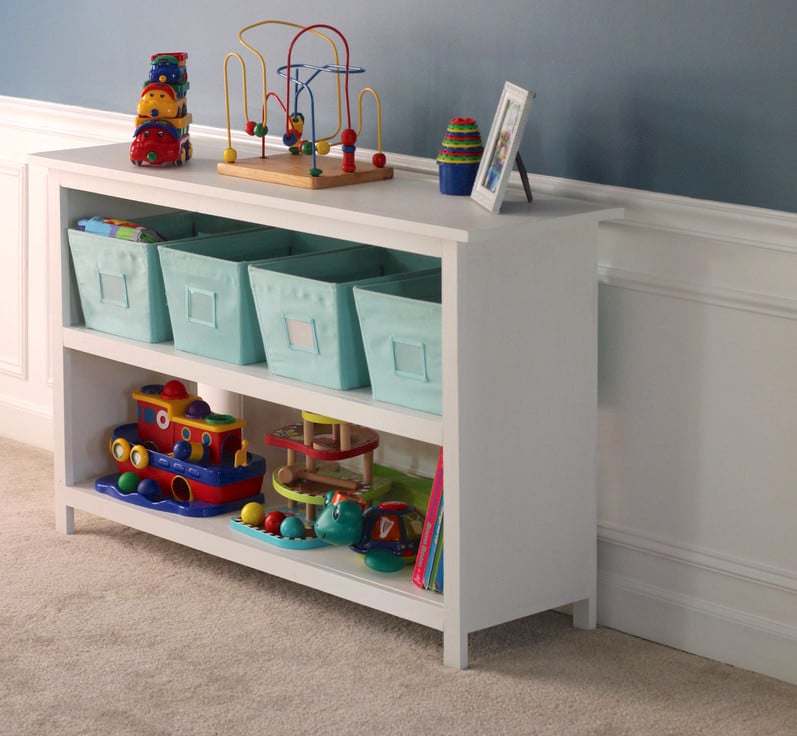
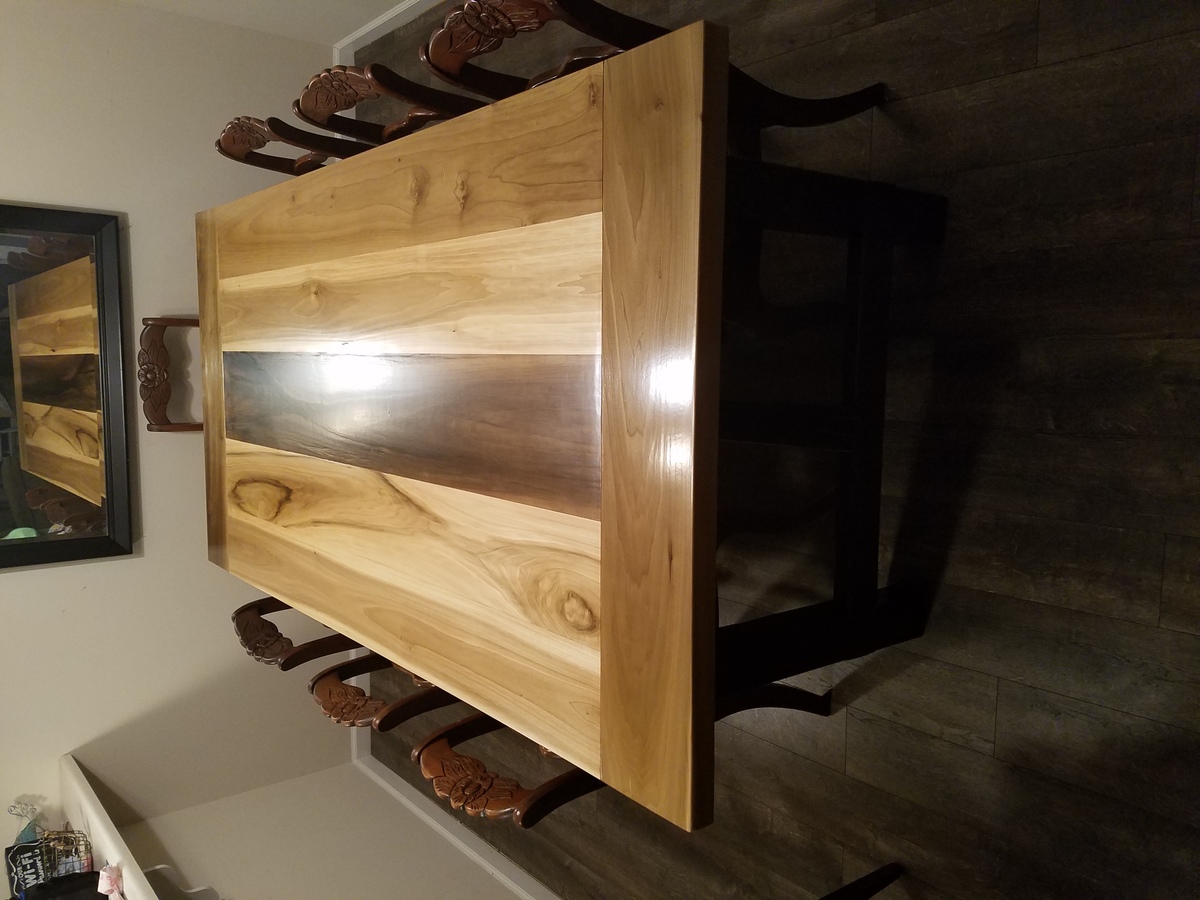
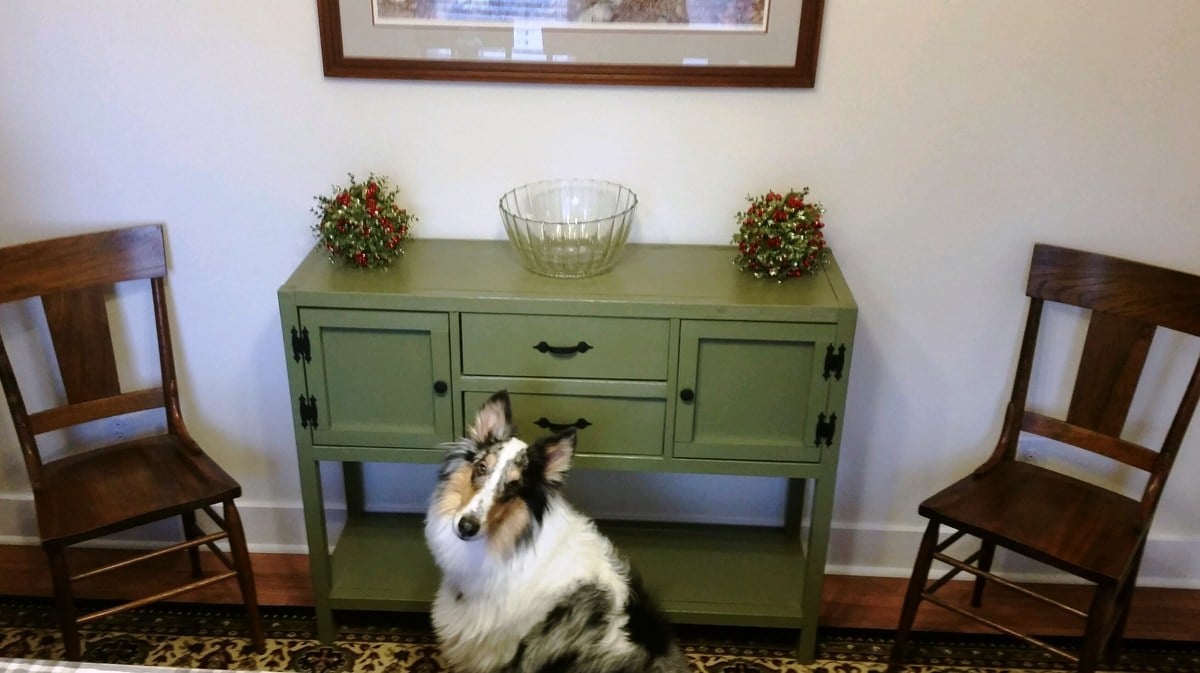
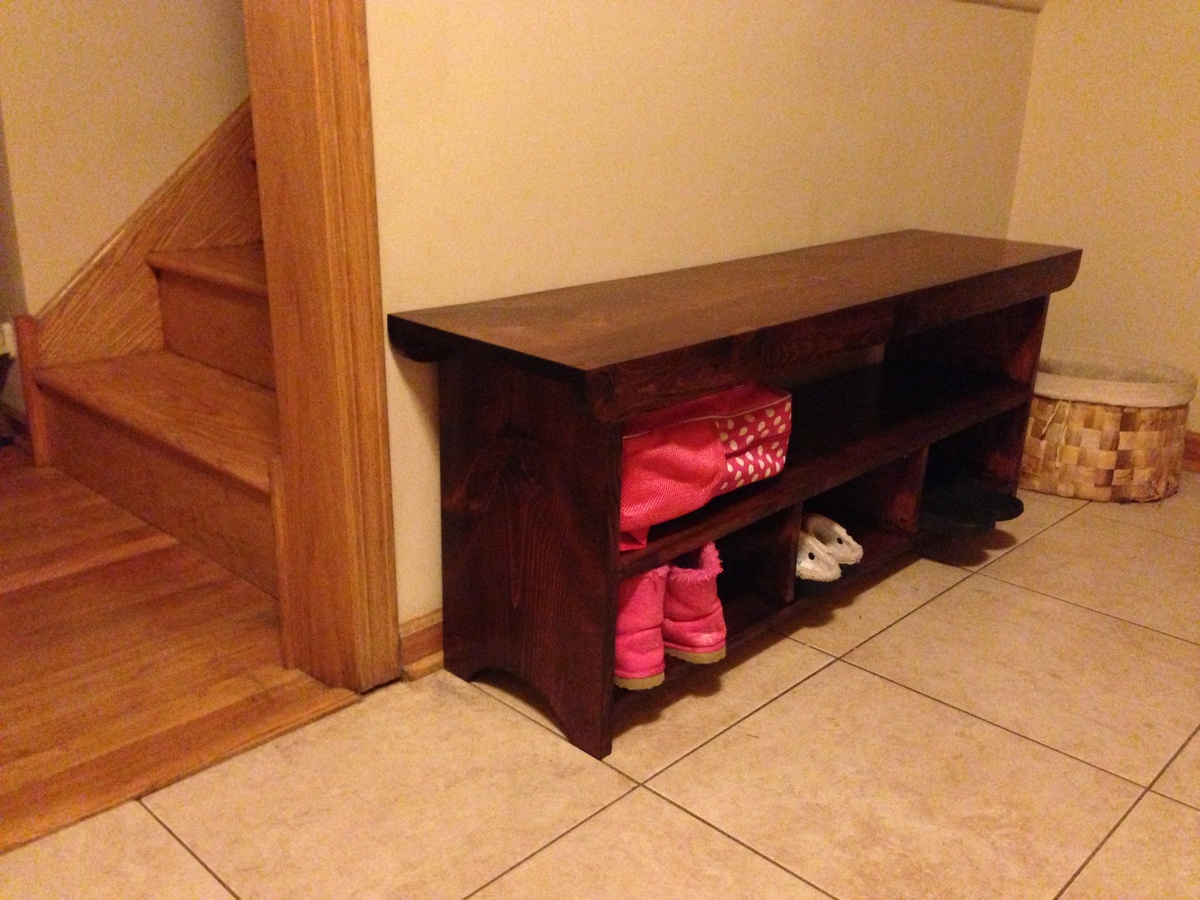
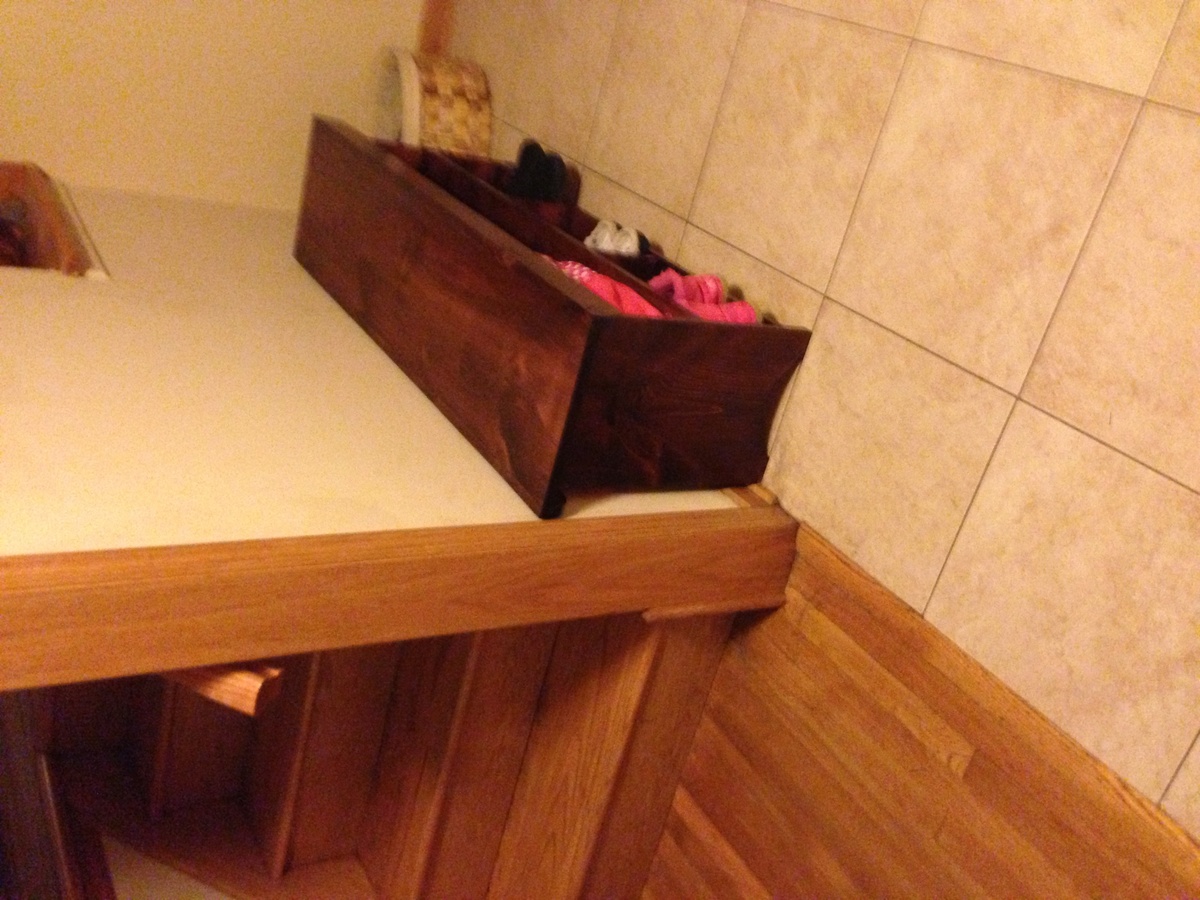
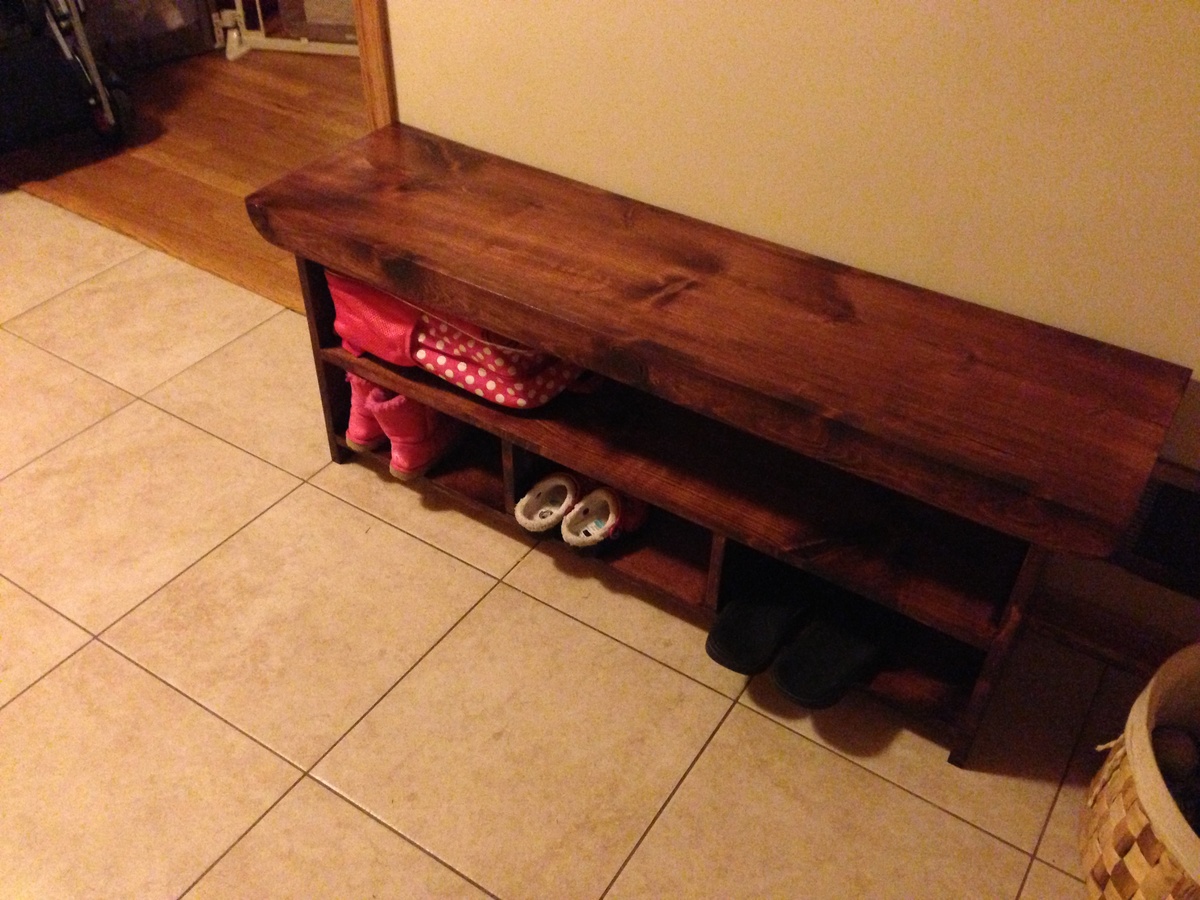
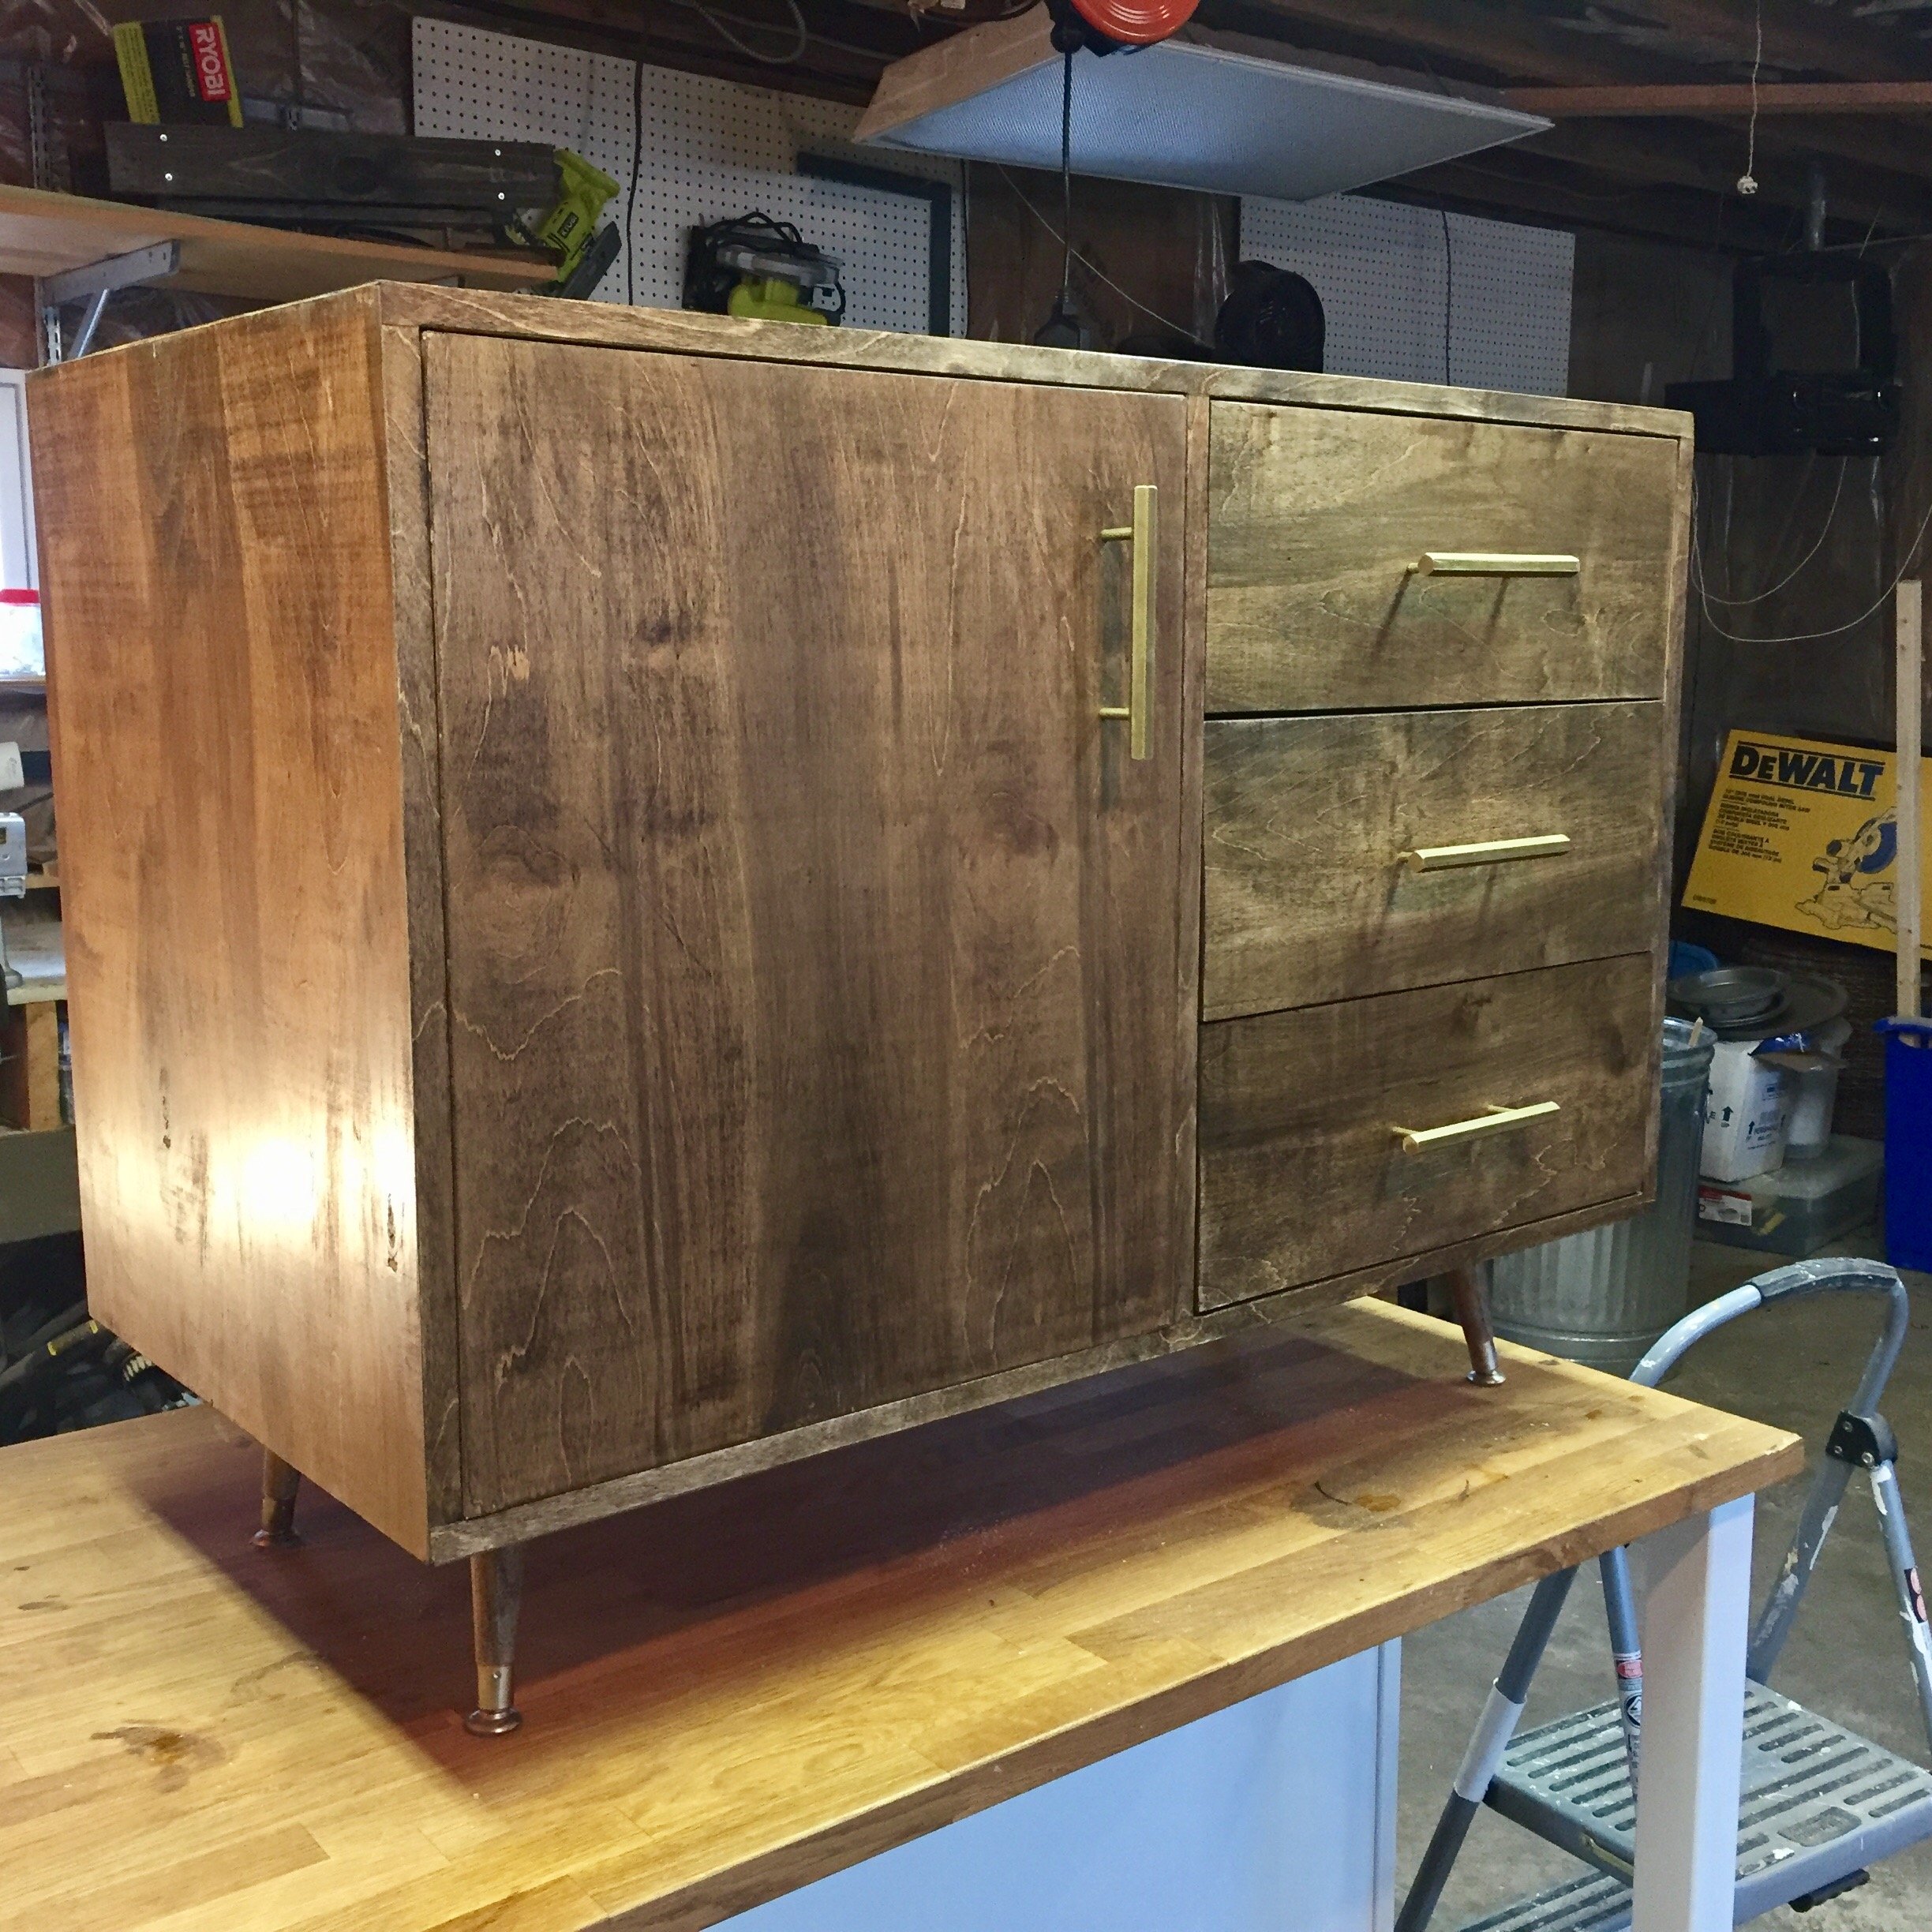
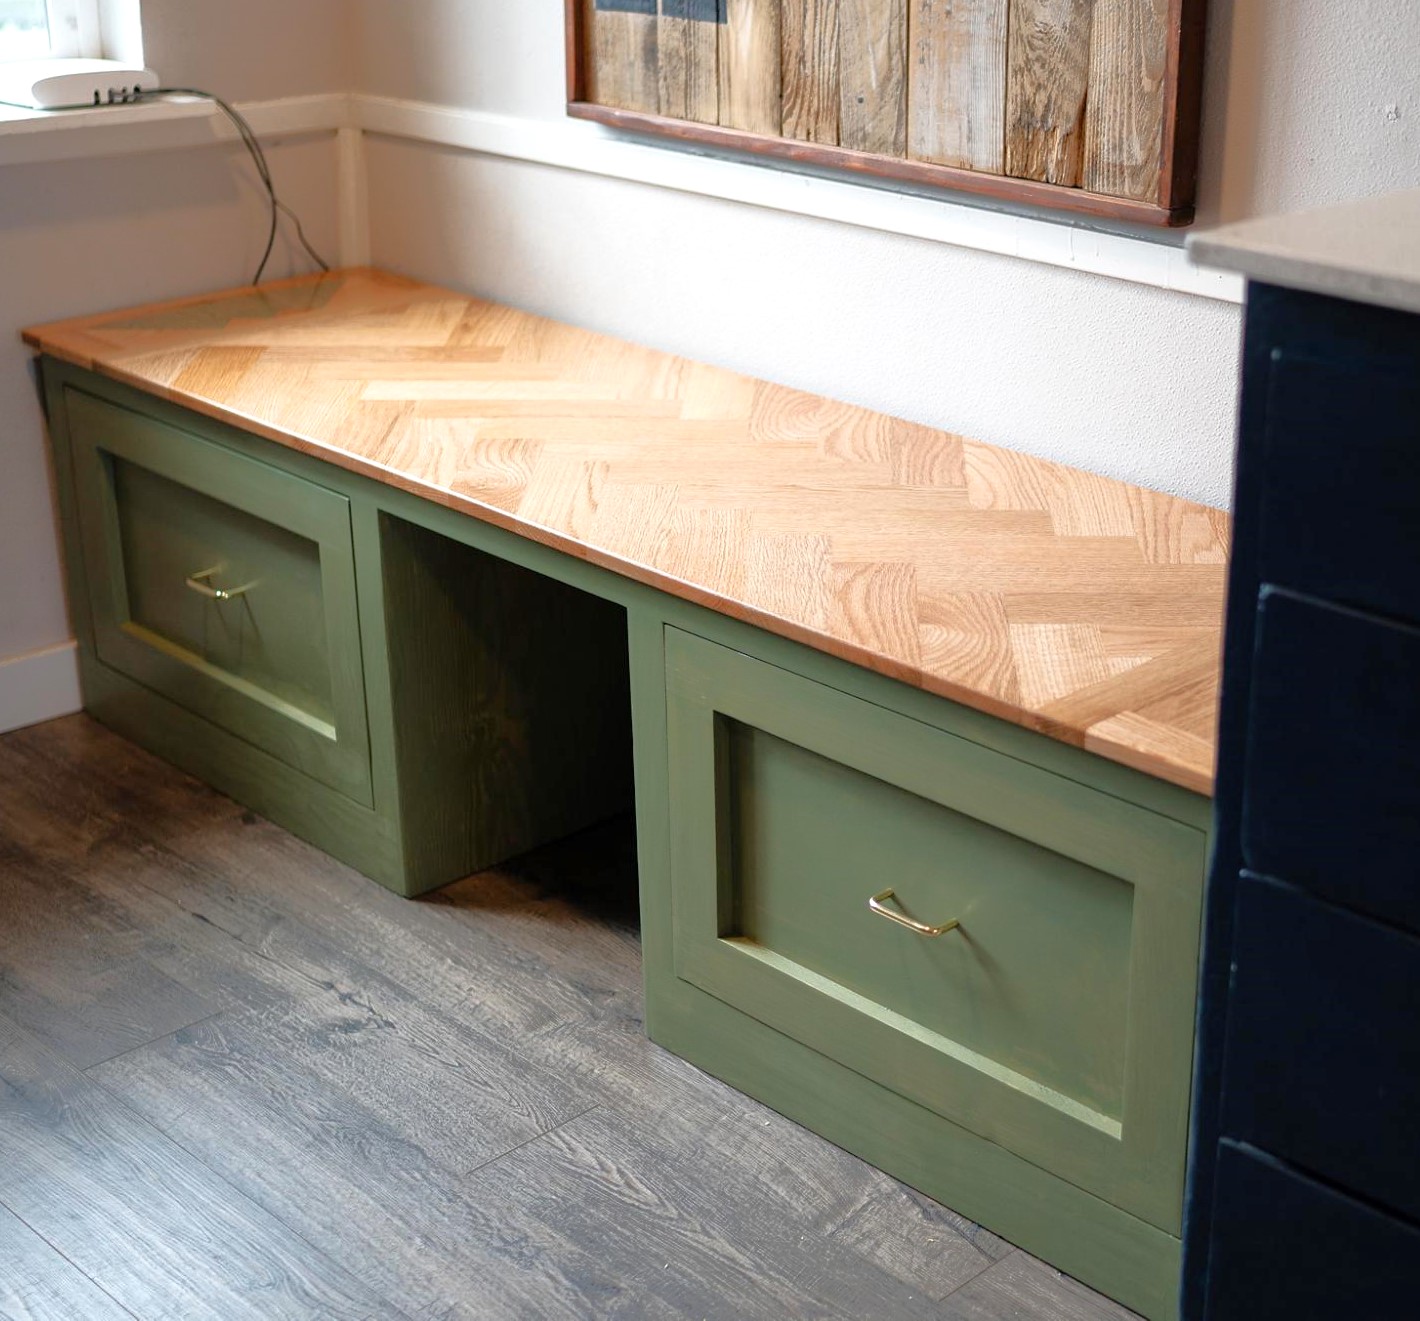
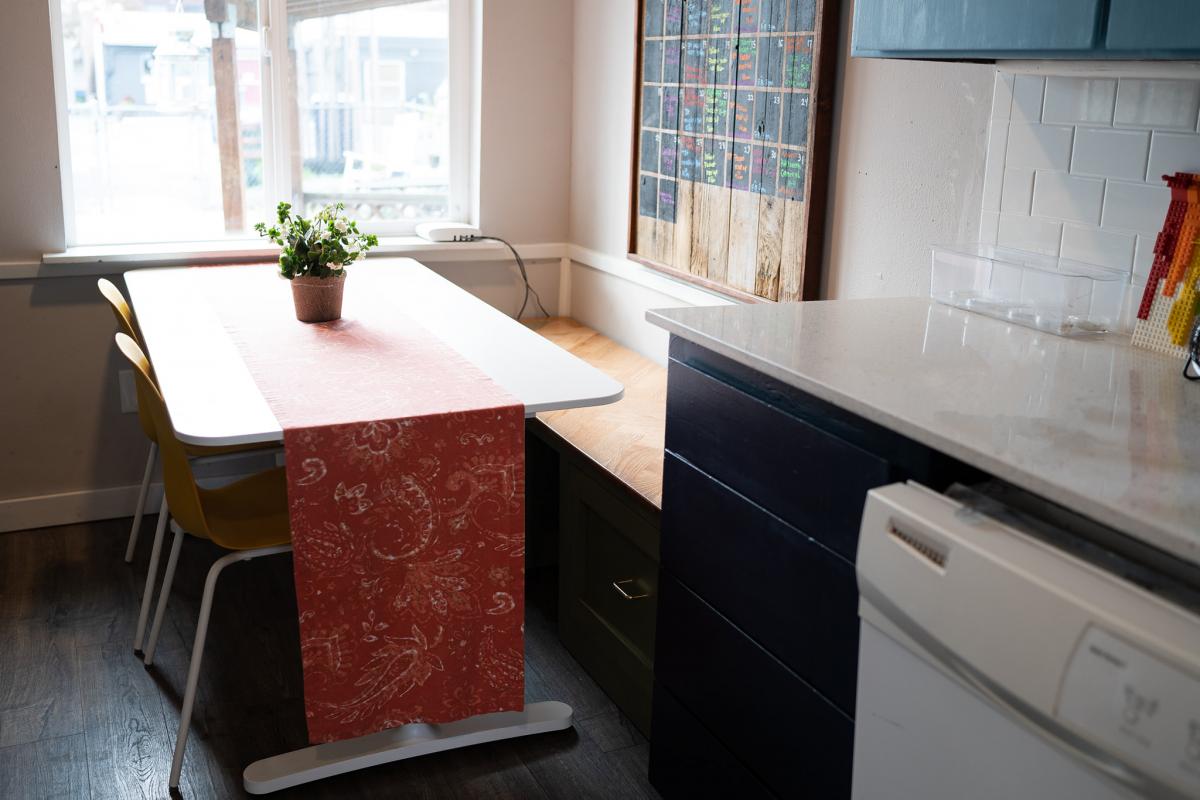
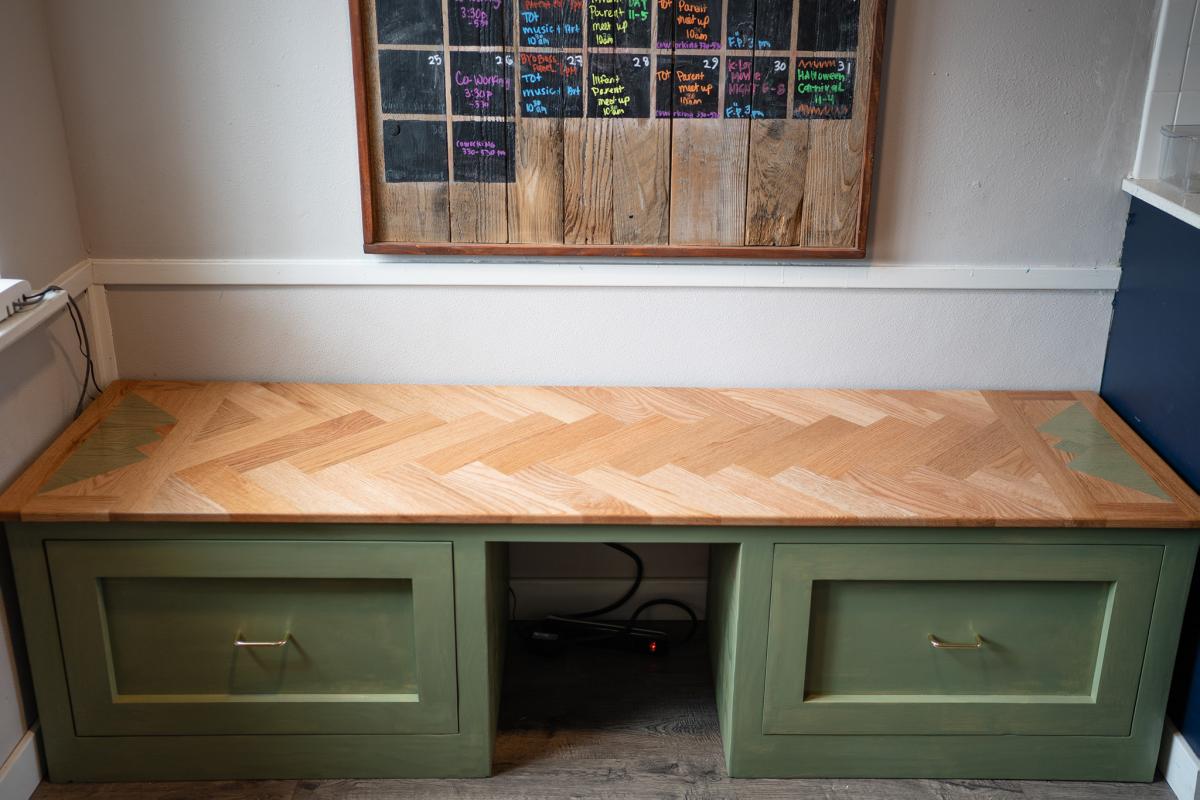
My take on the brandy sliding door console

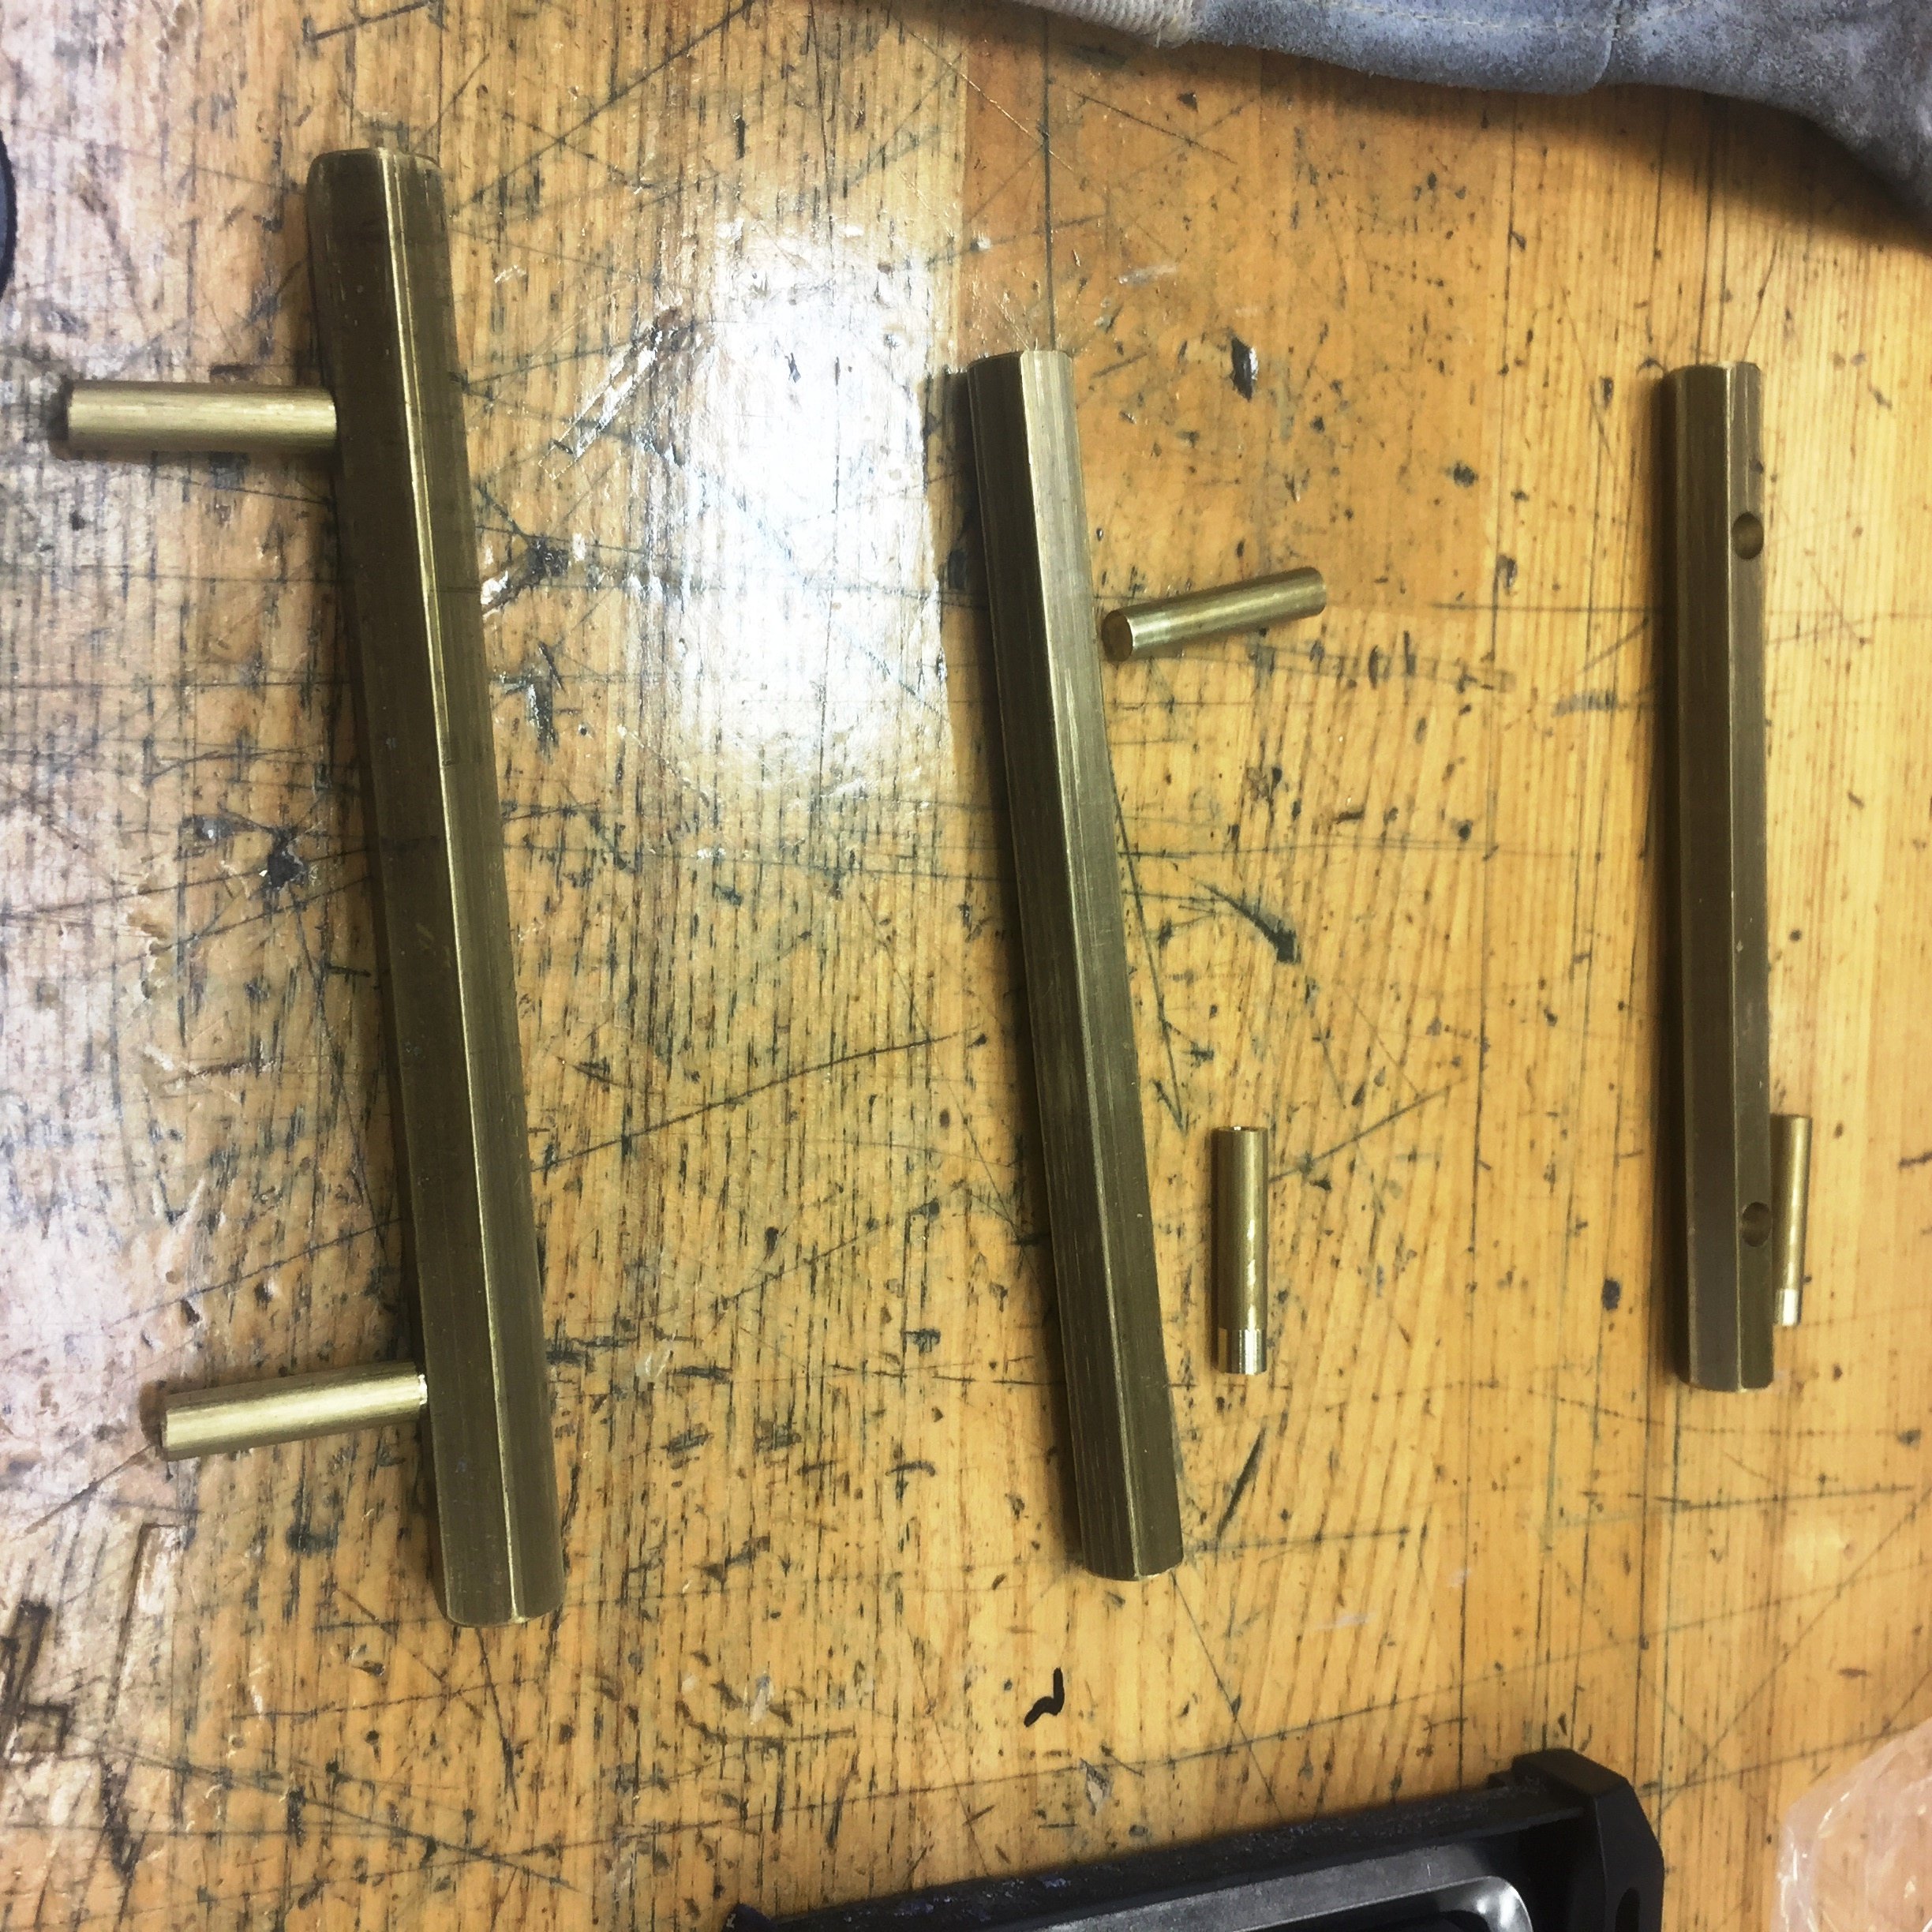
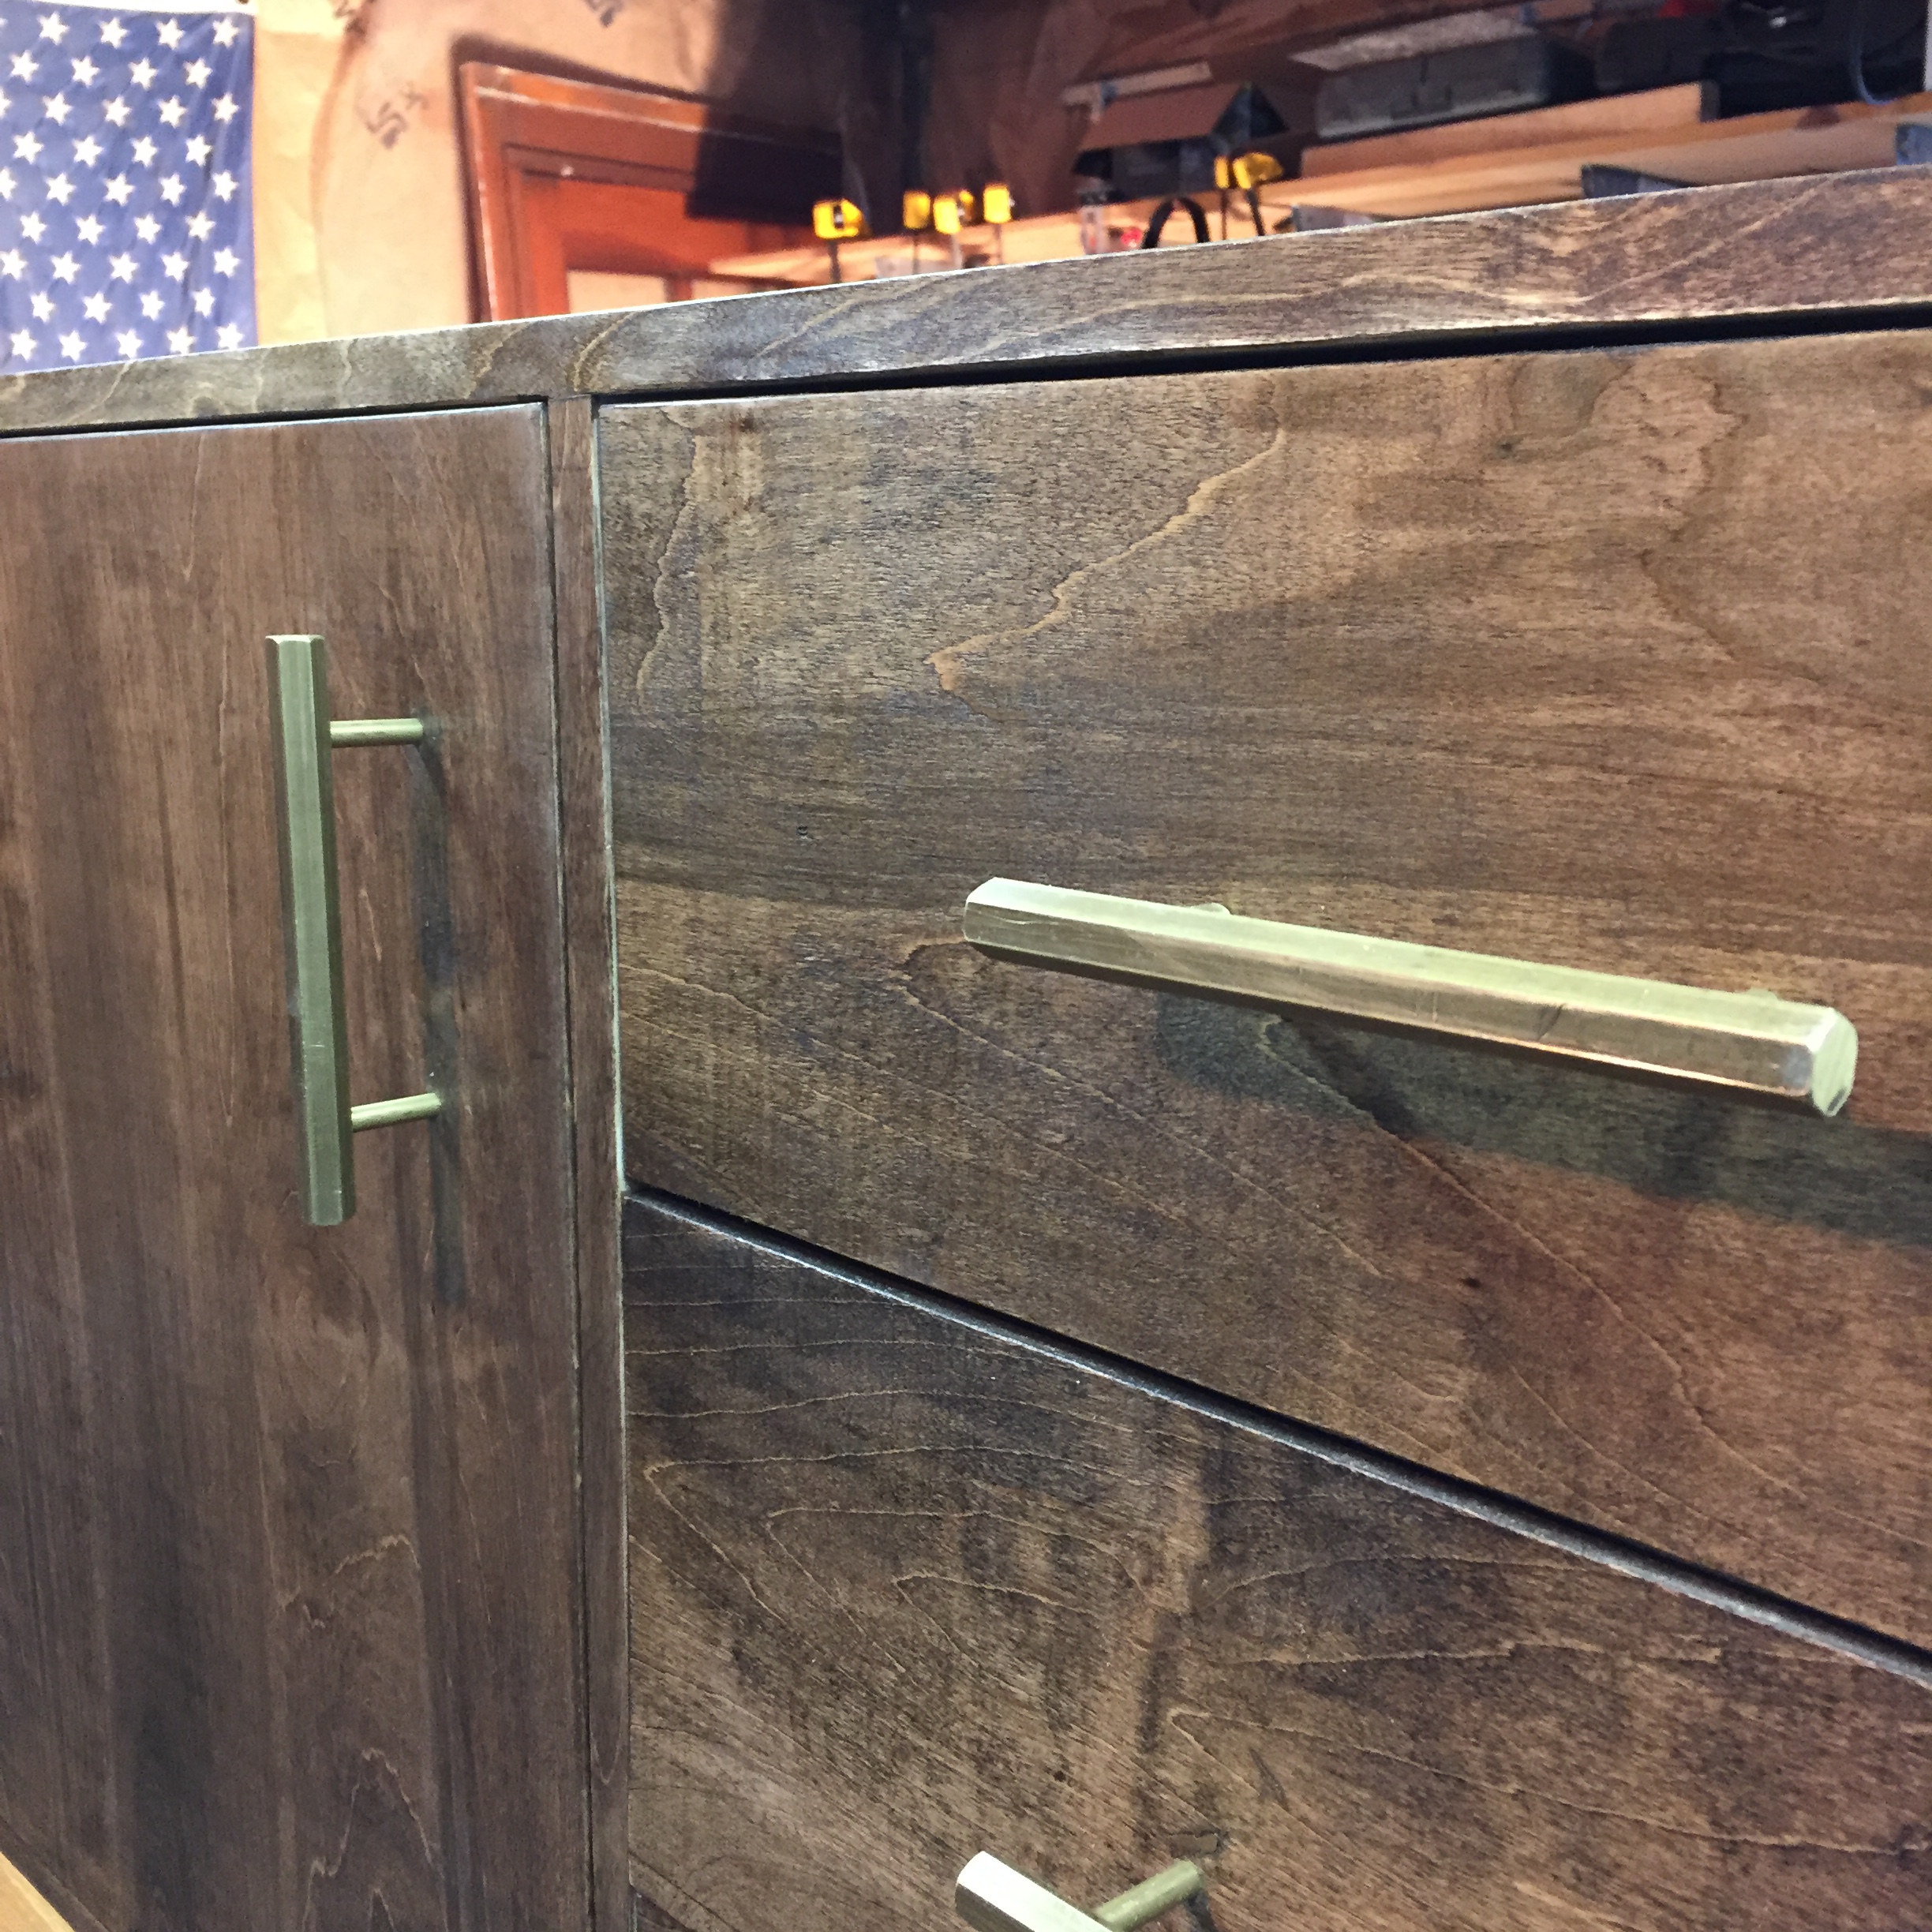
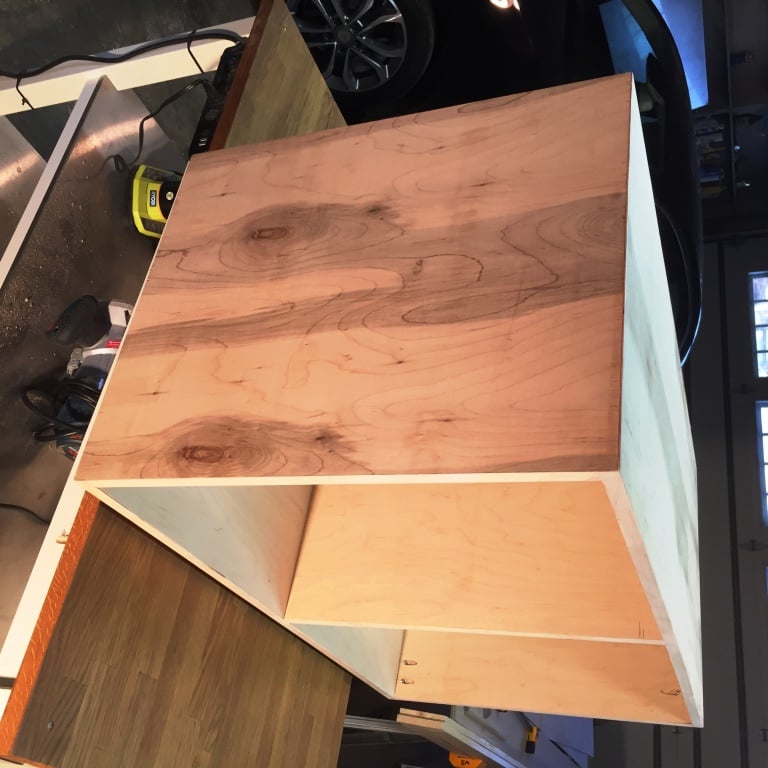
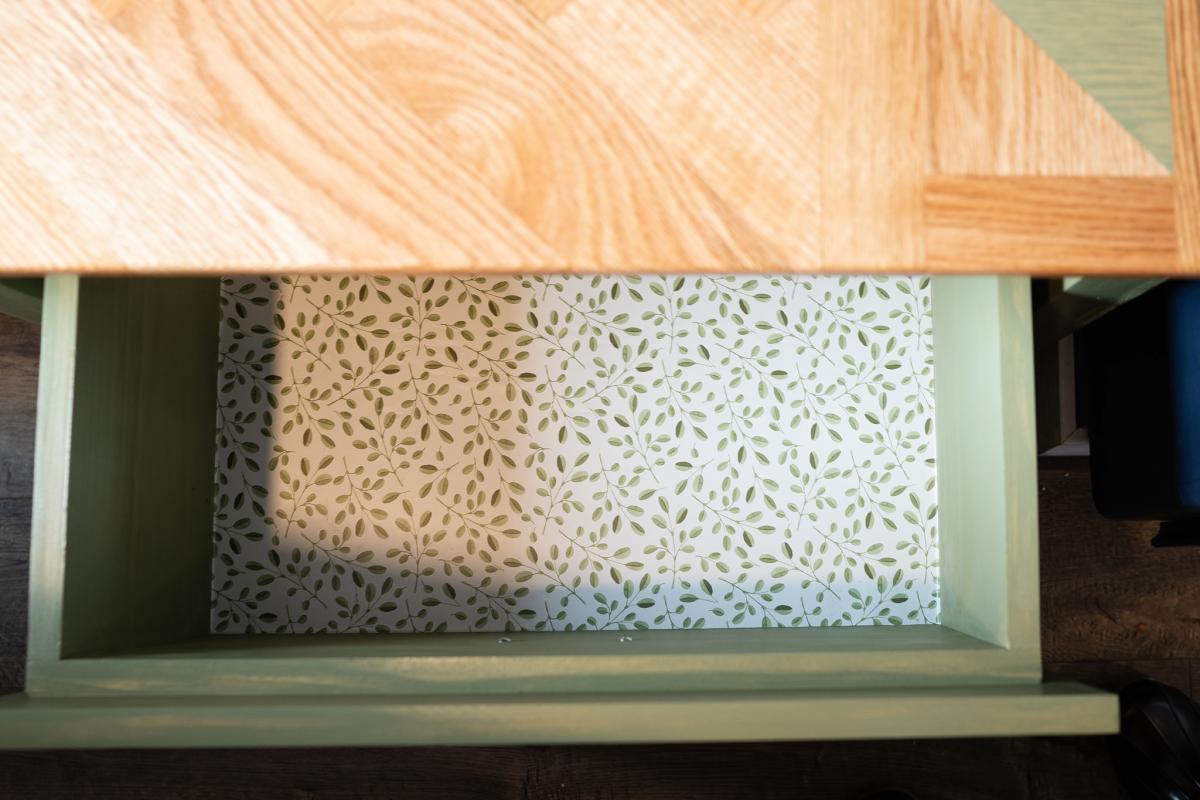
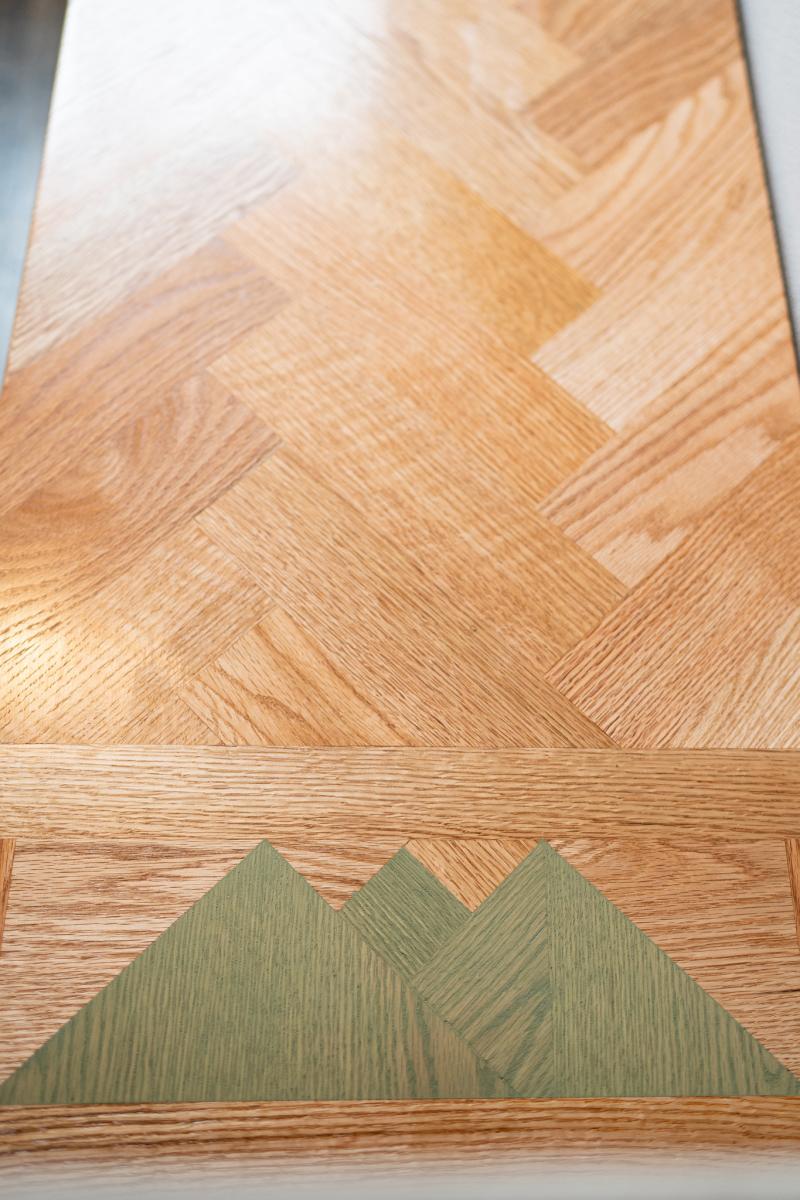
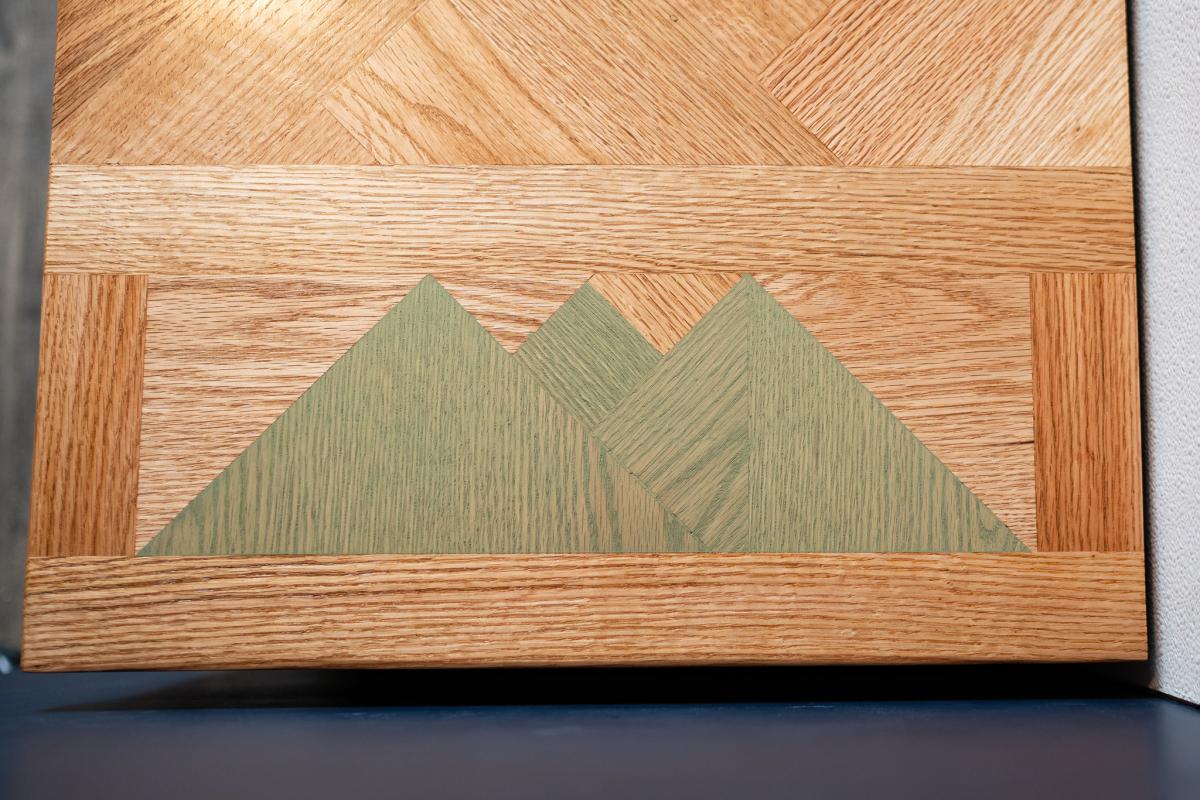
Built the top out of reclaimed wood reclaimed from buildings in/around Chicago. Stained top and insides shelves with minwax hickory gel stain. Outside painted in chalky finish Dutch boy antiquainted lace. Custom made rail and hangers for sliding apparatus.


Built from Plan(s)
Estimated Time Investment
Weekend Project (10-20 Hours)
Finish Used
Minwax hickory gel stain
Recommended Skill Level
Intermediate