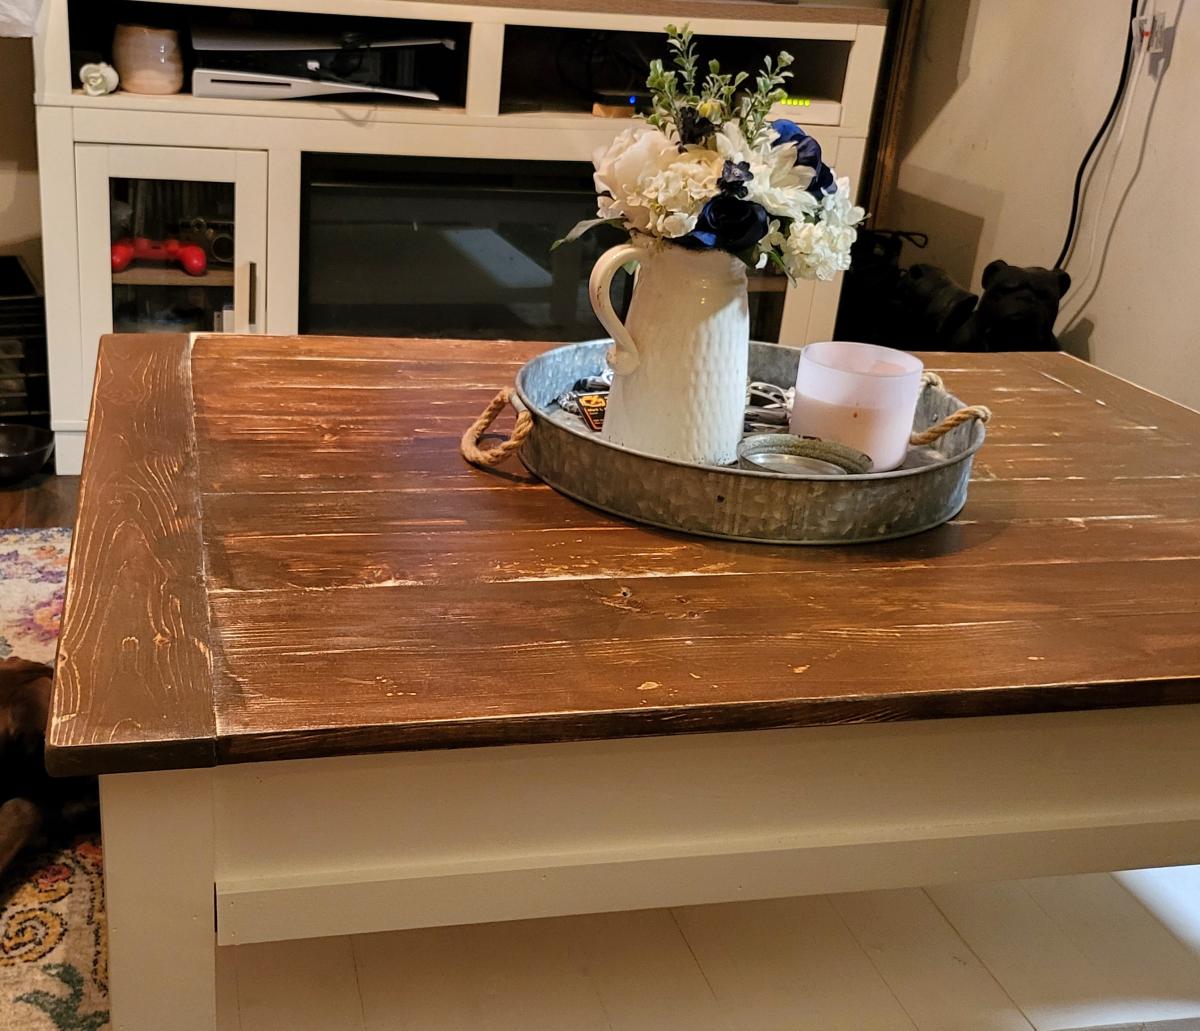
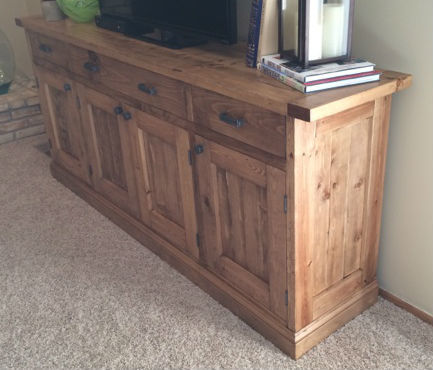
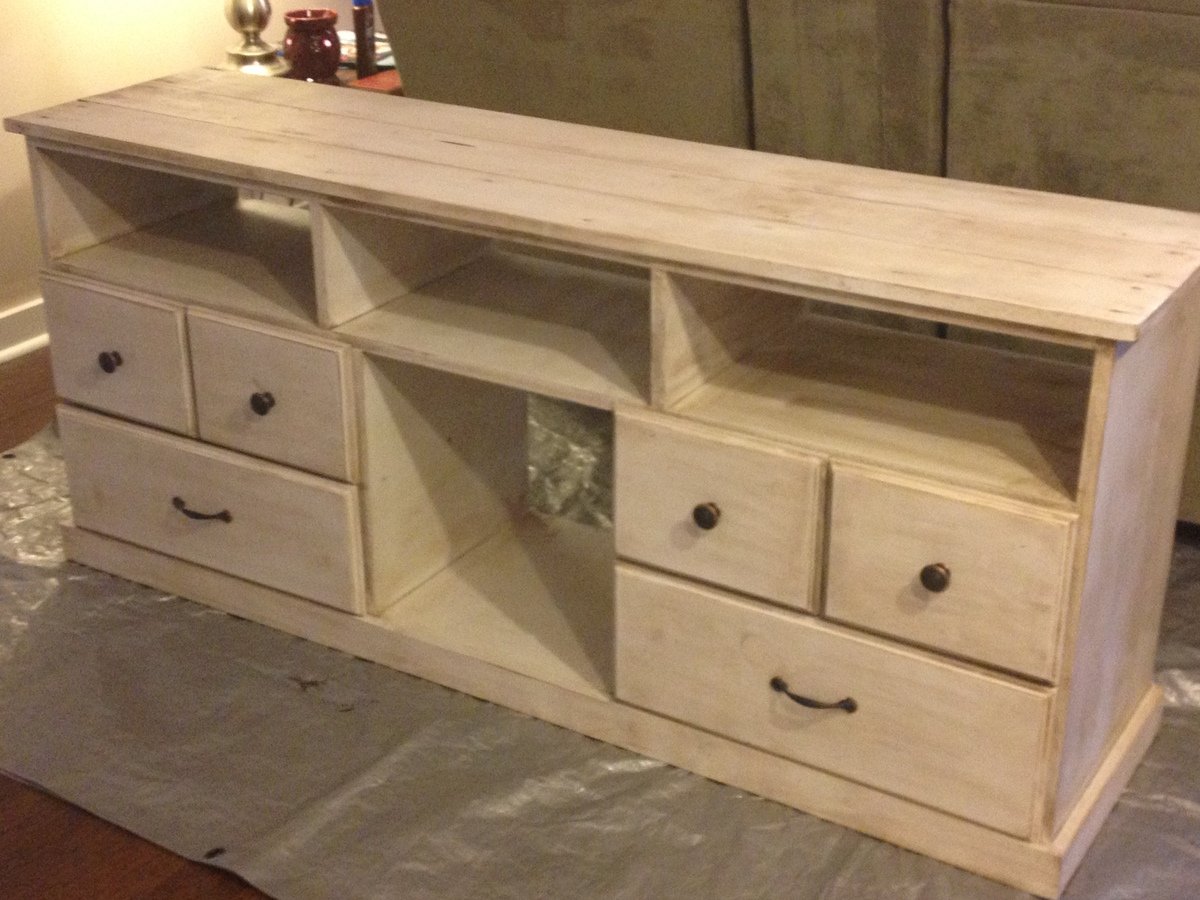
Happy Entertainment Center
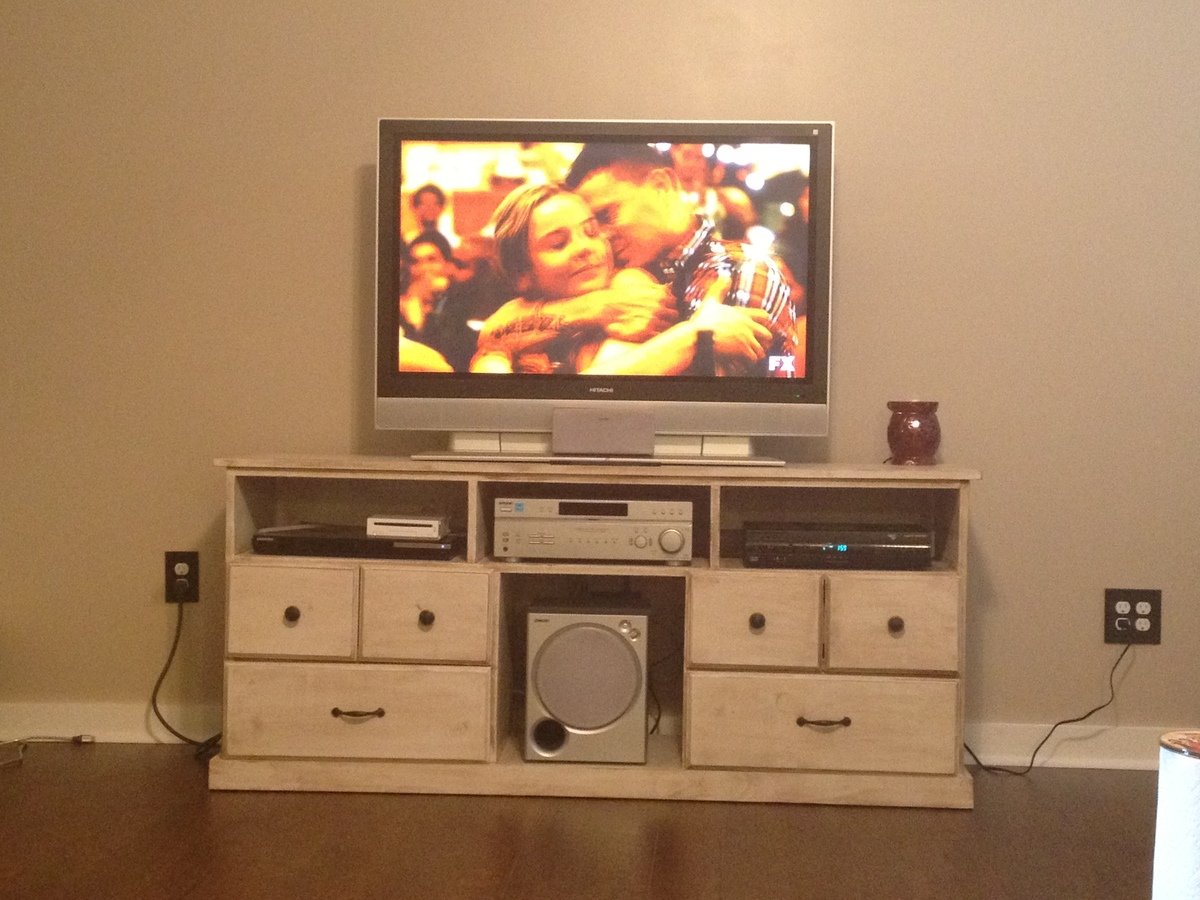
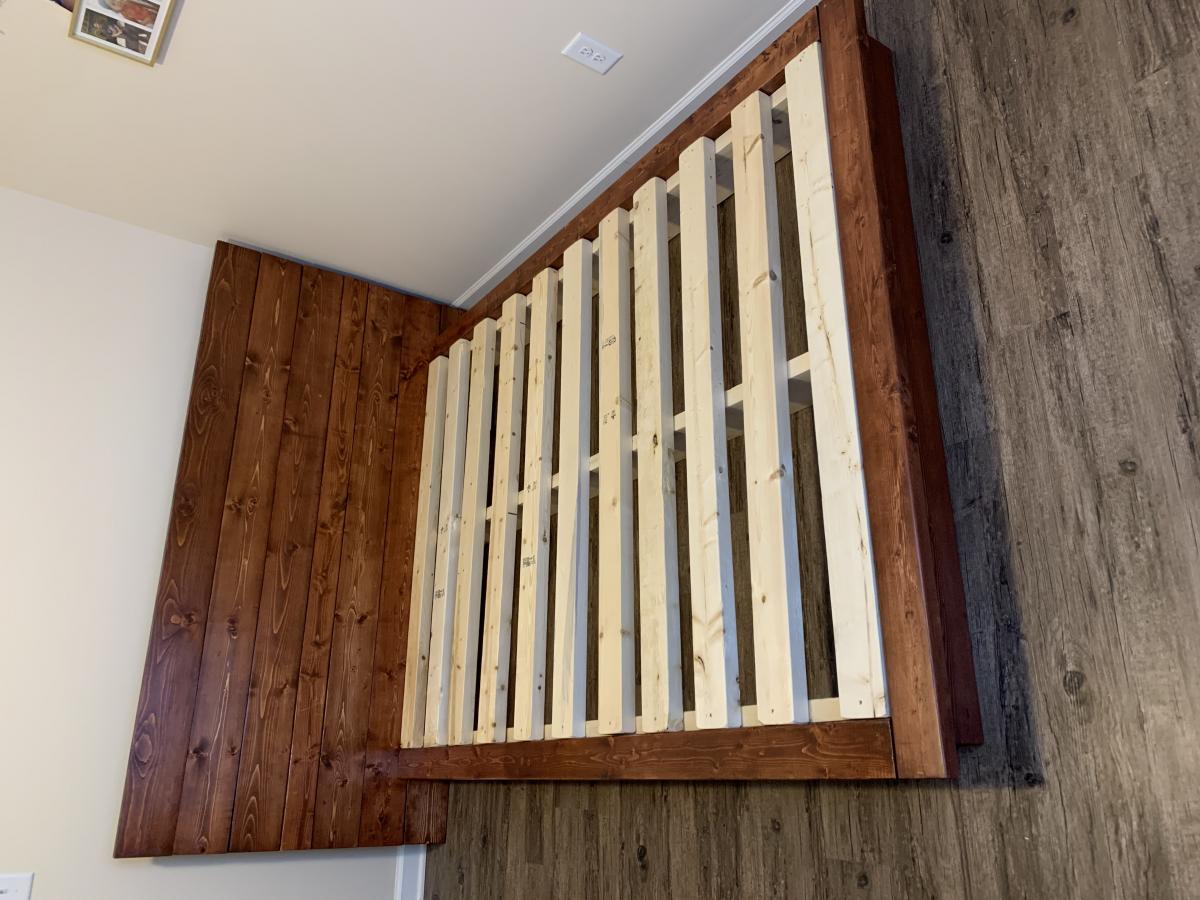
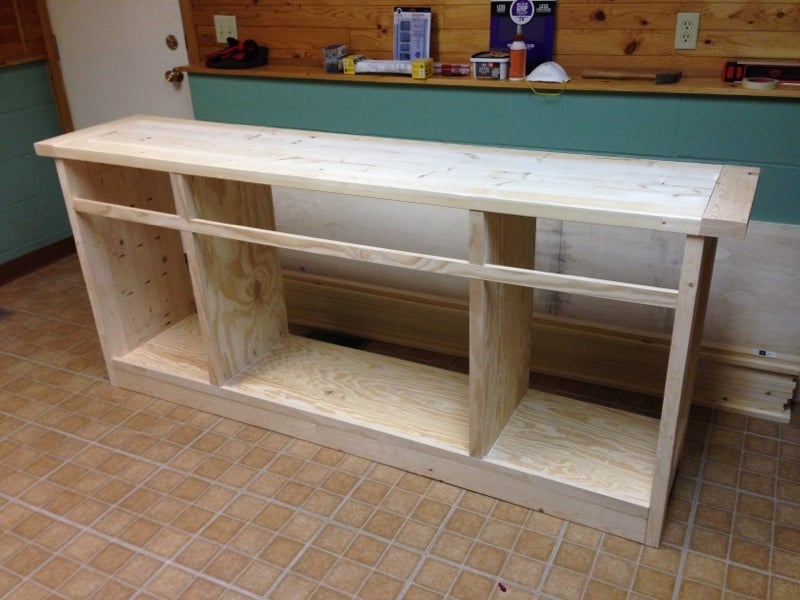
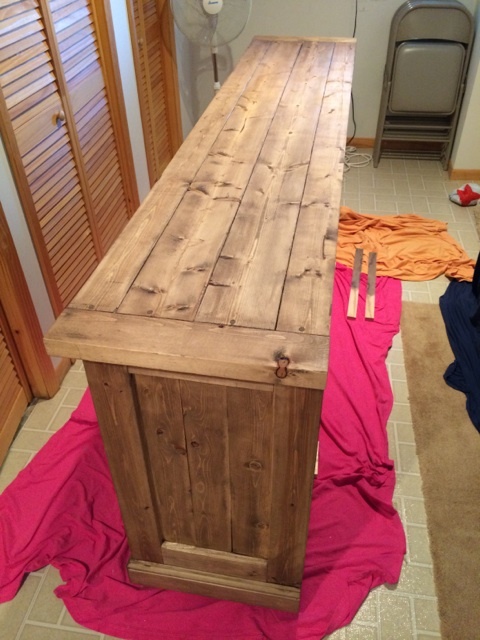
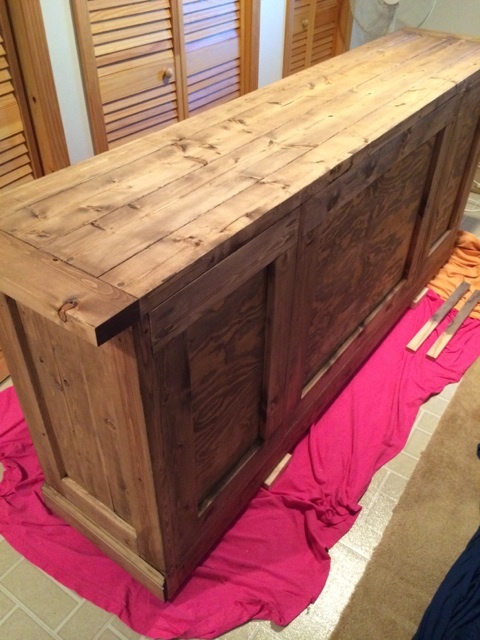
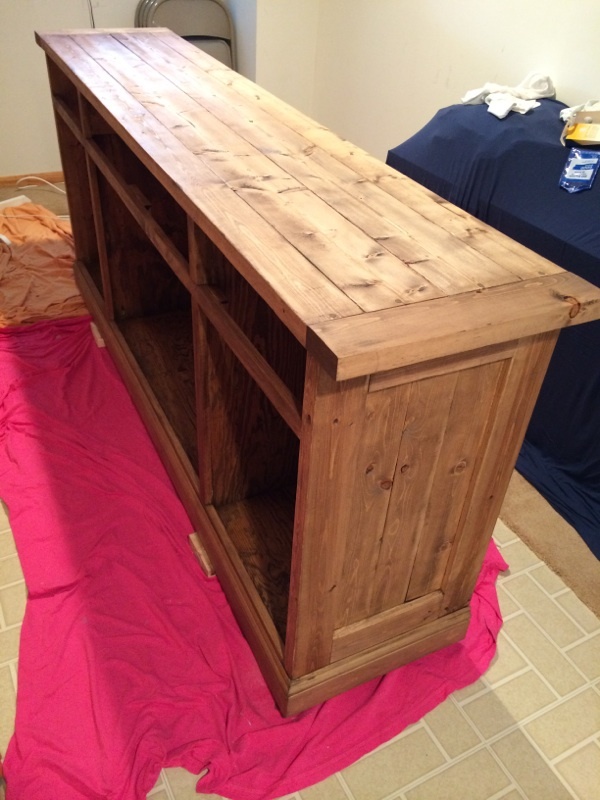
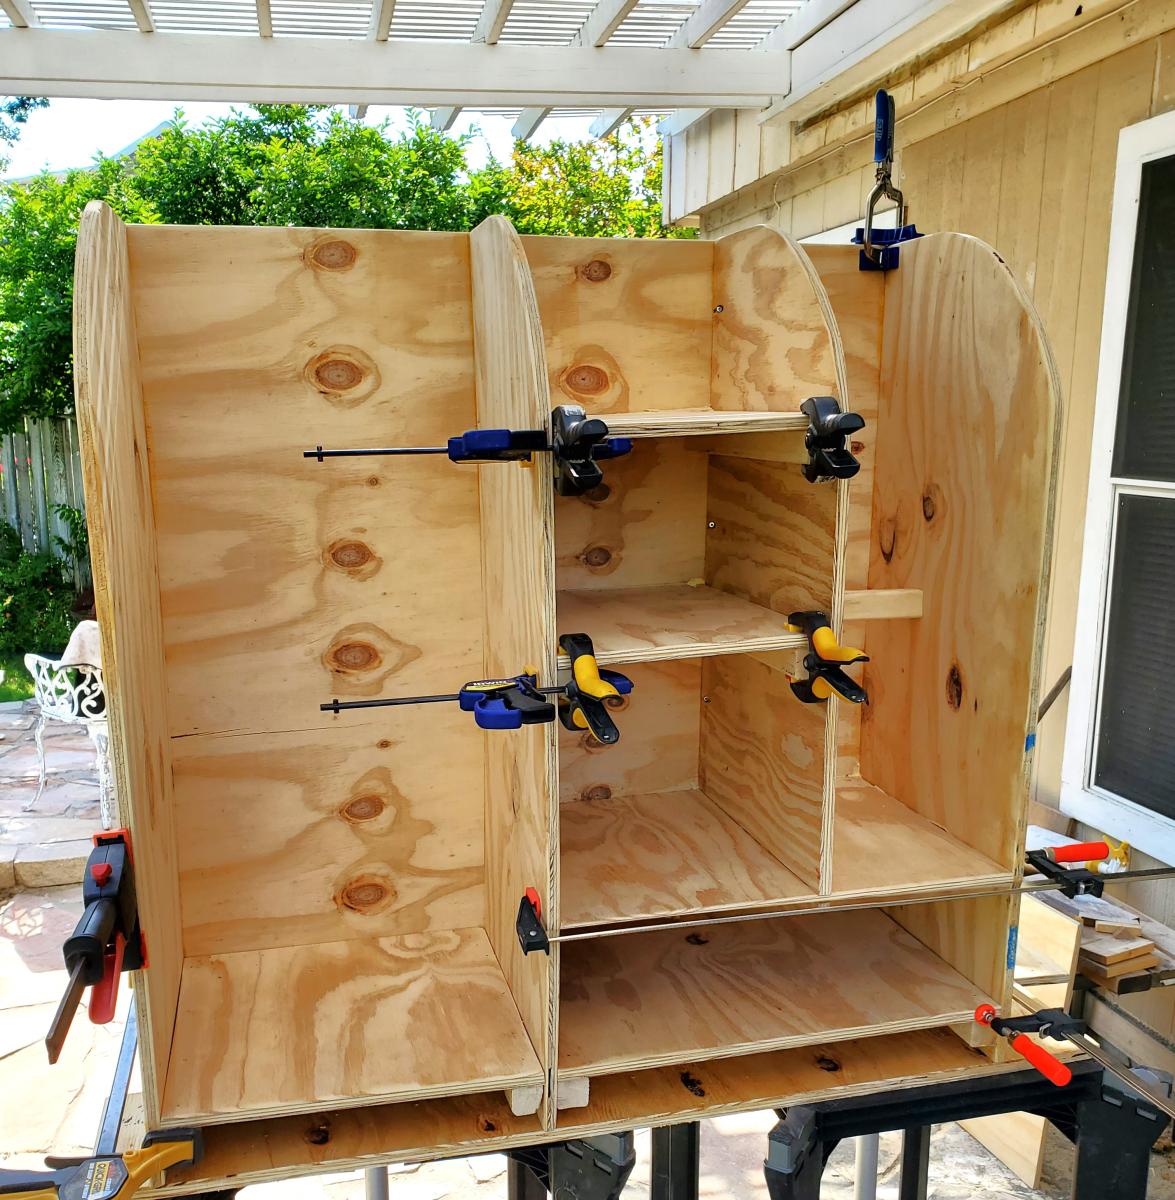
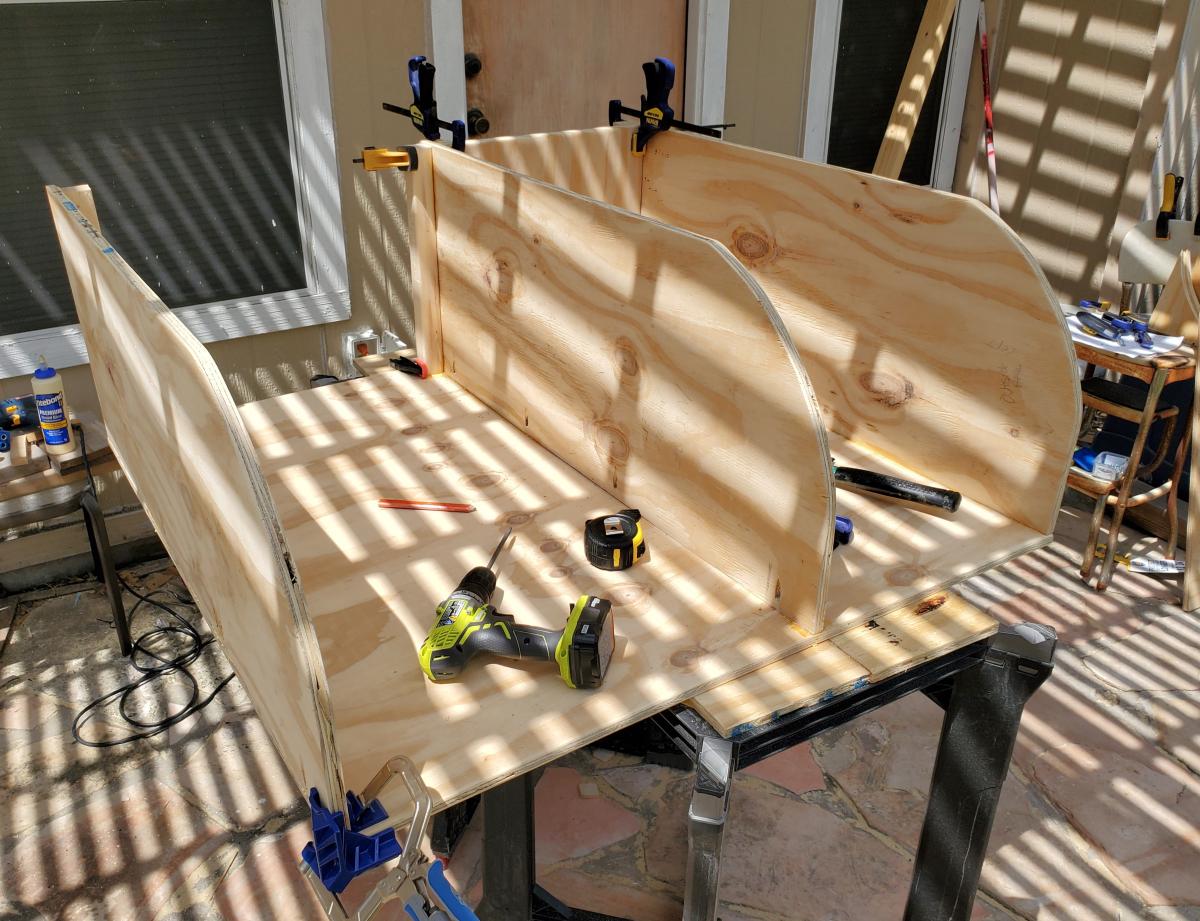
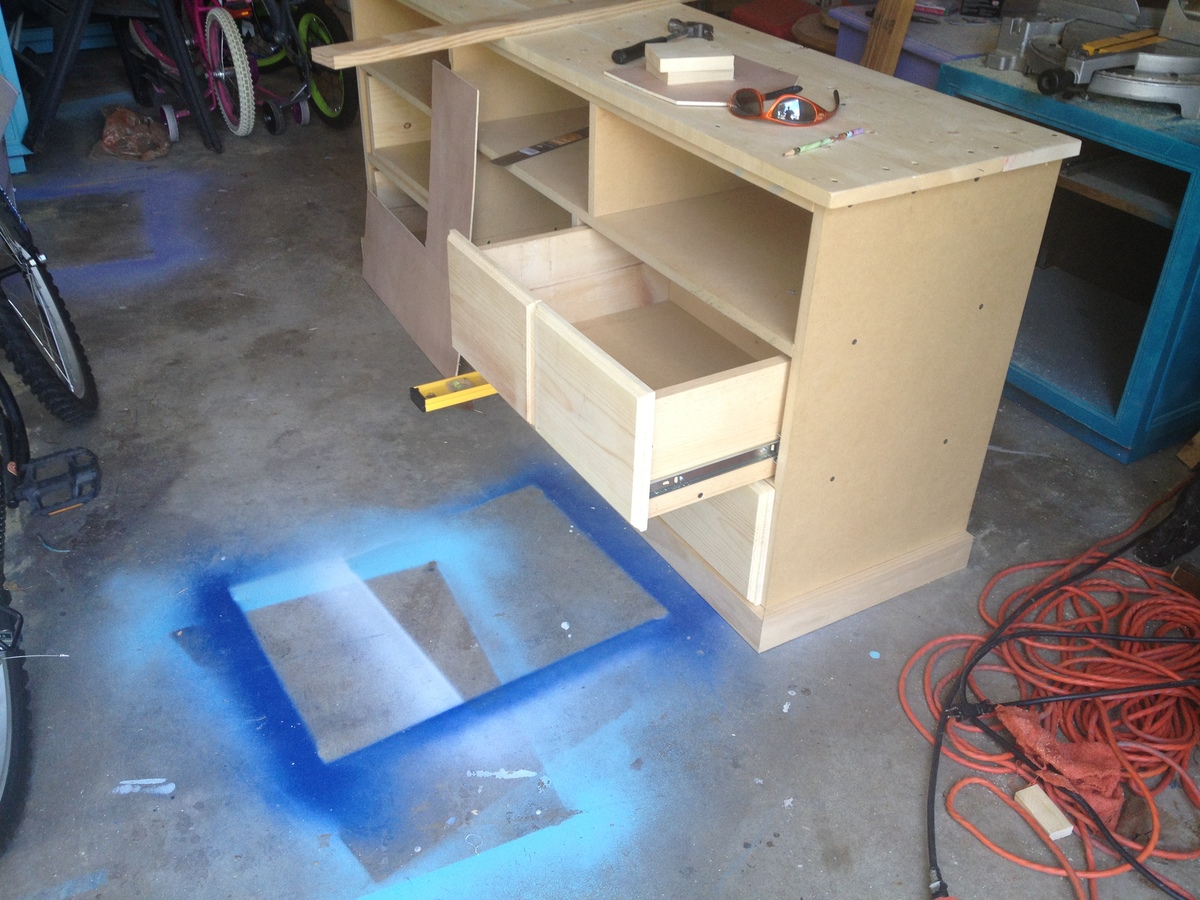
I really wanted a new entertainment center but could not find one in the stores that I liked and looked to be made of good quality. I liked the Apothecary Console but needed to make a few adjustments to the plan, which is why I marked my project at an intermediate level.
I built this about a year ago and love it as much today as I did the day I finished it. I have had a ton of compliments on it and many are impressed when I tell them I made it myself.


Built from Plan(s)
Estimated Time Investment
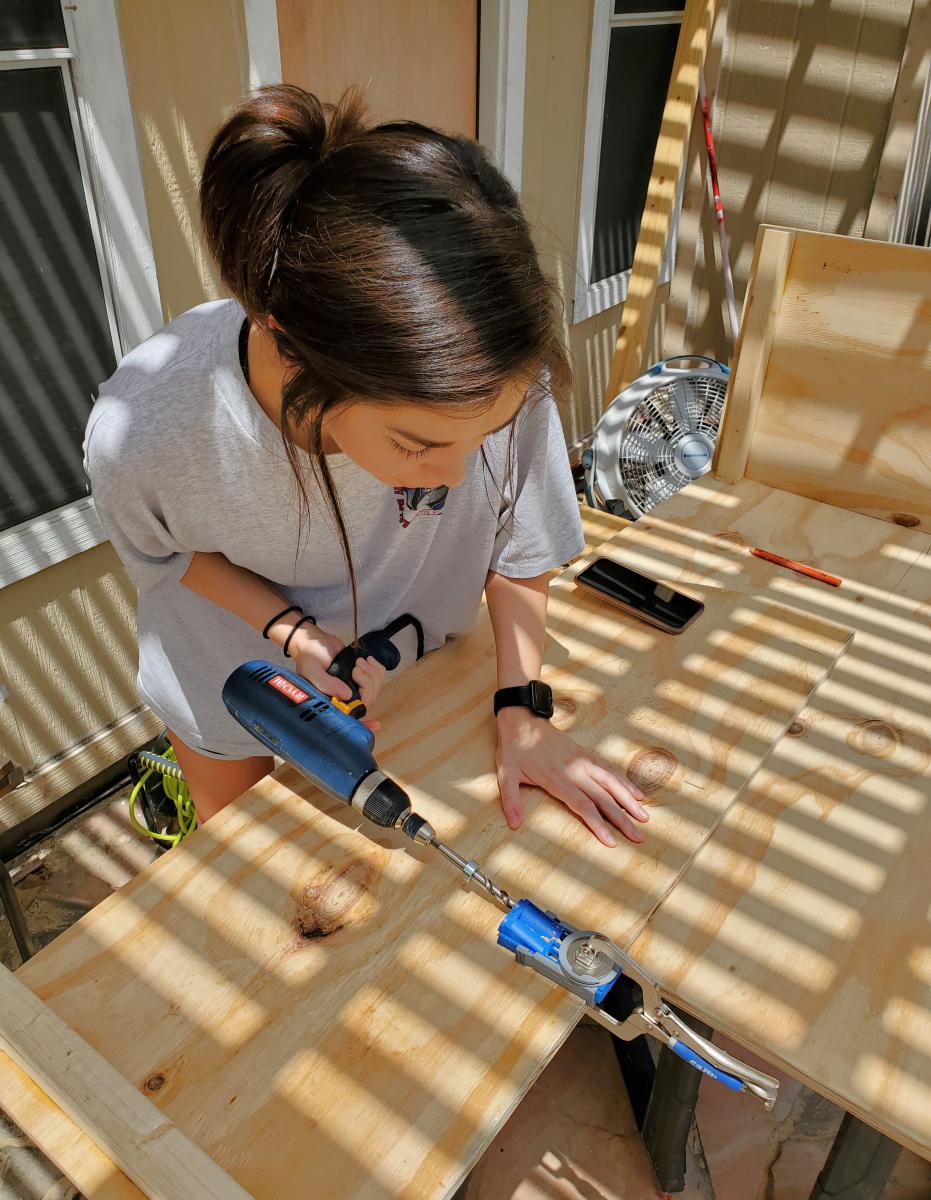
Week Long Project (20 Hours or More)
Finish Used
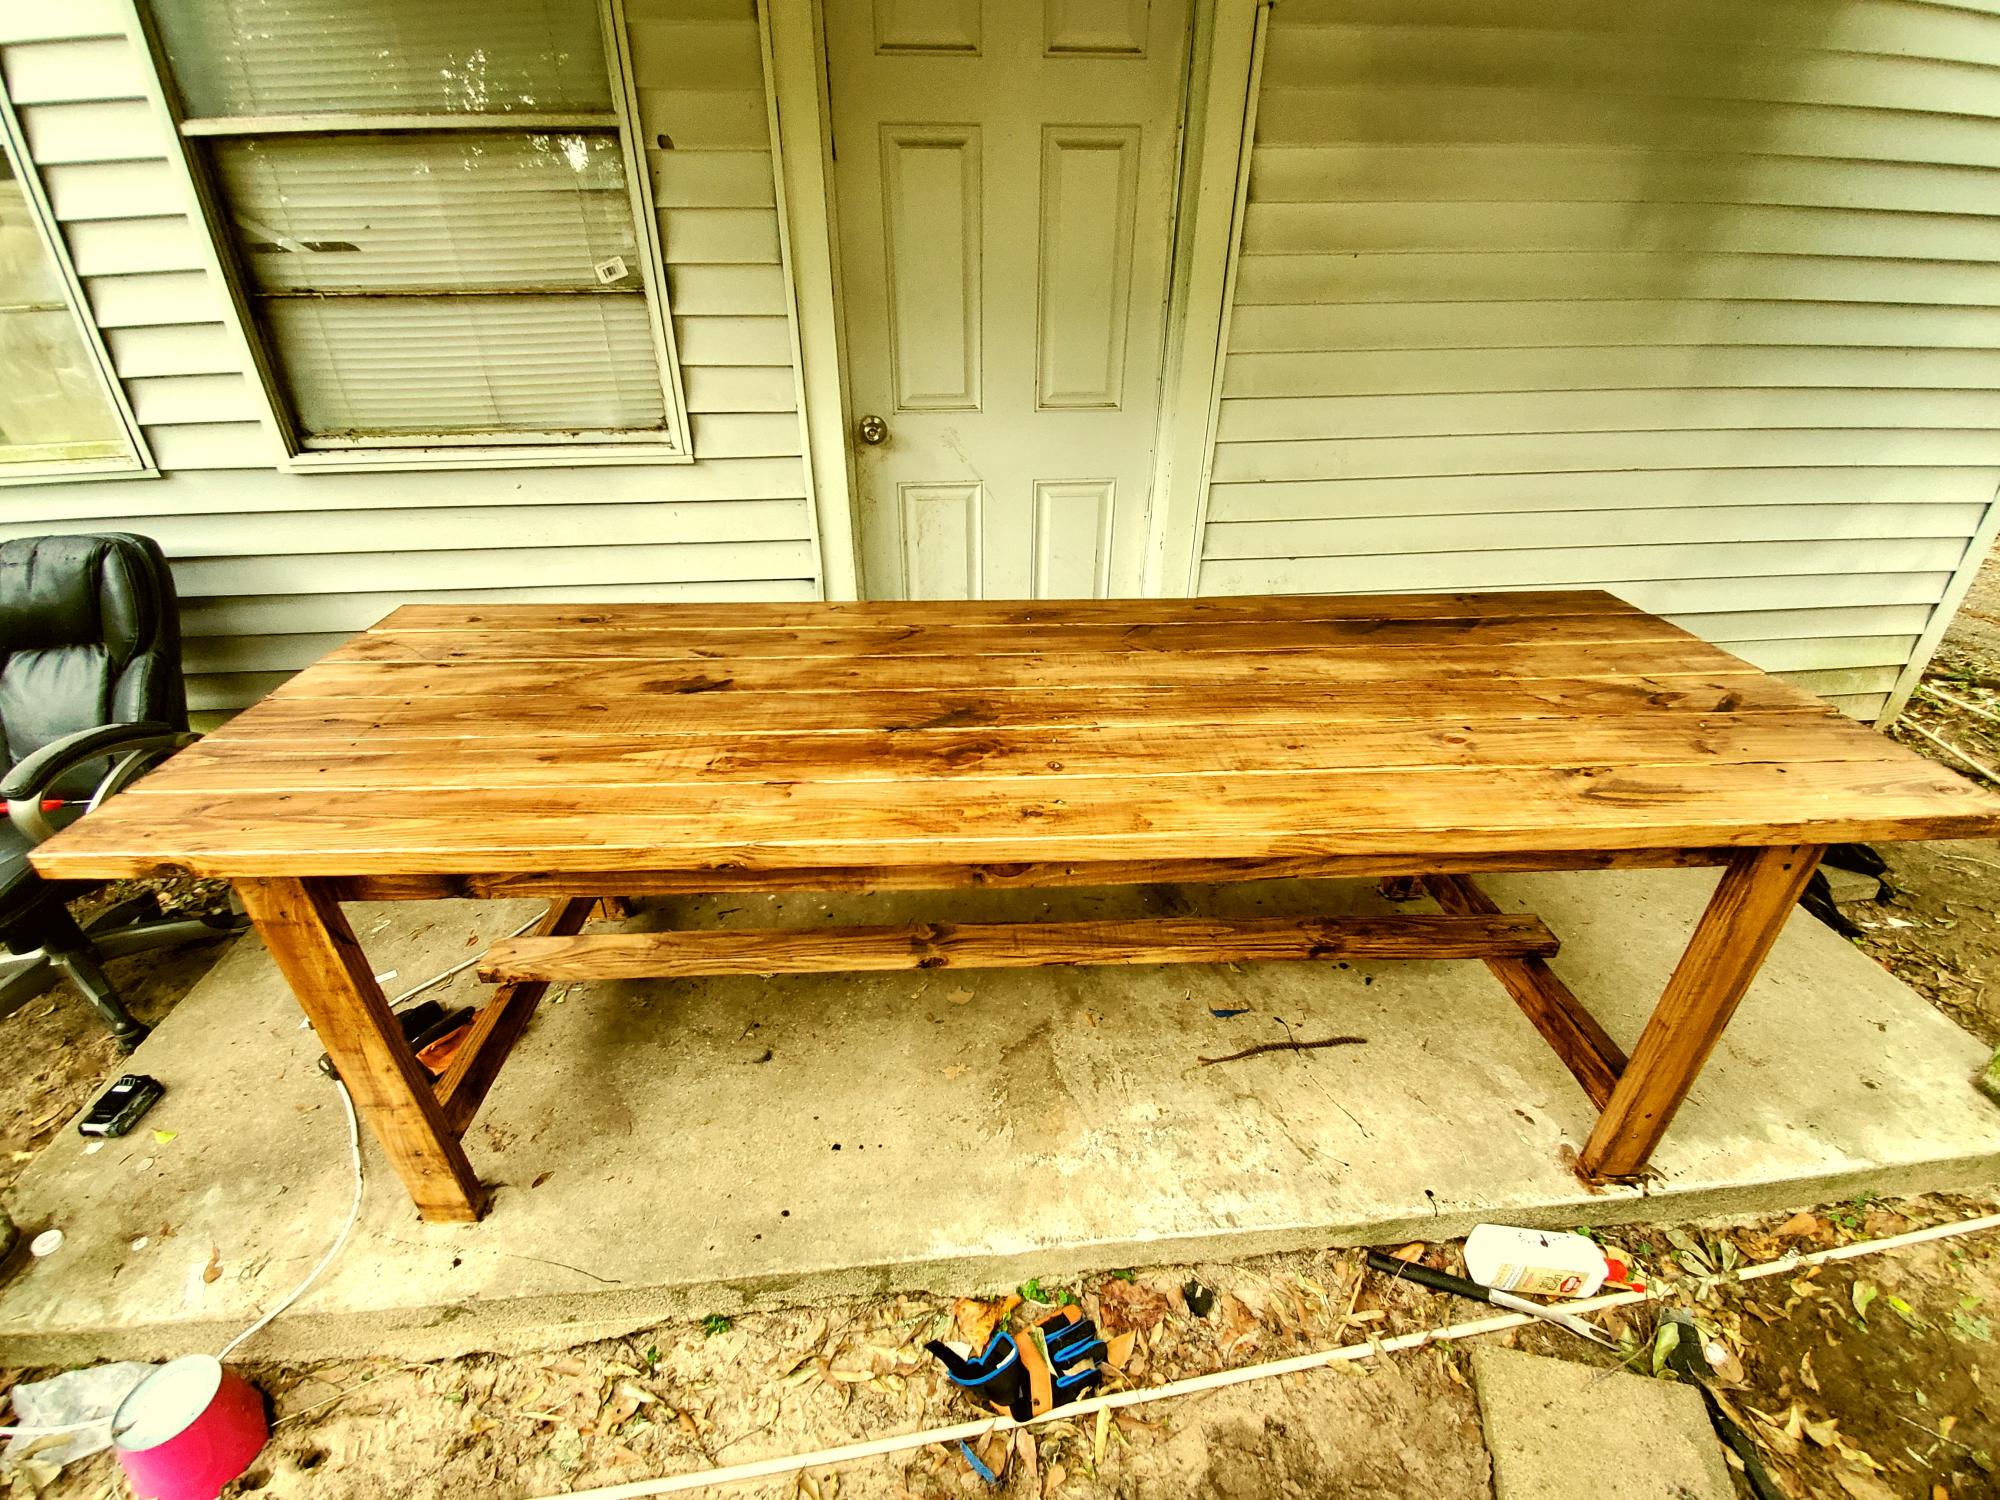
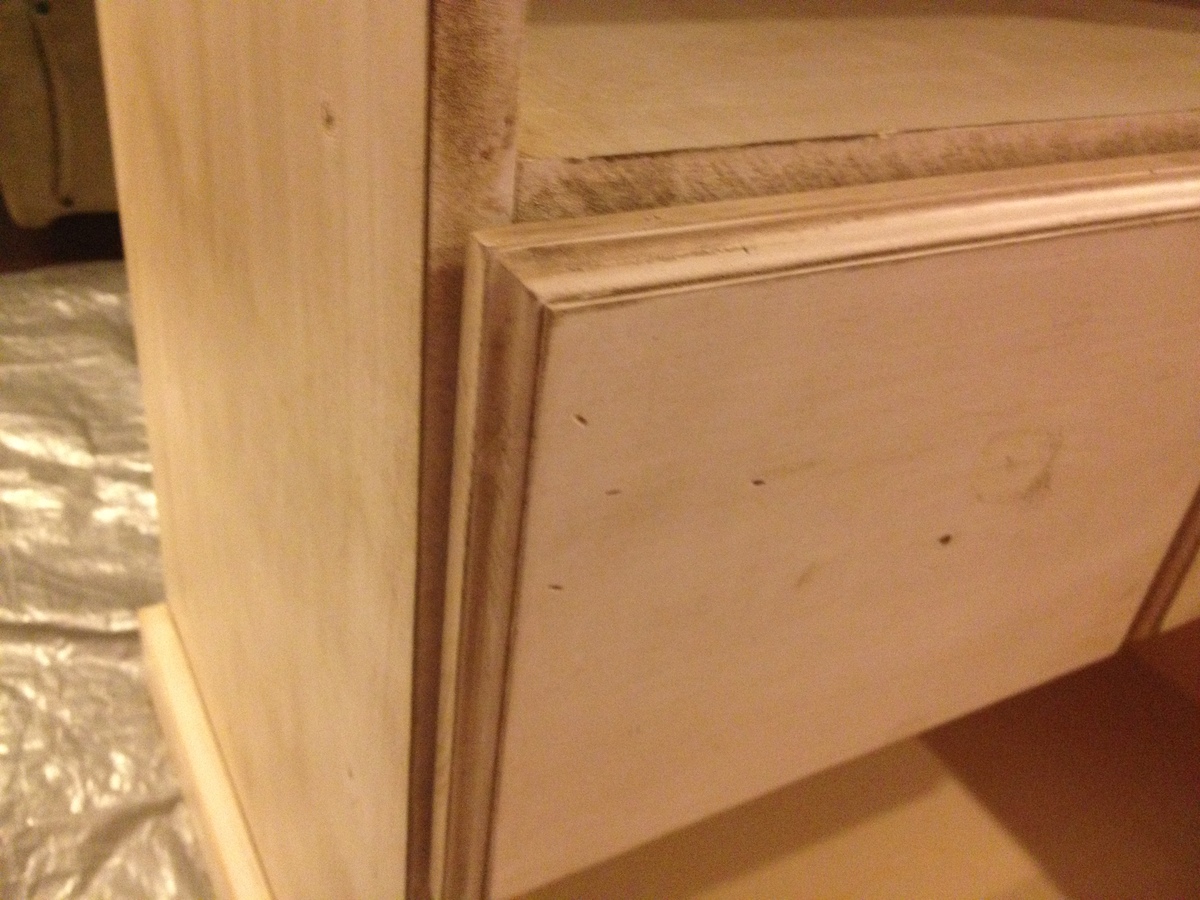
I painted with a Satin Sheen Behr Pure white paint then wiped on and then off a dark walnut stain.
Recommended Skill Level
Intermediate