Bar Stools
These are simple, cheap, easy, and effective.
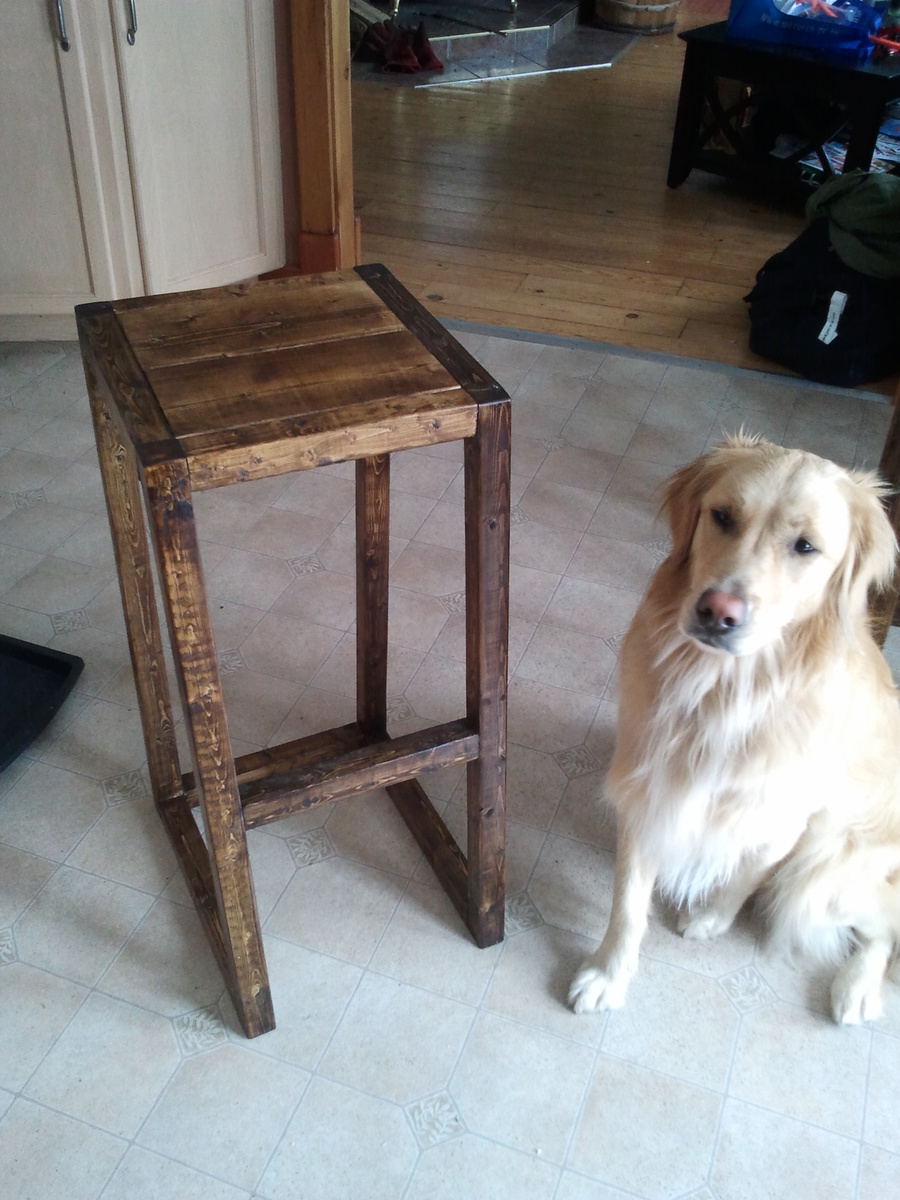
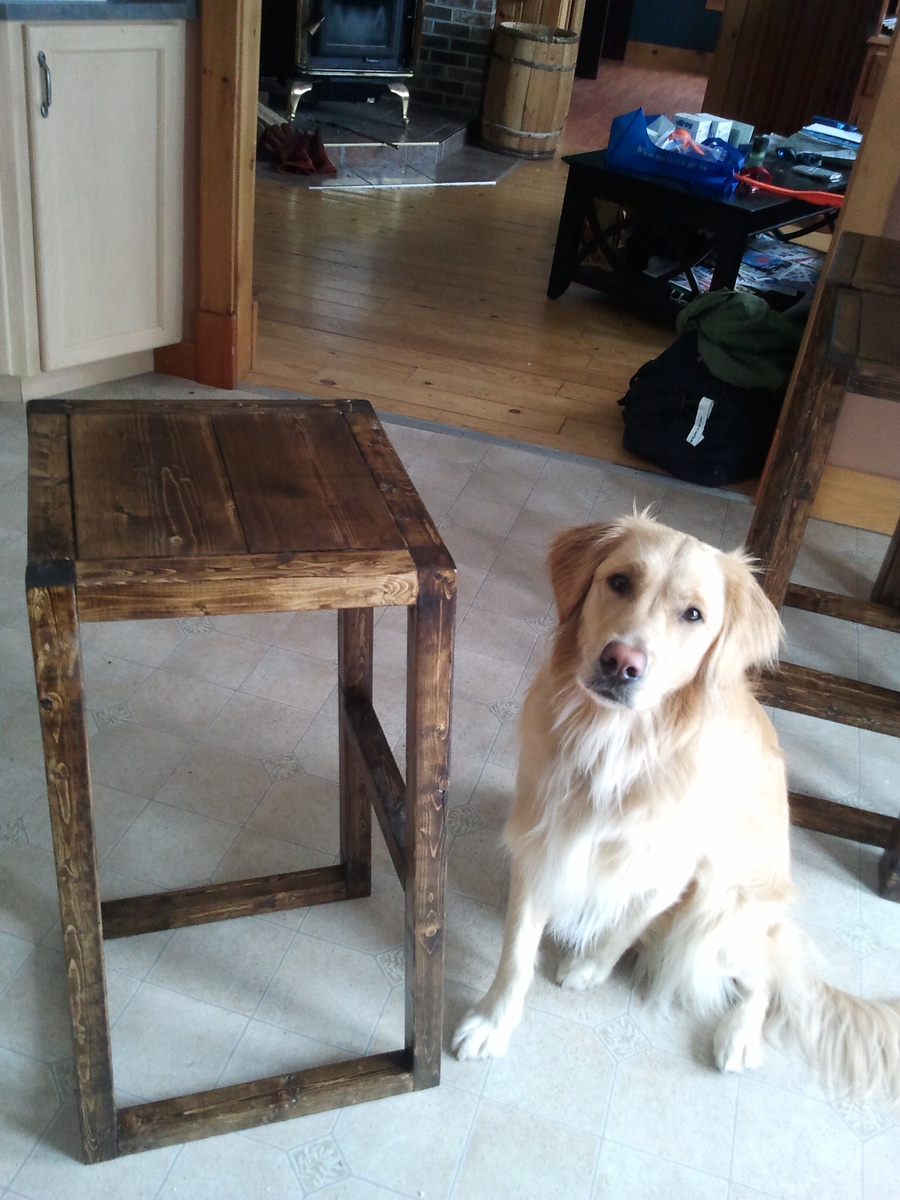
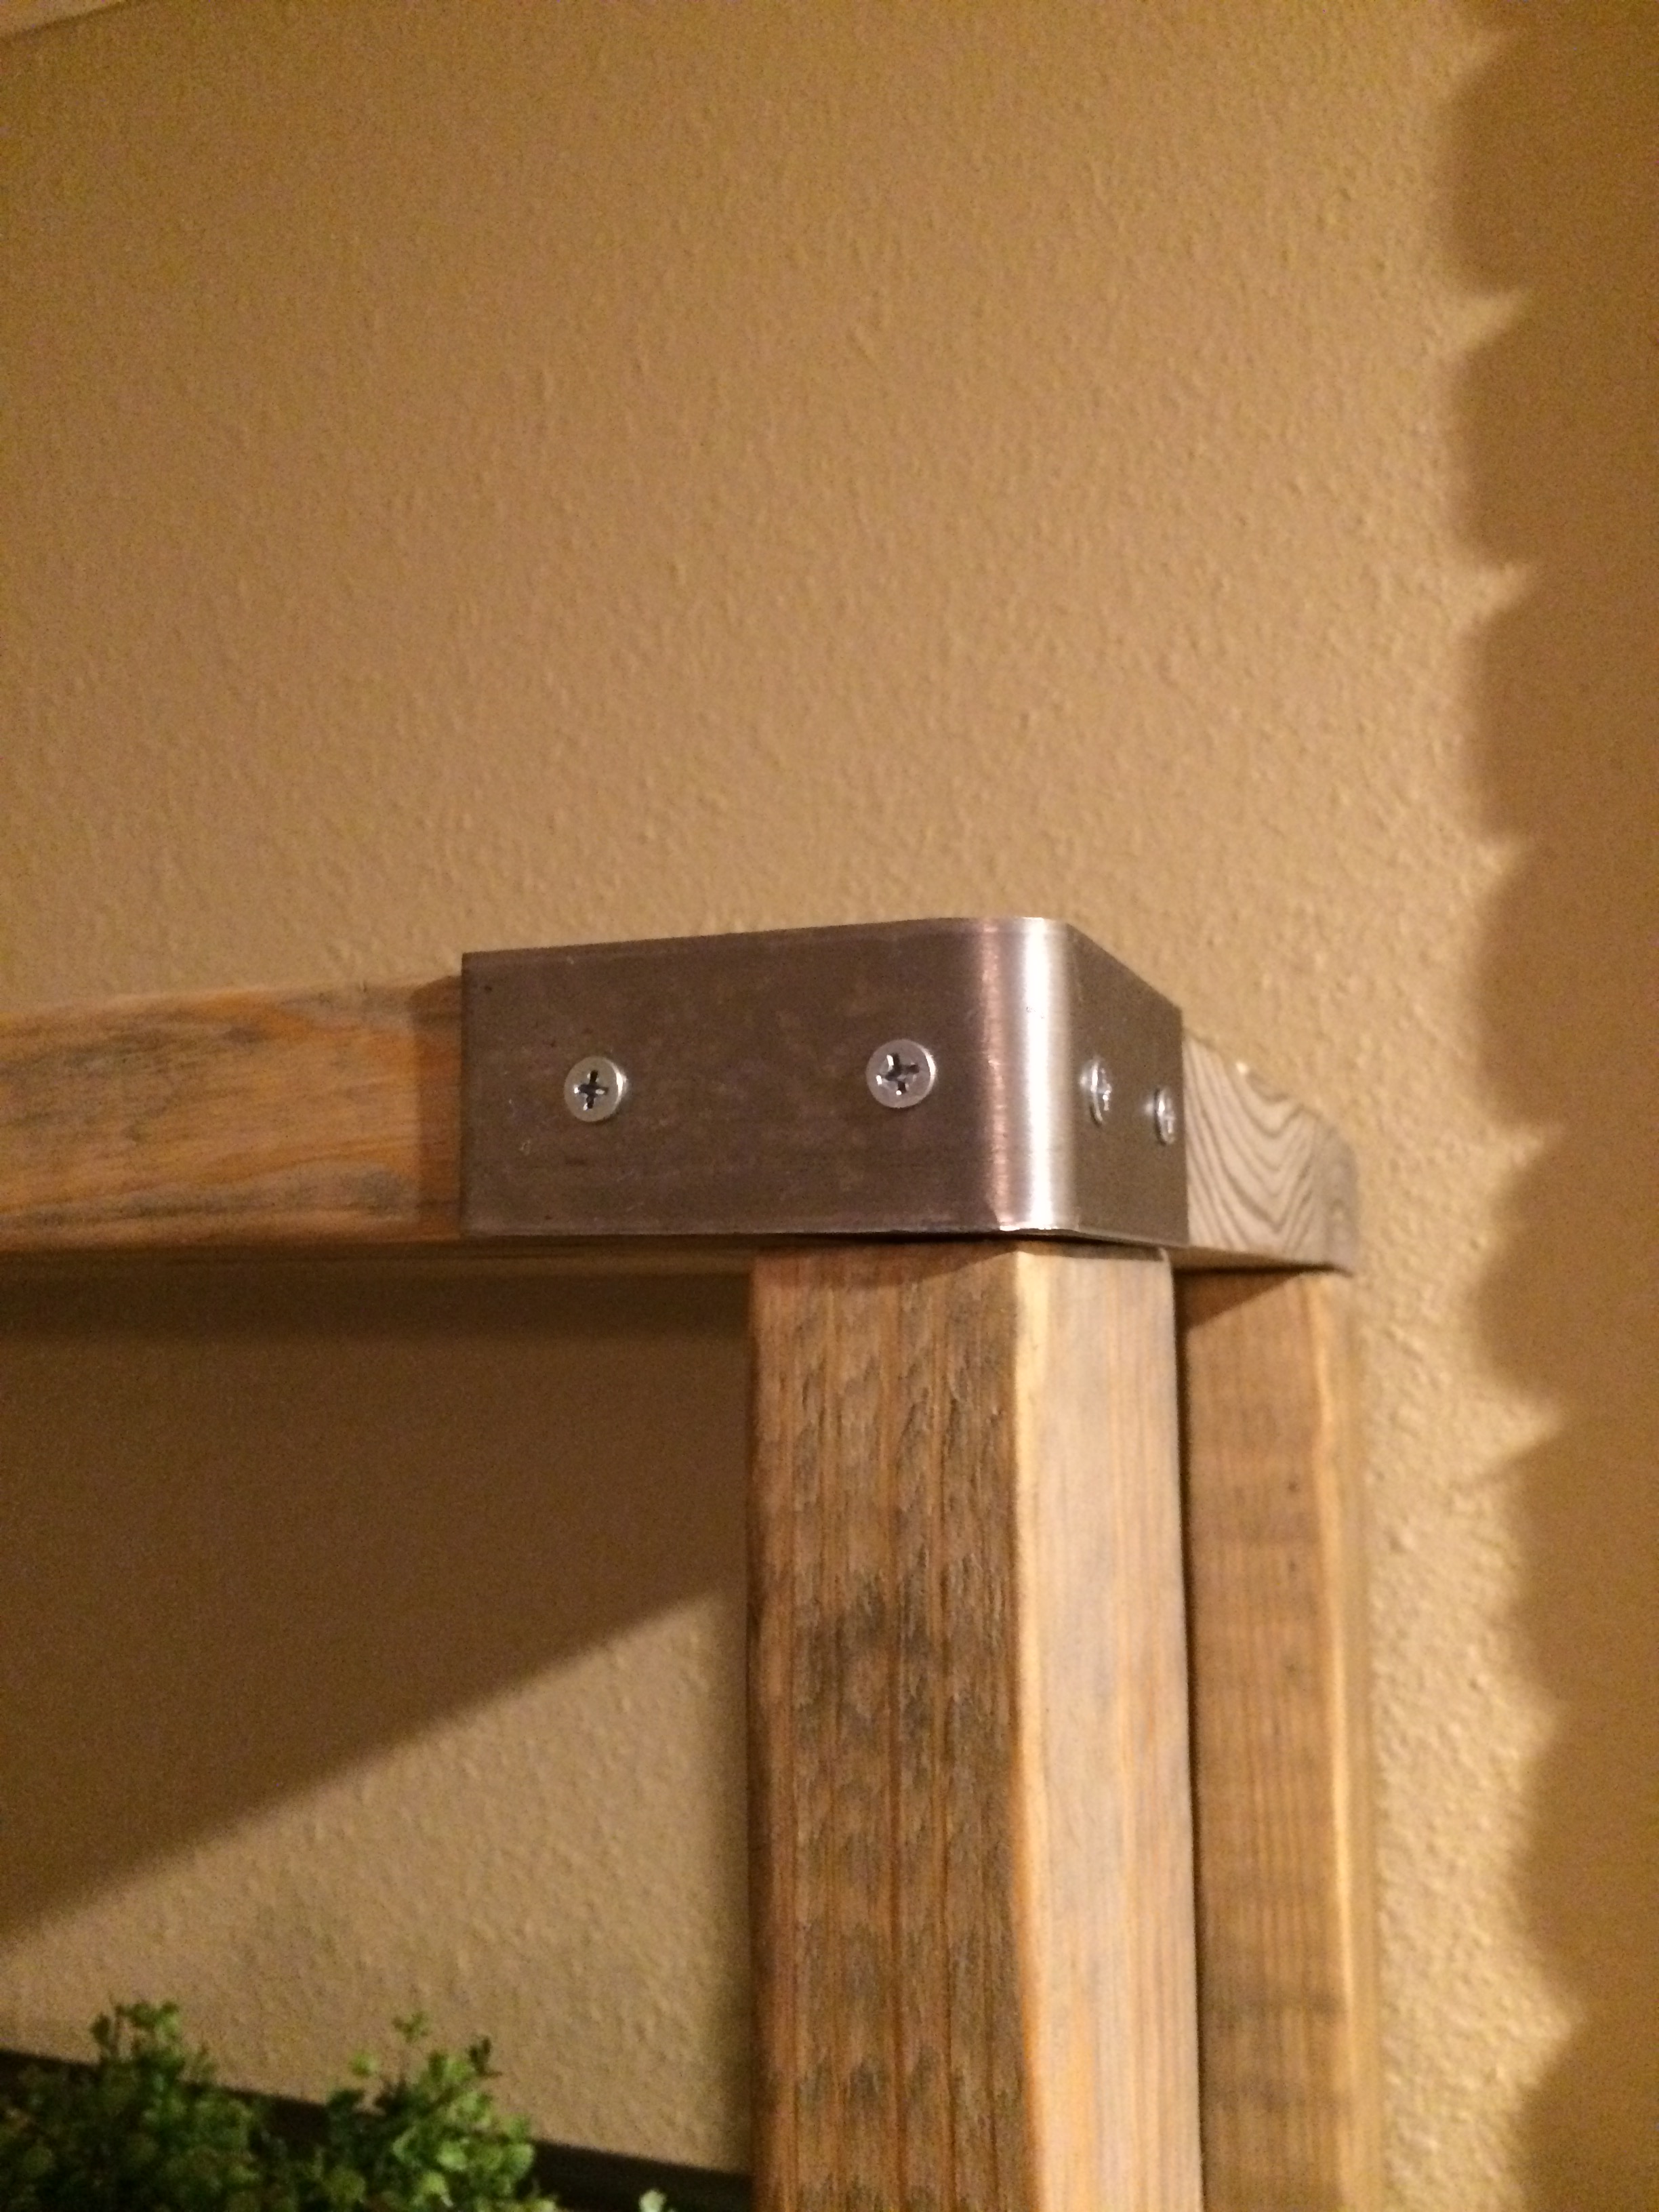
I modified the top so that I could just use the left over 2X6s I had and it would somewhat match my table. I felt it worked. There is probably something like $5 in wood in each chair about about 20 screws...that's it.
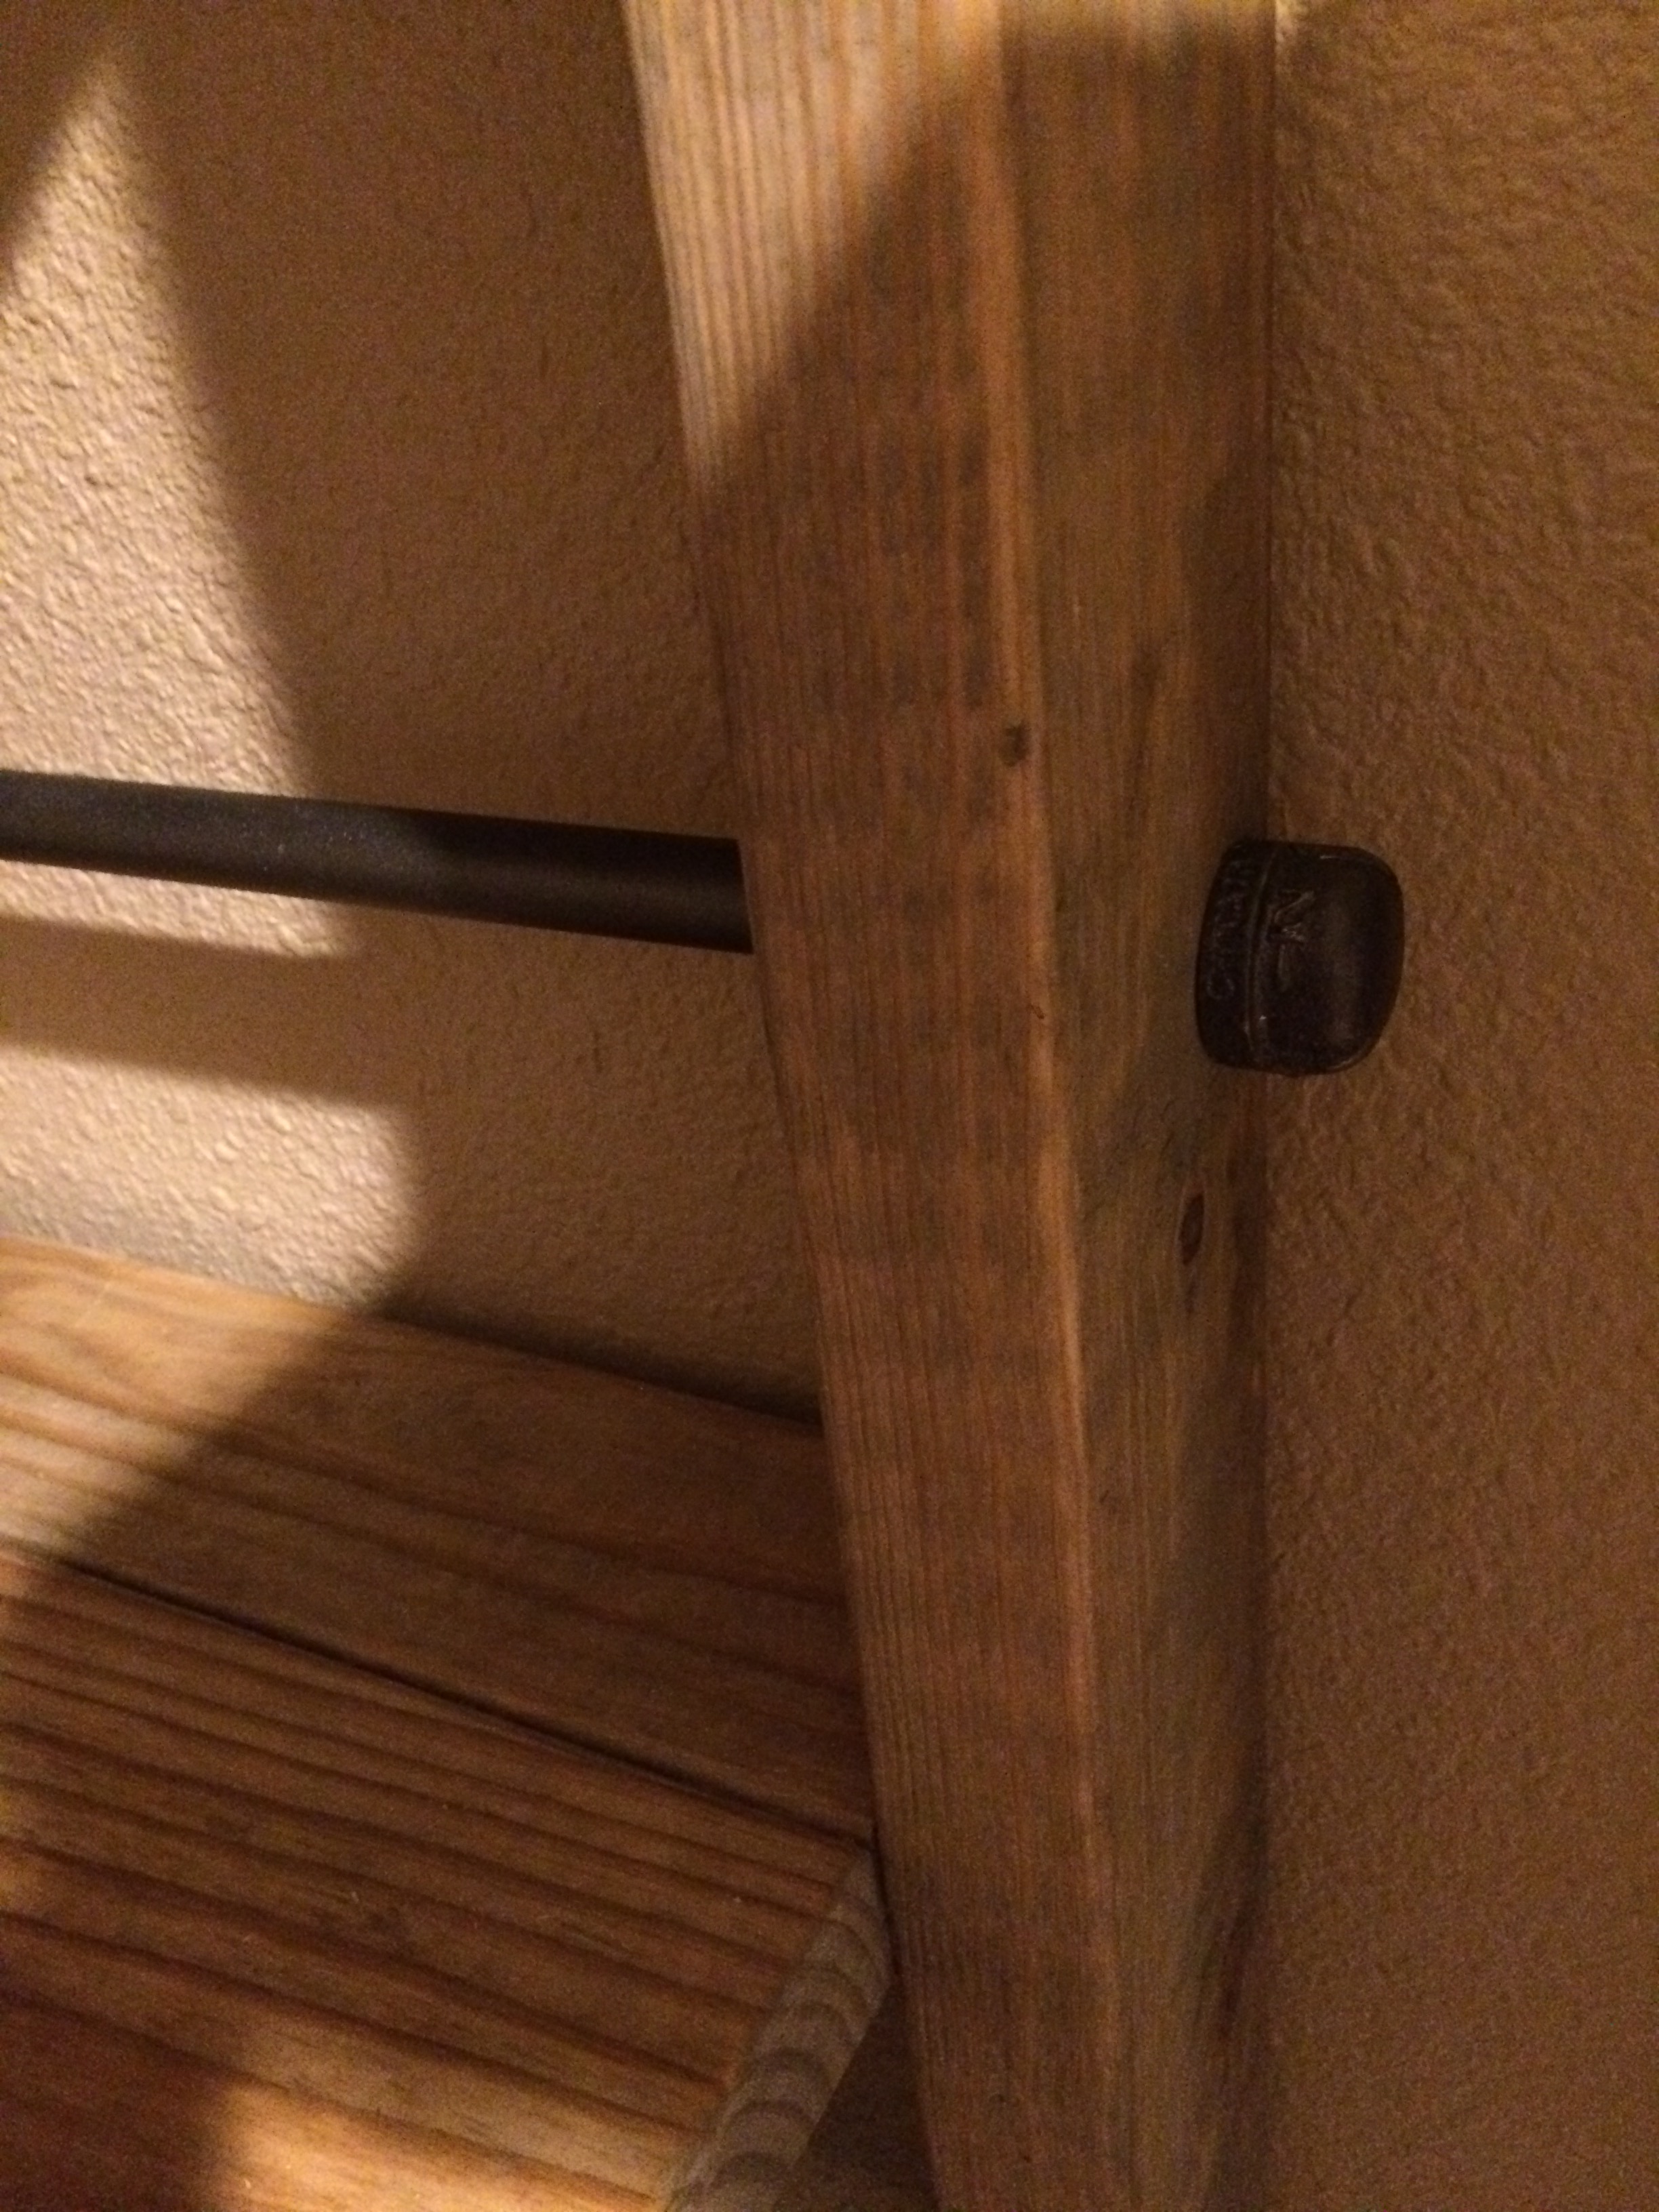
Word of warning, because you are using 2X2s these chairs will twist a little. Can't change physics but for $5 what do you want...
This is a fun little project that is quite easy but will make you think about how you can modify it and how/where you should use all your screws both to make it strong as well as to hide them.
Built from Plan(s)
Estimated Cost
$5
Estimated Time Investment
An Hour or Two (0-2 Hours)
Finish Used
Minwax Dark Walnut. Satin Poly.
Recommended Skill Level
Starter Project


Comments
ademasters
Tue, 07/31/2012 - 10:05
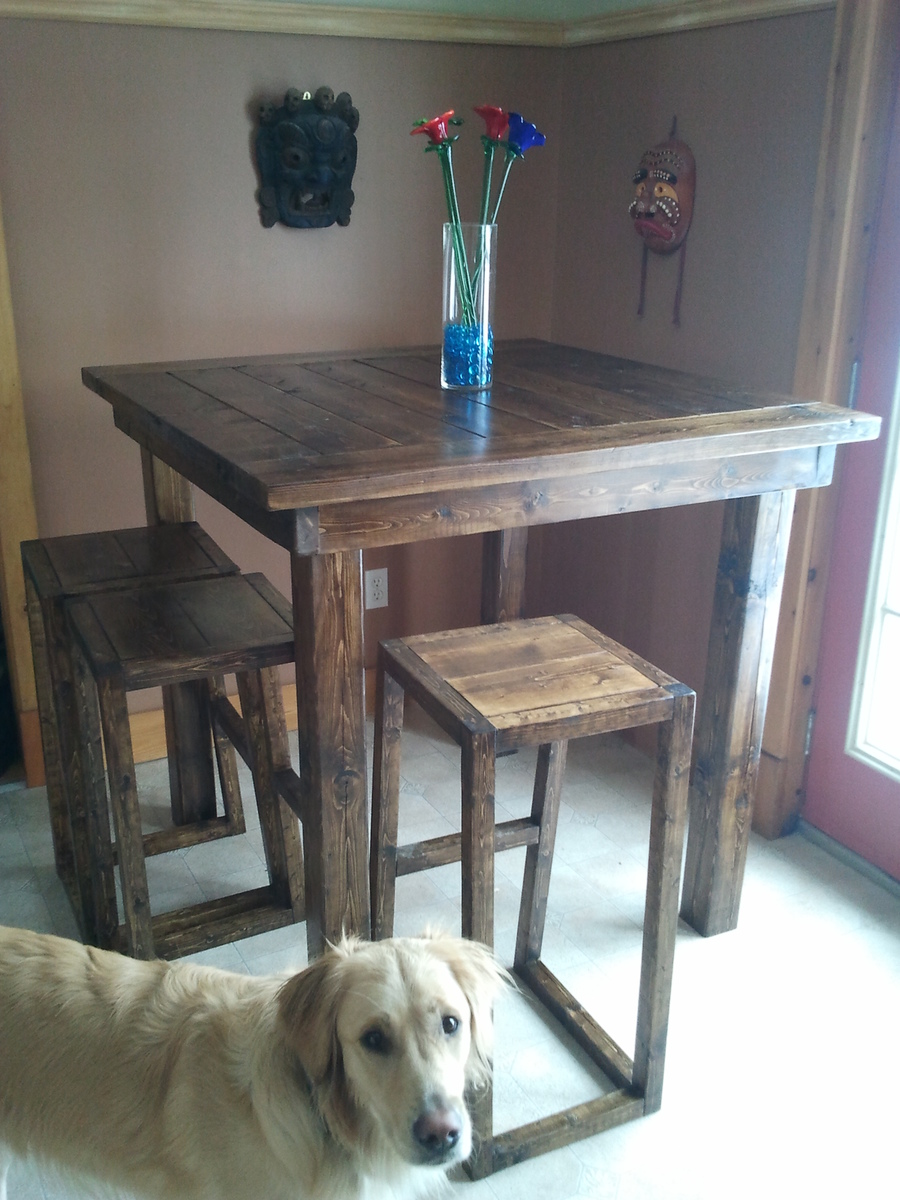
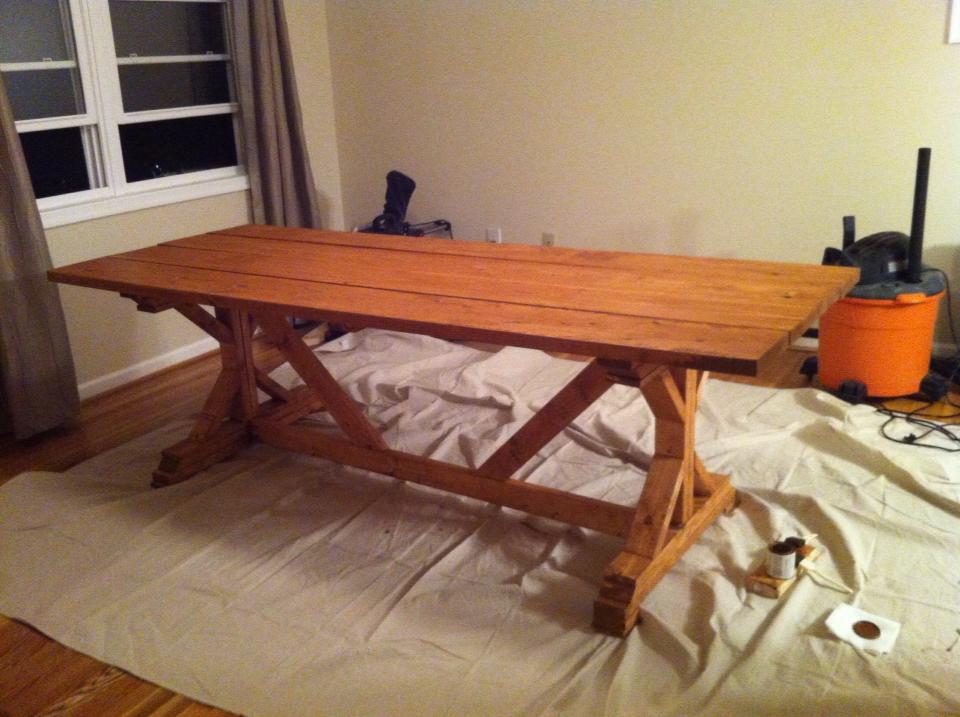
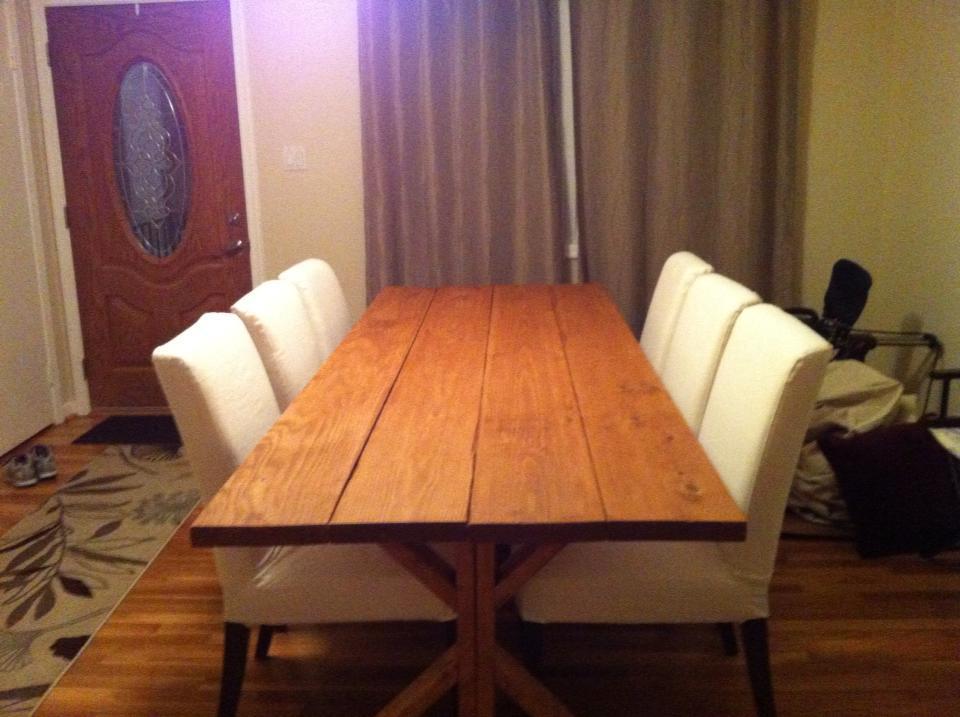
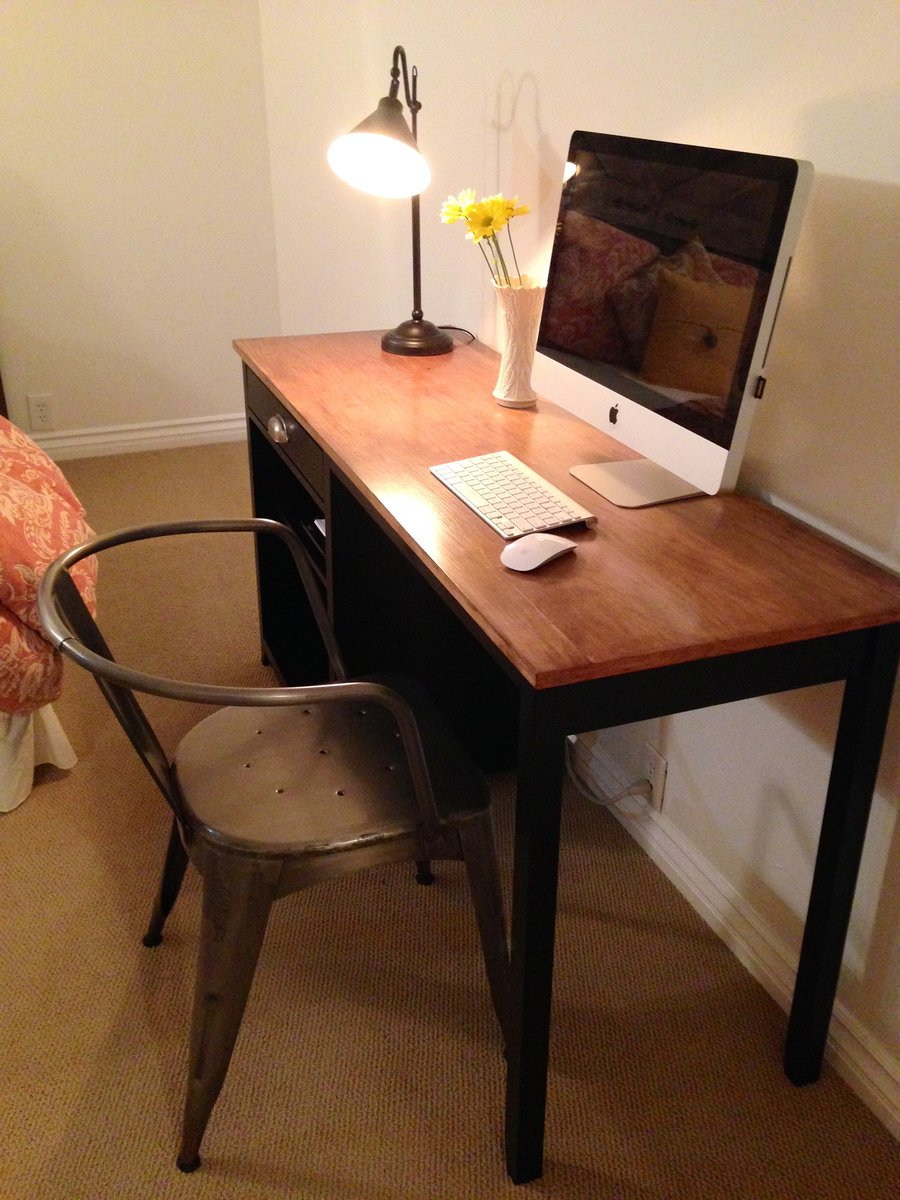
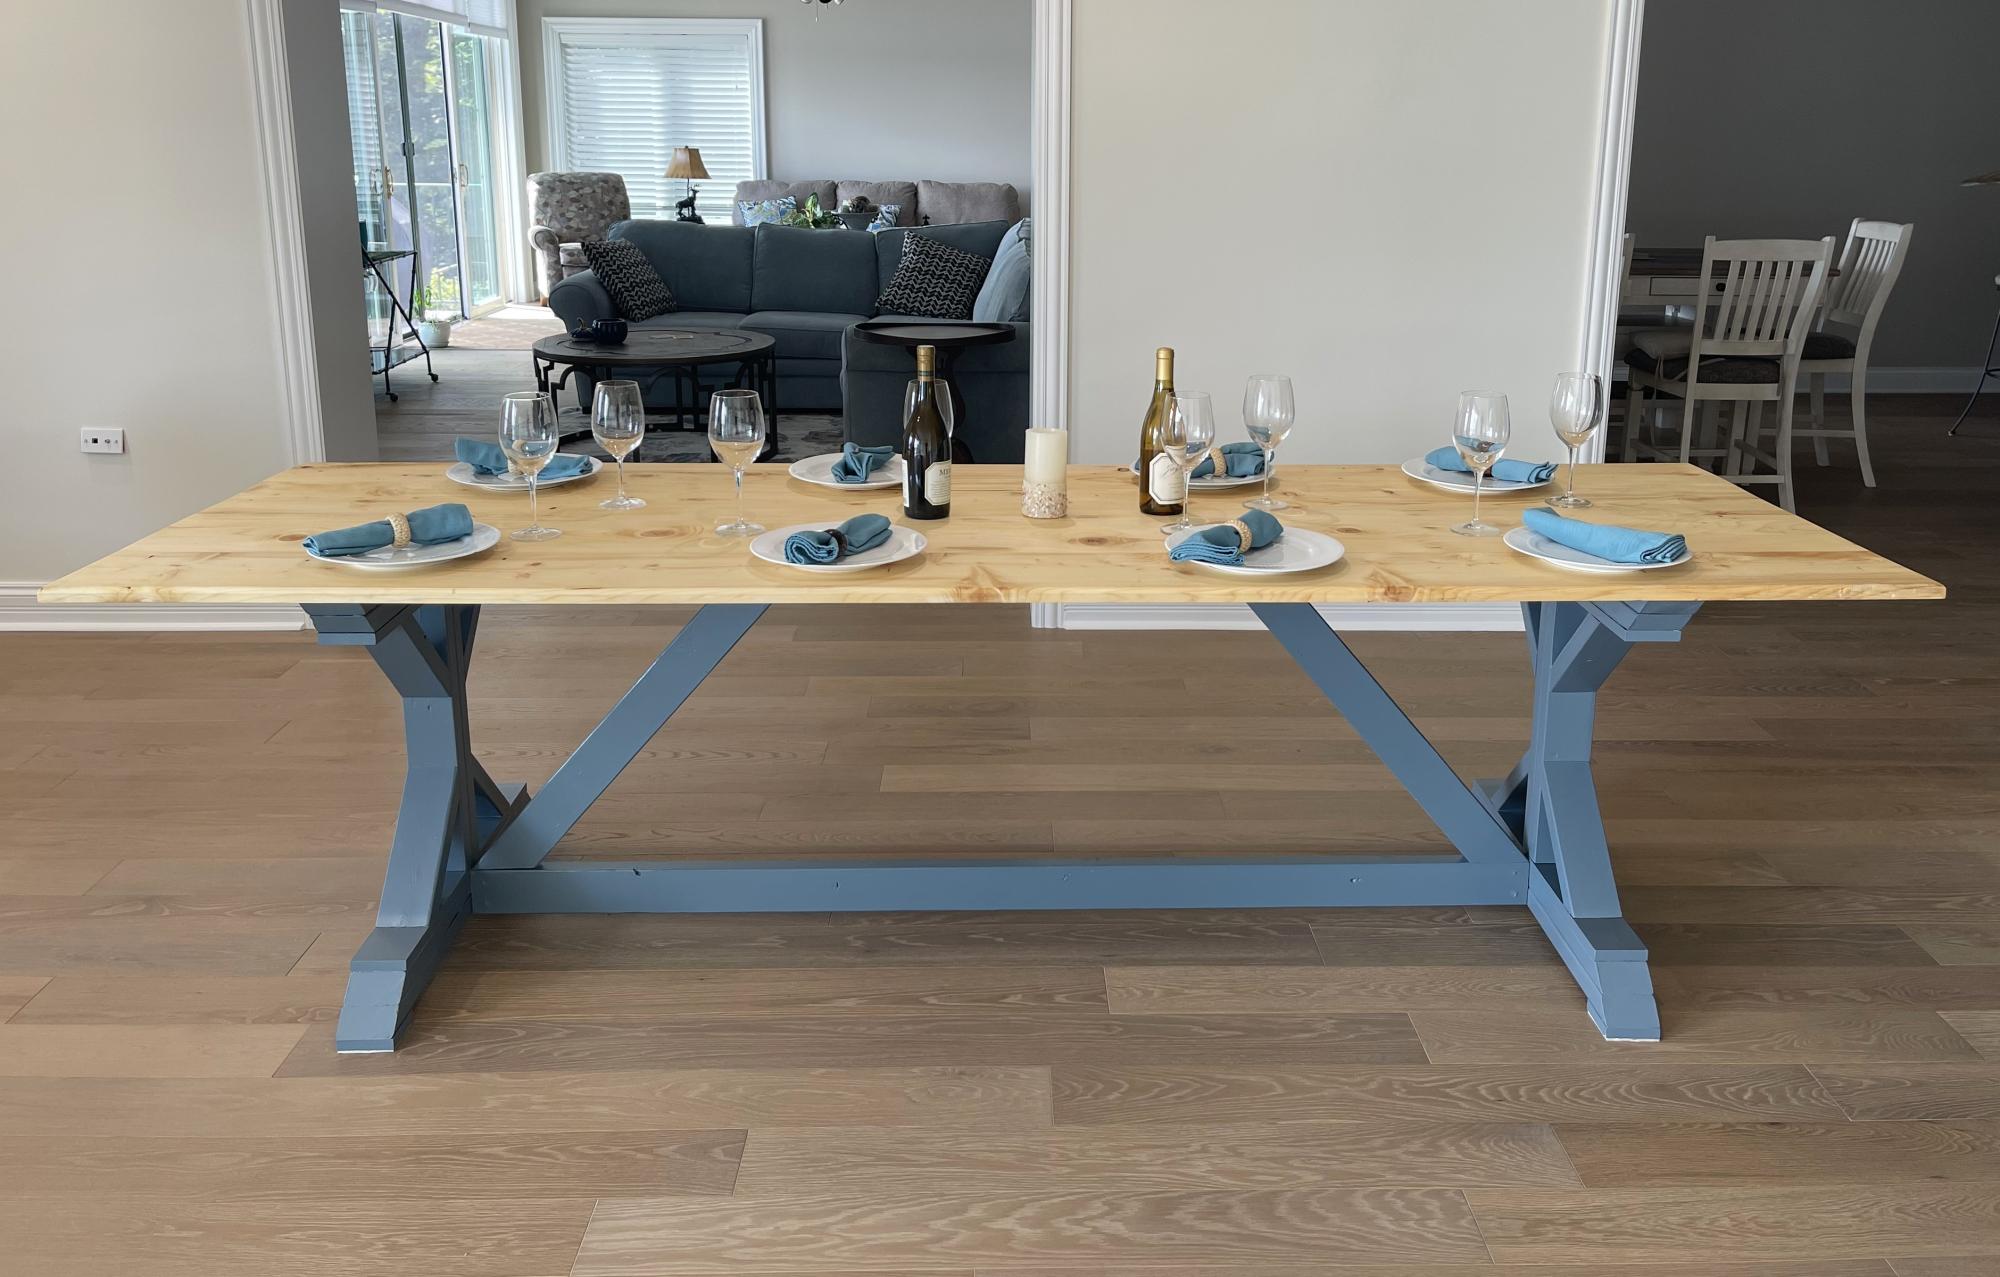
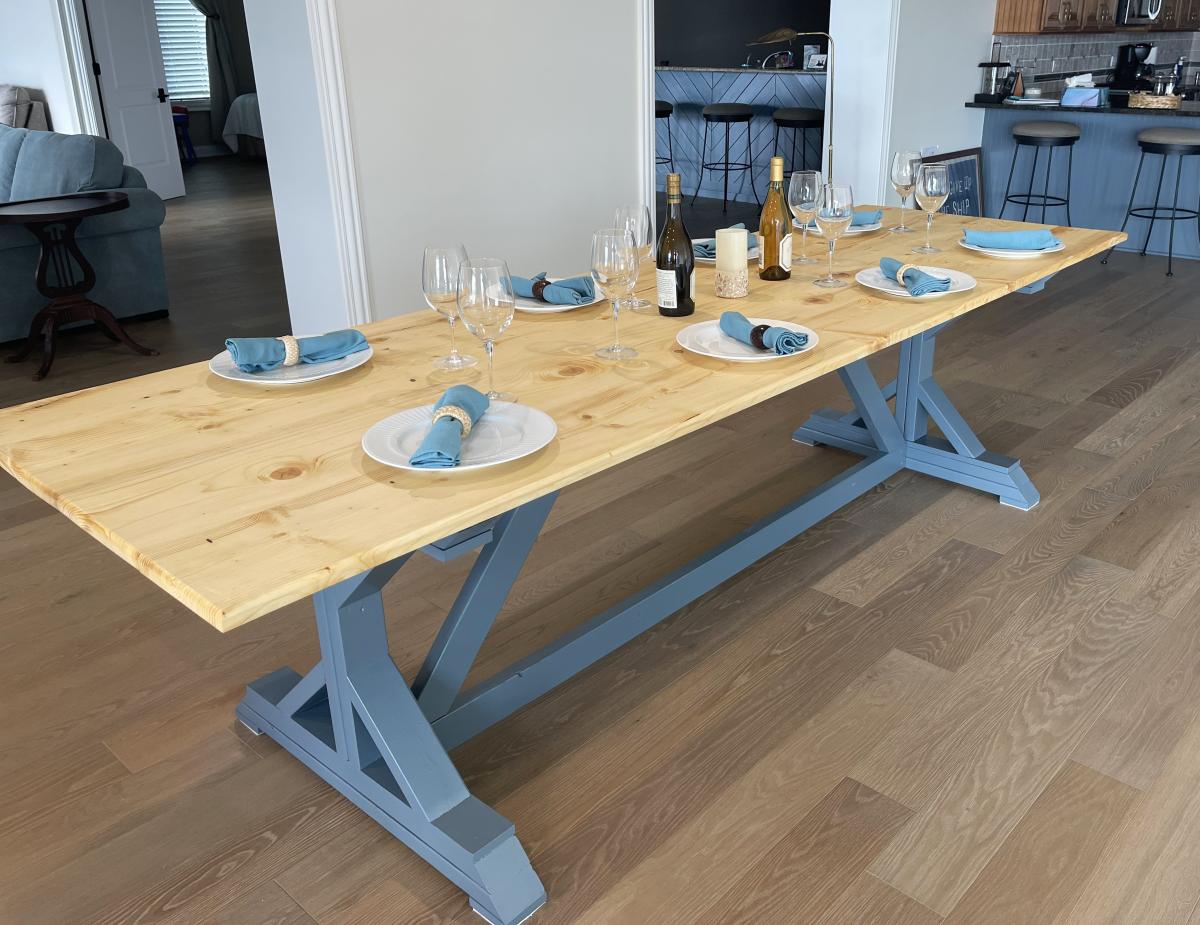
Table
Did you make or buy your table?